Features of OSB puttying before some types of cladding
Various types of design coatings require their own approach to the preparation of OSB sheets.
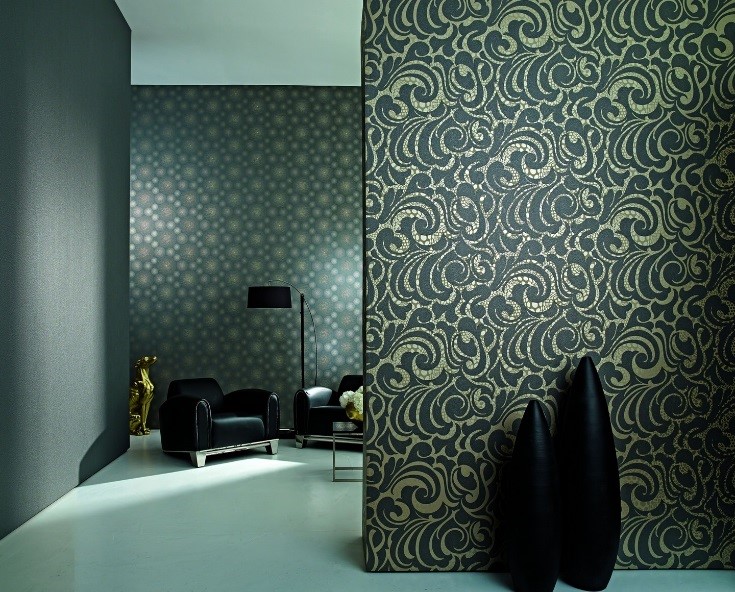
Wallpaper gluing. The finishing layer of putty need not be sanded - the wallpaper will hide the smallest irregularities on it. For better adhesion and preservation of a smooth surface, it is better to use an acrylic primer or PVA glue as a final primer layer (to save money). Detailed instructions for gluing wallpaper on OSB, as well as the features of various technologies, are in a separate article: gluing wallpaper on the OSB surface.
Tile. Often the tiles are used in damp rooms, in this case, before the puttying process, directly on the OSB sheets, it is necessary to apply a film-forming epoxy primer.

It is better to apply the putty to an acrylic water-repellent with obligatory reinforcement with a fiberglass mesh. The last finishing layer must not be sanded; it is better to make notches on it using the sharp edge of the trowel.
More details about gluing tiles and ceramics on OSB can be found in a separate article: how to properly glue tile and ceramic tiles on OSB.
Plastering, liquid wallpaper. All the above-described works are carried out, and the last stage is applied to the primer, which is optimal for fixing the future coating, - concrete contact. More information about these types of finishes can be found in the articles: plastering OSB indoors; application of liquid wallpaper to OSB.

PVC gluing, MDF fastening, laminate. For such design solutions, complete puttying is not required at all - the main thing is to close up the joints between the OSB sheets, grind irregularities and cover the panels with a tinted primer, to match the color of the chosen design solution.
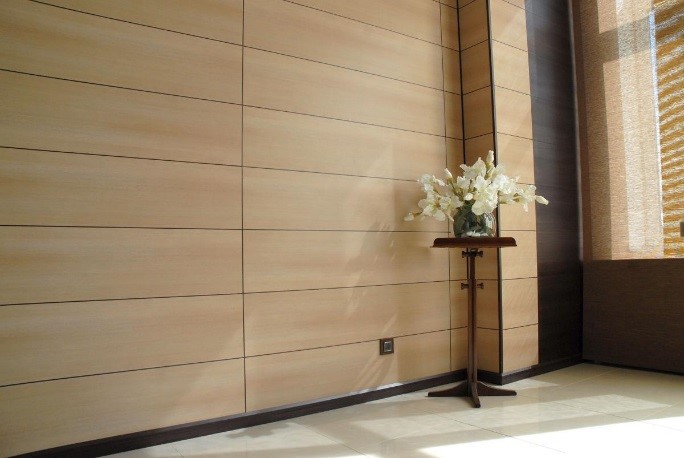
Coloring. For this option, you should grind the putty coating with special care so that there are no even the smallest flaws. This is especially true for the ceiling. More information about OSB staining can be found in the articles: OSB staining indoors, OSB staining outside.

Why and in what cases OSB puttying is used
Correctly executed puttying (puttying) of OSB panels opens up a wide range of options for subsequent finishing directions. For interior decoration, this is painting, gluing wallpaper, applying liquid wallpaper, decorative plastering, gluing ready-made decorative elements.
Many types of OSB surface finishes indoors in their basic design involve preliminary puttying. Without puttying, only some methods are fully applicable - textured painting, varnishing, paneling, laminate and other materials.
Many finishing methods that require puttying can be performed without it, but with some reservations. Further in the text of the article there are links to articles in which each of the possible options is disclosed in more detail.
For external finishing of OSB surfaces, puttying is also used. The technologies for carrying out work inside and outside are almost the same, so the materials of the article can be used in both cases.
Plastering the walls is an important step in achieving the following goals:
- protection of the wood-fiber structure of the material from the adverse effects of the external environment (direct sunlight, wet fumes, etc.);
- protection of OSB sheets from excess moisture and chemical compounds, which are present in excess in the finishing layers;
- preventing the appearance of protruding resin stains on the finishing design coating;
- masking installation flaws - cracks and defects;
- creation of an even monolithic layer with increased adhesion;
- hiding the texture of wood-based panels to create the illusion of a concrete surface;
- additional protection of the atmosphere in the house from the emission of formaldehydes.
Acrylic OSB putty
- home
- Company
- Company
- About company
- Certificates
- Requisites
- news
- Photogallery of objects
- Products and services
- Products and services
- Trade marks
- Trade marks
- TM Capital
- TM Capital
- Capital Standard
- Capital Profi
- Capital Special products
- TM Palette of Baikal
- TM Palette of Baikal
- Soils
- Paints
- Enamels
- Lucky
- Impregnation for wood
- TM Solo
- TM Solo
- Soils
- Paints
- Impregnation for wood
- TM Kerama Plus
- TM Kerama Plus
- Soils
- Paints
- Waterproofing
- STM Aqua Smith
- STM Aqua Smith
- Soils
- Paints
- Enamels
- Decorative plasters
- Lucky
- Impregnation for wood
- Putty
- Glue
- Waterproofing
- Concrete admixtures
- STM Three Elephants
- STM Three Elephants
- Three elephants standard
- Three elephants of the pros
- STM Edge of the World
- STM Edge of the World
- Soils
- Paints
- Enamels
- TM Modular
- Primers for indoor and outdoor use
- Interior acrylic paints
- Facade acrylic paints
- Acrylic enamels
- Acrylic varnishes
- Metal paints
- Products for wood
- Decorative coatings
- Adhesives
- Overhaul installation
- Acrylic fillers
- Fire retardant paints
- Acrylic waterproofing
- Products for OSB
- Concrete products
- Products for protection against mold and mildew
- Special products
- Raw materials for paintwork
- Color
- Products for flooring
- Heat resistant materials
- For B2B partners
- For B2B partners
- Raw materials for paints and varnishes
- Technical specifications for latexes
- Special orders
- Production of paintwork materials under your brand
- Marketing support
- Marketing support
- Marketing support
- New for the season 2019
- Product catalog 2018
- Product catalog 2016-2017
- Recommended display of TM Kapitel products
- Presentation of TM Kerama Plus products
- Presentation of TM Solo products
- Video
- Points of sale
- Points of sale
- Irkutsk region
- The Republic of Buryatia
- Zabaykalsky Krai
- Krasnoyarsk region
- The Republic of Sakha (Yakutia)
- Sakhalin Region
- Khabarovsk region
- Primorsky Krai
- Mongolia
- Contacts
Sealing screws and seams
For seams, there are special compounds Knauf-Fugen, Knauf Uniflot, Fugenfuller and their analogues. After the soil has dried, we dilute the putty to the consistency of thick sour cream
Please note that these putties dry quickly, so dilute a small amount at a time
We take a small spatula, apply the composition to the places where the screws are installed, remove the excess. There should be just enough putty in this place so that the surface is even. Thus, we go through all the screws. They can be sealed in parallel with the seams, or you can - in the first place
It does not matter
The principle of working with putty - a roller from the composition is laid on the edge of the spatula, then it is stretched in the right place
There are two types of drywall joints. Along the long side of the gypsum board, the edges are uneven - for easier sealing of this joint. But the sheets are also connected in height, where there are no ledges. You also have to cut the sheets and the connection is also end-to-end. Such connections require a special technology and more about it below.
Vertical joints
When puttying vertical joints of drywall with normal factory edges, they are first carefully filled, then glued.
After filling, while the composition has not yet dried, it is glued with a serpyanka mesh or paper reinforcing tape. This is necessary so that cracks do not form at the joints. If a tape is used, it is torn into the desired pieces, soaked in clean water for 10 minutes (while the seam is being filled).
The tape is recessed to the desired distance
After filling the seam, the tape is taken out, holding it between the fingers, remove excess water, stick to the seam. After that, they take a spatula 8 cm wide (necessarily this) and press the tape below the surface of the gypsum board. She "sits down" on one of the factory ledges.Start pressing in from the middle to the edges. When pressed, the putty is squeezed out from under the tape, we collect it. As a result, if you put a wide hard spatula (at least 20 cm wide) to the surface, you can see that the tape is below the surface of the cardboard. Then they again pass with putty, leveling the joint to the level with the surface.
Trim seams
It is better to putty drywall in the places of horizontal joints - where two plates are connected or on vertical ones, but without edges it is better after preliminary processing. First, the surface is moistened with water - dip the brush in water and grease the junction well. Walk several times to get the plaster wet. Then use a sharp knife to cut the grooves at an angle of 45 °. These joints can be treated prior to priming. It's even more convenient.
Preparation of joints for putty
We coat the prepared joints with soil. In this case, it is more convenient to use a brush. After drying, fill the seam with a compound for plasterboard joints. It is more convenient to work with spatulas 10 cm wide and 20 cm hard. Apply the composition with a small one, remove the excess with a large one. We fill it well by pressing the composition into the seam. If everything is done correctly, a small roller forms, slightly protruding above the surface.
Once again we go through the seam, applying a fresh putty about 0.5 mm thick, take the soaked reinforcing tape and glue it to this compound. We take a spatula 8 cm wide and press the tape well to the surface, squeezing out the excess putty from under it.
Putty of cut seams on gypsum board
In this case, a wave of paper is formed (in the photo you can see), we make sure that it does not wrinkle, we catch up with it to the end, where it straightens out. We remove the excess solution in the tape and the adjacent area of the sheet. And the last stage - again we take the putty and coat the glued tape on top with a thin layer. We make this layer as thin as possible, as they say - "for sdir". Actually, stretch the remaining putty with a very thin layer.
Second technology: first tape then putty
There is a second technology - a serpyanka or paper reinforcing tape is first glued onto gypsum, then it is putty. It turns out this way faster, but the drawback is the voids that remain under the tape. In these places, the wallpaper can wrinkle or the putty, decorative plaster can crack.
This is how they stick the serpentine on drywall
Also, instead of paper tape, a serpyanka mesh is used. Serpyanka is more difficult to work with - it is tough and its edges often stick out of the solution. To make it a little easier, the mesh is pre-glued, after the glue has completely dried, it is putty. In order not to think about glue and speed up the work, use a self-adhesive serpyanka (there is one).
An example of a seam putty with serpentine
But, all the same, it is more difficult to putty drywall - its surface is uneven, the spatula "jumps" on the fibers and a small wave is obtained, which is not at all easy to smooth out.
Professional advice
If you properly putty plasterboard walls, you can easily prepare them for painting, wallpapering or even under tiles. However, there are nuances that are known only to professionals. Knowing them makes the work easier, makes it better.

- Before installing the gypsum plasterboards, you need to cut off the chamfers on all sides in order to better seal the cracks, since the mixture will hold on to the gypsum in the slab more tightly. This is done when the sheet is attached to a wall or ceiling. There is even a special tool for chamfering, but you need to use it before installing the plates on the base.
- For better sealing of cracks, you need to use not the paper tape recommended by the manufacturer, but the serpyanka tape. It is more durable and easier to assemble.
- If tiles are taken for finishing, then there is no need to putty drywall. But it will be necessary to carry out a high-quality primer of the sheets with an adhesive composition.
- Glue can be added to improve the quality of the putty - dry mix and ready-to-use.PVA is usually used: for 10 kg of putty solution, half a standard can of glue is enough.
- When decorating a bath, bathroom, you need to use waterproof drywall. No polymer putty will protect ordinary drywall sheets from moisture.
- You need to choose building materials on the market from well-known brands, for example, Knauf. This company has been making high-quality dry mixes for any kind of work for many years. It is so popular that it has been faked. The original can be distinguished from the craft by the quality of the packaging, the presence of branded seals on the bags.
- The evenness of the coating, which is critical for painting, is difficult to determine by eye. The wall is usually white, all irregularities on it are masked. An illumination angle can be applied to reveal an uneven seam or depression in a surface. For this, the lamp is leaned against the finished base. Noticeable shadow spots appear on the plane in places with irregularities.
- For puttying work, the master chooses the density of the mixture and the width of the spatula, depending on his physical capabilities. After all, if the mixture is thick, and the spatula is wide, then the hands get tired very quickly. However, the work can be done faster. With a thinner mixture and a smaller spatula, you have to make a second, third layer. But this kind of work is easier.
- To plan the time for work, you need to take into account the drying period of the coating. The dry mix manufacturer takes 10 to 12 hours for this. However, this time may vary depending on the temperature and humidity of the environment. In dry and hot climates, the putty dries up in 3-4 hours, in winter - up to 14 hours.
To work with modern materials, you do not need any special education, all the work can be done independently. This allows the artist to save money and give free rein to their creativity.
Surface preparation and choice of composition for puttying
Anyone who has come across the implementation of repairs or construction work is well aware of how carefully it is necessary to prepare walls, floors, ceilings and slopes on windows for painting. After all, the very first layer of the applied coloring composition will help to show the slightest defects on the painted surface. This applies not only to concrete slabs or brick structures. Professionals often have to answer the question of whether it is possible to putty chipboard. Answer: putty on the surface of the chipboard is not only possible, but also necessary.

Such a plate is distinguished by its roughness and a huge number of tiny defects, imperceptible at first glance. In addition, it absorbs moisture very well, which leads to its deformation, cracking of the applied coating and deterioration of the aesthetics of the interior. The use of a properly selected putty will help to avoid such phenomena.
The choice is complicated by the fact that there are no compositions made specifically for chipboard on sale. The consumer will have to choose from a variety of putties designed for woodworking.
Acrylic and latex
They belong to the number of low-shrinkage materials, characterized by excellent elasticity. These are finely dispersed formulations with a high level of binder content. After application, they do not crack, do not crumble and make it possible to proceed to work with the topcoat.
On such a surface, you can safely glue wallpaper, it can be painted, you can attach polystyrene tiles and other materials intended for decorative finishing to it. Acrylic resin increases adhesion to the board surface and, due to its high elasticity, makes it possible to create a textured coating. After drying, the layer becomes very durable and protects the board from moisture and deformation.
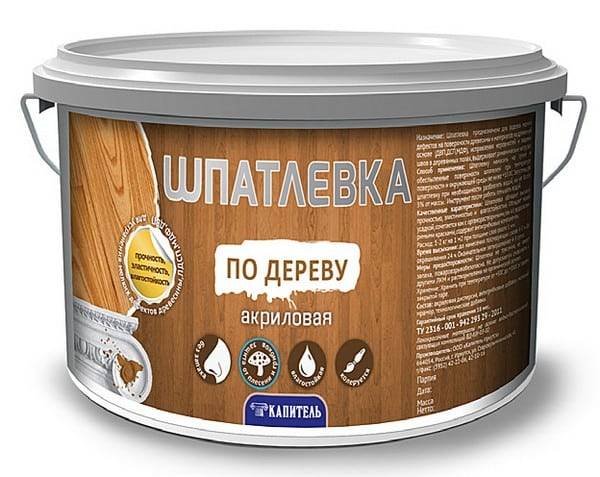
The main difference and feature of latex putties is that due to the increased elasticity, it is possible to apply thinner layers of the composition to the base surface. Colored compositions are made in woody shades and do not require finishing sanding.
Oil-glue and oil
They are used in cases where it is required to eliminate rather large flaws on the surface in the form of depressions or even small holes. With such means, you can qualitatively seal the seams between the plates, it is easier to glue wallpaper on them.
Epoxy
Epoxy and hardener putty is a two-component compound. This allows it to harden rather quickly, forming a high-quality and reliable protective layer.
It contains additional substances in the form of fiberglass or even crushed metal shavings. The composition can easily correct flaws and defects on the surface of the slab.
What is the difference?
In addition to gypsum putty, other compositions can be used for plastering work. What is the difference between this type of material and other putties, for example, from the so widespread polymer putty?
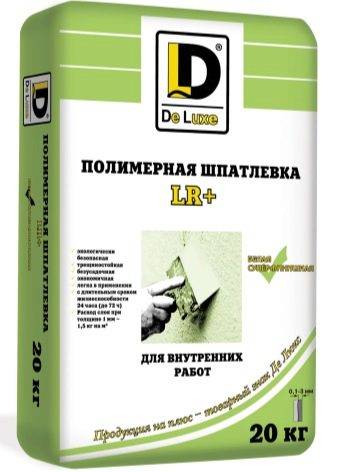

What these two compounds have in common is that they are designed to perform the same type of repair work - plastering. Both of these products are equally good at filling grooves and cracks, leveling surfaces and preparing them for subsequent decorating.
Gypsum putty has good hygroscopicity, which, on the one hand, makes it a more attractive material in terms of maintaining optimal environmental conditions, but on the other hand, this quality does not make it possible to use it for surface treatment in wet rooms, which is quite within the power of polymer putty ... Therefore, if it is necessary to level the walls, for example, in the bathroom, then it is better to use polymer compounds for repair work.
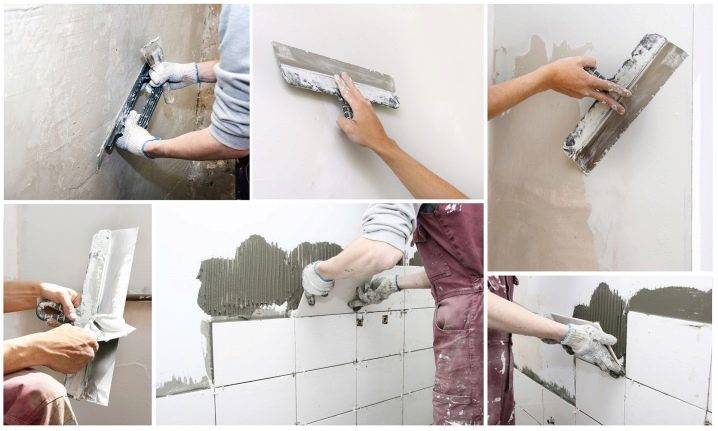
The next difference between gypsum putty is plasticity. This quality is of particular importance if the work is performed by non-professional plasterers. Gypsum compounds are easy to apply and spread well over the surface.
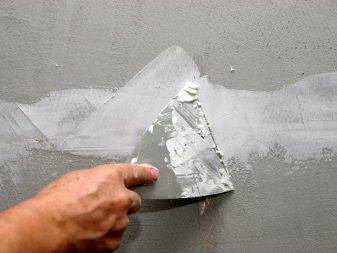

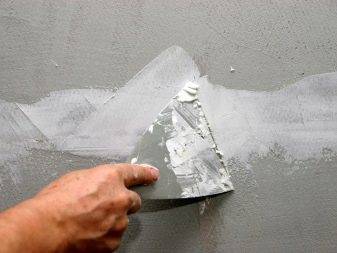
Gypsum putty is a non-shrinking material, that is, after drying, it does not decrease in volume, which means it does not form cracks, crumbling or surface deflections. Compared to polymer fillers, gypsum is more environmentally friendly, since it does not contain synthetic components. In addition, gypsum-based materials have a lower price range.
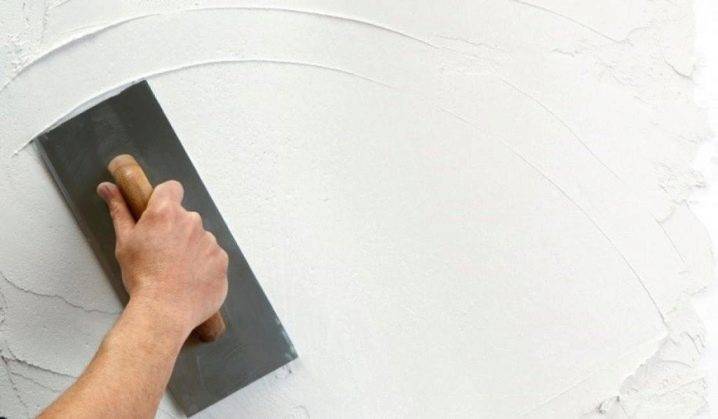
Thus, from the differences of gypsum putty, its advantages follow, distinguishing it from similar building materials:
- Possibility to plaster any bases: brick, concrete, gypsum, plasterboard;
- Environmental friendliness. Gypsum putties do not emit substances harmful to human health into the air and allow you to maintain a favorable microclimate in the room due to the fact that in the presence of high humidity, the material will absorb its excess, and when it decreases, it will give moisture back;
- Good adhesion to various types of surfaces;
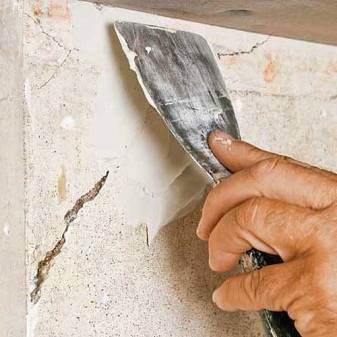

- No shrinkage, cracks and other deformations of the plaster layer due to the inclusion of special additives that improve its properties in the material;
- Economical material consumption. For comparison - cement putties have a consumption three times more than gypsum ones;
- Easy to apply and sandable. Due to the increased plasticity, gypsum mortars are conveniently applied. Even a beginner in plastering work can cope with filling the walls, you just need to strictly follow the instructions. Surfaces treated with a gypsum-based putty lend themselves well to sanding, that is, after drying, you can always correct any surface imperfections using ordinary fine-grained sandpaper;
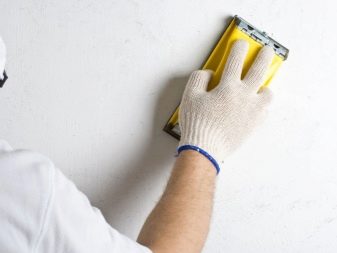
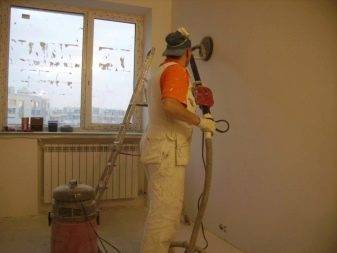
- Fast drying. This advantage allows you to carry out repair work quickly enough;
- Durability of the created coating. Walls or ceilings plastered with this material can be used for several decades.

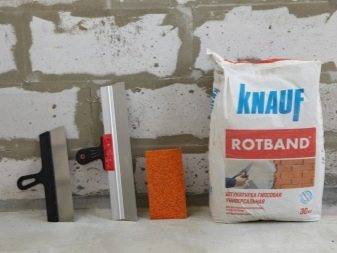
The disadvantages of this material include:
- High degree of hygroscopicity, which does not allow the use of the putty in rooms with high air humidity;
- The speed of solidification. A solution for plastering work must be prepared immediately before starting and used immediately, without leaving it next time;
- A short storage period for dry mix, which is usually limited to 6-12 months.

Manufacturers
Today, construction supermarkets offer a wide variety of gypsum-based dry putty mixtures.
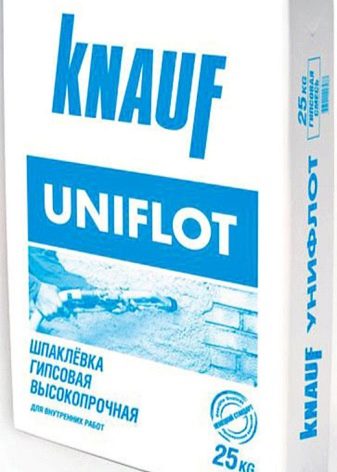
Knauf
The line of putties from Knauf, which includes:
- "Uniflot" (for sealing gypsum plasterboard joints);
- "Fugen" (for any interior work, including sealing of seams);
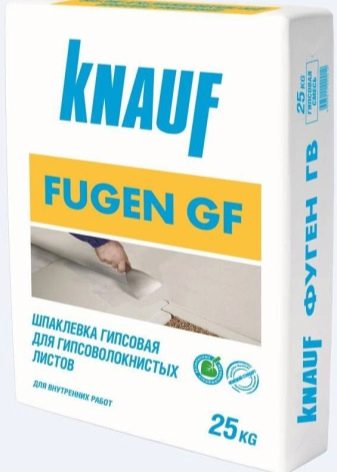
- "Fugen GV" (for filling GVL and GKL);
- "HP Finish" (for any surfaces);
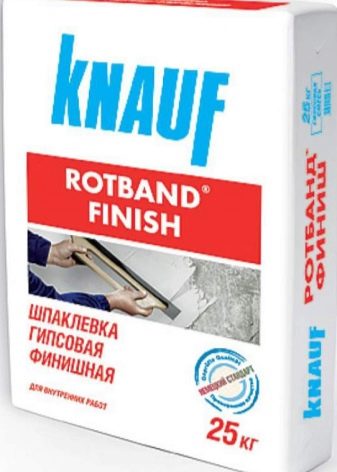
- Rotband Finish (for any reason);
- "Fugen Hydro" (for installation of GWP, grouting of joints between GK and GV sheets, including moisture resistant ones);
- "Satengips" (for any surfaces).

"Prospectors"
- Finishnaya putty is a white plastic material with the use of high quality modified additives for dry rooms with any kind of bases;
- Plaster leveling putty - designed for leveling all types of substrates. The composition includes polymer additives. It can be used for sealing joints between gypsum plasterboards and tongue-and-groove plates.
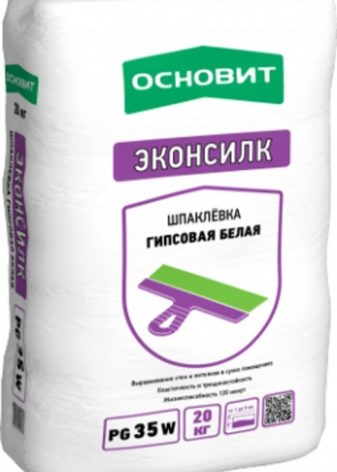
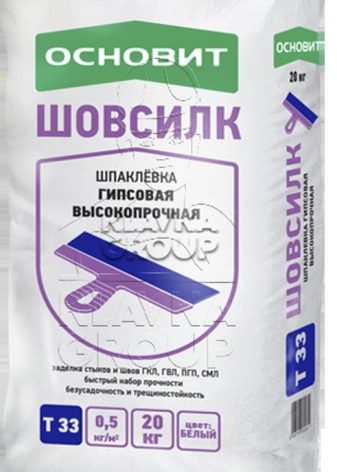
"Osnovit"
- "Shovsilk T-3" 3 is a high-strength crack-resistant putty. It is used for sealing joints between plasterboard sheets, tongue-and-groove plates, gypsum-fiber sheets, LSU;
- Econcilk PG34G is a non-shrinking universal filler used for leveling various substrates and filling joints;
- Econcilk PG35 W is a plastic non-shrinking leveling material. It is also used to fill the joints of gypsum fiber board and gypsum board. The mixture has a low consumption;
- Elisilk PG36 W is a finishing material that creates perfectly smooth surfaces for subsequent coating with decorative materials;
Unis
- Finishing putty (high-plasticity snow-white) - finishing material with a high degree of whiteness, plasticity and easy to sand;
- “Masterlayer” (non-shrinking thick-layer) is a starting finishing material for sealing cavities, cracks, potholes, seams in gypsum fiber board, gypsum board, PGP without the use of reinforcing tape;
- "Blik" (white) - universal, non-shrinking putty, which does not harden within 150 minutes
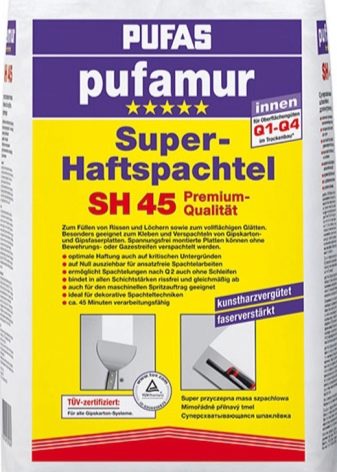
Pufas
- MT75 is a plaster compound with synthetic resins for smooth subfloors. It is used for filling seams, holes and leveling the surfaces of cement-fiber, GK- and GV-sheets;
- Glätt + Füll - cellulose-added material for creating even subfloors for decorative work;
- Füll + Finish - a finishing compound reinforced with cellulose;
- Pufamur SH45 is a synthetic resin rich putty. Has increased adhesion. Ideal for use on reinforced concrete and other smooth surfaces.

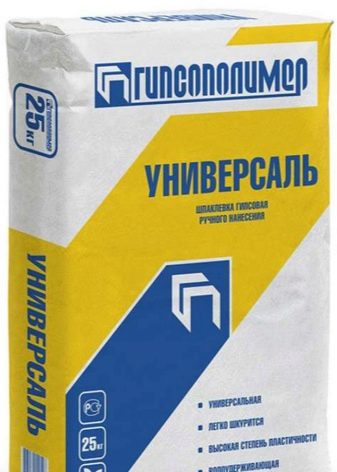
"Gypsopolymer"
- "Standard" - a mixture for continuous basic leveling of plastered, concrete surfaces, GSP, PGP, GVL, treatment of joints between GSP;
- "Universal" - intended for leveling concrete and plastered bases, GSP, PGP, GVL, alignment of joints between GSP, for sealing cracks;
- "Finishgips" is used for joints between GSP, for leveling concrete, plastered bases, bases from GSP, PGP, GVL.

Bolars
- Gips-Elastic is used as a topcoat for various surfaces before painting or wallpapering. It can also be used for filling joints and seams of gypsum-fiber board and gypsum board, installation of GWP;
- "Gypsum" - to create a basic plaster layer on any base;
- Plaster putty "Saten" - finishing material for creating a perfectly smooth and white surface


Bergauf
Bergauf - non-shrinking elastic fillers with increased crack resistance:
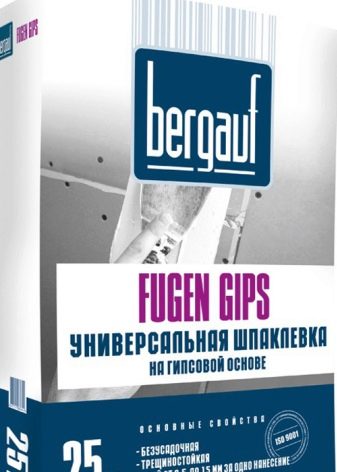
- Fugen gips
- Finish Gips.
