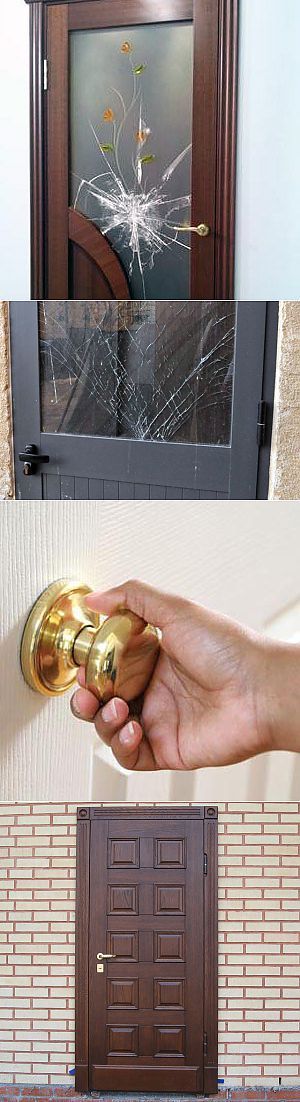
Replacing glass in an interior door: what we change for
Before embarking on a direct study of the issue of replacing glass in a door leaf, first we will study the materials that can be used for these purposes - do you think that glass is a panacea and it is almost impossible to replace it with anything? Here, the opposite is true - modern technologies provide a lot of options, not to use which would be, at least, stupid. Let's study them in more detail.
-
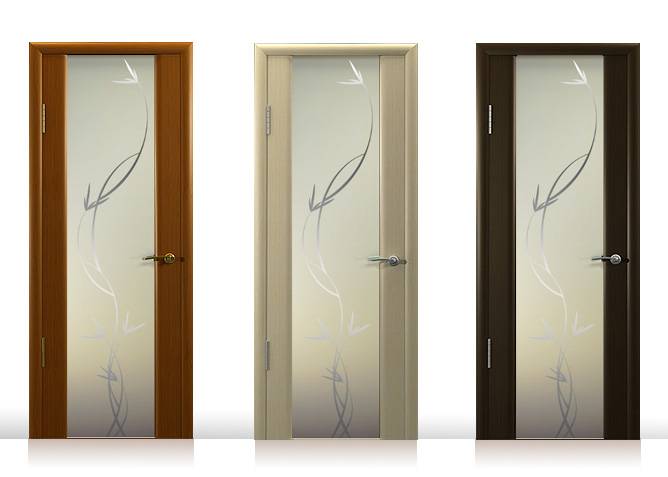
Decorative glass. This is the most expensive door insert, which is not used by all manufacturers. In principle, such glass can be called an ideal option that does not require modification. The only drawback of this material is that it will be quite difficult to find glass with exactly the same decor as on all other doors. In most cases, glass damage on one door entails replacement of glass on all other door panels of your apartment. And this can result in a round pretty penny - a square meter of decorative glass for interior doors can cost from $ 20 and more.
- Ordinary glass. A good, and most importantly, quite affordable alternative to expensive decorative glass - this material requires additional refinement, which means pasting it with special decorative films. You can buy them in any construction market for every taste and color. Such replacement of glass in the door will cost approximately half the cost of the decorative material described above.
- Monolithic polycarbonate (plexiglass). The above two options for materials for glazing doors have one significant drawback - glass. It is fragile and can easily break if handled carelessly. This drawback is devoid of the material, which was previously called plexiglass, but now it is called monolithic polycarbonate. In fact, it is transparent plastic, the only drawback of which is its susceptibility to scratches, as a result of which it simply becomes cloudy. As with ordinary glass, to give this material decorative properties, refinement will be required, for example, pasting with a decorative film, which will additionally serve as protection against scratches.
-
Fiberboard or plywood is a budget option. You can replace broken glass in the door with laminated fiberboard folded in half with the back side to each other. Another option for using this material as decorative glass is ordinary, non-laminated fiberboard, pasted over with an opaque decorative film. You should not expect anything good from such a replacement. Once again, this is the cheapest and less attractive solution to this problem.
So, we figured out the materials, now is the time to move on to the theory of replacing decorative glass in door panels.
Final replacement options

Stained glass look - durability and beauty
Recommended types for installation are shown in the plate.
| View | Description |
| Organic |
The main advantages are high wear resistance, shock resistance. Its characteristics resemble high-quality plastic. Assumes additional finishing with decorative film. |
| Stained glass |
Expensive. Designed to improve the interior. Installation is carried out according to a complicated scheme. |
| Standard |
It can be matte and transparent. |
| Tempered |
Advantages - fire resistance, durability, additional sound insulation. |
Basic types:
- "Tulip";
- "Dali";
- satin;
- with dot pattern;
- colored throughout the mass;
- with a relief pattern;
- "diamond";
- "Flower garden";
- with bamboo pattern.
Ways by which glass can be attached to the door leaf
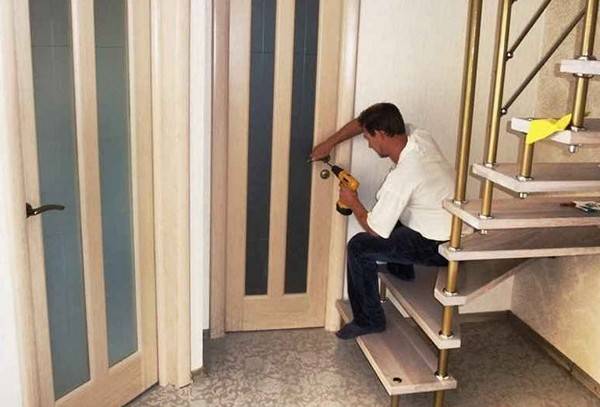
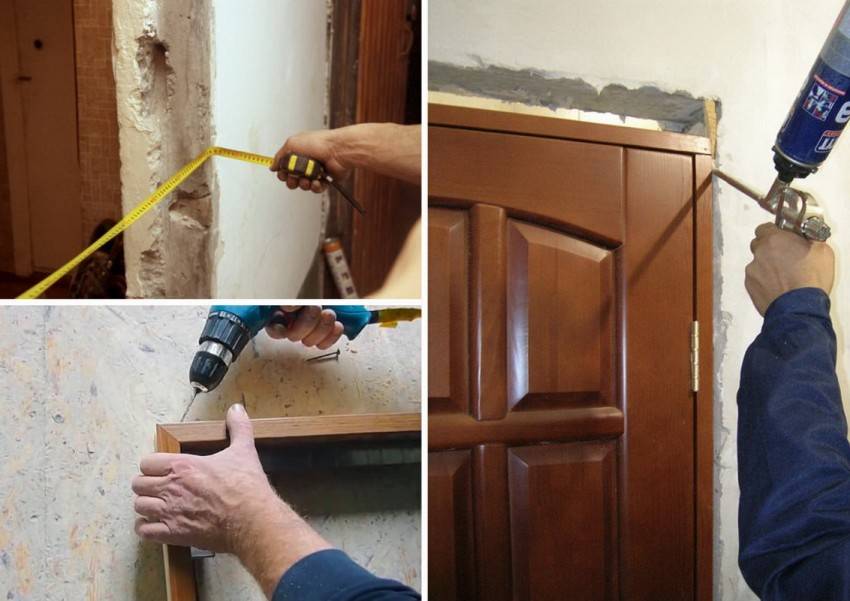
Before replacing the glass in the interior door, it is worthwhile to understand the mounting scheme in your structure, because in some cases it is quite possible to do it yourself, while in others, more complex ones, you still have to turn to specialists.
- Interior door with triplex glass
If you think that you can independently replace the triplex in the door - laminated glass, the layers in which are interconnected in a special way using a polymer film, then you will have to abandon this idea: this can only be done under factory conditions, and this is the only case when it makes sense to think about purchasing a new door.
- Simple glass insert from above
Repair of interior doors with replacement of broken glass in this case is the easiest of all. This mounting option usually takes place in Russian-made veneered doors. In this case, it is enough to simply measure the opening in the door, in which the new glass is supposed to be installed, and order it according to the measurements taken from the glass workshop.
In addition to the size of the glass itself, it is important to measure the "allowances" inside the opening, which are usually one to two centimeters. After that, you just have to carefully insert a new glass into the opening and smear the edges with silicone gel.

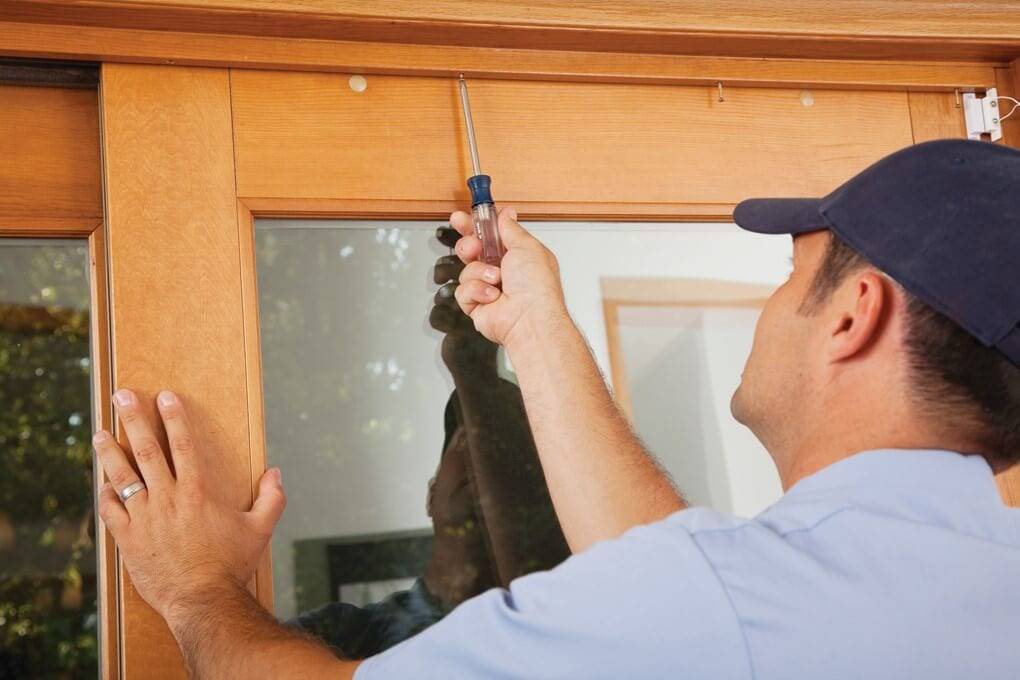
- Glazing of the door with glazing beads (quarters)
If you are going to repair an interior door in which the glass is fixed with glazing beads, this is also easy to do with your own hands, as in the first case. You need to start the replacement process by removing the glazing beads. This will require:
- pliers;
- sharp chisel (or wide screwdriver);
- dense fabric.
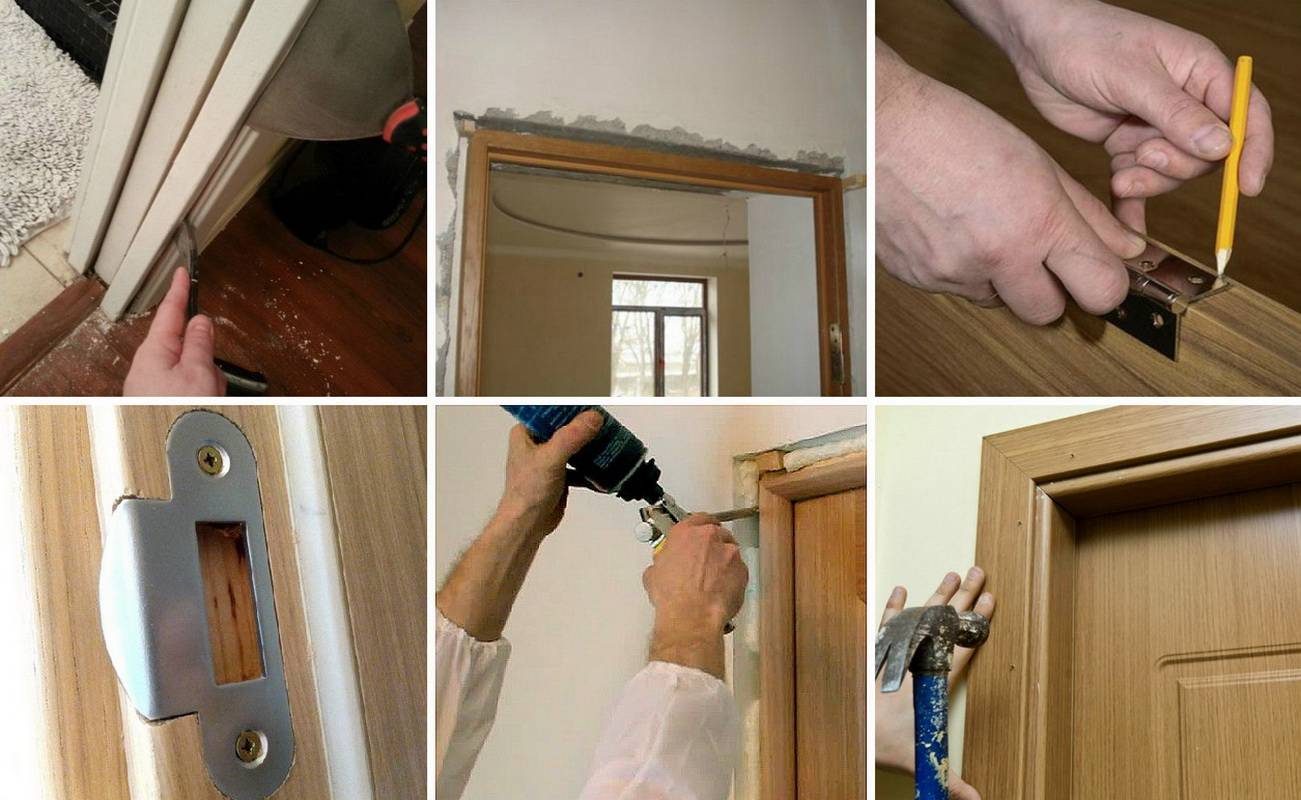
Insert the chisel where the glazing bead rests against the door and is secured with a nail. After that, put the prepared cloth under it, and try to stir the glazing bead so that the nail that holds it comes out. When it appears on the surface, you need to hook it with pliers and pull it out. Having thus pulled out all the nails holding the glazing bead, we remove the latter.
It is important to remember that the process of removing nails must take place in a certain sequence, otherwise the glass may simply fall out. The first step is to remove the side glazing beads, then the lower, and last of all, the upper
It is necessary to take out the carnations and remove the glazing beads very carefully so as not to damage the outer layer of the door leaf.
If you are repairing an interior door with the replacement of damaged glass, you need to carefully remove its fragments, carefully folding them on thick paper
It is important to carry out door repairs at this stage with extreme care, wearing gloves and shoes.
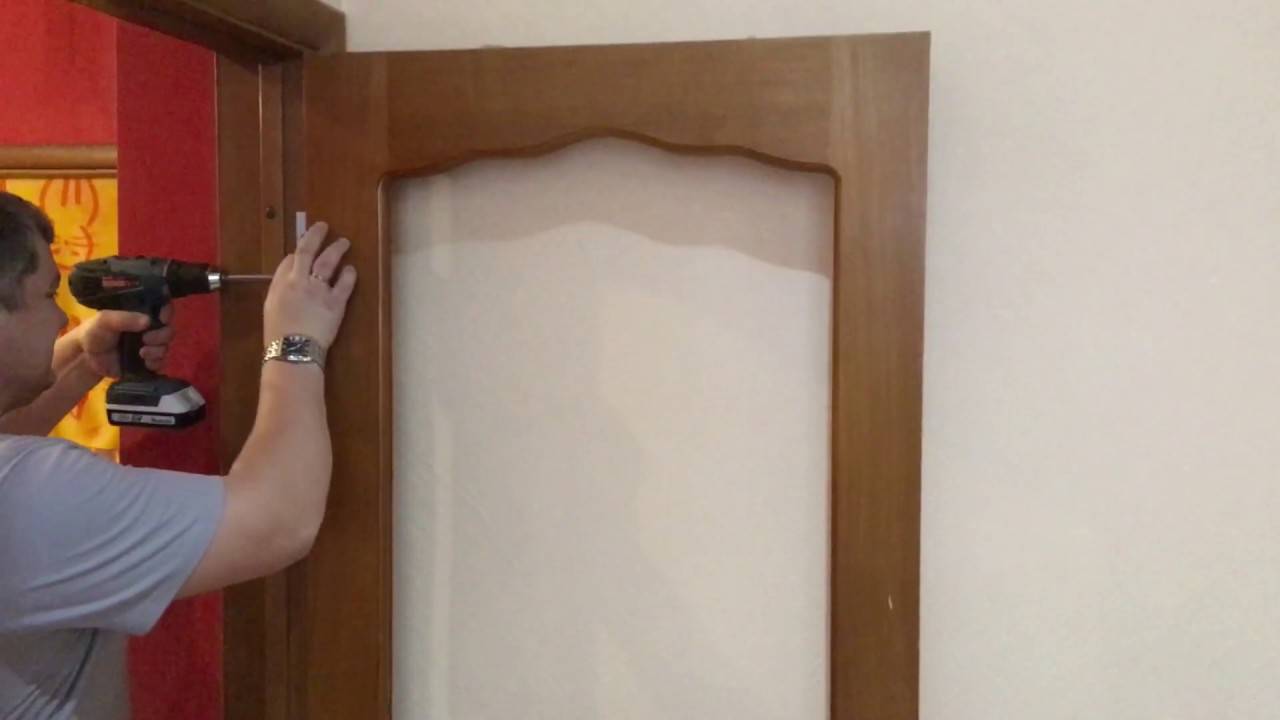
After inserting a new glass into the opening, the previously removed glazing beads are put back and nailed again with decorative carnations that were there before.
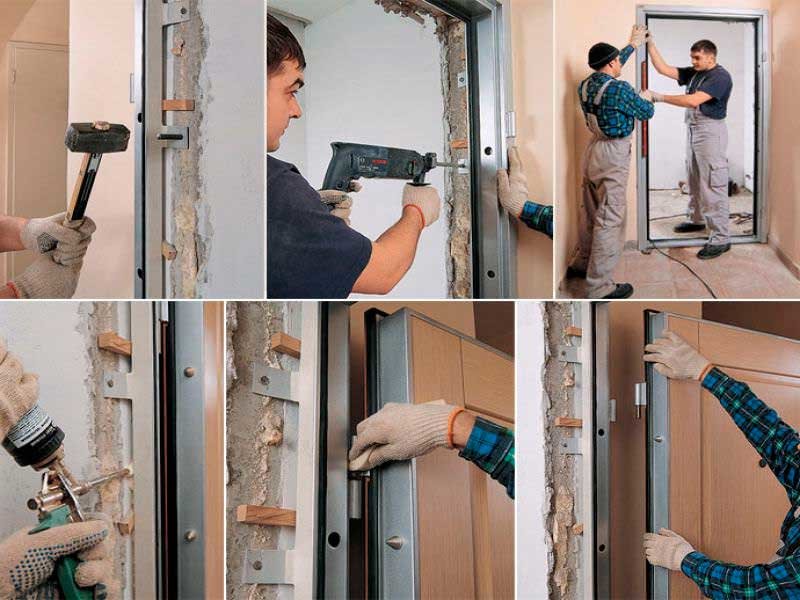
- Glass replacement with door disassembly
It happens that interior doors are made of wood and glass without the use of glazing beads. Repairing expensive collapsible doors with glass replacement is more difficult because it requires disassembling the door and then reassembling it. If you are not confident in your abilities, it is still better to entrust this business to professionals.


- Glass insert of irregular shape
This is a rather complex business that requires certain skills and jewelry precision.
Here it is important to take measurements of the broken glass or glass that needs to be replaced as accurately as possible and not to deviate then from the dimensions obtained (the deviation in this case should not be more than 3-4 mm)
What else should be remembered when repairing an interior door with glass replacement
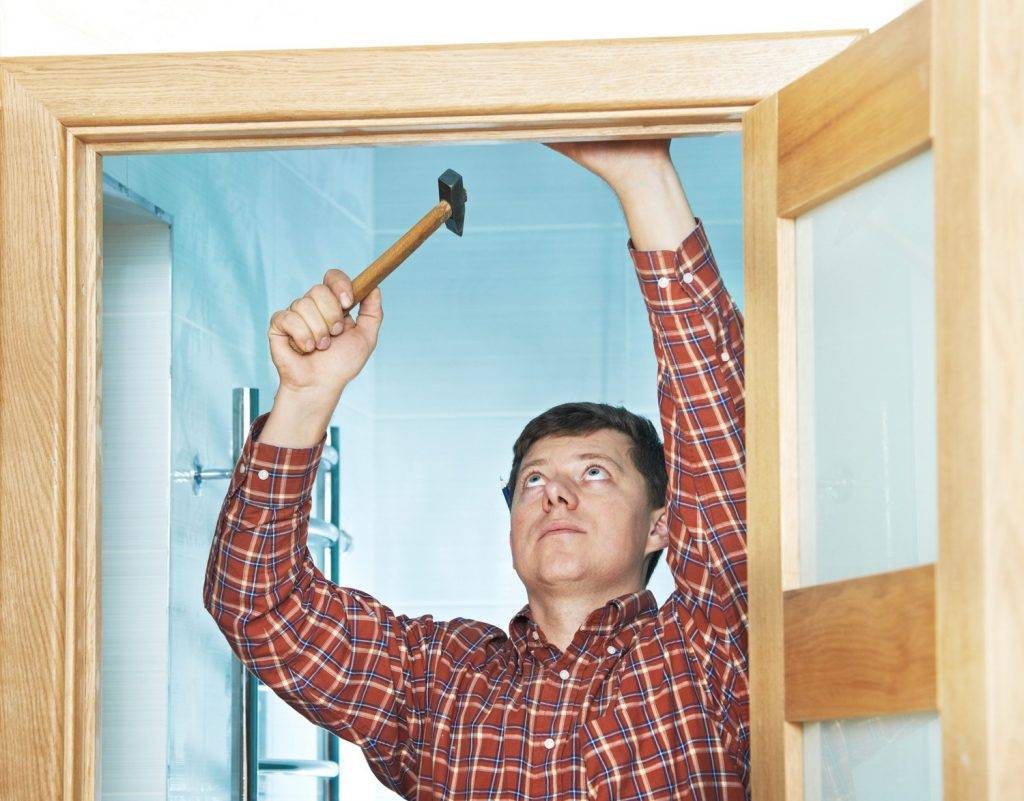
All work on replacing glass in the door is carried out when the door is removed from its hinges and is in a horizontal position. This can be done, for example, on a large table. But inserting glass in an upright position is not only extremely difficult, but also fraught with risk.

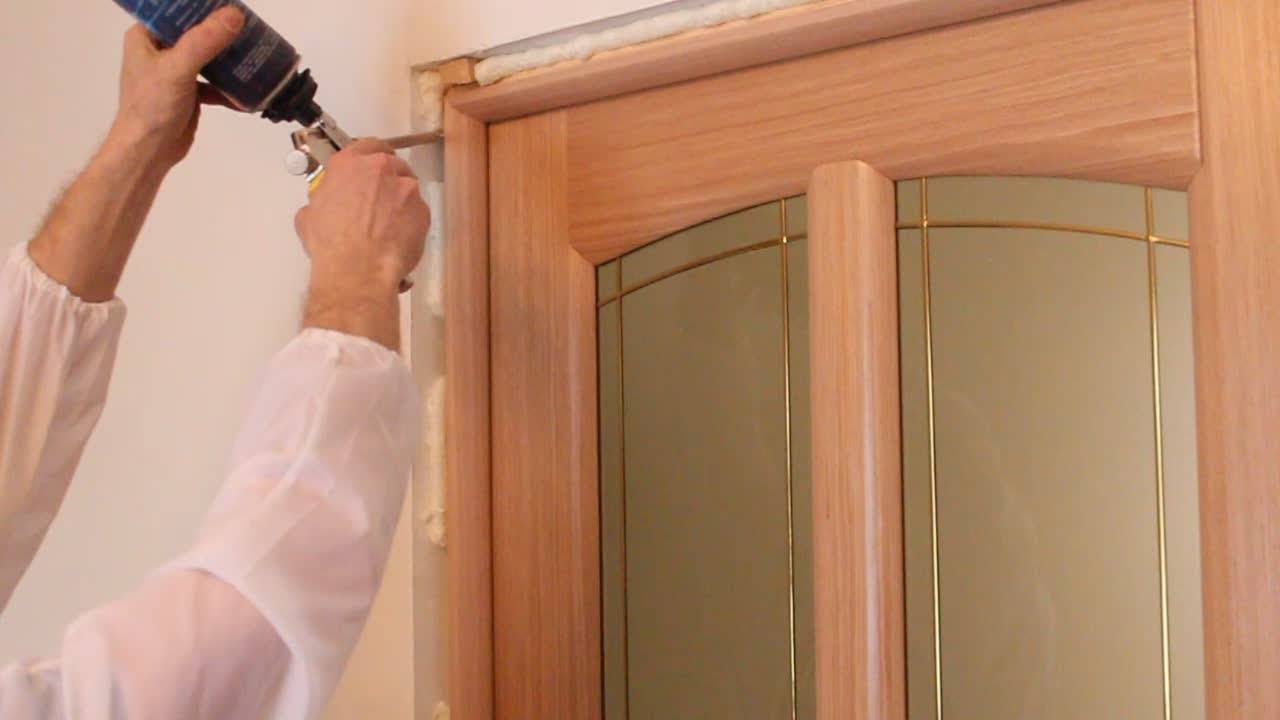
The interior door also needs to be prepared for repair: remove the old gasket, putty and sealant from it. Do not forget about the glass itself: it must be clean (you can gently wash it with soap and water). It is better if the glass is at room temperature during operation. When inserting glass into the door, act as carefully as possible, in no case pressing on the surface. If it is difficult to insert, you can try trimming the gasket.
But, if you are not sure that you will be able to cope with inserting glass into the interior door, it is better not to start this business and not to spoil the expensive door, but to contact the master or think about buying a new door.
Comments (1)
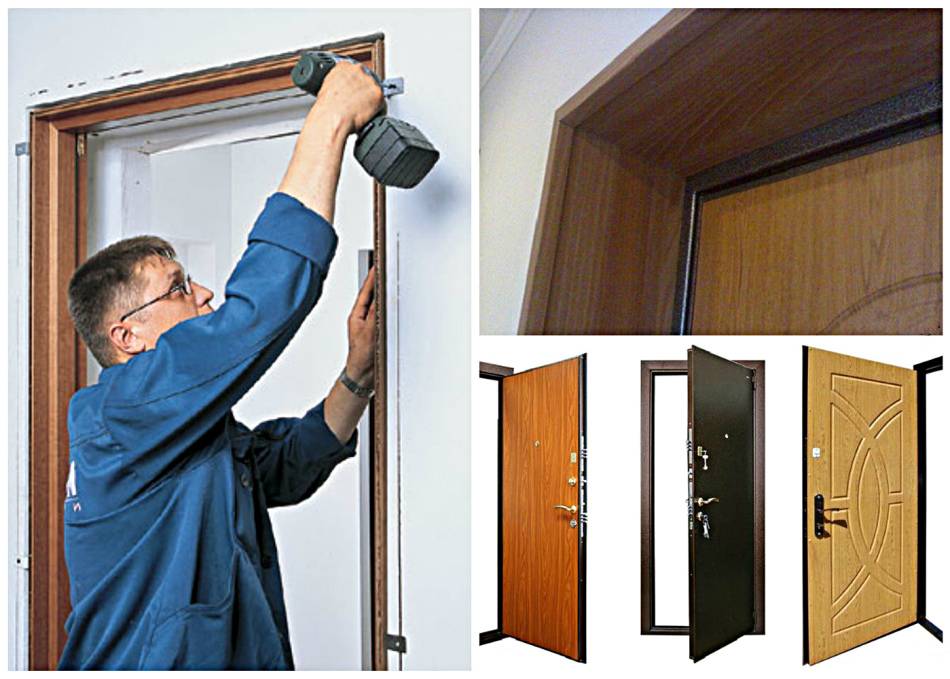
Reinforced plastic doors
Do-it-yourself repair of a plastic door, most often comes down to only adjusting it. The problem of sagging of the leaf is inherent not only in wooden and steel doors, and in all cases it is eliminated in different ways.
Adjustment of the rebate
When repairing plastic doors, you do not need to plan or put anything in the hinges, since the position of the sash is adjusted using a hexagon bent at a right angle or a wrench.
The hinges for plastic doors have a special design. At their end there is an adjustment hole, into which, in fact, a hexagon is inserted.
So:
When it rotates to the right, the canvas will rise, but if you turn the key counterclockwise, it will go down. Sometimes it is necessary to move the sash not up or down, but in one direction or another. Usually this is required to be done when cracks appear in the vestibule and begins to blow through them.
 Repair of a plastic door: adjustment of the vestibule
The elimination of such a problem is also carried out by means of a hexagon, only now it is inserted into the holes on the hinges, facing, as we see in the photo, inside the opening. To bring the sash closer to the frame, or vice versa, move it away, you can turn the hex key in one direction or another.
Instead of adjusting holes, the door can be provided with clamping screws that are rotated with a flat wrench. Much also depends on the door opening mechanism. If this is a swing option, then they often have hidden hinges with holes for adjustment. But by and large, it doesn't make much difference whether there are holes or screws.
Replacing parts
Plastic doors may require more serious repairs, such as replacing a sagged threshold, a broken filling sandwich, or a broken glass unit. At first, when the popularity of plastic balcony doors was only gaining momentum, the thresholds were made of plastic, which, as time has shown, does not always support the weight of a person. The version of the threshold made of gypsum fiber sheet also somehow did not take root.
But the threshold made of a thick plastic window sill is simply impossible to push through. Recommended! The sill board is very durable, and not only does not break, but also does not bend. Its surface is not afraid of mechanical stress - except that scratches may appear on it, which can be easily removed with the help of liquid plastic.
 Window sill runways
To manufacture a new glass unit, in order to replace it with the damaged old one, you will have to contact the manufacturer
You need to go with the dimensions, which you will have to shoot yourself - and here it is very important not to make a mistake. Whenever possible, it is best to focus on the old glass unit, since some manufacturers indicate its size on the aluminum frame located between the glasses.
If there is no such inscription, then you need to measure it with an accuracy of a millimeter, be sure to remove the glazing bead from the opening. First you need to pry the long glazing beads with a spatula or chisel, and then remove the short ones.


This should be done together, so that the second person holds the glass sheet.After the opening is cleared, a new glass unit is installed in it, and the same glazing beads are snapped into place.
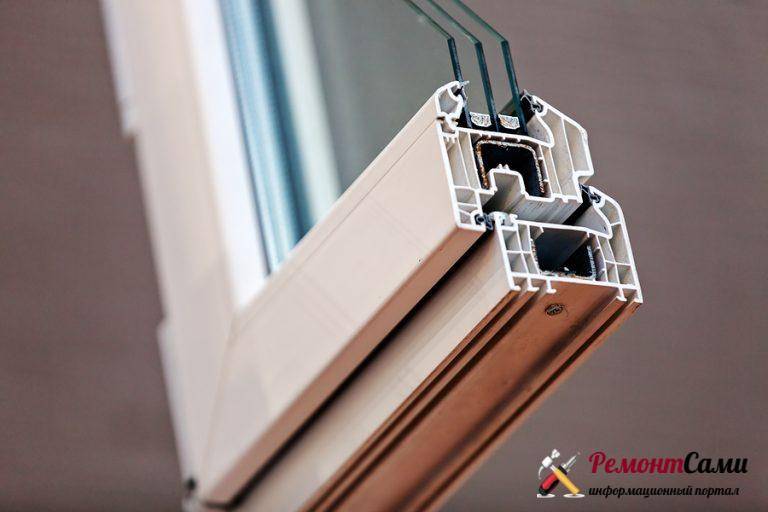
Insulating glass installation process
You need to act according to this scheme.
First, the glass unit is installed in the frame. The frame has a groove on one side. A rubber seal is installed in it, and along the entire perimeter.

Sealing rubber for double-glazed windows
Secondly, rubber pads are placed on the horizontal base and vertical sides of the frame.
Thirdly, the prepared glass unit is inserted into the frame using pads. In this way, it is possible to set it in level.

Glass unit insert
Fourthly, the exposed package is pressed with glazing beads. A rubber seal is installed in them in advance.
Fifth, the glazing bead is hammered into the groove. A hammer, either plastic or rubber, is used.

Fixing the glass unit with glazing beads
Glass fixing schemes
Some manufacturers are always trying to improve the fastening technology, as a result, the door can be very difficult to disassemble at home. In total, there are only a few standard ways of attaching glass to interior doors:
- Triplex is a laminated glass, the layers of which are connected by a polymer film. If there is such a fastening on the door, then it will have to be taken to the factory for glass replacement. The cost of such a service is such that it will be easier to buy and install another door from another company.
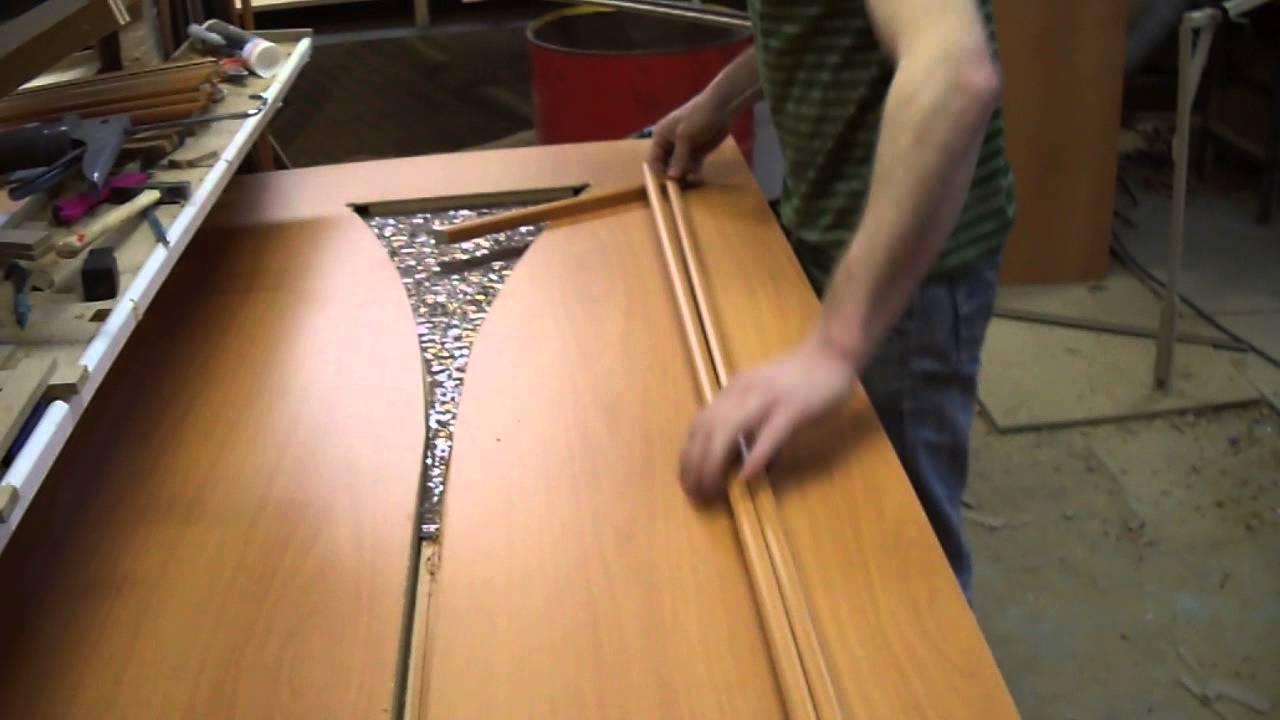
- The main feature of the collapsible paneled structure is that it is made of several elements, they are connected according to the principle of the "tongue-and-groove" lock. This means that there is no need to disassemble everything, it will be enough just to provide access to the glass. To do this, you need to remove the upper crossbar, and then move the racks slightly apart. Then you need to get the inserts out of the door and put new ones.
In many doors of domestic production, the glass is fastened using glazing beads. A number of simple rules will help you understand how to insert glass into an interior door. This type of fastening is the easiest to dismantle. Replacing glass in interior doors of a similar sample is carried out as follows:
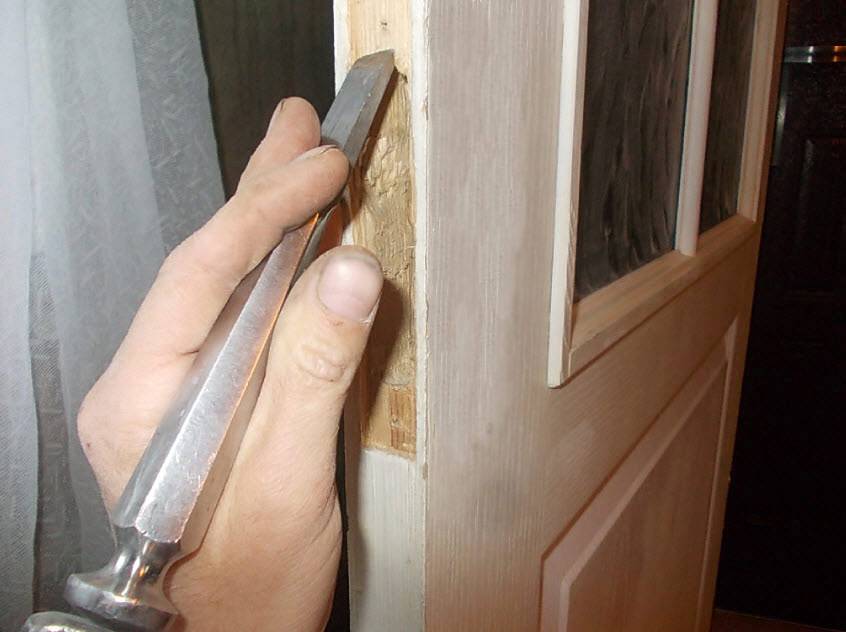
Using a screwdriver or other similar tool, carefully pry off the glazing bead, slightly, but so that the nails appear outward.
When the nails become visible, you need to remove them with pliers. However, the glazing beads must be removed in a certain order, otherwise there is a chance that the glass will fall out and break
Therefore, first the side glazing beads are removed, then the lower one, the last one to remove the upper one, when working with which you must be very careful.
Everything. The staples have been removed. Next, you need to take out the glass, take measurements and send them to the glass workshop.
In the case of decorative glass, you just need to install it in the canvas and put the glazing beads in place.
If it was decided to use ordinary glass, it will have to be pasted over with a special self-adhesive film. Before using it, it is better to slightly moisten the glass with soap and water. In addition, during gluing, you need to level and expel excess air from under the film. An ordinary plastic spatula is perfect for this job.
In general, the procedure is quite simple. The main thing is to understand that glass is an extremely fragile material. It should be handled very carefully - during the removal of glazing beads, there is a chance to damage the decorative finish of the door.
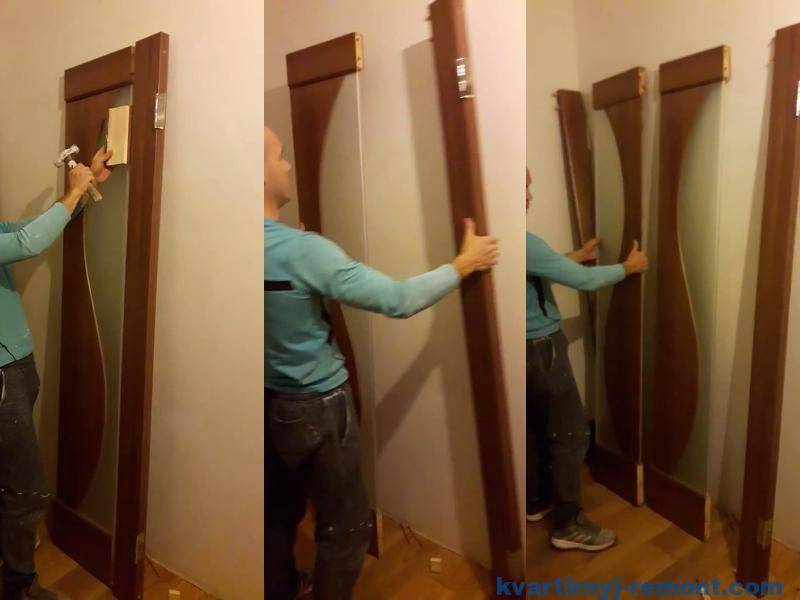
There is also a non-standard mounting option, in which the door is a one-piece structure of wood and glass, created without the use of glazing beads. In such cases, you can replace broken glass on an interior door of this type like this:
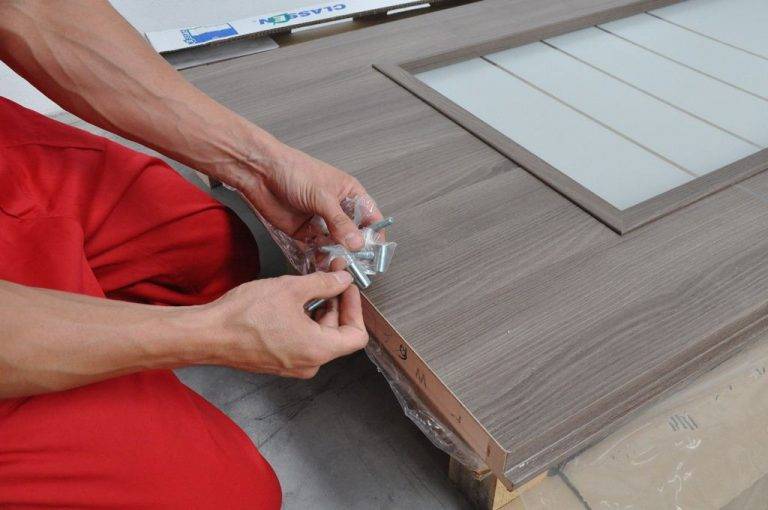
First you need to find the plugs, usually they are located at the end of the door leaf. Under them are the main fasteners, most often these are long self-tapping screws.
It is necessary to remove the canvas from the hinges and place it on a flat surface.
Next, carefully remove the plugs and unscrew the fasteners. Then remove the long side panel, then remove the glass
Then remove the long side panel, and then remove the glass.
It remains only to put a replacement and assemble the door back.
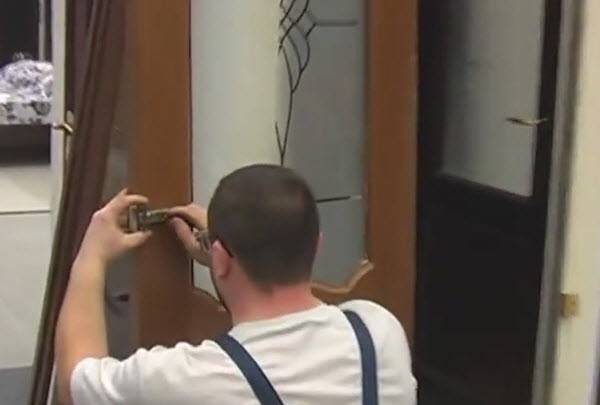

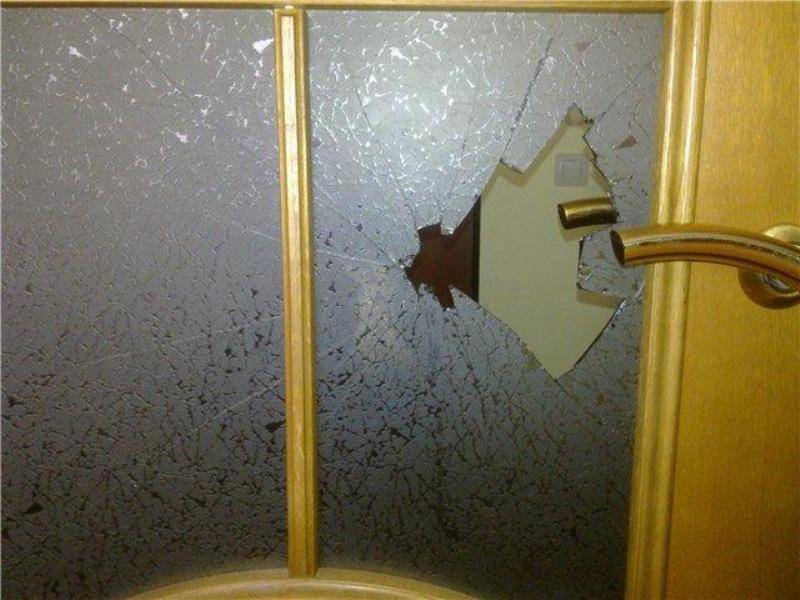


How to remove cracked glass?
Replacing broken or cracked glass in an interior door begins with removing it from the door leaf. The greatest difficulties arise if the glass insert is cracked, because it must be removed in such a way that the glass does not fall apart during dismantling.
It is best to carry out all work after the door has been removed from its hinges and placed on a flat, horizontal surface. If this is not possible, it is necessary to open the door and fix it securely in the lower part so that the door leaf does not wobble during operation.
On the cracks themselves, it is necessary to glue a transparent durable adhesive tape in several layers on both sides of the glass
It is very important in this case that the adhesive tape captures the intact part of it. Such a manipulation will allow the glass to be fixed and prevent it from falling apart during the dismantling process.
You will also need:
- gloves, best of all rubberized on a fabric base;
- broom and scoop;
- chisel;
- several pieces of thick paper;
- small hammer.
All work must be done with gloves to help protect your hands from injury. The further procedure for removing cracked glass will consist of the following steps:
- It is necessary to establish how exactly the glass insert is fixed in the door leaf. It can be brought inward through the end or secured with glazing beads.
- If the glass is installed through the end, then the door will still have to be removed from the hinges. It can only be removed through a special hole.
- If the insert is fixed with glazing beads, then using a chisel and a hammer, they must be slightly pushed aside. There is no need to completely remove these fasteners.
- Then the glass is slowly removed from the canvas. It is better to do this with two people, especially if the insert is large. One person will have to hold the glass at the location of the cracks, while the other will gently remove it from the door.
- It is necessary to clean all grooves from sawdust, door putty or sealant.
The removed insert should be disposed of immediately after wrapping it in prepared paper. If in the process of work any piece of glass breaks off, it should be carefully swept up in the room.
There are no particular difficulties in performing such work. The main thing is to immediately prepare all the necessary material and perform the actions slowly.
It is worth paying attention to the condition of the gum, which is located between the glazing bead and the glass itself. If it is badly damaged or torn, it must be replaced with a new one.
Handle repair
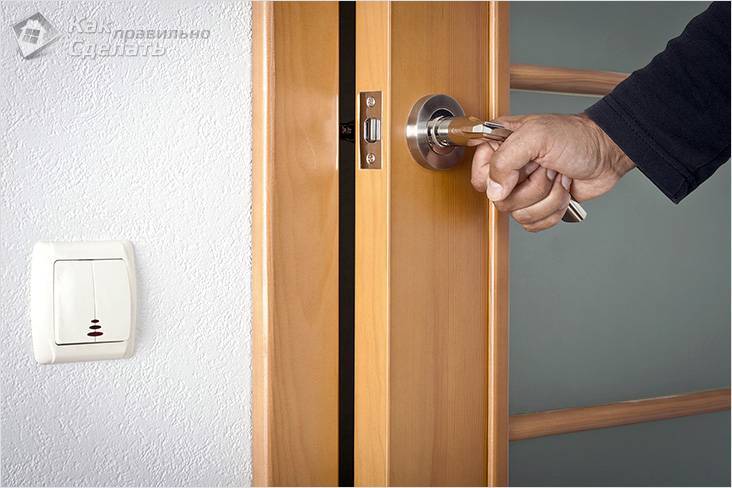
The interior handle is exposed to heavy loads. Especially if you have small children, their breakage can be a frequent occurrence, due to rolling on the doors, catching on the handle, although there are other reasons for the breakdown of interior handles.
Consider the most common problems that arise when using an interior door:
- Handle sticks. When you push the handle, you feel resistance. To open the door you have to make an effort, and sometimes also pull the door handle.
- Latch sticks. This breakage is found in the construction of handles with a lock. The movement of the crossbars is impeded both when opening and closing.
- Loose handle. In this case, sagging is observed, the handle itself moves away from the canvas and staggers. With such a breakdown, there may also be a loosening of the entire locking mechanism.
- The handle does not return to its position after being pressed. During normal operation, the handle should instantly spring back to its original position.
- The tongue does not move.The tongue will either sink or fail.
 Aluminum handle
All these breakdowns can be fixed on your own at home.
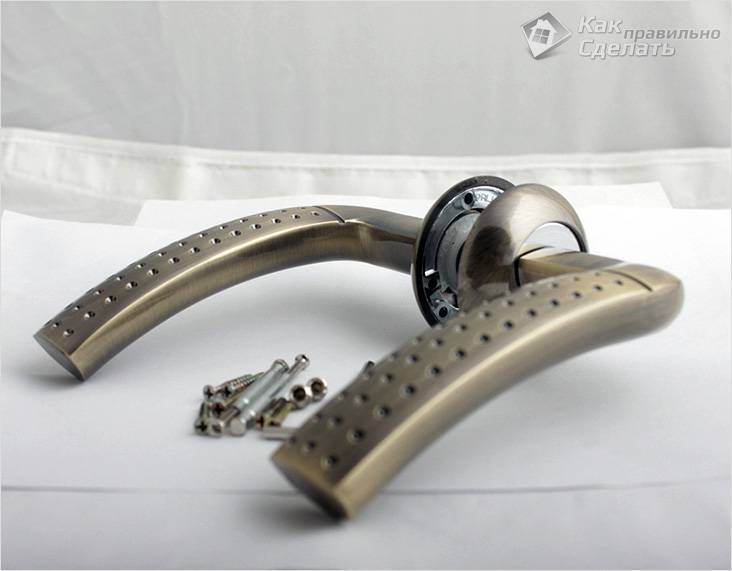
For this, it is important to know the varieties of the product:
- Stationary. Such models are rarely used today. Handles "buttons" or "staples" are simply screwed to the door leaf.
- Push-ons. This model has a push mechanism. To hide the tongue, the mechanism must be pressed on it and moved down.
- Swivel. This model uses round handles. To open such doors, the handle must be turned to one side.
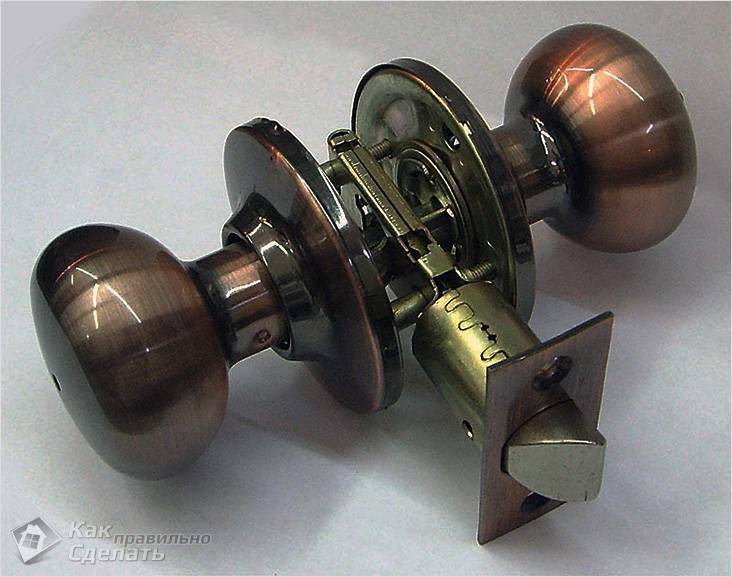 Doorhandle
Moreover, it is important to know the constituent elements of the handle mechanism:
- Lock. The main element is the deadbolt.
- Square pin. It is brought out. The pin drives the inner part, connecting with the handle.
- Lever. A handle that is subjected to force to open the door.
- Decorative overlay. Gives the door an attractive appearance.
- Reply part. It is located on the door frame. It has a hole in which the fallopian tongue goes.
So, if the handle has some damage, then if you deal with all these details, you can make the repair yourself.
The most common failure is a lack of lubricant. It is very easy to fix this problem. Disassemble the handle and apply lubricant. You can drip sewing machine oil onto the bolt and then turn the knob several times. By doing this, you can completely prevent the handle from squeaking or jamming. Moreover, the lubricant will increase the service life. Sometimes it is necessary to tighten the fastening screws, as well as to correct the fittings. This is in case the handle lock is loosened.


 Installing the handle
If this is not enough, then it will be necessary to disassemble the product. To do this, remove the decorative trim. There are fastening bolts under it, which must be unscrewed. After that, you can get to the inside of the mechanism. It is not necessary to extract it. Now look at the key washer and torsion spring. The retaining ring must be removed to view the washer. This mechanism is often the problem. As for the spring, it drives the tongue. Make sure these items are intact and free from defects. Perhaps the spring will be out of place, it is enough to simply correct it.
If, after that, it was not possible to determine the problem, then the entire mechanism will have to be completely removed from the door leaf. If broken elements are found, then they must be completely changed. When assembling the lock, be sure to install the parts in the same order as they were disassembled. If the breakdown cannot be eliminated in any way, then it may be necessary to call a master or completely replace the opening mechanism.
How to remove cracked glass
To properly remove the cracked glass, you need to figure out how to do it correctly.
What is needed
Highlight several materials that will be needed to get the job done.
Gloves
It is no secret that you can cut yourself with glass, and therefore it is recommended to think about hand protection in advance. Experts recommend protecting your skin from sharp glass corners with gloves. However, do not use garden gloves, as they are too thin. Instead, it is better to use products made of durable rubber.
Broom and scoop
Broken glass leaves many small fragments that need to be disposed of. Some people use a vacuum cleaner to clean them, but it's best not to do this. To collect the debris, you must use an ordinary broom with a scoop. You must sweep very carefully to collect all debris from the floor.

Chisel
A chisel is the main tool that must be used when replacing door glasses. With its help, they carefully pry off the glass sheet and pull it out of the door. It is recommended to use small chisels no more than 2-3 millimeters thick.
Several pieces of heavy paper
It is no secret that the glasses are installed in special grooves on the doors. Sometimes the thickness of the glass is not enough, and it begins to hang tightly in the door groove. To solve this problem, you need to use a special sealing material. Sturdy paper or rubberized material is used for sealing.
Small hammer
You will need a small construction hammer to remove the door panes. This tool is used to remove the glazing beads that hold the glass in the groove. It is necessary to beat off the glazing beads carefully so as not to accidentally break them with a hammer.
How to shoot
Having prepared the necessary tools, you can start removing the broken glass sheet. First you need to remove the door from its hinges and put it on a flat surface.
Then, with a hammer and a chisel, they loosen and carefully remove the glazing beads responsible for holding the canvas. After that, all the remnants of the glass are taken out of the door.
Disposal
All unnecessary glass must be disposed of so that there are no fragments left on the floor. To do this, the floor is swept several times with an ordinary broom. The collected rubbish is put into a trash bin or other container. Glass shards must be removed from the apartment immediately, so as not to accidentally injure themselves in the future.
Sealing rubber bands are often glued between the glass sheet and the fixing glazing bead, which are used to increase the tightness of the joint. Experts recommend removing the old rubber band and replacing it with a new one.
When removing it, carefully pry it off with a blade and disconnect