What can you make liquid wallpaper
Liquid wallpaper is not only beautiful, but also very affordable. They can be made from a wide variety of residual materials. Some of them you can easily find at home, and some need to be looked for in specialty stores. Each base for finishing material has its own characteristics. Therefore, before figuring out how to make liquid wallpaper at home, let's find out what materials are used for this:
- paper;
- cardboard;
- newspapers;
- cotton wool;
- wool;
- linen;
- synthetic winterizer;
- yarn;
- egg trays;
- toilet paper rolls.
Let's take a look at a few of the above materials in more detail:
Sawdust liquid wallpaper
Often a large amount of sawdust remains after sawing wood. It may seem that this is not the most necessary material for construction and repair, but this is not entirely true. Wood shavings are used for many purposes, including the recipe for liquid wallpaper. Such a finishing material has many advantages:
- excellent heat and sound insulation properties;
- availability of material - it will not be difficult for you to find sawdust, this can be done by contacting any hardware store;
- affordable cost;
- environmental friendliness - there is nothing more harmless than natural wood - you can install ready-made liquid wallpaper from sawdust even in the bedroom or children's room;
- original appearance - this type of finish differs from wallpaper made of paper or newspapers - it has an original texture and pleasant tactile properties;
- sawdust allows the wall to "breathe", thereby protecting the surface from the appearance of mold.
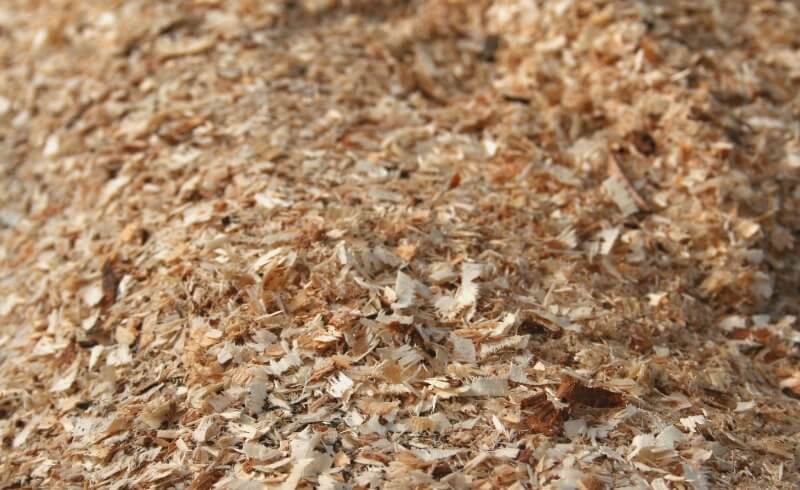
Now let's talk about the proportions - after all, it is important to get the perfect consistency of the finishing material. For 1 kg of sawdust, you will need 5 liters of clean water and 0.5 kg of glue
It is also better to add antiseptics to the mixture - such wallpapers will last much longer.
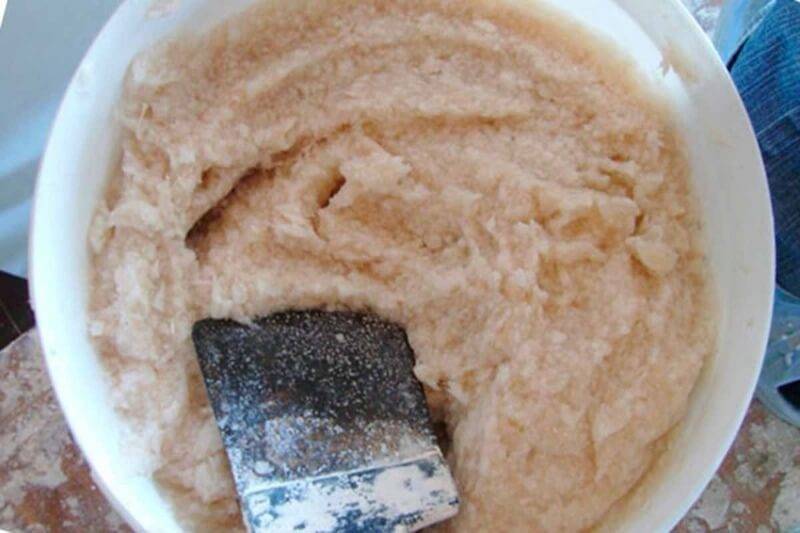
Making from old wallpaper
In order to get a new wall finish, you may well use the previous material. So, if you have just removed the wallpaper from the surface, do not rush to take it to the trash can. A little effort - and you get original liquid wallpaper that you can reuse when decorating the wall.
Liquid wallpaper from paper and newspapers
This version of the basis for making liquid wallpaper at home is considered the most popular. And this is not surprising - it is quite easy to find the required amount of waste paper and it will be inexpensive.
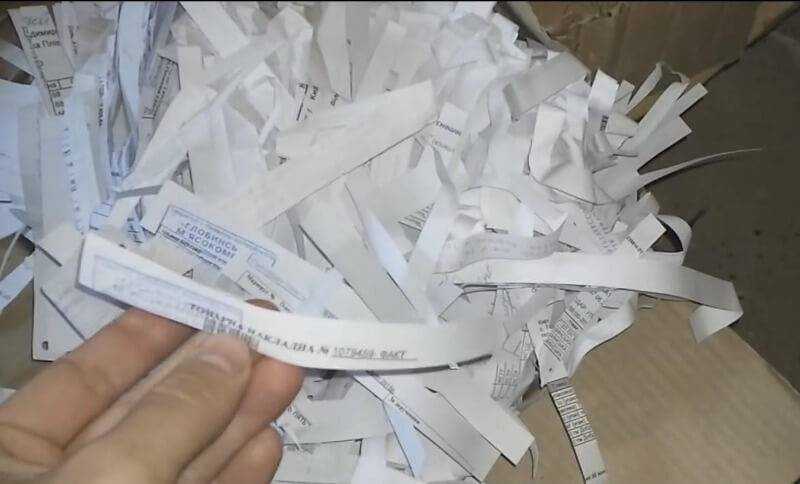
We recommend that you stick to office blank paper - it has an ideal white tint, due to which, when adding a coloring pigment, it easily acquires the desired color. If you decide to use sheets with printed text or images, be prepared for unpleasant surprises. Subsequently, the mixture may take on a "dirty" gray tint. However, these recommendations are only relevant in situations where you plan to paint the walls in a light shade. If your plans are to make liquid wallpaper in dark colors, office sheets with text or even old newspapers can be used.
Liquid wallpaper from egg trays
Looking for a more original liquid wallpaper material? You can try to get the original wall decoration using cardboard egg trays. The main catch is finding the right amount of material.
If there are no problems with this aspect, making liquid wallpaper is quite simple. You need to carefully check the trays for food leftovers (sometimes eggs break right in the cell) and then finely chop the cardboard product.Next, simply mix the trays with other ingredients in the appropriate proportion (it does not differ from the proportions of a mixture of paper or old wallpaper).
Advantage of liquid wallpaper
Like any other finishing material, ZhO have their pros and cons. The positive properties of the finishing material we are considering include:

- Simplicity of preparation of the working mixture.
- ZhO is easily applied to the work surface.
- They hide the flaws of the walls.
- The use of ZhO is an opportunity to experiment with form and design.
- The material has high heat and sound insulation.
- There are no environmental claims to liquid wallpaper. They can handle office and living quarters, including children's rooms.
- Long service life when treated with wallpaper varnish.
- A wall drawing that looks like silk plaster. Looks stylish and attractive.
- When the walls shrink, the material does not tear: it has good elastic properties.
Of the shortcomings, and there are much fewer of them than the advantages, we note:

- Time consuming process.
- High, but reasonable cost of dry mixes.
- When liquid wallpaper is varnished, the breathable effect disappears.
- The main disadvantage of ZhO is its instability to water.
On what surface can liquid wallpaper be glued
Liquid wallpaper sticks to different surfaces, but there are also limitations that you should be aware of. Below we will look at the different types of coatings.
Is it possible to glue liquid wallpaper on wallpaper
The paper absorbs moisture and may develop bulges and bubbles on the paper, which will not beautify the wall at all. In addition, liquid wallpaper best of all lies on a flat, dry surface treated with a primer, and if the paper wallpaper has some kind of relief, then it may appear.
Therefore, it is better not to be lazy and carefully prepare the wall by removing the old wallpaper.
Is it possible to glue liquid wallpaper on paint
No way. Unless, of course, you do not want what you applied with your own hands to fall off after a couple of days. Oil paint has poor adhesion, and liquid wallpaper adheres to it very poorly. Therefore, you should first remove all paint and treat the wall with a primer.
Is it possible to glue liquid wallpaper on a fireplace
Sticking liquid wallpaper on a fireplace is quite acceptable, because they can withstand temperatures up to + 80 ° C. You should not apply them to places that are in direct contact with fire or are very hot, but, here, you can safely stick them on the side surface of the fireplace. Installing wallpaper on a fireplace also involves preliminary surface treatment.
Liquid wallpaper on the OSB plate
Before applying wallpaper to the OSB board, it must be prepared.
The procedure is as follows:
- Close up the joints of the slabs using a serpyanka mesh and putty;
- Prime the surface of the slab (this is needed for the next step);
- Putty the resulting surface with a thin layer;
- Apply a final coat of primer;
- Apply liquid wallpaper.
You can even say that the OSB board was created so that wallpaper could be glued to it, since, due to its unsightly appearance, it needs additional decorative processing.
How to glue liquid wallpaper on drywall
Application of liquid wallpaper to drywall is carried out in the same way as application to other surfaces.
Instructions step by step:
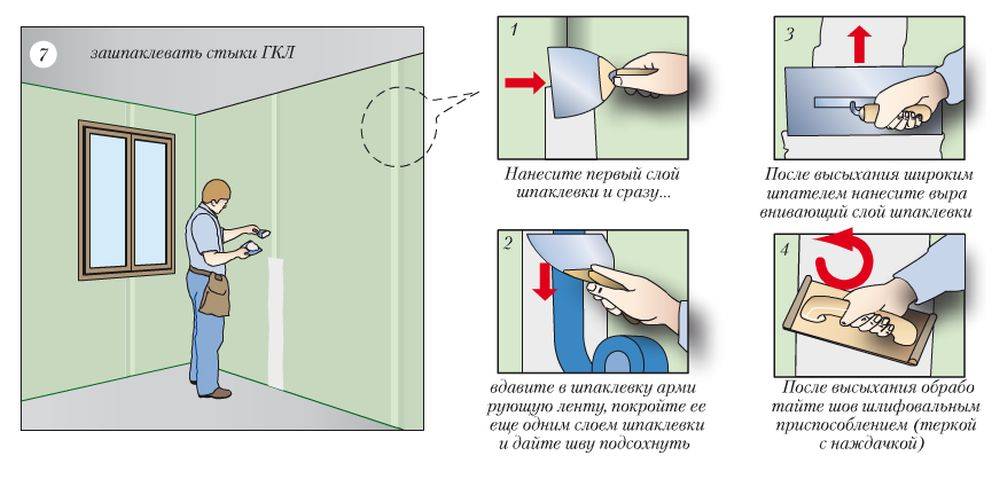
- Close up the seams arising when joining gypsum plasterboards;
- Cover the surface with putty and let dry;
- Prime the dried surface and apply liquid wallpaper.
Tools and materials
Before you start decorating the walls, you need to purchase all the tools and materials that will be needed when applying liquid wallpaper to the wall.
How to apply liquid wallpaper to walls, see this video.
Materials:
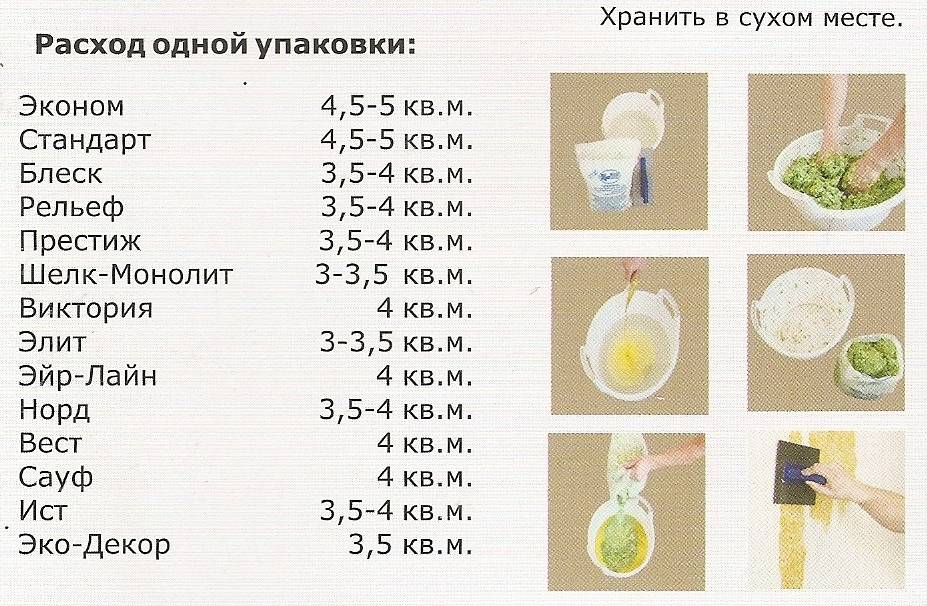
- The liquid wallpaper. In advance, you need to calculate the area of the walls and buy the required number of packages of material, given that one package is consumed for 3-4 square meters. m. Better to play it safe and buy wallpaper with a margin. In a separate article, you can read more about the types of liquid wallpaper.
- Plaster or putty.Both materials are actively used for the last stage of wall decoration, but the purpose of their application may be different. If the putty is necessary to seal cracks and level the surface layer, then the plaster is able to level out deviations from the level indicator up to 15 cm.Everyone can choose the desired type of dry material and prepare it on their own.
- Primer. Application of this composition is necessary to strengthen the surface and reduce moisture absorption. If the surface is too smooth, then choose a primer with sand.
- Acrylic lacquer. The solution will protect the wall in the kitchen or bathroom, covered with liquid wallpaper, from the effects of water.
Instruments:
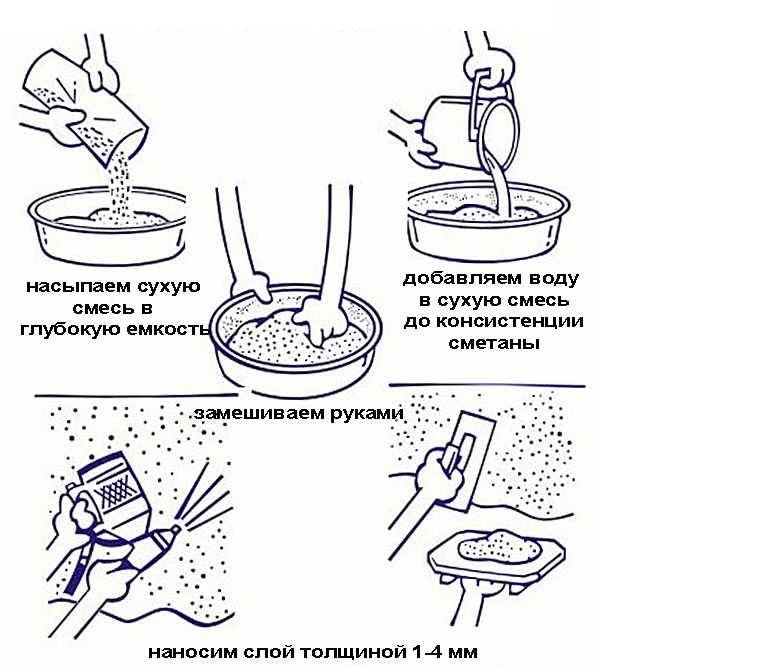
- Deep containers. The containers are needed for the preparation of liquid wallpaper, so their volume should be at least 7 liters per package. A bucket or a basin is great.
- Putty knife. It is necessary to choose from organic glass or stainless steel with a smooth surface.
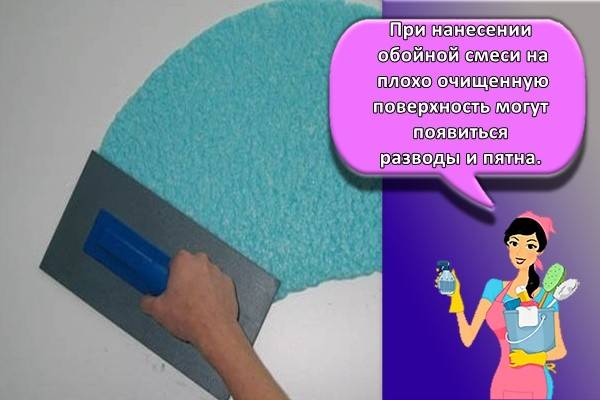
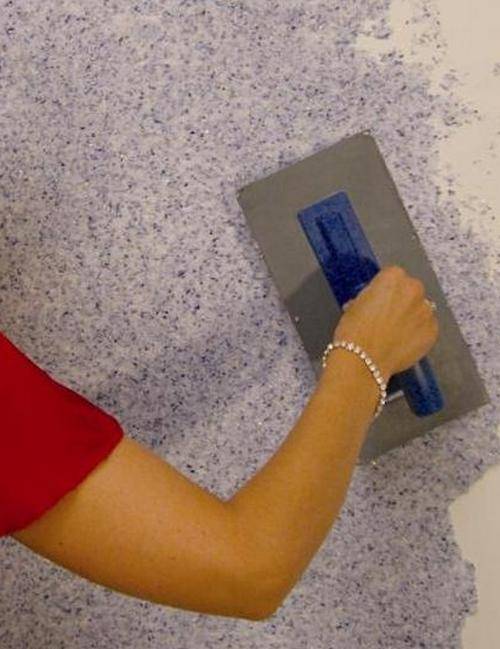
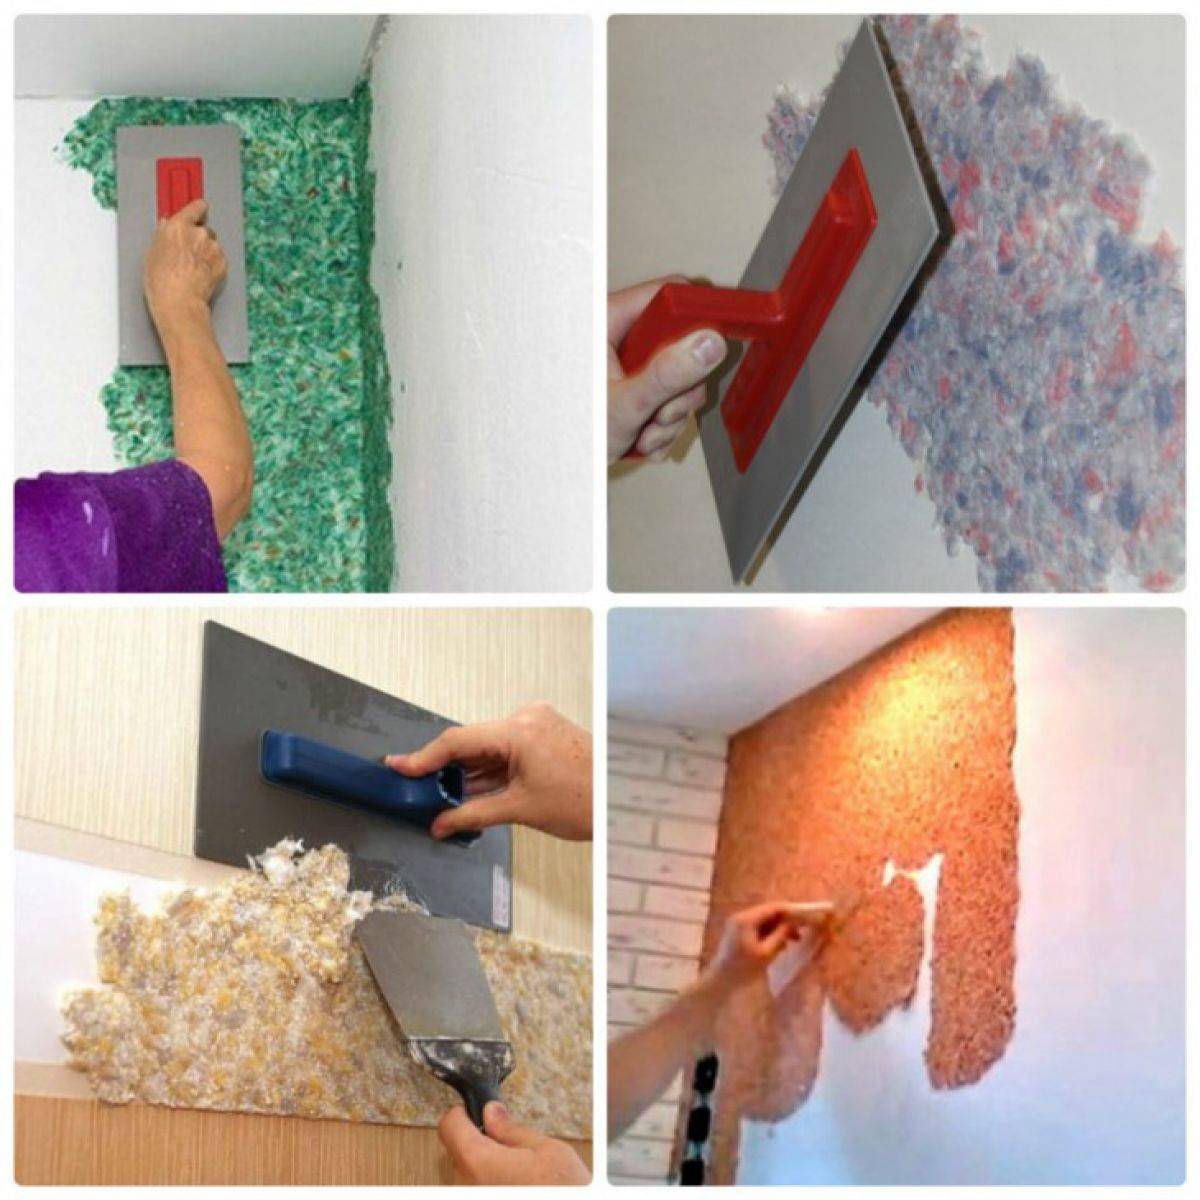
- Trowel (transparent grater). Special tool for applying liquid wallpaper.
- Spray. Needed when applying the material to the wall by spraying. It can be replaced by a special gun or a Hopper spray gun.
- Putty. For the preparation of high-quality material, you will need a mixer, and for filling the walls - spatulas of different sizes.
- Paint roller or brush for applying the primer to the surface.
- Structural roller. This tool will allow you to leave beautiful patterns on the wall.
- Pencil, eraser, ruler, if you plan to create a pattern on the wall.
How to glue liquid wallpaper on the wall - step by step instructions
In addition to the mixture itself, buy:
- spatula and trowel;
- construction mixer;
- capacity of a suitable volume.
The described set of tools is suitable for use on surfaces of any volume.

Preparing the walls
Plain walls with neutral color tones will be required. Continue priming until a completely level surface is obtained in relation to floor or ground level. Small pits do not have to be completely closed - the coating has a putty effect and will cover them.
 Primer for liquid wallpaper by a professional
Prepare the wallpaper yourself before starting work. If purchased, dilute in the proportion indicated by the manufacturer. If they were made on their own, the usual dilution with water in a proportion of 6-7 liters per 1 kilogram of the mixture is suitable.
How to apply liquid wallpaper to the wall, their features
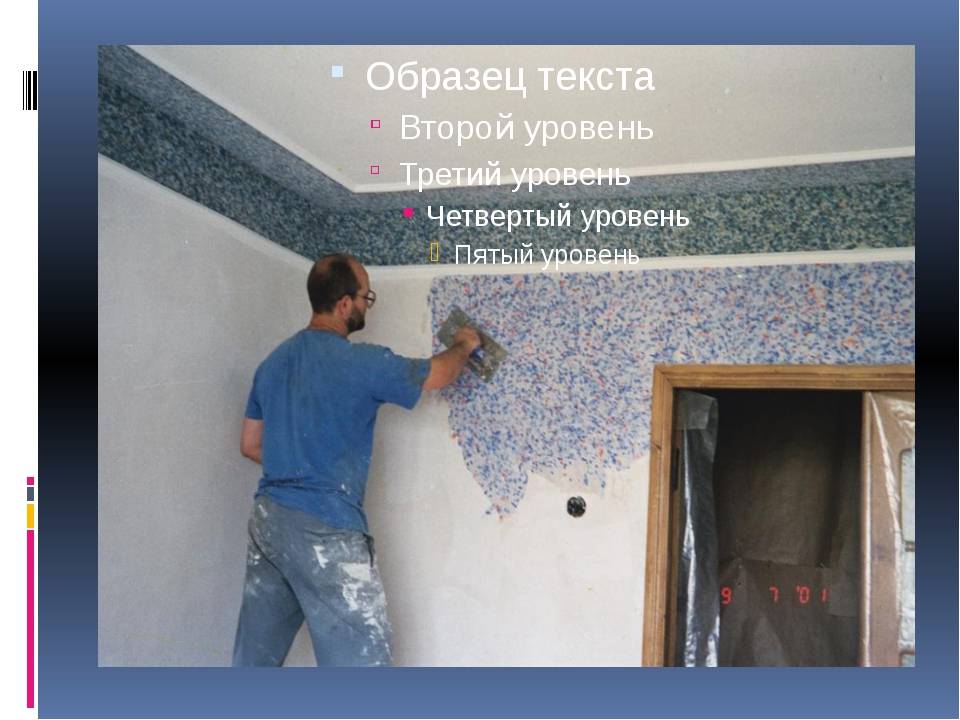
If your goal is to add curly drawings, draw with a pencil. Do not make subtle transitions or lines - without proper skill, they will not work. The following is a step-by-step master class on liquid wallpaper. How to apply them to the wall? - The technique depends on the desired result.
 |
When the elements are drawn, proceed with filling. Working out is carried out using a curly trowel with a truncated front end. Go through all the elements sequentially. If the wallpaper has gone beyond the border, tap it with a trowel or spatula. |
 |
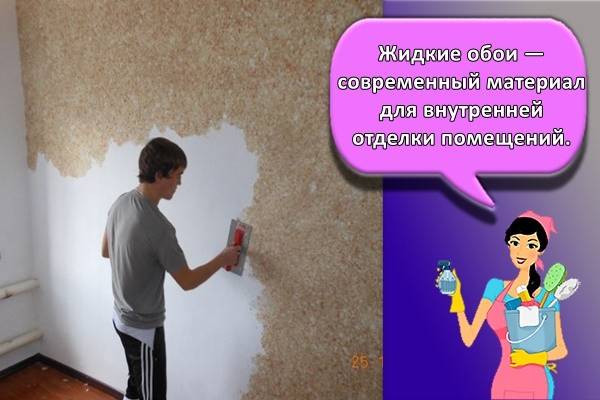
Interacting with large areas, coat the area and cover everything with an even layer. How to glue liquid wallpaper in this case should be clear even to a housewife. |
 |
Trim the borders before drying - after drying, this will not be possible. |
 |
If after applying one color it is necessary to add other shades, wait until the previous layer dries so that the colors in the wallpaper do not mix with each other and do not “get dirty”. |
 |
Apply a separate layer using small strokes starting at the border of the different colors. The excess is removed with a spatula, do the work carefully: damage to the first layer must not be allowed. After passing all the boundaries, continue to fill in the remaining space. |
Do-it-yourself liquid wallpaper application: video
If you want to disassemble the process of how to apply liquid wallpaper with your own hands in more detail - the video below is an excellent step-by-step instruction! We would like to express our gratitude to the author of the channel - Konstantin.
How much dry - the dependence of two factors
Drying time depends on the thickness and amount of water used during dilution. Drying time for plaster with a thickness of 1.5-3mm is 6-12 hours. To continue with a different color, wait 3-4 hours.
Operating rules
- Use wallpaper in rooms with minimal contact with walls. They look the best in the hallway or in the hall. Protect dry coating from contact with large amounts of liquid.
- Avoid contamination - removing dirt can be problematic. If the wallpaper gets dirty, wait until the dirt is dry and sweep it off with a dry brush or a well wrung out cloth.
- Don't expose the walls to too much bright sunlight - the paint will fade over time. This will not happen with silk - it retains its original color well and wears out slowly.

Benefits of liquid wallpaper
What can we hide, we love to start repairs with our own hands. Here you will save money and have something to do in your free time. Liquid wallpaper is ideal for such a "hobby". Their price is relatively democratic: for Russian coverage you will have to pay from 80 to 500 rubles per square meter, in the case of imported material, one square will cost around 400-2000 rubles.
At the same time, Russian manufacturers prefer packaging by kilogram and it is enough for 4-5 square meters, while imported liquid wallpaper is packed with a lighter weight and their consumption is slightly higher. Wallpaper also differs in layer thickness. For some, 2 millimeters is enough to look perfect, while others suggest an application thickness of up to 4.5 millimeters.
 colors
In addition to the already mentioned advantages of the material itself, we can mention the soundproofing function of liquid wallpaper. They are fireproof, have a variety of colors and textures, and due to the antistatic features of the components, they repel dust.
From a design point of view, the material can also look "rich" by adding gold threads, sequins and other decorative elements. And you can make the wallpaper a neutral background, but due to the texture and color combinations, it will be possible to achieve extreme pretentiousness.
Cotton or silk?
It is also an environmentally friendly material, since it is based on cotton, cellulose or silk fibers. Most often, the coating is sold dry and consists of the already mentioned fibers, adhesive base and dyes.
Everything is diluted with water, odorless, safe for humans and animals.
By and large, what kind of fibers are used in wallpaper does not really matter. But if you are a meticulous lover of the natural, then it is better to prefer cotton and cellulose, because the silk in this wall covering is, of course, artificial. But all three types are equally warm and pleasant to the touch; in terms of consumer characteristics, they are also not inferior to each other.
Liquid wallpapers containing silk are more durable and have better decorative properties than cellulose ones. What awaits us if we choose liquid wallpaper?
Security
Having chosen finishing with liquid wallpaper, we will deal with a dry, environmentally friendly mixture, placed by the manufacturer in a plastic bag. The mixture contains cellulose, silk fibers, special dyes, adhesive binder and decorative elements such as glitter. There is no smell.

Ease of wallpaper application
Walls or ceilings before covering with liquid wallpaper do not have to be perfectly even, it is enough to apply the primer in 2 layers - along and across.
Step-by-step instructions for applying liquid wallpaper
Aligning the walls
Despite the fact that liquid wallpaper can also be applied to uneven walls with defects, ideally it is better to level them at least to the extent that there are no large differences. Otherwise, wallpaper consumption will increase significantly. Or use the standard method, removing the old finish, plastering pits and shallow depressions.
After cleaning the wall completely, you need to process it with sandpaper, removing the remnants of the previous coating.The remaining irregularities will disappear under the liquid wallpaper. If there are metal parts on the surface, they should be painted with enamel to prevent the subsequent appearance of rust stains.
Immediately before applying the coating, you should use water-based paint or for painting the facades in white. Allow the base to dry before applying the wallpaper. In this case, the temperature in the room should be no higher than 20 degrees and not lower than 10.
Before applying liquid wallpaper, it is recommended to cover the walls in two layers with a waterproofing primer. If you ignore this point, after drying, you will see yellow spots on the wallpaper.

Preparation of the mixture
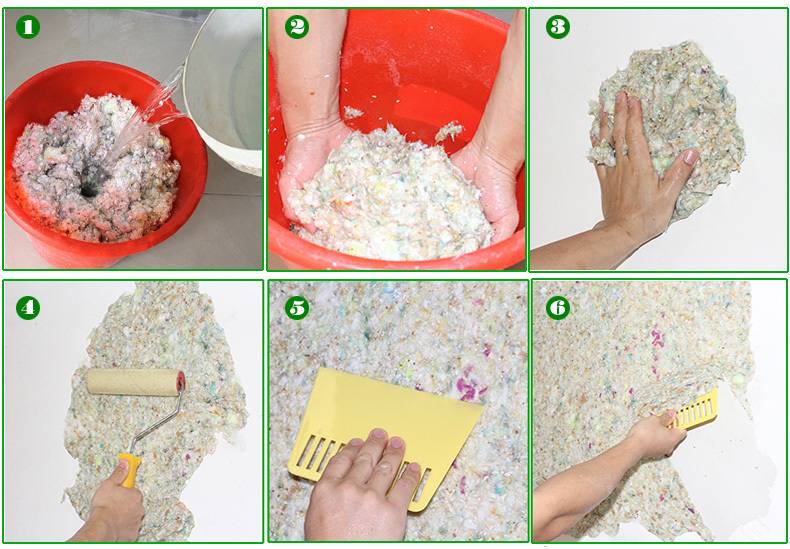
The mixture is diluted with water in accordance with the instructions. With the correct consistency ratio, it will resemble sour cream. The material is prepared immediately, taking into account the consumption for the entire area of the room. This is necessary in order for the color to be uniform.
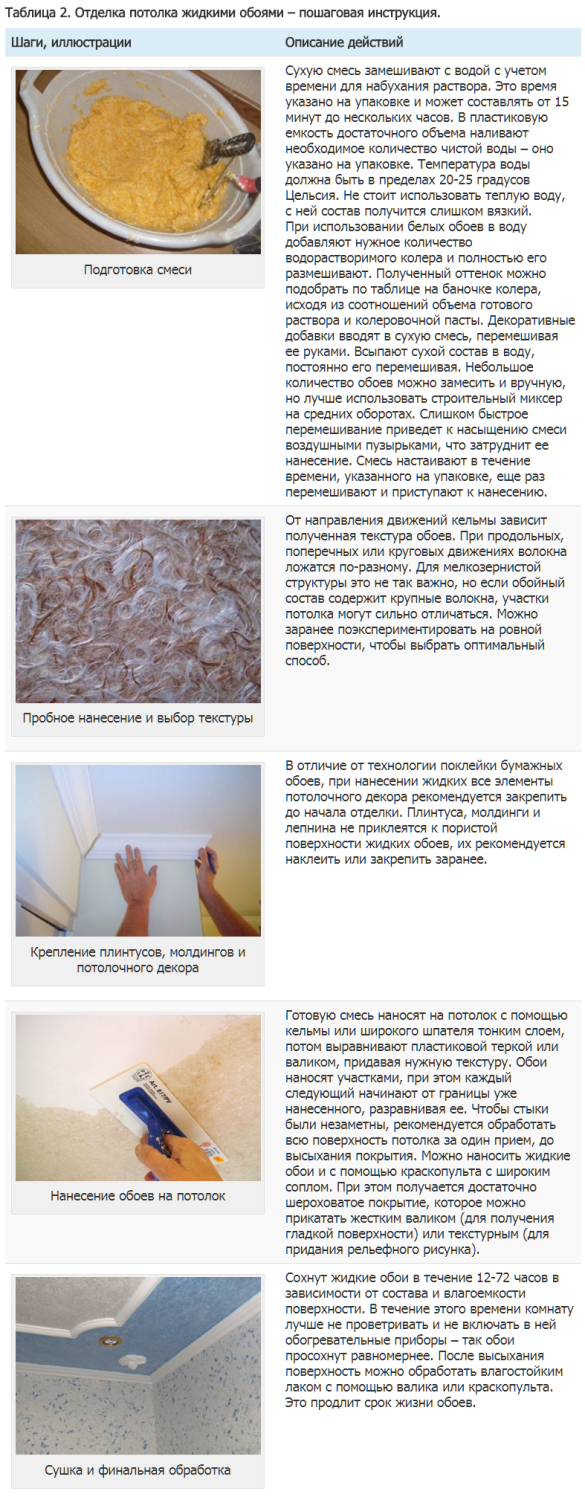
First, you need to pour the entire mixture into a container, and then gradually pour warm water into it - not vice versa! Then the resulting mass must be mixed, getting rid of dry lumps. If necessary, color can be added during the cooking process.
In order for the source material to turn out to be of high quality, it should be spread out on dense cellophane and wrapped, leaving it to swell. The swelling time is indicated on the package. Then mix again and remove the remaining lumps. You get a mass that looks like minced meat.
You cannot use a mixer or drill with a nozzle for kneading. The fibers in the wallpaper may be damaged.

How to apply liquid wallpaper
For work you will need:
- hard roller;
- spatula, grater;
- spray.
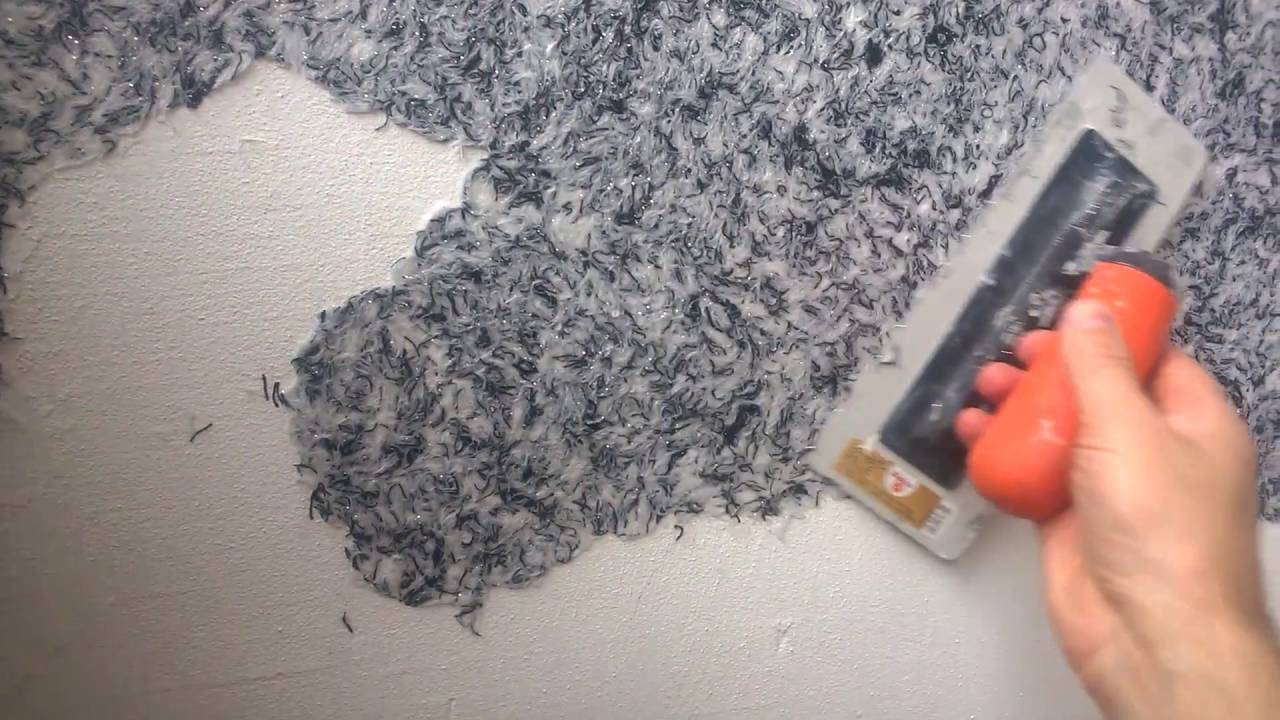
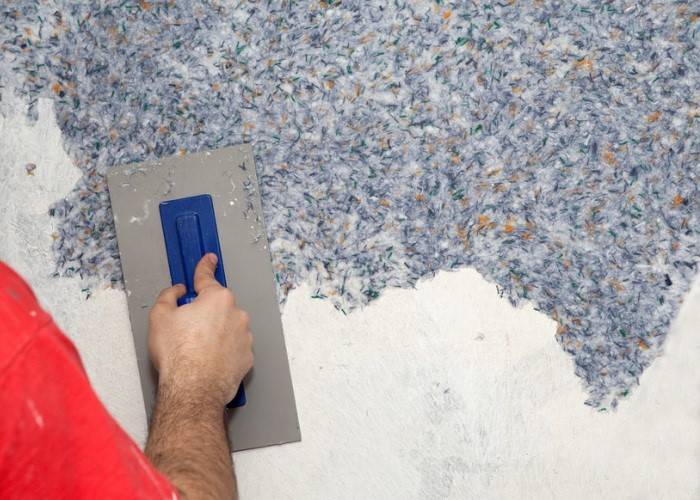
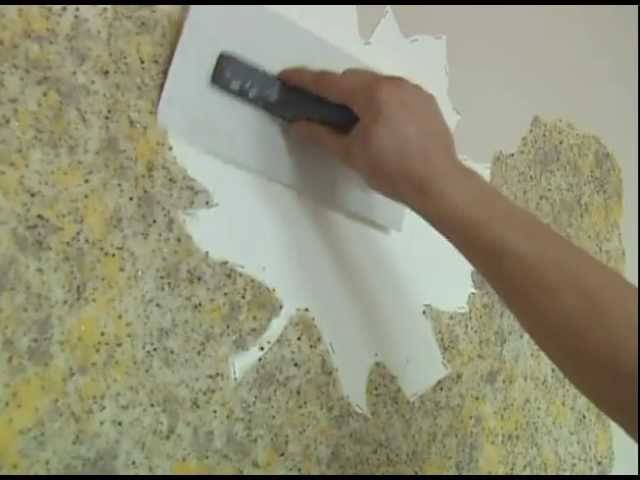
Using a spatula or by hand, apply and smooth the mixture. You need to smooth it by pressing evenly on the spatula. Under strong pressure, the mixture is compressed and then the layer will turn out to be thin, and with light pressure it will be thick. The ideal base is 3 mm thick.
To obtain a textured finish, you will need a relief roller, in a simple design - a hard one. If in the process of work the surface is uneven, you need to moisten the wallpaper with water and remove it. Then reapply. Such manipulations can be carried out no more than 3 times, otherwise the adhesive composition may deteriorate and the wallpaper will no longer stick to the wall.
If the application is carried out using a spray gun, then the layer should be about 1.5 mm. After the first layer has dried, a second one is applied for the required surface density. If you apply only one layer with a spray gun, the wallpaper may slip in some places.
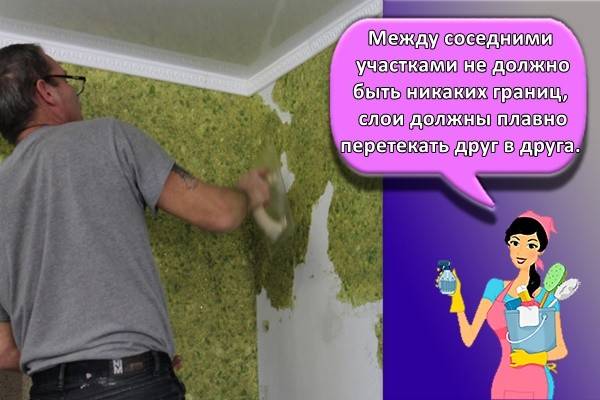
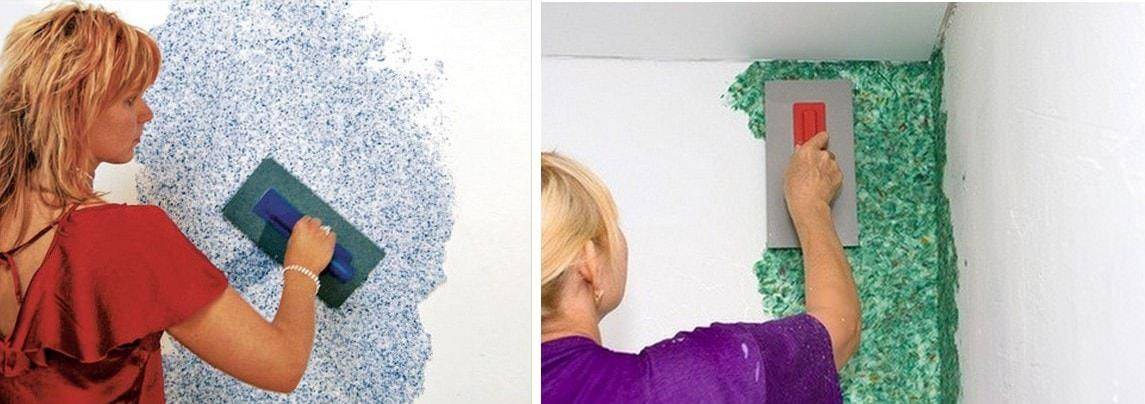
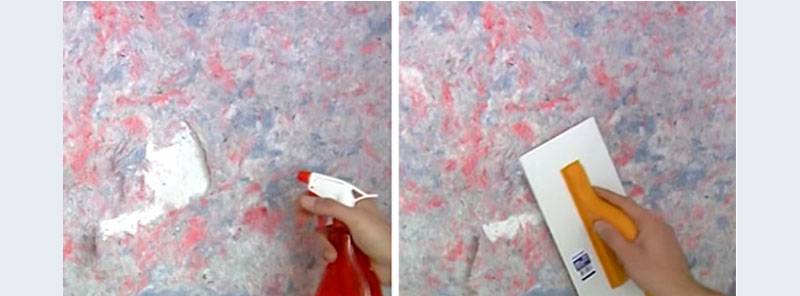
You need to start covering the surface from the corner. Forming the desired relief, it is required to correctly use a spatula or grater in the work. The best helper will be a grater, with its help the fibers lay down evenly. When the entire surface is covered with material, you should walk with a trowel soaked in water to smooth the walls and remove any irregularities.
To create a pattern on the wall, a roller is used - knurling. The drawing should be carried out after 7 hours, after the mixture is completely leveled. The roller must be constantly wetted during operation.
When finished, they look like plasticine. Therefore, you can apply them to the wall completely calmly: if suddenly something does not work out, then the mass can be easily removed and reapplied.

At first, the surface of the wall with the wallpaper applied to it will not be perfectly flat. There is no need to be afraid of this. You should wait 30-40 minutes, and then once again hold the small wall along the wall. Now the mass will be leveled easily and easily. When the wallpaper is dry, you can apply varnish to it. Such a measure will prevent contamination of the coating.
Advantages and disadvantages
Before proceeding with any action, it is necessary to evaluate the advantages and disadvantages of the material used. Liquid wallpaper has certain technical characteristics. They are especially popular among the population, the reason for which is the presence of many advantages, in contrast to other materials.But, nevertheless, they have some disadvantages. All this is taken into account before application.
pros
Among the main advantages of this material are:
- Convenience and ease of use. Anyone can apply wallpaper without having special skills and knowledge in this matter. There is no need for kneading glue, applying it to the material, cutting wallpaper and preparing enough space for all the manipulations. Following the instructions, everyone will be able to finish the walls without any problems.
- The material is distinguished by its elasticity. This makes it possible to combine different shades and create original compositions. As a result, any room in the house can be decorated in an interesting way.
- Wallpaper breathes. The presence of this property helps to prevent the formation of the greenhouse effect, which leads to the occurrence of dampness and mold in the room. Basically, this disadvantage is observed when used for finishing vinyl wallpaper.
- High functionality. Due to their elasticity, they are ideal for decorating rooms with many corners, ledges and transitions. They are also relevant in new homes that are subject to natural shrinkage. The composition is able to withstand any deformation loads.
- High resistance to negative environmental factors. The material easily resists temperature extremes and high humidity. This makes it possible to use wallpaper for finishing not only residential heated premises, but also auxiliary buildings.
- The presence of numerous positive properties of the coating. The material is odorless and also withstands direct sunlight well. Also, the finish has high heat and sound insulation properties.
- Due to its composition, the solution has antistatic properties. This prevents dust from settling on the walls. In addition, modern materials fully meet all fire safety standards.
- They have excellent performance characteristics. If the work is carried out with high quality, then the service life of the coating is about 10 years. In addition, it is able to hide minor wall defects and create strong protection from the external environment.
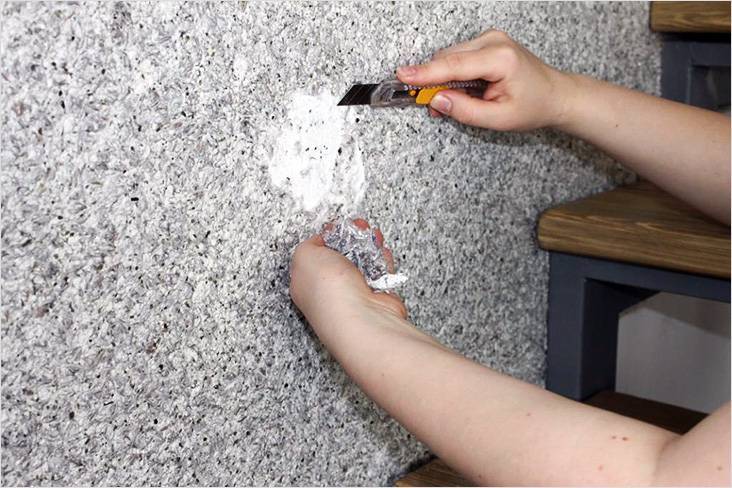
- Easy to care for. It is very easy to care for the finish. In case of damage to the surface, it is enough to cut out the problem area and apply a new compound.
In addition, you need to take into account that it is easy to transport the material. During transportation, it is not damaged or wrinkled.
 It is very easy to repair damage to the coating
disadvantages
As for the cons of the material, they include:
- relatively high cost;
- it will take more than one day to completely dry the coating;
- fear of high humidity (this finishing method is not relevant for the toilet and bathroom);
- damage as a result of prolonged and strong mechanical stress;
- the complexity of the method of application.
Despite such disadvantages, liquid wallpaper is in great demand among the population. They are perfect for modern designs.
Preparation for work
Before applying any finishing material, you must first prepare the work surface. When examining walls or ceilings, it is required to correctly determine:
- Uniformity of the previous layer and surface structure.
- How well the coating absorbs moisture. It is required to establish the speed and uniformity of drying.
- The color scheme of the surface on which the wallpaper will be applied. The need for additional painting or the use of liquid wallpaper of a different color is determined.
- Surface texture: its evenness, whether there are minor or significant defects, for the elimination of which you will need to carry out a number of additional processes that allow you to level the walls or ceiling.
- The level of the retention strength of the previous coating.
After analyzing the condition of the working surface, you can start preparing it.The first step is to remove all old coatings, which include damaged plaster mix, paints and varnishes and various types of wallpaper. 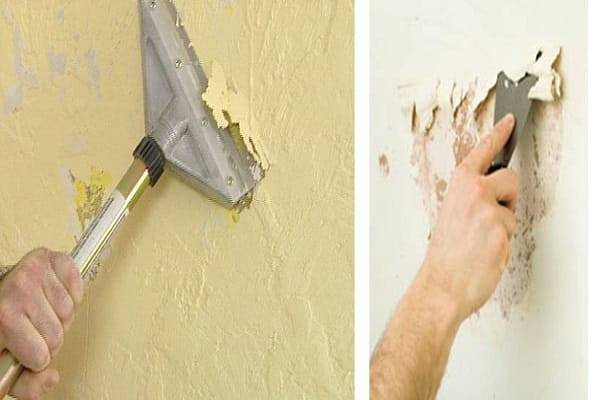 In general, it is required to remove from the surface everything that can spoil the final result or reduce the period of operation of a fresh finish.
At the next stage, it is imperative to check the presence of fasteners, among which there may be screws, nails and other metal-profile parts. They must be removed. The only exceptions are those elements that hold the base of the work surface together. In this case, they should be masked with a special plaster mixture or primer.
Larger objects should be repaired. These elements can be heating systems, water supply, wiring, fittings or pipes. The structures that hide them also need to be masked with putty (2 mm layer) or with oil paint.
Before you start applying liquid wallpaper, it is advisable to pre-level the working surface, bringing it to the most even state. When using them, walls or ceilings, even with minor defects and various slopes, can be visually masked. With the further application of liquid wallpaper, the surface is not necessary, although it is desirable to pre-level it, therefore, if you do not want to spend money on it, it can be neglected.
It is not only difficult to correct the existing distortion of the walls, requiring a significant amount of time, but also quite costly, since there is a need to purchase plaster and additional finishing materials. Considering all this, the main task is only to remove small and medium-sized potholes, which can be quite easily removed by applying a 2 mm layer of plaster. Ultimately, it will be possible to significantly reduce the consumption of liquid wallpaper, and avoid the occurrence of a variety of stains. Mostly, color spots are formed in areas where the material is loose.
As a putty, the best option is to use gypsum-based materials, since they are more uniform on the surface and quicker to adhere to it, contributing to faster drying. When working with plasterboard ceilings, it is required to apply putty over the entire area of the wall, and not just at the joints and seams.
Padding
At this preparatory stage, a primer is used. It is best to use a material with a high permeability
It is important to remember that the primer should be applied in 2-3 coats, and the intervals between each application should not exceed 3 hours. After that, you can begin to cover the base, on which liquid wallpaper will soon be located, using a thick white putty mixture
If you cannot find a suitable type of putty, then it is permissible to use a facade water-based paint of a similar shade instead, since only thanks to it the color of the used liquid wallpaper is not distorted.

