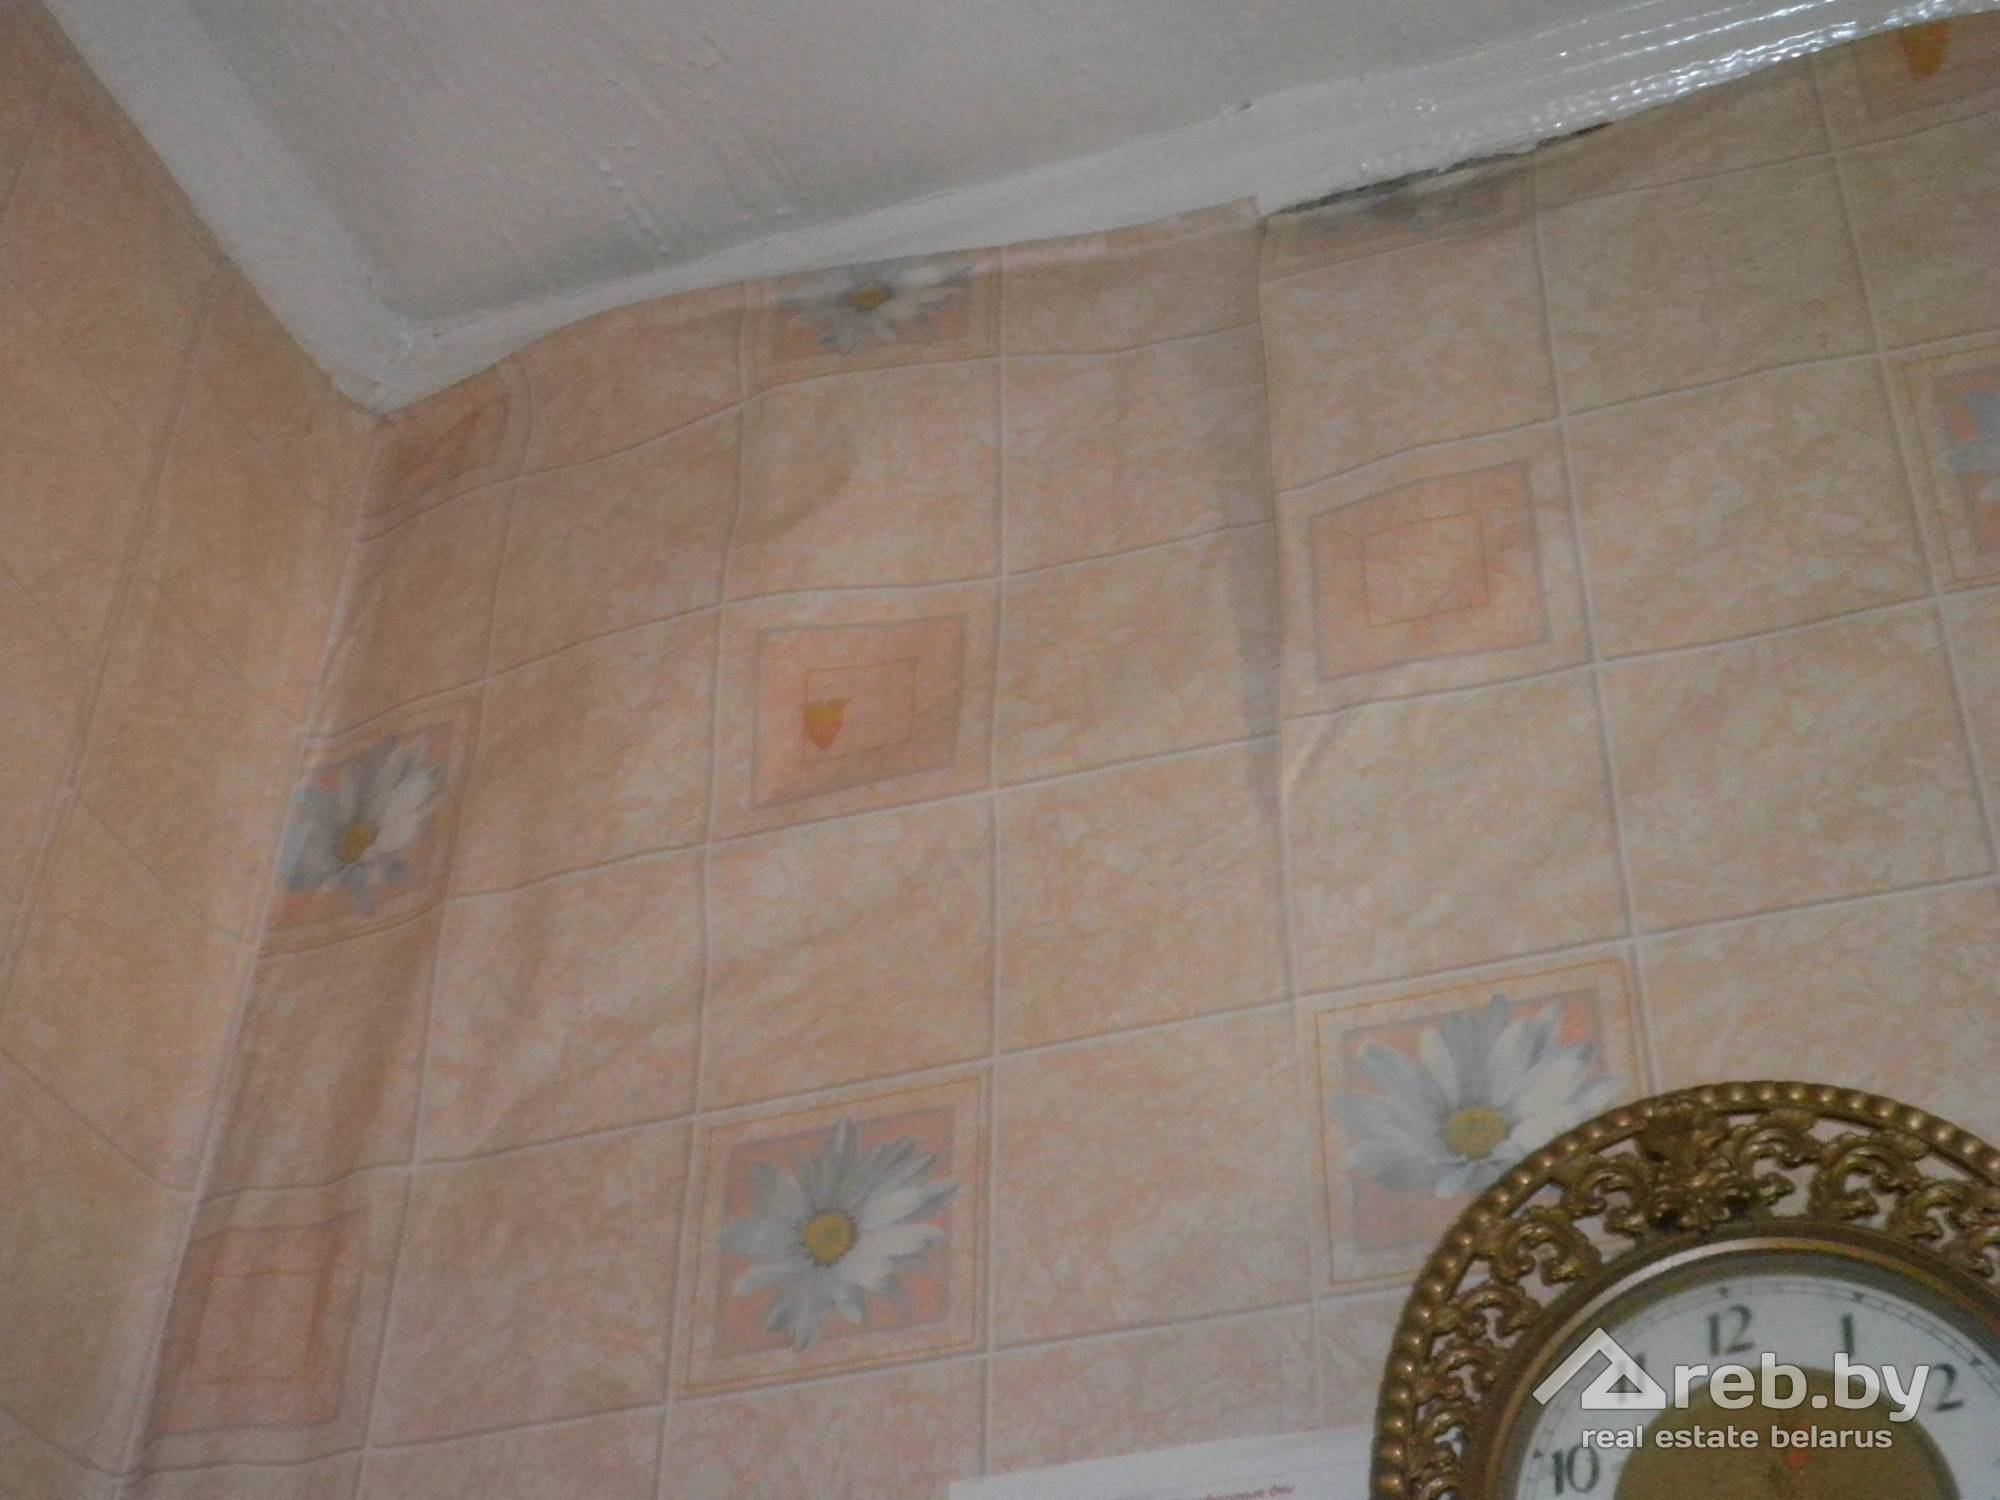
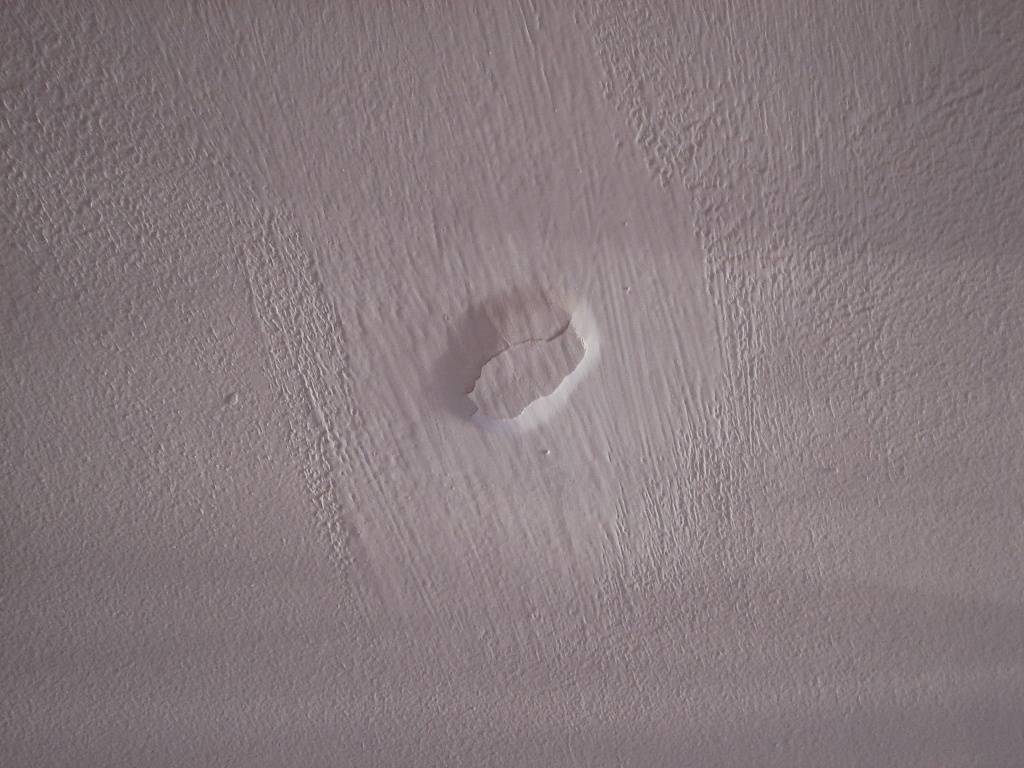
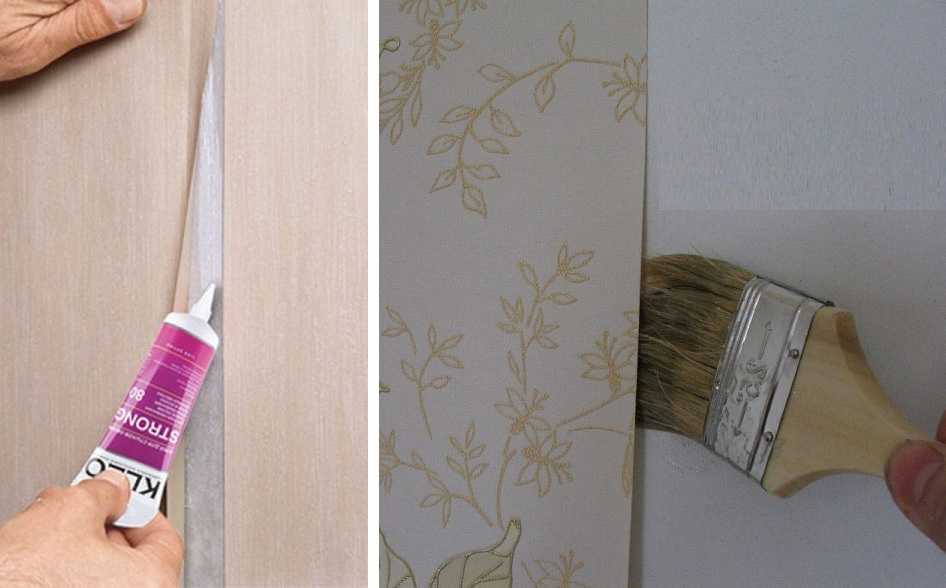
How to remove bubbles
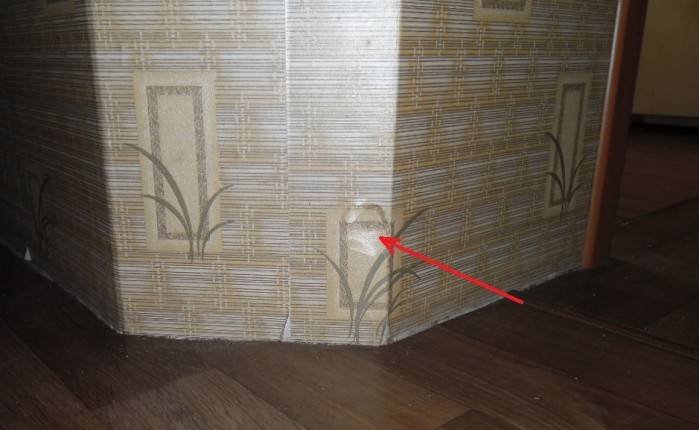
There are many ways to properly remove bubbles from your wallpaper. But if there are too many of them, the only way is to plywood the coating.
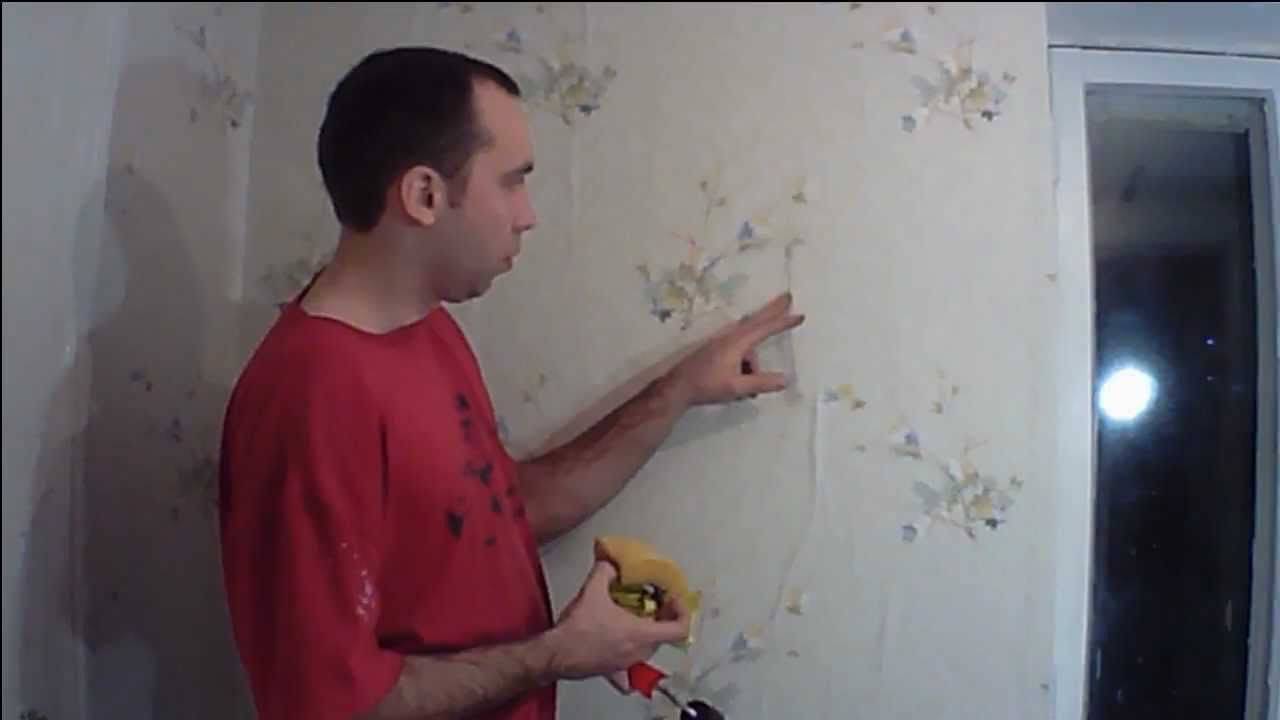
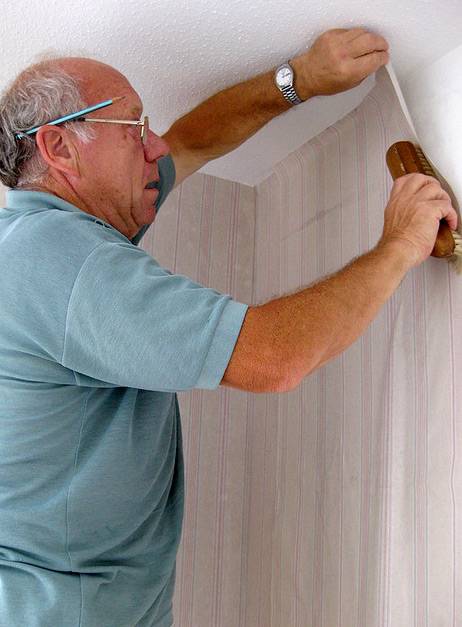
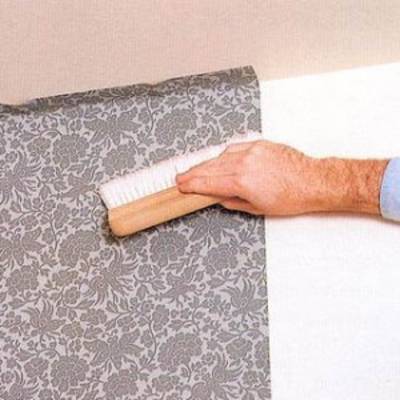
If the blisters have formed after vinyl wallpapering, you will need to use a spatula or brush to remove them. By pressing these tools on the finish, it will be possible to remove the remaining air and get rid of defects.
If the blisters have formed after the coating has dried, it will be a little more difficult to remove them. First you need to determine the reasons for their appearance. If the wallpaper is swollen due to air accumulation, you will need to pierce the damaged area with a small needle. Then, using a spatula, the finish is leveled.
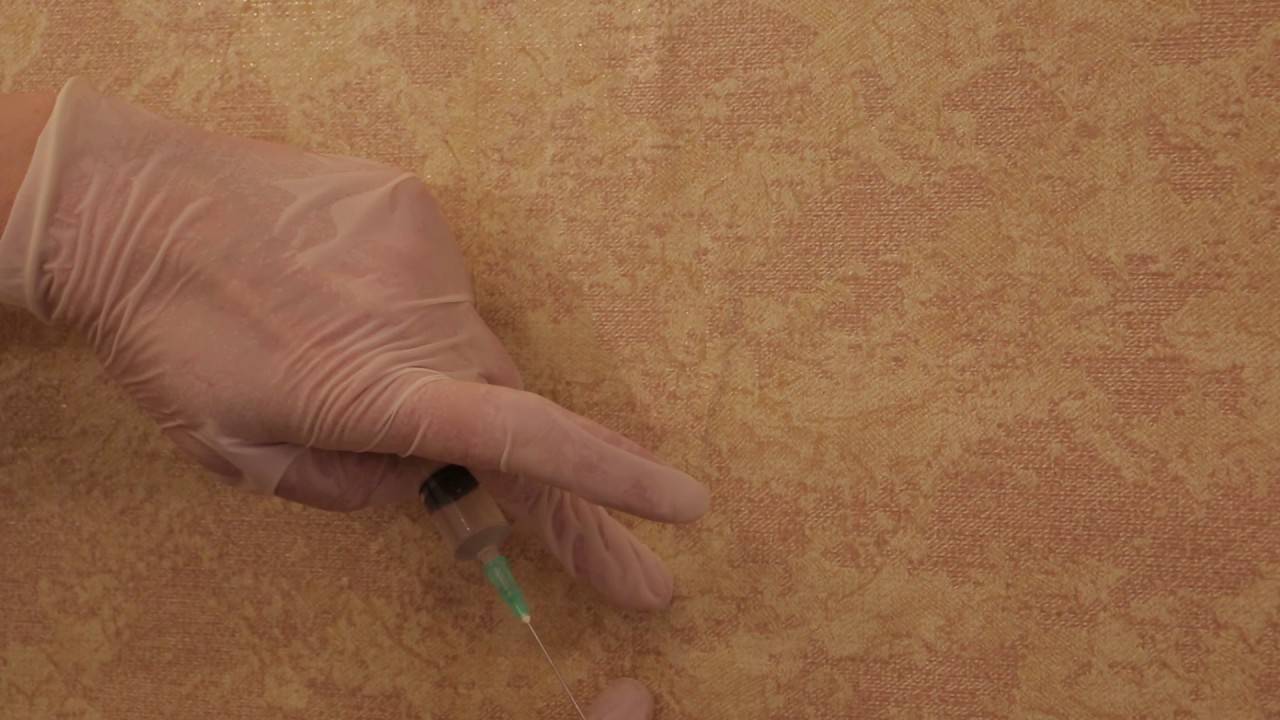
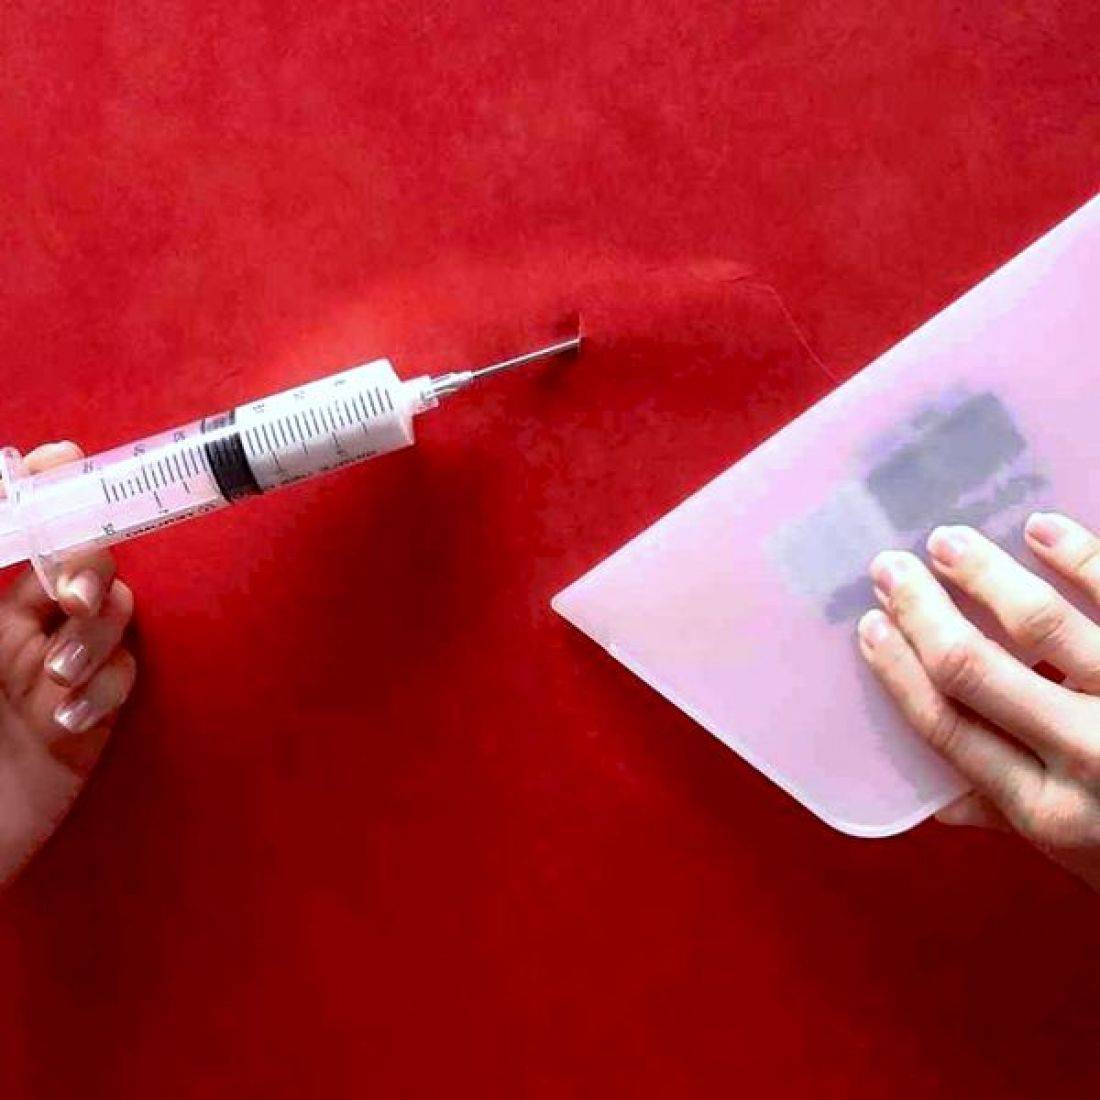
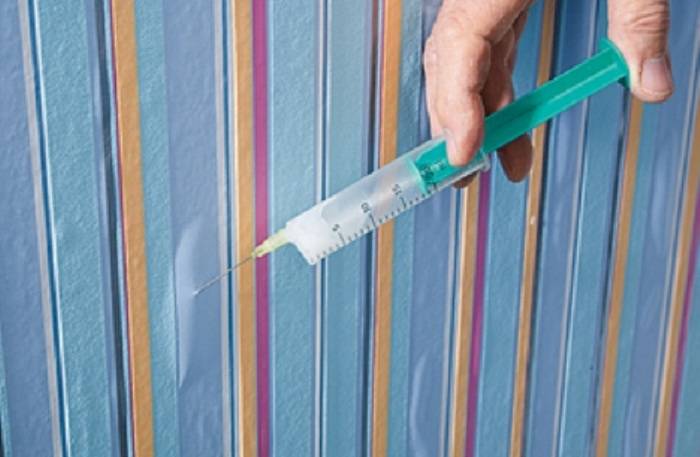
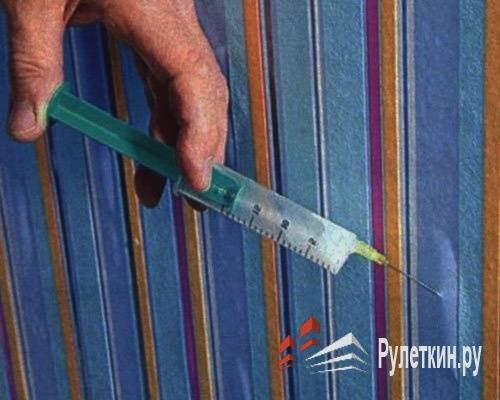
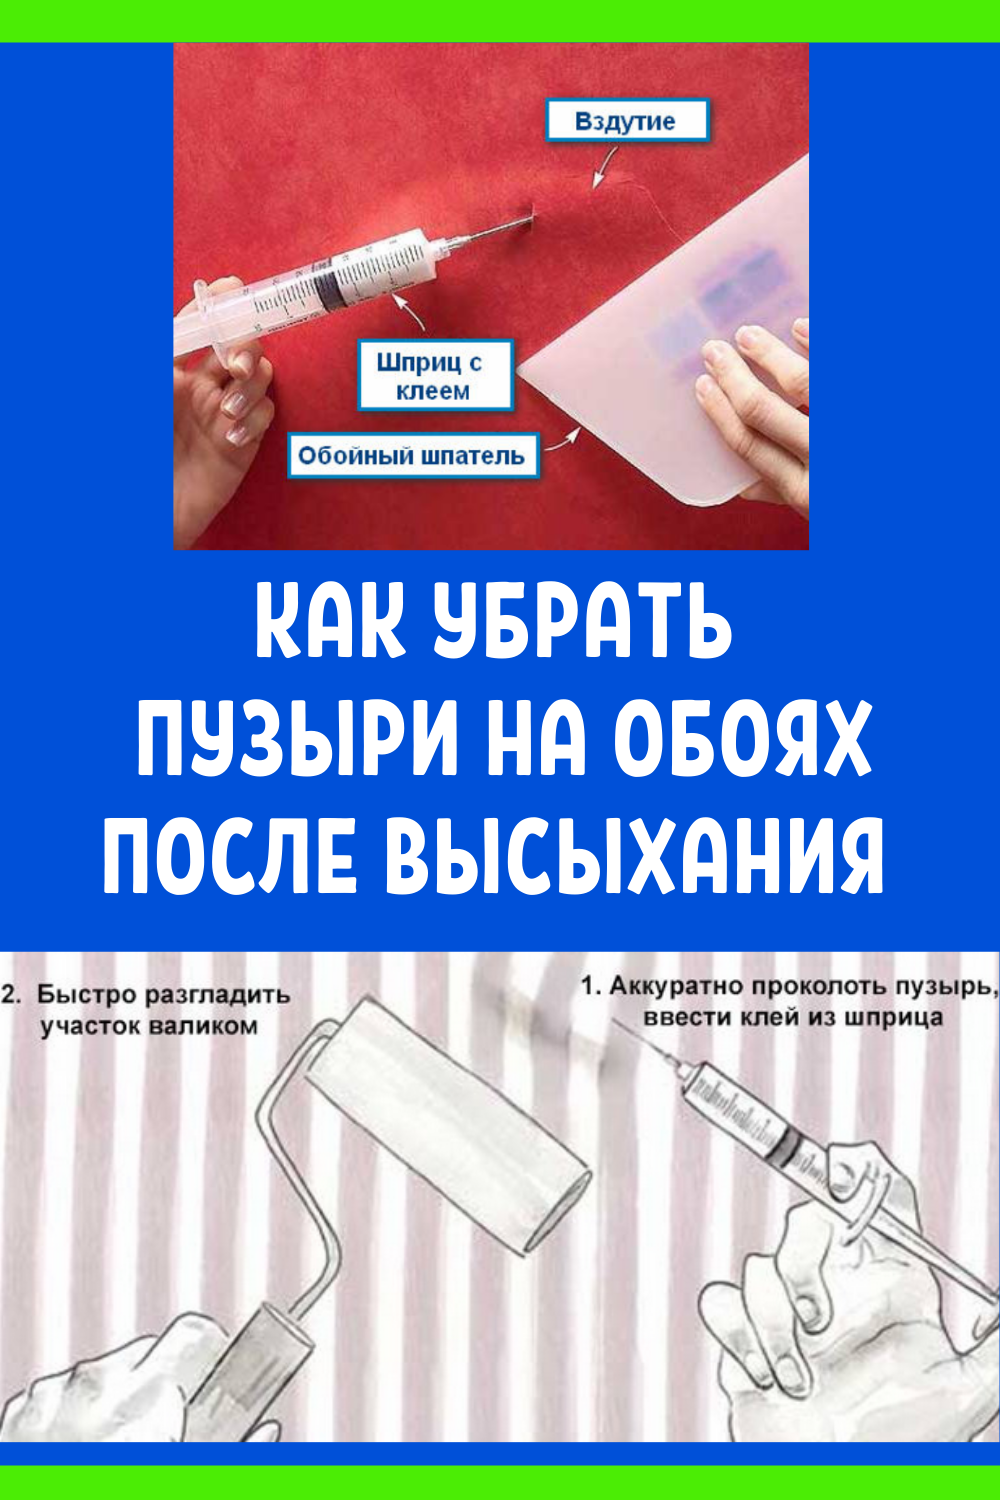
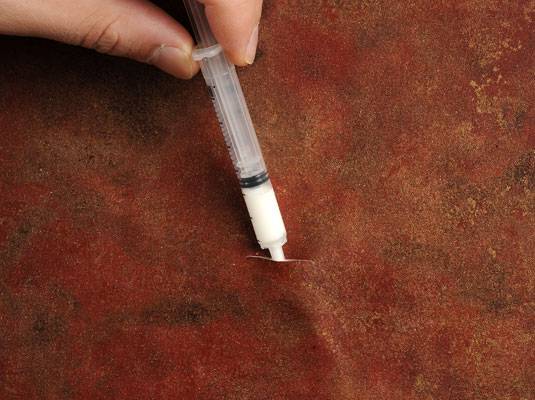
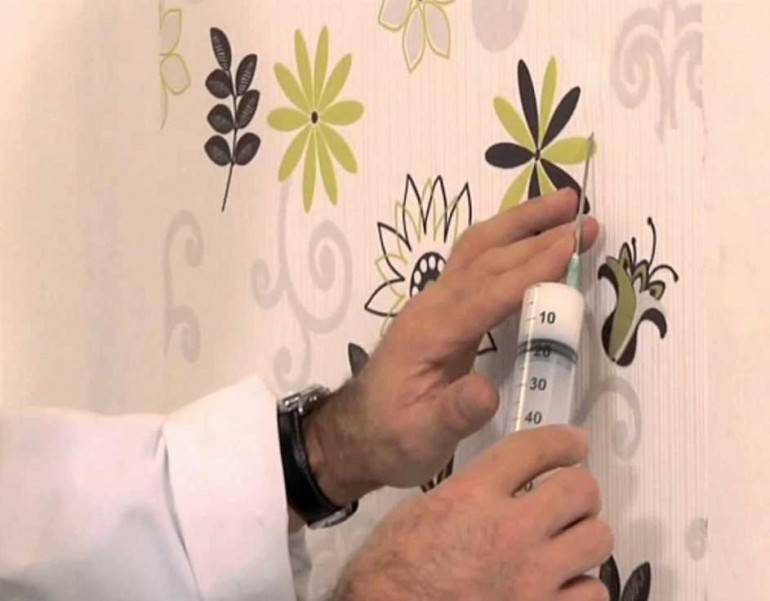
Another way to get rid of bubbles is a syringe, through which glue is injected under the wallpaper. It will help ensure a snug fit of the finish to the surface and get rid of any blisters. A slightly damp sponge is used to remove excess glue.
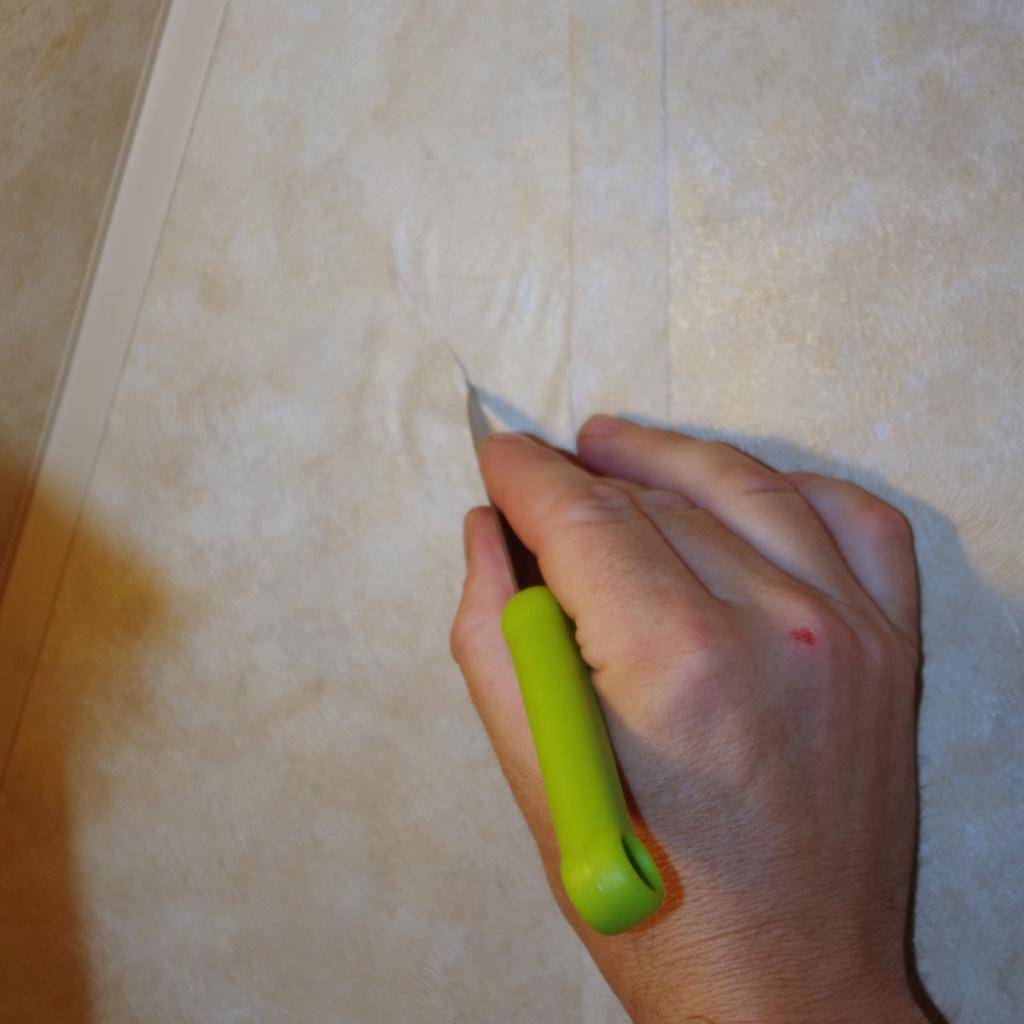
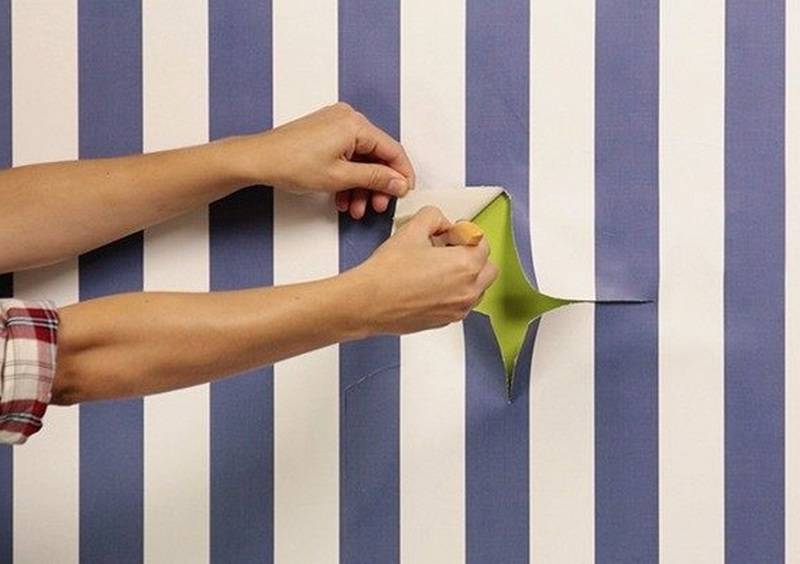
What if the bubbles are large? To remove them, an incision must be made in any direction. You will need to use a sharp construction knife, glue is introduced under the finish, and the canvas is securely fixed.
In order to avoid getting glue on the front of the canvas during work, you will need to wrap it with tape or tape around the perimeter. After completing the procedure, they are removed from the wall.
To avoid problems with bubbles in the future, you must carefully follow the instructions during work. You also need to prepare the surface for processing. It must be leveled, clean and primed. Only if all the factors are observed will it be possible to avoid the formation of bubbles under the wallpaper. With the help of the following video, you can see in practice how to properly get rid of blisters on the wallpaper.
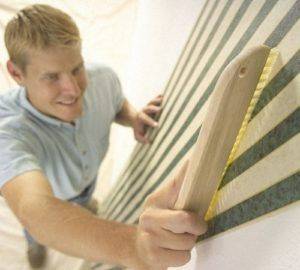 Removing bubbles by pressing with a brush
Removing bubbles from paper wallpaper
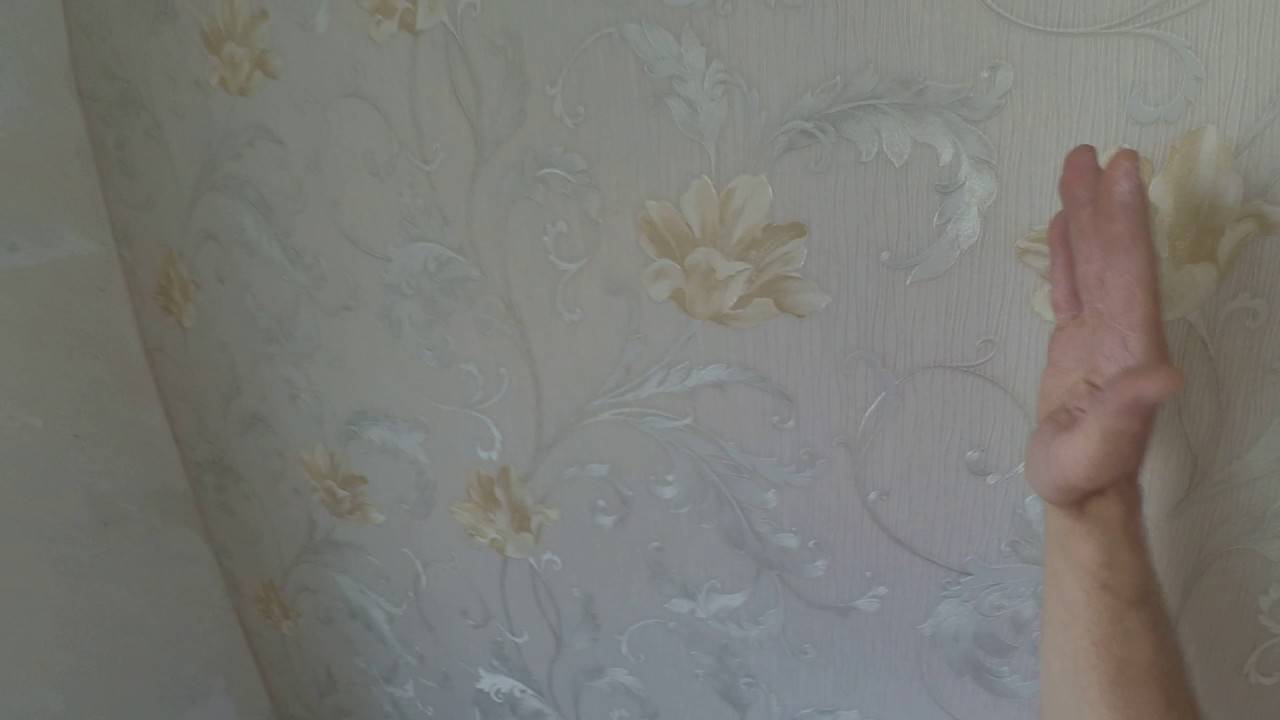
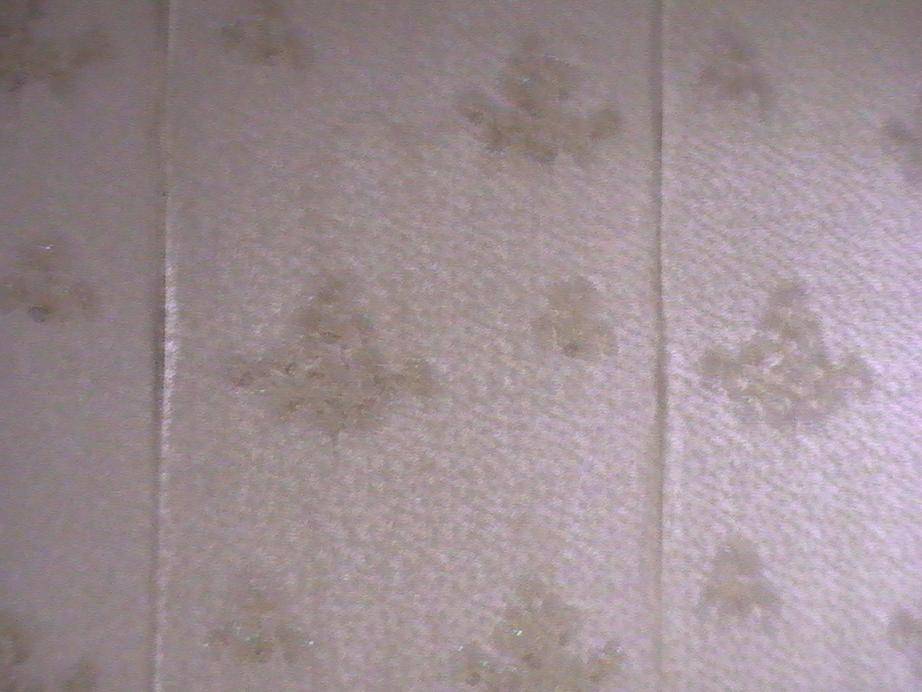
It is necessary to remove bubbles immediately after their formation. For paper canvases, a dry, clean cloth is often used to avoid damaging the material. With the help of it, the air is gently squeezed out, and the swellings disappear.
If bubbles appear immediately after gluing, you need to wait until it dries, sometimes the wallpaper shrinks over time. This is especially true for paper-based coatings.
Standard syringe techniques can also be used for this finish. With it, the bubble is pierced and the glue is launched. The finish is then smoothed out and the bubbles should disappear.
Removal of bubbles on non-woven surfaces
Bubbles on non-woven wallpaper appear less frequently than on other canvases. This is due to the fact that such a finish is of higher quality and more durable. For their production, non-woven components are used, and cellulose acts as a base. Polymeric substances are added to combine the materials.
The advantage of this finish is that it is applied to the surface already treated with glue. Why is non-woven wallpaper bubbling? There may be several reasons for this:
- Air between the canvas and the wall. To avoid this, gluing must be done with a roller. It will be used to level the material and thereby expel the remaining air from the inside.
- Poorly leveled surface. If the glued wallpaper on the non-woven sheet is bubbling, the best solution would be to remove it, level the surface and re-glue it. Otherwise, gaps may form, allowing mold and other harmful bacteria to spread.
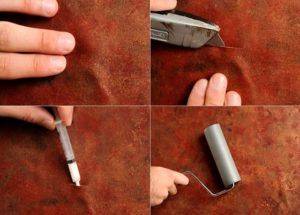 Bloating elimination scheme
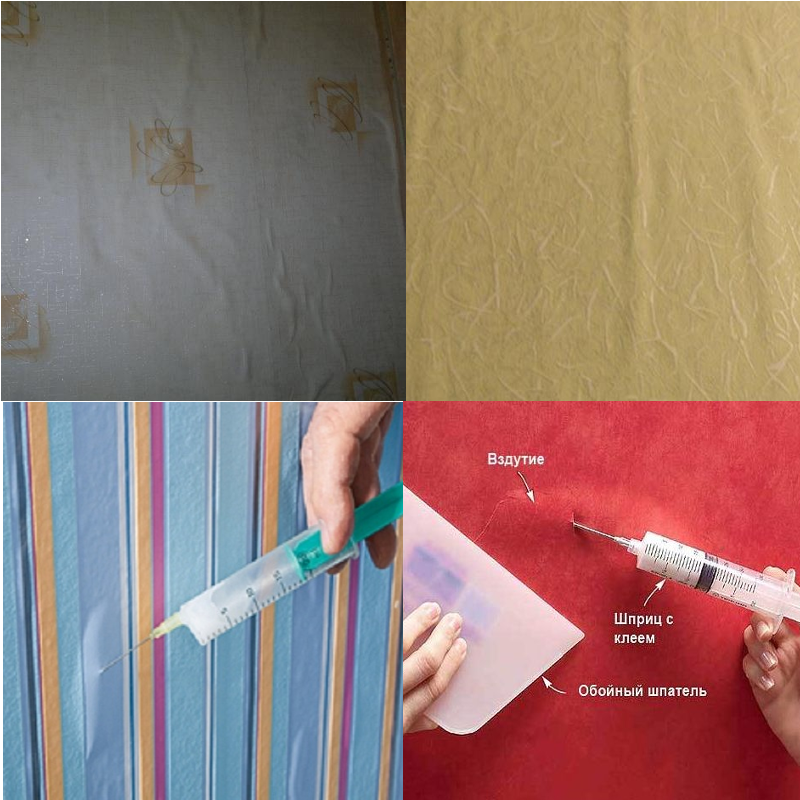
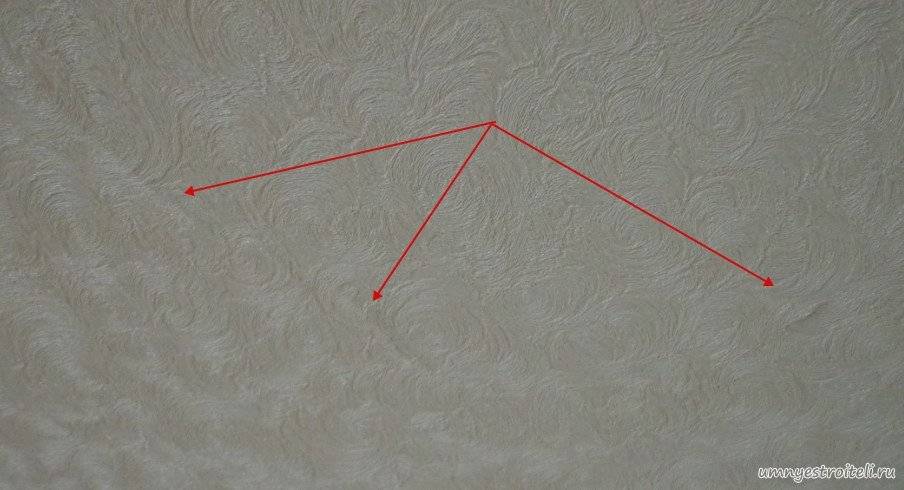
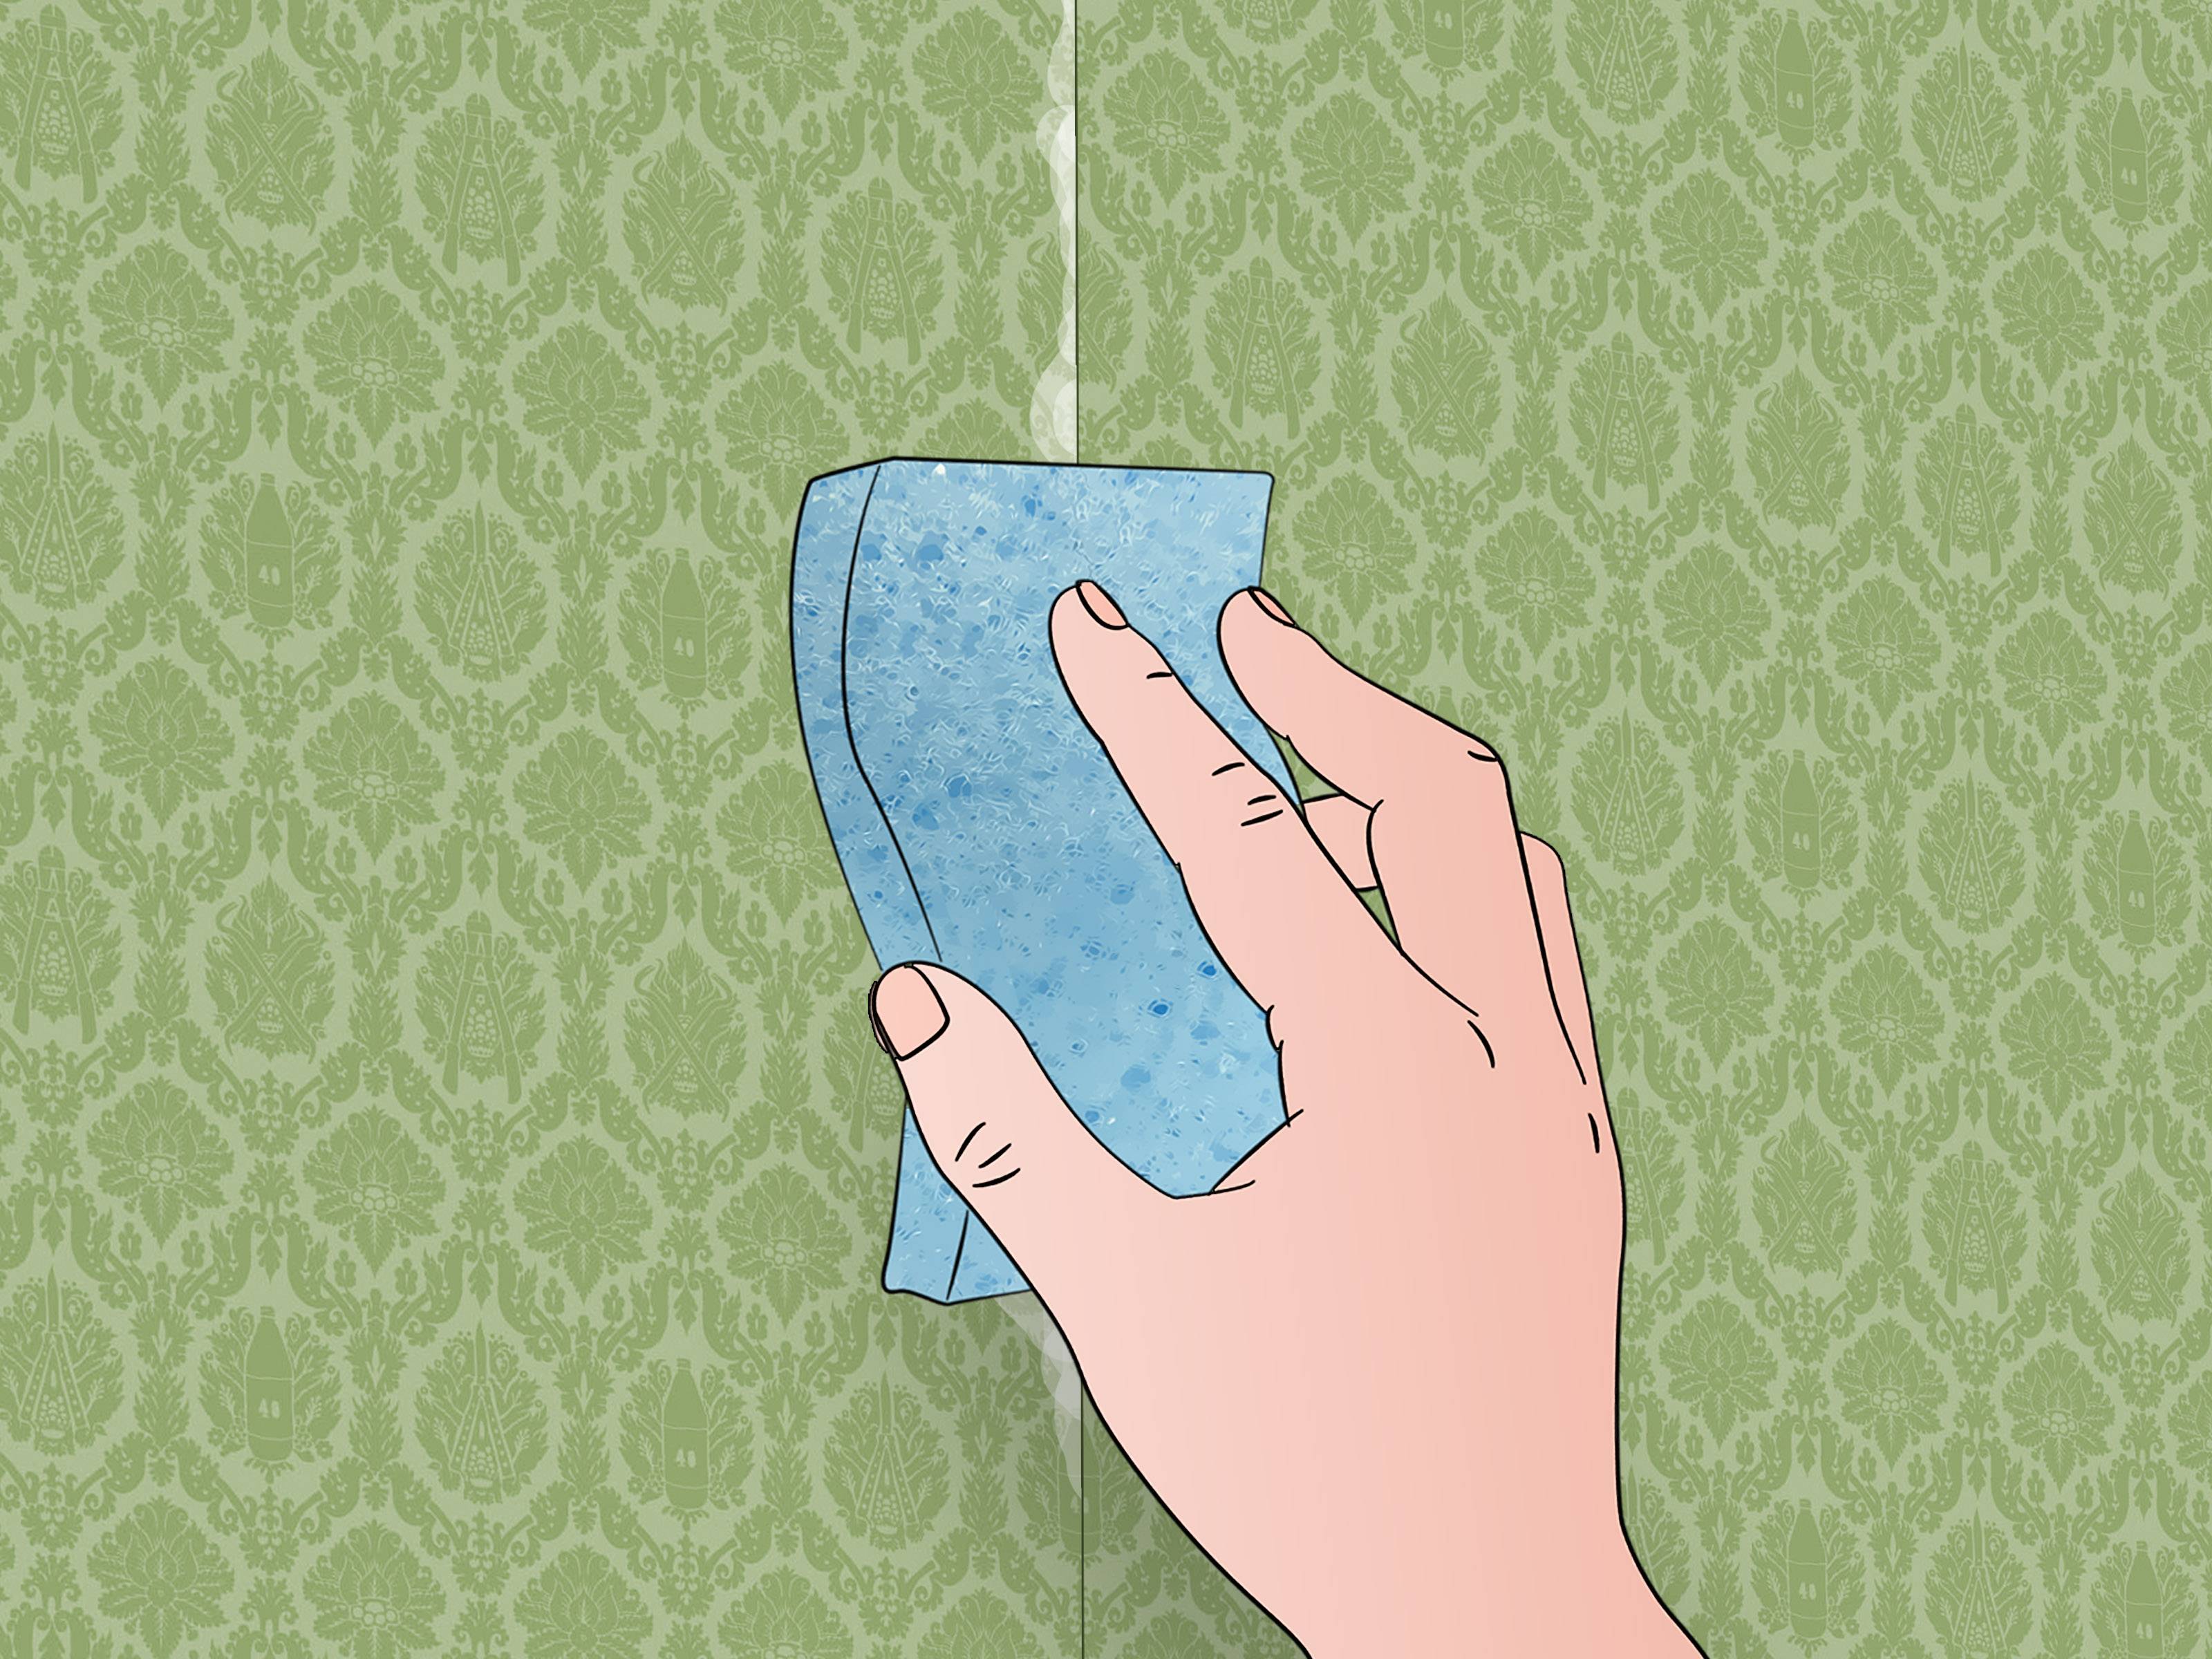
You can get rid of bubbles on already dried wallpaper with a syringe and a sharp construction knife.A cut is made with a knife and a small amount of glue is launched there. After that, the area to be treated is glued in such a way that the visibility of the seam is minimal. This procedure can be seen in the following diagram.
Since non-woven fabrics are multi-layered, bubbles may appear due to poor absorption of the glue by the material. In this case, we get rid of them with a spatula by smoothing. If the bumps have not disappeared, you will need to peel off the canvas and re-glue it.
What if the rolls are lagging behind?
If a similar problem appears, you need to know how to solve it correctly and glue the unstuck canvas:
- Do not work with PVA glue. It is practically insoluble in water, so it will not be easy to remove the coatings from the walls before a new renovation. After working with this glue, yellow spots may appear on them (you can find out why the wallpaper turned yellow after gluing and how to remove the problem here).
- It is advisable to use wallpaper glue. But it must be liquid.
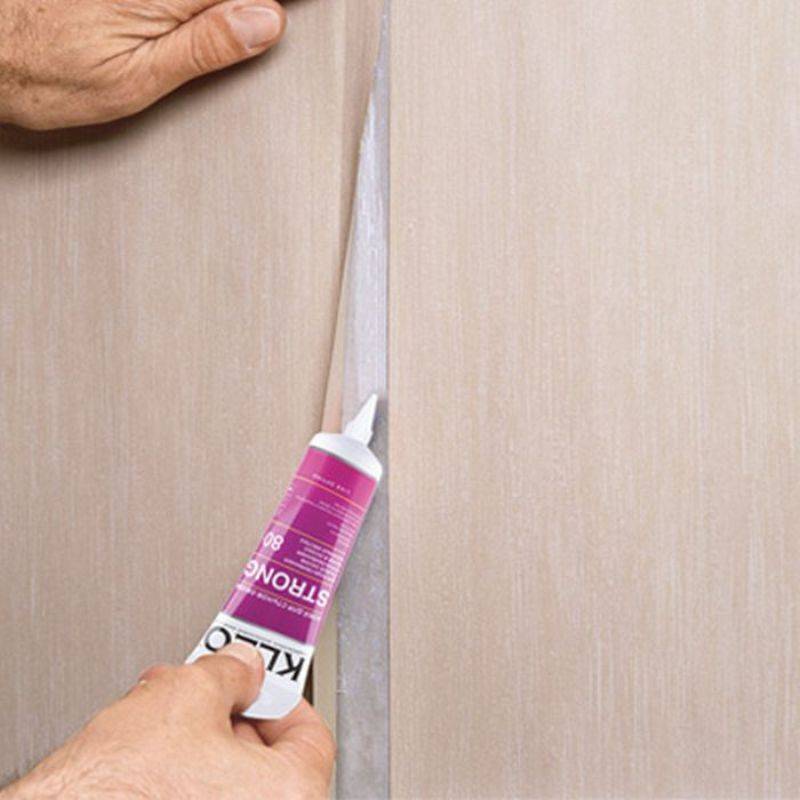
- If the canvases do not stick at the joints or in the corners, it is recommended to take special glue. It is sold in any building materials store. The high-quality composition will not leave streaks, will provide strong adhesion.
For work you will also need:
- brush;
- roller;
- narrow spatula;
- syringe;
- hairdryer;
- dry clean rags.
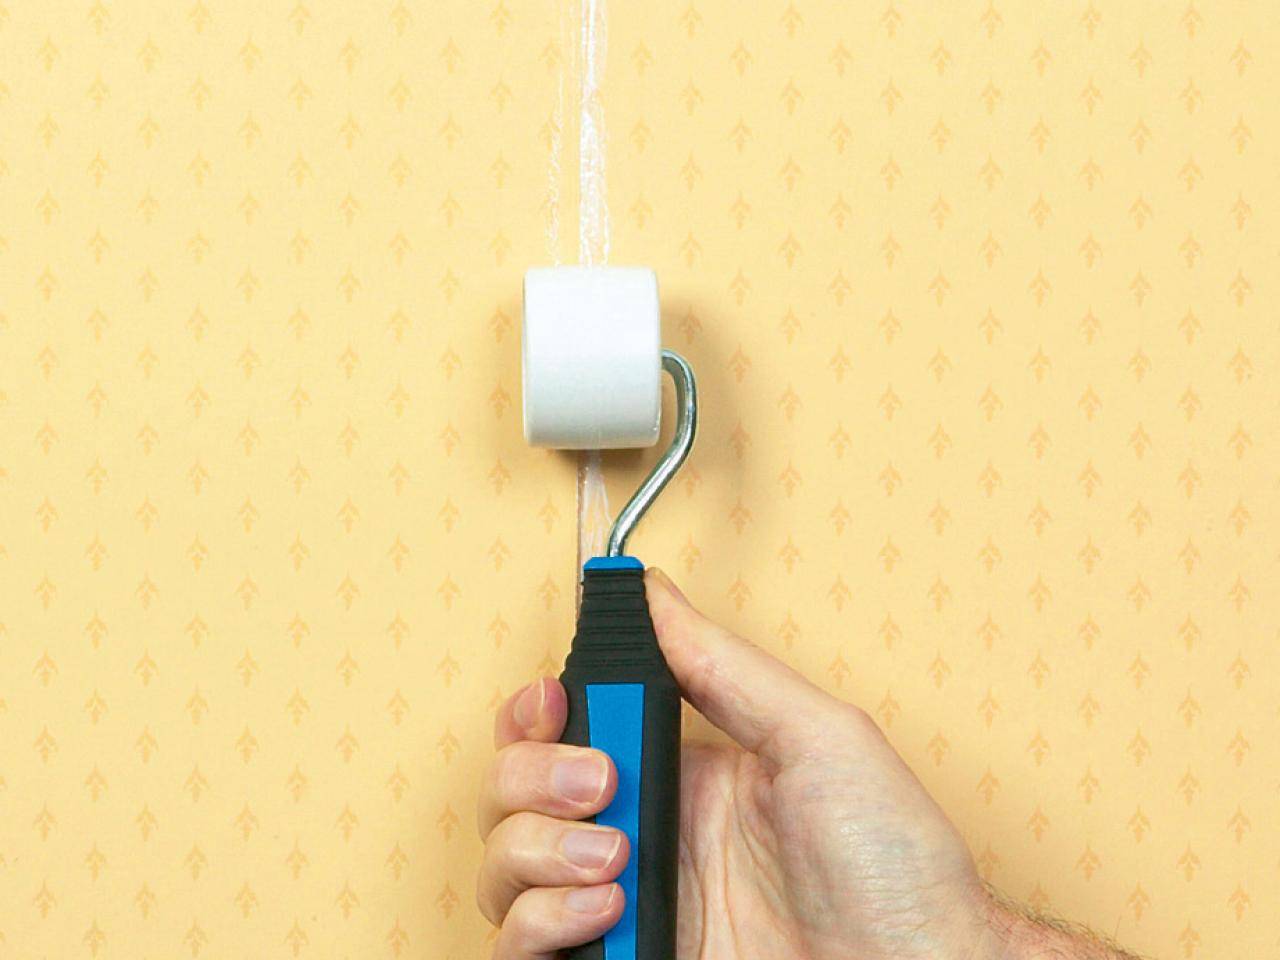
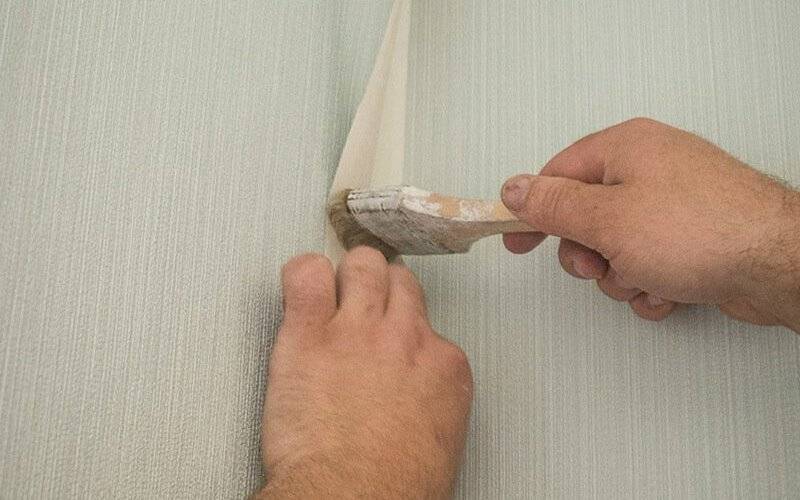
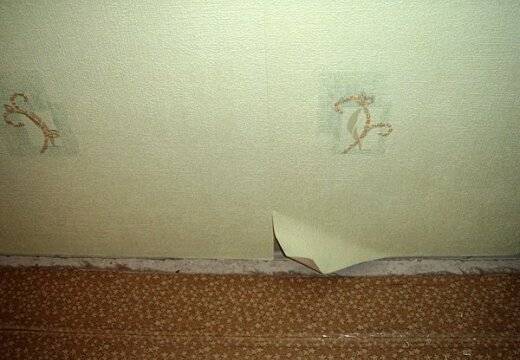
If the coatings come off at the joints, you need to carefully bend the edges, remove the adhering debris with a spatula. Then apply adhesive solution, press down the edges with a roller. Remove excess glue with a cloth.
If the canvases have moved away from the ceiling or wall, wallpaper glue is required. It is necessary to dilute it with water thinner than usual and smear the material. Then wait five minutes and stick the strip to the wall. It is recommended to keep the windows closed for two days.
Vinyl
When peeling off this type of coating, it is advisable to remember with what glue they were glued. If simple, designed for paper materials, the canvases are expected to fall to the floor.
Attention
Vinyl wallpaper should be glued with special glue.
Paper
This is the most common material. Stages of work:
- First, remove debris and putty particles from under the canvas.
- Smear the strip and wall with paste and leave for 5-7 minutes. This time is needed to absorb the glue so that the canvases become elastic, and the soil has dried on the base.
- Then again glue the wall and paper strips with glue. When the canvas is thoroughly impregnated, attach it to the wall and straighten it with your hands, slightly stretching and aligning along the joints and pattern.
- Then smooth with a wallpaper trowel or roller. If you need to glue a small piece, you can use a narrow joint roller or a clean rag. During work, make sure that bubbles do not swell and there are no creases. Remove excess paste with a soft cloth or sponge.
Non-woven
Cloths on non-woven fabric do not hold due to non-observance of the rules during work. Manufacturers attach instructions to the product, which tells how to glue them correctly.
They cannot be glued joint to joint, and the glue should only be applied to the base. It is necessary to follow the recommendations after the end of the work and do not open doors and windows during drying.
Non-woven wallpaper is glued with glue using a narrow spatula. Apply the paste to the wall and joints. Then wait 10 minutes and press the canvas tightly. For good adhesion, it can be rolled or dried with a hairdryer.
Causes of blistering
If the wall with the new wallpaper does not please with evenness and smoothness, it is necessary to find out the reason for the swelling of the canvas. Most often, it appears due to the following reasons:
- incorrect gluing procedure;
- deformed building geometry.
Bubbles not only spoil the appearance of the interior, but also provoke the appearance of mold and mildew. They have a detrimental effect on the health of residents, causing allergies. Various insects can grow in bubbles under the wallpaper.
First, you need to find out the cause of the problem in order to prevent it in the future.Perhaps air has got under the wallpaper or the master has applied too much adhesive to the material. It is not necessary to redo everything again, unless there are too many bubbles. Small irregularities can be removed quickly and without leaving marks. It is best to do this immediately after gluing the canvases. The less time has passed, the easier it will be to hide unaesthetic traces.
Before gluing wallpaper, you need to carefully study the manufacturer's instructions, since each type of material has its own installation requirements
Glue wallpaper made of paper, you need to apply sticky liquid directly to the material. If the canvas is non-woven, the glue is distributed along the wall.
Surfaces must be well prepared for work - clean them of fungus, old wallpaper, paint, mold. You should not hope for a satisfactory result with an uneven wall. It is best to glue the coating on plasterboard, plastered, putty surfaces. Even small cracks, chips, holes can spoil the appearance of the surface.
Particular attention should be paid to the corners. If there are large irregularities, they can be removed using a grinder, and folds and dips can be corrected with plaster
The walls need to be treated with a deep penetration primer, wait until it dries. This will reduce the likelihood of mold and mildew, and will also provide good adhesion between the wall and the material.
You need to stock up on high quality glue that sets quickly. It must match the type and density of the web. For dense wallpaper, it is ineffective to apply a weak adhesive, and vice versa. It is not recommended to use PVA glue. It leaves yellow marks on the walls and does not dissolve in water, which will make it difficult to dismantle the coating in the future.
Special pink glue is sold in stores, which, when dry, becomes invisible. It helps not to make mistakes in the process and to remove excess in time, especially if you first illuminate the work area with side light.
Choosing glue, craftsmen prefer foreign products that dissolve well and hold the materials firmly on the walls. Do not buy regular starch glue, as it leaves bubbles, yellow spots and folds.
Each type of wallpaper requires a special glue. For paper coatings, universal compounds are suitable, for vinyl - special glue for vinyl materials. The non-woven coating can be installed with a non-woven wallpaper adhesive. When gluing curbs, you can choose both a universal compound and one that is designed for vinyl materials. Some self-adhesive borders can be attached without the use of additional substances.
What to do with liquid and other materials?
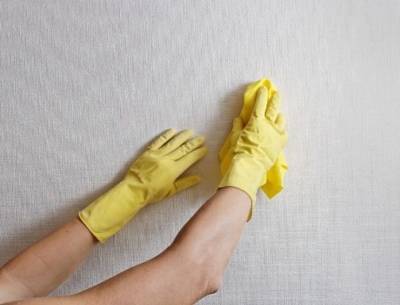 You can fix unpleasant spots:
- This requires a mixture of whiteness and water. In this solution, it is necessary to moisten a sponge or napkin and treat the damaged areas. If there are a lot of stains, then pour the mixture into a spray bottle. The most important thing in this method is not to add too much whiteness to the water, otherwise the wallpaper pattern will disappear along with the stains.
- Light shades can be treated with stain remover.
- Another way is chalk. If bleach and stain remover could not remove the yellowness, you should crush the chalk to a dusty state and rub it into the stain with a sponge. The stain will be absorbed into the chalk and removed with it.
- If none of the methods helped, the damaged blade should be replaced. This process is more laborious, since there you will need to remove the damaged area and glue a new one. The contaminated canvas is moistened with water and removed with a spatula. Then a new section is glued. It is worth considering that the place where yellowness appeared should be well prepared for gluing new material.
- Yellow marks on liquid wallpaper can be removed with a vacuum cleaner. Liquid ones are capable of absorbing any dirt from the walls, and if the house has recently been flooded, then it will be quite difficult to remove such traces.It is likely that after the stains are removed, they will reappear.
How to smooth
To smooth out bubbles, you need the following:
- a piece of dry cloth (for paper materials);
- brush (for non-woven wallpaper);
- rubber roller (for vinyl flooring).
If possible, you can arm yourself with a wallpaper spatula. It is perfect for troubleshooting non-woven and vinyl materials
To remove bubbles on the wallpaper, press on the pockets with air from the middle to the ends, moving from top to bottom.
Use a spatula carefully so as not to damage the joints between the canvases. If after such manipulations the bubbles did not go away, you can use the following popular method - piercing the swelling with a needle
After the puncture, it is advisable to walk over the wallpaper with a rag, releasing the air. This method will work even if the wallpaper has been pasted for a long time. If, during the procedure, glue appears on the surface, it must be carefully removed with a sponge.
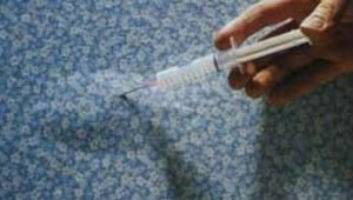
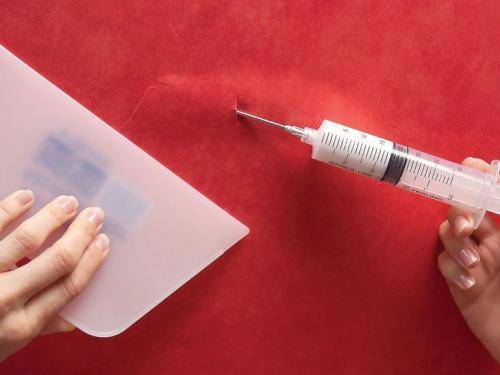 If there is air in the bubbles, and not glue, the above tips will not help. You will have to take a syringe, fill it with adhesive, make a puncture in the bubble and inject some liquid
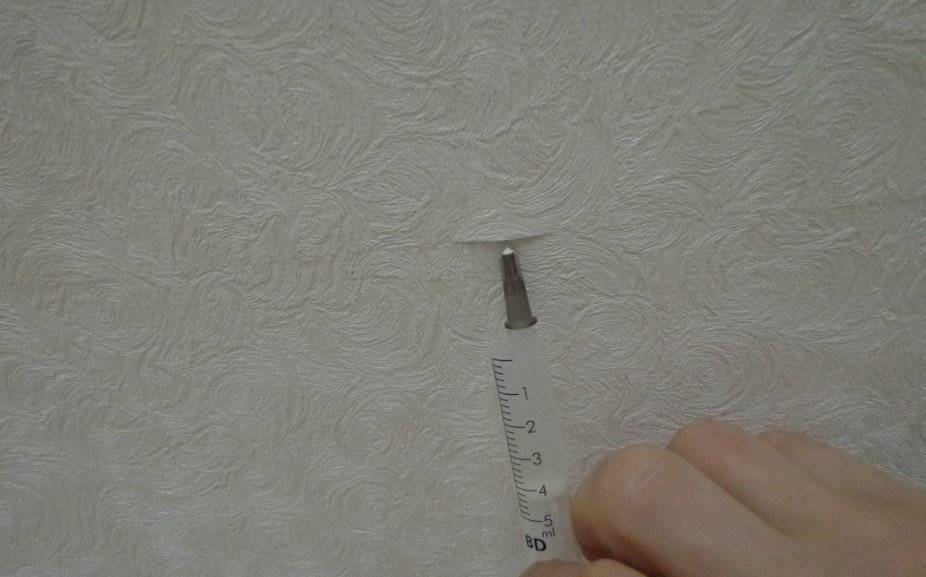
The syringe should be held at an angle of 25-30 degrees. This will allow the needle to penetrate parallel to the wall to the optimum depth. Using a spatula or rag, spread the adhesive over the entire area of the bulge. After the procedure, it will disappear. If glue comes through the puncture, wipe it off with a cloth.
Important! "Repairing" paper wallpaper, you need to be very careful, as the material is easily torn. If the bubbles are very large, a utility knife will help.
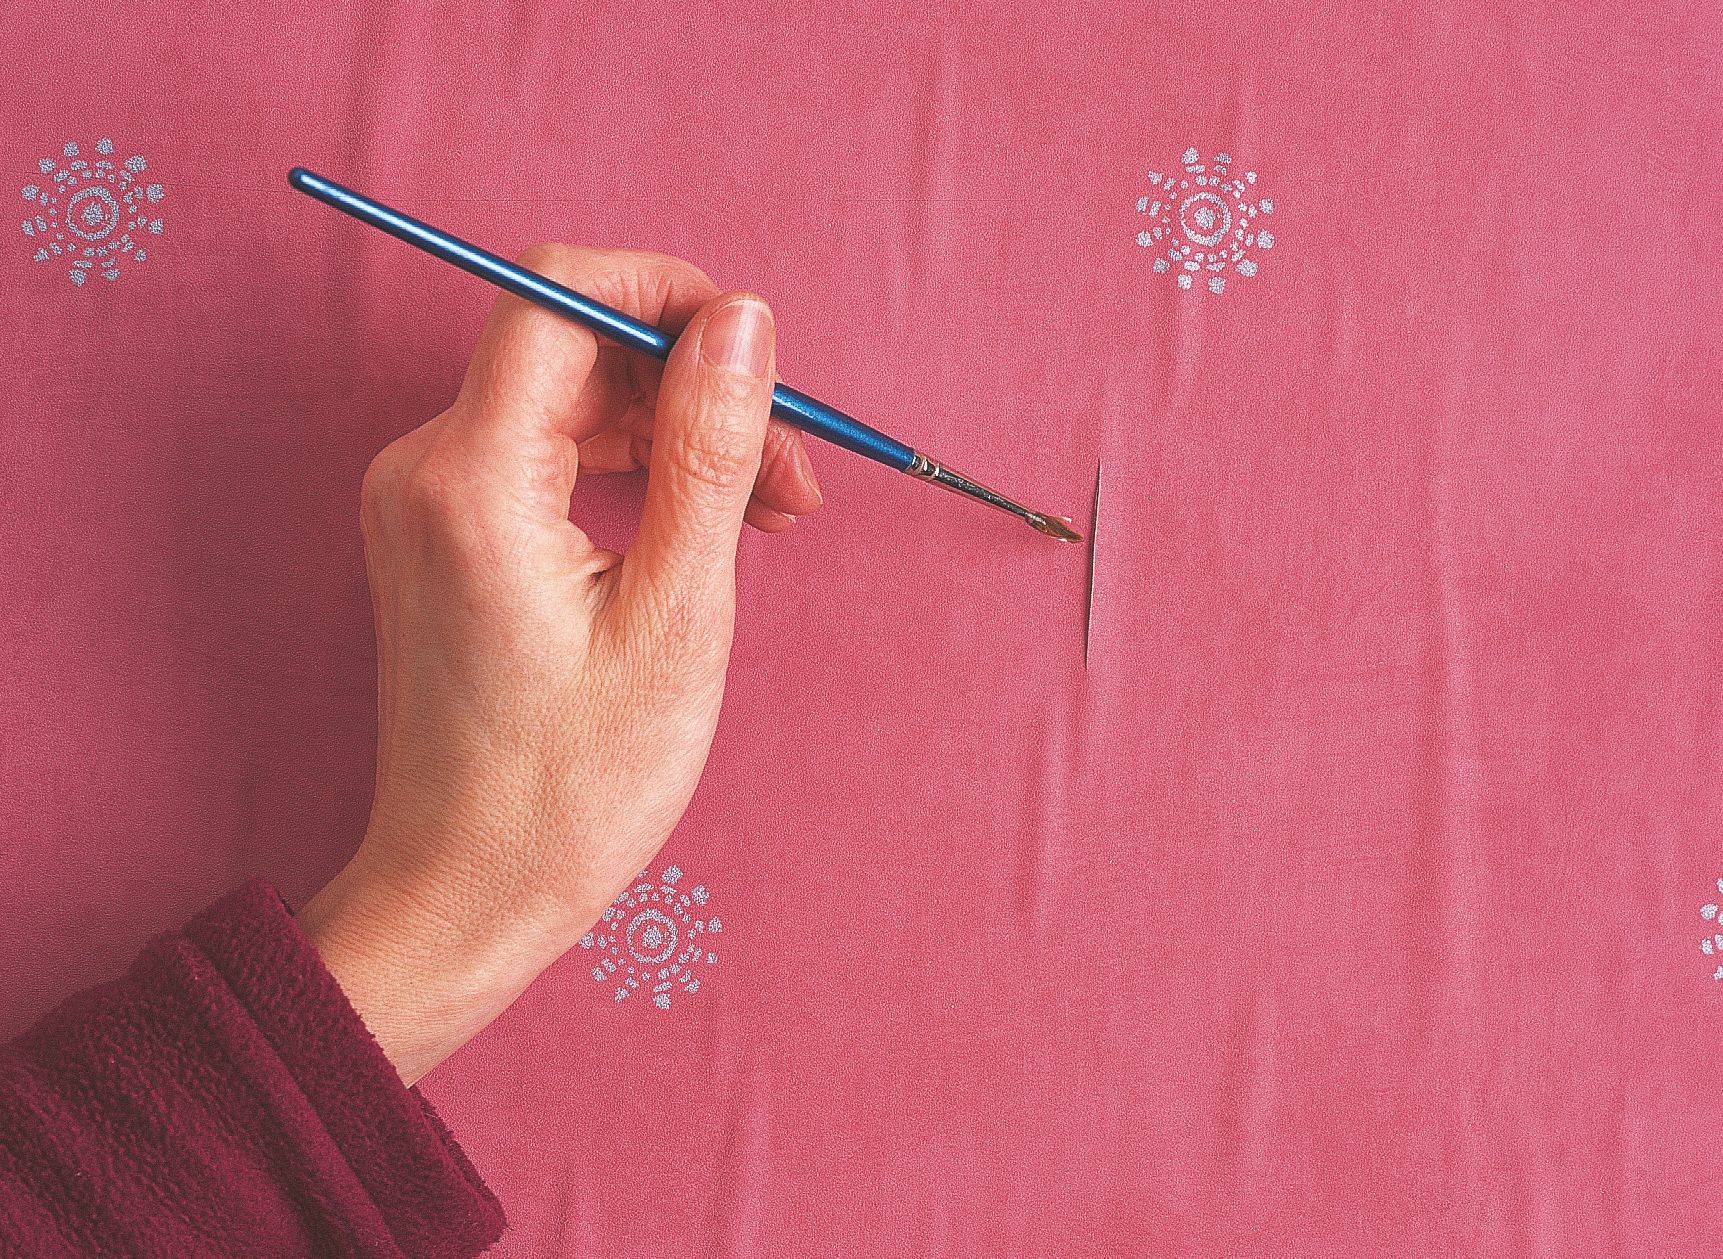
They need to make longitudinal or transverse cuts. Glue is applied under the wallpaper with a syringe, the material is glued to the wall. Instead of a knife, you can take a sharp blade, and replace the syringe with a watercolor brush. This method, which removes bubbles from the wallpaper after drying, is not suitable for all types of flooring. Not everyone will be able to accurately connect the cut parts, without the formation of gaps between them. You can practice in an inconspicuous place
If the bubbles are very large, a utility knife will help. They need to make longitudinal or transverse cuts. Glue is applied under the wallpaper with a syringe, the material is glued to the wall. Instead of a knife, you can take a sharp blade, and replace the syringe with a watercolor brush. This method, which removes bubbles from the wallpaper after drying, is not suitable for all types of flooring. Not everyone will be able to accurately connect the cut parts, without the formation of gaps between them. You can practice in an inconspicuous place.
On multi-layer wallpaper, bubbles can form due to the fact that the glue is not completely absorbed into the material. To get rid of the blisters, you should walk over them with a spatula or separate the wallpaper from the wall and stick it again. Some people use a warm iron instead of a spatula. This method is suitable if a little time has passed since the moment of pasting the wallpaper.
If the wallpaper has peeled off, you will have to resort to drastic measures. The glued sheet is moistened using a spray gun or roller
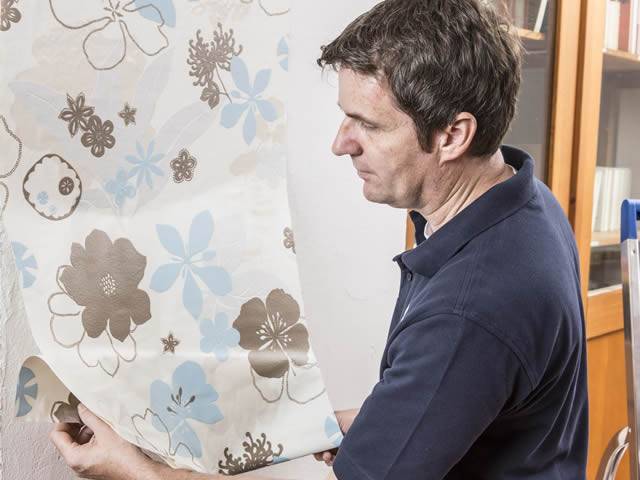
If the material was glued with an overlap, it is necessary to carefully separate it at the places of contact of the adjacent strip. Wet wallpaper is removed, the wall is allowed to dry, then a new fragment is glued
The reasons for the formation of bubbles are often negligence, inattention, lack of attention to detail. In this case, there is no need to rush, otherwise you will have to redo everything again.
Timely bubble removal will help maintain the aesthetic appearance of the wallpaper and make the renovation a success.
Most of the compositions with which wallpaper is glued contain a lot of water. Before installing the coating, it is necessary that the excess moisture evaporates, and only a sticky substance remains on the wallpaper. If you neglect this, the wallpaper will not only begin to bubble, but also completely peel off.
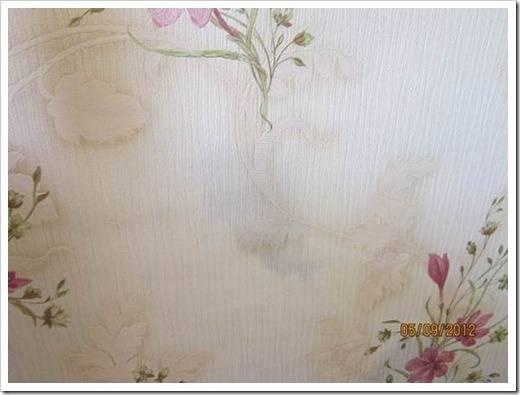
If, after gluing, small ripples appear on the wallpaper, you should not panic. This is due to the saturation of the material with moisture.When dry, it will return to a decent look on its own.
How to fix the situation
You can remove bulges on damp wallpaper, or you can on dry ones. These methods vary considerably. If the wallpaper has not yet dried out, then the resulting swellings are removed with a roller. You can also use a warm iron for this. But if the wallpaper is already dry, the bubbles will be more difficult to remove.
The most popular method is piercing and then re-bonding. For this you need a syringe. The thicker the glue you mixed, the thicker the syringe needle should be. The puncture should be done at a slight slope, almost parallel to the wall surface. Spread the glue from the edges of the bulge towards the middle. In this way, dry areas can be avoided. And through the hole you can squeeze out excess glue
The distribution of the adhesive must be done very carefully, it must be applied evenly. Use a roller or spatula
When the glue is distributed, and its excess is removed, it is necessary to press the wallpaper against the wall, smoothing out the folds. After the wallpaper dries, small bumps will be smoothed out.
If the air pocket is large, then a single puncture will not help. To eliminate the bloating, you need to cut the wallpaper with a knife and peel back the bulging area. Glue is applied to the wallpaper. If necessary, it is also applied to the wall. After that, the wallpaper is pressed tightly to the wall surface, the air is squeezed out. If the wallpaper is paper, use a dry cloth, and a rubber roller is suitable for non-woven or vinyl wallpaper.
If the delamination is very large, it is recommended to peel off the strip and glue a new one instead.
Causes of bubbles
And the reason is simple and trivial - when the wallpaper starts to absorb the glue, the non-woven liner begins to expand. High quality
The non-woven base practically does not expand and does not create problems. Therefore, the main reason is that the wallpaper is not high.
quality. To be honest, low-quality non-woven wallpaper is a fairly frequent phenomenon. Under the protection law
consumer rights can be pasted up to 3 strips of wallpaper and if the result does not suit you - return them back
to the store.
However, returning is a very dubious activity: it is not a fact that by returning some and buying others, you will receive more
high quality wallpaper. It is possible that the problem will recur and you will have to make a refund again. I am silent about
wasted time.
You can also get out of the situation by slightly changing the gluing techniques, adjusted for the large expansion of the non-woven fabric. I AM
that's exactly what I'm doing.
Instructions on how to remove
Sometimes stain removal is mandatory not only for the appearance of the apartment, but also to ensure safety, for example, mold and mildew cause immediate harm to health.
Yellow
The reason for the appearance of yellow spots is most often problems with the plumbing, therefore, they most often appear on the light covering of the ceiling or walls in the kitchen or in the bathroom (read about the design and pasting of wallpaper in the kitchen here). Such stains cannot be removed or removed, so they are usually sealed with other materials or decorated.
To avoid the appearance of yellow streaks, it is necessary to properly prepare the wall for wallpapering:
- Clean off the affected surface with a spatula, treat it with a sponge with a solution of special bleach.
- Allow the treated surface to dry, if necessary repeat the procedure.
- You should start gluing the wallpaper only after the surface is completely cleared of yellowness (how and with what to apply the glue to the wallpaper?).
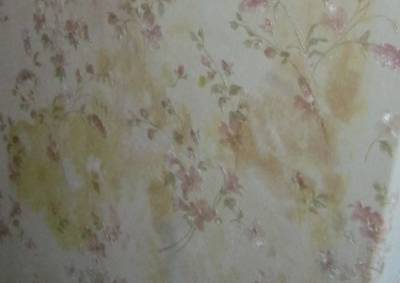 Another possible cause of yellow marks can be glue, which takes a long time to dry, in this situation no measures need to be taken, but it is better to just wait until the wallpaper is dry.
If stains and drips do not disappear for a long time, it makes sense to contact the store where the glue was purchased, with the requirement to replace this material with a better one. It is impossible to get rid of such spots on your own, since their origin is unknown.
here
Fatty
There are several ways to remove greasy streaks.
Advice
On non-woven or vinyl wallpaper, stains are removed with water and detergents (how to properly glue non-woven wallpaper?).
You need to work more carefully with paper wallpaper.
How to remove:
- Rub the crushed chalk into the stain. Wait until the fat is absorbed into it and remove the powder. To speed up the process, you can place the powder in a napkin, paper towel or thin cotton cloth, apply it to the dirt and iron it gently.
- Apply a thick solution of starch with water in a thick layer on the dirt for 8-10 hours, then use a brush to clean off the dried starch crust.
- Apply a 1: 4 solution of baking soda and water to a cotton cloth. Wipe the stained area several times, then remove the remaining mixture with a clean dry cloth.
Dark
Rust is the cause of dark, brown spots. There is no point in dealing with the spots that have already appeared: they must be removed and the wall treated as follows:
- Cut the protruding piece of metal with a grinder.
- Remove rust from the remaining piece of metal.
- Prime the surface with acrylic paint.
- Using plaster putty, close the problem area (how to properly putty the walls?).
- Re-prime the surface after the previous layer has completely dried.
This procedure will help to minimize the risk of rusting in the future.
Black
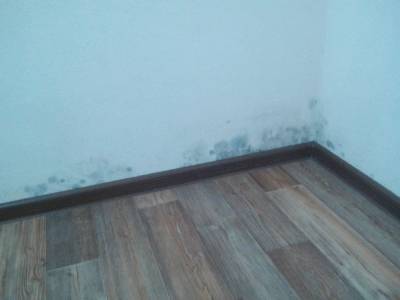 Dark, almost black spots indicate that the coating is affected by fungus or mildew. In the vast majority of cases, the mold is under the wallpaper, so in order to carry out disinfecting work, you will have to completely change the wallpaper. How to withdraw? It is necessary to act as follows:
- Remove furniture from the room, treat it with an antifungal solution or hydrogen peroxide with a sponge.
- Get rid of the previous wallpaper and sand the surface of the wall with sandpaper.
- Treat the entire surface of the wall with a special agent against mold and mildew.
- Apply a layer of primer with antifungal and antibacterial effect.
- During the work, it is necessary to use a mask and ventilate the room.
These simple measures will protect your lungs and other respiratory organs.
White
Low-quality wallpaper can fade or fade over time, losing its previous color and forming white spots. In this situation, the wallpaper can be completely repainted or changed, i.e. to carry out cosmetic repairs.
here
Why do they arise
It is worth reassuring readers immediately - bubbles on the wallpaper after gluing almost always form in everyone.
Another question is how large their number and size are, and how quickly to eliminate defects.
- The first reason is the expansion of the paper from the moisture contained in the glue. The soggy canvas changes unevenly, hence the swelling in the most stretched places. Thin inexpensive paper wall-paper suffers from this "disease" most of all. Heavy multi-layered stripes swell less frequently and to a much lesser extent.
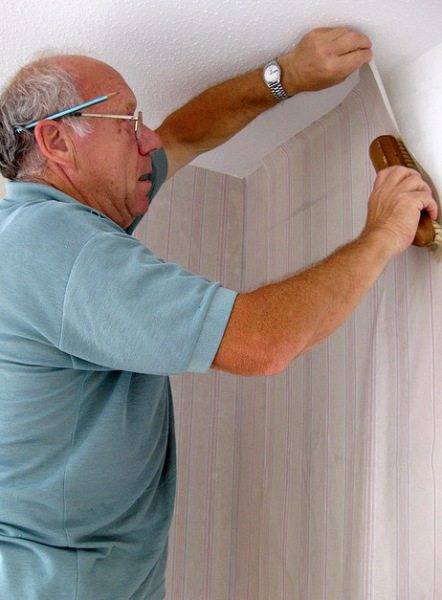
Immediately expel the air from under the wallpaper.
- The second most common reason why wallpaper bubbles after gluing is the haste of the owners. They ignore the need to carefully expel air from under the canvases. Therefore, in order not to get a bumpy room the next day, you should immediately thoroughly smooth the walls, even if it will take more time.
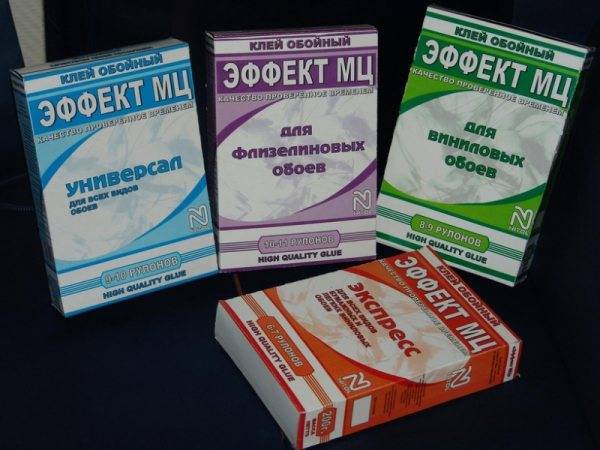
Choose the right adhesive.
- Another common mistake is glue and material mismatch. For example, you have glue for thin wallpaper from the last renovation, and you purchased a multilayer or massive vinyl finish.Or vice versa - you are trying to glue a wall with inexpensive paper with a strong composition that is completely unsuitable for these purposes. Hence the bubbles when wallpapering.
- Often we carry out repairs during the holidays, that is, mainly in the summer, in the heat. It is clear that you want to work in comfort, so the process is facilitated by open windows and a draft. But the fact that to help us, to the detriment of wallpaper, they categorically do not accept changes in temperature and humidity.
Note! If you intend to do it yourself, be patient and work only indoors. It is even more important to leave the room closed for a day or two, until the material on the walls is completely dry.
Otherwise, not only bubbles, but also partially fallen off stripes await you.
- Bulges can also appear from excess glue, as well as from holding the canvases smeared with it for a long time. The longer the wallpaper remains moist on the floor, the more it gets soaked and stretched. Therefore, do not cover the canvas with glue in reserve. Apply it only one at a time to each strip, immediately applying it to the wall.
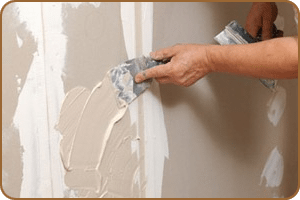
Walls should be carefully prepared for wallpapering.
- An illiterately prepared base often causes swelling of the finish. Uneven dents on the walls, lagging putty. cracks will definitely have a negative effect.
- When smearing a strip that is still lying, make sure that there are no dry gaps. The category of adhesives that change color upon application is very convenient. In this case, you will see the missing sections and correct the situation in time.
- There are times when the instruction attached to the material recommends gluing both the wallpaper and the wall. Carefully read the text on the packaging and follow this kind of advice, then you will reduce the risk of panel delays.
Helpful Hints and How to Fix Errors
Before gluing the canvas, it is necessary to prepare the surface. If the wall has undergone repairs and the application of plaster putty, it is necessary to put a primer, it is best to take CT17 or its equivalent. This will significantly reduce adhesion - reduce the absorbency of the surface. The glue will not dry instantly or unevenly. If the walls have been cleaned of previous wallpaper, you also need to apply a primer only after thoroughly removing the previous material.
Important
It is best to choose the glue with a composition that allows you to make adjustments to the canvas when gluing. These data are indicated by the manufacturer on the roll packaging or the information can be provided by the seller in the store.
If it is recommended to dilute the glue for fiberglass in a proportion smaller than for non-woven or vinyl, it is better to adhere to this consistency. The thicker the adhesive always lends itself better to adjusting when applied.
The first strip must be leveled in accordance with the applied guideline and in an area without corners or other openings. You need to level it with rubber or plastic spatulas, rollers or a soft cloth. In this case, the movements should be from the center upwards and to the sides, and then from the center downwards. But not horizontally, but how the “herringbone” is drawn - this will more effectively expel air and dock the canvas with the surface.
A sharp bend of the canvas should not be allowed, as this will make the problem area vulnerable to tearing and with a visible defect. If the bubble cannot be expelled, then you need to peel off the strips to the required height and glue it again, starting from the problem area.
Due to the slight expansion of the non-woven fabric as a result of contact with liquid, it is best to glue the fabric with a slight overlap. It will then disperse during the drying process of the glue, the gaps will not be visible. The excess is cut off with a wallpaper knife already on dry material.
It is very difficult for one person to glue the wallpaper, while noticing all the nuances in a timely manner. Therefore, if there is no experience in this matter, it is better to enlist help.If two people align the canvas (one on top and sticks the first 20-30 cm, and the second simply does not allow the rest of the strip to stick to the wall), then the process is greatly simplified, and the number of bubbles is minimized.
If, as a result of gluing, several small bubbles are formed, then they can smooth out on their own after a couple of days. If this does not happen, then you can release the air without damaging the decorative layer with a puncture with a needle or a medical syringe. Excess air is simply sucked out of the defect cavity.
Bubbles or wrinkles may appear when gluing non-woven or vinyl wallpaper. To eliminate them, you do not need to panic or immediately change the material. It is enough to peel off the canvas and try to correct it so that the defects are eliminated.
High-quality material, adherence to the pasting technology and the selection of the desired adhesive composition will reduce the problem to a minimum. If, nevertheless, after gluing the wallpaper wrinkled, the creases can be eliminated by cutting or puncturing with a new gluing of the problem area.
Bubbles on the wallpaper. Why do they appear after gluing? Main reasons
It is possible that the glue you came across is of poor quality, or it does not fit your type of wallpaper. For example, the density of the glue may not match the wallpaper. It also happens that you bought the glue you need, but prepared it incorrectly, that is, not according to the instructions. If you have bubbles on the non-woven wallpaper, then it is quite possible that the gluing was done incorrectly. When gluing this type of wallpaper, the glue should not be applied too intensively, both on the wallpaper itself and on the walls.
Glue on any type of wallpaper, you need to apply only evenly. If you smeared the wallpaper with glue, then you need to have time to glue them until it dries. If you keep them for a long time with smeared glue, and do not stick them, then often the wallpaper simply swells a lot. Later, of course, they still dry out on the wall. But, in this case, the paper shrinks a lot, displacing the air, in the end, again, we get bubbles.
Elementary drafts in the room, during the wallpapering procedure, can also "inflate" your wallpaper on the wall.
How to remove such bubbles?
You can solve the problem in different ways, that is, you will need different tools for this. This can be a plastic spatula or other tools. So, if bubbles appear on vinyl wallpaper, then you need to remove them with a brush. If on non-woven, then with a rubber roller. And, if on simple, paper ones, then with the help of a soft cloth. You need to do this on the same day when you pasted the wallpaper. To do this, we take a tool that is suitable for your type of wallpaper, and with its help we drive out all excess glue from under them. Further, the surface is simply wiped with a dry (always clean!) Cloth.
Fixing a leaking shower hose
If the wallpaper is already dry, and the bubbles on them have not disappeared, then you will need a medical syringe. It will need to be filled with wallpaper glue. Where the bubble has formed, the wallpaper is carefully cut (the cut should be quite small), the air is released, and a needle is inserted there. Then, little by little, glue is poured into it with a syringe, and then this area is smoothed out with a soft cloth.
This should be done only from the very edges of the bubble to its center. This way you can remove all excess glue from it, which will come out through the small hole you made.
Even a lighter iron can be used to remove bubbles. True, you cannot use an iron for all types of wallpaper. Again, the bubble must be slightly incised, take an iron (do not heat it too much!), Put fabric on top of the wallpaper in several layers, and iron this area through the fabric. This can be done if the wallpaper was pasted quite recently, and they have not yet had time to dry completely.
This video will also help you remove such bubbles on the wallpaper. Take a look.
READ ALSO
Preventing the appearance of blisters on the wall
In order not to suffer with the elimination of blisters, after gluing the materials, you need to try to prevent their occurrence.
Simple tips to prevent blistering:
- During the preparation of the adhesive, you should follow the instructions. It is not recommended to stir the glue intensively in order to avoid the appearance of a large number of oxygen bubbles in it.
- The density of the adhesive should correspond to the finishing material. It is not worth using a dense adhesive composition for thin materials, otherwise the appearance of blisters is inevitable.
- The canvas is glued to the top of the wall, observing its location. At this time, the assistant must hold the lower part of the strip and monitor its vertical position.
- A good side light will help to correctly apply the composition to the strip. If possible, purchase pink glue, which will turn white after drying.
- At high room temperatures, the glue will dry very quickly. To avoid this, you should place containers with water in the room, and close the windows with a thick cloth.
- Any unsealed crack or gouge in the wall will result in blisters on the surface of the coating.
The problem of blistering canvases is easier to avoid than to eliminate the consequences. It is necessary to prepare the walls before finishing and thoroughly approach the choice of materials (read about how to properly prepare wallpaper and walls for gluing, read here.
Reasons why bubbles appear
Interior wall decoration in the form of wallpaper is the most popular material. Now manufacturers offer bamboo, fabric, non-woven and other types of wallpaper, which are applied in almost the same way.
In order to properly glue the surface, take into account the features of the model, read the instructions on how to apply glue and level the stripes. If some feature is not observed, then this will cause trouble in the future.
Loading …
Perhaps the most common defect is blistering.
Main reasons:
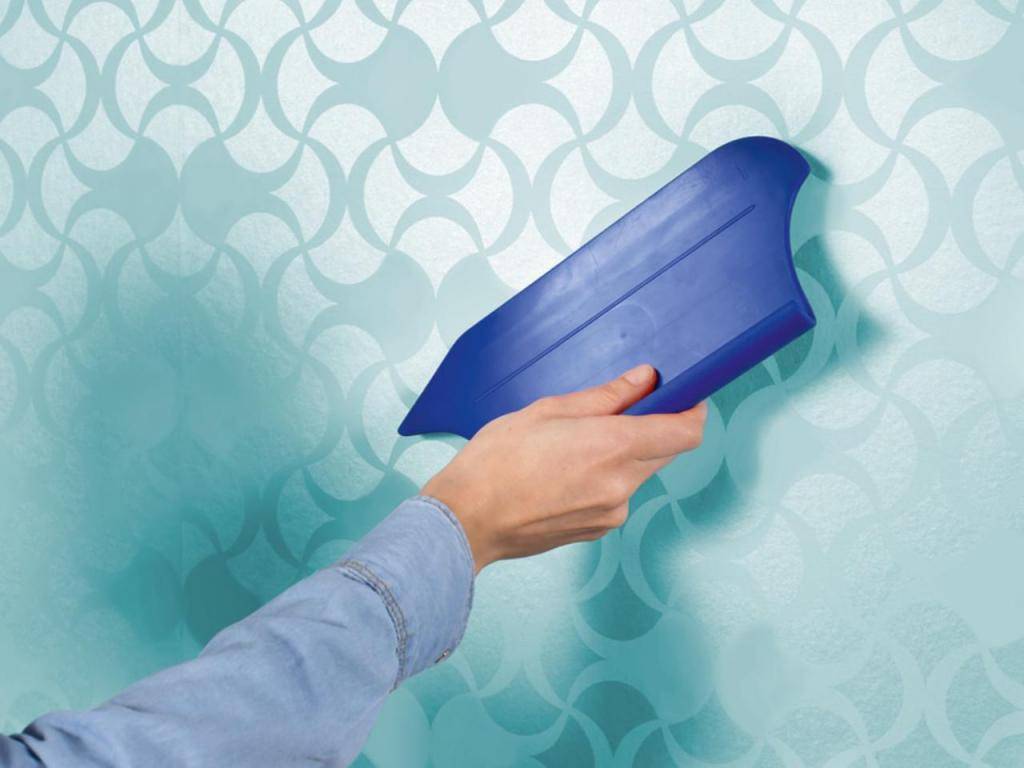
- Wall preparation cannot be ignored. If there are cracks, irregularities, rusts, old plaster and more, it is imperative to remove them. It is necessary to level the surface as much as possible, but for this it is forbidden to apply a new layer of plaster to the old one. This will lead to the fact that everything crumbles and collapses. Any old coat of paint, whitewash and glue is removed.
- Time. Any operation takes a certain amount of time. If you are working with a primer, plaster or putty, allow time to dry. Each layer dries separately. It is forbidden to apply all solutions at the same time. As soon as everything is dry, wallpaper is pasted. The canvas will pull away from the damp wall, and bubbles will appear in some areas.
- Glue. There are some types of wallpaper that require the application of an adhesive mixture not only on the walls, but on the paper base. In this case, there is a possibility that areas will appear where the layer is larger. This will lead to uneven drying of the surface and the formation of air gaps.
- Drying conditions. There is no need to rush anywhere. There is a clear time frame in which the wallpaper and glue completely dry out. For the solution to completely lose moisture, at least two days must pass. In this case, it is better to keep the room closed so that cold air currents do not penetrate inside. Direct sunlight, drafts are not allowed.


