Frost forms in the refrigerator (snow coat)
In old refrigerators, the formation of ice was taken for granted, defrosting (not the most pleasant thing) was put on the schedule of household chores, since the time for the fur coat to grow was predictable. Newer models defrost themselves (water flows into a special tray, where it evaporates safely), the appearance of frost is freelance for them. In refrigerators with a No Frost system, frost can be regarded as a distress signal, but not immediately. It must be understood that the snow coat is only a consequence, due to the incorrect operation of one of the nodes or incorrect settings. Having found ice, first of all, you need to read the instructions to make sure that the equipment is working / malfunctioning (perhaps you just need to set the correct settings). If everything is correct, but there is frost, then something is broken.
Typical causes of frost formation:
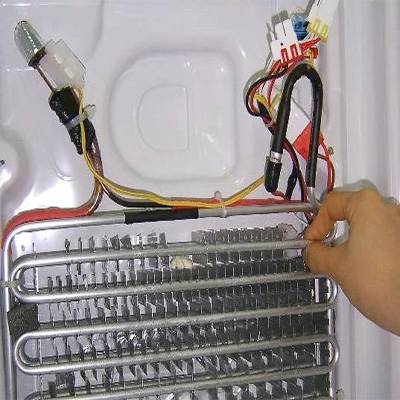
- A refrigerator with two thermostats turns off less often than it should be, there is a uniform layer of ice on the walls of the freezer or refrigerator (the back wall is mainly) of the chamber: the temperature sensor of the freezer / refrigerator compartment is faulty, it sends an erroneous signal about insufficient temperature, which makes the engine work harder and longer in mode cooling, creating conditions for the formation of a fur coat. Repair - replacement of the temperature sensor.
- A refrigerator with one thermostat rarely turns off, ice forms in both chambers: the thermostat located in the evaporator is out of order and at the right time does not send a signal about the need to complete cooling, the compressor continues to work, the fur coat grows. Repair - replacement of the thermostat.
- In a refrigerator with a drip defrosting system, water accumulates at the bottom of the refrigerator compartment (true for Free Frost), at the bottom of the freezer compartment (true for No Frost) - a layer of ice forms: a clogged drain pipe - the water formed as a result of defrost should drain into a special tray, but this she has no opportunity, therefore it accumulates / freezes. Repair - elimination of blockage (you can clean it yourself if access to the drain hole is not complicated).
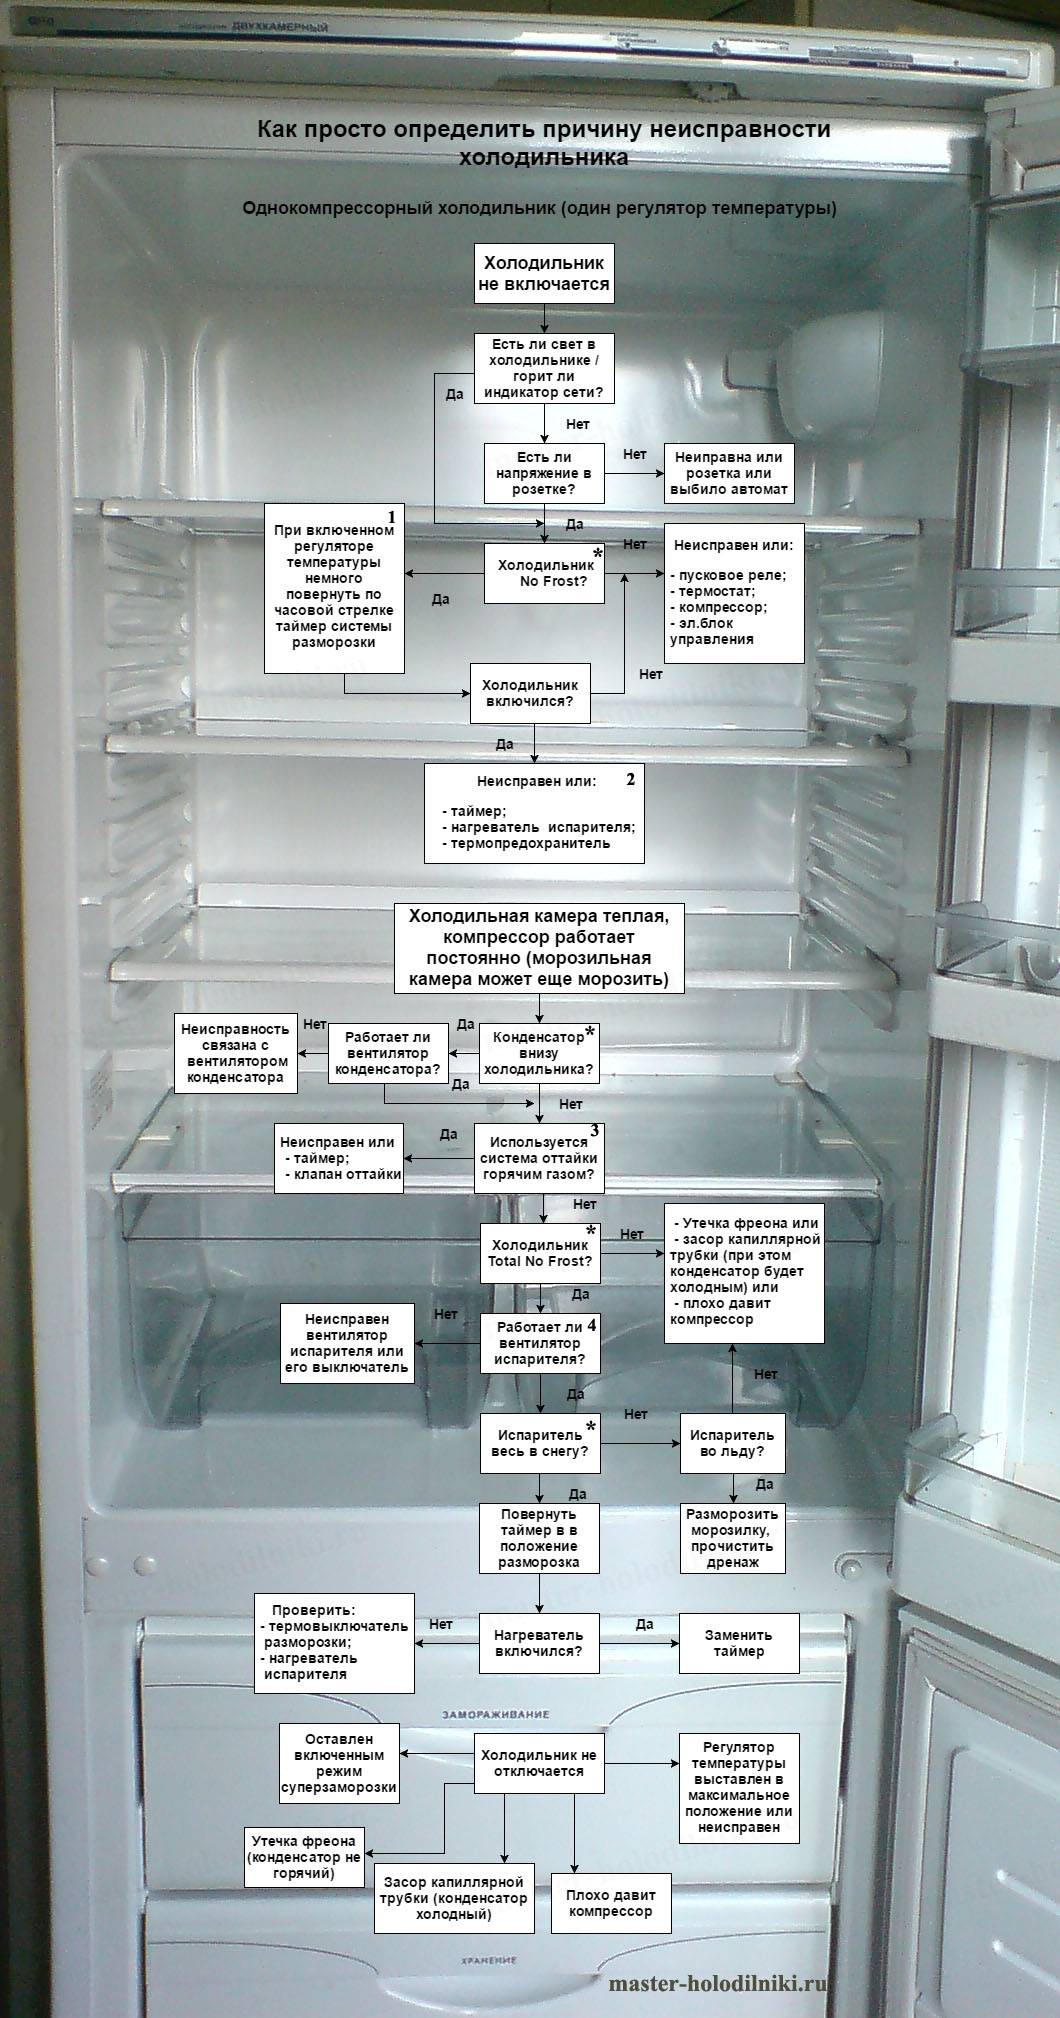
- In the refrigerator with No Frost, there is a layer of ice on the walls of the freezer, the unit works almost constantly, but the temperature is insufficient (in refrigerators with Full No Frost, the temperature is insufficient in the refrigerator compartment as well): a malfunction in the defrost system (one of the elements is out of order: the defrost timer, defroster, evaporator heating element, pallet heating element, fuse, etc.) interferes with the refrigerator to work in the desired mode, the evaporator (for Full No Frost - the cold air supply channel) freezes, performance decreases, the compressor tries to compensate for the lack of cold, operates in emergency mode, freezes the evaporator even more, which leads to an increase in the snow coat. The refrigerator, as a rule, gives signals: depending on the model and brand, it beeps, flashes with emergency sensors, issues error messages. Repair - replacement of a faulty element of the defrost system.
- The freezer of a single-compressor refrigerator is overgrown with frost, the temperature in it is insufficient: the solenoid valve that switches cooling modes is faulty (there are two of them: cooling only the freezer or both chambers) - switching to the freezer does not occur, it does not have enough cold, but in the refrigerating chamber, on the contrary, it oversupply. Repair - valve replacement.
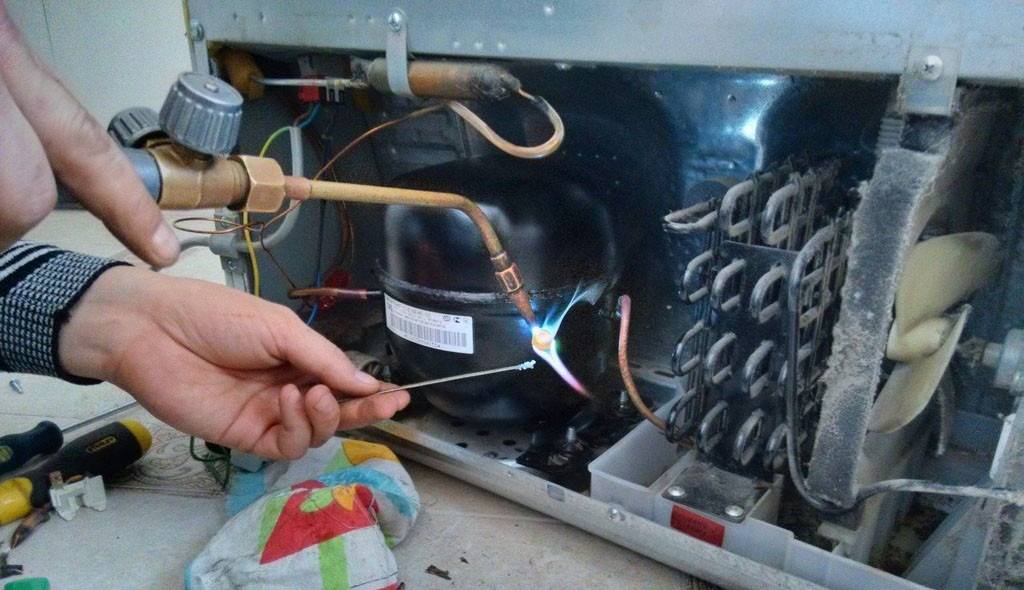
- Frost has formed on the rear wall of the refrigerating chamber, the motor turns off much less often than it should be (modern models give signals: squeaks, blinking the temperature indicator): the capillary tube is clogged, which impedes the circulation of the refrigerant.Repair - elimination of blockage, refueling with freon. Often, a blockage forms when engine oil burns out (carbon deposits form into a blood clot), so you need to check its condition and replace it if necessary.
- On the walls of the freezer, the snow coat concentrates in areas near the door or ice forms on the back wall of the refrigerating chamber, the device complains (beeps, blinks, etc.) about insufficient temperature: the door seal of the problem chamber has become unusable, warm air enters the refrigerator, forcing run the motor for wear. Repair - replacement of the seal.
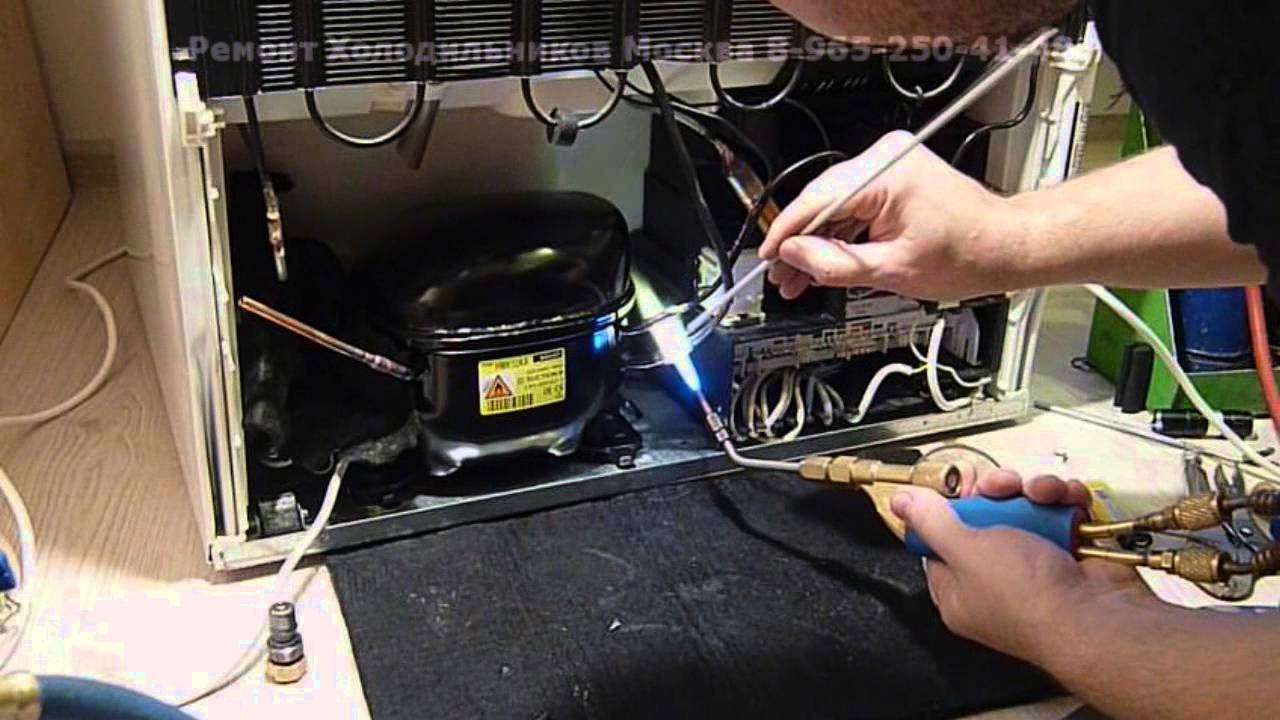
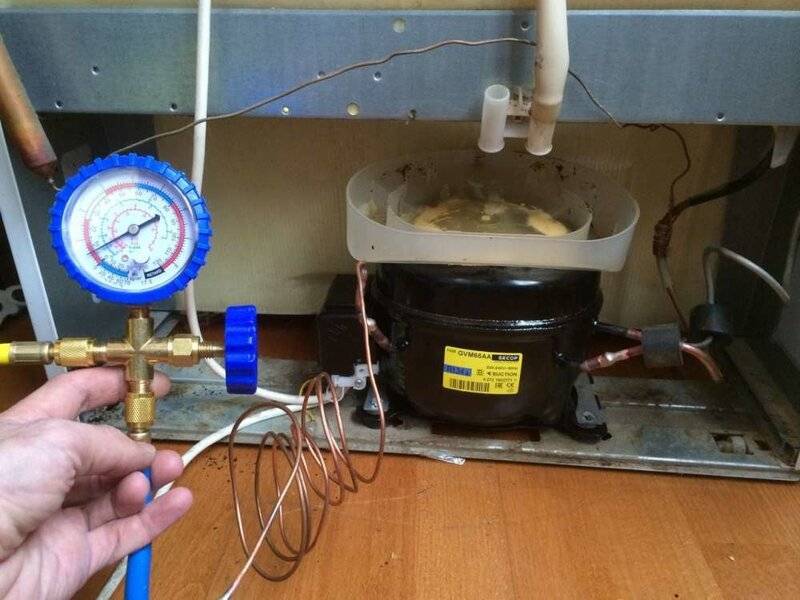
- A thick layer of ice has formed at the location of the evaporator, the compressor does not turn off, but the temperature is still insufficient; an uneven fur coat in the refrigerating chamber - after defrosting, the refrigerator refuses to work: freon leakage, most often occurring in the perimeter heating circuit, lock-ring connections, evaporator of the refrigerating chamber. Repair - troubleshooting, refrigerant charging. If the evaporator is leaking, it will also need to be replaced.
Refrigeration chamber does not freeze
Insufficient temperature in the refrigerator compartment with a normally working freezer is a common problem common for refrigerators of all types (however, the causes of the malfunction are different)
And the problem is quite serious, even if we do not take into account constantly perishable products: the compressor strives to reach the desired temperature, works for wear and tear, which significantly reduces its service life; one faulty element creates abnormal conditions, increasing the load on the other components by 2-3 times, which ultimately leads to a reduction in the service life of the refrigerator
The temperature may be insufficient not due to any malfunction, but for simple, easily removable reasons: the door is not tightly closed (something is interfering with it, for example a large saucepan); the fan is frostbitten, therefore it does not spin, cold air almost does not enter the chamber. It is necessary to check if something is preventing the door from closing tightly, and if it is a fan, defrost the refrigerator completely (do not turn on for at least 10 hours). If the above measures did not help, the refrigerator still does not freeze, one of the breakdowns is to blame:
- The fan motor is out of order. Repair - replacement of the fan or its motor.
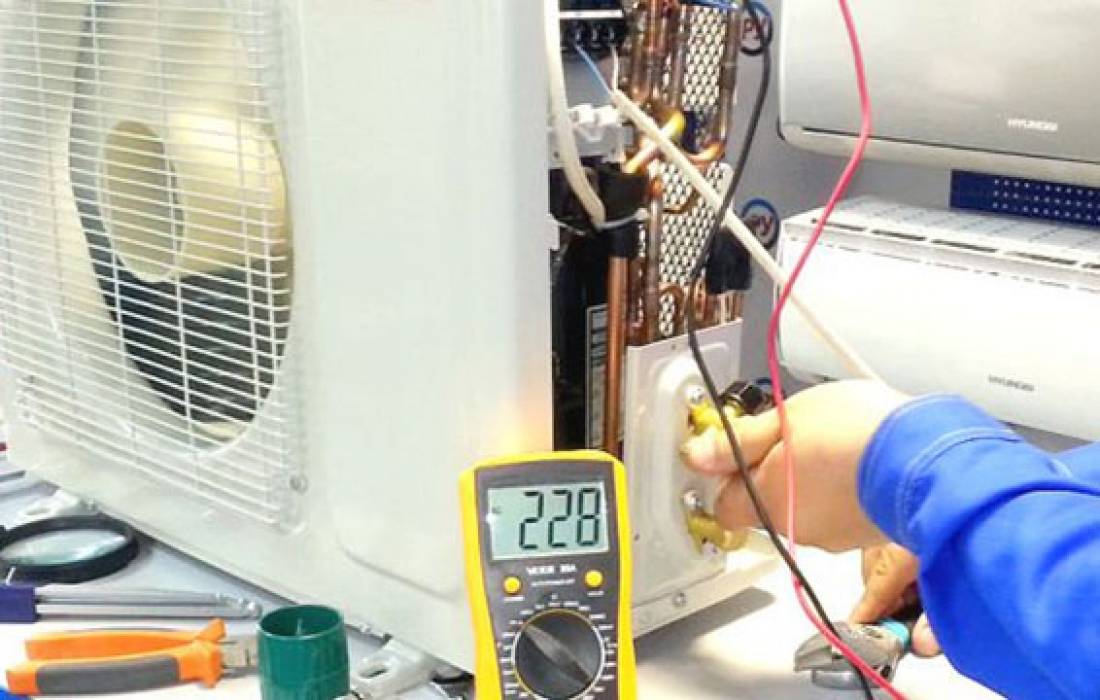
- Fridge compressor defective. It can be repaired or replaced, depending on the scale of the problem (it is found out during the diagnostics process). Visually (with a little decompression), a breakdown can be identified by the presence of an oily substance accumulating under the refrigerator - in such a situation, the unit can be repaired. When the device has been running for about 10 seconds and turned off, the compressor will have to be changed.
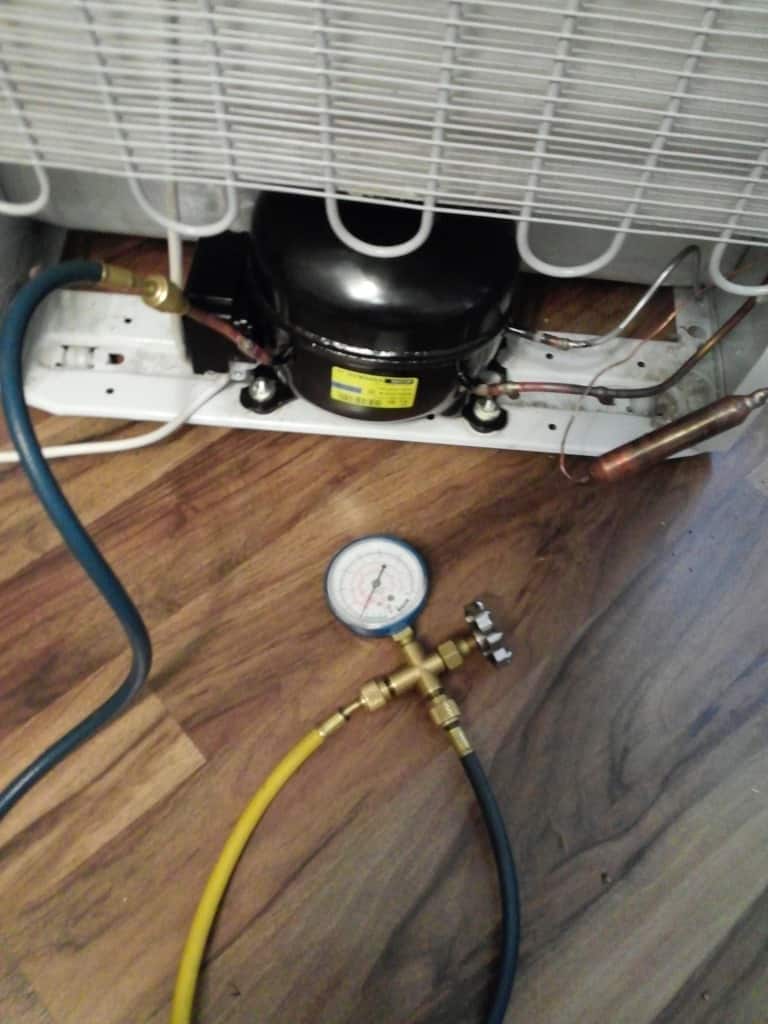
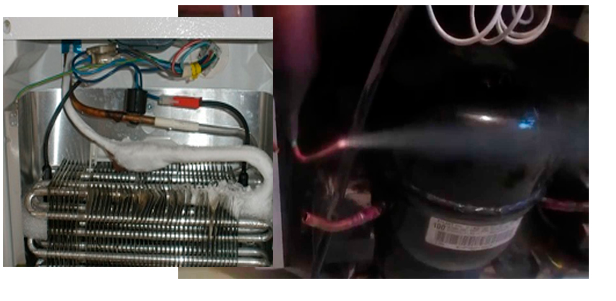
- Freon leak in the sealed sector of the refrigerator. Repair - replacement of the evaporator, refueling with freon. A malfunction can be diagnosed visually by the heterogeneity of the emerging frost and swelling of the walls.
- Freon leaking through the steel circuit of the freezer (usually located at the bottom). Repair - elimination of malfunctions of the circuit and drainage system, refueling with freon. Breakage can be identified visually by rust / rusty streaks on the body at the location of the freezer (the steel circuit corrodes under the influence of water, due to a blockage in the drainage system that accumulates and passes through the micro-holes in the plastic).
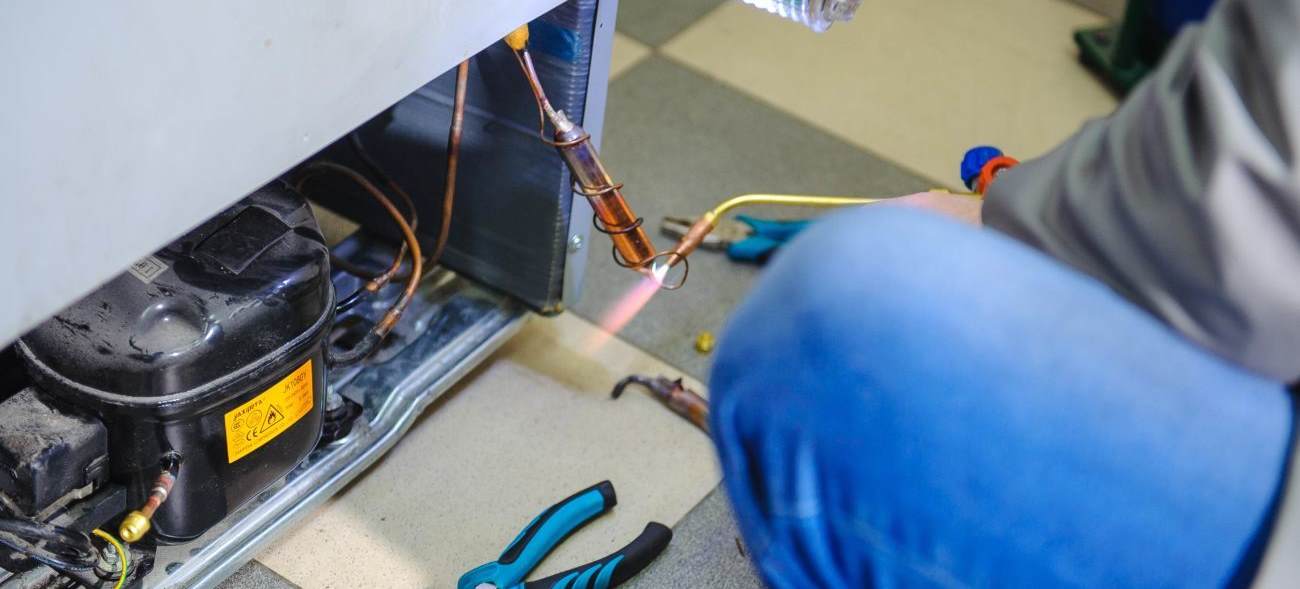
- Mechanical damage and, as a result, freon leakage. Repair - determination of the place of leakage, restoration of tightness, refueling with freon.
The last malfunction on the list arises due to excessive zeal and active participation in the process of defrosting the refrigerator (ice is removed by hand, while damaging the circuit) - no need to do this, defrosting should be natural.In addition to the above, the refrigerating chamber may not freeze due to the failure of the start-up relay, thermostat, sensors, or a clot formed in the capillary tube or filter-drier.
Functional check
The most important step in checking the diagnosed equipment is the assessment of the quality of work. Therefore, after inspection inside and out, the unit should be plugged in. However, it is prohibited to do so immediately after delivery. You must wait at least half an hour.
If the purchase was made from a bona fide store, the shipping staff must offer such verification themselves. If this does not happen, you must insist on your legal rights to check the performance of the delivered equipment. Without this check, it will not be possible to diagnose a malfunction of the power cord, light bulbs, motor and other elements of the device.
When the unit is turned on, the power indicator and lamps should light up, and the compressor should start, making a characteristic sound. After that, the doors must be closed for half an hour in order to find out after their expiration whether the temperature in the chamber is dropping. It is best to use a thermometer for this, but you can simply check with your hand by placing it against the back inner wall of the device. The temperature should be a few degrees below the initial temperature. In addition, frost should form on the back wall.
If after half an hour the back wall continues to be warm, it is necessary to close the door for another half hour and measure the temperature again. If the cooling process has not started yet, this indicates possible malfunctions.
Component manipulation
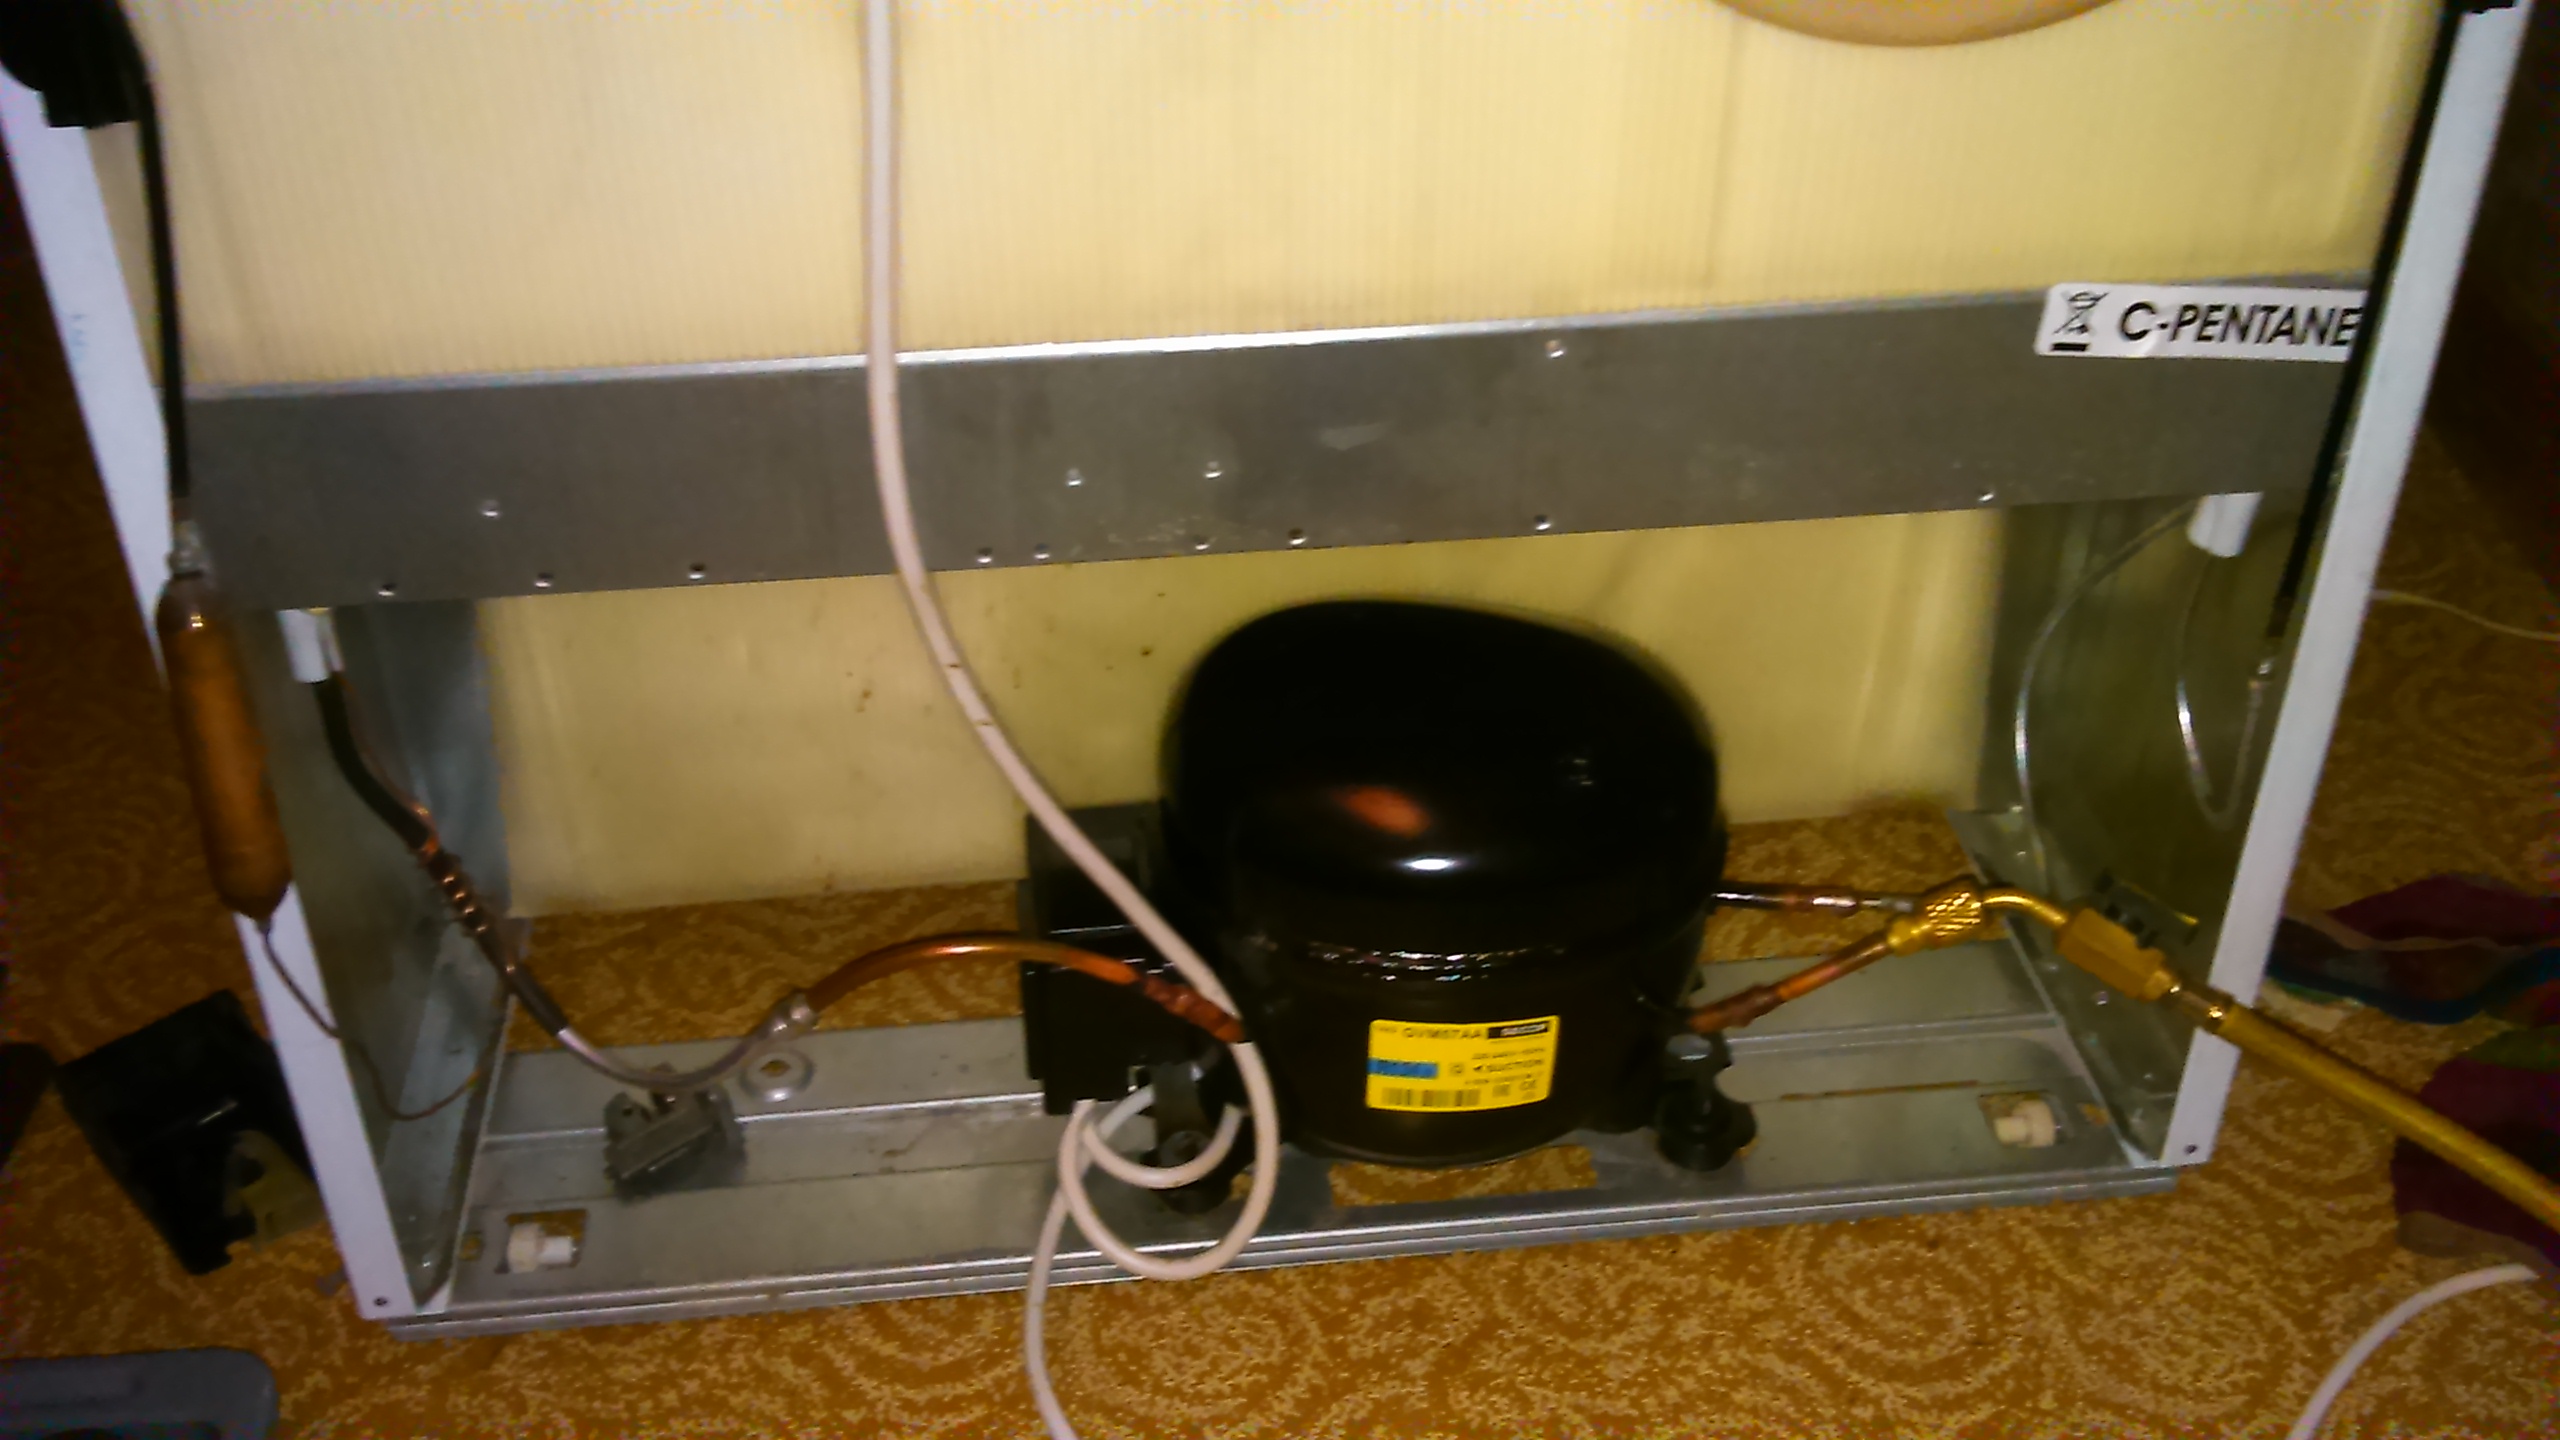
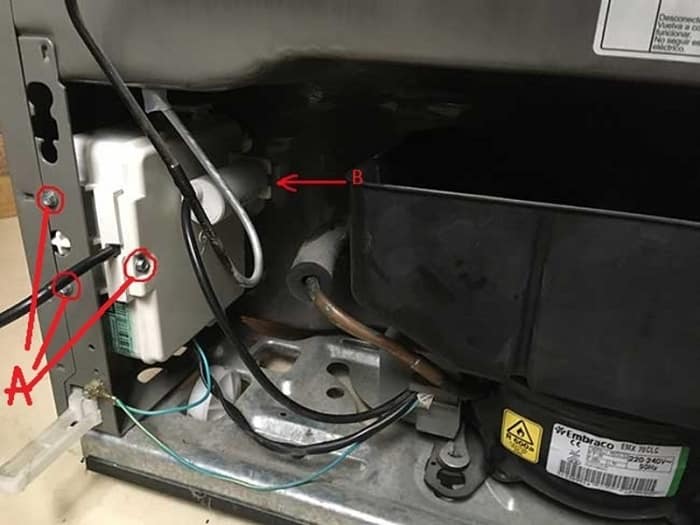
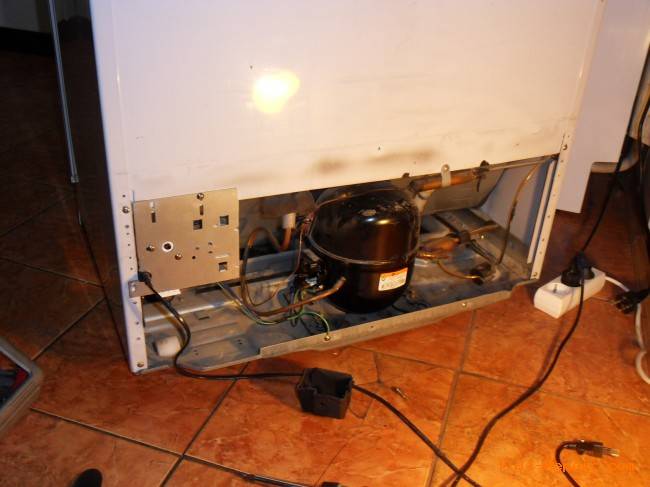
The unit is located at the bottom of the back of the refrigerator. He should not be damaged, and if there are any, then you are one step closer to making a "diagnosis."
After finishing with a visual inspection, proceed to checking the windings for integrity. There is also a relay that is responsible for starting the refrigerator. Failure of the contactor will prevent the refrigerator from starting.
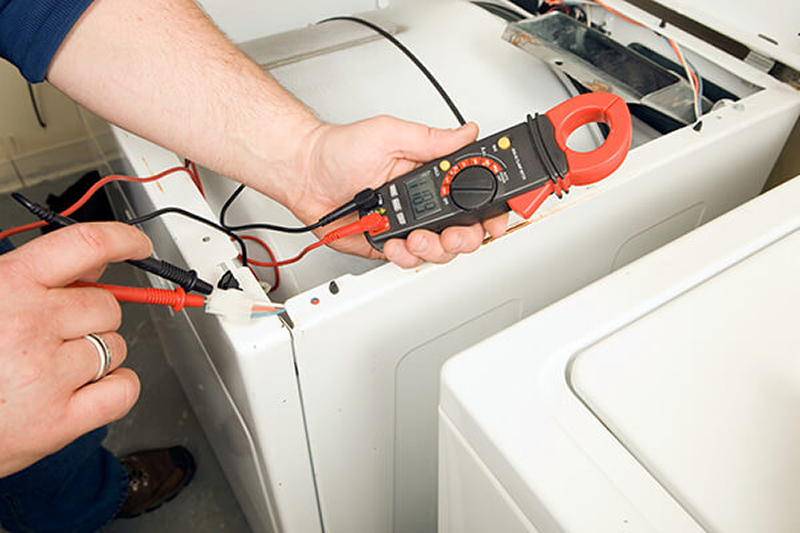
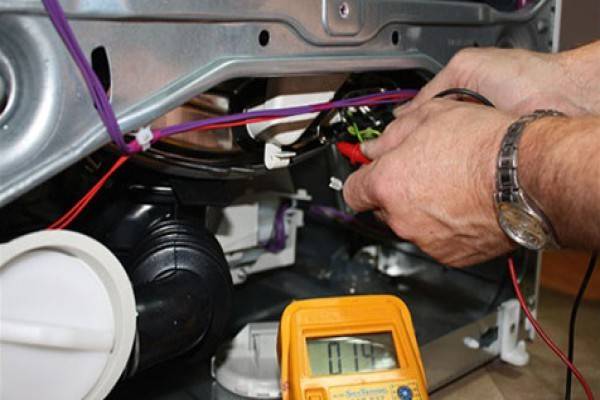
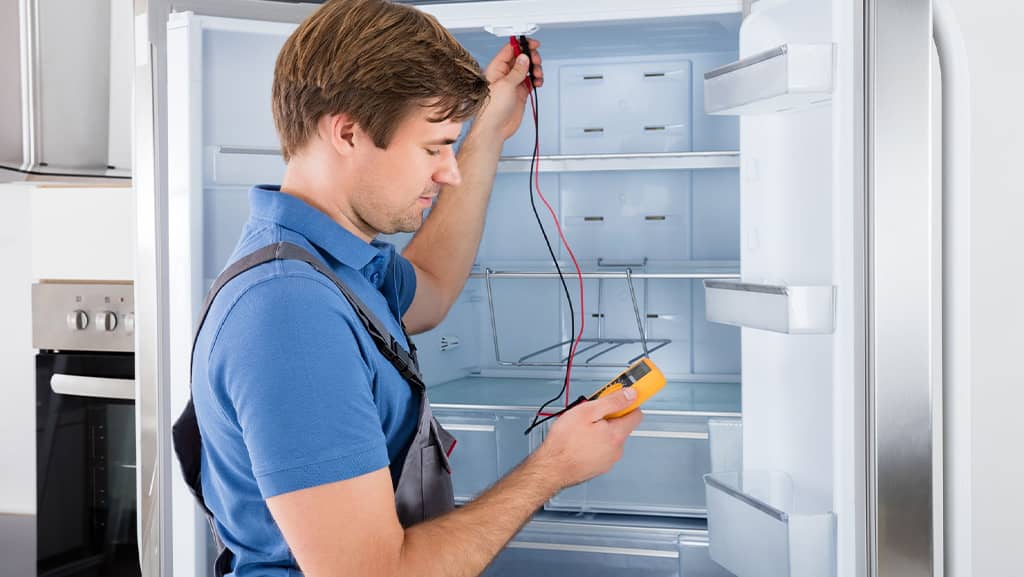
To diagnose the relay, the flexible wires are disconnected. 99.99% of modern refrigerators have a special designation on the terminals. The integrity of the winding circuit is checked using a tester, previously switched to ohmmeter mode. The free edge of the wire is fixed to the tester's contactor, and the other end of the device touches the remaining terminals, monitoring the voltage. In addition, diagnostics of refrigerator malfunctions are performed in pairs.
If the tester needle does not oscillate, the circuit winding is likely to be damaged or short circuited. If the assumption is confirmed, then you will have to change the compressor motor.
Diagnostics and replacement of parts
Before you repair the refrigerator yourself, you need to find out the exact cause of the breakdown. This will allow you to assess the size of the problem and your ability to fix it yourself. Maybe it will be technically impossible to make repairs with your own hands and you will have to use the services of a service center.
Before starting work, it is necessary to remind that any actions for the diagnosis and repair of electrical devices must be carried out, having previously stopped the current supply. Consider common refrigerator breakdowns, methods for diagnosing them, as well as the correct options for solving these problems.
Compressor breakdown
The most serious problem that can show up during troubleshooting is compressor failure. We can confidently say that replacing the compressor in the refrigerator with your own hands, as well as repairing it, is impossible and, most likely, you will have to change the refrigerator.
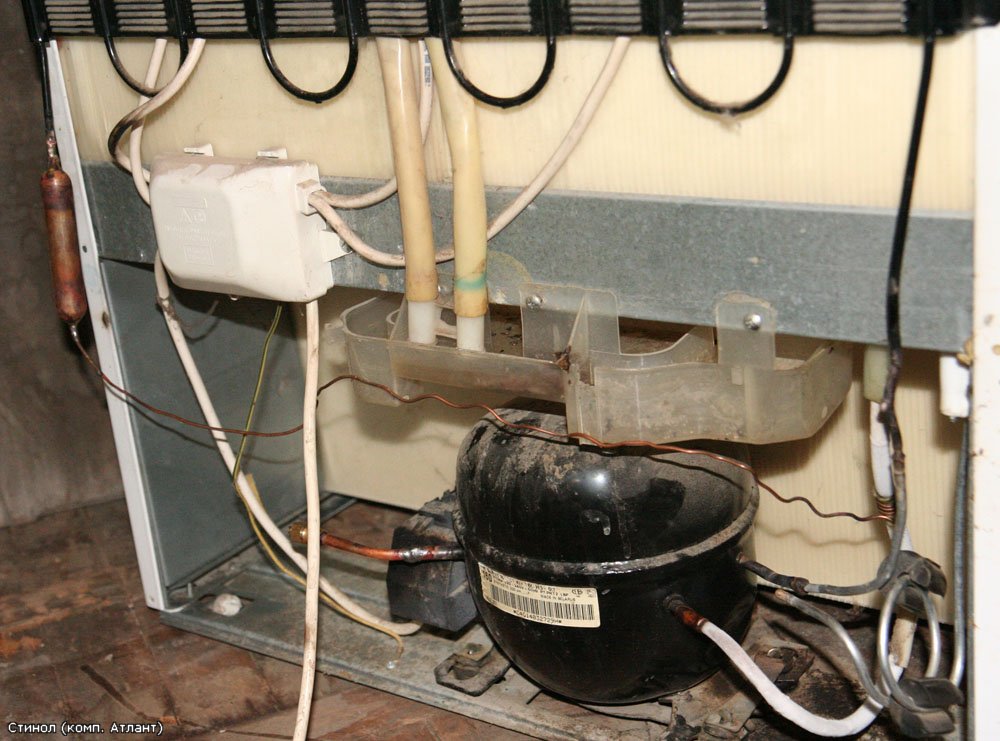
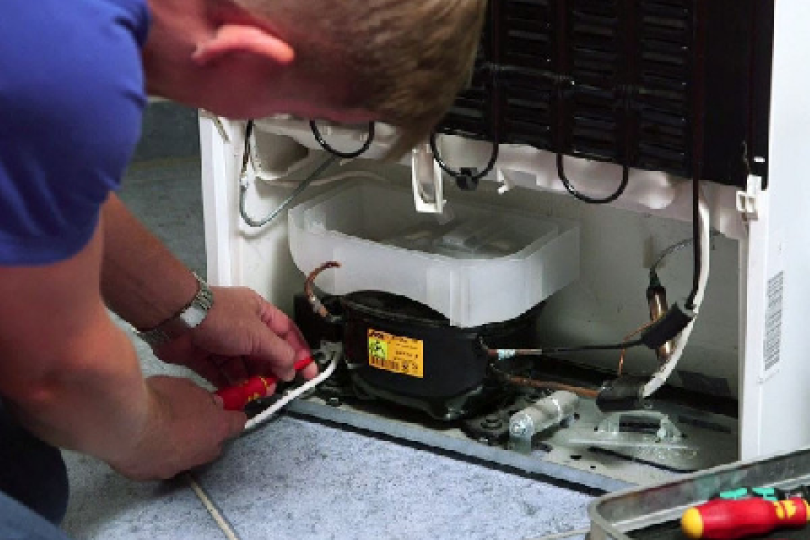
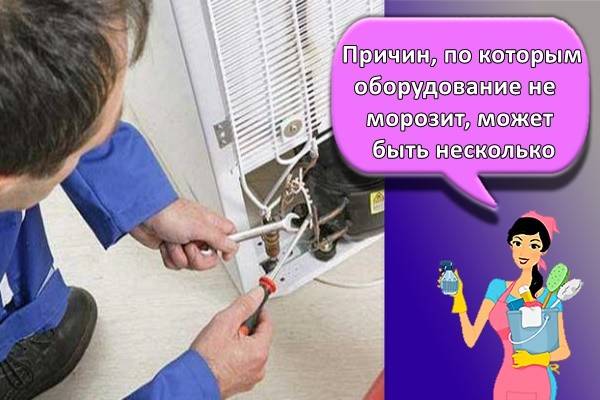
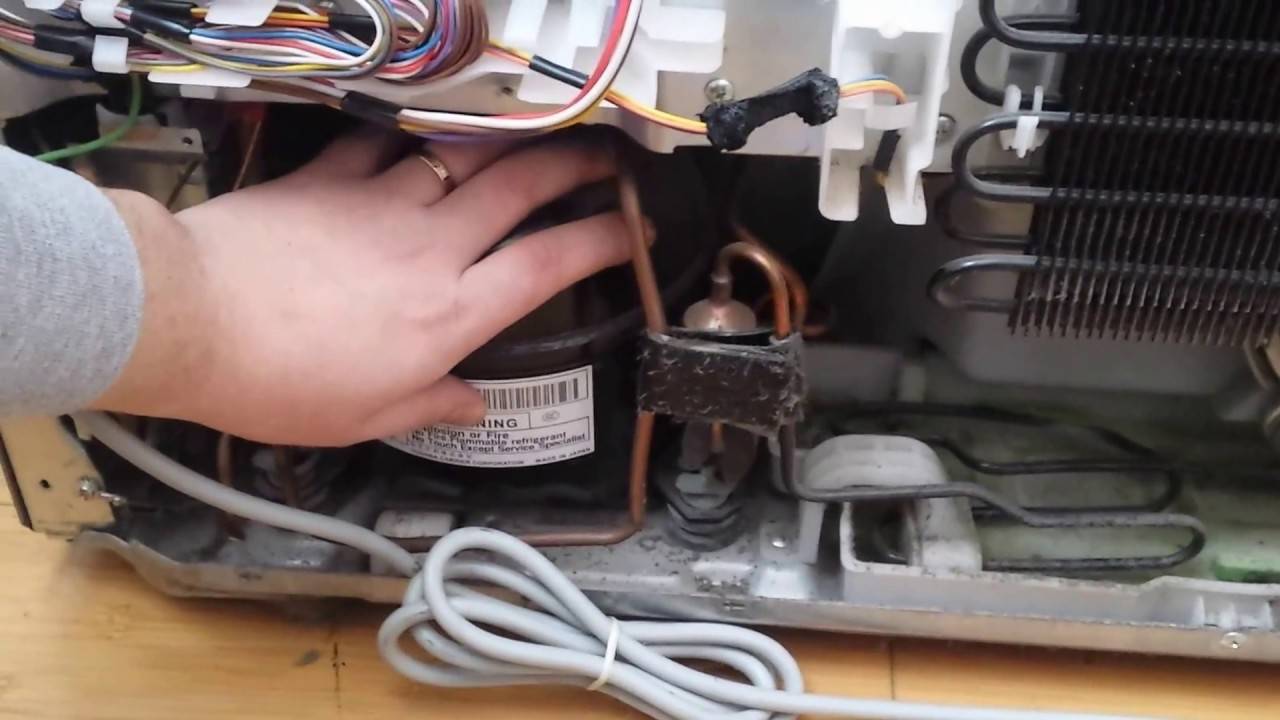
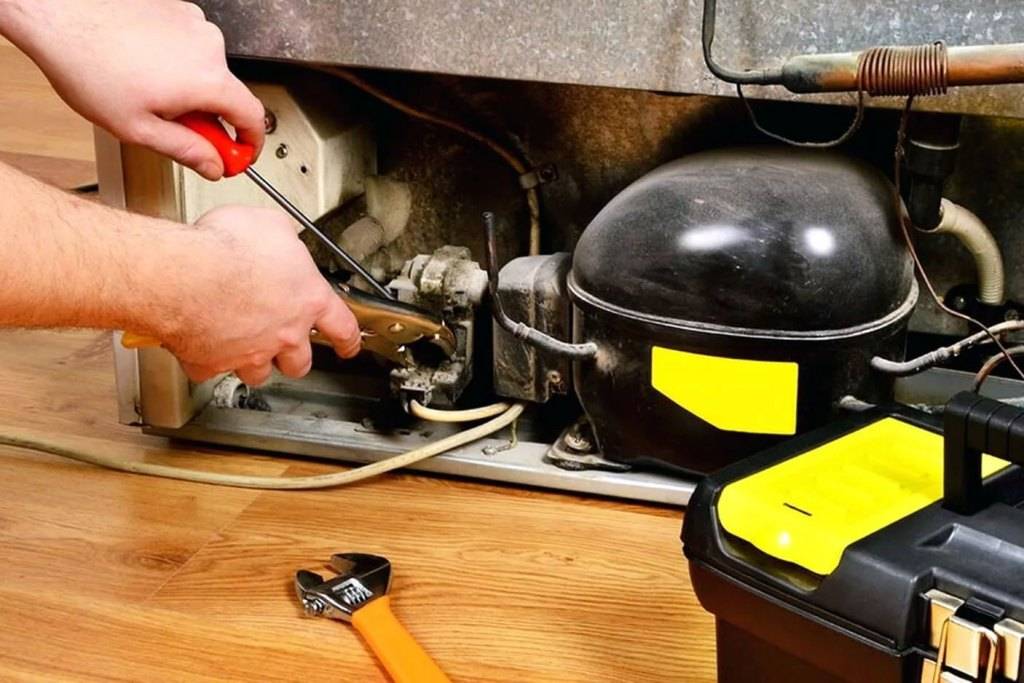
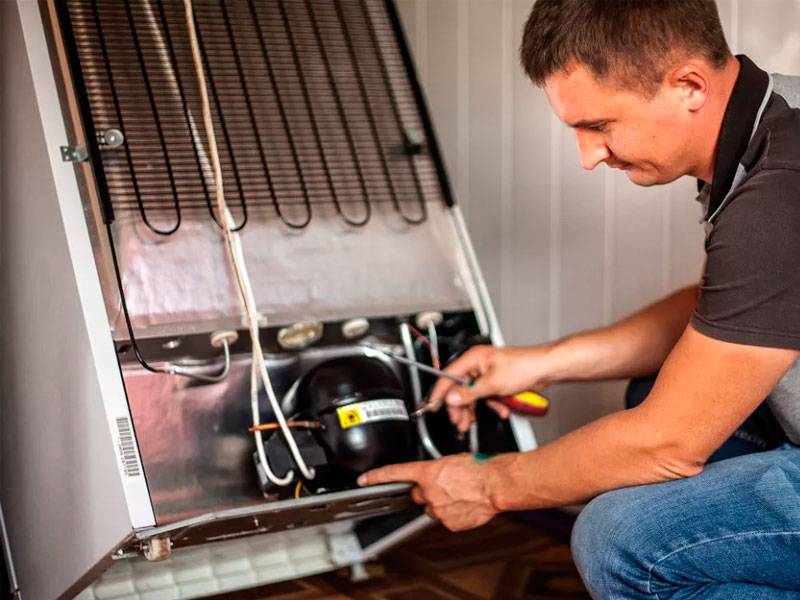
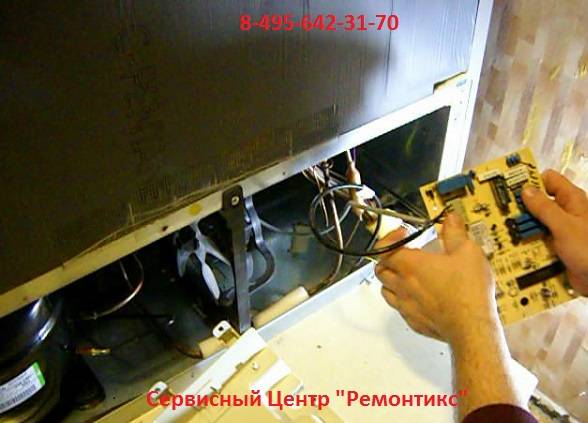
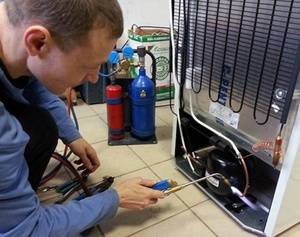
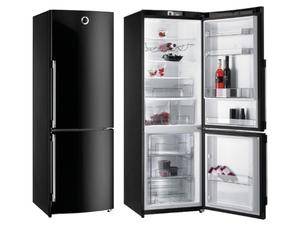 To check the compressor is working properly, you need to unscrew the bottom rear cover, under which it is located. You can immediately see the group of contacts with which the compressor is connected to the power supply.The green and yellow wires are ground, the first brown and blue are mains powered, the second brown and black are powering the compressor.
Disconnect all wires and close the two brown contacts. Then plug it in. If the compressor does not work, you will have to buy another refrigerator.
Troubleshoot fan problems
The vast majority of modern refrigerators are equipped with a No Frost system. The next step in the diagnosis will be to check the fan that accelerates the cold air in the freezer. The fan is always connected to the compressor so that in the event of a fan breakdown, the evaporator tubes are not prematurely frozen.
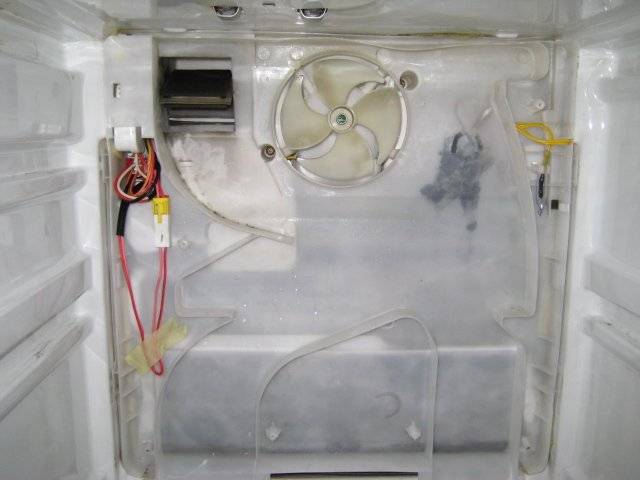
It is necessary to open the freezer and remove the back wall with the fan located on it. It has only two contacts, you need to supply power to them. For this, a piece of any cord is quite suitable. If the fan does not work, it must be replaced.
Temperature fuse
The fuse is located in the freezer. It is a small metal cylinder encased in transparent plastic. It must be disconnected and checked with a standard tester, in case of malfunction, the fuse will need to be replaced.
Replacing the thermostat
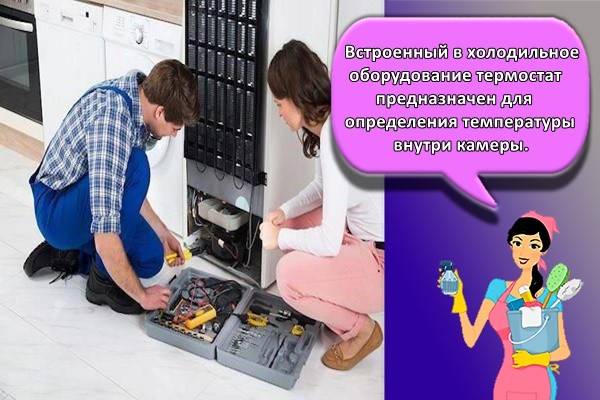
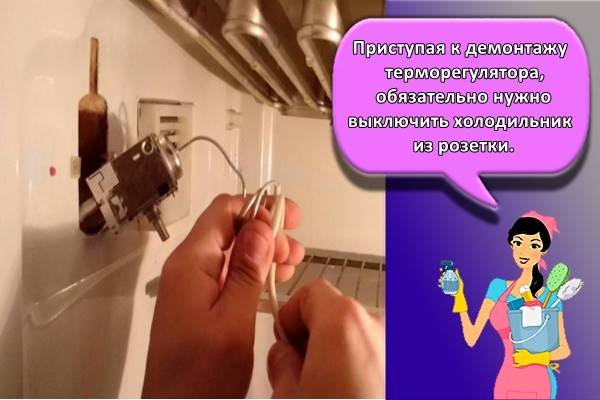
 The thermostat is responsible for maintaining the required temperature inside the refrigerator compartment. Depending on the temperature reading, the thermostat turns on and off the electric motor of the compressor. In the event of a breakdown, the refrigerator will either stop working or will work non-stop.
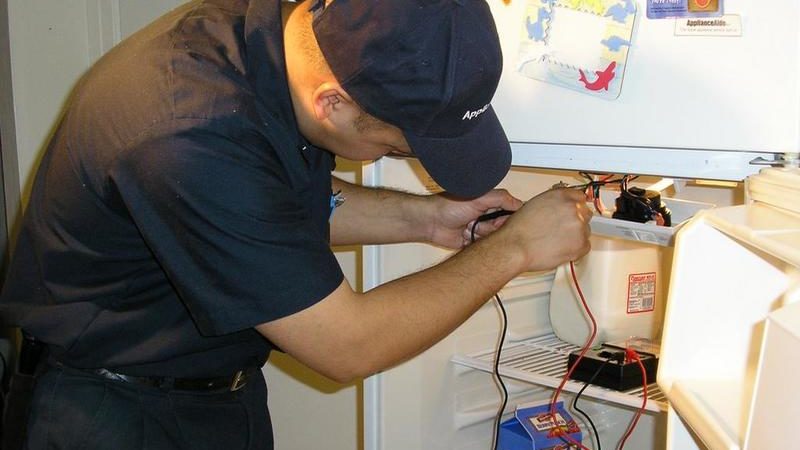
The thermostat is located inside the refrigerator compartment. It can be distinguished by the presence of a temperature controller. You need to remove the thermostat and short-circuit the wires that fit to it directly. In the event that the motor is running, the thermostat needs to be replaced.
Malfunction of the starting relay
The main reason for the failure of this relay is power outages. In this case, the refrigerator compartment simply stops working.
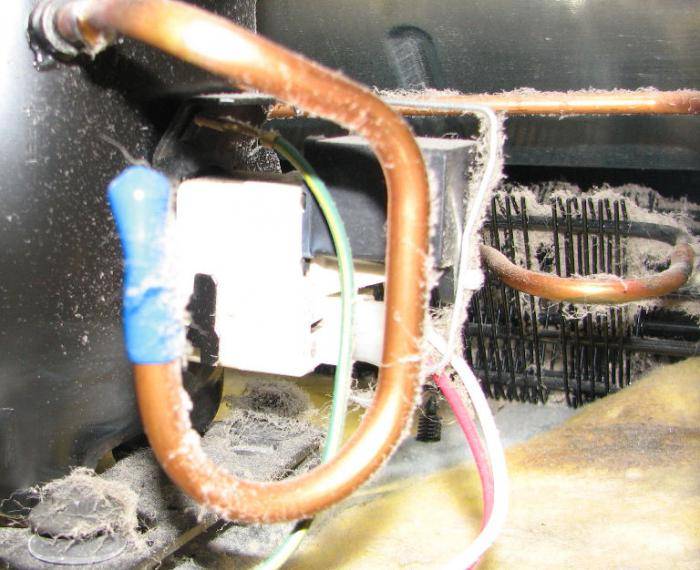
The relay is located on or near the compressor. It can be distinguished by its plastic body. You can diagnose a malfunction by the presence of melted contacts or carbon deposits on the case. It is necessary to disconnect the relay, having previously fixed the connection diagram of the contacts. Replacing this part shouldn't be a big problem.
How to replace correctly
When performing work on replacing a faulty thermostat, you need to follow the instructions in order to prevent common mistakes. Violation of the rules for installing a new component can cause incorrect operation of the equipment and provoke breakdowns of other parts.
Dismantling
When starting to dismantle the thermostat, be sure to unplug the refrigerator. Then you should find the location of the component depending on the type of equipment. Usually, for dismantling, it is enough to unscrew the adjusting knob, remove the fasteners and the protective cover of the case.
Difficult but possible
Here we are with you and figured out how the refrigerator works and is restored in the event of a malfunction. DIY repair at home is possible in most cases. I would like to say even more: sometimes it is simply necessary to do such things. This way you can gain valuable experience that you can use in the future. Of course, there are various modifications and generations of refrigeration equipment. One-chamber, two-chamber, etc. They are all different from each other. But the principle of operation of such a technique is always the same. This is a compressor that circulates refrigerant around the circuit. At the same time, a constant temperature is maintained using automation. There is also a system of pipes through which air passes. If one of them gets clogged, then forced circulation becomes difficult, which is why various problems arise.
How to adjust and fix defects with your own hands
To repair a door that has begun to warp, you must dismantle it. The refrigerator is installed on the side to gain access to the fasteners. It is forbidden to tip the unit over so as not to damage the cooling circuit.
Inspection starts from the bottom. The bolt is unscrewed. The sash is removed from the upper groove. The hinges are checked manually by rotating them along the axis. If a knock is heard at the same time, the canopy scrolls, then it is either changed, or the bolt is tightened.
The procedure for installing fasteners when replacing:
- a counter washer is installed in the place of the canopy;
- the bolt is screwed at a right angle;
- fastening with a self-tapping screw is similar.
The presence of a crack in the body at the point where the awnings are attached requires the door to be re-hung to the other side. The door / doors are dismantled. On the other side, the plugs are removed, freeing up space for attaching the brackets. Old sash / sash attachment points are closed with plastic covers. Fill wide cracks with epoxy.
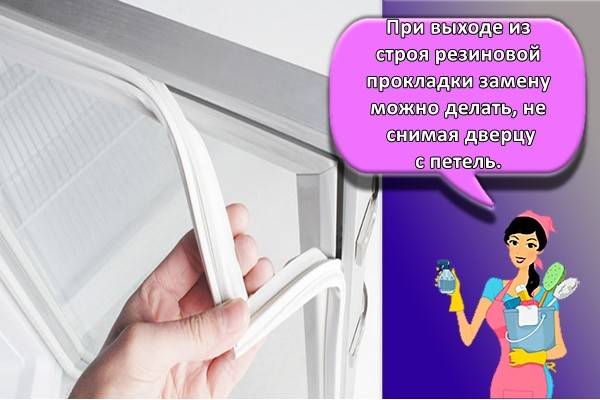
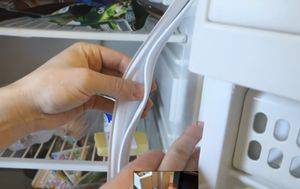
Glue the gasket on rubber and metal glue, with medium strength values. At the first stage, the corners of the door contour are smeared onto which the elastic is attached. After setting in the corners, the glue is applied around the entire perimeter in small areas, making sure that the sealant is in close contact with the metal. To do this, the seal is stretched a little, ironed and pressed with your hands.
There are models of refrigerators in which the seal is located in the groove of the sash and is attached to self-tapping screws. When replacing such gaskets, no glue is applied. The rubber seal does not have to be replaced if it is dry around the entire perimeter or at the corners, but it keeps its shape and retains its magnetic properties.
The sealant is spilled with boiling water several times so that the rubber heats up well. Use your finger to expand the gasket, restoring its original size. The procedure must be completed quickly so that the gum does not cool down. For 1-2 minutes, the door is closed, without exerting effort, so that the seal around the entire perimeter is of the same thickness to the refrigerator body.
If there are internal cracks in the rubber, they are filled with silicone sealant. External defects in places where the seal touches the refrigerator cannot be repaired with silicone. In cases where the pad has come off or shrunk in the corners, use heating with a hairdryer. Hot air softens the rubber and stretches it with your finger.

What can you repair yourself
There are several places and moments in the refrigerator that can be repaired at home without any problems.
First of all, do-it-yourself refrigerator door repairs can be attributed here. Problems can be different - the elastic band is worn out, the handle is broken or the mounts are loose. All this can be corrected without any problems yourself.

However, if the refrigerator is still under warranty, you should read about the warranty conditions. For example, in my case, it is clearly written in the instructions for the refrigerator that only a representative of the manufacturer's company or an official seller can replace the lighting inside the refrigerator, that is, a simple light bulb - intervention independently deprives of warranty service.

Given the fact that refrigerators are usually given several years of warranty, such a trifle plays a very important role.

It is better to climb to the refrigerating chamber itself only as a last resort - for example, if you know that the master will definitely not reach you, or there is no longer a guarantee. In this case, you need not only to decide on the repair, but also to understand what you are dealing with. Many people even undertake to repair the refrigerator relay, but not everyone knows how.


The cooling system most often falls into disrepair, but sometimes it is very difficult to find parts for it, especially in a small town. It often turns out that parts need to be ordered online, and the wait can take from several days to weeks.In this case, it is better to contact a master who may have everything you need for repairs, and he will know better how to repair the thermostat in the refrigerator.

DIY repair work
There are some types of faults that you can repair yourself.
Leakage
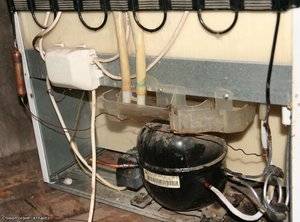 From this fact, we can conclude that there was a breakthrough of the drainage pipe. The drainage system delivers excess condensate to a special tank. If a crack appears in the pipe, condensation will flow to the bottom of the refrigerator.
It is necessary to pull out the rear panel at the bottom of the refrigerator compartment. Under it you can see a plastic tube connected to the drain hole. It is necessary to find the place of water leakage and carry out the soldering work. Alternatively, you can simply replace the pipe by hand.
Sometimes there is a shift of the drainage pipe. In this case, you just need to put it in place.
Drainage channel cleaning
It may also be necessary to clean the drainage pipe. The best way to do this is to use a soft, long-handled brush. Do not use metal-coated brushes or chemical cleaners to clean the drain.
 The recommendations in this article are about diagnosing and replacing entire parts of your refrigerator. Only professionals can repair components such as a thermostat or relay. Probably, ordinary people do not need this, because today in every city there are many specialized stores where you can buy almost any part.
This article provides examples of the most common breakdowns. Of course, there are many nuances of diagnostics and repair that you can write a textbook about. You may not have received an exhaustive answer on how to repair your refrigerator yourself. Videos on the Internet will help you understand the questions that arise.
Thanks for the advice. The current prices are inclusive of the head. The thermostat is broken. More precisely, after reading the article and diagnostics, I realized that the thermostat had broken. Now I can replace it. A master's challenge would hit the pocket.
Nikita, 36 years old
In the "No Frost" system, the breakdown is immediately visible - there will be a lot of ice on the radiator. It will prevent air from entering the chamber.
Andrey, 28 years old
Water flowed out of the refrigerator. No money for repairs. I will solder this pipe myself. I don't know if it will work out or not ...
Kirill Vasilievich, 65 years old
If the cold has not gone, then we are looking for other reasons.
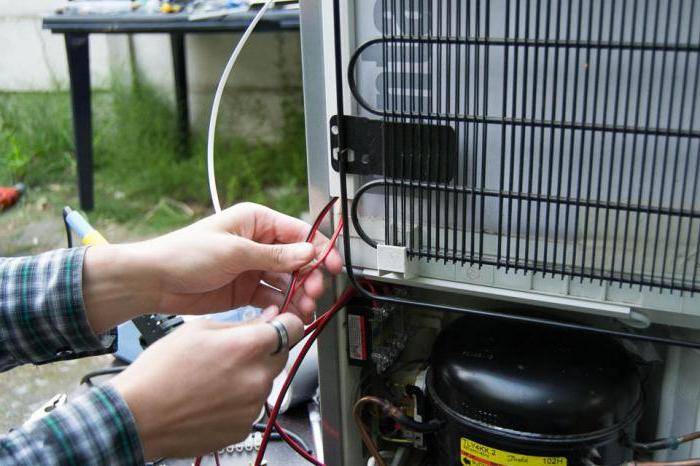
1. First of all, for imported refrigerators, we check the compressor. It is the most expensive part of the refrigerator, and it is either impossible or not profitable to fix it. To check if the compressor is working, remove the back cover by unscrewing the fastening bolts. Under the cover you will see the compressor, and 4 wires go to it. Yellow (green) - ground. Phase - brown wire and blue wire. The two wires that go in a completely different direction are the power supply for the compressor (black + blue). By disconnecting all the contacts, and connecting only the brown wires with a jumper, you can check the operation of the compressor. If, after connecting to the mains, the compressor still does not work, then it must be replaced.
2. The main part of modern models is equipped with a function without freezing of snow and ice (No Frost). This system drives air through the chambers of the refrigerator using a fan. By removing the back cover of the freezer, you can check if the fan is working properly. To do this, you need to connect a single pair of fan contacts to the network. If it still does not turn on, then it should be replaced.
3. The next step is to check the fuse, which is in the freezer and sealed in plastic. The fuse protects the heating element from temperature drops. And you can check its serviceability with a multimeter by connecting it to the plastic for punching. If necessary, replace the fuse.

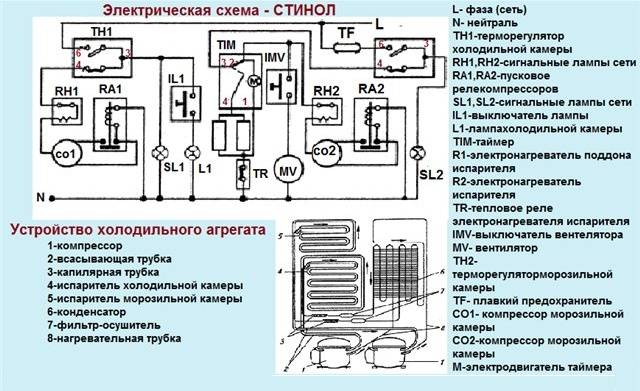
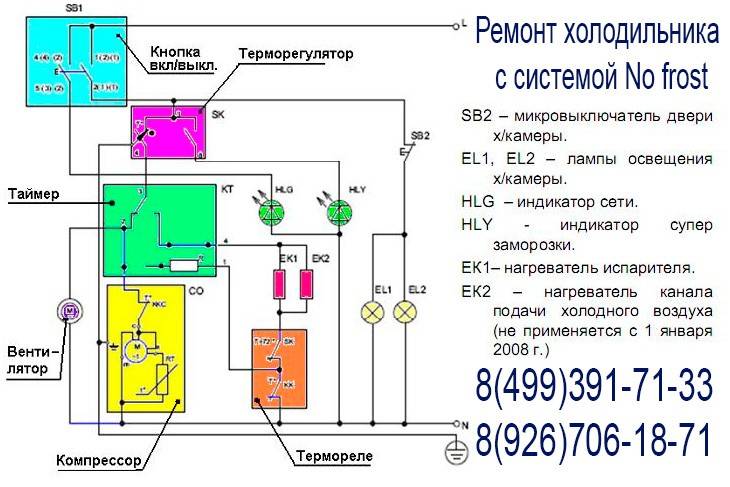
4. Many refrigerators have a timer that acts as a controller.The timer is a mechanical or electronic design. If the mechanical one can still be checked by disassembling it with your own hands, then the electronic controller is best taken to the workshop. You can turn it off by examining the electrical diagram located on the back of the lid of your refrigerator.
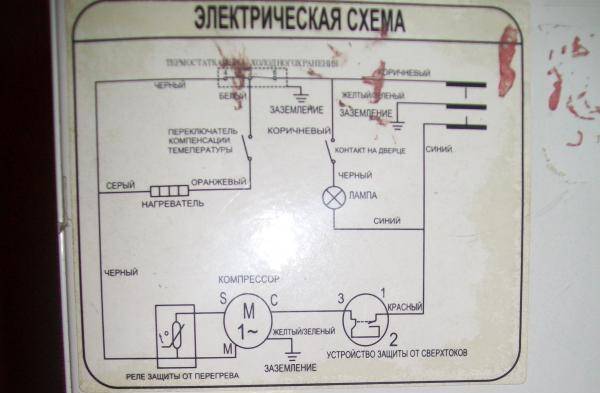
Of course, everything that is done by human hands can be repaired by human hands. But there are malfunctions of the refrigerator that are best corrected with the help of a specialist. However, you can still fix something with your own hands. In this article, you have seen that it is not difficult. For repairs, you do not need too much knowledge, skills and a special tool.
Despite the large number of brands of refrigerators, the methods of repairing them are roughly similar. After looking at the instructions and studying the diagram of the refrigerator, it will be easier for you to fix the refrigerator yourself. Using the diagram and instructions, you will be able to avoid many mistakes that can lead you to breakdown of the compressor, and, as you already understood, it costs a lot of money.
By installing a voltage stabilizer, you can also avoid problems with the electrical part of your refrigerator. Of course, you can repair the refrigerator with your own hands. But we still recommend contacting service centers in case of a breakdown, then there will be a guarantee of better work. Moreover, service centers work with branded spare parts, which means that your refrigerator will store your products for a long time and with high quality.
Do-it-yourself Atlant refrigerator repair
Frequent breakdowns that you can fix yourself
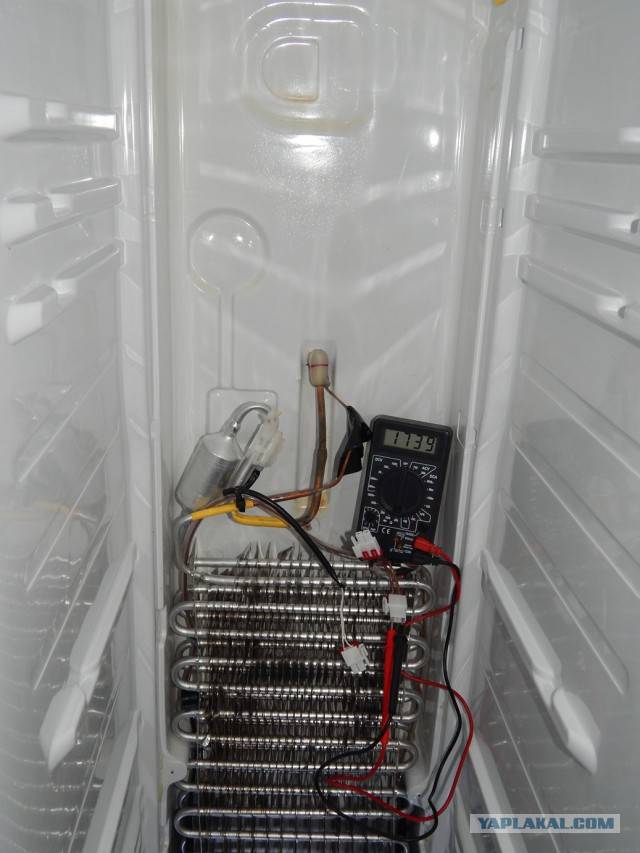
The lack of cooling or the constant hum of the "know frost" system can diagnose a breakdown of the thermostat. Repair of refrigerators with such damage at home can be carried out independently.In refrigerators, this unit is directly connected to the knob for adjusting the cooling modes. Most often, it is located inside the refrigerator compartment. To see it, you need to remove the temperature control knob and the casing on which it is installed. In the design of the Indesit refrigerator with the no-frost system, like some other models, the temperature relay is located in the upper part of the case, with a plastic removable plate above the door of the upper chamber. Refrigeration thermostats are divided into mechanical and electronic. Knowledge is needed to repair the latter. Ordinary ones can be repaired by yourself. To do this, you need to know the principle of operation and the structure of the thermostat. It consists of a sealed pipe with refrigerant and compressor connection contacts.
- The capillary tube is attached to the evaporator, with an increase in temperature in the refrigerating chamber, it leads to an increase in the pressure of the refrigerant.
- Under the pressure of freon, or another cooling substance, the contacts are closed, which leads to the inclusion of the compressor, which injects cold air into the cooling chamber.
- To turn off the compressor, a decrease in the pressure of the refrigerant inside the tube is required, then the contacts will disconnect, which will lead to an automatic shutdown of the cooling system.
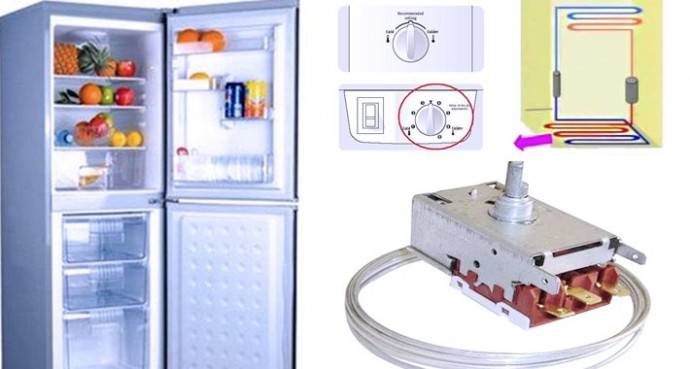
The movement of the refrigerant in the system is clearly visible from the diagram: The breakdown of the thermostat is not as obvious as it seems at first glance. To determine it, it is necessary to conduct preliminary testing. This requires a thermometer to measure the air temperature with negative values. A thermometer must be placed in a defrosted refrigerator, on the middle shelf of the refrigerating chamber. After two hours of operation of the refrigerator, at the maximum freezing mode, the thermometer should show ≈ + 7 ° C. A lower or higher temperature is an indication that repair of the thermostat is imminent. When the air temperature in the chamber changes from the initial one to the start of the refrigerator, it indicates that the engine start relay and the motor itself are in order.To make sure that the first test is correct, additional diagnostics of breakdowns are needed:
- The refrigerator is disconnected from the socket.
- The protective cover is removed.
- The purpose of the wires is determined:
- Orange, red, black - the colors of the relay connection to the motor.
- Brown - power grid (zero phase).
- White, yellow, green - the colors of the wires going to the light bulb.
- The yellow and green stripes on the wire indicate ground.
- The ground wire must be separated from the total mass.
- The remaining 2 or 3 wires are shorted together.
- The refrigerator is plugged into an outlet. If the unit responded with an even hum of the motor, it means that it was the temperature relay of the refrigerator that was out of order. The repairs will be inexpensive and quick.
This test eliminates damage to the engine and its starting relay, the repair of which requires a scientific approach. After all, even rewinding a coil requires a certain tension on the wire. The number of turns is strictly defined. For such a repair, it is better to use special equipment. How to replace the thermostat, you can watch the video. Replacing the thermostat should be straightforward.
For the rules for operating the refrigerator, see the video:

