The topic of this article is wooden stairs and wooden railings for them. Together with the reader, we will go through all the stages of handrail manufacturing - from choosing wood to applying the final coating to the finished product. So let's get started.
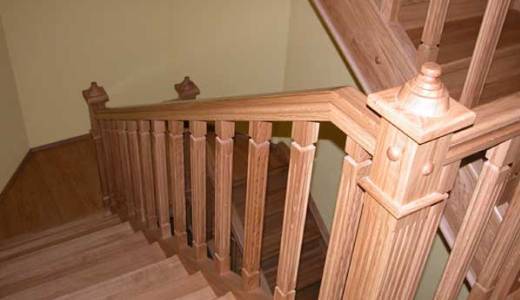
Why tree
Why exactly wood will become the material for the railings? The answer is simple.
The choice of materials for stair railings, in general, is not great.
- Reinforced concrete is not easy to mold; in addition, a fence made of it can be installed exclusively on massive reinforced concrete stairs.
- Steel requires a welding machine and welding skills. There are, of course, and Plan b" - you can buy ready-made stainless steel railings with a fastening system that does not require welding. But not everyone will like their price.
- The dry residue is relatively inexpensive and easy-to-process wood, which also has an excellent appearance.
Anticipating objections: yes, the lifespan of the tree is short due to decay and woodworms; but antiseptics and varnishes were not invented yesterday. With adequate processing, wooden stair railings will happily survive until the birth of your great-grandchildren.
Materials (edit)
What types of wood can be used to make railings?
- Spruce, pine and larch are a permanent budget option for any wooden structures in the house. Larch is the most resistant to decay, but also gives the greatest number of splinters during processing. She also has the heaviest and densest wood among the so-called soft species.
- Of the widespread species, birch belongs to semi-solid species. Its wood has great mechanical strength (it is not for nothing that it is used to make axes and sledge hammers), but it is prone to decay and lacks a beautiful texture.
- Hardwoods - maple, ash, oak and beech - on the other hand, boast an attractive surface appearance. Equally important, they are resistant to wear and tear; however, handrails and balusters (vertical railing posts) are seldom exposed to harsh stress. Oak stairs are generally beyond any competition.
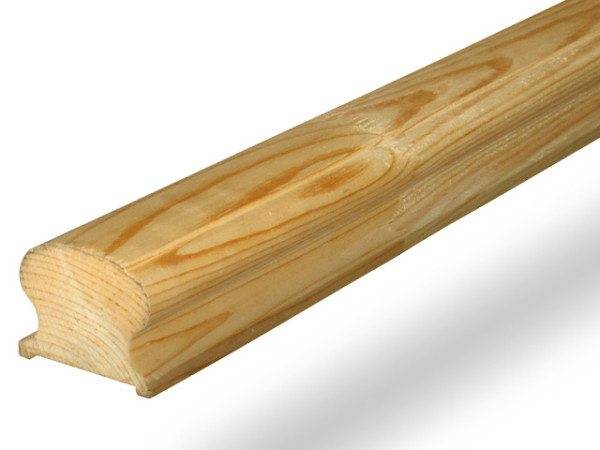
Regardless of the breed choice, a number of general requirements apply:
- The direction of the fibers of the workpiece should not have significant deviations from its axis. Otherwise, the product will split easily.
- Knots and resin pockets are also highly undesirable. Of course, nobody canceled the putty; but the putty defect will completely hide only the paint: even the putty matched to the tone will stand out under the varnish layer.
What can be used as a coating?
- For low-grade softwood wood (especially after filling of defects), wear-resistant water-dispersion paint on a silicone base or alkyd enamel (PF-115 and its imported analogues) can be used.
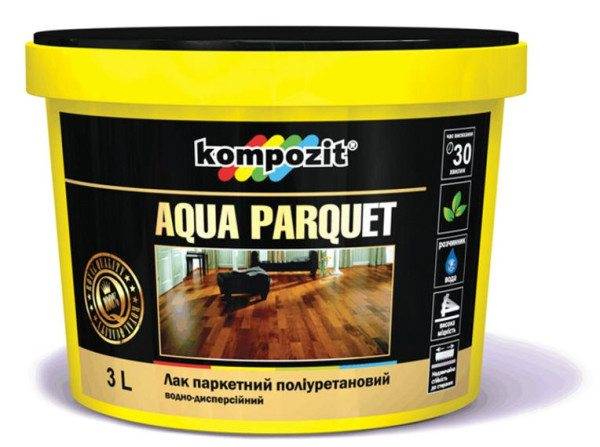
- If the coating is transparent, the best choice, in the author's humble opinion, is polyurethane parquet varnish. A hard-wearing finish on the railing designed for the floor will last almost forever.
- A common stain is used for toning wood.
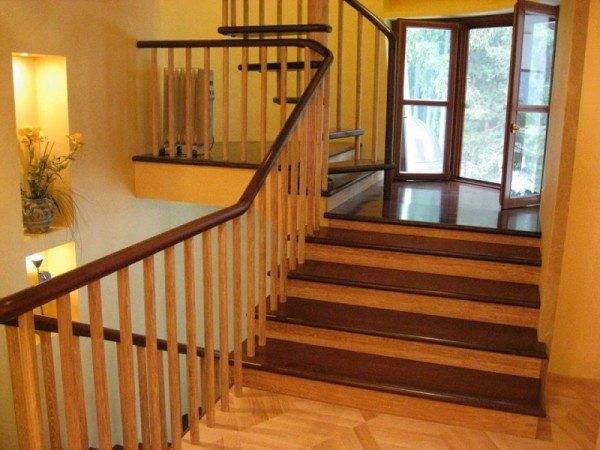
Getting Started
Let's agree: we will make a handrail for a staircase made of wood with our own hands using the most common tools. It is clear that a lathe or a four-sided cutter will make it possible to make balusters and a handrail of a much more complex and beautiful shape. But they are not in every garage or basement.
Wood preparation
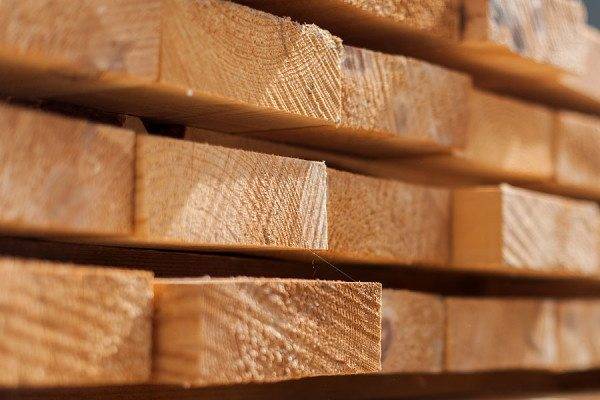
Let's start with the sad news: if the wood at your disposal came to you directly from the sawmill, it will have to be dried for a long time (from a month to six months) in a warm, dry room. The timber is laid out in layers on transverse gaskets at some distance from the floor or ground. The best time and place for drying is winter in a heated room.
Tip: the ends of a large section bar are primed with an aqueous solution of PVA glue. The primer will help to avoid cracks due to the accelerated evaporation of moisture on the cuts.
Optimum moisture content of wood, which guarantees the absence of deformations during further operation - no more 7-8 %.
Design
Of course, the size and appearance of the handrail depends entirely on the design of the staircase. However, some guidelines can still be given:
- Turning the fence makes it more stable. Ideally, the railings should be L-shaped: in this case, the horizontal load in any direction will not be destructive for them.
- If a section of 40x40 mm is quite acceptable for balusters, then the support pillars along the edges of each straight section of the fence should be no thinner than 80x80 mm. What is the instruction related to? Due to the fact that it is the pillars that take the main horizontal load: the balusters only block the space under the handrail.
- If the pillar is not part of the structure of the staircase itself and is not connected with other elements below the level of the steps, it must be fixed with slopes. The reason is the same: its fastening must provide rigidity in relation to the horizontal load.
- The height of the fence in the case when the ladder is not higher than 6 meters is made equal to 90 cm.
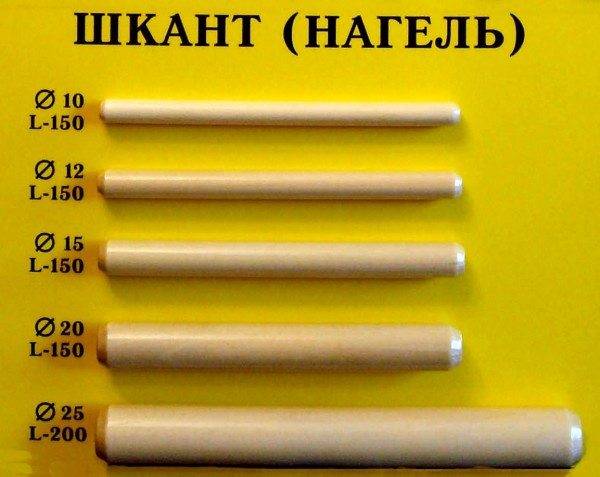
How are balusters and poles attached to the floor and handrail? To connect with the rest of the structural elements, a dowel (dowel) is used - a round rod made of hardwood, which is glued tightly into the pre-drilled holes.
Nuance: the advantage of the dowel connection is that on the outside of the handrail, the surface remains flat, without self-tapping heads or bolts. Where their presence is permissible, self-tapping screws with a length of 150 mm can be used in combination with an adhesive butt joint. The holes in the wood are pre-drilled with a diameter slightly less than the cross-section of the self-tapping screw.
Grinding
The surface of the timber is easiest to tidy up with an electric plane; however, the work does not end there. Wooden railing for stairs should have an ideal surface with rounded edges, free from irregularities and roughness.
How can this be achieved?
- We remove longitudinal chamfers at an angle of 45 degrees with the same electric planer in one or two passes without detaching from the bar.
- We grind the planes with a grinder, and the fillets between them manually. Sequentially used paper with a grain of 40, then 80 and 120.
Assembly
The design of the fence has already been described by us; no special tweaks are required during assembly:
- The support pillars are installed first (of course, if they do not stand after the installation of the ladder). Holes for the dowel are drilled in the steps and, if the length of the dowel allows, the stringer on one side and at the end of the posts on the other; then the end and the dowel are coated with glue (PVA or any carpentry), after which the post sits in place.
- The slopes fixing the pillars in a vertical position are coated with glue and attracted by long self-tapping screws with the obligatory drilling of holes.
- Balusters are installed similarly to posts, but without slopes.
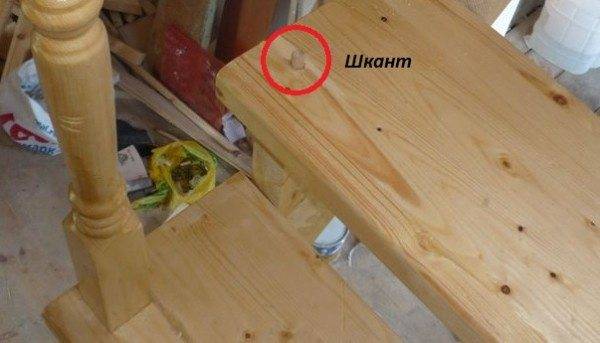
- Finally, the handrail sits on the glue using the same dowels. Of course, the upper ends of the balusters should be cut obliquely parallel to its lower surface.
Varnishing
Railing for stairs made of wood can be varnished before assembly. However, in our case, a layer of varnish would weaken the adhesive joints, so we have to deal with the finished structure.
-
- General cleaning is done.This is no joke: dust can hopelessly ruin the varnish.
- The first coat of varnish is applied. The tool is a soft, wide brush.
- After drying, the varnish is sanded with zero paper. Grinding is designed to remove the pile, which will inevitably rise after varnishing and make the surface rough.
- The process is repeated until the coating becomes uniform and uniform. The last layer is not sanded. Usually applied 3-5 layers.
Good luck in construction!


