Calculating the size of the fireplace and the required materials
When building a brick fireplace with your own hands, you need to correctly calculate all its parameters so that it performs not only a decorative, but also a practical function, heating the room. First of all, the dimensions of the furnace hole or portal are determined:
- The ratio of its area should be approximately 1:50 to a similar characteristic of the room. If the room is 20 square meters, then the firebox is 0.4 square meters
- The height and width should be 2: 3. By making a simple equation, you can get the following aspect ratio - 51x77 cm
- An equally important indicator is the depth of the portal, on which the thrust will depend. It should be 70% of the height, in this case 34 cm. An increase will lead to an unreasonable loss of heat, a decrease will lead to the appearance of smoke inside the room
- The chimney is 10-15 times smaller in area than a similar characteristic of the portal
- A podium with a width of 45-50 cm must be placed in front of the furnace hole.
- Podiums from the sides of the portal - up to 30 cm
- The transfer sheet extends beyond the limit of the combustion area to a distance of 30 cm
If we talk about the required amount of bricks and various consumables that will be required for work, it is not possible to name certain numbers. In each specific case, the values obtained will be different and directly depend on the size of the fireplace being built.
Everyone can make approximate calculations himself, choosing the most suitable ordering option.
Find out also about how to lay the heating and cooking stove
Masonry oven with cauldron
It is better to think over the masonry scheme in advance or find it on the Internet. The ready-made ordering will facilitate the laying of the stove with a cauldron. The surfaces inside the oven must not have any ledges. For the arrangement, cast-iron elements are used: doors, grates, views.

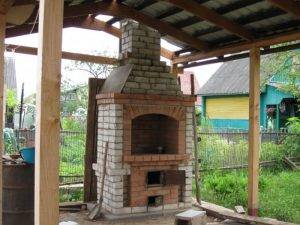

In the process of laying bricks, it is necessary to control the width of the horizontal joints. It should be the same.
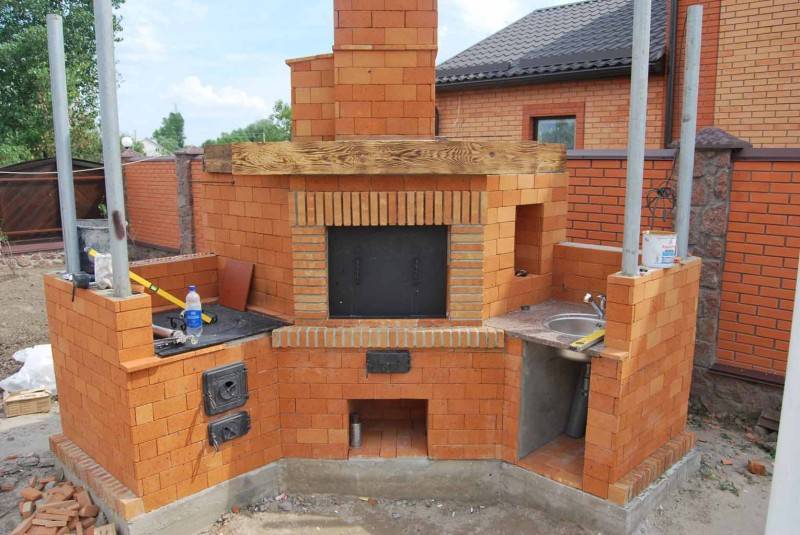
First, the laying of the main part is carried out, then the compartment is attached under the cauldron.
From the side of the barbecue, the wall is laid out in 2 bricks.

At the bottom ovens for cauldrons the firebox is located. Two doors are installed in the front wall: the main one and for cleaning.
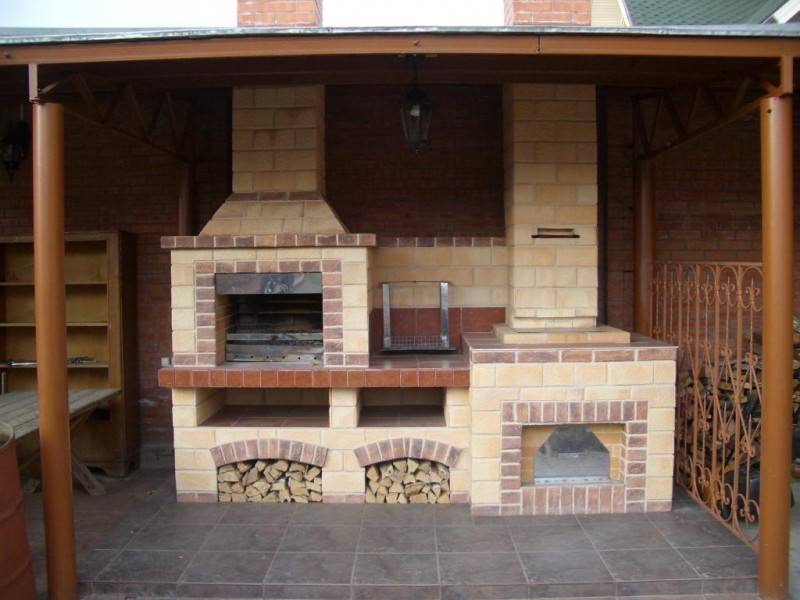
The inner walls are laid out of heat-resistant bricks; a grate must be installed in the lower part of the compartment.

The oven dries for about 2 weeks, after which you can start for the lining. You can use plaster or facing brick for this.

Laying a simple barbecue oven
The laying pattern must be determined in advance. The wall is placed in a half-brick, using concrete mortar for fastening.

Depending on the shape of the openings, the height of the walls is laid out at 80 cm for rectangular openings, for arched openings 60 cm is enough.
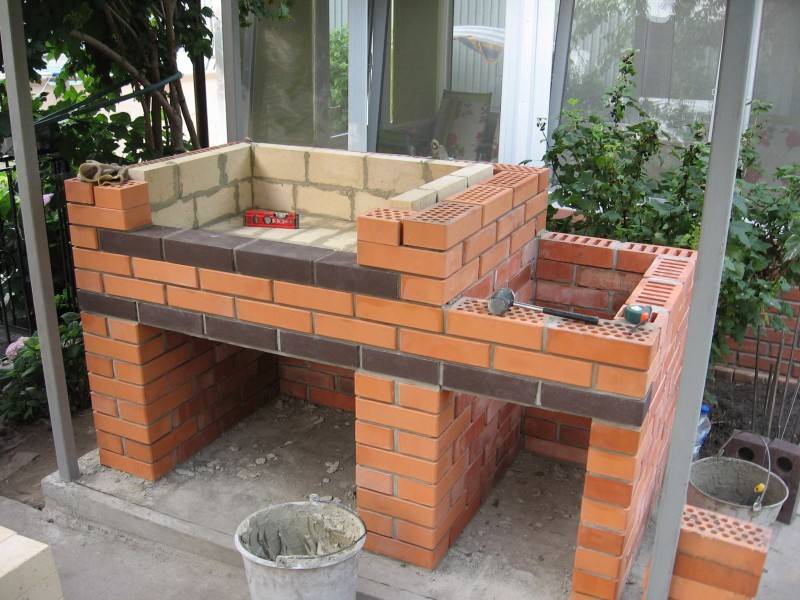
The rectangular opening from above is closed with a metal profile, which serves as the basis for laying bricks. An arched opening from above is formed using a frame made of boards. The brick is laid on this frame and the solution is allowed to harden.
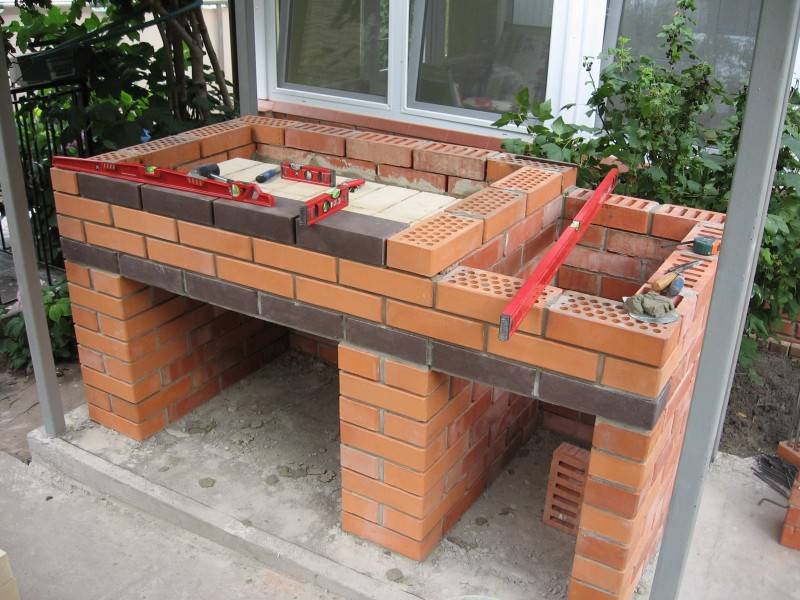
During the laying process, it is necessary to install a pipe if there is a sink. Hoses for the water supply will go through this pipe.

In the process of laying, you need to remember three important rules:
- the quality of the masonry is checked by the width of the seams (the seams must be even),
- there must be at least 2 rows of bricks between the table and the upper edge of the opening,
- the arched opening on top necessarily has a central brick.
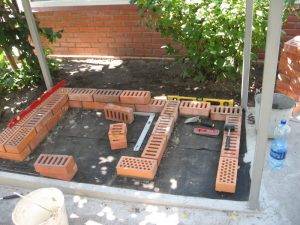


After arranging the lower tier of the furnace, it is necessary to screed the structure, providing a place for washing.
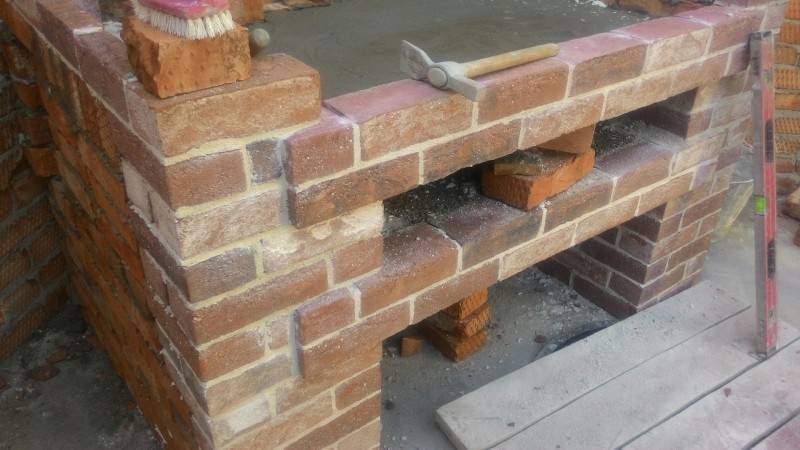
A wooden formwork is installed, after pouring the screed dries for about three days.
Then the countertops are installed.

How to combine the advantages of a fireplace and the practicality of a stove
To get the decorative qualities of a fireplace in the house, but at the same time to ensure the ease of use and practicality of a closed stove, you need to combine their advantages. There are at least three options to address this issue.
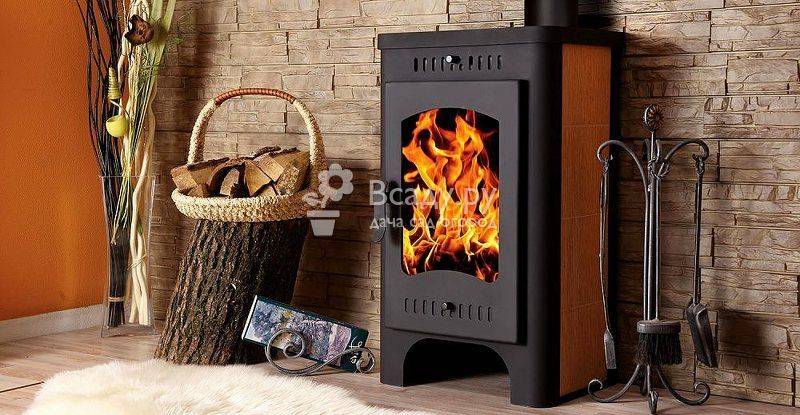
- Do-it-yourself independent stoves and fireplaces in one building, and with a common chimney.
- The fireplace is used as a combustion chamber for a brick oven.
- Metal stove-potbelly stove with convection heating of air in the room.
Let's take a closer look at each of the options.
Stove with attached fireplace
The easiest way is to build a stove and build a fireplace on the side. It turns out that two autonomous heating devices will be located in one stone building.
When assembling such a fireplace with your own hands, it is important to consider that a common chimney will be used

The disadvantage of this design is bulkiness, a large number of bricks for construction, a large occupied area, but the stove can be used for constant heating, and the fireplace is a way to quickly warm up near the fire.
Metal fireplace with brickwork
According to the second method, a finished metal fireplace is lined with brickwork. In fact, we get an ordinary stove, where the fireplace acts as a combustion chamber.
For better efficiency of heat extraction, many channels can be made in the chimney. Then the chimney itself will also heat up and radiate heat into the room. Finished metal fireplaces have glass doors. Through them you can admire the tongues of flame.
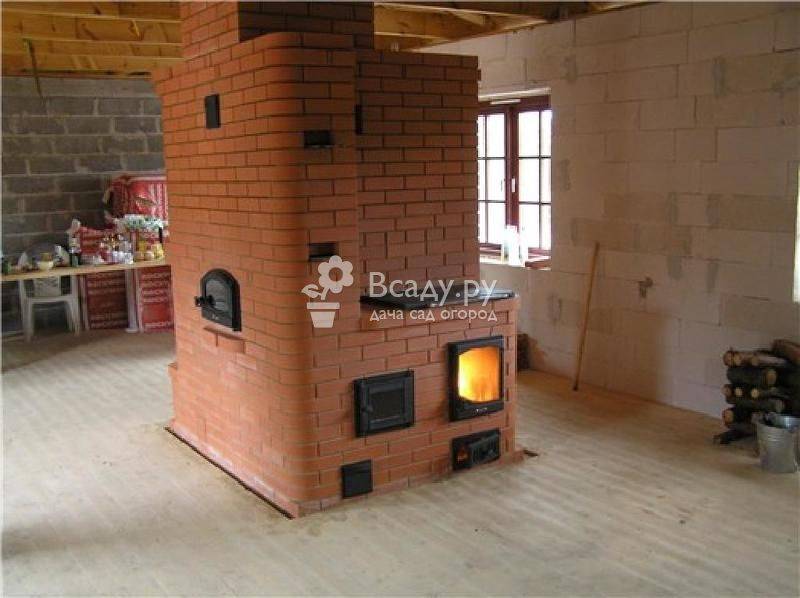
The efficiency of fuel use in fireplaces is an order of magnitude lower than in a good stove, so that such a stove, a fireplace for a summer residence, will be distinguished by increased gluttony. In addition, the chimney, which also generates heat, will be too high and heat the air at the ceiling, and not at the bottom of the room.
Finished construction - metal fireplace stove
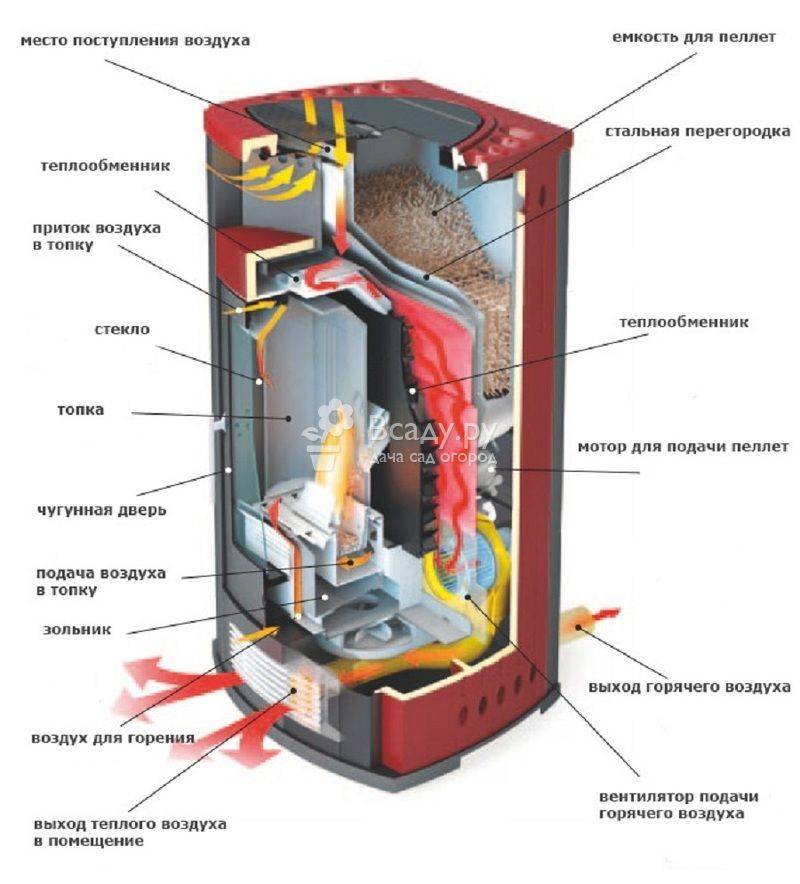
One of the best options are metal stoves, fireplaces for summer cottages, using convection heating of air. To do this, at a short distance from the hot metal walls, you need to fix the screen.
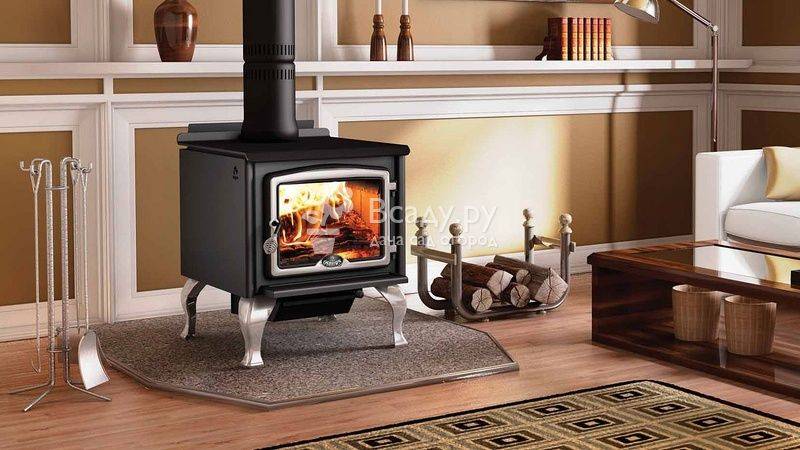
In the resulting channel, the air will heat up and rise, and new cold air will flow in its place. Due to convection, the entire room heats up very quickly. The shield can be either an additional metal plate or masonry with holes at the bottom and top.
Preparation for construction
The beginning of the implementation of the idea of arranging a stove in a house should be characterized by the preparation of a project. Without it, all manipulations will be spontaneous and this will lead to the fact that the oven simply will not work. The functionality of the furnace is ensured by a strictly defined correspondence of certain sizes of significant units.
We begin calculations by measuring the area of the room. The dimensions of the furnace are in direct proportion to the calculated value. A too small firebox will not give the required power of the furnace, and a large one will overspend fuel. The area of the combustion hole is calculated from the area of the room by dividing by 50. Then, the values of the height and width are selected so that their ratio is 2/3. To determine the depth, multiply the height by 2/3. It remains to calculate one more parameter - the area of the chimney, it is 10 times less than the area of the furnace hole.
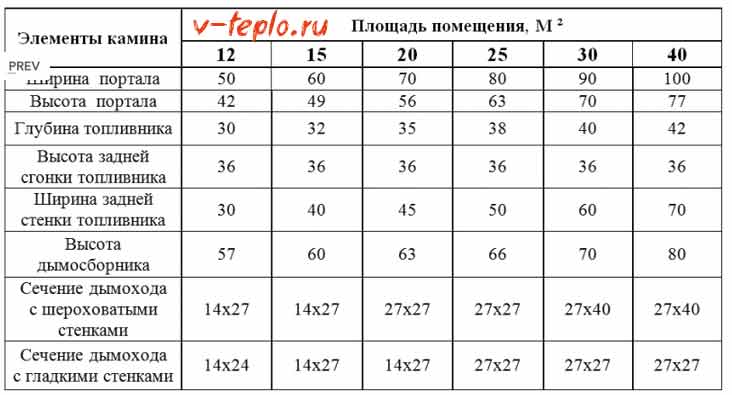
Despite the elementary nature of the calculations, not everyone will take responsibility for making them. The slightest inaccuracy will lead to violations that will affect after all the work has been completed. Therefore, even many experienced masters prefer to use tables in which all parameters have already been calculated.

Example of a table with dimensions
Drawings of the future furnace are drawn up according to the finished dimensions. They indicate the relative location of the main units, the method of forming the firebox and chimney, and the appearance of the body. This is enough to understand that it will be problematic to complete the drawing on your own.
A ready-made project will come to the rescue, which contains all the necessary data. This project was developed according to a ready-made operating structure, therefore, it does not give rise to doubts. The project contains an order - a diagram of a detailed description of the method of laying the stove. Projects are different, they describe the construction of large stoves for a house and miniature ones for a dacha made of bricks. The choice of a suitable project should be based on considerations of the size of the room, installation location, and functional purpose.
Barbecue oven safety requirements
Having conceived the equipment of a recreation area with a barbecue on your site, first of all you need to choose a place for its placement
At the design stage, it is important to take into account building codes and fire safety requirements for this structure.

For the laying of the furnace, refractory bricks are used, which are resistant to prolonged exposure to high temperatures and conduct heat.
The stove gets very hot, so no wooden structures are allowed at the back of the stove. Buildings on the site must be at least 5 meters from the place of the future installation of the furnace.
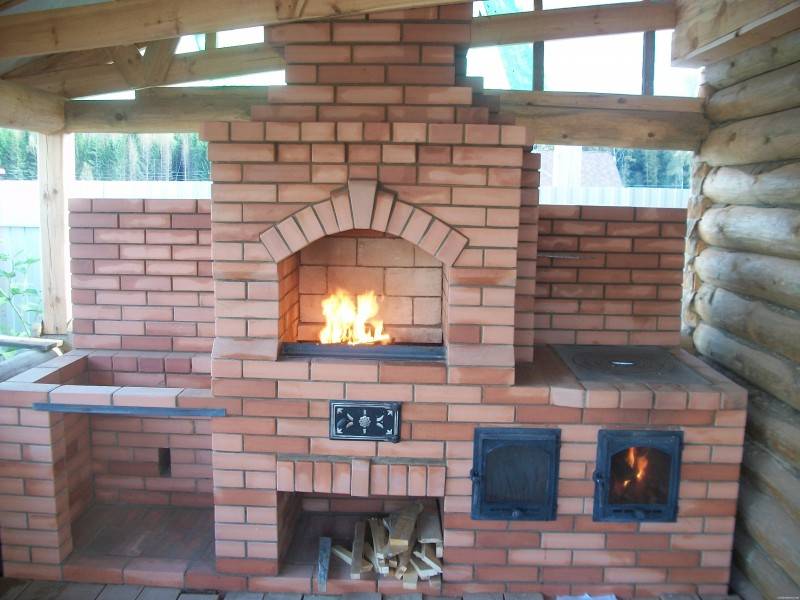
There should be no flammable materials or substances near the barbecue area.

When equipping a recreation area or a summer kitchen, it is recommended to use bricks, tiles, and impregnate wooden structures with a special fire-fighting solution.
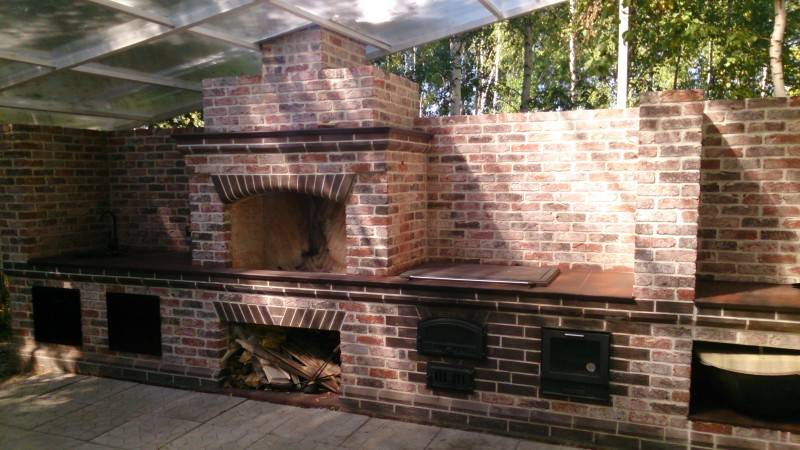
The design of the recreation area should be provided with an exhaust hood, and the stove itself should be provided with a well-designed chimney.
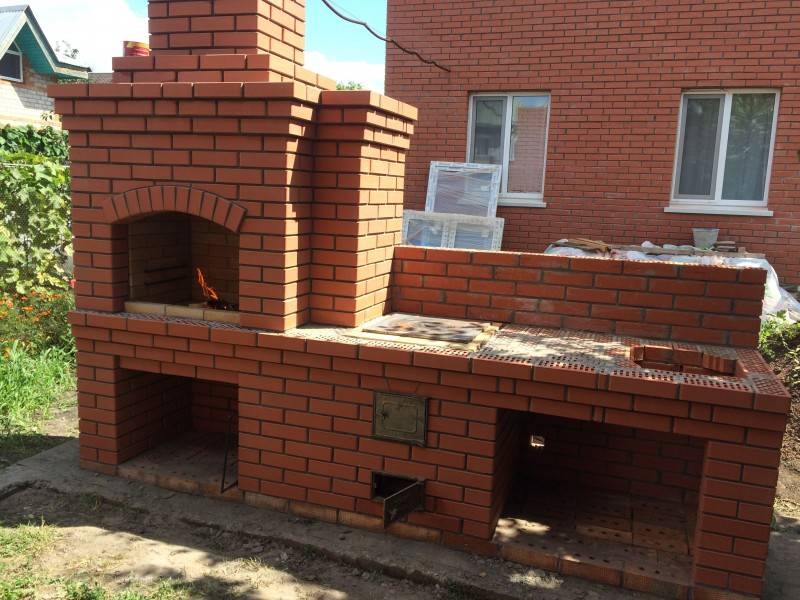
The barbecue oven should have an optimal height of the countertop and working areas for ease of cooking on it, without sharp corners and protruding parts.
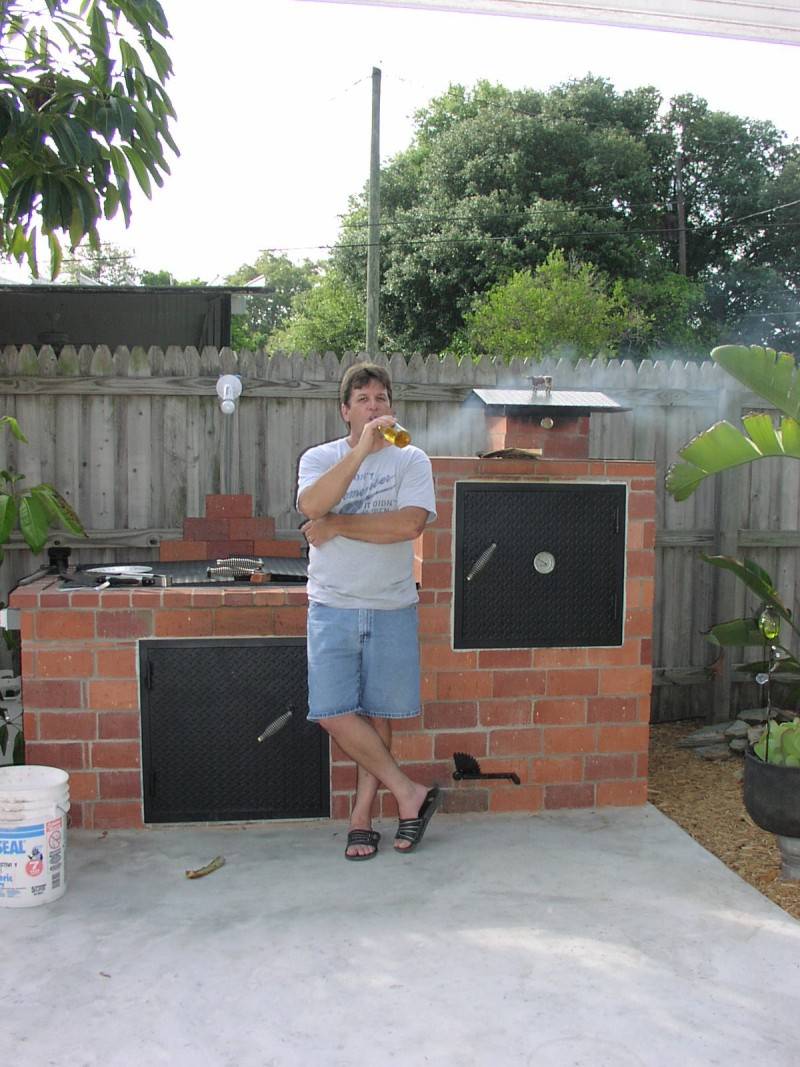
Barbecue stove
The next tier includes a combustion chamber and walls (partitions). The firebox is laid from two rows of bricks. Inside, the walls are laid out of refractory bricks, and the finishing brick goes to the outside.

The standard size of the combustion chamber is 600 * 700 mm. Lay out 9 rows of masonry for a firebox with a rectangular opening, for an arched opening, 7 rows high walls are enough.
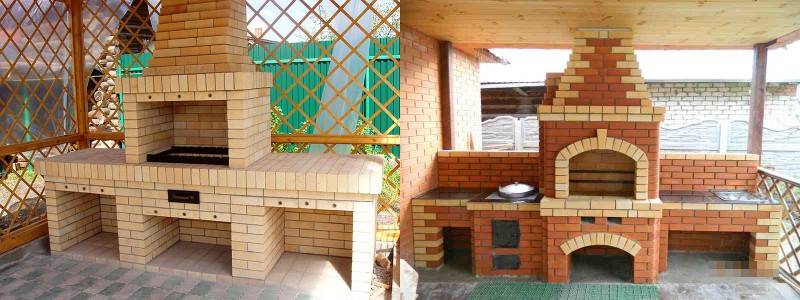
The combustion chamber is completed with 2 more rows of bricks. Then the length of the rows begins to be shortened to form a chimney. The side walls are reduced by 1/4 of the brick in each row, and the back and front walls are reduced by half a brick. In this way, 7 rows are laid out.
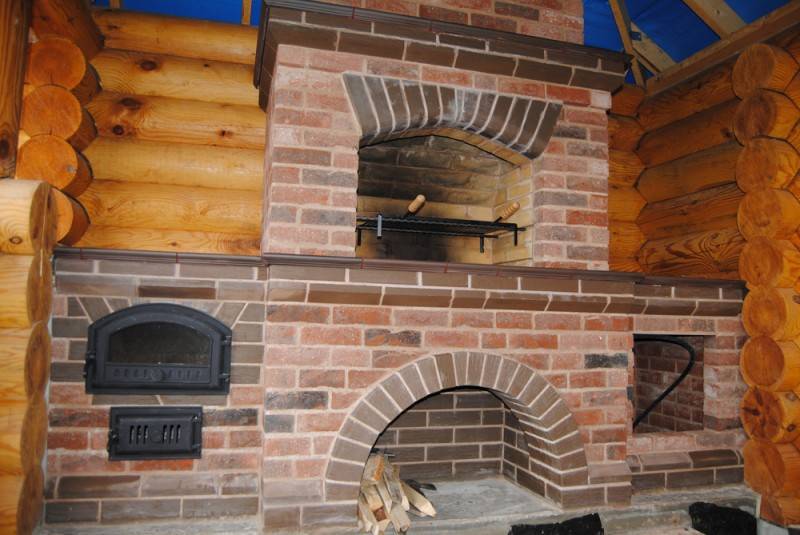
Then they equip the chimney. Do not make the smoke exhaust pipe very high. It is recommended to lay out 12-14 rows of bricks.
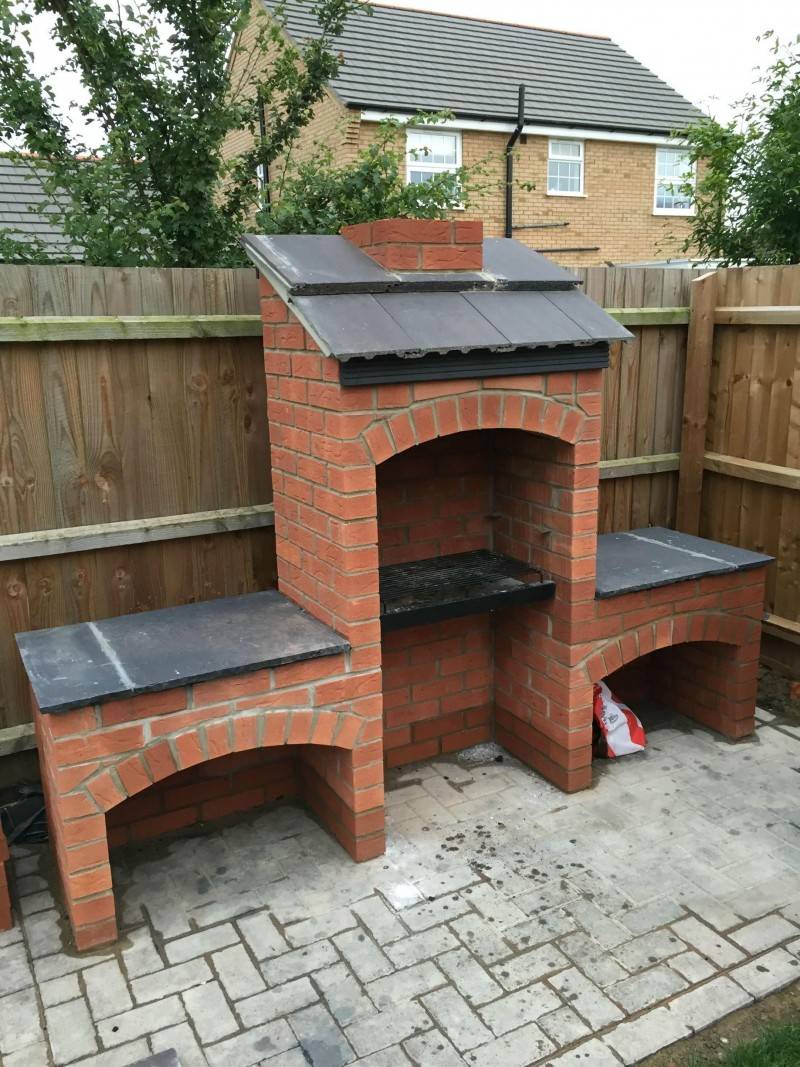
Without enough work experience, you can cope with barbecue oven equipment made of bricks, not only of the simplest design.
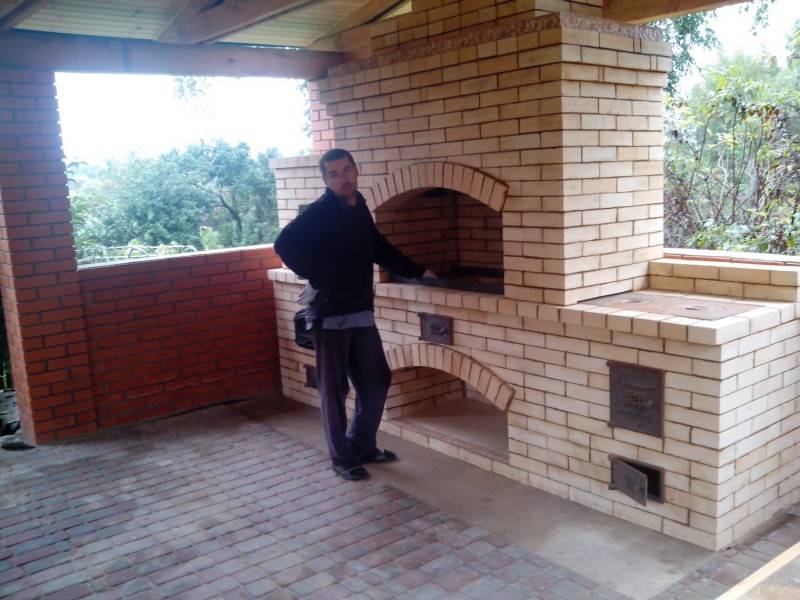
With a careful approach, folding it yourself with your own hands will also turn out to be a more complex version of the barbecue oven.
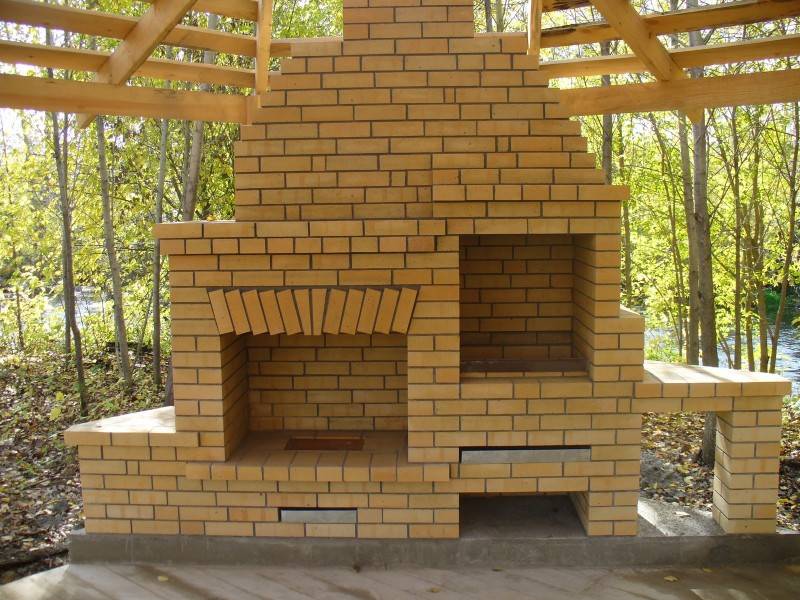
Putting the fireplace stove into operation
No matter how much you would like to immediately after laying to experience what the heating device is capable of, this should not be done in any case. First, you need to thoroughly dry the walls of the structure. In the hot summer period, this is not a problem. That is why experts recommend building brick wood-burning stoves in the summer, when natural heat can dry the walls in just a week. To do this, open all the doors and latches, and remove the burners from the stove.
The initial heating of the heater is carried out with a small amount of firewood, preventing an excessive increase in the temperature of the internal chambers. If the fireplace stove has separate chimney channels, then it is recommended to burn firewood in two furnaces at the same time. An even distribution of heat in the mass of the furnace will only benefit it. This process is carried out 2-3 times a day for 7-10 days. The fact that the oven is completely dry can be recognized by the absence of condensation on the internal metal surfaces. Some stove-makers put crumpled newspapers in the lower cleaning channels, according to the humidity of which they judge the readiness of the heater for intensive use.
During the drying and testing of the heater, small cracks and tears may appear in the joints of the brickwork. To identify them, all external surfaces are thoroughly examined. Nevertheless, there is no need to rush to eliminate defects until the oven has been operating at maximum power for at least two to three months. Of course, this only applies to minor faults. Deep cracks, through which smoke or carbon monoxide can enter the room, are sealed immediately and very carefully. The external surfaces of the fireplace stove are revised regularly. As for the cleaning of the internal chambers and channels from soot, this work is performed every year, after the end of the heating season.
The advantages of fireplace stoves are obvious, since they allow you to solve many problems associated with both heating and cooking, and with the design and decoration of the interior space of country houses. Such a heater will not be superfluous even in the presence of gas heating, as it will give confidence in the future and provide an incredibly warm and comfortable atmosphere. When choosing the design of a heat generator, it is necessary to take into account all the features of the room, and during operation, precisely adhere to the dimensions and be extremely assembled. Only the fulfillment of all the conditions will allow for many years to enjoy the warmth and comfort from a self-built fireplace stove.
DIY fireplaces drawings and design
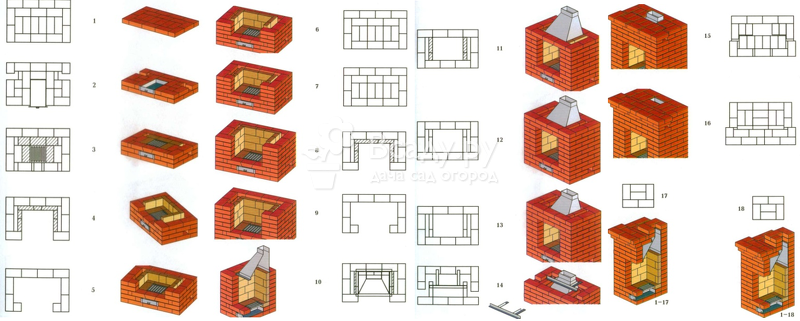
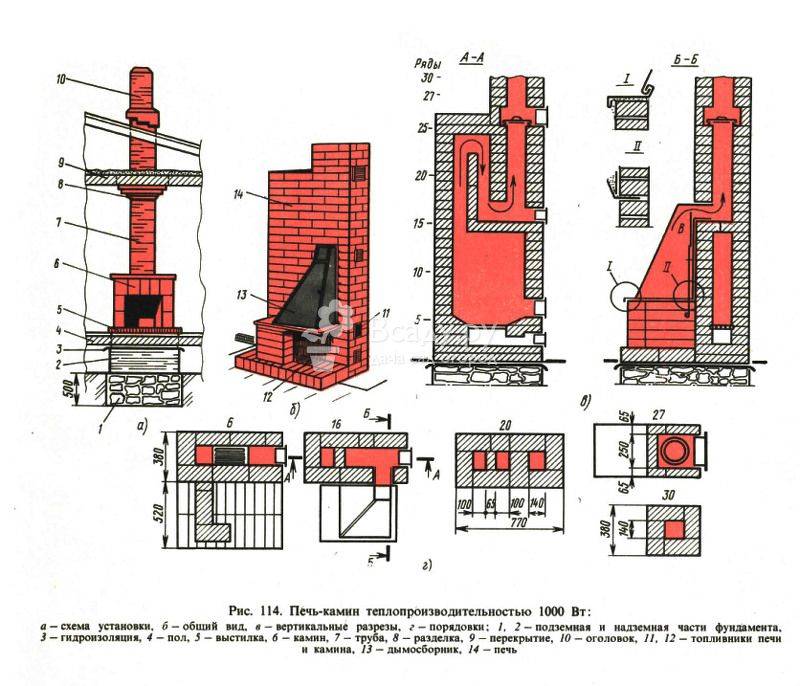
First you need to prepare a brick fireplace project. Having decided on the size and shape, take any typical solution as a basis and adapt it to your room. Don't ignore this stage as it will give you an accurate understanding of the entire process.
The order and scheme for masonry will allow you to calculate the required amount of bricks and binding material. As a rule, it is drawn for each row, except for the basement.
Scheme of a traditional fireplace
This option is most suitable for beginners. To complete it, you will need very little material, however, such a design will give good heating for the room. up to 35 sq.... m.

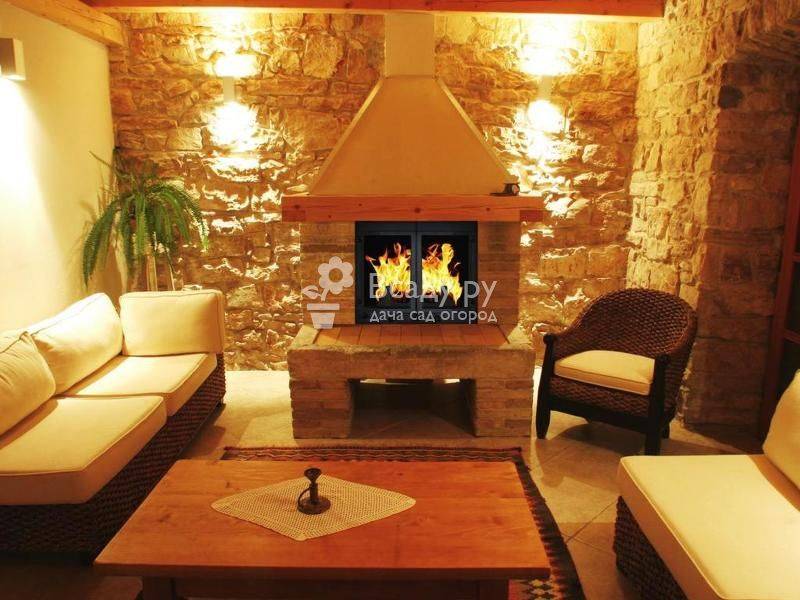
For the hall, it can be built higher, the shelf can be decorated with various elements. In modern architecture of private houses, a rustic style is often used.

Also, the hearth can be placed free-standing, without mounting it against the wall. This allows you to highlight its decorative features.
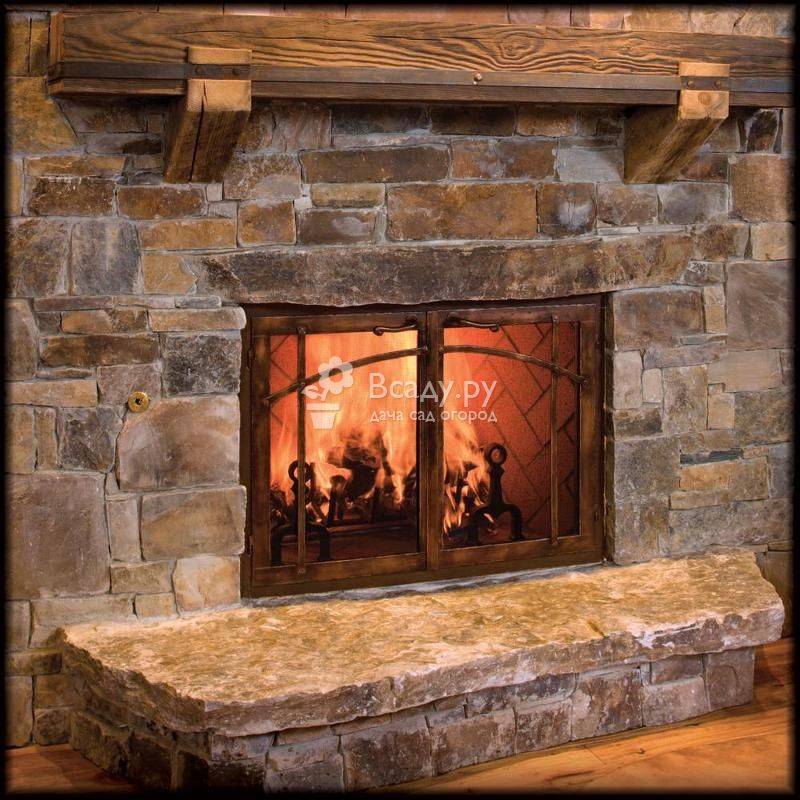
Or vice versa, to save space, build it into the wall.
Corner order: diagrams and photos
Corner fireplaces tend to save space, which is why they are often installed in small hallways or bedrooms. The order is shown below.
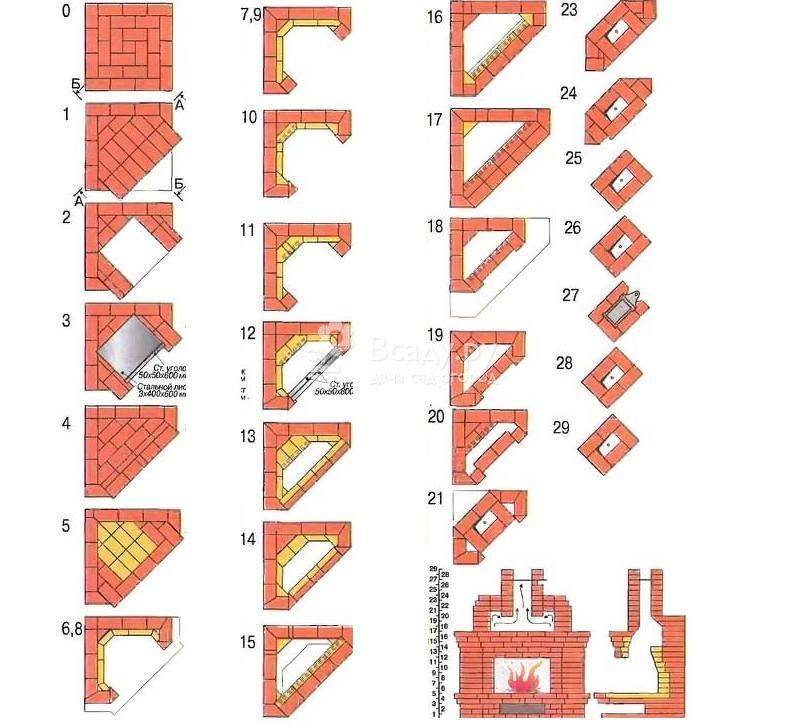

The hearth can have an open or closed firebox.

A modified version - a corner garden fireplace with a stove is very convenient for giving. Such a structure has not only a functional purpose, it will also decorate a summer cottage. According to this scheme, it can be mounted both on the street and in a private house.


The circuit can be easily modeled depending on your needs. And it can be easily adapted to create a beautiful summer kitchen.
Garden hearth
An outdoor barbecue fireplace is not so complicated, familiarize yourself with its order and design and you can easily mount it in your garden following the diagram.

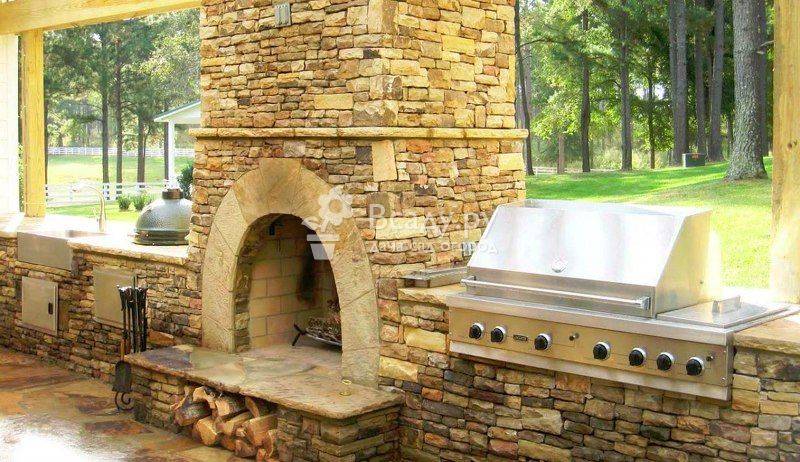
With artificial stone trim, the garden BBQ fireplace looks very original. The basic scheme can be changed to your liking, as in the picture.
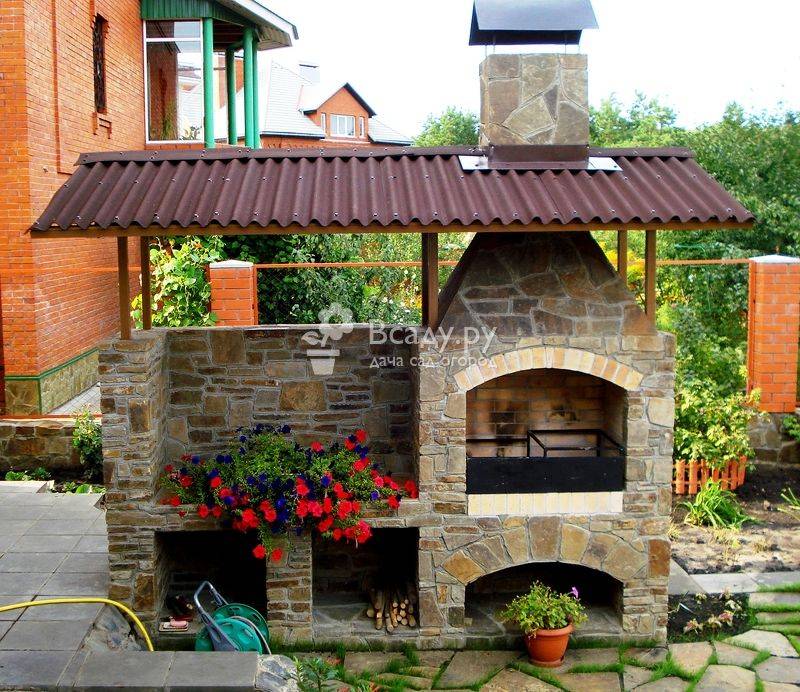
Barbecue oven operating rules
Several basic rules for its operation will help to extend the service life of a brick street stove.
- A sufficient amount of air must enter the furnace, which will ensure complete combustion of the fuel and will not allow a large amount of soot to settle on the walls.
- The oven damper must be open.
- It is better to heat the stove with hardwood firewood.
- It is recommended to use special tools for cooking.
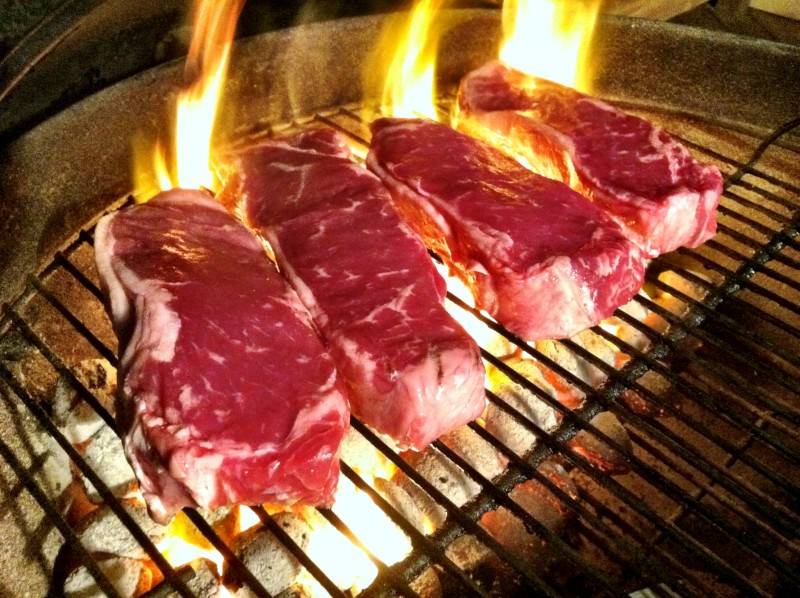
A well-equipped recreation area, the center of which will be an outdoor barbecue oven, will allow you not only to have a wonderful time in the fresh air and prepare healthy meals. It will be a great addition to any site.
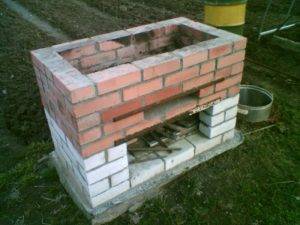
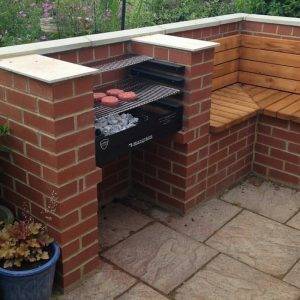


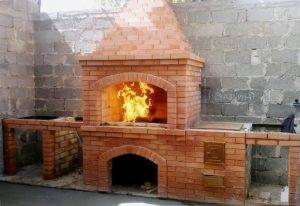
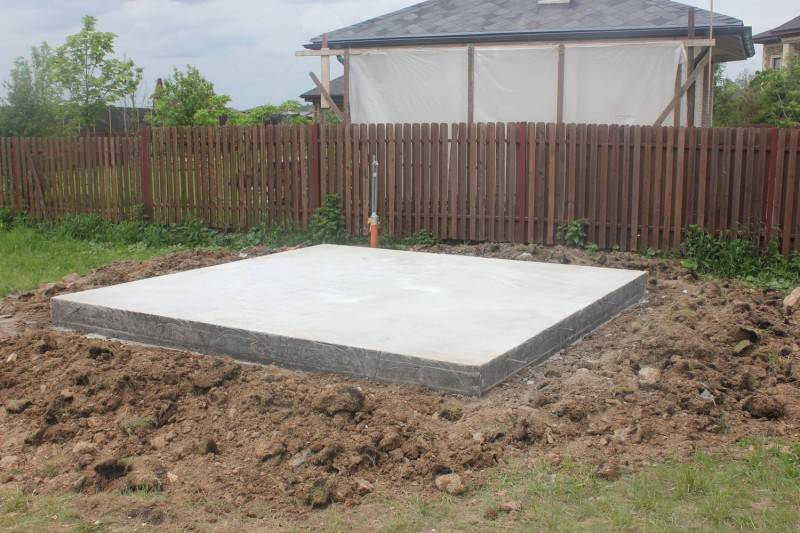
Foundation
The work on arranging a barbecue area begins with pouring the foundation, regardless of the size of the structure. The service life of the structure largely depends on the quality of the foundation.

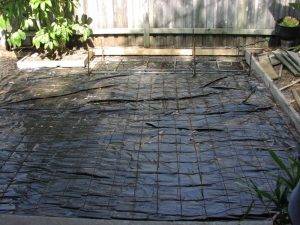
For the foundation, it is necessary to dig a pit, the depth of which is 25 cm. The size of the base is measured 50 cm more than the size of the furnace.

The bottom is tamped, covered with gravel. Then a small layer of concrete is poured, reinforcement is attached for strength.
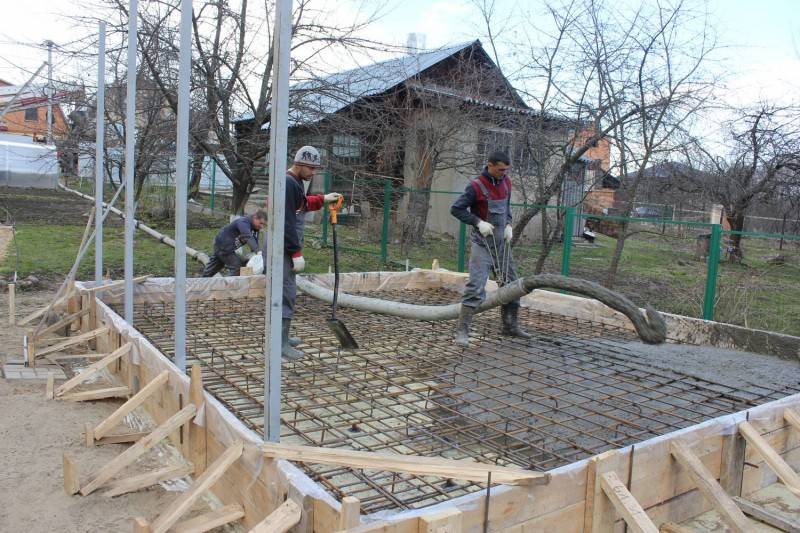
Metal rods are driven vertically and laid horizontally, fastened at intersections for added strength.
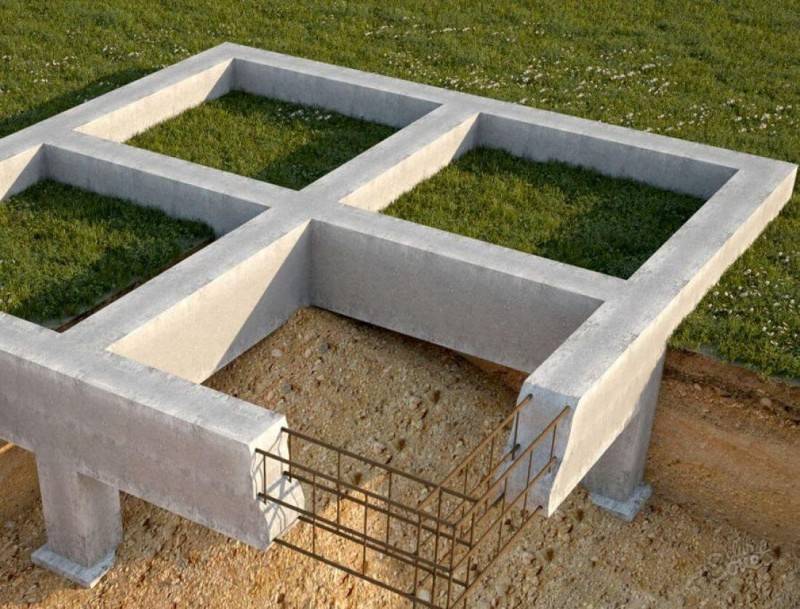
After that, the pit is completely filled with concrete and kept for 3 days, covered with a metal sheet. Bricks are placed under the edges of the sheet so that the surfaces do not touch.
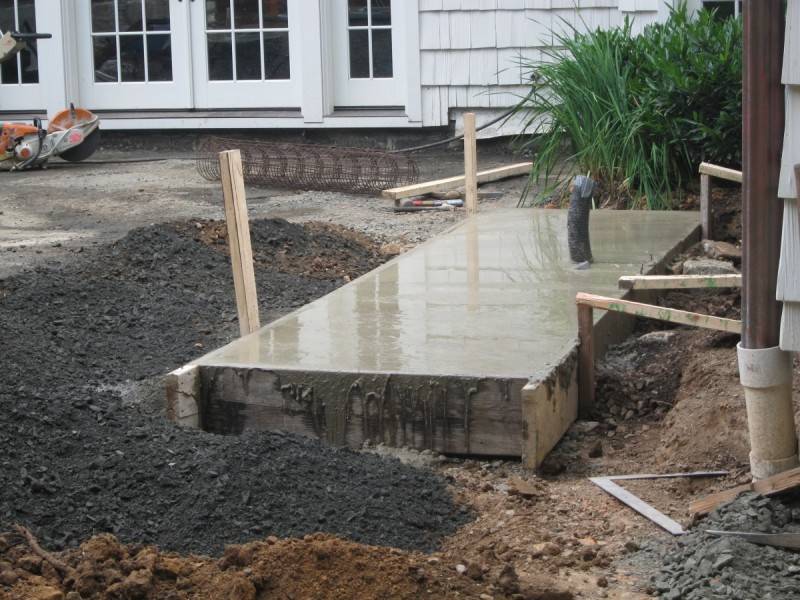
To protect against moisture, a sheet of roofing material must be laid on the foundation.
