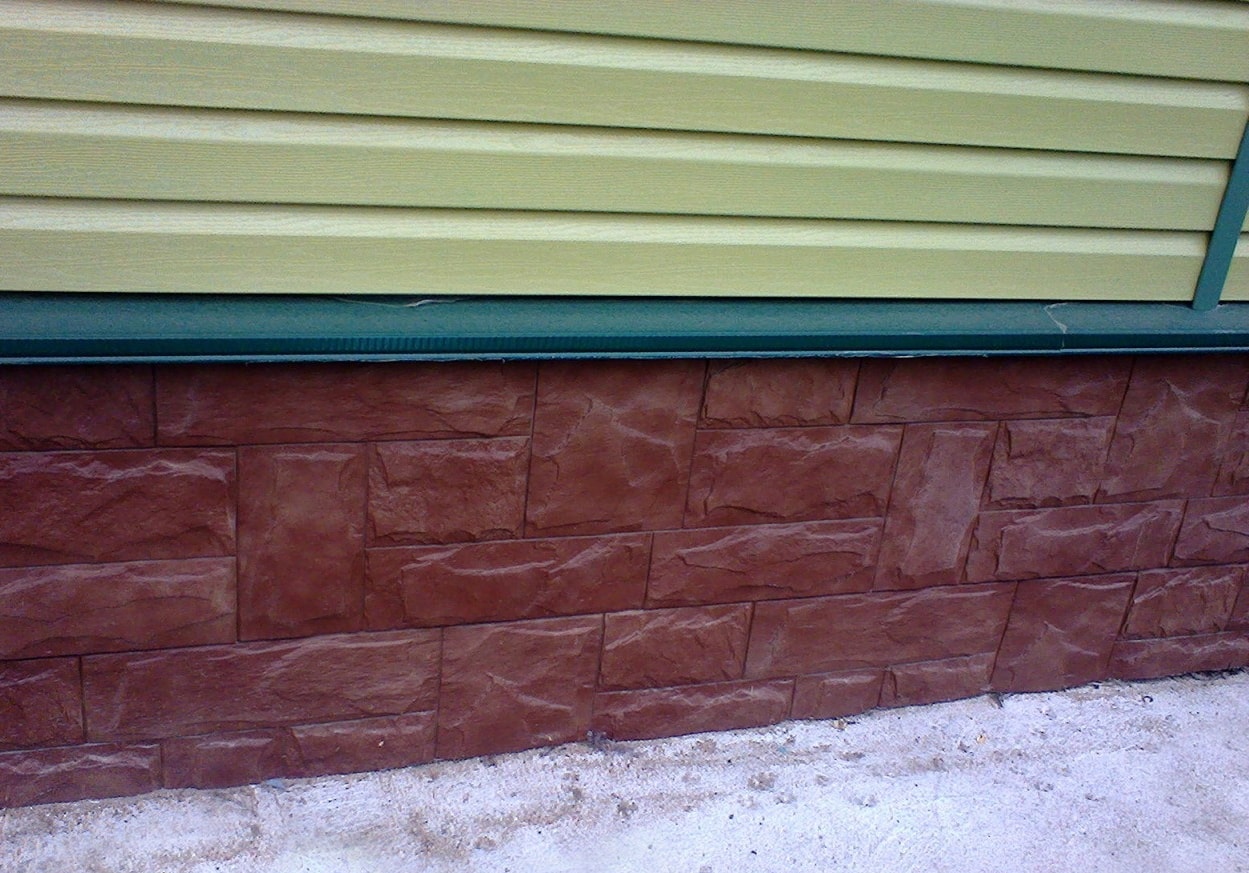
Installation technology
Depending on the material, the installation is partially or completely different. The place for mounting the strip must first be prepared.
Preparation
The place for the installation of the outflow must be cleaned, allowed to dry, if it is wet, the joints, seams, small cracks must be treated with a sealant.
The upper attachment point is marked, an even horizontal marking is carried out so that the bar lies without bevels.
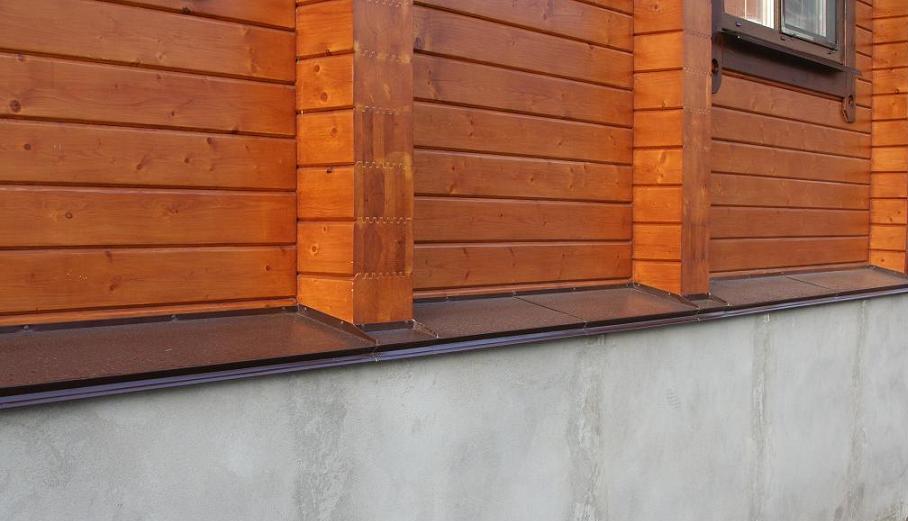
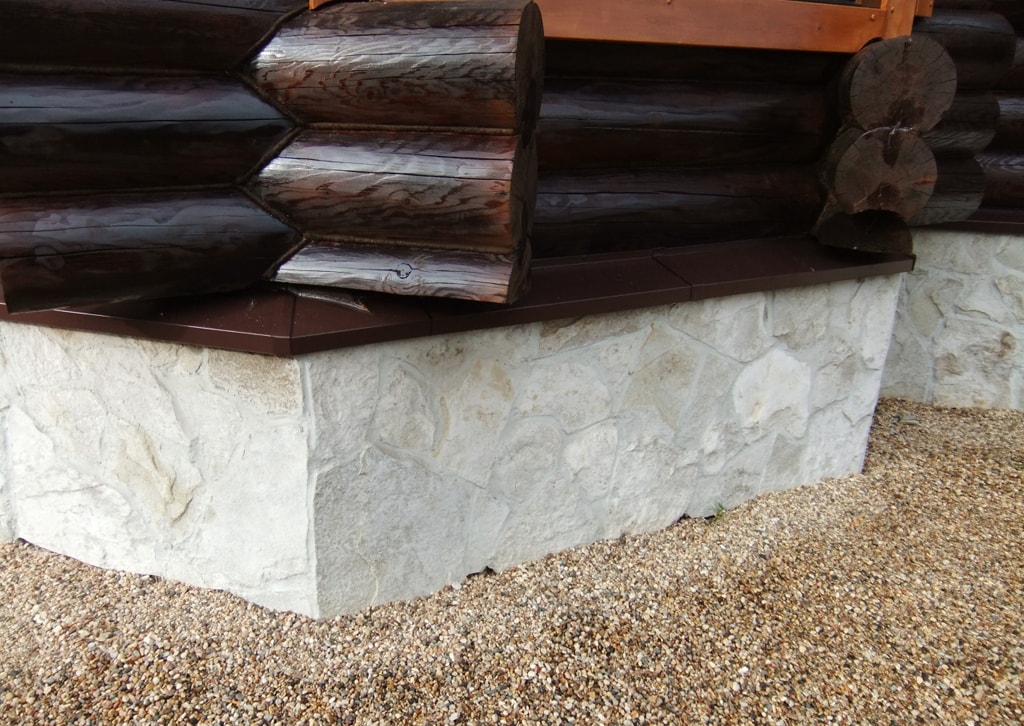
If the house is made of logs, an antiseptic is used to level the surface, the concrete fill is leveled with a screed with liquid glass for waterproofing, quick drying. Concrete is also used on stone buildings.
The assembly of the insulated base assumes a leveled surface with protection from moisture; the structure does not need additional processing.
Installation of plastic, metal drips
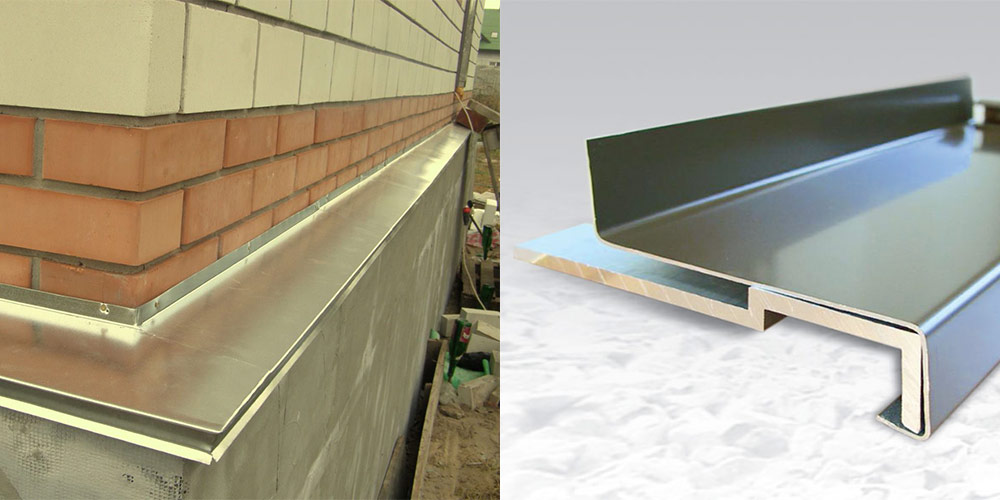
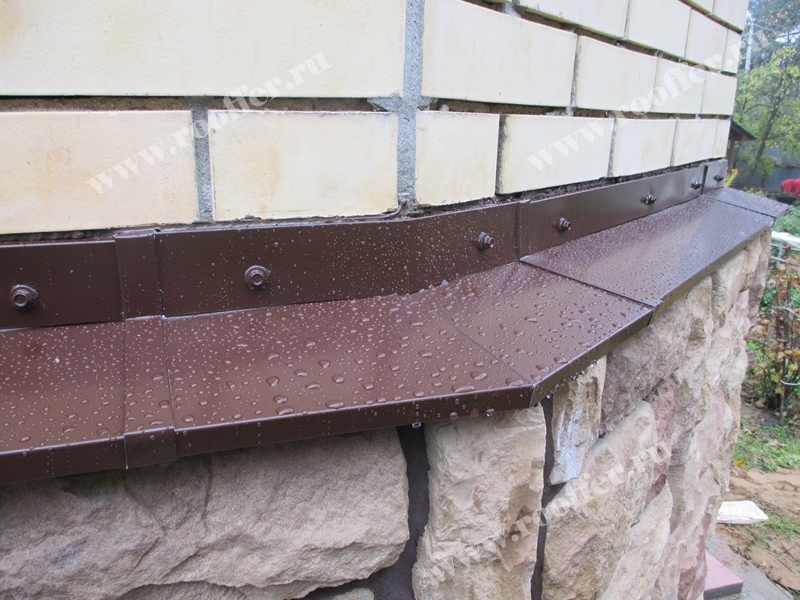
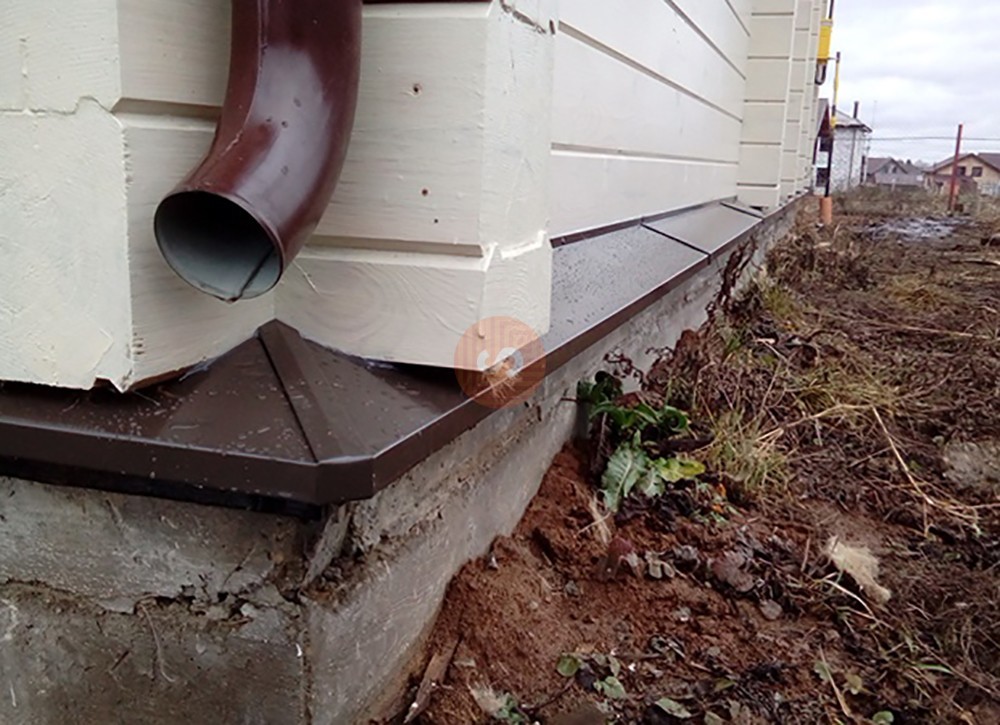
To put the PVC, the metal evenly, you need to properly cut the planks at the corner bends. The platform is trimmed, the outer bend, the upper one often remains intact.
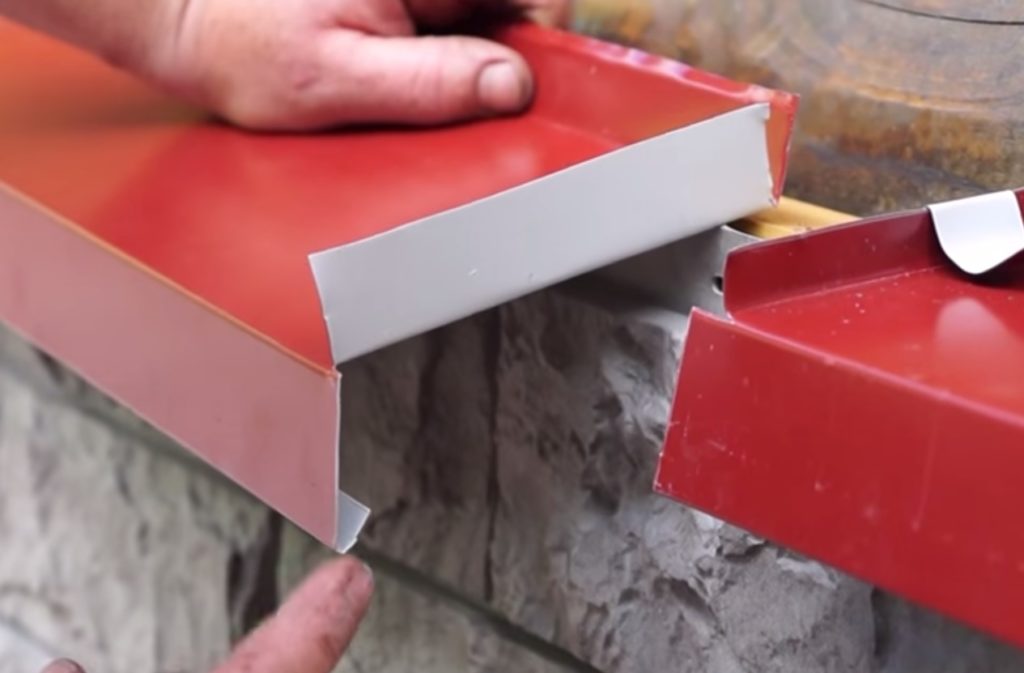
The prepared ebb tides are fixed in the right places with an overlap, making a spade of at least 10 cm in order to form maximum protection against seeping liquid. Points are immediately marked for fasteners.
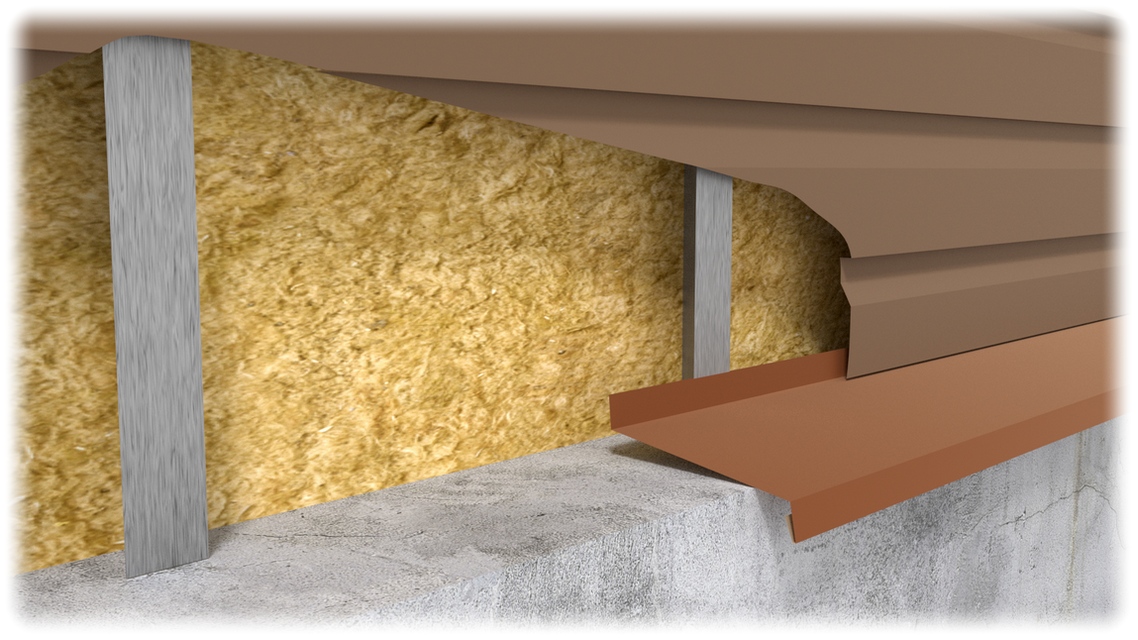
The interlayer between the lower surface of the plank and the base made of polyurethane foam eliminates noise during rain - the porous material absorbs sounds well.
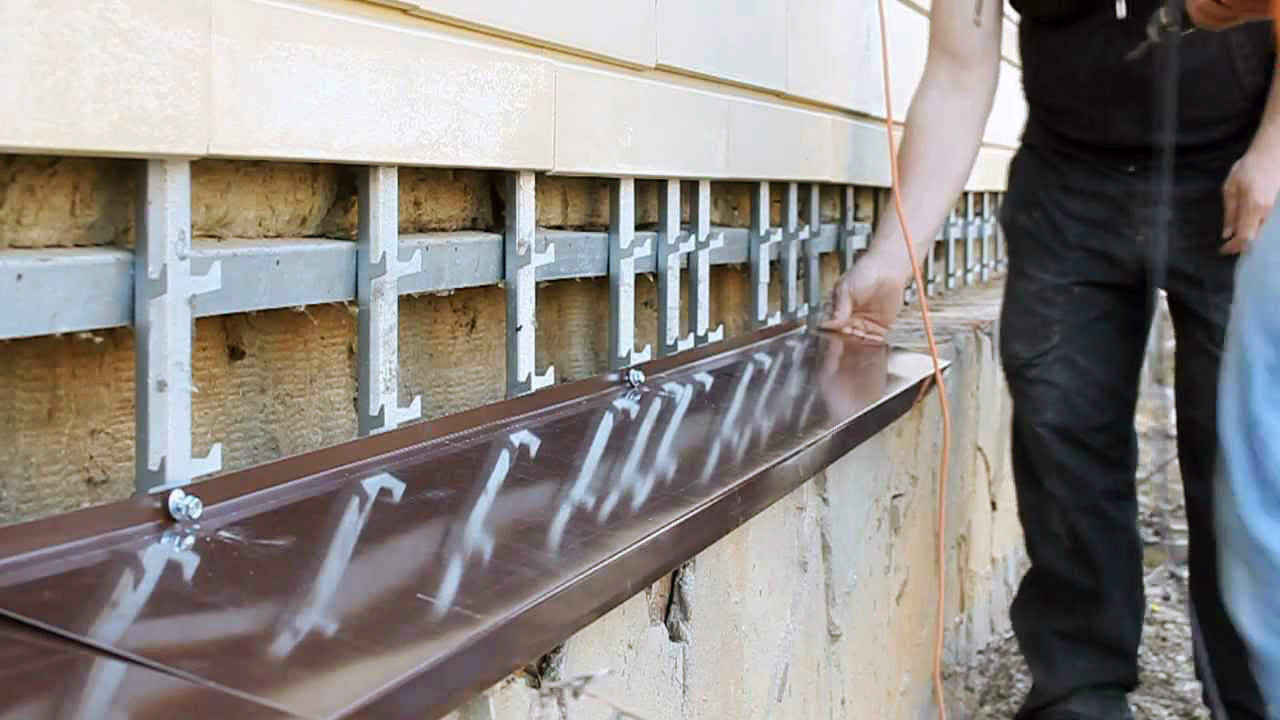
To fasten the ebb, you need to drill holes at the marked points with a step of 30-50 cm. Fully prepared material is attached to the site with nails, self-tapping screws with dowels.
The joints on the outside are treated with a sealing compound so that water does not penetrate.
Often, gaps remain in the turning sections, which are blocked at the end of the complete installation using extensions. The joints are sealed.
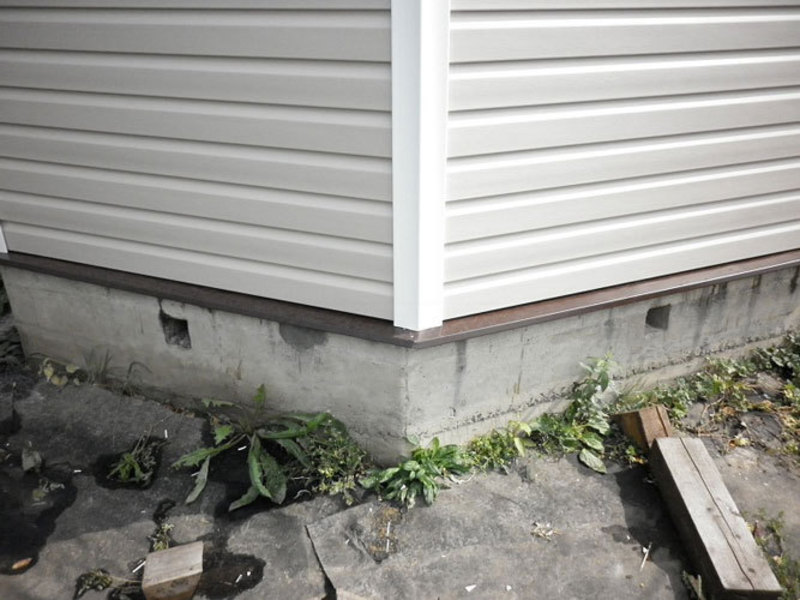
Water has a destructive effect on different types of seams, joints, regardless of size. To ensure the safety of the basement, basements, the construction of protection from ebb strips is required. High-quality materials, adherence to installation technology contributes to an increased service life of the structure.
The installation of casting structures is clearly shown in the following video:
average rating
ratings more than 0
Share link
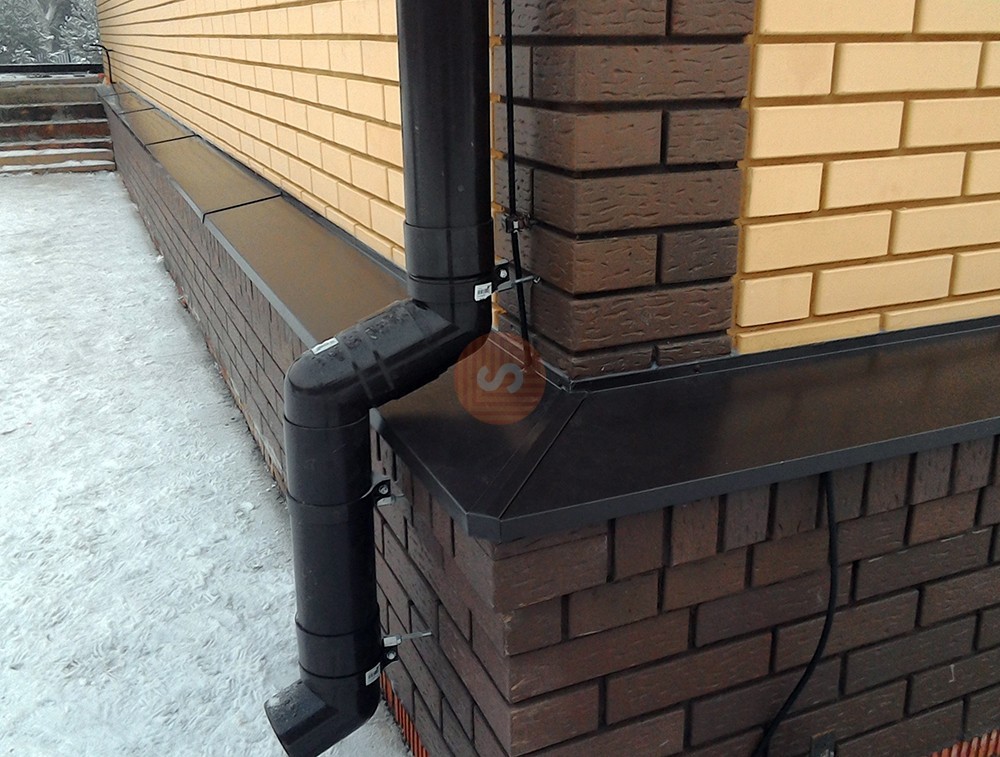
Making a corner of the external view
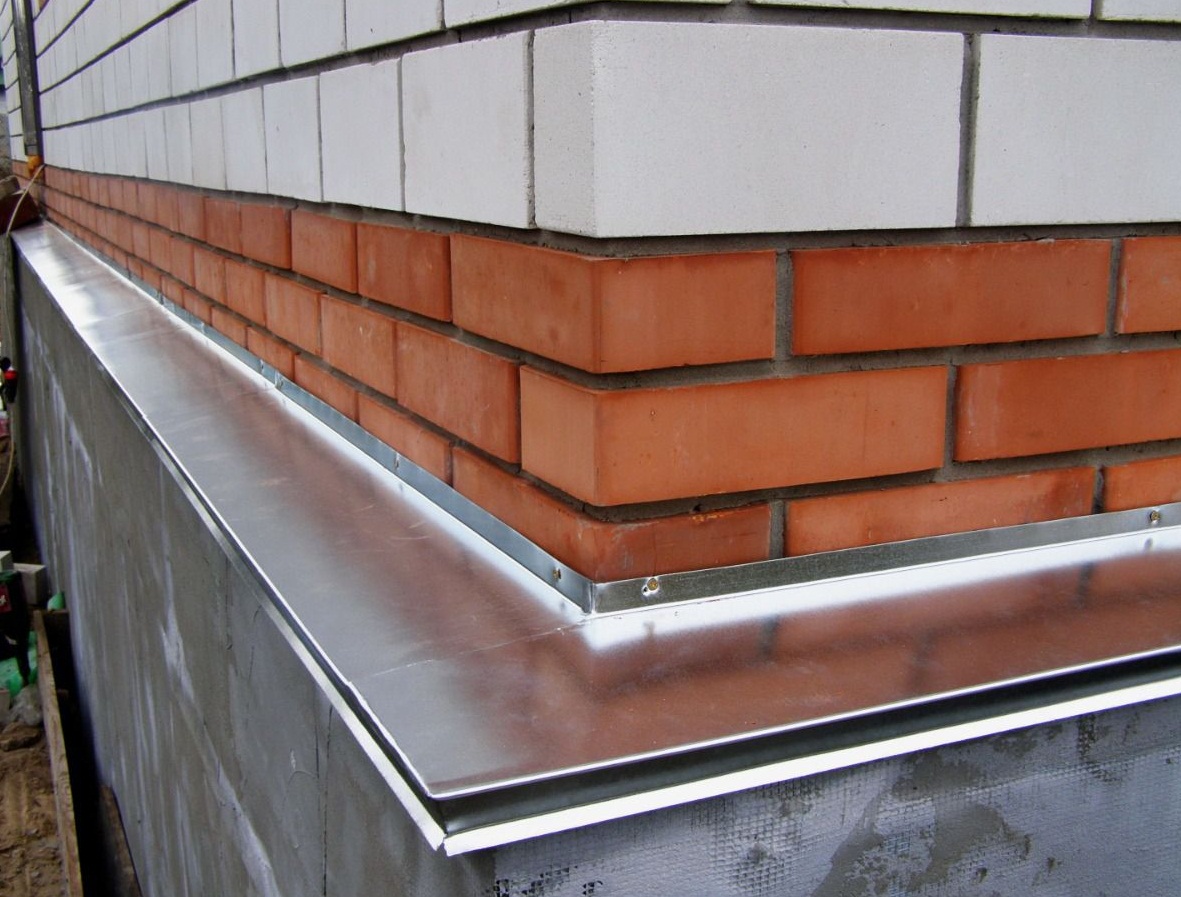
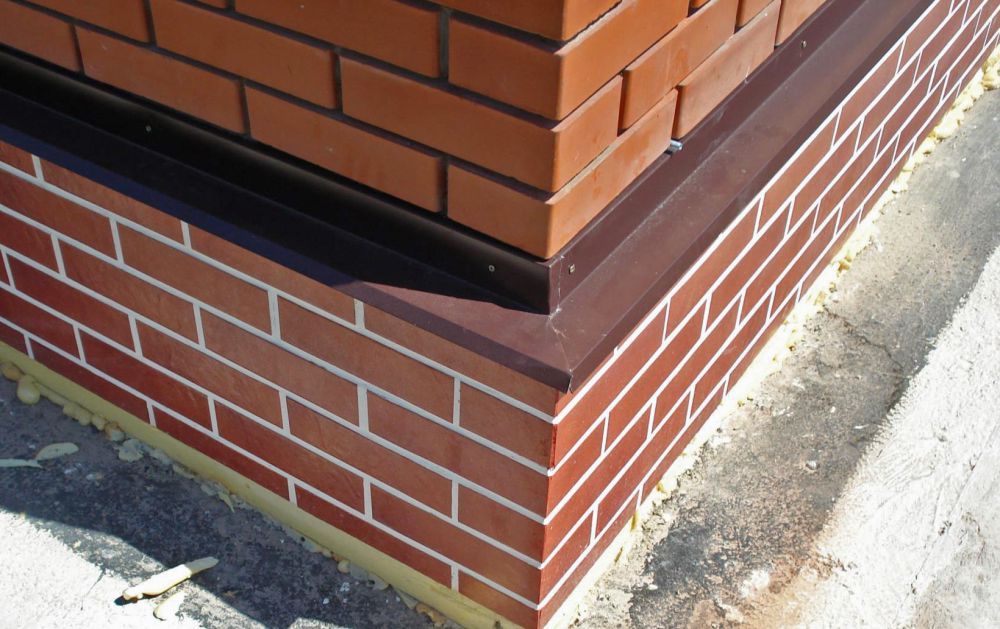
When making a plastic ebb, the cut of the corner pieces is simplified. To do this, the lower and upper parts must be cut out, an element of an additional type must be erected on the site to be placed, and then all connections must be treated with silicone material or sealant.
When using metal elements, the work is done differently.
- First, a shelf of the upper and middle type is cut, in one section up to 90 degrees in the corner, and on the other, an overlap of about 2 centimeters is performed.
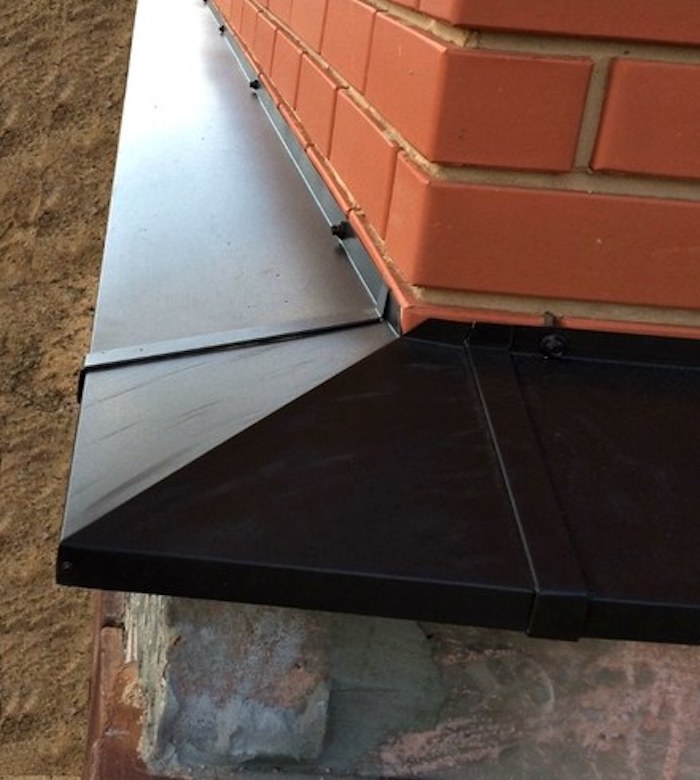
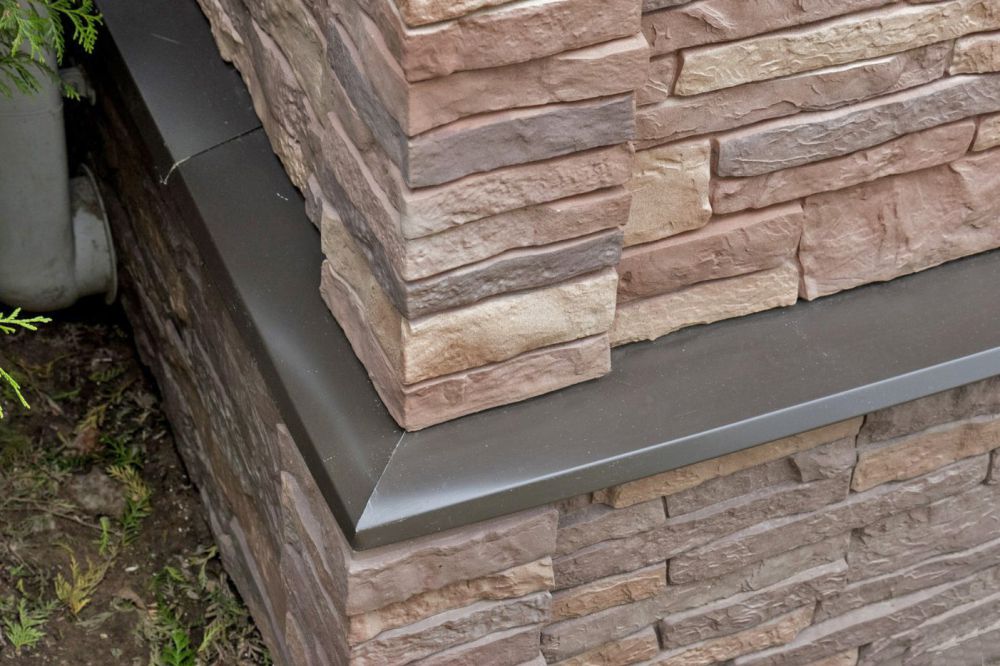
- Then the connection of the corner parts is performed, for this the bar is bent at the notch section, and the overlap must be brought inward. Along the corner element, fastening is performed using self-tapping screws or rivets.
The most reliable connection is the seam fastening, for this, 2 centimeters are left on both sides of the corner. For fastening the folded joint, you must use a special tool, as well as have experience with such work.
You can also connect the corner, leaving a small gap, it is subsequently closed from above with a bar, which is fixed along the seam with self-tapping screws.
It is necessary to protect the foundation from water ingress from all sides of the house, taking into account the porch, and other decorative elements.
Video - How to properly arrange the outer corner with a metal sheen
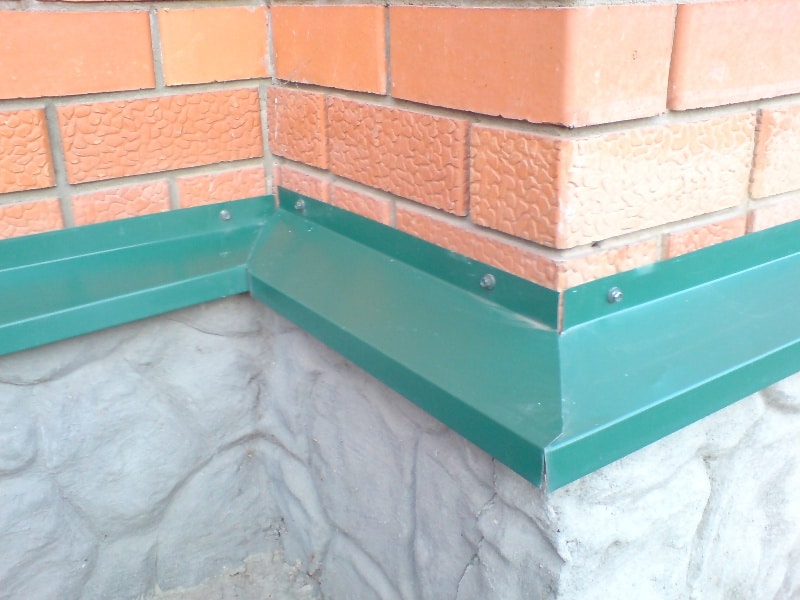
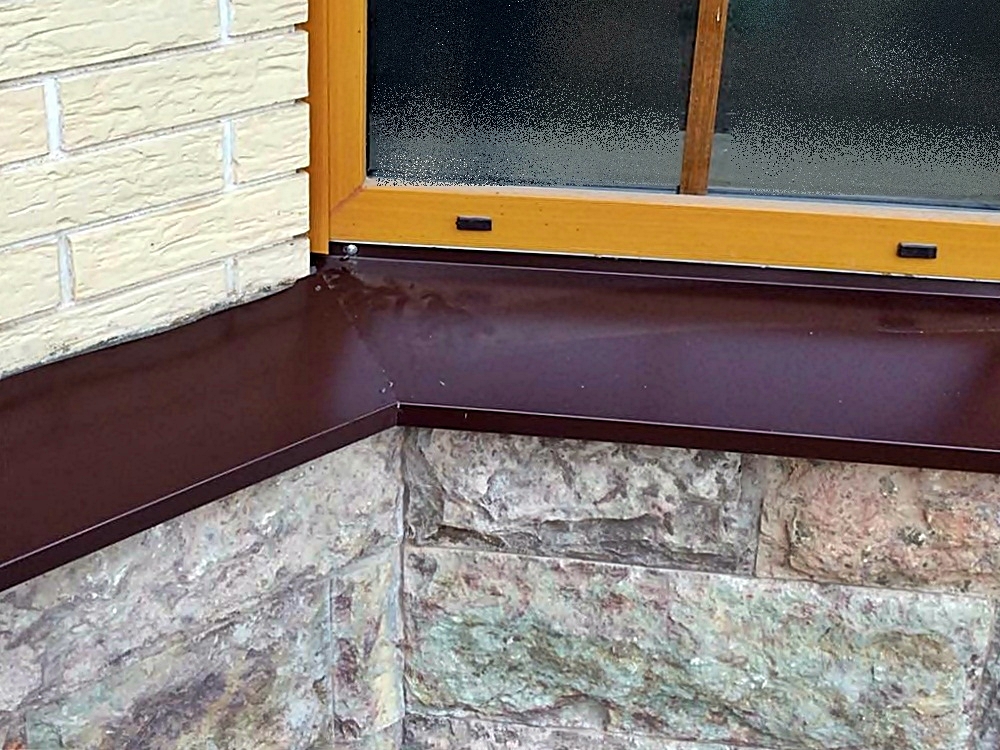
The cut-out of a metal or plastic molding for installation on an inner corner is not much different from the technology described above. In this case, the upper limb remains intact, since the corner is marked in the opposite direction. When joining the sides, it is enough to cut only one.
An illustrative example of an inner corner cut from a metal sheen
After finishing the corners, we fasten the strips to straight sections with an overlap of at least 10 cm.
With a drill we make holes in the folds of the shelf at a distance of 300-500 mm. We attach the product to the load-bearing wall and fasten or nail the elements strictly according to the markings. Fill the joint gap between the wall and the ebb with a sealant.
The main difficulty of this stage is the absence of a slope of the foundation ledge. A cavity is formed between the attached strip and the rough surface, which will negatively affect the quality of the fastening of the elements, and their further operation. This slope is adjusted even at the preparation stage during the leveling of the basement with cement and liquid glass. Also, for this purpose, a narrow board is used or the ebb is planted on polyurethane foam.
Fasteners are attached after installing the main strips. All ebb joints are treated with a hermetic compound.
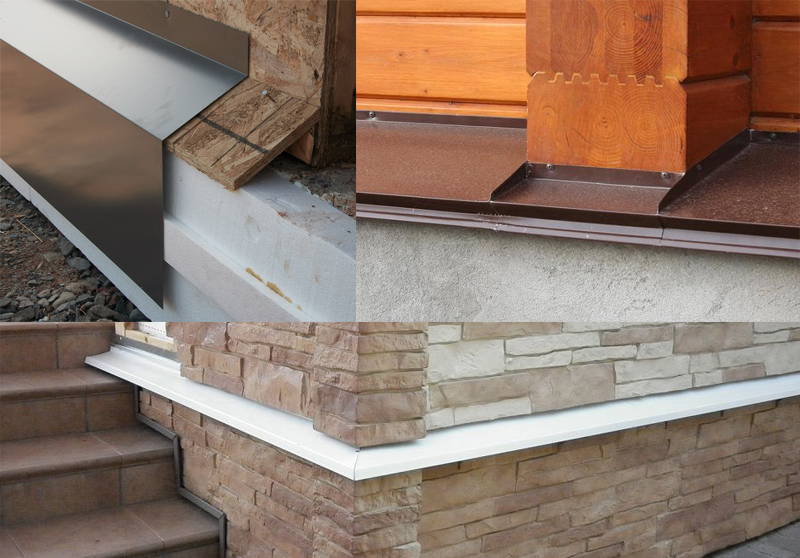
Examples of add-on elements for plastic and metal base moldings
Rules for the installation of structures made of concrete, stone and clinker tiles
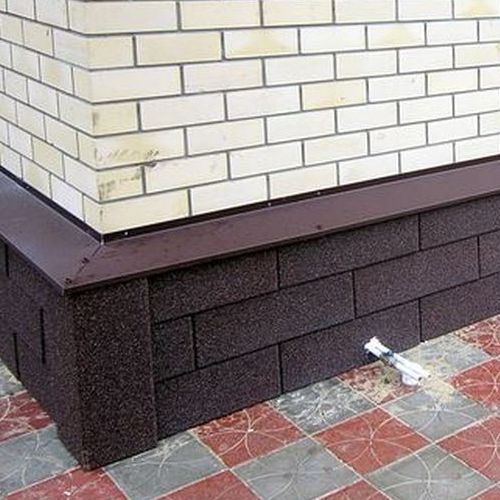
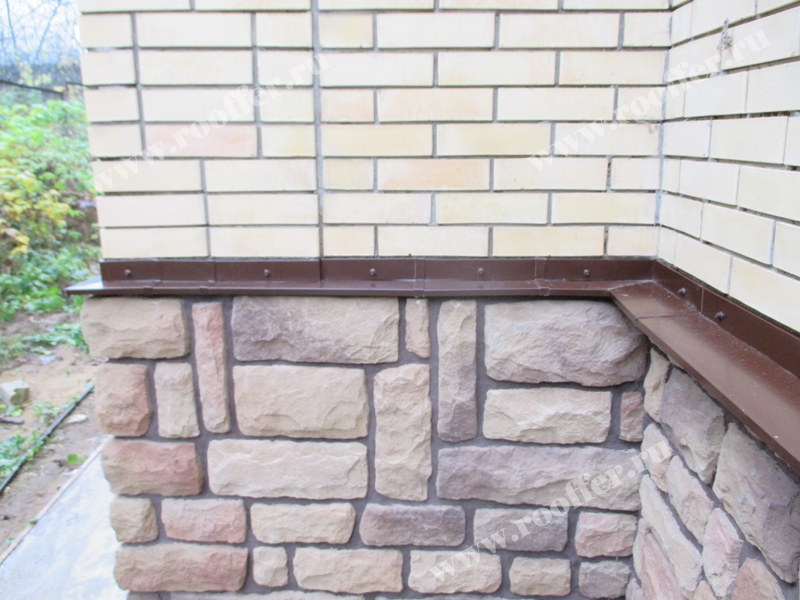
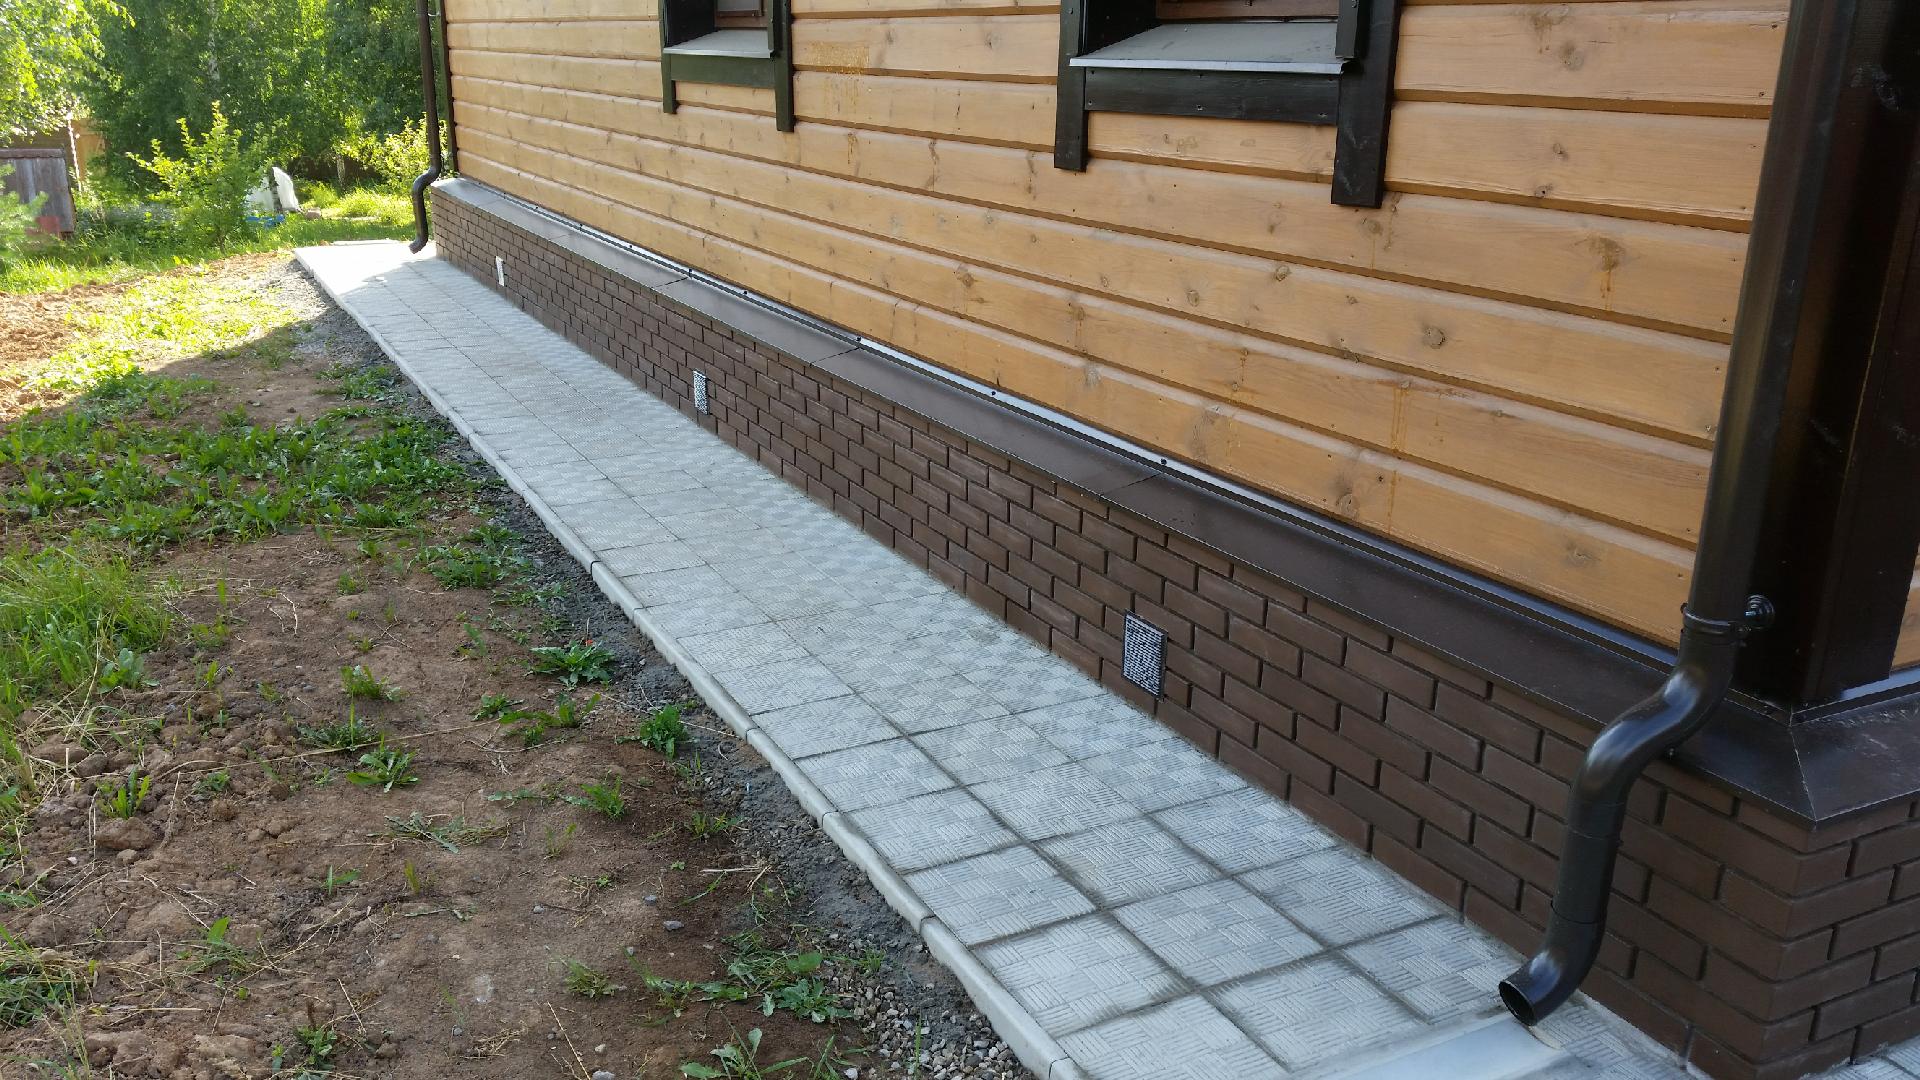
Single-piece products are difficult to fit to the desired size during installation, so it is most convenient to install such ebbs at the same time as finishing the outer walls, provided that decorative bricks or other similar materials are used.
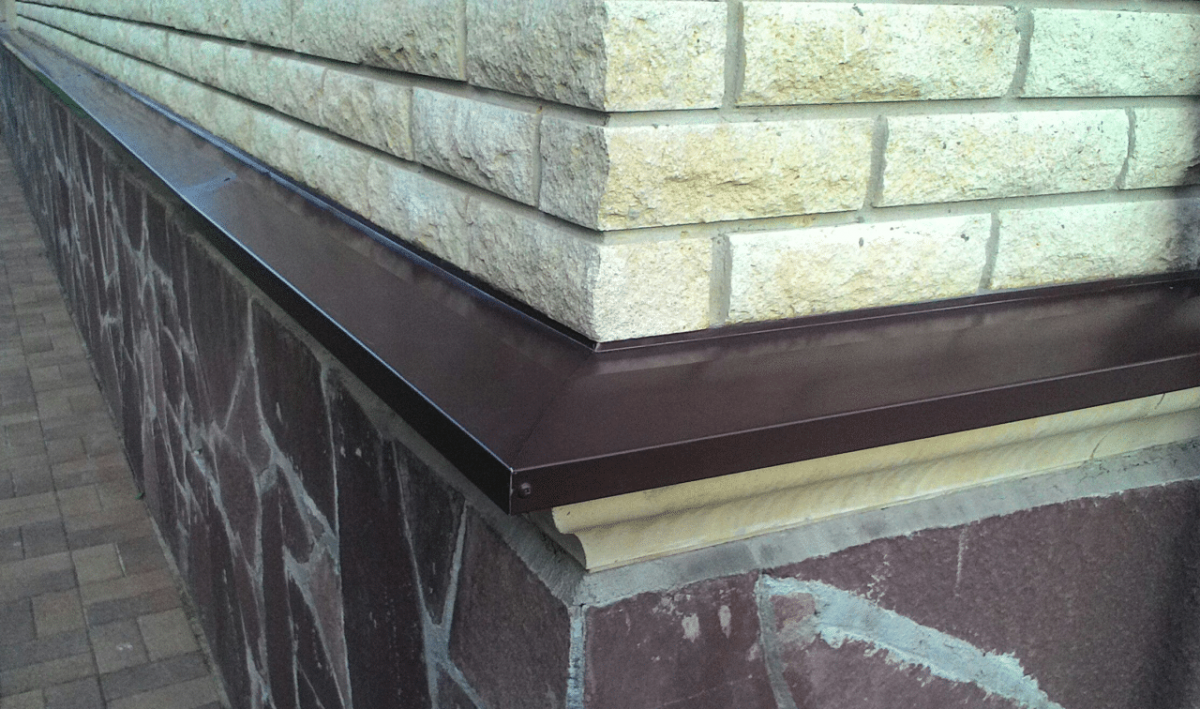
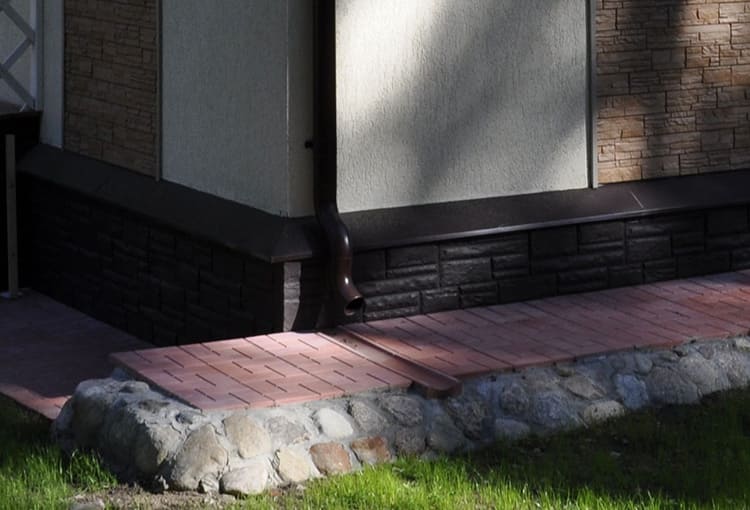
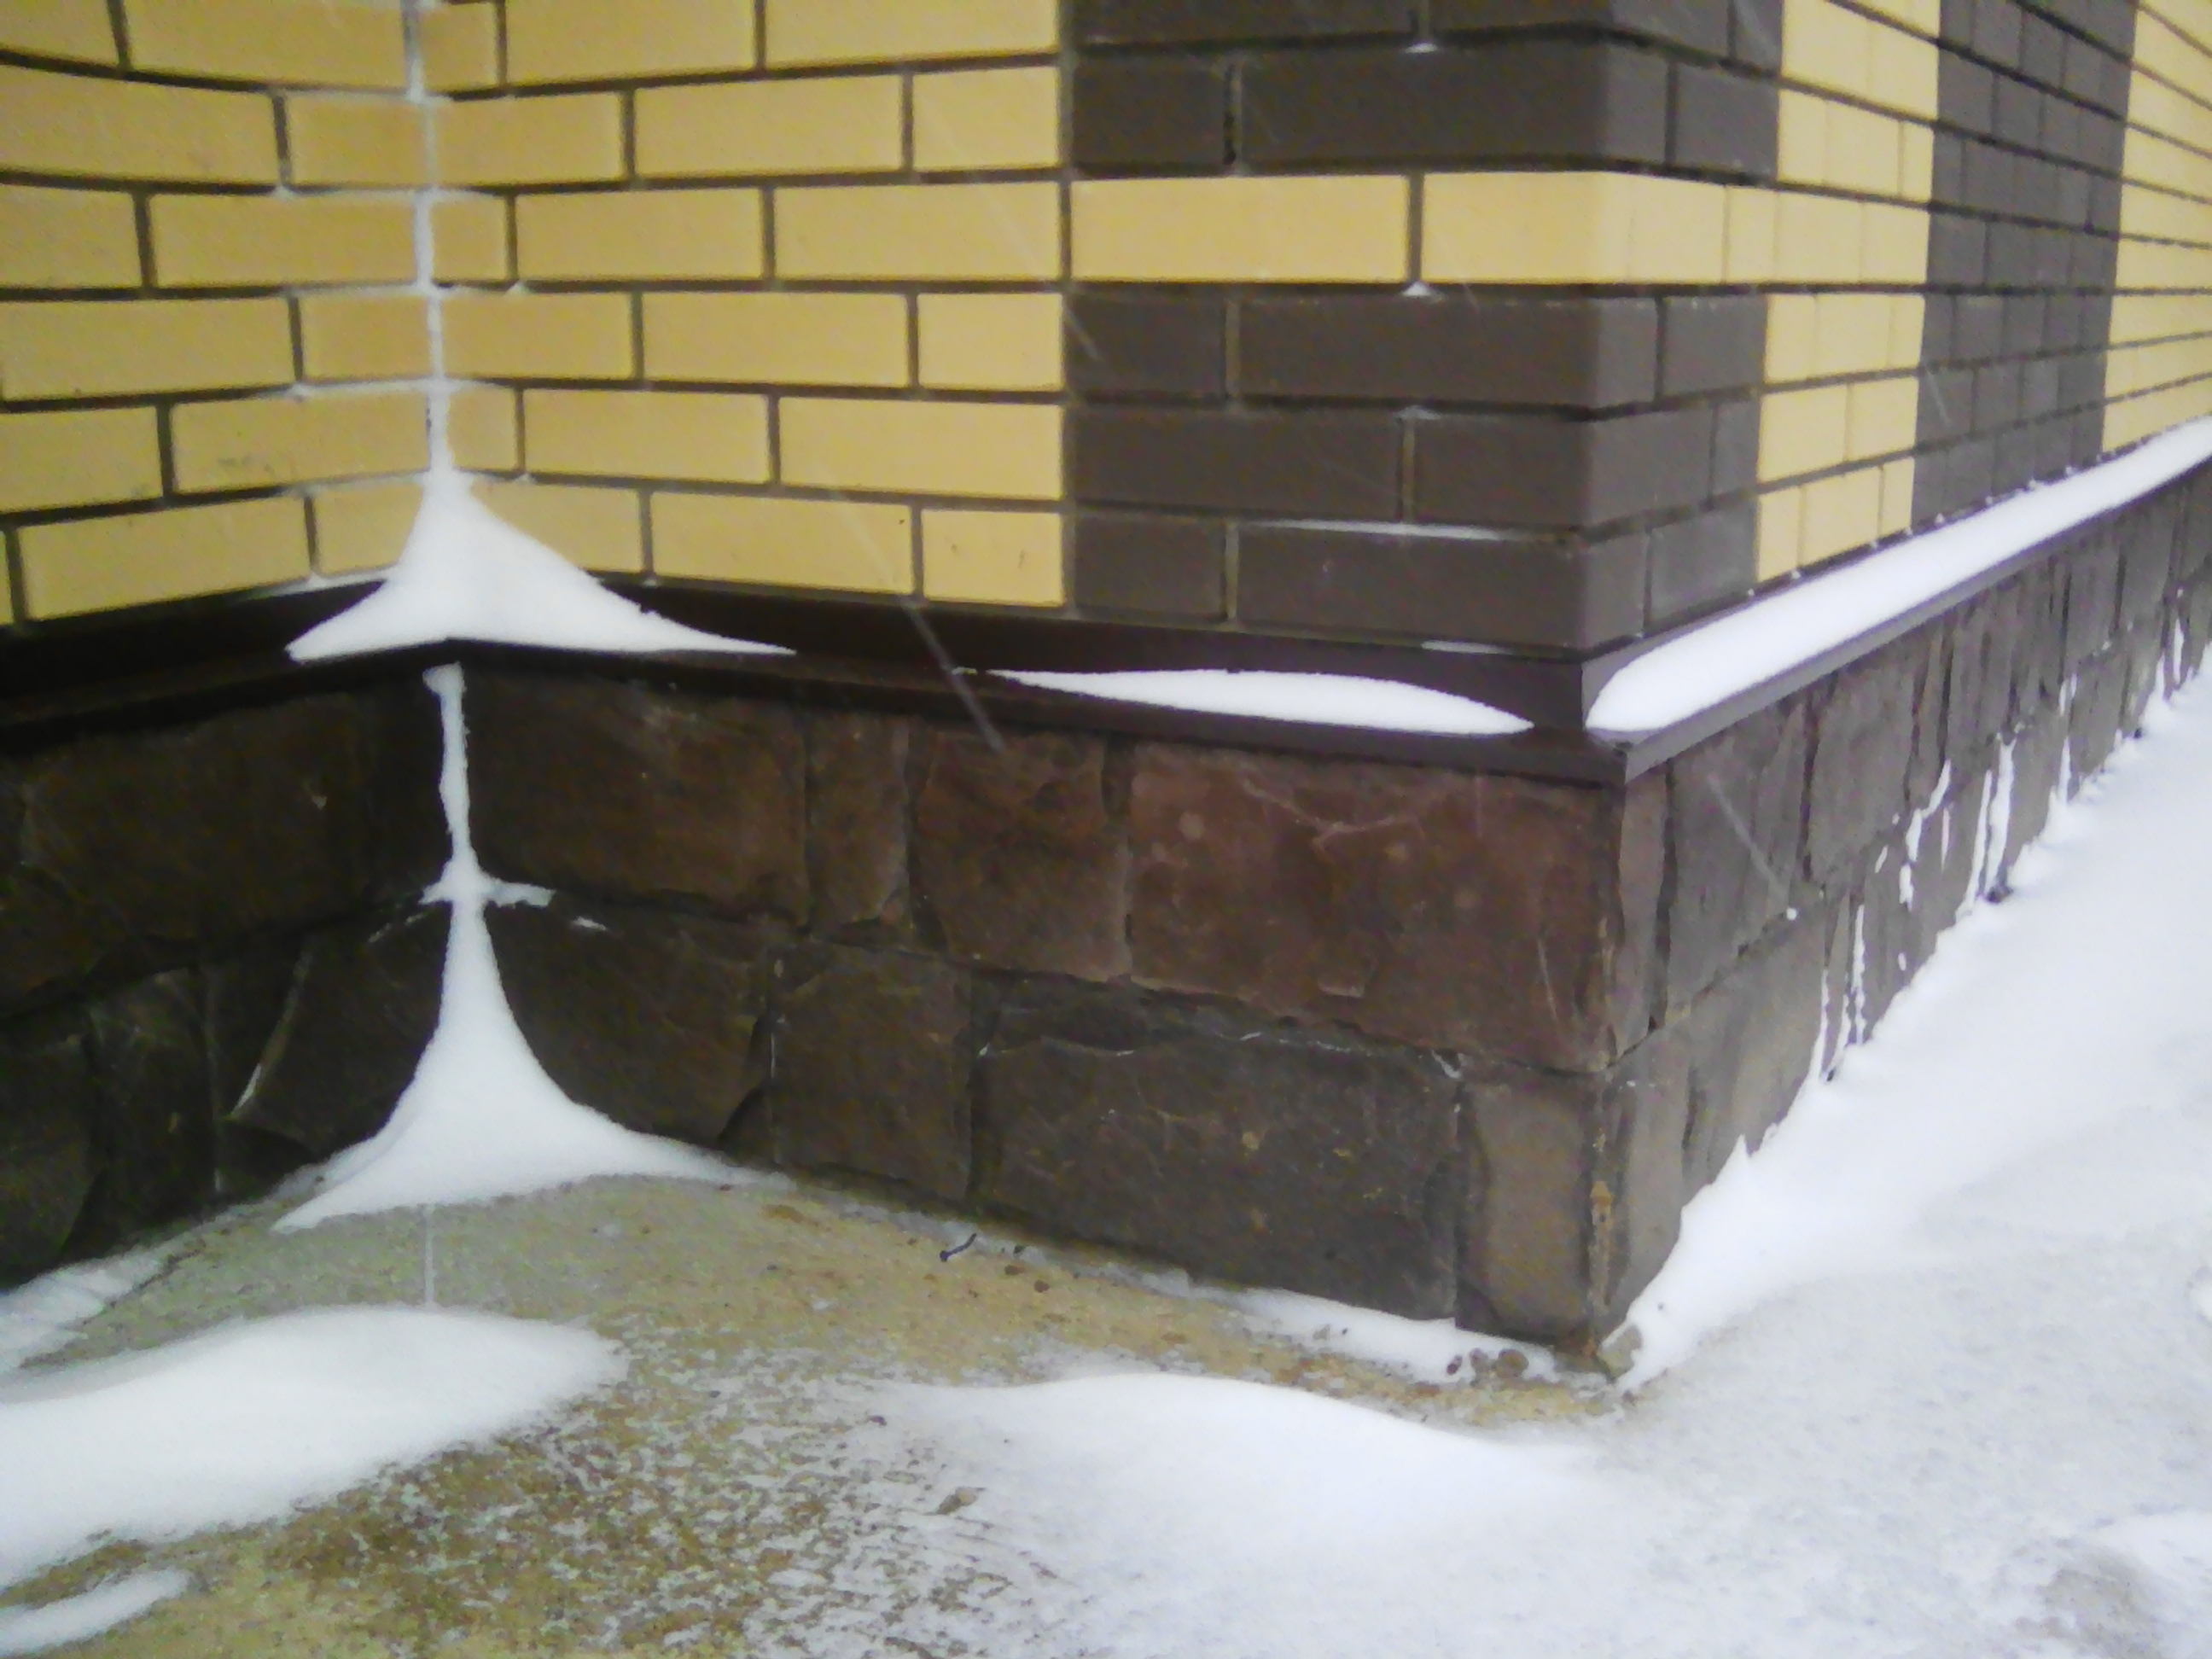
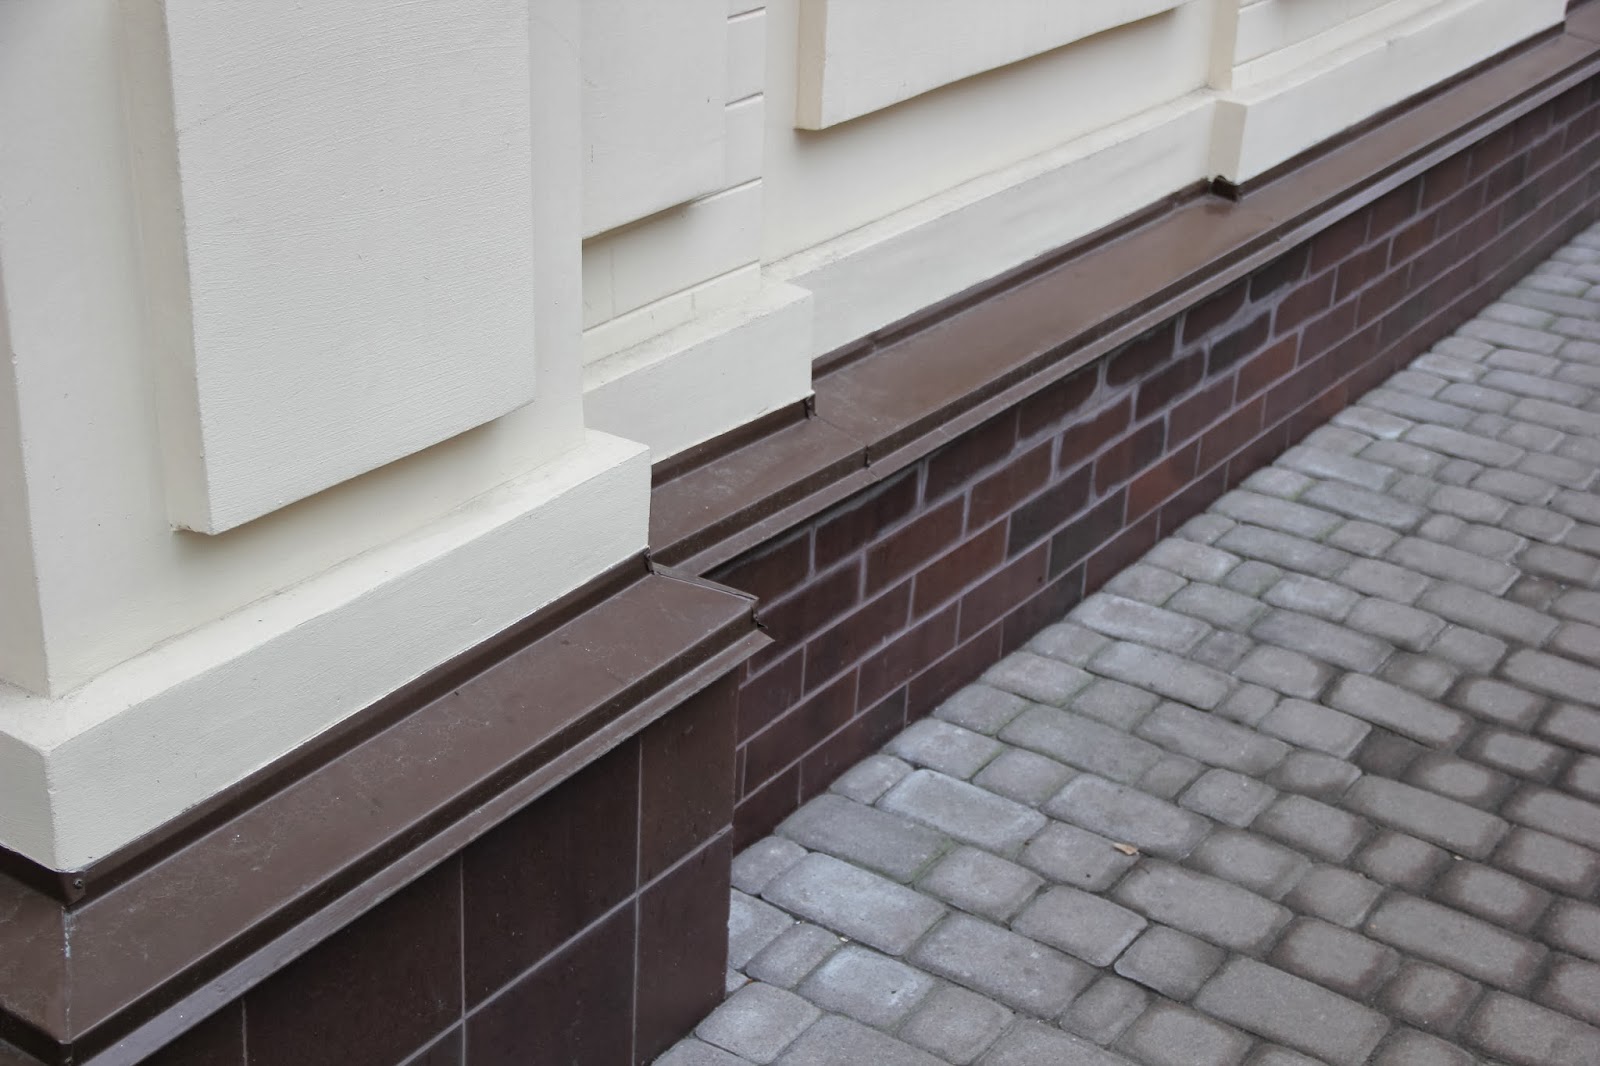
Stone, concrete or clinker tides look harmoniously with similar plinth and facade finishes
Elements are attached to an adhesive composition intended for ceramic or stone products. This glue is sold in every building store in powder form.
Also, an adhesive mixture for attaching piece elements can be prepared independently from cement and sand.
Concrete and stone are difficult to cut with improvised methods, so when installing such ebbs, try to minimize the need for a fit or avoid it altogether. To do this, distribute piece products evenly before installation, adjusting the width of future seams.
Installation of any type of ebb starts from the corner
The installation of a concrete, stone or clinker casting strip begins from the corners of the building. We put glue on the back of the product and press it against the base, without deviating from the horizon line. When all the corners are ready, proceed to straight lines. We apply the composition and fix the elements in the same way. When the adhesive has cooled down, we seal the joints. Further finishing work is carried out after the glue has completely solidified.
PRICES FOR PLINTH Ebb
The cost of drains is mainly calculated individually, based on the design and materials used. The table below shows the cost of products made of galvanized steel with a thickness of 0.5 mm, painted in standard and non-standard colors (powder coating).
| Shelf width, mm | Unit rev. | Standard RAL colors | Other RAL colors (powder coating) |
| 50 | running meters | RUB 50 | RUB 68 |
| 100 | running meters | RUB 75 | 102 r |
| 150 | running meters | RUB 100 | 136 RUB |
| 200 | running meters | RUB 125 | RUB 170 |
| 250 | running meters | RUB 150 | 204 r |
| 300 | running meters | 175 RUB | 238 r |
| 350 | running meters | RUB 200 | 272 r |
| 400 | running meters | 225 RUB | 306 r |
| 450 | running meters | RUB 250 | 340 RUB |
| 500 | running meters | RUB 275 | 374 r |
| 550 | running meters | RUB 300 | 408 r |
| 600 | running meters | 325 RUB | 442 r |
| 650 | running meters | RUB 350 | 476 r |
| 700 | running meters | 375 rbl. | RUB 510 |
| 750 | running meters | RUB 400 | 544 r |
| 800 | running meters | 425 r | 578 r |
| 850 | running meters | 450 RUB | RUB 612 |
| 900 | running meters | RUB 475 | 646 r |
| 950 | running meters | RUB 500 | RUB 680 |
| 1000 | running meters | RUB 525 | 714 RUB |
Prices include VAT 18%
We install the ebb on the base yourself
It will not be difficult to purchase ready-made ebb tides. A more responsible event is the installation of ebb tides on the foundation.In order for the work to bring you satisfaction and help you save money, you can do the installation yourself. To do this, you must meet a number of important requirements:
- The ebb attachment must be rigid enough to avoid vibrations from wind or contact. This is especially true for lightweight plastic and sheet metal products.
- The connection of individual parts along the length and especially in the outer and inner corners should be done most carefully.
- It is recommended to lay a small amount of weather-resistant polyurethane foam under the ebb to reduce their noise.
- When working with parts covered with a polymer layer, it is necessary to try not to allow it to break. Touching metal objects may result in scratches. At present, aerosol paints have appeared in hardware stores that correspond to the colors of the polymer coating of the ebb, which makes it possible to eliminate the resulting defects.
To work with the most accessible metal and plastic moldings, the following tool should be prepared:
- locksmith scissors with bent jaws or
- a grinder with a cutting disc for metal, as well as
- screwdriver;
- level.
- Before making the ebb for the basement of the foundation with your own hands, you should perform a high-quality marking of the installation sites. This will require a building level at least a meter long, and preferably one and a half or two. With the help of these assistants, the lowest points are determined and, focusing on them, they draw horizontal lines at the required distance from the base. The markings can be done with a marker or beaten off with a chalk-rubbed cord, since it is necessary to correctly install the ebb tides on the base of a wooden house at the same level.
- The next step is wall mounting. It does not present any particular difficulties, since it is convenient to fasten the ebb to the foundation with the help of special roofing screws for wood. They have a hex head with a diameter of 8 or 10 mm. For the convenience of screwing in, purchase the appropriate head, which is installed in the chuck of a drill or screwdriver, since it will be inconvenient to put the ebbs on the foundation, for example, with a wrench.
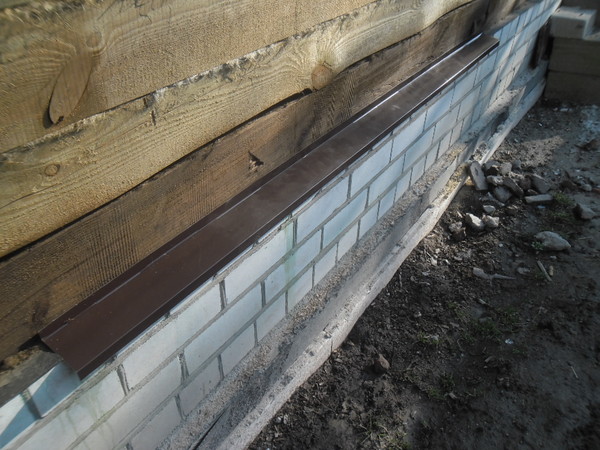
- Installation of ebbs on a wooden wall is quite simple. The process is more complicated when the ebb is installed on the foundation of a structure built of concrete blocks or bricks. In this case, through holes with a diameter of 6 mm are pre-drilled in the upper shelf of the ebb with a distance of 0.5 meters between them. Further, having installed the parts on the wall according to the level, they mark the attachment points on the wall.
- At the points obtained, holes are drilled with a carbide drill to a depth of 40-50 mm. Plastic dowels are installed in the recesses obtained. Next, screw in galvanized or painted self-tapping screws with a press washer through the holes in the ebb into the dowels. This is how they protect the foundation of a concrete house.
- The greatest difficulty is the process of installing ebbs in the outer and inner corners of the house. It is advisable to cut the parts so that the connection is of high quality and tight. To do this, it is necessary to carefully make a markup using a template or using a square and a ruler, since not everyone succeeds in making an angle on the ebb of the foundation correctly the first time.
- Since most of the ebb tides are made of sheet steel or plastic sheet, they have sufficient mobility and in strong winds can cause inconvenience to home owners. In this regard, together with how to install the ebb tides on the foundation, a small amount of polyurethane foam is sprayed under them. Expanding, it will fill the free space and create a support for the profiles.
Thus, we talked in detail about how to correctly make an ebb from the foundation of a house made of various materials, revealed the features of installation and cutting of parts.Having completed the protection of the foundation of the house with your own hands, you can save on attracting third-party labor and do the job efficiently.
Ebb installation
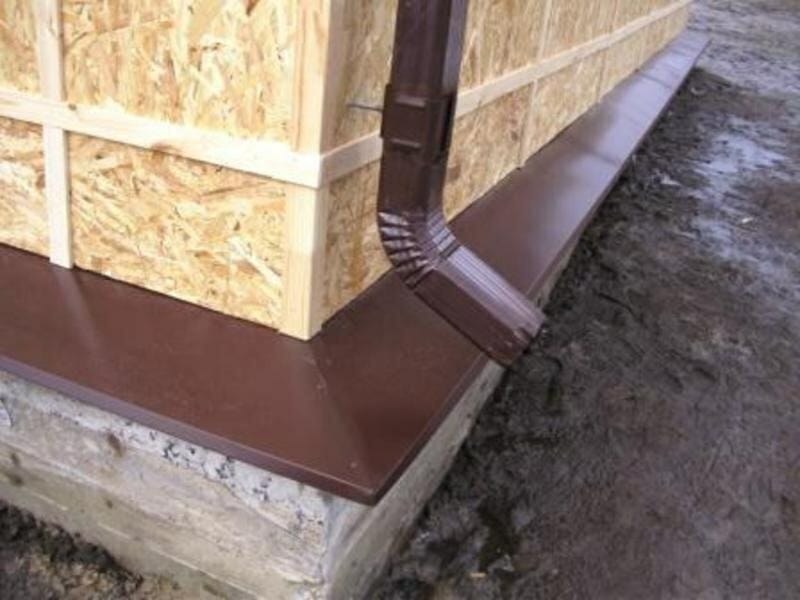
Metal and plastic drips are the most common because they are easy to install. They are attached directly to the facade of the building or to the installed lathing before cladding.
Let's analyze the installation using the example of steel products. If you are going to use ready-made ebbs, then first you need to calculate how many planks you need. This is easy to do, knowing the perimeter of the house. The resulting sum of the lengths of the sides must be increased by 5%, since the planks overlap with each other. Now it is easy to calculate the number of outflows, given that the length of the standard steel strip for waterproofing the basement is 2 m.
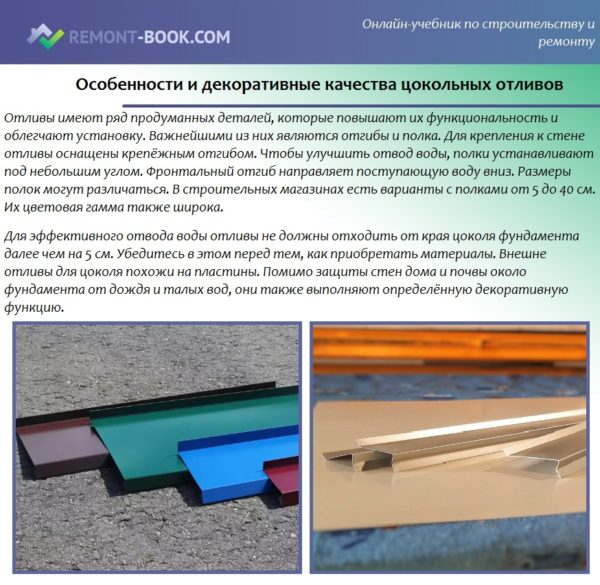 Features and decorative qualities of basement sills
If you decide to make your own ebb from galvanized sheet, then you can do it as described below.
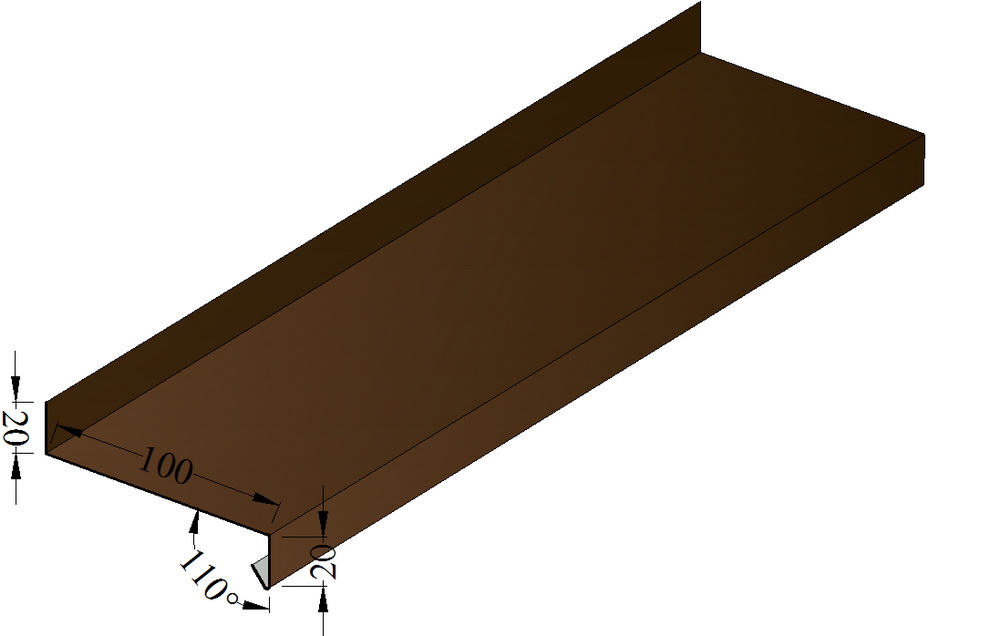
- Measure the distance from the wall to the outer edge of the protruding part of the foundation and add to the resulting value of 50 mm for the upper and lower bends.
- The sheets are cut into strips of the obtained width.
- On the resulting blanks, mark at a distance of 25 mm from the edges of the bend line.
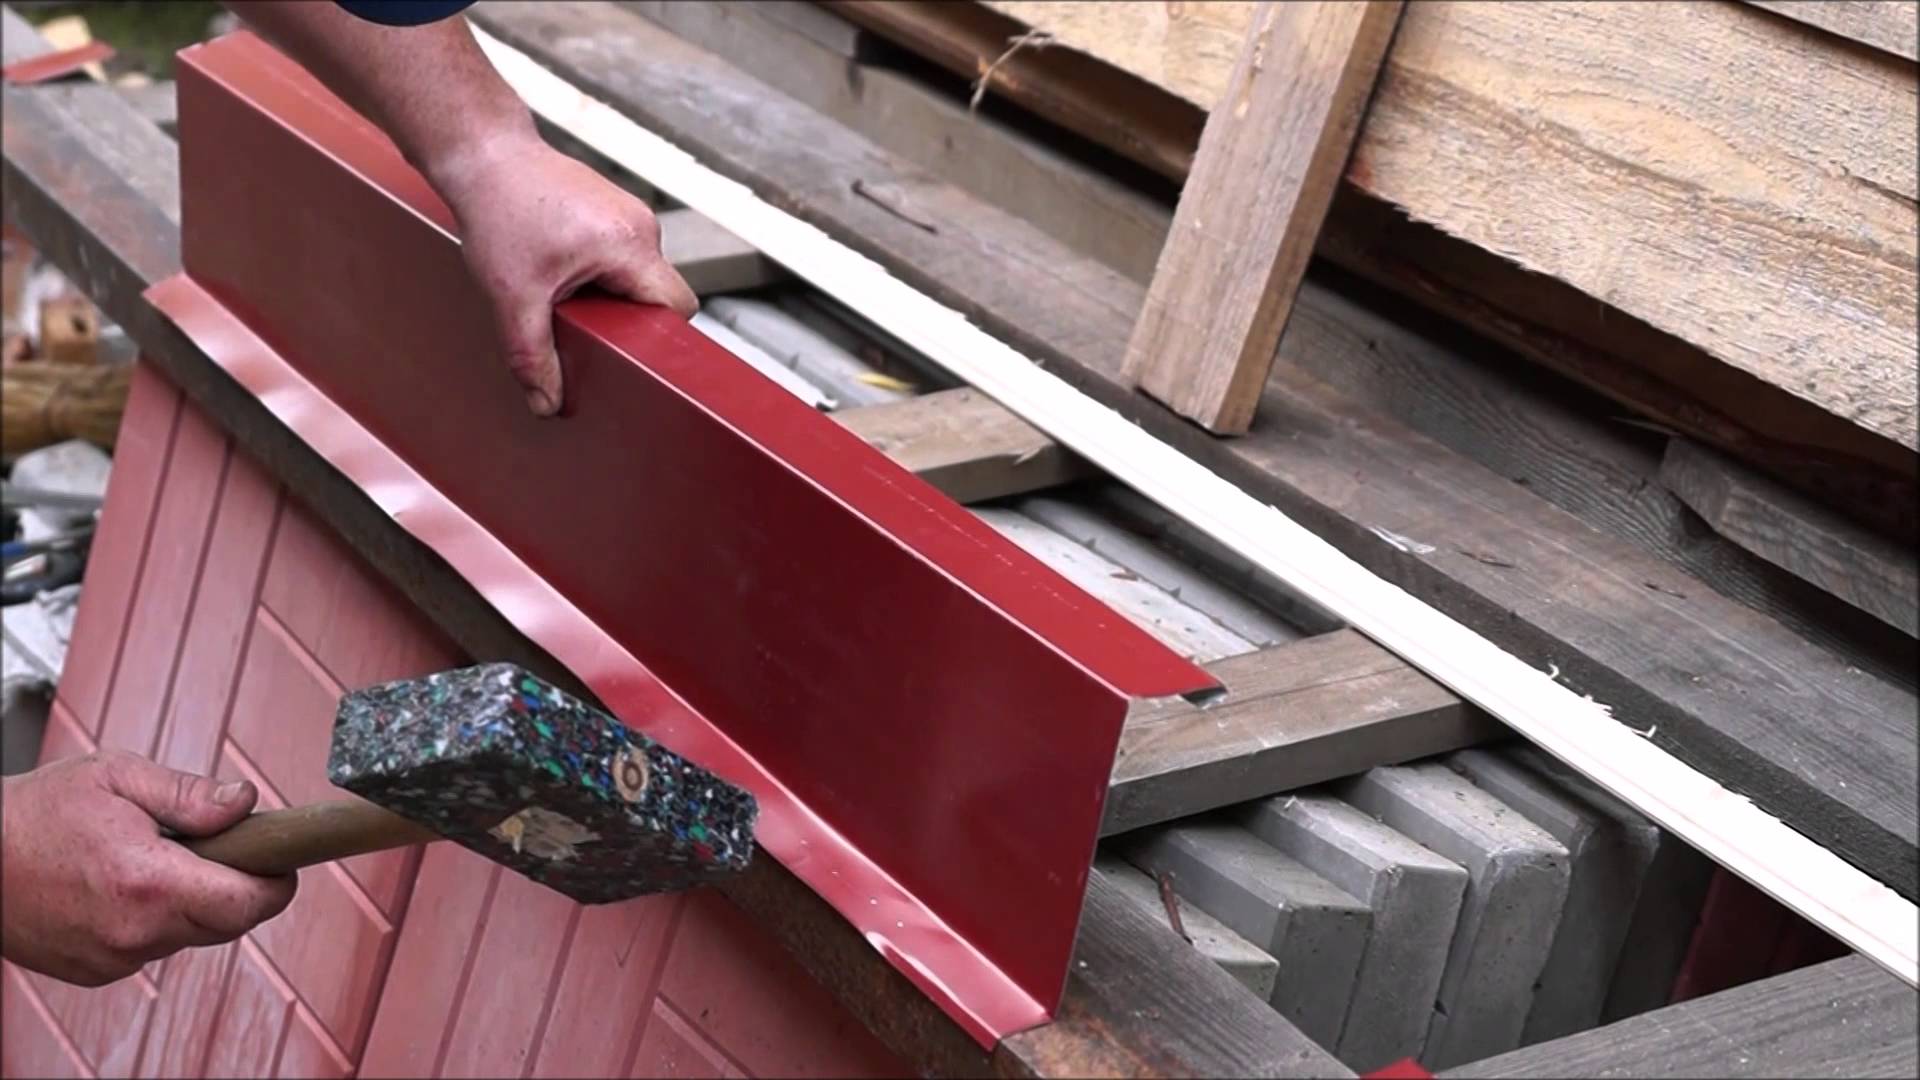
- Make the top and bottom folds. A metal corner or bar is used to calibrate the angles. The bend is made with a mallet.
Video - How to make an edge on a tin casting without a listogib
To install the waterproofing of the basement, in addition to the outflows themselves, you will need:
- scissors for metal;
- construction square;
- level;
- clamps or pliers for bending or unbending ebb elements;
- screwdriver;
- self-tapping screws;
- pencil.
Prices for popular models of screwdrivers
Screwdrivers
An important element that should not be forgotten when installing a basement waterproofing is the corners. You can purchase ready-made corner elements, or make them yourself during the installation process, following the diagram.
| Step, no. | Description |
|---|---|
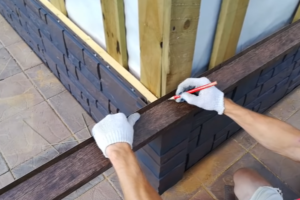 Step 1 Step 1
|
A central mark is placed on the edge of the shelf that is adjacent to the house. This is the inner apex of the corner. |
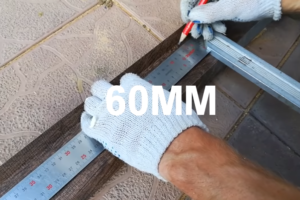 Step 2 Step 2
|
On each side of this mark, a segment is laid, the length of which is equal to the length of the ebb shelf without 10 mm. |
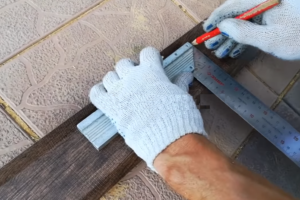 Step 3 Step 3
|
A perpendicular is drawn from the central point to the outer edge of the shelf. An equilateral triangle is formed between the resulting point and the two lower lateral ones. |
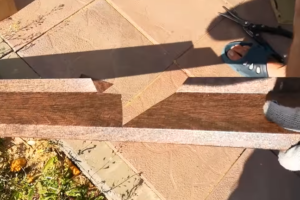 Step 4 Step 4
|
Notches are made on the mounting flashing along the side marks. Moreover, they cut not only in a straight line, but also cut the corners to make it easier to carry out further work. An incision is made along one of the equal sides of the triangle. On the other hand, the incision is not made in a straight line, but leaving a small tongue, which is slightly bent with clamps to the inside. This is necessary to create a low tide slope. |
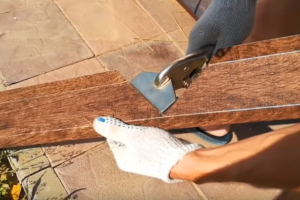 Step 5 Step 5
|
In the area of the apex of the triangle, the outer limb is clamped, but not cut. |
 Step 6 Step 6
|
Fold down the corner. |
Starting from the corner, proceed to the installation of the ebb. They are attached to a pre-prepared lathing for the installation of facade finishing elements. For its manufacture, you can use boards, a wooden beam or a metal profile and fix them strictly vertically.
Step, no.
Description
Step 1
Apply a homemade or factory corner piece to the corner of the building at the desired height, covering the top edge of the base
It is important not only that the shelf is sloped, but also the ribs of the plank are laid perpendicular to the vertical guides of the crate, which is checked with a construction square or a water level. You can put marks on the crate in advance.
Step 2
Fix the corner with self-tapping screws to the crate.
Step 3
At the next low tide, a small corner is cut off at the outer bend in order to bring the edge under the previous low tide by about 2-3 cm.
Step 4
Guided by the building corner or the water level, the next low tide is fixed with self-tapping screws.
Thus, cover the basement around the entire perimeter of the house. The space between the foundation and the waterproofing shelf is often filled with polyurethane foam. In such a simple way, you can refine the foundation of the house and protect it from external negative influences.
Types of ebb
Currently, the ebb of the foundation of the house is becoming widespread thanks to the diligence of many owners and the timely advice of experienced builders. Any choice of a particular material begins with the collection of information. Ebb tides for the foundation of a wooden house, block or brick structure are structures of complex shapes, the main task of which is to drain water flowing down the walls outside the basement.

Varieties of ebb
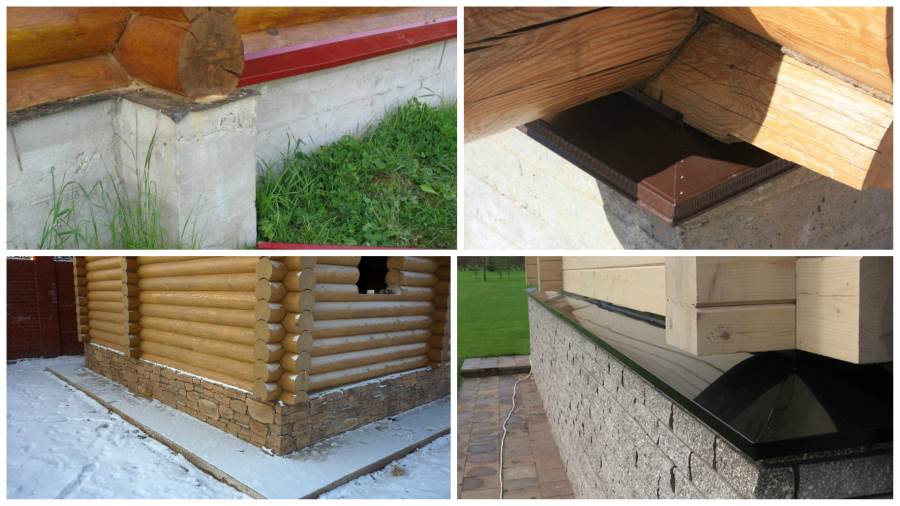
Ideally, moisture from the low tide should fall onto the blind area and drain along it into the gutters to drain it as far as possible from the foundation of the house. In this case, the negative impact of precipitation can be minimized and the structure preserved for decades. To solve this problem, basement ebbs, depending on the material from which they are made, are divided into the following types:
- Steel,
- Aluminum,
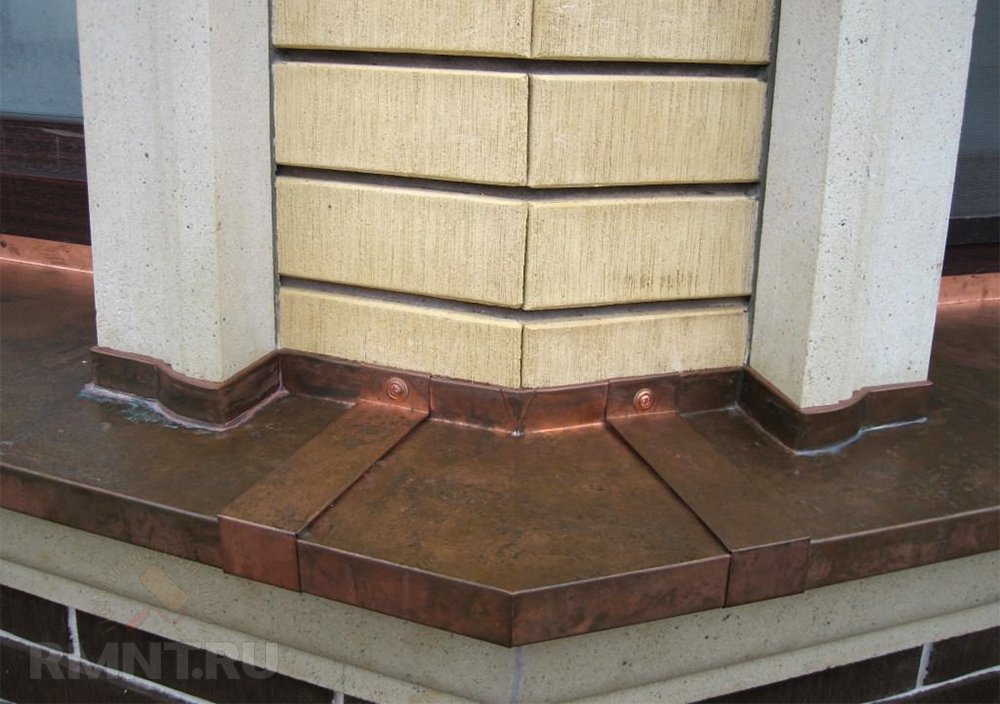
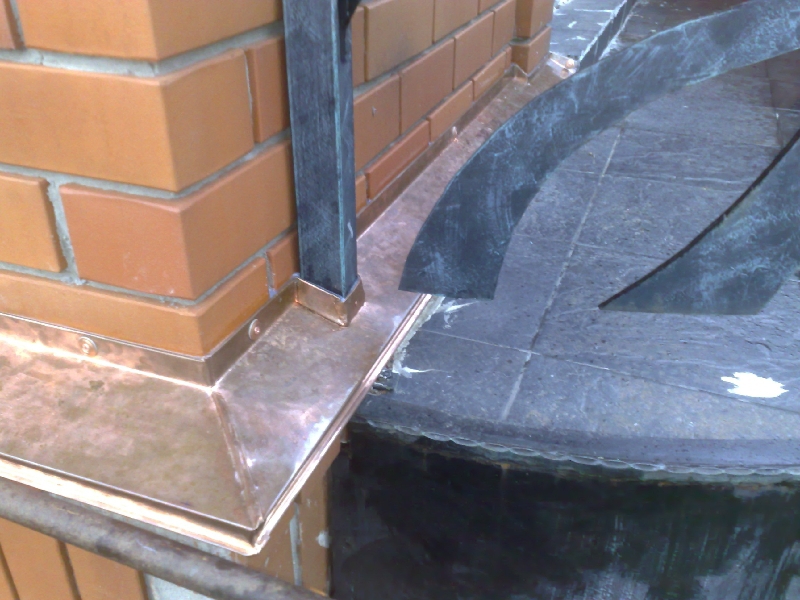
- Copper,
- Plastic,
- Concrete,
- Wooden
Let's consider each option in more detail, paying special attention to its positive and negative sides.
Steel ebb
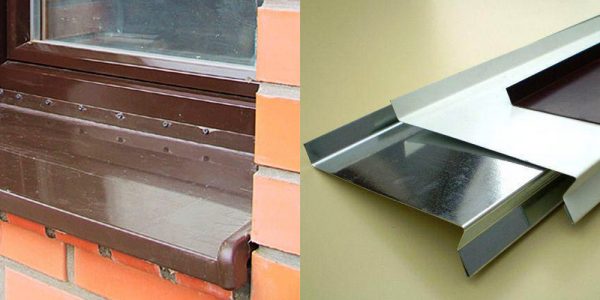
Steel ebb
Steel elements are quite widespread and can be purchased at any building base or in a specialized store. In addition, such ebb tides on the foundation of a house with your own hands are easy to install without the use of hired labor, which allows you to reduce the overall costs of this type of work.
Aluminum drips

Aluminum ebb
This type has the same advantages as the previous one. In addition, aluminum has a higher weather resistance and a significantly lower weight, which ultimately allows to reduce the load on the base of the house. These products also differ in price, which slightly exceeds the cost of steel castings.
Copper ebb
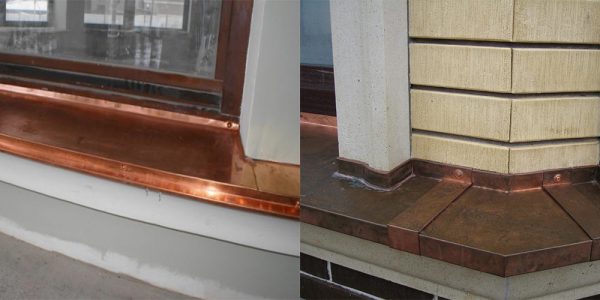
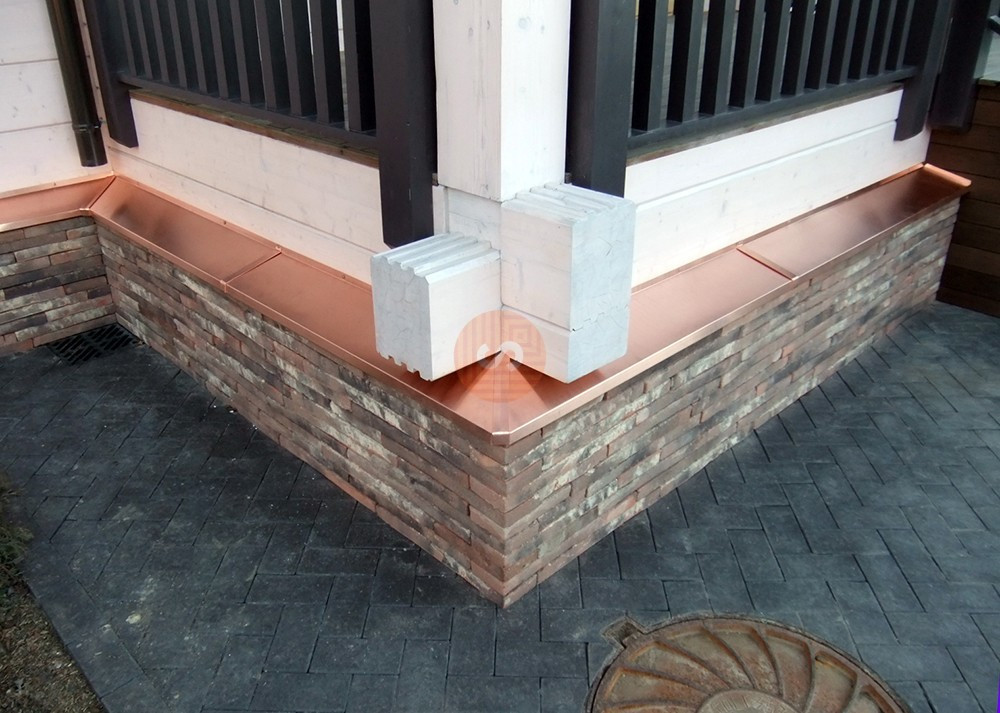
Copper ebb
Another type of metal shims is made of copper sheets, which makes it possible to give the protection of the basement a noble look. When used with the appropriate finish, these items retain their reddish tint without the green copper oxide build-up. The limiting factor for the spread of copper castings is the maximum price of the entire group of metal castings.
Plastic elements for basement protection
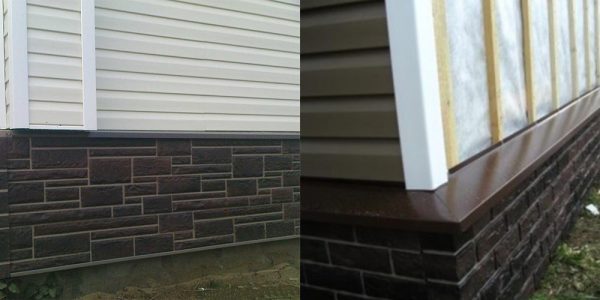
Plastic protection
Plastic moldings for the basement base differ from the analogs described above in the minimum cost in the line. Thanks to the achievements of modern industry, it was possible to obtain products with maximum resistance to the effects of sunlight, which made it possible to significantly increase their service life. This type is also convenient in order to carry out the installation of the ebb tide on the basement of the foundation with your own hands.
Concrete protection elements
Concrete ebbs for the basement plinth have also been used to solve the problem of protection from atmospheric precipitation. At the same time, they are characterized by all the pros and cons of a sand-cement mixture, the main of which is a very high mass. This leads to a significant limitation of the use of such products. Basically, building codes are allowed to carry out the installation of concrete ebbs on reinforced plinths.
Wooden plinth drip
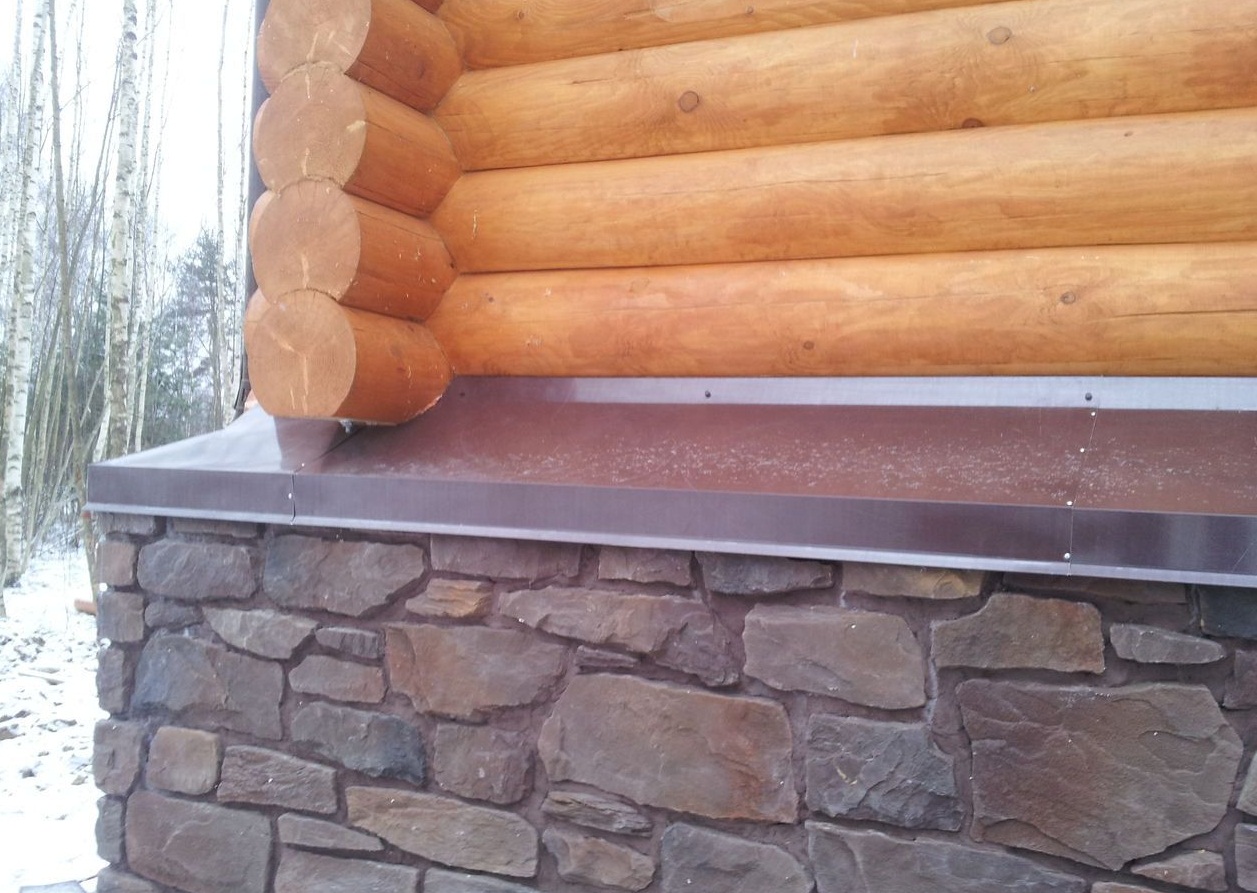
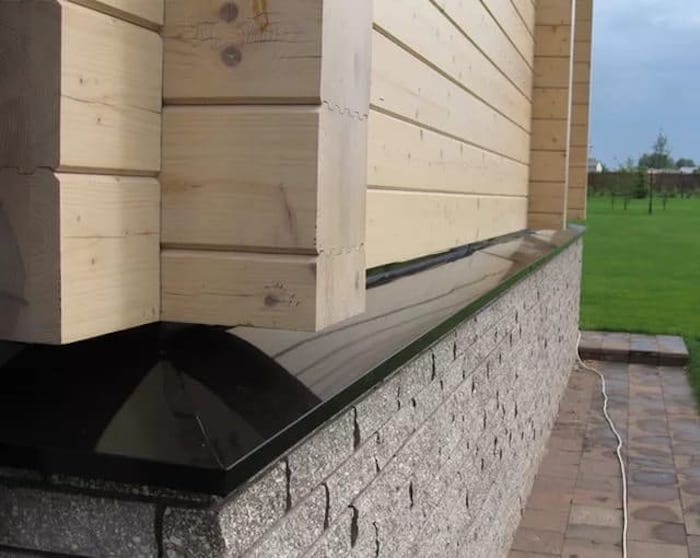
This option is ideal for finishing the basement of the foundation of a wooden house, which retains the appearance of a natural building material. It is recommended to use edged sawn timber from wood species with high resistance to soda as an ebb tide. One of the most accessible for the inhabitants of our country is larch.
How to install a plinth with your own hands
In order for the foundation to be reliably protected, you need to install an ebb on the base. All the correct execution of all work, it is worth strictly following the detailed instructions.
First of all, you need to make a markup that will allow you to install the shelves in the right places. You need to use the building level. It is better to use a longer tool to make the calculation easier. Using the level, the lowest points are determined and lines are drawn from them, which will indicate the location of the ebb. A construction marker is perfect for marking marks. You can also use a special cord that is pre-rubbed with chalk.
The next stage is the installation of the wall. Self-tapping screws are used to attach products. To simplify the installation process, you can buy special heads in advance, which will be installed in the chuck of the tool used during operation.
To install the ebb, through holes are made every half a meter. The average diameter should not exceed 6 mm. Then the parts must be installed in the marked places, using a level.
At the designated points, holes are made into which you need to insert plastic dowels. After that, self-tapping screws are screwed in. You need to choose those screws that have a press washer.
The hardest place to install ebb tides is in the corners of the house.
Please note that the parts must be cut so that, as a result of the connection, they are completely sealed and of the highest quality.
Due to the fact that most products are made of a thin sheet of steel or plastic, they have a high rate of mobility and can cause inconvenience to the owners of the house during strong winds. Therefore, during installation, you need to spray a little polyurethane foam on them for a more reliable fixation of the profiles.
Polyvinyl chloride drips
PVC has a huge number of advantages that make it so popular. The main characteristics are considered to be the durability of products and a high indicator of resistance to aggressive environmental influences. The construction market offers a wide range of products that perfectly protect against moisture ingress. The cost of the products is more than reasonable, and the choice of shapes and colors is very large.
Metal basement structures
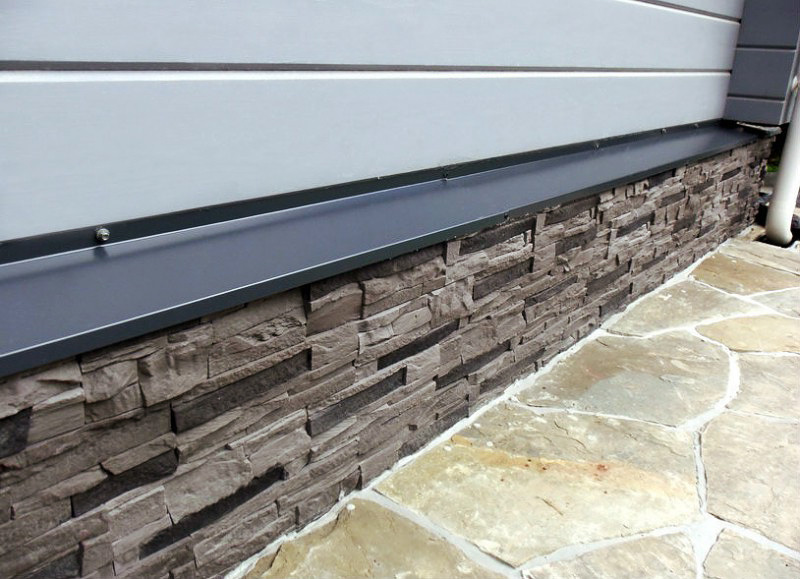
Metal structures differ from others in their long service life. You need to install them using self-tapping screws or dowels. Installation does not take much time and is notable for its ease. The simplest set of tools can be used to install metal sills.
As a result of cutting the metal, a special protective layer can be damaged, which can soon lead to corrosion and destruction of some parts.
Concrete structures
Concrete base / plinth drips are one of the best options and are great for stone-clad facades. They have a high rate of frost resistance and durability, and are very durable. Due to the content of crushed stone, sand and plasticizers in the product, the materials are resistant to various deformations. The only disadvantage is that concrete ebbs on the basement base should be installed at the very end and this must be taken into account initially, since the products are heavy.
Clinker ebb
Due to the huge number of advantages, clinker ebbs are used more and more often to protect foundations. The installation of such products is rather complicated, so if you do not have the necessary experience and knowledge, it is better to entrust the installation of clinker ebbs to professionals. Otherwise, there will be little result from their installation and over time, the facade of the house will begin to be damaged.
Steel ebb
Steel products have an affordable price and high durability. You can buy steel basement ebbs at any hardware store. Installation will not take much time.The only condition is to be careful during installation so that the protective layer of the drips is not damaged.
Aluminum drips
It has almost the same characteristics as steel products, but at the same time it has high weather resistance. The weight of aluminum skids for the basement is much less, which makes it possible to reduce to a minimum the load on the foundation of the building. The cost is slightly higher than that of steel ebb. Installation of such products is quite simple and you can do it yourself without the help of specialists.
Installation inside and out
The design features of the products and what they are made of provide for a different installation method. Consider the options for attaching the casting strips using the example of various materials.
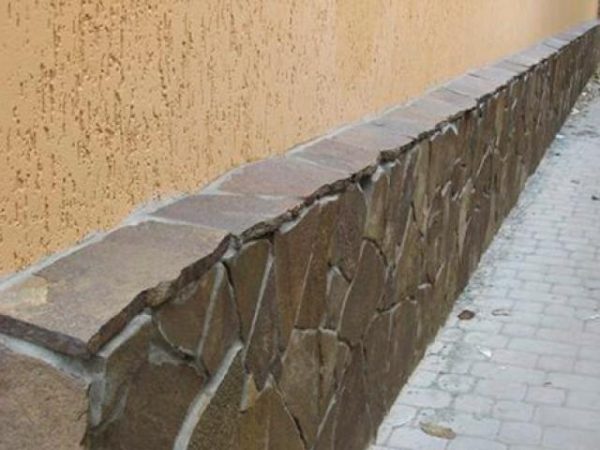 Ebb plinth made of stone
Preparation phase
In order not to be distracted during the installation process by going to the building store or searching your storeroom, the first step is to prepare the tool that will be needed in the process of work, as well as to purchase all the necessary materials.
To install, you need to acquire:
- ebb strips;
- impact drill and screwdriver;
- extras;
- grinder, tile cutter, hacksaw with fine fraction, metal scissors (based on the type of product);
- sealant;
- polyurethane foam;
- hardware or glue (depending on the type of ebb tide);
- pliers and a hammer or rubber mallet;
- laser and hydro level;
- tape measure, square and pencil.
Based on the base surface and the stage of construction or decoration of the house, the preparatory work may be slightly different.
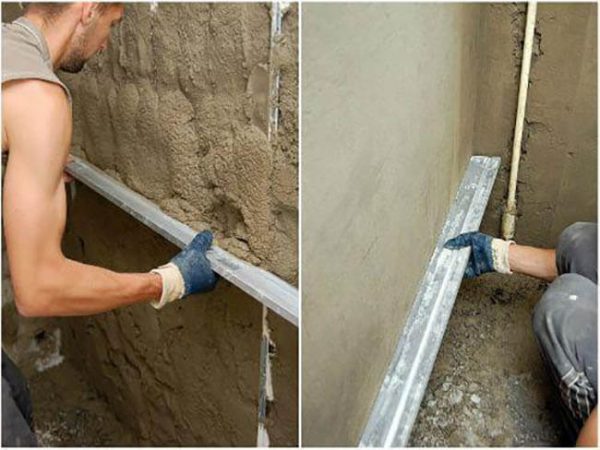 Preparation of the basement part of the walls for the installation of the ebb
Rule aluminum price
rule aluminum
For example, in the case of a wet facade, we clean the surface to be covered from debris, eliminate imperfections by filling cracks and joints with sealant. In order for all the low tides to be set along a single horizon line, we make horizontal markings. To do this, we determine the highest base point, set the horizontal with a laser level and stretch the thread along the wall (or draw a line with a pencil). Using this markup, we will attach the upper limb of the low tide.
For log walls, the preparation looks about the same, only the cracks are sealed with an antiseptic instead of mortar.
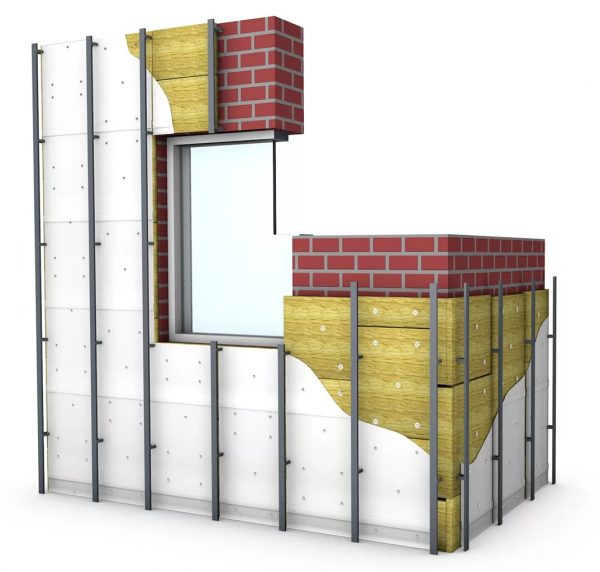 If it is planned to install an illegal armed group, frame racks are mounted and a horizon line is drawn along them
When using stone products, concrete castings or elements of clinker tiles, surface preparation consists in cleaning wall sections from dirt, eliminating defects, leveling the surface with a screed and marking.
If the construction of the facade provides for a recessed plinth, no additional protection is required for it.
Installation of plastic and metal drips
The entire installation process begins with corners and projections. Elements for external and internal corners may be included in the configuration. If they are not there, we cut it ourselves. It is correct to make a corner joint in the middle of the molding strip, building it up after installation in a permanent place on both sides, since it will be much more difficult to dock the finished strips in the corners.
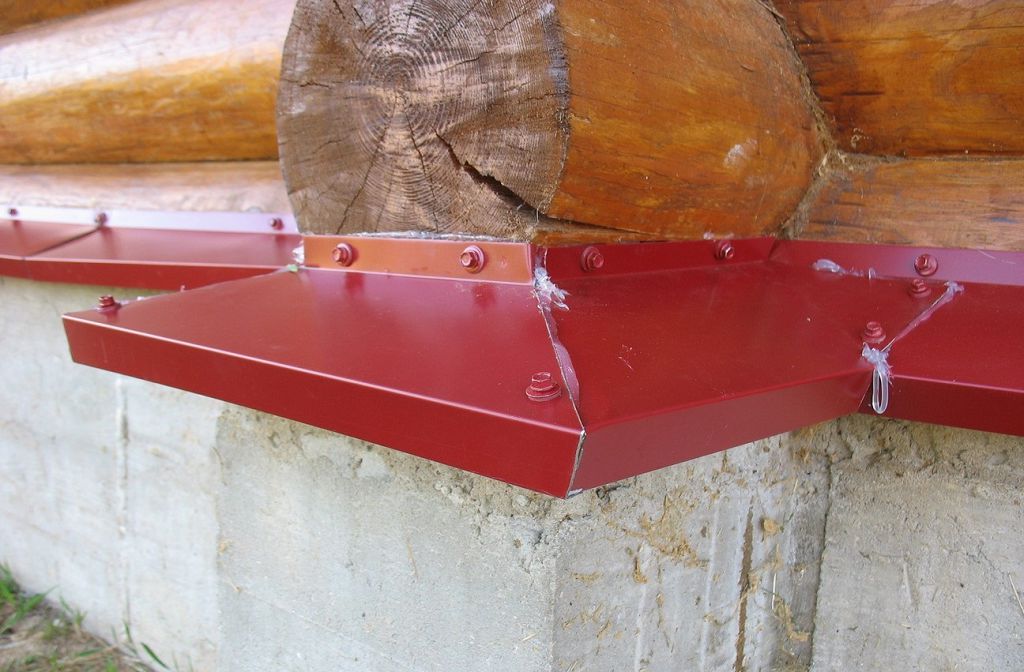
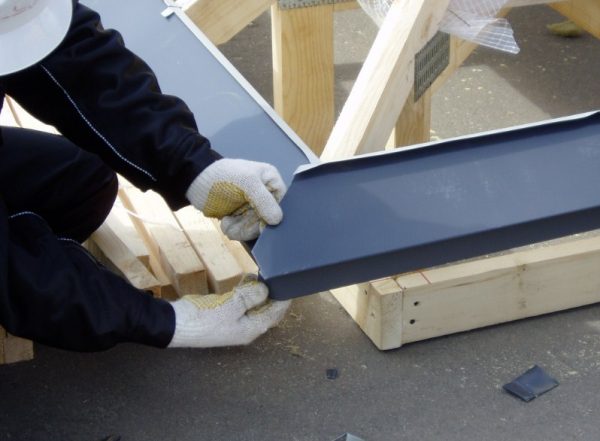 Correct cut of the outer corner on the metal element
Cut out the outer corner piece:
- we draw the markings of the right angle 90 on the bar;
- on the one hand, we make a cut strictly along the line;
- on the opposite side, we leave an allowance of 15-20 mm for overlap and cut it off;
- the allowance of the upper fold on the same side should be at least 3 cm;
- the lower limb must remain intact;
- bend the fragment along the cut line in the place of the lower limb, the corner is ready.
PVC drips are joined at the corners in about the same way. The resulting cracks are filled with a sealant.


