Strip foundations
Combines with verandas of increased weight, built on blocks, bricks. But some owners prefer combinations with other materials.
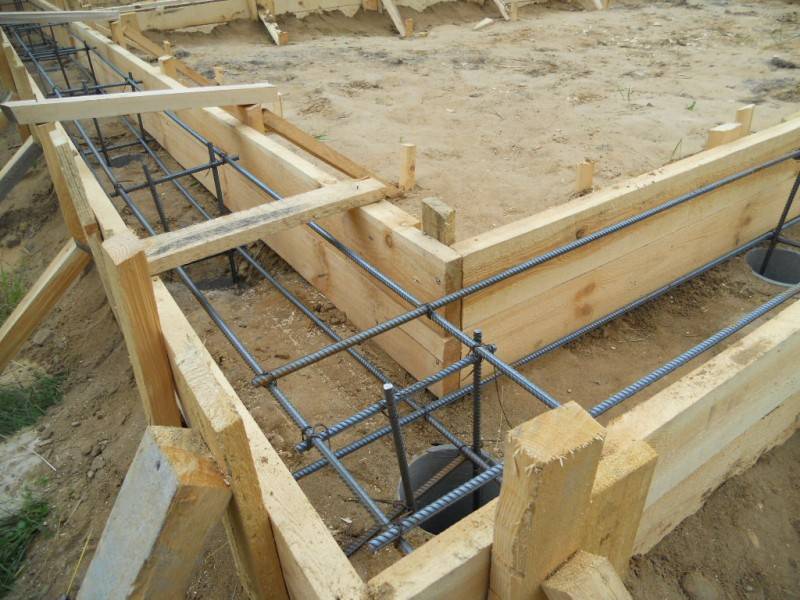
The arrangement is described as follows:
- The first step is to mark a suitable site, free it from all unnecessary garbage.
- A trench is dug around the entire perimeter, on which the capital parts of the structure will be located. Freezing of the soil, together with its composition, affect the depth of the digging. Typically, the depth is in the range of 300-500 millimeters. When forming basement levels, the elevation above ground level will be the same. The base parameters of the main house also affect the height of the house.
- A layer of sand is laid at the bottom of the trench as a waterproofing cushion. This pillow will be about 100 millimeters after finishing work.
- Plank and timber formwork is built along the entire trench. The height of such a part and the height of the entire foundation must be equal to each other. Precise pre-defined markings simplify the top assembly of the formwork edge.
- Formwork filling with materials with waterproofing characteristics.
- 80-100 mm - middle fraction of crushed stone filling the bottom. Ramming is required.
- In the next step, a reinforcing cage is formed. The elements are easier to connect with wire strands.
- Ordering concrete in the required quantity. The minimum brand is M200, but it is better to choose M300, it will be more reliable this way.
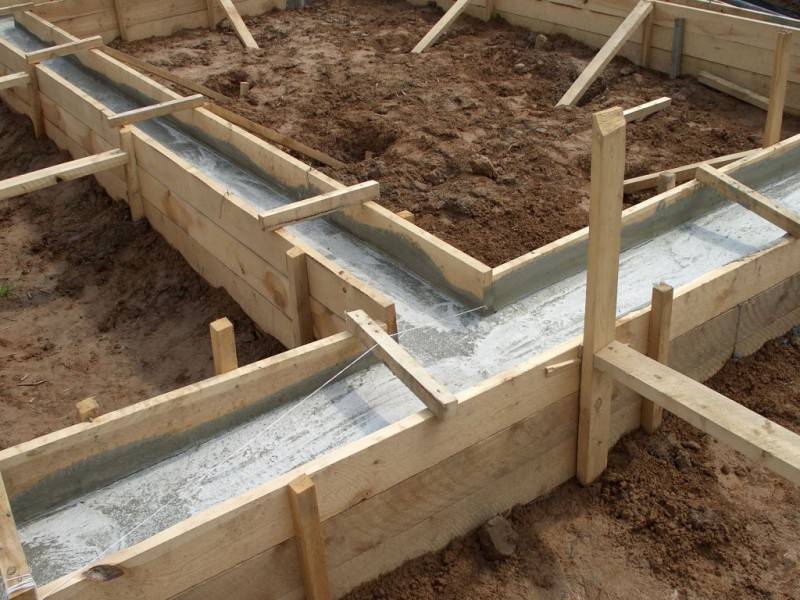
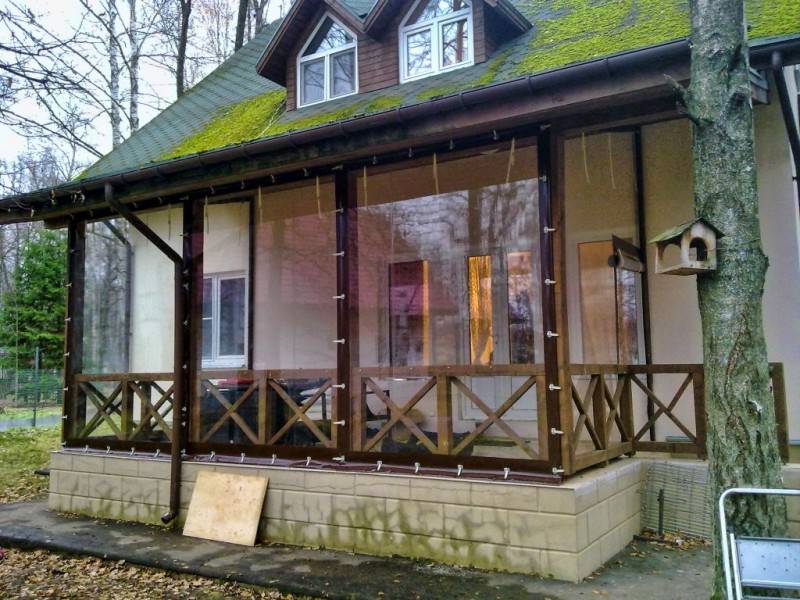
A preliminary calculation of how much material is required for pouring under a particular structure is simplified with the help of special calculators.
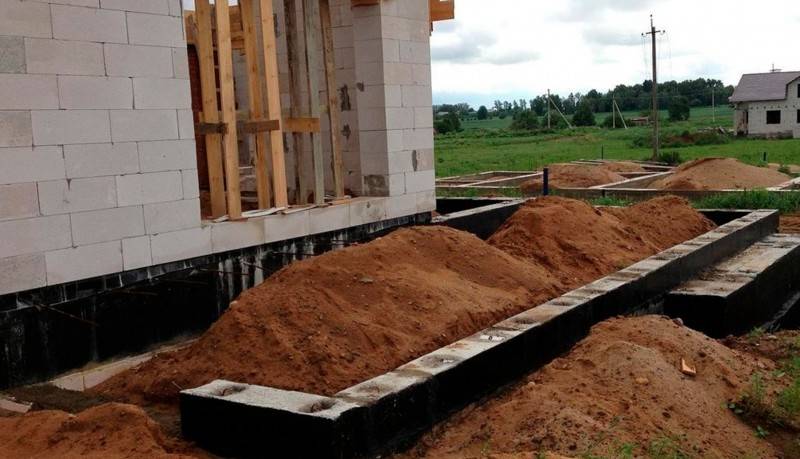
Decorative finishing
A common solution is cladding at the bottom of the OSB, and glazing is arranged on top. If you take care of the introduction of high panoramic windows, the space will have full natural light, which is very important for a workshop, a greenhouse.
 Panoramic windows in a frame veranda
All decorative elements used in exterior decoration must be in harmony with the façade of the cottage. For open structures, a terrace board is optimal (it is resistant to atmospheric manifestations), floors in closed areas are often covered with laminate.
A heated veranda allows you to end up with another living space, the easiest way is to install a compact solid fuel stove here. In conjunction with high-quality insulation of the roof, walls and floor, even a small heating device will cope with temperature differences characteristic of the domestic climate. For such projects, specialists choose triple glass units that minimize heat leakage.
We finish the floor
If the subfloor is wooden, we mount the logs, put insulation in the space between them and fill the flooring of edged boards to the logs. We paint and varnish the boards.
On top of the concrete screed, you can also equip a boardwalk, similar to the previous method, or lay another material at your discretion, for example, linoleum.
Warming of the veranda The floor is covered with plywood sheets, linoleum flooring is planned
In the end, it remains to install windows and doors, furnish at your discretion and connect lighting if necessary. We will not pull the wiring. It is enough to remove the extension cord from the house and turn on the necessary lighting fixtures.
Veranda
Happy work!
How to make a polycarbonate canopy attached to the house: photos and installation steps
12-15 days after the concrete has completely hardened, you can start assembling the structure. Brackets are mounted on the wall, and then on top of the transverse beam.
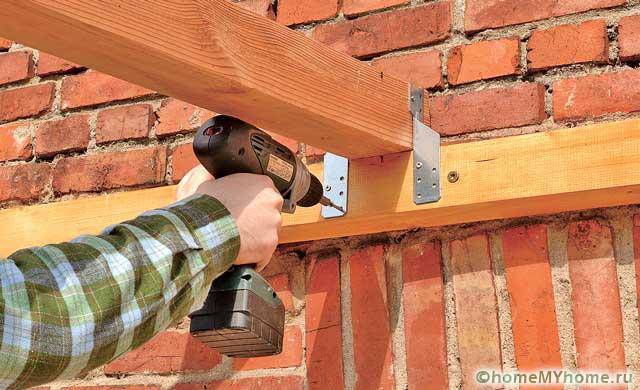
Assembly of the structure requires the preparation of special tools
Creation of the lathing
Top strapping in progress. The end parts of the racks are connected by means of a transverse beam and to each other. In this case, parallel-laid profiles are used.The metal frame system is welded together, and the wooden one is pulled together by steel corners.
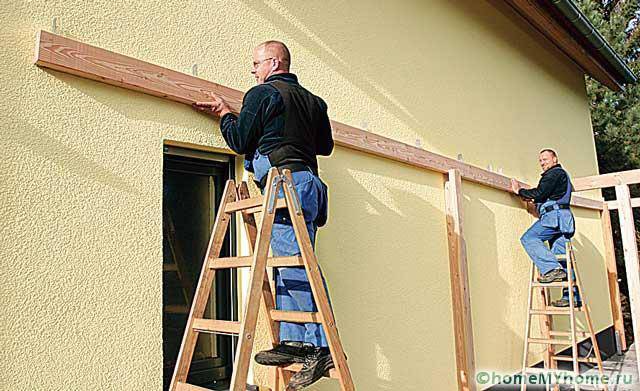
The lathing is attached to the main beam
Welding points are cleaned, primed and painted. The rafters are mounted with transverse parts with a step of 600 mm. The structure is attached to the supporting beam using steel corners. The lathing is laid across the rafters and mounted with self-tapping screws.
Roof installation
Roofing sheets are cut to size. Then they are attached to the crate. Pre-holes are made in polycarbonate for self-tapping screws.
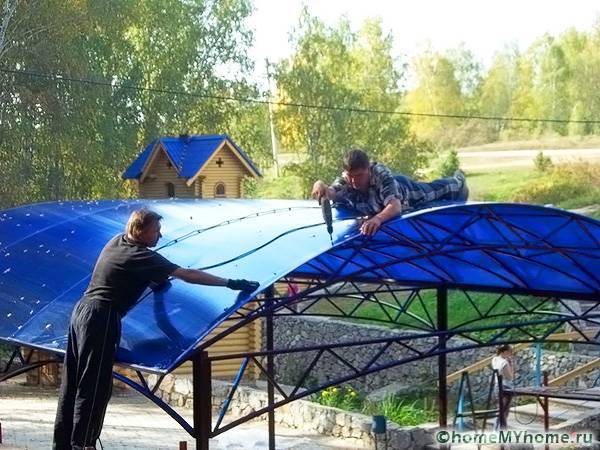
Roof installation may require special insurance
To facilitate the drainage of water, the cells should be directed downward. When working with plastic, do not forget to leave gaps between the panels. The dimensions of the holes should be made with a margin of 2-3 mm. There are some features of installing roofs from other materials.
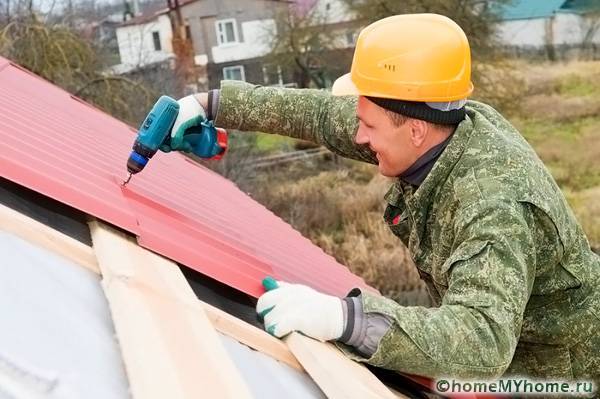
Roof elements are attached to the lathing
Wooden beams can be used as beams. Over time, cracks may appear in the material, which will reduce the rigidity of the structure. After the installation of the beams, transverse boards are installed, and then the metal tiles are fastened. Installation of this material is made from the bottom sheets. It should be borne in mind that there should be an overlap of the upper sheets on the lower ones.
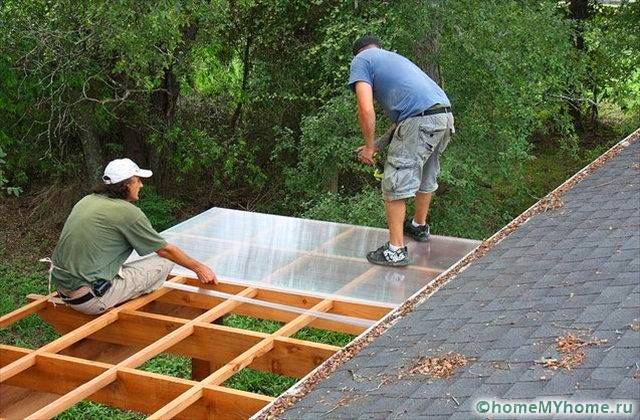
In some cases, it will be difficult to install the roof alone
Useful Tips
After installing the main extension, you can make a platform. The easiest way is to cover the area with gravel. For this, the sod is removed, the curb is dug in and crushed stone is poured. Then it needs to be tamped well.
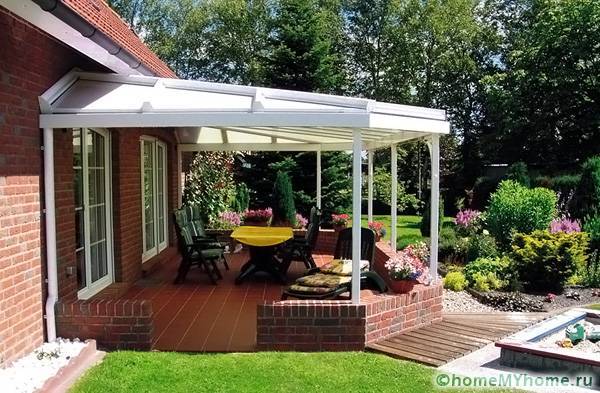
Stylish and durable coating increases the comfort of use of the structure
You can also make a site paved with paving stones or paving slabs. It will be inexpensive to equip the site with concrete.
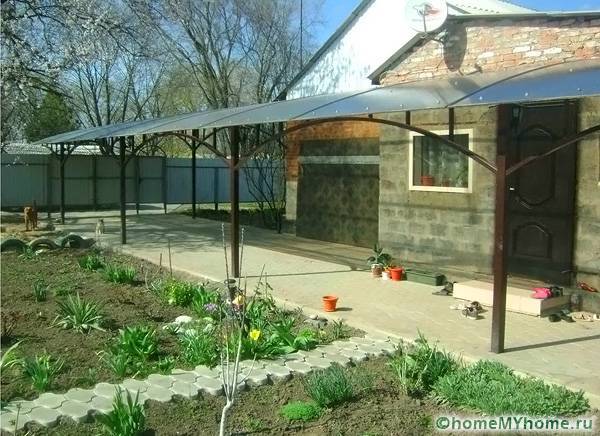
A high-quality site allows you to increase the usable area of the courtyard area
With the help of improvised material and tools, you can create a beautiful canopy with your own hands. Such designs will make it possible to build a great place for a family vacation or reliable protection for a car and garden tools.

A beautiful canopy can be part of the exterior of a building
Drawing preparation
Before proceeding with the construction of the veranda, it is necessary to prepare and draw up a drawing of the future structure
It is important to determine the shape and size of the building, the type of roof, the presence of a foundation and choose the location of the future veranda, as well as calculate the amount of material required. It is recommended to draw up a sketch and draw it from different sides, taking into account all sizes and dimensions
If you plan to install a barbecue or a similar object in a future resting place, it is important to take this into account when developing a drawing, because this may require an additional foundation or properly designed ventilation
Thermal insulation of an attached building
In order for the frame annex to the house to be suitable for living, it must be insulated. The best insulation is ordinary mineral wool. It can be cut into the desired squares and laid between the sections of the frame. If the cotton wool is laid in several layers, you need to shift the plates together so that there are no butt joints.
Outside and inside, the insulation is sheathed with a vapor barrier film so that moisture does not collect inside and does not spoil the material. After that, decorative trim is done. From the inside of the extension, frame walls can be sheathed with wood, plasterboard, chipboard, and outside - with siding, block house, and other decorative materials.
In total, the wall cake looks like this:
- interior decoration;
- vapor barrier layer;
- insulation;
- wind protection;
- external finishing.
Insulation of the floor in the frame extension is done in the same way.Mineral wool is placed in the cracks between the subfloor lags, and the boards are covered with a layer of waterproofing film. When the insulation is installed, waterproofing is again placed on top of it, and then the floor is sheathed with plywood and the final covering is installed.
If you plan to attach an additional room to the house using frame technology, it is extremely important to follow all safety measures. This means that you should not save on personal protective equipment, it is better to purchase a high-quality tool that will not let you down in a responsible situation.
Then construction will be a successful event.
Selection of building materials
You can attach a veranda to the house from various materials:
- a wooden beam as a constructive plus sheathing with boards and clapboard;
- metal profile pipes with transparent polycarbonate or glass sheathing;
- silicate or ceramic bricks, from which solid walls or only pillars are laid.
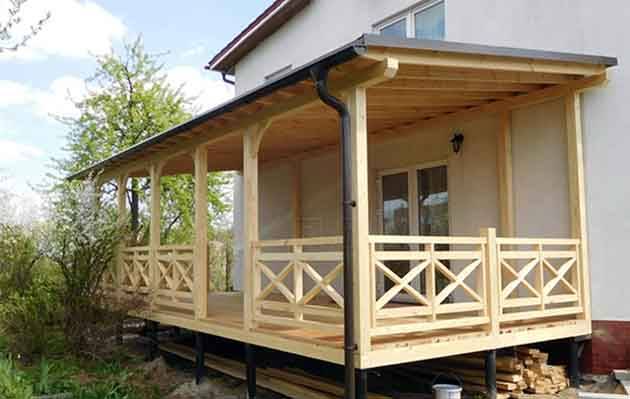
A do-it-yourself wooden terrace from a bar is the most common budget option. Its advantage is the simplicity and low cost of construction, which lasts from 3 to 7 days (excluding the time for concrete hardening), depending on the qualifications of the contractor. The construction is easy, and therefore does not need an expensive capital foundation. The only drawback is that the tree must be painted at least once every 3 years in order to protect it from environmental influences.
A metal frame will cost more than a wooden frame, but it outperforms the latter in terms of durability. The rest of the veranda of profiles repeats the advantages of a wooden building: it is lightweight, pre-fabricated (even without welding, bolted) and quite strong. There is an additional bonus: the construction of the foundation can be greatly simplified if the iron racks are high-quality concrete in the ground, as is done for fences.
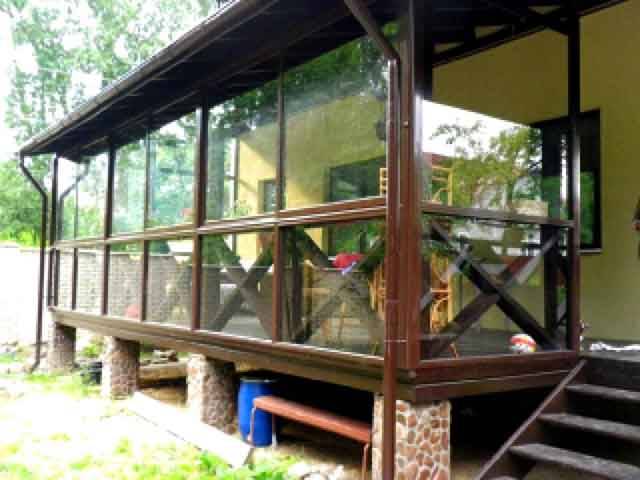
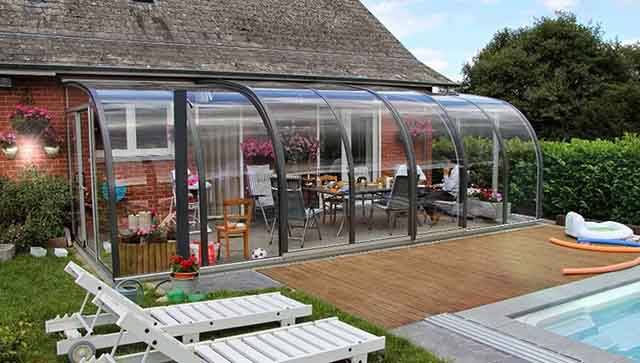
Brickwork, although it is durable, is complex and time consuming to perform. To build a veranda of brick or foam block, you need to lay a capital strip foundation, and on heaving soils, pour a reinforced concrete slab over the entire area of the structure. These types of work require proper qualifications, therefore it is recommended to trust them to bona fide builders. Next, we propose to consider options for wooden and metal structures that you are able to implement on your own.
The choice of materials for the construction of canopies
Canopies attached to the house can be made by hand. The photo shows the main stages of installation. The frame of the structure is often made of a profiled pipe or timber. Such a structure adjoins the wall and takes on the load from the snow accumulated on the roof.
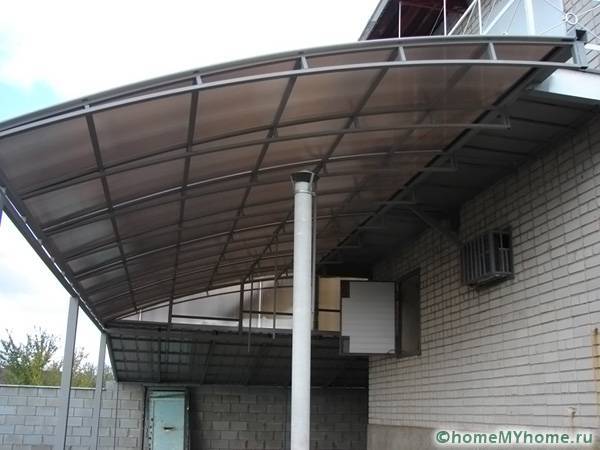
The attached structure can be made of very strong and massive materials
The roof is usually covered with corrugated sheet, slate or galvanized material. The metal for the frame structure has ductility and strength. It is suitable for different styles of decoration. Such structures can be erected by hand.
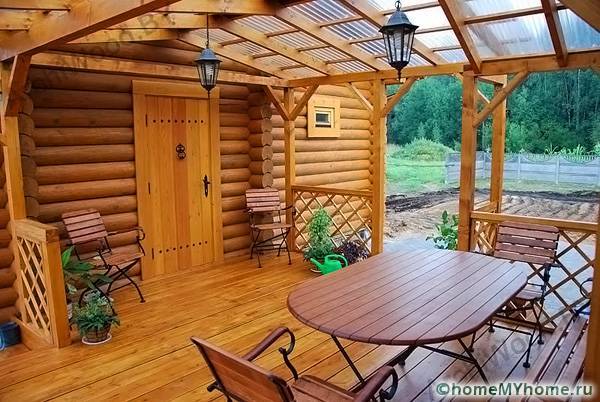
The annexes are distinguished by their original design
The timber frame system is perfectly combined with other materials. The tree is suitable for most architectural solutions. This material should be treated with protective agents before use. More and more popular are polycarbonate awnings attached to the house, photos of which can be viewed on the Internet.
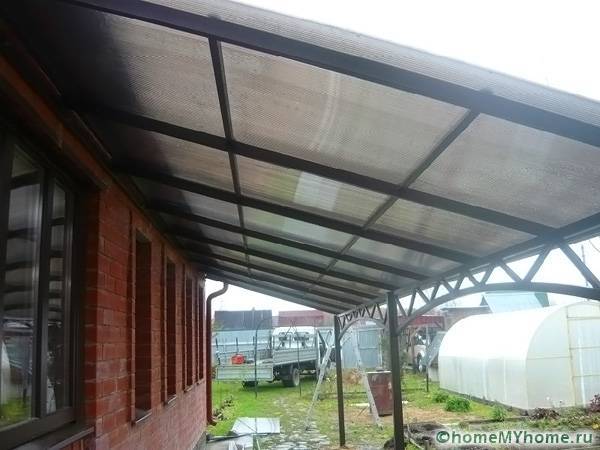
Polycarbonate is characterized by ease of assembly and a variety of colors
Polycarbonate has the following benefits:
- plastic is durable. Mechanical impact is not terrible for him;
- low weight of the material;
- polycarbonate transmits light well;
- flexibility of the canvas.
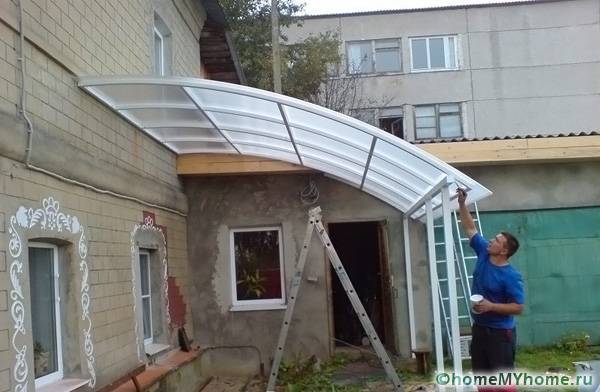
Convenient structures made of this material can improve the appearance of the main structure and cover the area from prying eyes.
We build a wooden veranda
When the base for the terrace is ready, proceed to tying the supports with a bar and installing floor joists. Before laying the beams on the supports, cover each of them with sheets of roofing material, and treat all wooden elements with an antiseptic. The step-by-step order of work looks like this:
- Make cuttings at the ends of the beams to connect them at the corners in half a tree. Lay the beams, adjust them horizontally and fasten them to the posts with anchor bolts.
- Install logs from 5 x 15 cm boards at 0.6 m intervals and secure them with steel corners and galvanized self-tapping screws.
- Install the floor with 4 cm thick planks, nailing down. Leave a 1-2 mm gap between them so that the floors do not creak later.
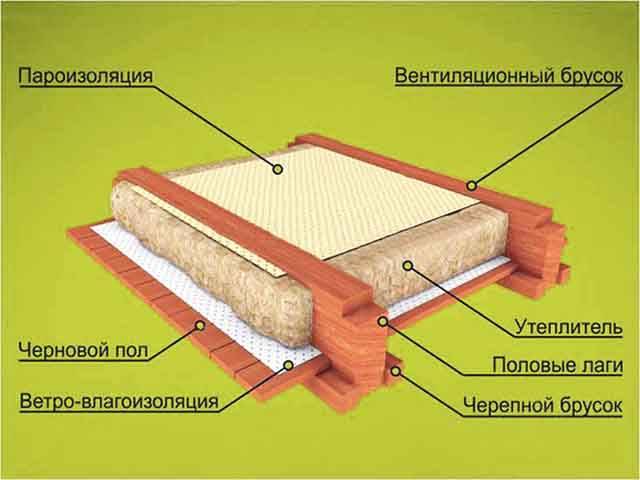
Floor insulation device
The walls can be assembled using frame technology: first, put together the facades from the boards on the ground, and then set them up vertically and secure with slopes. Do not forget to provide a slope for a pitched roof, which should be adjacent to the wall of a residential building. Fasten the installed frames together, tie them to the wall of the building and proceed to the installation of the roof:
- Attach a horizontal beam 10 x 15 cm to the wall of the house with anchors or dowels. It will serve as a support for the rafters.
- Install rafters from 5 x 15 cm boards above each vertical post of the front facade, fix them with corners and screws.
- Cover the entire roof with sheets of diffusion membrane (waterproofing) with an overlap of 100 mm, and on top mount a batten of 2 cm thick boards.
- Install a suitable roof covering - metal tiles, slate, corrugated board, and so on.
When the main structures are assembled, it remains to put the doors, glaze the windows and clad the walls on both sides. The choice of materials is huge - from plastic panels and siding to curly lining (block house). Make a porch, as described in another publication, and you can consider the construction of an open terrace complete. Each stage of the work is shown in detail in the following video:
To make the veranda in the country house cozy in winter and not let the cold outside, take care of the roof and walls insulation. Mineral wool is best of all with wood, and lay it between the racks, sew it up with a vapor barrier film and internal finishing material.
Designing a frame veranda
Ideally, a framed veranda should be included in the design at the design stage. This will make it possible to immediately make the foundation of the required area, preserve the landscaping of the territory and reduce the cost of the extension. But it's okay if you decide to build a veranda a few years after using the house.
When developing a project for a future frame veranda, first of all, it is necessary to decide on its location. In most cases, the structure is located at the front of the house, replacing the porch. You can also make a veranda from the end or build an L-shaped extension along two walls of the house.
What material do you like the most about the house?
Log house
25.47%
Brick house
19.37%
Log house
15.33%
House of aerated concrete blocks
13.92%
Canadian technology house
12.28%
Rounded log house
4.46%
Monolithic house
3.93%
House of foam blocks
2.63%
House of vulture panels
2.63%
Votes: 2623
The design determines:
- The dimensions of the veranda. The standard width is 2.5-3 m, but you can make a mini-veranda, or vice versa - a large room that will house a summer kitchen and a recreation area.
- Foundation type. For the construction of an extension, non-buried or shallow strip bases, as well as columnar foundations, are used. The choice of the type of foundation depends on the hydrogeological characteristics of the site and the type of the existing foundation under the cottage.
- Filling the walls.If we are not talking about an open veranda, then a light, environmentally friendly material is chosen to fill the walls, for example, lining or OSB boards. Glass or mirrored walls look spectacular, which can be combined with other materials.
- Roof covering. The best option is to make the roof from the same material as the roof of the house. In this case, the veranda will fit ergonomically into the architecture of the building. However, any other material can be used to cover the extension: inexpensive slate or ondulin, soft tiles, etc.

The veranda must withstand all the planned loads on it. When developing a project, it is envisaged:
- joint work of frame racks and floors;
- device of stiffening walls;
- installation of special struts;
- reliable fastening of all nodes.
Particular attention is paid to creating a reliable connection between the veranda and the house
Glazing
Glazing is provided in verandas, which are of a closed type. Usually they choose between a zonal or a solid version.
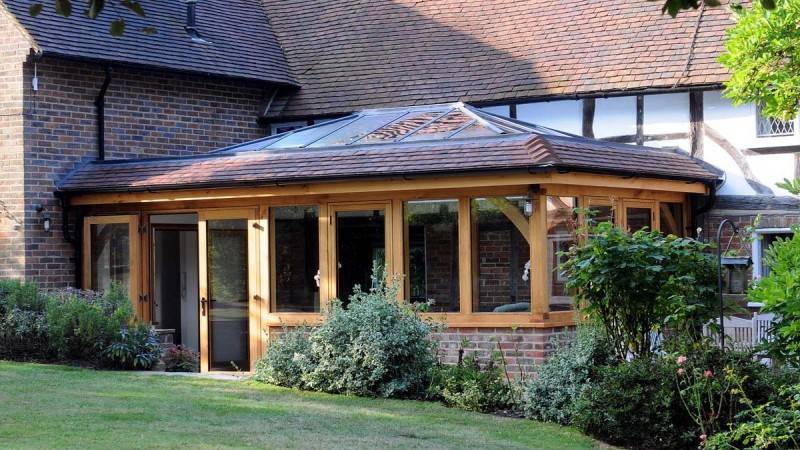
Panoramic windows are fixed between frame posts. Year-round use of verandas is possible due to the fact that most of the three main walls are glazed.
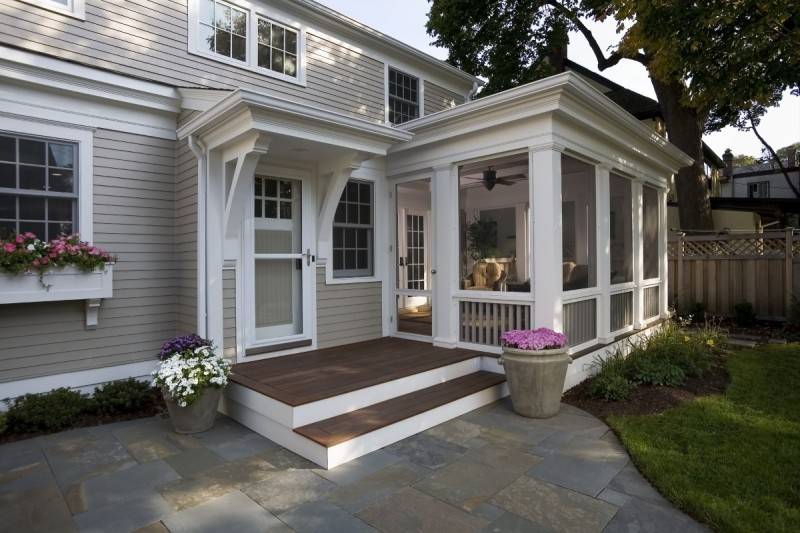
Modern plastic windows differ in different dimensions, you can choose any option you want.
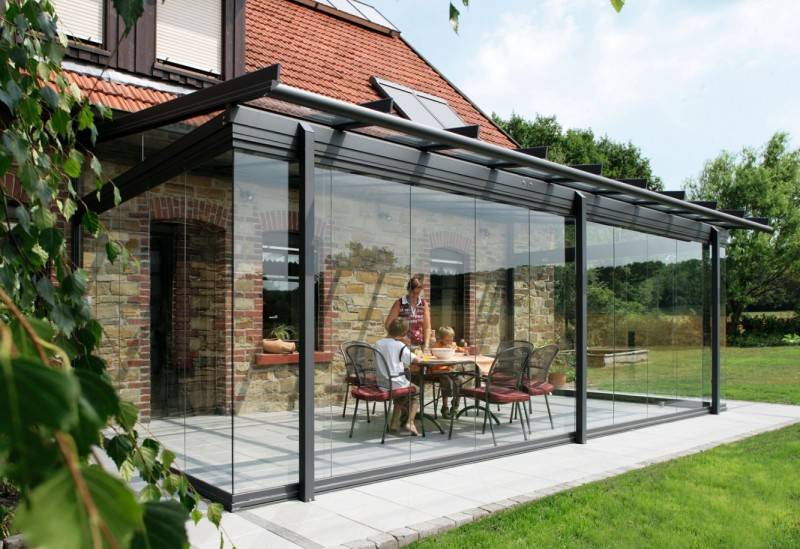
There are no problems even in the case of serious deviations from the standards. The door is also made of glass, which does not prevent it from being ordinary, or representing a sliding group.
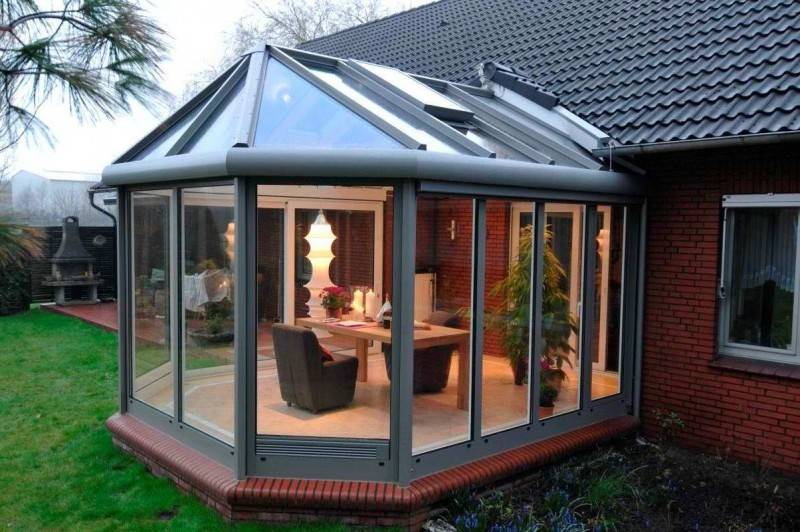
Standard glazing by zone assumes the placement of windows 50-60 centimeters in height from the floor.
End beams
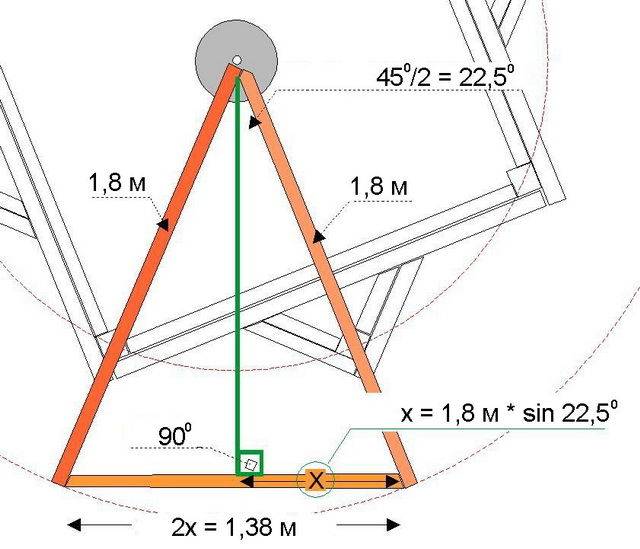
If everything has been done with the utmost precision, the ends of the end beam should be trimmed according to the pattern to fit the lead boards. Follow the rule “Measure seven times, cut once”.
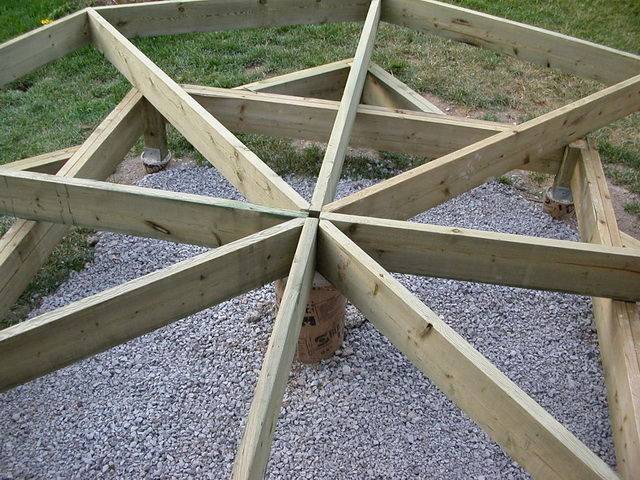
When all end-boards are in place, make sure the leads are positioned exactly at the junction (center). Correct if necessary.

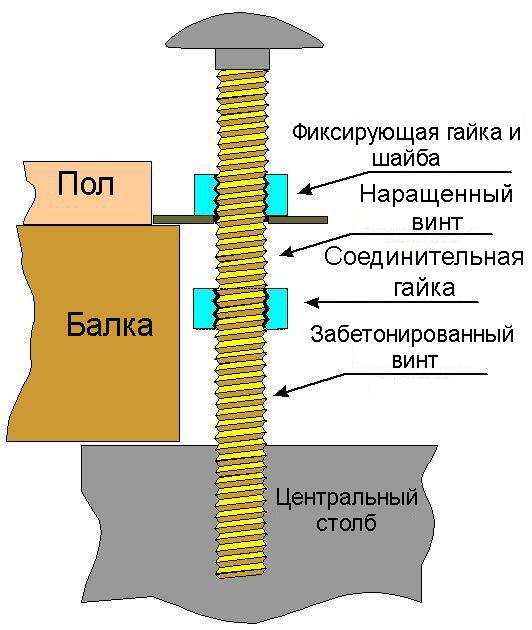
Now you need to fasten the leading boards: since the 10 cm bolt is too short to rise above the level of the boards, attach a second bolt with a wide head to it using a nut. But before that, screw another nut and a large-diameter washer onto the second bolt. And then connect.
Cover the ground under the formwork with gravel about 5 cm thick.
Of course, the wooden veranda is not ready yet. Let's move on to the next step.
The choice of materials for the extension
The veranda continues the main structure when the construction work is ready. And harmoniously combine with the design of those objects that are already present on the site. It is necessary to think in advance which materials will be the best solution.
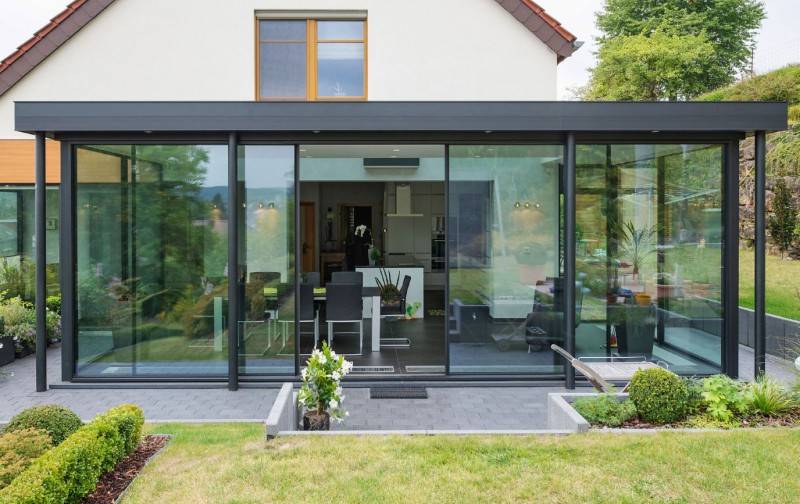
Wood in many situations will be the best choice due to its compatibility with any other base. The main thing is to make sure that the external design is chosen correctly. This is required by any modern verandah for a summer residence.
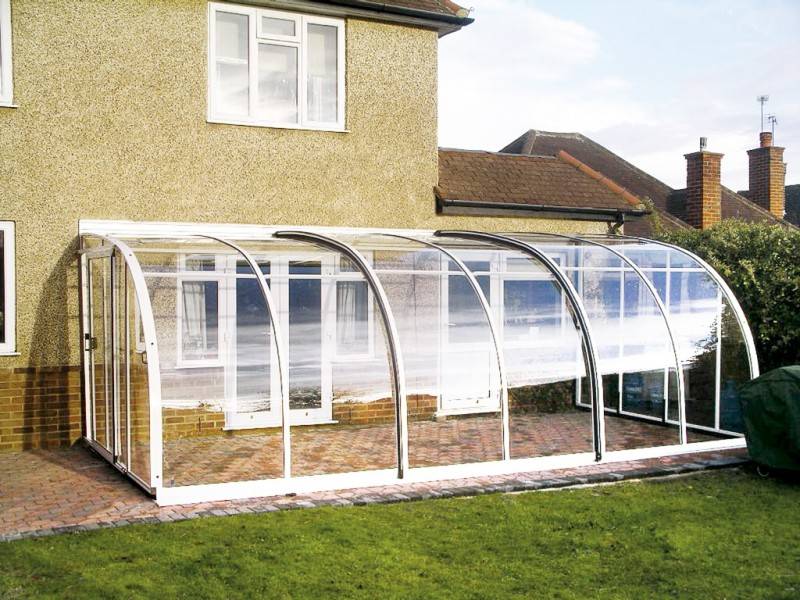
An attached veranda made of bricks and blocks will look out of place for wooden houses. And docking in this case will become very problematic.
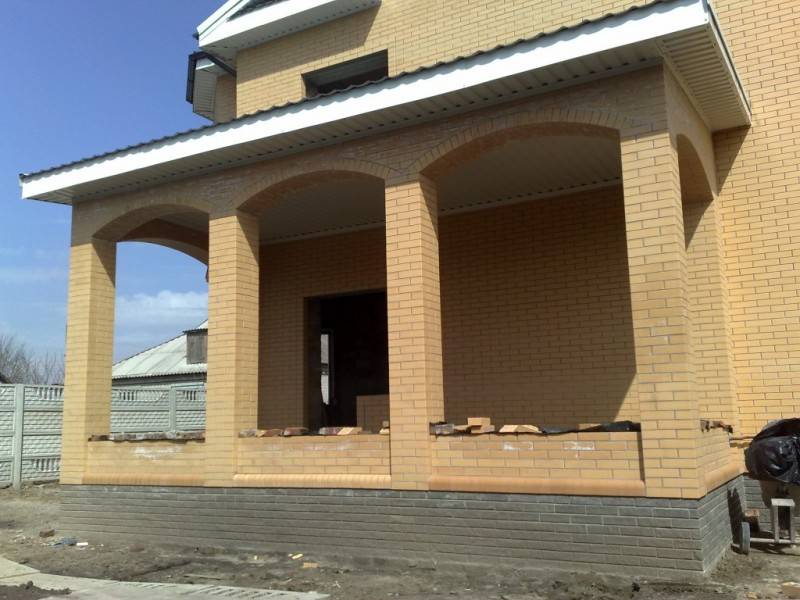
But it is possible, on the contrary, to make wooden buildings for a brick or block house. It is recommended to refuse the use of metal. High heat capacity and thermal conductivity will become serious problems.


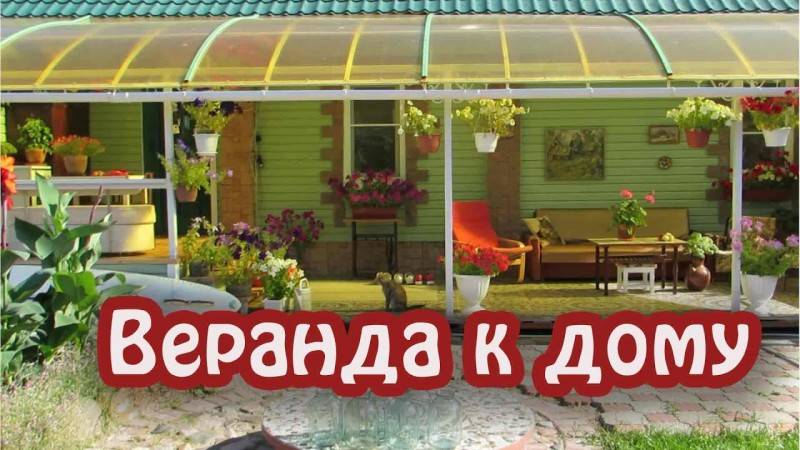
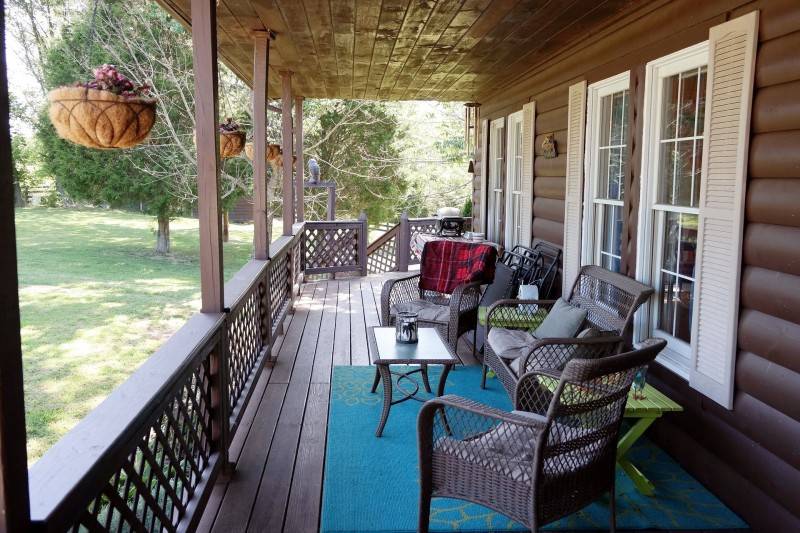
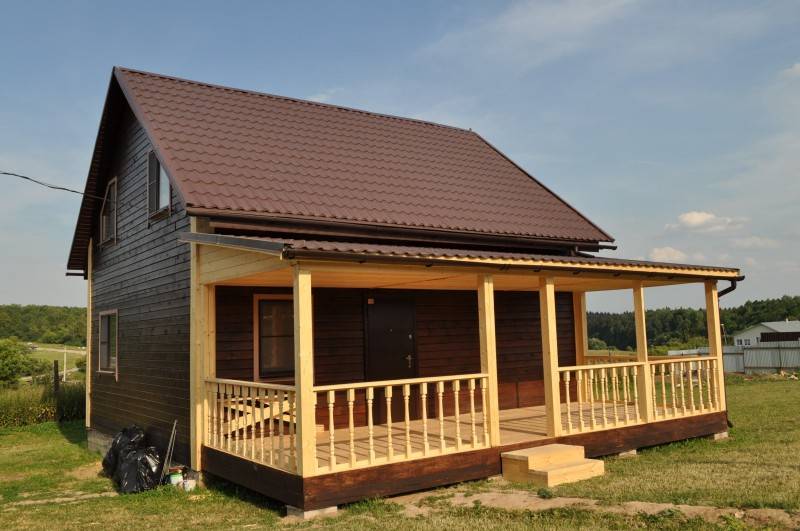
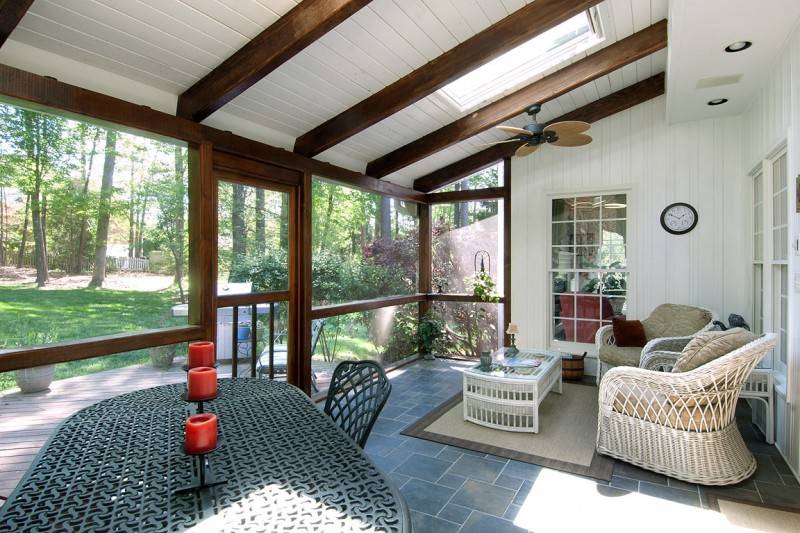
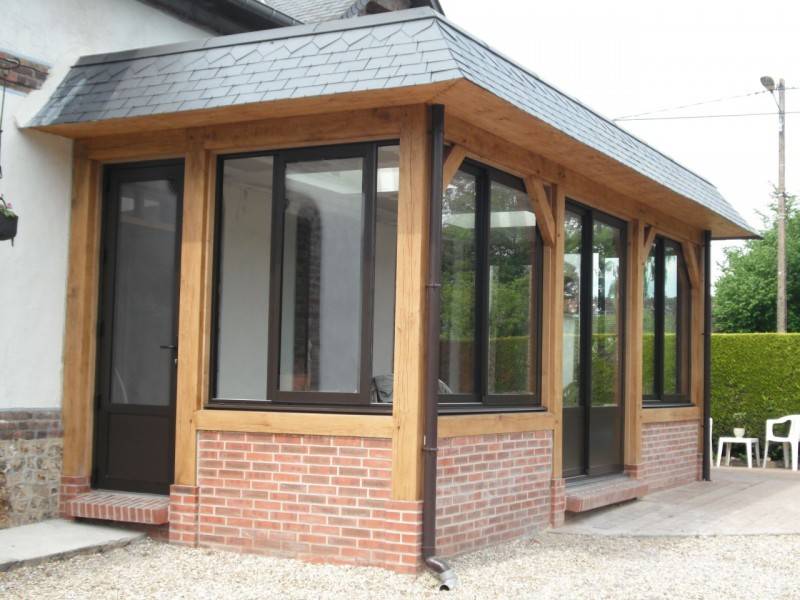
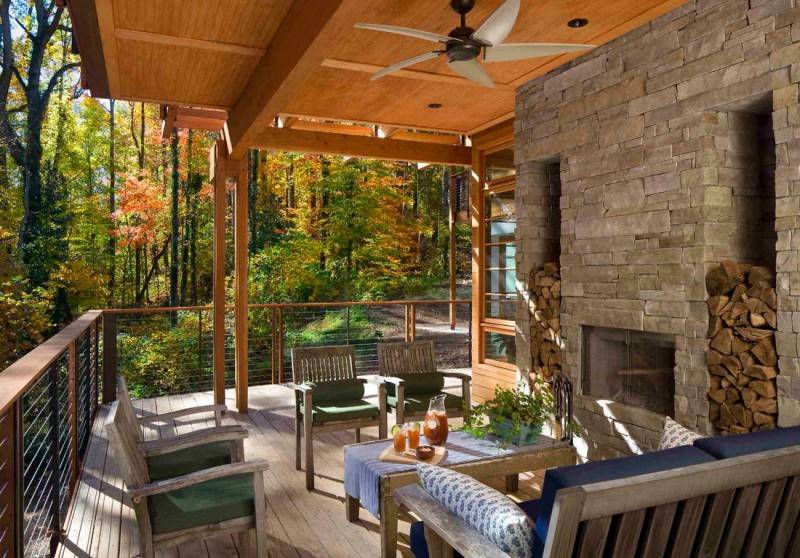
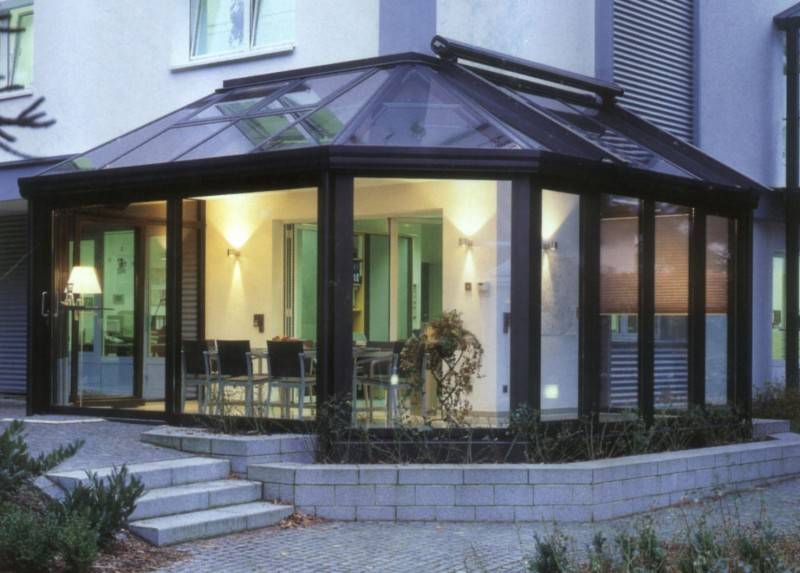
Closed verandas with wide window openings are often erected from metal-plastic, this is an acceptable solution. For winter and summer, the relevance of glazing will be the same. But here you need help with the construction.

With walls completely made of metal-plastic, the appearance of the building also remains attractive. As for the roof, it is also advisable to choose a material that is identical to the main house. From what to make a veranda, only the buyer always decides.

Veranda roof abutment
The veranda attached to the house is usually covered with the same type of roofing as the scrap. There may be several options and the organization of the roof connection depends on how and to which wall you attach it. If the roof is going to be a continuation of the roof slope of the house, you need to splice two rafter systems. In this case, the roof of the veranda is said to be adjacent to the roof of the house.
Then the procedure is as follows:
- The upper straps are attached to the racks of the veranda.
- Transverse ceiling beams are nailed to the harness. The ceiling is then hemmed to them.
- The long rafter legs of the house are shortened. They should not protrude beyond the wall.
- Veranda rafters are made of planed boards, which are cut off at an angle from the side of the roof so that they adjoin the existing ones (see the photo below). To make it easier to work, you can make a template, according to which you can then prepare the rafters on the ground. The rafter legs are attached to the house system with nails through and through, you can put metal reinforcing plates on the side.
- To increase the rigidity of the structure, spacers (anti-snow supports) are installed between the rafters of the house and the extension. They are shown in the photo explaining the design.
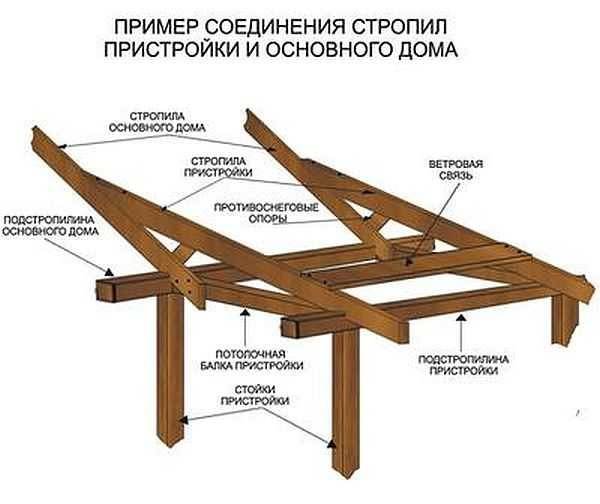
Adjoining the roof rafter system of the veranda to the roof of the house
If the width of the veranda is more than 2 meters or heavy roofing material will be used, spacers are installed so that the support beam does not sag. It is better not to nail them from the side, but to insert a spur between the ceiling beam and the rafter leg.

In order to eliminate the sagging of the roof, spacers are installed between the ceiling beams and the rafters.
More often it turns out that the roof of the veranda attached to the house is adjacent to the wall. In this case, a strobe is made in the wall, a special wall profile is placed in it, which is placed on the roof covering with the second side. The place of its abutment to the wall is sealed with a sealant.
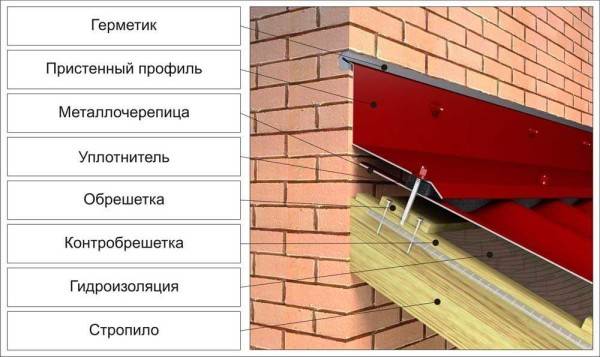
How to attach the roof of the veranda to the wall of the house
The second option differs only in the shape of the wall profile: it can be made independently from a sheet of roofing iron. This design is distinguished by the presence of a bar, which allows you to move the bend away from the wall of the house and cover possible errors when laying the roofing material at the junction. Also, in this version, the apron is not attached directly to the wall material, but to a beam with a beveled edge, mounted in the strobe.
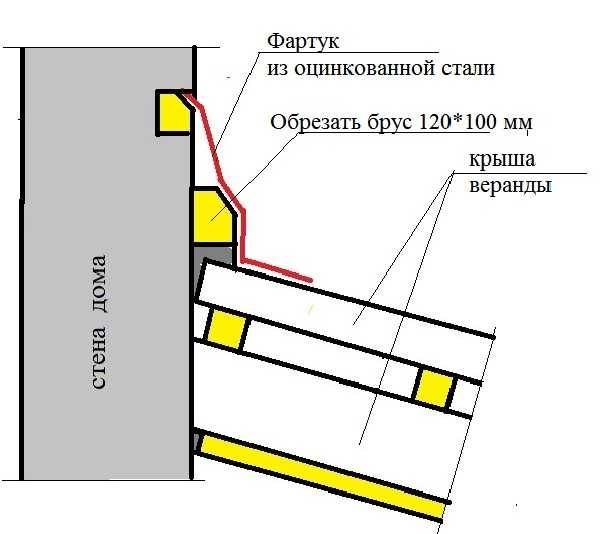
The second option for joining the roof of the extension to the wall of the house
Some questions may arise on how to attach the rafters to the outer upper strapping, because its dimensions do not allow making cuts, like on a Mauerlat. The solution is usual: with the help of corners (see photo). Instead of corners, you can use small section bars.
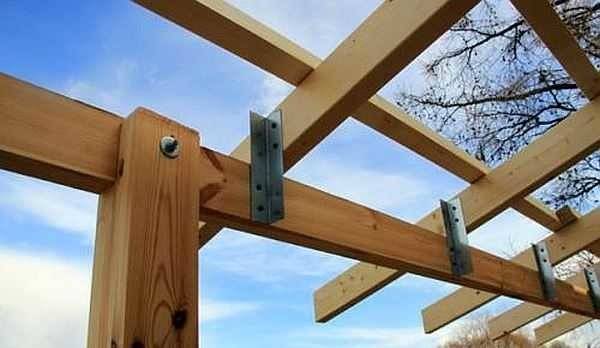
The method of attaching the rafter legs of the veranda to the upper harness
Maybe not the most elegant solution, but reliable. After everything is covered with a roofing from above, the lining will be removed from below, they will not be visible.
