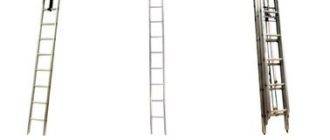
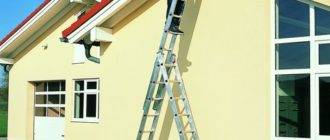
What can a staircase to a cellar be made of - with your own hands or with the help of welding? Let's take a look at a few simple designs from the materials available.
Requirements
To begin with, let's formulate the requirements that the stairs to the cellar should, if possible, meet.
- The minimum width that allows one person to climb and descend is 35-40 centimeters. 60 cm - a width that allows you to do this without much discomfort and the risk of losing balance.
However: if it is planned to carry bulky cargo to and from the cellar, it is better to build a ladder already 80-90 cm... Such dimensions will allow you to involve an assistant if necessary.
- For stairs to basements and to the attic (for example, the staircase structure Oman), a slope of 75 degrees... Again, it is worth clarifying: such a bias will prevent you not only from carrying something together - even just going up or down with busy hands. To carry supplies or household utensils, the slope will have to be limited 45 degrees.
- The height of the riser (vertical part of the step) of 15-20 cm is considered comfortable, the tread (horizontal surface) in 25 - 35 cm... However, in our case, the price of comfort is the usable cellar space, which is already small. If we are going to build a staircase, we will have to consider more compact designs.
- Strength in our case is no less important than for an interfloor staircase. Remember: some of the cargo will have to be carried together.
- A cellar is, as a rule, a place with a fairly high humidity. Aesthetics, of course, is not in the first place in our case. Nevertheless, a metal staircase must be protected with soil and / or enamel (alkyd PF-115 or more wear-resistant PF-266 intended for the floor is suitable); wooden elements are impregnated with an antiseptic and dried at least twice.
Constructions
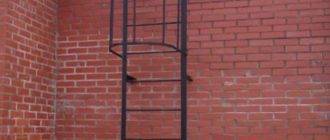
Vertical steel
This design meets only one of the requirements listed above: it is extremely robust. Why do we have to neglect all calculations? Simply because the cellar is too compact for any other solution. With an area of two or three square meters, there is nowhere to mount a flight staircase.
Materials (edit)
As guides (bowstrings), we use a square tube with a cross section of 40x40 millimeters. The role of the crossbars is again to be performed by a professional pipe, but already with a section of 20x40 mm.
Metal preparation is reduced to cutting along the length and cleaning from rust. Strictly speaking, the staircase may not be completely vertical: if there is no possibility or desire to rigidly fix the upper edge, you can make it attached, with a slope of 70-80 degrees. In this case, of course, the bowstrings will be slightly longer.
The rungs of the vertical stairs are cut based on a step between them of 20 centimeters.
Assembly
The rest depends on whether you have the opportunity to involve a welder or use welding yourself.
There are two options:
- The guides and rungs are folded out on a flat surface. Then the structure is assembled on tacks, checked with a square for deviations from right angles and is cooked completely.
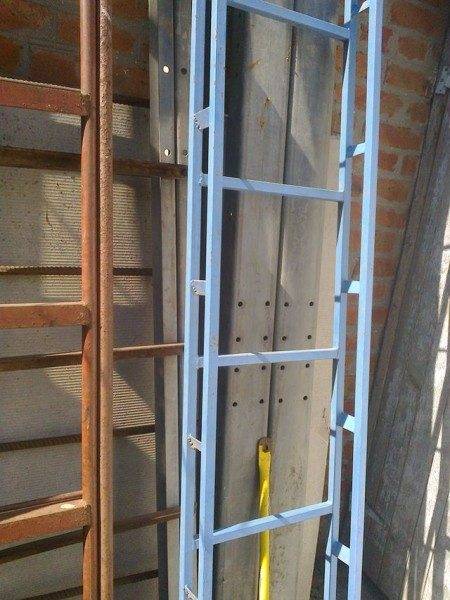
- The position of the guides laid over the guide bars is marked with a scribe or marker. Then holes are drilled, after which the whole structure is assembled on bolts.
Wooden staircase on bowstrings
Wood processing is noticeably easier compared to metal, which, in fact, explains its popularity in home construction. Instructions for building a ladder will not seem complicated.
Materials (edit)
We will need:
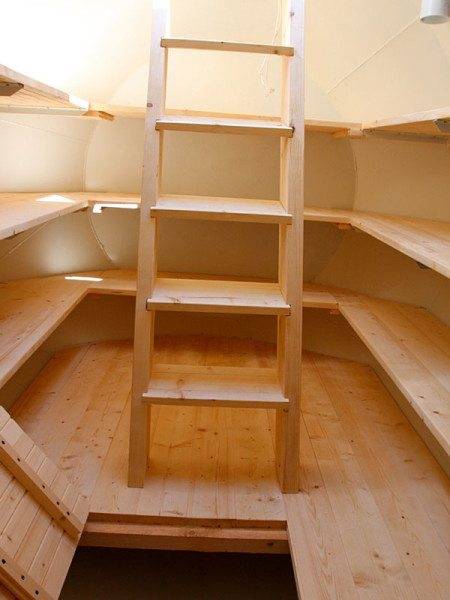
- Two beams with a section of 50x150 millimeters. The length should correspond to the length of the march.
- Boards 200 mm wide and 30 mm thick. The length depends on the width of the stairs.
- Galvanized corners for attaching bowstrings to the cellar floor and ceiling.
- Timber trimmings that will go to the wedges.
- Joiner's glue. Not modern synthetic formulations are preferred, but traditional casein or albumin ones.
Tip: in this case, the ideal wood species is larch. At a low cost, it is extremely resistant to decay, even without additional protection with antiseptics.
Assembly
- We cut obliquely to size the ends of the bowstrings of the future stairs and fasten them to the floor and overlap with corners. The corner is attached to a wooden beam with self-tapping screws, to concrete - with anchors.
- We mark the position of the steps by level. Step - 20 cm vertically.
- We select conical grooves at the level of each step on the inside of the bowstrings. The back side of the groove should be a millimeter narrower than the thickness of the step, the front side - 2-3 mm wider.
- After applying the previously diluted glue, with a mallet we push the steps into the grooves; then we wedge each of them in the wide part of the grooves.
- You can start finishing (in our case, as we remember, it comes down to impregnation with antiseptic and drying oil).
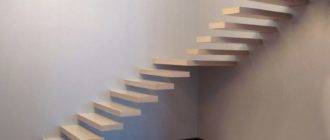
Wooden flight stairs on kosoura
Dear reader, it is likely that he is gradually becoming desperate. Can't a staircase for a cellar be made comfortable with your own hands? Both of the designs we have considered do not clearly pretend to be comfortable.
It's not that bad. The last of the stairs is designed specifically for the most comfortable descent and ascent into a spacious cellar or basement.
Material
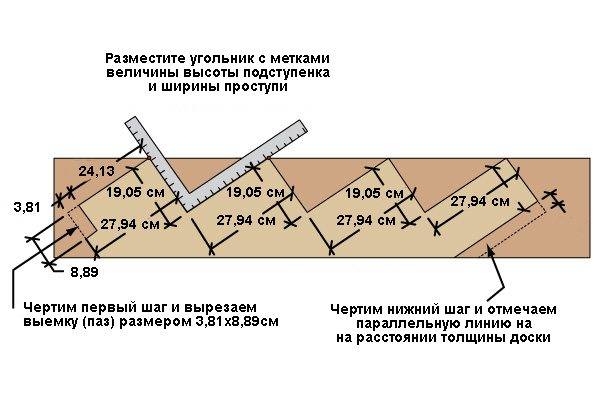
- The role of the stringers is to be played by two wide boards. Thickness - not less than 30 millimeters, width - not less than 300. Such a wide board will be required because cutouts have to be made in it for steps.
- For steps, a 40 mm thick board with a staircase width of 60 cm and 50 - at 80-90 cm is suitable.
- The steps to the stairs will be fastened with long (at least 100 mm) screws with mandatory drilling of holes.
Advice: if you dip the kosour under the steps with paraffin, the stairs will creak very slowly.
- Fasteners to the floor and floor - with the already familiar corners of thick galvanized steel.
Assembly
- We cut the oblique ends of the stringers and fasten them to the floor and ceiling in such a way that the distance between the outer surfaces of the boards is slightly less (by 4-6 cm) than the length of the steps.
- We mark the triangular cutouts in the stringers. This is easy to do with a square and a level. Armed with a jigsaw or a hand saw, we turn straight beams into toothed beams.
<ulFoldable attic stairs: compact solution »href =" https://flwn.imadeself.com/33/cherdack/35-skladnye-cherdachnye-lestnicy "> folding attic stairs.
As usual, in the video presented in this article you will find additional information on this topic (also learn about the main points of making concrete stairs yourself).
Good luck in job!

