Peculiarities
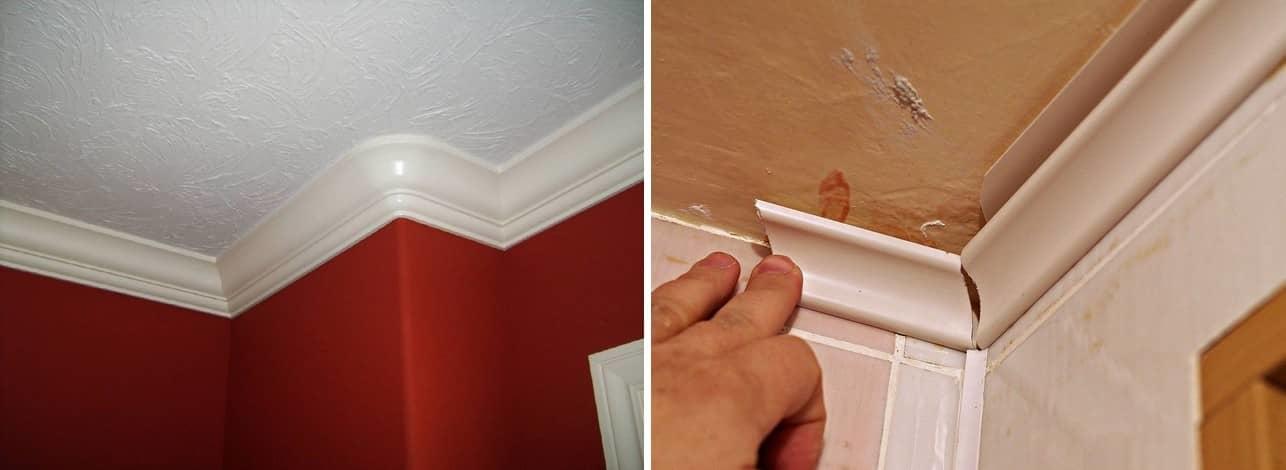
Modern ceiling skirting boards made of unpretentious PVC have won great popularity for a reason. Such products are characterized by many positive properties that are so necessary for ceiling structures.
- PVC ceiling skirting boards are moisture resistant. High-quality PVC itself is completely immune to the damaging effects of dampness and moisture, so it can be safely installed in rooms where there is a high humidity level. Households will not have to worry about the safety of plastic components, because they will not fail, even if the surrounding space remains wet all the time.
- Modern plastic moldings work well with the plastic panels used to clad the ceiling base. In combination, the design of the ceiling looks like a single whole, and the separation between panels and skirting boards remains almost invisible. For this finish, PVC moldings are the ideal solution.
- In stores you can find PVC skirting boards, presented in a rich selection of colors and shades. The most popular and widespread, of course, are the classic snow-white specimens, but if you wish, it is possible to find other, more interesting ranges.
- The components in question do not need complex and expensive maintenance. To keep the surface of plastic skirting boards clean and look neat, the owners only need to wipe it with a damp cloth from time to time. It is advisable to carry out such procedures regularly, because over time, a plaque may appear on the material, which will be very difficult to get rid of.
- Buyers are attracted to such products and availability. PVC skirting boards are one of the most inexpensive components and have an affordable cost.
- The components in question are easy to install. Almost every home craftsman can cope with their installation in the ceiling area - there is no need to call a specialist.
PVC skirting boards have not only advantages, but also certain disadvantages that the consumer should be aware of before purchasing and installing.
- The most significant disadvantage is the modest size of such parts. Wide ceiling moldings are simply not produced, so the owners have to adjust each component as accurately and scrupulously as possible and leave gaps of certain dimensions.
- If the surface of the base is uneven, after the completion of the fastening, there will be visible gaps between it and the fillets themselves.
- Despite the fact that skirting boards are simple and unpretentious in installation, the installation of the last ceiling panel can be quite difficult. To do this, the master is forced to bend the PVC part one more time, and then push the “spare part” with an effort. Because of this, it can be easily damaged.
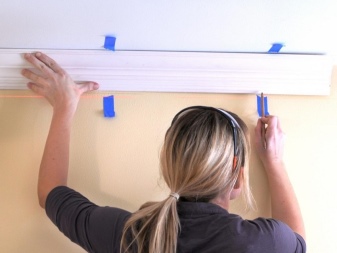
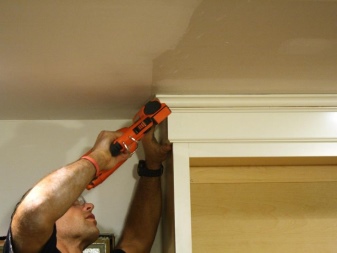
Acquisition of skirting boards, fitting and trimming
And so, you have already chosen a skirting board and settled on a pvc skirting board. Any installation of skirting boards begins with a trip to a hardware store. If you plan to install a plinth in only one room or room, then the most logical option before going to the store will be not only measuring the total length of all walls where the plinth will be attached, but also creating a schematic drawing of the room, indicating the length of all walls, doorways and possible obstacles (e.g. heating pipes).
As a rule, it is recommended to take the volume of the plinth with a margin of 10% of the total length of the walls, but if the volume is not large, and you measured everything exactly, then there is no particular need for this. In addition, if there is a room diagram, any intelligent seller in a hardware store can easily calculate the required number of plinths, connecting strips, internal and external corners.
Required tool (desirable kit): electric drill, screwdriver, screwdriver, tape measure, hammer, pencil or marker, jigsaw or hacksaw for metal, square.
There are several options for attaching a plastic skirting board to the floor, but in this case we are considering installation using a dowel of nails. And if you have in stock all the tools necessary for installing the plinth, and you have not forgotten to purchase a sufficient number of dowels - nails, then you are ready to go.
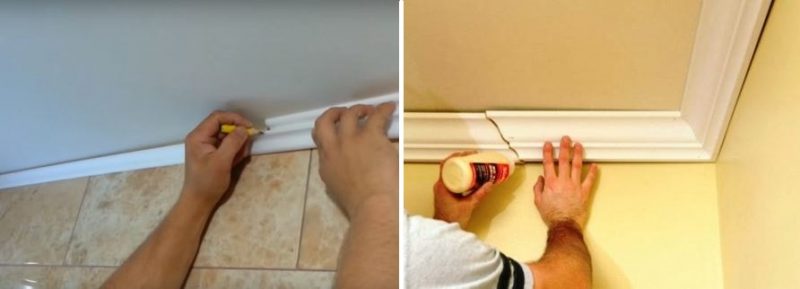
The installation of the skirting board begins by measuring the required length of the skirting board. This is done without a tape measure, without a meter, by simply applying the plinth to the attachment point and applying the appropriate mark.
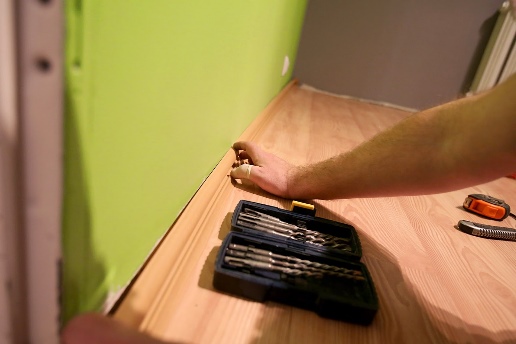
Accurate measurement of the required length of the plinth is a guarantee of its high-quality joining.
If one end of the skirting board is adjacent to the corner of the room, then when measuring the required length, a certain gap must be taken into account. This gap is formed due to the subsequent installation of the inner corner and the possible unevenness of the corner itself. In order not to be mistaken for sure, you can put the inner corner on the skirting board to be measured and the skirting board, which will go along the other wall.
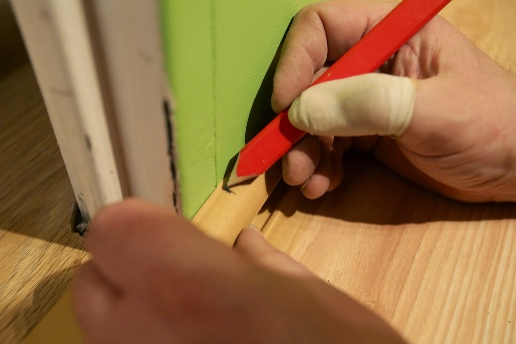
When determining the dimensions of the skirting board, it is necessary to take into account the dimensions of the door trims and the corner gap.
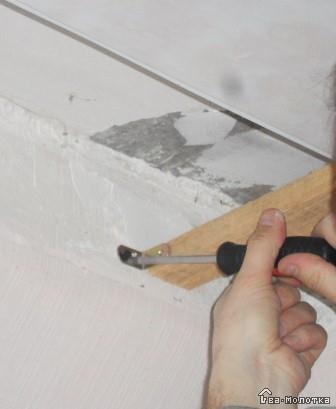
Use a pencil, pen, or fine marker (best) to mark the cut line. Having marked the cutting line, remove the skirting board from the installation site and cut along the marked line.
You can cut the skirting board with a metal hacksaw or use a jigsaw. With a jigsaw, it is better to use a file for a clean cut, for example T101B or similar.

Before the first clean cut along the mark, try sawing the skirting board in an unnecessary area.
Unlike some other types of skirting boards, where corner joints must be sawn at a certain angle to each other (for example, wooden or polyurethane), plastic skirting boards are sawn at right angles to the line of its length. Also, due to the use of separate connecting strips and corners, not ideal evenness of the cut is allowed.
With the dimensions of the dowel 6 mm by 50 mm (width and length), the thickness of the screw (nail) will be 4-5 mm (depending on the wall thickness of the dowel). Therefore, the diameter of the hole in the skirting board will also be 4-5 mm.
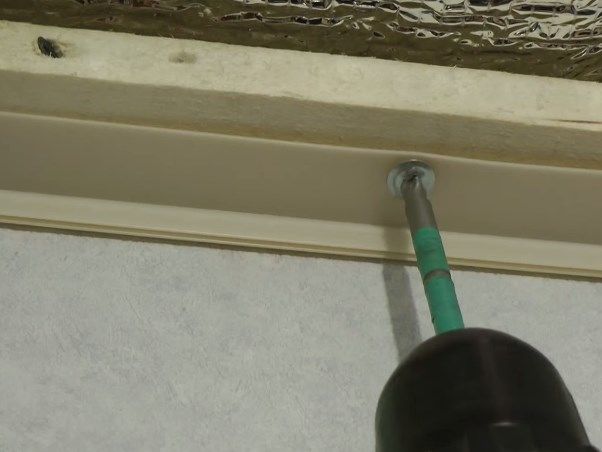
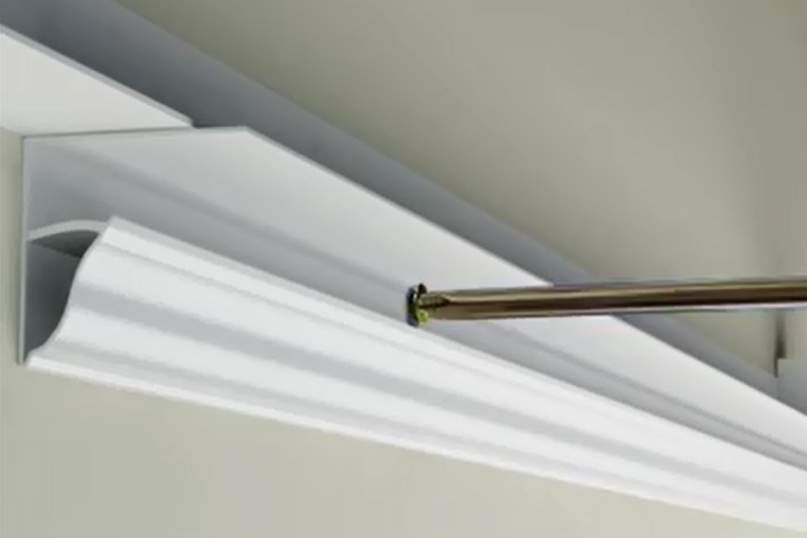
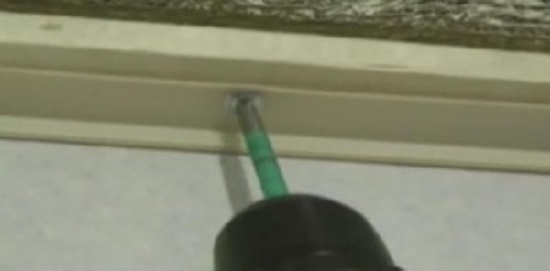
After cutting the required length of the plinth, remove the external decorative profile (cable channel strip) from the mount and use a drill to make holes in it with a drill with a diameter corresponding to the diameter of the screw (nail).
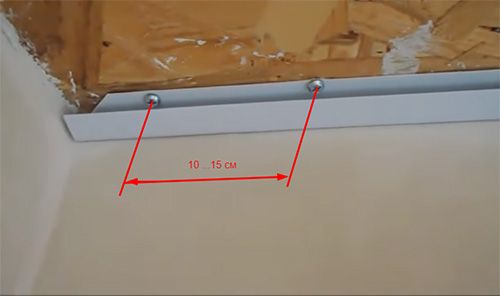
Holes are drilled every 40 cm, plus or minus 10 cm, and the distance of the outermost hole from the corner is about 10 cm.
Types of plastic panels
The building materials market offers a huge selection of plastic panels for interior decoration, which differ in size, color, design features.
According to the area of application, PVC panels are divided for the ceiling and for the walls. Ceiling material is more fragile and lighter than wall material
Therefore, the ceiling of PVC panels should be mounted carefully so as not to damage them accidentally with sharp objects. Wall plastic is stronger and less flexible because it contains more PVC
According to the type of decorative layer, PVC panels are divided into matte and glossy. The surface of a matte canvas is without any coatings, so they are cheaper than glossy ones. Glossy canvases are covered with special varnishes on top, which additionally protect the plastic from the effects of the sun and moisture, so it is much easier to care for them.
What is PVC panel
Plastic panels vary in size: width, height and thickness. Plastic panels with widths of 125 mm and 250 mm are more often used, since they are easier to install. Larger canvases are less flexible, making them more difficult to assemble a suspended ceiling. The thickness of the wall and ceiling panels is different. So, for the ceiling, panels with a thickness of 6 mm and 8 mm will be the best choice, and for walls - 10 mm and 12 mm. The length of PVC panels is standard - 5.95 mm. On the building materials market, panels are often sold with a length of 3 m, this suggests that they are cut into pieces.
What are plastic panels for walls and ceilings, their advantages
To understand how to repair a ceiling made of plastic panels, it is recommended that you familiarize yourself with the strengths and weaknesses of this finishing material.
The composition of polymer products includes polyvinyl chloride, which is characterized by sufficient lightness, hardness and strength, which makes it possible to sheathe walls and ceilings in residential spaces, shopping centers, offices.
On the outside of the panels, using offset printing, thermal printing or lamination, a decorative image or drawing is placed. To give a higher degree of strength, wear resistance, antistatic effect and resistance to sunlight, the surface is coated with a matte or glossy varnish.
Manufacturers in the process of manufacturing a finishing material from polyvinyl chloride do not use phenol-formaldehyde resins, which have a negative impact on human health. For painting PVC panels, water-based coloring compositions are selected.
The variety of plastic finishes makes it possible to decorate bathrooms, toilets, bedrooms, hallways, living rooms.
The positive characteristics of plastic products include:
Simplicity and speed of work on the installation of PVC panels. Even an unprepared person can install the crate and finish the room, especially if the base base does not have serious irregularities and cracks. Installation work is often done with liquid nails. If you have to level the surface, then a metal or wooden structure is mounted - a frame, where the panels are fastened with self-tapping screws
During operation, the coating does not cause any particular difficulties, it washes well, is not afraid of wet cleaning. But in order not to spoil the appearance of the plastic panels, it is not recommended to use household chemicals, it is enough to prepare a soap solution
Environmentally friendly for humans, do not emit toxic substances and harmful fumes
Good strength
Here it is important to make the right choice, use a denser coating for wall cladding, and a lightweight version is quite suitable for the ceiling surface
Adequate level of heat and sound insulation. When decorating a room in this way, you can improve sound insulation parameters and keep warm
Wide range of colors
The traditional option is considered to be white panels, but there is also plastic with imitation of natural stone, wood or with drawings.
Resistant to moisture. Due to the flat surface, the plastic does not retain moisture, and the absence of pores in the coating structure prevents pathogenic microorganisms from spreading. This quality of panels determines its use in bathrooms.
Resistance to temperature changes in the room
Long service life of the coating, subject to correct installation and selection of quality material
Relatively low price compared to metal panels
Among the negative characteristics are noted:
- Low level of resistance to UV rays, especially for white plastic, which eventually loses its original appearance and turns yellow
- Low impact resistance. Under light load, dents or deformations may remain on the surface.It is recommended to purchase panels from well-established manufacturers.
- The presence of a specific smell. This disadvantage is felt the first time after finishing the premises. But after a few days it completely disappears
- In terms of environmental friendliness, plastic loses to natural materials, so it is undesirable to use it for decorating children's rooms
Installation of ceilings using a ceiling plinth
Ceiling frame
Ceiling plastic skirting board is slightly more difficult to install than traditional molding.
However, if you carefully study the recommendations below, you can install your skirting board quickly and efficiently.
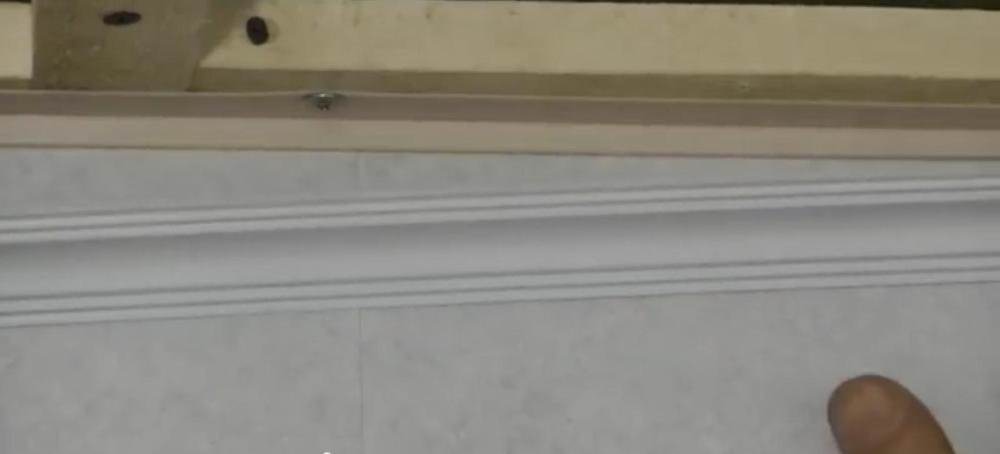
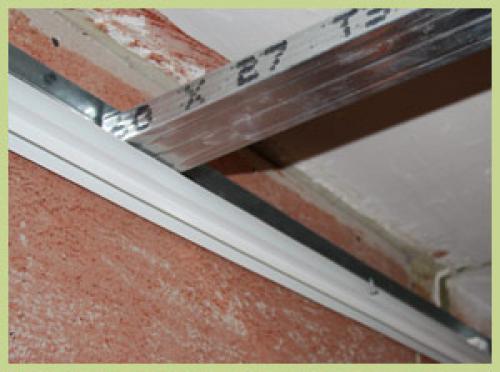
We begin the installation of the skirting board with the installation of the frame. The frame is assembled from wooden planks, which are attached to the ceiling either with anchor dowels, or (if the ceiling needs to be lowered in relation to the ceiling slab) with hangers.
- The optimal way to install the frame rails is as follows: first, we fix the rail on the two extreme suspensions, and then we level it. This way we can ensure that the resulting ceiling is perfectly flat.
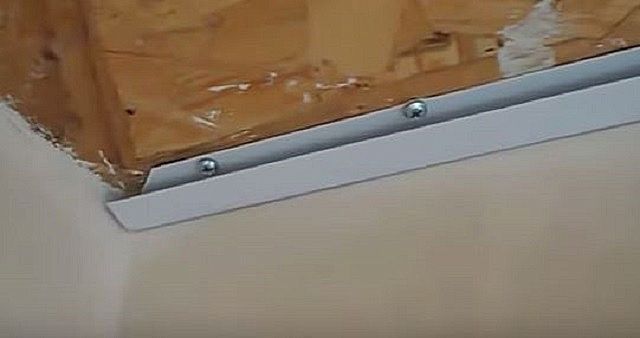
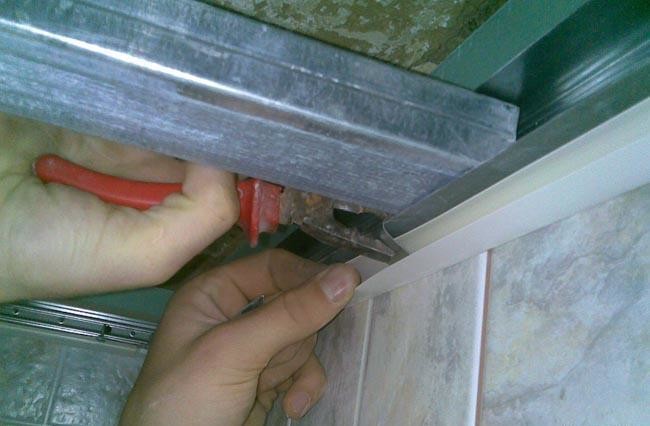
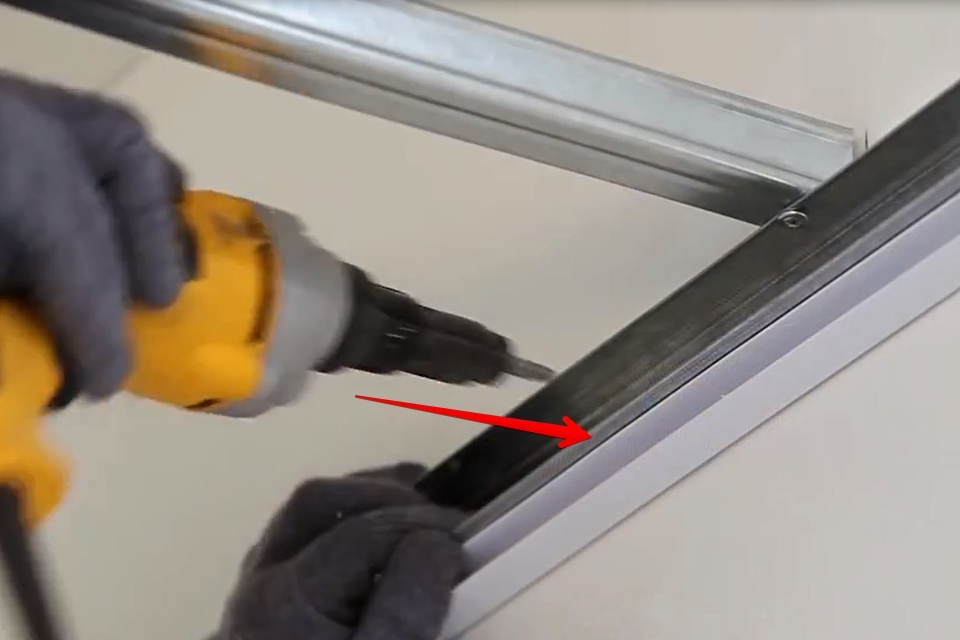
- When the frame is ready, you can proceed with the installation of the fastening profiles. This is the profile of the plastic skirting board.
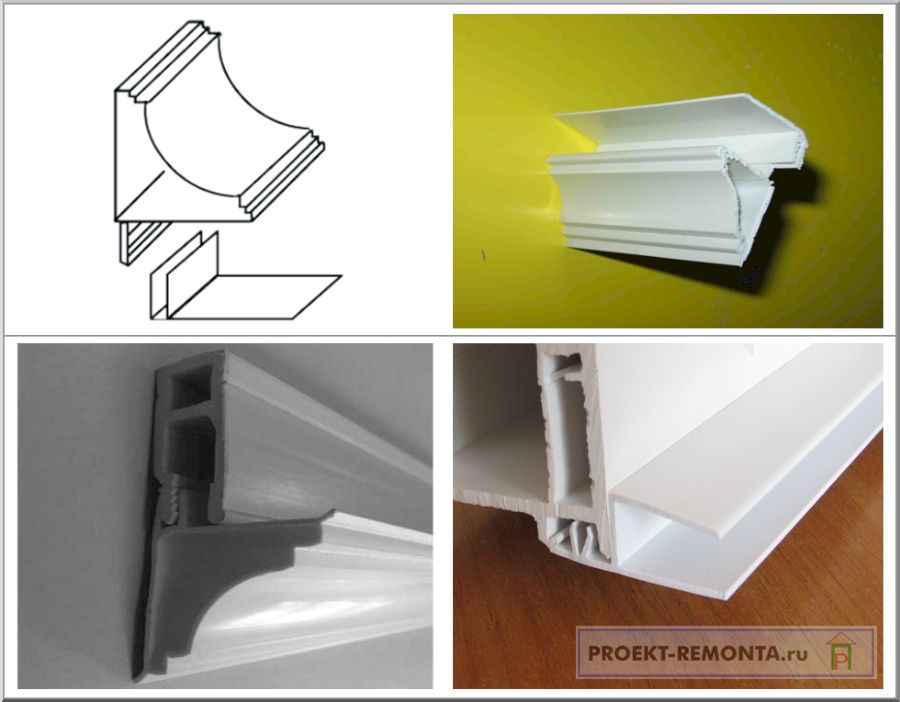
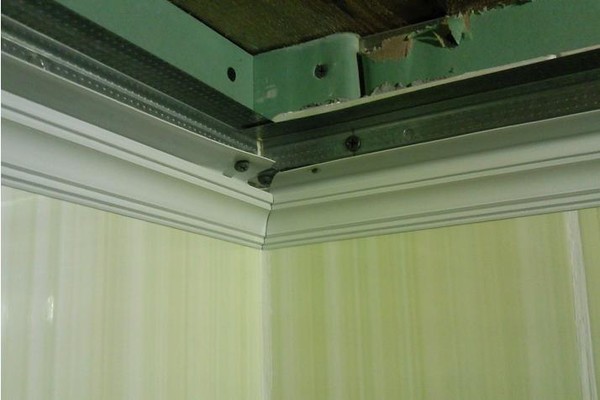
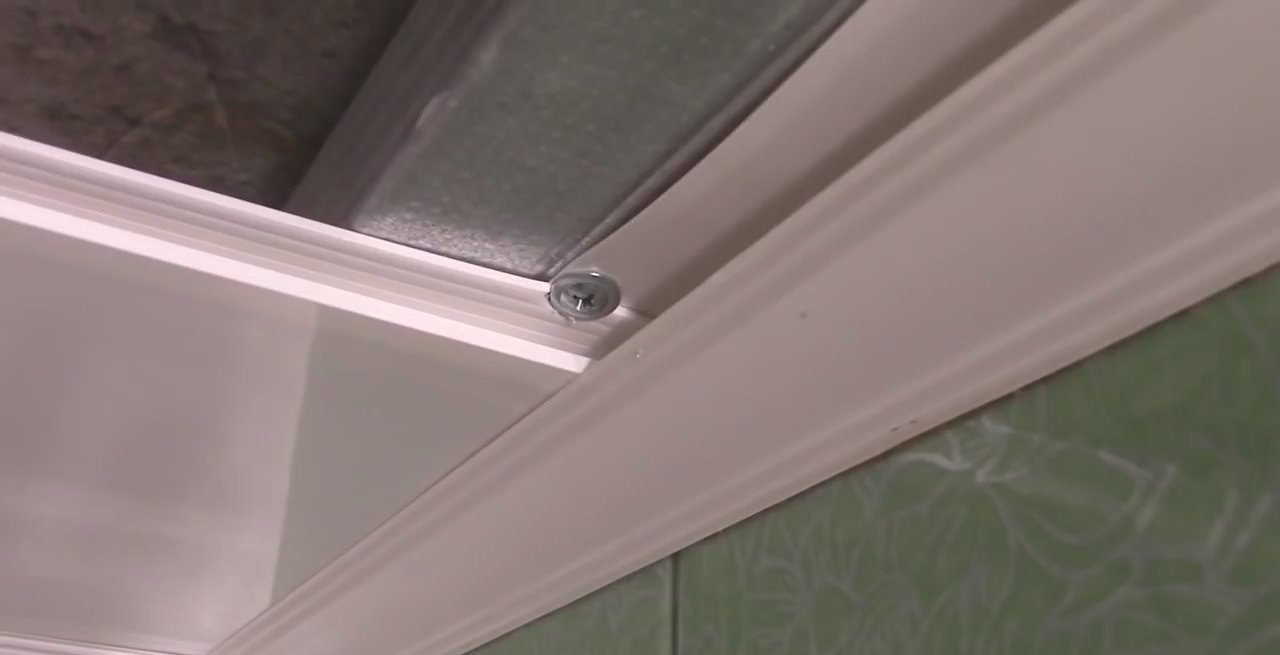
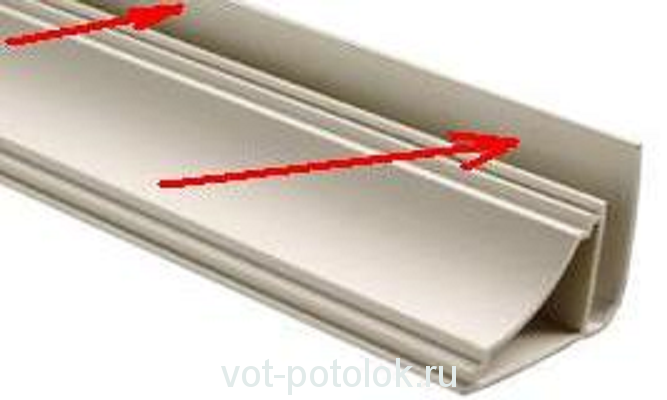
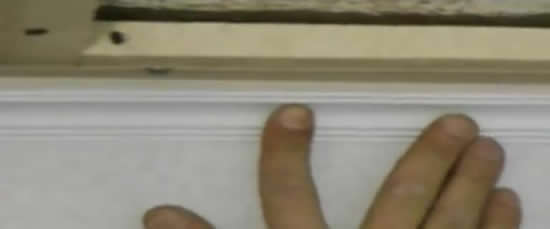
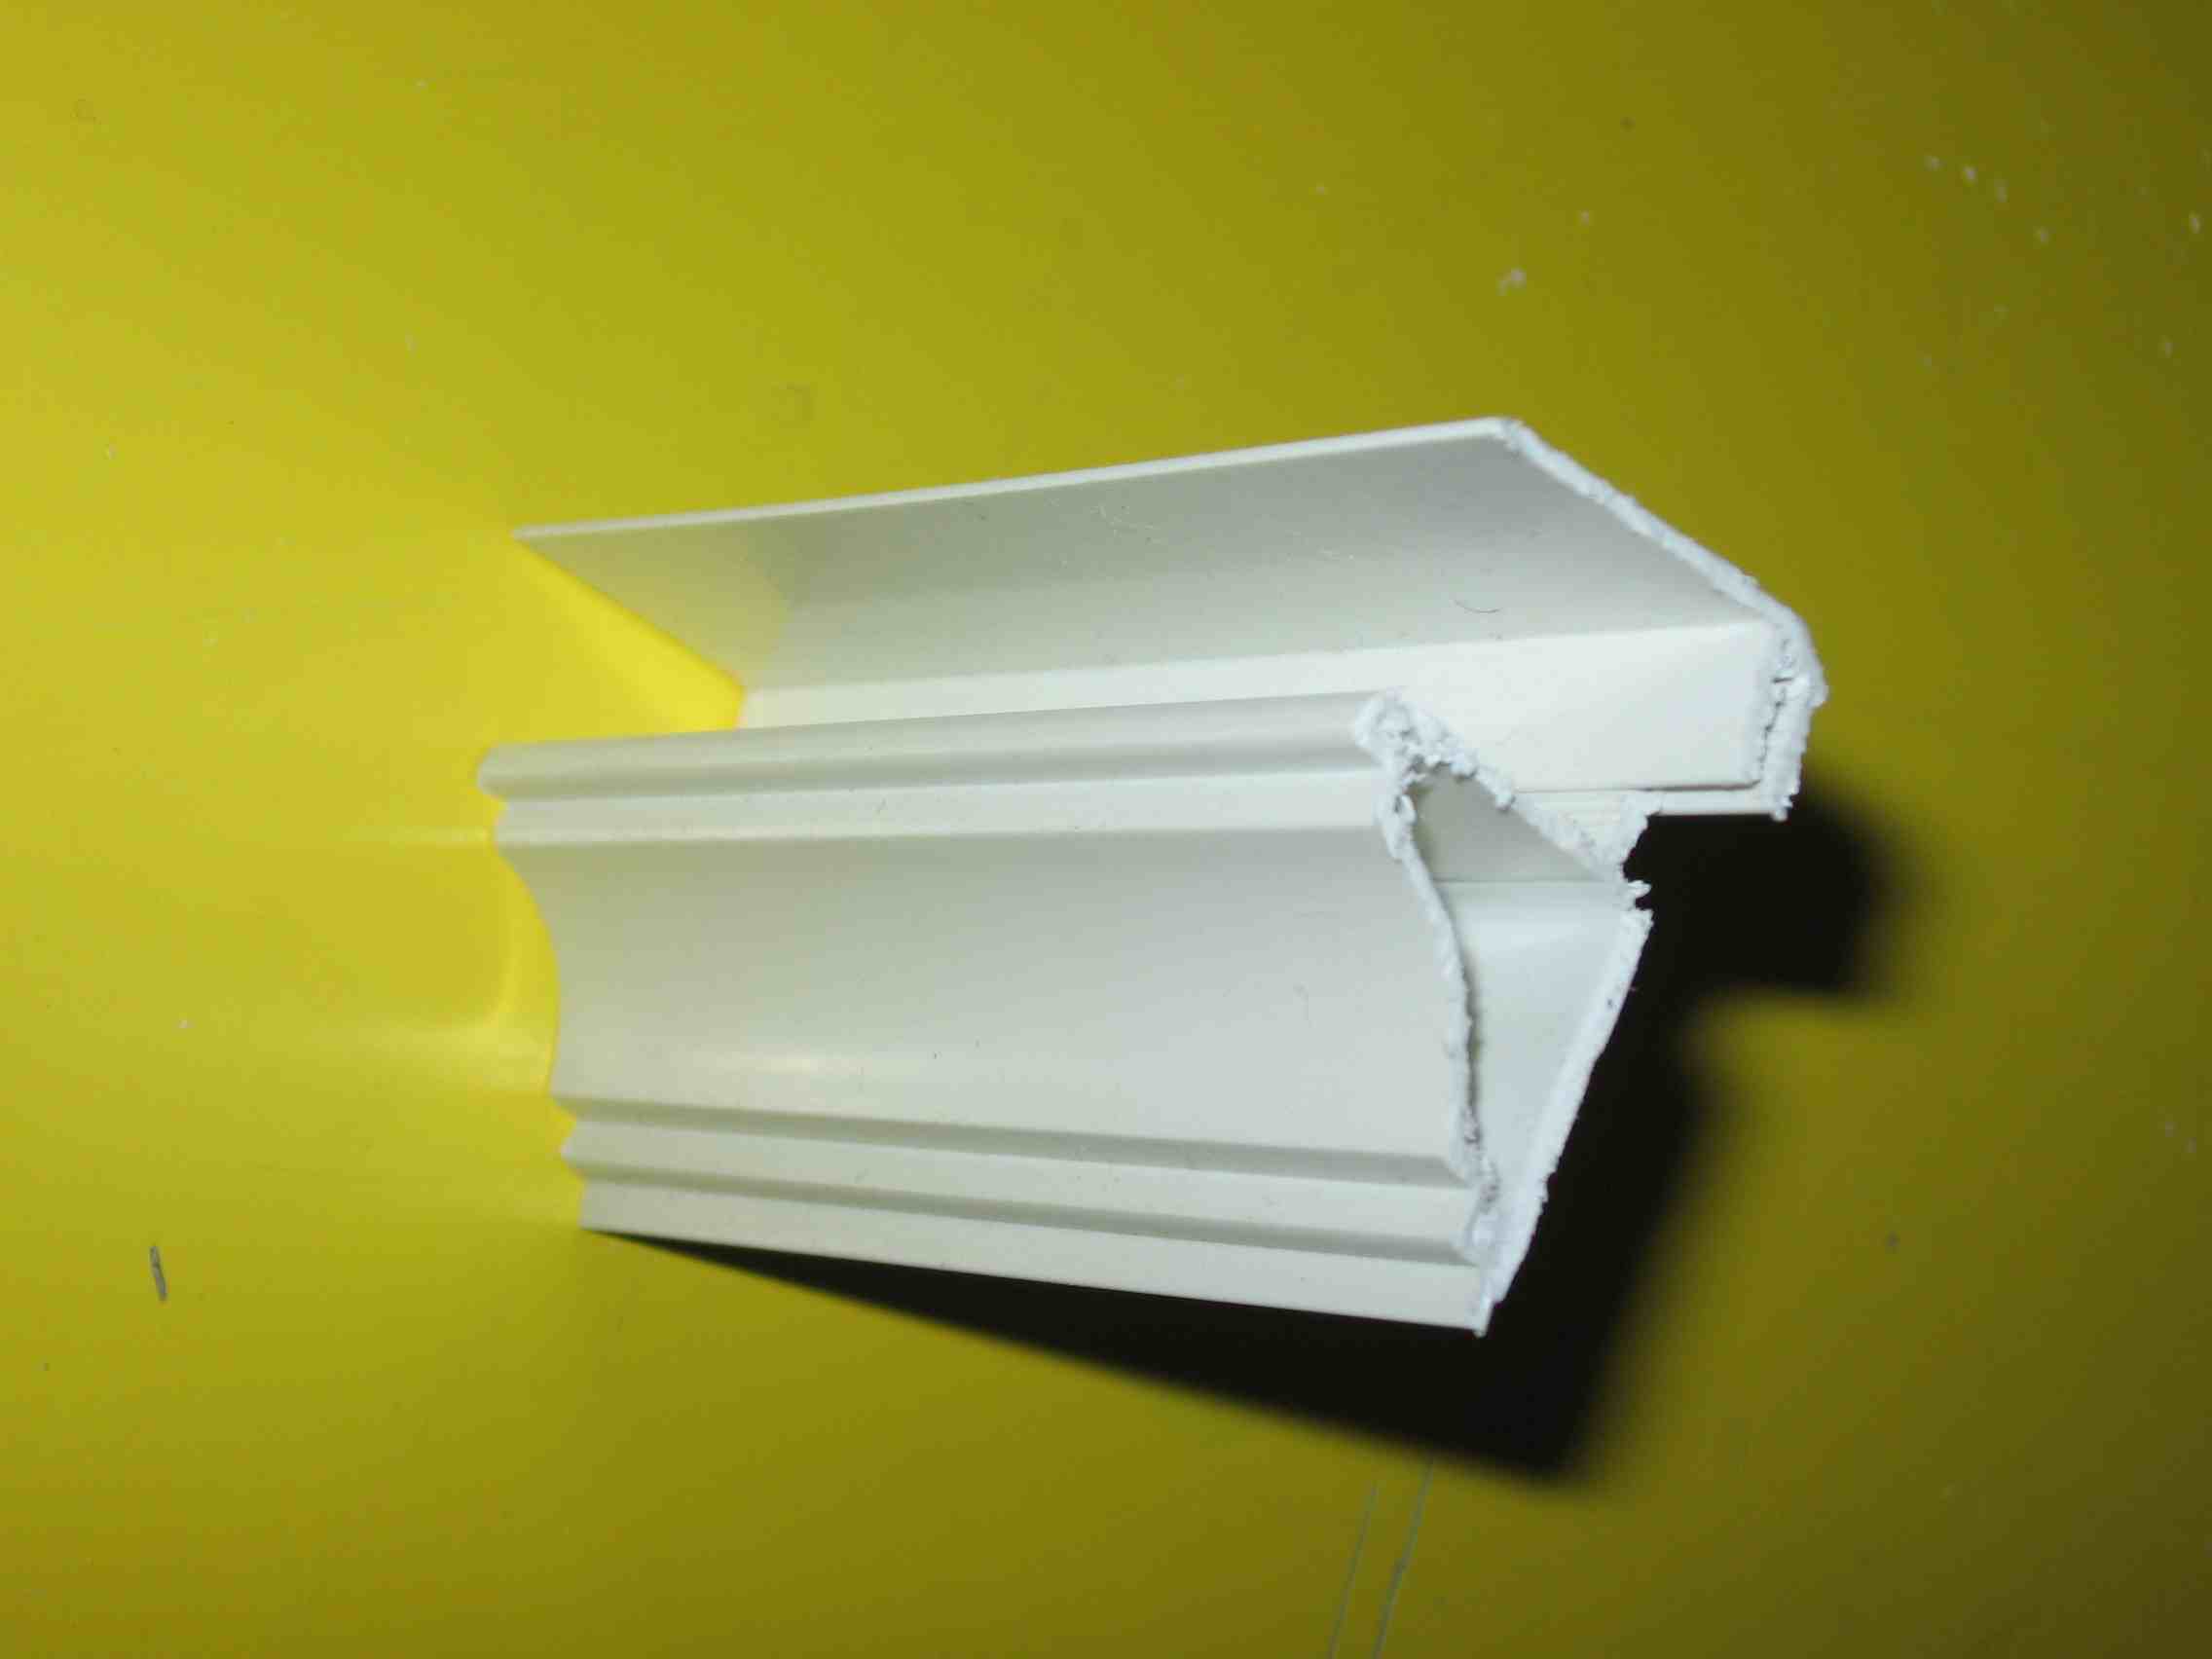
- As you can see in the photographs presented in this article, there is a special groove on one side of the ceiling plinth - a tongue. It is in this groove that the plastic lining should be inserted during installation. Depending on the type of construction chosen, either wall or ceiling panels are inserted into the groove.
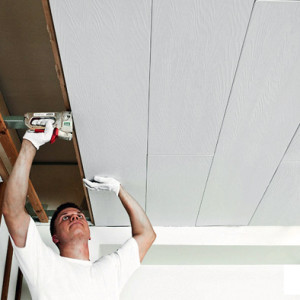
Installation of a ceiling from plastic panels
Cutting and installing skirting boards
Now that we have a frame in front of us, and we have decided how we will position our plinth in relation to the ceiling elements, it is necessary to trim the plinth for the corner connection.
This is done like this:
For correct joining, the skirting board must be cut at a strictly defined angle. To maintain this angle, we use a miter box. The miter box is a plate with slots for a saw or knife, which make it possible to cut at the desired angle.
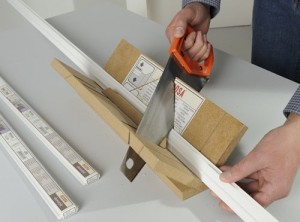
We cut the skirting board in the miter box
- For corners of 90, trimming is the easiest way: we put one piece of the ceiling plinth in the miter box and cut it off at 45. The second piece is placed in the miter box on the other side (without turning it over), and cut it off exactly at the same angle, but in the other direction.
- If you need to dock the plinth at a different angle, then it is better to first make a template from cardboard or unnecessary pieces of the plinth.
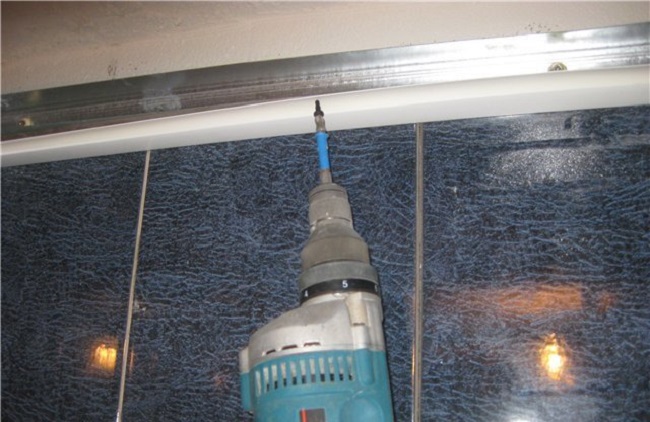
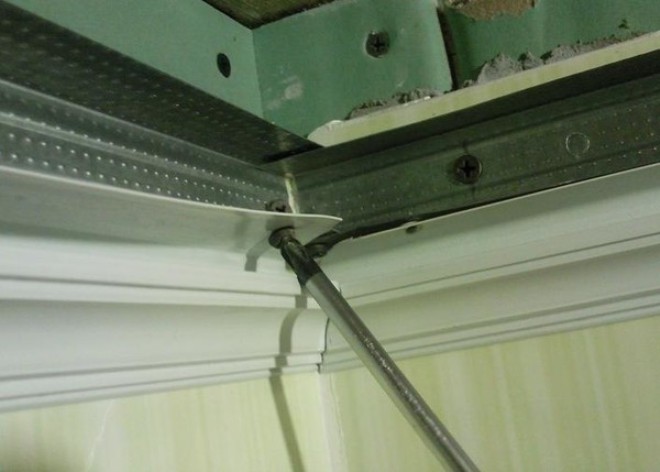
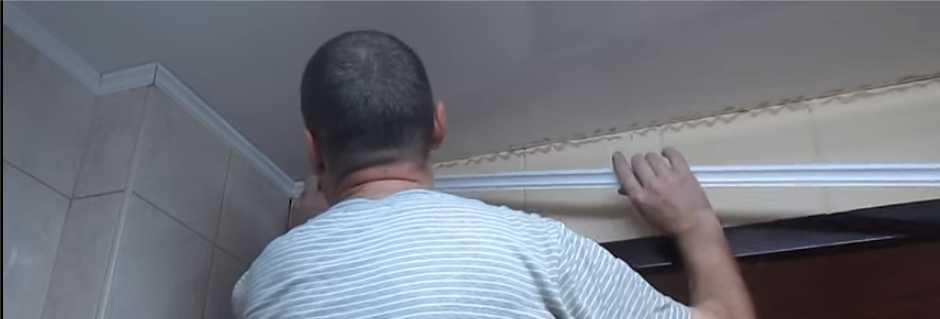
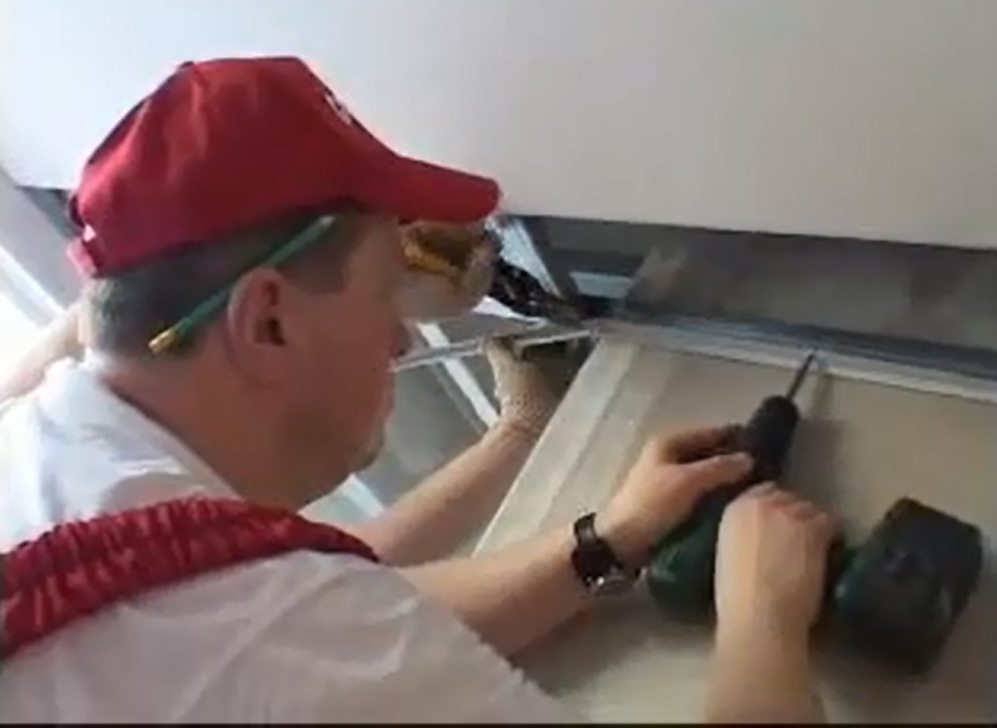
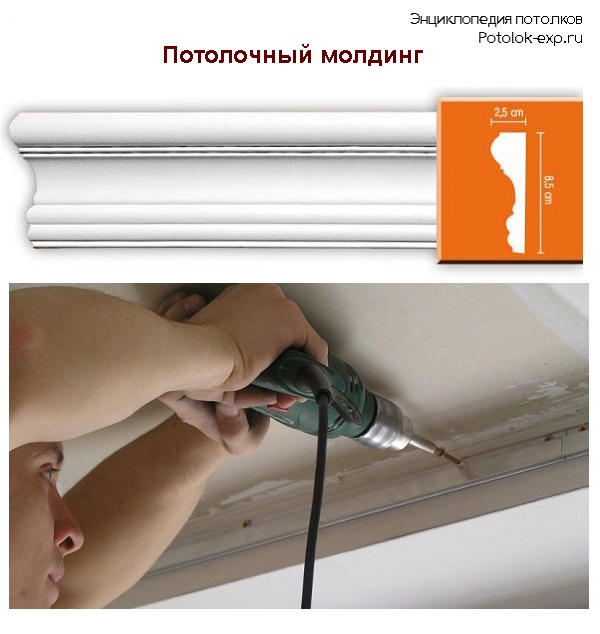
- We attach the trimmed skirting boards to the frame. To fasten the plinth to the wooden slats of the frame, a construction stapler or self-tapping screws for wood are used. If the frame is made of a metal profile, then the plinth is attached using self-tapping screws for metal (with a drill).
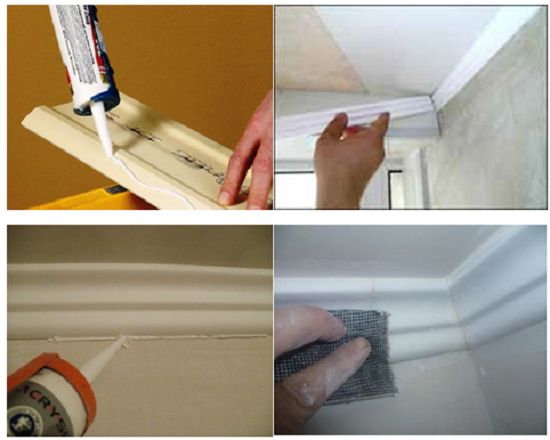
- It is also possible to install a plinth using liquid nails glue.
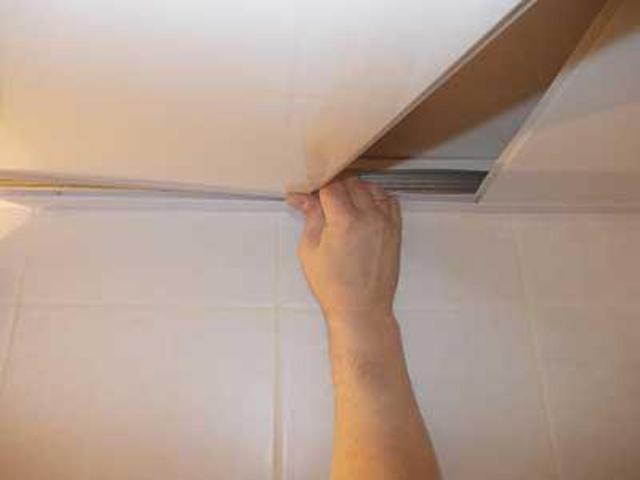
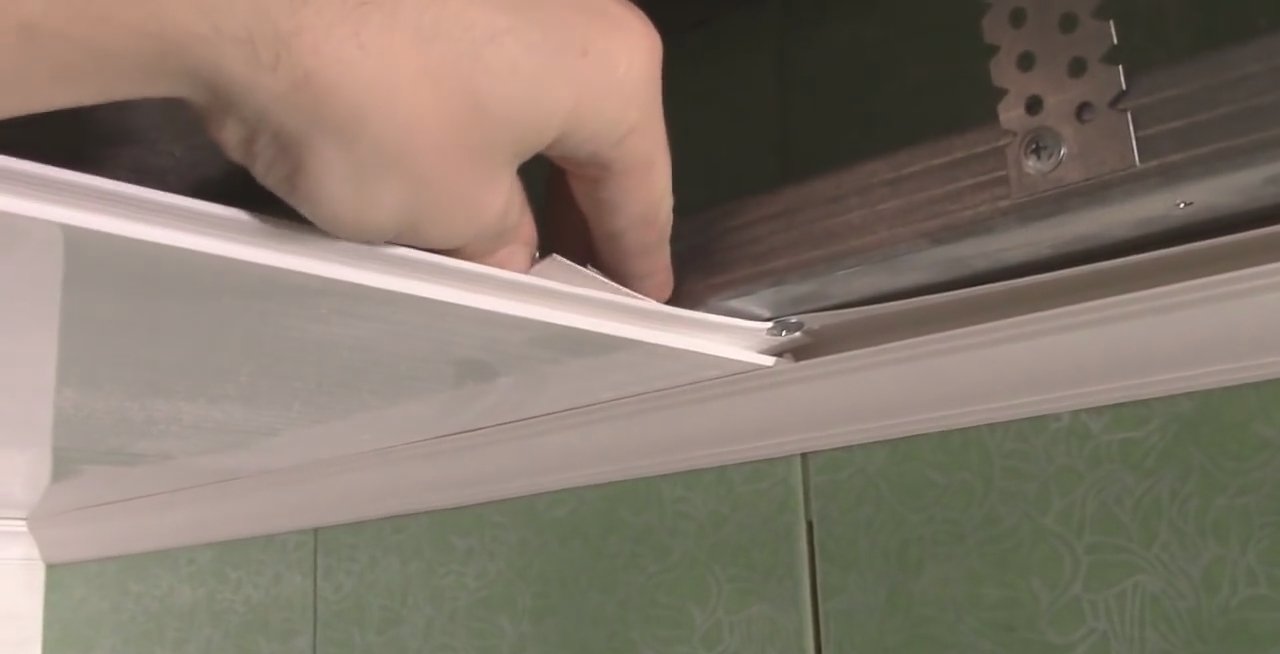
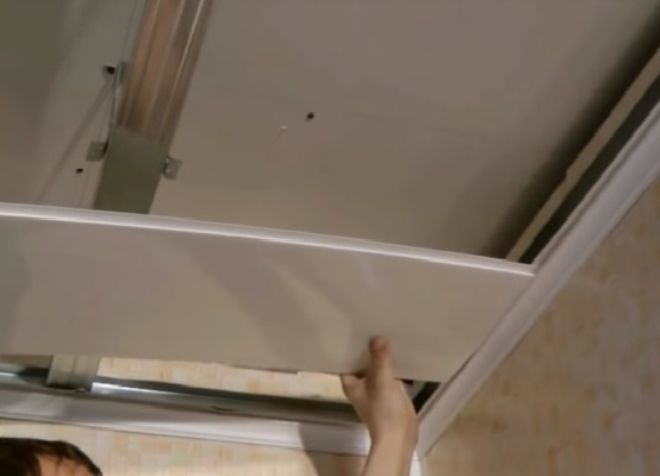
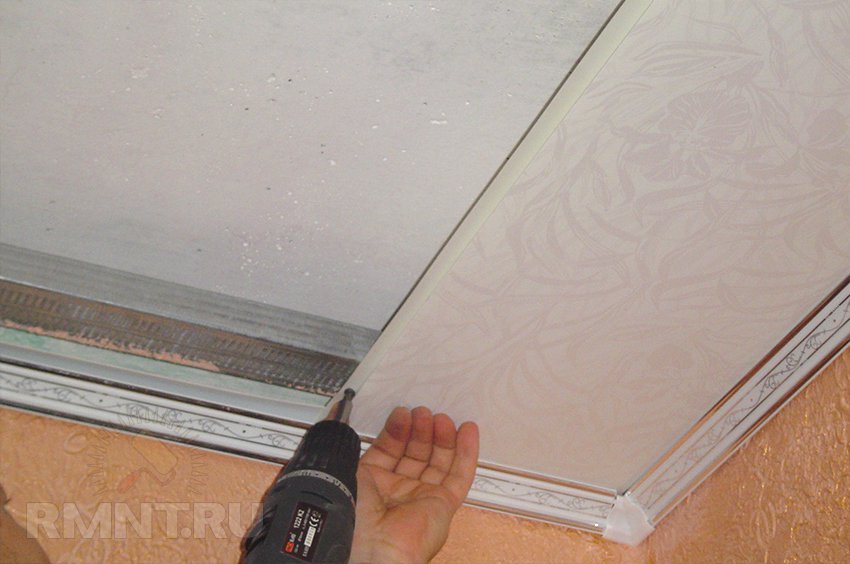
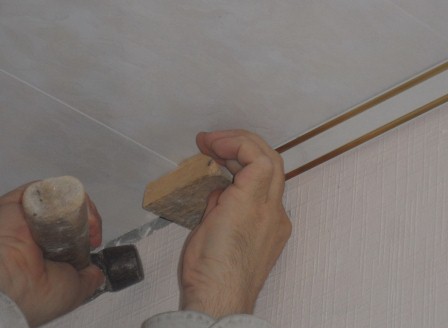
After installing the skirting board, plastic panels can be inserted into the tongue. In this case, you need to try not to damage the edges of the tongue - in some models of skirting boards, the tongue is quite thin.
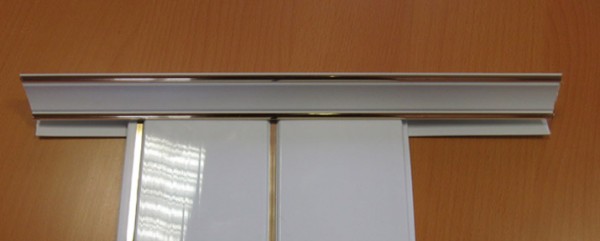
Panels inserted into the skirting pile
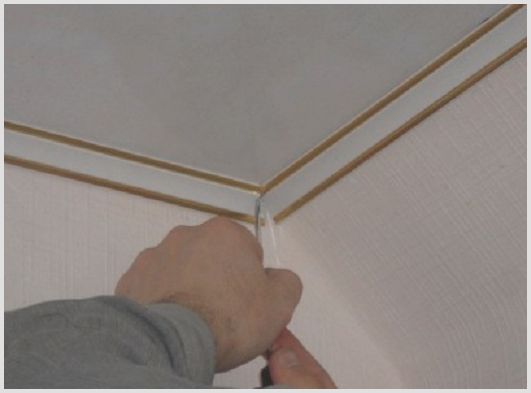
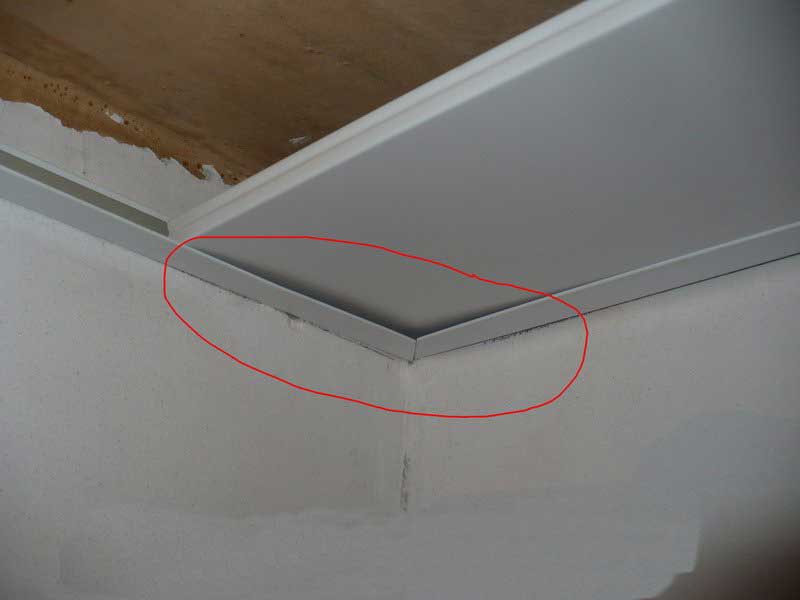
The installation process of the skirting board is completed by the installation of corner strips - if they are, of course. If there are no overlays, you can mask the joints between the skirting panels and in the corners using an acrylic based sealant.
If we do everything with high quality, then the skirting board for plastic panels installed by us will become more than just a functional part. It will be exactly the element that will complete the renovation and give integrity to the appearance of the room!
How to choose a skirting board
The interior dictates its own rules. The more expensive and exclusive the coating, the better its framing should be. For decorative details to decorate a room, designers recommend:
- The color can either match the shade of the flooring, walls, doors, or be a contrasting element.Computer programs with 3D visualization will help you to choose the option that best suits your design.
- Wooden skirting boards are perfect for solid wood and laminate floors. Linoleum, carpet are combined with PVC strips. Ceramic products complement the tiled floors. Veneered and MDF skirting boards are universal, used with various types of floor coverings.
In order for the color of the skirting boards to exactly "hit" the color scheme of the room, painting is sometimes required. A fashionable option is a white molding. It looks impressive, but requires support in decoration with other details - platbands, fireplace portal, ceiling fillets.
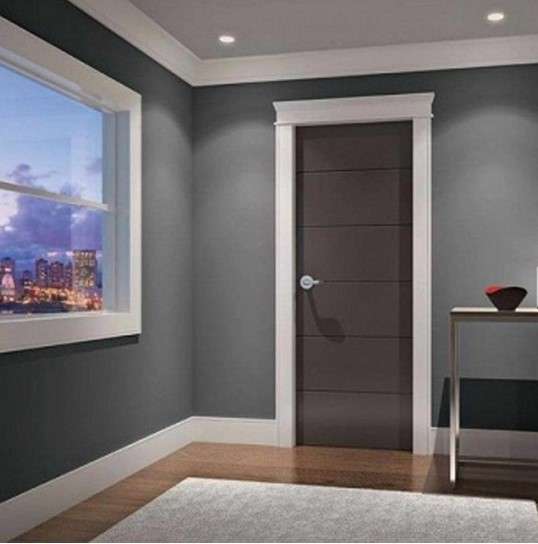
Painting decor before installation
Before installing the fillet, it should be painted, which is much easier to do than after fixing it. Place the item on a newspaper and use a small but soft brush to apply water-based paint to the front of the item. You can paint the skirting board not only in white, but also in any other shade, which will give the interior some peculiarity. As you can see, the preliminary preparation of the decor not only saves time, but also simplifies the work and does not create difficulties even for novice craftsmen. In some places, the paint can stain the inner side of the decor and dry out, while forming smudges on the surface of the fillet joining the ceiling and wall. These drops must be removed with a knife, since it should not be fastened in this state.

Painting skirting boards
Currently, the following types of installation of an interior element are very popular:
- installation of material after wallpapering on the walls;
- installation of decor before painting the surface of the walls and covering them with wallpaper.
It is recommended to fix the plastic skirting board at the final stage before the wallpaper is glued to the walls. Since it is possible to eliminate the joints formed as a result of installation with putty and sealant, but the wallpaper will be completely damaged. But, for example, the element should be attached to the floor after the walls have been processed in order to give the interior completeness.
Advantages of plastic ceiling skirting boards
The design of PVC ceiling skirting boards is fundamentally different from their counterparts made from other materials. A special fastening lamella is provided along the entire length of the baguette, which allows the ceiling frame to move slightly. This is necessary, since with its rigid fixation, deformation of the skin from temperature changes is possible. In addition, this type of framing has many more advantages:
- 100% moisture resistance;
- easy care;
- a varied range of colors;
- due to the fact that the ceiling plinth is made of a material similar to the panels, a visually complete composition is obtained;
- different material widths;
- a light weight;
- ease of installation allows you to install a plastic skirting board yourself.
Naturally, this frame has certain disadvantages, however, there are only two of them:
- considering that decorative elements are afraid of high temperatures, their fastening near lighting fixtures is excluded;
- impossibility of changing the color of baguettes, since they cannot be repainted.
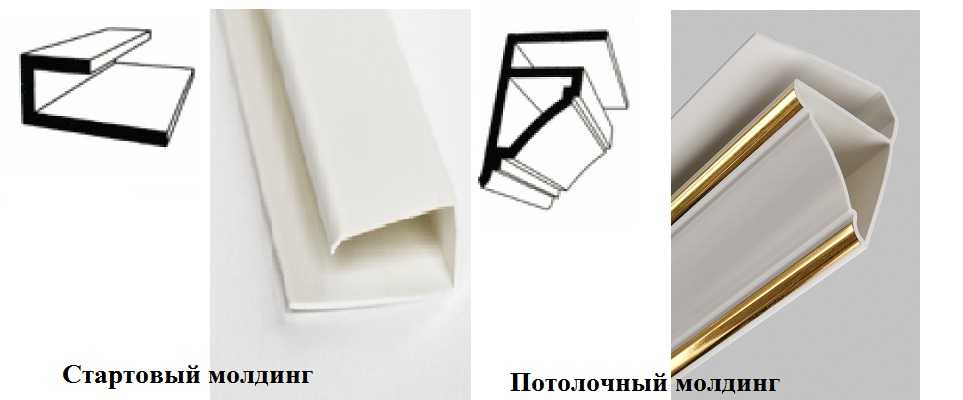
If it was not possible to pick up the skirting boards, they can be replaced with U-shaped end profiles, and the resulting gap can be decorated with molding.
Design features of plastic skirting boards
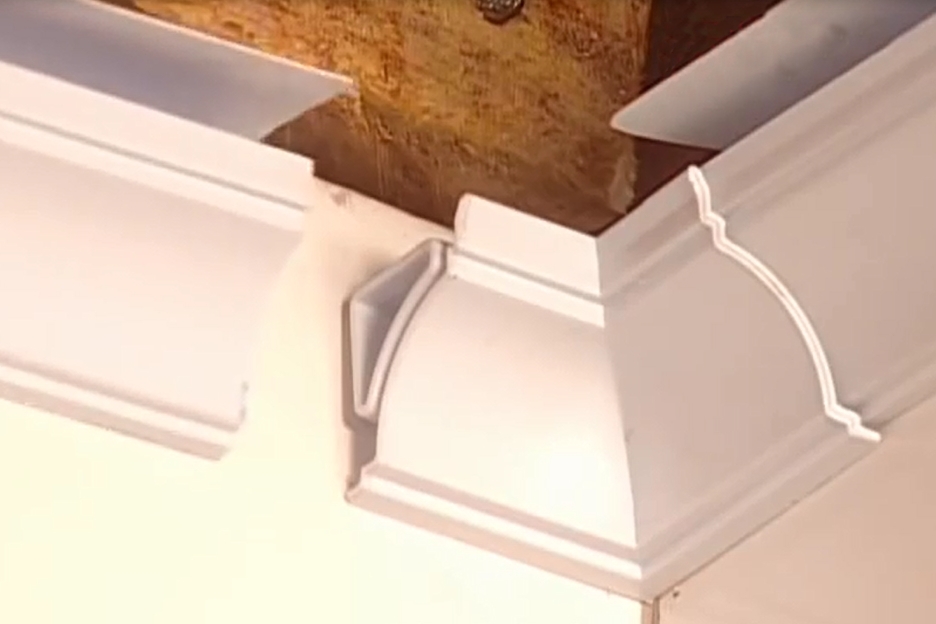
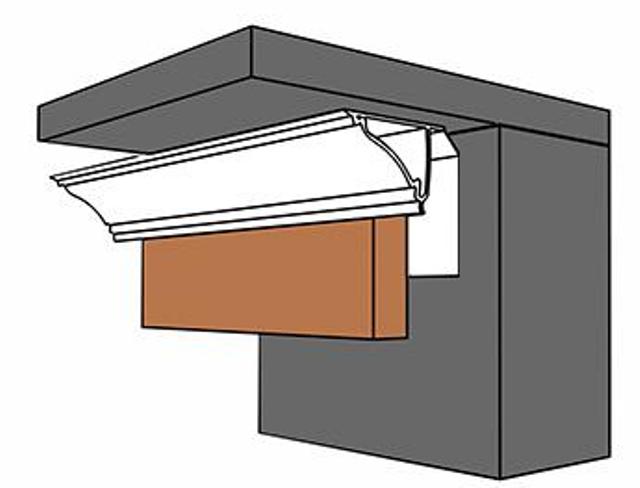
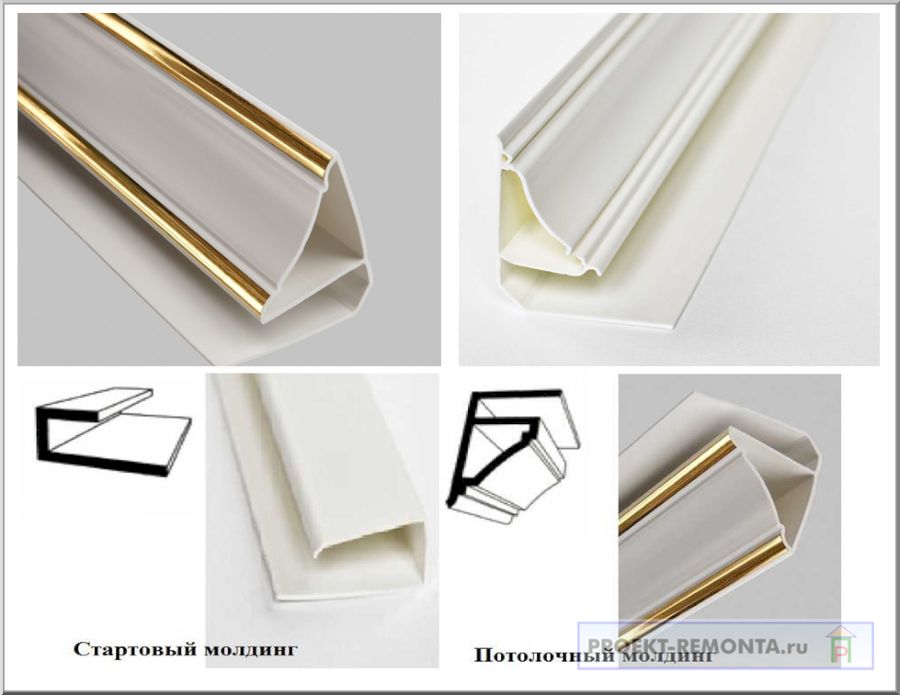
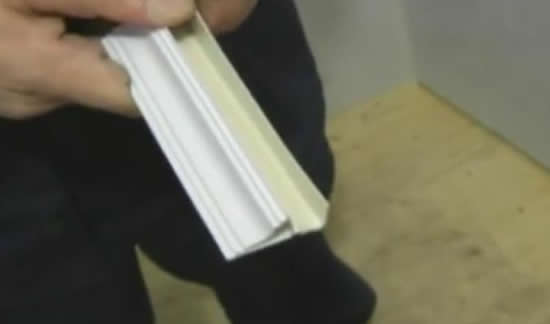
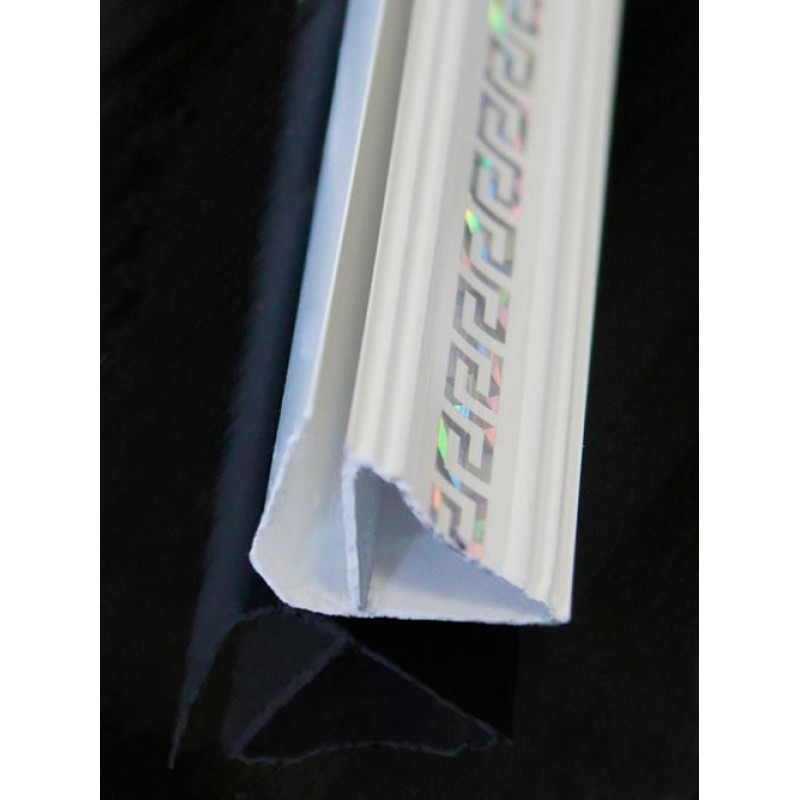
Picking up a profile made of polyvinyl chloride, its design immediately catches the eye. This type, unlike other types of finishing materials, has a collapsible design. There are two parts here, the inner part and the removable top insert. Having figured out what each of the parts is for, you will understand how the ceiling plinth is attached in combination with PVC panels.
In the inner, main part of the product there is a special U-shaped groove, one side of which is the working face of the profile.In accordance with the technology, the groove width must match the thickness of the plastic sheets. The ends of the panels are inserted into the groove during the installation of the suspended ceiling structure.
On sale there are one-piece cornices and collapsible ones, with a removable fastening strip. The latter option greatly simplifies the installation process and speeds up the finishing work.
Components
As a rule, the main part of the products on sale is represented by white products with slight shades (glossy or matte). These materials can be used with panels of any color, however, consumers often prefer to buy consumables with patterns on the front surface.
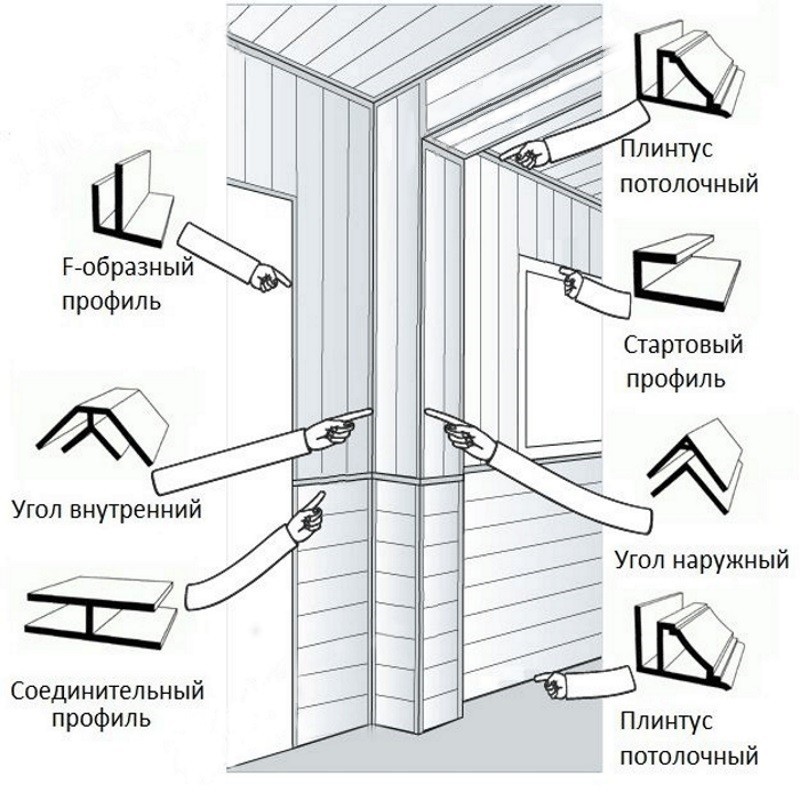
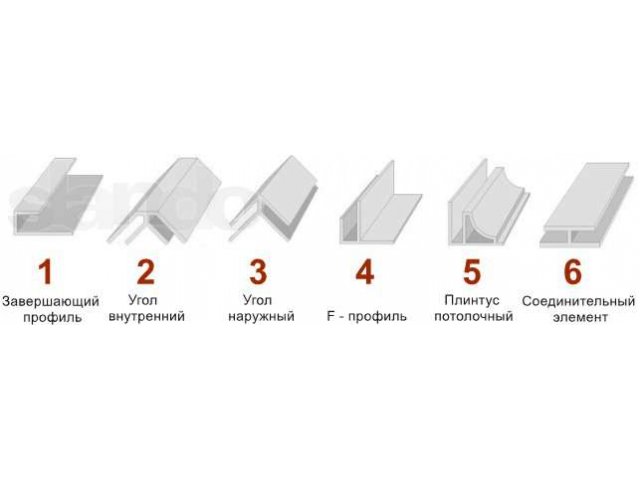
Included with the finished factory products are additional accessories that ensure quick and correct fastening of the ceiling curb, baguette or skirting board for PVC panels in the corners. A set of ready-to-use consumables consists of the following components:
- external corners, which are used for installation on protruding corners of walls, beams or columns;
- inner corners, which are the junction of fillets in the inner corners of the room;
- connecting elements stitching two separate pieces of the skirting board.
It should be said that polyvinyl chloride is perfectly cut with a hacksaw and if you have a miter box at hand, then there should be no problems with the installation of corners a priori. In addition, the existing small gaps in the joints can be sealed with a sealant or putty.
At this point, it is important to take into account that the corners in our houses and apartments rarely have ideal 90, so it is best to use templates when cutting profiles to the desired angles
Preparatory work
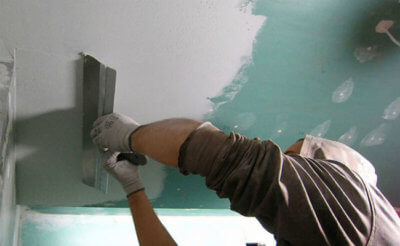
- With a metal brush from the surface of the ceiling, remove all particles that do not adhere well, including old whitewash painting, plaster (how to wash off the whitewash from the ceiling?).
- After mechanical cleaning, wiping with a damp cloth is required, removal of dust and debris residues.
- If small cracks or chips are visible, they need to be putty so that they do not increase over time, do not cause dirt to fall off.
- After these works, drying of the surface with an antiseptic primer is required. Since a closed space will form between the ceiling and the PVC plates, this will become an attractive environment for mold and mildew in wet rooms. Applying a primer will prevent the development of harmful microflora.
- In order not to be distracted during installation in search of missing tools, improvised tools and materials, it is recommended to calculate the required quantity and assortment and buy everything in advance.
Advice
If it is planned to lay insulating material, then amendments are required to the calculations of the quantity and to the marking of the ceiling, taking into account such a layer.
Calculation of the amount of materials
installation of ceilings from plastic panels
- Determine the ceiling area: in rectangular rooms it is calculated as the multiplication of adjacent walls, in rooms with complex geometry - as the sum of different areas of simpler elements.
- A material that is suitable in length is selected: if the length of the room is 4.2 m, then a 6 m plate is required, since the trims will look unaesthetic.
- To calculate the number of panels, it is best to use graph paper or a piece of paper in a cage, on which to scale the area of the room, and then draw the number of panels that fit in width along the long side.
- To determine the number of profiles for the frame, a more complex calculation will be required: they are drawn on the same sheet as in the previous paragraph, the corners are parallel to each other with a step of 0.6 m.Then the length of all lines is summed up and divided by the standard length of the element.
- The number of dowels, self-tapping screws is calculated by the number of profiles and a pitch of 0.6 or 0.3 m.
- The ceiling plinth is applied around the perimeter of the room, which is calculated by double the sum of the adjacent sides of the room.
All materials need to be purchased for about 10-15% more
Required materials and tools

- impact drill with medium and low speed or screwdriver;
- building level on alcohol capsules or laser;
- miter box;
- scissors for metal;
- angle grinder;
- hacksaw;
- self-tapping screws for metal, dowels;
- metal clips, screws with a press washer, "liquid nails";
- rag.
As materials you will need:
- the plates themselves with a margin;
- ceiling and wall profile for the frame;
- stringers with or without pins, depending on the height of the ceiling covering from the floors;
- acrylic sealant for sealing joints between plates.
Advice
A stepladder is required to work at height. You need to stock up on a rag to clean the traces of sealant, protective clothing, including glasses and a respirator.

