Installation methods
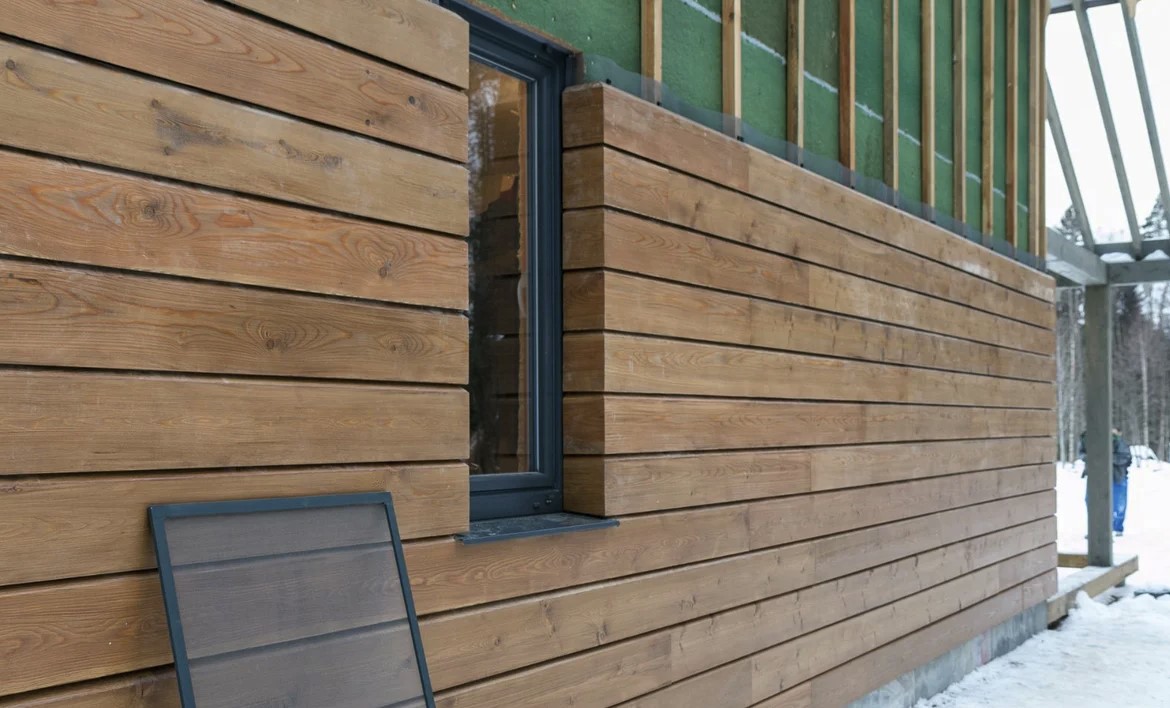
By default, the crate is first mounted. After that, a layer of thermal protection is laid. The cladding is installed last. This type of ventilated façade ensures the internal drying of the walls and their cladding. In some cases, planken is placed directly on the wall; insulation is used only in places with difficult climates. The lathing is selected in accordance with the width of the slab thermal insulation material. The typical size of mineral wool is 60 cm. In this case, the distance between the frame slats will be 58 cm. But they are always guided by the most dense penetration of the insulation. The lathing must be thicker than the insulating layer.
If this cannot be achieved immediately, you will have to sew on auxiliary slats. This will create a ventilated area 2-3 cm in size. When the crate is installed, a heater is placed in the intervals of the slats. It will need to be covered with waterproofing material and a layer of wind barrier.
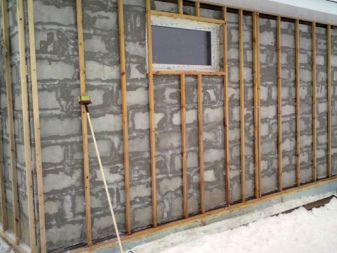
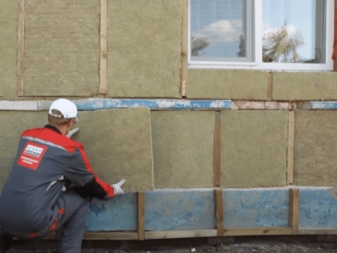
Dense cellophane can be used to contain water and wind. When it is installed, the "pie" is fastened with dowels through and through. This work is done using pre-drilled holes. To prevent the drills from winding themselves with mineral wool, they use hollow tubes made of plastic or metal. The fixing of the plank is often done on a "snake" - that is, on a simple metal bar, in which holes are made for self-tapping screws.
The closed method of fixing involves the use of special strips with a length of 14.5 or 19 cm. In both cases, the width is 1.5 cm. The length of the strip must correspond to the width of the planken itself. Cross-installation is also possible. Closed installation means first laying the boards on the ground or on the floor in accordance with the height of the wall to be sheathed. Next, the dimensions of the crate are transferred to this surface, to which the boards are attached.
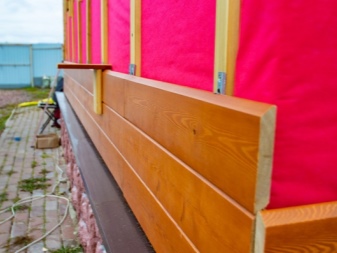
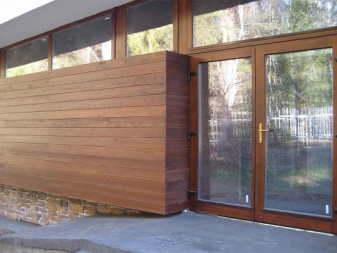
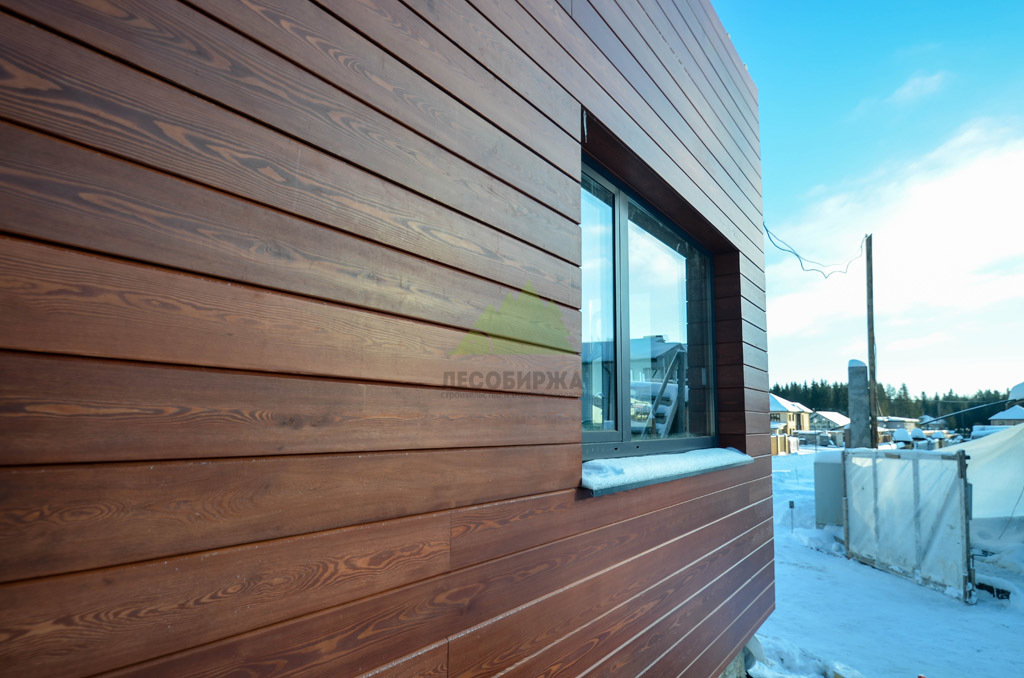
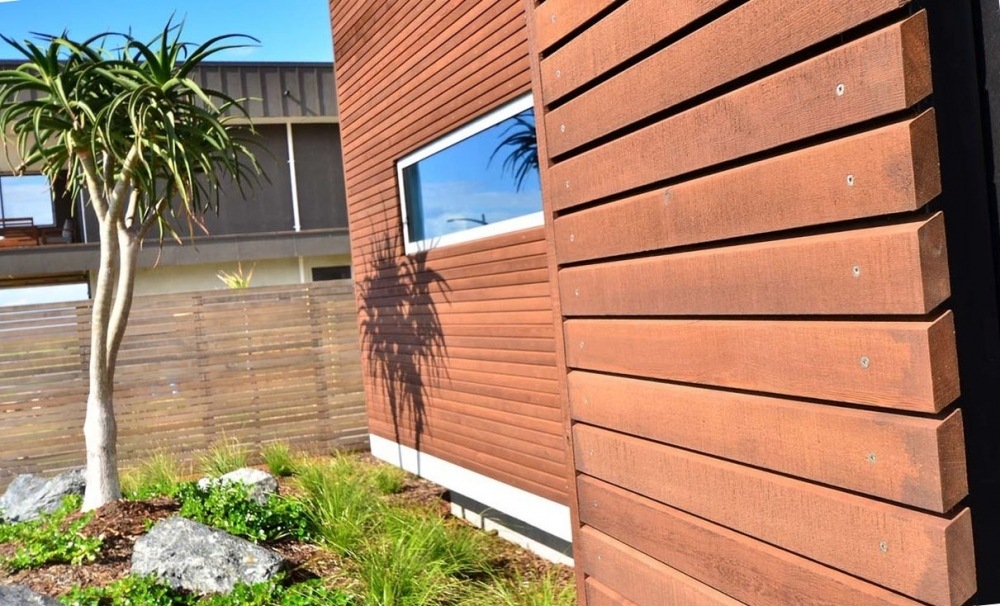
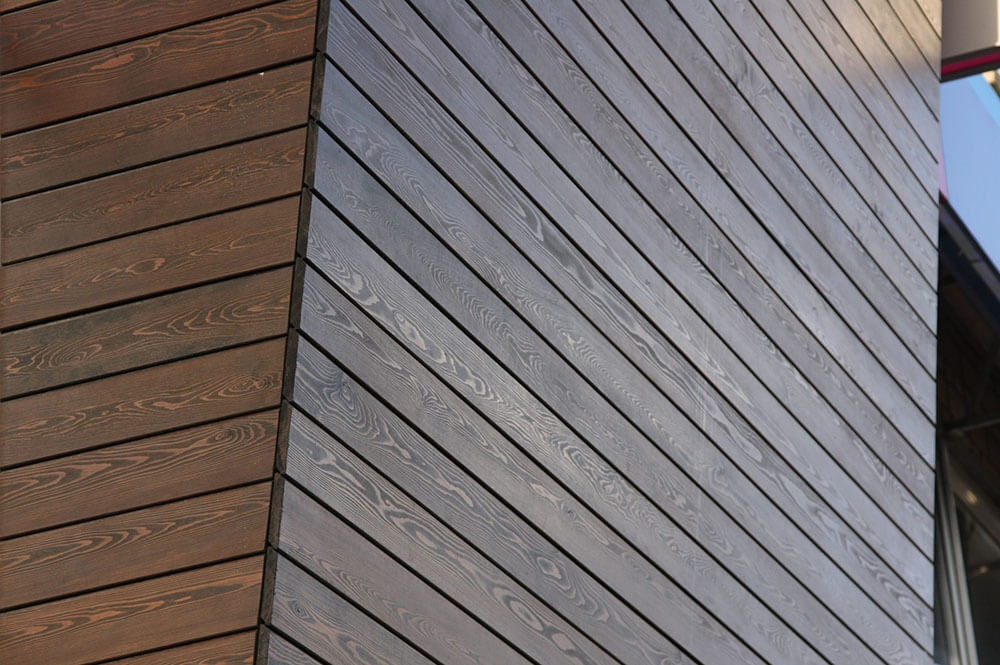
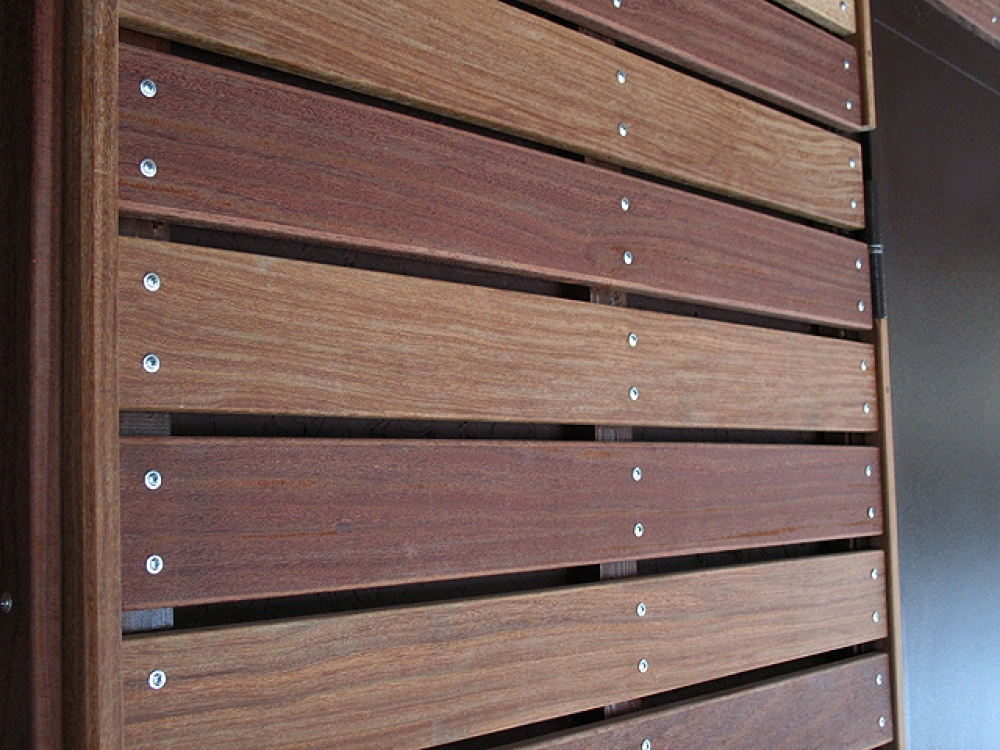
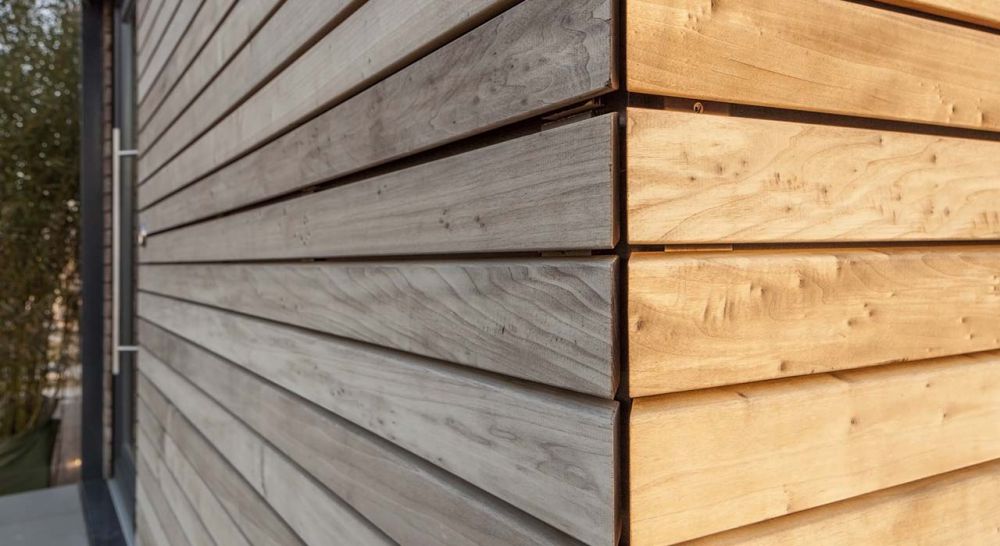
Metal planks are placed on oblique larch planks with an extension of 1 cm or more beyond the edge. When everything is laid and fitted, it is necessary to fasten the product with at least a couple of self-tapping screws. It is easier to fix the facade board with an open method. Then the screws are screwed in from the front surface. This method is also more reliable than the closed method. There are no situations where such an attachment would be destroyed. First, a pair of boards are attached to each other at a 90 degree angle, and then they are placed on the corner of the wall.
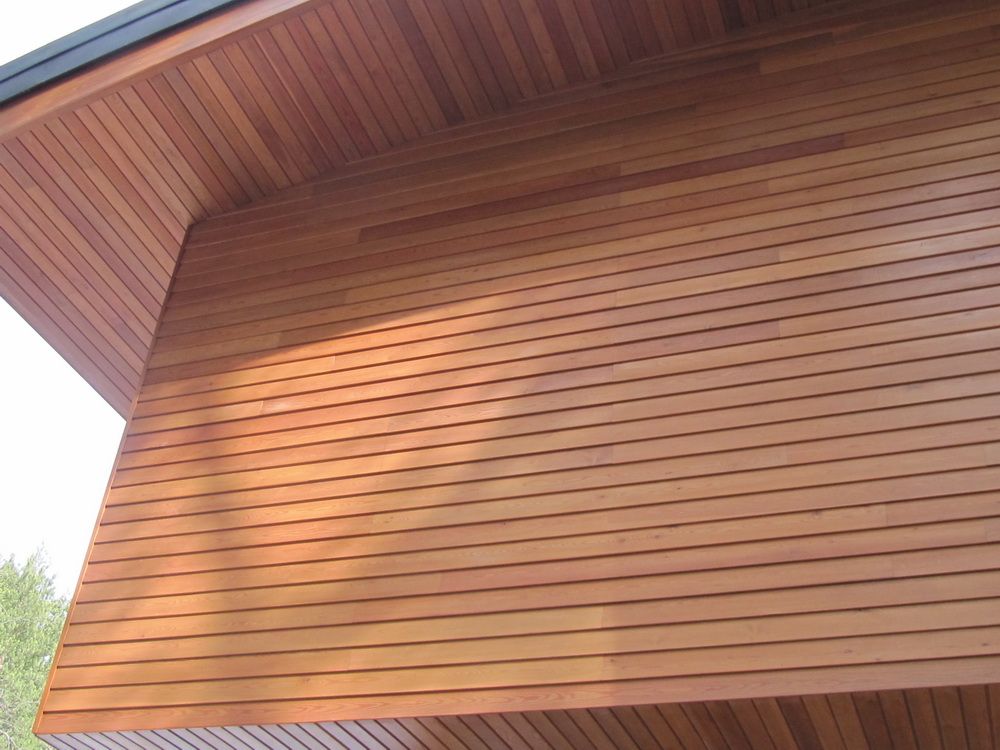
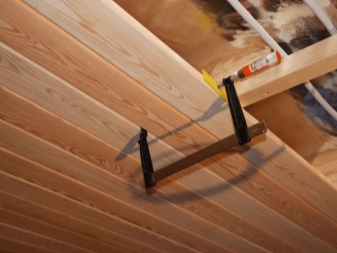
The plank can also be fixed to the ceiling. In this case, the lathing is created from timber bars, the step of which is approximately 50 cm. The thickness of the timber is selected individually. In the overwhelming majority of cases, constructions with a cross section of 5x5 cm are used. As well as on a wall, fastening is carried out according to an open or closed scheme. The open method is bad because the ceiling looks ugly. This is typical even if technological standards are observed. It is often practiced to drill recesses for drowning self-tapping screws, followed by masking with wood plugs or putty. But it is much better to choose a closed method to simplify the work. Inside buildings use fasteners of the "Wave" type.
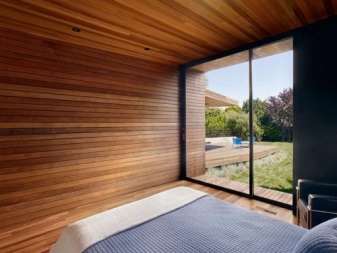
Planking facades: advantages and disadvantages
Summarizing the information about Planken presented in the article, for the sake of objectivity and completeness of presentation, it is worth highlighting not only the positive qualities of this material, but also its problematic characteristics. The main disadvantages include the following:
- High price. And not only for lumber, but also for fasteners. and the latter are needed in large quantities. To save money by making it yourself is also not an option, since the parts require perfectly even dimensions, which cannot be created without special equipment.
- The peculiarities of the planken installation cannot provide full protection of the heat-insulating material from moisture and ultraviolet radiation, therefore additional protection or expensive insulation is required.
- Such facade coating does not provide significant additional thermal insulation for the building.
Planken facade decoration has many advantages
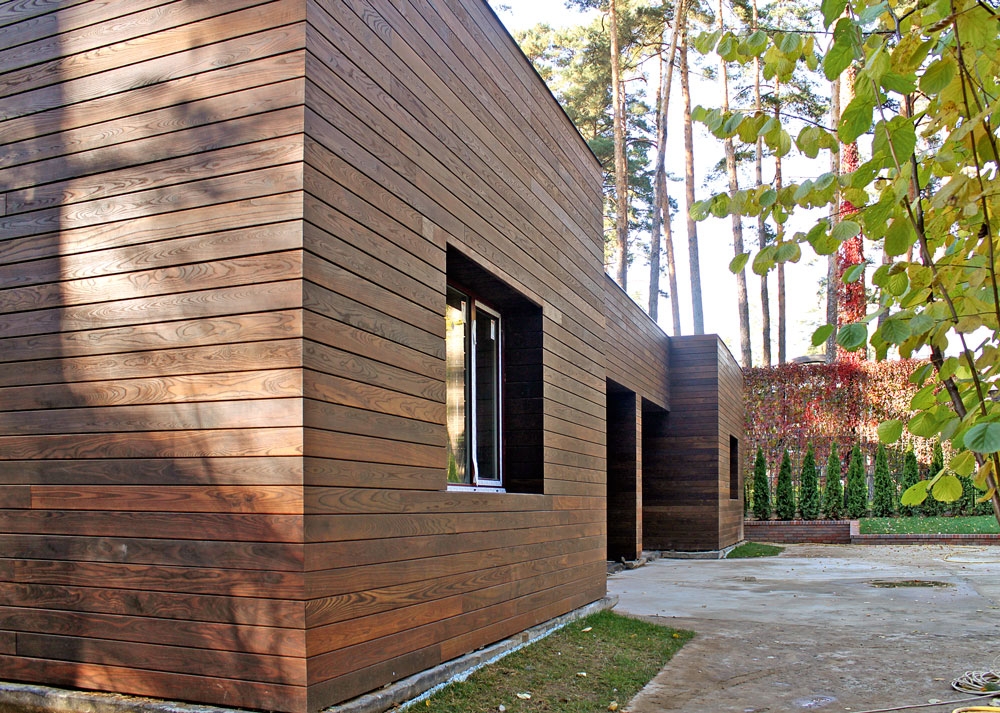
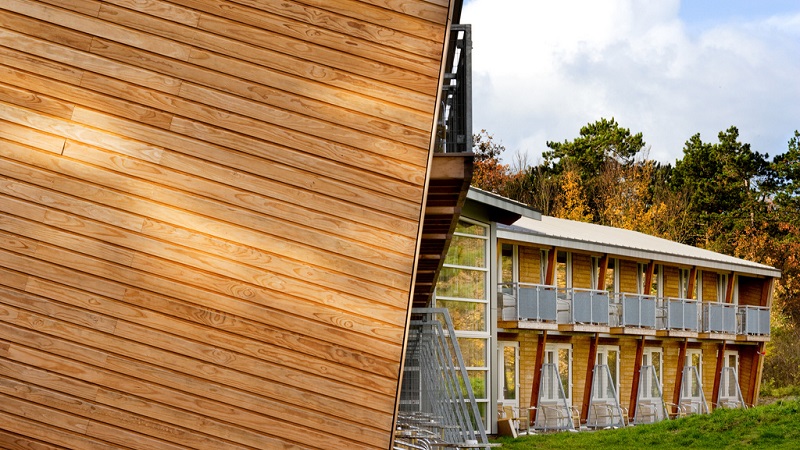
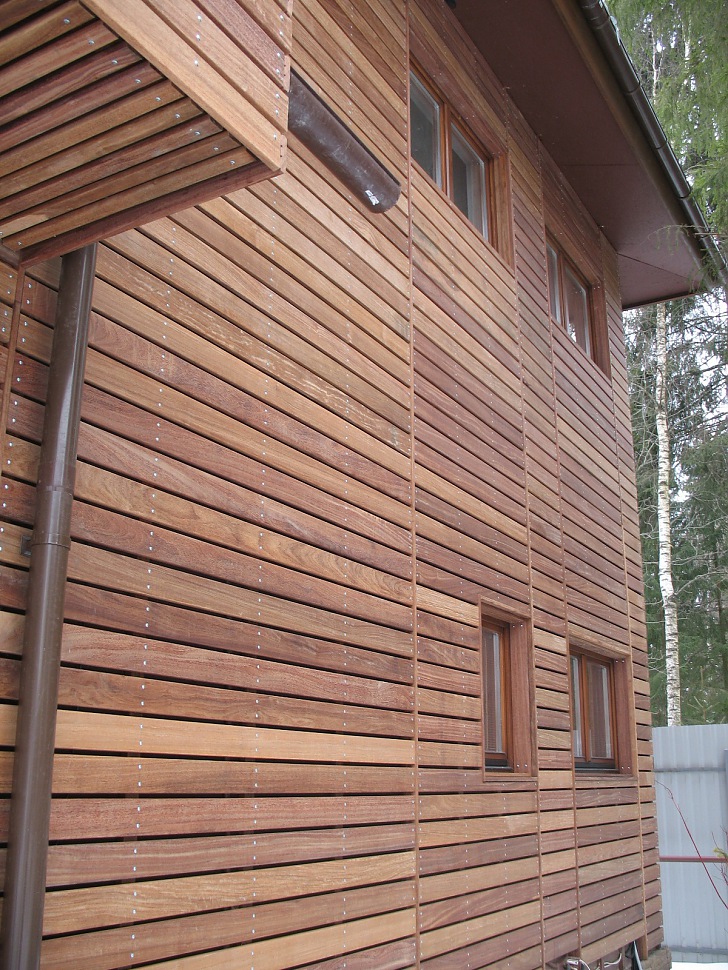
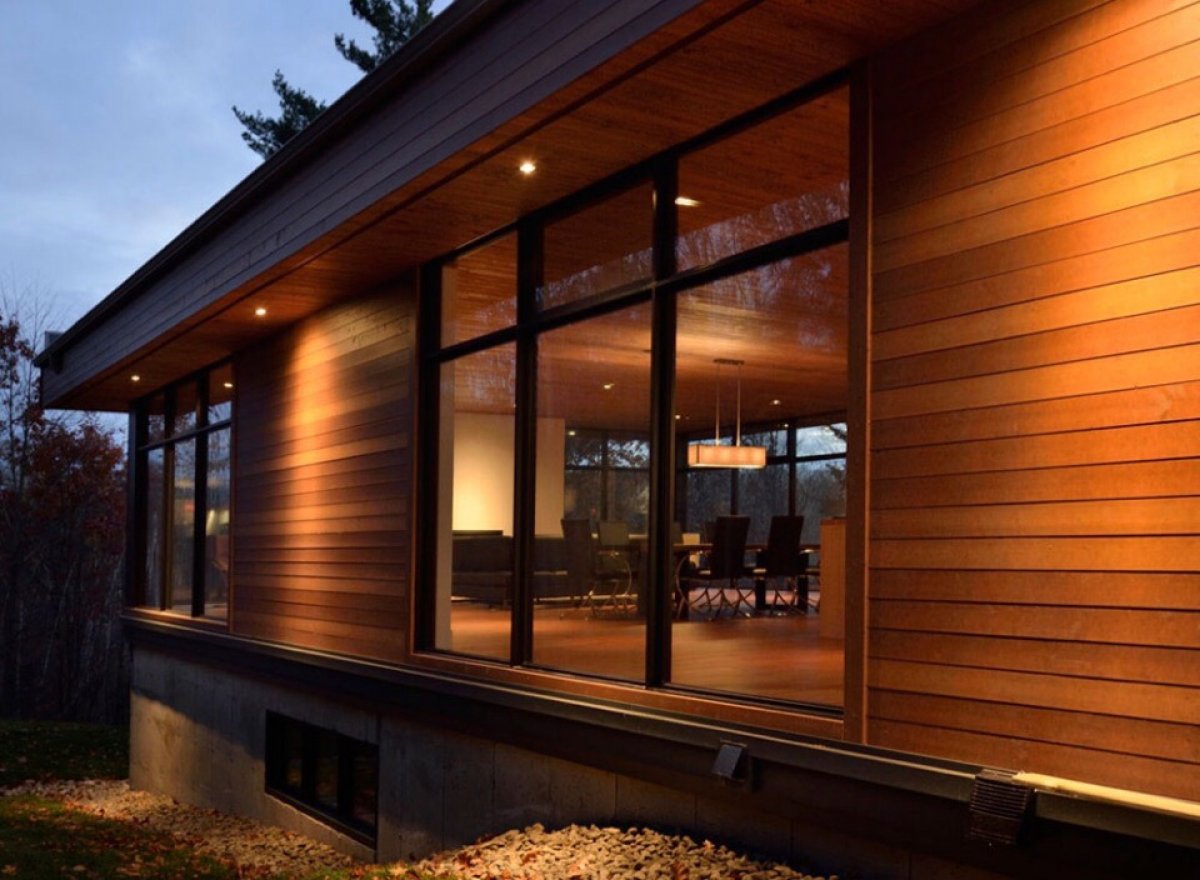
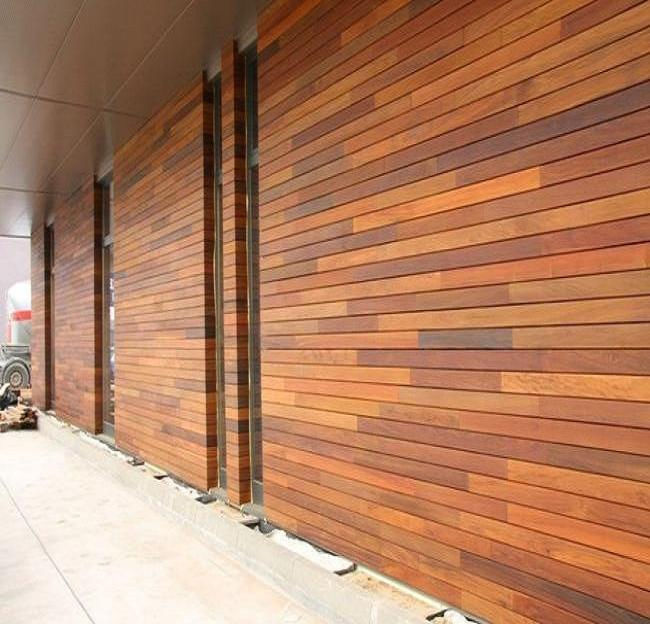
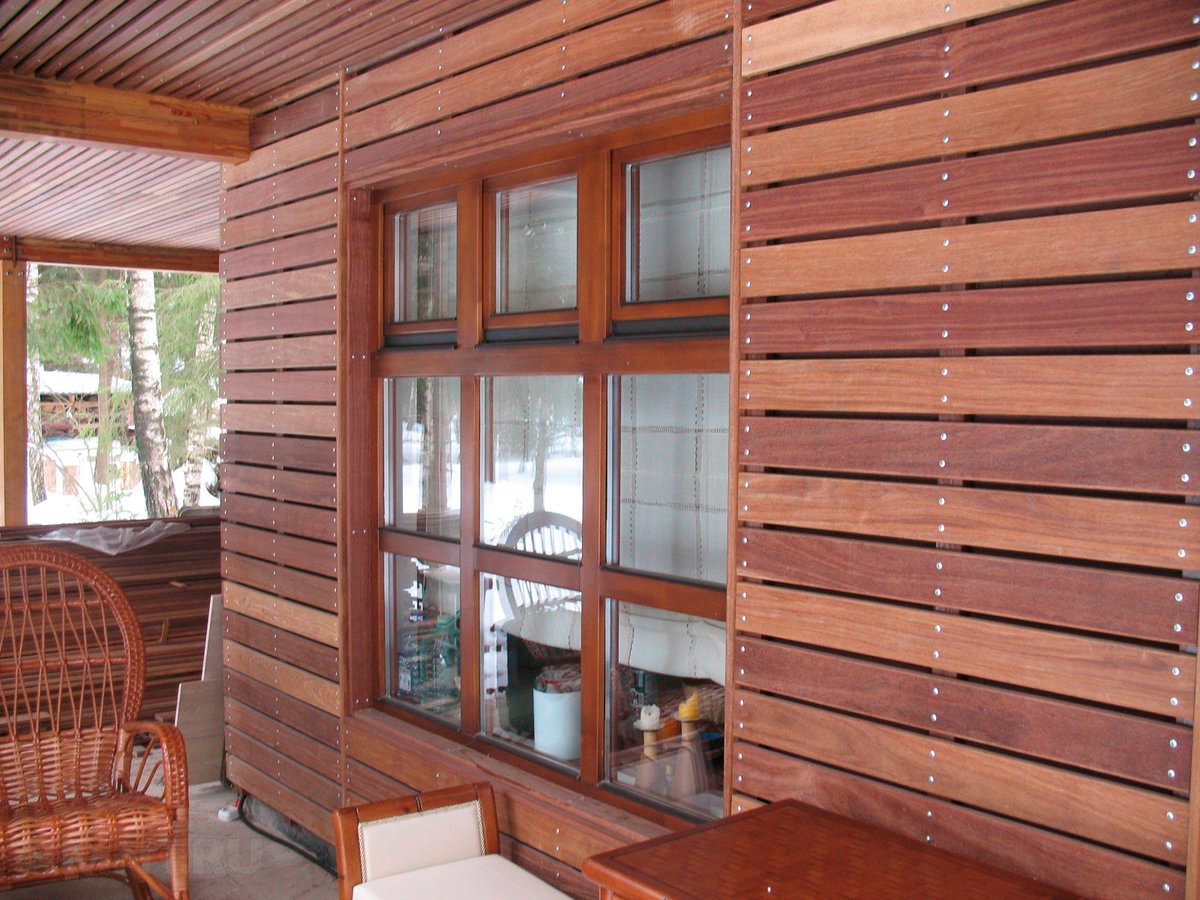
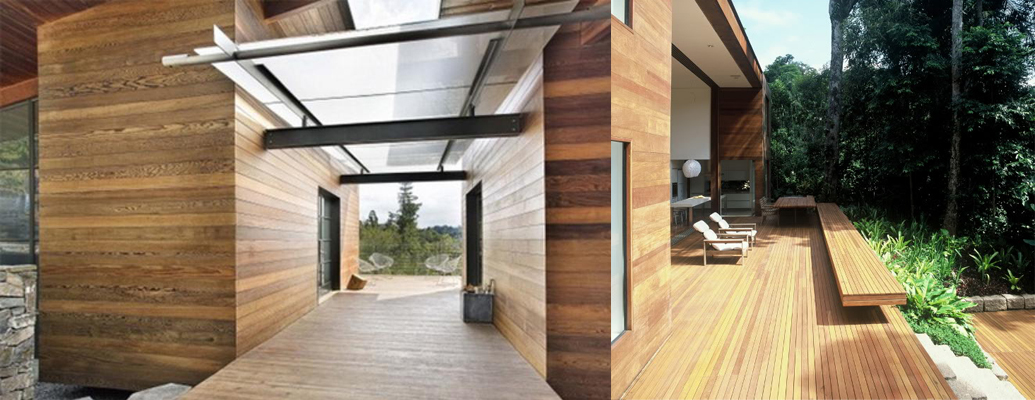
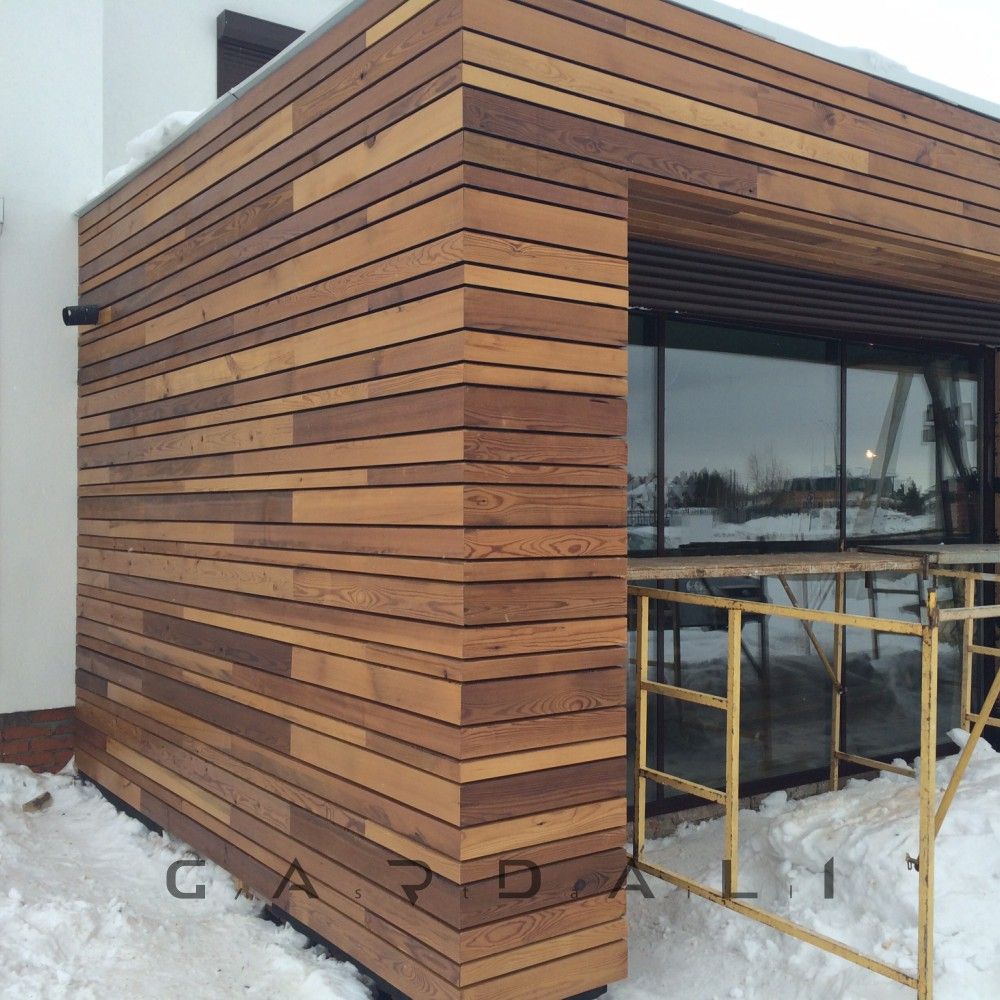
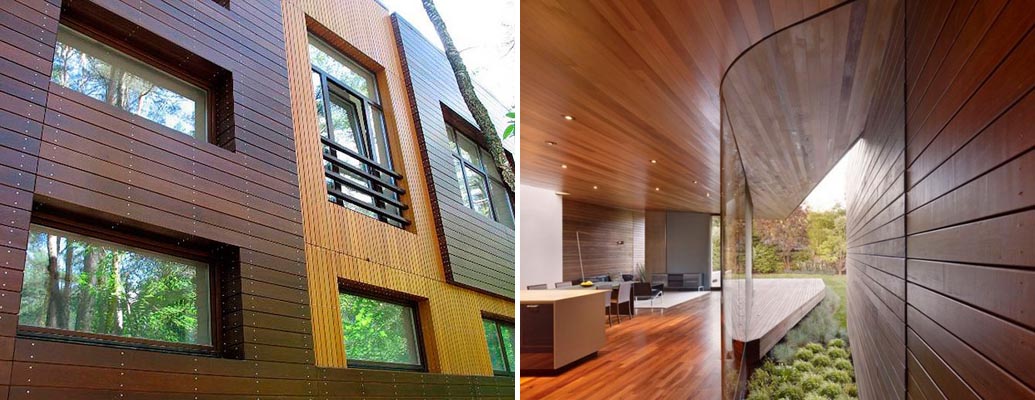
The disadvantages are certainly significant. However, looking at photos of facades with planken facades made of larch, oak and even cheaper pine on the Internet, I want to omit the problems and concentrate on the merits. And this material has a lot of them:
- planken with any method of installation provides the maximum possible ventilation, which helps to maintain the safety of the facing layer, insulation and the structure as a whole;
- the absence of grooves and pockets, where moisture can accumulate, significantly extends the service life of the boards;
- features of the fastening method make it easy to change damaged plank elements;
- all of the above advantages ensure the shelf life of the facades for 15-40 years;
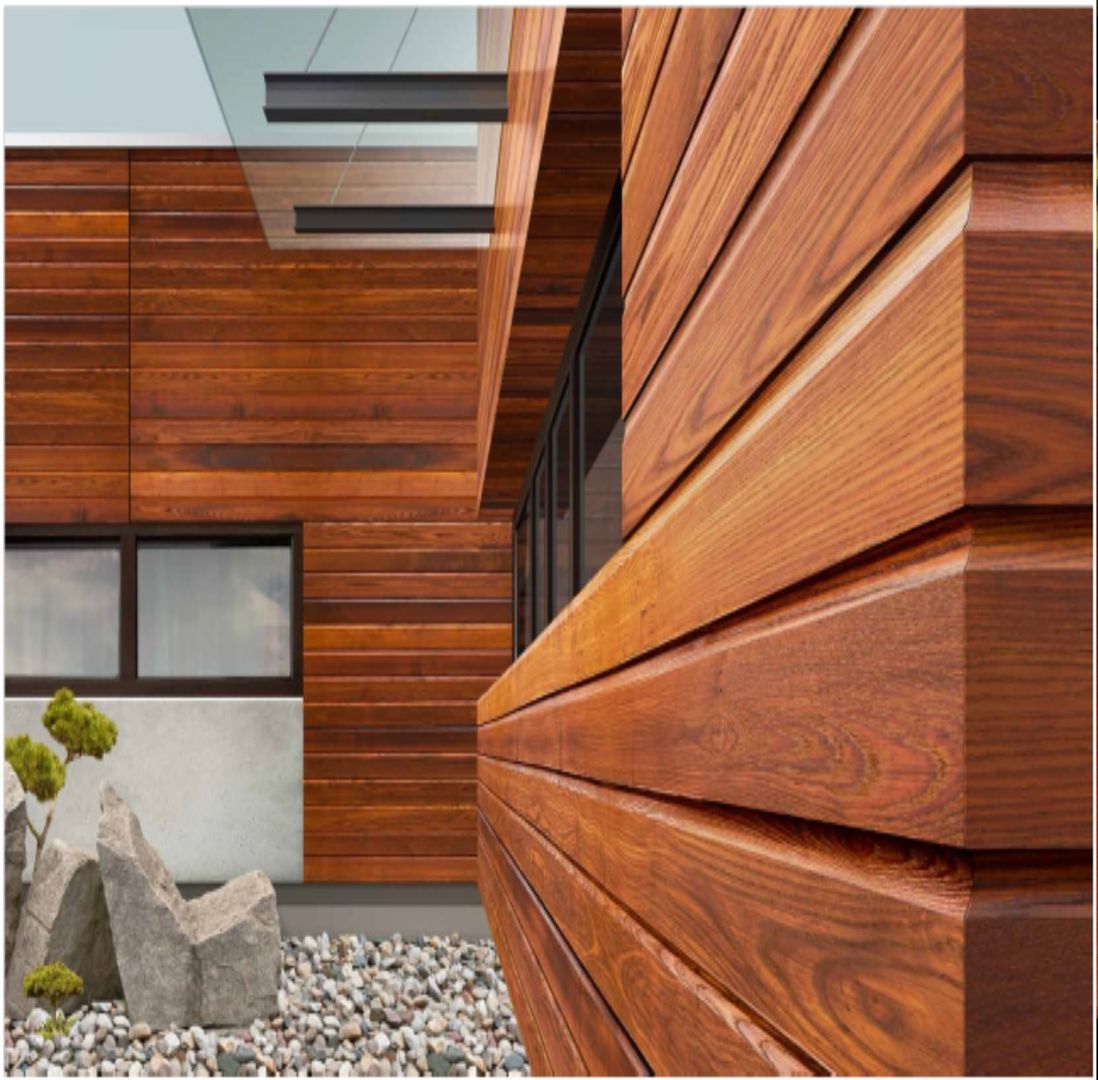
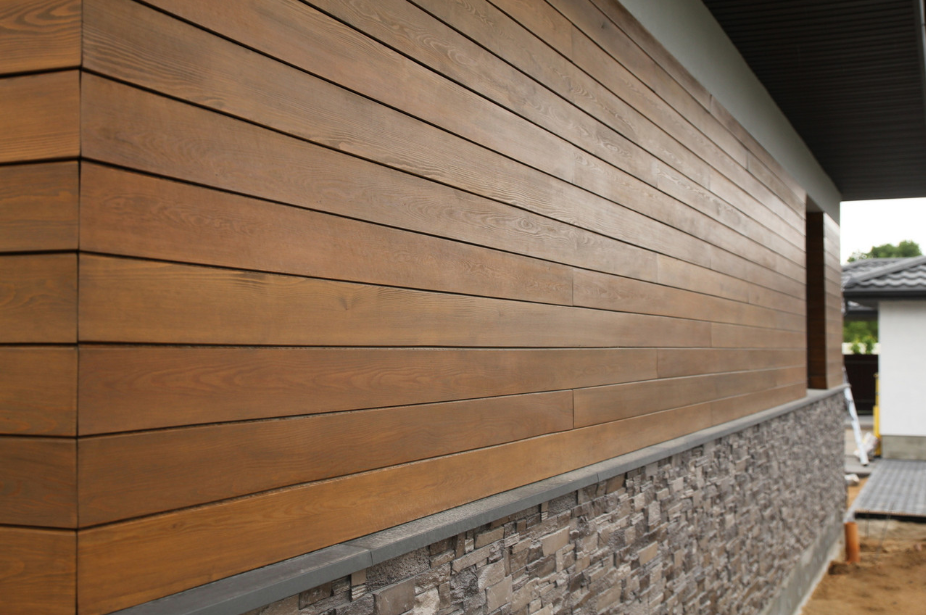
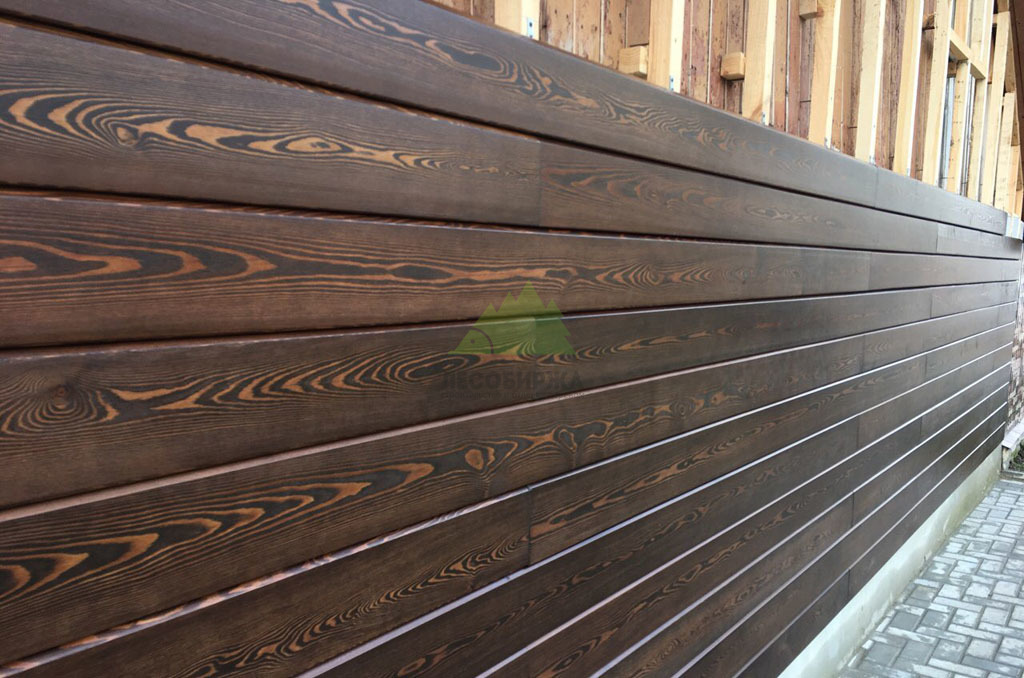
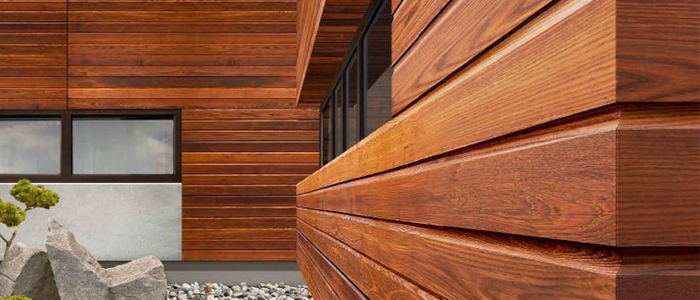
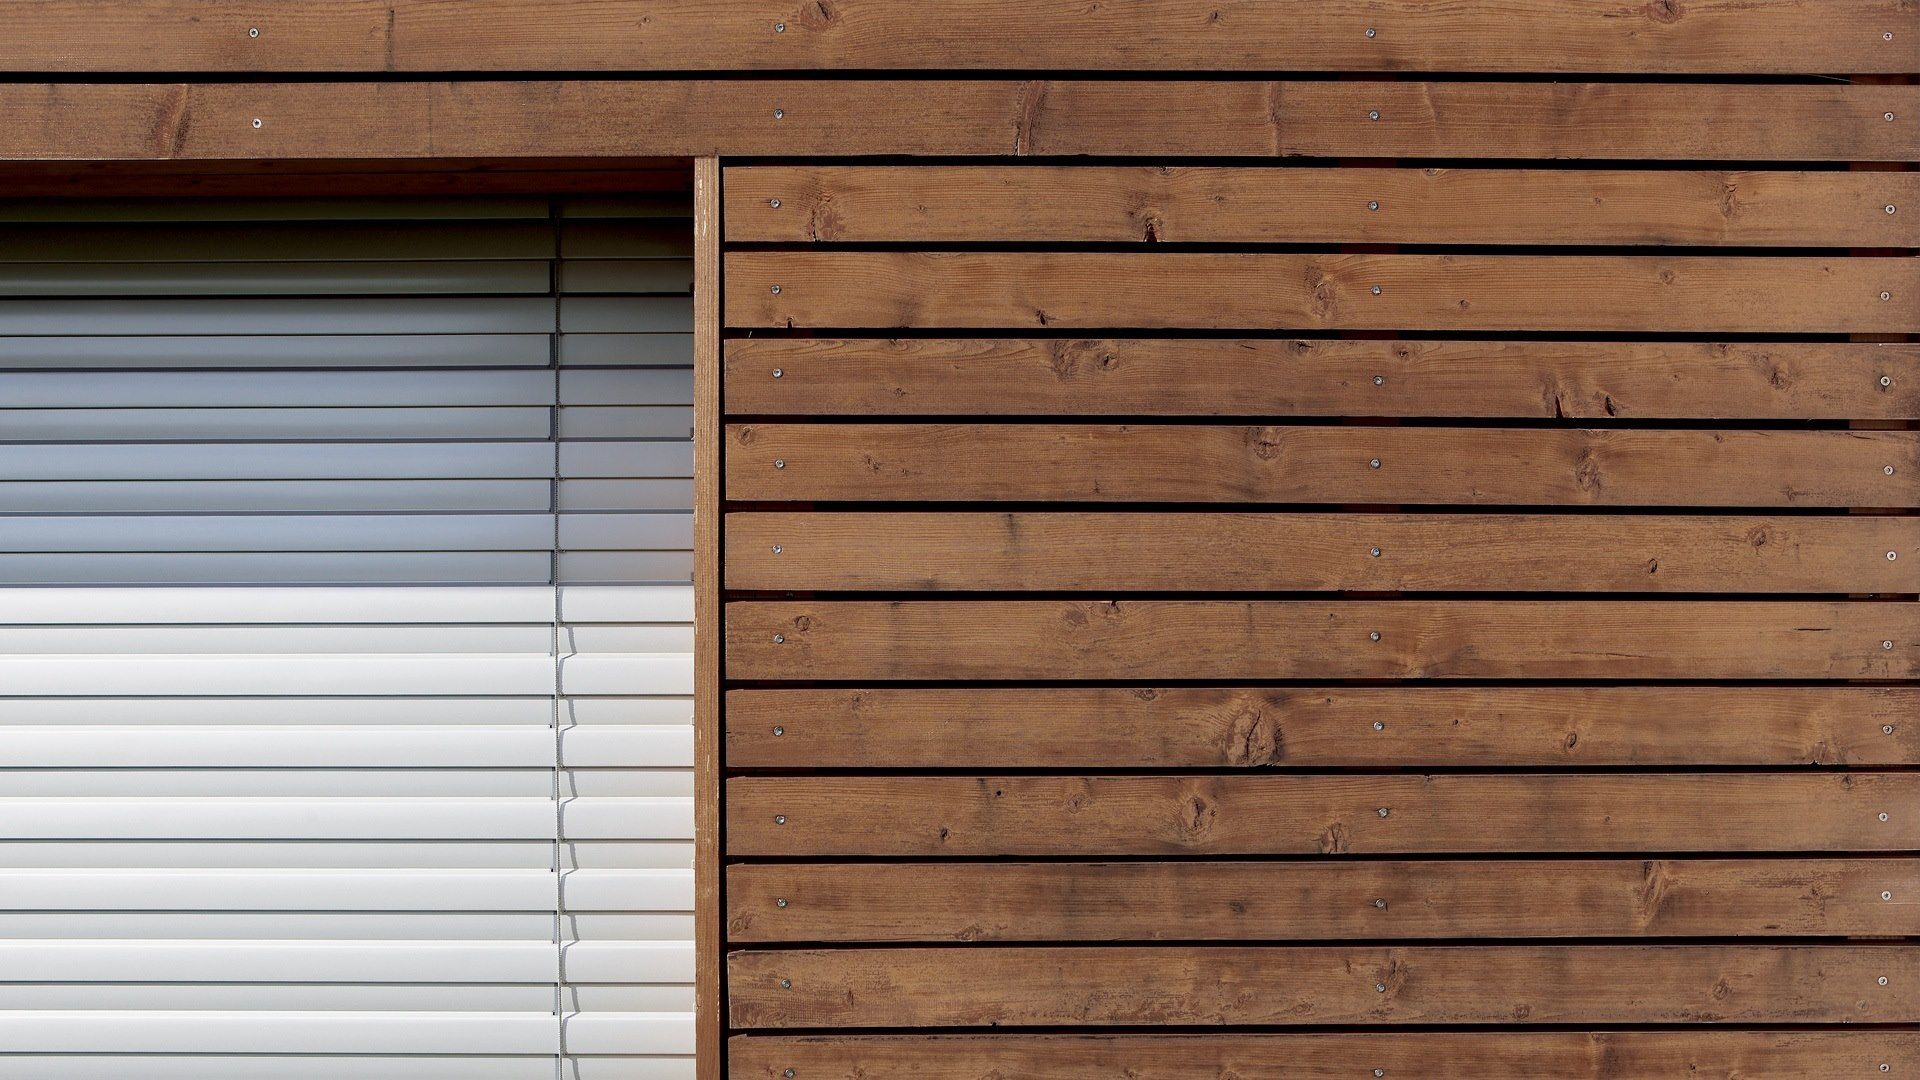
- the gaps, which must be between the planks, add contour to the structure, make it visually larger and more voluminous.
With all types of stability, density indicators, wood remains a living, natural material. And only with proper observance of processing technologies, taking into account the specifics of installation and choosing the appropriate fasteners, you can achieve maximum aesthetics and ensure the durability of the exterior of the house.
Features and Benefits
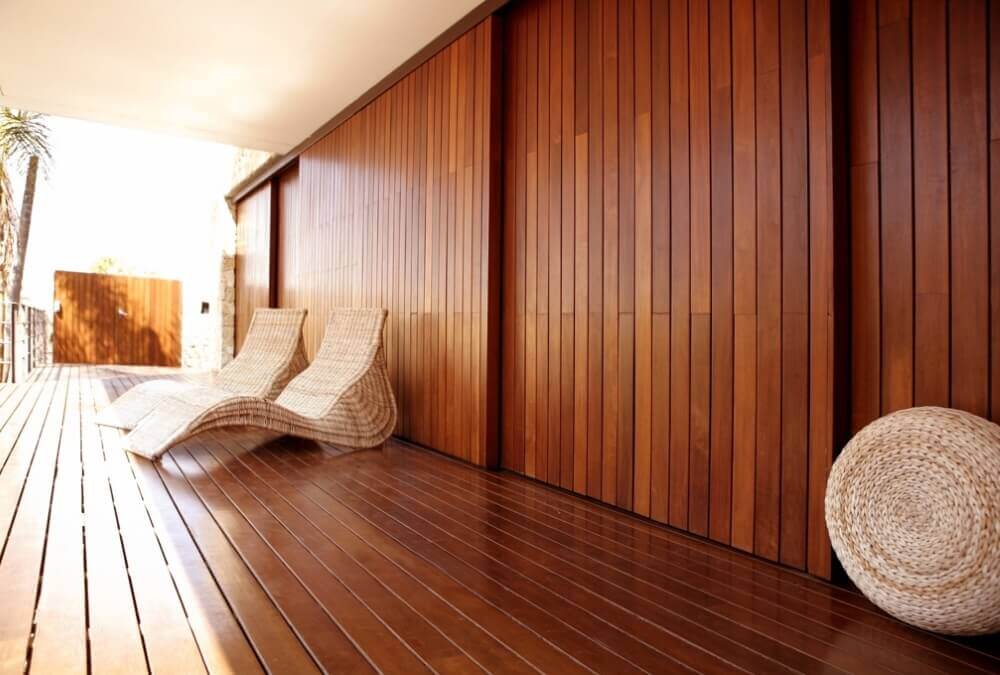
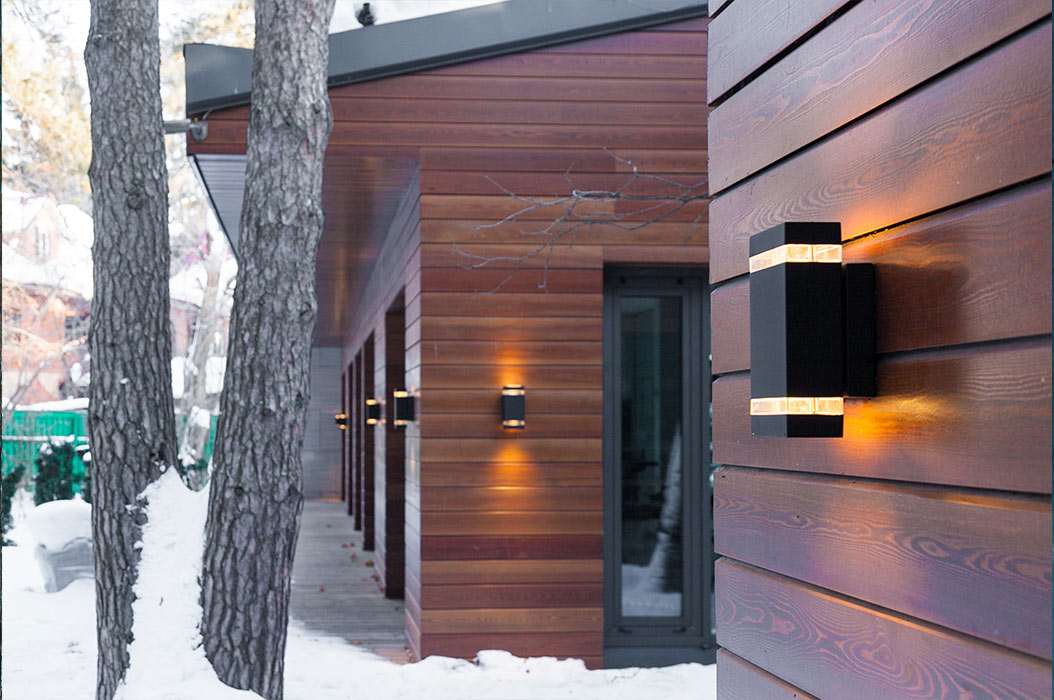
So what is planken? It is an environmentally friendly building material used both for outdoor work - for cladding facades and building fences, and for interior - for finishing walls, ceilings, floors and even furniture.
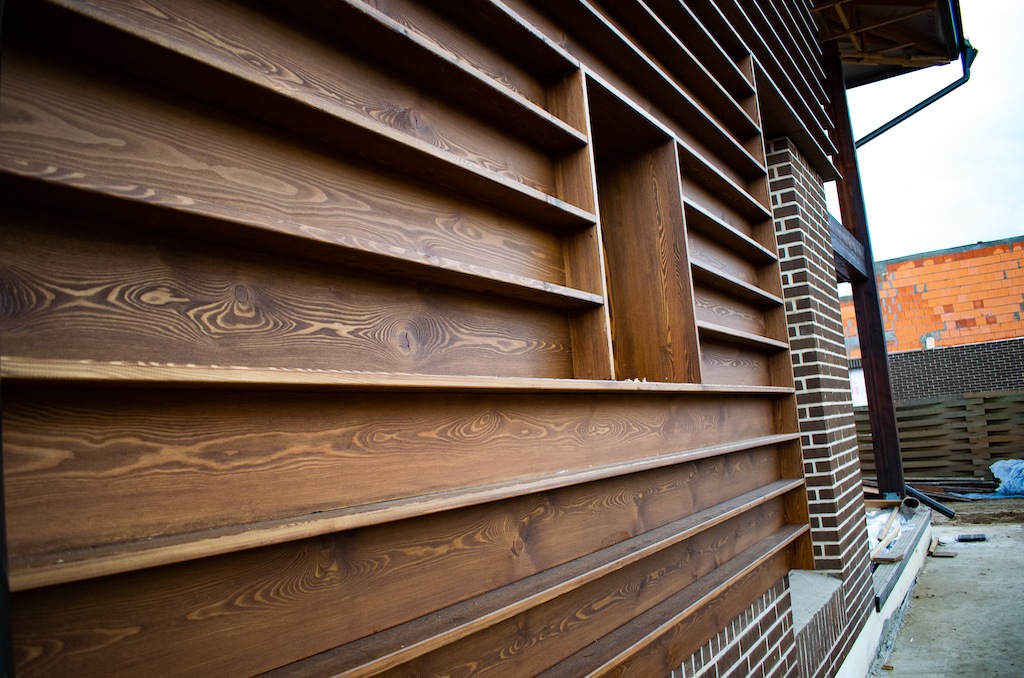
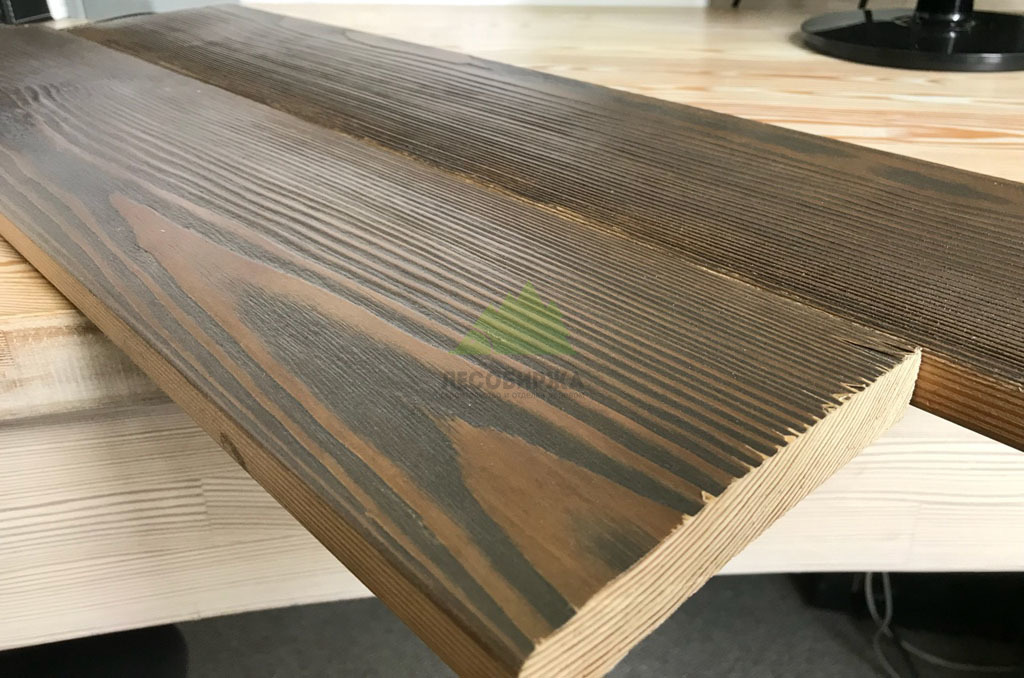
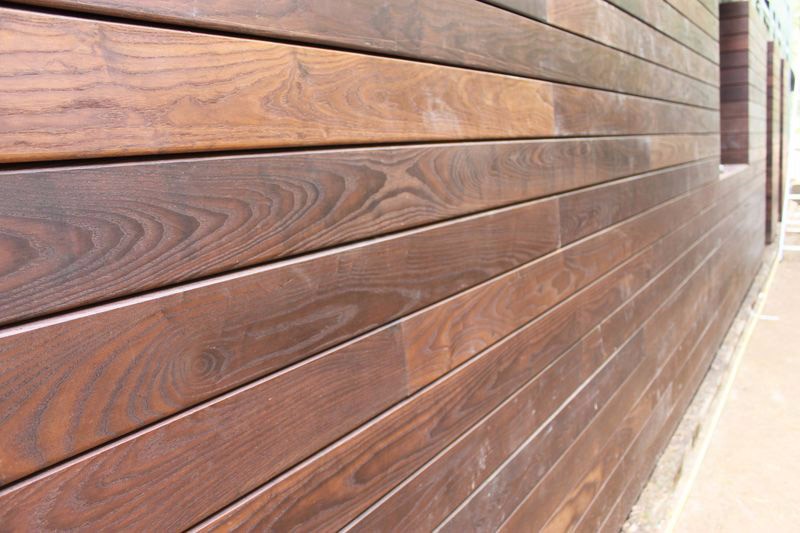
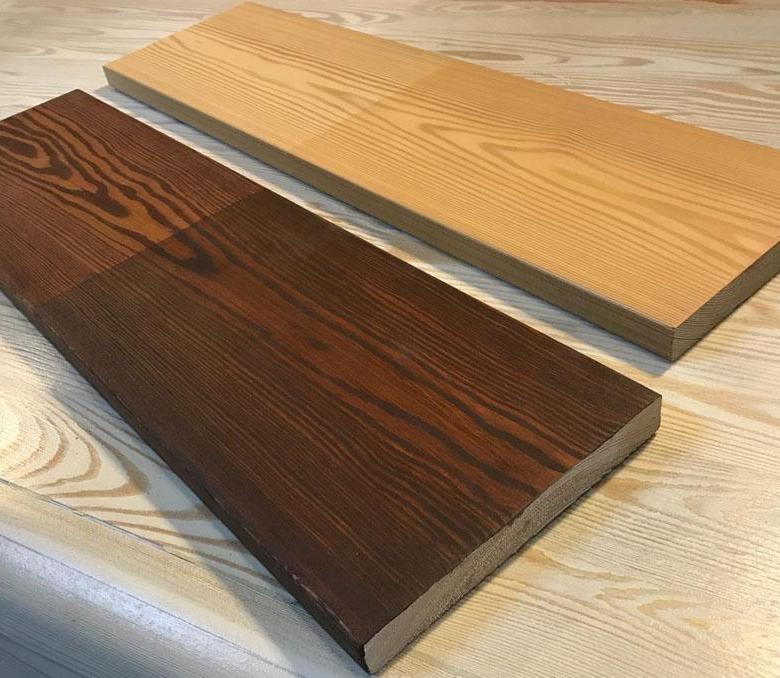
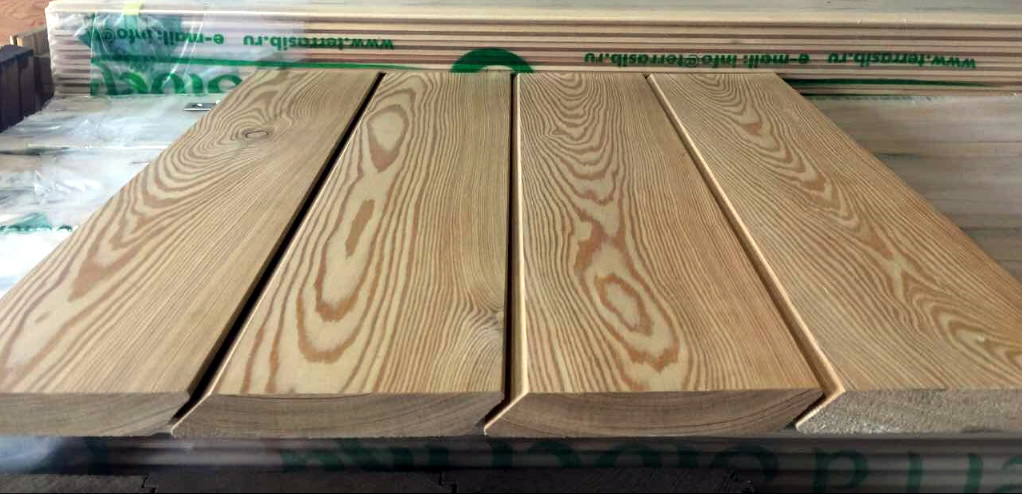
Planken is a finishing material made of natural wood. It is carefully sanded on all sides and treated with special compounds to increase its service life. The planken size range is represented by boards with a thickness of 1.2 to 2 cm, a width of 7 to 14 cm and a length of up to 200 cm.
Planken advantages in finishing works:
- Durability - thanks to the use of only natural selected wood.
- Durability - the use of special compounds for processing wood increases its resistance to fire, moisture, ultraviolet light, mold and mildew.
- Resistance to any atmospheric phenomena - the features of the installation allow you to withstand winds and sudden changes in temperature.
- Ease of installation - there is no need to hire professionals or use special equipment for installation work.
- The ability to hide façade imperfections - there is no need for careful preparation of old walls for installation.
- Safety - completely natural and environmentally friendly material, in which there are no harmful impurities.
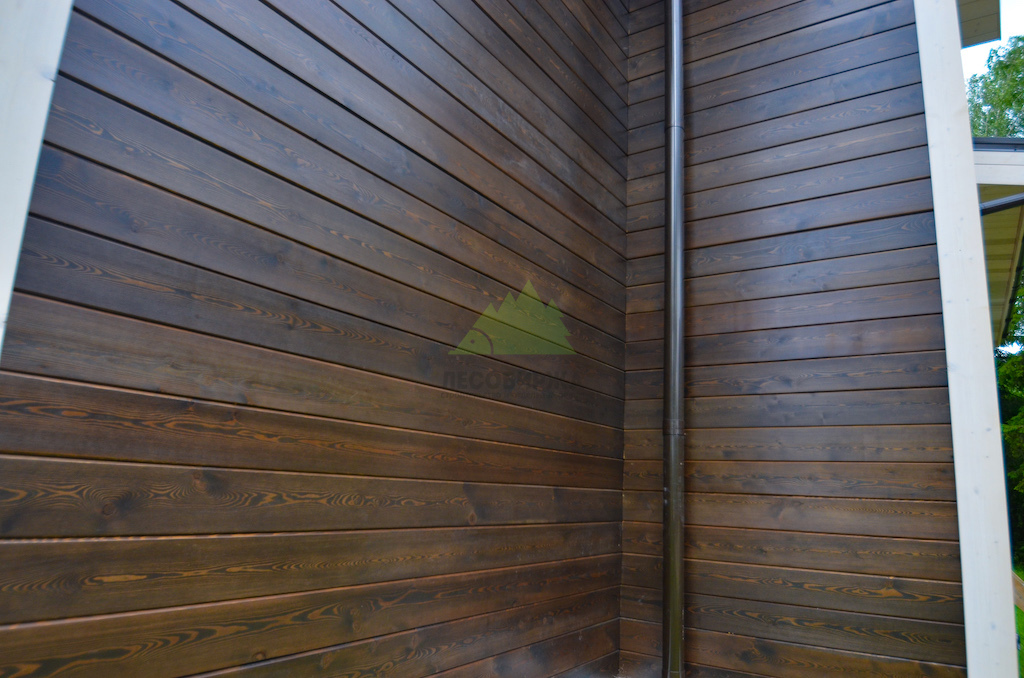
- Aesthetics - a perfectly smooth board with a velvet surface will add luxury and sophistication to an interior or exterior. A variety of shades and natural wood texture will allow you to create not just a planken facade, but an original design project.
Planken has many varieties depending on the material from which it is made, as well as the design of the board itself. Therefore, its use gives many applications in interior design and facade decoration.
Types of cladding installation
Snake
The type of fastener has a second name - "duet". With the help of details, the walls are clad with panels with beveled edges. Perforated metal strips are placed on the back side of the plank so that the boards of the aligned panels are adjacent to each other relative to the vertical axis of the marking.
From the back of the cladding, the vertical row of fasteners looks like a snake. The height of the plates must exceed the width of the boards by at least 30 mm.With a panel width of up to 110 mm, fasteners with a length of 145 mm are used, and over 110 mm, strips with a height of 190 mm are used. All parts are manufactured in a standard width of 15 mm.
Step-by-step instructions for installing a beveled planken
- Vertical racks made of timber with a section of 40x40 mm or 50x50 mm are attached to the wall. Fasten the crate with metal corners to the wall with dowels, to the timber - with screws.
- At the corners of the building, the timber of adjacent walls adjoins each other. The racks are installed with a step of 1.5–3 m. At the joints of the ends of the panels, two racks are placed at a distance of 20–30 cm.
- At the bottom, along the perimeter of the house, a horizontal belt from a bar is fixed. The markings for the installation of structures are made using a laser level.
- The snake strips are screwed onto the back of the facing boards with a screwdriver in accordance with the marking of the vertical racks of the crate.
- Installation begins with the second row of panels. The plank is mounted so that it rests tightly on the belt made of a bar, leading the lower end of the plank behind the back of the horizontal belt. The upper projection of the plate through the hole is fastened with a screw to the rack of the lathing.
- In the same way, the subsequent rows of cladding are mounted to the very top of the facade. The joining seams of the finish in accordance with the uprights should be located at a distance of 0.5 m.
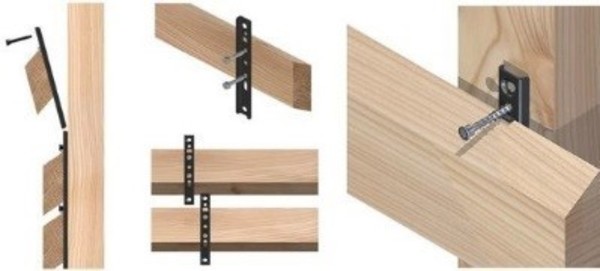
- The corner ends of the panels are cut at an angle of 45˚. The ends are treated with a special impregnation before the panels are installed.
- Dismantle the horizontal belt from the bar by unscrewing the screws.
- Install the bottom row of cladding. The underside of the boards is attached to the racks with planfix corners.
Planfix
A metal corner with two holes for nails (self-tapping screws) and a spike serves as a fastening element for a straight planken.
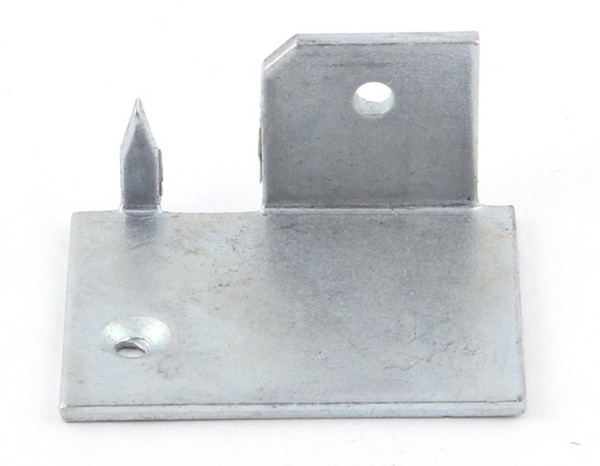
Installation of straight planken with planfix
- Install vertical racks from a bar of 50x50 mm.
- Make markings on the racks with a laser level.
- On the sides of the racks, the corners of the planfix are nailed or screwed so that the spike of the second shelf of the fastener is facing up.
- Each row of boards is attached to the horizontal side of the corner through the hole with a self-tapping screw.
- The following panels are tamped with a rubber mallet on the planfix spikes.
- Then self-tapping screws are screwed in with a screwdriver through the holes in the corners.
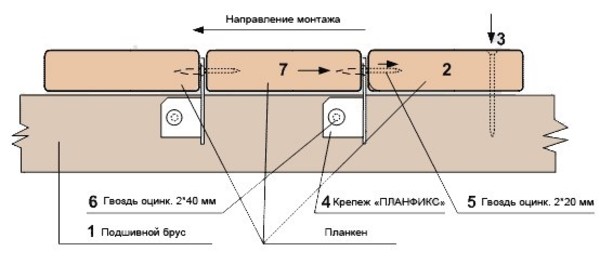
In the same way, the plank is mounted on the floor and ceiling. The fasteners allow you to use a timber with a section of 20x20 mm as a lathing. The gap between the panels is 2–3 mm, which is quite enough for ventilation of the interior decoration space.
Bridge and crab
The clamps are made of galvanized iron. Fasteners are intended for cladding facades and surfaces of internal fences of a house or apartment. Mounting parts serve as fasteners for planken with longitudinal side slots.
Bridge
The bridge is characterized by the presence of 2 arcuate supports and a support platform that fits into the grooves of adjacent panels. Through the hole in its center, a self-tapping screw is screwed into the vertical rack of the crate. The platform with its edges goes into the depth of the groove by 7 mm, leaving the mounting hole free.
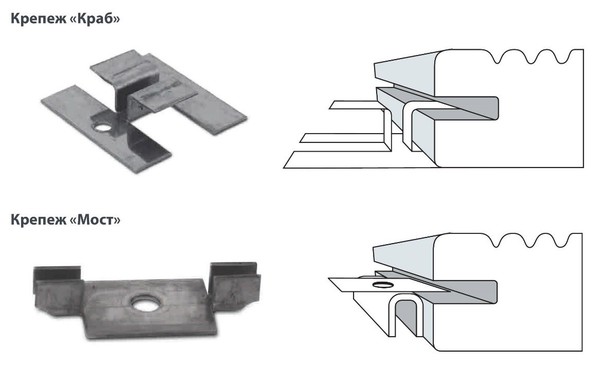
Crab
The latch with this name has two platforms with mounting holes. Between them are two L-shaped lapels. The platforms are attached to the rack, and the lapels are inserted into the grooves of the panels.
Step-by-step instructions for cladding the facade with planken
Let's analyze the step-by-step instructions for installing the planken.
Tools and materials
Materials required
- Fasteners
- Planken
- Bars 50x50 for lathing or metal profile guides.
- Antiseptic
Of the tools you need:
- Screwdriver
- Jigsaw
- Laser and hydraulic level
Frame installation
The frame is a familiar crate for everyone. A similar design is made for attaching drywall. Guides are installed with a step of 60 cm, on which the board will then be attached.
Separately, it is worth discussing the material of the guides. It is more environmentally friendly, of course, to use wood. But for the facade there is not much difference in the ecology of the material. But there are differences in corrosion processes.Wood deteriorates faster, so it is better to give preference to metal guides.
When using battens for lathing, they must be treated with an antiseptic.
Material fastening methods
There are two mounting methods:
- Open. This is how a straight planken is most often attached. For open fastening, decorative nails are used, which are hammered into planken along one line. How beautiful it is - everyone decides for himself.
- Hidden way. This method involves the use of hidden fasteners. The most commonly used fastener is a snake. To replace a board laid in a hidden way, you will have to disassemble the entire facade that lies above the point of damage. There are no such problems for an open way of laying.
Planken mounting
Let's analyze the hidden installation of the planken.
- In place of the future first row of the board, a 50x50 prus is installed. This yurus will support the second row and will allow you to beautifully and evenly mount the facade.
- 4 snakes are attached to the board, two on each side. The upper snakes are attached to the crate with self-tapping screws. The lower ones remain in limbo for now. As a result of fastening, it turns out that the upper fasteners are a small rail with a hole for a self-tapping screw, and the lower ones are wedges for insertion into the board of the lower row
- The third row is attached in the same way as the second.
- After installing the entire facade, a bar is removed from the first row and a board is attached to its place.
Planken mounting
Planken cannot be called a real revelation in the field of finishing materials. The same lining is cheaper and exists for a much longer period of time, which means it has been tested over the years. Nevertheless, the material has the right to life. Qualitatively processed boards look quite impressive, especially in connection with the ever-increasing fashion for environmentally friendly and natural materials.
Fasteners for planken
- Concealed fastener snake for plank is a strip specially designed for plank installation, with which it is possible to install facade boards taking into account the gap. Thanks to the use of a perforated snake bar, the gap will always be the same size. The snake is fastened from the back of the board, and then the plank with the plank is installed on the crate.
- Fasteners for planken planfix have an L-shape, made in the form of a plate, thanks to which it is possible to mount planken with a thickness of more than 18 mm, this is facilitated by the presence of a thorn. Planfix is considered a hidden fastener, due to this, a perfectly flat plane of the outer wall is obtained. Its advantage also lies in the fact that installation with the participation of planfix is very simple.
- Self-tapping screws for planken are used either from stainless steel or with an anti-corrosion coating. This is to ensure that metal fasteners do not oxidize in a humid environment and do not leave black marks on the planken. Otherwise, the facade will lose its attractiveness.
Making planken with your own hands
In an equipped home workshop, you can make planken not only for your own needs, but also for sale. This requires the following equipment:
- milling machine;
- thickness gauge;
- a circular saw;
- accompanying hand tools.
Stages of planken production
- Edged boards are dismissed with a circular saw lengthwise, obtaining blanks of the required width.
- End cutting of future panels is performed. Docking ends are cut at right angles, and corner joints are made at an angle of 45˚.
- Depending on the type of edges of the finish, adjust the milling cutter of the machine.
- The planken faces are milled at right angles or with a 45˚ bevel. To cut the side grooves, a special cutter is installed.
- The resulting lumber is passed through a thickness gauge.
- Additionally, the front surface and side edges are cleaned with an emery wheel.
- Homemade planken is heat treated, impregnated with antiseptics with fire retardants, painted or varnished.
- For interior decoration, panels can be blanched.
Homemade cladding will cost less than planken purchased from a hardware store.
Beautiful and practical material for facades
In fact, planken is a facade board, for the processing of which modern technologies and equipment are used, which ensures the high quality of this material.
In many of its properties, it is close to such finishing products as lining or block-house, but it is a fundamentally different product of the woodworking industry, which differs from its "relatives" both in appearance and in the way of installation.
In terms of strength characteristics, planken is very close to a deck or terrace board, it is highly resistant to negative natural factors, thanks to which it can be used not only for outdoor decoration, but also, for example, also for the construction of fences, gazebos and other structures in a suburban area.
Several types of wood are used for the production of planken, but the most popular are products from Siberian larch and pine, although on the market you can also find material for the manufacture of which exotic species were used.
Hardwood, for example, ash, is used less often, but only after special heat treatment, which provides the necessary strength. The most widely used material is made from larch, but planken from pine is also used, most often it is used for interior decoration.
In order to improve the performance characteristics, the wood undergoes a special heat treatment: planken obtained from thermowood acquires additional strength and becomes less vulnerable to the effects of natural moisture and microorganisms.
And, despite the fact that coniferous wood, due to the presence of resins, has a certain resistance to moisture, a special composition is applied as an additional protection of the material, which also pursues decorative and aesthetic functions, as it allows you to emphasize the beauty of the wood pattern.
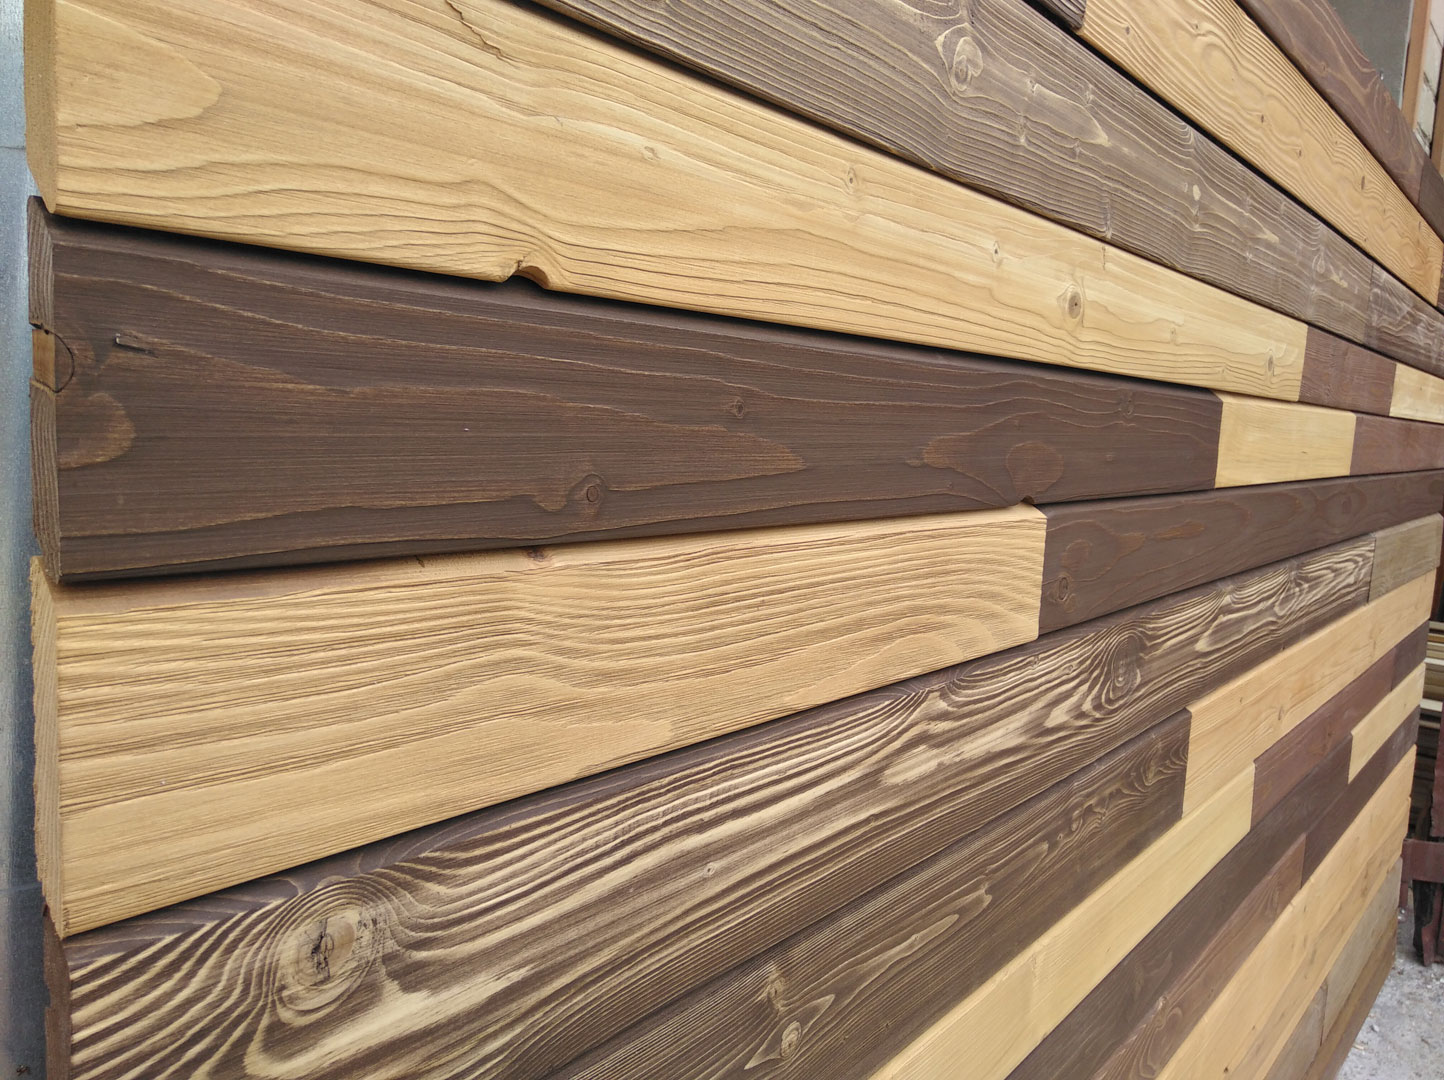
But, if a material of a certain color is required for the embodiment of an architectural or design idea, then you can buy a dyed planken.
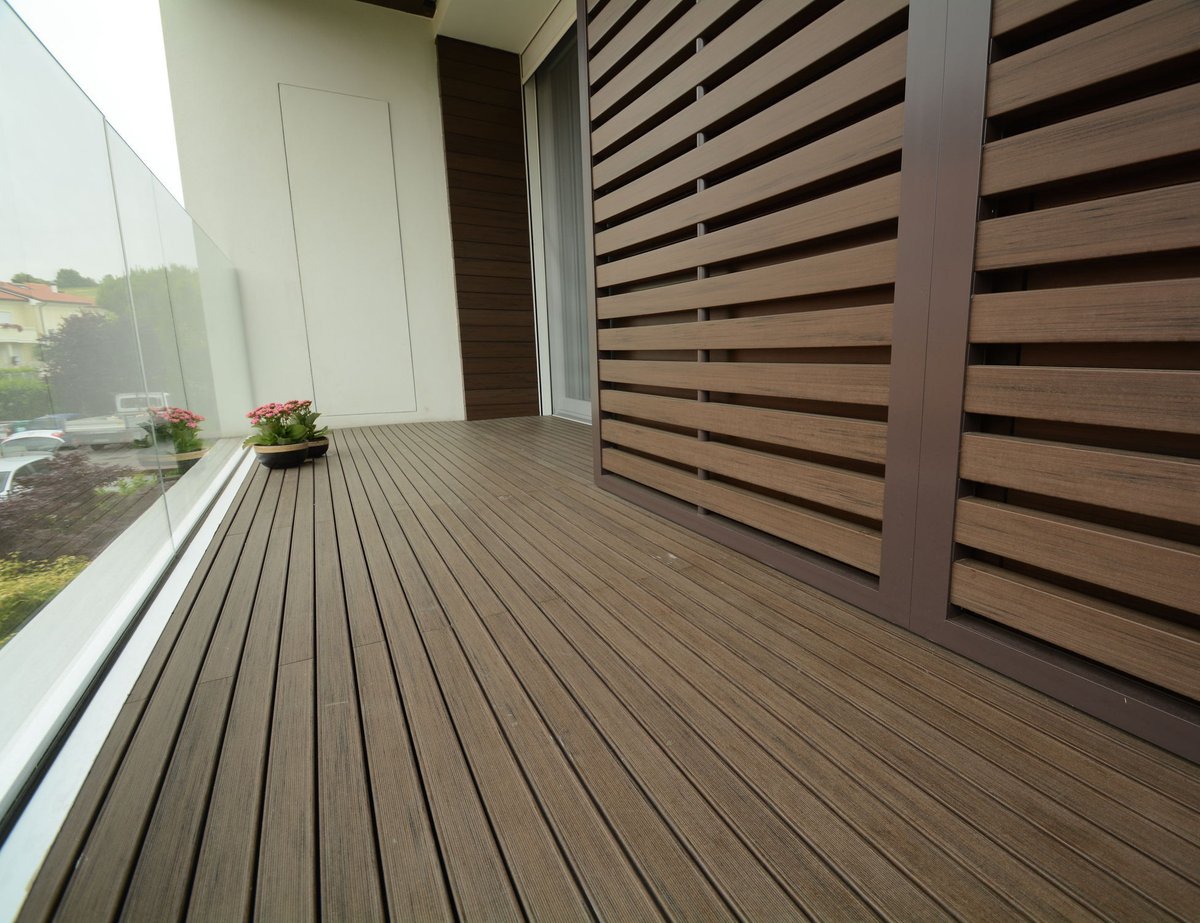
A separate type (or "competitor") of planken can be considered a wood-polymer composite (WPC), for the production of which wood chips and polymers are used. Differs in increased moisture and wear resistance and has dimensions similar to traditional planken.
Planken ventilated facade
Before proceeding with the finishing of the facade, it is necessary to prepare a frame for which a wooden bar is used, the thickness of which will be 2-5 mm higher than the thickness of the heat-insulating material (in the event that additional insulation of the house is planned).
Alternatively, you can make a counter lattice, which will provide the necessary ventilation.
The step should be chosen taking into account the width of the heat insulator, but, as a rule, it is between 400 and 600 mm. Be sure to take care of hydro and vapor protection - for this, a special membrane or plastic film is laid under and on top of the insulation.
It is important to take into account that if a closed mounting method is used, then when choosing the size of the metal strips, it is necessary to take into account the width of the board: for a plank with dimensions up to 110 mm, a fastener with a length of 145 mm should be used, for all others - 190 mm. The difficulty of using a closed fastening method is due to the fact that careful preparation is required:
The difficulty of using a closed fastening method is due to the fact that careful preparation is required:
Clinker tiles and bricks for the facade. What's better? - here is more useful information.
- first, all boards are laid out on a horizontal surface for installation in full height;
- further, the markings of the wall lathing are transferred to the laid-out planken;
- then the metal fasteners are laid out in compliance with the cross method, reminiscent of the letter X;
- it is necessary to provide the necessary protrusion of the fasteners outside the board by at least 10 mm - these are future clamps: the lower edge during installation is wound between the timber and the plank, and the upper edge is fastened to the frame with a self-tapping screw.
But if the work is carried out independently, then you can choose an open method for self-tapping screws, but it should be borne in mind that this fastener for planken should be made of stainless or galvanized metal - this will protect it from rust and keep the facade of the house a beautiful presentable look.
You will be interested in this article - Thermal insulation of facades. Insulation for the outside walls of the house.
But, regardless of the chosen installation method, the corners are finished in the same way, using planken boards pre-fastened to each other at right angles.
For mounting the plank, you can use other methods, for example, using an L-shaped metal plate - planfix
You should pay attention to this mounting option if a material with a thickness of 22 mm or more is selected for facade finishing
A characteristic feature of this method is the presence of thorns, with the help of which it is possible to obtain a solid monolithic finish for walls or other surfaces, while the installation process is carried out as quickly as possible.

