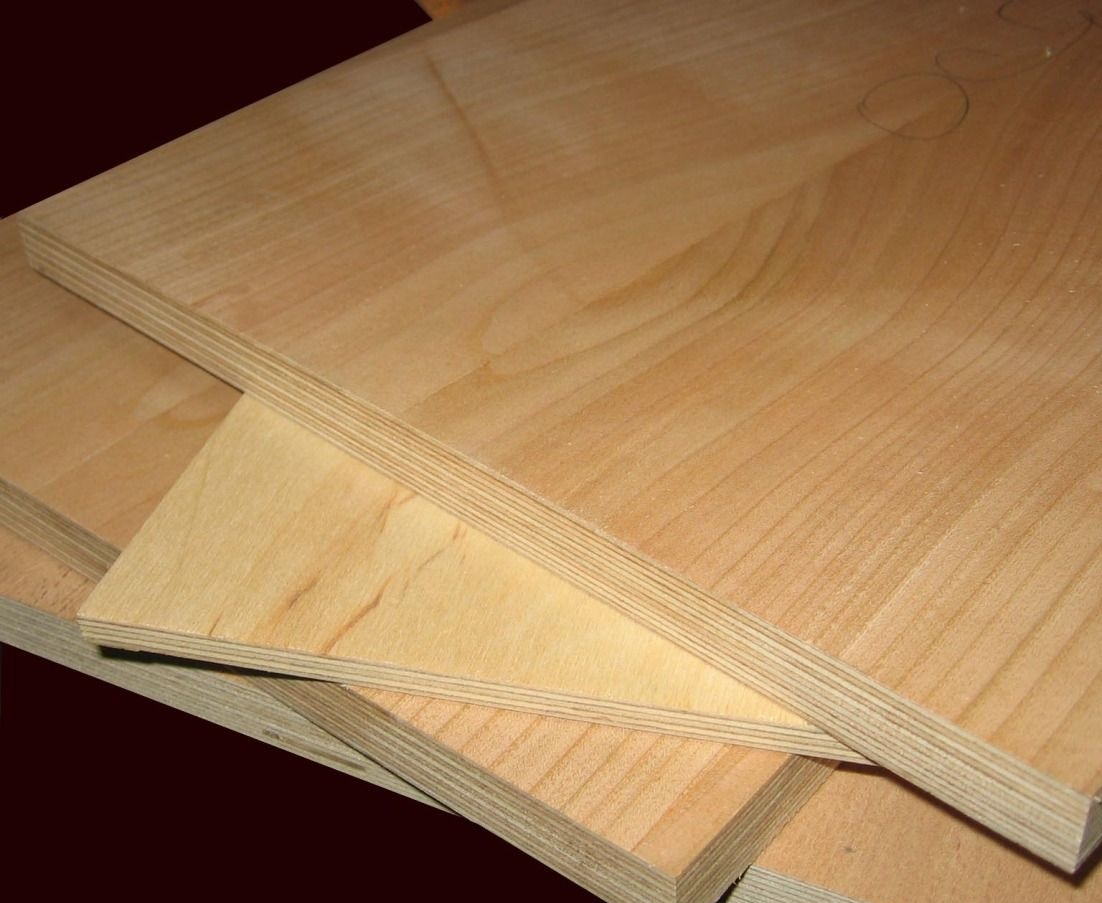
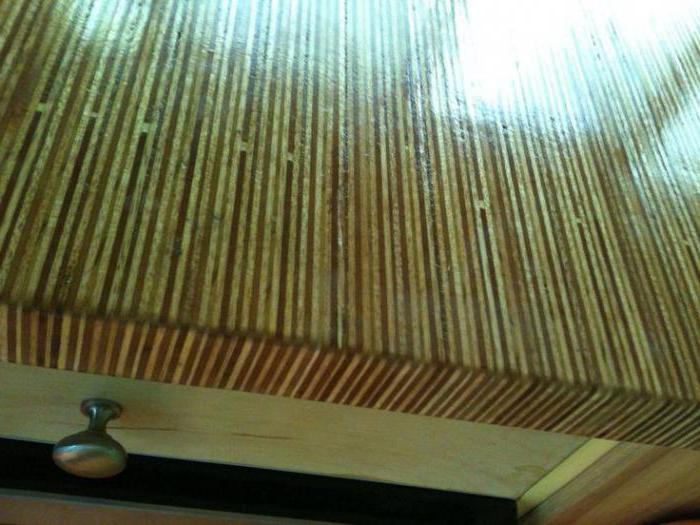
How is veneered MDF made?
The manufacture of such material is a rather laborious process, however, with the help of high-tech equipment and the skill of workers, excellent results are achieved. The factories use fully automatic mechanisms and high quality raw materials.
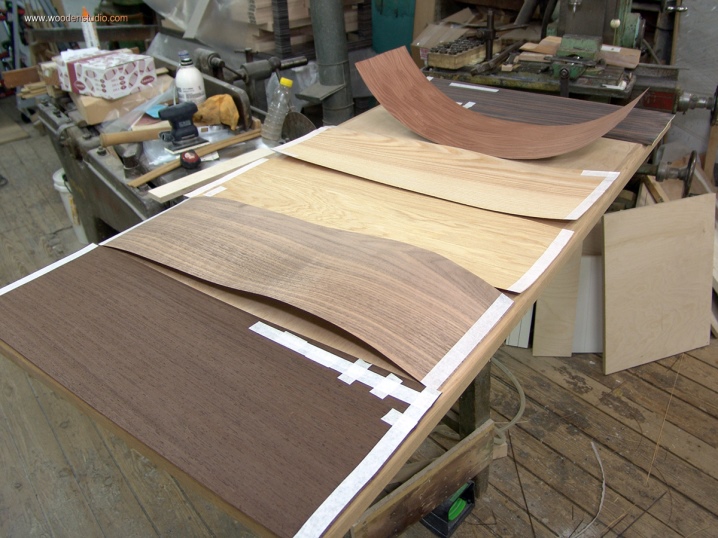
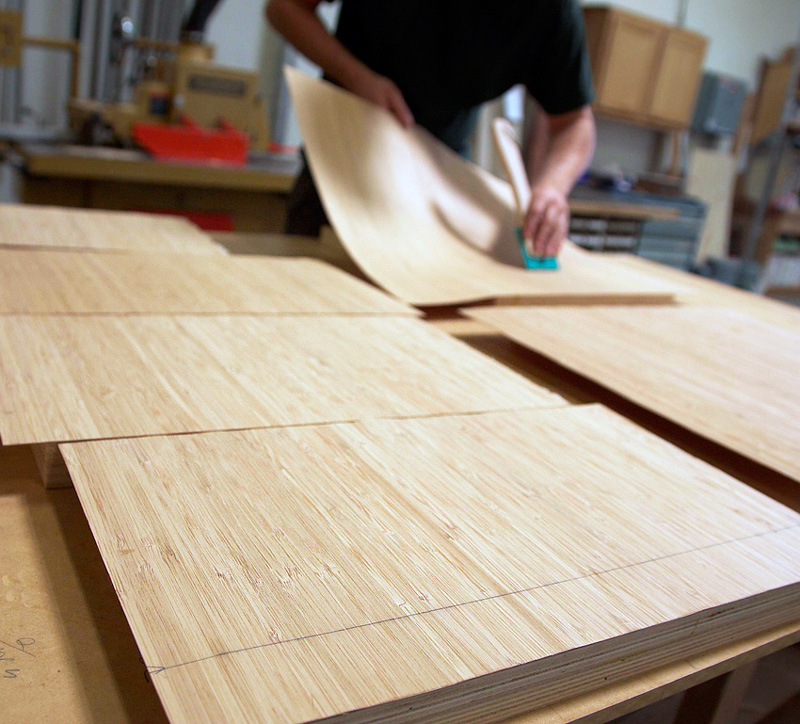
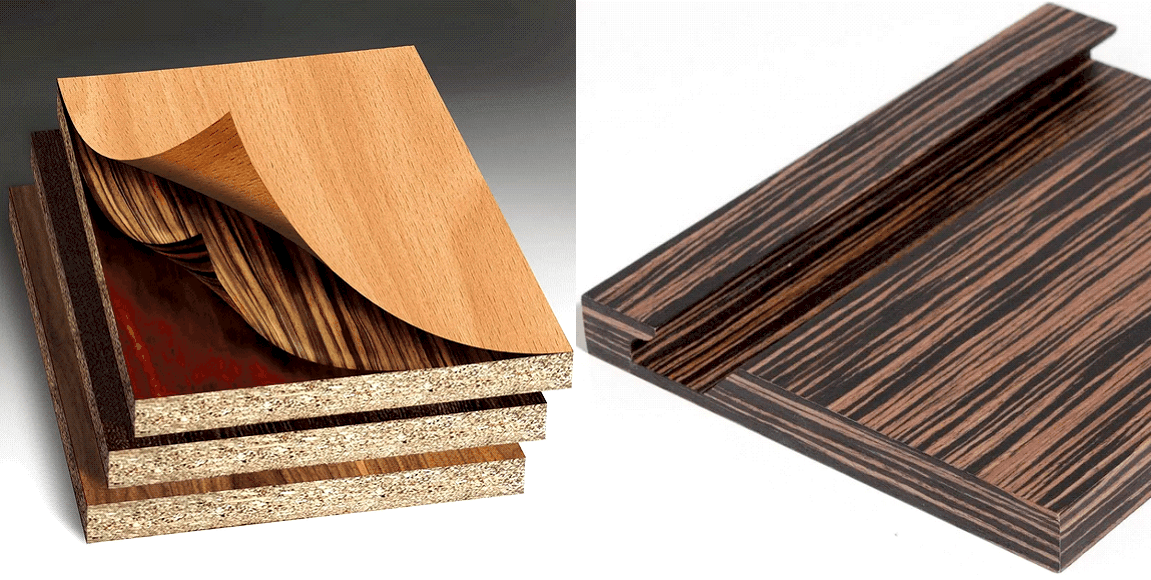
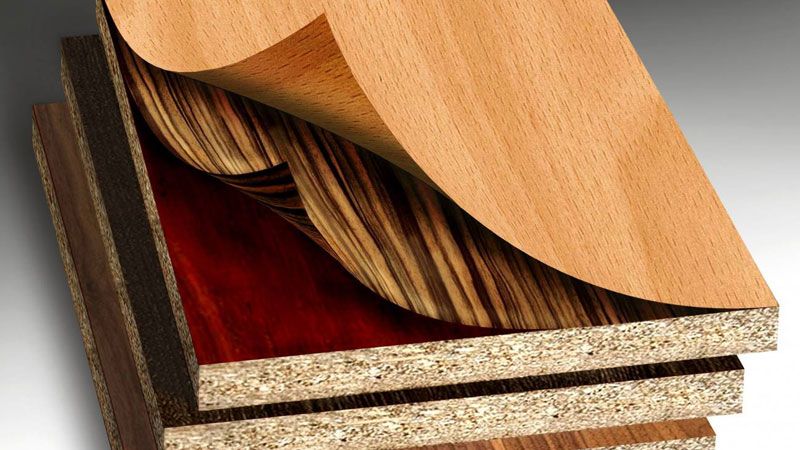
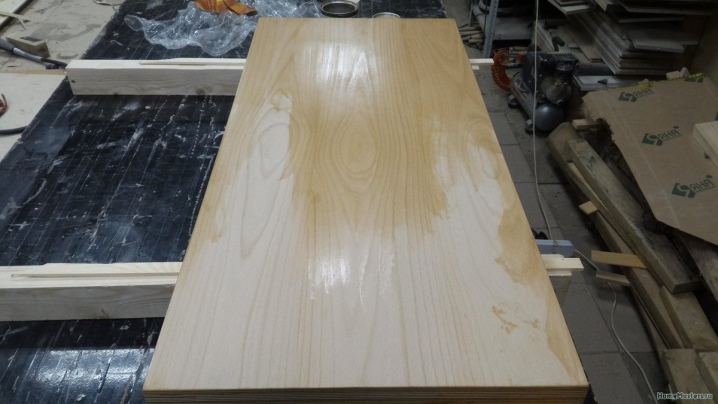
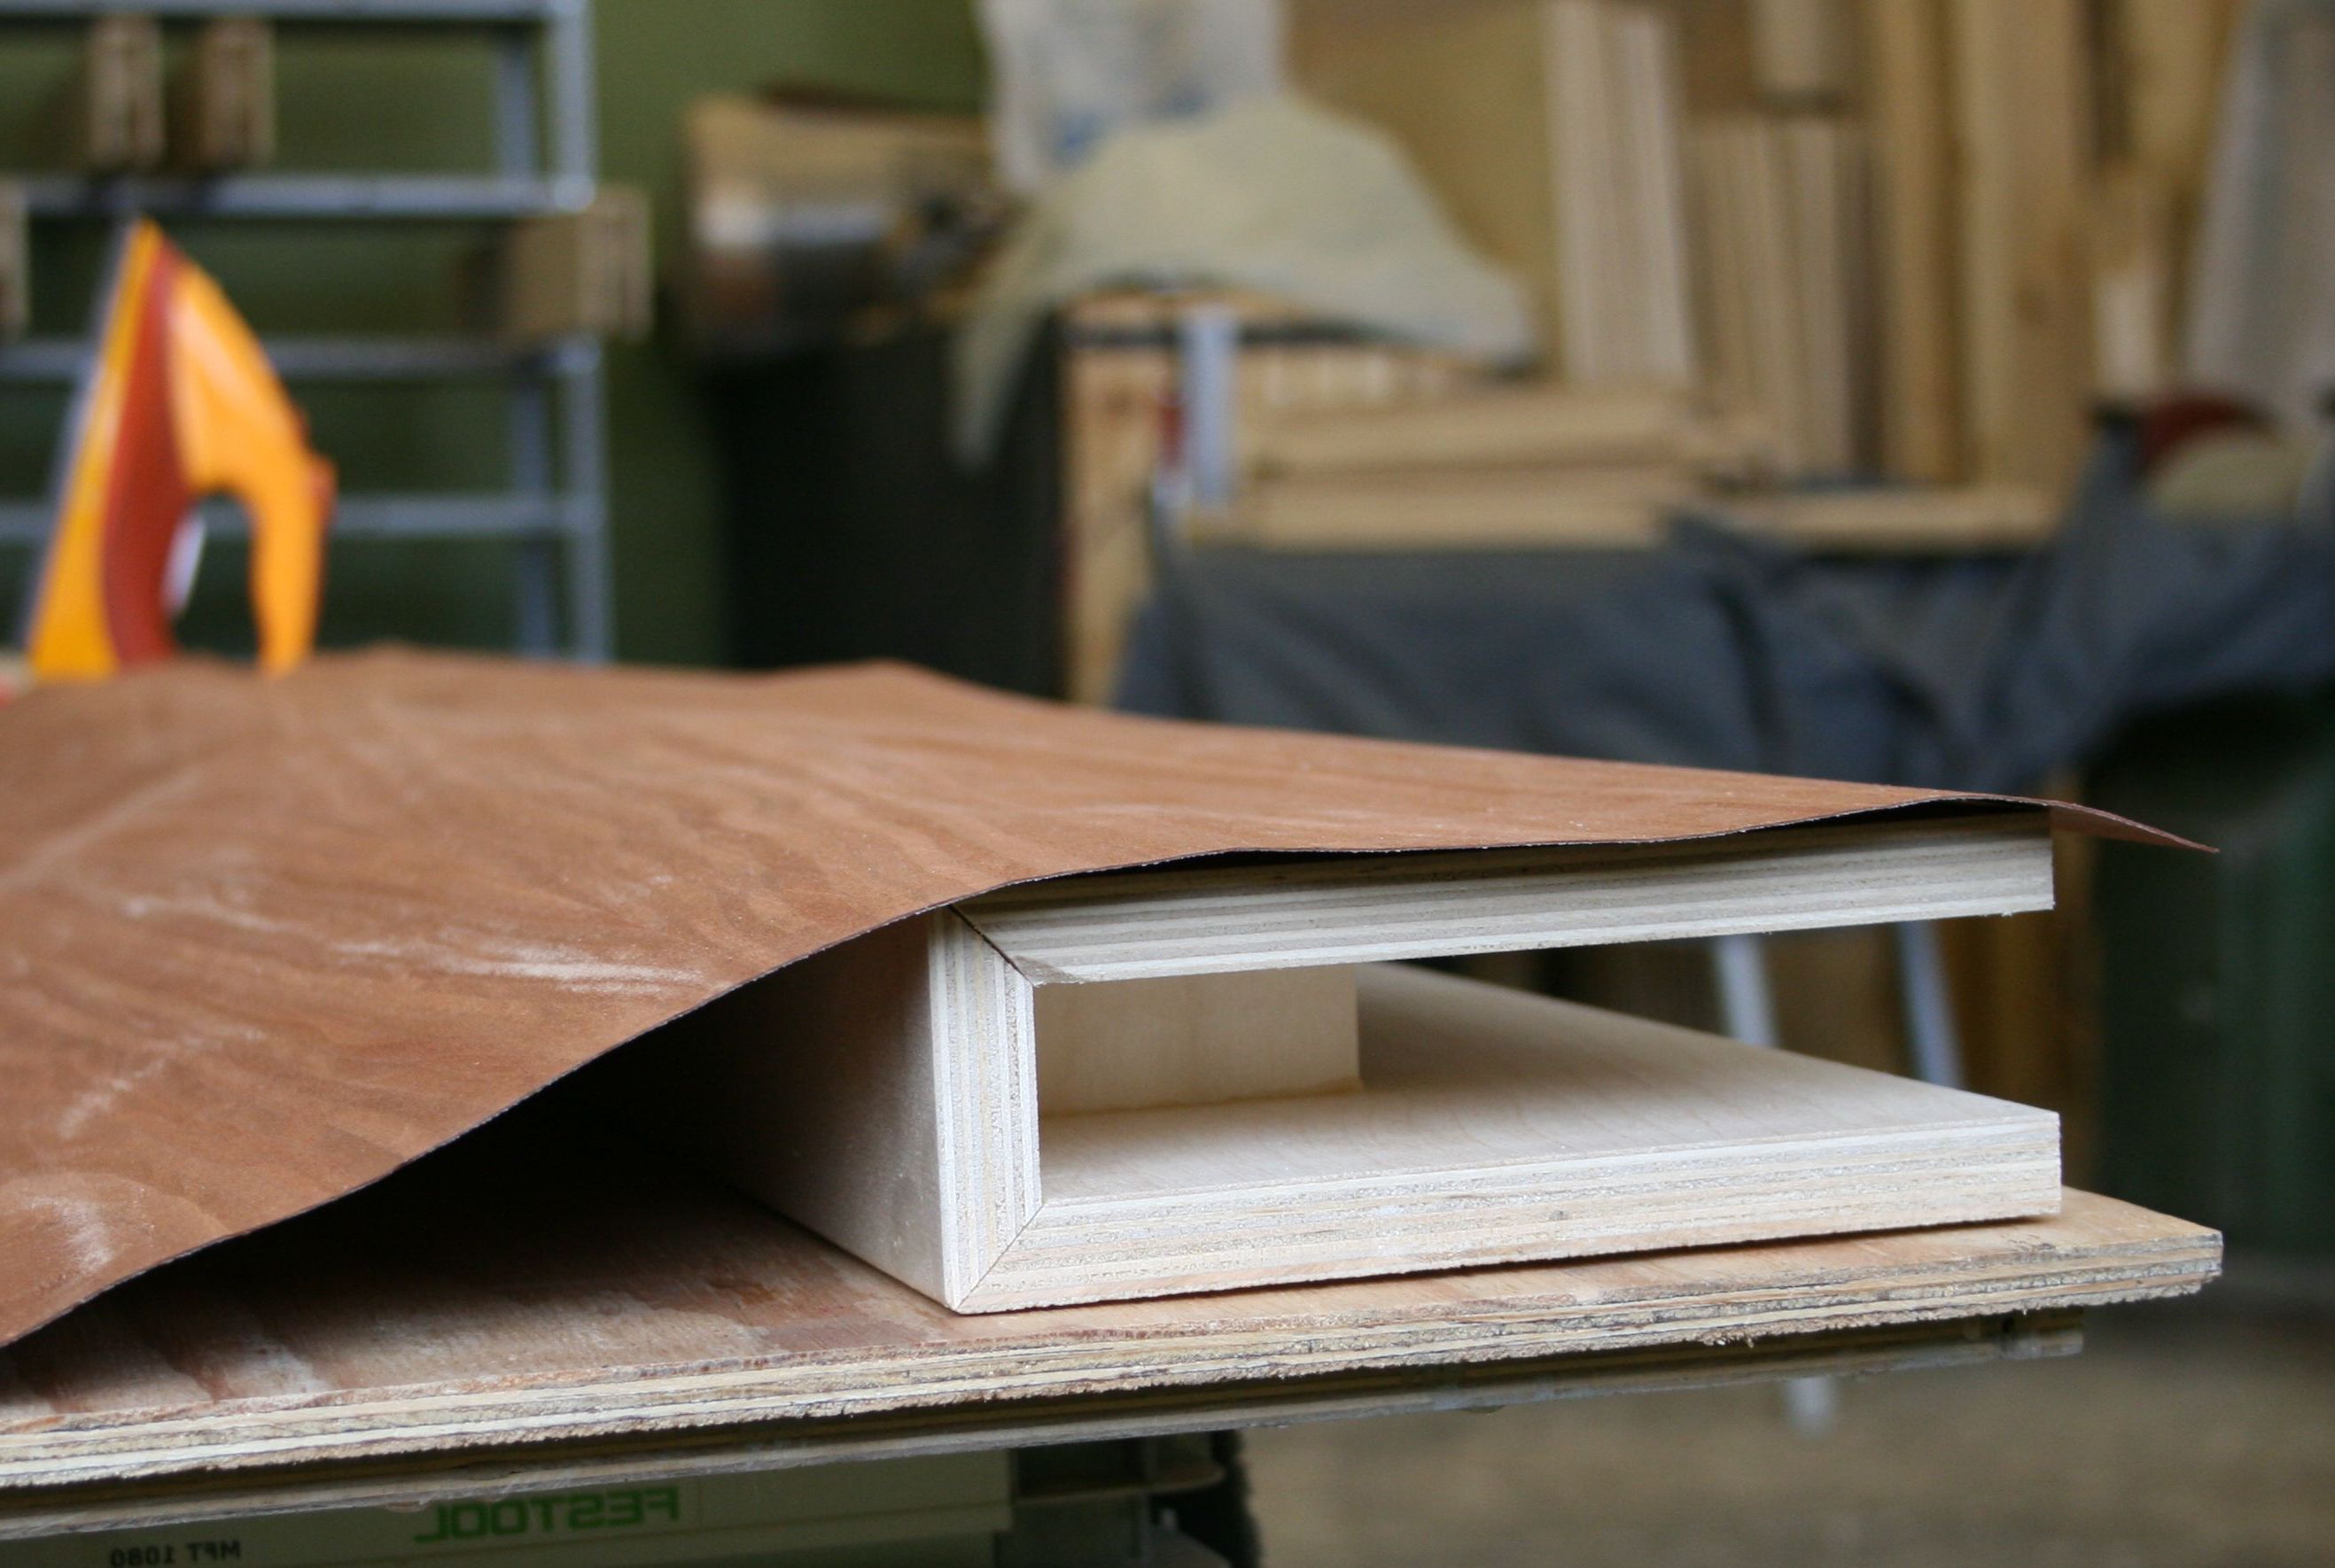
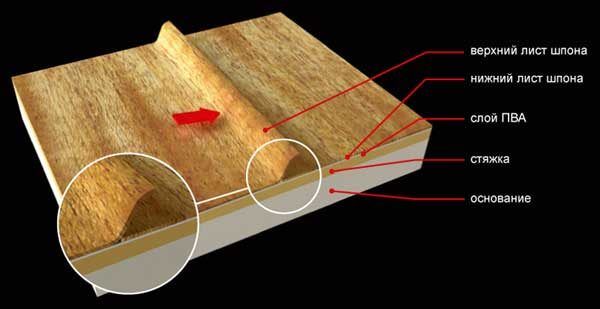
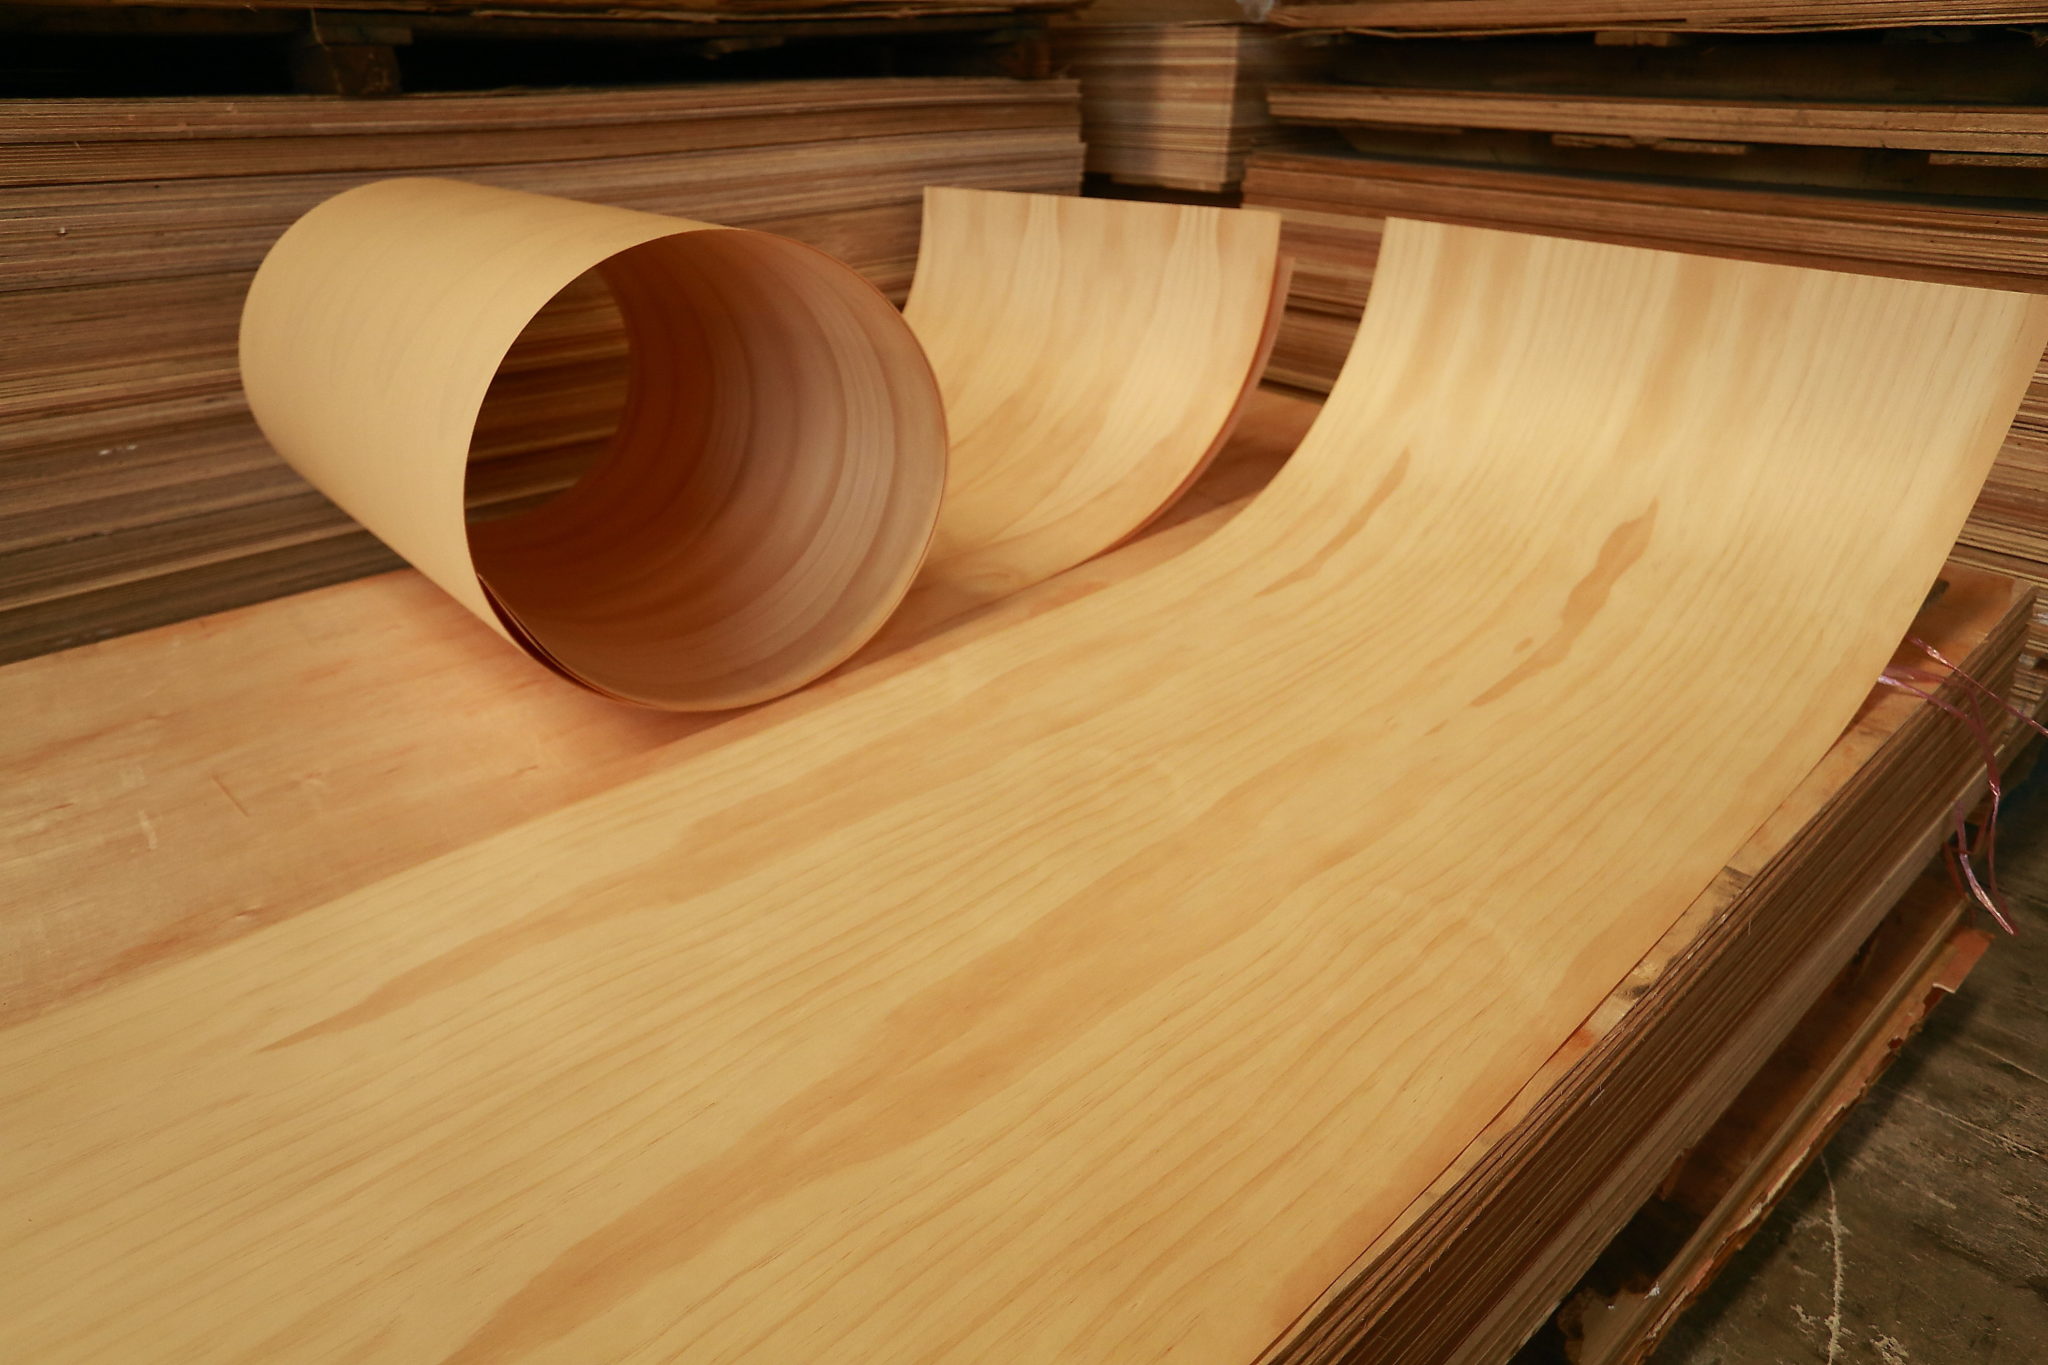
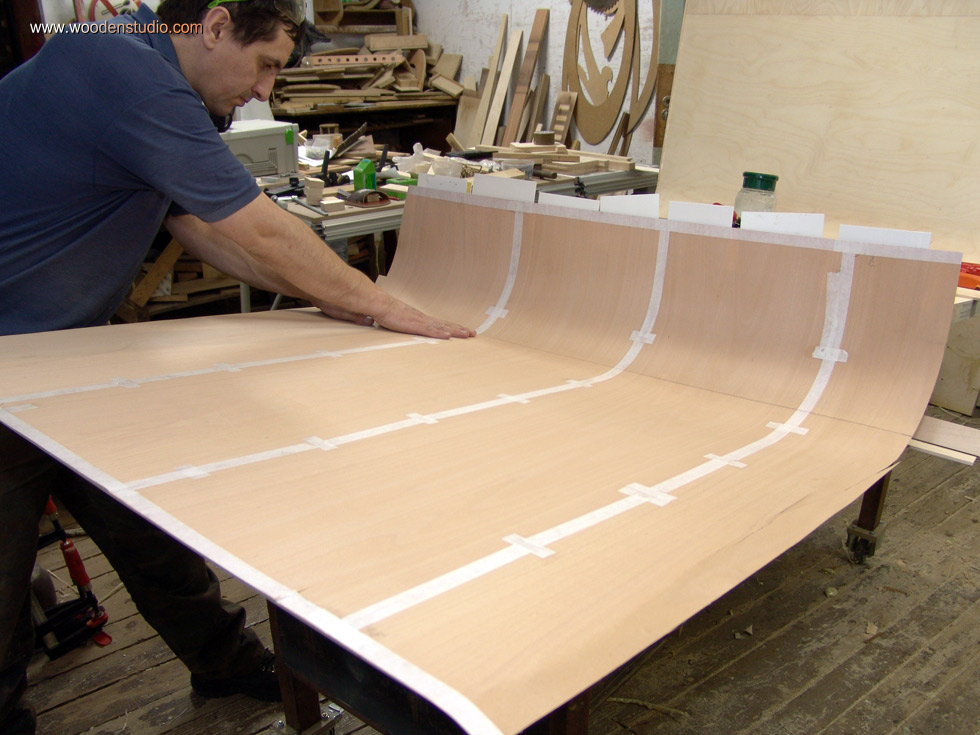
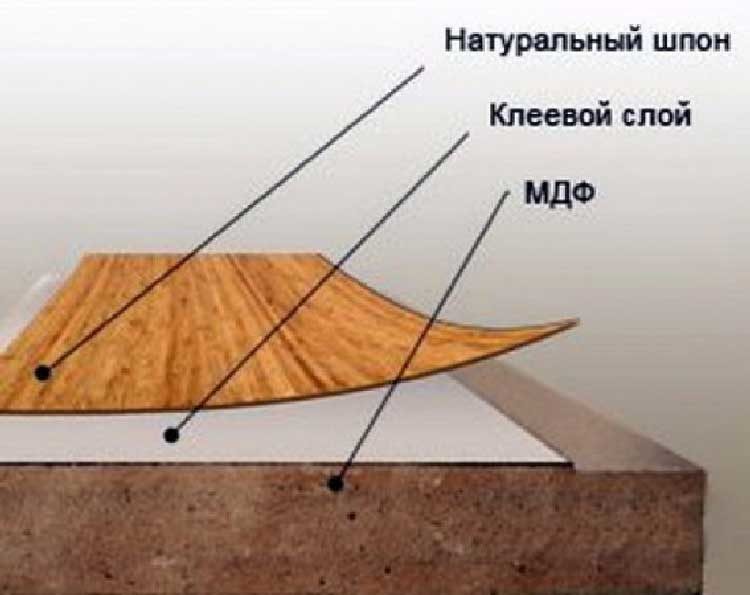
Natural veneer comes to factories in rolls or packs, packaging is carried out taking into account the required dimensions and properties that will differ the final product. Experienced craftsmen put prepared veneer sheets on the prepared and treated MDF surface with a special adhesive. When using roll raw materials, gluing is carried out in one step. When gluing veneer, which is brought in packs, a special technology is used. It consists in longitudinal and transverse gluing, which resembles a fish bone. There are other gluing methods. But all processes are necessarily strictly controlled by employees and using a computer that carries out measurements and settings. The veneer is glued to MDF boards using an adhesive. The next step is press drying, after which the surface still needs to be sanded and varnished. Today, many industries use a high temperature drying press. It makes it possible to glue veneer on many MDF boards in a short time, therefore, much less time and money is spent on warehouses for drying the final product. Provided that the surface of MDF is uneven, for example, on curved door plates, the technique of vacuum gluing is used. However, this process is more costly and time-consuming.
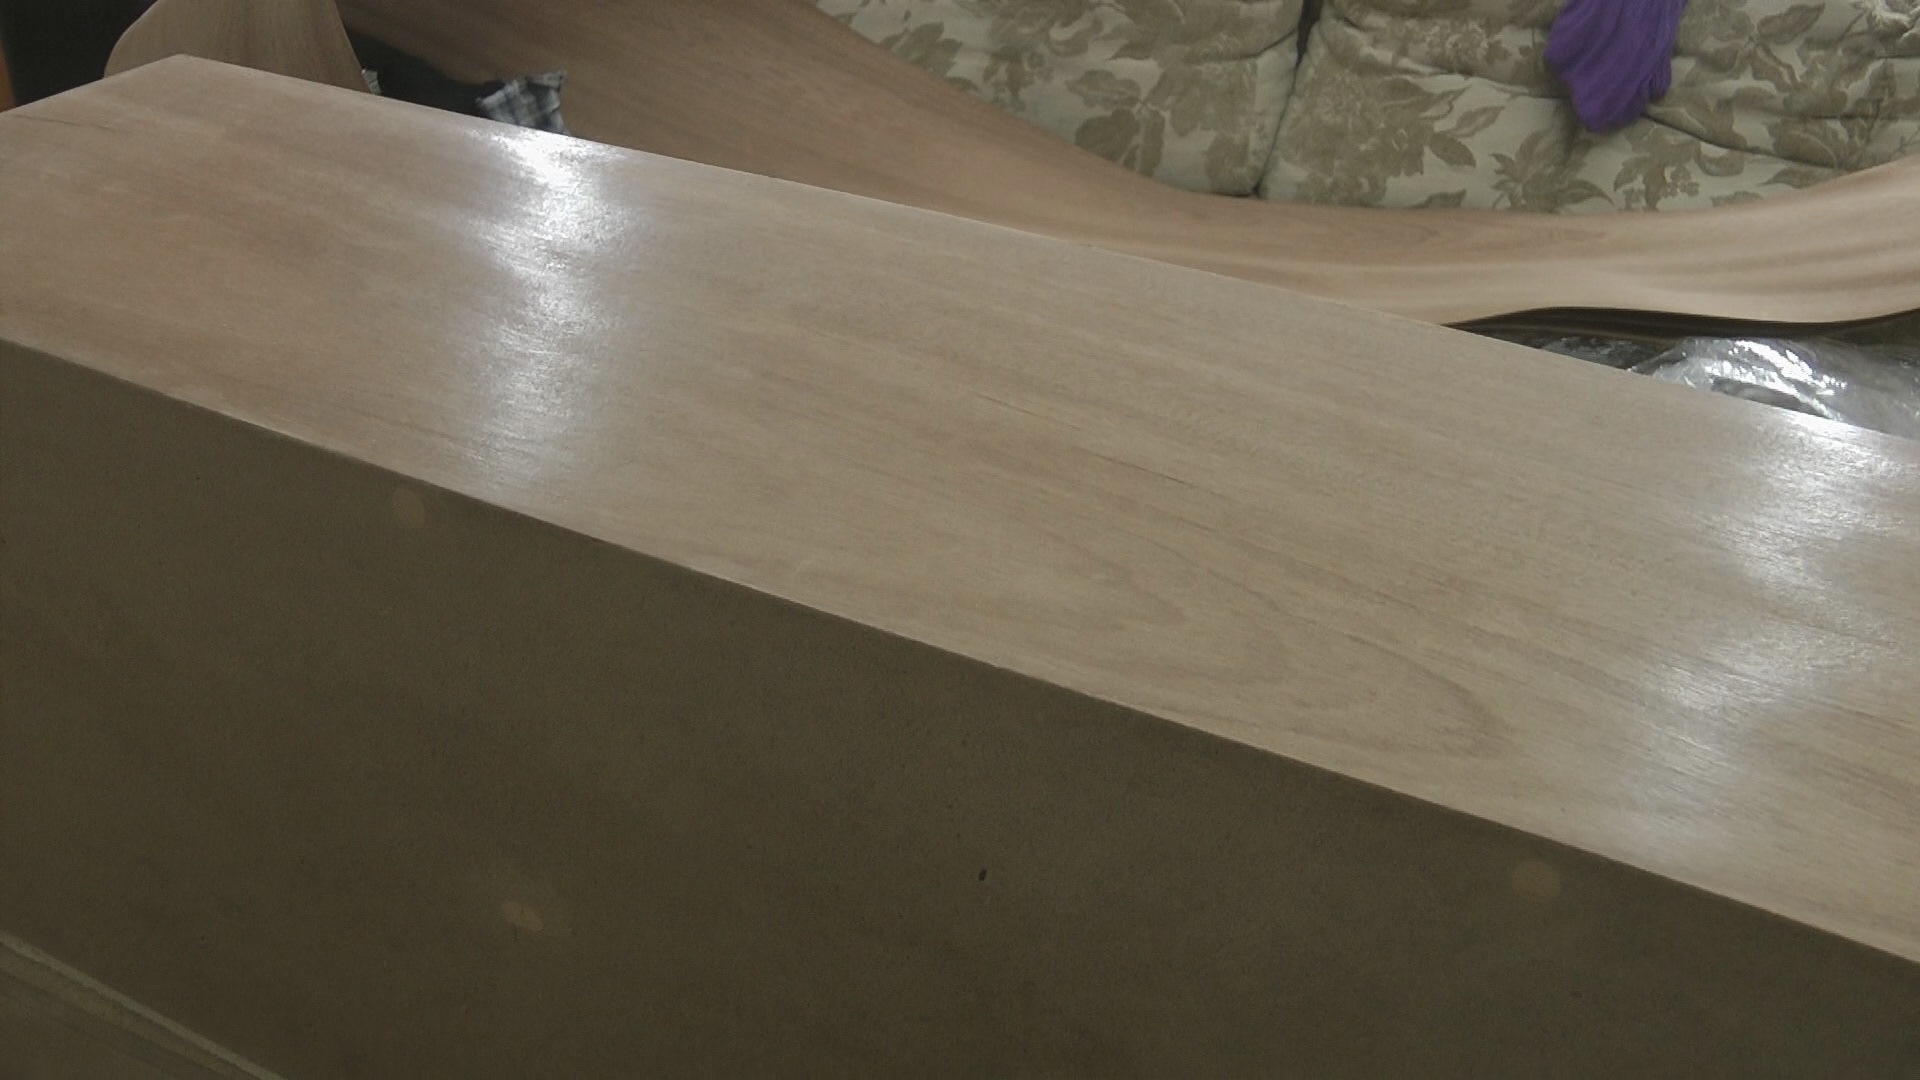
After all these procedures, the resulting veneer plate must be sanded first across, and then along. Only after that a perfectly smooth surface is obtained. In addition, in order for the varnish to lay down more evenly, the veneered surface must be ironed with a hot roller. This must be done because there is a possibility that the wood grain on the veneer will rise during the application of paints and varnishes. As a result of this painted surface, bumps or depressions can form, which greatly spoil the appearance and quality of the final product. For this reason, ironing technology is used, during which excess fibers are soldered to the surface, and it becomes completely smooth.
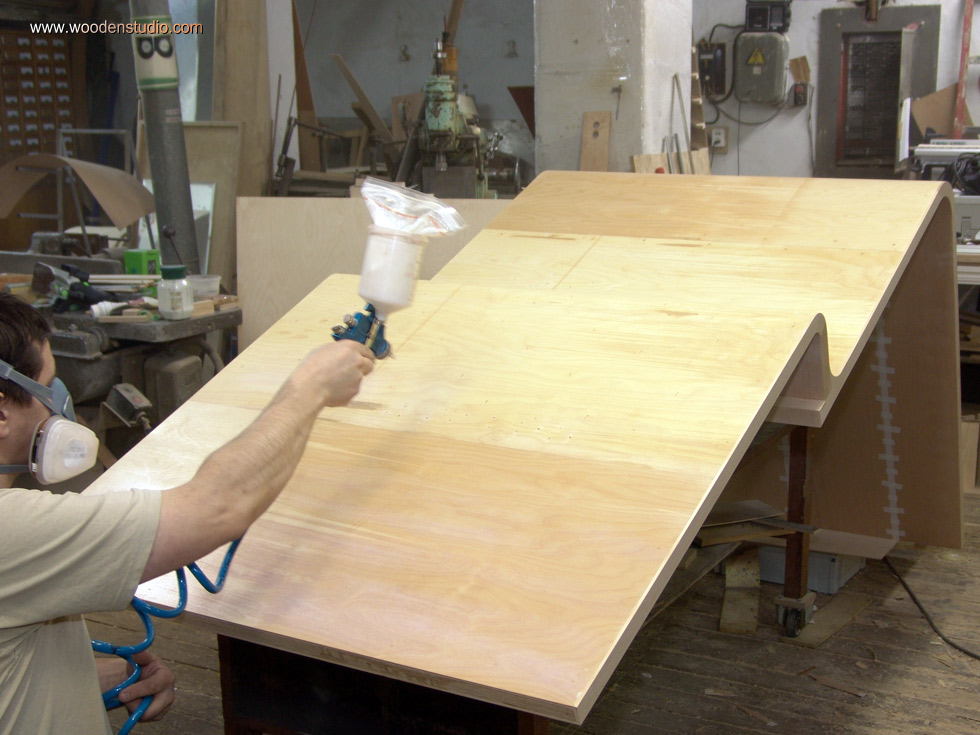
The slab is painted with a transparent or opaque varnish, colored paint, as well as special wax.
The most versatile material, the most widely used in the manufacture of pieces of furniture and no less actively used in the construction industry, MDF is characterized by a wide range of colors, excellent technical parameters and a fairly affordable cost.
Manufacturers, taking into account the two most extensive areas of use, offer this material in the form of sheets and panels. Both options have excellent qualities and a long service life.
Features of processing slabs before laying on the floor
To obtain a high-quality result when installing sheets on a horizontal base, it is necessary to take into account some of the nuances of applying a protective coating:
The panels should not have high residual moisture, the material must be acclimatized for at least 24 hours. It is required to provide ventilation of the sheets, so they are placed horizontally. For this, wooden blocks are laid between the panels.
High-quality grinding reduces the consumption of the compound and contributes to the formation of a reliable film. The ends should also be free of burrs.
Impregnation is carried out with the most suitable material according to the instructions
Particular attention is paid to the side that will face the base.
 After laying the plywood covering on the floor, the surface must be sanded and primed, then covered with several layers of a protective compound, most often it is wax or varnish
It is taken into account that the processing is carried out after cutting the products into the parts required in size.
How to veneer with your own hands?
Let's move on to a step-by-step review of the hot veneering process as the most acceptable at home.

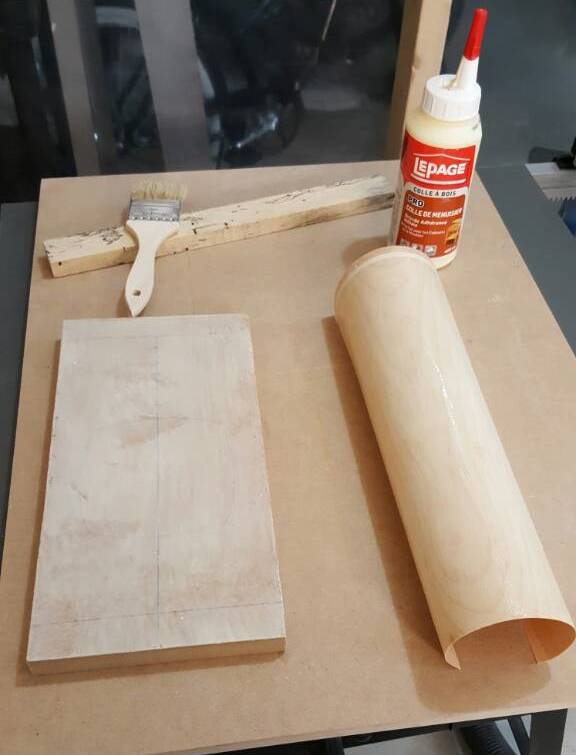
Basic tools and materials:
— veneer
- the base that we will veneer
- plywood knife
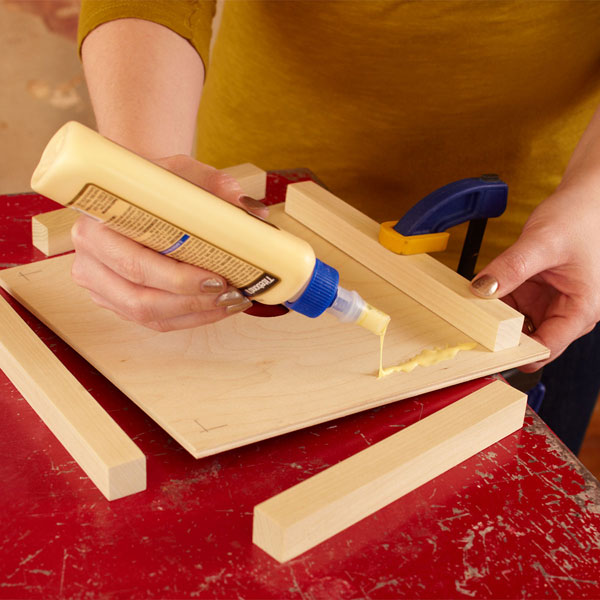
- PVA glue
- iron (better old, Soviet)
- a blank sheet of paper
- wooden block, roller (for grouting)
- emery cloth
- cutter
DIY veneering: preparation
The basis for do-it-yourself veneering should be perfectly flat, all defects are sealed with putty or sedenticon glue. After the putty (glue) has dried, we clean the surface with sandpaper.

Before directly veneering with your own hands
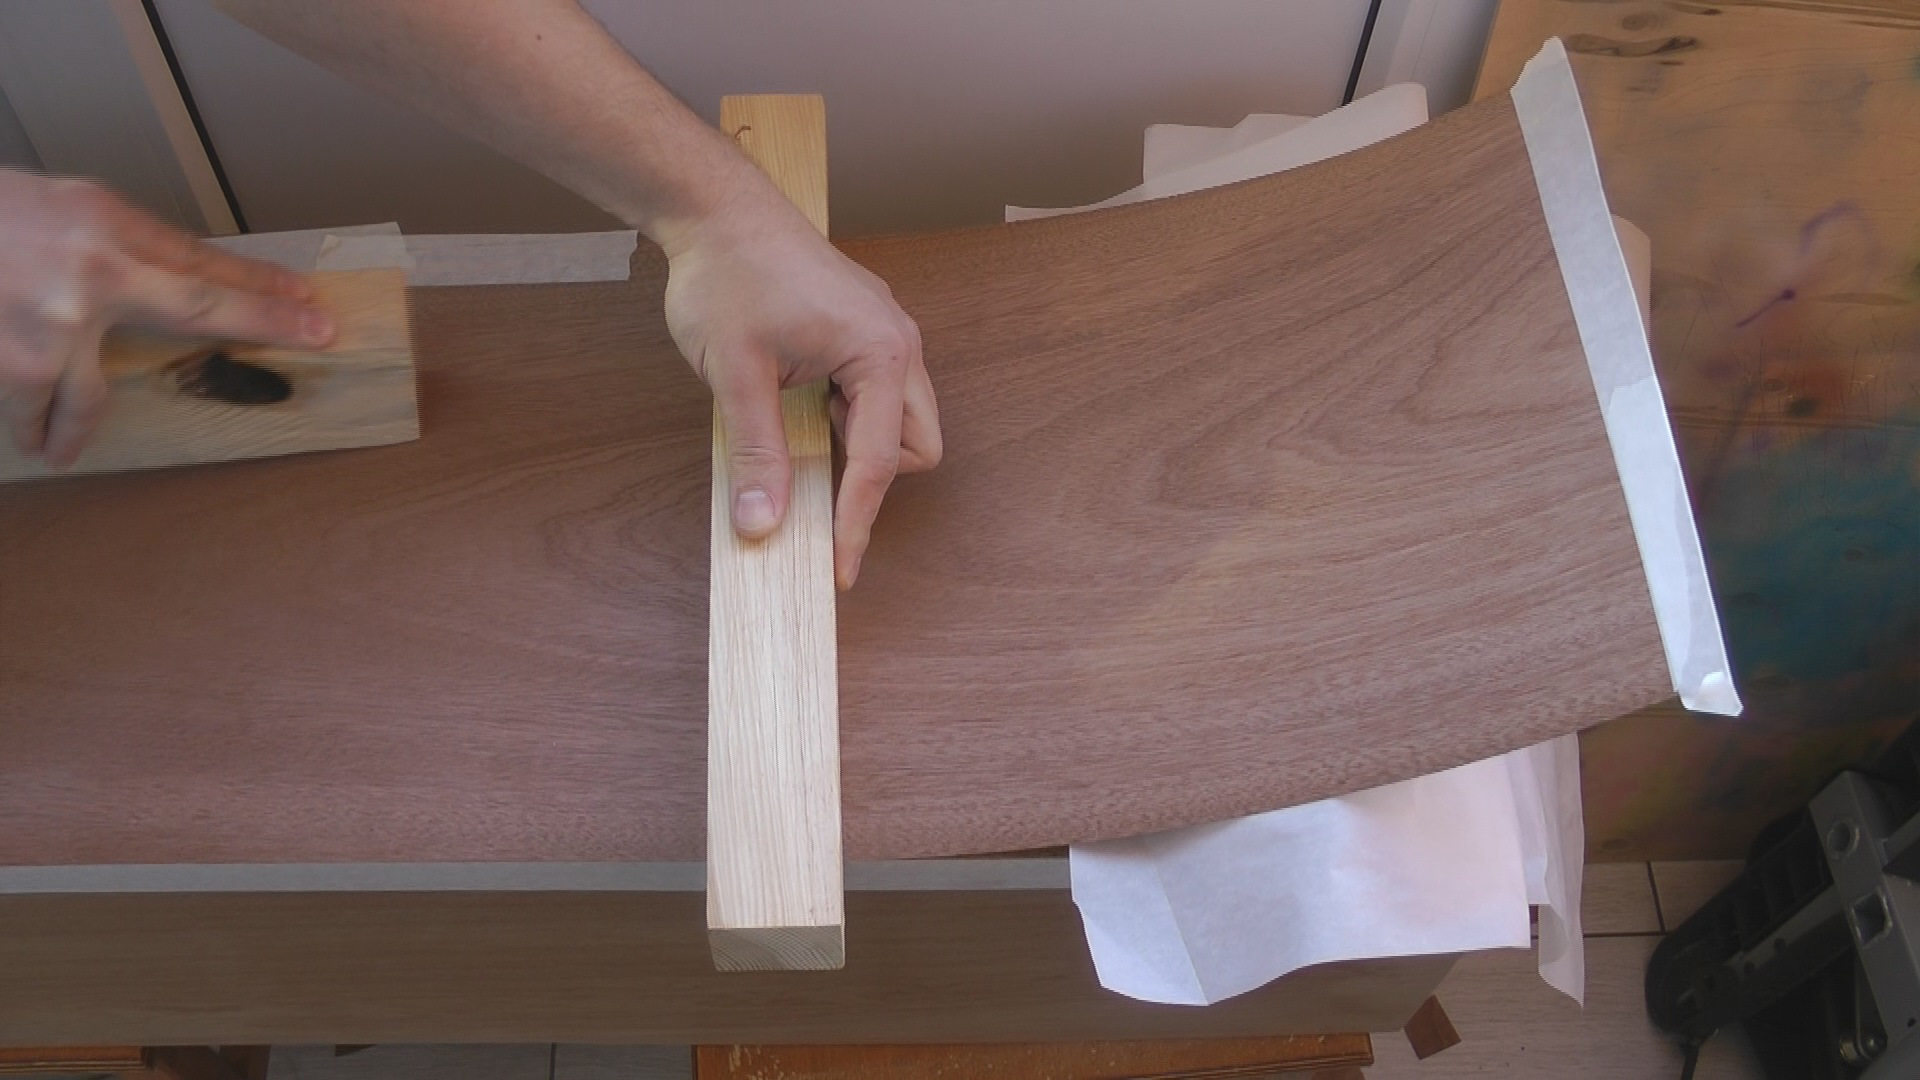
, it is necessary to prepare the veneer for work. Natural veneer is often deformed - twisted into a roll, warped, etc. Giving the veneer sheets the correct position is not difficult: moisten the veneer with a damp sponge and place it under the press between the layers of plywood. To absorb excess moisture, insert wrapping paper (on both sides of the veneer) between the veneer and the plywood.
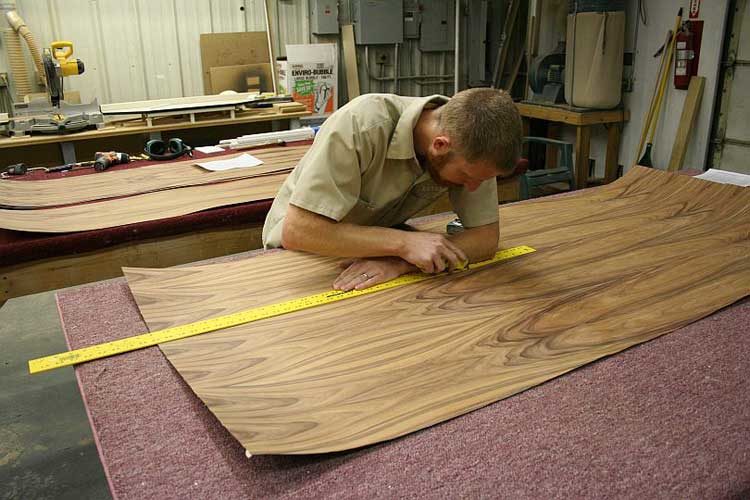
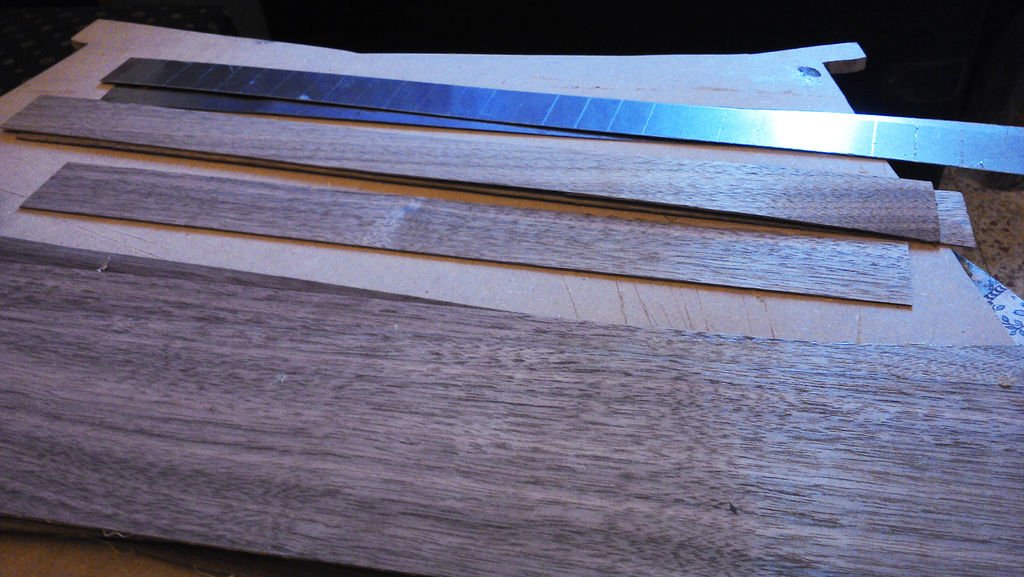
Now you need to take care of the size. Today, to decorate furniture and walls, planed veneer is most often used - long, but narrow sheets (no wider than 30 cm). To glue, for example, a table, you need to prepare in advance pieces of veneer of the required length - as a rule, it should slightly protrude beyond the edges of the base (at the end, the excess can be cut off and smoked). It is not recommended to cut the veneer with a knife or scissors - it will crack or cut unevenly. Better to use a plywood knife or planer.
DIY veneering: gluing
Do-it-yourself veneering at the next stage involves gluing the veneer and base.
For do-it-yourself plywood, PVA-based glue is perfect. You can read more about wood adhesives.
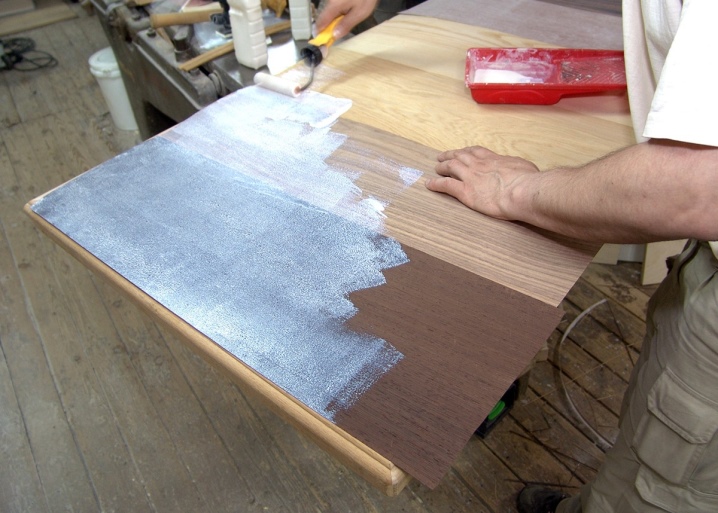
So, we put glue on the veneer, and on the base we glue an area of the appropriate size with glue. Experts advise to coat with glue two times: the first time should be dried until almost completely dry, when the glue practically does not stick, and the second time we dry it until it is tacky. Double glue coating guarantees a “dead grip”.
But if for some reason, when veneering with your own hands, you decide to glue the veneer and the base with glue once, wait at least 10 minutes for the glue to dry.
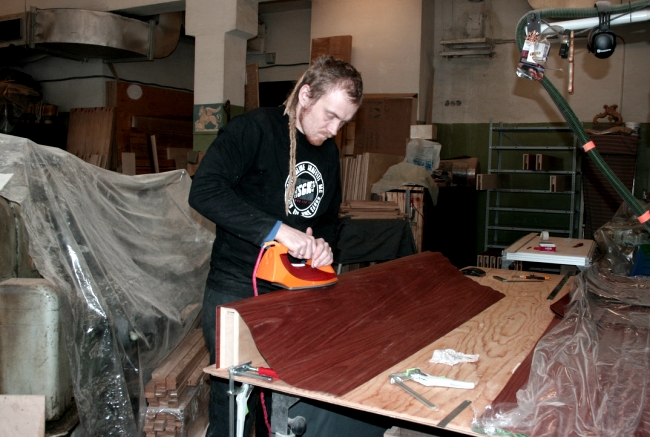
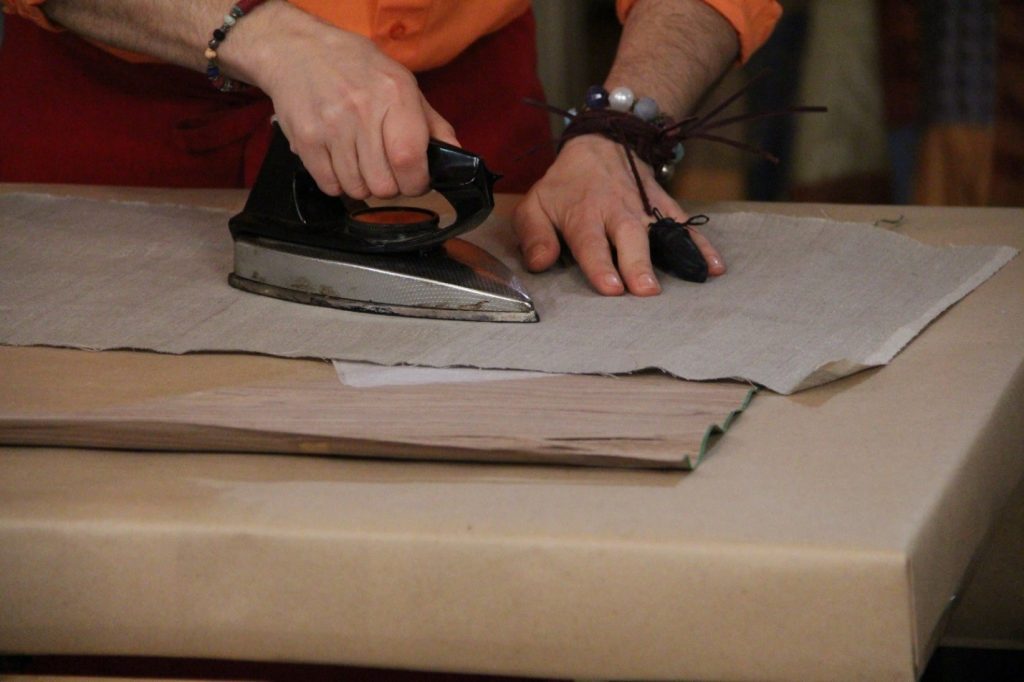
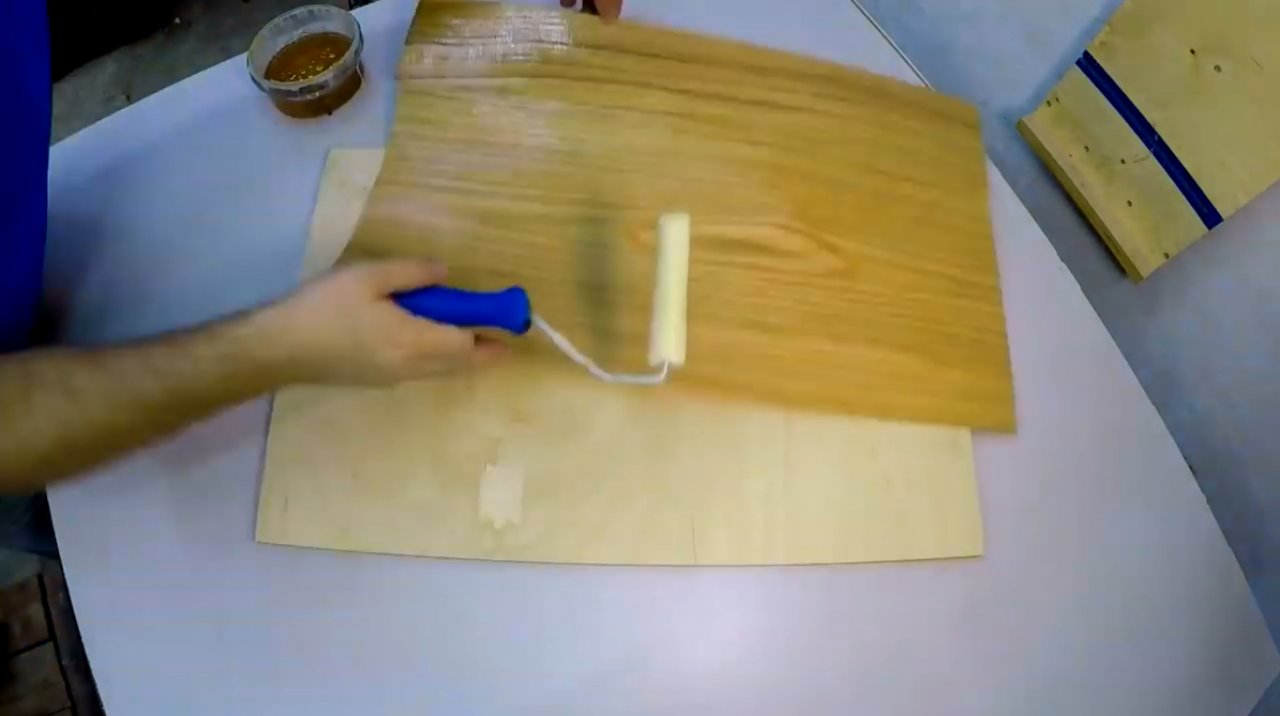
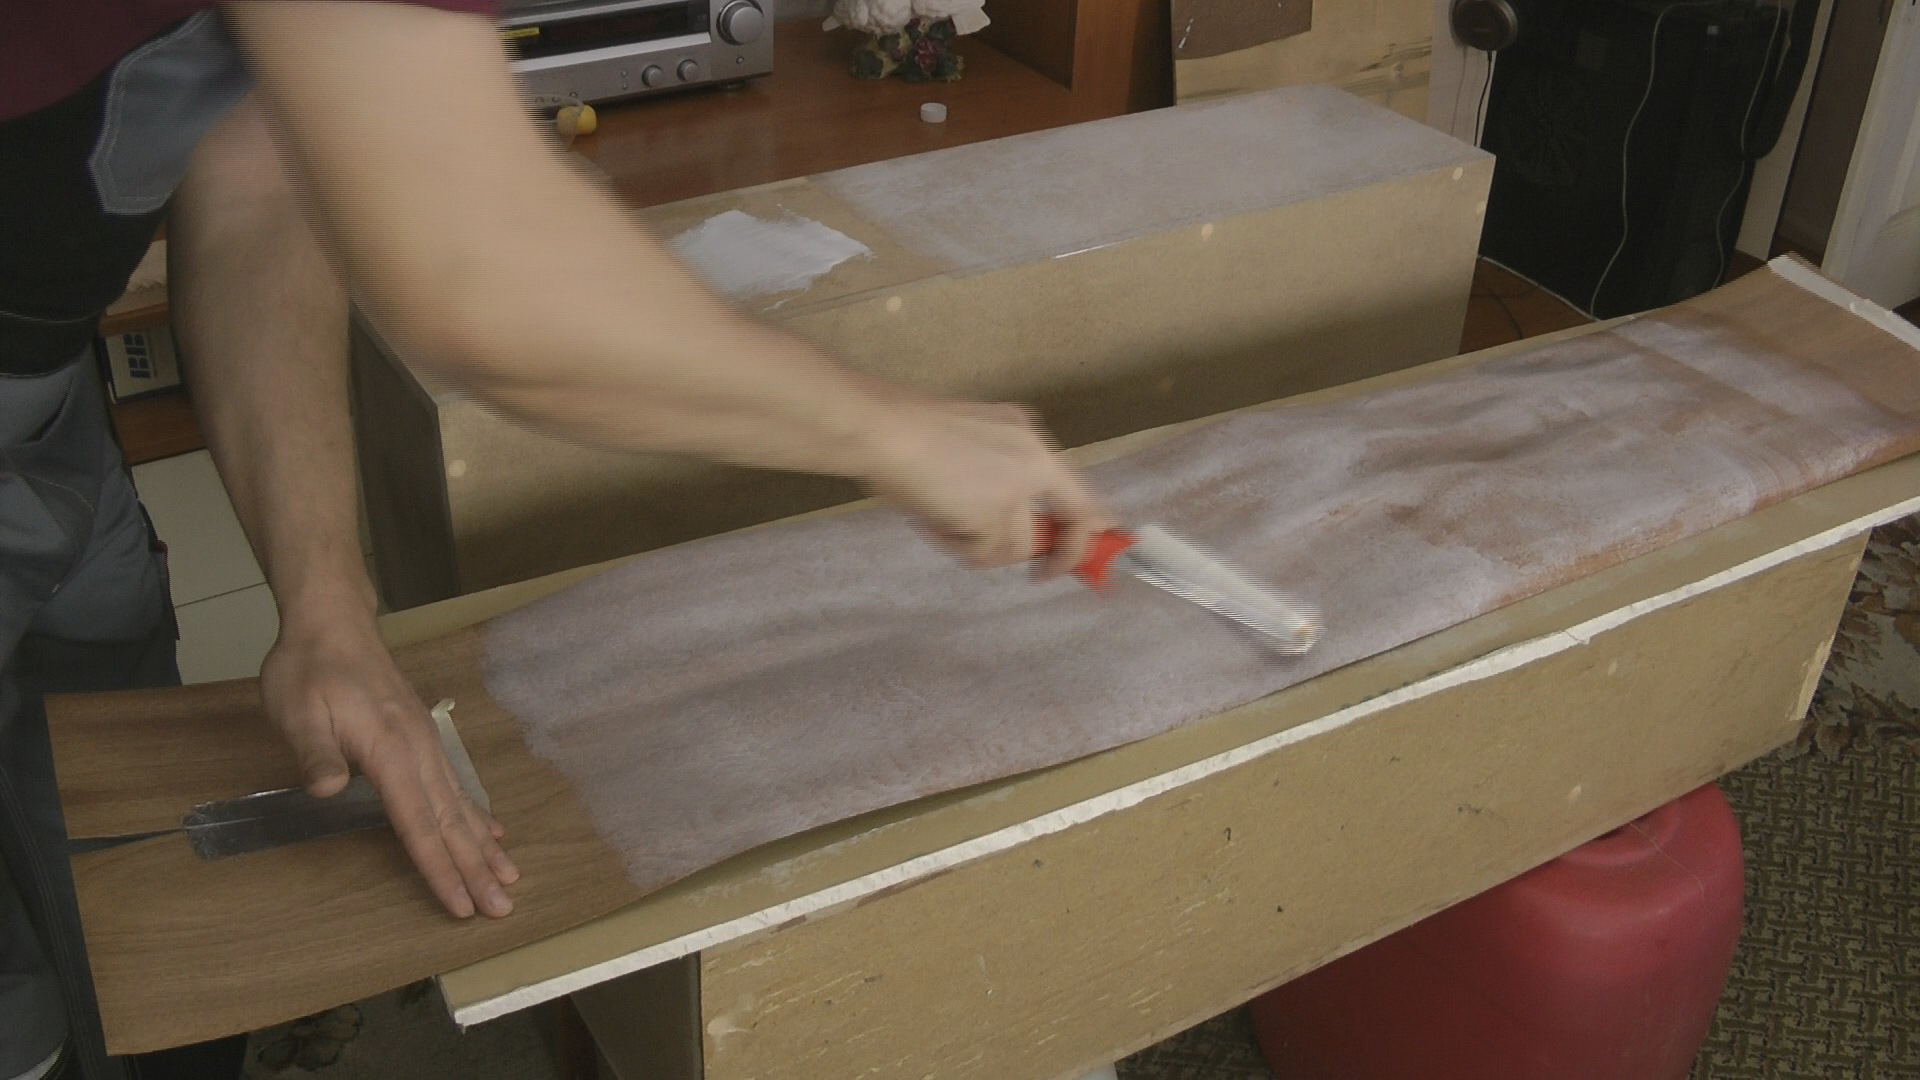
Next, we will use the ability of PVA glue to show fluidity when heated: we heat the iron to an average temperature, about 50 degrees (but you cannot bring the glue to a boil, this will nullify all its functions), and iron the veneer through a sheet of white paper (for the inexperienced). Immediately after using the iron, we begin to work with a wooden bar, a roller: we rub it in, squeezes the veneer and the base.
Do-it-yourself veneer
it is necessary so that the veneer sheets overlap by 3-4 mm
When gluing the joints, pay special attention: as if crush it with an iron
Now we determine if we have made voids and places not seized by glue: we just lightly drum with our nails on the veneer. If a defect is found, iron the place again with an iron. It didn't help - you have to cut the swelling with a thin cutter and pour the glue (with a syringe, for example).
DIY veneering: the end of the process
A few hours after veneering with our own hands (directly gluing), when the object dries out, we take up cutting and sanding the excess.
I would like to say a few words about how to skin veneered surfaces. At the joints of veneer sheets, as a rule, there is a little PVA glue.While non-glue areas are easy to sand, areas with glue form sticky rolls, but do not sand.
As a result, an unevenness may turn out, so pay attention to the moment with the glue initially
When using veneer, you need to be extremely careful - it is a thin material that can easily rub off (especially when using a grinder).
DIY plywood
almost over! Now there are only aesthetic moments - coating, final finishing.
As you can see, do it yourself at home
not difficult at all. And if you still have questions, we hope that a video on how to plywood with your own hands will answer them!Tatiana Kuzmenko, member of the editorial board Sobkor of the Internet edition “AtmWood. Wood Industrial Bulletin "
In order to update some interior details, you do not always need to spend a lot of money, it is enough just to paste them over with veneer. This applies, first of all, to shelves, doorways in the form of an arch, cornices and much more.
In this case, it is important not only to choose the right quality finishing material, but also the adhesive composition. Next, we will consider what kind of glue to glue the veneer, as well as how to do it correctly at home
Features of MDF veneering
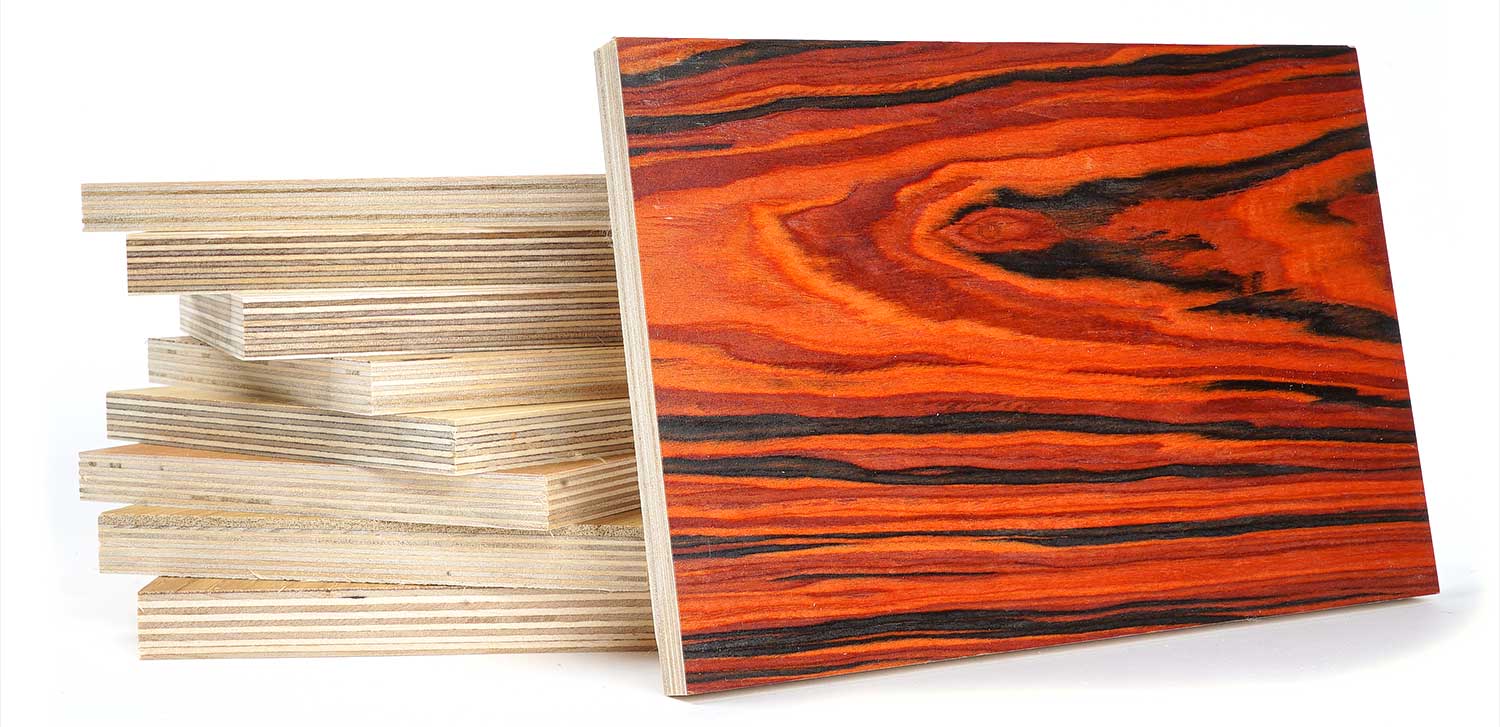
Veneering MDF with veneer is a rather complicated process. During it, glue is applied directly to the panel, and then, on top of the formed film, lumber is applied. After that, the product is subjected to hot pressing and subsequent refinement, in particular, varnishing.
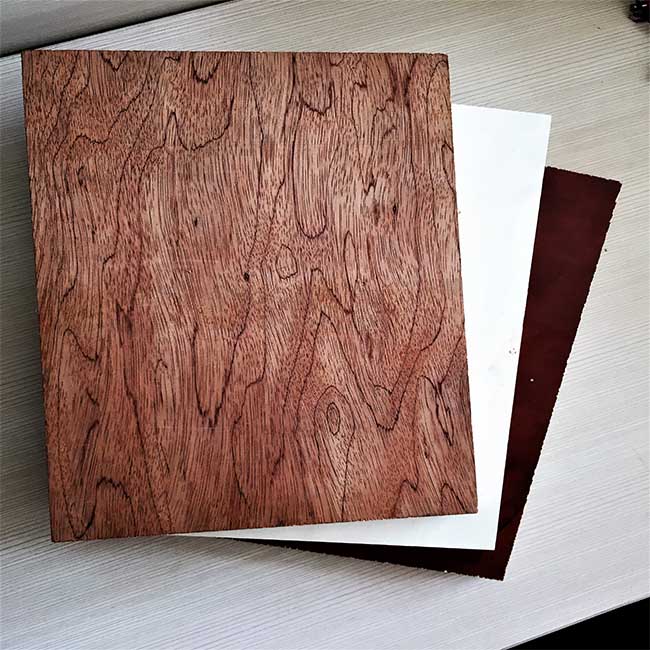
Veneered MDF in appearance practically does not differ from solid wood. In addition, the product has a large number of optimal performance properties, including:
- resistance to moisture,
- long term of use,
- versatility of application,
- acceptable price,
- environmental Safety.
The use of veneered MDF is carried out in the manufacture of high-quality furniture, decorative panels and interior doors. Also, veneered material can be used in the production of parquet.
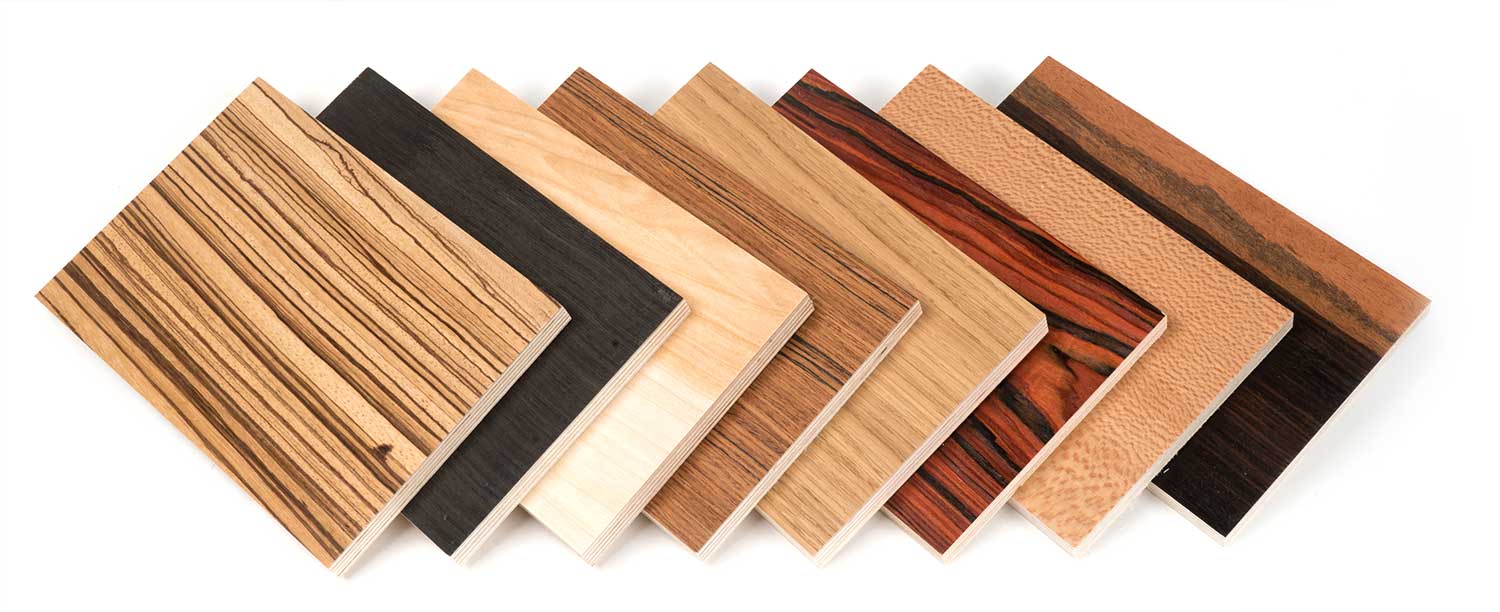
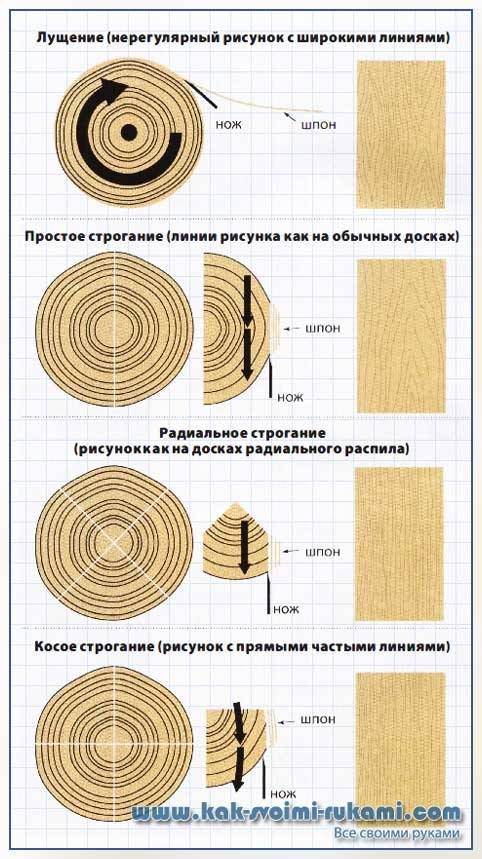
For facing the panels, lumber is used, made from valuable wood species... It can be planed, sawn, shelled. Veneer is obtained by cutting wood, as a result of which it acquires a texture characteristic of a particular species.
DIY veneering
Veneering is a procedure for pasting the base with natural veneer with good decorative and wear-resistant characteristics in order to increase the aesthetics of the surface and protect it from mechanical damage. Also, veneering is used in order to restore the surface or update the old veneer finish with your own hands. After all, it is not necessary to acquire expensive solid wood furniture wood that also requires regular maintenance, when you can choose a veneer from the desired wood species at a budget price, perfectly imitating solid wood.
Consider, for example, how to update veneer doors with your own hands, the veneering procedure at home. First you need to choose the type of veneer and its shade for your interior or for an existing coating. This can be done at a good price in a specialized store.
Please note that depending on which wood veneer is made from, its properties will differ. For example, if you have to finish wall panels in a living room, then you can take an elegant oak veneer, and if you need to veneer the door to the kitchen or bathroom with your own hands, then it is better to take a moisture-resistant veneer made of teak, merbau, mahogany or larch
At the preparatory stage, it is necessary to prepare the surface for veneering. To do this, remove the door from its hinges, place it horizontally on a support and remove the fittings. Then, with a spatula, the old coating is removed, requiring renewal.To speed up the process, you can walk over the surface with a heated iron, making it easier for the coating to lag behind. All irregularities and defects must be leveled; this will require sandpaper. If the sandpaper does not help, then you will have to putty.
Next, you should take care of the purchased veneer - before work, the tape must be straightened. To do this, you can moisten the sheets with a wet sponge and press down on both ends. After the tape becomes straight and does not wrap, you can cut the blanks according to the previously measured parameters of the door. At the same time, when performing veneering with your own hands, you should not forget that the veneer blank cannot be cut with scissors, it is best to do this with a special plywood knife so that the edges are even
It is also important not to forget to make a workpiece with a margin of a few cm, which at the end of the work will not be difficult to cut
The next step is to cover the door with veneer with your own hands.
Hot veneering technology
Preparation of the base
- Removal of fittings (if any) and structural parts. For example, a peephole from a door leaf, a keyhole rim.
- Dismantling the old finish layer of the wooden surface. It is not difficult to decide what is needed - a spatula, an iron for heating the coating, and so on.
- Elimination of existing base defects. The technique and materials are selected based on their nature and "depth". Basically, there are enough trowels, putties and adhesives. Upon completion of work, the base is carefully sanded so that when the veneer is applied, no bulges, dents or folds form.
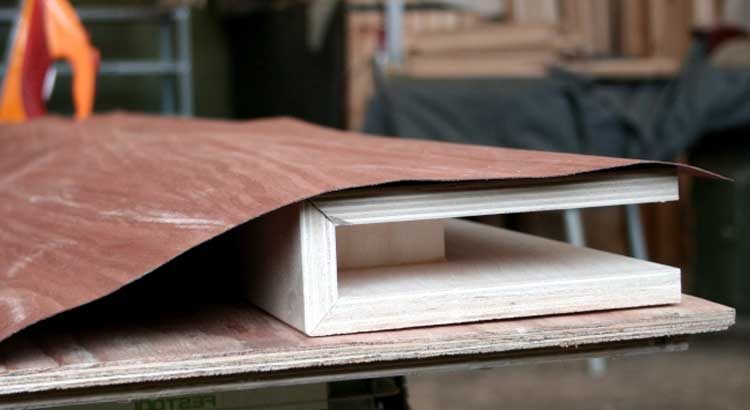
Veneer preparation
Editing sheets.
This thin finishing material is sold in rolls. Therefore, when straightening it will try to return to its original position (memory effect). To restore their correct geometry, it is enough to walk on the seamy side with a damp sponge. The veneer will soften a little and straighten. To secure the result, the sample should be clamped between two flat surfaces. For example, plywood sheets, fiberboard boards and the like, depending on the size of the fragment. For accelerated removal of moisture from the veneer, it is advisable to overlay it with a soft cloth or paper. After drying, it will remain in a straightened position.
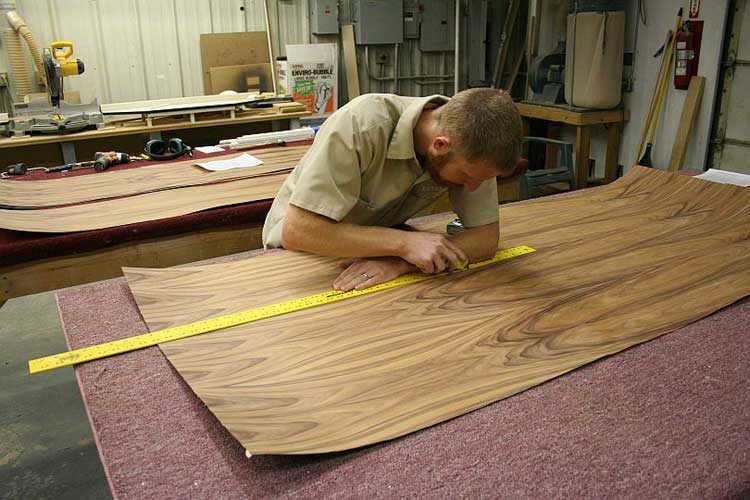
Editing edges.
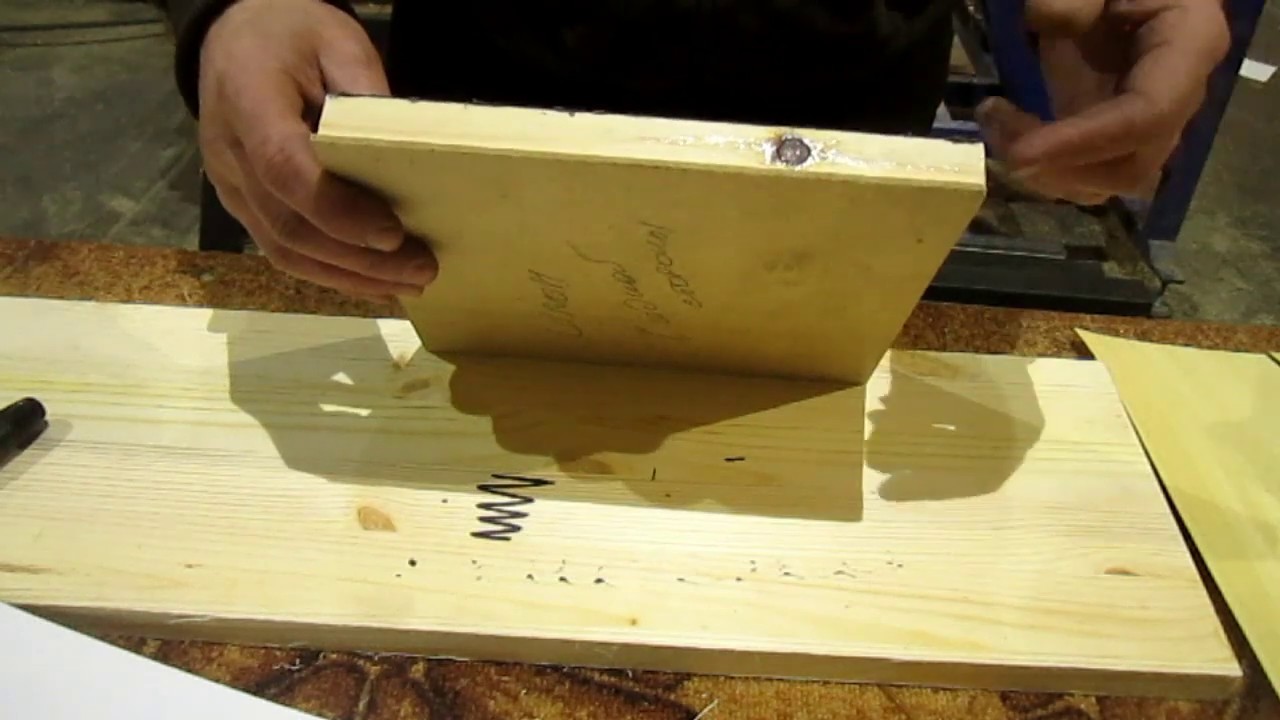
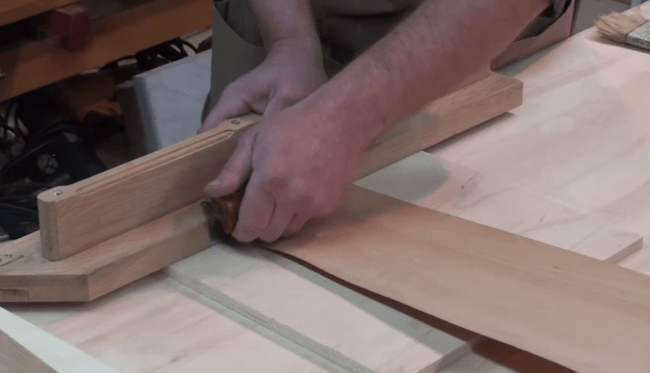
When restoring large surfaces, one sheet will not be enough. The veneer is sold with a canvas width (with rare exceptions) of 30 cm. Therefore, the splicing of fragments cannot be avoided. Editing edges is nothing more than cutting sheets along a line. At home, 2 pieces of board with processed ends (as an option) are quite suitable for this. Between them, a veneer sheet is laid so that only its edge protrudes outward. It remains only to clamp the resulting "assembly" with clamps and trim the excess (irregularities) with a sharp knife. It is advisable to work with a special tool designed specifically for cutting cardboard or thin plywood.
Veneering
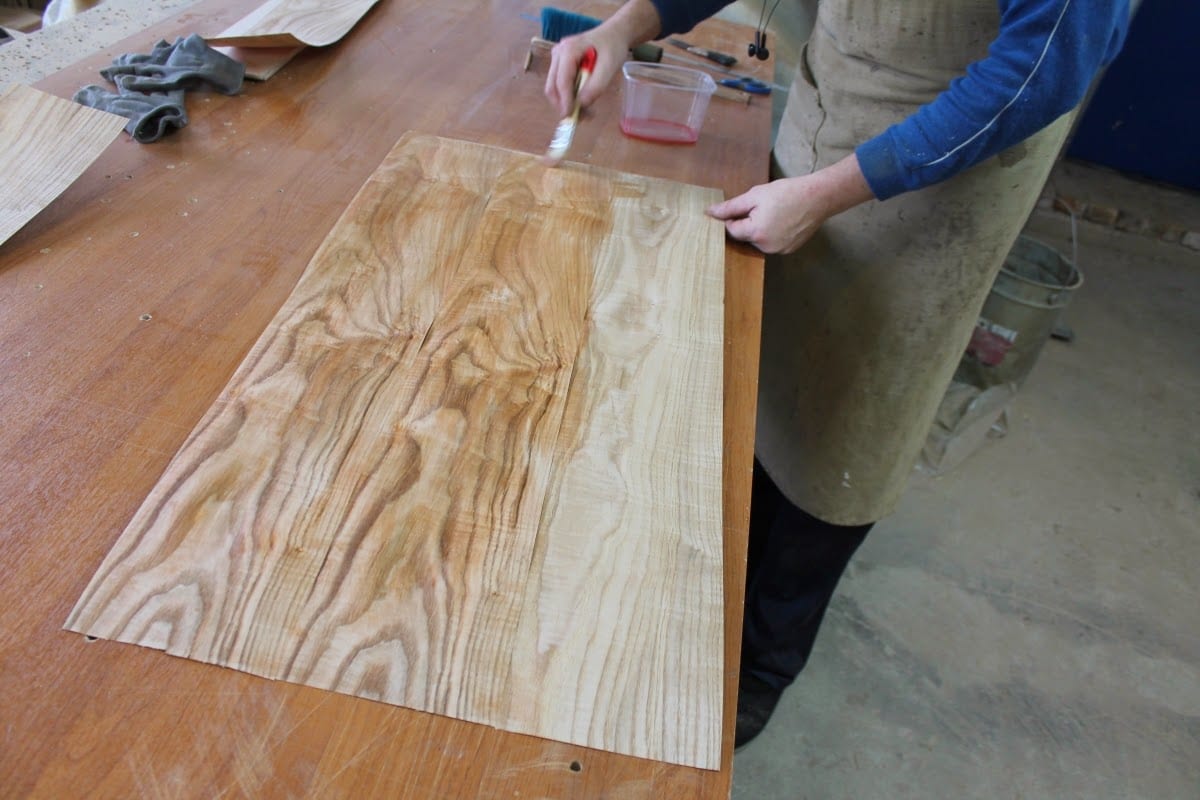
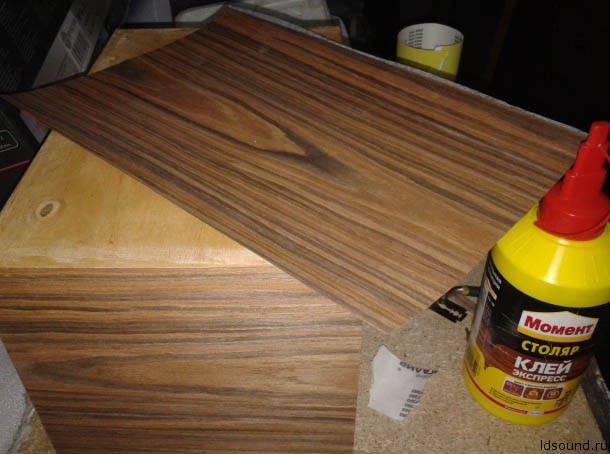
The manufacturer always advises on the use of the selected adhesive. But those who have already done this work with their own hands are advised to process the base in 2 passes. First, the thinnest first layer - a short exposure until it “hardens” - then the second. This technology allows you to see all the flaws and distribute the glue as evenly as possible over the entire area.
Fixation of sheets.
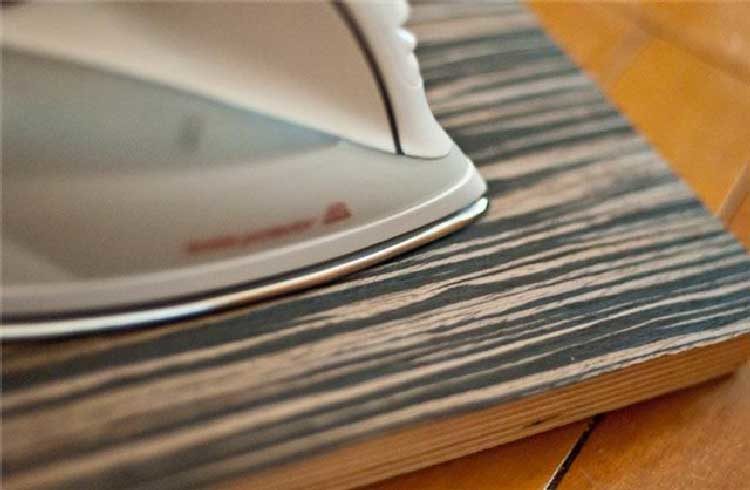
Experienced craftsmen recommend pre-placing a sheet of paper (only waxed). The reason is that the veneer is thin, easily damaged, and it is unlikely that it will be possible to place it on the base immediately as needed. This means that you will inevitably have to move it. When it takes the optimal position, it is quite easy to take out the wax sheet without damaging the glue layer.
Joint processing.

- Until the glue dries completely, in order to ensure the quality of veneering, it is advisable to fix all joints with adhesive tape. Then it is easy to remove it.
- In some cases, it is advisable to first fasten the veneer strips into a single sheet, and only then lay it on the base. What is the best course of action, you will have to decide for yourself. But it is worth considering (as one of the acceptable options).
- To avoid moisture absorption into the base, it is advisable to veneer not only the front of the sample, but also the wrong side, the ends. This should also be taken into account when determining the course of action.
The final stage
After the adhesive has hardened (which implies reliable fixation of the veneer), a number of simple technological operations are performed.
- Inspection of the surface and identification of possible defects in work.
- Removing excess (if any) glue.
- Sanding of joints (edges). The utmost care should be taken here. The veneer is thin, and excessive diligence will lead to the appearance of bald spots. Everything will have to be redone, since it is difficult to mask the spots, to match the finish, and it will not always work out. Of course, the highest quality polishing is provided by a grinder, but not every home has one. If possible, asking friends for a while is the best solution.
- Applying a protective coating. This is mainly necessary for rotary cut veneer. It is not difficult to choose the composition, depending on the design of the sample, its purpose and the specifics of use. The assortment of various oils, varnishes, wood stains is impressive.
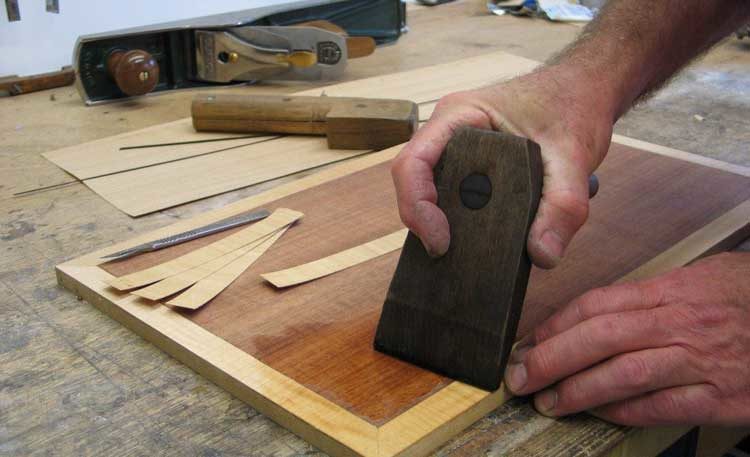
Having dealt with all the nuances, it becomes clear that do-it-yourself veneering is not a very complicated process. Knowing the technology, everyone can implement it at home. And if you wish, it will turn out to bring some kind of "zest" to this work.
Good luck to you, home masters!
What glue to glue the veneer
When working with veneer, it is important to carefully prepare the surface. If it is coniferous material, remove the resin with a knife and work off the area with acetone.
It is also necessary to remove any knots and irregularities, get rid of greasy spots, chips and cracks. To obtain a flat surface, it is polished and primed.
The optimum moisture content of the veneer should be around 8-10%.
For working with veneer, it is recommended to use contact adhesives, which are optimal for surfaces with low absorbency. The principle of their operation is simple: the solvent evaporates from the composition, and the polymer solidifies. The result is a strong adhesion of surfaces.
Since veneer is a porous material, the glue must be thick and tough enough not to seep through the pores.
It is important that the composition does not contain water-based solvents, otherwise the veneer will absorb moisture and swell
In the “butting” method using a hot iron, PVA can be used if the surface is even. PVA glue is non-toxic, safe, easy to apply and reliably glues wooden surfaces.
For more complex elements, it is better to use professional solutions such as Titebond for wood. The adhesive is one-component and moisture resistant.
Provides strong adhesion, resistant to high temperatures, solvents. It is not abrasive and does not damage the surface of cutting products.
When asked whether it is possible to glue the veneer with epoxy resin, experts answer positively. Mezdrovy, polyurethane adhesives are also suitable, the choice of which in stores is very large.
Glue the veneer on the base step by step - we use iron and glue
- The first thing to do is to prepare the surface as described above. It should be flat and clean.
- The next step is veneering with an iron and a damp cloth. If the veneer has a layer of glue under the protective foil, remove the foil and rub the material with an iron. In the absence of an adhesive layer, you will have to apply it yourself with a thin layer.
- When it's dry, you can start gluing it to the surface. To do this, lay the material with the glue side down and make smooth movements with a hot iron along the fibers from the middle to the edges.The temperature of the iron should not be too high, so that there are no burning spots left on it.
- The glue protruding at the edges is removed with a rag. After completing the process, you need to tap the surface, if a ringing sound appears, this area must be rubbed with an iron again.
- The glued veneer is treated with varnish or stain to protect it from external influences.
How to glue veneer to plywood

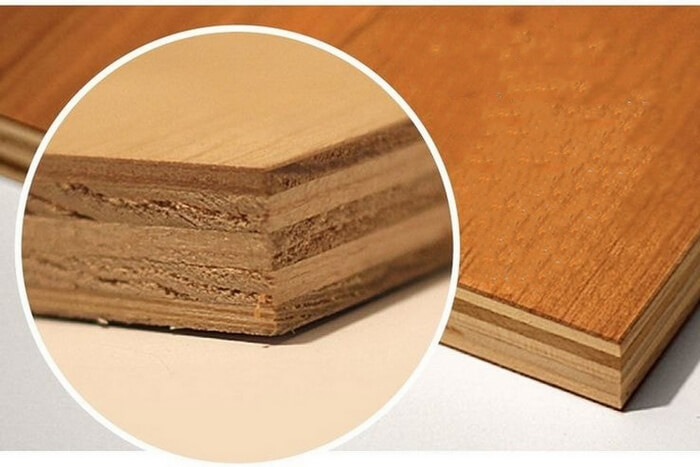
 Many people are interested in how to glue veneer on chipboard or plywood. The easiest way to work with flat surfaces, for example, a coffee table without protrusions and other curly elements.
To finish it with veneer, you will need:
- a sheet of white paper
- iron,
- thin cutter,
- sandpaper,
- glue,
- wooden block.
Stage 1
Pick up several sheets of plywood in width and length, preferably with a small margin. The veneer can be simple or curly. In the first case, the fibers are arranged in parallel, in the second, the pattern is more diverse, and you can experiment with it.
Stage 2
Apply a thin, even layer of glue to the table surface and veneer sheets.
Stage 3
Put a sheet of material in the right place and smooth it with a preheated iron. To avoid burning the veneer, use a white sheet of paper between the material and the iron.
Stage 4
Iron the heated place with a wooden block.
Stage 5
Put the next sheet with a little overlap and repeat the procedure. Excess material is carefully cut off.
It is important not to overexpose the glue while it dries, as it quickly loses its properties. After finishing gluing, make sure there are no air bubbles by tapping the surface
If they remain, cut them with a thin cutter, if necessary, fill in a little glue and heat it up again with an iron.
After finishing gluing, make sure there are no air bubbles by tapping the surface. If they remain, cut through them with a thin cutter, if necessary, fill in a little glue and reheat with an iron.
VIDEO
Some helpful tips:
- the color of veneer sheets should be matched to the color of wallpaper, furniture and other interior elements,
- docked veneer sheets of different tree species look original,
- if you decide to pre-paint the sheets, after painting, rinse them with running water and dry them in a warm place, but not near heating appliances.
Thus, following a simple algorithm, you can quickly, easily and inexpensively give a second life to many things in the house, as well as implement your design ideas.
Preparation and cutting of material
Next, you need to buy material (usually veneer is sold by the meter) and cut it out. The rolls must first be straightened so that the veneer becomes even and takes its natural shape. For faster straightening, you can moisten the sheets with a wet sponge, put them between layers of drywall, plywood.
The canvas must be carefully measured. Then you can cut, leaving a 5 cm allowance on each side. This will help avoid problems if the measurement was wrong. They cut the material with a plunge saw, plywood knife. It is best to use an electric professional tool, so all the cuts will be accurate and beautiful. It is forbidden to use scissors: they provoke the appearance of cracks in the material. The veneer in the form of strips, planks must be selected according to the drawing, the sheets must be glued with adhesive tape along the joints and perpendicular lines.

general information
In various dictionaries, there is no decoding of the term "veneering". In fact, it means pasting materials with the thinnest layer of decorative wood-based coating. In principle (if you do not go into specific details) this is the same lamination technology. The only difference is that, as a rule, wood products (objects, structural parts) are subjected to such surface finishing.
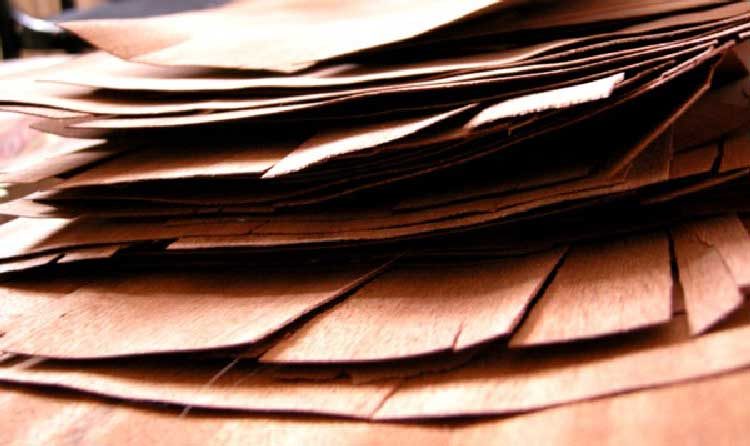
Veneer has a certain classification. Differences in production technology, as well as durability and specificity of use. A detailed description of the groups is unlikely to interest the reader.Suffice it to say that if you intend to finish furniture with your own hands, then it is advisable to focus on peeled veneer (natural product)
and fine-line (the so-called reconstructed modification).
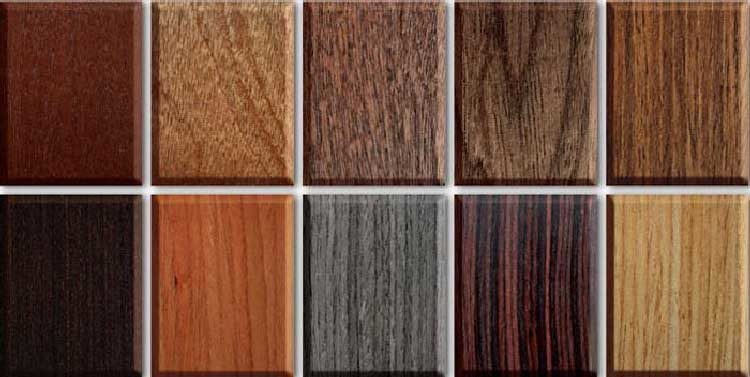
They have a lot in common - the convenience of working with products (the layer is very thin), a variety of textures (especially fine-line modifications) and an acceptable price.
Therefore, talking only about the restoration of furniture is not entirely correct. With the help of veneer, you can give a "second life" to old door frames and canvases, wall panels, countertops - there are enough options for using such a finish.
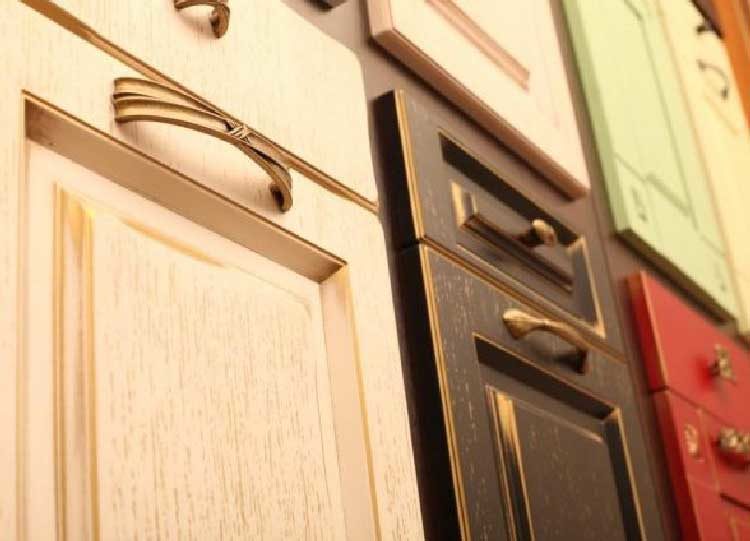
There are several technologies for fixing veneer. For DIY implementation, only one is available - "hot", which is based on the use of glue. This technology is excellent for the restoration of wooden furniture. The other two require special equipment and are not suitable for home use.
Using veneered MDF
What panels and profiles are made of
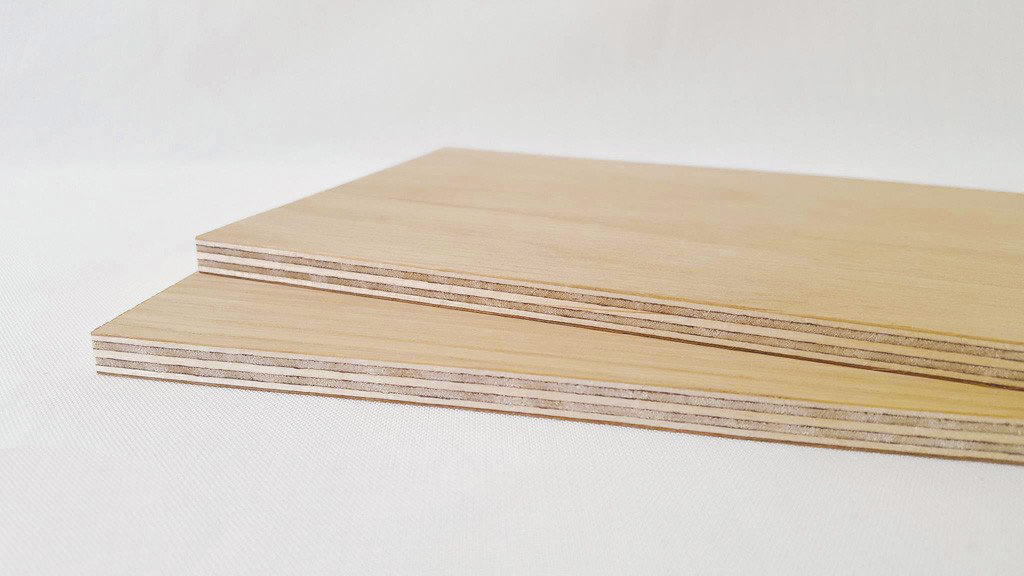
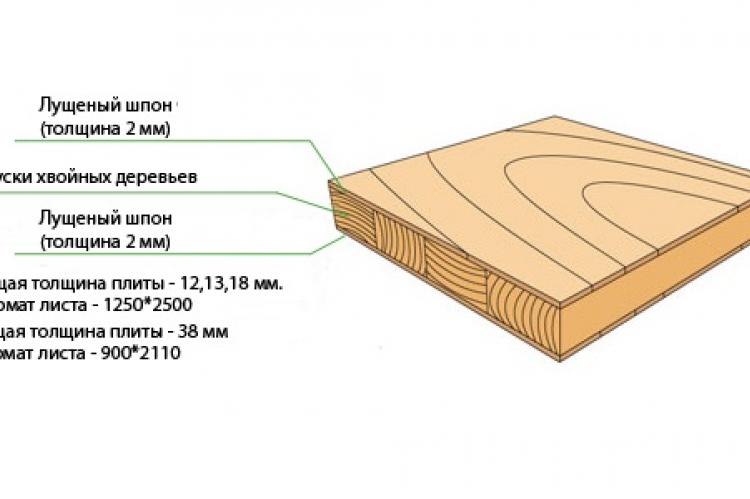
It can be seen from the phrase that the product consists of two materials, where the base is a modified board, and the decorative coating is wood veneer.
Let's start at the bottom:
-
the basis of such products is Medium Density Fibreboard
where the abbreviation MDF came from; -
but the abbreviation in Cyrillic MDF, this is already transliteration
, since in translation it sounds like Medium Density Fiberboard; -
such boards are made from fine wood chips
which is pressed at high temperature and high pressure, as required by the instructions; -
it is noteworthy that the binder here is lignin
- This is a substance that is contained in algae, which means that it is a purely organic substance that is absolutely harmless to the human body.
Table of technical parameters of MDF from "APSHERONSK"
Now let's move on to the decorative finish:
- in the original, in German, the word veneer (spane) sounds like chips, but it is a thin sheet material made of wood, which can have a thickness of 0.1 mm to 10 mm;
- such material, as a rule, is used as a glued coating - most often it is glued on fiberboard or MDF;
- such products are obtained in three ways: by peeling, planing and sawing - the product itself is named according to the method of extraction;
- in addition, it can be natural, that is, it is cut with thin sheets from solid wood and has the same color;
- it can also be colored if it is painted over and stained;
- and also fine-line - this is when the peeled material is pressed into blocks, and then sheets are made from it with different sizes, colors and textures (such material has the lowest price).
Cabinet furniture and facades
MDF veneered with oak - "Chestnut Oak" kitchen
Very widely used in the furniture industry, as well as by small businesses, veneered MDF facades, which can have a very different color and imitate various solid wood species. At first, it was synthetics - paper on which the structure of various types of wood was painted.
This technology has been used for over 50 years. This is an automated process, but such furniture "does not last long", since paper still remains paper.
Furniture for which natural veneered MDF boards, particle boards or even cheap woods are used are much more expensive than ordinary ones where paper is used. Here, veneer plates obtained by peeling or sawing are used, that is, the two most natural and expensive methods, especially since valuable species are used for this.
For production, such species as oak, ash, maple, alder, walnut, cherry, apple, and sometimes even mahogany or ebony, olive, beech and so on are used.
In the photo - kitchen and natural veneered facades
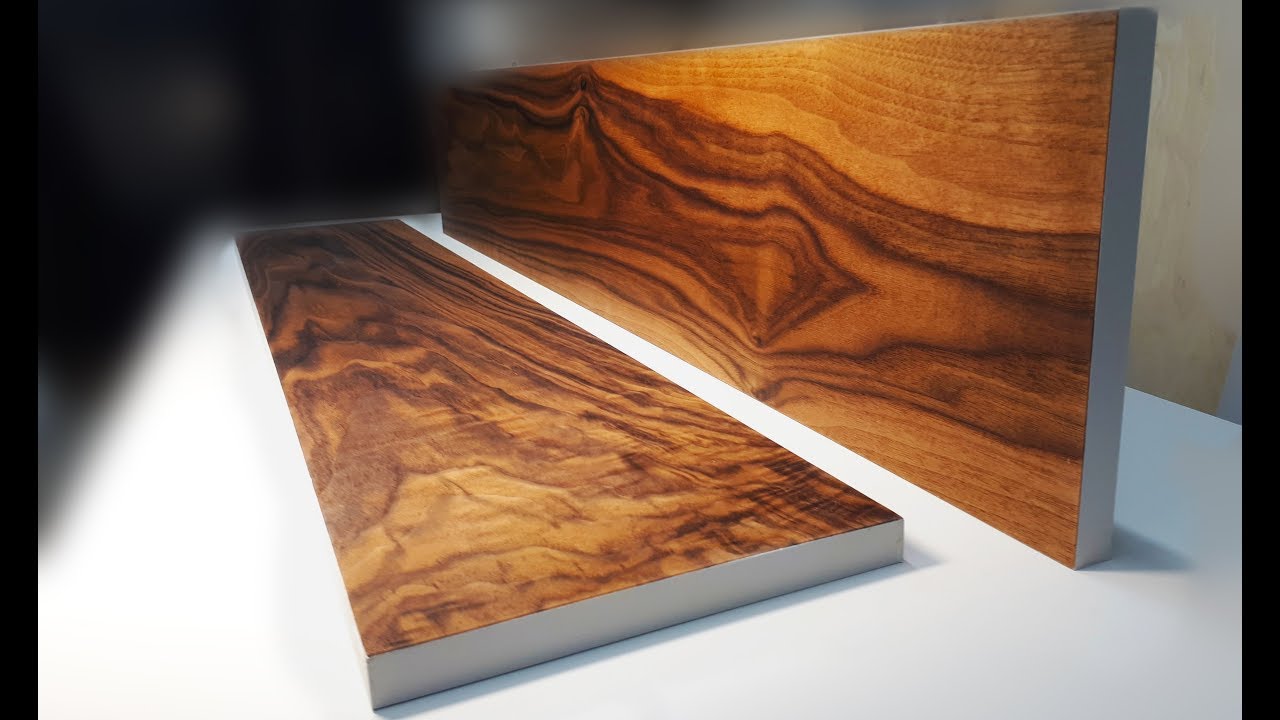
Of course, various wardrobes, tables, kitchens from veneered MDF natural types are more expensive than synthetics, but, as they say, there is an emphasized nobility and breed. Of course, for grace, the surface is treated with a primer or varnish.
From this, the furniture acquires a matte or glossy shade. However, in addition to beauty, there is also a technical side of the issue, since this is some kind of protection against light mechanical damage. In most cases, polyurethane and acrylic varnishes are used, which are applied by spray or roller method.
Different profiles
Furniture - furniture, and now let's talk about what you can do from such material with your own hands. I mean any kind of renovation and finishing work around the house. The fact is that there are various profiles available for sale that can be an excellent addition or even the main part of your house or apartment.
MDF skirting board with natural veneer
But most often of all profiles of this type, cornices, baguettes, ceiling and floor veneered MDF skirting boards are used. They are combined with other finishing materials - decorative plaster, molding, wallpaper, laminate and other materials.
The main types of veneer
Veneer is a thin layer of wood. The substance is an absolutely natural material that has several varieties:
- Standard - made from oak, cherry, walnut. Other types of wood can also be used.
- Special - made from rare and valuable tree species.
- Root cuts of interesting species - this material is not suitable for the production of furniture, but it has an interesting texture. This category includes myrtle or eucalyptus.
- Exclusive - characterized by an unusual texture and non-standard sizes.
The material may also differ in the way of cutting and processing methods. Most often it is used in the furniture industry. Often, the substance is glued to wall or facade panels. Veneer doors look actual. This substance is characterized by its excellent appearance. It is permissible to fix it on various wooden surfaces. At the same time, the substance is notable for its affordable price. Therefore, it is often used to decorate the interiors of residential premises. The main advantages of veneer include the following:
- long period of operation;
- moisture resistance;
- environmental friendliness;
- high strength.
By cutting method
Depending on the cutting method, veneer can be radial and tangential. Each of the options has certain features.
Tangential
This material is obtained by slicing the trunk parallel to the center. This helps to achieve the effect of rings on the surface.
Radial
This is achieved by planing at a 90 degree angle to the tree rings.
By processing method
Depending on the processing method, veneer has several varieties. Each of them has a number of features.
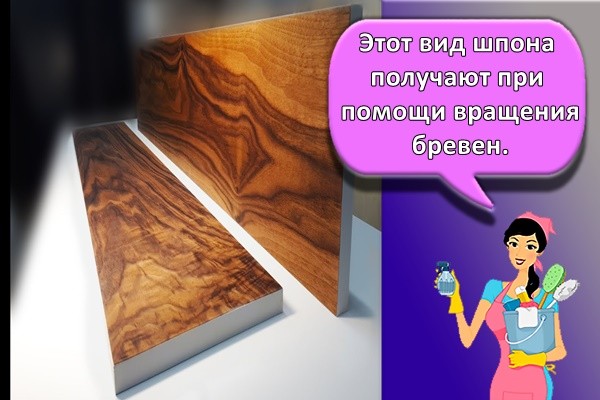
Shelled
This type of veneer is obtained by rotating the logs. During the procedure, a thin tape is cut from them. The saw of a special machine cuts the wood parallel to the grain. This material is obtained from oak and alder. Pine and birch are also used for its manufacture.
Sawn
This veneer is made from coniferous trees. These include Siberian cedar and fir. As a result, it is possible to obtain boards with a thickness of up to 12 millimeters. Usually the material is used to make musical instruments. It is sometimes used in the furniture industry as well. This type of veneer is considered the most valuable.
Planed
This material is made exclusively from solid wood. It can be obtained from oak or mahogany. It differs from other types of veneer by the method of cutting wood. First, the trunk must be cut into bars. Then its layers are cut off. This is done perpendicular to the fibers.
How to glue the veneer:
You need to draw a drawing on a piece of paper (the drawing must be drawn inversely). Then you need to put your drawing on a carbon copy, and glue it to it with ordinary tape. It is necessary to transfer the drawing to the veneer sheet from left to right as the drawing is reproduced in the following sequence:
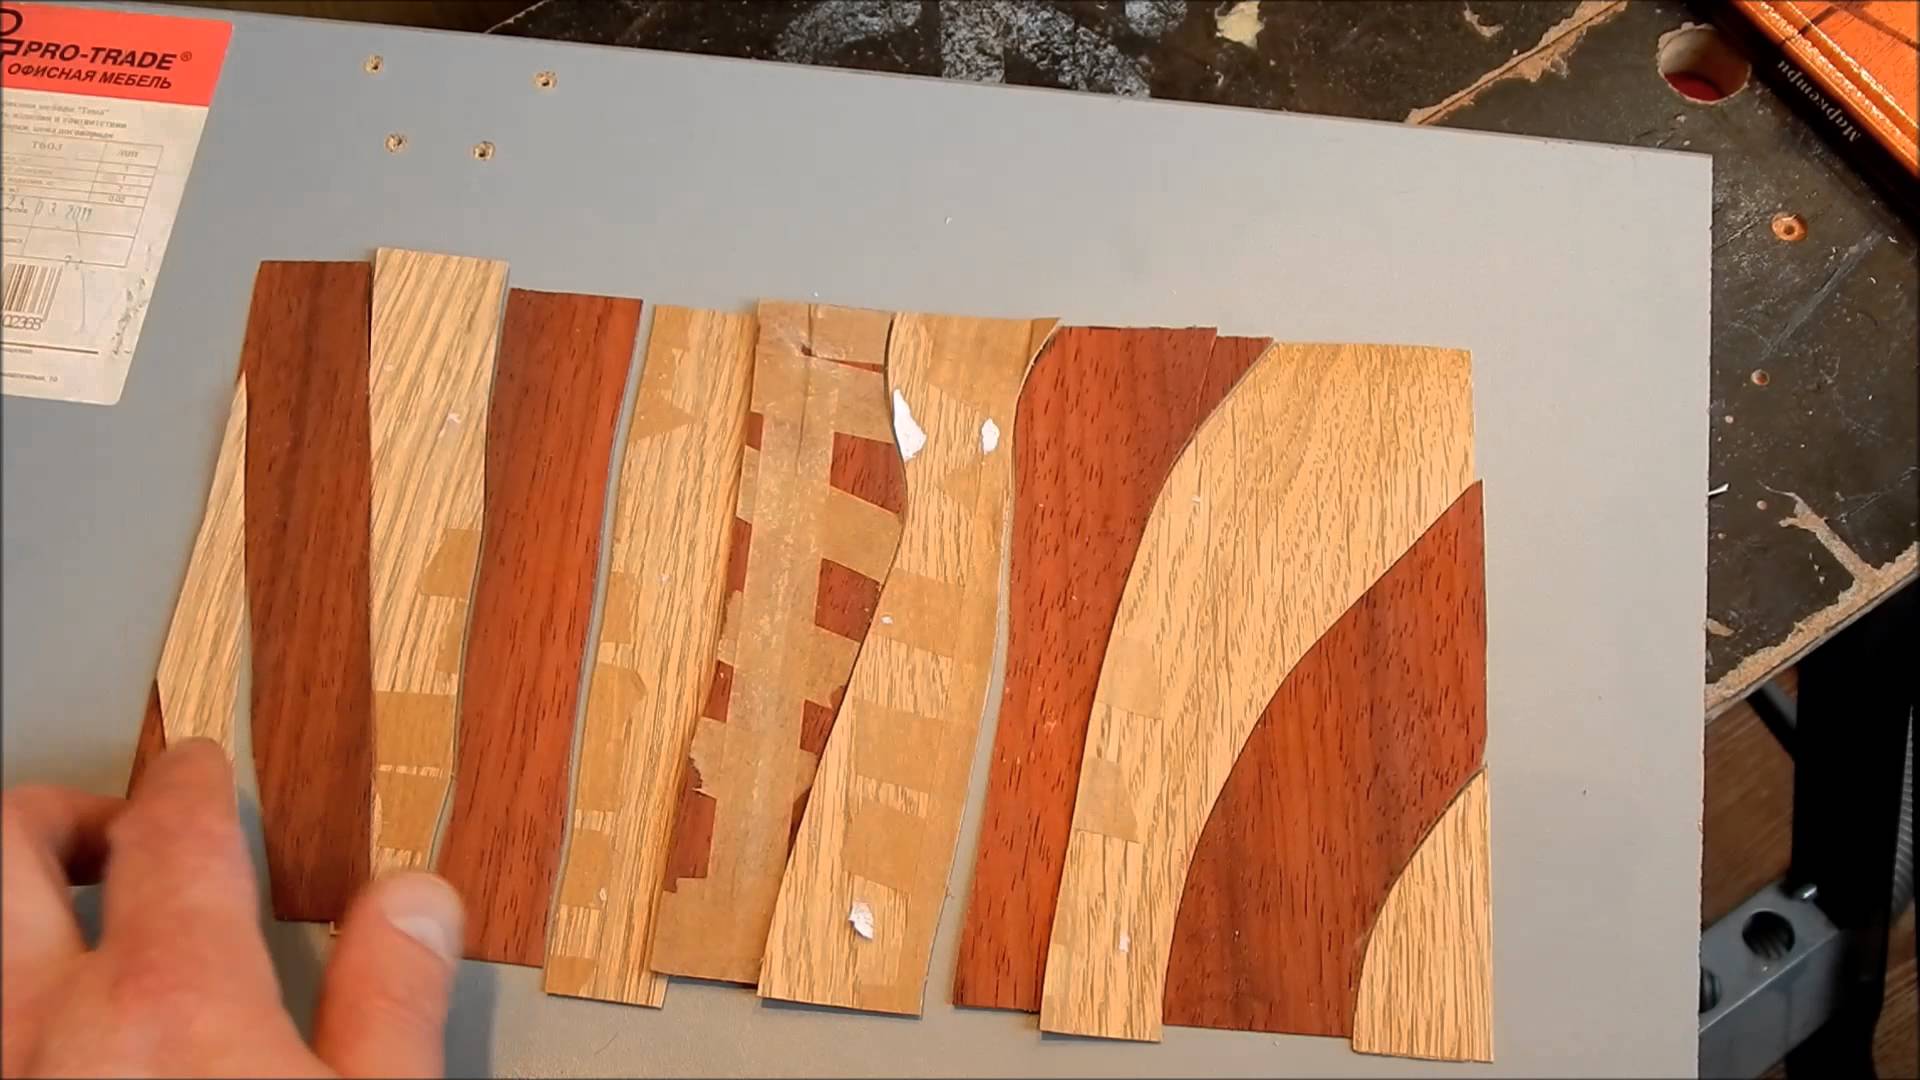
Put a piece of drawing on the veneer (the shade required for the application area) -> cut it out with blade or knife for paper -> stick to the drawing with masking tape -> apply the next fragment of the drawing to the veneer, cut it out again and stick it with masking tape on the drawing.
After your applique is completely laid out on the paper drawing, you need to unhook the carbon copy, then smear both the tape and the applique with dragon glue, and lean against your wooden surface (the wooden surface must be cleaned and prepared for the best adhesion).
The paper will be on top, now you need to iron it over the paper with a heated iron in order to warm it up well and glue the veneer to the wood.
Do not worry about masking tape - staying forever between veneer and wood, masking tape will not create bulges or irregularities - it will not be visible. At high temperatures, the "Dragon" glue instantly freezes, thereby gluing the veneer to the wood, but if you do not have such glue, then you can use PVA glue, but in the first case it is easier and better to do it faster.
When the applique is completely glued to the wooden surface, you just have to sand it well and varnish it to give the product a finished look.
So you can inlay with dear ones any wood species wooden boxes, boxes, tables, chairs and other household utensils.
PS: I tried to clearly show and describe non-tricky advice. I hope that at least something will be useful to you. But this is not all that you can think of, so go for it and study the site.
In simple terms, veneering is the gluing of thin sheets of wood with a beautiful structure (in fact) on a wooden base - be it a table, wall or door - of lower decorative qualities. It turns out that veneering furniture means dressing it in nice clothes.
Veneering is more correct to call veneering
... But it so happened that the slang word “veneer” is more familiar to the average ear than “veneer”.
What are the types of veneering
The main types
veneering or veneering are
three kinds. Namely, hot, cold and
membrane veneering.
The most affordable method for home use is the hot veneer method. Here the veneer is glued to the base with an adhesive.

Rest
two types of veneering - cold and
membrane, requires special machines
and other production facilities.
So, cold veneering is pressing
veneer to the base. For this are used
pressing machines or screw
wimes.
Membrane veneering is performed on complex relief surfaces. And based on the vacuum bonding of smooth and embossed slabs and veneers

What is veneering?
Veneering
(veneering
) is called the pasting of a wooden base, which has lower decorative qualities, thin plates of wood that have a specious structure.
A special place among finishing materials is occupied by natural veneer, the basis for the manufacture of which is valuable wood species (oak
, maple, beech, alder, pine). Its undoubted advantage is its lower cost compared to the price of solid wood material.
This veneer is environmentally friendly and does not emit toxins. Using it allows you to give doors, furniture, walls a favorable look, carefully spending natural resources. Natural veneer trim protects products from moisture, they are not afraid of temperature changes.
Which veneer is better: peeled, sawn or planed - you can find out.
Each sheet has a unique texture and is not inferior in appearance to solid wood. In addition, the finishing material can be given the desired tone and different texture, and decorated with various patterns.
The surfaces covered with natural veneer are smooth, reliably protected from chips, scratches and other mechanical damage. The material is an ideal solution for bringing to life the most daring and original design solutions.
After finishing products and surfaces with natural veneer, the interior will undoubtedly be filled with an atmosphere of nobility, sophistication and aristocracy.

