Step-by-step instructions for performing work
When you have finished installing the plasterboard sheets, you will have to further finish them. If you plan to paint, plasterboard should be putty in at least two stages.
Drywall putty technology is as follows:
- Be sure to apply a primer with deep penetration properties to drywall.
- We close up the holes left over from the screws.
- We putty the joints.
- We make internal and external corners putty.
- We apply a primer for gypsum board.
- We finish the surface with a starting putty.
- Grinding irregularities.
- Apply a primer over drywall.
- Puttying with finishing compound.
- We cover the walls with a primer for final work.
And now we still find out what kind of putty to putty drywall. Both polymer and gypsum are used. Polymer putties are used for final finishing, as they help to level the surface. Gypsum, on the other hand, are both starting and finishing, depending on the size of the grains.
Plasterboard putty can be of different types - ready-to-use, or dry, requiring dilution with water. Of course, it is better to use the first one, so you are guaranteed to protect yourself from lumps that can occur with incorrect dosages of dry, but it is an order of magnitude more expensive.
Reinforcement with tape
When puttying drywall seams, reinforcement is necessarily made using a special material.
After filling the seams, a reinforcing tape is applied to them. It consists of non-woven tape, fiberglass mesh and fiberglass. The tape protects them from cracking. It is evenly distributed over the surface of the joints and, smoothing with a spatula, remove air bubbles.
In the process of reinforcement, paper banding tape is sometimes used. The use of paper tape for reinforcement gives the seams the necessary strength.
After that, you will need to sand the walls using a special tool or sandpaper. The last operations will give a holistic look.
Workshop on processing joints:
Correct execution of the joint putty will help to level the ceiling and get a beautiful interior of the room. Careful adherence to the instructions will allow you to quickly achieve the desired result in the renovation of your premises.
Drywall is increasingly used in finishing works, displacing various types of plaster. In addition to wall mounting, such a finishing material is excellent.
If paint or whitewash is chosen for the treatment of the ceiling, then preparatory work must be done before applying them. Preparation and alignment.
Drywall tape called serpyanka has different sizes. The width of common specimens is 45 and 100 mm. Roll length varies from.
To neatly glue the mesh at a corner, unwind a short piece of tape and place a piece of tape at one corner. Then, gently roll the remainder of the strip onto the other side of the corner and press the strip against the base. Before sticking the serpyanka on the drywall, carefully examine the assembled structure. Check the seams: there should be a distance of about 1-2 mm between the two sheets.
This is necessary so that in the event of surface deformation, the structure does not lose its previous appearance. Corner seams are made in the same way. Here you need to be very careful when working with the solution. You do not need to apply it a lot, then you will have to work for a long time to remove a flat surface.
After the work done with the seams and corners, the entire surface of the plasterboard product is leveled with the finishing putty.
- The room where the work is carried out should have a temperature from +10 to +25, as well as normal humidity.
- It is required to close window openings and doors to avoid air movement.
- Checking drywall products for strength. With “flimsy fastening of sheets, sealing of seams between sheets will be meaningless, since drywall is deformed and this will lead to undesirable consequences.
Which putty is better to putty the walls and how to choose it
Classification of putty by composition: gypsum, polymer (acrylic) and cement.
Let's consider their advantages and disadvantages.
1. Gypsum putties are attractive at an inexpensive price, lend themselves well to leveling, do not shrink. The only drawback is poor moisture resistance. This alone limits the scope of their use.
2. Cement putties are distinguished by excellent moisture resistance, but have a significant drawback - a large degree of shrinkage.
3. And finally, polymer putties. Undoubted advantages: excellent moisture resistance, do not shrink at all. With the help of polymer putty, high quality of the treated wall surfaces is obtained. The only drawback is the high price.
By purpose, putties can be divided into starting (leveling), decorative (finishing) and universal.
1. Characteristics of leveling (starting) mixtures: high strength, excellent adhesion, large grain size. Recommended: for leveling walls after plastering. Application thickness: 3 -20 mm.
2. For high-quality performance of decorative finishing, it is desirable to apply finishing putties on the surface to be treated. With their help, you can get a perfectly smooth, even surface, hiding small flaws. The strength of the finishing putty is less than the starting one, its processing does not cause difficulties. It is applied in a small layer up to 4 mm.
3. Universal fillers combine the properties of decorative and leveling compounds. They cost more, although in terms of properties they are slightly inferior to the finishing and starting coatings. We recommend using it when processing walls without major flaws.
The modern market offers dry and ready-to-use putties. It is attracted by the low cost of dry putty and the possibility of its long-term storage.
It is convenient to use ready-made putties. You do not have to use a mixer to prepare a homogeneous putty mixture. This saves time and virtually no dust. But ready-made putties are much more expensive than dry ones. Please note: such putties give a lot of shrinkage. If a layer less than 2 mm thick is applied, ready-made fillers cannot be used. They also do not boast of a long shelf life. It is significantly less than dry building mixtures.
Dry in bags and ready to use in a bucket of putty.
Preparing drywall for puttying
The gross mistake would be to putty drywall immediately after installation. This is especially true for independent work. The cardboard throughout the material is most likely dusty after previous work and the layer of putty can subsequently easily come off, and at the time of application it will roll and bump. It is imperative to prime the entire surface, given that in fact all further finishing methods involve the use of liquid or wet adhesives, be it wallpaper, tiles or painting. The priming creates a durable thin layer that prevents the cardboard from swelling, binds the remains of gypsum dust.
The primer is selected with a low degree of penetration, dry mixtures based on water. Before priming, the main contamination is swept away with a dry cloth or vacuum cleaner, the entire surface is opened with an even layer. As soon as the primer is dry, you can start to putty drywall.
Work order
Each master has his own secrets of how to putty drywall under the wallpaper. Nevertheless, the work is carried out according to the technology in several stages:
- All joints and defects are carefully leveled.
- External and internal corners are formed.
- The filled areas are sanded.
- The entire surface is dedusted and primed.
- Putty is applied.
- Grinding and priming is carried out for subsequent finishing.
You can control the quality of the base using the directional light of a lamp or flashlight. If defects are noticeable, you need to apply the next layers until the desired result is achieved.
Sealing seams, holes and defects
All recesses on the surface of the wall must be tightly filled with putty. Professional craftsmen recommend using a Knauf-Fugen mixture for this. It is flexible, easy to use, fills the joints well.
The putty is rubbed into the defects with little effort until a bead of material forms on the surface. Self-tapping screws are recommended to be processed with Knauf-Fugen 2 times to avoid shrinkage.
To strengthen the seams, reinforcing paper tape or serpyanka are used. They protect the filler from cracking and destruction.
Seam sealing is carried out in the following ways:
- Pre-wet the paper tape in water for better adhesion to the surface and prevent the formation of bubbles. Fill the joint with putty and glue the tape, pressing it lightly with a narrow trowel. The tape must be completely immersed in the solution.
- Apply a finishing filler to the seam. Glue the wetted tape on PVA glue to the joint. After drying, putty the entire surface.
- When using serpyanka, the seam is also first filled with putty. Remove excess mortar from the middle with a narrow spatula, then smooth the tape strictly in the center of the joint with your hand, pressing slightly. Cover with putty with a wide spatula.
There should be no voids in the seams and holes, and bubbles under the tape or serpentine. Grinding is started after the solution has dried (10-12 hours).
Plasterboard corners
The processing technology for external and internal corners is different. For the outer corners, special perforated profiles made of galvanized steel or plastic are used. They allow you to strengthen the joint of two sheets and give the corner the correct geometry.
The area is pre-covered with fresh putty. The profile is applied to the corner and pressed slightly. A portion of the putty is applied on top and smoothed so that the corner disappears completely under it. You can pre-fix the profile with self-tapping screws.
A paper tape is used to reinforce the inner corners. The joint must be well coated with putty. Place the tape over the mortar and press firmly. Smooth it out with a narrow trowel, then cover with a small amount of putty.
Finishing plaster of plasterboard walls for painting
The substrate for painting should be almost perfect. The task of the finishing putty is to level out even the smallest defects.
Before puttingty drywall for painting, the entire surface must be covered with a starting mixture, dried and sanded. Clean the walls from dust, prime. After drying, get to work:
- Stir the composition for finishing putty thoroughly. If it is prepared from a dry mixture, you need to achieve a uniform and smooth consistency, reminiscent of sour cream.
- Apply the mixture with a trowel to a long trowel and spread over the wall.
- Then, in a circular motion, rub over the surface with the thinnest possible layer.
- Sequentially putty each area with an approach to the adjacent one, so as not to leave rough marks from the spatula. Movements must be done with uniform pressure.
To speed up the work and improve its quality in the corners, it is recommended to use a special angled spatula. It copes well even with hard-to-reach places.
The air temperature in the room should not be lower than 10%. Drying time - 8 hours. After complete drying, start sanding. This is a laborious process, but the final result will depend on the quality of the work done.
Remove dust and primer before finishing. If necessary, repeat the putty-sanding-priming cycle several times until the desired surface quality is achieved.
How to prepare the solution?
To begin with, it is important to know that the putty hardens quickly enough, so the volume of the mixed solution should be calculated for about the next 20 - 30 minutes of work. Under no circumstances should you pour / pour the remaining solution / mixture that was used back into the jar! This will lead to the setting process of the solution, and all the putty will become unusable.
It is better to regularly knead the "fresh" solution than to constantly throw out the putty, because it has started to set.
Under no circumstances should you pour / pour the remaining solution / mixture that was used back into the jar! This will lead to the setting process of the solution, and all the putty will become unusable. It is better to regularly knead the "fresh" solution than to throw away the filler all the time, because it has started to set.
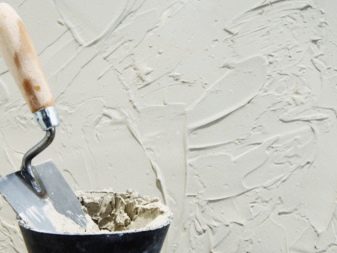
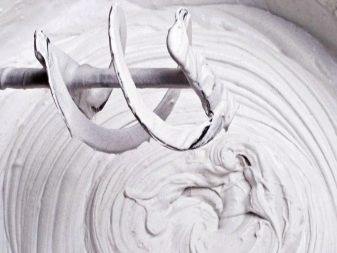
Step-by-step plan for the preparation of the solution:
In an absolutely clean container (bath), you need to dial the amount of water required in the instructions (do not forget that you need to calculate the amount of water and mixture only for the next 20-30 minutes of work). The water should be clean and at room temperature.
The dry mixture must be evenly poured onto the surface of the water. Ideally, the powder should immediately be saturated with water and settle to the bottom of the tub.
For a good consistency of the putty, the mixture that has accumulated water should be approximately equal to the water level.
Using a spatula, gently mix the solution
Much attention should be paid to the corners at the bottom of the container (tray) - the mixture may remain there, and the putty will be of poor quality.
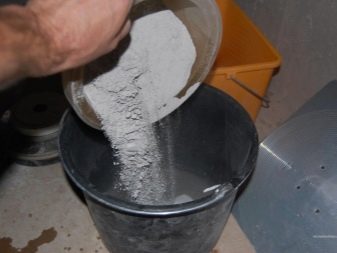
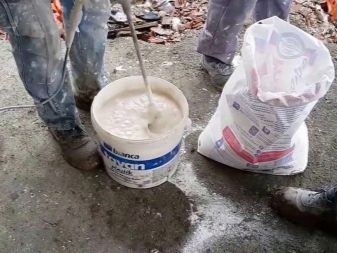
As a result, it should turn out a solution of a homogeneous consistency without lumps... Lumps need to be rubbed against the walls of the container and mixed with the rest of the mixture.
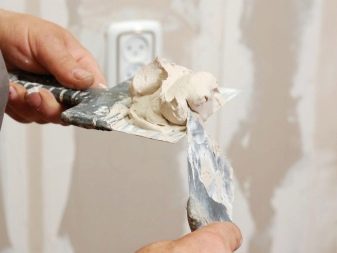
The finished putty solution should be thick and resemble thick sour cream. To make sure that the solution is the correct consistency, just scoop it up with a spatula and turn it over. The solution of the correct consistency should stick to the paddle, slowly "sliding", but not draining from it in any way.

Which putty to choose
So what kind of putty to choose? A few words about the composition and frequently asked questions.
Choosing a putty according to its composition
Here I will tell you what kind of putties are in composition and to which of the above types I can attribute them. At the same time I will answer frequently asked questions. I think everything will fall into place here.
Plaster putty
The main composition is gypsum, the rest is plasticizers and all kinds of additives. Gypsum itself has a coarse fraction compared to other types of putties. Therefore, it belongs to the type of starting finishing materials, well suited for preparation for wallpaper, cobwebs and rough decorative finishes.
Acrylic putty
Acrylic is such a versatile material that can be used in the production of all types of putties, both starting dry and finishing in buckets. And also acrylic putties are widely used in the processing of wood, car bodies, etc. Therefore, it is probably not correct to use the term "acrylic putty" for a specific application. In this case, it can be both start and finish. It is very often used in the production of wood putty.
Latex putty
Think for yourself, latex is rubber. Therefore, the putty for wall decoration cannot be rubber, it simply contains a latex component. This putty is very flexible and can be used in damp rooms, although it all depends on the manufacturer.
Polymer putty
Basically, these are all finishing putties, except for gypsum. Acrylic and vinyl are also polymers, so acrylic and vinyl putty can also be called polymer.
Dry putty for walls
It is a starter material, mainly gypsum and acrylic. Again, suitable for preparation for wallpaper, cobwebs and decorative.
What putty to choose for painting
The wall is prepared for painting as follows:
If the plaster is on the wall - 2 layers of starting gypsum putty, primer, if required, we glue the cobweb or reinforcing mesh and 3 layers of finished finished putty, grind and you're done. If you are interested in specifics, then I use acryl-putz starting at the beginning and rotband pasta or sheetrock at the finish. This is with regard to high-quality painting. If high-quality painting is not needed, then you can putty 3 layers of starting putty, grind and paint.
What putty to choose under the wallpaper
Under the wallpaper I use a starter putty, which comes dry in bags. If we putty plaster, then basically 3 layers of gypsum or acrylic starting putty are enough. I can recommend acryl-putz, prospectors, typhoon, knauf. (if they are sold in your regions)
Pay attention to the price, cheap stuff is almost always bad. We'll talk about how to putty the walls under the wallpaper a little later.
Start-finish putty
Positioned as a universal filler. Very well suited for preparation for wallpaper, cobwebs and for rough painting. As a finishing putty on a web, this mixture will not work, I also do not recommend it for finishing for painting ceilings and slopes. The finishing putty should be ready-made in buckets on a polymer basis, not dry. There are no universal putties that perform their function well everywhere.
Best finishing putty
During my long time in the finishing industry, I have tried working with different brands. I used them in different conditions and on different surfaces. As for the finishing putty, I can safely say that you need to take Knauf rotband pasta, sheetrock, Bostik finspakel (hardens strongly). putty for walls»
Summing up the selection
Brief selection of putty. For those who are too lazy to read the entire article, who just need to know the number of layers and which putty to buy:
| Preparation type | Work order |
|---|---|
| under the wallpaper | 3 layers starter |
| for painting | 2 layers of starting, cobweb, 3 layers of finishing |
| for decorative coating rough | 2 layers of starting, mesh reinforcement, 1 layer of starting |
| finely dispersed decorative coating | 2 layers of starting, reinforcement, 3 layers of finishing |
| slopes | 2 start, web, 3 finish |
| GKL for painting | finishing of seams with special putties, cobweb, 3 finishing layers |
| GKL under the wallpaper | finishing of seams, finishing of seams with finishing putty |
| loggia | 3 layers of facade (if you really need to putty, and it is damp on the balcony) |
| basement | if very damp facade putty 3 layers. |
| bathroom | although not recommended, I use the same technology as in other rooms. But you can paint it with moisture-resistant paint. |
We will talk about this in more detail in the following chapters.
How to putty plasterboard walls (video)
The quality of the walls plays an important role in the interior of the apartment. Usually, the latter are decorated with various types of wallpaper. Before you start gluing your favorite wallpaper, you need to take care of the beauty of the walls. First of all, the walls must be perfectly flat, this can be done using various materials, for example, drywall, which has gained extraordinary popularity among materials for leveling walls. How to putty drywall under the wallpaper yourself? You will find the answer to this and other questions in our article.
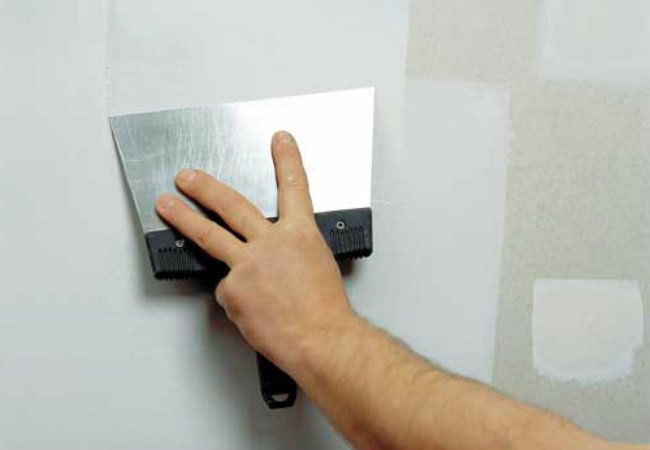
Before covering the walls with wallpaper, they must be plastered.
The plasterboard wall seems even to a millimeter, and many are wondering if plasterboard putty is needed? Visually, it seems that the wallpaper will fit perfectly on the drywall. But this is not so, it is necessary to putty plasterboard walls for the following reasons:
- The color of light-colored wallpaper will change significantly due to the greenish color of the drywall.
- If your wallpaper does not have sufficient thickness and strength, without puttingtying the walls will look sloppy - every seam, bump, as well as the heads of screws and bolts or recesses from them will be clearly visible.
- After gluing the wallpaper onto untreated drywall, it is possible to change the wallpaper only together with the wall. Therefore, puttying drywall before wallpapering is much more practical and cheaper.
- A huge mistake is the point of view, according to which, having putty only the seams of drywall, you will solve the problem. As a result, the wall will become a curve, it will be very noticeable under lighting.
The question of how to putty plasterboard walls has become very relevant. It is much wiser and cheaper to putty drywall under the wallpaper as a whole. This process is simple, and you can do it yourself with your own hands.
Cooking the ceiling for putty
The product is applied only on a dry, even surface. Therefore, all old trim, if present, must be removed. The decoration is removed completely to the floor slab. This will be most difficult if there are several decorative layers.
Sequence of work
- Wet the coating abundantly with a sponge or roller.
- After a while, the processing is repeated. The old design should be soaked in water and "sour".
- We take a spatula and carefully remove the swollen decor in layers.
- We wash the base freed from layers with clean water. Leave to dry.
- If the finish cannot be removed the first time, we wet it again, repeat all procedures.
The ceiling tiles are gently pry off the edge with a spatula and then removed. The wallpaper is soaked in warm soapy water, then peeled off in stripes. If they stick too tightly, moisten again, then scrape off. It is not always possible to wash off the water emulsion. Then it is better to remove it with a grinder. Oil paint is removed with a special remover. For a beginner, this may seem like an unnecessary operation, but otherwise the new design will not hold. After all the old decoration is removed, they begin to inspect the base. The best way to do this is to climb a ladder.
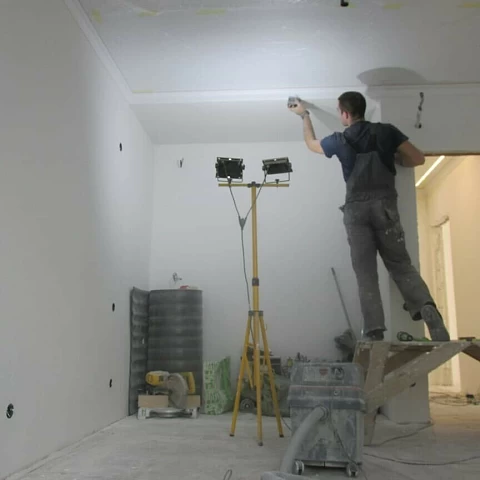 Instagram perfect_house_israel
Height differences are determined using a building level. They should not be more than 25 mm. In this case, you will have to put too large a layer of the putty mixture, which is not allowed by the technology. All cracks and cracks are revealed.
Small defects in the form of bulges or dents are clearly visible when illuminated with a flashlight. No matter how many of them there are, the location of each must be remembered or somehow noted. All identified flaws must be removed.
How to cover up a crack
- Sew the crack with a sharp tool. That is, we remove the remnants of the old coating from it, expand it to 2-3 mm.
- With a hard brush we clean out dust and dirt.
- Carefully cover the crack with repair mortar, polyurethane foam, primer.
- Cut off the required amount of serpyanka tape. This is a reinforcing mesh produced in strips of different widths. It should completely cover the crack. We glue the tape over the defect.
This step is skipped if you plan to putty the plastered base. It is already aligned and ready for further work. Next, you need to prime the base. The primer will improve the adhesion of the materials. For the best result, the composition is selected according to the type of base. So for concrete, a deep penetration preparation is recommended, for drywall - maximizing adhesion, etc.
Apply the selected product to a dry surface. The easiest way to do this is with a roller. In the corners and near the walls, the composition is applied with a brush. The number of layers is recommended by the manufacturer, the information will definitely be on the package. If you need to lay more than one layer, the next one is applied only after the previous one has completely dried.
Aligning the joints of the plasterboard ceiling
For high-quality layer application ceiling putties from the gypsum board for painting, it is necessary to close up the joints.To do this, you should adhere to a certain order:
- Using a brush, dust is removed from the ceiling.
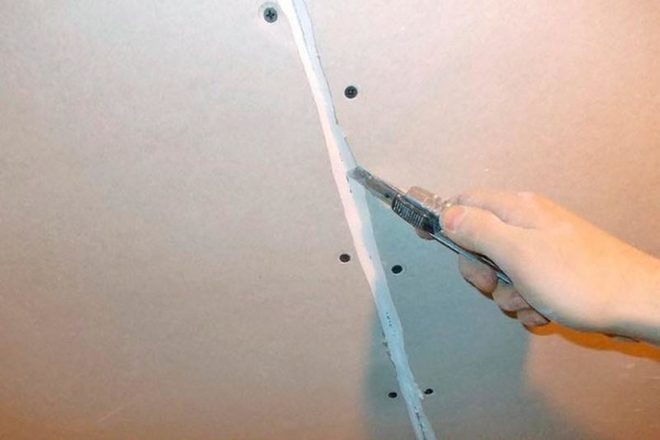
- Plasterboard sheets that do not have a factory edge are cut at the joints at an angle of 45 degrees.
- Along the entire length of the joint, cuts are made using a painting knife.
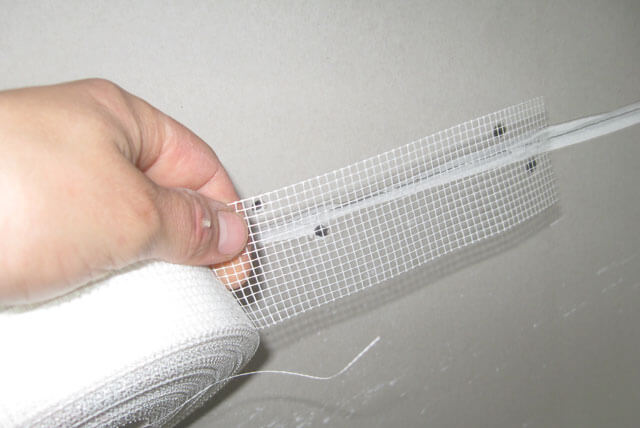
- The starting putty is kneaded and the joints and screwing points of the self-tapping screws are processed with it, performing crosswise movements.
- Next, close up the areas where the gypsum plasterboard profiles are located.
- The surface is left to dry the putty.

- Then a primer is applied. It should be remembered that the primer increases the adhesion of the surface and prevents moisture absorption. The best option for gypsum board is an acrylic-based primer.
- After the last layer has dried, a serpyanka tape is glued to the corners and seams between the drywall sheets. In this case, the seam should pass in the middle of the tape.
- The entire surface is leveled with a putty, after it dries, the treated areas are sanded.
Do-it-yourself drywall plastering technology step by step
The filling process must be divided into two stages:
- sealing the joints of drywall sheets;
- leveling the plasterboard plane.
Even at the stage of installing the gypsum board, care must be taken that the joints of the material are expanded with a planer. That is, this tool removes a 45º chamfer from the edges of the sheet. If this has not been done, then you can carry out the expansion with a sharp knife directly along the established structure.
Further, the seam is treated with a primer with preliminary dedusting of the chamfers. Not all craftsmen use a primer at this stage. Note that this liquid will strengthen the open gypsum layer, and besides, it will be much easier to putty drywall sheets. Be sure to wait for the primer to dry well.
Now, using a putty knife, a putty solution is applied to the joints. It is necessary to completely fill to the edges not only the groove, but also the part of the drywall sheet that adjoins the joint on both sides. It is in these areas that the attachment points are located with self-tapping screws.
Please note that the solution itself is a fast-drying material, therefore it is recommended to knead directly before puttingty the gypsum board. The volume of the mixture is prepared from the calculation so that it will last for half an hour of your work
So, the plastering of drywall, or rather, its joints continues. While the putty mixture applied to the seam between the sheets of gypsum board has not dried, it is necessary to lay a reinforcing paper tape. It fits so that its middle exactly coincides with the middle of the joint. Then you need to wait for the putty to dry out. This can take 12-24 hours.
The next stage is the application of a finishing layer into the seam on the reinforcing tape, it must be completely covered with a solution. Again, we are waiting for everything to dry.
Types of putties
1. Gypsum mixtures are presented on the building materials market in a huge range. They are the most sold ones, as they have a low price, good performance, harmless and hypoallergenic. This material is used for dry rooms. For bathrooms and similar places with high humidity, they are not taken, since in the plaster the flora in the form of black mold begins to multiply very quickly.
Of the positive properties, it is worth noting that this putty "breathes", that is, it lets steam through itself, due to which a natural microclimate is established in the room, and excess moisture is removed through the walls. The surface obtained from the gypsum plaster is somewhat rough, has good adhesion to paints, wallpaper and other finishing materials.
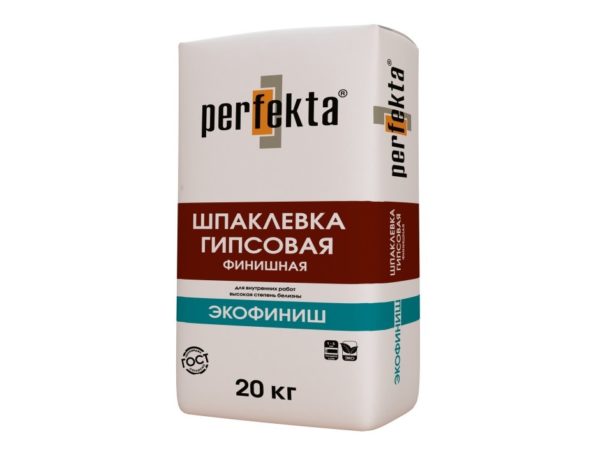 Finishing dry putty
2. Polymer mixtures have a number of their advantages. In particular, it should be noted that the material is supplied mainly in a ready-to-use form and has an ideal consistency. The mixture is homogeneous and allows you to achieve perfectly smooth surfaces with ease.Perfectly fits on gypsum plasterboards and can be combined with starting gypsum surfaces.
The material is supplied in buckets or hermetically sealed bags, which allows using the putty for a long time after opening them - it is enough to reseal the container. Such mixtures will not be afraid of storage in humid places, unlike gypsum, supplied in dry form, in bags, which get wet easily.
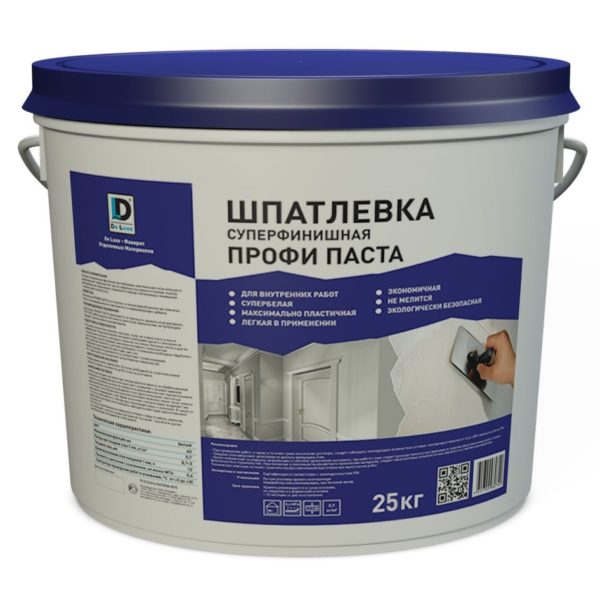 Ready polymer putty
The surface made of polymer putty is not afraid of water, and cannot pass steam through itself, therefore its use is justified precisely in humid rooms. Due to its structure, the material can be applied in thinner layers, which significantly reduces consumption and levels the initial price difference with cheaper putties. At the same time, you get a flat surface almost immediately and reduce the need for sanding, which, believe me, means a lot.
There are other types of putties, for example, facade based on the same polymers or cement. We will not talk about them today, as we are considering options for internal repairs.
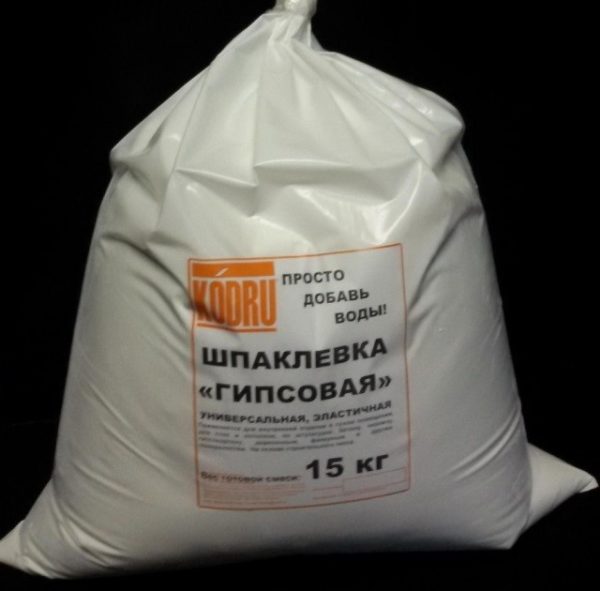 Universal plaster mix
We continue to examine the walls. The next step is to determine their evenness. To do this, we need a rule or some kind of long, even rail. It must be applied to the walls in different directions in order to identify the flowing or protruding places, and to determine the degree of flatness of the surface. If the errors are insignificant, then you do not need to worry about alignment, if they are noticeable, then, without plastering again, you can use coarse mixtures, which are allowed to be applied in thicker layers. Here we smoothly move on to the types of mixtures for their intended purpose.
Starter putty
Starting - in fact, it is already gypsum or cement plaster. These mixtures are coarsely ground, which allows them to be applied in layers up to 5 cm, depending on the manufacturer and the characteristics of specific compositions.
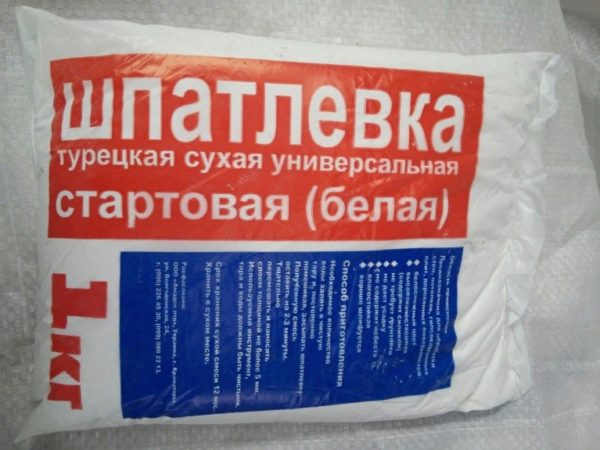 Starting plaster putty - packing of 1 kg
Due to such mixtures, with the help of a rule, without setting beacons, it is possible to correct rather gross defects of plasterers.
Finishing putty
It is impossible to make a flat smooth surface out of the starting putty. For these purposes, finishing mixtures with the finest grinding are used. It is not difficult to understand that it is not allowed to apply them in large layers. The material is used to eliminate minor irregularities in the base and create a smooth surface.
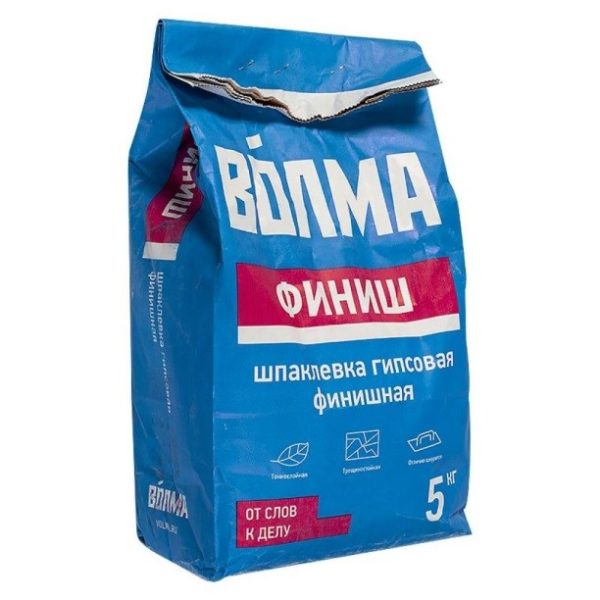 Finishing putty "Volma"
Finishing mixtures have good plasticity and softness, which makes them easier to work with. The average production time of the material after mixing is 30-40 minutes.
Universal putty
Agree, buying and using separately different types of putty is not the best thing to do, since they have different properties, they need to be allowed to dry well, it is difficult to calculate the amount of material, and so on. It is much easier to purchase a universal composition that has a medium grind and has absorbed the best properties of starting and finishing mixtures. With its help, it is easy to make the surface smooth (although you have to grind more), and the layer can be applied, if necessary, up to 1 cm. The material is suitable for both plastered walls and drywall.
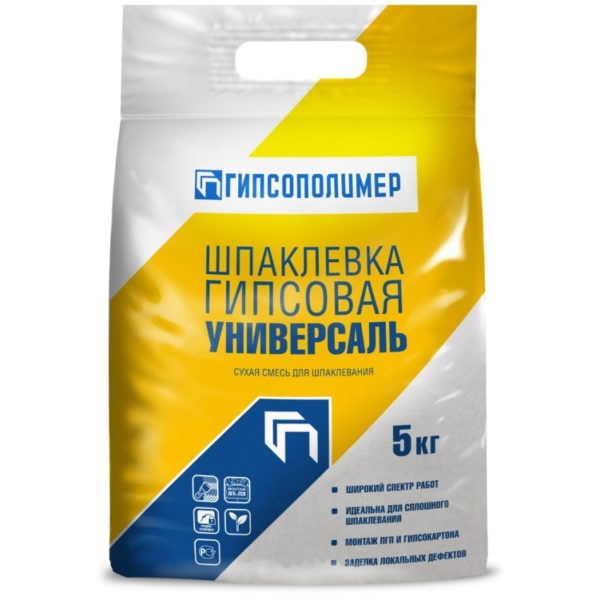 Universal formulations are the most popular among masters.
Having dealt with all the specified parameters, and choosing the most suitable material, you can smoothly proceed to preparation.
