Classification
All adhesives can be divided into several groups depending on the main component from which they are made. Each group of formulations is described in more detail below.
Polyurethane

Features of polyurethane adhesive mixtures are as follows:
- characterized by a high degree of elasticity, capable of gluing any type of surface, even different ones, for example, glass with metal;
- used if necessary to provide additional waterproofing;
- some compositions are capable of expanding after hardening, therefore, they are not always suitable for laying ceramic fragile tiles;
- are characterized by high strength, elasticity and resistance to sudden changes in temperature conditions.
There are one-component and two-component formulations. One-component polyurethane adhesive hardens due to the influence of the environment, enters into a chemical reaction with air. Two-component formulations harden by combining components after mixing in a certain ratio.
Cement

On sale, this type of glue can be found dry in bags. The main composition is Portland cement, sand and modifying additives. Additives in the glue are not more than 5%. Due to the sand, the glue is durable and at the same time has a low weight, which provides a low load on the base.
Depending on the modifiers that are present among the components of the glue, its properties differ:
- when plasticizers are added, the solution turns out to be viscous and plastic;
- due to antifreeze additives, a high level of frost resistance is achieved. Such adhesives are used for outdoor work;
- water-retaining additives prevent moisture from evaporating and give the surface an increased level of strength.
There are two types of cement-based adhesives:
- thin layer. They are used in works where the tiles are laid on a base with irregularities of no more than 1 cm;
- thick layer. They are used if it is necessary to level the differences up to 3 cm on the base, for example, if there is a need to tile the walls, then using thick-layer cement glue, you can not engage in preliminary plastering and leveling the surface.
Important! Be sure to evaluate the level of elevation differences!
Dispersive

Produced in the form of a paste-like homogeneous mixture, thick in consistency. Mix immediately before application. They can only be used on a flat concrete or plasterboard base, previously plastered.
It can be used to lay tiles both on the wall and on the floor. Their composition is an aqueous dispersion based on acrylic, latex or polyvinyl acetate.
Epoxy
The composition of the epoxy type of glue is resin and hardener. The components are mixed immediately before use. Due to the hardener, the mixture is strong, pressure-resistant, because the resin itself does not have such characteristics.
The main advantage of this type of material is a high level of adhesion.
Used for laying ceramic tiles on a wooden or metal surface.
Common faults and how to fix them
Any tool, sooner or later, will start to junk, so it will not be superfluous to know about the most frequent breakdowns of the glue gun. Let's consider the main cases and ways to solve them.
The rubber sleeve is damaged
This element is located at the entrance to the heat chamber and prevents molten glue from entering the inside of the tool.The clutch can simply break after the expiration date (frequent on-off cycles) or upon an unsuccessful attempt to pull the rod.
If heated hot melt glue enters the gun body, it can break the insulation, resulting in a short circuit. If there is physical wear and tear, then there is nothing you can do about it. But pulling the rod is not recommended. If it needs to be replaced, just cut the old one and insert the new one. The glue remaining inside will come out when heated.
Doesn't get warm
Most likely, the ceramic heating element is out of order. This part is not sold individually, unfortunately. It happens that the thermal gun heats up, but not more than +110 degrees. Here, craftsmen share their advice: we buy and disassemble a "raptor", take out a carbon plate similar to that of a tool, embedded in ceramics, and make a replacement. True, this solution is short-lived, and replacement requires accuracy and skill - it is better to buy a new glue gun.
The heating plate can also deteriorate. In this case, the masters recommend winding a 5 W ceramic resistor with a resistance of 3.9 K directly onto the nozzle.
It happens that there is no heating due to broken wires connected to the thermal chamber. It is enough to solder them to make everything work.
Benefits of using homemade adhesives
You can make wallpaper glue from what is in the kitchen cabinet or pantry. Homemade adhesive cannot be an alternative to a purchased product. Chemical plants produce various types of wallpaper adhesives with important technical features and improved composition. The purchased adhesive product contains substances that prevent the wallpaper from dampening in conditions of high humidity, prevents the development of mold and mildew, and has insecticidal properties.
> Home glue does not have all of these qualities. After all, it is prepared from simple substances, the main property of which is to form a sticky substance in the process of thermal, chemical processing or when mixing various ingredients. True, homemade glue has its own advantages. It is made from simple, often inexpensive foods. A ready-made composition made at home in the kitchen will be 10 times cheaper than purchased adhesives. A homemade adhesive is being prepared from natural raw materials. This means that such glue can be used in any room, even in a children's room.
How to do it yourself?
To work with hot glue, a special device is required. The simplest glue gun is relatively inexpensive. However, if necessary, you can make an analogue of such a device at home. This is especially true if you urgently need to glue any materials, and the suitable equipment was not at hand.
The glue stick melter can be made from a conventional boiler. In addition to him, the following devices will be required:
- Teflon tape or other material with similar properties;
- can;
- copper wire;
- a small block of wood.
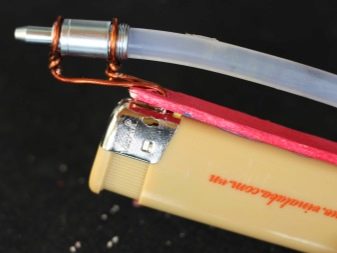
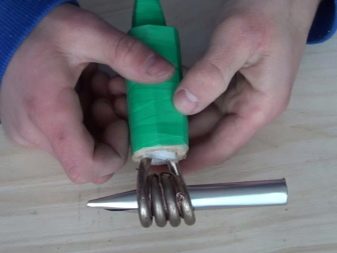
The handle for the future device must be made of a piece of wood. For this, the distance from the beginning of the tube to the spiral is measured, the measurement is transferred to the bar. Two pieces of the appropriate size are cut out of the wood and a small hole for the pipe is cut in the middle.
A handle is formed from two parts of the bar. The heating tube must be wrapped with Teflon tape, after which the handle can be attached to it. The bars are connected with ordinary electrical tape.
From a piece of a tin can, you need to make a tube in which the glue sticks will melt. The tin must be cut into two pieces 9 cm wide and 16 cm long. A tube is made from one piece, which should correspond in diameter to the glue stick. To do this, you can wrap the glue product with a tin sheet.
A small piece 5 cm wide and 8 cm long is cut from the second part of the tin piece.A cone with an open nose is formed from the resulting canvas, from which the glue will flow. Both parts of the tin blanks are interconnected and inserted into the hole between the coil of the boiler. The tin tube is attached to the spiral with copper wire. After completing all the steps, you can use the device.
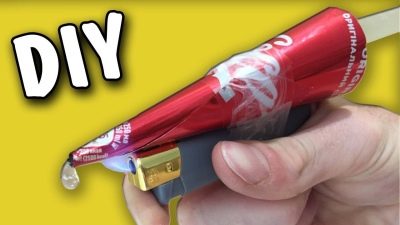
For how to make hot glue with your own hands, see the next video.
Hot glue bracelet
For a charming hot melt glue bracelet, making glue is quick and easy. The craft will not leave your daughter indifferent and will be a wonderful gift even for an adult girl. Prepare:
- an empty can for a drink;
- hot glue;
- materials for decoration - stones, sequins, sequins, broths, rhinestones, beads, liquid pearls to choose from.

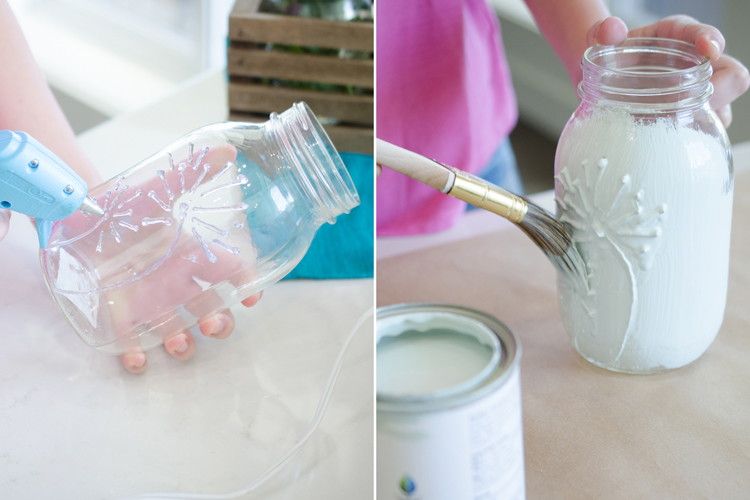
Follow the full crafting description to make sure the craft is a success. The first step is to heat the glue in a gun. Lubricate the surface of the jar with sunflower oil to prevent the glue from sticking, then apply several horizontal rings parallel to each other. Do not overdo it: the number of stripes and the gap between them determine the width of the finished product. Fasten the horizontal rings with a heat gun to each other by drawing vertical or zigzag lines, additionally wrap a colored thread around the can. While the craft is warm, decorate it with prepared decorations. Alternatively, you can use a can of paint to add color to your jewelry.

Features of the composition of superglue
The molecular formula is the same for all cyanoacrylate adhesives: CH2 = C (CN) COOR. It is a liquid cyanoacrylate monomer, or cyanoacrylic acid ester. R is a radical, it can be ethyl, methyl, butyl and other monovalent radicals, depending on which the technical characteristics of the glue change. Any superglue contains up to 97-99% cyanoacrylate, as well as the following substances:
- plasticizers - give superglue elasticity;
- stabilizers - keep the glue quite liquid before application and provide the desired properties after hardening;
- thickeners - provide the necessary thickness and consistency of the gel;
- modifiers - necessary to enhance the water resistance of superglue to the level of D3-D4, heat resistance (divinylbenzene, cyclopentadiene and others);
- adhesion enhancers - increase the adhesion strength of the glue (PVA, polyacryl);
- curing activators (needed when there is insufficient moisture) or curing inhibitors (to prevent spontaneous polymerization);
- finely dispersed metal powders - to improve the conduction of electricity.
Unlike other adhesives, super glues do not contain organic solvents. This makes them safer for humans and also suitable for bonding metal. On sale you can find different names of superglues, which are supplied in the form of blisters, tubes, jars, adhesive tapes. They have a common feature: a small volume of packaging, because after opening it, even with a slight decrease in tightness, the glue from the gel quickly becomes viscous, and then completely deteriorates.
How to cook at home
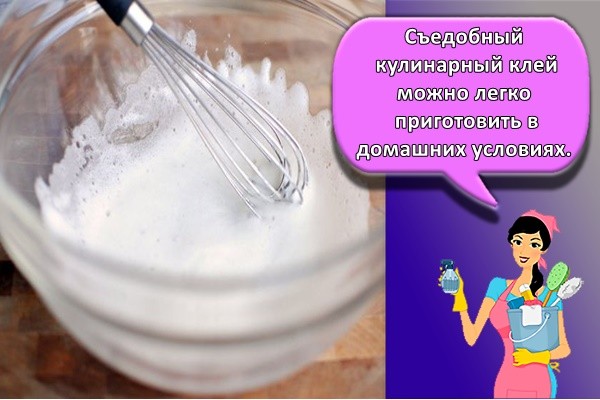
Edible culinary glue can be made easily at home. According to one of the simplest and most affordable recipes, the mass is prepared on the basis of egg whites:
- Separate the whites from the yolks.
- Beat by hand or with a mixer "to the peaks", that is, until the mass becomes so thick and white that you can make peaks that do not fall off.
- Add citric acid and powdered sugar to the resulting white mass (pinch each).
- Stir thoroughly until the composition thickens.
- Cover with cling film.
- Put in the refrigerator for 5 hours.
Food glue for cakes can be prepared on the basis of egg powder:
- Meringue powder (1 teaspoon) is mixed in a ceramic bowl with a tablespoon of water.
- Dilute with a few drops of water if the mixture is thick.
- Achieve such a consistency so that when applied to the elements to be glued, the composition looks transparent.
- Pour food glue into a container and close tightly.
- The composition is used immediately or stored in the refrigerator for up to 5 days.
Flower paste can be the basis for the adhesive composition:
- It is broken into small pieces.
- Add some water.
- Let stand for 30 minutes.
- Mix thoroughly.
Instead of flower mastic, you can take 28 grams of sugar white and mix with a quarter teaspoon of water until the composition appears soft and sticky.
One of the simplest can be the method of preparing food glue for mastic from carboxymethyl cellulose, which is diluted in water in a ratio of 1:30. The powder is poured into a bottle, water is poured into it and shaken for 3 minutes. Lumps that may appear in the liquid disappear on their own after 15 hours.
How to make glue for mastic
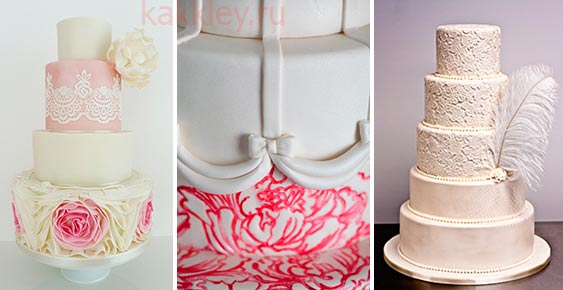
Mastic is a plastic paste for making confectionery decorations. At home, it can be prepared using the recipes of experienced housewives.
With gelatin
The gelatin diluted in water is slightly heated and filtered. Powdered sugar is added to the liquid and mixed thoroughly until the state of the mass becomes plastic. Strawberry, raspberry, beet, orange, greens juice is used as a dye for mastic.
Chewy marshmallow
Marshmallows are melted in a water bath, powdered sugar and lemon juice are added to the resulting mass. The composition turns out to be very plastic. It is easy to sculpt any dessert decoration from it.
Flour based
The recipe assumes the use of conventional products. To prepare the mastic you need:
- Bring 400 grams of water to a boil.
- Mix ½ cup flour with a little water until a thick gruel is obtained.
- Pour flour into boiling water.
- Boil and remove from heat.
- Add sugar and stir (3 tablespoons).
- Cool down.
- Decorate the cake with mastic.
Which food glue to buy - English or Chinese from aliexpress?
On sale you can find products of Russian and foreign production, however, professional confectioners in their work prefer food glue from the UK.

The most popular brands are:
Magic Colors is a transparent culinary glue based on natural plant ingredients. Completely ready to use, liquid, but at the same time dense adhesive with excellent adhesion. They are used for making sugar flowers (attaching petals from mastic plates), gluing marzipan figures to a cake. Magic Colors edible glue is also suitable for modeling. Sold in plastic bags weighing 32 grams.
Rainbow edible glue is an edible glue based on carboxymethyl cellulose designed for gluing and fixing decorative details on the surface of confectionery products (cakes, designer cakes, etc.). The glue does not cause allergic reactions and is suitable for vegetarians as it does not contain animal products. Available containers of glue - 25 and 50 ml. Made in the UK.
QFC Essentials Edible Glue is a colorless sugar glue. Ideal for making flowers and mastic patterns, works well with ready-made confectionery decors. The high adhesive ability of QFC Essentials allows you to hold even heavy elements - it is enough to fix the glued product for a while for the composition to set. Does not contain animal ingredients, suitable for vegetarians.
Carboxy Methyl Cellulose (CMC) is a white fibrous powder, odorless and tasteless. Used as a thickener and stabilizer. Also suitable for the preparation of edible glue for confectionery production. All that is needed for this is to dissolve the powder in water and stir it well.
English or Chinese from aliexpress? In specialized stores, CMC made in the UK is more common, but this functional powder can also be purchased on aliexpress.
According to experts, the Chinese Carboxy Methyl Cellulose differs little in its characteristics from the British. Except that the Chinese product becomes thicker and less elastic when diluted. The compositions taste absolutely identical.
Recipe - how to make food grade glue for mastic at home
Making homemade pastry glue is as easy as shelling pears.
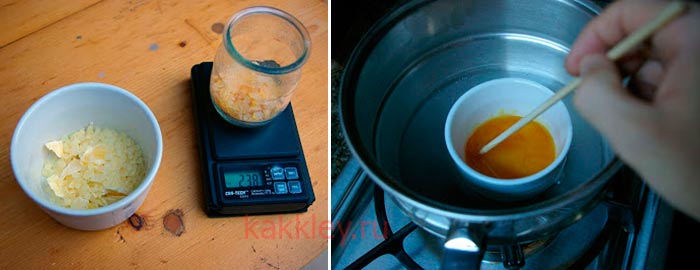
- To do this, you need to dilute carboxymethyl cellulose (Carboxy Methyl Cellulose) in water in a ratio of 1 to 30 (for 30 grams of water - 1 gram of powder). For gluing light elements, it is recommended to use a smaller amount of CMC (a ratio of 1 to 40 is sufficient).
- The powder is poured into a small plastic bottle with a tight-fitting lid, filled with an appropriate amount of water at room temperature and thoroughly mixed by long (for 2-3 minutes) shaking.
- At first, lumps of substance will be visible in the composition, but after 10-15 hours they will finally dissolve and the solution will acquire a homogeneous consistency. If the glue turns out to be too thick, you can dilute it with water, stir and hold for a while.
VIDEO INSTRUCTION
CMC is also added to confectionery mastic for figurine modeling.
- This must be done while rolling.
- Pour carboxymethyl cellulose in small portions and mix thoroughly.
- One teaspoon of thickener is enough for 300-350 grams of edible mastic. CMC gives the material elasticity and increases the strength of the finished product.
- To make the mass more viscous and plastic, it is recommended to hold it for 1.5-2 hours before starting the simulation.
Carboxy Methyl Cellulose made in Great Britain has a slight whitening effect - it gives mastic products a snow-white shade.
Can food glue be harmful?
Carboxymethyl cellulose (food additive E466), according to the results of numerous studies, was approved for use in the territory of the Russian Federation.
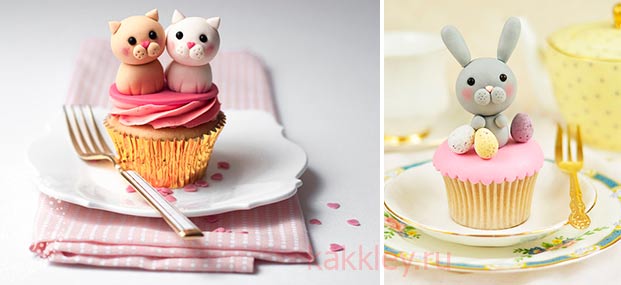
It is believed that in small doses, CMC does not pose a threat to health, however, in large quantities, Carboxy Methyl Cellulose can cause stomach upset (in rare cases, the effect of a laxative appears). In general, the supplement is considered safe.
Hot glue gun working principle
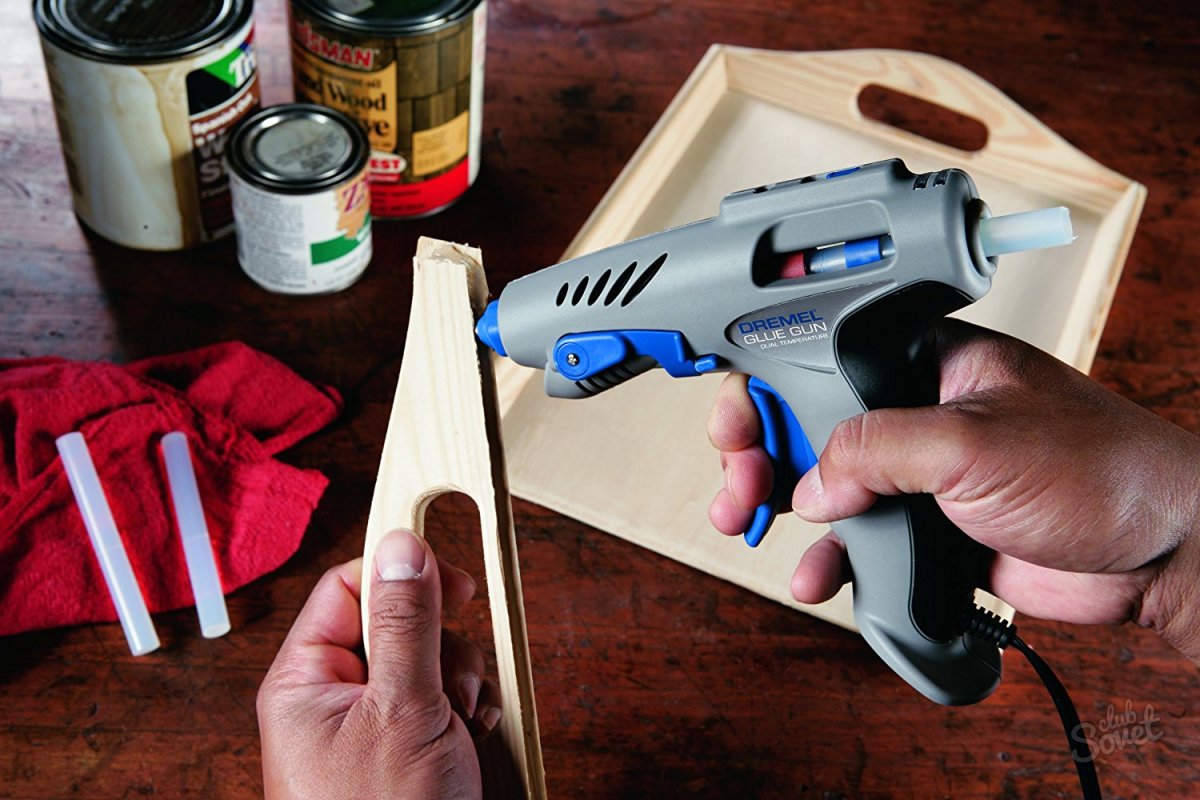
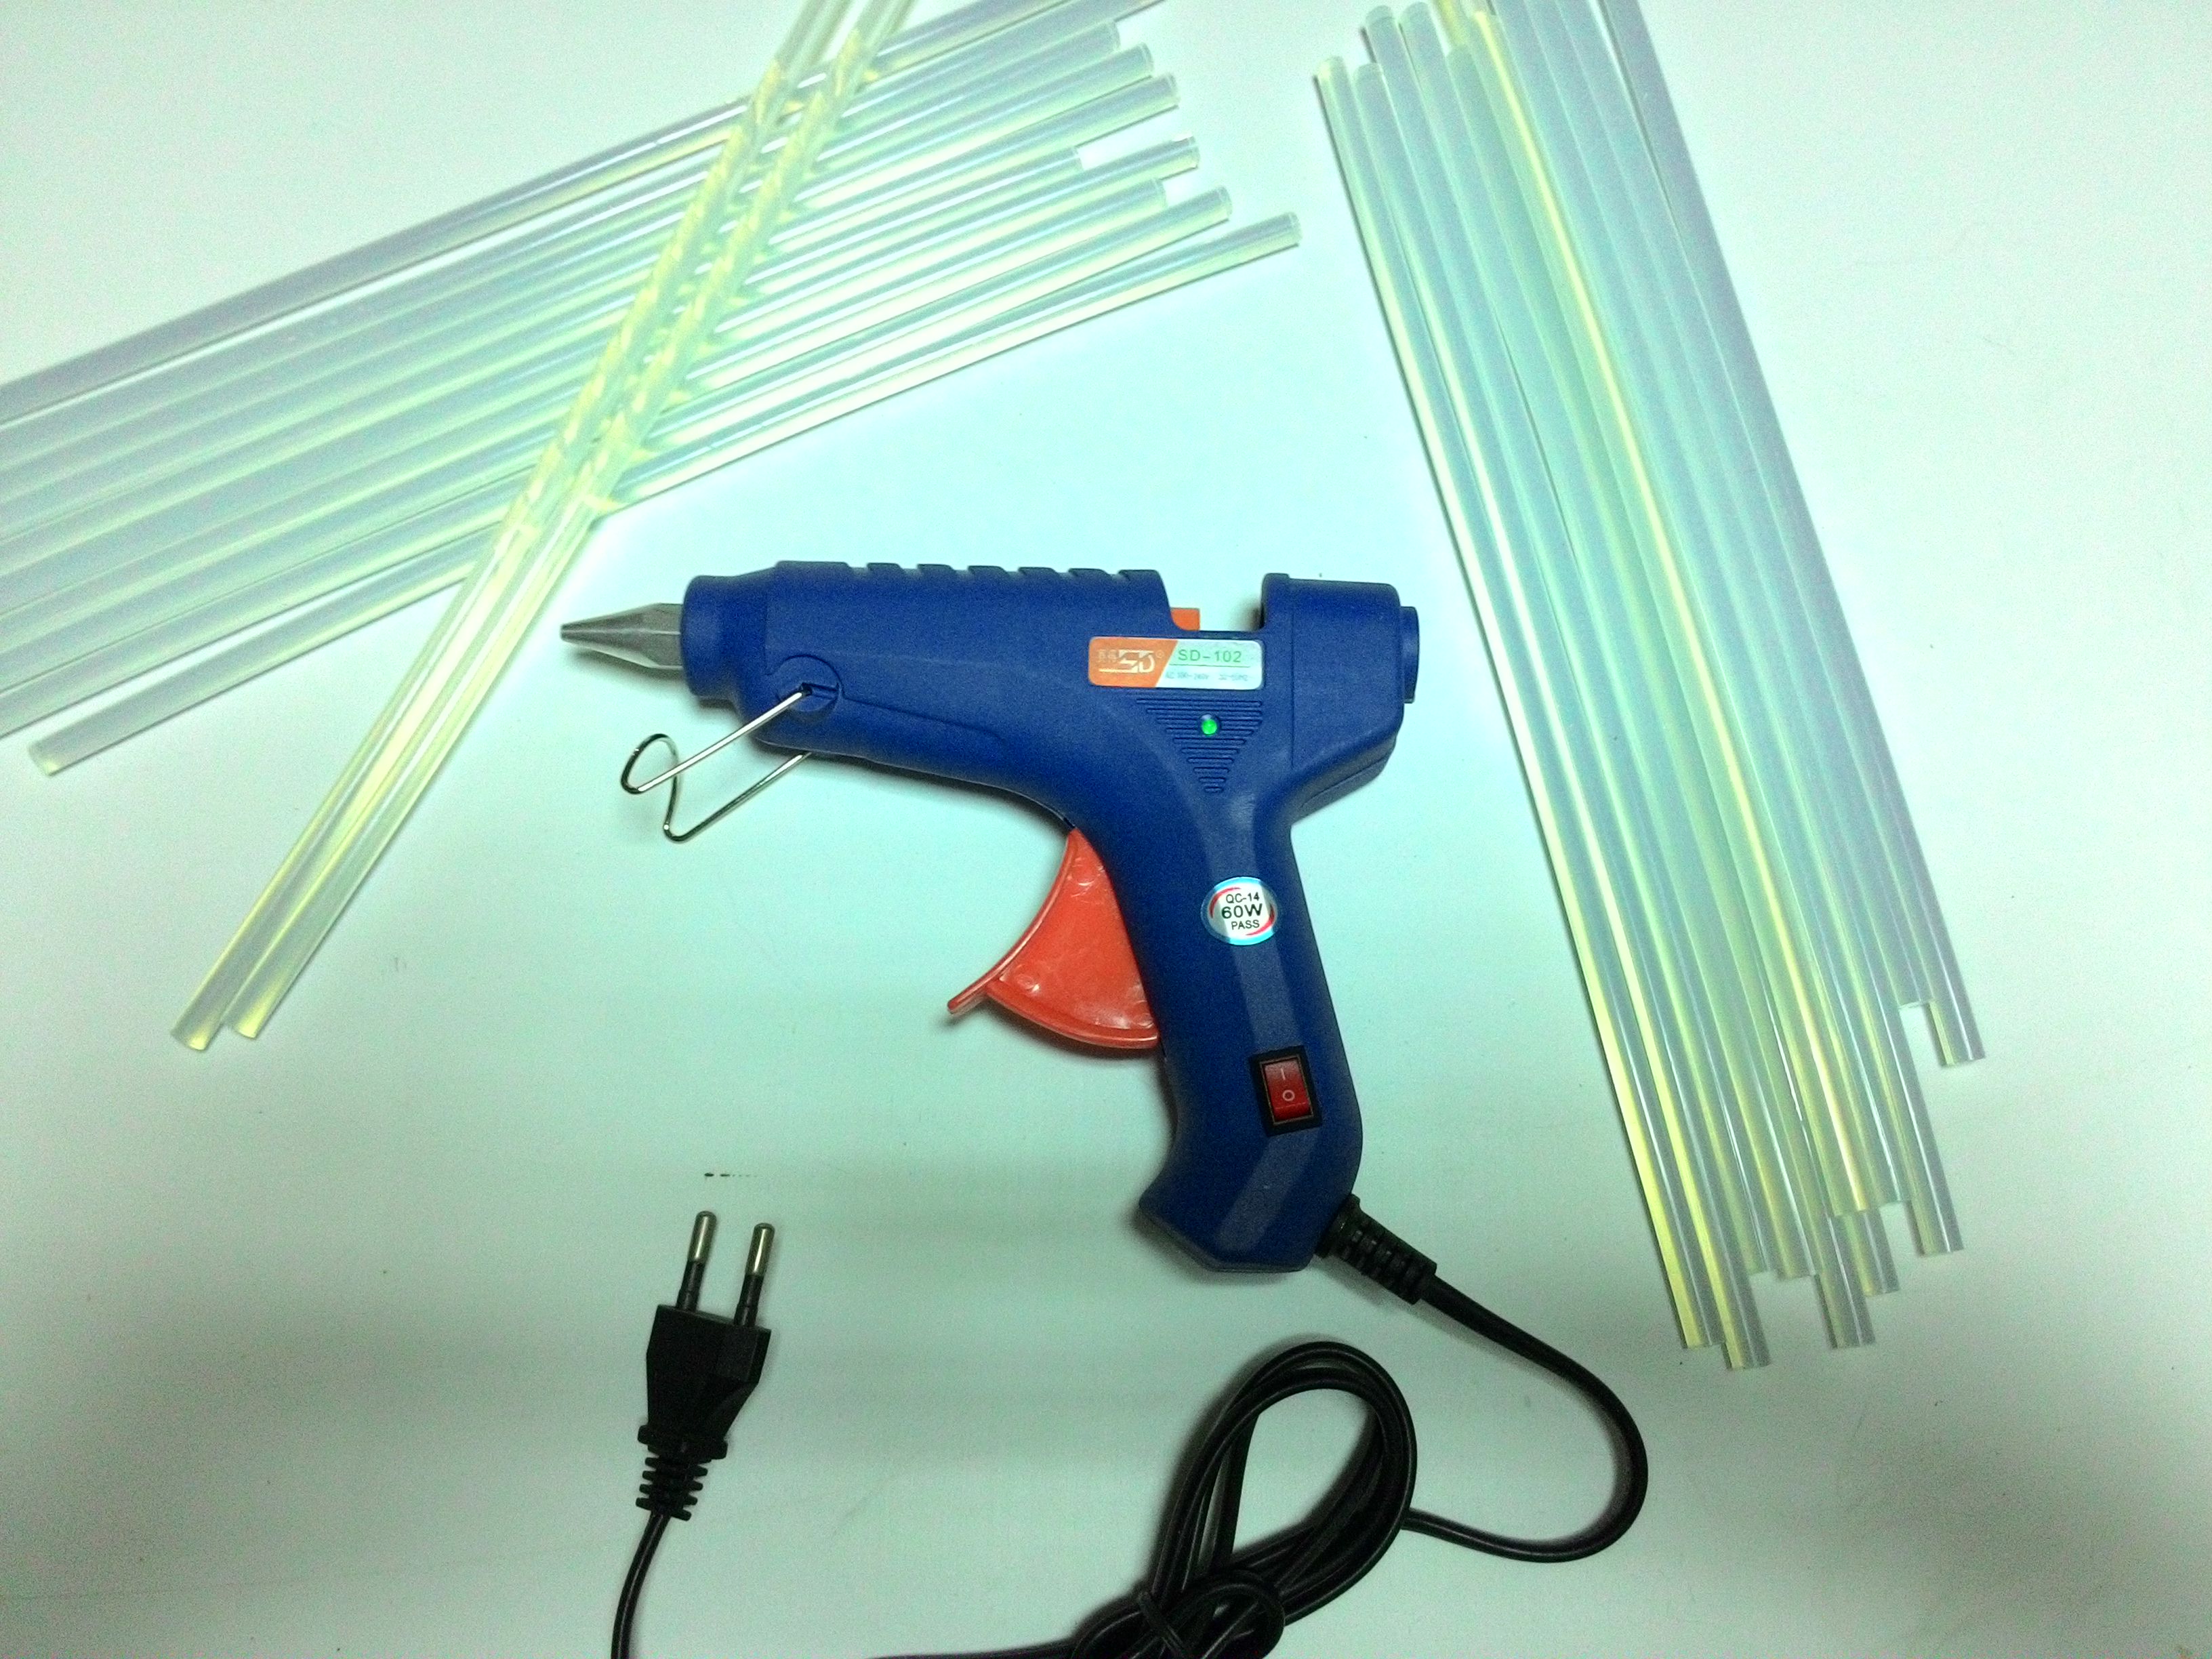
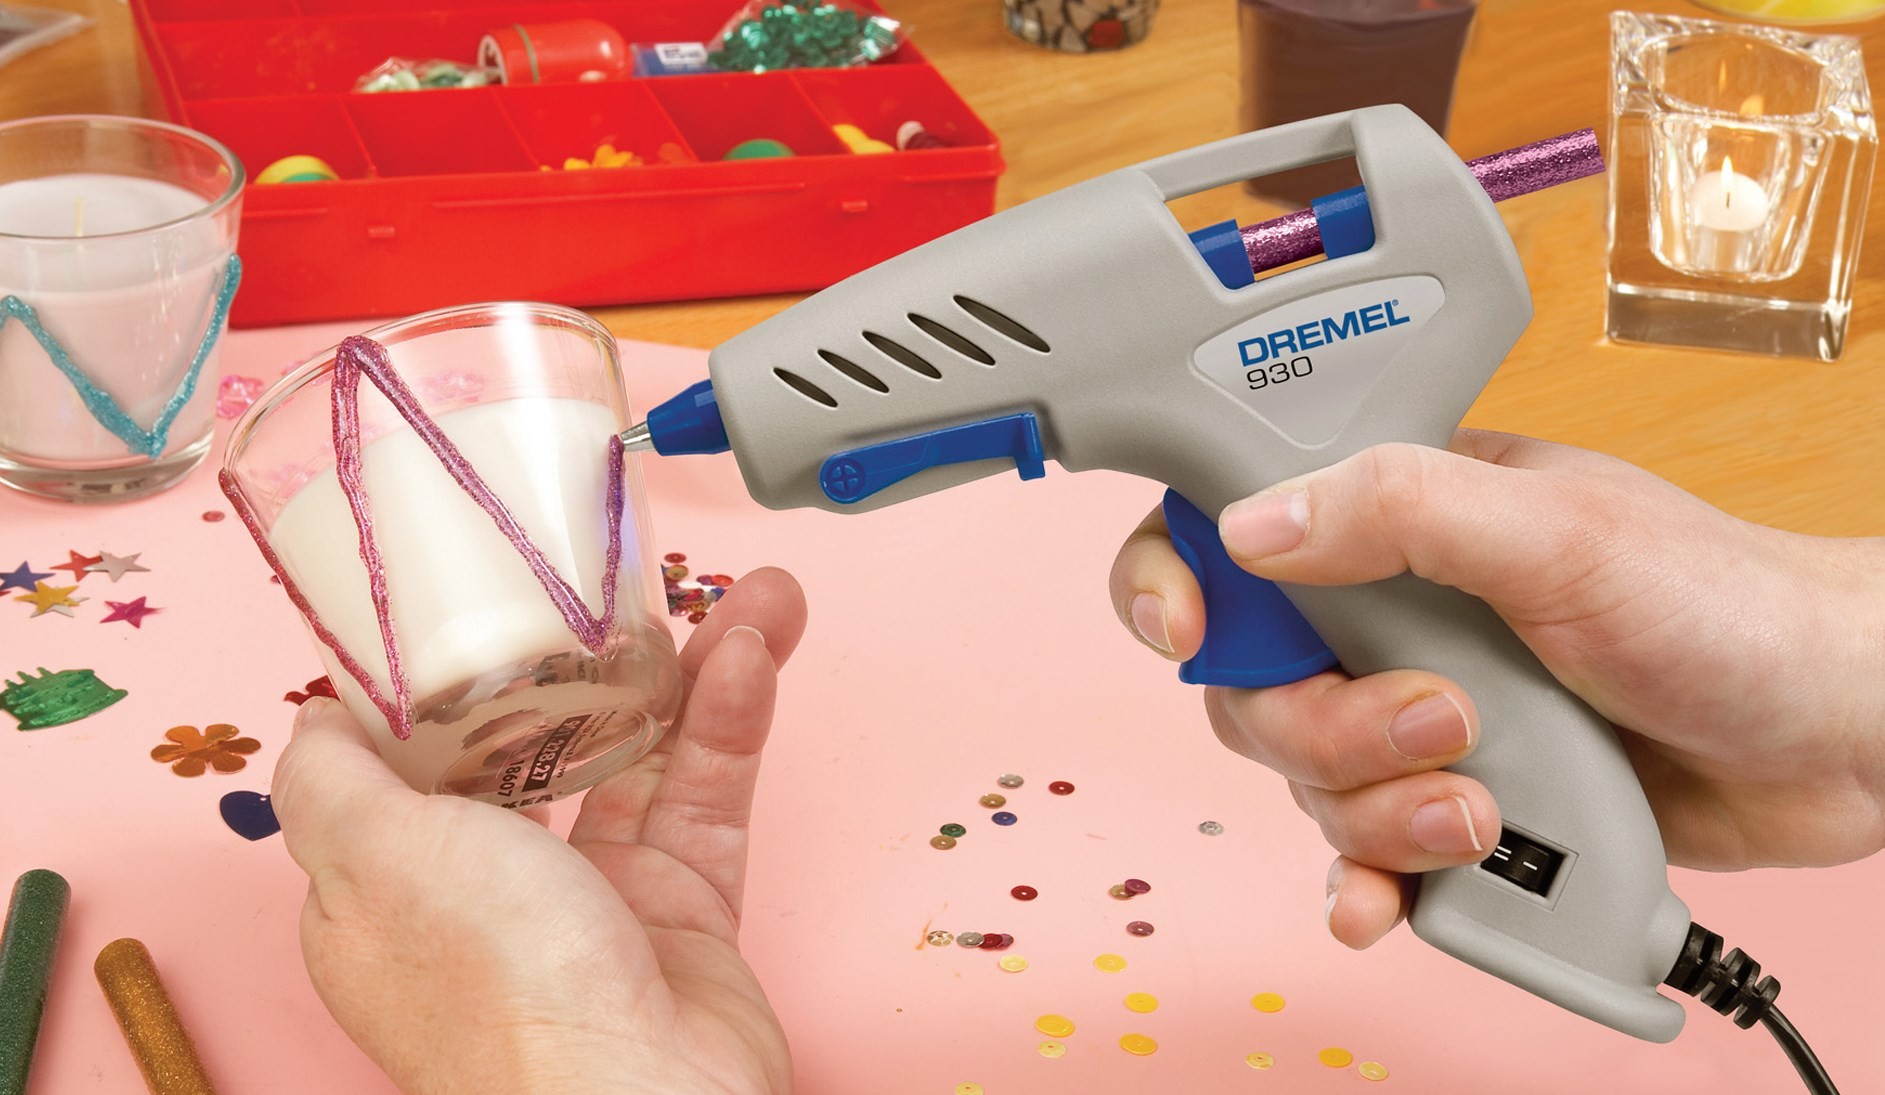
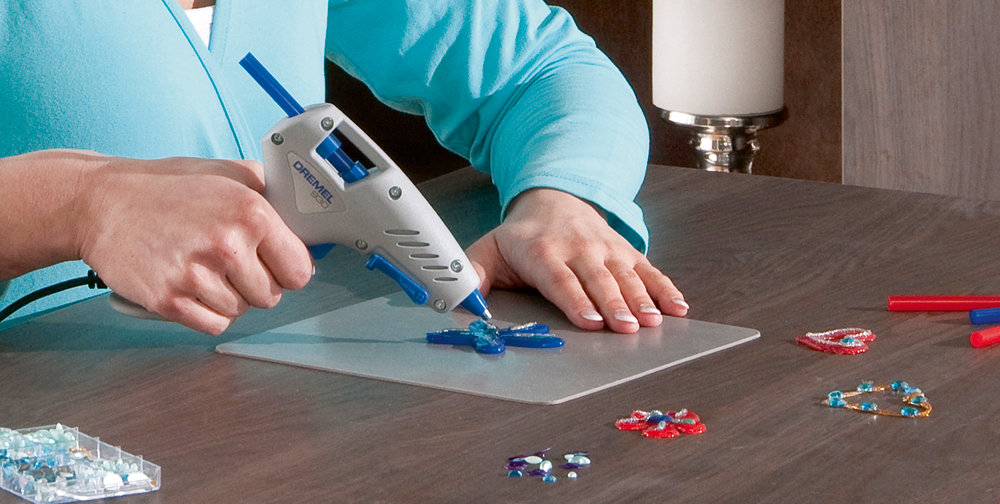
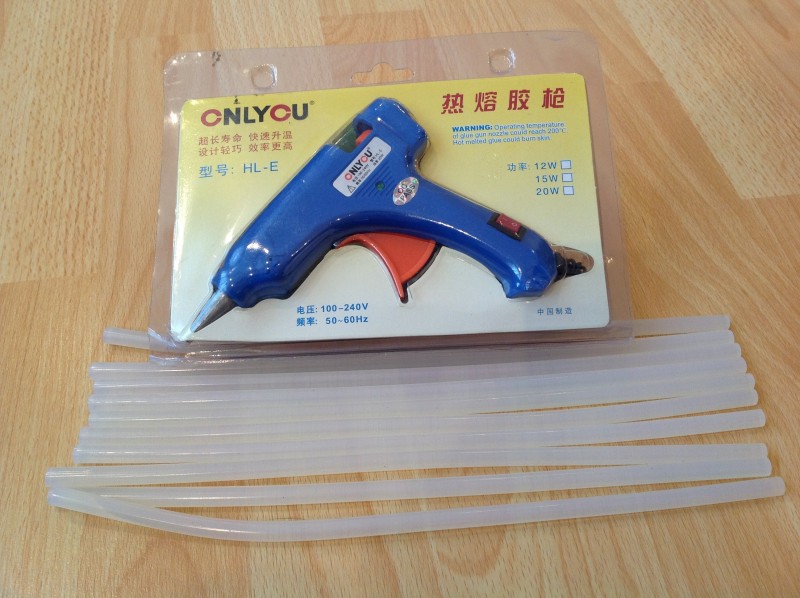
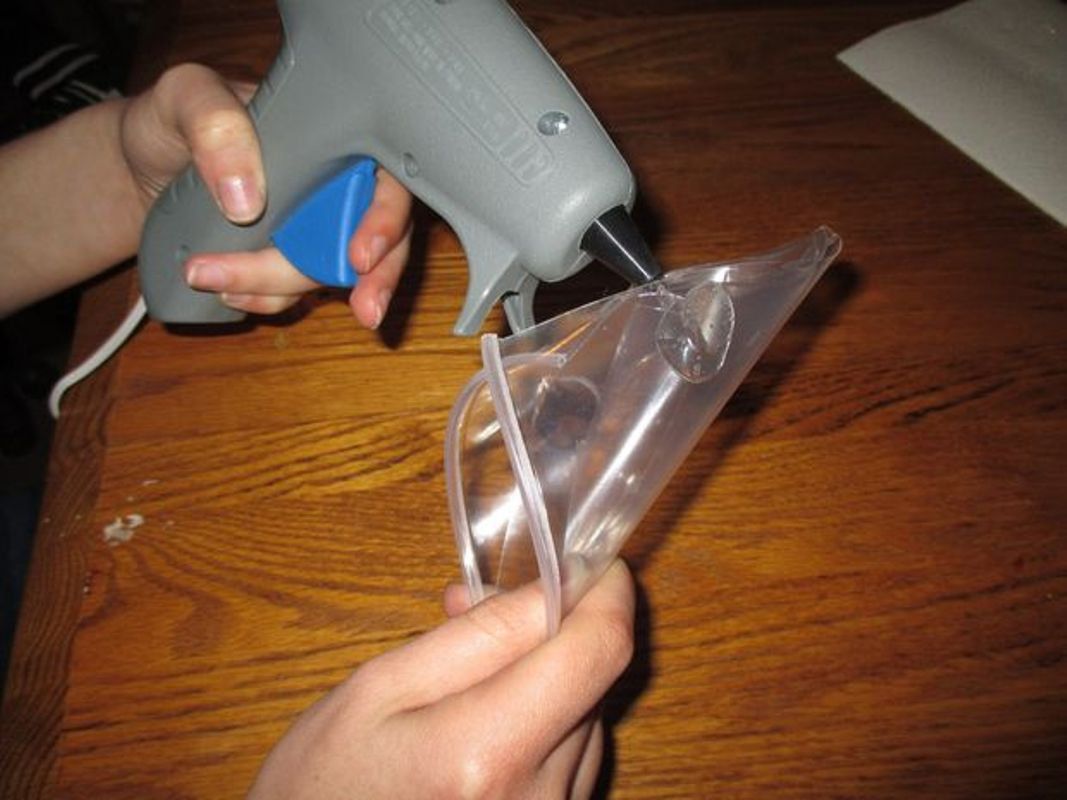
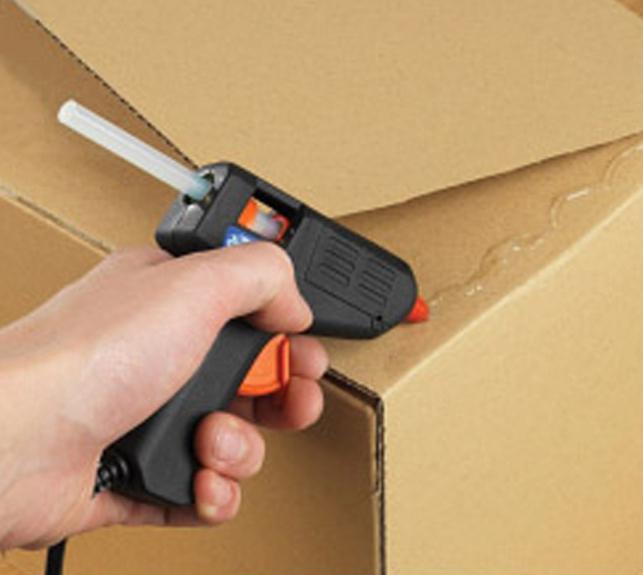
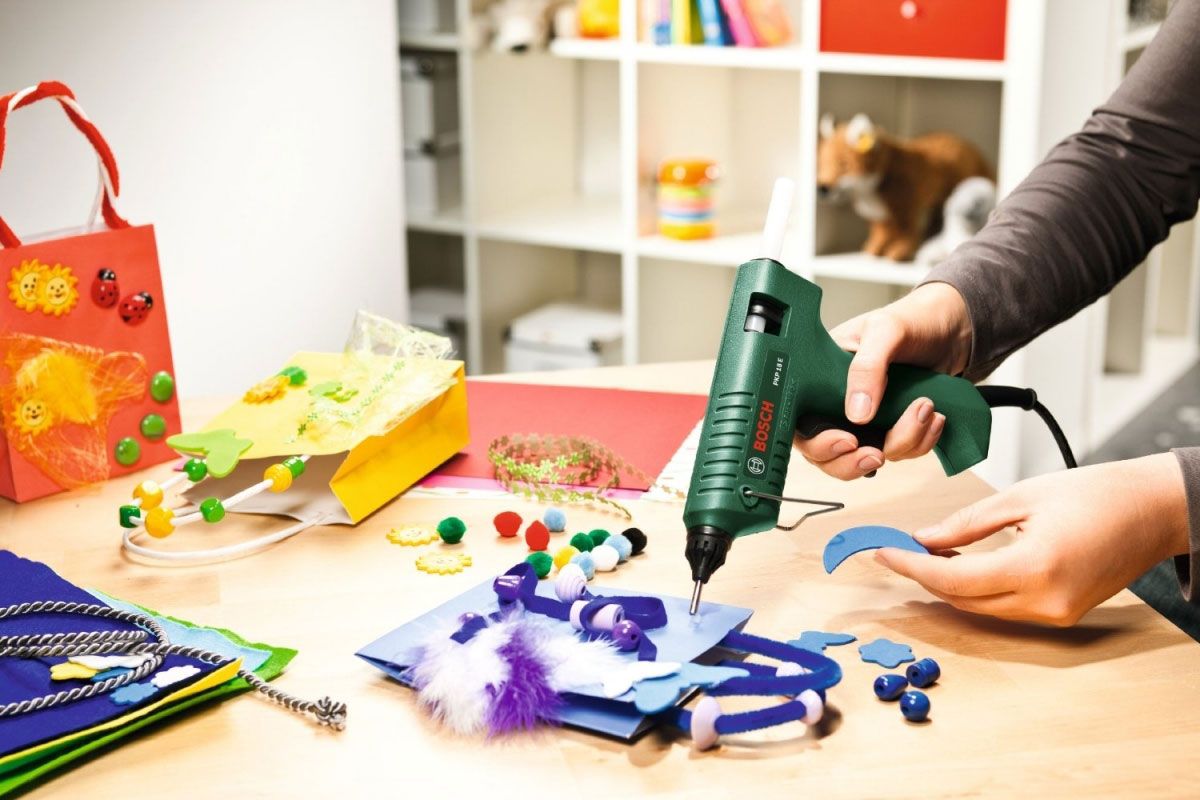
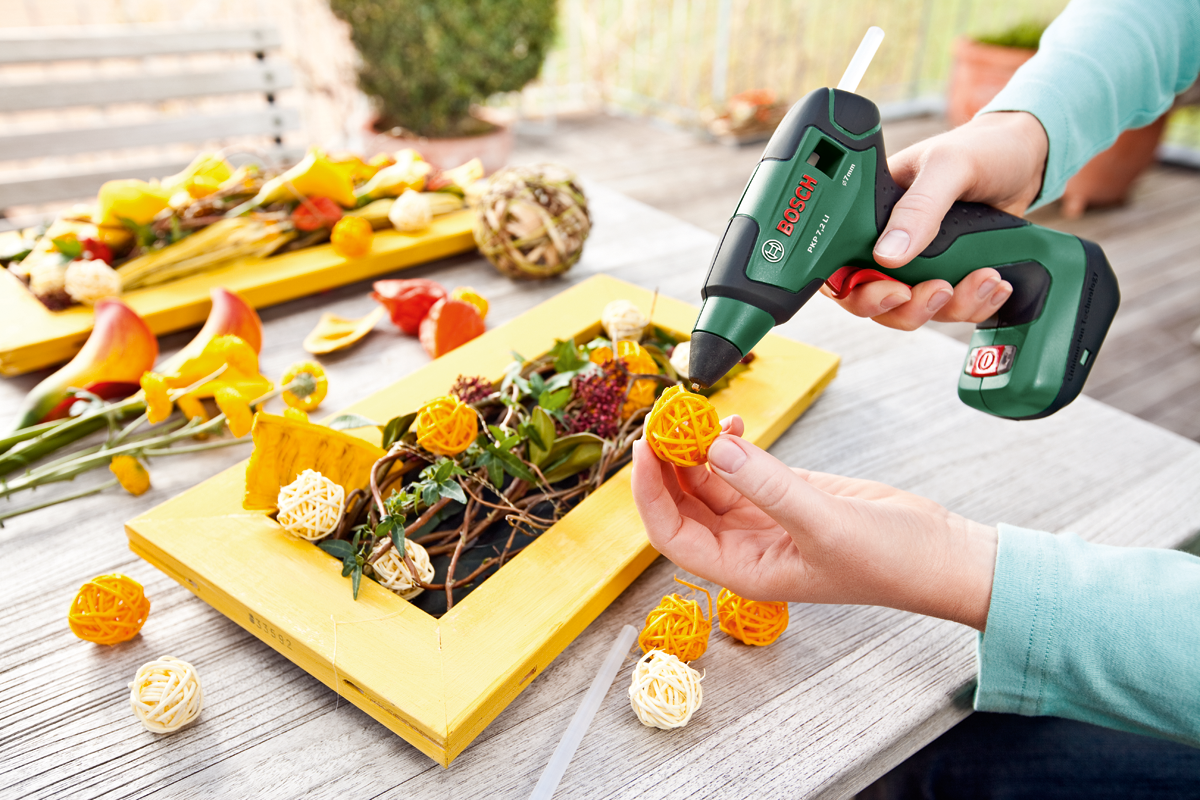
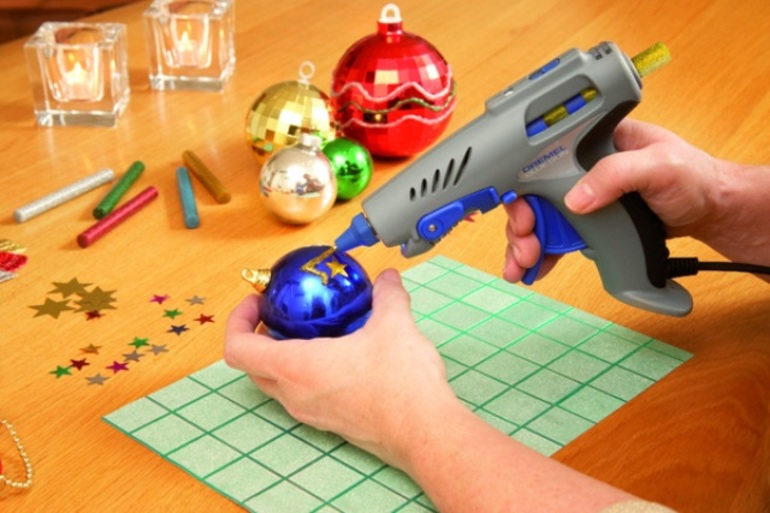
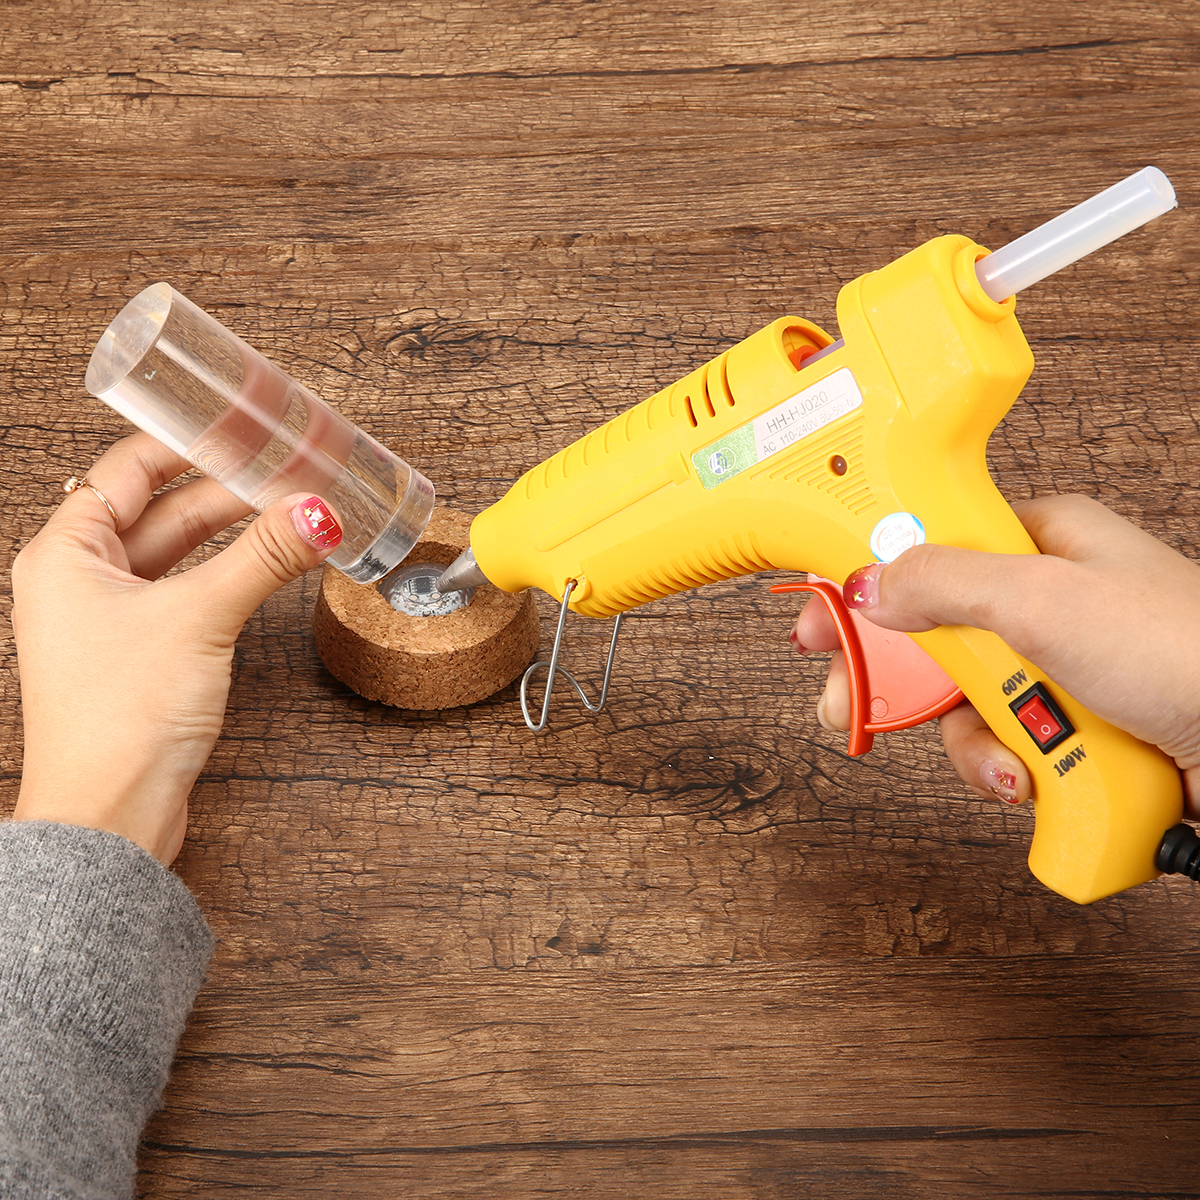
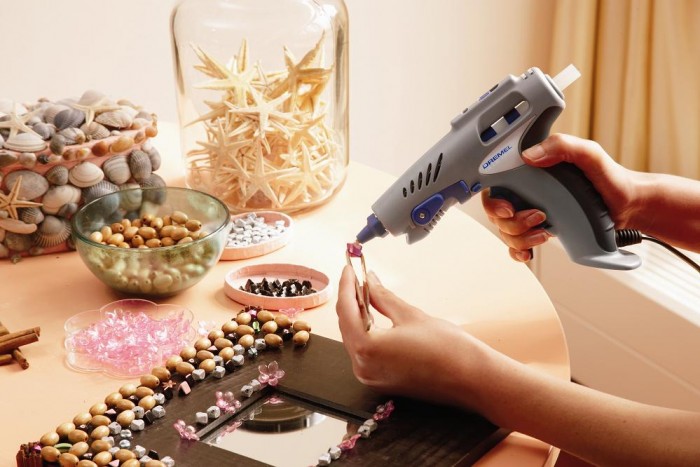
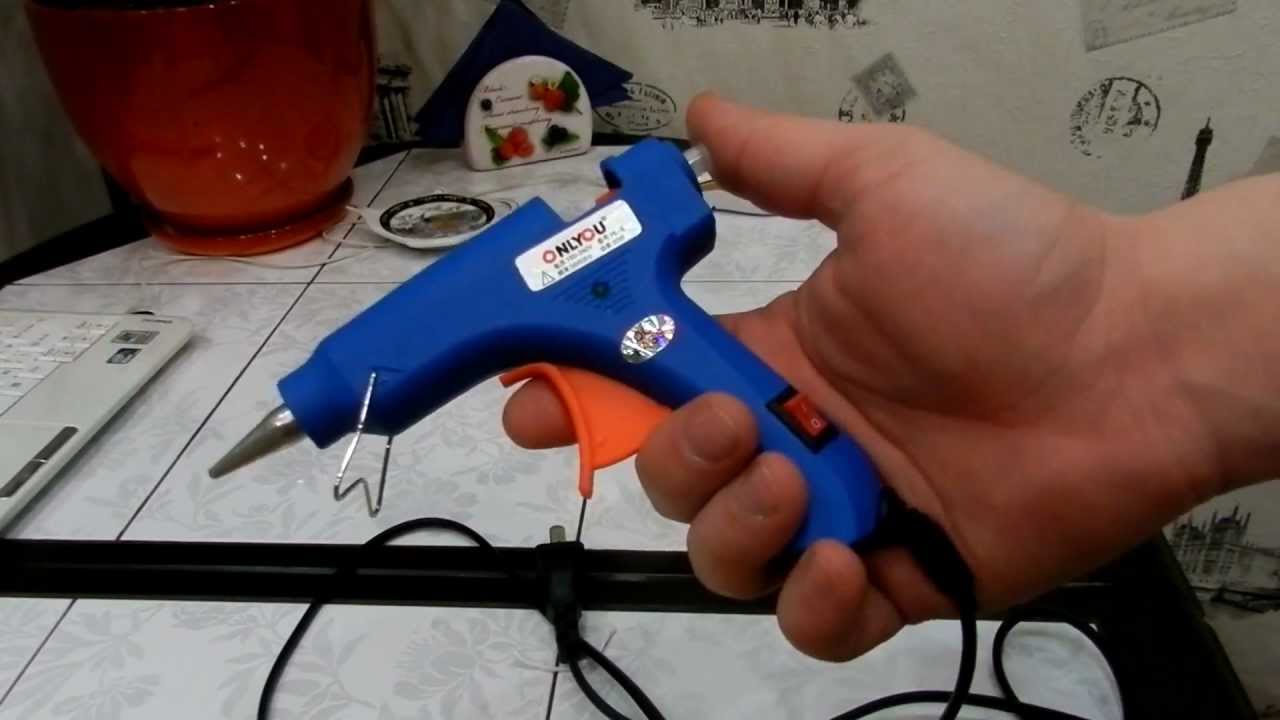
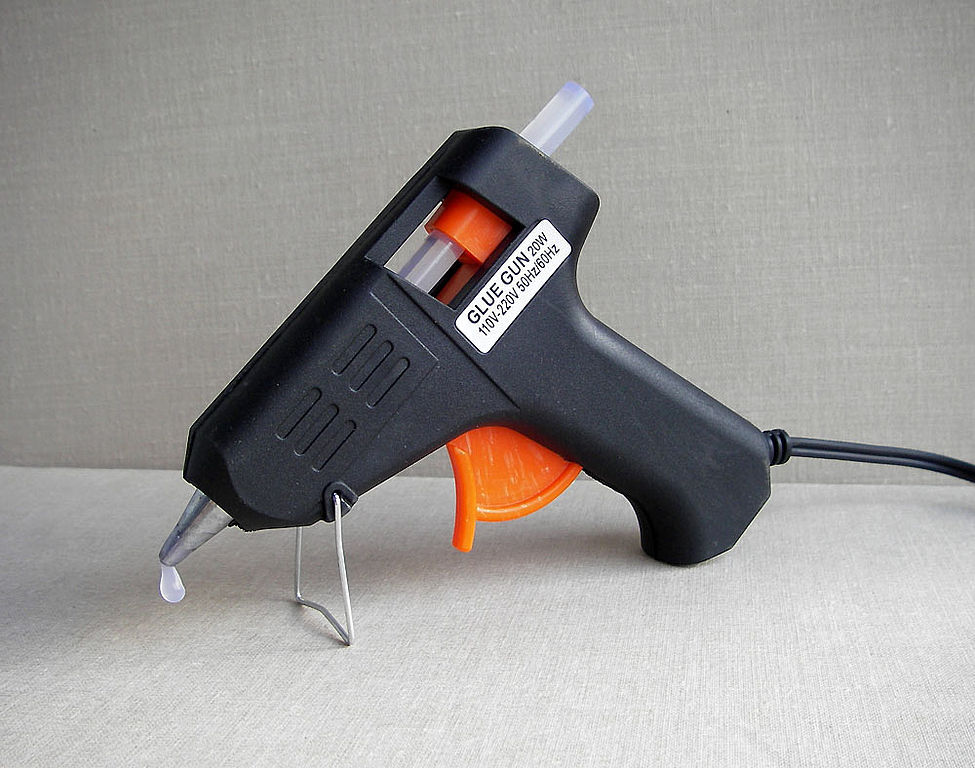
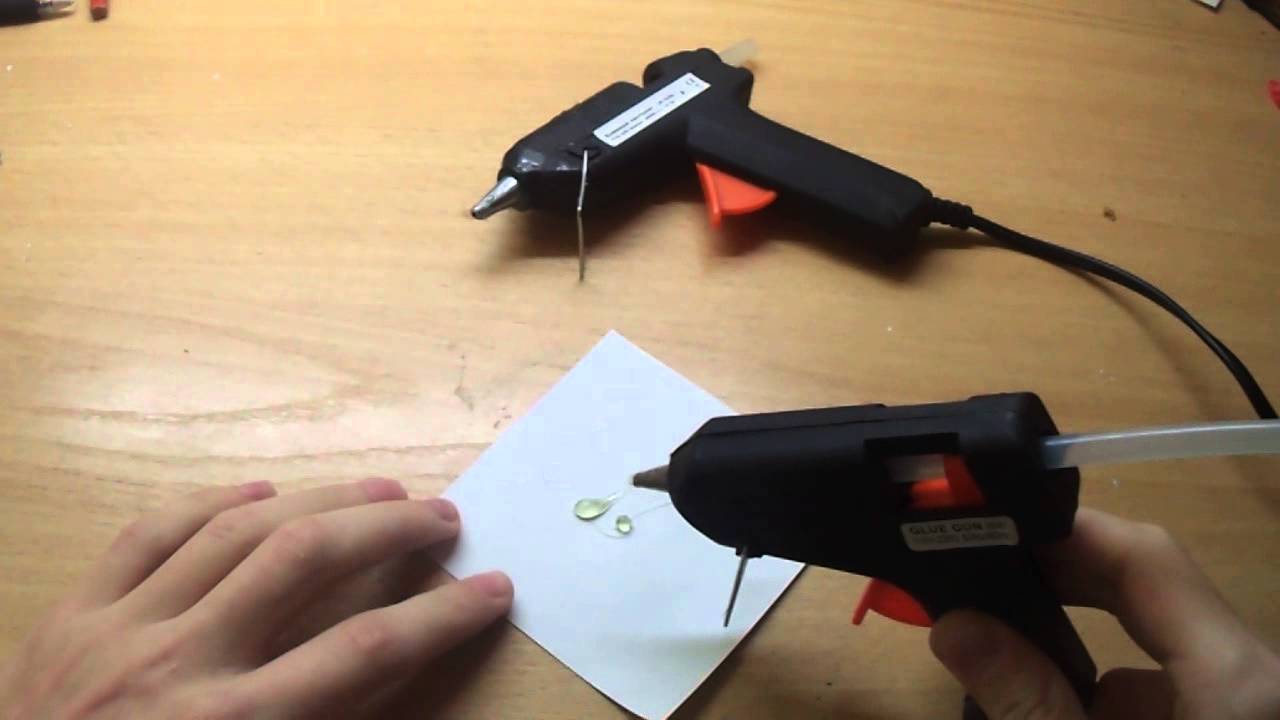
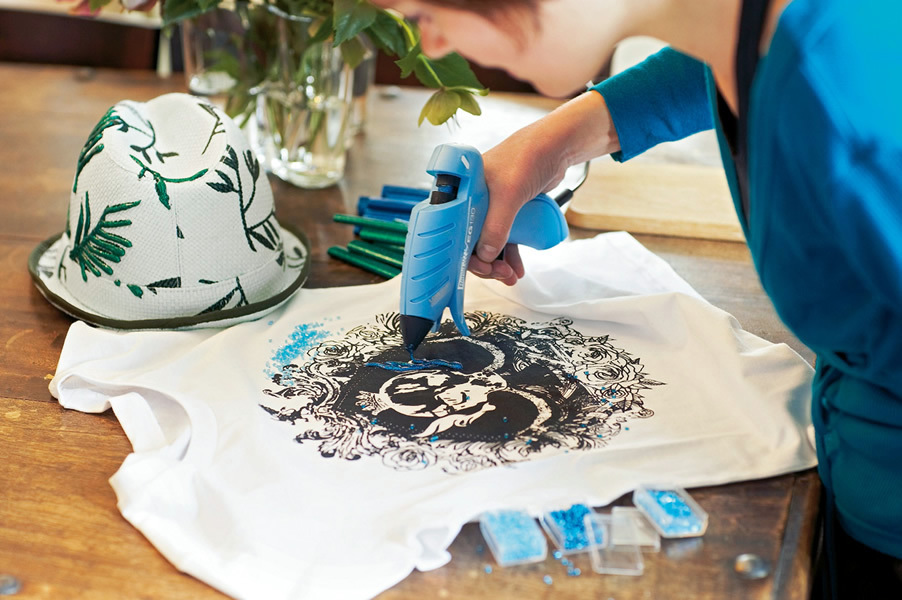
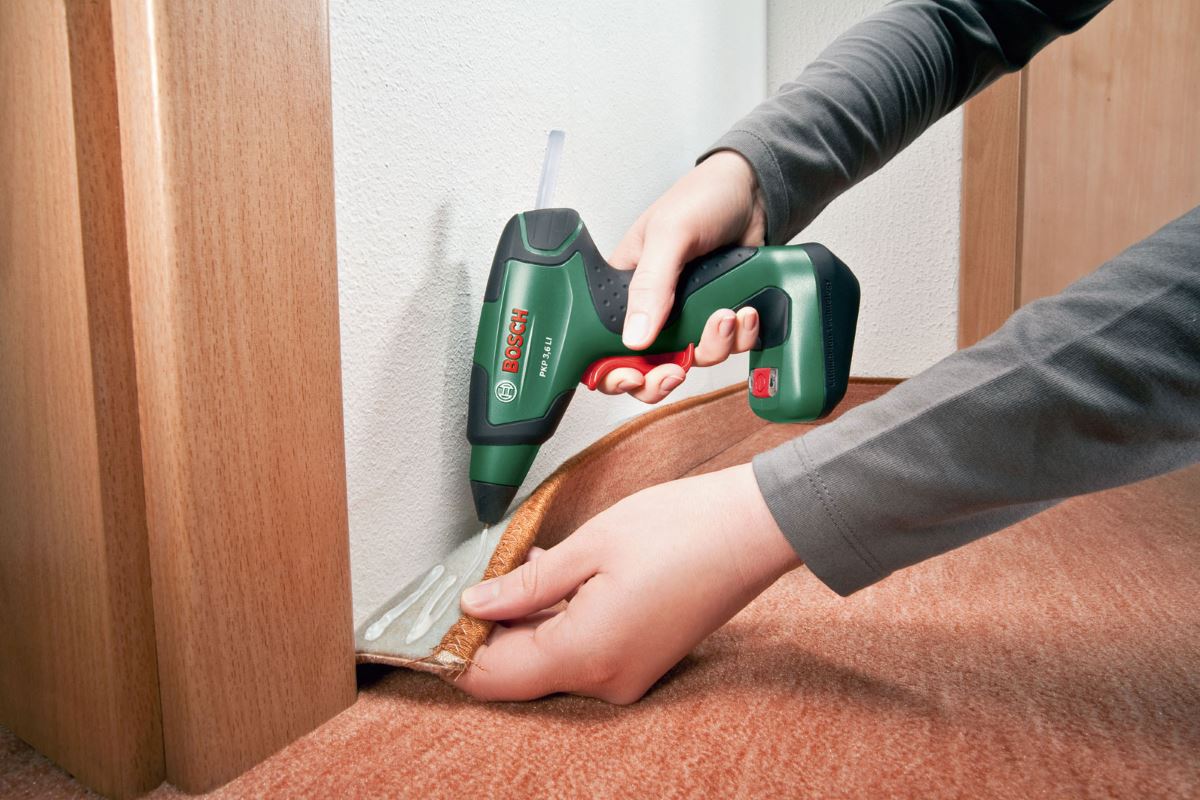
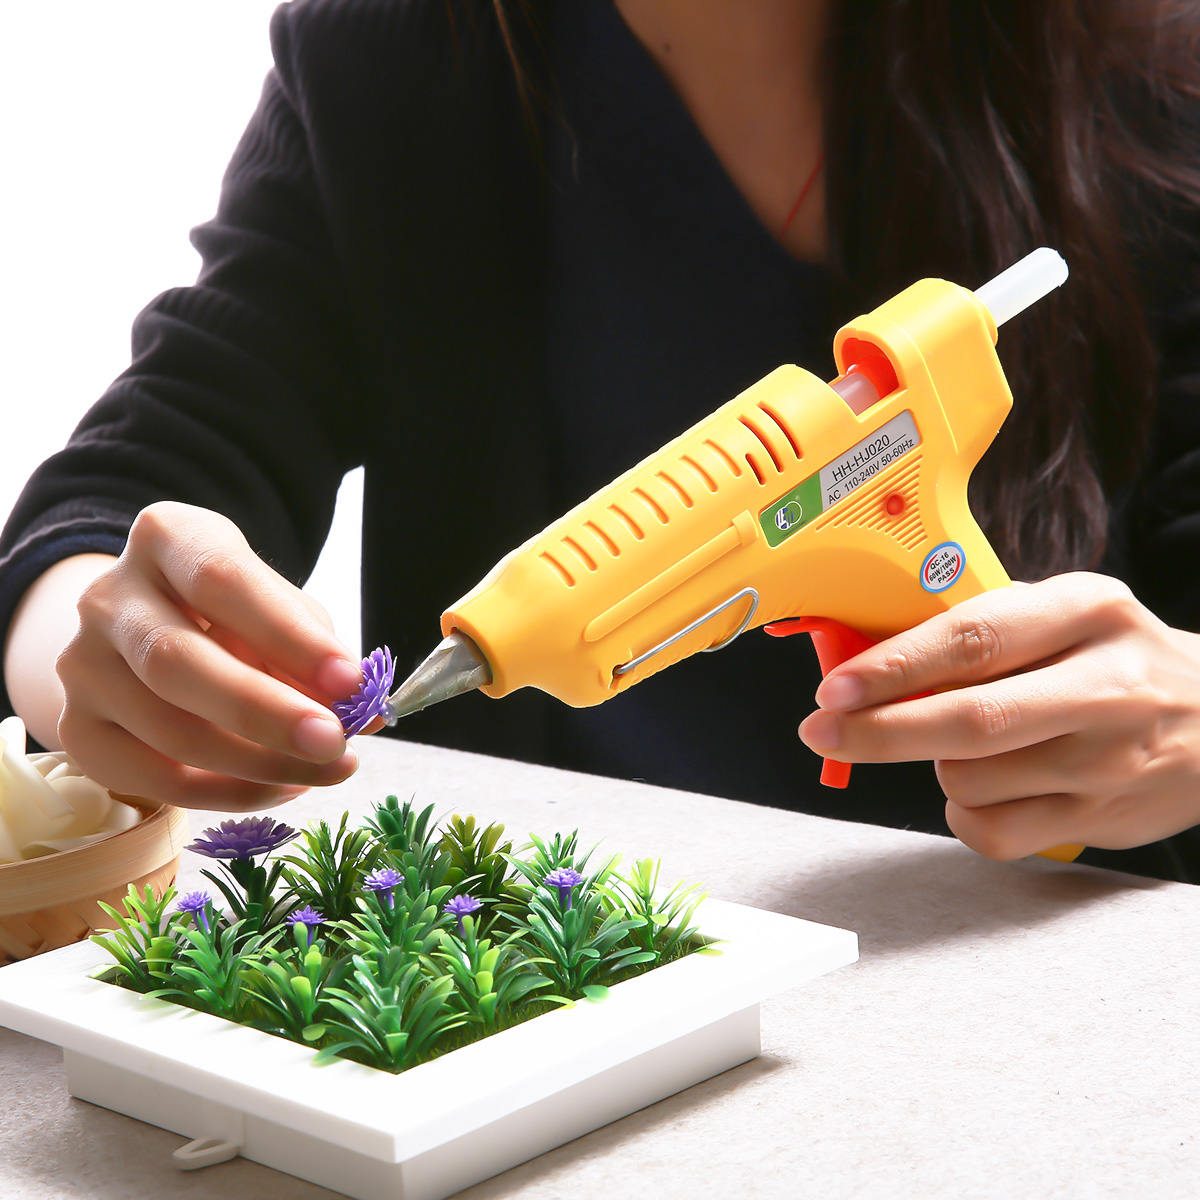
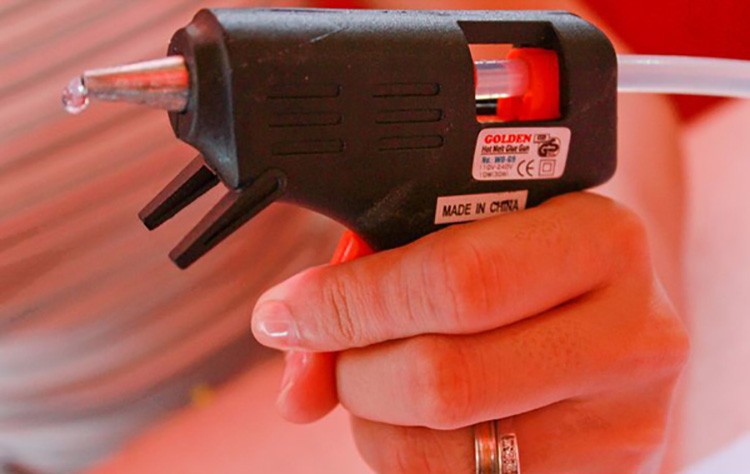
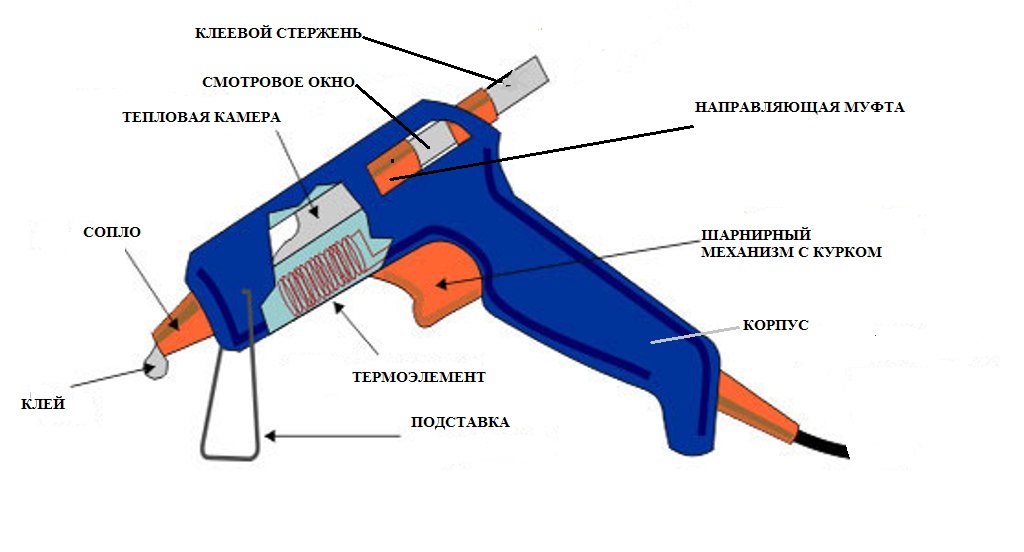
A thermal pistol is a hand-held tool, very similar to the type of weapon. It also needs to be charged, not with live ammunition, but with cylindrical rods made of polyurethane glue of various diameters. The gun itself is made of heat-resistant plastic, which makes it lightweight. Powered by a 200 W socket, some models are equipped with a built-in rechargeable battery. On the back of the device there is a hole into which a glue stick is inserted, the diameter of the tube depends on the model.

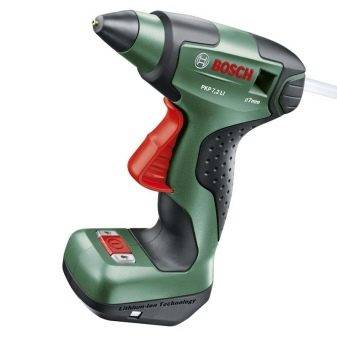
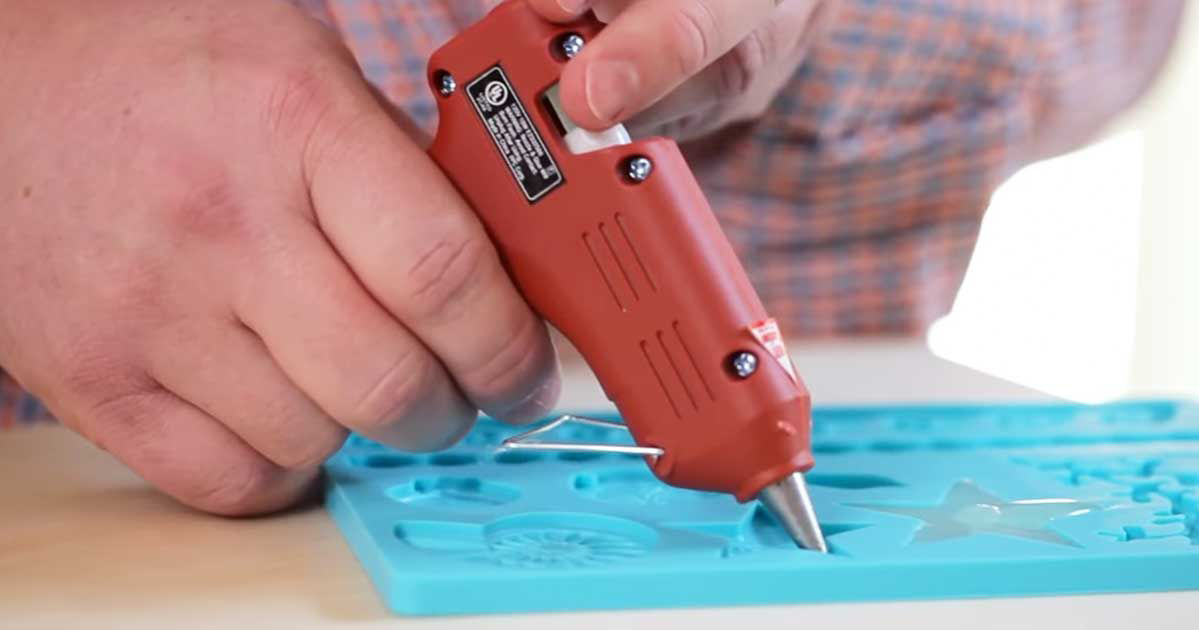
The spare glue enters the bushing of the pushing mechanism, falling into a special pipe - a rubber receiver, and from it the edge of the rod rests against the heating chamber, in which the polyurethane melts, turning into an adhesive mass. It will take no more than 5 minutes to heat up the tool after switching on. On the handle of the unit, like a real pistol, there is a trigger. With its help, the piston is triggered, creating pressure in the heating chamber, which allows the already liquid glue to be pushed out through the nozzle onto the surface of the material to be glued.
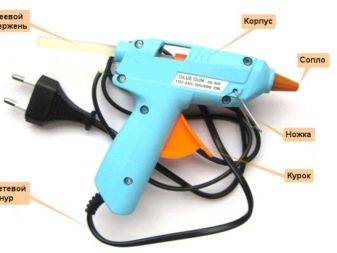
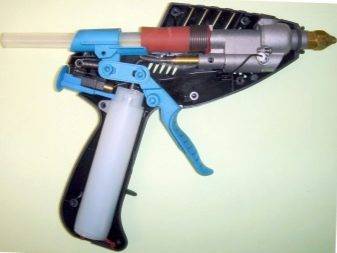
The performance of the tool directly depends on the heat chamber, which is located in the barrel of the thermal gun. The size of the chamber and the power of the heating element affect the amount of melted adhesive mass and the rate of polymer melting.
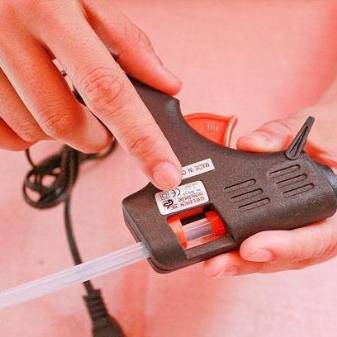
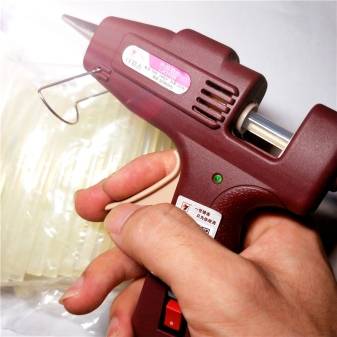
The hot gun nozzle shapes the glue and dispenses the flow of molten mass. It is made of metal. Some brands produce tools with different attachments that differ in length and shape.
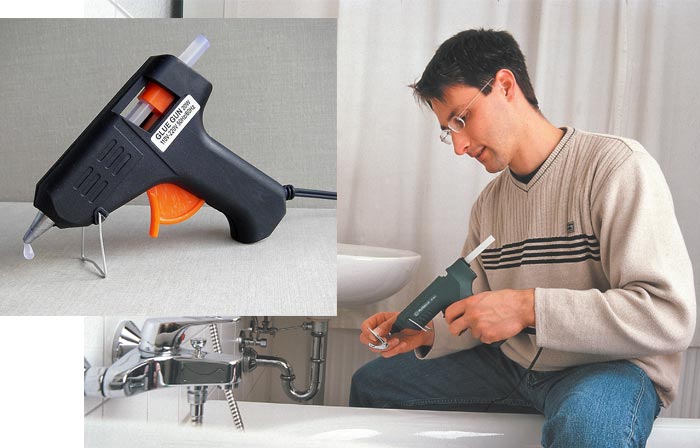
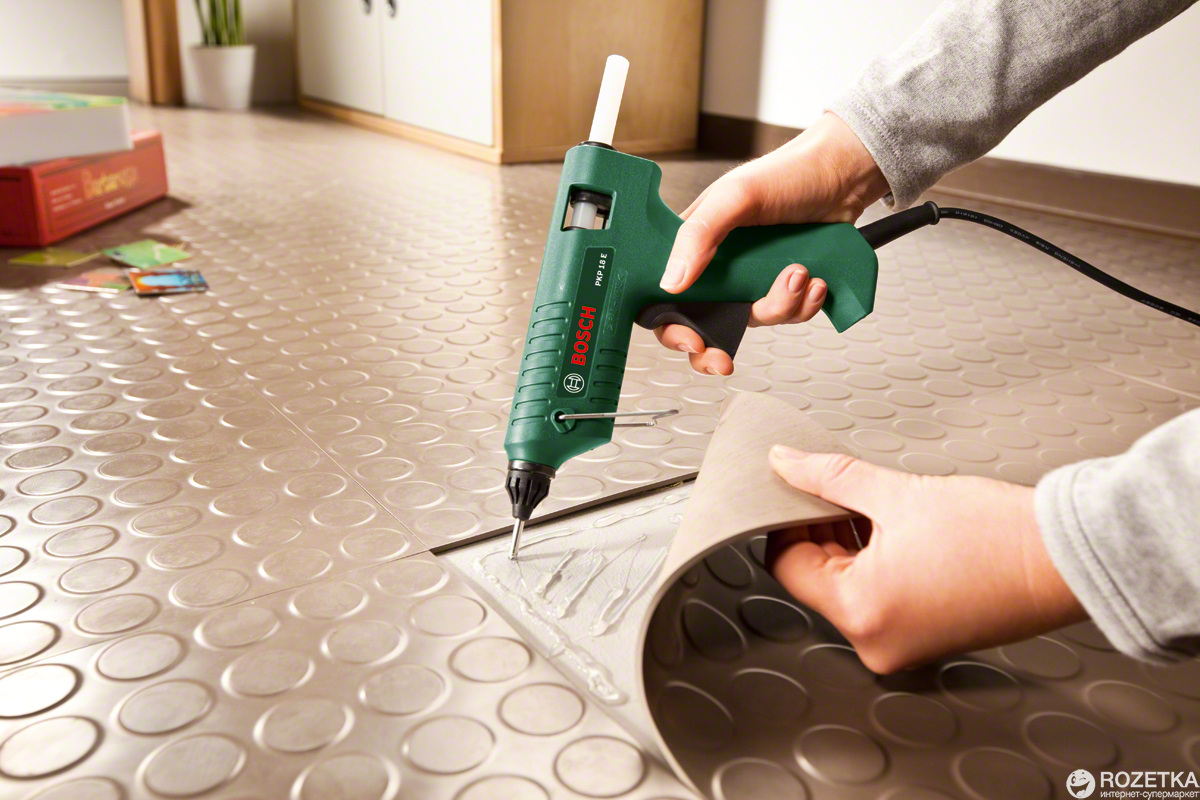
Almost all devices are equipped with a folding stand to support the tool with the nozzle down, since it is not recommended to put the gun on its side, the body can overheat
There is a viewing window on the body of the glue gun, this is an important option for checking the remainder of the stick. Almost all devices are equipped with a folding stand to support the tool with the nozzle down, since it is not recommended to put the gun on its side, the body can overheat.
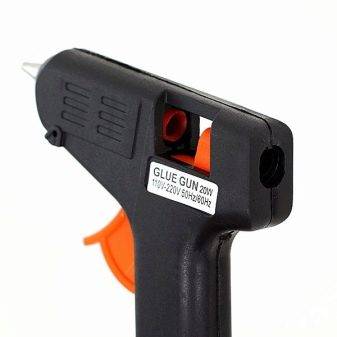
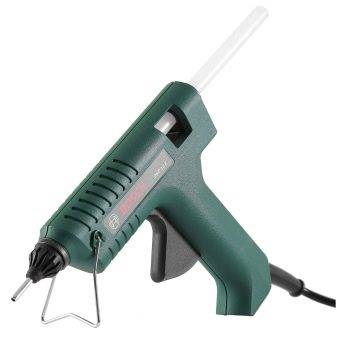
The power of the gun is a measure of the rate at which the glue stick melts. The higher the power, the faster the adhesive melts. Professional hot guns from three hundred watts, and amateur up to 150 watts. Some devices are equipped with a power regulator. Heating indicator - a light on the gun body will show when you can start working, and the glue melts to the desired temperature. The melt temperature of the adhesive is also of great importance, as some materials cannot withstand high temperatures.
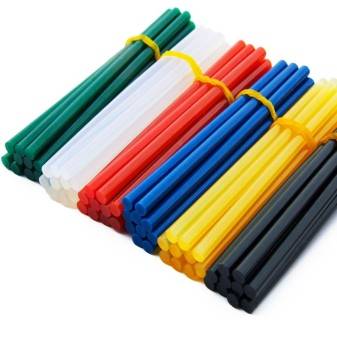
Replacement hot gun rods vary in diameter, color and operating temperature. Stickers can be of different lengths (from 4 to 20 cm). The rod diameter is selected according to the configuration of your particular gun.
How to mix tile adhesive correctly?

Only at first glance it seems that diluting the glue is as easy as shelling pears.
There are many nuances, non-observance of which can not only make the glue unusable, but also completely ruin the cladding.
Rules and principles for the dilution of dry glue
Experienced builders recommend following these rules:
- the mixing container must be clean, you need to scrape off the remnants of the previous glue or solution from the walls, otherwise they will violate the composition;
- the water must be clean, match the temperature of the dry mixture and the environment (it will need to be heated or cooled);
- the mixture must be poured into a liquid, and not vice versa, otherwise it will be more difficult to get rid of lumps;
- it is better not to use industrial water due to the presence of impurities that can react with glue;
- if the cement slurry in the container has begun to set, dilution with water will not help, it is better to prepare a new mixture;
- the permissible volume of water must not be exceeded, otherwise the solution will turn out to be liquid and will not hold the tiles.

Advice! If in doubt about the consistency of the glue, leave the mixture for 5-10 minutes. If the texture remains unsatisfactory, you can add a little water or dry powder.
How to knead tile adhesive: choose a tool
If you have to cook 10 liters or less of glue, it will be convenient to mix the components using a long rectangular trowel.
This steel shovel with a curved handle can be hand-worked to lift dry particles from the bottom so that there are no lumps.
Making large volumes of glue by hand is problematic. You will need a drill with a blade-like attachment - only it should be designed to mix the solution, not paint. Experienced craftsmen use a construction mixer with a whisk for this purpose.

The rotation speed of the nozzle should not exceed 300 rpm.
In this case, the blade must be completely immersed in the solution, otherwise bubbles will appear in the texture, deteriorating the quality of the glue.
Step-by-step dilution of glue
Work order:
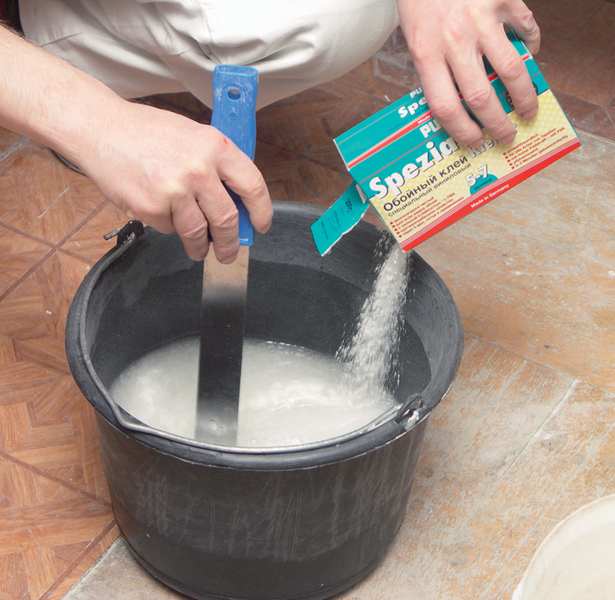
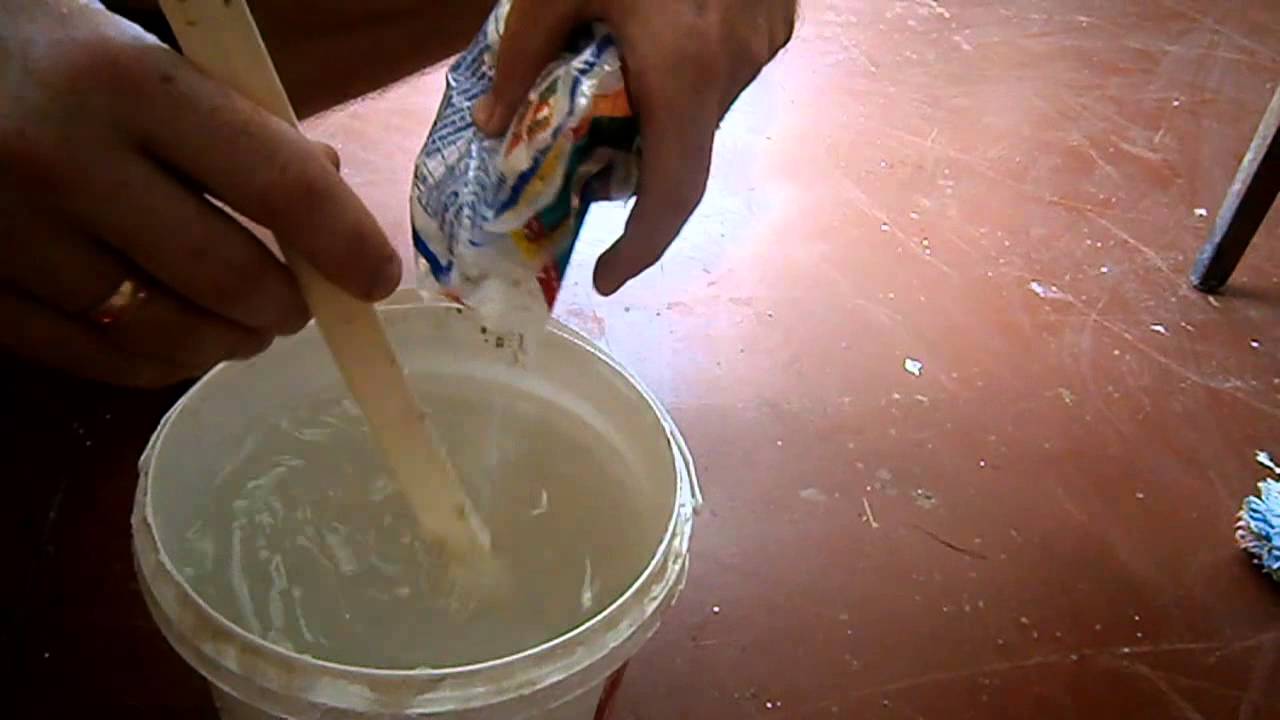
- Pour water of the required temperature into a clean prepared container. Add the dry mixture to the liquid according to the instructions. For a start, it is better to take ⅔ of water, and if the mixture is thick, dilute it with the rest of the liquid to an optimal consistency.
- Measure out the required amount of dry mix planned for the first batch.
- Add the first portion of dry glue while stirring the solution. Introduce the entire prepared mass in small doses, achieving a homogeneous consistency by stirring.
- Leave the solution for 10-15 minutes so that the particles are well moistened.
- Stir again, break up remaining lumps and delamination. The adhesive is ready to use.
The mixture should be quite thick and elastic. It is easy to check its quality - just scoop up the glue with a trowel and turn it over. A high-quality solution should not drain and fall off in pieces.In the process of laying the tiles, it is recommended to stir the solution periodically so that it retains its plasticity and does not dry out.

Advice! The longer the glue is mixed and whipped, the more liquid it turns out. The situation can be corrected by adding a small portion of the glue mixture.
Rubber glue
This glue is used to fix rubber objects. To make a durable option, you need to choose the right components.
Step-by-step cooking instructions include:
- Rubber is crushed, added to a glass jar.
- Gasoline is poured, the rubber should be covered on top.
- When the rubber has liquefied, gasoline is poured in again, enough to obtain a suitable consistency.
- Storage requires darkness and warmth.
You can replace raw rubber with a shoe sole made of rubber, while the material must be TEP.
 This glue is used to fix rubber objects.
Method of making paste for papier mache
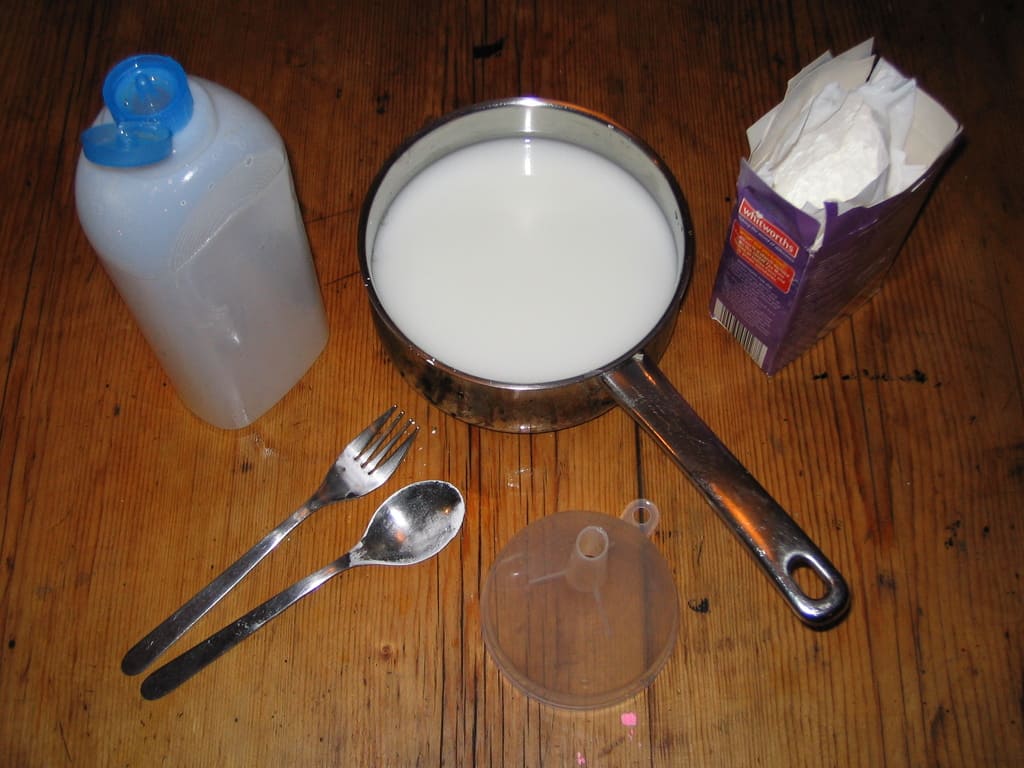
For papier mache, you need a gummy composition with salt. The proportions are as follows: 3 cups of water (750 ml) will require a glass of flour and half a teaspoon of salt. How to make papier mache paste:
- flour and part of the water are mixed, salt is added. It is better to mix with a mixer, so lumps are guaranteed not to form;
- after the mixture is gradually poured into boiling water, boiled for 10 minutes and cooled.
As a result, you will get a rather thick glue that will securely hold the pieces of paper into the structure. In some cases, the paper must be pre-soaked in the adhesive. For this purpose, a liquid paste is made from 1/3 cup of flour and a liter of water.
How to wash PVA glue?
Even with the most careful use, no one is immune from situations of accidental contact with glue on clean surfaces. If it is fresh, then only a damp cloth is enough, which will easily wipe off the adhesive. If the stain has dried up, then it can be pre-treated:
- medical or ammonia;
- vinegar;
- refined gasoline;
- acetone or white spirit;
- turpentine;
- baking soda.
It is important to remember how to remove PVA glue from clothes. Before pretreating the stain, it is better to try a little of any solvent to apply to an inconspicuous part of the fabric, because it can react with it and ruin the thing.
If no changes have occurred, then you can use a sponge or brush dipped in soapy water. It is permissible to wash pretreated items in the washing machine.
How to make glue for different cases of repair life
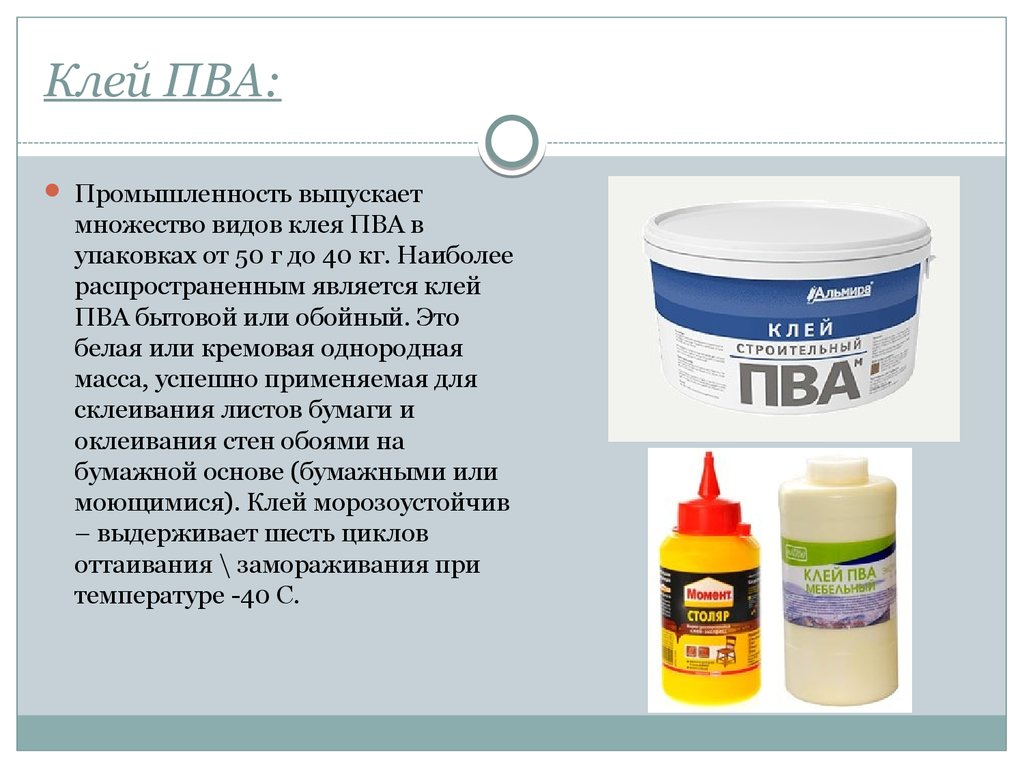
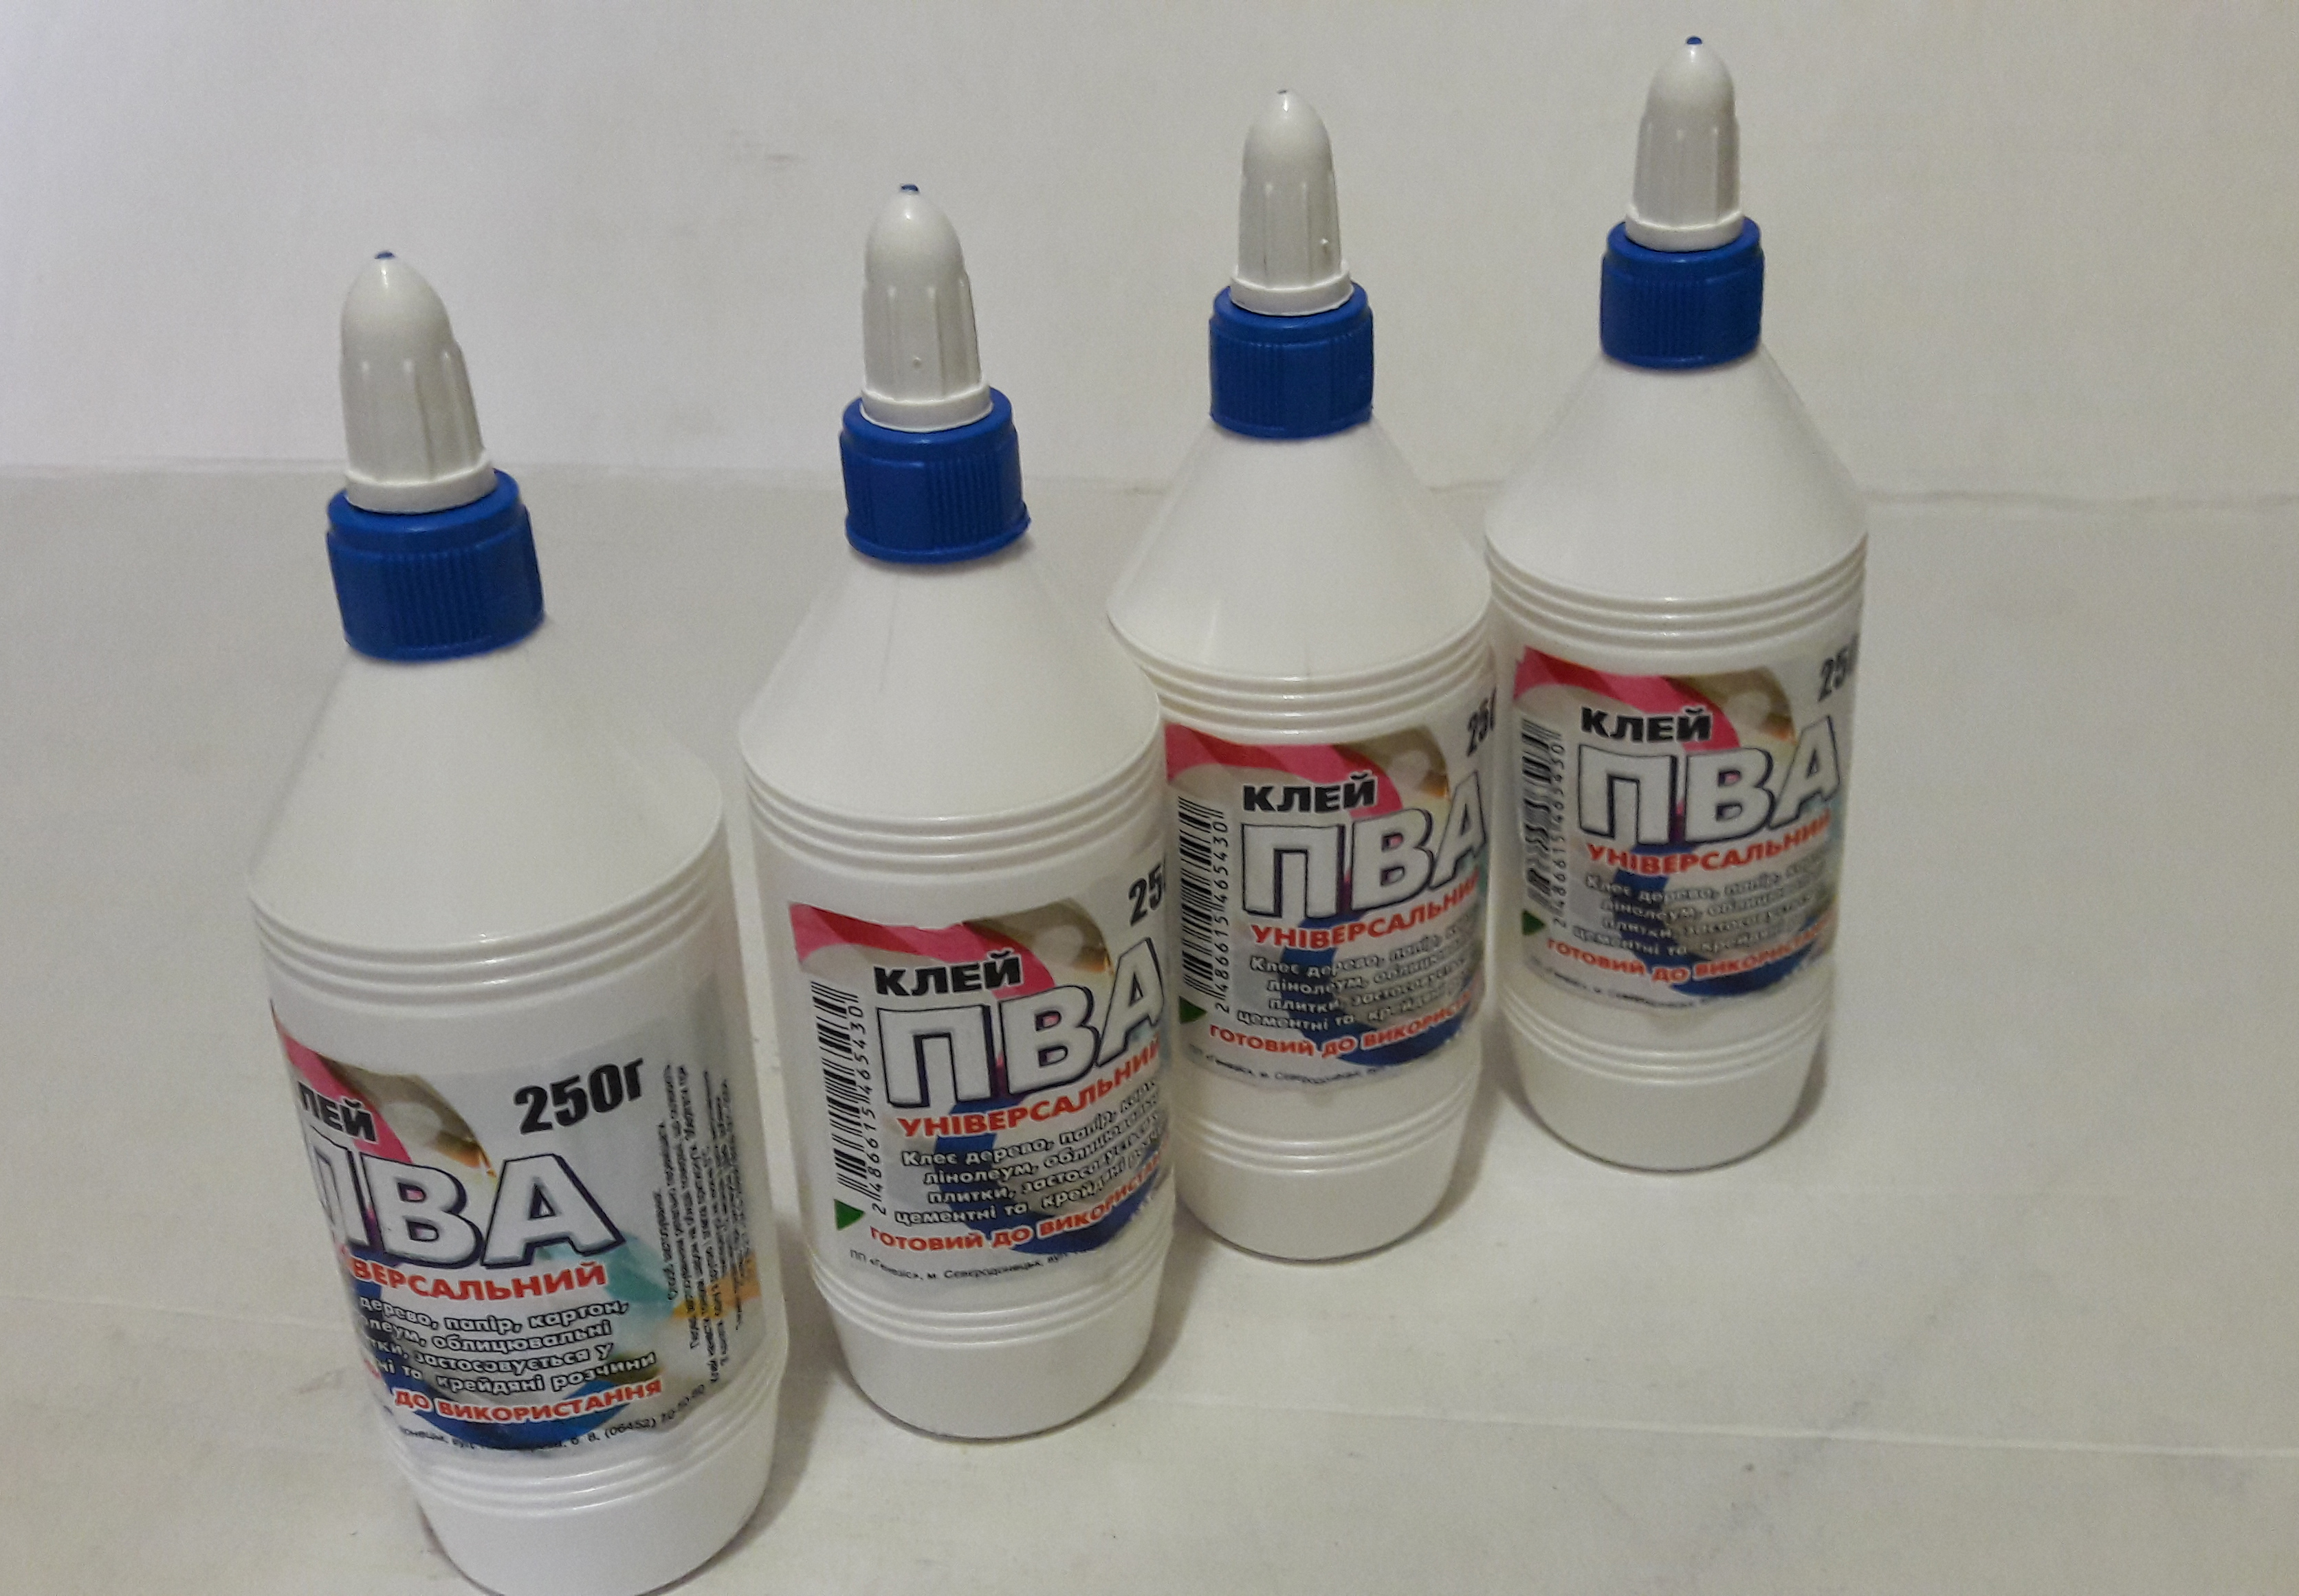
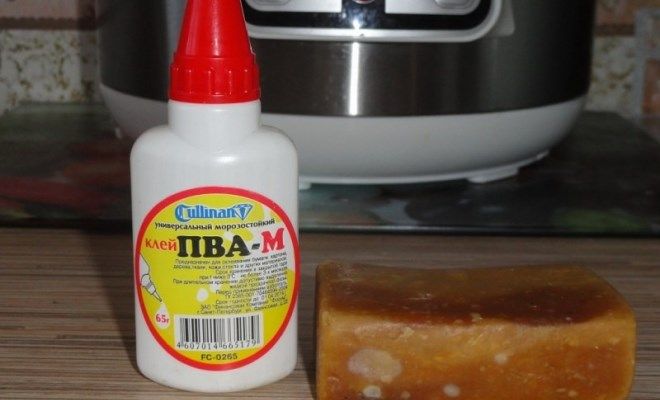
The collective name "PVA glue" covers a wide range of adhesives, whose recipe and purpose are very different from each other. Their purpose can be judged already by the letter marking - the scope should definitely be indicated on the packaging and in the technical documentation:
- PVA-K is an ordinary stationery composition. A flowing liquid of white (yellow shades are allowed) color, without lumps, a film on the surface of the tube is possible. PVA-K absolutely does not tolerate the effects of water, the glued surfaces delaminate even with a slight frost. Due to savings on plasticizers, this variety is cheap, but it is limited by the office area of application - gluing sheets of paper and thin cardboard up to A4;
- PVA-B or PVA-O - household glue (wallpaper), an improved modification of the stationery. It tolerates exposure to moisture well, the surfaces pasted over with it can be repeatedly thawed and frozen to temperatures of - 35 ˚C ... - 40 ˚C. It is used for pasting over concrete, wood, putty and plaster surfaces with wallpaper with a paper "backing", with the exception of heavy rolls - for such it is better to use liquid nails or special compounds from the manufacturer;
- PVA-MB is a universal adhesive formulation compatible with both paper products and fabric, leather, wood, metal and glass.Thick liquid without lumps, frost-resistant after application up to - 20 ˚C;
- PVA-M is an improved universal glue (super-PVA). Frost-resistant up to - 40 ˚C, strength and moisture resistance allow gluing on PVA-M not only any wallpaper, but also facing tiles and linoleum (except for rooms with constantly high humidity);
- PVA dispersion is a low-water base for any polyvinyl acetate emulsion. It consists of polymer and colloidal components, from which PVA glue of other varieties is made by adding water. Differs in high-speed gluing, fingers stick to each other almost instantly during testing. It is used very widely - as an additive in plaster solutions, in the printing industry, footwear and leather industries, in the production of textiles, etc.
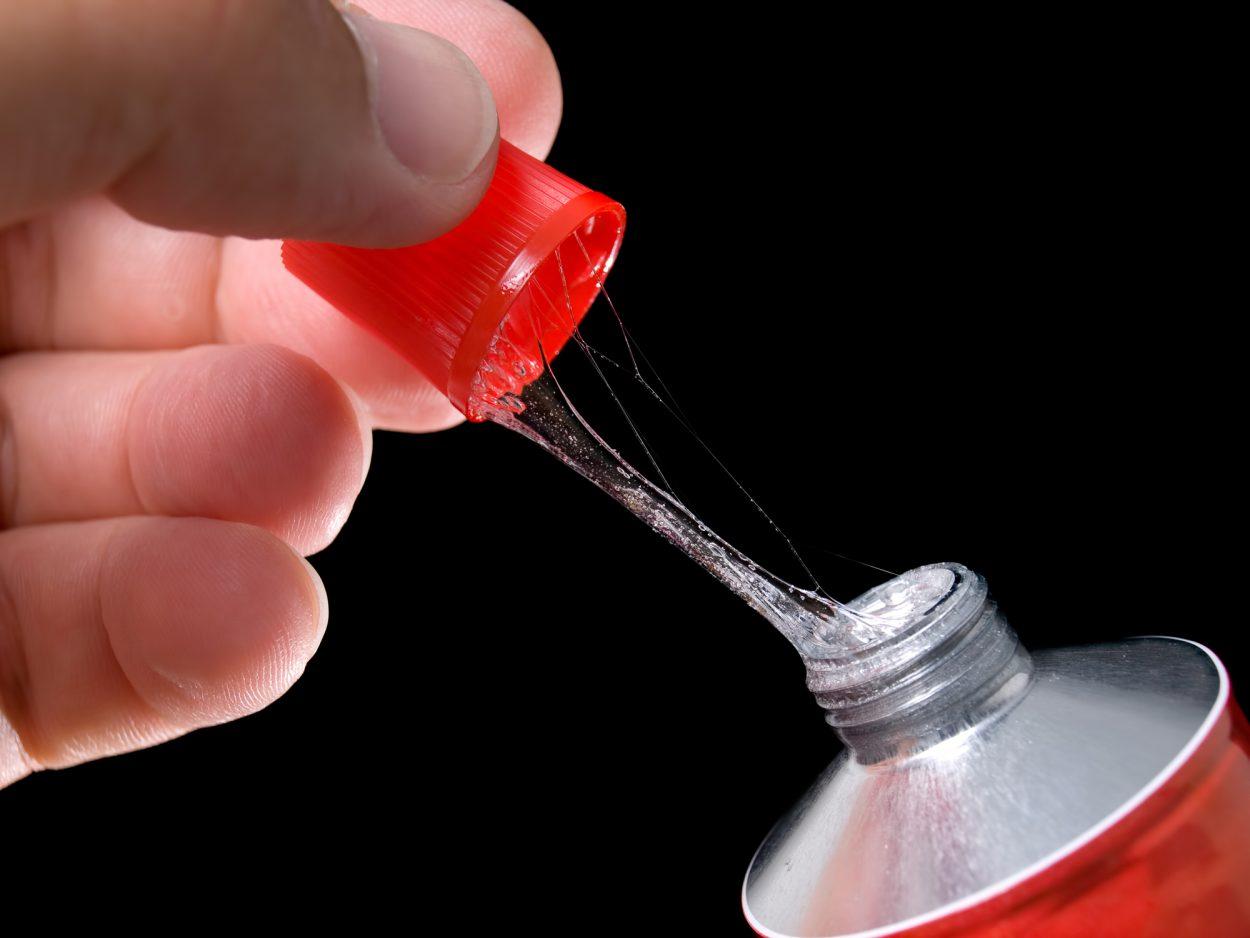
The instructions for working with it are simple, it is important to perform all actions quickly - there is almost no time left to adjust the position of the parts. Only on soft, hygroscopic materials is superglue bonding slower, and it will be possible to correct their position within 30-120 seconds
Before bonding, large gaps and cracks must be filled with concrete dust, dry plaster or soda, and then drop superglue there - the defects will immediately be filled with a dense white acrylic-like mass. The surface should be washed, all dirt and grease should be removed. Acetone or alcohol can be used as a cleaner and grease remover. Further, the procedure for working with superglue is as follows:
- pierce the metal protection on the tube with the upper part of the cap;
- on an absolutely dry base, apply a little superglue, firmly press the second part;
- start gluing from the center to the edges, otherwise air may get inside the seam;
- press the parts for 10-30 seconds;
- leave the product to dry.
At the end of the work, you need to wipe the nozzle of the tube from the superglue, screw it tightly. Opening if the lid is stuck, the bottle will be problematic, so it must be cleaned thoroughly.
Ready mix prices
Isn't it easier to buy ready-made mixtures for liquid wallpaper? Let's calculate how much they will cost. Of course, we cannot talk about the approved price, since there is a differentiation of the bases in the form of the composition of the material.
Depending on the content of silk fiber, liquid wallpaper costs from 300 to 600 rubles per package (10% and 100%, respectively).
It also takes into account the consumption of material per 1 m2. Based on the above example, the contents of the package will be enough for 8 or 3.5 m2, respectively. Now you need to calculate the area of all your surfaces and divide it by the expense. We get the number of packages, multiply by the cost of the selected mixture and we get a decent amount. Repair is always expensive, you see, it will be nice to save on liquid wallpaper. Moreover, to realize that he himself made them.
The video below discusses this issue in more detail, and will also tell you about the rich assortment of mixtures.
Basic recipes and instructions
You can make a homemade adhesive from simple products and inexpensive chemicals sold at any pharmacy or home improvement store. The preparation of homemade glue takes a minimum of money and time.
Flour
Wallpaper glue has been prepared from flour for several decades. Over such a long period, the recipe has been modified and improved more than once. True, the main components of each composition are flour and water.
First
The composition of wallpaper flour glue includes the following ingredients:
- 4-5 st. tablespoons of flour;
- 1 liter of liquid.
How to cook:
- pour all the flour into a bowl;
- pour flour with 0.5 liter of cold water and stir;
- pour the remaining 0.5 liters of liquid into a saucepan, put on fire and bring to a boil;
- introduce the flour mixture into hot water in a thin stream;
- mix the composition, then bring to a boil again and remove from the stove;
- cool the mass.
Second
An adhesive is prepared from flour according to this recipe:
- 2 tbsp. tablespoons of flour;
- 1 liter of water.
How to cook:
- pour flour into a saucepan;
- pour cold water;
- stir the mass;
- put the saucepan on low heat;
- with constant stirring, bring the powdery mass to a boil;
- remove from the stove and cool.
Third
Flour glue is prepared from the following products:
- 5 tbsp. tablespoons of flour;
- 1 liter of liquid;
- 50 ml of PVA glue.
How to cook:
- pour the flour with cold water;
- put a saucepan with the mass on the fire;
- simmer until boiling;
- cool the mass;
- add PVA glue to the cold mixture and mix thoroughly.
From starch
Composition:
- 1-3 st. spoons of starch;
- 1 liter of water;
- 45 ml of PVA glue.
You can weld the adhesive like this:
- pour starch with 0.5 l of water at room temperature;
- mix the mass;
- add 0.5 liters of boiling water to the mixture;
- put the mass on fire and bring to a boil;
- Cool the mixture and add PVA.
PVA
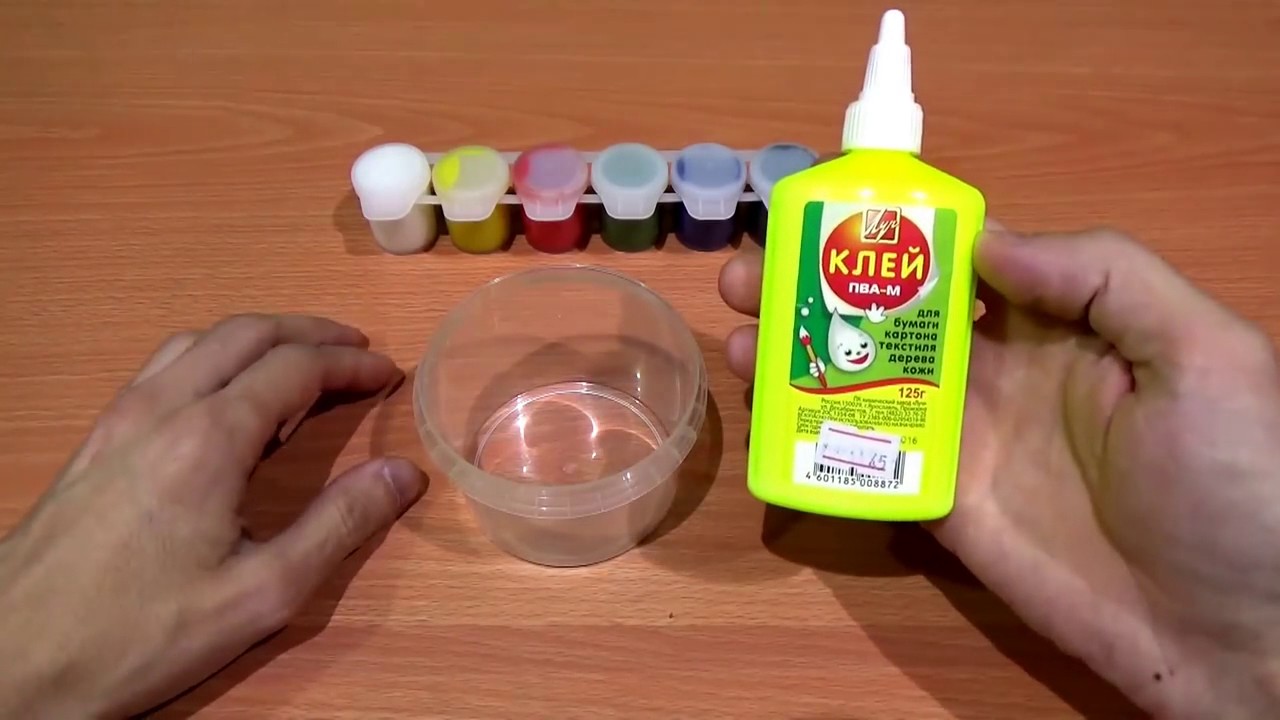
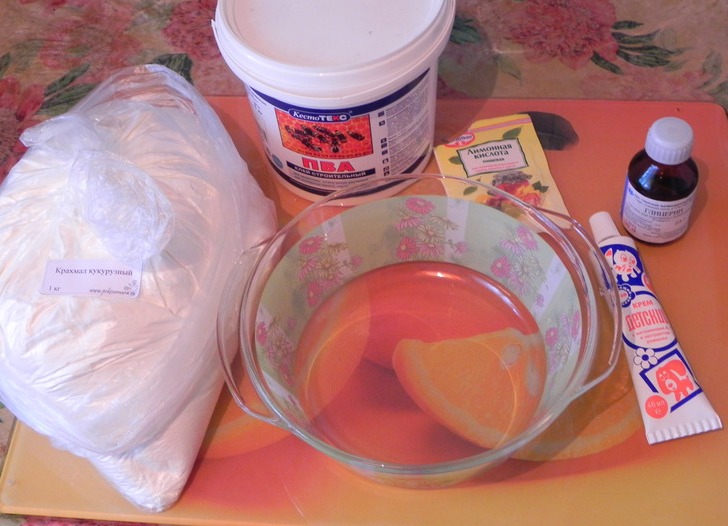
Purchased PVA glue is added in a small amount to a homemade adhesive made from flour or starch. This additive improves the quality and adhesive characteristics of the home glue. You can make your own PVA paste.
Composition:
- 105 g flour;
- 25 g of ethyl alcohol;
- 5-10 g of photographic gelatin;
- 7 g glycerin;
- 1 liter of water.
How to cook:
- pour gelatin overnight with 100 ml of water;
- Dissolve flour in 100 ml of liquid until smooth;
- add 800 ml of water to the gelatinous mass and put the mass in a water bath;
- add the powdery mixture to the warm loose gelatin;
- with constant stirring, bring the mass to a boil;
- remove the mixture from the stove;
- add alcohol and glycerin.
Joiner
To prepare the carpentry paste, you need to buy dry ingredients. Granules or briquettes are sold at any hardware store. On the packaging they say: a substance for the preparation of wood glue.
Before preparing homemade paste, the semi-finished product must be crushed into powder, soaked in water at room temperature. The granules are completely filled with the cooled boiled liquid and left for 11-12 hours. The swollen mass is heated in a water bath, brought to a boil and cooled. For 100 grams of granules, take 105 ml of liquid. In the process of preparing the paste in a water bath, hot water is added to the mixture to make the mass more liquid.
Universal paste
For pasting walls with wallpaper, you can make a universal paste of syndeticon. His recipe appeared at the end of the 19th century. Such glue can replace an expensive commercial product. It is prepared from wood glue (125 g), sugar (125 g), hydrated lime (35 g) and water (495 ml).
First, the sugar is dissolved in the liquid. Then lime is added. The mixture is boiled over low heat for an hour. The clear solution is cooled, pieces of wood glue are poured over it. Then the mass is boiled again in a water bath until the wood glue is completely dissolved. The mixture is constantly stirred and not brought to a boil.
Dextrin based
The paste is made from dextrin. This substance can be ordered online or made yourself from starch. However, a homemade product will not fully have all the qualities of dextrin. But it is suitable for preparing an adhesive solution for wallpaper.
Homemade dextrin is prepared like this:
- Pour 100 g of starch on a baking sheet and put in a warm oven;
- the substance is slowly dried for 1.5 hours at a temperature of 70 to 160 degrees;
- dried yellow starch is poured into 0.5 liters of cold water and quickly stirred;
- add 30 ml of glycerin.
At home, you can make excellent moisture resistant glue. The composition of such a sticky mass includes wood glue and drying oil (linseed oil). Respect the proportions - 4: 1. A little drying oil is poured into hot joiner's glue and the mass is thoroughly mixed.

