General glue mounting technology
The technology of laying drywall without a frame, but only with the help of glue, differs in some features. In this case, not only the marking of the wall or ceiling surface is required, but also preliminary alignment. The markup itself shows where and how the sheets will be located, usually it is a grid with lines that go in 60 cm increments.The GKL gluing technology itself provides that large, solid plates will be mounted, without their preliminary cutting. But in practice, it usually turns out that not whole sheets (the length of which reaches 3 m) are used, but parts cut into convenient pieces.
Plasterboard wall alignment scheme.
The installation of the gypsum board is carried out in a staggered manner so that there is no intersection of the seams. The boards are glued to the surface with glue, which is applied around the perimeter and in the center of each sheet. But there is also one feature that must be taken into account. This is the speed at which the glue sets. Often for a beginner who does such an installation with his own hands for the first time, this causes a lot of inconvenience, but everything is relatively easy to solve. The time for working with a mass of glue is about half an hour, that is, do not mix a lot of solution at once, it is better to do it gradually.
Before starting work, immediately mark the surface, cut all the sheets, prepare the tools (two spatulas, a building level, etc.). After that, you can already begin to knead the glue in order to immediately start working. The most optimal amount of glue is about half a bucket. In this case, you can safely and without haste stick a large sheet. If the composition is not enough, then it can always be mixed, which is better than throwing out a bucket of already unusable, frozen glue.
The mixing technology for the composition is usually the same, but for some manufacturers it may differ slightly. Therefore, it is best to read the instructions. The consistency should resemble very thick sour cream, if it turns out too liquid or thick, you can always add water or dry mixture.
Assortment for gypsum board
Manufacturers offer a wide range of adhesive mixtures. GKL boards are glued to firmly and reliably.
The most common formulations are:
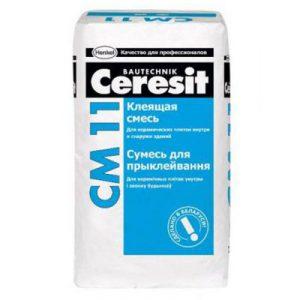
"Ceresit CM 11" for laying ceramic tiles. The composition has good adhesion to smooth gypsum plasterboards.
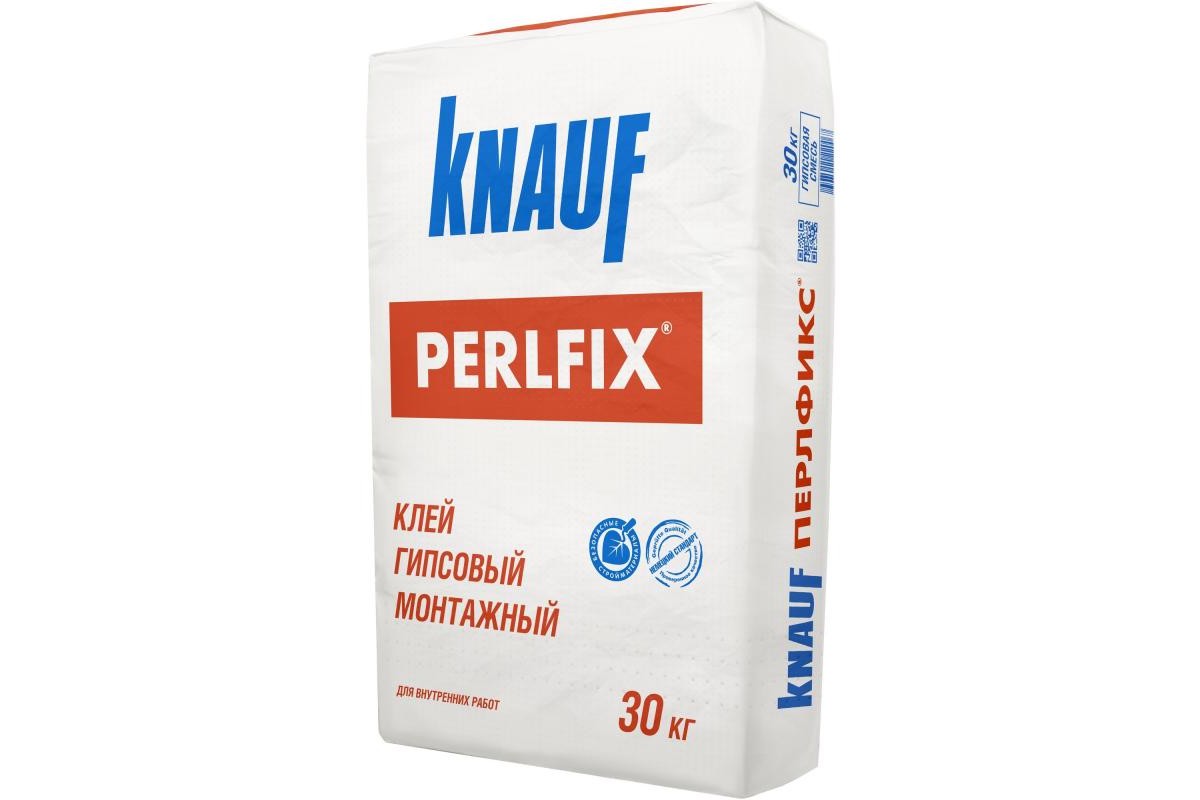
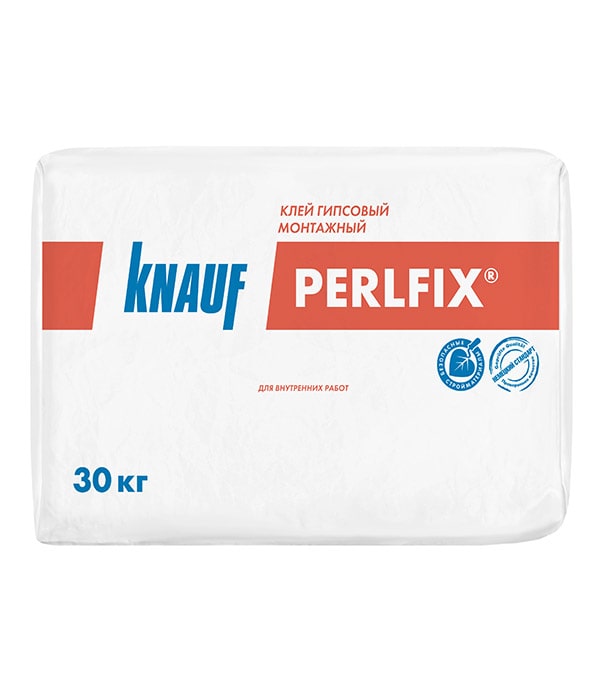
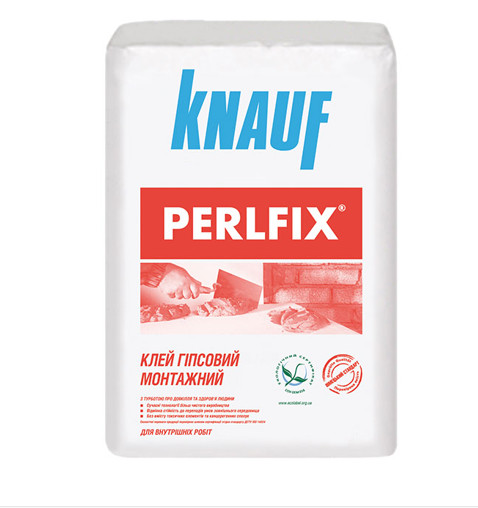
"Perflix" (Knaif) is an affordable option that may well be suitable for fixing gypsum board to concrete and brick walls. Due to its ease of use, it is used in everyday life.

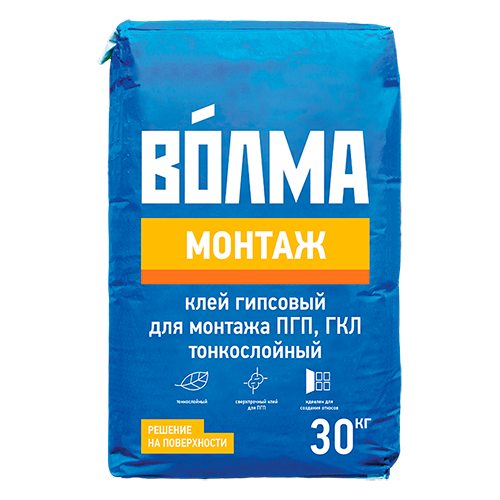
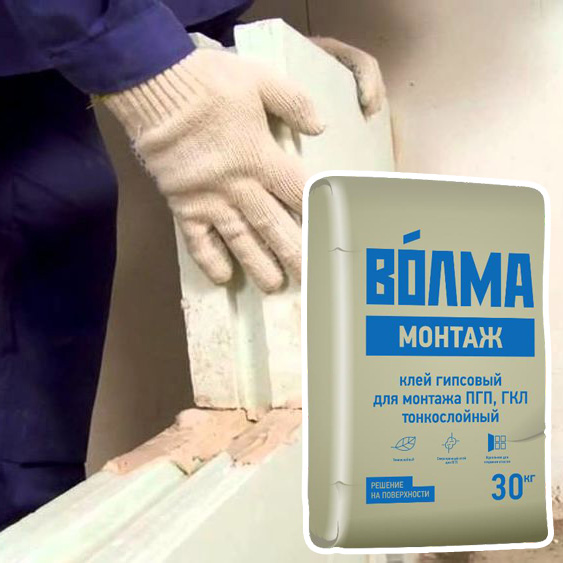
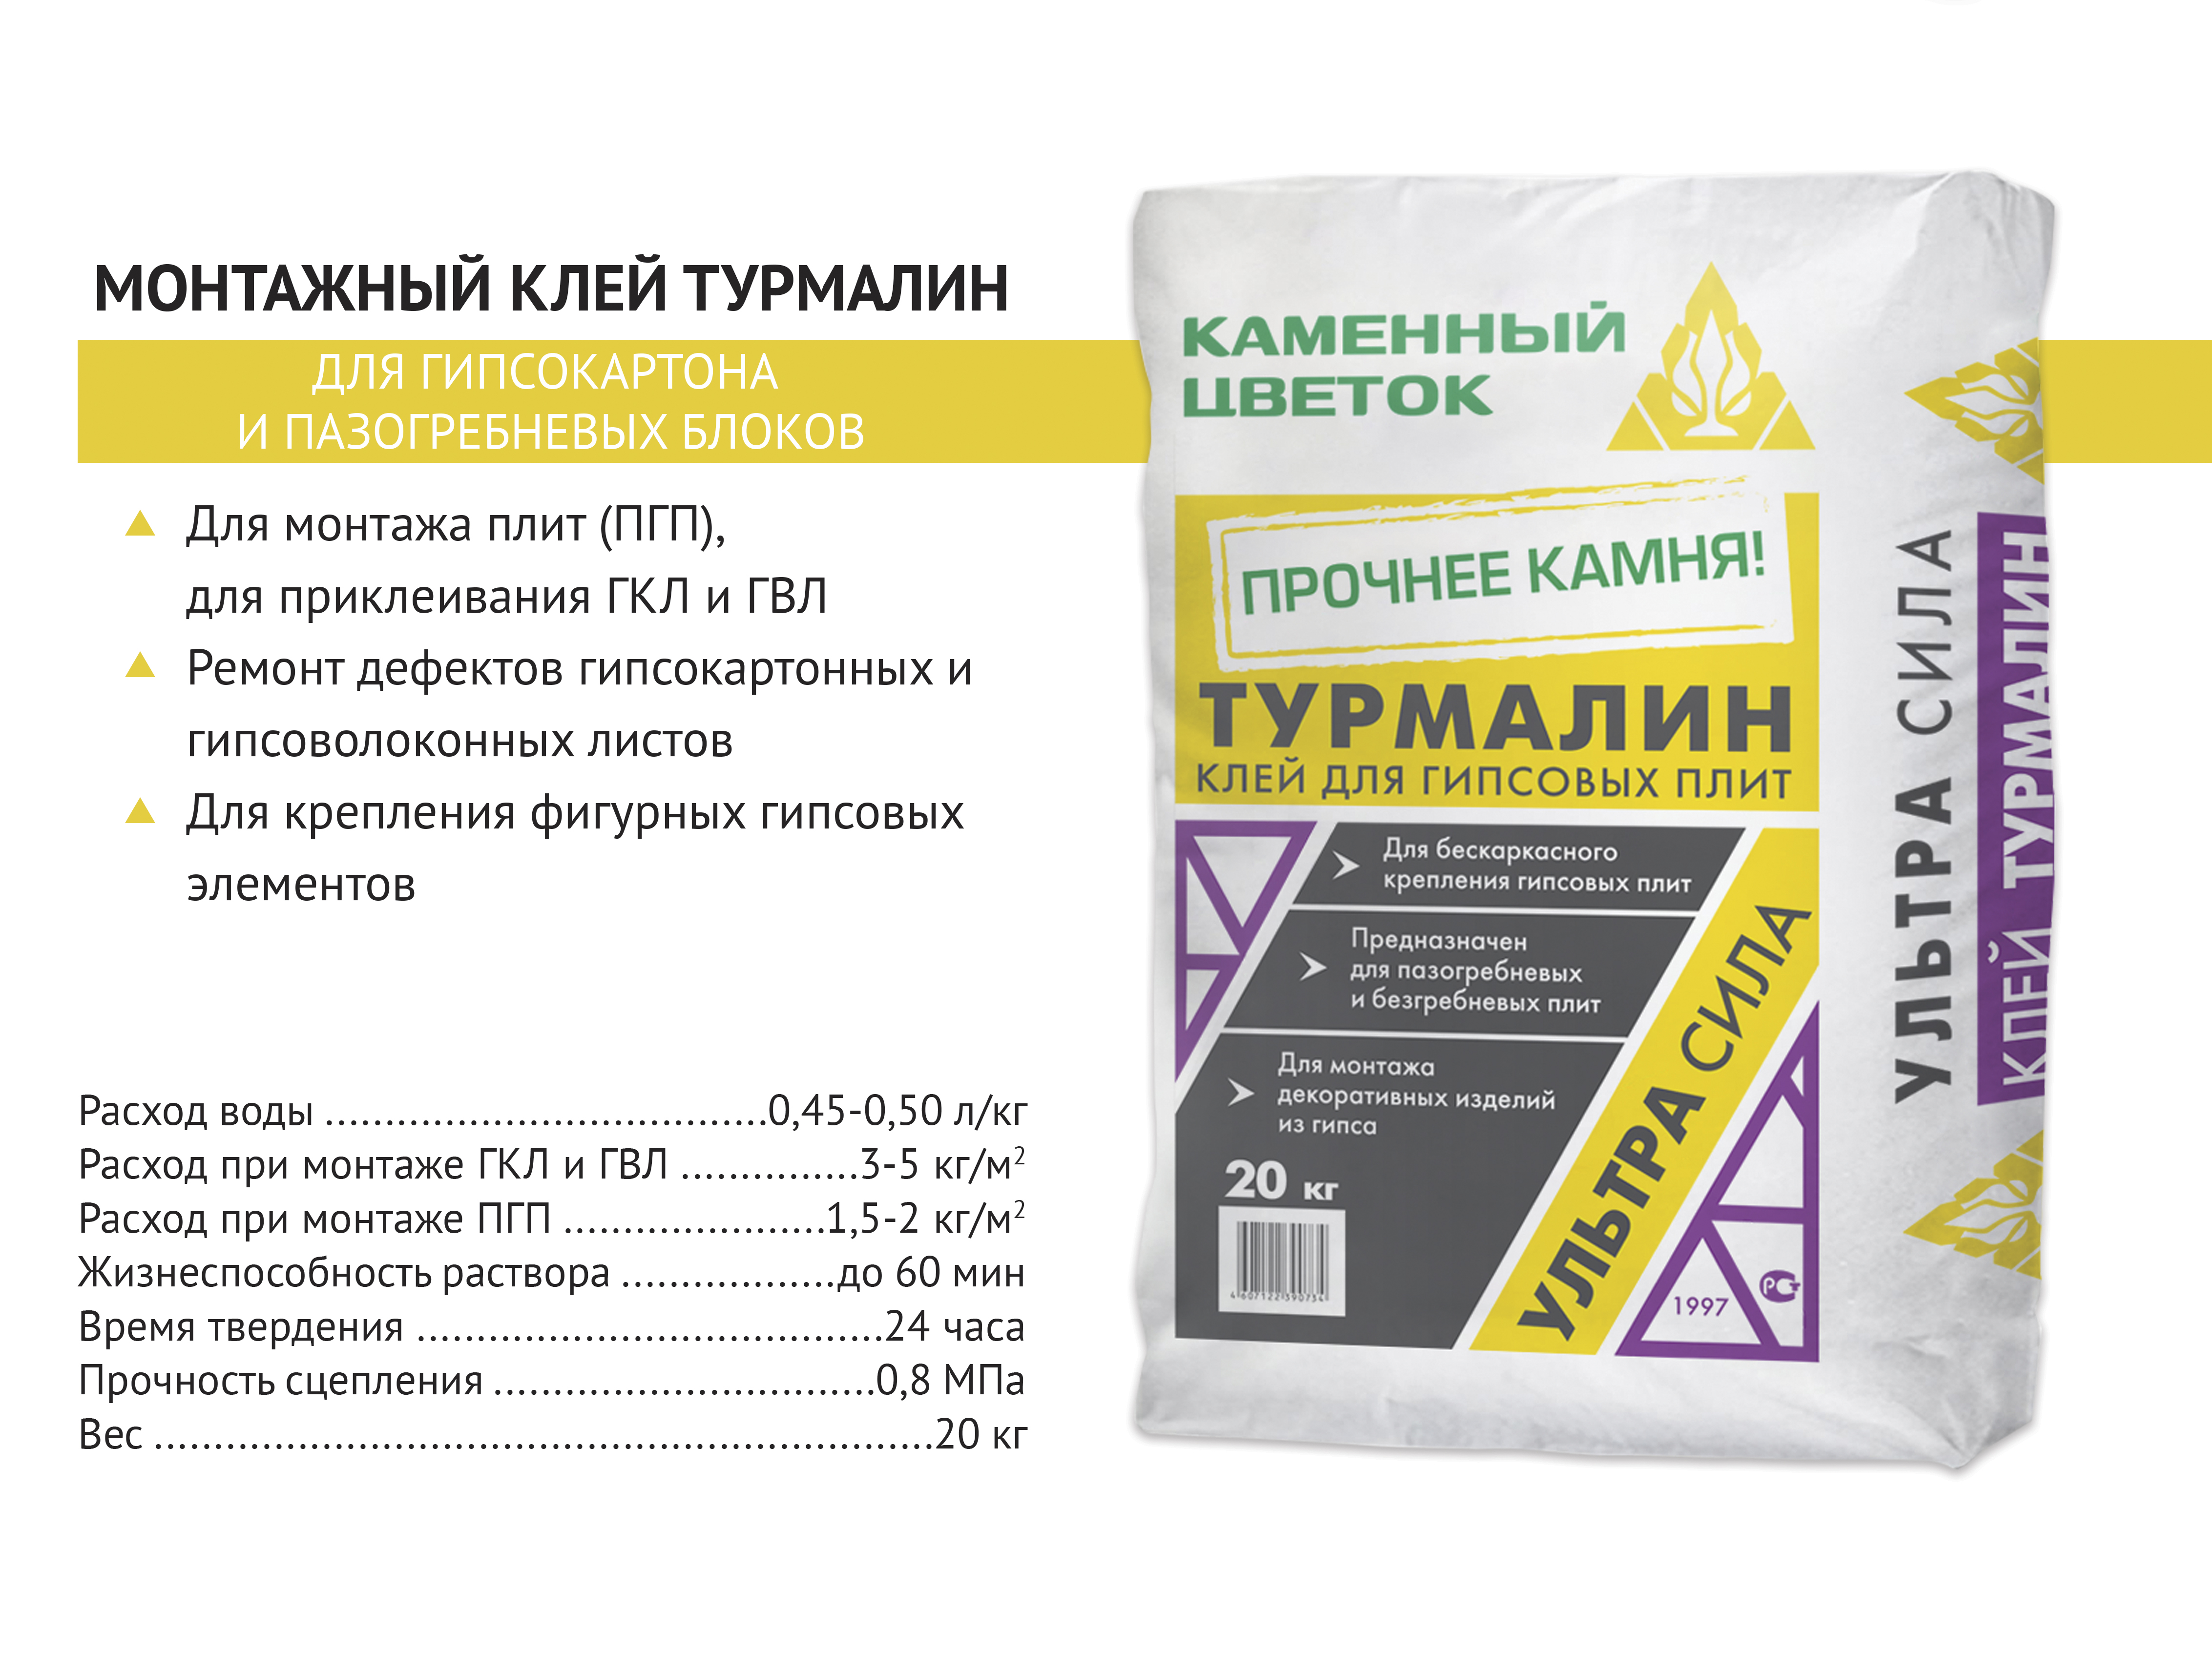
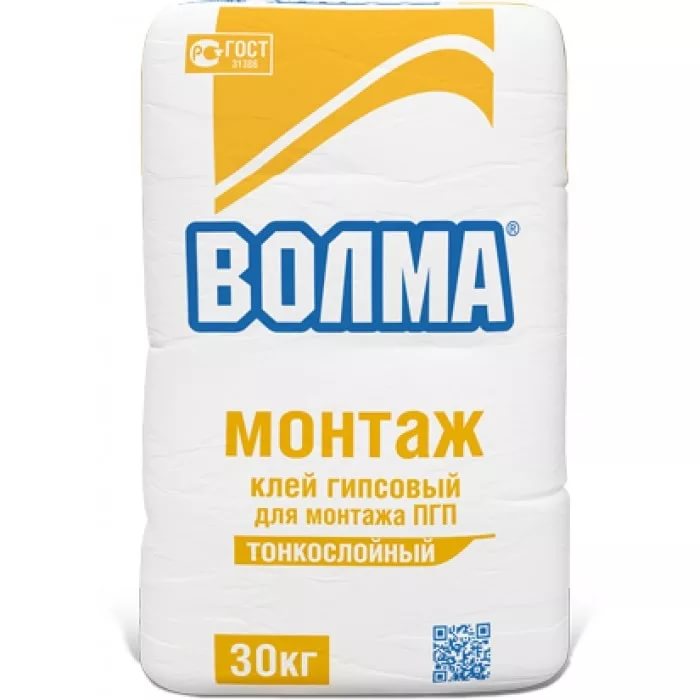
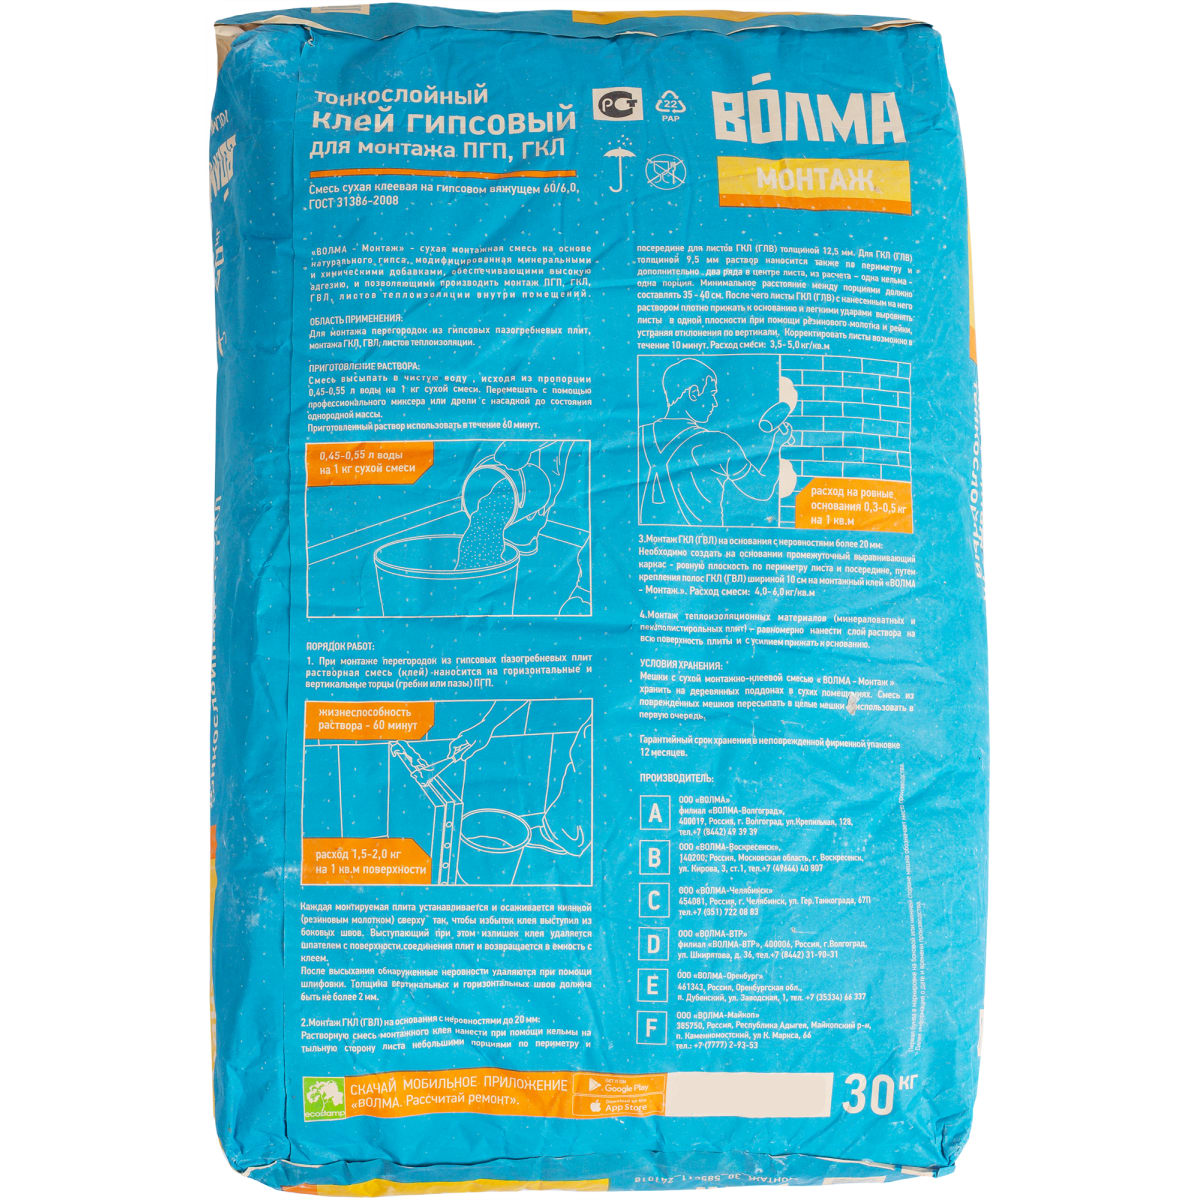
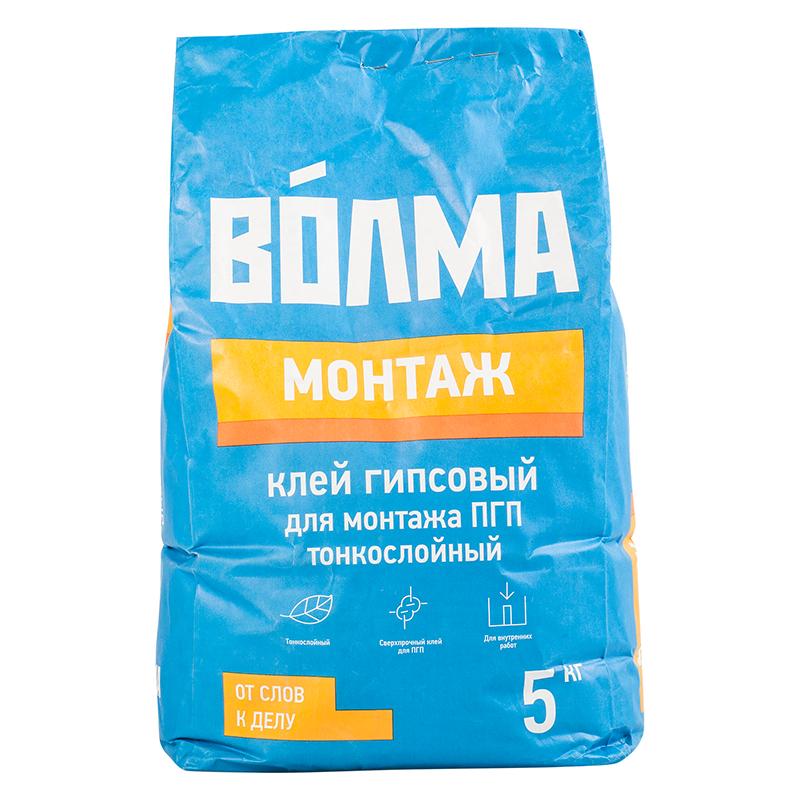
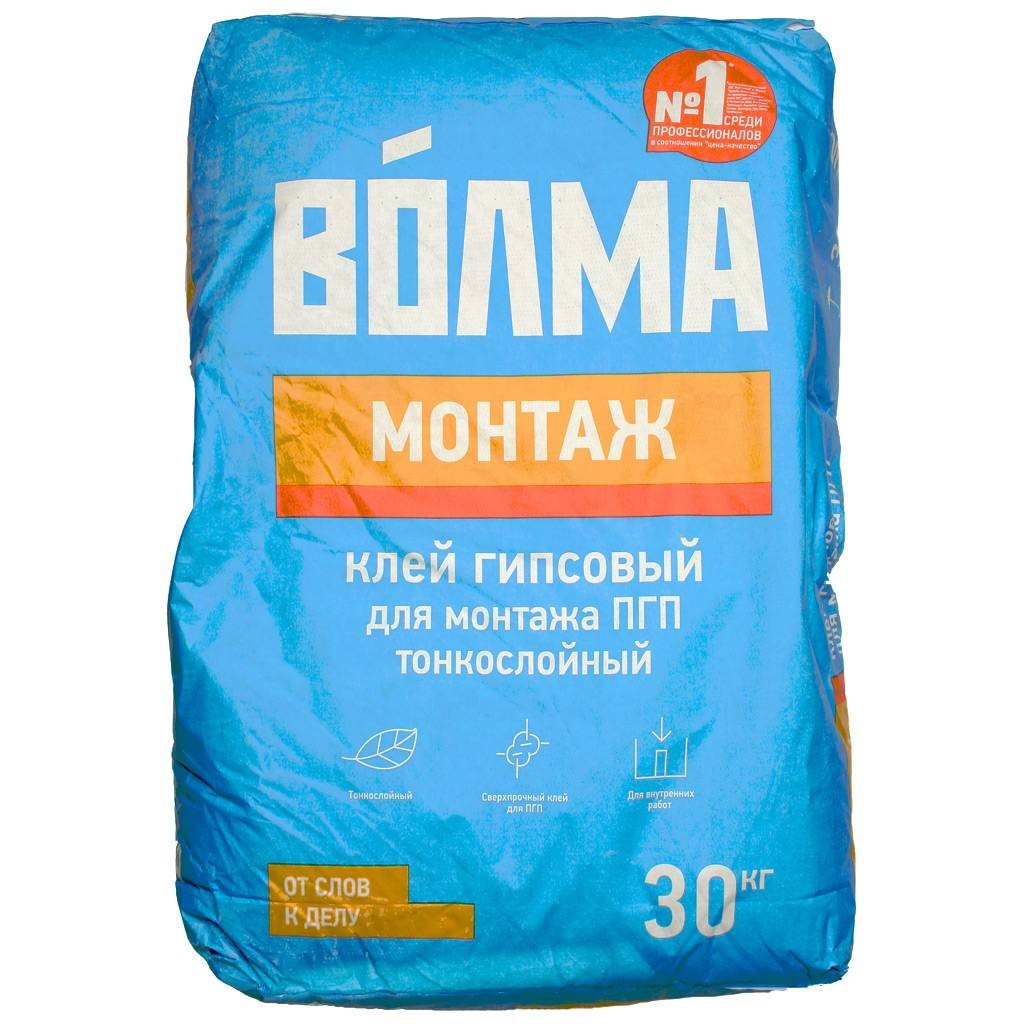
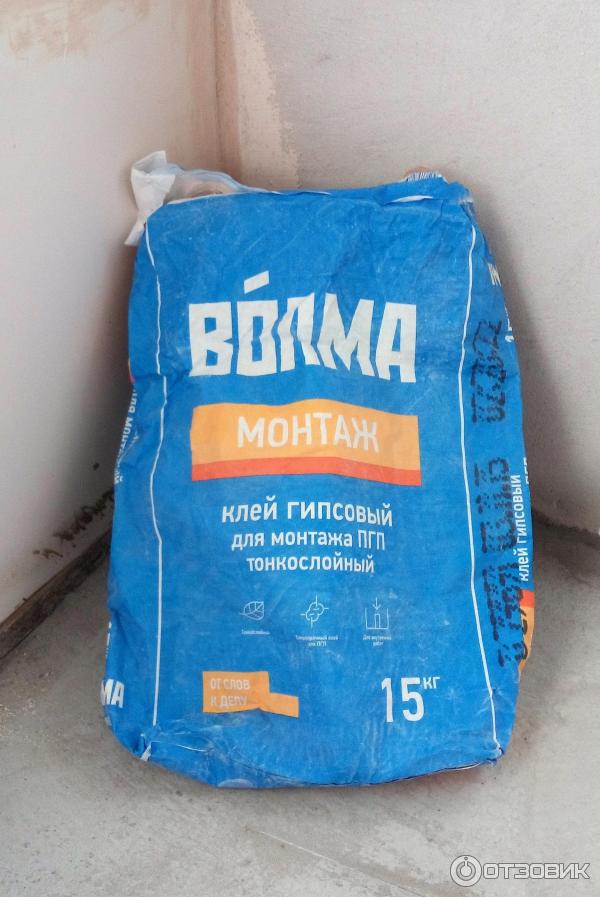
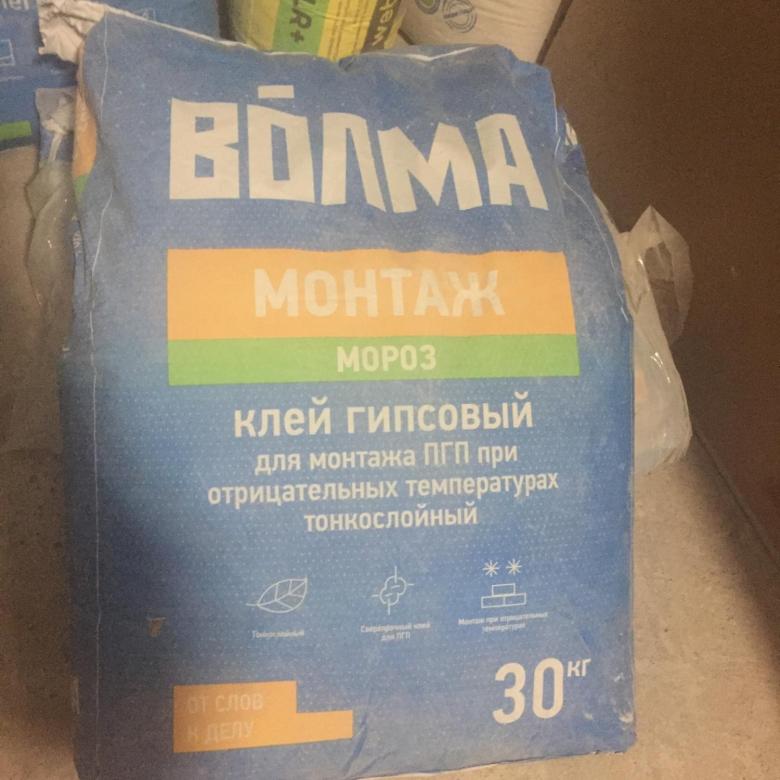
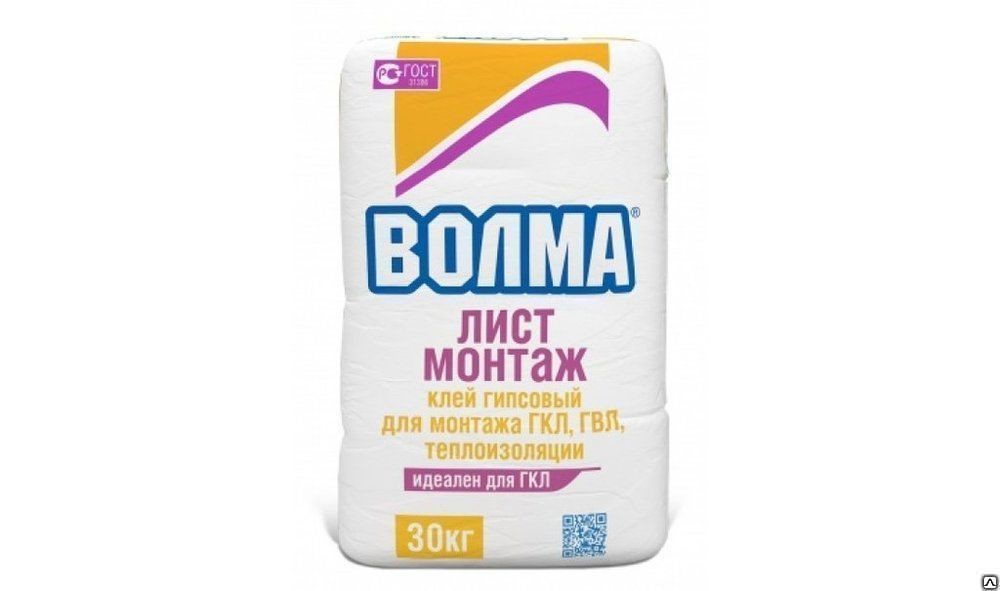
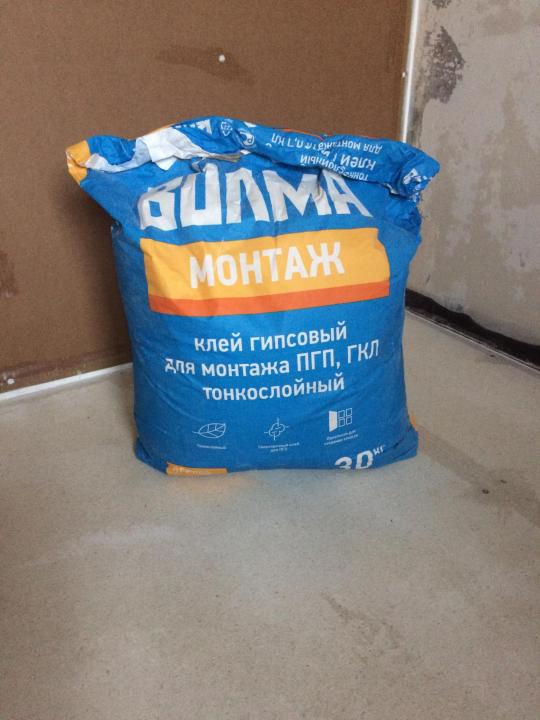
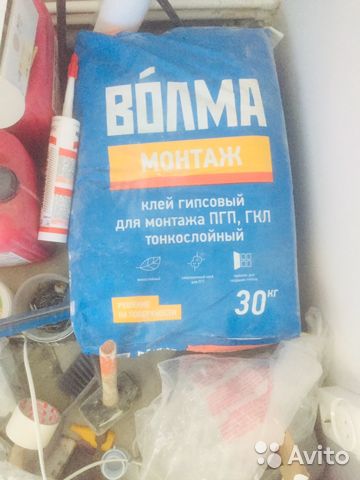
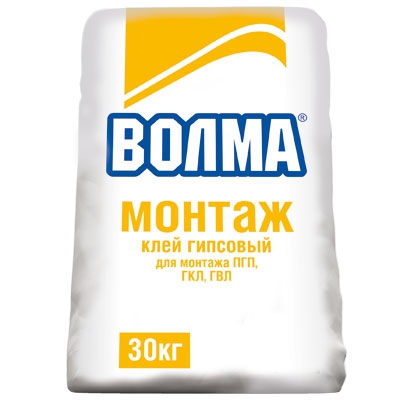
Volma Montage - specialized assembly adhesive on gypsum basis.
- Silicone-based glue adheres equally well to tiles, as well as smooth plasterboard panels.
- "Fugenfüller" is a dry mixture like a putty, for preparation it is diluted with cold water. For mixing, you need a drill with a whisk attachment. Apply to the surface in a thin layer.
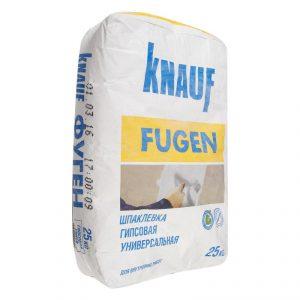
Putty "Fugen" (Knauf) is used as a plasterboard fixer to a flat plane. The mixture has increased plasticity due to polymer additives. The bond strength creates a thin layer.
Polyurethane assembly adhesive in a container with an aerosol dispenser. Such formulations are resistant to high humidity, provide reliable and durable fixation.

Polyurethane foam with a slight increase in volume.
Liquid nails.
Acrylic putties and sealants. Any type of sealant will help adhere drywall to brick, concrete, or foam block walls.
Walls lined with plasterboard and using glue are inexpensive, so this method belongs to budget repairs.Costs are also reduced due to the fact that there is no need to assemble a wooden or metal frame from profiles.
Important! To improve the adhesion properties of the gypsum board when joining with a concrete surface, a deep penetration primer is applied to the back of the slab.
Preparing the walls
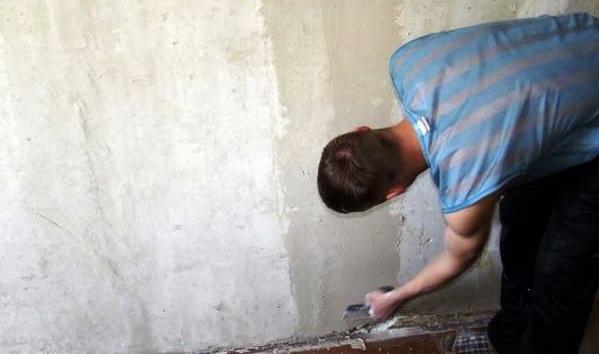
Any dirt and dust present on the work surface must be removed before attaching the drywall to the concrete wall. A layer of paint from the painted wall is removed with an angle grinder (angle grinder), on which flap grinding discs are installed. A stiff brush is used to remove dispersion or water-based paints.
The preparatory stage also provides for a number of mandatory actions that will help determine the best option for attaching drywall:
- It is necessary to examine the work surface for curvature and the presence of flaws. This will require a rule or plumb line.
- Any protruding elements are removed from the walls - screws, nails, concrete bumps.
- Old wallpaper and other finishing materials are completely removed to a clean concrete surface. Such actions are laborious, but they will increase the reliability and strength of the connection.
- To control the correct installation of the sheets (in one plane), marks are made in the form of lines on the floor surface. Additionally, they can be applied on the ceiling if the vertical plane has large curvatures. The maximum drop should not be more than 2 cm.
Important! If the surface is flat and free from flaws, then you should not increase the layer of glue to hide the wiring. It is enough to make strobes.
Knowing how to attach drywall to a concrete wall, you need to stock up on building materials in advance:
- Plasterboard sheets.
- We glue.
- Priming compound.
- Plaster mix. It will be required if you cannot level the wall with drywall alone.
The number of gypsum boards is determined in accordance with the area of the walls. More complex calculations are performed when determining the amount of adhesive, since for each material the consumption per 1 sq. m may differ. Approximately with a layer thickness of 1 mm, up to 1.8 kg of glue is consumed. Each package indicates the quantity at a specific layer thickness to be applied.
When it is possible to level the walls with plasterboard without a frame
To level the surface of the gypsum board, the following methods are applicable:
- Frame - the use of profiles and components to create a lathing for GK-sheets.
- Frameless - gluing or direct fixing of the sheet to the rough surface.
Fixation of material without a profile is performed in such cases:
- If the walls are crooked by no more than 5 cm.
- No need to hide wires and communications.
- In a small room (toilet, bathroom), where there is no way to allocate centimeters for the construction of the lathing.
The lathing takes at least 12 cm of free space in the room.
The frameless method has its drawbacks:
- There is no way to hide communications.
- There is no way to insulate the rough surface.
- In some cases, additional fixation is needed with self-tapping screws or dowel-nails.
- The gypsum plasterboard becomes heavy with glue applied, it is difficult for one person to lift it. We need to call a neighbor for help.
With relatively flat walls, it is advisable to mount the gypsum board using a frameless method.
How to choose the right plasterboard glue for gluing gypsum
Plasterboard wall cladding is carried out by choosing the right adhesive. The mixture is selected according to the environmental factors. Stroy market offers mixtures:
- Gypsum glue "Perlfix" manufactured by Knauf or "Volma-montage".
- Plaster based plaster: "Start", "Finish".
- Plaster-based putty "Knauf-fugen".
- Tile adhesive "Ceresit-CM 11". It is a cementitious compound with fillers.
- Silicone sealant made of acrylic and polyurethane, "liquid nails", assembly adhesive mixture. These mixtures are used for flat surfaces or for gluing sheet to sheet.
- Polyurethane foam.The composition is selected with the coefficient "min".
Sealants are mainly used on brick, concrete wall, foam block.
Can I stick on polyurethane foam
There are 2 ways to glue a sheet of material to the wall with foam:
- First, the gypsum board is attached to the wall with dowel-nails, then holes are made and through them they fill the void under the gypsum.
- Apply foam to the sheet and stick it to the wall.
Method one
The material is placed on a flat horizontal surface. 9-12 holes are drilled in it. After the plasterboard with holes, they are applied to the wall and all drilled holes are marked with a pencil. The holes for the dowels are shining on the rough cover.
GK-sheet is fastened with dowel-nails. It is not necessary to screw in the self-tapping screw to the end. It is necessary to achieve the evenness of the vertically placed material, therefore, when screwing in, use a level. When the sheet is exposed, foam is admitted into the holes.
Method two
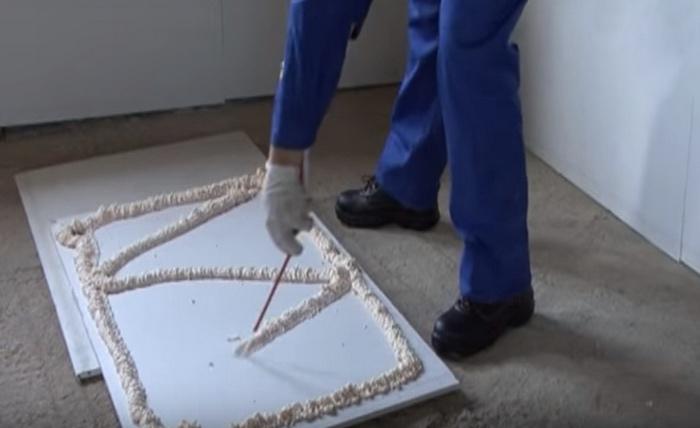
If the wall is even, then the foam is applied to the horizontally lying gypsum board. After that, the sheet is applied to the wall, leveled and pressed to grab the foam with the surface.
The polyurethane foam increases 2-3 times. Therefore, the tool is chosen with the smallest expansion coefficient, and during drying, the condition of the gypsum board on the wall is constantly checked.
Is it possible to glue the gypsum board on tile adhesive
GKL is glued to tile glue, but if the wall has irregularities of up to 1 cm. In case of irregularities of more than 1 cm, the glue will eventually fall off along with the drywall sheet.
For greater strength, drywall sheets are additionally fixed with self-tapping screws or dowel-nails.
If you need to make double plasterboard cladding, then gluing the first layer, put glue 0.3-0.5 mm thick, after complete drying, the same amount of glue is applied for the second gypsum board. A prerequisite is additional fixation with self-tapping screws.
Foam block wall glue
The best choice of glue for a foam block wall is Perlfix. Holes are made in the GK-sheet at a distance of 40 cm with a diameter of 2-2.5 cm. The glue is applied to the wall. Then, immediately, the gypsum board is glued. Excess glue will come out through the holes made. It is removed with a spatula. In this way, additional reinforcement is achieved.
From polystyrene concrete
Polystyrene concrete - made of cement, foam balls, quartz sand and additives. On a wall made of such a composition, it is necessary to use cement-based adhesive mixtures with fillers. There is a negative point at the bottom - it freezes. Therefore, for the strength of holding the wall finish, it must be additionally fixed with dowel-nails.
For walls made of wood
The cladding of wooden walls is made in this way:
- Treatment of wood with an antiseptic.
- Exposing beacons for the evenness of the applied sheet.
- Holes are made from the lighthouses at a distance of 30 cm and a plastic sleeve is inserted from the dowel-nail.
- GK-sheets are glued to the glue mixture. Additionally fixed with dowel-nails.
Attention. Before using the glue, prime the rough surface with a primer.
For walls made of bricks, concrete
GKL on walls made of brick, concrete is fixed in 4 ways:
- Fixing with glue.
- Facing with polyurethane foam.
- Using self-tapping screws.
- Fixing the dowel-nails.
The choice of method depends on the curvature of the wall and on the moisture content.
Concrete wall. Basically, it is even - they use cement-based glue. For better adhesion, notches are made on the wall, cover it with a primer, and then fix the gypsum board.
Brick wall. Fixation of the facing material is carried out on polyurethane foam. Applying foam to the sheet with a snake allows you to control the amount of applied product. After applying the foam to the sheet, wait 2-3 minutes. When the foam begins to expand, the sheet is applied to the wall and leveled.
For fastening to a brick wall, use foam for installing polystyrene foam. It does not expand as much as other analogs.
Production
The technological process of manufacturing gypsum plasterboard involves the use of only clean and high-quality raw materials.Certain technical characteristics of sheets depend on this.
The following raw materials are used in production:
- Plaster mix.
- Pressed cardboard.
- Various additives.
As the last ingredients, modern components are used that increase quality indicators.
These include the following:
- Waterproofing solution - it prevents moisture from penetrating into the structure and destroying it.
- Antifungal mixtures - protect the surface from the appearance of fungal diseases and mold.
- Impregnated impregnation - slows down the process of moisture absorption.
Thanks to the use of natural raw materials and all additives, gypsum plasterboard GKLV can be used in poorly ventilated rooms.
Moisture resistant drywall is mainly used for bathroom or kitchen decoration.
In the manufacture of the material, modern specialized equipment is used. The production line includes more than 10 machines. With their help, certain parameters are given to drywall.
GKL should be stored in a dry room with a constant temperature regime. The warehouse is equipped with additional ventilation systems so that dry and humid air masses do not affect the structure.
Brick wall cladding: features
Brickwork has a number of features that must be taken into account when fixing the gypsum board.
- When fastening the sheet with self-tapping screws without glue, they, getting into the solution, will not hold for a long time. The building has its own shifts, the fasteners will be unreliable.
- Gypsum glue, when applied to cement mortar, will not have good adhesion due to the difference in composition. As a result, the glue will flake off.
- A brick wall can collect condensation if it is thin and exposed to outdoor temperature changes. Moisture negatively affects the gypsum board. In this case, it is necessary to use polyurethane foam and self-tapping screws.
There are two ways to solve the problem of installing gypsum on a brick:
- In the first case, polyurethane foam is poured into a small space between the gypsum board and the base.
- In the second, the foam is applied to the surface of the sheet, and then it is fixed to the surface. This case is more acceptable, since it is possible to control the amount of foam applied to the surface of the facing material.
Use the foam that has the smallest expansion coefficient - for expanded polystyrene.
Installation of cladding material with self-tapping screws and foam:
- One sheet is drilled in 9-12 places.
- These points are transferred to the surface.
- Pieces of foam rubber are fixed on the glue near the drilled holes. It serves as shock absorbers during attachment.
- Dowels are driven into the wall at the marked places.
- The sheet is fixed with self-tapping screws with wide caps, washers are placed under them. During installation, it is necessary to measure evenness with a level and a rule.
- Having stepped back from the fasteners 1-2 cm to the side, holes are drilled in the gypsum board for the foam nozzle.
- Foam is injected into the hole in small doses. Don't forget - the foam expands.
After the foam dries (about a day), the screws are removed along with the washers. Instead of them, they screw in the usual self-tapping screws, "drowning" the caps a little.
Peculiarities
Today there are a large number of different building mixtures that allow you to glue different materials. Many under such mixtures mean only cement or special glue for tiles, but the number of compositions and their types is much larger. Gypsum glue deserves special attention.
It is most commonly used in the following situations:
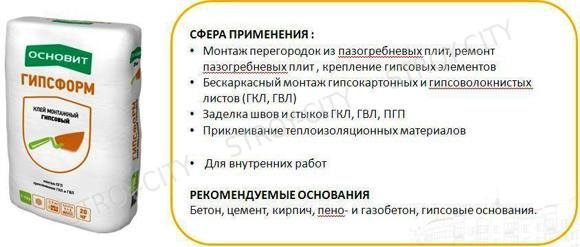
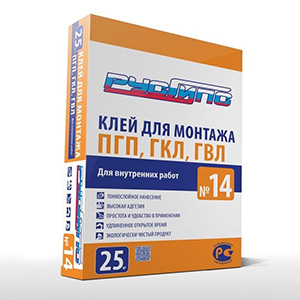
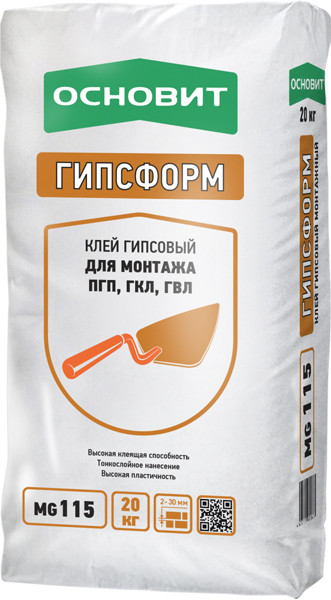
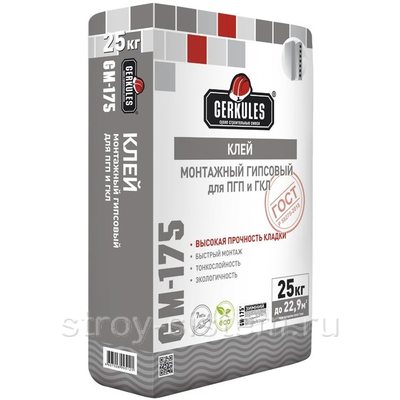
- When installing GWP and GVL, where the glue acts as the main binder. These plates are large, with their help you can quickly erect partitions, so there is a need for glue that sets quickly. In this case, gypsum glue is the main competitor for polyurethane foam.
- For wall cladding with gypsum tiles and artificial stone. Basically, gypsum glue is used for interior work.
- When you need to glue drywall / gypsum fiber sheets to walls or ceilings in the form of a rough finish, gypsum glue is best suited.
Based on the scope of application of this binder, it is worth highlighting its main properties:
- hardens relatively quickly;
- affordable cost;
- characterized by good adhesion.
If we compare this type of glue with other types or cement, then disadvantages can also be identified:
- The structure of the mixture after curing is brittle, therefore it is not suitable for use under floor coverings.
- The glue is not moisture resistant and loses its properties upon contact with water, so it cannot be used for exterior decoration or in rooms with high humidity.
The glue is made relatively simple and fast. It consists of gypsum and various additives that increase the strength of the substance in question.
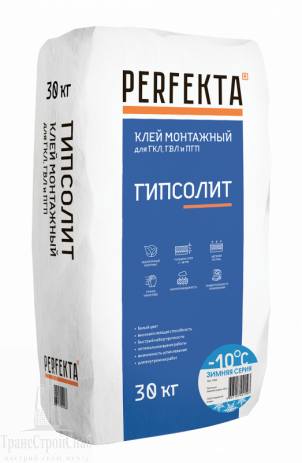
This type of glue is used mainly for large-scale repairs. This leads to the fact that many manufacturers pack this material in large bags of 30 kilograms. It is almost impossible to find small packages, however, there are also such.
Where applicable, dimensions and markings
Like GKL, GVL is used for the construction of a suspended ceiling, walls and floor. Due to its properties, GVL is used in damp, poorly heated rooms and where increased sound insulation is needed. Experts recommend using it instead of tiles, even in rooms with constant humidity.
When installing the floor, the gypsum fiber sheet creates a strong and warm base for the topcoat on any basis - wood, concrete or expanded clay pillow. GKL is not very suitable for this.
The choice of GVL is wide. Gypsum fiber, which resists moisture well, is used in any room, including bathrooms and toilets.
Based on the size, GVL is divided into a standard and small-format sheet. Dimensions of a standard slab: length - 2.5 m, width - 1.2 m, thickness - 10 or 12 mm. Small format sheet is smaller: 1.5 m - length, 1 m - width, and the same thickness. It is convenient and recommended for adhesive installation on the walls of bathrooms and toilets.
Marking with information about the longitudinal edge, the name of the type of material (moisture resistant or not), sheet dimensions, production date and the name of the company are applied on the back of the sheet.
No less important information on the topic: GVL ceiling
Gypsum board is a suitable material for wall covering. GVL is attached to the wall in the same way as the gypsum board, in two ways - frameless or frame. In the first case, they are planted on glue, and in the second, they are attached with self-tapping screws. The choice of method depends on the curvature and condition of the wall covering. Sometimes the walls have to be putty, and sometimes a frame is needed.
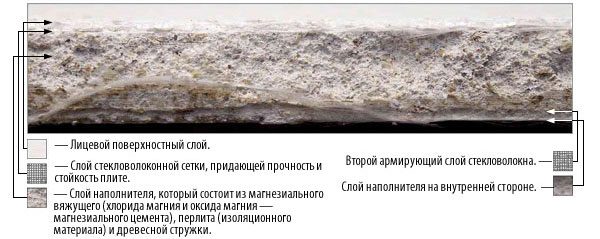 GVL structure
Glue VOLMA-Ceramic
Another mixture from the same manufacturer is made on the basis of Portland cement, fractional sand and various modifying additives. Dry tile adhesive VOLMA-Ceramic is more often used for finishing works. It is characterized by ease of use, high peel strength, plasticity.
Technical characteristics and scope
The tool is suitable not only for interior, but also for exterior facing work using different materials:
- Medium to small ceramic tiles. Will keep in dry and damp areas. Facing walls, floors.
- Medium and small size porcelain stoneware. In this case, Volma Ceramic is only suitable for laying on the floor.
- Clinker tiles.
The bases can be brick, PGP, gas and foam concrete, gypsum plasterboard, GVL. The main thing is that they are strong and dry. The adhesive can be applied to screeds, cement-based plaster, lime. For better adhesion, the surface is primed.
Characteristics of VOLMA tile adhesive:
- grey colour;
- hardens in a day;
- suitable 3 hours after dilution;
- begins to lose its adhesiveness after 10 minutes (open time);
- retains properties at a layer of 2–5 mm;
- the position of the tiles can be adjusted within 10 minutes after laying;
- air temperature, base - from +5 to + 30 ° C;
- 0.18–0.22 liters of water is spent for each kilogram of the mixture;
- adhesion to concrete - at least 0.5 MPa;
- frost resistance - F 35, withstands at least 35 freezing and thawing cycles.
Consumption depends on the surface, tools, layer thickness, approximately 1.3–4.5 kg for each m2 of base.
On sale there is a similar tile adhesive of the same company - VOLMA-Ceramic +. It is a little more convenient and reliable:
- open time is twice as long;
- you can correct the position up to 15 minutes;
- adhesion to concrete is more reliable - from 0.6 MPa.
Volma-Ceramic + is better stored. Loses little in quality after freezing, thawing, heat aging. The adhesion to concrete is reduced to 0.5 MPa. When stored in damp conditions, adhesion to this substrate is not lost.
Storage conditions and solution preparation
Volma Ceramic glue is best stored in its original packaging. The warranty period is 12 months at normal humidity.
Prepare the solution like this:
- Pour the dry mixture into clean water with a temperature of +10 to + 20 ° C.
- Mix well. A construction mixer or drill with the right attachment will do.
- Wait 5-7 minutes and stir again.
When preparing the solution, observe the proportions indicated on the package. If there is too much water, the tile adhesive loses its quality.
Useful video on the topic:
Operating procedure
When laying tiles, there are several steps:
- Apply the solution to the base surface. Apply a toothed trowel.
- Spread the adhesive evenly.
- Profile the surface with the trowel tines.
- Laying tiles.
- Strongly pressed with an offset.
- The seams are rubbed after 24 hours using a special grout.
Varieties
Almost the entire range of gypsum glue on the market today is sold in the form of dry powder. It most often has a white color; it is rare to find a mixture of a grayish tint. Builders call this type the most successful. To increase the adhesion properties (adhesion of surfaces of different composition) to the main ingredient of gypsum, manufacturers add special elements, which, meanwhile, allow working with glue not in emergency conditions. Another option for such families is an adhesive with quartz. The latter is added to reduce the material requirement of production. Eminent manufacturers have very little or no such ingredient.
The characteristics of the gypsum adhesive can vary depending on the amount of additives present. The main function of the glue is to help in the installation of various structures, to ensure the most durable adhesion of the working mixture to the treated surface. Therefore, another version of the composition with an increased amount of gypsum was released. The quality of adhesion and the volume of liquid that is used to dilute the factory powder are determined. The amount of water is usually indicated in the instructions on the package.
Substrate requirements before dry plastering
Since drywall with the glue method is attached with gypsum glue, the wall must provide a reliable adhesion to it. The glue method is mainly used for decorating walls made of masonry materials (brick, porous ceramics, aerated concrete, etc.). Such substrates have high adhesion to gypsum glue. However, they must be clean and free from dust.
When finishing a new room, there are usually no problems with preparing the base, but with old walls you have to work hard. Old plaster can only not be removed if it is not thick and holds very firmly. To check how well it holds, you need to tap the wall. If at the same time a hollow sound is heard, then such a foundation is not reliable.Gypsum crate sheets glued to it can come off along with the plaster. There is only one way out - to knock down the old plaster. Sometimes a hollow sound is heard only on a limited section of the wall. In this case, you can only remove this area, and then plaster it again. In no case should drywall be glued to walls with clay plaster. It must be removed to a solid base.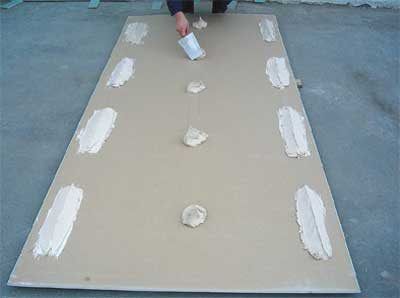
To improve adhesion, the base must be primed first. However, there are gypsum adhesives that do not require a primer, as indicated on their packaging.
Before gluing the plates, it is necessary to install the electrical wiring, and make holes for the terminals in the plates themselves.
The glue is applied in three rows: one row - pointwise in the middle and in the form of stripes - along the edges. A separate strip is applied along the bottom edge. The diameter of the cake and the width of the strip are approximately the same - approximately 10 cm. Some apply only flat cakes - this option is also acceptable. If the slabs are thick, then the cakes should be applied in four rows.
Specialist recommendations
Gypsum-based glue is usually available as a dry powder and is the best type of adhesive. Additives contribute to better adhesion and you can work with such glue slowly. Quartz sand can often be found in the composition of the adhesive powder; it is added to reduce the cost of production. In more expensive adhesives, quartz sand is either little or not at all. Depending on the amount of such additives in the glue, its characteristics change. The main task of the glue is to firmly adhere the material to the surface - this is called adhesion. And so we can conclude that the glue must have a high adhesive degree. The amount of gypsum increases the adhesion, therefore, the greater the percentage of gypsum in the mixture, the greater the adhesion;
The adhesion of the glue is also determined by the amount of water with which the powder must be diluted. As a rule, the amount of water required is indicated on the package. If the package says that you need 300 ml of water per 1 kg of glue or less, you can safely say that there is little gypsum in the mixture, but there is a lot of filler. And this suggests the conclusion that the adhesive capacity will be low, and the material to be glued will fall off, the only question is in time
When choosing an adhesive, it is important to remember the ratio of water to gypsum, the less water, the less gypsum and more additives;
Another important point is the setting time of the adhesive mixture. For a good glue, this period should be as short as possible.
Depending on this indicator, the rate of work is determined, the time that must be maintained for gluing the material in the pressed state. The glue in the bucket lasts for one hour. But this does not mean at all that by applying to the gypsum board the preservation time of the glue will be the same. As a rule, this indicator is different for each manufacturer. In practice, we can say that the minimum period is about ½ hour, and the maximum is one hour and ten minutes.
Gluing plaster to the wall with your own hands: a step-by-step guide
Having prepared the rough walls and mortar for fixing the gypsum board, you can proceed with the installation. There are 3 methods for gluing sheets:
- Applying the adhesive in a continuous layer using a notched trowel. Used for concrete walls.
- Application of glue in small piles.
- Use of beacons and lining of foam (plaster pieces). For very uneven walls.
Each method is applicable according to the roughness of the rough wall.
Sticking the first sheets
A sheet of drywall is placed on long wooden slats opposite the place where it will be fixed. An adhesive composition is applied to the sheet in a continuous layer or in piles.
After that, the plasterboard with glue is carefully lifted to the wall. Wires are threaded through the holes. The sheet is raised above the floor by 10mm - for this you can put a piece of drywall. Apply flush to the wall and align. Evenness is measured by level, the rule along the diagonal, vertical and horizontal.After exposing the gypsum board, it is pressed against the wall and again checked for evenness. The glued drywall must be fixed with props.
The second sheet is glued only after the glue under the first sheet has set. Alignment follows it.
Pasting corners with plasterboard
Pasting the wall with finishing material starts from the inner corner. On an adjacent wall, drywall is glued with an overlap.
For pasting the outer corner, you need to measure the distance from the corner to the glued sheet and carefully cut the measured distance from the whole gypsum board. This cut out part with glue is applied to the corner and leveled with a plumb line.
The next cut out part is applied to the corner so that it covers the end of the drywall glued to the corner 900.
Grouting
After facing the wall and the glue is completely dry, it is necessary to carry out a number of works to reinforce the joints. For this:
- Cover the entire surface with a primer. All joints are primed with a brush.
- After the primer mixture has dried, a joint putty is applied to the joints. A reinforcing tape is glued onto it and covered with the same putty on top. If self-tapping screws or dowel-nails were used, then all fasteners are covered with the same solution.
- When the putty is dry, grout it with sandpaper to remove all small extra particles of putty and level the seams.
The last stage is filling the entire surface and priming before finishing.

