Loft
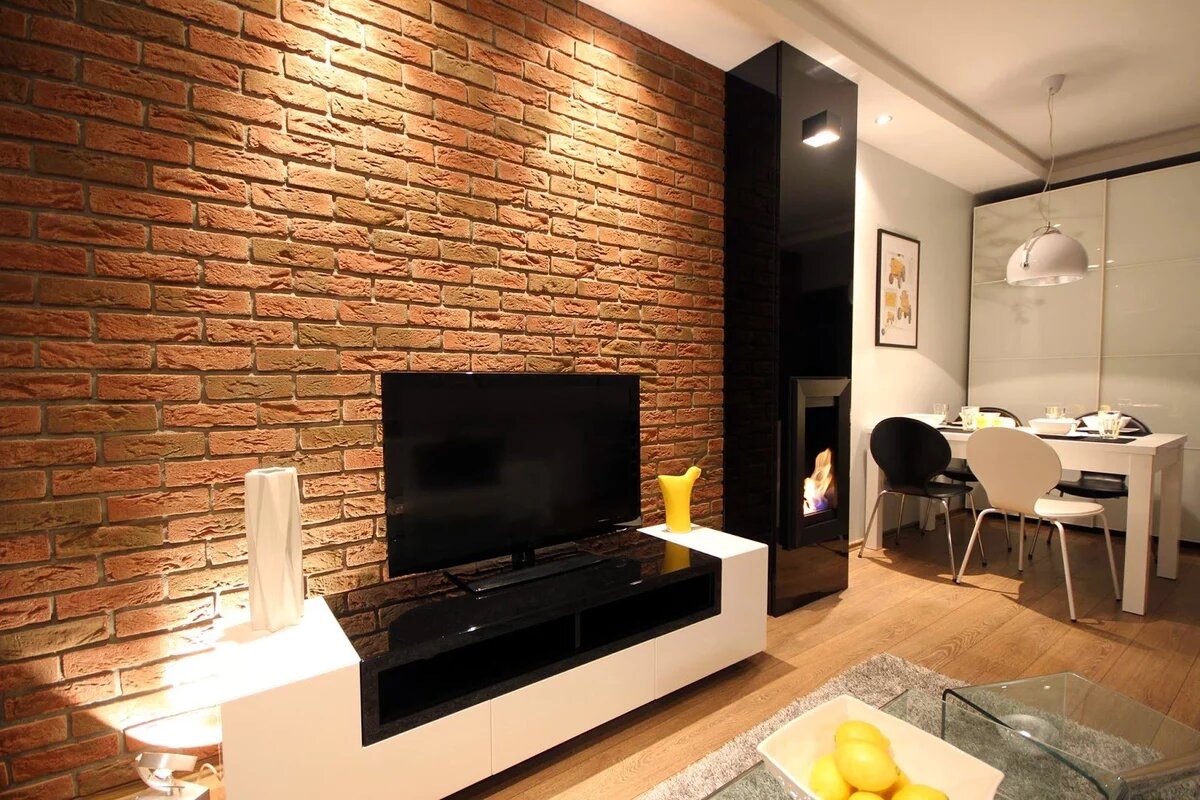
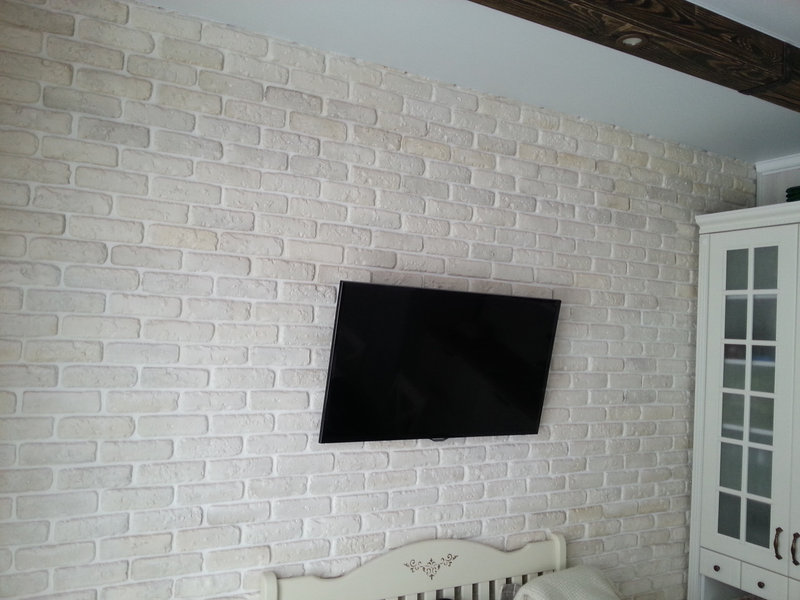
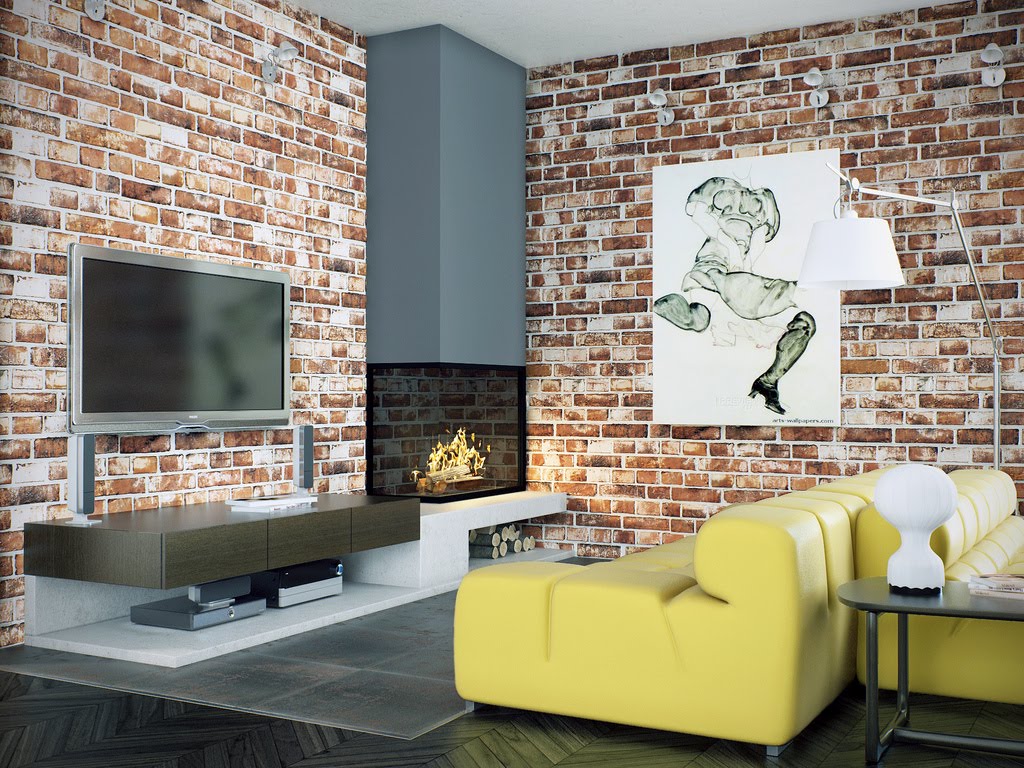
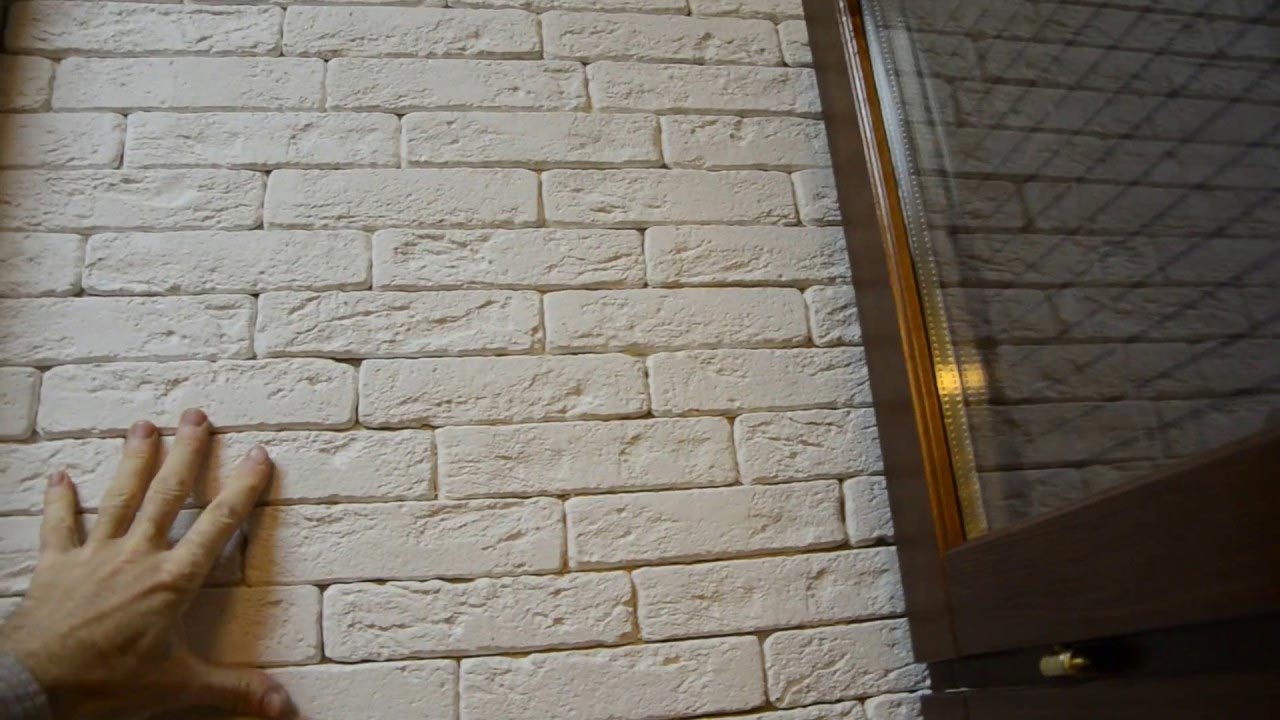
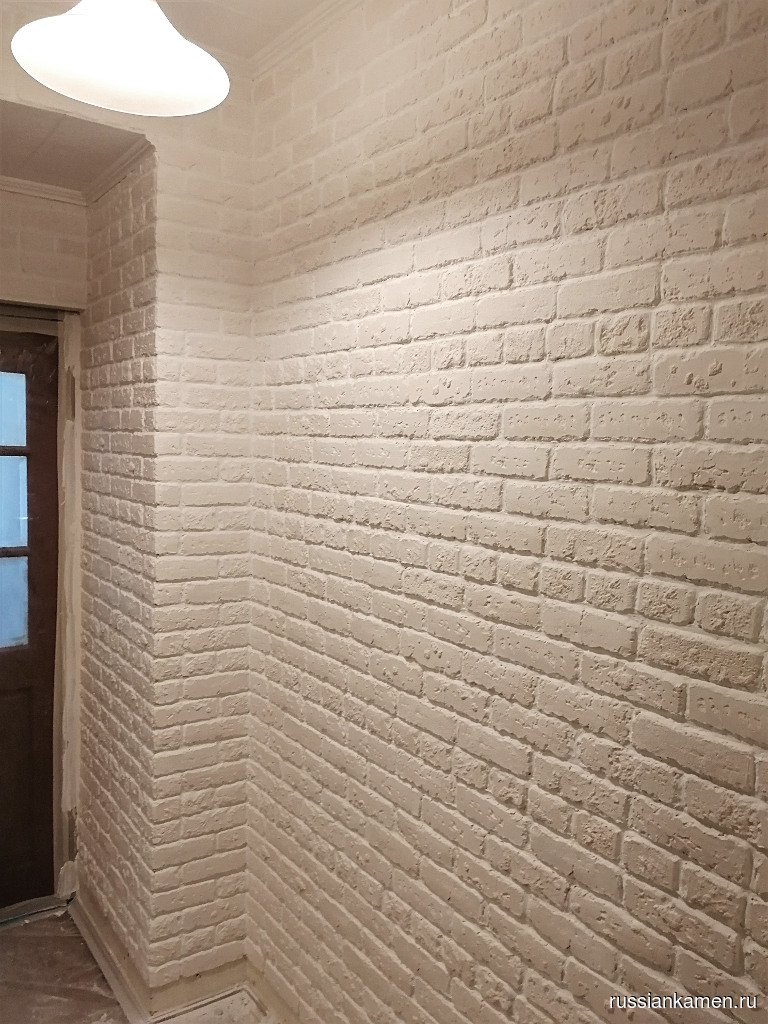
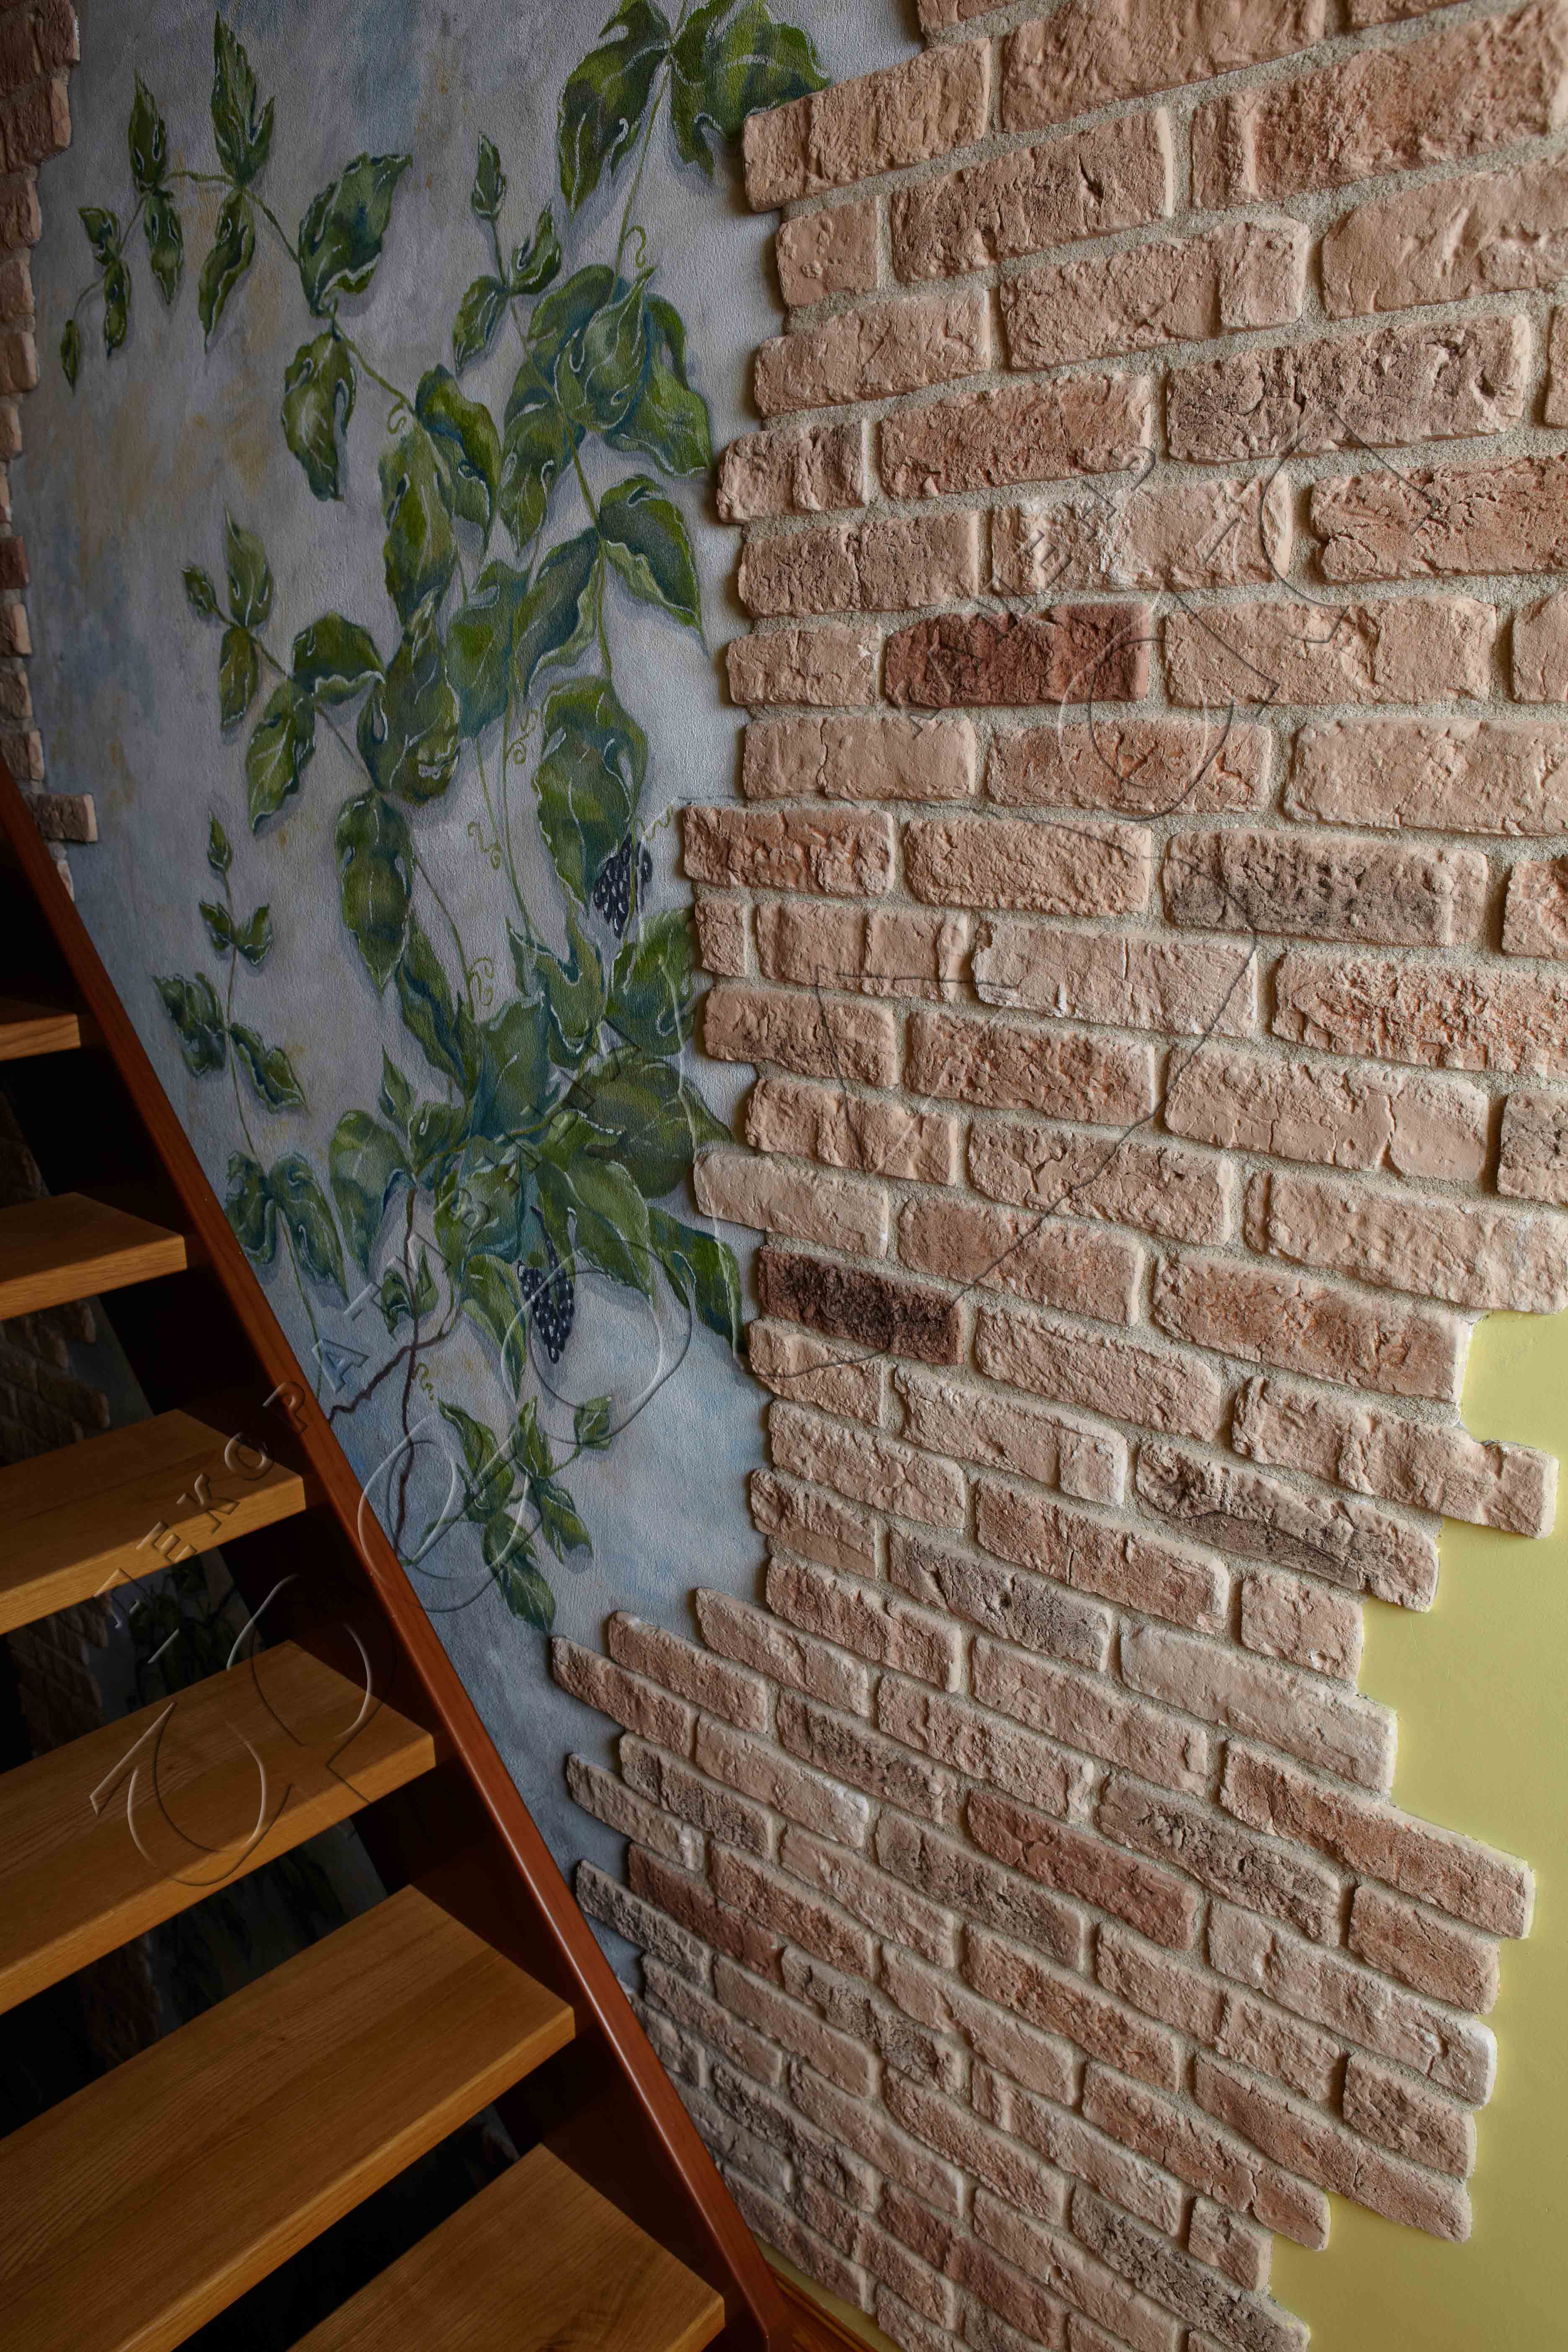
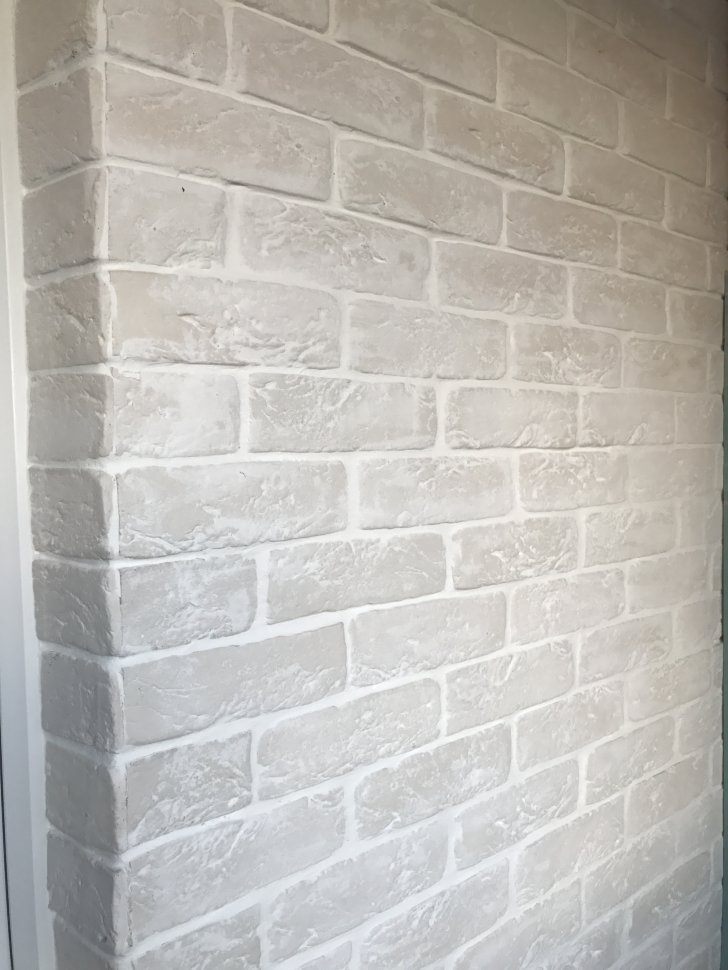
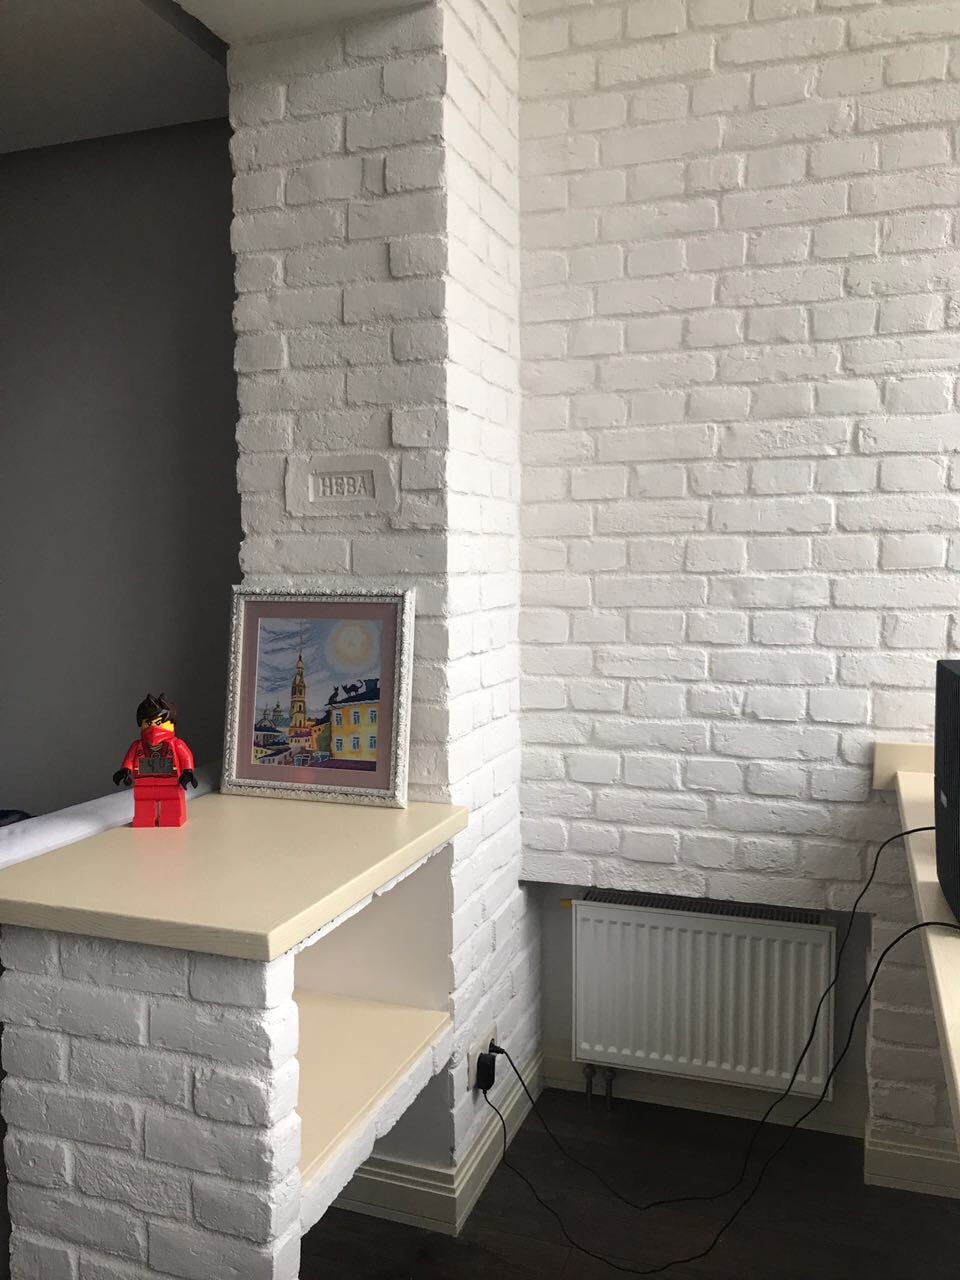
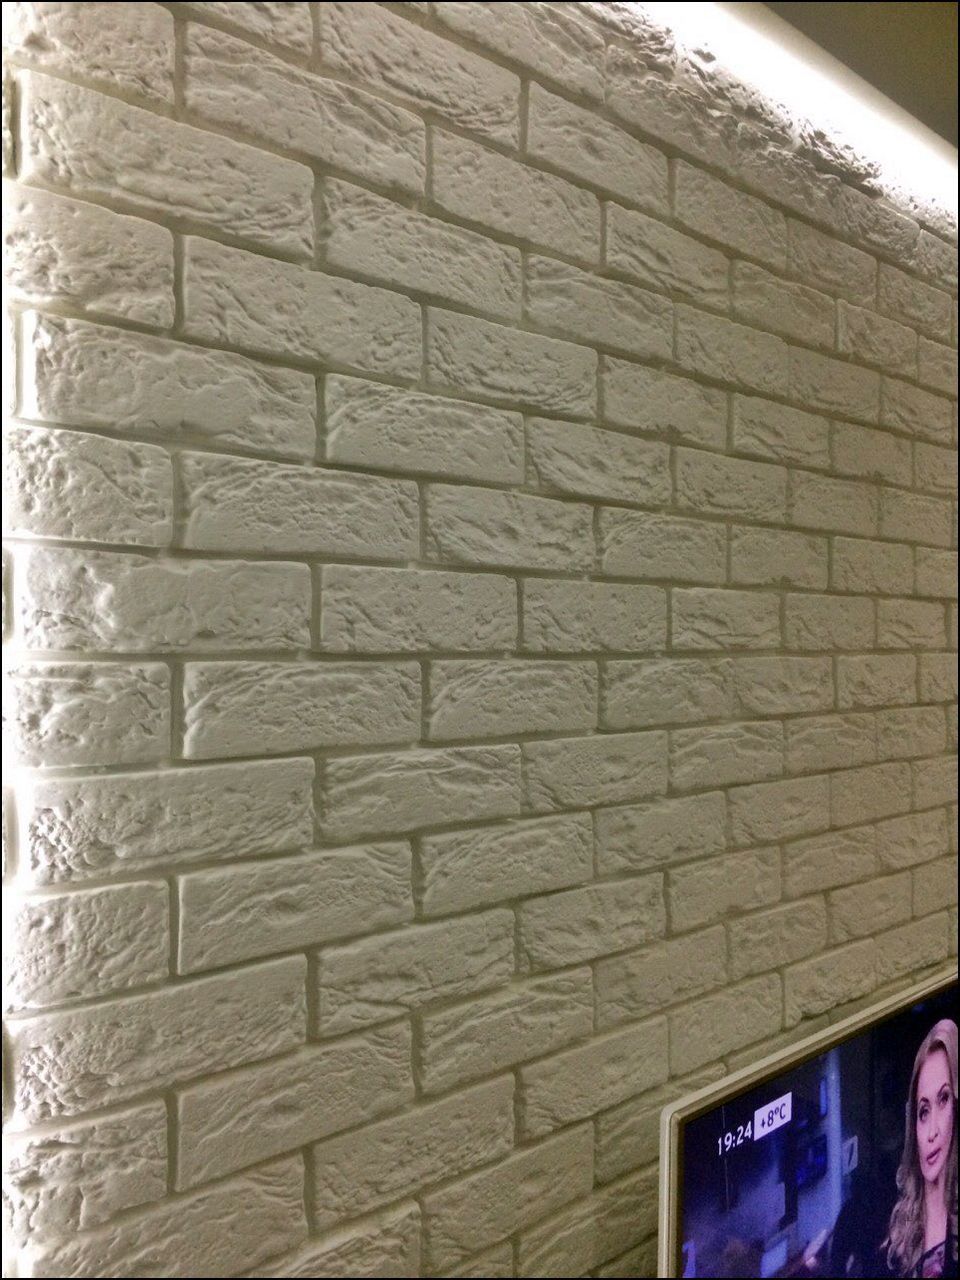
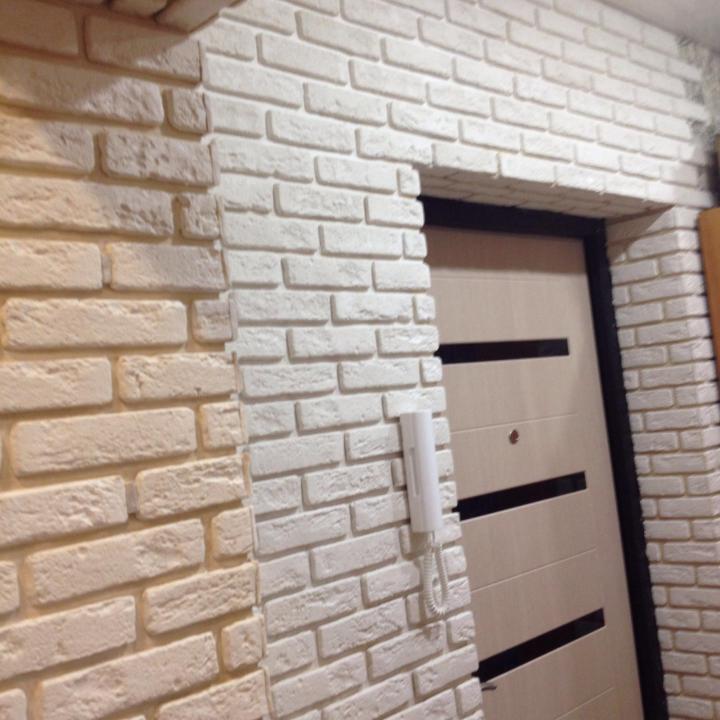
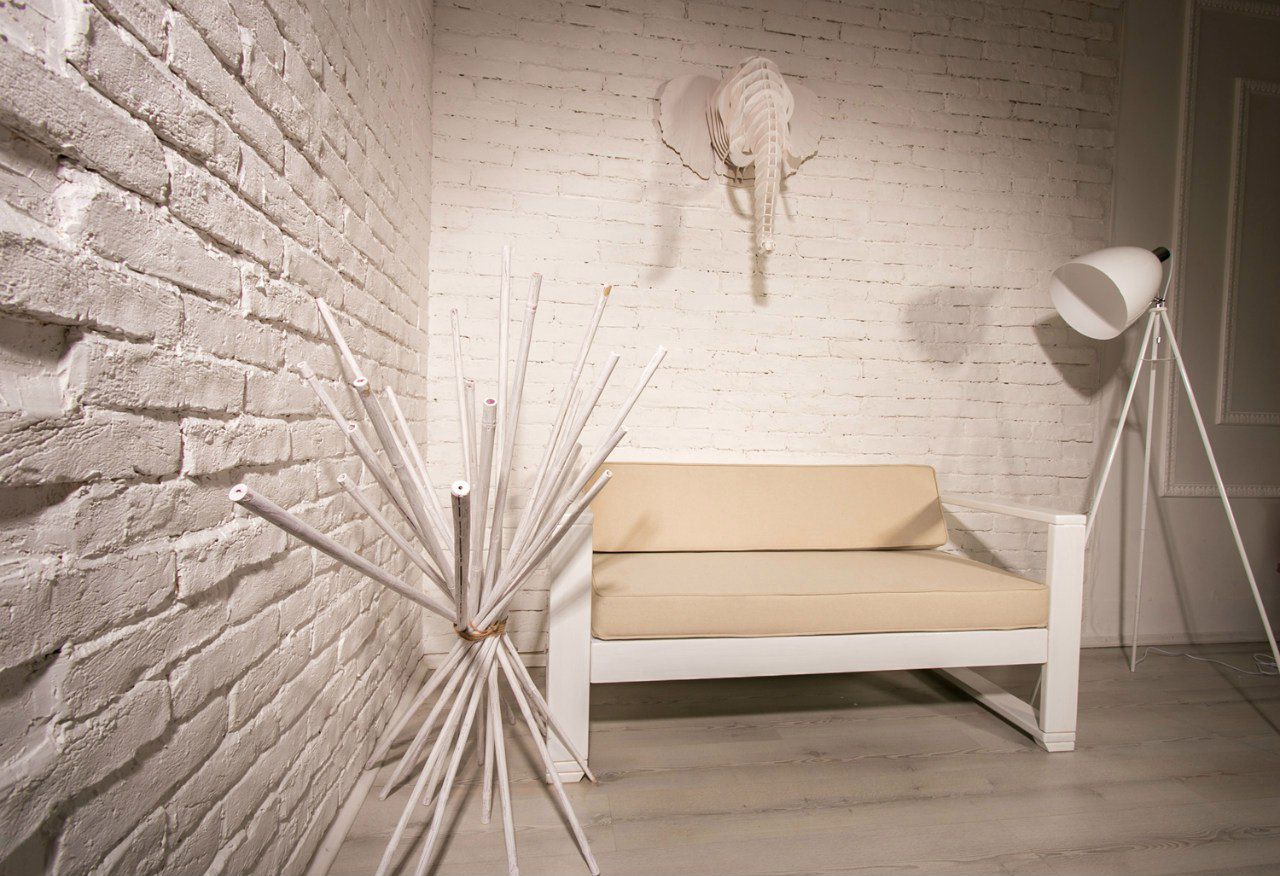
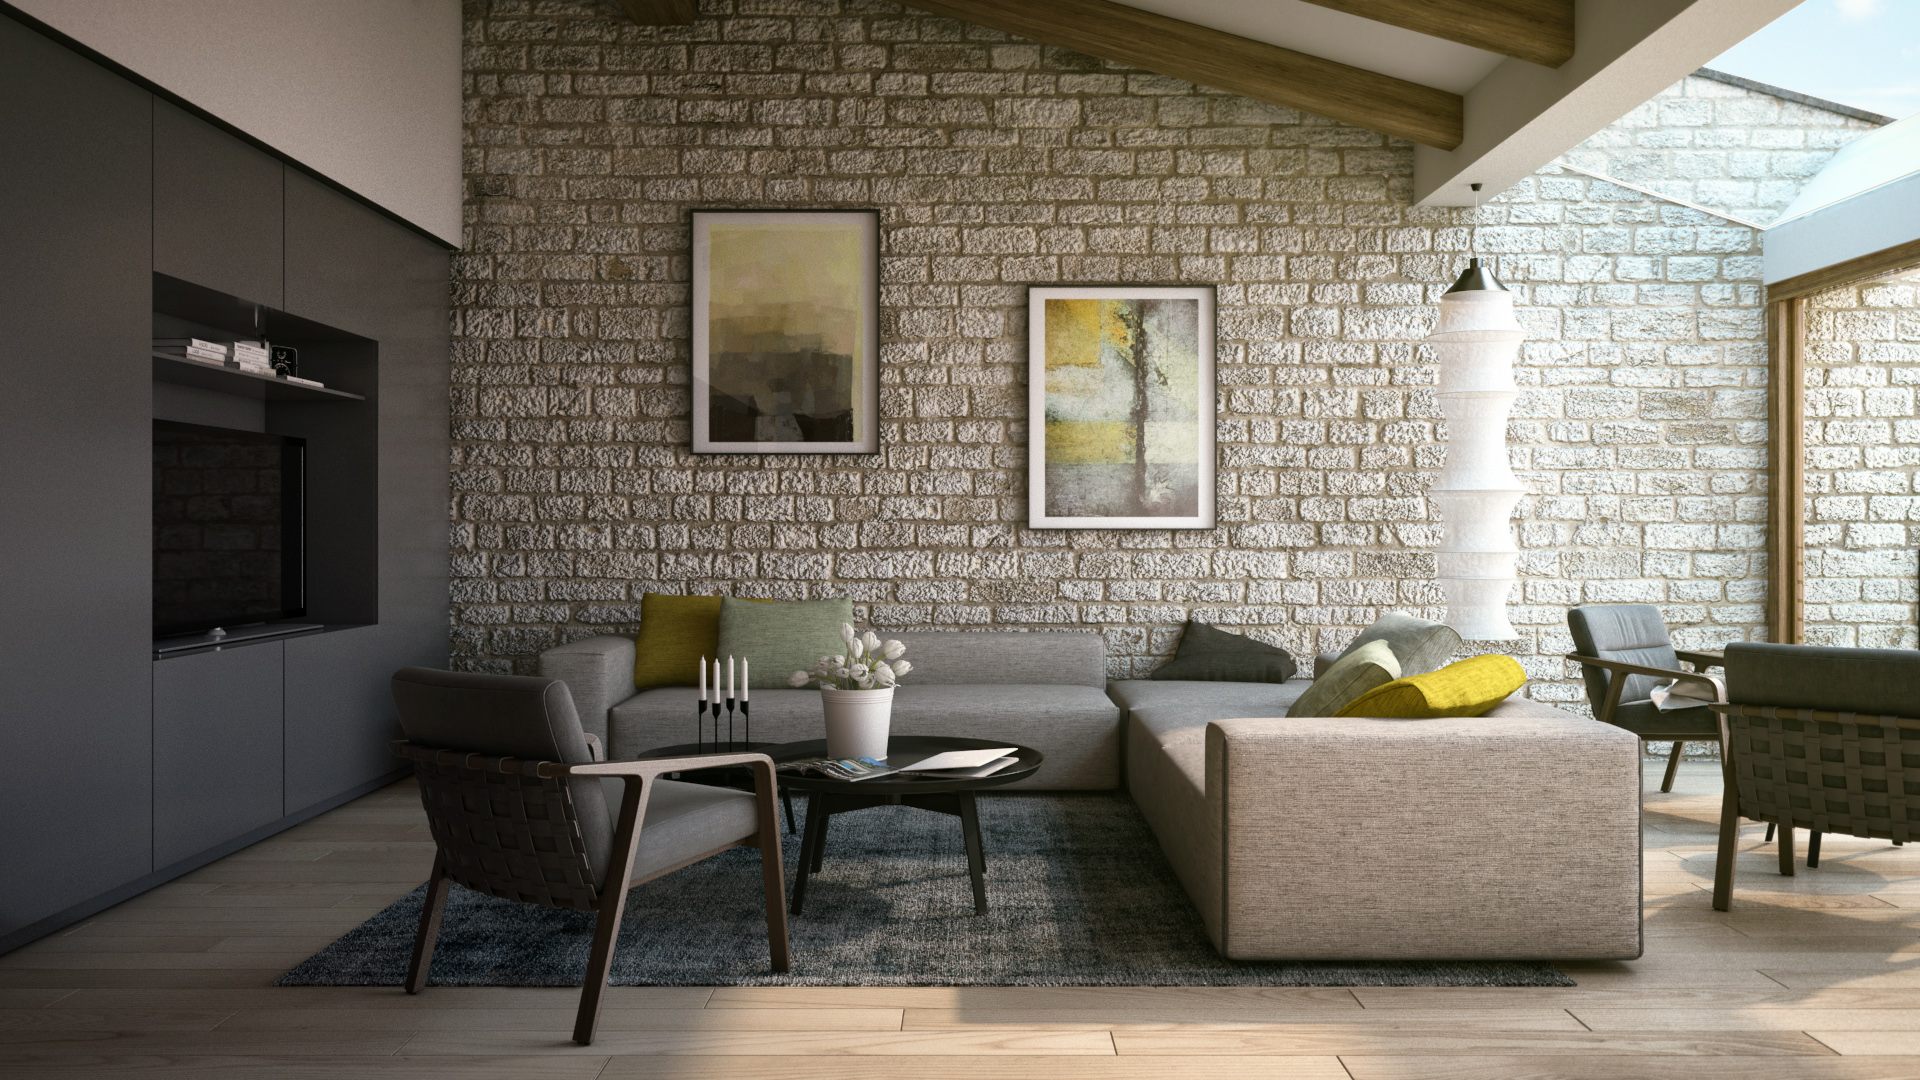
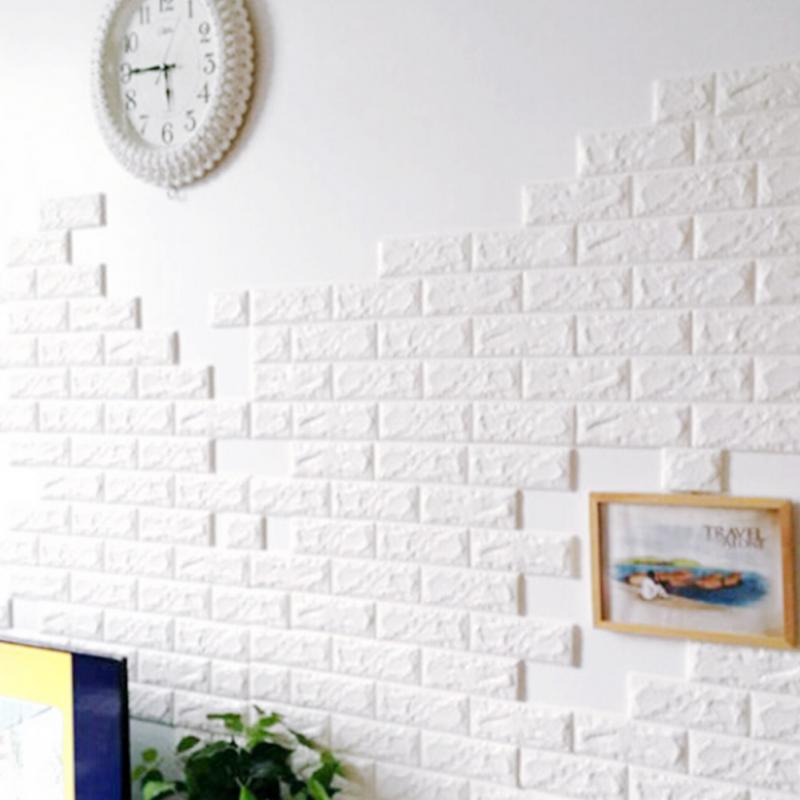
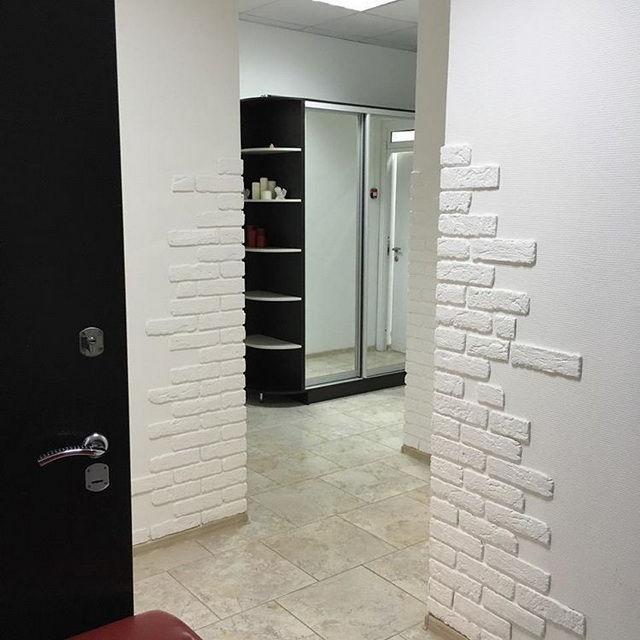
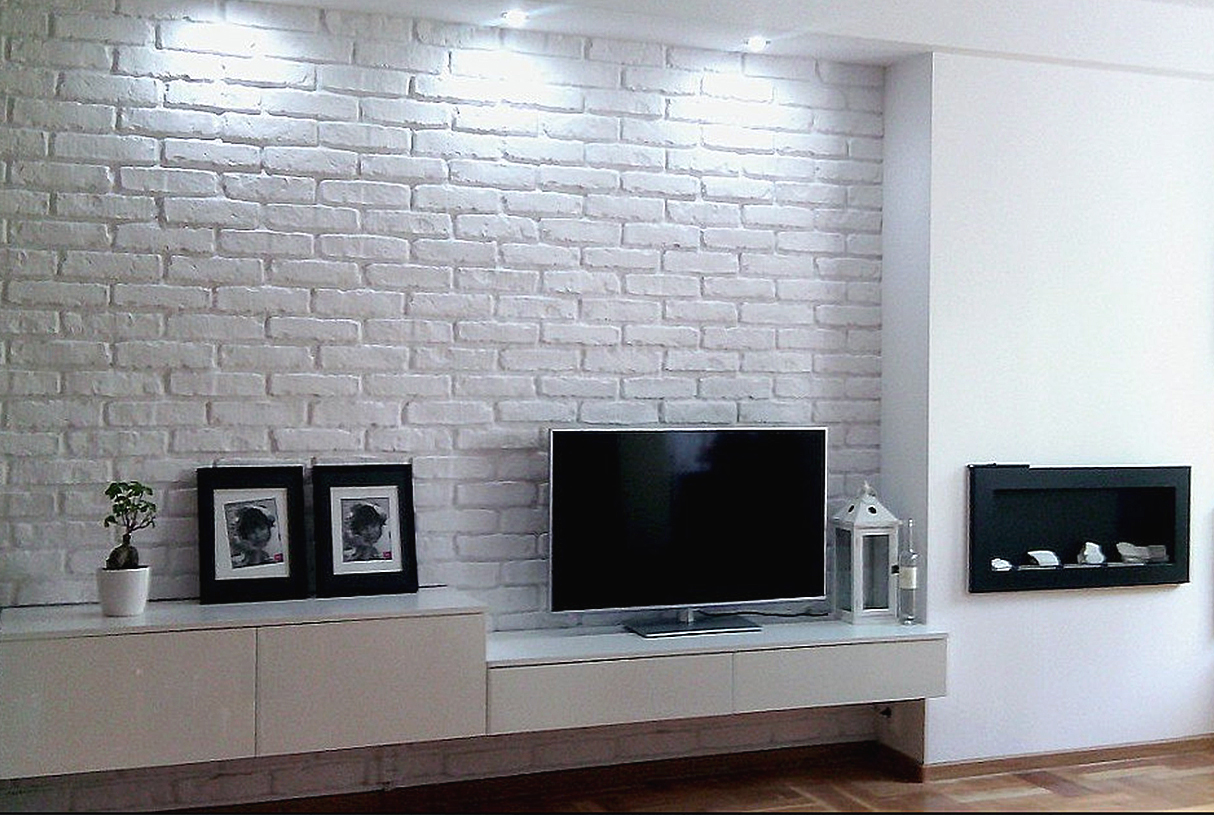
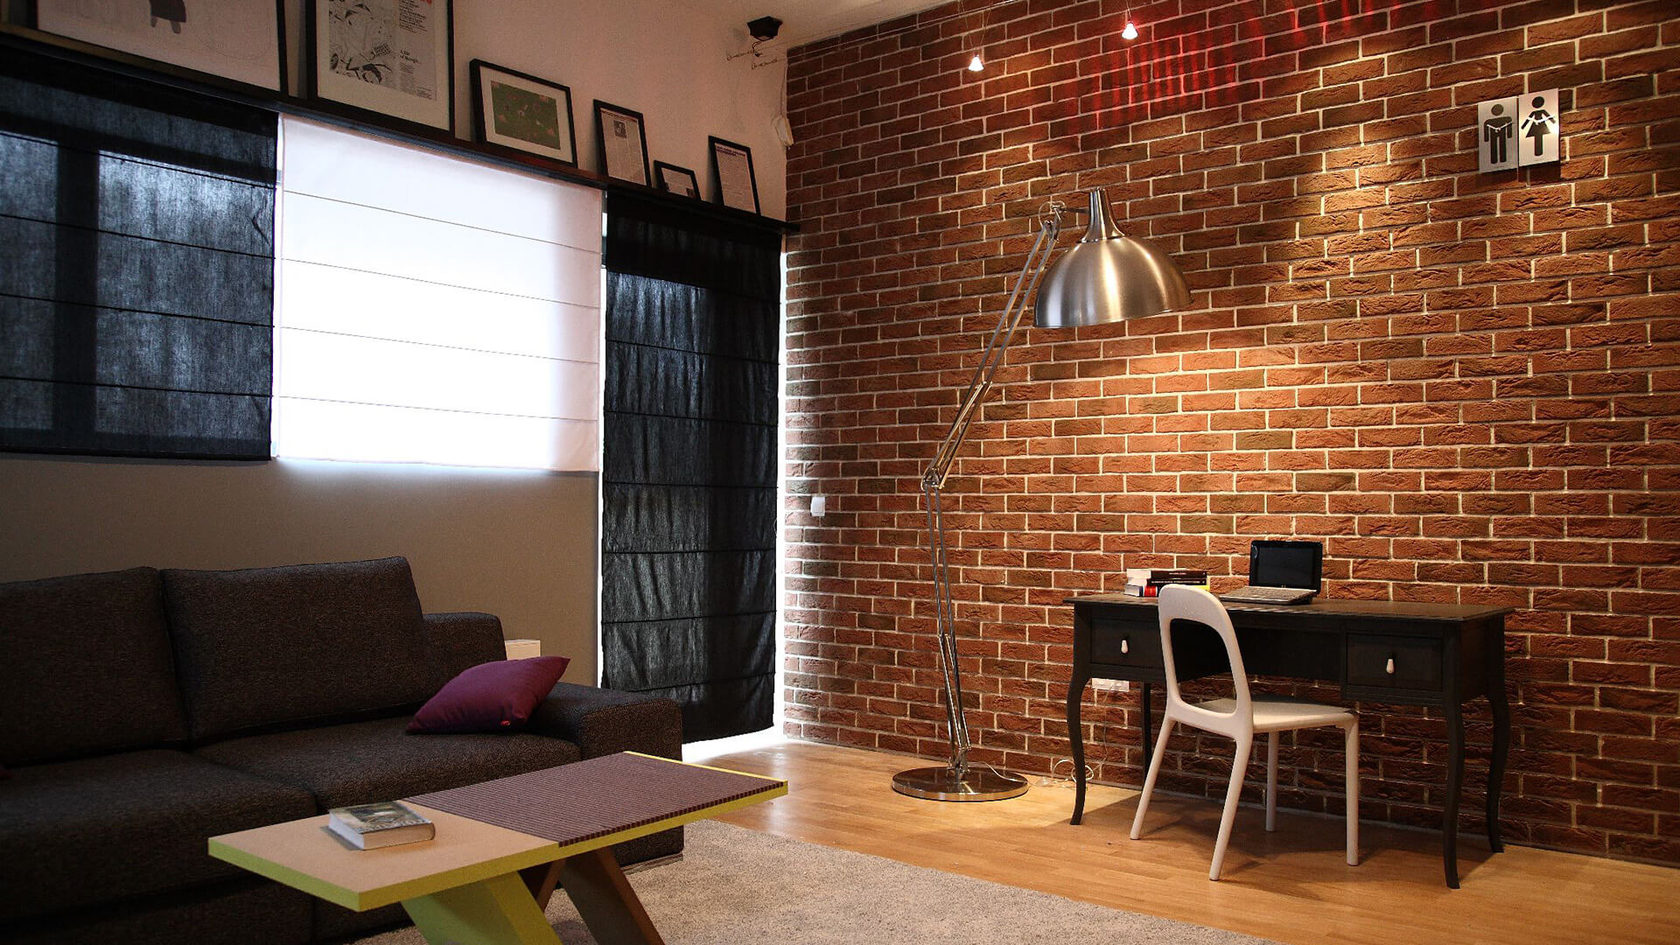
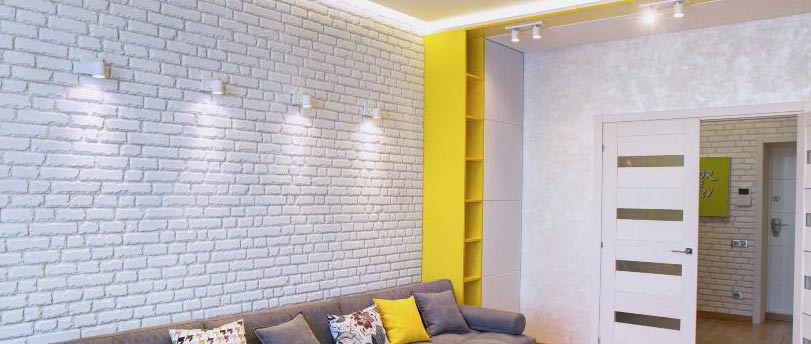
The brutal texture of the brick has literally become the hallmark of the modern Loft style. In such an interior, it will look appropriate in any room - in the living room, in the bedroom, in the kitchen and hallway. As a rule, in a loft, one wall is made out with brickwork - an accent one. The color of the masonry can correspond to the taste preferences of the owners - light, white, light gray masonry will contribute to the visual expansion of the space, while saturated colors - brick, brown and even black are permissible only in spacious apartments.

The loft goes well with modern furnishings and vibrant colors. Its main companions are metal, wood and glass. To create a stylish interior, you can paint the remaining 3 walls white. As a representative of the minimalist movement, the loft does not accept small cluttered decor. Windows in this style can not be covered with anything, and blinds will look good on the first floors. Wooden floors will add coziness to the room.
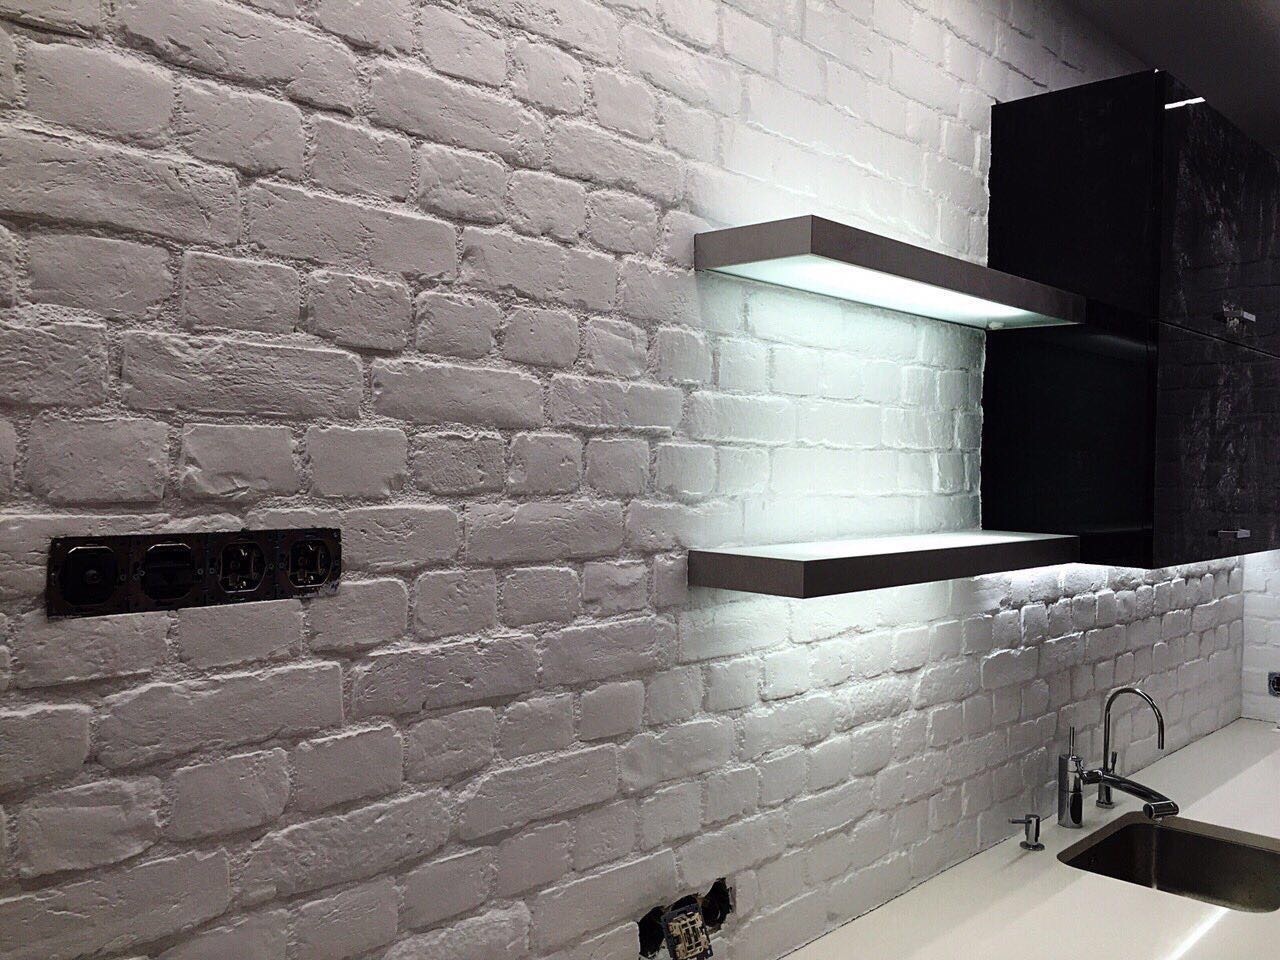
In the kitchen, a loft-style zest will be added by a kitchen apron made using the brickwork technique. However, you can also brick the work wall all the way to the ceiling.
How to paint brickwork on a wall
If "wet" or "dusty" work is not your strong point, but you can draw at least a little, you can draw a brick wall. You will need acrylic paints, brushes, a pair of natural sponges, masking tape, thick paper plates for mixing paints. When diluting paints, remember that acrylic paints darken as they dry. And one more thing: they dry quickly, but freshly applied ones can be removed with a clean cloth soaked in water.
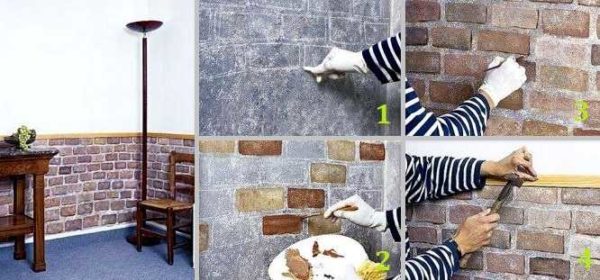
The whole process in step by step photos
First, we prepare the workplace: cover the plinth and the adjacent floor with polyethylene or old wallpaper (it is better to fix it on tape). We outline the borders with masking tape - at the top, on the sides. At the bottom, the limiter is a plinth, although in order not to get dirty, it can be removed.
How to draw bricks on the wall
Further step-by-step actions:
- We paint the wall with white semi-matt acrylic paint. We leave to dry.
-
Preparing the background paint. In one of the paper plates, mix 1/6 of the umber, 1/6 of the black paint and 4/6 of the titanium white. We immediately prepare a little paint, apply it to the wall with a sponge, simply by applying the surface soaked in paint to the wall. You should not try to make a solid background - it should be torn, textured. In some places we put the paint denser, passing twice, somewhere with a more transparent layer.
- On a dry background, by hand, not using a ruler, draw several rows of bricks. We focus on the standard for masonry: 25 * 6.5 cm, the thickness of the seam is 0.8-1.2 cm.When marking, keep in mind that with this technology it is easier to make the seam a little narrower by painting it than to try to expand it later.
- To paint over "bricks" it is necessary to mix ocher and sienna in different proportions, getting different shades of "brick" colors - from yellowish-orange to brownish. We got some kind of shade, painted several "bricks" in arbitrary places. We mixed a new batch, painted over other bricks. We apply the paint with a brush, without trying to get a uniform surface or a dense layer of paint - the background layer is translucent. The edges of the "bricks" should also not be straight.
-
For the traditional red-brown color, to sienna and red ocher, add a little light ocher, a little white. This color can be used to paint over several bricks in a row.
- Another shade - add brown mars and some water to the above composition. Apply with a brush or sponge as desired.
- If we add white and burnt sienna to ocher and sienna, we get another color.
- In any order, paint over all the bricks with these shades.
- We dilute white and a little ocher, add water. We apply the composition with a sponge, acting like a tampon.
-
Take an old toothbrush and burnt bone paint. We dip the bristles in the paint and spray on the wall, imitating the heterogeneity and texture of the clay brick.
- We add volume to the bricks: dip a thin brush into a mixture of umber and white. We bring all the bricks from below and to the right or to the left. Everything on one side, depending on where the window is located (on the opposite side from the window). The thickness of the liner is different, since the masonry and the bricks themselves cannot be perfect.
It takes much longer to describe than to do it all. A beginner can draw about 30 squares of imitation brickwork in a day. For maximum likelihood, there are several secrets, which we will discuss below.
Final touches
To make the brickwork painted on the wall as similar as possible to natural, there are several small secrets:
-
If the shadows near the bricks are too harsh, they can be shaded with a toothbrush (another) dipped in a mixture of white and natural sienna, strongly diluted with water.
- After applying paint to the brick, do not wait until it dries. Take whitewash, add a little bit of umber, dip a sponge and "break" the uniformity of the paint with it, imitating a rough surface. To do this, slightly touch the "brick" with a sponge.
-
Squeeze out a few other colors on a plate next to the main batch. We change the color in the course of painting. The brick will not be monochromatic. It has a smooth and not very color gradient.
- The dimensions of bricks, their edges, seams - all this does not have to be perfect.
With some skill and diligence, it is possible to achieve that the painted brickwork looks like natural. The main rule is imperfection and heterogeneity.
How to make a gypsum brick?
When you make a brick yourself, you can save a lot, because the cost of one square meter varies from 50 to 100 rubles and depends on the price of gypsum.
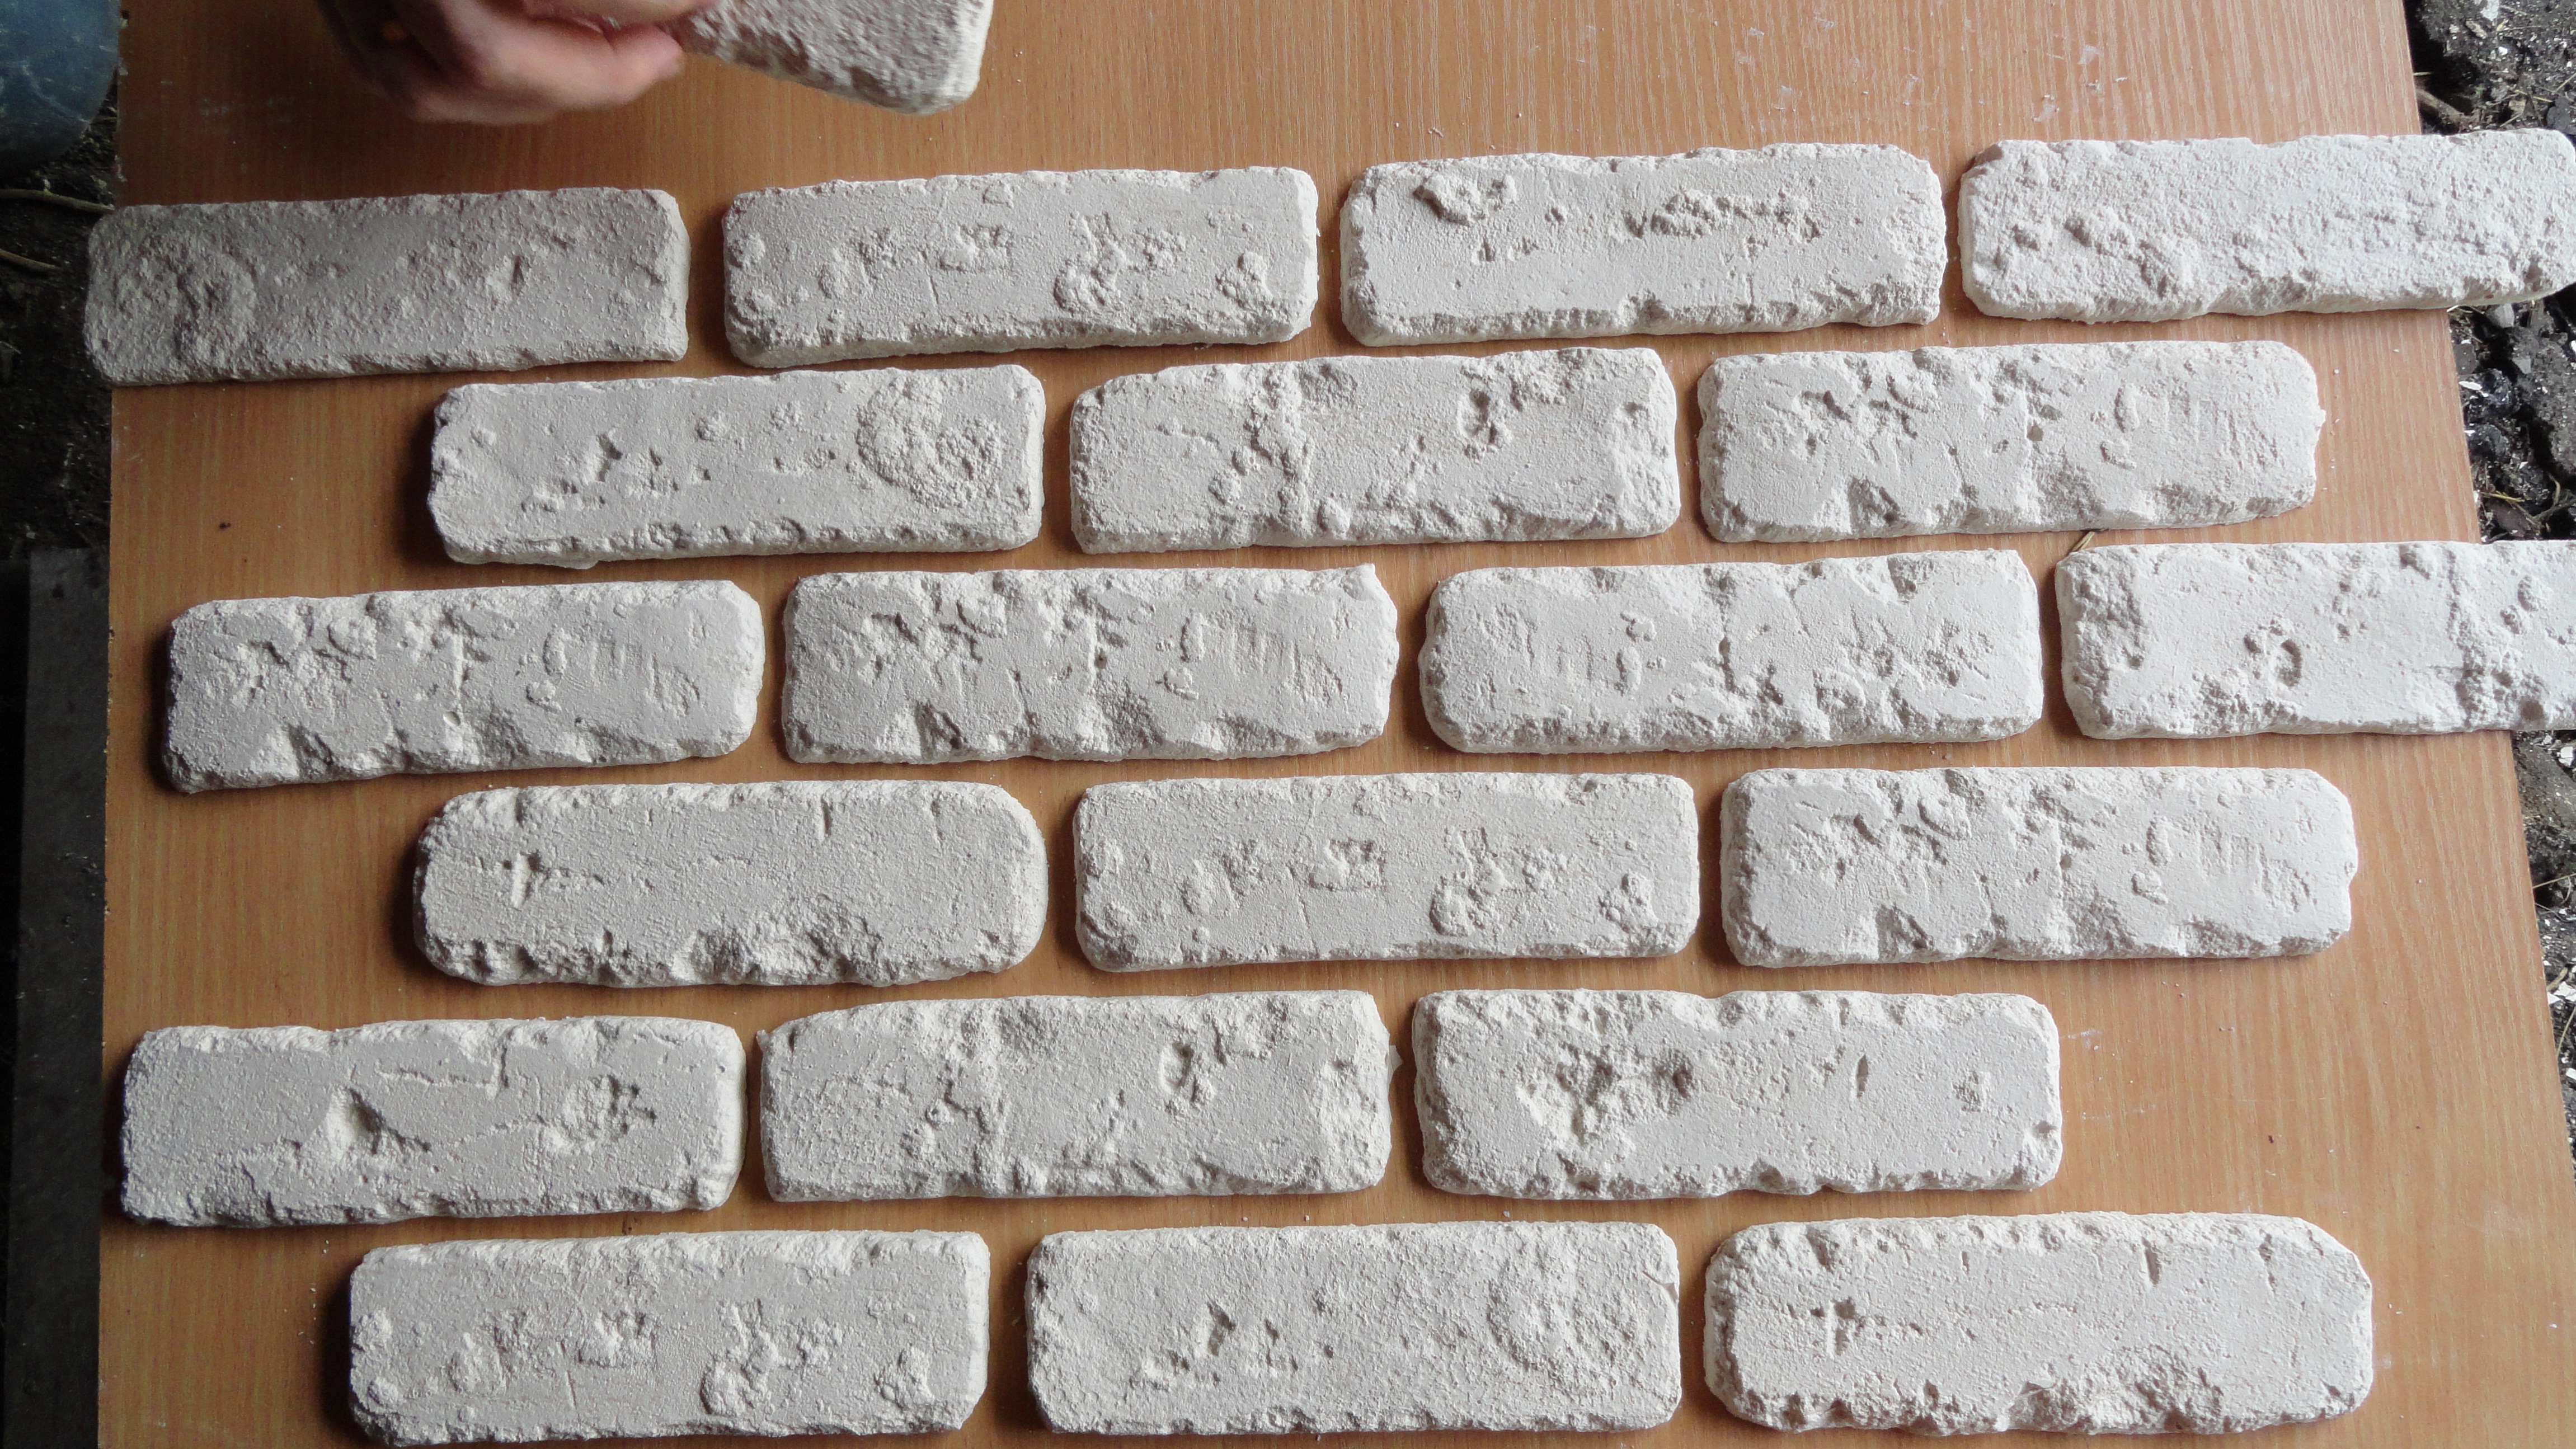
The manufacturing process is simple to disgrace: take a mold, moisten it with soapy water from a spray bottle or brush, dilute the gypsum with water, pour it into a mold, level the gypsum solution in shape and remove the excess mixture with a spatula. After 15 minutes, you can take out the bricks. If you need to paint a stone, then you still need to add a pigment of the desired color to the solution. In principle, it is not necessary to dry the stone, you can glue it wet (but only on adhesives diluted with water, you cannot glue raw stone on liquid nails), it will dry out in a few days, as well as putty or plaster, with which the walls are leveled.

Making decorative bricks

In 15 minutes, our stone is ready
Example: Let's say you need 10 square meters of bricks, do you think which is better: buy or make yourself? Using the example of my city, I will tell you what is more profitable to do it yourself, because our stone costs 950 rubles per square. As a result, you will spend 9,500 rubles. Or you can buy a mold for 2500 rubles (0.2 m²) and plaster. Even taking at the maximum speed of 100 rubles per square, you will spend a total of 3500 rubles. The difference is 6 thousand rubles. And if you need more stone?
How to lay a brick with your own hands?
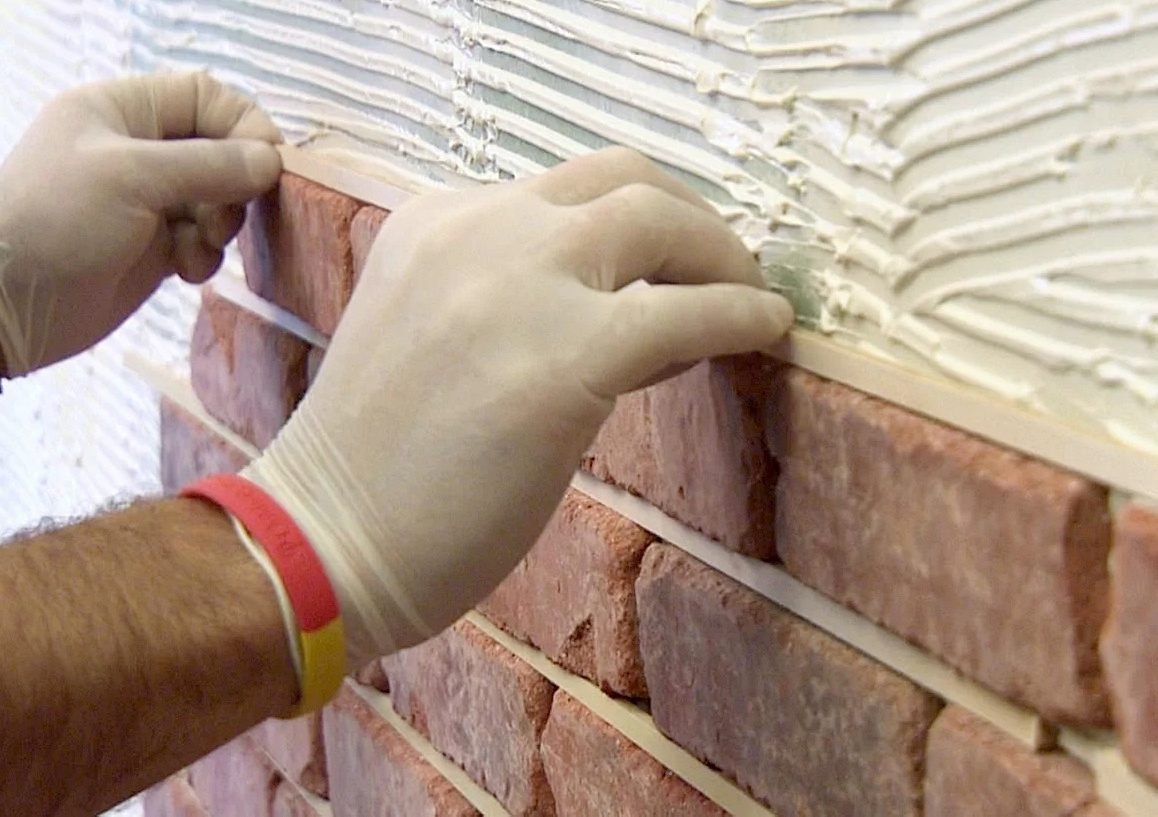
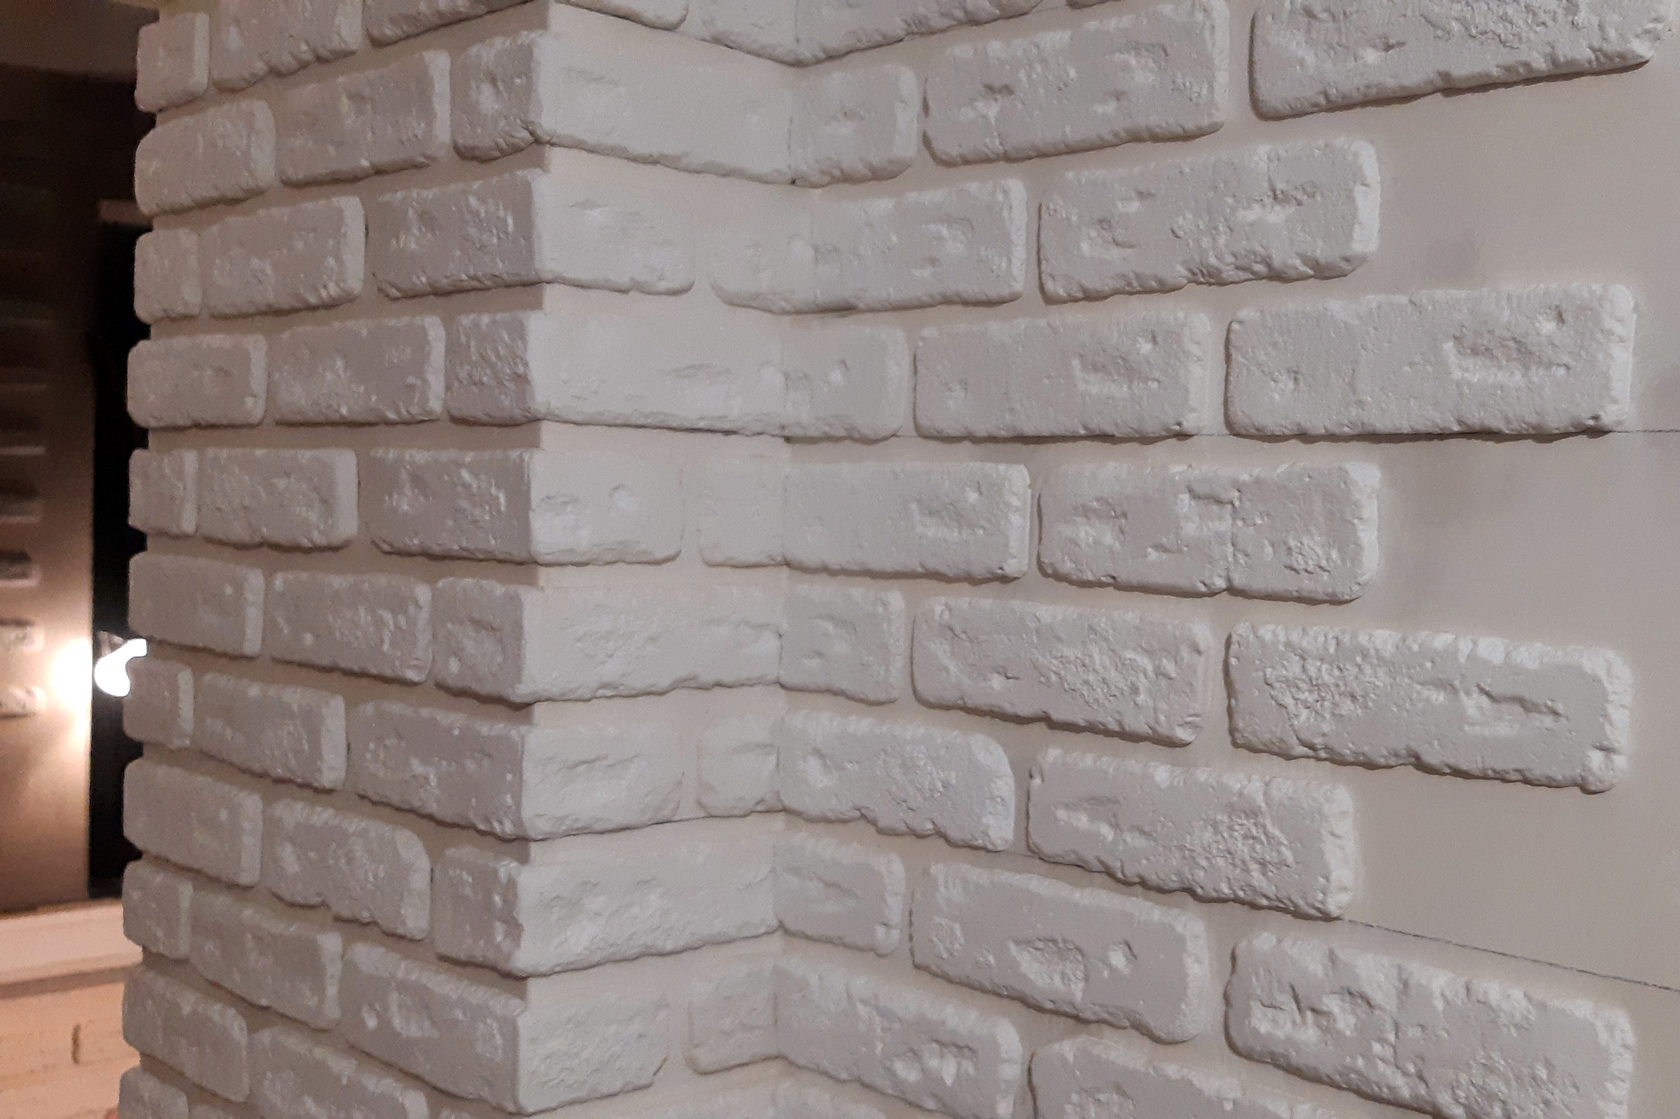
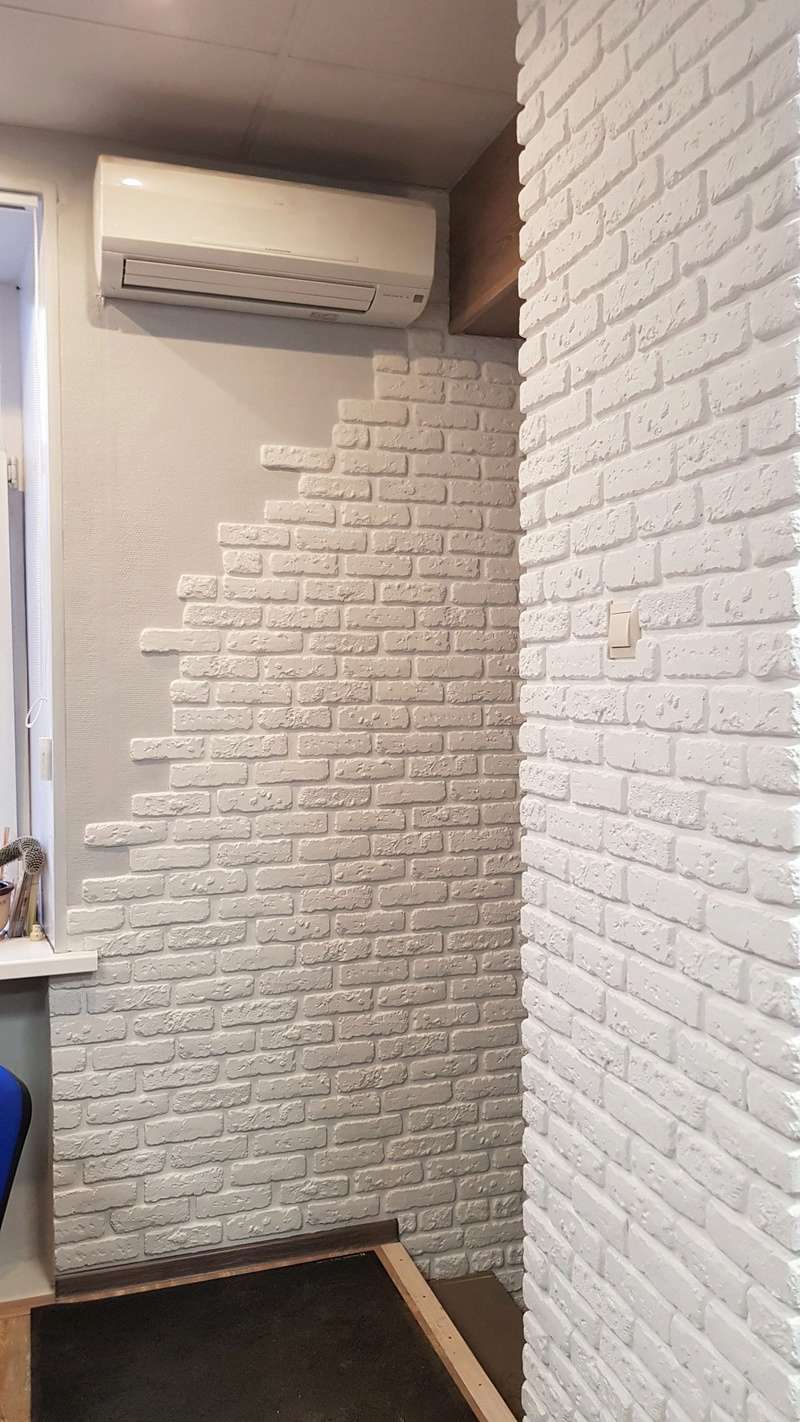
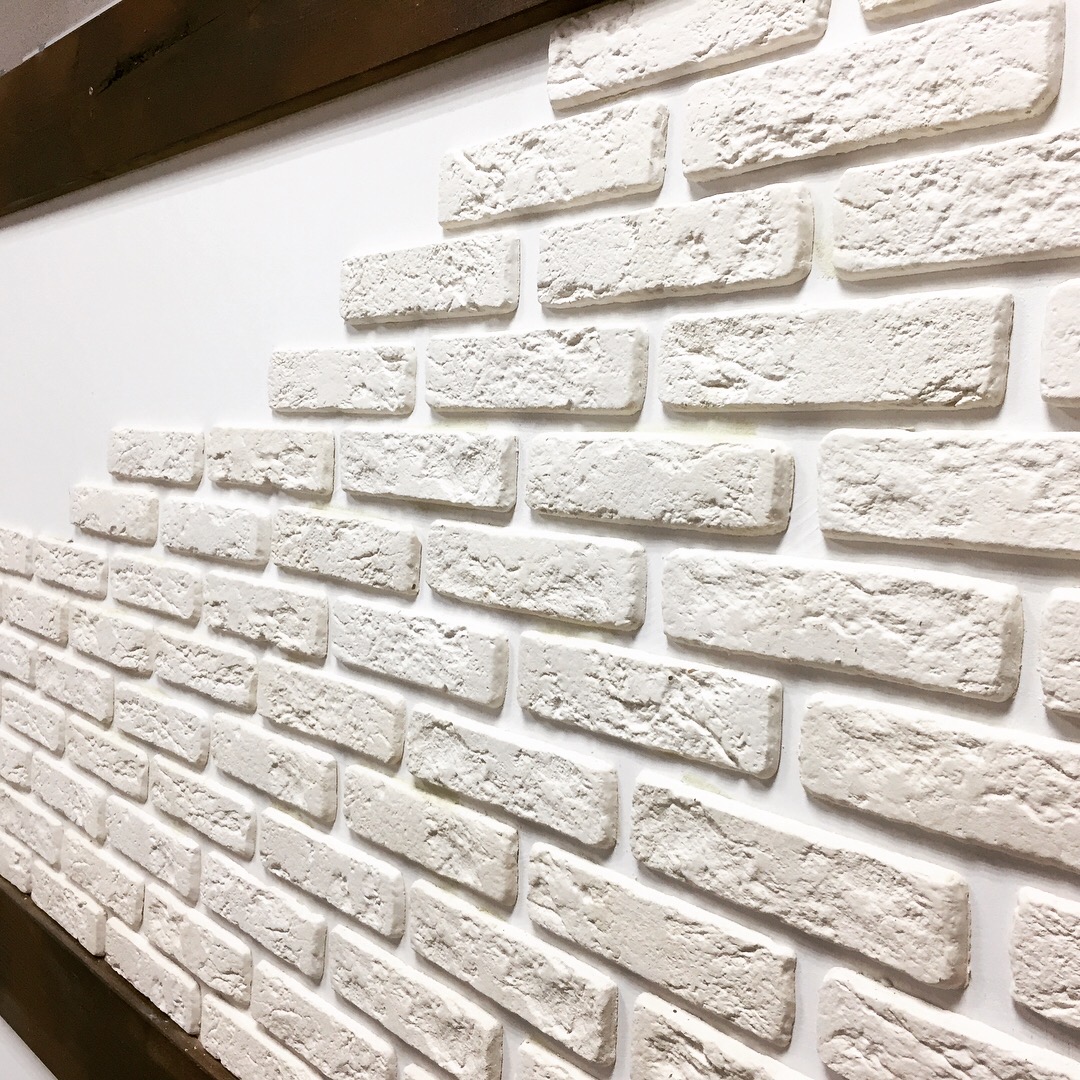
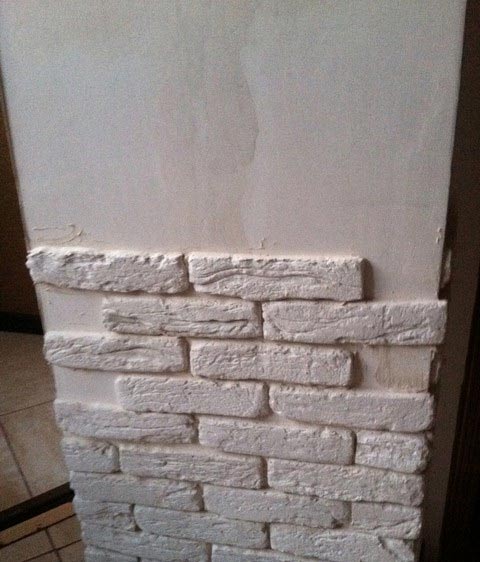
Installation of decorative tiles in the form of bricks begins with checking the level of the floor covering. If there are flaws, you need to beat off a straight line and outline it with a pencil. It is necessary to lay bricks in the direction from bottom to top.
It is very important to note that the joints should not overlap. The cladding is laid out in a checkerboard pattern
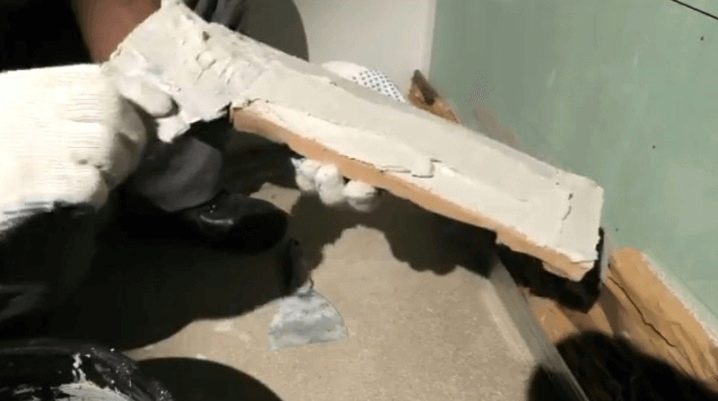
It is extremely difficult to compose a complete composition in advance, everything is done already at the place of work. Therefore, the bricks are selected different in shape and size.If a match occurs, then you can slightly trim the decorative element, sand the edges to create a realistic effect. The adhesive mass can be applied both to the surface and to the tiles
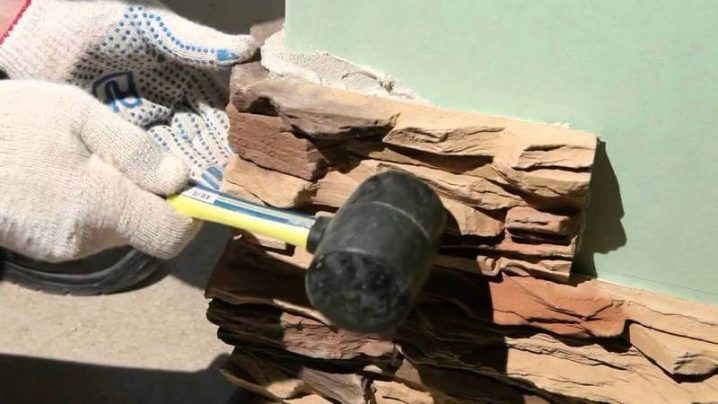
When laying, it is very important to press harder on the brick. Due to this action, the gaps in the joints and possible empty space in the wall will be filled.
If there is a lot of surplus, then it must be removed.

It is easy to stick the tiles on the base, the main thing is not to get lost, since there are only five minutes to correct the error. When processing doorways and slopes, an approximate drawing with the location of the bricks should be drawn in advance. This action will facilitate the process of laying the decorative surface. When working with corner joints, you will need to show maximum concentration and make cuts at an angle of forty-five degrees using wort. At the same time, put the tiles so that the angle is ninety degrees.
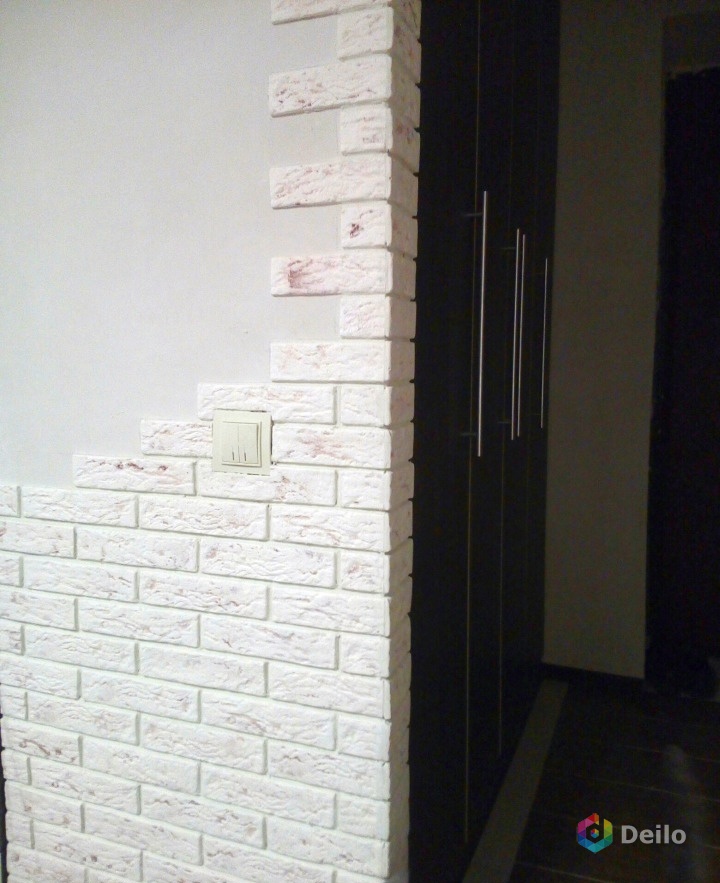
After the main work is over, it is necessary to start decorative processing of the brick surface. This procedure will be the final stage of finishing. In places where there are defects in the form of chips, cuts, as well as near switches and sockets, it is required to fill the voids with plaster putty. A small spatula is suitable for this job. If there is more solution on the tile than required, then the excess must be removed with a damp sponge. The same goes for the seams. The voids must be filled with the main material.
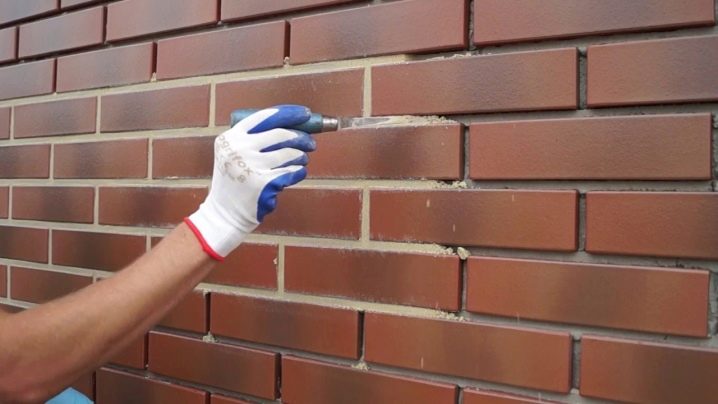
After drying, the seams must be wiped off. Sandpaper is suitable for this procedure. The work will take a little more time, but scratches will not be visible on the basis of the seams. After the entire surface has dried, gray spots may appear on the bricks themselves. A stiff brush will help get rid of them. After that, at the request of the owners, the surface of the decorative brick is covered with varnish or paint.
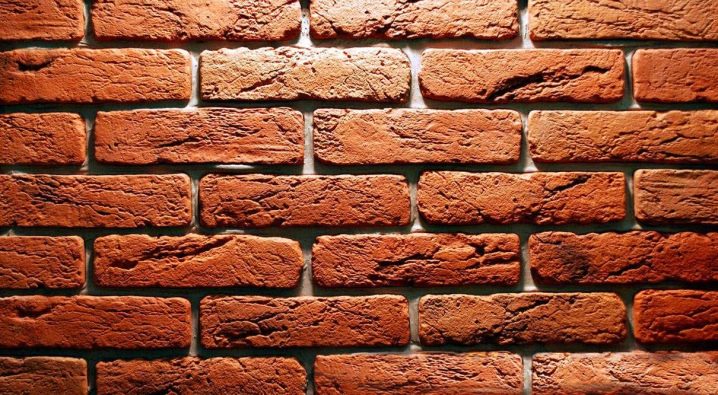
You will learn how to lay decorative bricks from the video.
8 installation rules everyone should know
Installation of decorative bricks is a very exciting experience in which you do not need any additional tools. But you should know some nuances:
You can glue a brick both from the floor and from the ceiling and no matter what material it is made of. Installation from the ceiling is done in cases where the final ceiling has already been mounted and it is more logical to start laying from it, because
if you start from the floor, it may turn out that only a narrow piece of brick will fit the ceiling, and this looks extremely ugly.
If there are corners on the wall, then the laying is always done from the corner.
If you plan to lay with jointing, then you need to immediately think about what color the seams will be. When I glued myself a stone, I took white glue and rubbed the tiles with it. If a different color is planned, then it is better to tint the glue.
If possible, then buy an angular form, this will greatly facilitate your installation. It is difficult to create a beautiful corner without corner pieces, especially when bricks are in different parts of different thicknesses.
To form the same seam, use a glazing bead of the same thickness from 5 to 10 mm.
It so happens that some bricks are of different lengths, so before laying, check the lengths and thickness of the vertical seams by eye so that the seam does not "run away" compared to other rows.
After installation, be sure to cover the brick and the seams with water-based acrylic varnish. It will protect the surface from damage and such a wall can be wiped with a damp cloth.
Gypsum is afraid of water and if you do it in wet rooms, then before varnishing it must be treated with a water repellent.
Soft, flexible tiles - advantages, disadvantages of the material
Soft tiles are one of the most "believable" variations in creating realistic masonry
The flexible version is waterproof, which is important when used in wet areas of a bathroom or toilet, a home pool, a greenhouse. This material has significant impact resistance, durability, it is vapor-permeable, resistant to mold, mildew, easy to process, does not change color from exposure to the sun, has a beautiful appearance
Also, the positive properties of flexible tiles include the fact that it will be mounted not only on perfectly flat walls, but also on convex, concave interior elements - arches, internal, external corners, window slopes, brackets, fireplaces, round columns, small architectural forms, having a complex configuration.

Required tools, installation steps
To decorate the interior with "soft brick" you will need some tools that are available in almost every home:
- a metal spatula, 13-17 cm wide, with which the adhesive will be stirred and applied;
- spatula 16-19 cm wide, with teeth, about four mm high;
- a ruler made of wood, plastic or metal 100-150 cm long;
- building level 100-150 cm long;
- center cord of bright color, for striking straight lines;
- large sharp scissors;
- simple construction pencil for marking;
- medium-hard brush, 10-13 mm wide, to level the joints between tiles.
Materials needed:
- the flexible tile itself of a suitable color, size;
- tile glue - dry mixture in a paper bag or ready-made composition in a plastic bucket; • high quality primer.
Step-by-step process of work:
the surface, which it was decided to decorate, is preliminarily well cleaned of old coatings, leveled;
after the wall with the leveling compound applied to it dries, it is primed with an antiseptic so that fungus and mold do not "start" under the cladding, and the adhesion is maximum;
after drying the layer, the tiles are installed directly
It is important to do it at a temperature not lower than five to seven degrees, since in the case of a lower adhesion of the tile to the wall. This will negatively affect the appearance of the finished surface, individual parts in general can quickly fall off;
then the wall should be drawn into identical rectangles, where tile glue will subsequently be applied
If it is supposed to decorate the entire wall completely, the boundary lines at the top and bottom are obligatory beaten off;
the adhesive composition is not evenly applied everywhere, but only on separate zones, measuring 50 by 100 cm. The thickness of the layer is two to four mm. Application is carried out with a flat trowel, after which the surface is "passed" with a trowel with teeth to create grooves;
the bricks themselves are usually made with parameters 25 by 12 cm or 10 by 15 cm - the material is easily cut with simple scissors. When laying in order, the first level begins with a whole "brick", the second - with half or one third. Before cutting, the material is marked with a pencil and a ruler;
during the installation process, it is important to maintain the same width of the joints between the tiles - usually nine to thirteen mm, but other values are also permissible. The horizontality of the rows is periodically checked by the level - the tile should not "walk", excessively move up or down;
when the row "rests" on the inner or outer corner, the tiles are carefully bent, gluing, like all the others. Rounded, wavy elements, columns, fireplaces are faced in the same way;
every time, when another area of about one square meter is pasted over with tiles, the tile joints are smoothed out with a wet narrow brush. This must be done before the glue sets, completely hardens;
no special grout is required for the space between flexible bricks, which significantly reduces the cost of finishing.
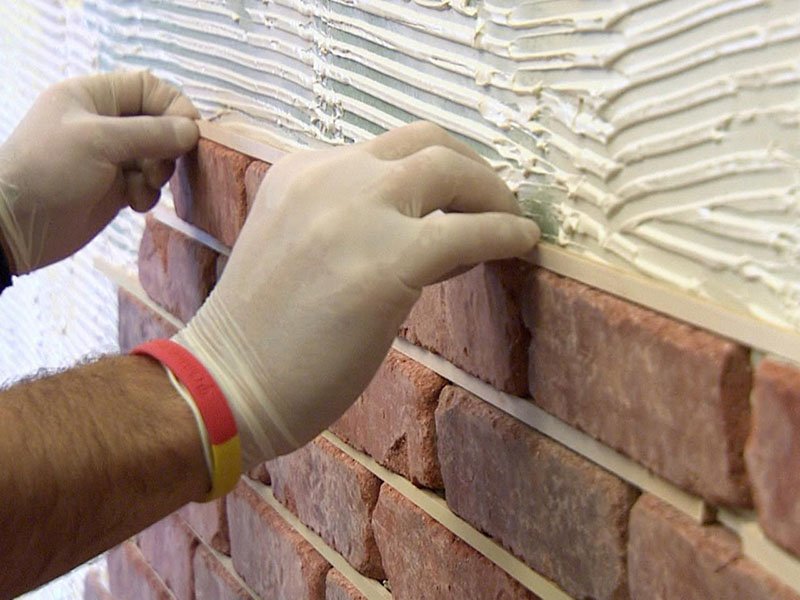
How to glue decorative bricks
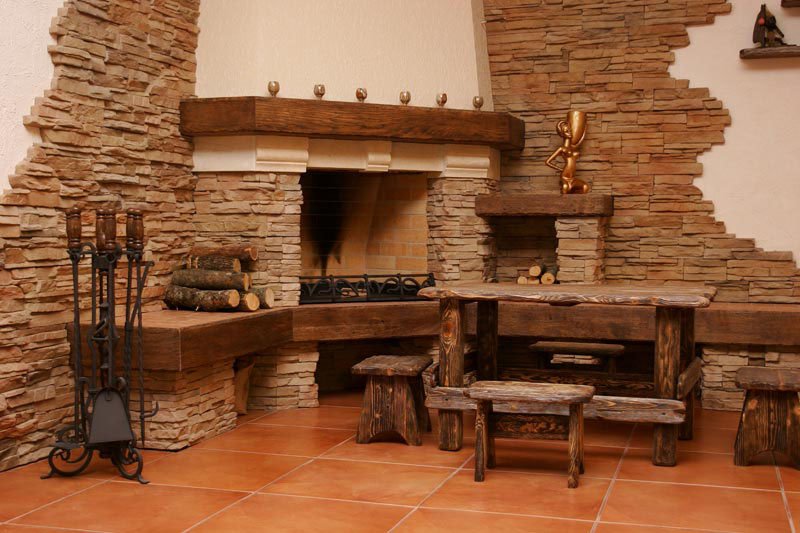
Laying of decorative stone should be carried out strictly according to the instructions.Otherwise, you may not like the result.
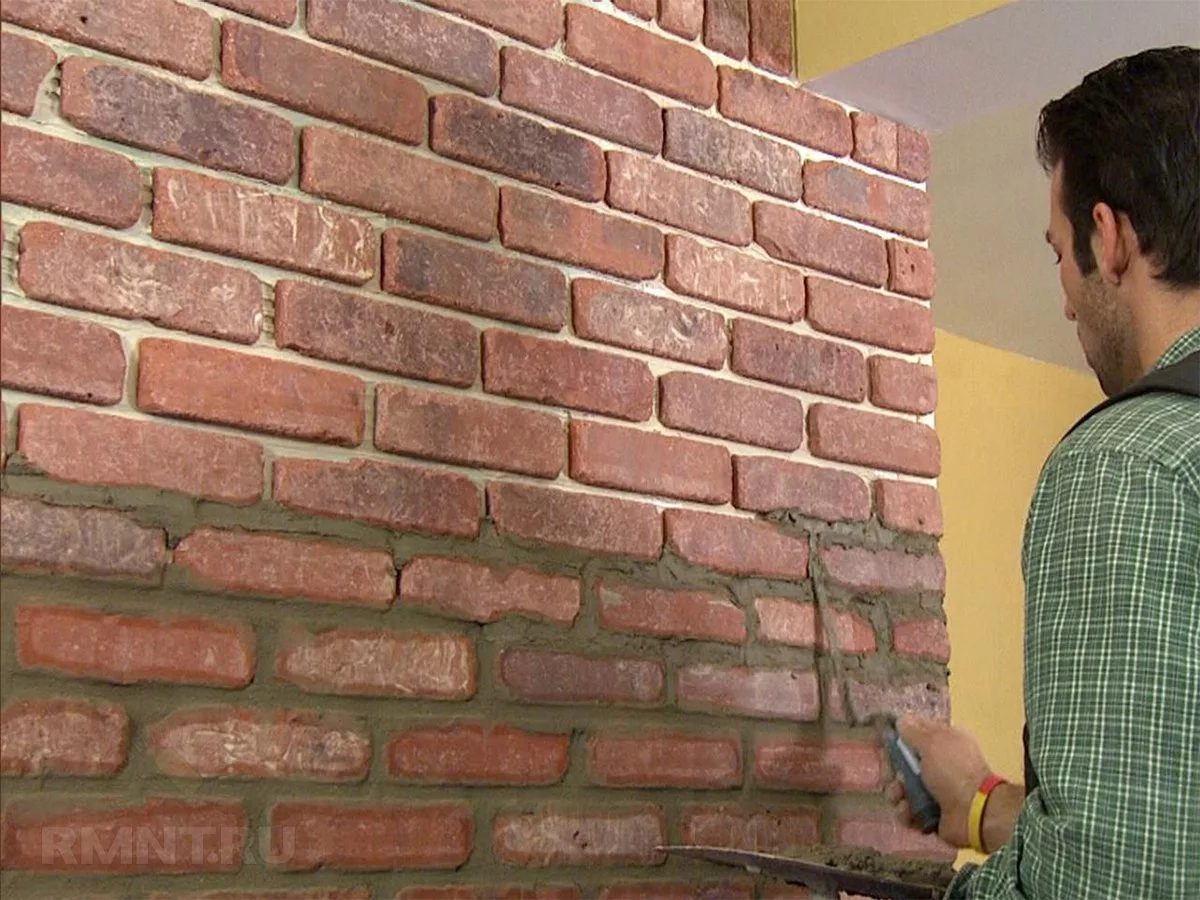
The glue solution is applied with a spatula to the surface to be coated, rubbing in order to fill in irregularities, microcracks and ensure full contact between the glue and the base.
After that, the glue is applied to the area to be veneered with a notched trowel. The spatula is held at an angle of 60 degrees to the base. Further, an adhesive solution is applied to the brick surface with a layer of 1-3 mm, rubbing it with a spatula over the entire surface of the facing material.
The decorative brick is neatly pressed against the wall, moving it slightly in different directions for the best grip. A significant squeezing out of the adhesive solution should not be allowed, it can subsequently create difficulties when laying the next row. If the stone slides, moves, the reason for this may be a liquid solution. It must be fairly plastic to prevent the brick from breaking.
Selection by size, brick color and installation is a creative process and there are no hard standards. But in the process of work, clearly defined places of crowding of small or large elements of the same height and color should not be created.
Decorative brick lends itself well to processing, it is easy to cut it, just give it the desired size using a regular hacksaw with fine teeth and a planer with a rasp blade. Fine adjustments can be made with coarse sandpaper.
During the laying process, there should be no concentration points with masonry fit or sawed elements. You need to alternate elements in thickness, size, texture and color. Installation is carried out using cladding from different boxes at the same time. It is necessary that the masonry has a harmonious and attractive appearance.
It is not necessary to use brick in the interior everywhere - since there is a high probability of a too rough appearance of the room. Brick, although decorative, is a rather heavy building material, and therefore it should be included in the design of the interior without fanaticism. Brick trim is common to emphasize any detail in the interior: window or doorways, space around the fireplace, bar counter, interroom lintel, columns in the middle of the room, etc. This preserves the brick style without intrusiveness.
DIY imitation of brickwork
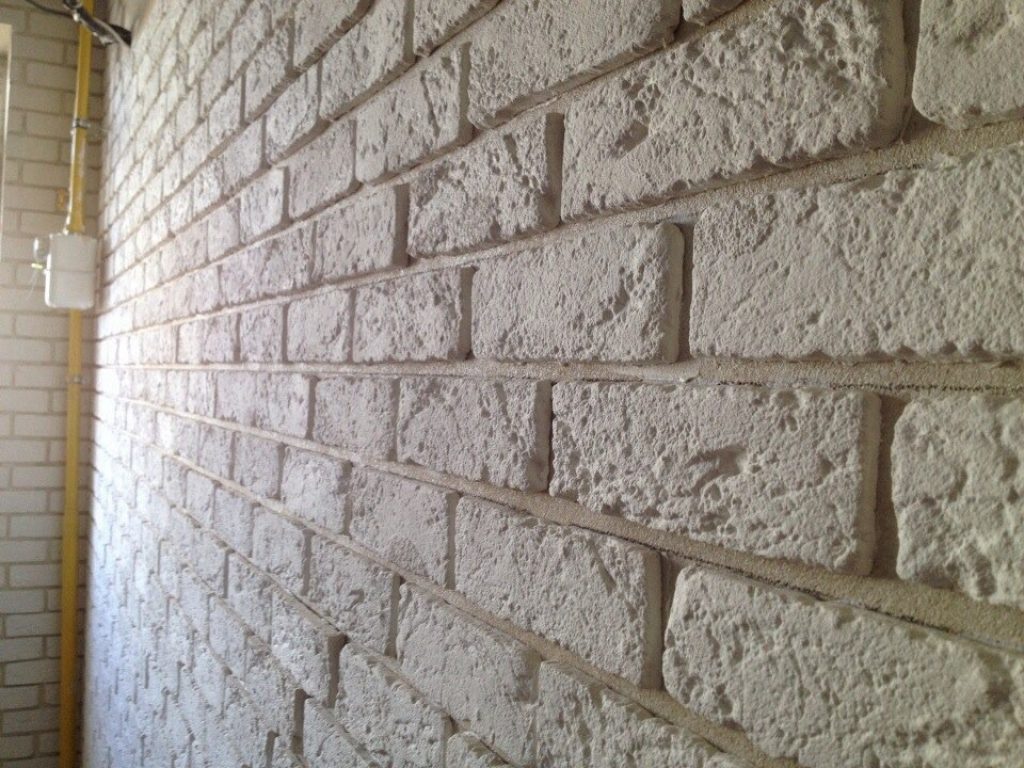
Pretty plaster masonry
Homemade options are among the most budgetary. If you try hard, you can imitate a brick wall, indistinguishable from the real one. Let's analyze the three most affordable and easy ways to imitate a brick with our own hands.
We make polystyrene tiles ourselves
Expanded polystyrene is cut into tiles of the desired size 1 cm thick. For greater similarity, the edges are melted with fire. Instead of reflowing, you can rub each tile in different places with sandpaper to achieve roughness, dents and bumps.
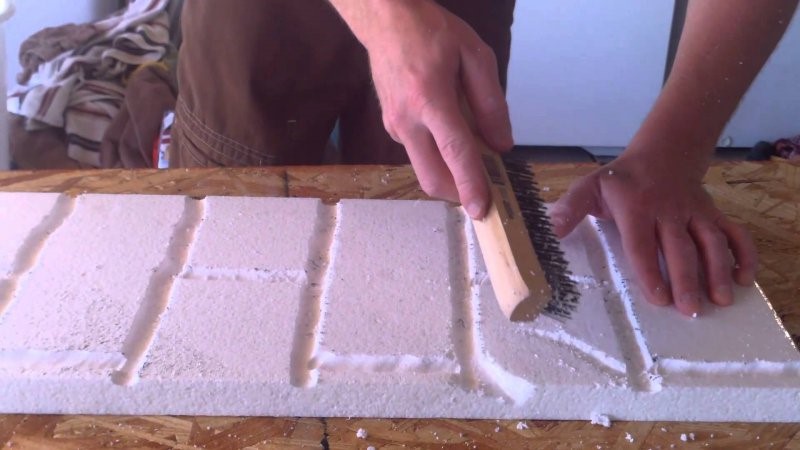
Production of tiles from expanded polystyrene
Work with fire is carried out in the open air, protecting the nose with a respirator. When burning, the material releases toxic substances.
- The wall is leveled and primed
- Mark with a level and ruler
- Cut polystyrene foam into bricks, and decorate them for better imitation
- Pasted on liquid nails
- Treat the seams with standard grout
- Paint the surface with color using a brush
We apply a ready-made stencil
Purchase dry plastering cement. It is flexible and convenient for finishing procedures. Prepare a stencil (cage) with a brick pattern.
The stencil can be plastic, wood, rubber.
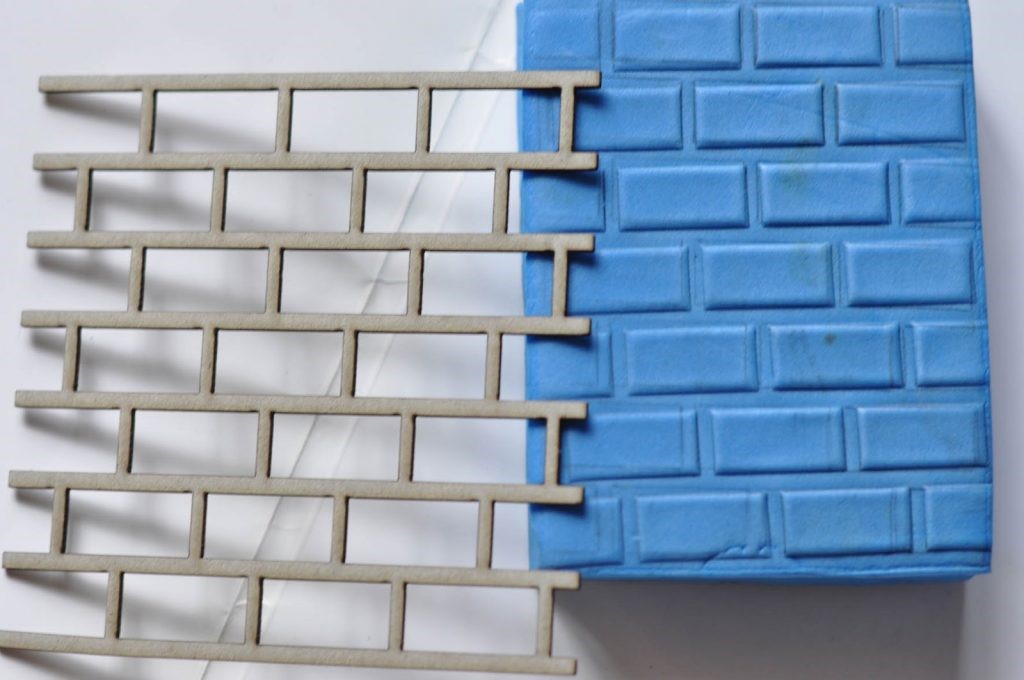
This is what a standard plastic stencil looks like.
1The wall must be perfectly flat. Apply a primer to it and wait until it dries.
2Next, cover the surface with 1-1.5 cm thick mortar
3Apply the stencil to the fresh layer of cement and press firmly
4After a couple of minutes, it is transferred to the next area next to the pressed pattern
Apply the device so that the masonry is even, its symmetry is not broken, and distortions do not occur. This is the hardest part of the process
5When you finish pushing the picture, wait until the solution is completely dry. Run the primer over the surface again. Paint the wall with acrylic paint of the desired color
We use narrow masking tape
Scotch tape helps reproduce a brick pattern on a wall with a thick layer of regular plaster. The role of the latter is performed by the above-mentioned cement or gypsum. Watch the video, which clearly demonstrates the process of creating a "brick" pattern on gypsum plaster using strips of narrow tape:
VIDEO: Construction tape allows you to achieve perfect similarity
All methods of imitation of brickwork for interior decoration: expensive and budgetary, simple and virtuoso. Installation Instruction (80+ Photos & Videos)
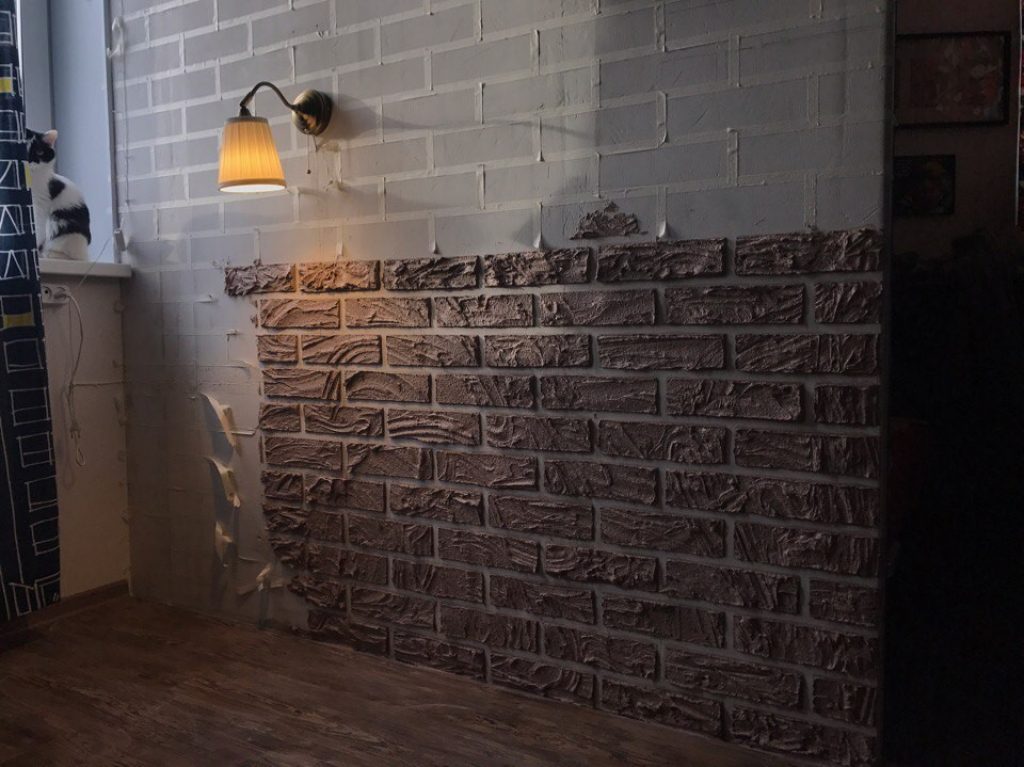
Construction tape allows you to achieve perfect similarity
A cozy and homely brick wall is conducive to peace and peace of mind. It gives a sense of solidity, protection and security. One wants to return to such a house, there is no desire to leave from here.
The rough texture of rough stone is interestingly combined with fragile and airy textiles, allowing you to create amazing ensembles. It also looks good with wood, other rocks, glass and plastic. Effectively "plays" in daylight and artificial lighting.

The correct color scheme helps to visually expand the space
Even a beginner in finishing work can easily decorate a wall under a brick. If you carefully understand the issue, you can create a spectacular design without spending a single extra penny. Feel free to experiment and try new things - make your home interior enjoyable.
VIDEO: 5 ways to apply brick decor. Imitation brick
All methods of imitation of brickwork for interior decoration: expensive and budgetary, simple and virtuoso. Installation Instruction (80+ Photos & Videos)
8.2
Total Score
Imitation brick for interior decoration
Ease of implementation
7
Appearance
9
Originality
8.5
How to make imitation brick with your own hands using plaster
The most common imitation method is to apply a building mixture to the surface and create a relief on it. As an example, consider a plaster-based coating. Ordinary cementitious compounds will do.
Surface preparation
The wall is cleaned of old finishes and leveled. The bottom layer is retained if it adheres well and has few defects. The substrate is primed to improve adhesion to the top layer. It is better to take a primer for concrete with antiseptic additives.
Markup
Then markup is done. The contours of the masonry are drawn on the wall. The dimensions of the front side are taken arbitrarily, focusing on the area to be treated. The tiers must fit perfectly. Their number is calculated by dividing the height of the room by the height of the front side of the brick. The resulting residue is evenly distributed among all rows. You can also increase the height of the seams. In the same way, the length of imaginary products is calculated.
Masking tape is cut into strips corresponding to the distance between the bricks and attached to the wall. It forms a line of seams. First, long horizontal stripes are applied along the markings, then short vertical stripes to make a dressing. Scotch tape is not cut strictly along the corner of the wall, but small gaps are made that go beyond its limits.
In what interior styles is brickwork preferred?

Living room project in black
This popular element is found in different styles of interior, if desired, the brick can be correctly fitted into almost any room.The type of masonry, color, shape and texture can be different, and it depends on how the brick wall will look in its finished form.


Modern studio apartment with bright accents in the interior
Now, we will consider only those options in which brick is almost always found in interior decoration.
Loft style brick
On a note! Today the Loft style is one of the most fashionable and demanded styles in interior design.

An unexpected solution for decorating a loft-style apartment in white

Modern and comfortable furniture set against rough walls makes this design unique


Design project of a stylish and beautiful interior
Particular enthusiasts buy antique bricks with the manufacturer's hallmark to decorate their rooms. It costs a lot, but it looks really stylish.
Such a brick was once made by hand and it had a rich palette of colors, due to the fact that different materials were used for its manufacture.

Concrete ceiling and brickwork wall decoration in a modern loft apartment
A brick wall in the loft style is always organic, the same can be a partition, lined with half brick, which neatly divides the room into zones.
Country style brick
Rustic styles are always very popular and they never cease to be fashionable, because most citizens associate this with real home comfort. Natural and natural materials, handicrafts, embroidery, ceramics, hand-knitted rugs - all this looks great against a brick wall.

Huge wicker chandeliers highlight the chosen style
In Provence, brick inserts in the walls, especially in a small kitchen, are almost mandatory. Often in rural styles, bricks are painted milky white, light beige or ocher.
It is not customary to focus on such a wall, as in a loft, it is not the main one, rather a background one, but nevertheless, it is present

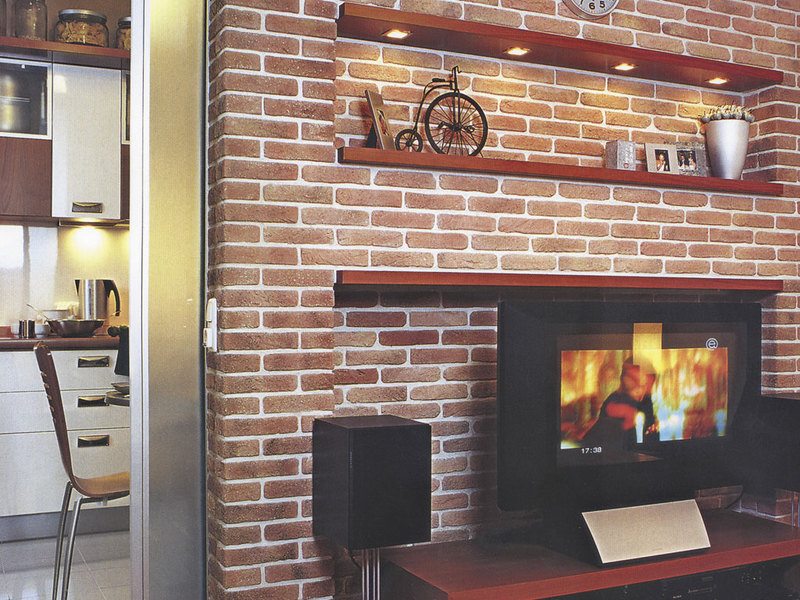
Open shelves against brickwork - simple and tasteful

Traditional provincial-style kitchen interior is not complete without natural materials.
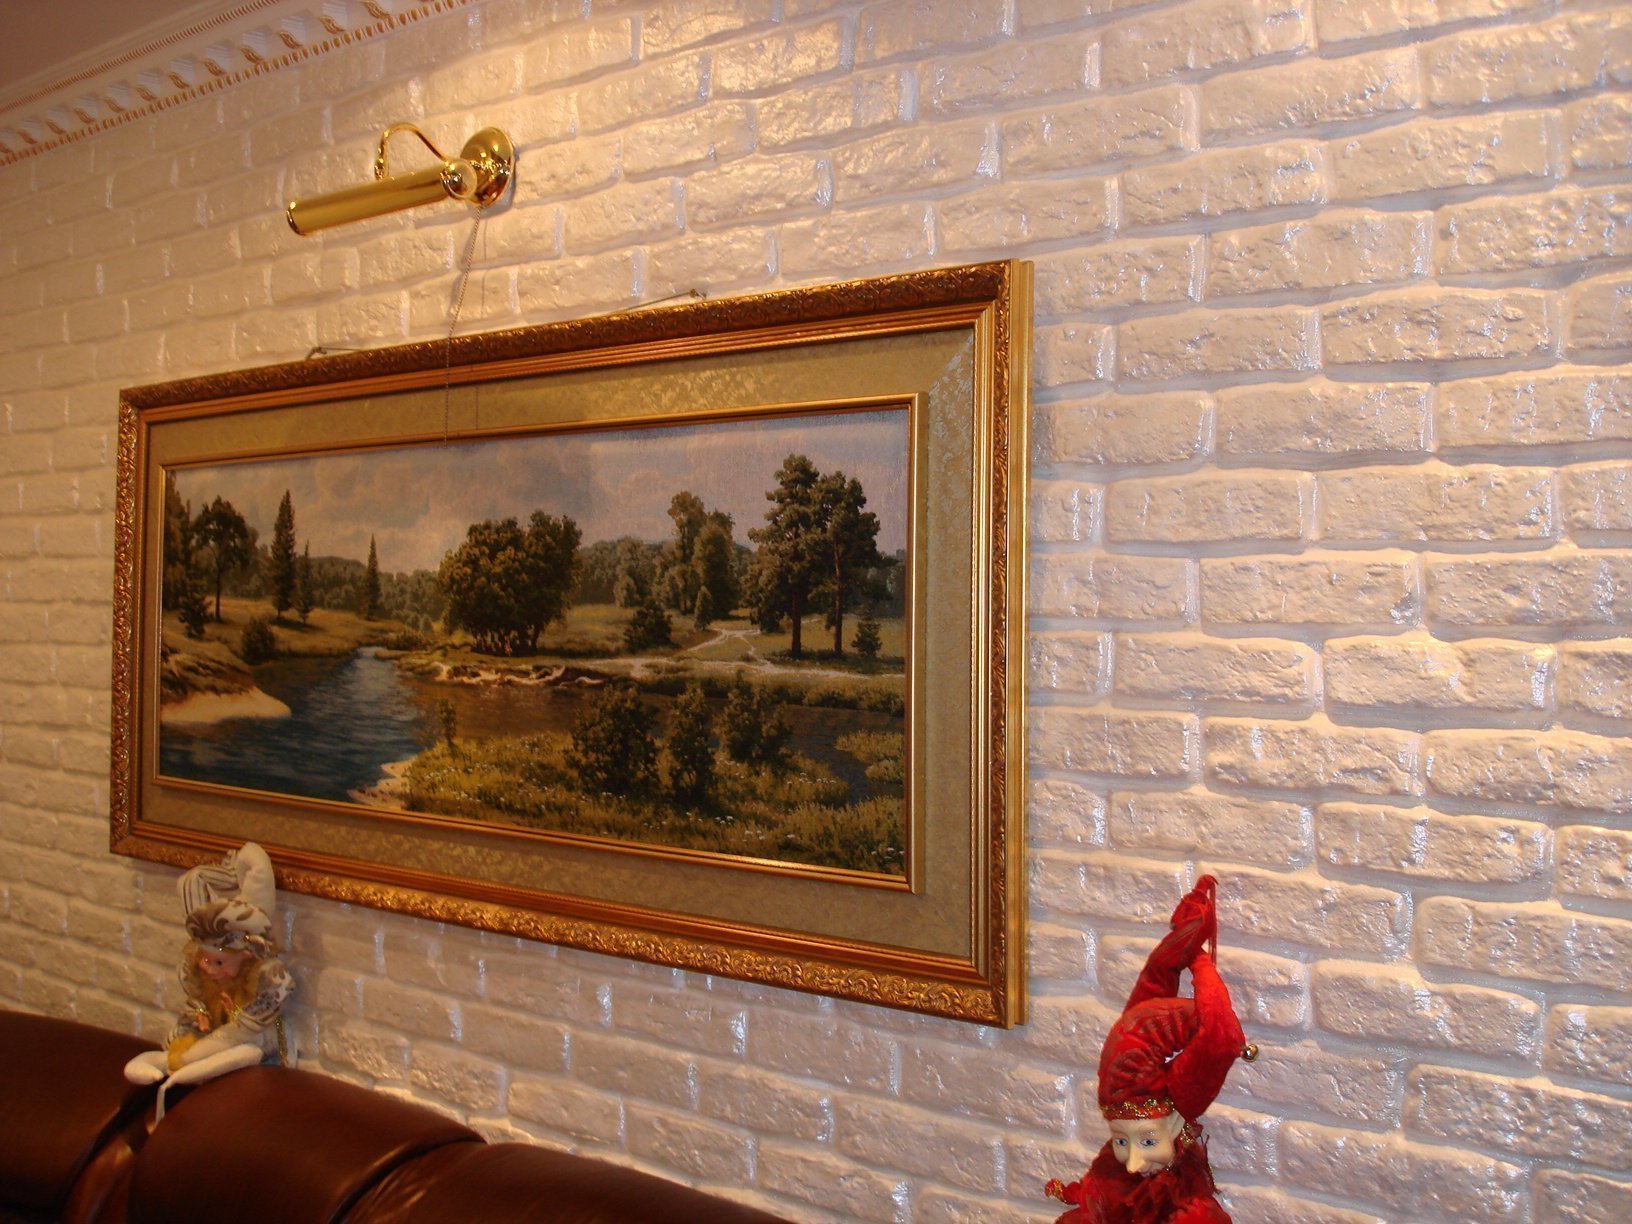
On a note! Compositions of fresh flowers, ceramic plates, framed landscapes, small wooden shelves on which dishes and ceramic figures are placed are hung on brick walls in rural styles.
Scandinavian style brick
The restrained and laconic style of the inhabitants of the Scandinavian countries has firmly entered our homes. Lovers of free space and freshness, but nevertheless, soft comfort are its adherents.

Scandinavian comfort and a complete sense of freedom in the interior

Bright decorative elements are essential in any room

Unobtrusive simplicity and modesty of the Scandinavian style

A wall of brickwork a highlight in a snow-white bedroom

Cozy place to relax under the window on the attic floor
On a note! A painted brick wall is acceptable in Mediterranean and contemporary styles, in neoclassical, English and Gothic styles.
Brick finish - a stylish solution for modern interiors
Brick itself is extremely popular and, perhaps, we can say that it is an immortal decorative element for many stylistic decisions. Brick began its career in interior decoration along with the trend towards industrial and loft interiors.
Initially, it was only used in red and orange, which is associated with industrial buildings. However, repainting the brick in other colors, such as white, tamed its industrial character, sending the brick to cozier interiors - Scandinavian or rustic.
And it is not surprising, because his rough beauty works not only in modern arrangements, but also in retro style. Decorative brick in the interior is an interesting and time-tested solution for many styles and trends in modern design.
... “Correctly processed bricks can be used in places subject to adverse conditions - for example, in the kitchen, in the bathroom and even on the facade of a building” ...
Today, when brick tiles on the wall are available in many colors and textures, we can freely find a model that is ideal for any room in our particular home: kitchen, living room, bedroom or bathroom.
Where can brickwork be used:
- In the kitchen combined with the living room, we can use masonry to create an interesting backdrop for the dining table and draw the eye towards a more elegant part of the room intended for guests;
- In the bedroom, brick tiles can be laid out at the head of the bed, creating an interesting decorative accent that will also highlight the most important piece of furniture in the room;
- In a living room, brick tiles can also be an interesting backdrop for family souvenirs, photographs or paintings;
- In the bathroom, masonry is becoming a solution that is becoming more and more popular as an alternative to classic tiles. It is also a great way to pleasantly surprise guests;
- In the hallway, white color will create a warm and friendly atmosphere, as well as visually expand the space. Moreover, the material has excellent performance properties.
Brick-like decorative tiles for interior decoration not only looks beautiful, but is also a practical addition to the interior. Brick finish in an apartment or house allows you to clearly divide the used spaces in the premises. There are really many options. But here a logical question arises: what material to choose to create a brick wall or a brick wall?
Materials (edit)
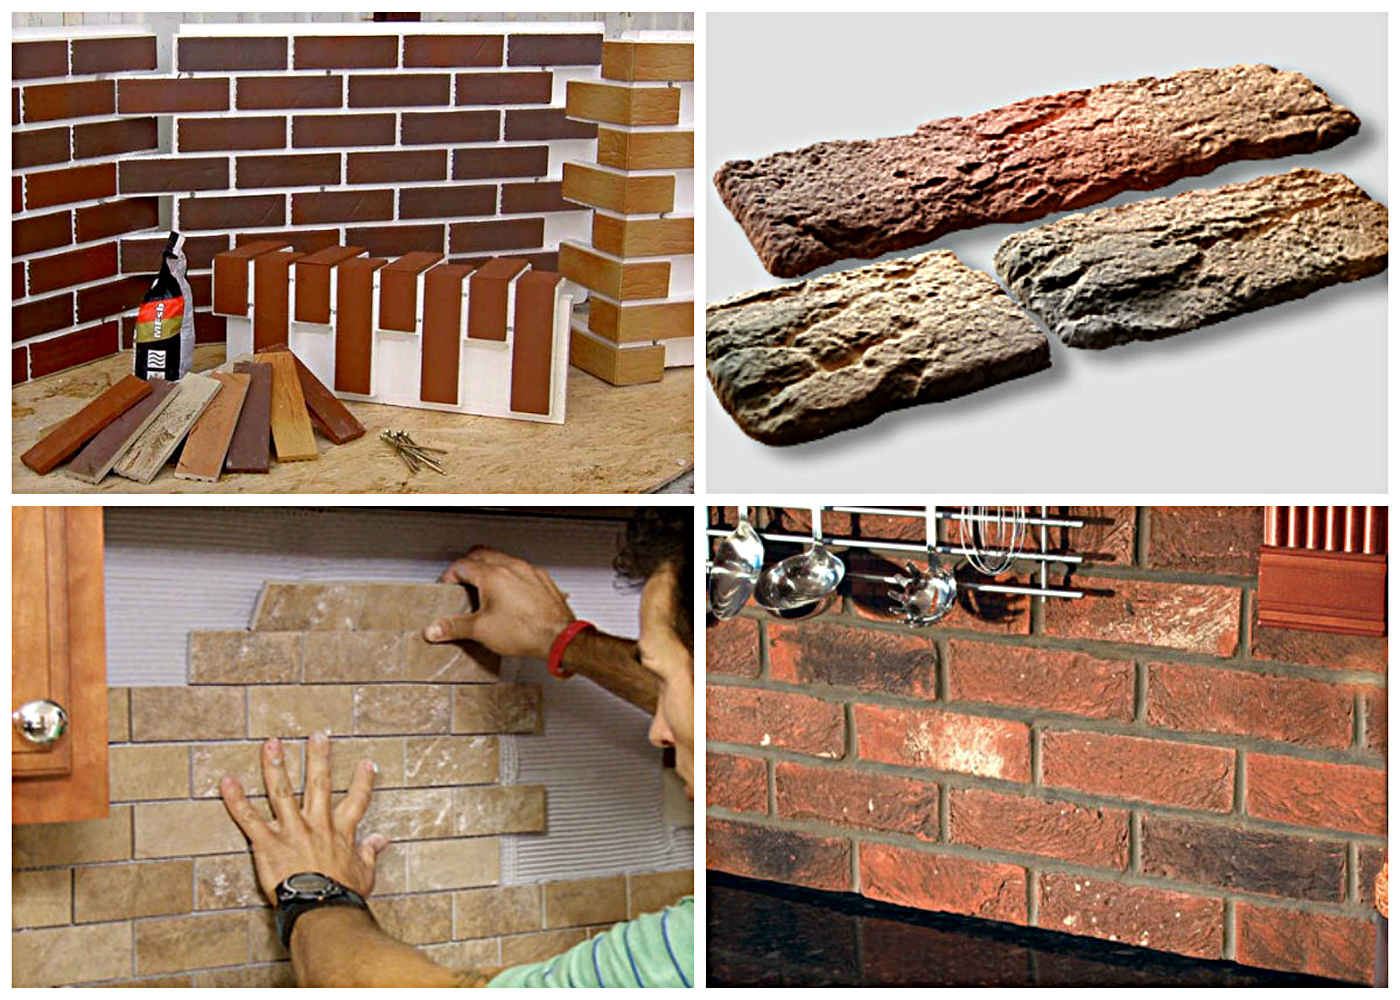
Decorative clinker bricks can be of any color. The material is characterized as strong and practical, durable in use. The option can be used both for finishing the premises inside and for finishing the facade of the building.
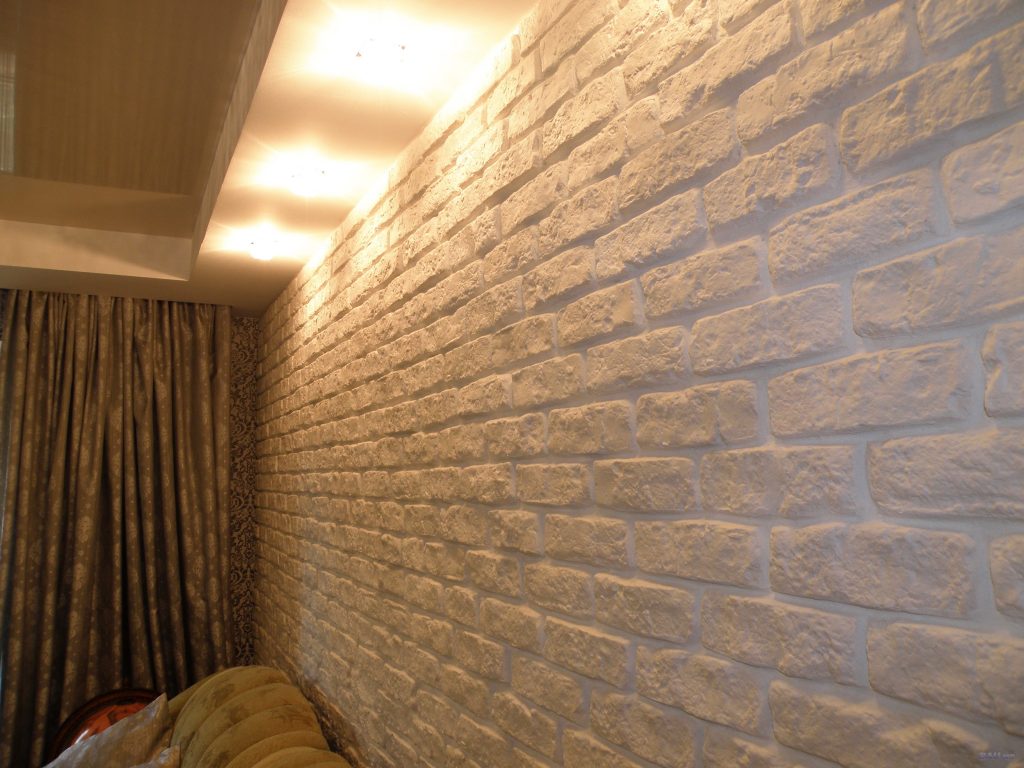
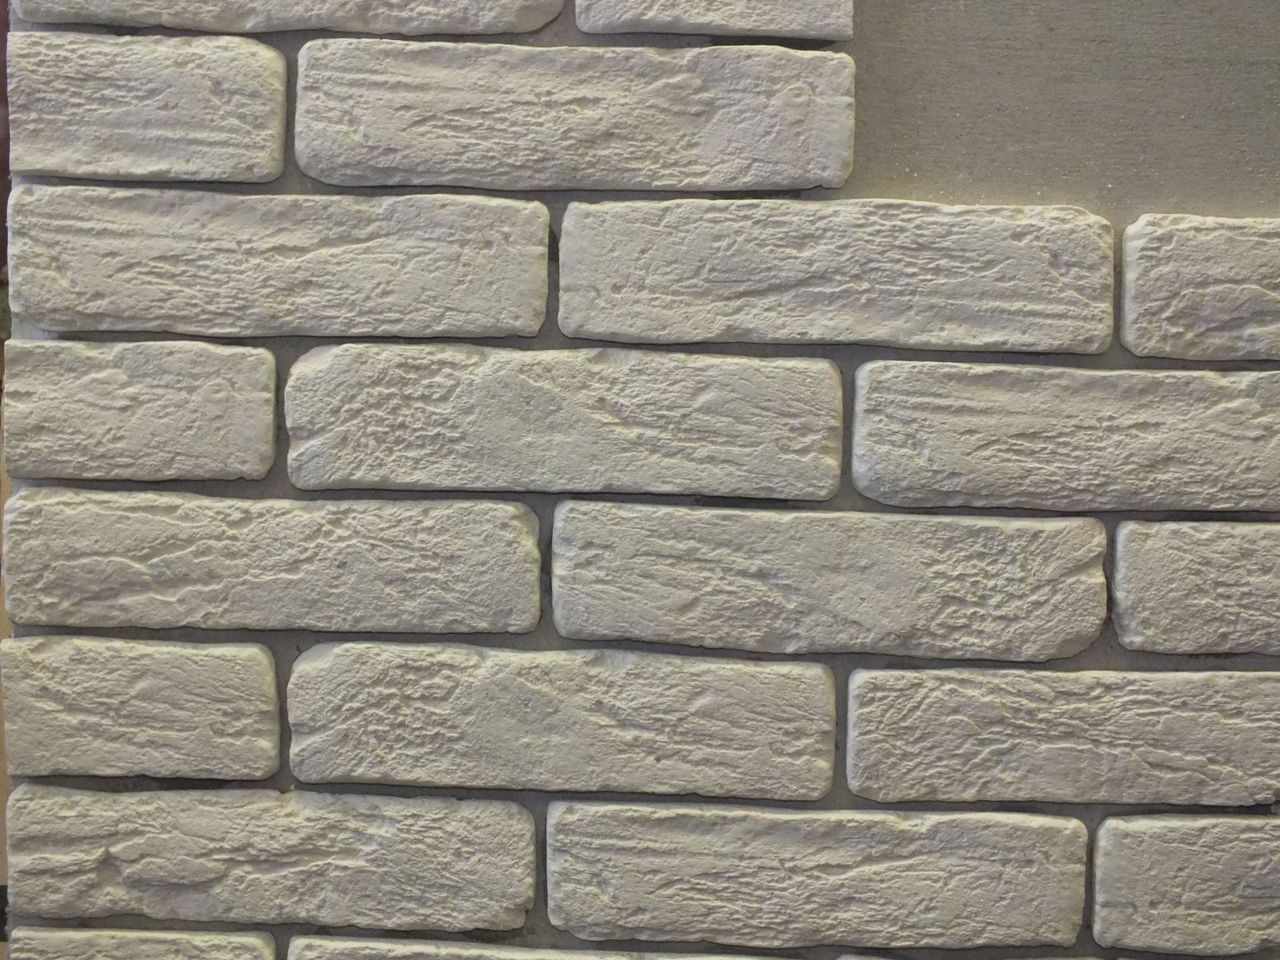
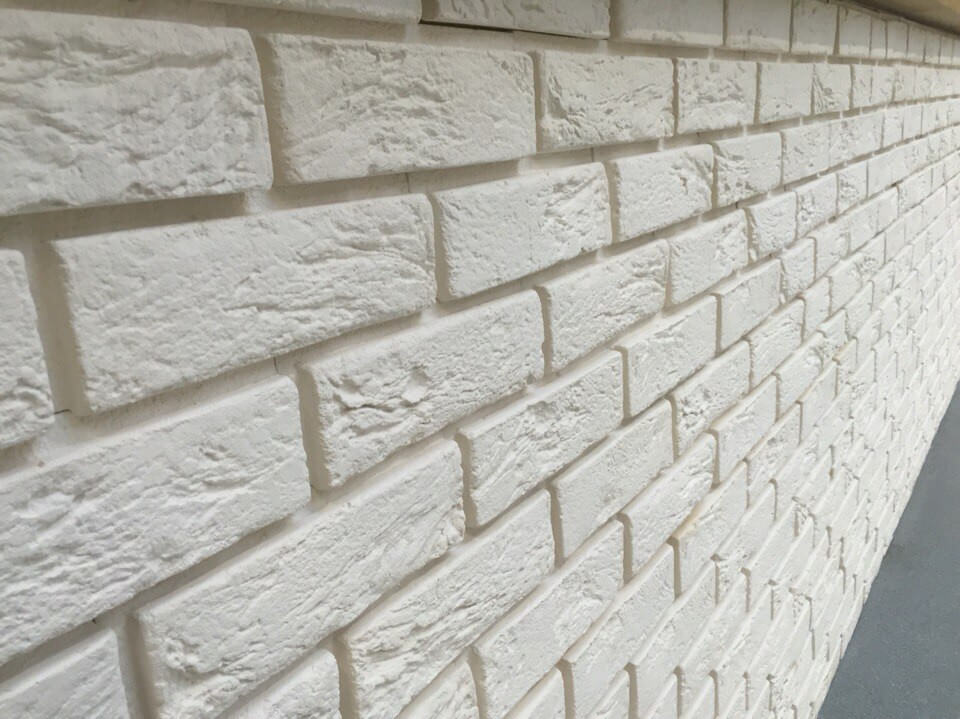
Everyone knows that gypsum is a crumbly and fragile material, although it is very lightweight and excellent for use during interior finishing work. The natural color of gypsum is white, it can be changed at the stage of dilution of the solution or during installation.
Polyurethane as a material for the manufacture of decorative bricks is widely used for interior decoration.
Polyurethane is widely used for interior decoration
One of the materials for finishing a brick-like wall is polystyrene, available commercially, easy to use and often used in practice.
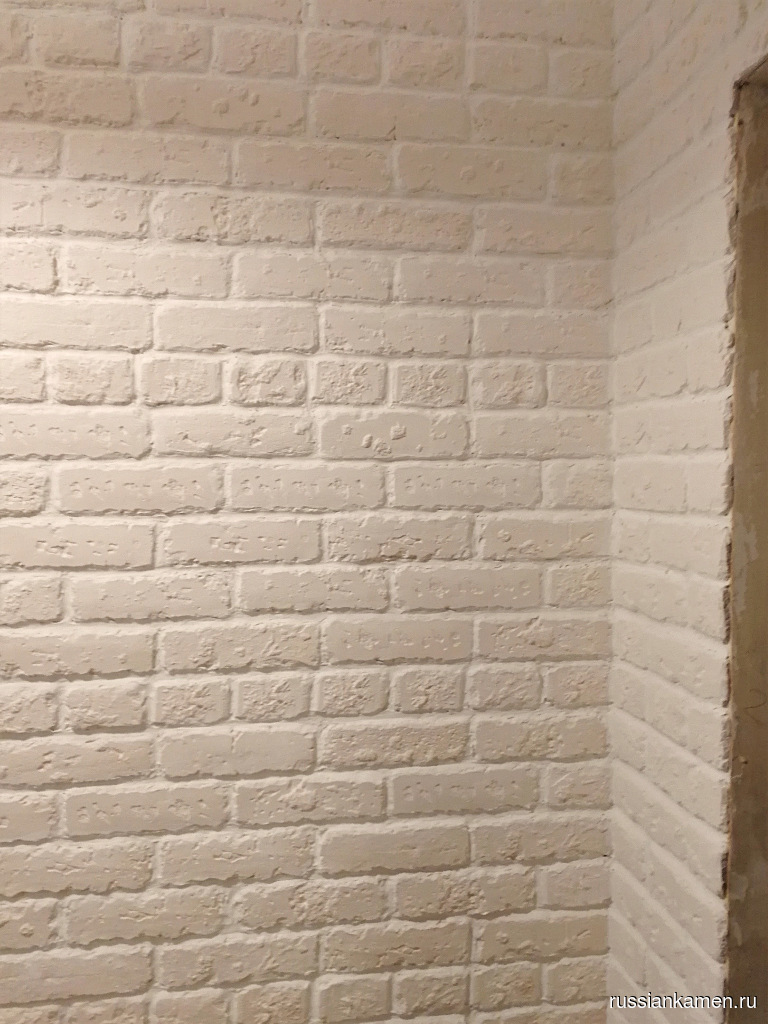
The most convenient and popular type of indoor decor is gypsum brick. Its cost is cheaper than other analogues, while it is stronger than polymeric materials, and its visual combination with other interior items is more harmonious. If there is a desire to create on your own, then it will not be difficult to make gypsum tiles: mix water with gypsum in the correct proportions, add PVA glue, prepare molds for pouring the solution and wait for it to dry. To make colored gypsum, you just need to add a coloring pigment to the solution.
The most popular type of room decor is gypsum brick.
When laying decorative bricks, you should choose the right adhesive mixture. Ordinary cement glue is used for tiles. Silicone sealants provide fast adhesion to virtually any surface.
To decorate the facade of a building, the adhesive mixture must be resistant to frost and temperature changes, otherwise the solution will flake off along with the decorative coating
It is important to always monitor the storage conditions and shelf life of long-acquired adhesive mixtures so that their useful properties are suitable for use.
Laying gypsum bricks with your own hands
Laying plaster bricks
If you listen to some of the recommendations of experienced finishers, the work will be quite simple:
- Before laying, do not forget about the preliminary preparation of the walls: the imposition of plaster, putty, primer.
- The range of gypsum tiles on the market is quite diverse. It remains only to calculate the required amount of material, select it and take it with a small margin.
- In order to lay the gypsum brick, you will need an ordinary white tile adhesive. The consistency of the glue must be brought to a thick and viscous mass.
- You can trim the tiles with a metal hacksaw or a file.
- Wall decoration is done from the bottom up, the glue is applied not to the wall, but to the tiles. It is recommended to remove excess glue immediately.
- The material needs to be firmly fixed and dry. This can take about 24 hours.
- It is best to varnish the coating with stone mortar. The choice of color or shade of varnish depends only on you. There should be at least two layers of solution application.
- The seams are necessarily processed, all defects are removed and masked.
What styles does it suit
The versatility of brick makes it the optimal finishing material for a wide variety of styles. It is used in interiors designed in the spirit of loft, provence, scandi, country and many others to create a spectacular and contemporary finish.
Country style brickwork
In this style, natural materials prevail, next to which the brick looks incredibly harmonious. Wooden beams, logs are ideally combined with bricks. The most natural design is typical for country estates, summer cottages. The simplicity and comfort of rooms with fireplaces and unassuming wooden furniture fully accepts the presence of brickwork in the decoration. This design evokes associations with village life and relaxation in the bosom of nature.

Loft-style brickwork
In living quarters organized in former factory and factory halls, there are no problems with free space. Such apartments always have large areas and high ceilings. These features open up the widest scope for the implementation of design techniques that are unacceptable in small typical rooms. That is why overall ceiling beams, columns, brick and concrete partitions are placed here. The loft is characterized by walls with fallen off plaster and exposed bricks, concrete, or not knowing the finish at all. When decorating accent masonry in this style, it is advisable not to paint or varnish the bricks, to leave them in their natural, natural form. The authenticity of the industrial design will only increase if potholes, cracks remain in the wall, and the solution is carelessly smeared over the brick. Artificial aging is an actual technique of modern decorating art.

Scandinavian style brickwork
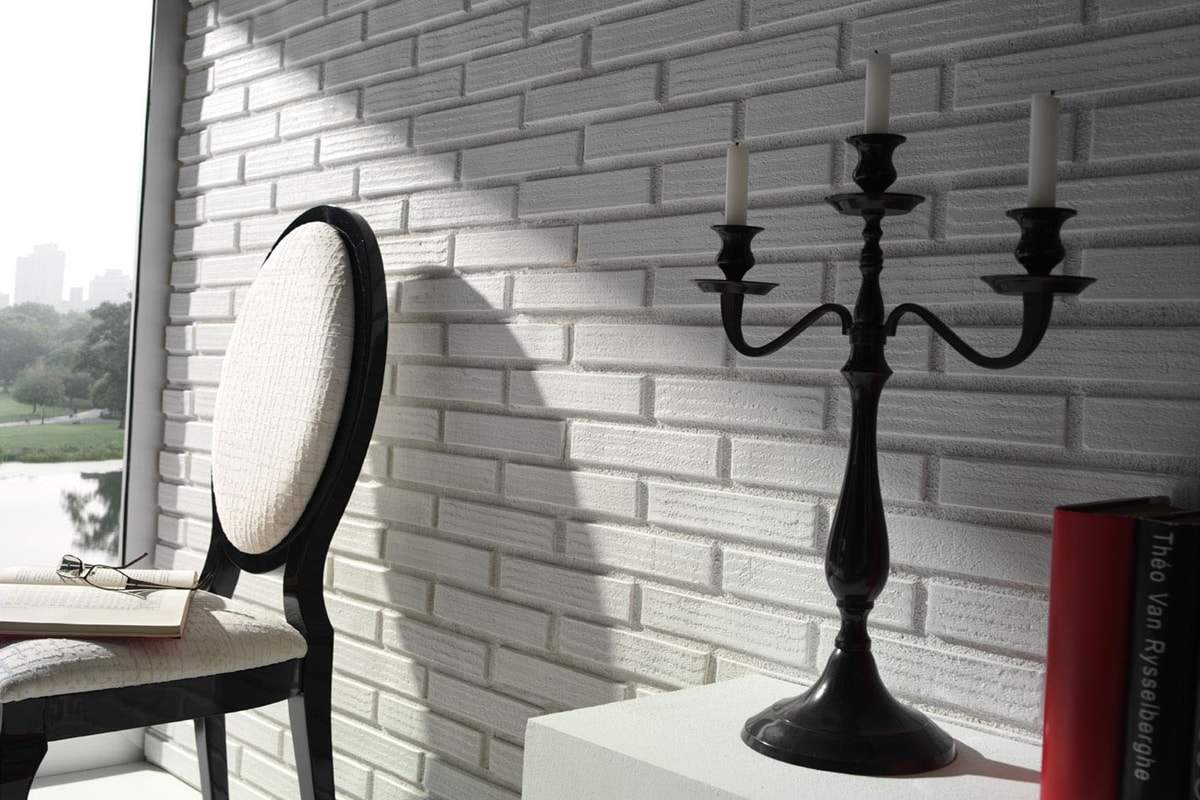
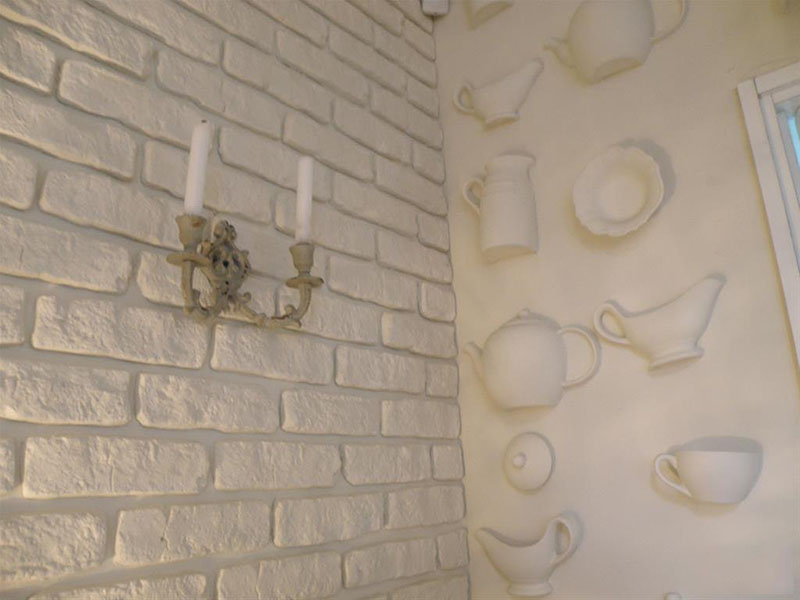
Bricks are a frequent guest not only in the loft - they are a key accent in it, but also in the Scandinavian style. White brick is an ideal textured material that allows you to subtly and neatly dilute the coldness of the smooth light walls of a snow-white interior. The porous texture creates a feeling of warmth and comfort. Such decorative masonry will not disturb the color scheme and will ideally fit into the decoration of the northern dwelling. But do not give up on red or dark counterparts. They are quite acceptable in a cold design and the decor from them can look like a beautiful bright inlay on the snow-white wall decoration. Against the background of a brick or its imitation, photographs and paintings contrasting with the base will look great, green plants in floor pots, wooden planks, beams and panels, as well as a TV and audio equipment.


