Methods for plastering a wooden ceiling
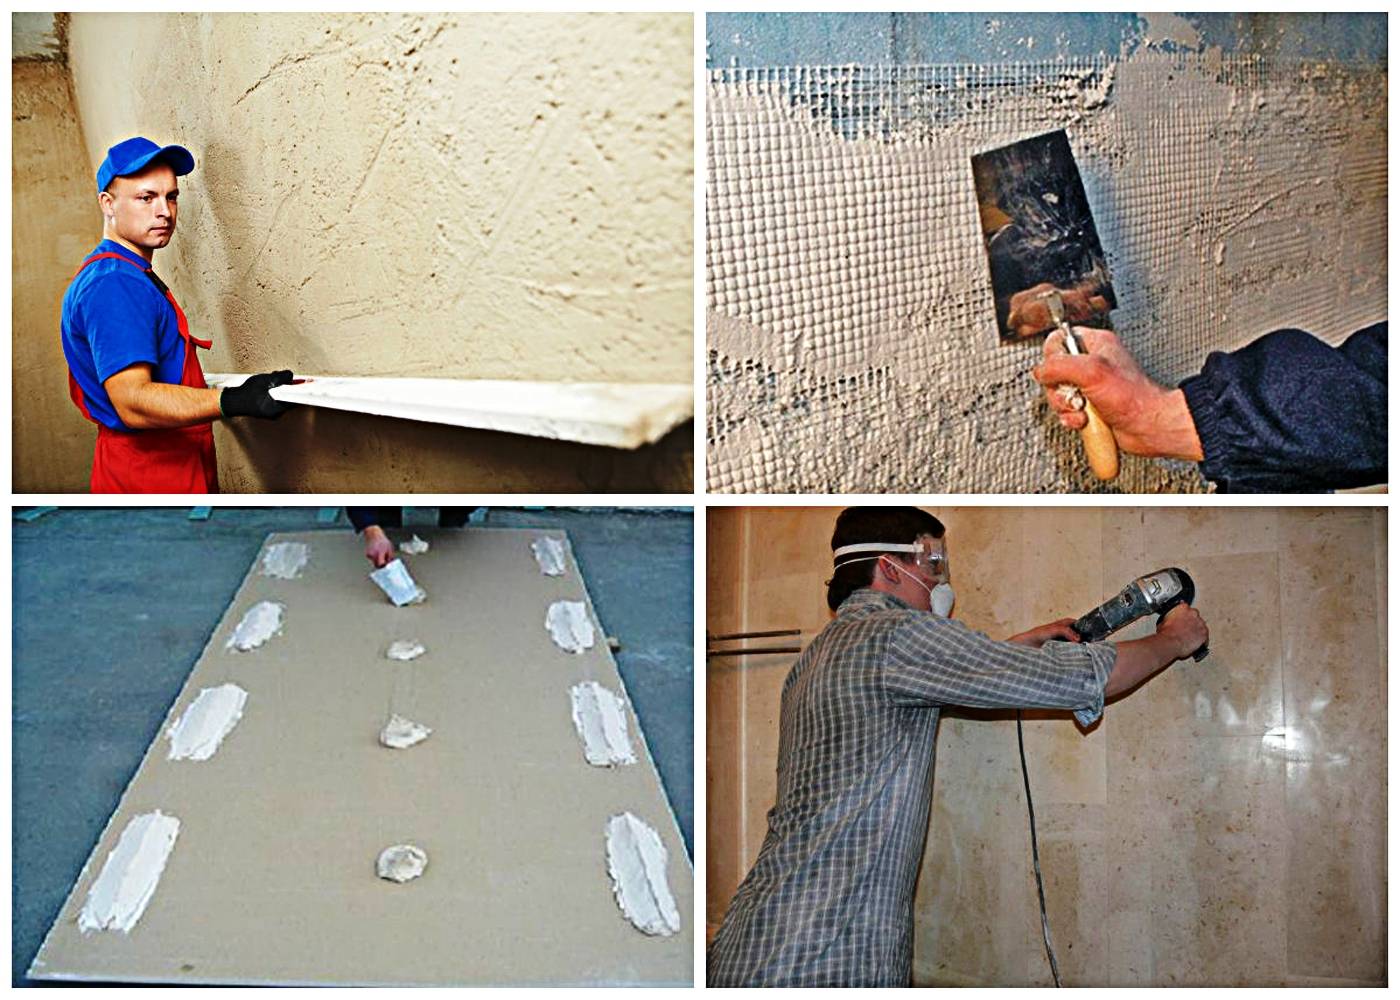
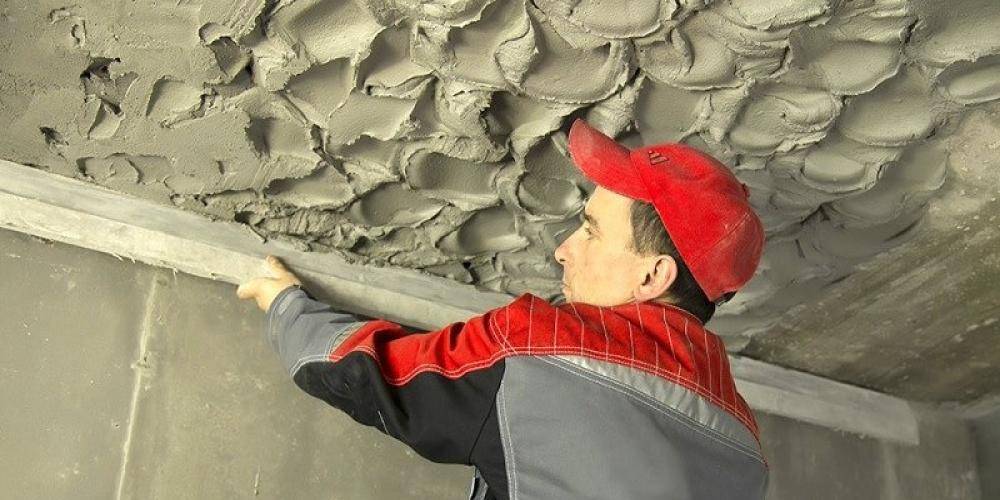
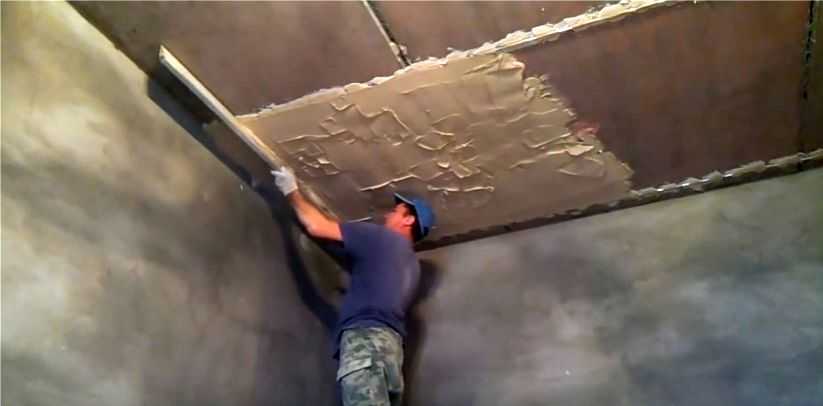
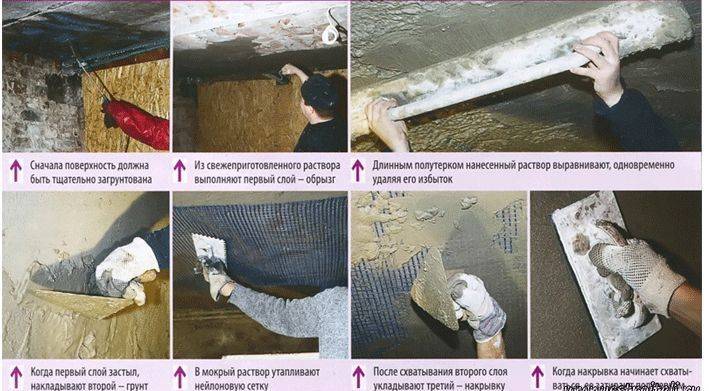
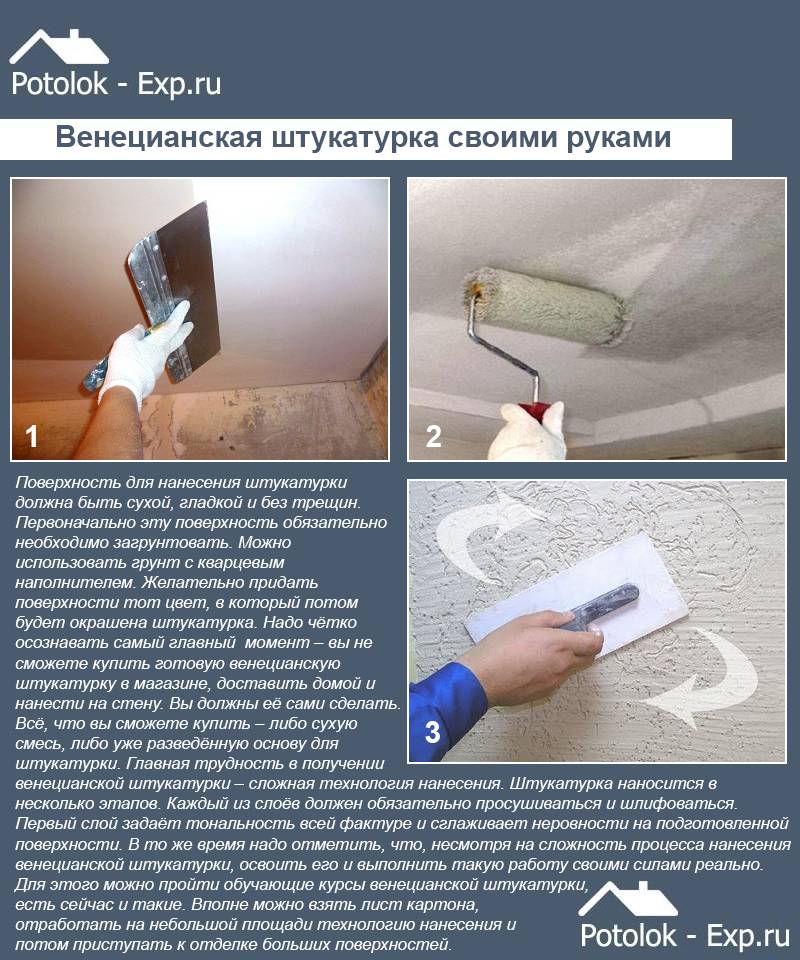
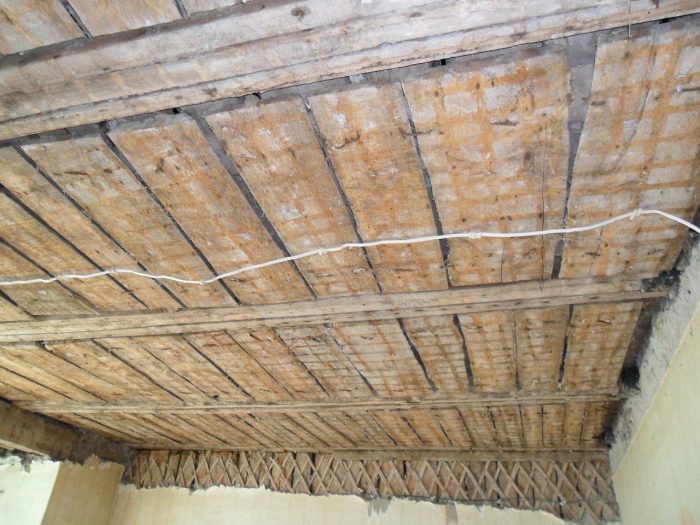
Before plastering a wooden ceiling, you need to understand the nuances of this process. The ceiling surface, hemmed with boards, consisting of beams or logs, cannot be immediately plastered, because there will be many holes and cracks in the ceiling, which will worsen the adhesion of the mortar to the base. To facilitate the plastering work, professionals attach a mesh-netting, a wooden shingle to the ceiling surface or sew it up with plywood. Then a solution is poured onto a smooth, even base without gaps.
To improve the adhesion of the plaster to the mortar, plasticizers are added to it and the mixture is made thicker.
Plastering is performed in three stages:
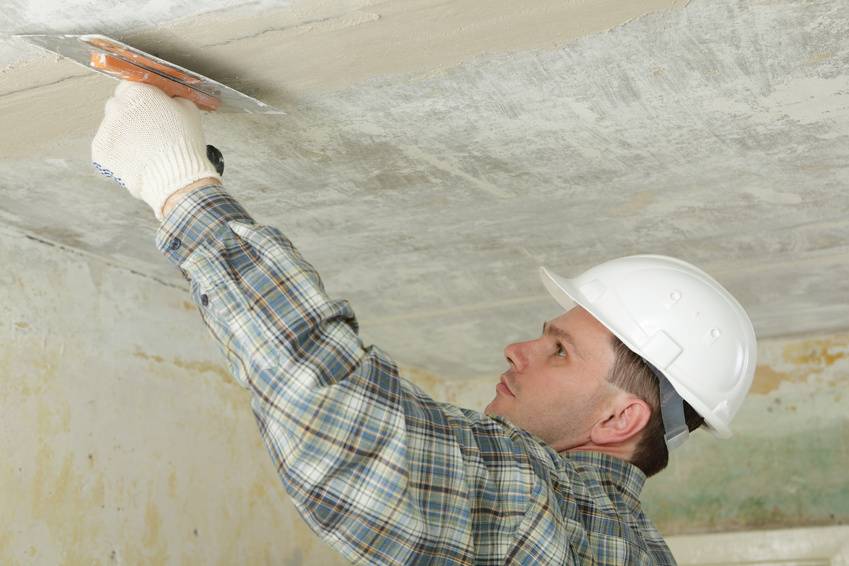
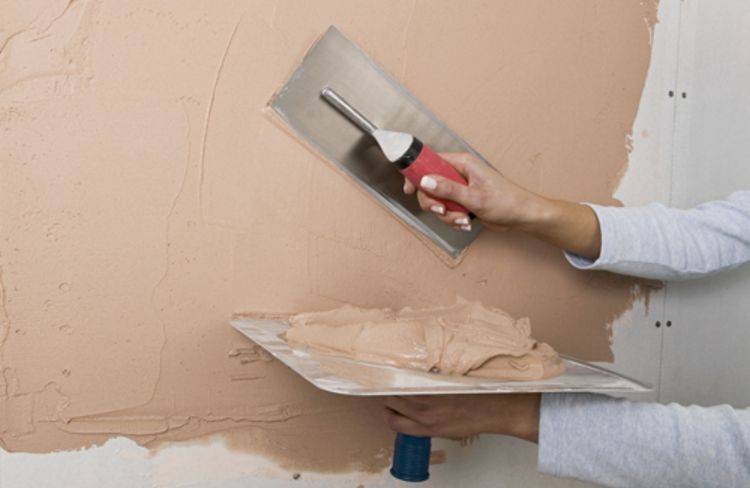
- the solution is poured onto separate sections of the ceiling surface with a spatula and pre-leveled;
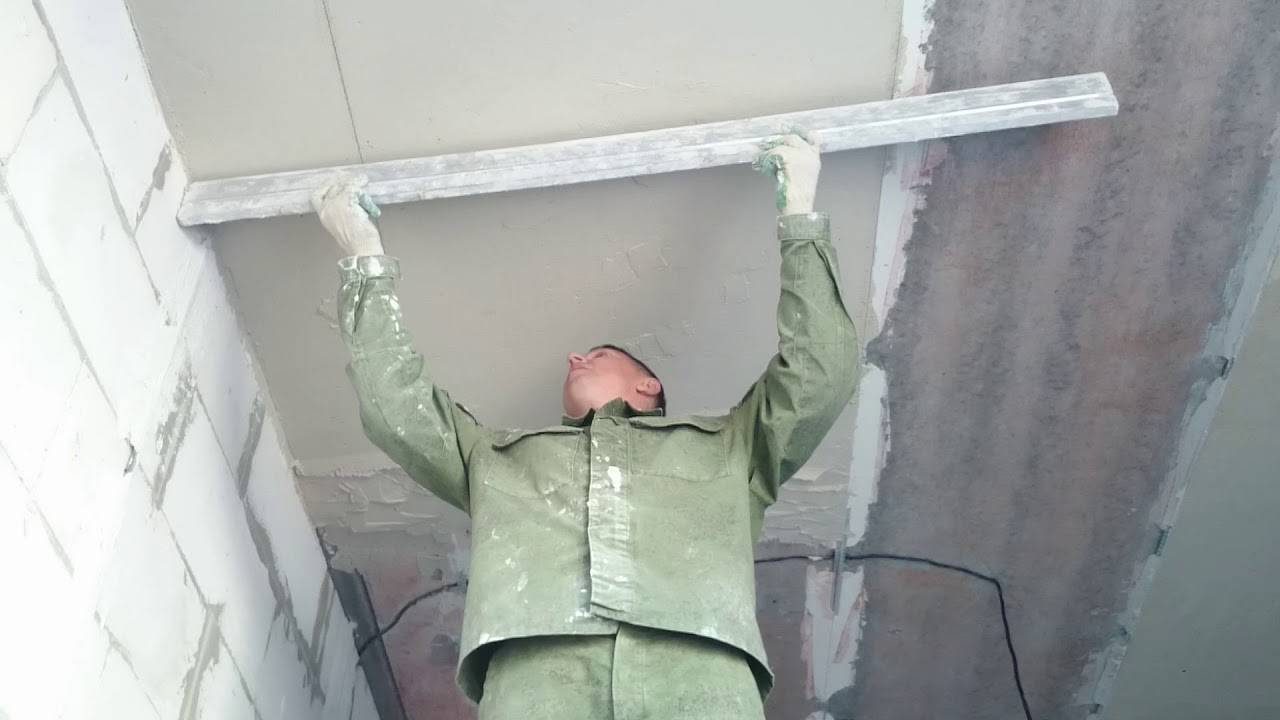
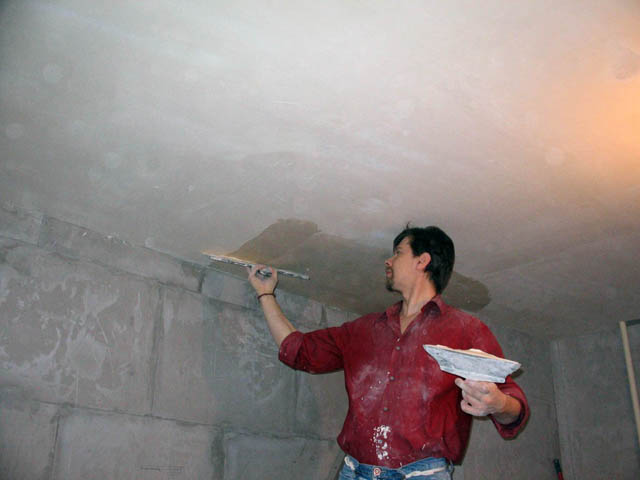
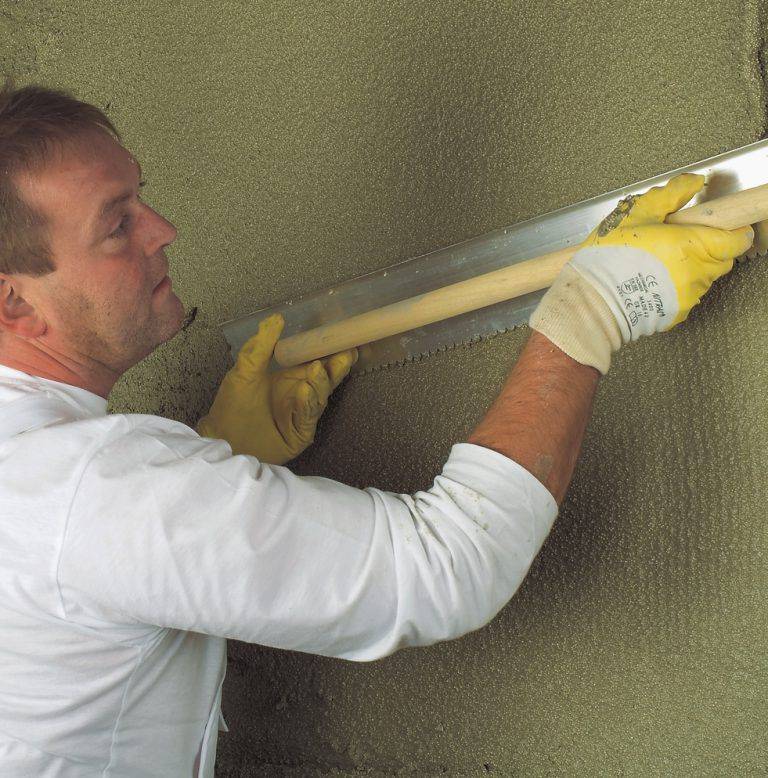
- significant irregularities are eliminated in the process of leveling with a wide spatula or with a rule;
- to eliminate small irregularities, finishing grouting is used.
When plastering wooden ceilings, special attention is paid to the design of the interface between the ceiling and wall surfaces. To achieve a perfectly even joint, perforated corners are used, which hold their shape well and are lightweight.
How to plaster the ceiling: the main stages of work
If we talk about the mixture, with the help of which the question of how to plaster the ceiling is solved, then it is better to refuse from the usual cement-sand mortar - it is heavy and the likelihood that it will fall off during the work is very high. In this regard, it is better to give preference to mixtures based on gypsum, this can be, for example, Rotband or other compositions that are specially designed for such purposes.
How to prepare a plaster mix photo
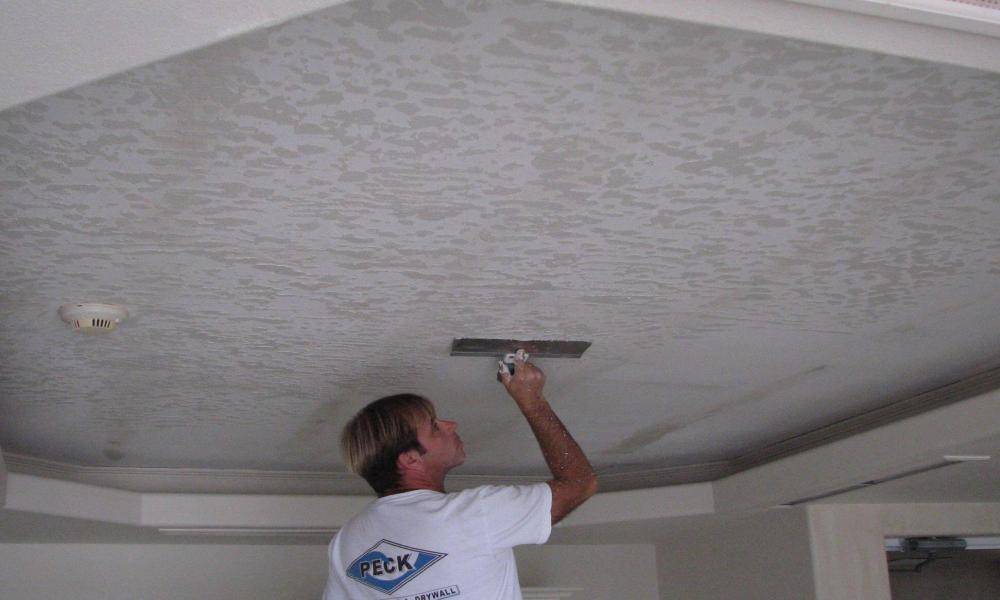
You can apply plaster to the ceiling in different ways - some masters throw it in the old fashioned way with a bucket, others gradually spread it with a spatula, but still others, without ceremony, load it with a huge rule and immediately pull it along the lighthouses. In principle, if we consider this issue from the point of view of technology, then it would be more correct to throw it on - in this way, grains of plaster are driven into all even the smallest holes, thus ensuring high-quality, reliable and long-term adhesion of the plaster to the ceiling. In this respect, the machine method of applying the solution looks more correct.
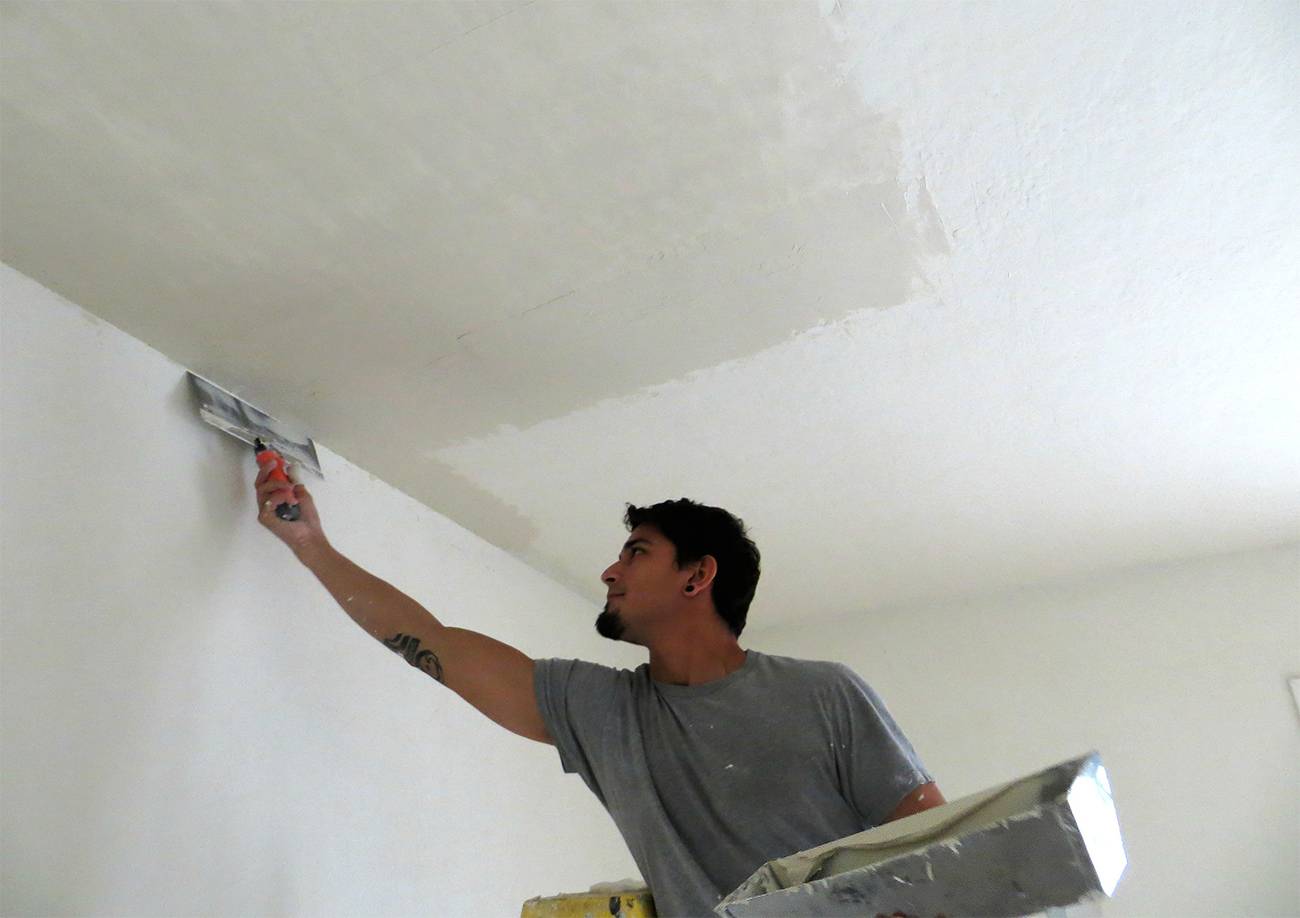
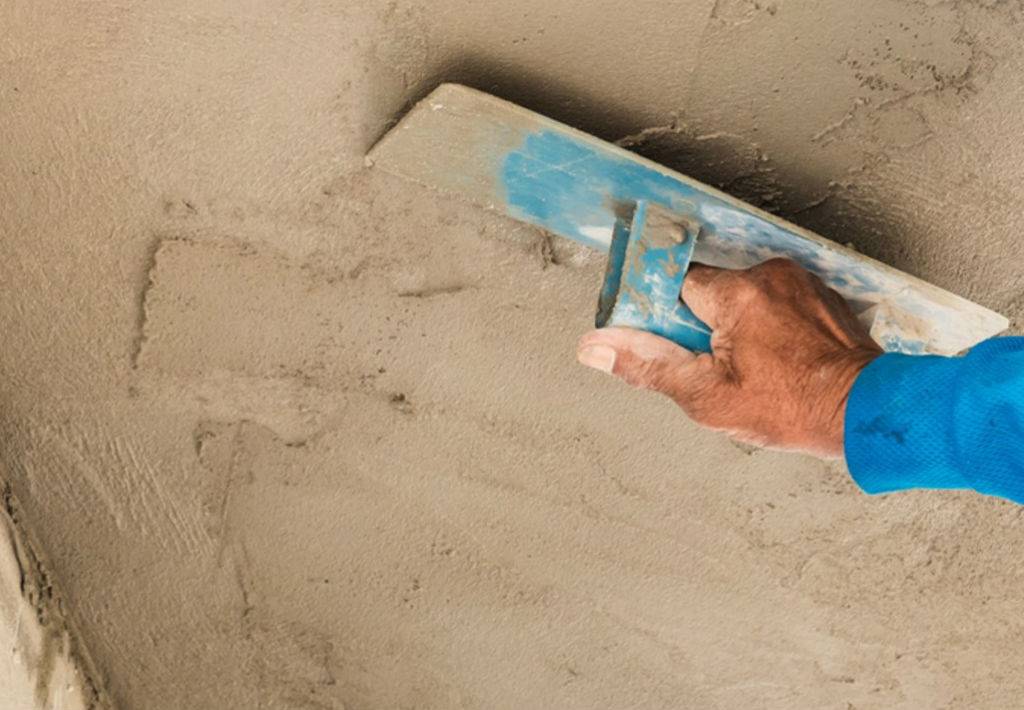
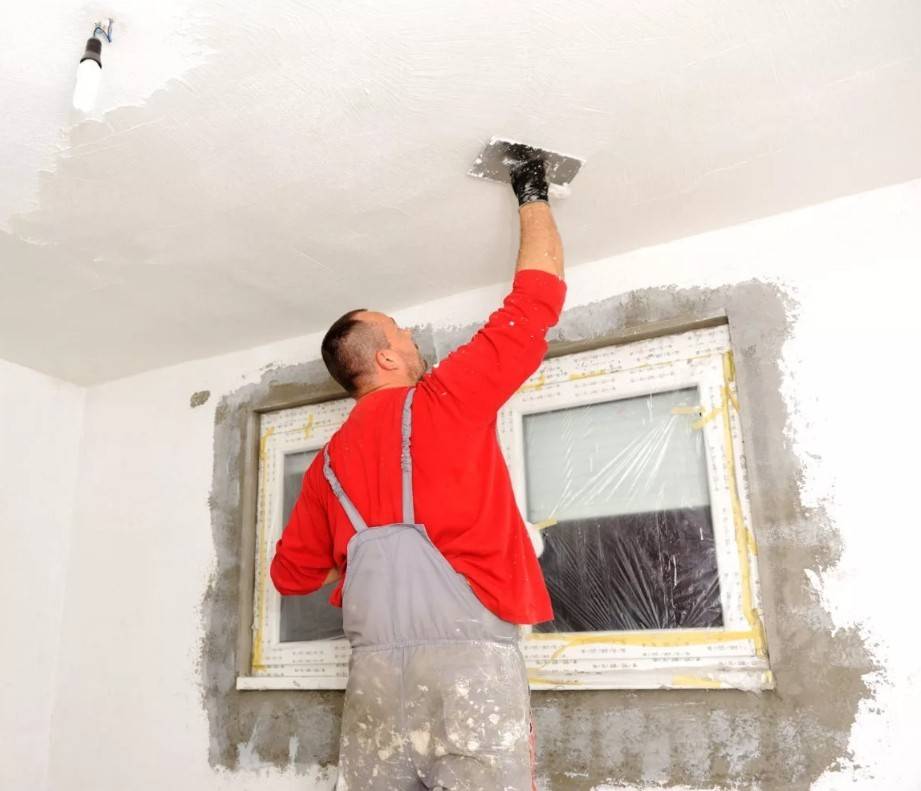
Smooth the plaster mixture on the ceiling using a rule that must be periodically moistened with water - if you do not do this, the mixture will crack after following the rule. Having tightened the entire ceiling in this way, it is left to dry. Only after the plaster has completely dried can further work on finishing the ceiling be continued - as a rule, the plastered surface is subsequently putty and painted.
How to plaster the ceiling with your own hands photo
Well, in conclusion, a couple of small tips, thanks to which plastering the ceiling with your own hands will go a little easier for you.
- Firstly, if you are a novice painter-plasterer, then for working on the ceiling it is better to choose the rule of a small size - a maximum of 1m in length. It is rather difficult and not very convenient to work with a large tool.
- Secondly, when installing beacons, it is better to fasten them more often, then they will not bend when plastering, and, accordingly, the plane of the ceiling will turn out smoother.
- And, thirdly, this is the plaster mixture itself - you will have to experiment with its density. The plaster should not be thick and not rare - you need some kind of middle, which will have to be determined empirically.
Leveling the ceiling with plaster photo
As you already understood, ceiling plastering is a rather complicated process that will require certain skills and dexterity from you. If this is the first time you decide to do such a thing, then it is better to approach it with all responsibility - you need to study all the subtleties and slowly get down to work.
Alexander Kulikov
Plastering the ceiling with your own hands: the subtleties and features of the alignment technology
Categories: Articles
Modern technology provides many options for leveling the ceiling, however, in older buildings built in the last century, the most justified way is to use plaster. This is due to the fact that in most of these buildings there are rather low ceilings and curved floors, which does not allow the use of other alignment methods that take up part of the room height. So, let's figure out the intricacies of the process of plastering the ceiling together.

When choosing a material for plaster, it is most advisable to use ready-made gypsum-based mixtures, such as Rotband, since the previously used cement-sand mortar is more prone to shedding due to its severity.
The main purpose of the preparatory phase is to prevent possible parts of the mortar from falling off. To do this, perform the following work:
1.Completely clean the floor slabs from the materials previously applied to them.
- Thorough priming of the entire surface of the floors using a primer Betonokontakt, the use of which will ensure high-quality adhesion of the plaster to the floors.
- On the ceiling, it is necessary to glue the nylon mesh used to reinforce the foam with PVA glue. It is necessary to wait two days to wait for the glue to dry completely. Then you can proceed to the next stage.
- If the level difference between the floor slabs is up to 2 cm, then it is possible to perform leveling with plaster using beacons. In case of large differences, it is necessary to use other alignment methods, because with a greater layer thickness, the plaster will crumble after a while.
To place the beacons, a laser or hydraulic level is used, with the help of which the perimeter of the ceiling is marked with a chopping cord, after which the threads are pulled along which the beacons are aligned.
The lighthouses are fixed to the ceiling with alabaster so that they barely touch the stretched threads. Wait until the alabaster is completely dry, which will take about 30-40 minutes.
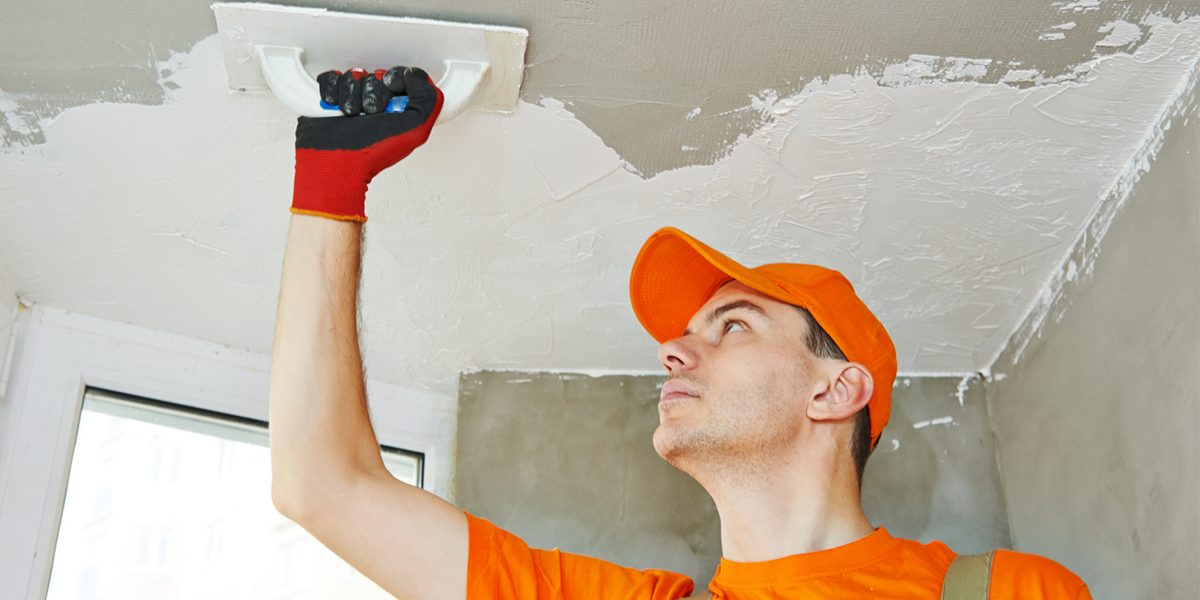
Let's start plastering the ceiling. To apply plaster to the ceiling, experts use methods such as: throwing with a bucket, spreading with a spatula, pulling the rule along the beacons. In order to ensure maximum adhesion and filling of all cavities, we advise you to cover with plaster, then it will fill all micro cavities in the overlap.
Plaster leveling is performed according to the rule, which is often moistened with water, which avoids cracking of the mixture. After the entire ceiling is covered with plaster, it is necessary to wait until it has completely dried, and only after that it will be possible to proceed to the next stage of finishing work (putty and painting or wallpapering).
Experienced craftsmen give the following recommendations to beginners in repair:
- choose a rule with a length of no more than one meter, since the greater the length of the rule, the more inconvenient it will be to work with it.
- the more often you fix the beacons, the smoother the ceiling will be as a result of the work.
Good luck in performing ceiling plaster!
Preparing the ceiling for plastering
An important stage of plaster
Ceilings is the preparation of the ceiling for plastering. Work needed
carried out carefully, the quality of the future plaster depends on it.
We recommend that you remove furniture to the maximum before carrying out work, close windows and doors with plastic films (protection from flying fragments).
It is preferable to use special goats (scaffolding) that allow you to move freely at elevated elevations. If a stepladder is used, make sure someone is holding it at all times. Make safety a top priority.
 Construction goat
General preparation measures
Check for peeling old plaster, if found, remove such delamination. If the mortar is applied to such an unstable surface, the plaster will be short-lived. You can determine such a low-quality coating by the dull sound when tapping.
 Dismantling old ceiling plaster
- If there are uneven spots on the ceiling, you must
sand them first. A grinder with a circle on concrete and stone is suitable. - If the ceiling is made of smooth concrete,
it is recommended to make notches using an ax, thereby increasing
surface roughness. - If the old ceiling is painted with paint, it is better
remove it, thereby increasing adhesion. Water-based paint is well removable
a solution of iodine and water. After wetting with water, lime is easily removed
with a spatula.
- If there is fungus on the ceiling, it
must be removed, for example, using a composition of copper sulfate and water. - If the ceiling has been exposed to vapors
oil (for example, in the kitchen), it is necessary to clean the base with
degreasing agent.
After the general preparation measures have been completed, it is necessary to dust the surface by wiping with a soapy sponge, and then rinse the ceiling with clean water.
 Cleaning the ceiling with a sponge
Sealing holes in the ceiling
If you find on the ceiling
holes, it is necessary to fill them with plaster, and then close
hole with a piece of plastic mesh for reinforcement. For attaching the mesh to
dowels can be used on the ceiling. Then you need to add another layer of plaster.
over the mesh.
When the plaster is completely dry, you need to cut off any open pieces of wire, then sand the edges of the sealed hole so that they are smooth and even. With proper sanding, the area where the hole is closed will become completely invisible.
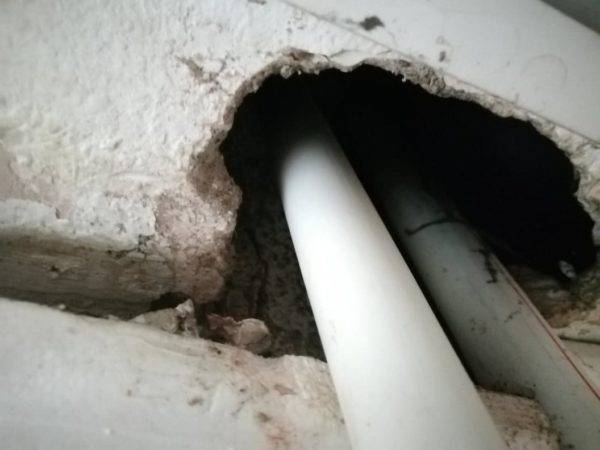 Holes in the ceiling to be repaired
Sealing rustic ceilings
Often in the houses of the Soviet
buildings can be found worn out or worn out joints of slabs
overlappings - rustic. Over time, the sealing of the seams wears out, part of it
falls off (or may fall off in the future). It is obvious that before
by applying plaster, such poor-quality areas of joints must be brought into
order, otherwise it could cause serious trouble in the future.
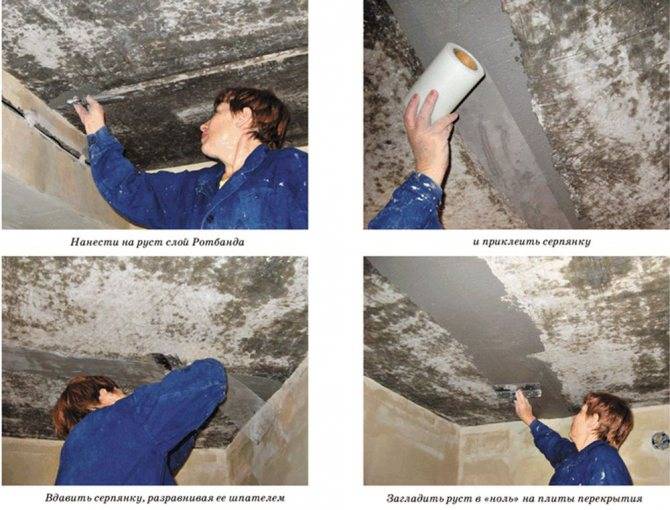
First, you need to completely remove the old grout. For these purposes, you can use a puncher, a hammer with a chisel. Then they pass with a metal brush to remove traces of the solution. After the traces of the seal have been removed, it is necessary to treat the space inside the joint and the external adjoining areas with a primer.
Further, the rusts are filled from the inside with polyurethane foam or a sealing cord (if the seam is narrow). The outer part of the seam is sealed with new cement mortar over the serpyanka laid on the seam.
 Sealing rustic ceilings
Fixing the cable to the ceiling
The electrical cable is fixed to the ceiling using dowels, clamps, brackets and other devices. In the future, it is supposed to apply a plaster mixture over the mounted cable. It is necessary to ensure that the edge of the cable insulation recedes from the surface of the future plaster at least 5 mm.
 Ceiling fixed cable
Types of plaster for a wooden ceiling
A wide range of formulations is on sale, but it is allowed to make the mixture with your own hands.
The following types of mixtures are used:
- Plaster. Suitable for finishing in any premises, adhere well to wood, fit comfortably and leveled.There are gypsum plasters for external and internal use and universal - the type is indicated on the package.
- Clay. Low cost, environmental friendliness - pluses. Long drying time is a minus. But such mixtures are plastic, easy to apply and used in any room.
With their own hands, masters prepare mixtures based on cement and sand. For plasticity and strength, dry lime is added, for areas with a risk of fungus - copper sulfate, borax. Depending on the component composition, it is permissible to use cement plasters in areas with high humidity.
Features of ceiling plaster
In general, the main goals of finishing work in apartments and country houses are the external renovation of the premises and the creation of comfortable living conditions. Without a smooth, beautiful ceiling, you will not be able to achieve the desired effect.
The specificity of ceiling work is that debris and mortar fall to the floor, leaving hard-to-erase marks. Therefore, it is customary to start finishing the premises with them. Plaster hides the joints of the floor slabs and allows you to get a flat surface suitable for finishing: putty, painting or wallpapering.
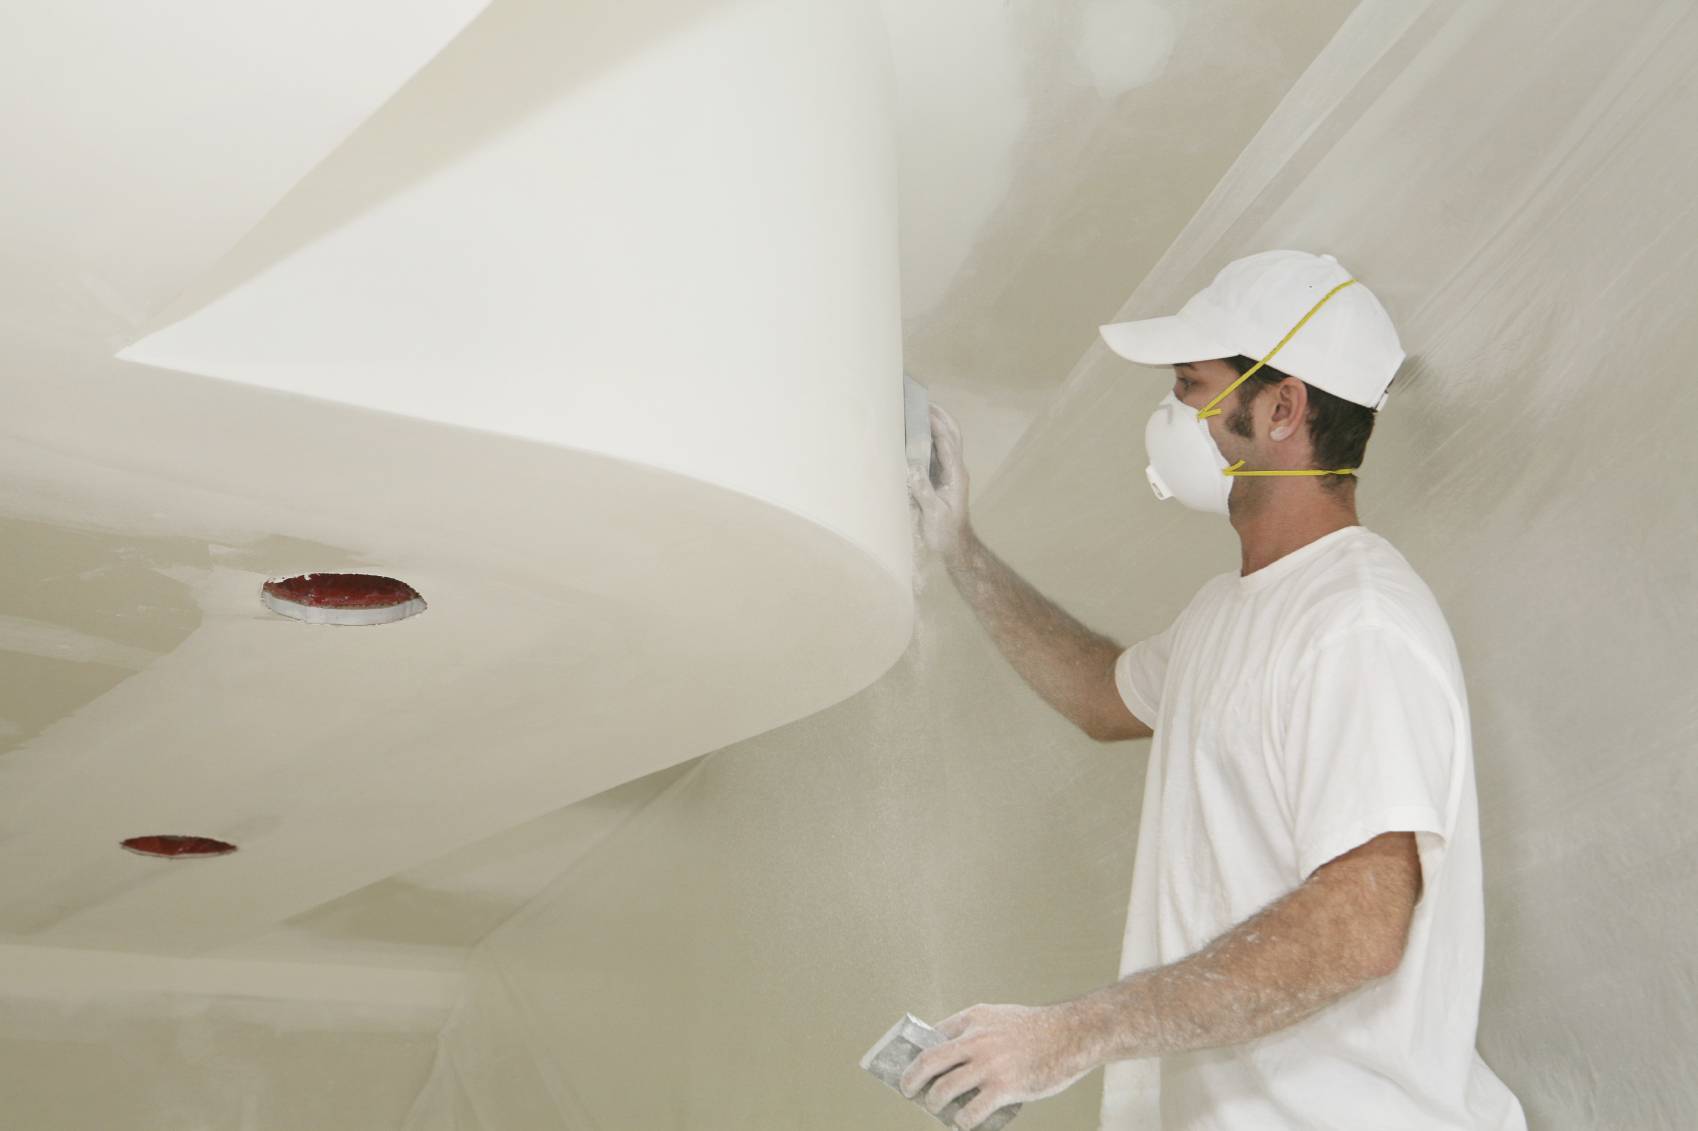
In addition to direct monolithic plastering of the ceiling, i.e. wet method, there is still a dry leveling, when the floor is first sheathed with plasterboard. In this case, plaster is necessary to close up the joints of the sheets, to level and isolate the surface of the gypsum board from moisture, and also to reduce paint consumption.
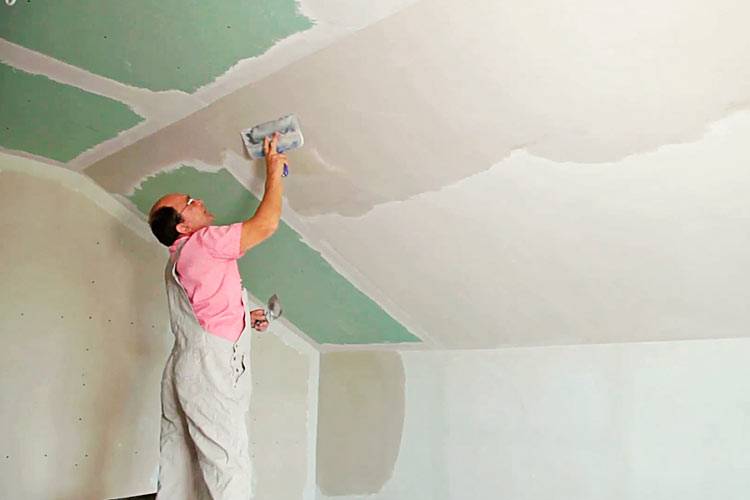
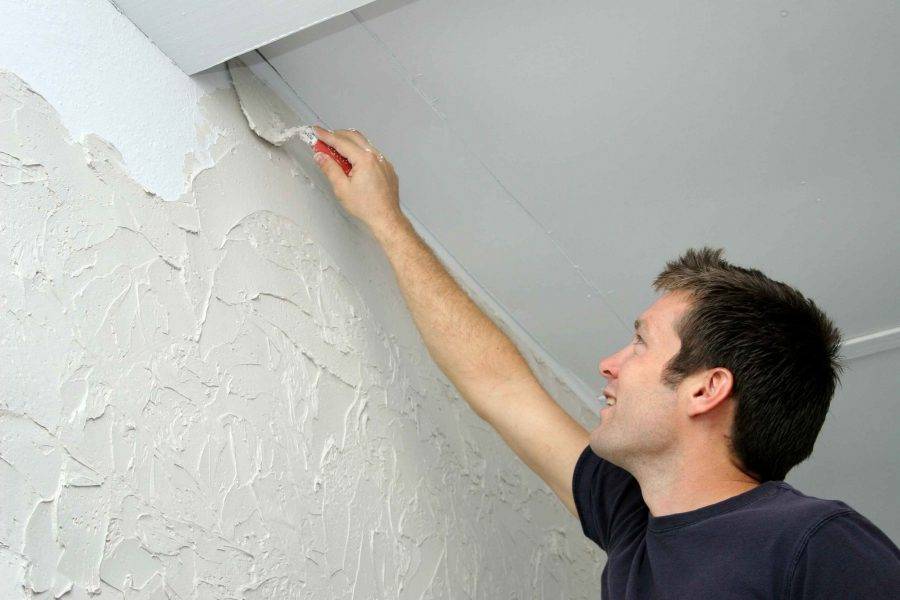
Plastering drywall on the ceiling.
Advantages of the classic method of leveling the ceiling using plaster:
- Cheapness. When doing work with your own hands, the cost of repairs will be less than for suspended plasterboard or stretch ceilings.
- This type of covering reduces the height of the room significantly less in comparison with other options.
- Cement and gypsum plaster does not emit substances harmful to human health into the surrounding space.
- The fire resistance of the floors is increased.
Disadvantages:
- A large amount of dirt forms during operation.
- Additional finishing is required, but not in the case of stretch and suspended ceilings.
- Takes a lot of time. This is especially true for cement-based finishing mortars.
- There is no space for the installation of recessed luminaires.
- To lay electrical wiring on the ceiling, you will have to make grooves, and then cover them up.
Calculator for calculating the amount of dry mortar for plastering the ceiling
The initial values for the calculation will be:
Ceiling area. It is not difficult to calculate it for a rectangular room.
- The planned minimum thickness of the plaster layer depends only on the specific conditions of the room to be finished and the wishes of the owners. As a rule, a layer less than 5 mm is not applied during plastering.
- The magnitude of the difference in the height of the ceiling, which must be eliminated by plastering.
- The degree of qualification of the master. A professional will waste no more than 5% of the solution, and a beginner at first may not have enough 15% of the stock.
The resulting value will initially be expressed in kilograms. But dry plaster mixes are sold in paper bags of 25 or 30 kilograms, and buying an open bag is a great folly, since no one can already guarantee the quality of the solution. This means that one way or another it will be necessary to round the amount of the purchased composition upwards to the whole number of bags. This stock will still not be superfluous - all the repairs are still ahead! This is also taken into account by the calculation program.
Lighthouses under the ceiling plaster
Plastering on beacons is done in cases where it is necessary to obtain a perfectly flat horizontal surface of the ceiling. If you use beacons, you can determine with the naked eye where the solution is applied in excess and where it is not enough.
Metallic "T" -shaped profiles are mainly used as beacons. Less common options for lighthouses made of wooden slats and from plaster mortar. In the future, we will consider the procedure for applying plaster using metal beacons.
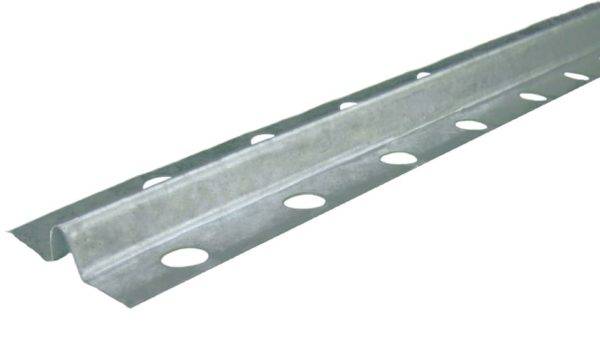 Beacon profile
Principles of installing beacons
Lighthouses are installed just before plastering. Beacons are attached to the ceiling using plaster mortar. Usually beacons are designed for plastering up to 1 cm thick. If you plan to plaster with a thicker layer, it is enough to put an additional amount of mortar under the beacons.
On the ceiling, the lighthouses are fixed in such a way that the lower points of the lighthouses lie in the same plane. The step between the beacons is taken 10-15 cm less than the length of the rule. For example, if the length of the rule is 150 cm, the step between the beacons should be no more than 140 cm.
 Checking the plane of the beacons using a level
It is necessary to start the installation of beacons from the wall in such a way that when leveling the mixture, the rule with its end rested against the wall, while the rule should lie on two beacons at the same time. For the convenience of work, we recommend placing the extreme beacons at a distance of at least 25-30 cm from the walls.
The following illustration shows, as an example, layouts of beacons in a 3x4 m room, for a rule with a length of 2 and 2.5 m.
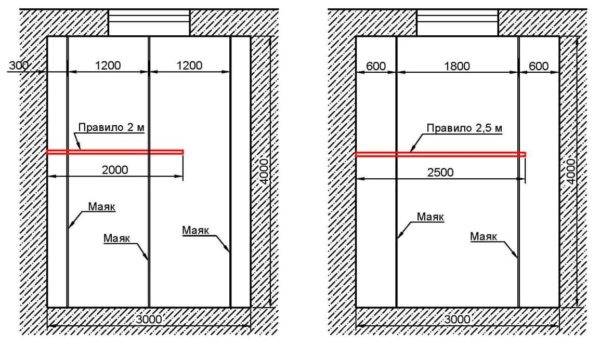 Beacon placement schemes: 2 m rule (left), 2.5 m rule (right). Dimensions are in millimeters.
The distance between the beacons should not be too great so that the master has time to plaster the entire section. For beginners, the recommended width between the beacons is 1-1.2 m.
Beacon installation procedure
The following is a detailed instruction on how to put the beacons under the plaster on the ceiling:
1. The lowest point on the ceiling is determined. To do this, horizontal markings are made on the walls using a laser or long bubble level. If in some place the mark rests against the ceiling, you should step back 5 mm down and repeat the procedure, marking the horizontal lines at the lowered mark. The place where the mark is as close as possible to the ceiling is the lowest point of the ceiling.
2. From the obtained lowest point, 5-10 mm are deposited, after which a horizontal mark is placed on the wall using a laser or water level. The resulting elevation is called the zero level of the ceiling, it corresponds to the lowest point of the future beacons.
3. Using a laser or long bubble level, create a closed zero level line on the rest of the walls. Thus, a plane is formed for placing beacons.
 Formation of a horizontal plane by a laser level
4. Pencil markings are applied for future beacons. The pitch of the lighthouses and the indentation from the walls are assigned in accordance with the above principles for installing the lighthouses.
5. Tighten the ropes between the walls at the zero level of the ceiling. Having created a horizontal plane, the ropes will serve as a guide when adjusting the height position of the beacons. The ropes are stretched across the future beacons, at the beginning and at the end of the room, as well as diagonally from corner to corner. Ropes are attached to the ceiling between the lighthouse and the wall, using dowel-nails or self-tapping screws.
 Pulling ropes between walls
6. Preparing the solution for the lighthouses. The material of the future plaster is used as a solution. The ready-made solution is applied with "cakes" along the lines of the lighthouses in increments of 25-30 cm.
7. Beacon profiles are pressed into the "cakes" from the solution, focusing on the plane formed by the stretched ropes. Immediately after the installation of the lighthouses, the correctness of their installation is checked using a bubble level. If necessary, corrective edits are made to the position of the beacons until the solution has frozen: if the beacon pulls the thread down, you should press it harder into the solution; if the beacon is too deeply immersed in the solution, more solution must be added under it.
eight.After we have made sure that the tops of the lighthouses lie in the same plane, we must wait until the solution is completely set. This process lasts about 12 hours, for reliability it is better to wait a day, after which you can proceed directly to applying the plaster.
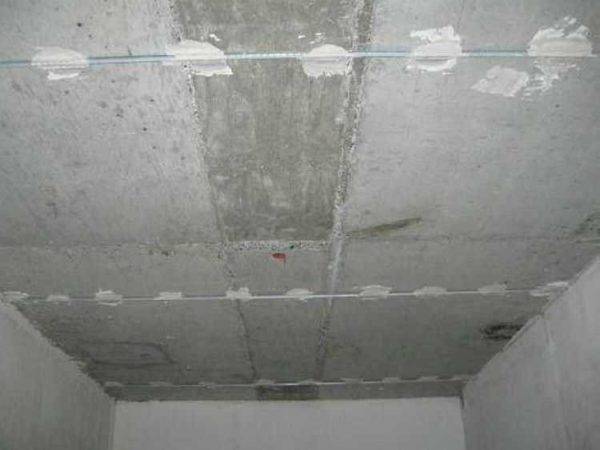 Installed beacons for plastering
Advantages and disadvantages of plastering ceilings
Firstly, stretch ceilings always take up a few centimeters of space, and if the repair is done in a small area, then this nuance will be decisive. Secondly, the cost of stretch ceilings and mixtures for plastering surfaces cannot even be compared - the difference is very noticeable, and not in favor of modern structures. Thirdly, plaster is an absolutely environmentally friendly material that absorbs moisture and maintains a normal level of air humidity in the room.
If we talk about plasterboard ceilings, then you need to consider the following points:
- you will need skills or experience in the construction business;
- all work is carried out on the ceiling, so you will definitely need an assistant;
- in no case should you make mistakes in the markup - it will be impossible to fix it.
It may seem that the ceiling plaster has no flaws at all - this is not the case. What are the negative aspects of such a ceiling surface finish you need to consider:
- Working with plaster mixes is necessary for those who have at least a minimal understanding of the process.
- After plastering, the ceiling should be perfectly flat, because any flaw will literally "catch the eye."
- If there is a gap of 2 cm or more between the ceiling slabs, then it is better to give preference not to plaster, but to some other finishing method.
- The work of the involved craftsmen will be expensive. Although, on the other hand, it is a team of professional workers who will do the job quickly and efficiently, and the low cost of materials will remain attractive.
Application of decorative plaster
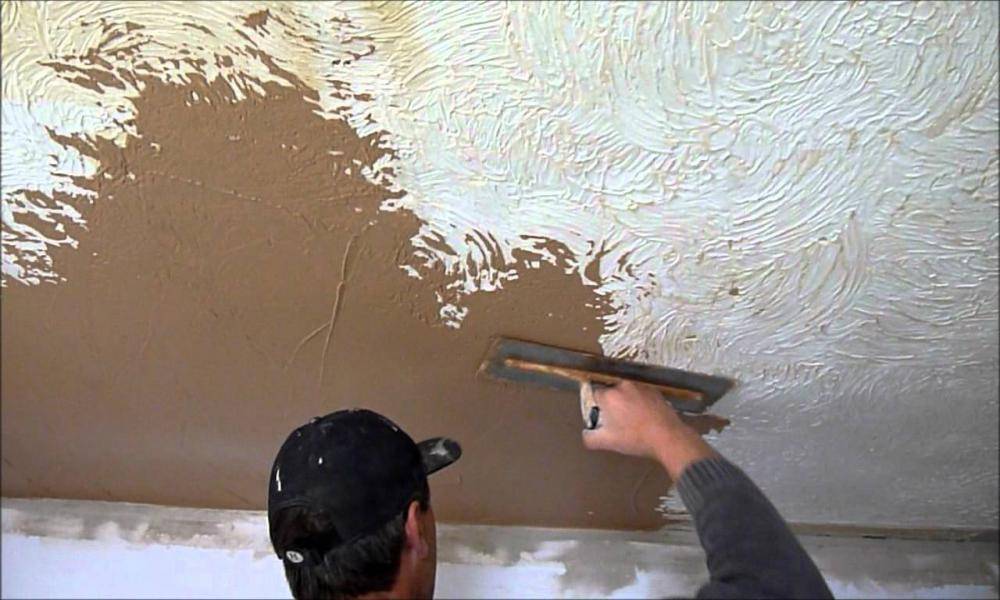
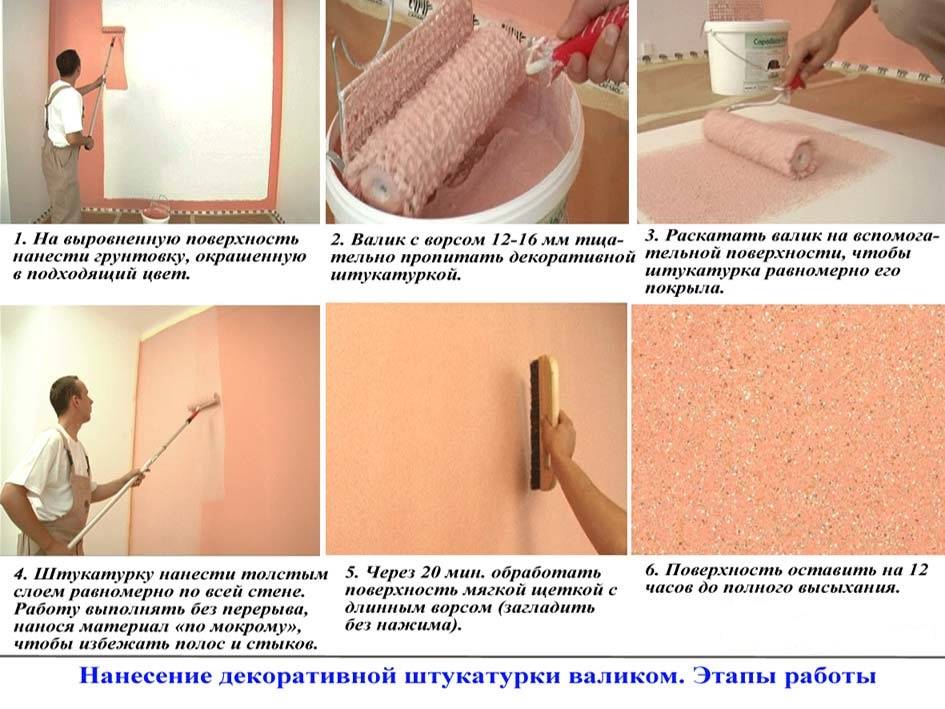
The ceiling can be covered with decorative plaster. It helps to get the original texture. The combination of different techniques looks especially impressive.
Varieties
Today, many interesting options for applying plaster are known, each of which has certain characteristics.
Textured
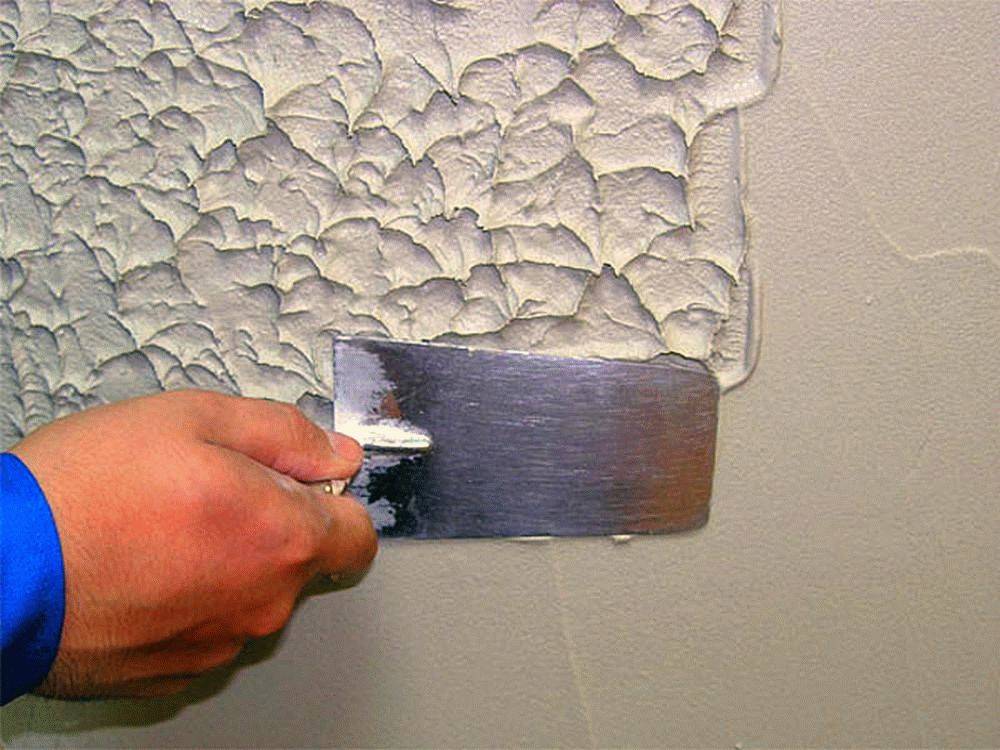
Textured plaster looks very impressive. However, it is not suitable for all premises. Such a surface is not used for the kitchen, since it will be very problematic to remove dust from irregularities. To decorate the textured ceiling, it is recommended to use polymer-based plaster. She is not afraid of moisture and is resistant.

Structural
This term is understood as a granular mass in which small stones or elements of quartz are present. Structural plaster is divided into several categories. Specialists distinguish mineral and silicate varieties. Also, the composition is made on the basis of synthetic latex.
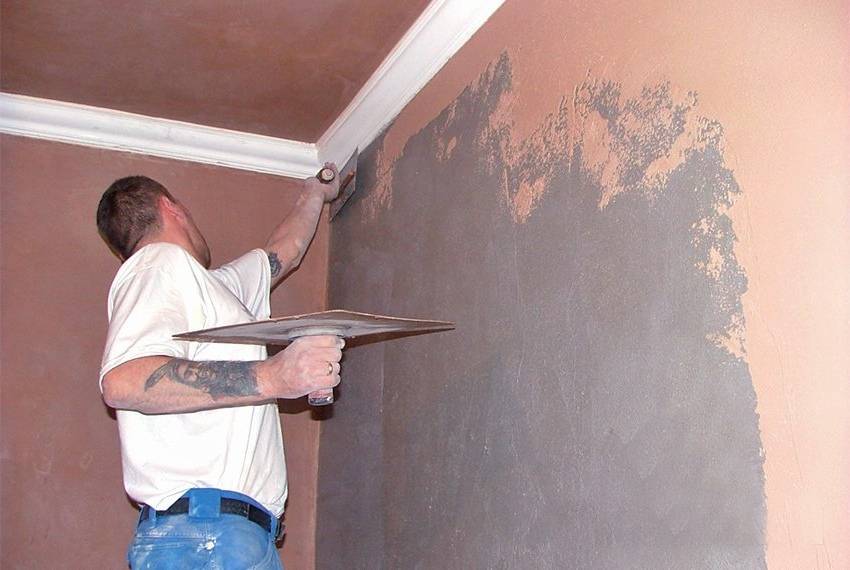
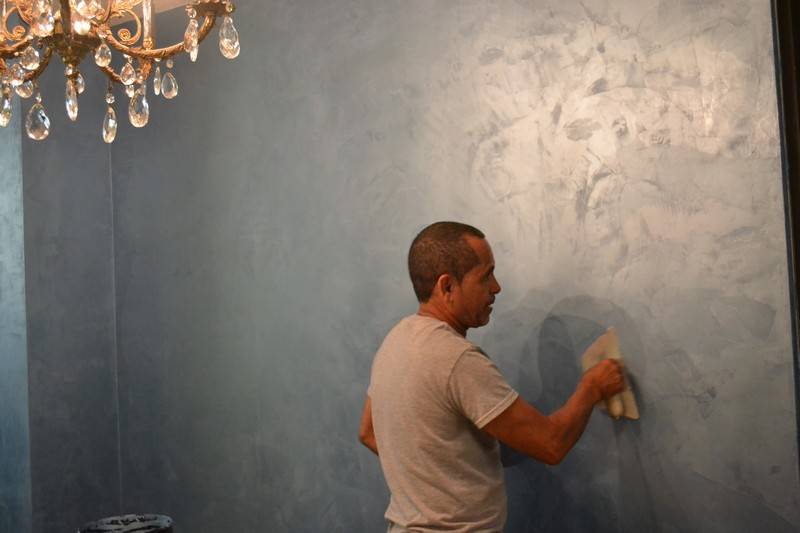
Venetian
This type of plaster is rarely used for ceilings. Usually it is used to decorate the walls. Initially, the composition was made on the basis of wax and marble chips. Today acrylic resin is usually used as a binder.
Flokovaya
The composition of such plaster includes many small elements of acrylic paint. They are poured onto an adhesive base and distributed. The color scheme can be different. Before starting the procedure, the surface should be primed.
How to accomplish
To carry out the procedure, it is worthwhile to carry out a number of sequential actions. This will help get an even coverage.
Base
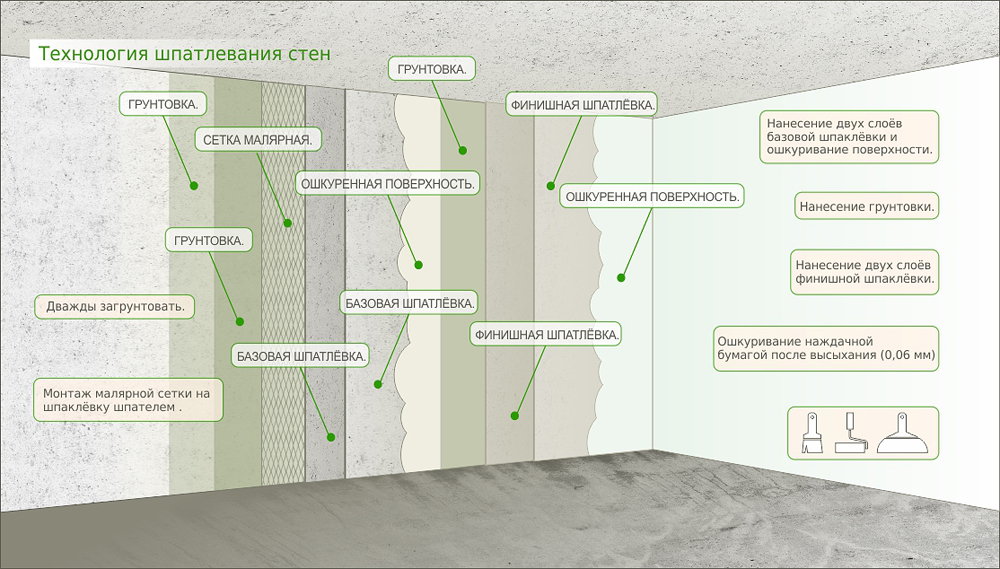
To begin with, the surface of the ceiling is cleaned of old finishes. This is done with a scraper. If the surface was previously covered with putty, it should first be moistened with water. It is recommended to knock down all protruding areas, and repair cracks. The base is treated with a special antiseptic compound, which helps to avoid the formation of mold.
Leveling layer
With strong drops in the ceiling, it must be leveled. To do this, use a starting plaster putty. Before applying the composition, beacons are placed on alabaster. The first plank is installed 20 centimeters from the wall. The distance between the rest of the elements is determined taking into account the length of the rule.
Then it is worth making a mortar using a construction mixer and screed the ceiling. To do this, it is recommended to throw the mixture into the gaps between the planks with a spatula and pull it off with a rule. To speed up the process, it is permissible to use drywall. In this case, it will be sufficient to apply a primer.

Finishing
Depending on the type of decorative plaster, staining or waxing is used for the final decoration. It is worth painting the ceiling if there are no colored components in the material. The paint should be applied in 2 layers
In this case, it is important to wait for the first to dry. Waxing is performed one week after the completion of the plastering work.
The wax will give the finish a shine and protection. For textured surfaces, it is better to use varnish.
Thus, decorative ceiling plaster fits in about the same way as on the walls. The key difference is faster application speed and compliance with safety regulations when working at heights.
How to properly plaster on lighthouses
First of all, it is worth noting that leveling the ceiling with plaster mortar is not an easy task that requires some skill and experience from the master. A person who has not previously held a trowel in his hands and as a rule will most likely suffer a lot before he can get a more or less acceptable result. It is often wiser to hire professionals rather than trying to save money.
Ceiling plastering technology will be disassembled using the example of gypsum plaster on beacons up to 20 mm thick. At the end of the list, nuances for other cases are indicated.
Tools Required: Generally a trowel, a trowel, a trowel, a roller, a large bucket, a ladder, a construction mixer or drill with an appropriate attachment, a laser level or level.
General technology for applying gypsum plaster to the ceiling on beacons:
- The old finish is removed from the ceiling with a spatula to the very concrete floor slabs and rustic (joints).
- The surface is carefully primed.
- With the help of a laser level fixed to the ceiling, the lines for the installation of beacons are marked.
- The solution is stirred in a bucket with a mixer. The ratio of dry mix and water is taken according to the instructions on the package. The consistency of the ready-to-use solution should be similar to thick sour cream.
- Gypsum plaster bloopers are thrown along the beam.
- The lighthouse is installed in a given plane and leveled.
- A plaster mortar is applied to the ceiling between the two beacon profiles.
- Using a rule or a scraper, the solution is pulled together and leveled.
- After about an hour, the excess plaster is trimmed with a spatula.
- Then the process is repeated until the entire area of the ceiling is processed.
- When the solution sets, it is moistened with a sponge and smoothed with a metal spatula (grout).
- Beacons are taken out. The channels remaining from them are covered with the same plaster.
- The ceiling surface is ready for finishing. It can be decorative plaster, wallpapering or painting.
The given plastering technology is most often used when decorating living rooms, where the ceiling does not have significant differences in height. Under the best initial conditions, when the difference between the most convex and concave point in height is within 3-4 mm, the surface is leveled with a putty.
The application of gypsum and cement plaster with a thickness of more than 20 mm requires the installation of a reinforcing mesh on the ceiling after the first layer has set. Material - fiberglass or metal.The second type is chosen if the thickness of the finish is more than 30 mm and when working with cement mortar (it is heavy and gives significant shrinkage).

Wooden walls and ceiling for plastering are strengthened not with mesh, but with shingles.
If the unevenness of the ceiling is more than 50 mm, plaster should be preferred to gypsum board or stretch ceiling.
How exactly to plaster the ceiling

The starting plaster layer is applied when the lighthouses are dry
When the beacons are dry (if you installed them), you can start applying the starter coat. If there were gaps at the joints, they must be repaired in advance - tile glue is ideal for such work.
The solution should be mixed exactly in those proportions that appear on the package - it is made by the manufacturer, so it is worthwhile to fulfill all the conditions exactly.

Plastered ceiling and original lighting
These five minutes are required so that all the lumps that did not have time to dissolve during mixing are saturated with moisture. After that, the solution must be mixed again - then they are guaranteed to dissolve.
At a time, you should mix exactly as much plaster as you can use for half an hour. If you beat the solution after it has grabbed, nothing good will come of it, the molecular structure will be destroyed - because of this, the putty will harden for a long time, and then there is a high probability that it will simply crumble.
In this situation, the vortex flow will swirl not clockwise, but counterclockwise - that is, it will be directed not from the bucket, but directly into it.
If you doubt that plastering the ceiling with your own hands will be within your power, just relax and watch a video about this work. In fact, if you want, you can easily do whatever is required. Ceiling plaster - video:
Since we will plaster the ceiling along the lighthouses, this should be done in stages, that is, along the spans (from one profile to another).
- First, the mixture is applied with a spatula;
- After all the surplus is cut off using the rule;
- If shells have formed somewhere, they are closed up additionally and the rule is applied again;
- This is done exactly until a completely flat plane is obtained.
The initial layer must dry
To determine if it is dry, you should pay attention to the dark spots - as soon as they disappear, it means that you have completely dry plaster in front of you. Next, a layer with a primer is applied and again waiting - from two to four hours, so that it also dries
Then you can knead the finishing putty (this is done in the same way as when preparing the starting one).

Ceiling plaster is almost ready
The ceiling is sanded only when it is completely dry. For such work, various means are used, including: diamond mesh, sandpaper, etc.
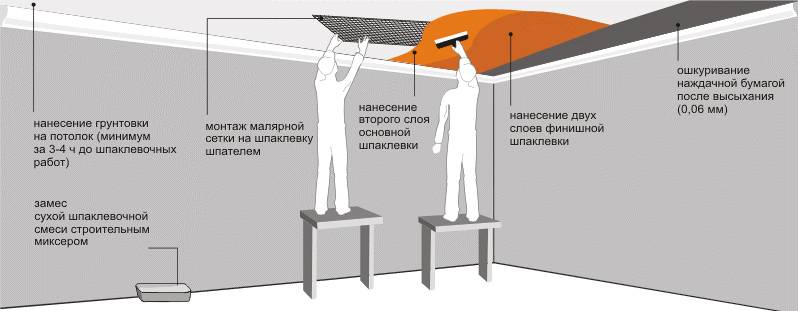
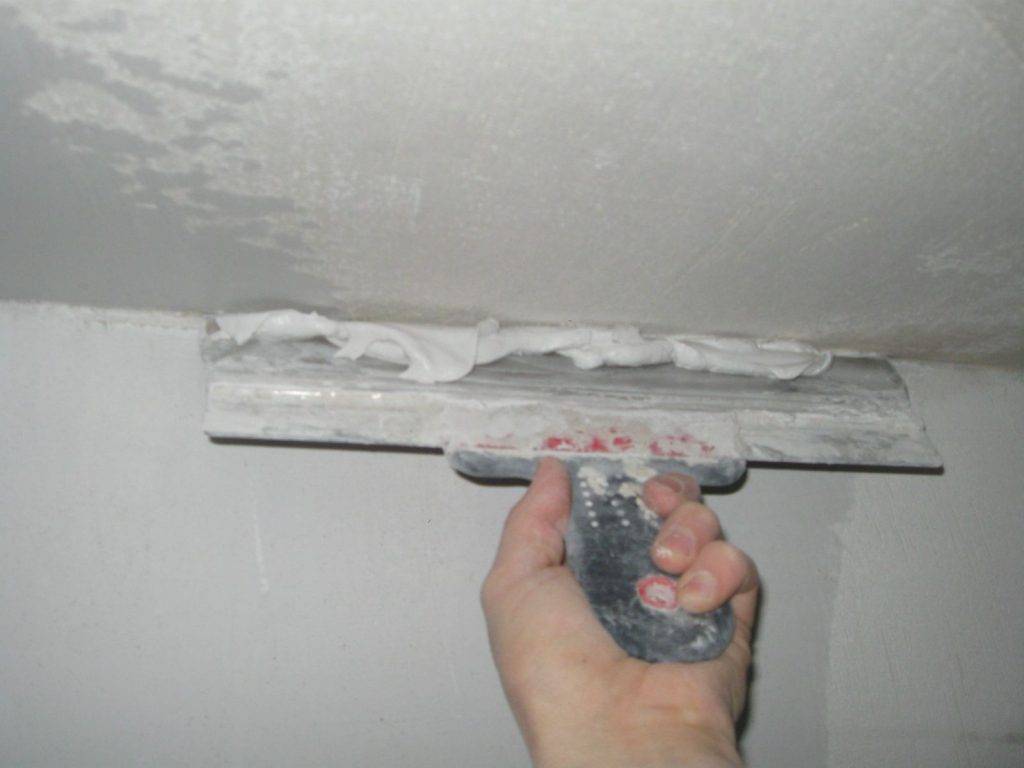
As a conclusion, one more important advice should be noted, which concerns the thickness of the finish layer. If the starting layer of the ceiling plaster came out even and smooth, then it is better to make the finishing layer as thin as possible. Carefully adjust the thickness of the trowel to obtain ideal results. The rule applies here: the less the trowel is tilted, the thinner the layer that is applied with it will be.
Plastering
For further work, stable construction goats are needed, and from tools - a spatula and a platform with a handle (falcon). The selected plaster composition is diluted in accordance with the instructions. It is necessary that the solution is homogeneous, without lumps.
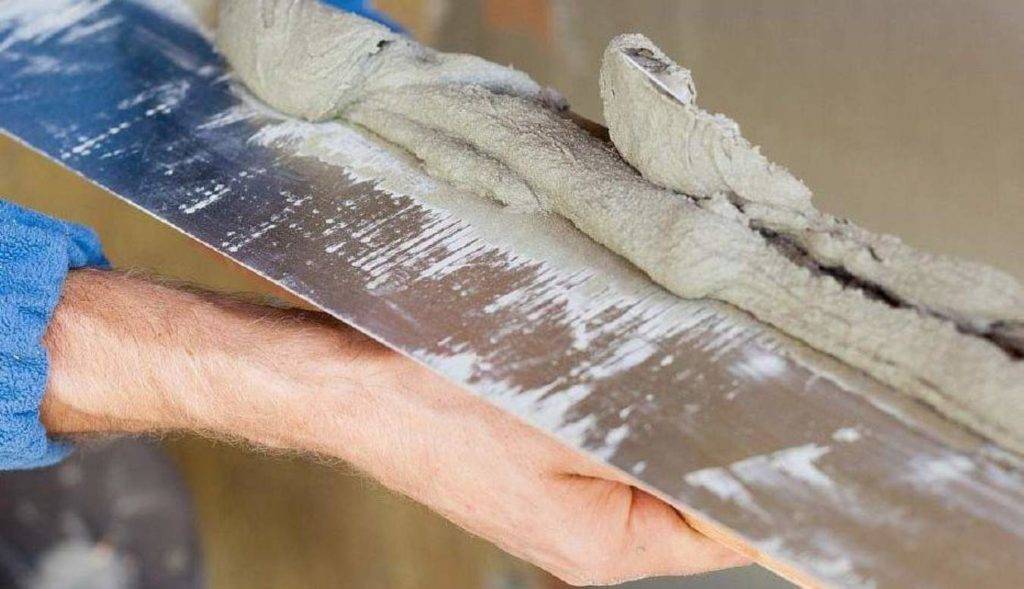
The putty is laid out on the falcon and in small portions with a spatula is laid on the ceiling. The solution is filled with the distance between the beacons. First, the width of the strip is made from 50 to 60 centimeters, and there is no need to achieve a uniform surface.
Then they take the rule, lean it on the beacons and move it to themselves, swinging from one side to the other. As a result, a little solution remains on it.It is removed with a spatula and applied to the ceiling - to its unfilled part or where there are pits. Then the rule is moved again.
These actions are repeated until the surface area becomes even. Then they fill in the second strip and so on. The ceiling is allowed to dry for 5 to 8 hours. When the solution has set, but has not yet completely dried, you need to remove the beacons, otherwise they will rust and rusty stains may appear on the surface.
The bushes after the planks are filled with mortar and leveled with a wide spatula to the same level with the ceiling plane. It takes about 5 - 7 days for the plaster to completely dry.
How to close up joints of slabs and rustication
When plastering a concrete ceiling made of reinforced concrete slabs, the main problem is the sealing of joints and rusts - recesses at the joints. They are sealed a few days before the general plastering of the ceiling begins - it is necessary that all materials "grab".
First, everything that turns out is removed from the joints. Then, with a brush, everything is cleaned of dust and sand. Prepared joints are coated with a primer. Most often they recommend "Betonokontakt". Such processing significantly reduces the possibility of delamination of the applied plaster layer. If for some reason this option is not suitable, you can use any deep penetration impregnation, but the effect will not be the same.
Such seams on the ceiling are not uncommon.
After the impregnation has dried (24 hours from the moment of application), the solution is applied. If a layer of more than 30-35 mm is required, it is better to apply it in two layers. Having laid the first one, a relief is formed on it with a notched trowel. A day later, when the solution dries up, a second layer is applied. They are already leveling it with the ceiling.
With a large layer of plaster, the joints of the slabs are sometimes reinforced with a layer of paint stack. It is needed so that with seasonal slab movements, cracks do not appear at the seam. It is unlikely that someone will nail the mesh to the ceiling, it is usually simply attached to the composition. In this case, after applying the first layer of plaster, a strip of polymer plaster mesh is laid, a notched trowel is passed over it, deepening it into the solution and, at the same time, forming a relief for applying the second layer.
When plaster is applied in two layers, a relief is formed on the first
Sometimes the rust (crack in the seam) is very deep and there is no way to seal it with mortar. It is also preliminarily cleaned of crumbling parts and sand, treated with "Betonokontakt". After that there are two options:
- Seal with polyurethane foam. We put it a little, about 1/3 of the volume of the gap, having previously moistened the walls with plenty of water (needed for normal foam polymerization). We leave it for a day, after which we cut off the foam so that the plaster fits into the seam at least 1 cm.After that, we prime and apply the plaster in two (or three) layers.
It is inconvenient to hold a can of foam against the ceiling, you can put a piece of hose on the "spout" - Take a rag, moisten it with Concrete Contact, hammer into the gap. Leave on the ducks, then plaster.
The question may still arise, how to seal the joints of the slabs on the ceiling. Usually one of the formulations with polymer additives is used, and you can also use a good tile adhesive. It also contains a considerable amount of polymers. They say that after such a seal, the joints do not crack.
This is what a seam on the ceiling looks like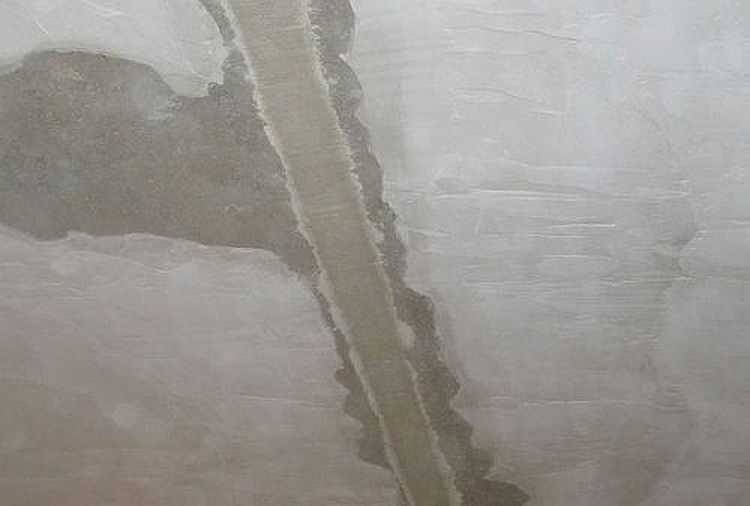
Cases when it is necessary to perform plastering work on the ceiling
Note that the process technology is labor-intensive and complex. First of all, because all work is carried out at a height. Undertake the alignment of ceilings for painting should be in the presence of plane defects, level differences up to 5 cm. The option is used on planes of any material, including wood, metal.
The plane should be leveled using plaster and putty. The difference between the compositions is component: plaster is a granular mixture designed to fill potholes, cracks. But putty is a fine-grained substance that tightens minor defects.
The second difference in the use of compositions is the thickness of the applied layer. Plaster can be laid on a previously prepared surface with a layer up to 5 cm thick (better 2 times), and putty - up to 2 mm. With all its advantages, ceiling plaster for painting is an intermediate stage of technology, which begins with surface preparation and ends with priming after puttying.

