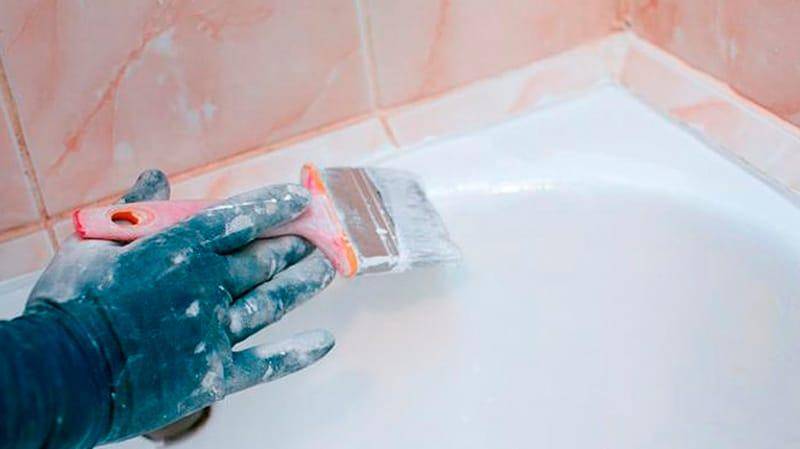
Changing the design of the tile
There are many ways to change the design when restoring tiles in a bathroom.
Decor elements
It is possible to hide defects on the lined surface using small details. From them you can create a volumetric composition. For this purpose, you can use beads, rhinestones, buttons, glasses, etc. Elements can be of different sizes, colors and differ in texture. By using your imagination and sense of style, you can create a unique decoration.
Drawing on tiles
Another creative method for decorating tiles can be drawing or patterning. When deciding to use this method, consider the following guidelines:
- As always, the first priority is to thoroughly clean the surface.
- Sand the tile with sandpaper or other abrasives. By scratching the top layer of the tile, you will achieve excellent adhesion of the paint to the tile.
- Apply a coat of primer in areas to be painted.
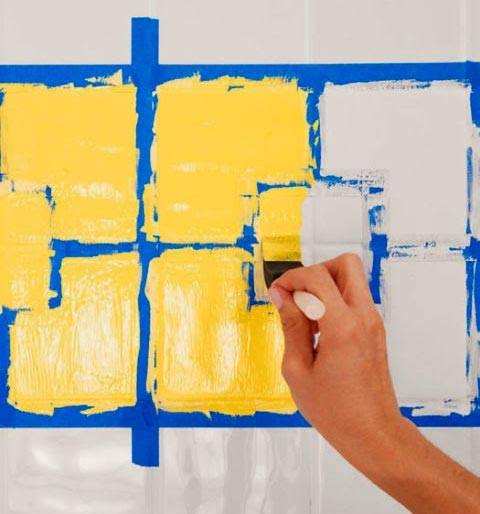
- Cover the adjacent tiles with masking tape so as not to stain them with paint.
How to make a geometric pattern using masking tape?
Draw a drawing on the tile with a pencil, glue the tape along the contour. Treat the surface of the future drawing with a primer. After it is completely dry, you can start drawing.
The final stage will not come earlier than a day, only when the paint is completely dry, you just have to remove the tape from the tile.
Your masterpiece is ready!
Decorative plastic panels
Refreshing old bathroom tiles with a lot of damage is best done with plastic panels. They are installed directly on top of the tiles.
Decorative panels have a number of advantages:
- High moisture resistance of the material.
- The panels are resistant to temperature extremes in the range from -10 to +60.
- Convenient and easy installation.
- Easy cleaning and maintenance.
- Heat and sound insulation.
Having prepared everything you need, you can start the work itself:
- Treat the lining with a primer antiseptic.
- Apply the markings for the installation of the profiles to which the decorative panels will be attached.
Mural
Mural is a large size photo wallpaper on plastic panels. Since the image is obtained on the entire wall, such a bathtub looks very bright and stylish. You can choose any drawing you like.
The quality characteristics are the same as for the panels. Accordingly, the mural is installed in a similar way.
Design methods can easily help renovate old bathroom tiles, while creating a special style and adding exclusiveness.
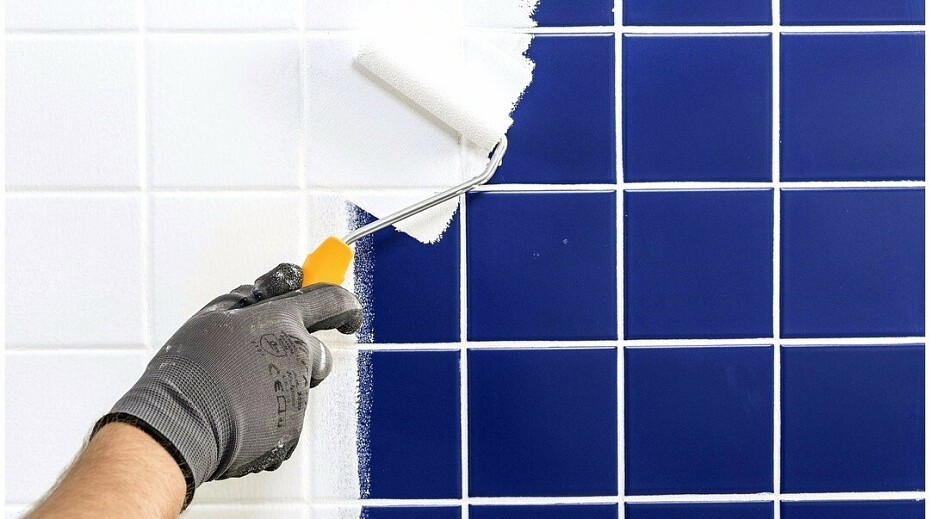
Solid painting of tiles
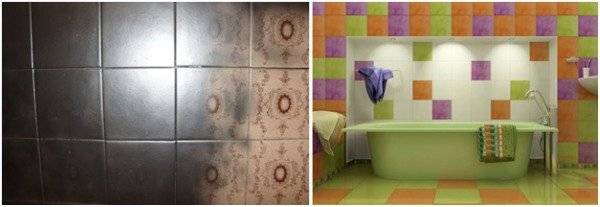
Old tiles can be renovated using the solid stain method. Restoration of tiles in this way will refresh the appearance of the room and will not require large financial costs. The walls can be painted in whole or in part, for example, in a checkerboard pattern.
Basic rules for solid painting of tiles
Before painting the tiles, it is recommended to wash the walls well. If you skip this stage, then after a few months it will be possible to notice how cracks begin to appear on the surface of the tile, i.e. the appearance will deteriorate.
The walls are cleaned of dust and washed well, and then rinsed. There should be no cleaning agent left on the surface. For better adhesion of the paint to the base, it is recommended to sand the glossy surface of the tile. When the surface is prepared, it is additionally treated with a primer.
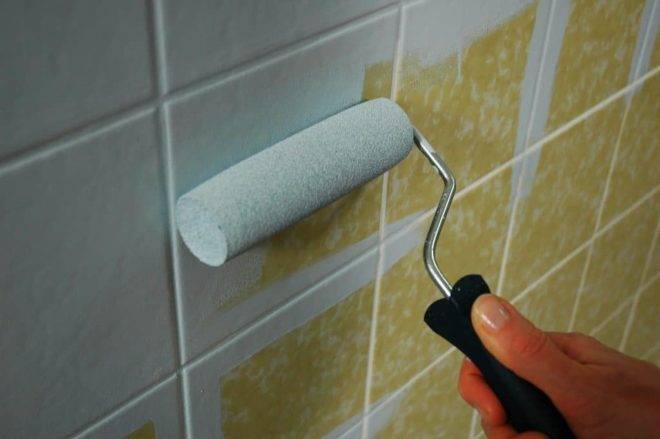
Required tools
To carry out renovation work on ceramic tiles, you may need:
- protective clothing, dust mask and goggles;
- roller or brush;
- sandpaper;
- masking tape;
- degreaser;
- primer;
- glass paint;
- solvent.
Method number 2. Bath restoration with bulk acrylic
- Mix the solution by combining the two components. The resulting substance must be homogeneous.
- Fill a small glass and start pouring the glass over the top of the bead. As soon as the drip reaches half the depth of the bathroom, slowly move the container around the perimeter, constantly adding the mixture.
- Repeat everything described in the previous paragraph, only now pour acrylic from the middle of the depth of the bath. It is not worth saving. All excess will be collected at the drain and poured into a prepared bowl.
| Setting and drying time | Indoor air temperature |
| 36 hours | 25 degrees centigrade |
| 42 hours | 20 degrees centigrade |
| 48 hours | 17 degrees Celsius |
The first point concerns the density and temperature of the material. For a normal polymerization process, a temperature of 22-26 ° C is required. In order for liquid acrylic to spread normally, it must stand for at least a day in a warm room. During this time, the composition will pick up the required temperature. There is another option - put it in a bucket or basin with warm water (not hot, but warm).
The second point is the absence of any drafts. Good craftsmen work indoors. They even sand the enamel with a grinder or treat it with acid. They do it in respirators, which is what we advise you. But they need to hurry, because for them time is money, and the owner has nowhere to rush. If you are doing the restoration of the bathroom cover for yourself, you can do all dusty or "odorous" work with the doors open and the ventilation turned on, then close the doors and wait until the temperature reaches the desired limit of 22 ° C or slightly higher.
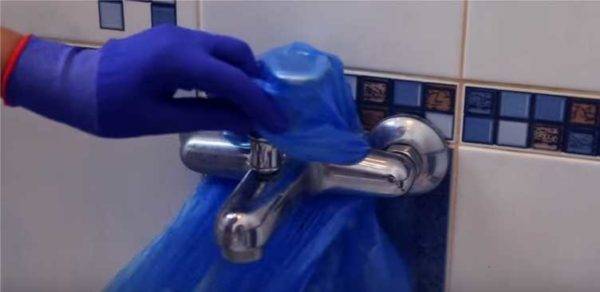
We wrap the taps with foil or bags
during operation and polymerization (from two to five days), the doors must be kept closed. This way you maintain the required temperature, and also reduce the possibility of dust, debris and insects getting on the surface. It is very annoying when a midge or a fly lands on a beautiful white surface. It is almost impossible to remove it without traces. After complete hardening, you will have to skin and re-fill, but a trace usually remains - there is not enough qualification.
When the temperature in the bathroom has risen to 22 ° C, a film or paper is placed under the outer side of the bathroom, a clean container is placed under the drain hole, into which excess material will be drained. If the bathroom is tiled along the edge so as not to get dirty, it is pasted over with masking tape, making sure that the edge is even.
For further work, you will need a regular or rubber spatula about 10 cm wide, a plastic container with a volume of 500-600 ml (a beer glass is suitable). The jar with acrylic heated to the desired temperature is opened, the remains of acrylic are carefully removed from the lid with a spatula, and sent to the jar. Then the material is also cleaned off the walls. All walls must be clean so that no acrylic remains on them that is not mixed with hardener.
The hardener, which comes complete with acrylic, is poured into the jar, mixed for 15 minutes. You can interfere with a planed wooden stick or a drill attachment at low speeds. It is safer with a stick - guaranteed not to damage the jar or splatter the material. If you decide to use a drill, the nozzle should not have a burr or sharp protrusions, the speed should be the lowest. Work the bottom and edges well while stirring.
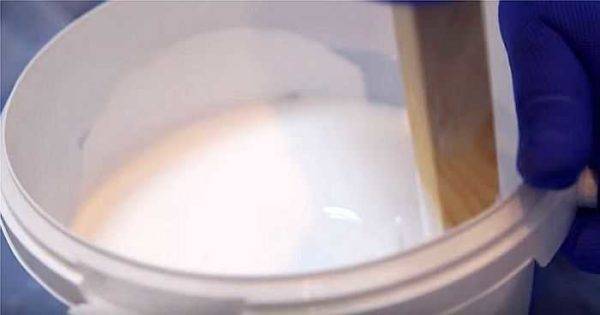
Stir liquid acrylic with a stick.
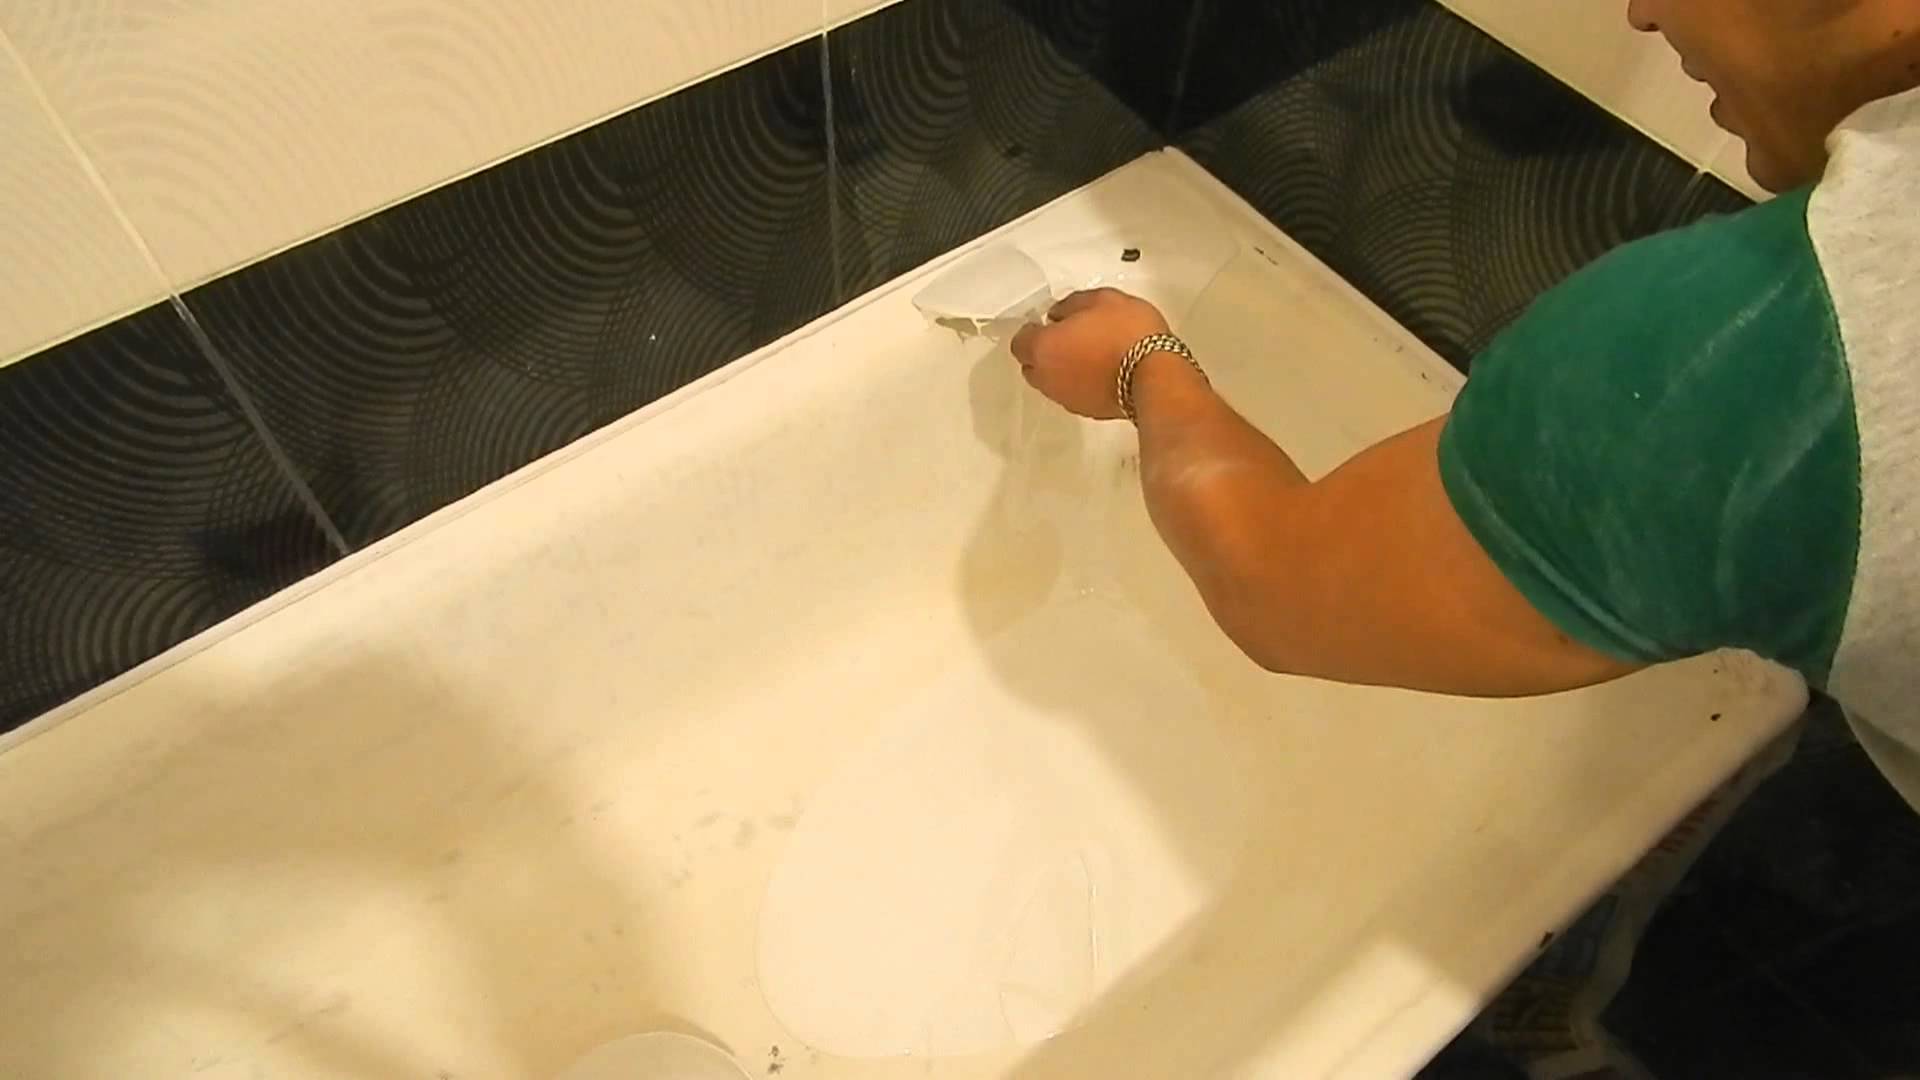
We put the jar in the bath, take the container, pour the composition into it from the jar. From the glass, we begin to pour onto the side from the far edge of the bathroom, going around it on three sides. The composition slowly flows down, enveloping the surface, and is distributed in an even layer.

Pour on the side along the wall
It is impossible to pour on the side exactly under the wall, and the edge looks ugly. We take a spatula, carefully distribute the composition, covering the entire surface. He will align himself.
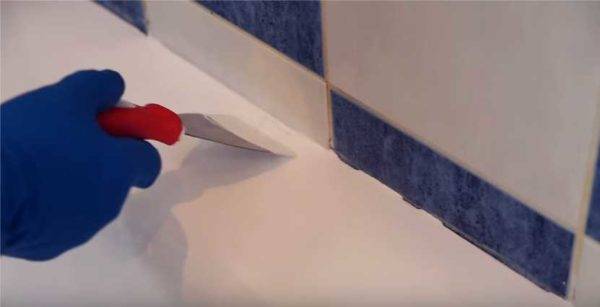
We fix it against the wall with a spatula

Pour the second portion a little higher than the place where the old bath cover is visible.
We fill in the last side with the last one.It starts to drip from it, so work carefully. The process is the same. First at the top, then a couple of times a little lower.
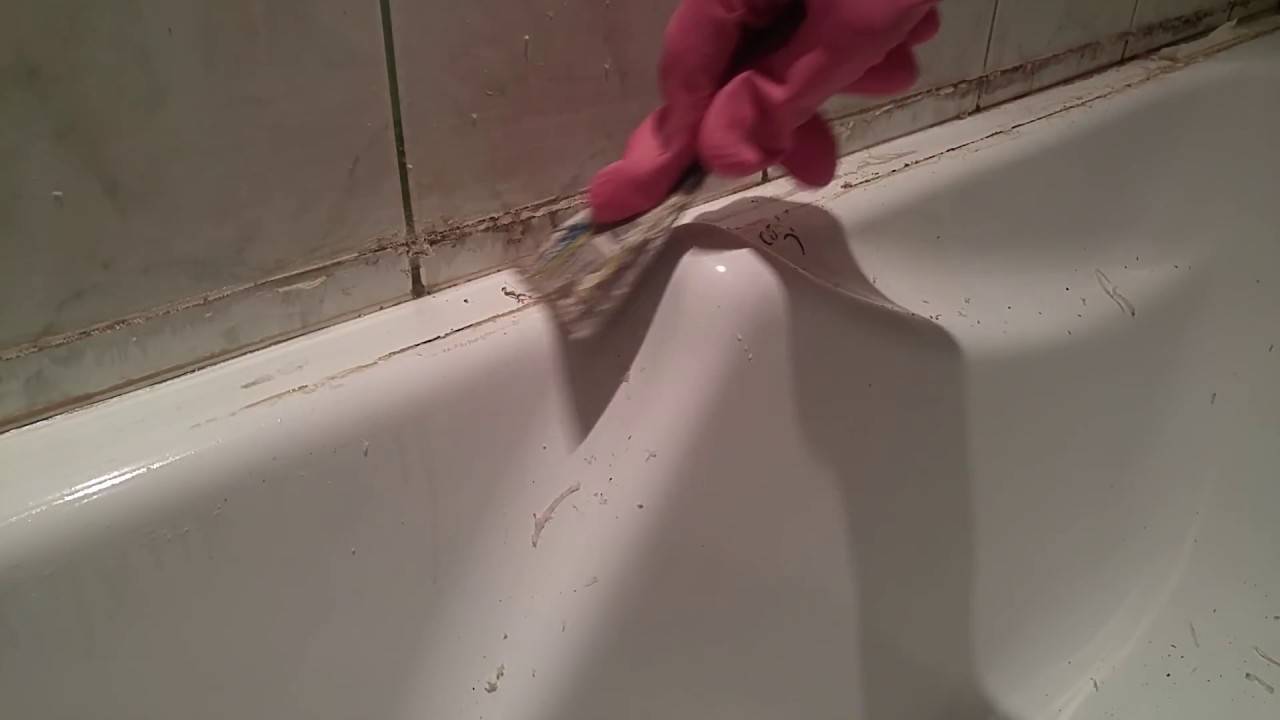
Final touches. We draw a zigzag movement along the bottom of the bathroom with the angle of the spatula. This will help to evenly distribute the composition, to avoid sagging. In conclusion, remove the drops that have hung there with a spatula from the outer edge of the rim (just run the spatula blade along the rim).

We remove drops from the side
The bath is left for 48 hours. After that, you can remove the scotch tape, film, paper that has been spread around. Everything, the restoration of the bath with your own hands is completed, but it will be possible to use it in another three days.
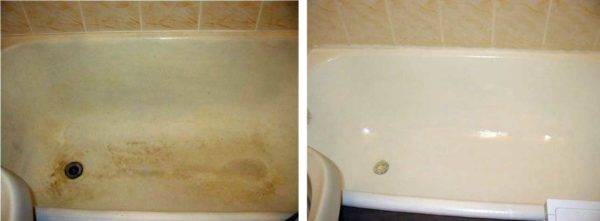
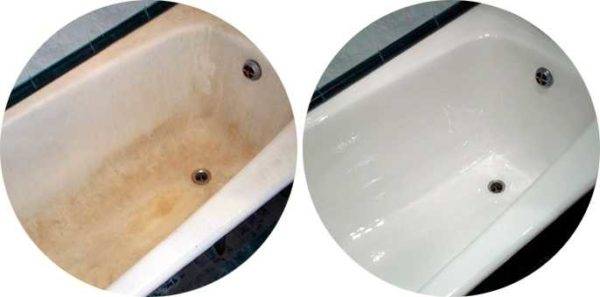
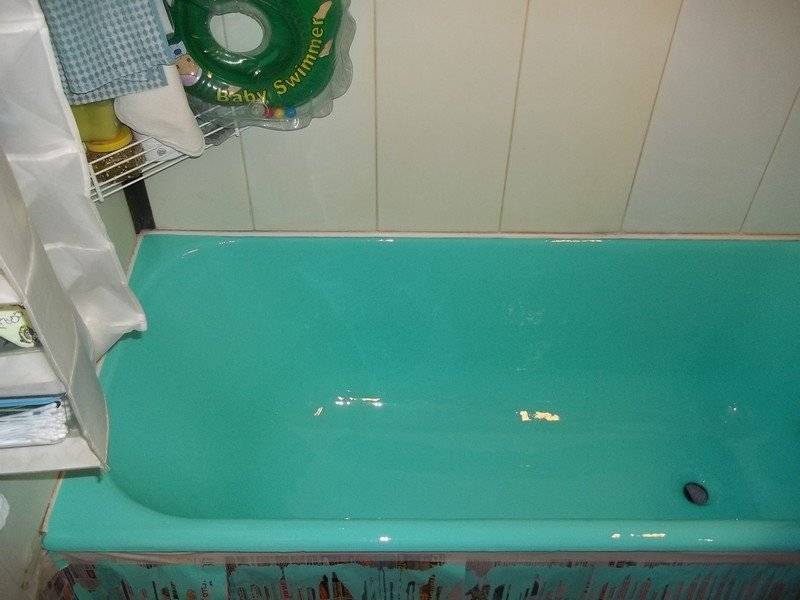
This is a bath "before" and "after" restoration with bulk acrylic
Vinyl Tile Stickers
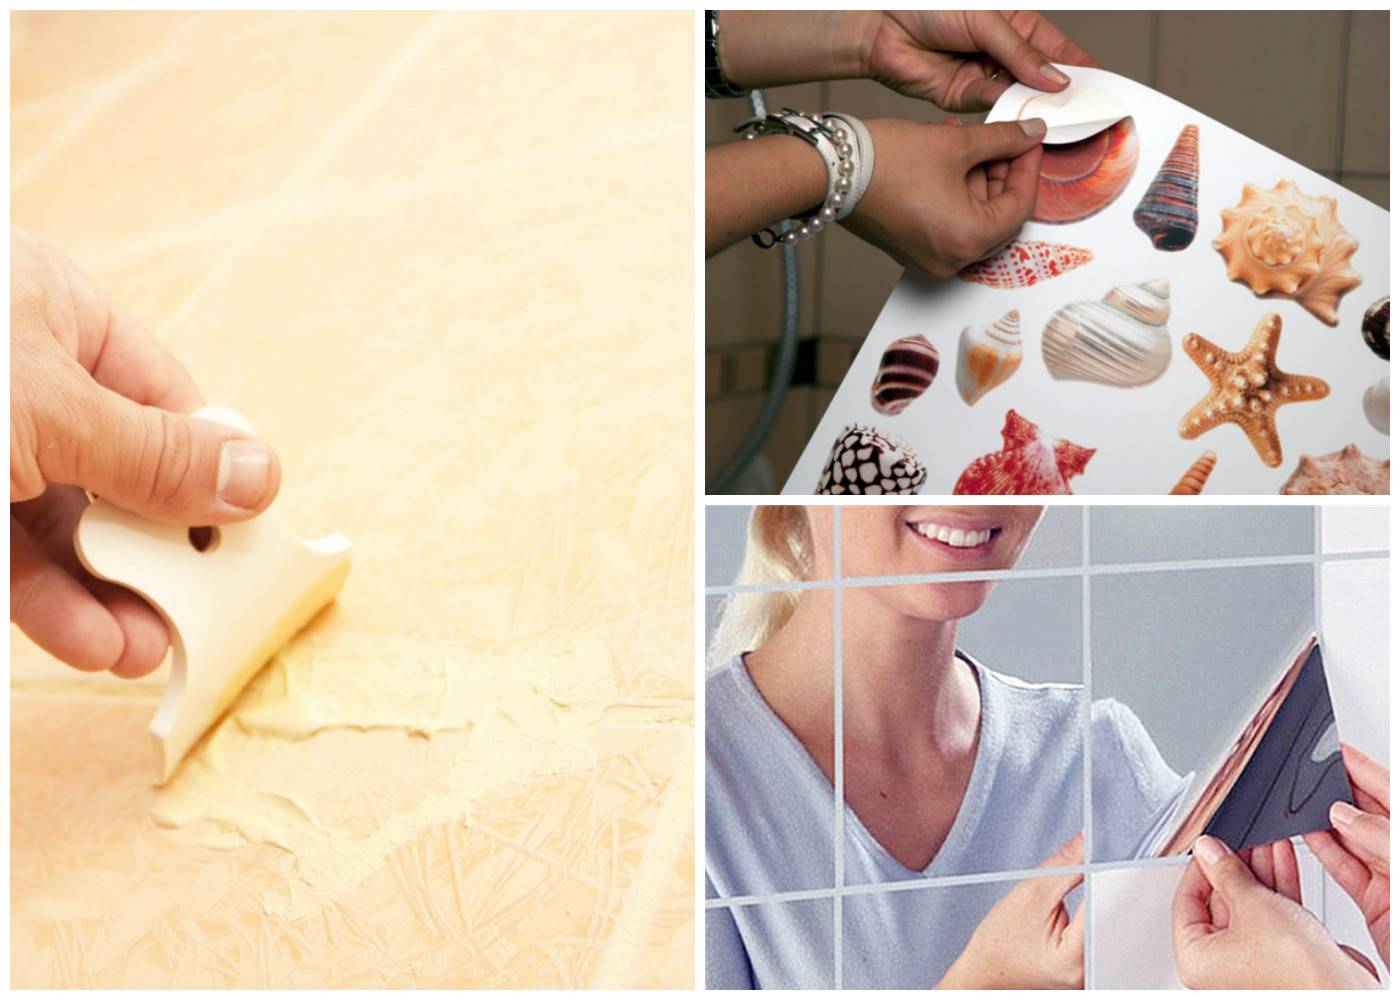
Easily and quickly, familiar tiles can be turned into a stylish design element using vinyl stickers. They are very different in color, shape, theme (marine, children's, eco-motives, etc.). Therefore, finding suitable ones is not difficult.
IMPORTANT: A vinyl decal is a great and budget option to hide a chipped or cracked bathroom tile.

Stickers are made of moisture-resistant self-adhesive vinyl. Important qualities: it does not darken over time, does not fade and does not lose its original appearance for more than five years. Such a film is resistant to temperature extremes.
It does not require special care. Moreover, in most cases, they can be peeled off and re-glued, which is also a definite plus.
ATTENTION: the surface for applying the decal must be dry, clean and even. Glue a piece of tape to the surface of the sticker application in an inconspicuous place, smooth with your finger, then peel off
If you see pieces of paint or rust on the tape, the surface is not suitable for gluing.
When preparing to apply the film, first thoroughly clean the tiles with a sponge and warm soapy water to remove all dirt. Special cleaners and alcohol can be used to remove greasy stains. Then wipe dry with a clean cloth. And wait until the surface is completely dry.

If you need to stick on small stickers, for convenience, you can mark the locations with a pencil. Instructions for applying small stickers:
- peel off the paper protection;
- with the adhesive side, lean against the tile and press with your fingers;
- Smooth from the center to the edges using a soft cloth or putty knife. Make sure that the sticker does not move during these actions.
Larger stickers are more difficult to apply. It is recommended to do this with a mounting tape.
Instructions for applying large stickers:
- lay the installation tape on a completely flat surface, for example, on the floor;
- transfer the sticker to the film. In this case, the adhesive side of the film must adhere to the sticker pattern;
- gently smooth out the creases with a soft cloth;
- remove the paper protection from the sticker without touching the mounting film;
-
Apply the sticker to the area of application on the tile, press down with a rag or trowel. Be careful not to spoil the paint in the drawing. REFERENCE: if air bubbles appear under the film, pierce them with a needle and iron with a spatula.
- peel off the mounting tape and press the sticker onto the tile.
Bathroom redesign
The approach to changing the design of the bathroom can be conditionally divided into solid and superficial. In the first case, for example, you can change the layout in the bathroom, connect or disconnect with the bathroom, replace the entire interior. Of course, this option requires a lot of investment.
Most often, they resort to the following options: decorating tiles, applying drawings to it, repairing existing damage, and much more. This approach allows you to modernize an existing design, make it brighter, more positive, etc.
And it requires several times less financial costs. Below we will consider the possible options for this budget approach.
Finishing options
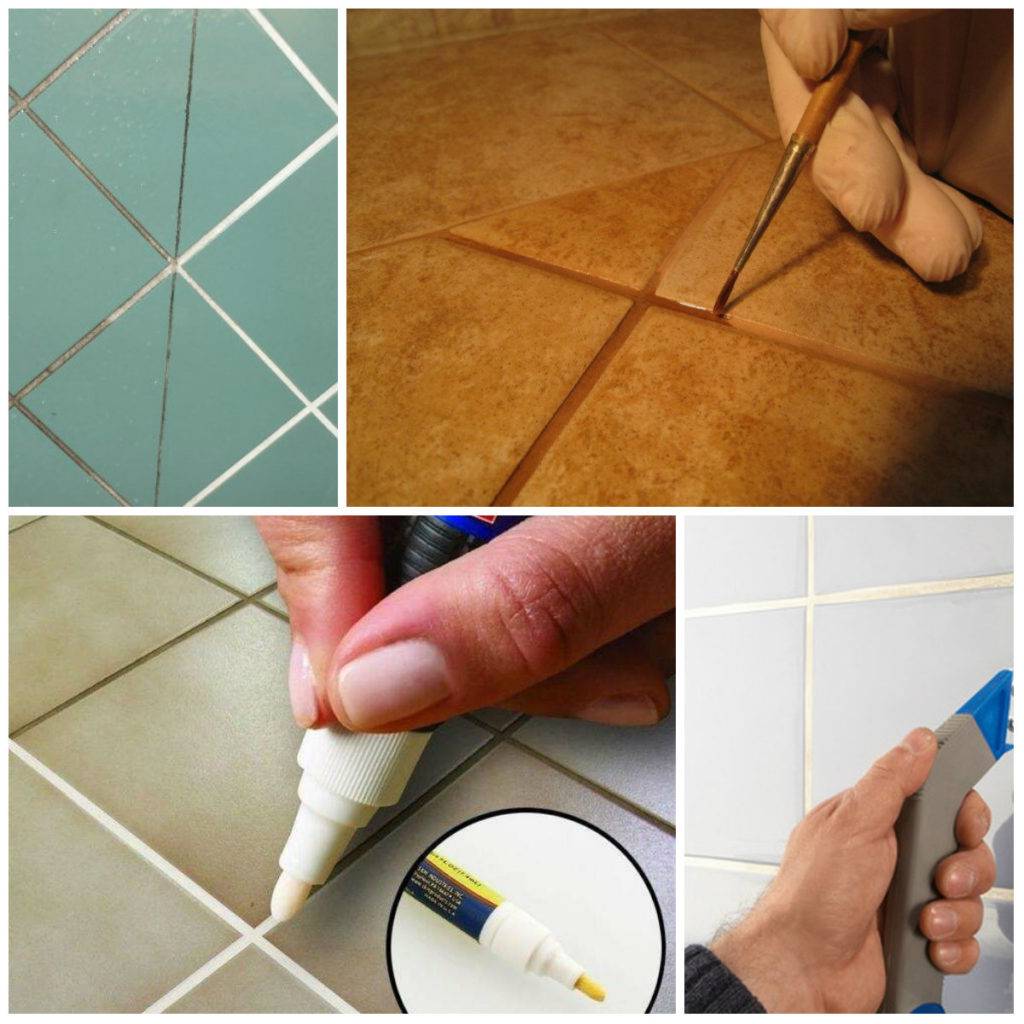
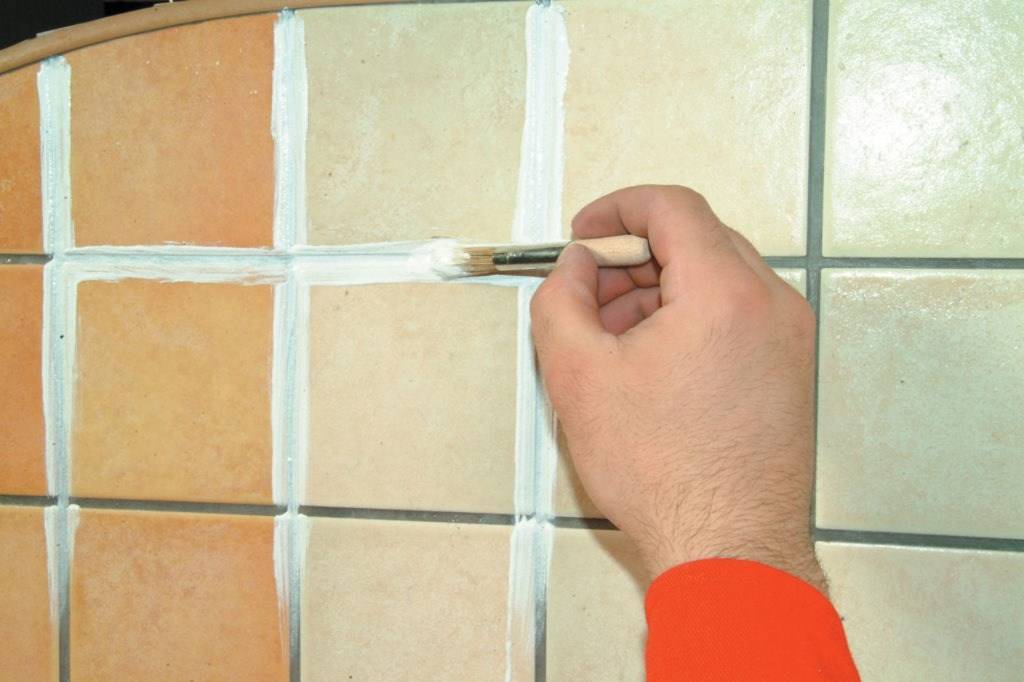
Using new grout

Replacing grout between joints is the easiest and most common way to renew your tile floor. Most often it is used in the bathroom. The new grout gives the surface an updated look, removes dirt, mildew and mold from the joints. But most importantly, it changes the design and mood of the room.
The grout can be renewed by:
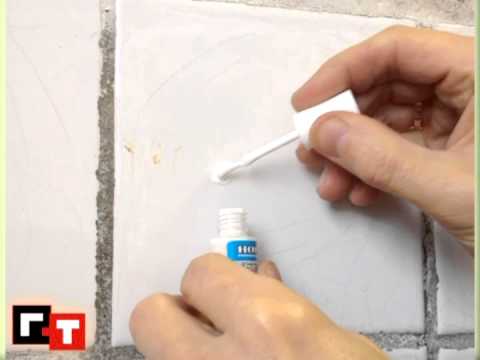
- local elimination of defects,
- complete replacement of the composition,
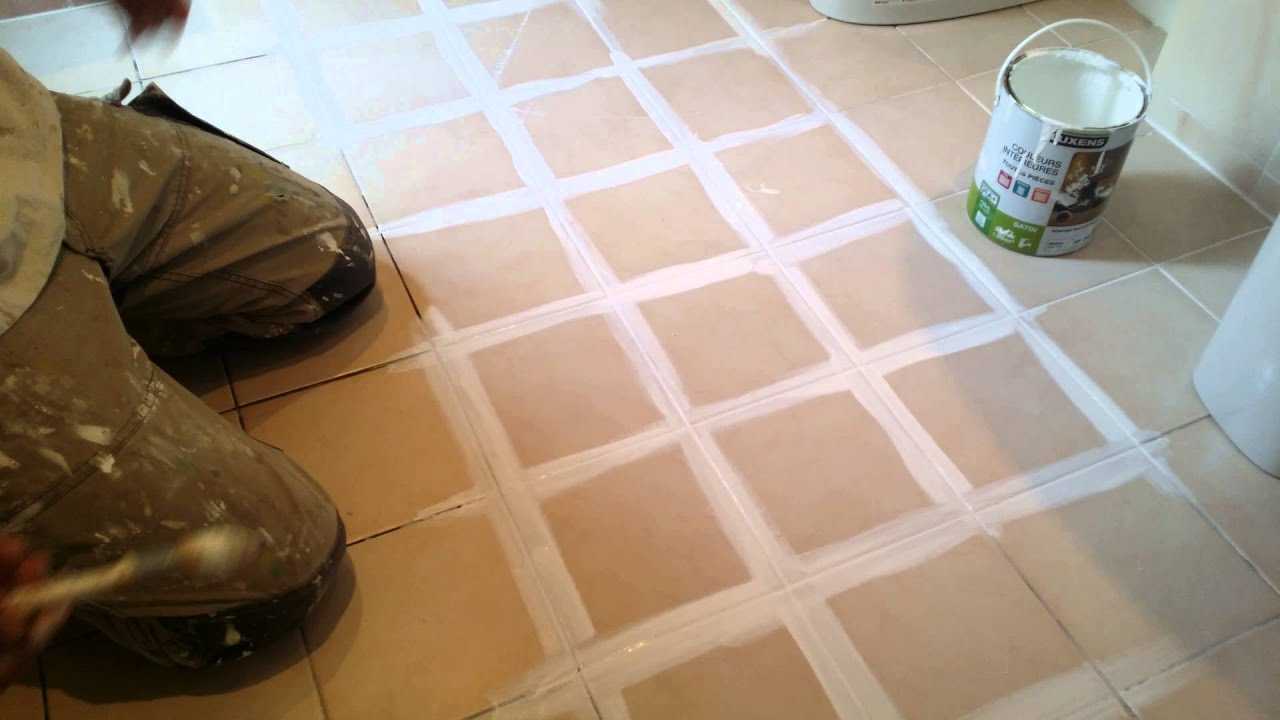
- changes in the color of the seams,
- removing patterns with colored mastic.
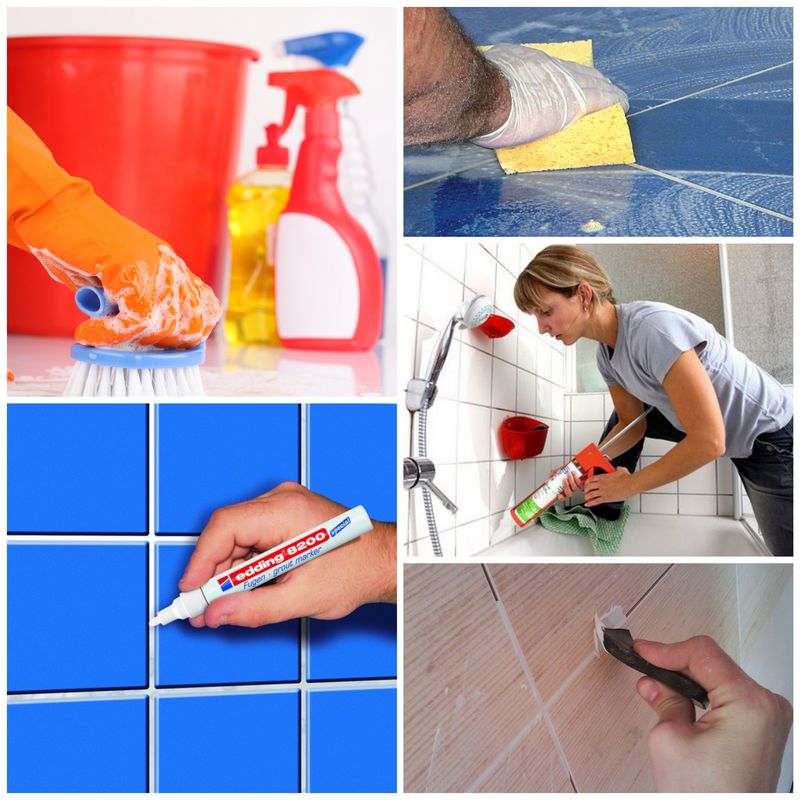
To update the state of the tile in the kitchen or bathroom in this way, you need to follow these steps:
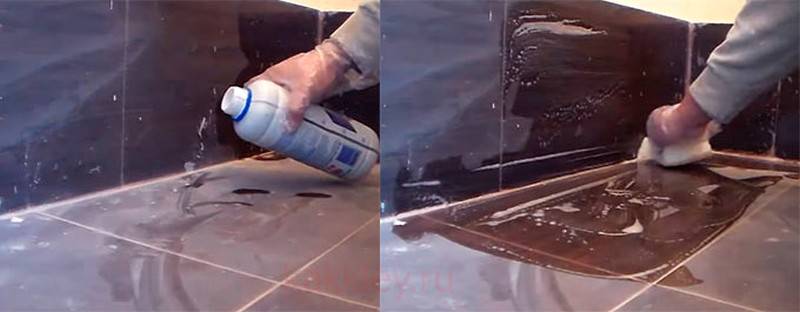
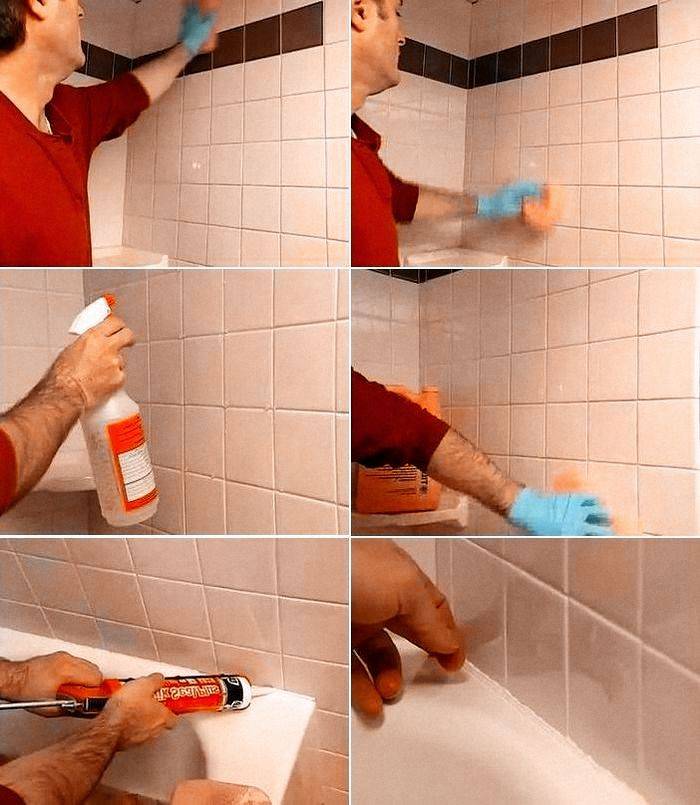
- moisten the tile joints with water so that the grout is slightly soaked;
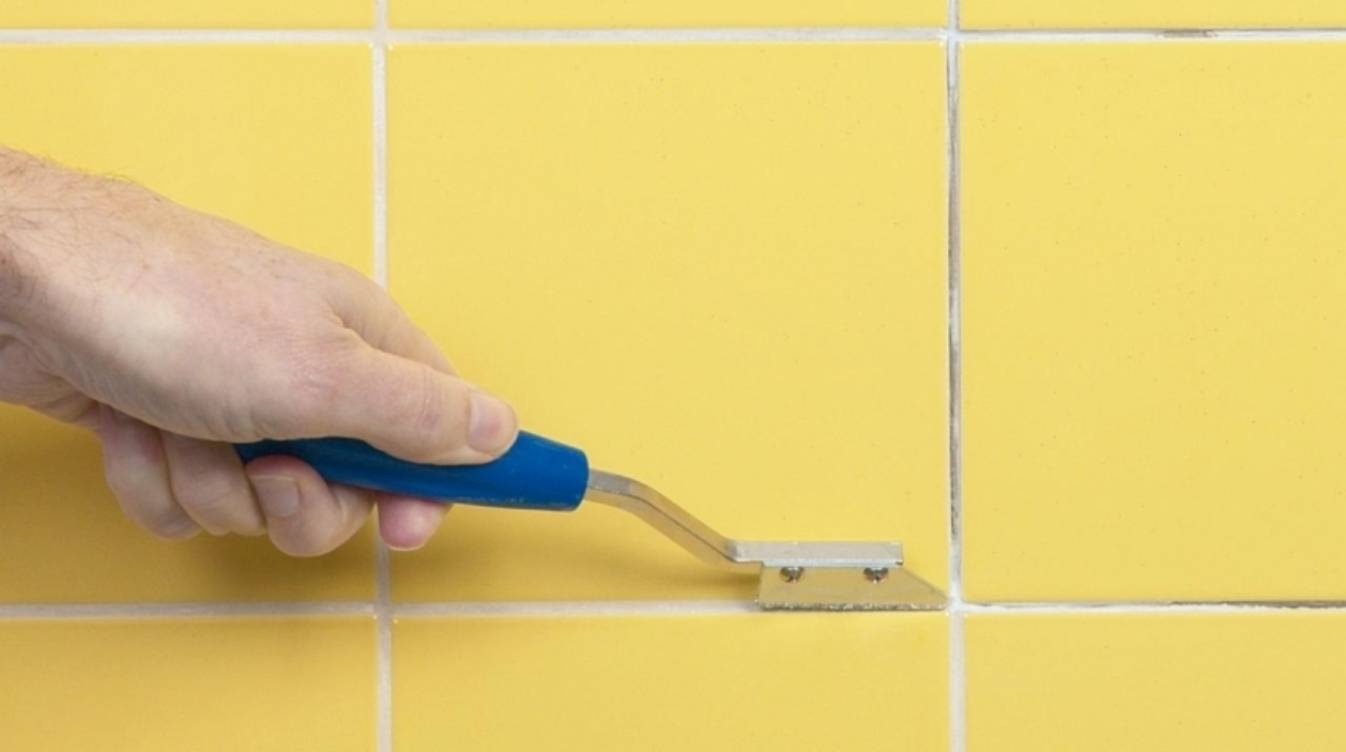
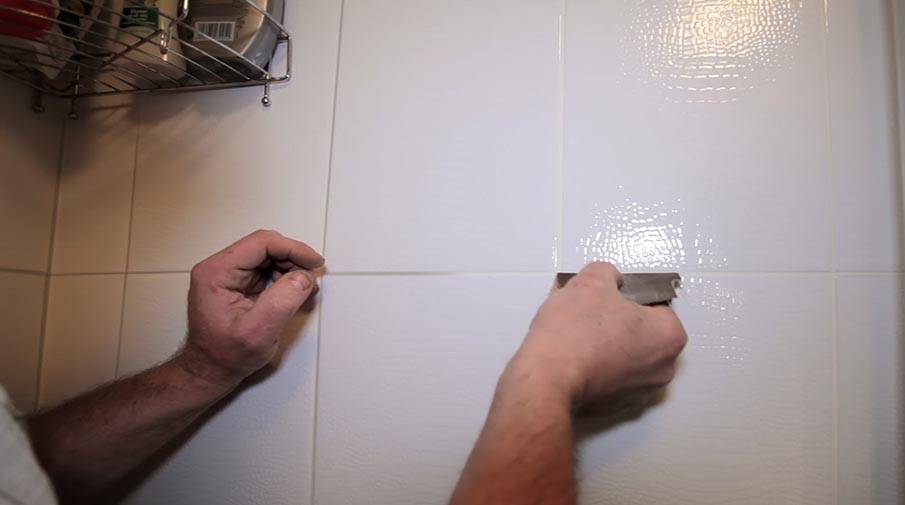
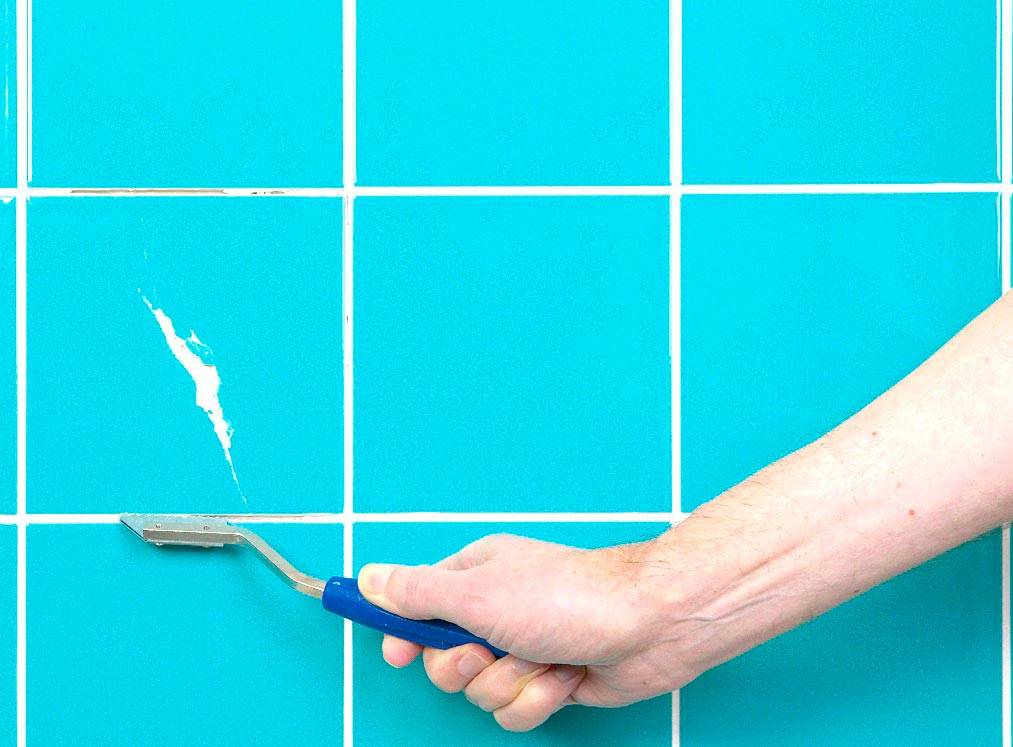
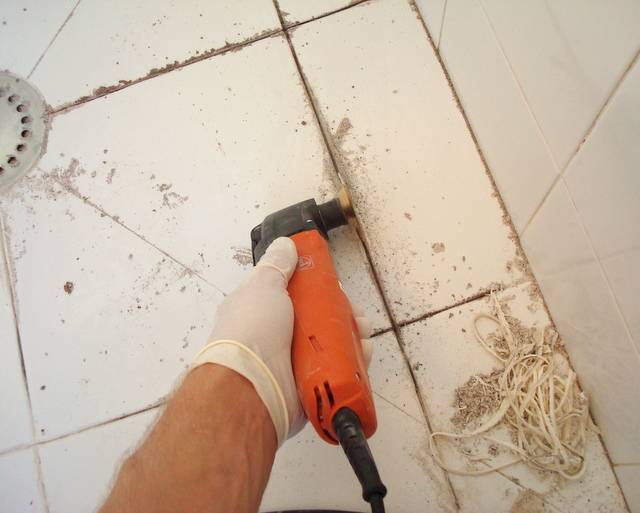
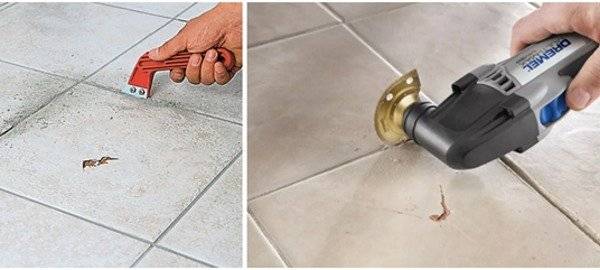
- slightly cut it along the edges of the joints with a blade;
- remove the old mastic with a scraper or other similar tool;
- clean and treat the tile grooves with an antiseptic solution;
- fill the grooves with new compound;
- remove excess mass;
- wait until it dries completely.
Coating replacement
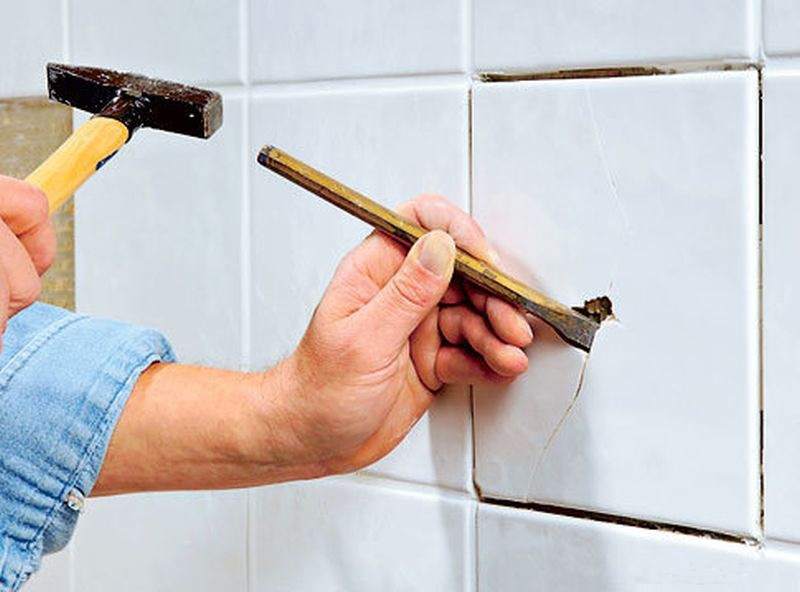
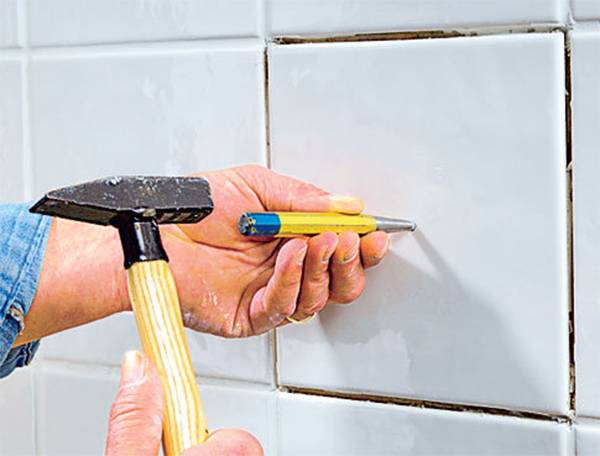
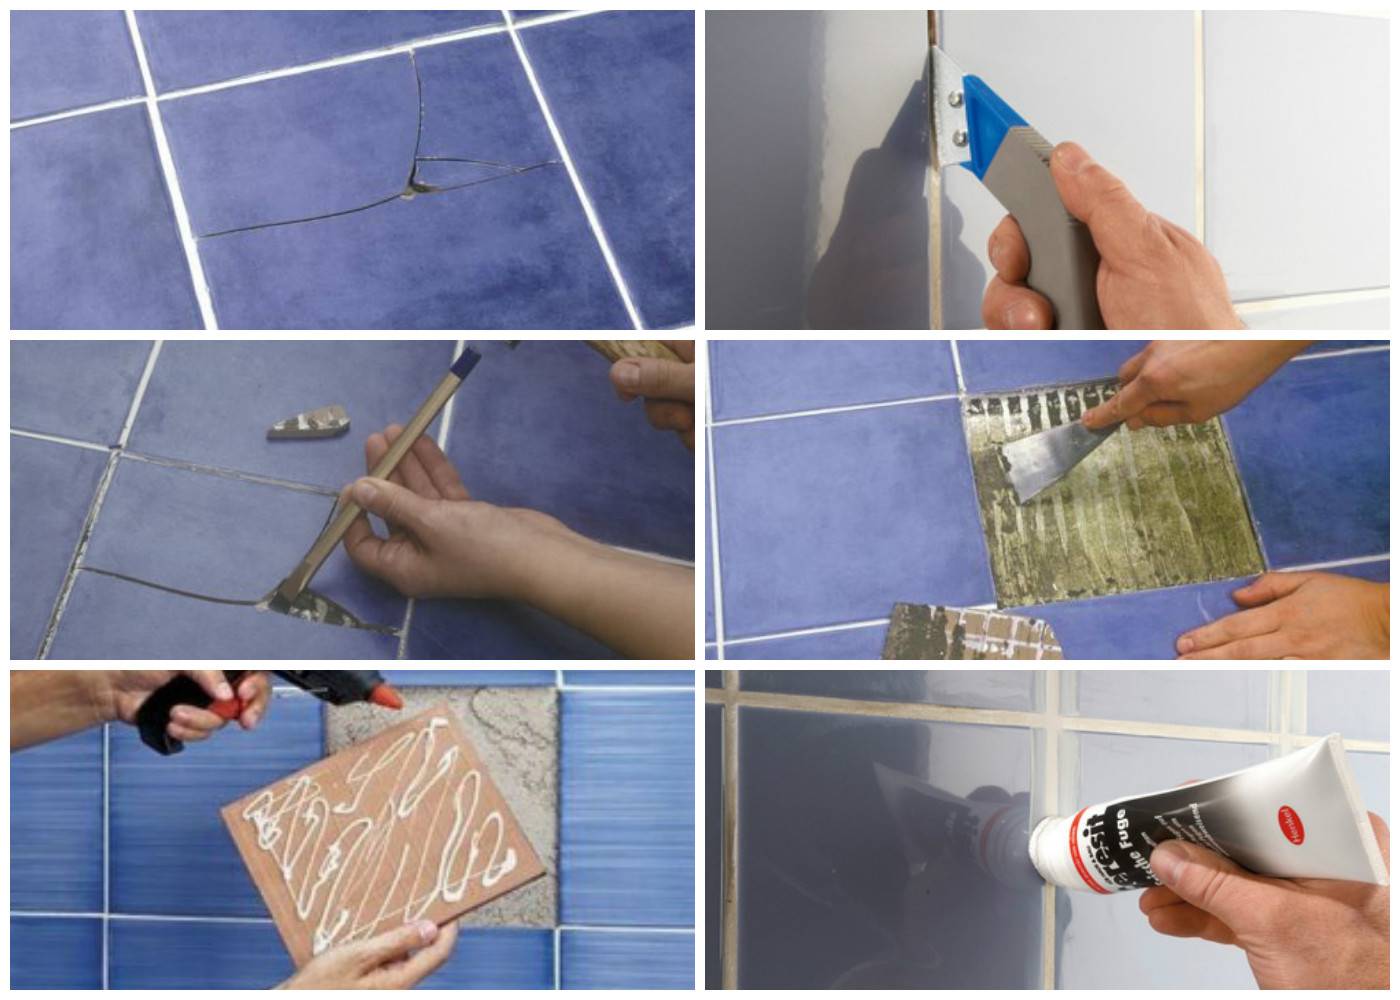
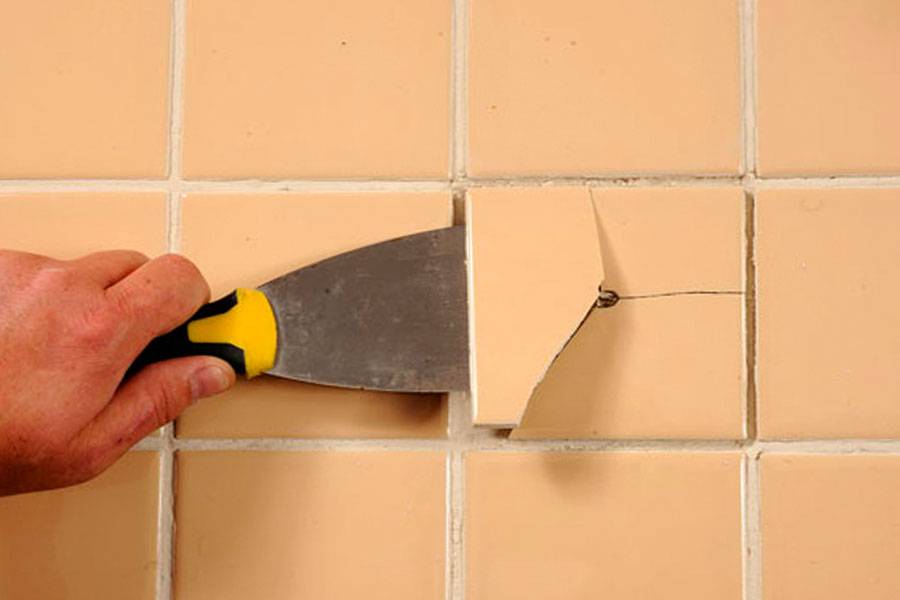
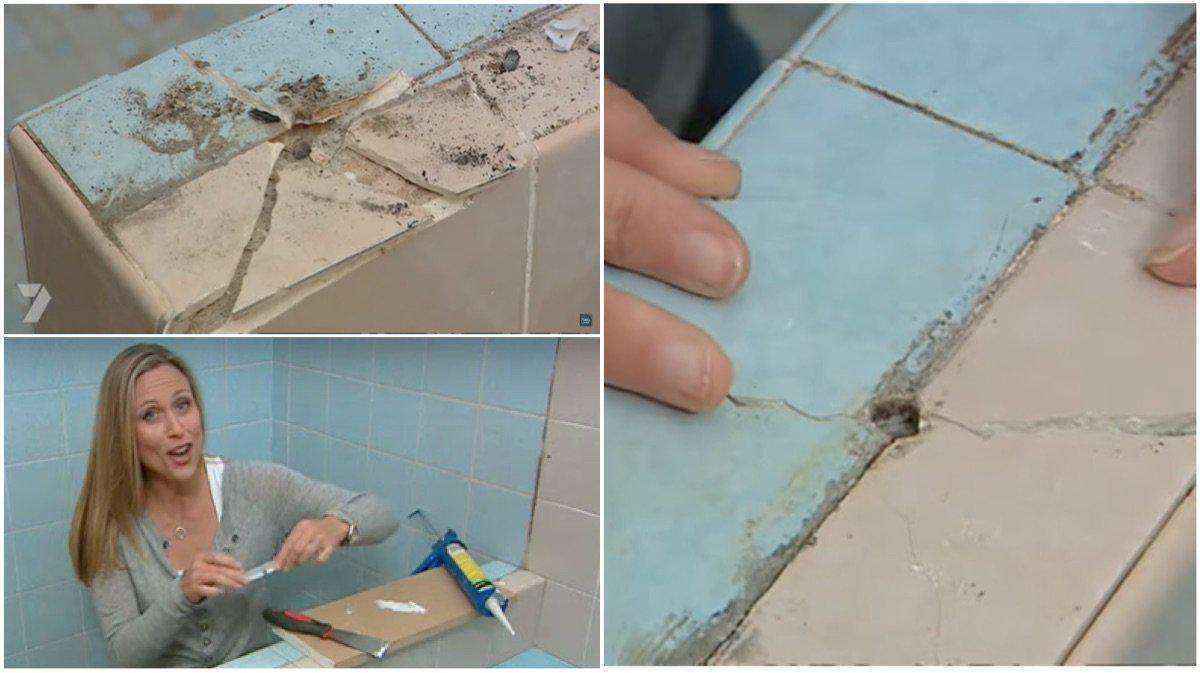
If some elements of the cladding have become unusable, you can return them to their normal state with a small cosmetic repair. In this case, the wall tiles cracked, scratched or separated from the composition are removed. To do this, you need:
- clean the inter-tile grout on each side of the damaged fragment;
- moisten the formed grooves with water and let the solution soak;
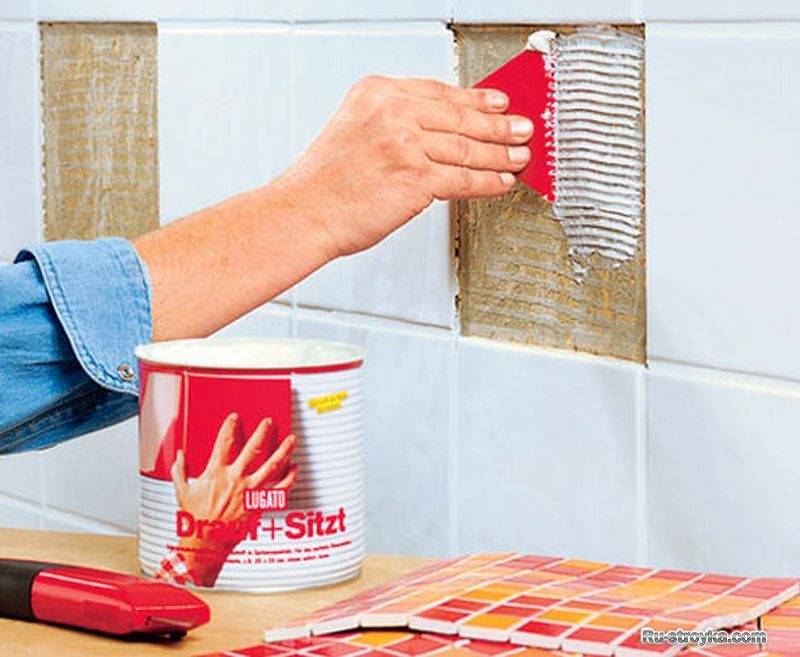
- gently pry the tile with a screwdriver or spatula, and then carefully remove it without damaging the adjacent areas;
- prepare and apply the solution to a new fragment;
- attach the tile to the newly treated area and press it against the wall;
- align the sides;
- close up the seams;
- tap with a mallet;
- wait until the tile joints are completely dry.
Painting

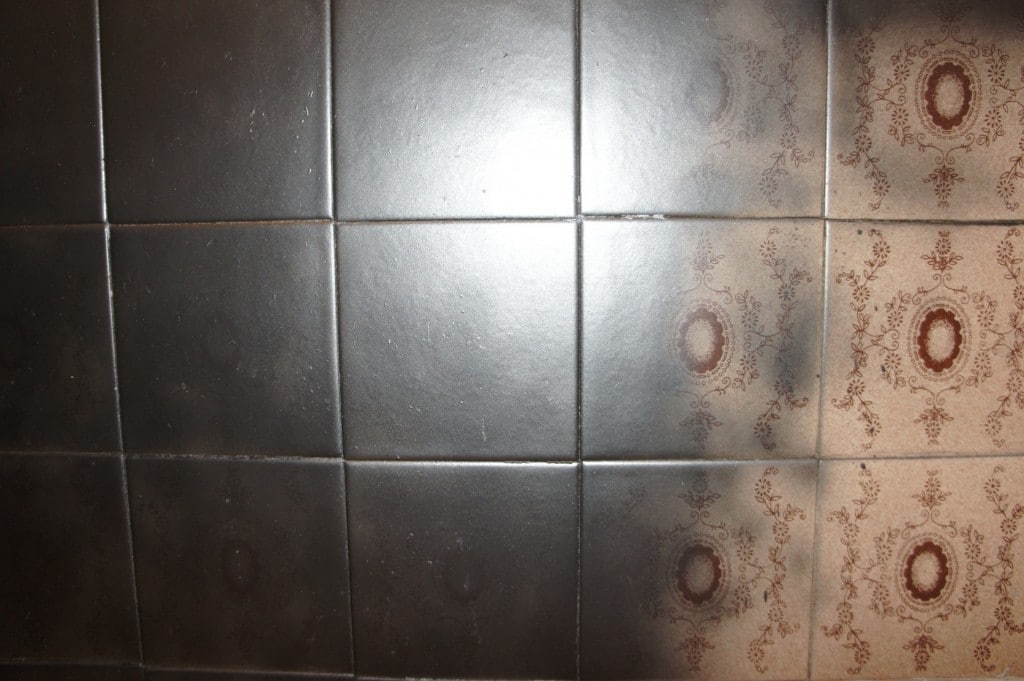
Another interesting way decoration of tiles in the bathroom or in the kitchen - applying paint. It is best to use waterproof acrylic compounds for this purpose, which will protect the tiles from water.
To do this, you need:
- clean and degrease the surface;
- sand it and treat it with a primer (in the case of complete coating of the tile with paint);
- apply paint with a roller or brush if you want the wall to become textured;
- apply several coats of paint and let it dry.
To prevent paint from staining furniture or adjacent areas, mark the borders with masking tape. If you want to decorate the tiles in the bathroom or kitchen with an ornament or pattern, stick a stencil.
Using self-adhesive
You can effectively update your apron in the kitchen or bathroom with an adhesive-backed PVC film or self-adhesive. Ready-made vinyl stickers with color prints, ornaments and monochromatic compositions are on sale. They can glue the entire apron or cut out individual elements from them.
To fix the PVC film on the tile, follow these steps:
- Straighten and degrease the area.
- Cut the sticker into the desired size.
- Remove the image from the backing paper.
- Apply the decal to the corner of the tile.
- Apply the decal to the area, rubbing the top with a rubber trowel to prevent bubbles from forming.
If you want to update the textured or volumetric tiles in the kitchen or bathroom, fix the decal with a hair dryer. For this:
- Dampen the tiles with water.
- Apply a sticker to it and adjust its position.
- Turn on the hair dryer and blow the air towards the embossed area.
- After the decal has formed into the base, remove excess water and cut the decal.
In order not to overheat the PVC film, try to keep the hair dryer at a considerable distance. Reduce the heating temperature to prevent the sticker from melting.
The use of volumetric decor
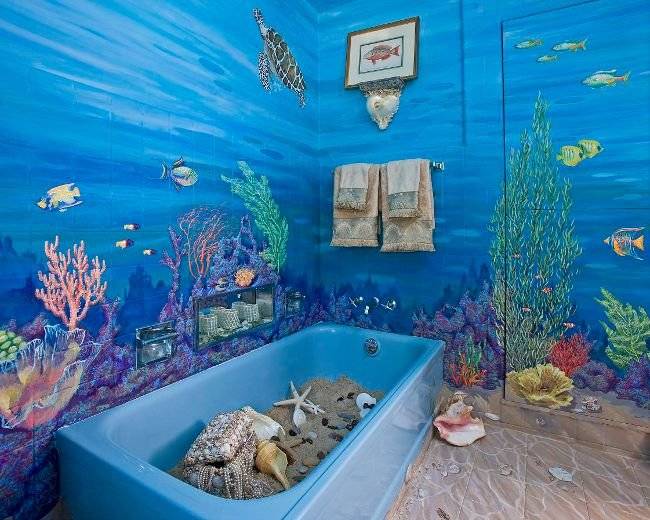
Another type of finishing materials that can be used to update the apron is volumetric decor (shells, rhinestones, beads, coffee beans, fine glass, buttons, etc.). It not only decorates tiles, but also masks small chips and defects.To attach beads or shells, you will need acrylic varnish, thermal or superglue.
With this decor, you can decorate small areas, zone an apron and add the appropriate mood to a marine, romantic or rustic interior. The options for using it are limited only by your imagination.
Using all the methods described, you can update the tiles in the kitchen, bathroom or sauna. At the same time, they help with minimal costs and effortlessly improve the style and appearance of the interior, create a completely new atmosphere in it. All you need is your own imagination, some free time and a minimum of available tools.
Defect elimination methods
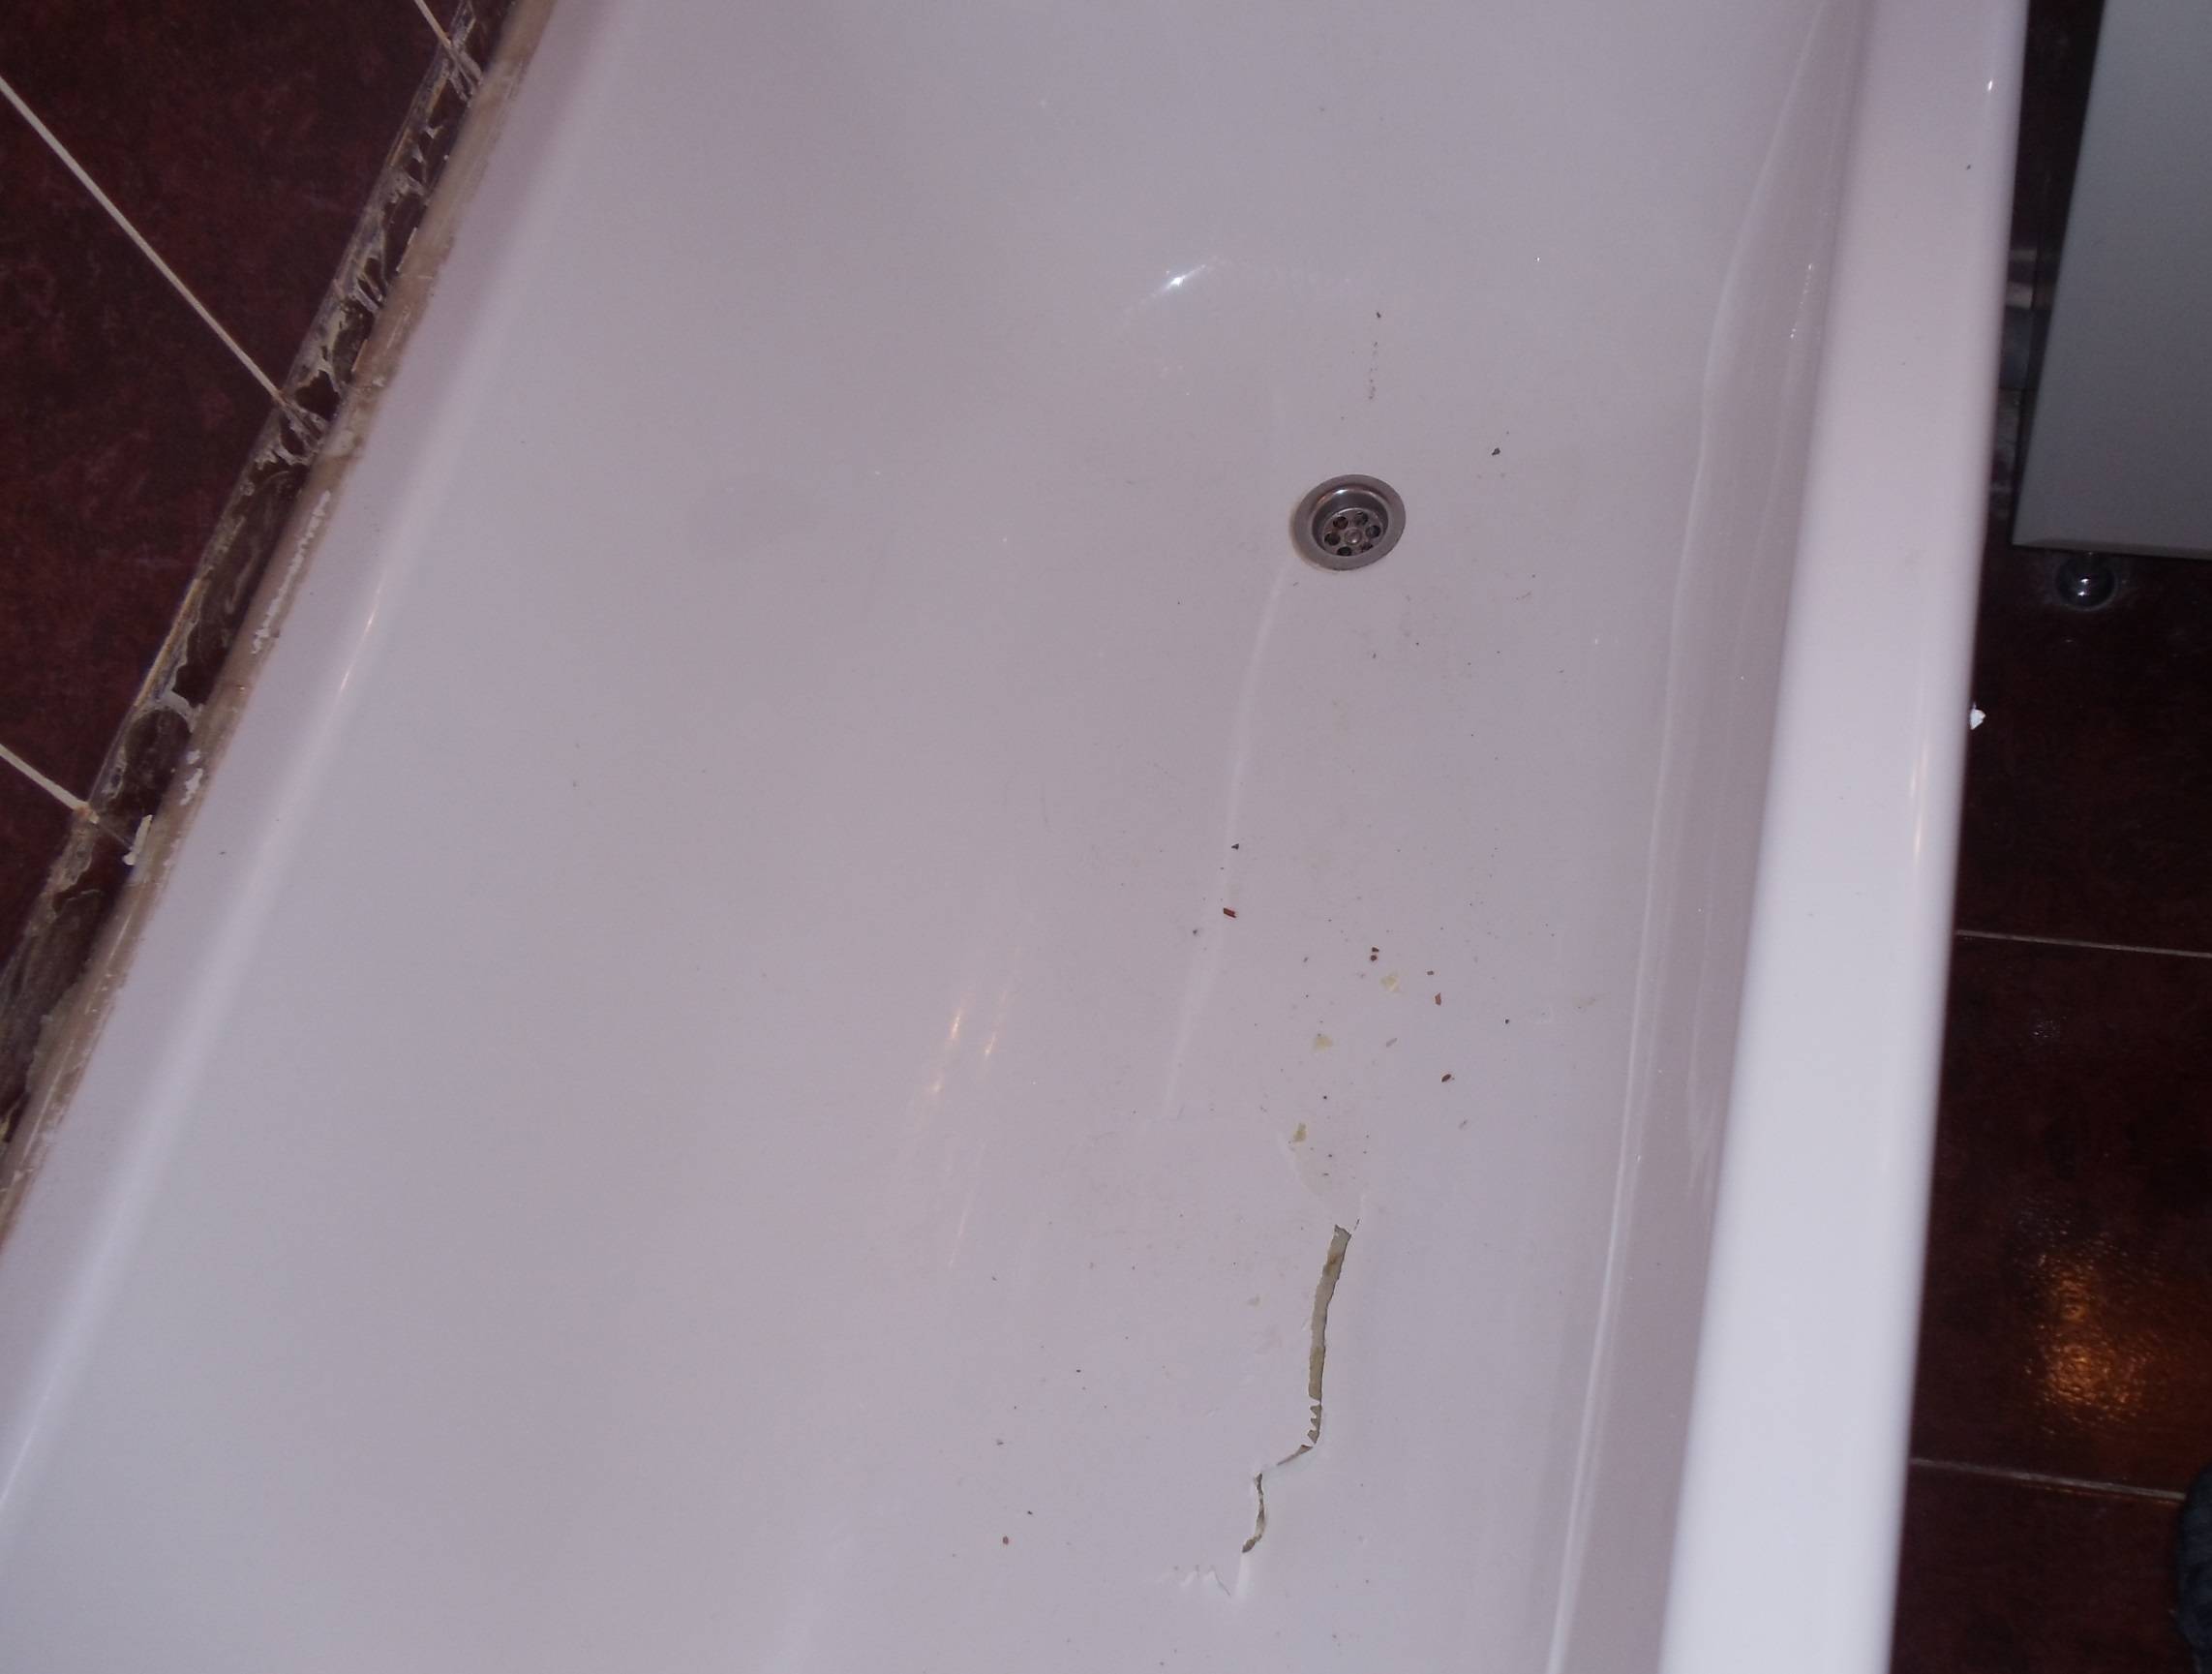
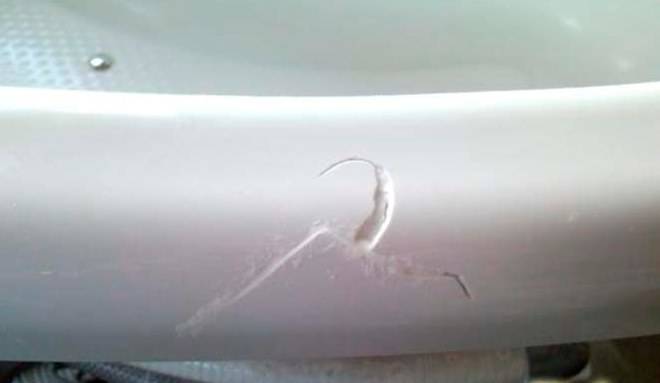
Scratches or cracks, chips or discoloration are not a reason to “put an end” on a steel bath, especially the purchase of a new high-quality product made of this material significantly hits the buyer's wallet. There are many effective methods that help to remove cosmetic defects on the enamel surface at home, returning the washing containers to their former whiteness, shine and smoothness. Restoration of the enamelled surface of the bowl is performed in the following ways:
-
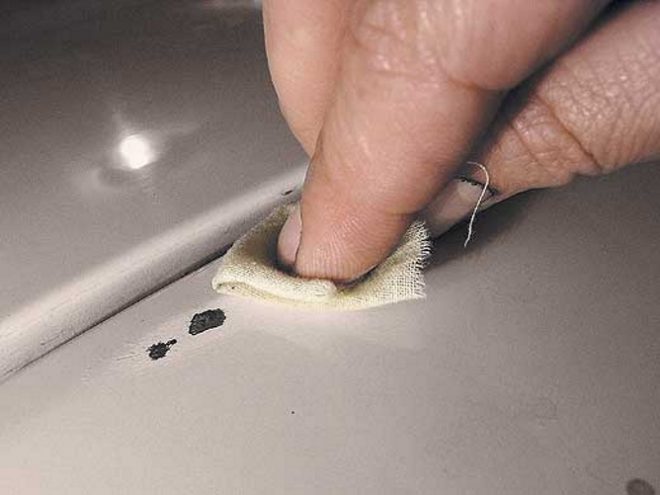
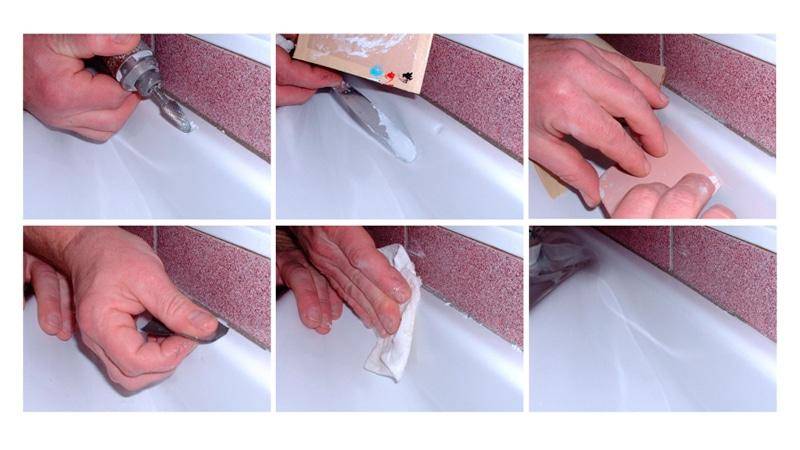
Spot repair of small chips. This method is only suitable for small chips. It effectively fights against further damage to the enamel and the appearance of foci of rust. Usually, spot repairs have a short-term effect, they only postpone the inevitable deeper recovery by 1-2 years.
-
Do-it-yourself re-enameling of the product with polyester enamel. This procedure is performed if there is a lot of damage on the enamel surface, if the color of the product has changed. The difficulty of re-enameling is the long drying time of the paint, which takes 5-7 days.
-
Filling with liquid acrylic. To restore the appearance of the steel bathtub, pour liquid acrylic, which gives a durable, elastic and smooth finish. Acrylic compounds take only 3 days to dry, but they are also more expensive than polyester enamels. But such a coating serves, subject to the application and drying technology, for 10-15 years, without absorbing pollution.
-
Installation of an acrylic insert. This method consists in gluing a shaped acrylic insert to the inside of a steel bowl. This method is used by methods if the bathtub has strong, multiple defects and even through holes.
How to remove scratches and scuffs from tiles

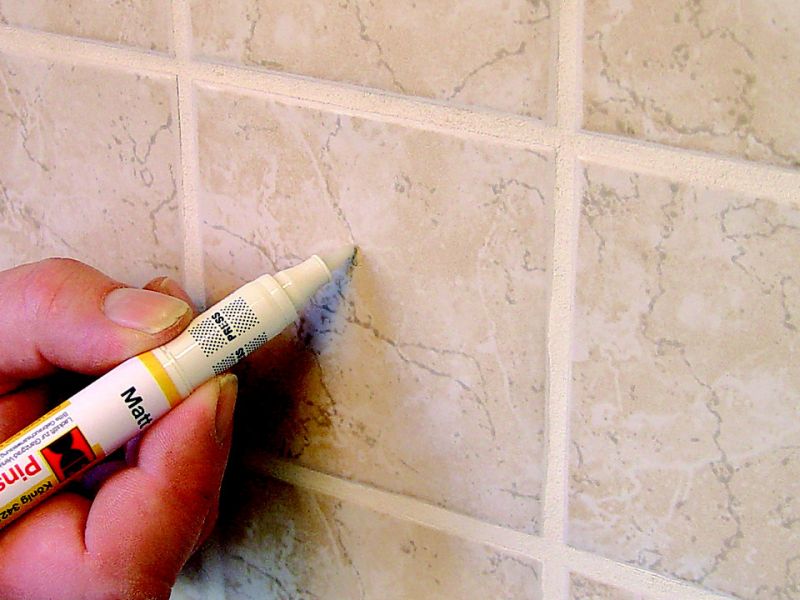
It is, of course, impossible to completely get rid of scratches on a tile. They can only be disguised. This needs to be done in several available ways.
Detergents
If the defects are practically invisible and represent a mesh of the finest scratches, then most likely these are the so-called "Circassians". You can remove them using household chemicals based on aggressive substances. For example, it can be well-known Domestos, Dressing Duck or Comet.
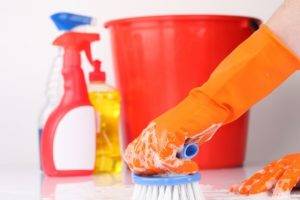
Apply a small amount of the selected product to the damaged area and leave for no more than 10-15 minutes
It is important that the composition does not dry out. Next, you need to take a brush with a hard bristle and polish the area
Painting
If the tile is monochromatic, then there is a more radical way to eliminate visible, significant defects. First, a deep scratch is treated with alabaster or plaster, and paint is applied on top to match the coating.
The disadvantage of this method is that it is sometimes very difficult to pick up paint to match the tiles. In addition, this method is not suitable for tiles with patterns, color transitions.
Polishing paste
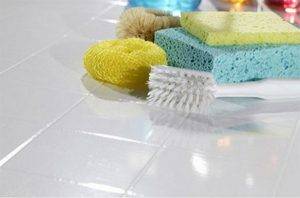
In any shop for motorists, you can buy any fine abrasive (fine-grained) paste for polishing the body. Apply the paste to a sponge or cloth and polish the scratched area.
The paste can be replaced with the finest fraction of sand or even tile dry glue.
Wax aerosol
Apply wax to a microfiber cloth and then use it to wipe off any scratched tiles. Allow the wax to harden completely - about 45-50 minutes. Next, you need to take a piece of wool fabric and polish the damaged surface. This method will not only significantly reduce the visibility of any irregularities and abrasions, but also give the tiles an additional shine.
Continuous painting without removing
One radical method of how to update the bathroom tiles without changing them is a complete paint job. Even with a very high-quality work, the result will look quite simple.
In the case of such work, paint must be applied to the entire surface together with the seams. The paint must be applied using rollers, brushes. Those areas that are often exposed to steam may lag after a short period of time and should be left untreated.

We apply new paint to areas near the washbasin, toilet, floor. It is necessary to prepare the walls well before applying the color. You can update the color scheme of individual areas. The tiles can be sanded and primed. This will keep the enamel better.
It is worth choosing only specially designed types of dyes that are designed for this kind of surfaces and not be afraid of moisture.
You can experiment with room zoning, use several colors, change the texture, emit stone, ivory, metal, bronze, gold. Be sure to secure the result with a layer of protective varnish.

Vinyl stickers
Refresh old tile you can use such an interesting element in the decor as vinyl stickers. They are marketed in a variety of colors, shapes and themes.
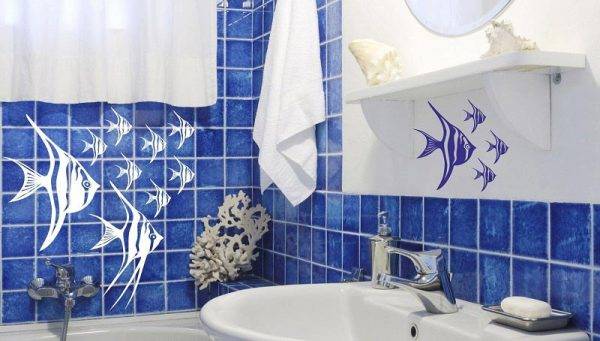
For the manufacture of stickers, vinyl film is used, it is moisture resistant and is not afraid of sudden changes in temperature. Also, vinyl decals retain their original appearance for 5 years. They do not become dark, do not fade, do not require careful maintenance, they can be safely peeled off and re-glued.
Instructions:
- The tiles are thoroughly cleaned with warm soapy water from all contaminants. Then we wipe the surface and wait until it is completely dry.
- Separate the protective paper layer from the sticker.
- We apply the element with the adhesive side to the tile and press it with our fingers.
- Using a spatula or soft cloth, smooth out the sticker, start from the middle and move to the edges.

If the vinyl sticker is large, then it is better to use a mounting tape here:
- Lay the mounting tape on the floor or other flat surface.
- We transfer the sticker to it so that the adhesive side adheres to the drawing itself.
- If wrinkles appear, then smooth them out with a soft cloth.
- Remove the paper layer from the sticker, without touching the mounting film.
- We apply the sticker to the tile, press it with a spatula or also with a soft cloth.
- Remove the mounting tape and smooth the sticker over the surface.
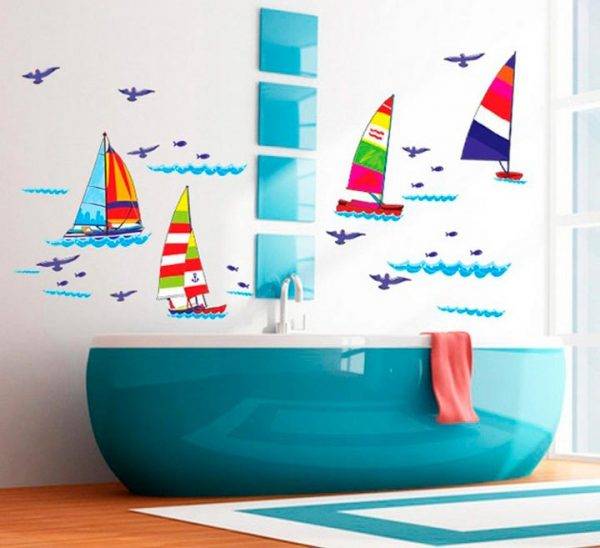
Vinyl stickers are an inexpensive option to transform the design of the bathroom, as well as to mask the defects that appear on the tiles in the form of cracks and chips.
Materials and tools required for mirror restoration
For large damage:
- glue for metal and glass;
- brush;
- soft tissue;
- glass cleaner;
- gasoline or alcohol-containing product;
- foil;
- brush;
- scissors;
- sponge.
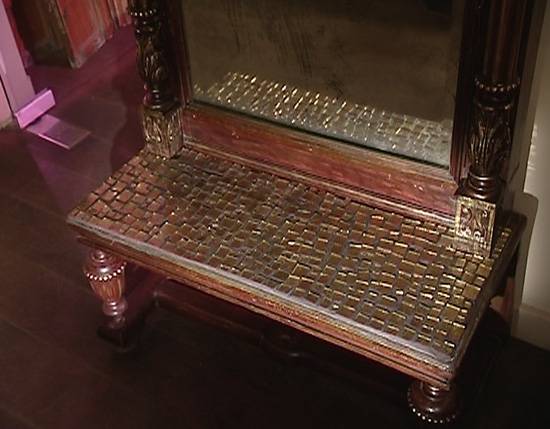
But you can fix minor damage with your own hands.
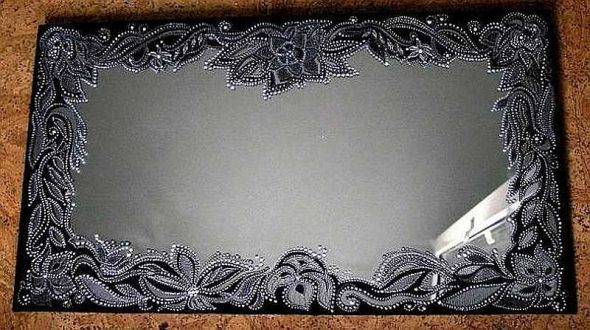
Polishing, as a separate method of mirror restoration, is also performed in the case of a dull reflective surface.
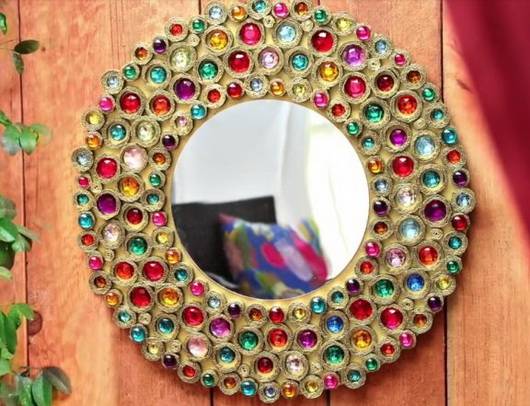
Mirrors often play an important role in modern interiors.
For small scratches and chips:
- water;
- alcohol;
- sponge, soft wipes;
- silicone sealant.
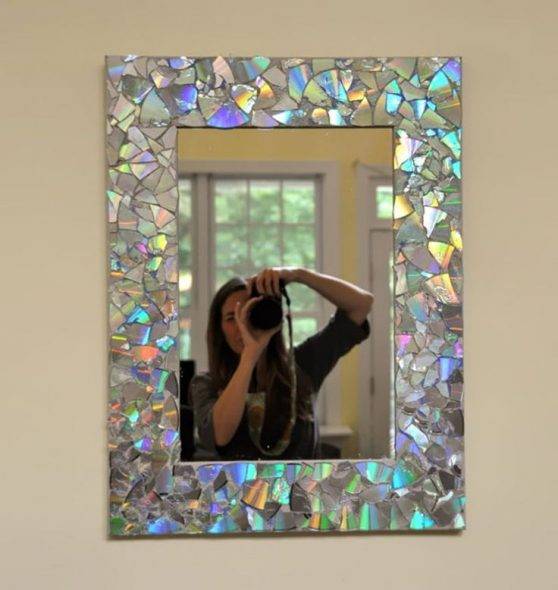
But over time and improper care, the appearance loses its reflectivity.
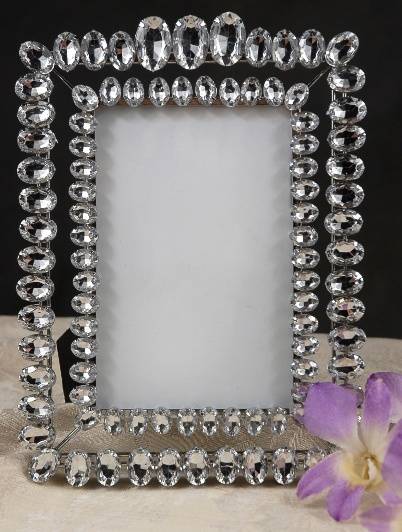
When a scuff or a shallow scratch appears, the mirror is polished, while the top layer is removed from the reflective plane, using coarse-grained abrasives.
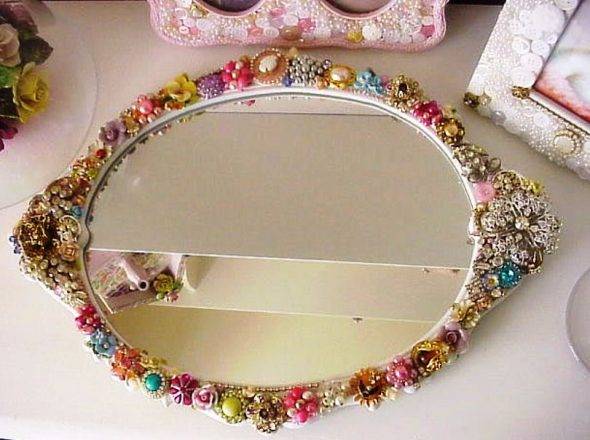
Mirrors are not only of a utilitarian value, but also serve to decorate the interior and visually increase the space.
Step-by-step instruction
How to restore a mirror in case of large damage to the amalgam?
You need to carefully pull the mirror out of the frame and put it on a table covered with a soft cloth. Clean the damaged surface thoroughly with a brush. Then wash with glass detergent and dry. Now degrease the damaged area with petrol or alcohol and dry again. Using scissors, cut out a piece of foil slightly larger than the size of the damaged area. Spread glue on the treated area of the mirror, attach the foil with the shiny side down and press down. Align the foil surface with a napkin from the center to the edges. Carefully remove excess glue with a sponge and dry the mirror for several hours. Put the restored mirror back into the frame.

Repairing a mirror coating is laborious and requires investment, so the cost of mirror restoration will probably not be cheap.
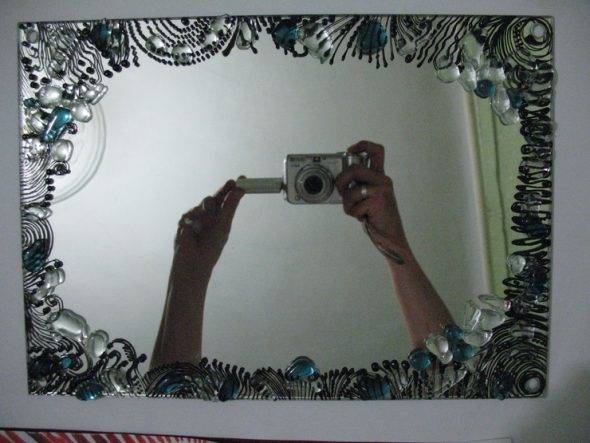
To restore the surface of the mirror, which has minor damage, use grinding and polishing.
How to update a bath with acrylic

We warn you that the appearance of a renewed bathtub in this way will not last long and after a while (2 - 3 years) you will have to again make a choice between buying a new bathtub or updating an old one.
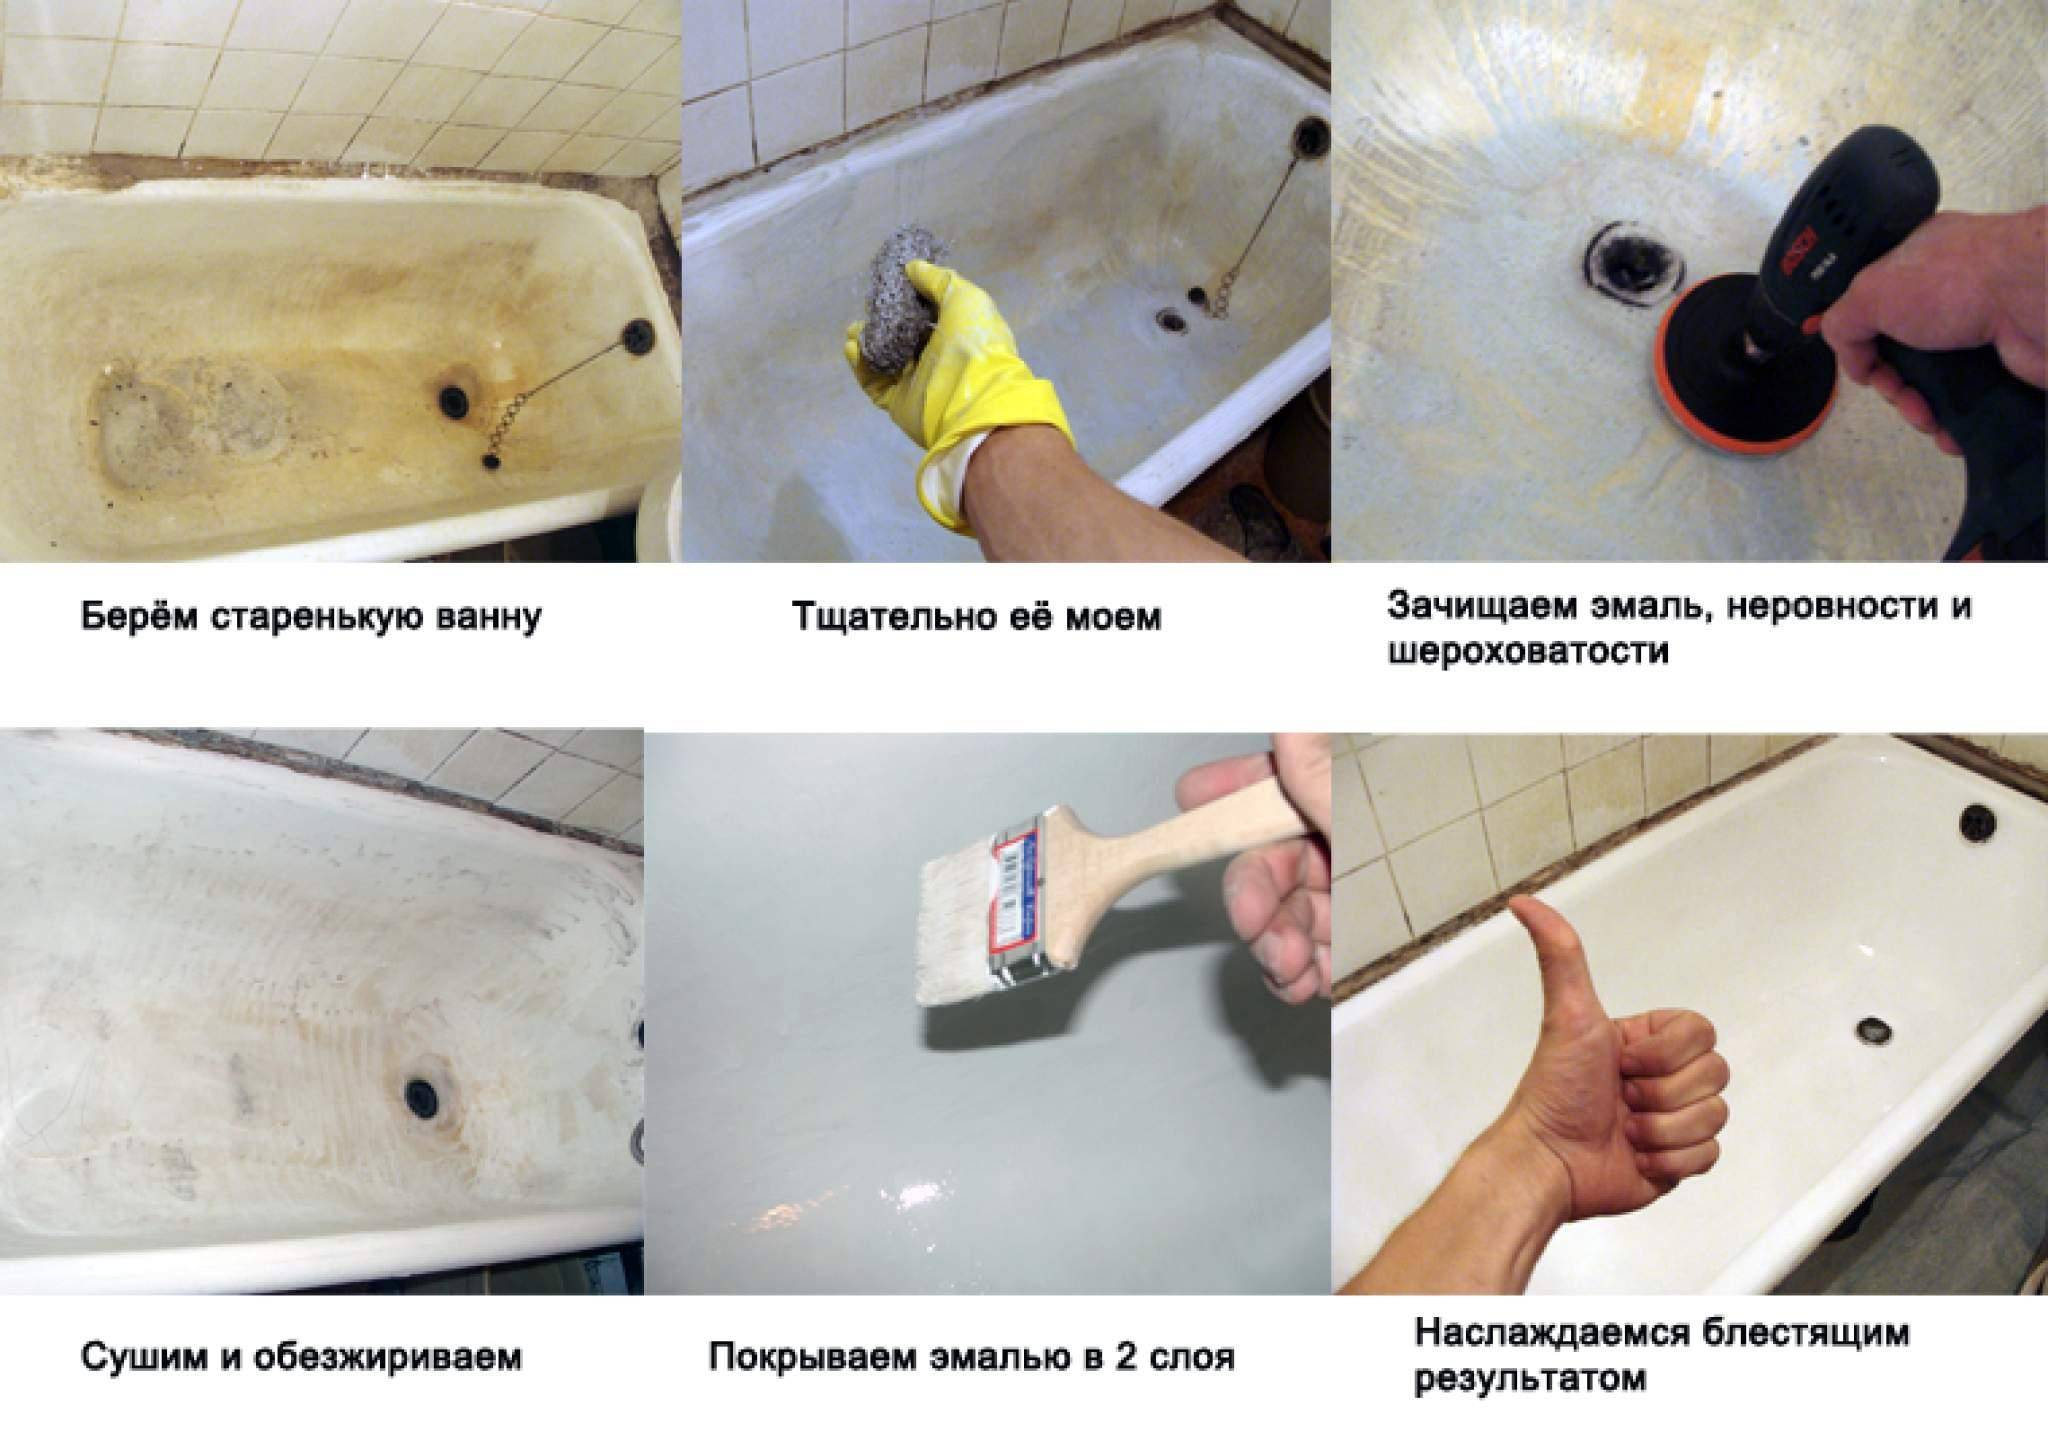
Bath restoration with acrylic takes place in three steps:
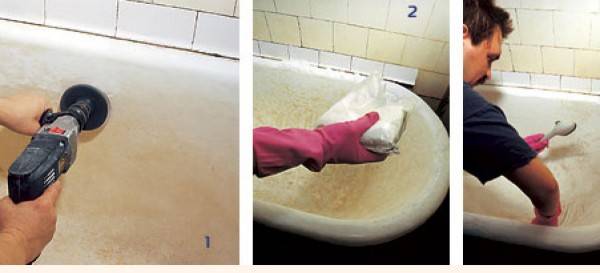
- Step one is surface preparation. This stage includes cleaning the bath from the old enamel surface so that the new enamel is better fixed and subsequently does not crack from the slightest impact. To do this, it is best to use several skins - large (250 or larger) for faster removal of the old coating, medium (800) for grinding large scratches and fine (optional) - it can only be used if the old surface is not cracked or chips. When removing the surface, it is best to moisten the skin in water from time to time, after which the slurry must be thoroughly washed from the surface. For greater effect, you can carry out this procedure several times.
- Step two - priming the surface. A dried bath should be covered with a special primer. This must be done carefully and carefully so that the primer is evenly distributed over the surface. This step is also very important, it depends on how reliably the enamel will adhere to the surface of the bath. After completing this process, the primer should dry.
- Step three - applying the enamel. You can use a roller, a cloth swab and natural fiber brushes to help the enamel lay evenly. Tools should not be wet. The applied enamel needs to be dried - about 20 degrees Celsius. At the same time, it will dry up slowly - about 7 days, before the end of this period, you will not be able to use the bathroom.
This is the whole trick of how to update the bath with acrylic.
Helpful advice! The process itself is not so complicated, the main thing is to follow the sequence of actions and accuracy, in this matter you cannot rush.
A step-by-step guide to restoring an enamel bathtub
Before you start restoring the bathing container with your own hands, you should familiarize yourself with the painting technology in order to minimize the number of errors - the result is not always good the first time.
What do we have to do:
- buy tools, materials, protection;
- prepare the container itself;
- apply enamel;
- wait until dry.
Required materials, tools
For work you will need:
- liquid coating - a two-component epoxy enamel, the base of which is mixed with a hardener before being applied to the surface;
- soda - with its help the container is defatted;
- a drill with a special grinding attachment - for removing the old cover;
- hard, flat brush, preferably made of natural bristles, 7-9 cm wide;
- two glass jars with a capacity of 0.5 liters - the dye will be diluted in them;
- a measuring cup to accurately determine the right amount of hardener;
- solvent - 646 is better, it is added to the enamel to increase its fluidity;
- personal protective equipment - overalls, gloves, respirator, special glasses.
Which enamel to choose
High-quality enamel will last as long as possible, it will not lose color, shine, and crack too quickly from exposure to water, high temperatures.
When choosing, take into account:
- method of application - with an aerosol can, brush, roller, pouring method. When using a roller, a texture is created on the surface, an aerosol is used to mask local defects, a brush and a pouring method are most widely used;
- type of kit - the best fit is a restoration kit, which contains all the tools necessary to prepare the surface for work, apply the composition;
- enamel color - it is desirable that it differs from the previous one by a maximum of one or two tones, otherwise the "old" layer will shine through;
- color of hardener - it is recommended to use white or transparent, as colored ones can leave unsightly stains.
Preparation for applying enamel
What you need to do before covering the bath with enamel:
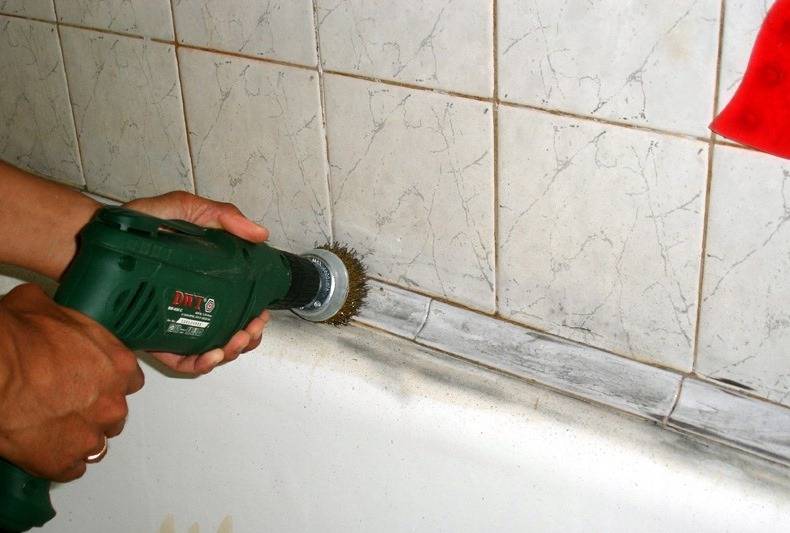
- apply a powdery detergent (cleaning) agent, on top of which to process with a grinder with an emery wheel, a drill with a grinding attachment, an emery bar, etc.;
- using a liquid detergent to degrease the surface to be treated - this is especially true for cracks, various irregularities, chips;
- rinse the container thoroughly and for a long time with hot water;
- wipe the bathtub dry with a clean cloth;
- remove the overflow, siphon, clean the surfaces under them, remove the excess with a vacuum cleaner;
- then the first enamel layer can be applied.

Enamel coating
The enamel application process consists of several steps:
- introduction of a hardener into the composition;
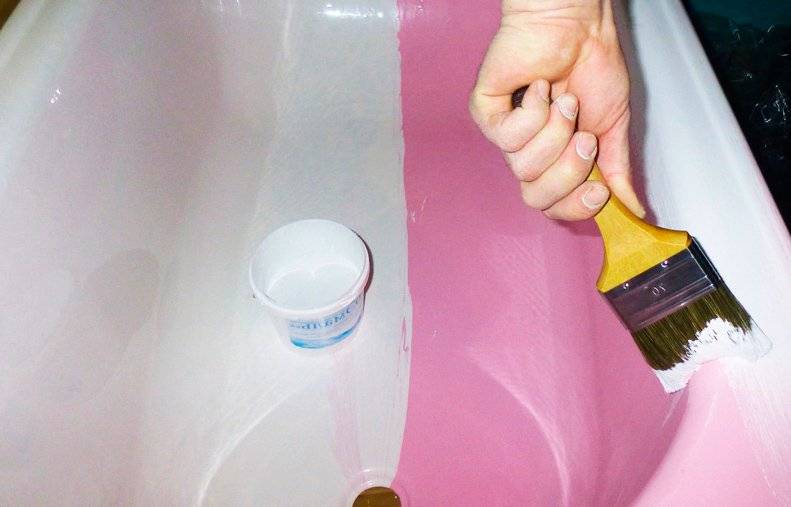
- partial staining of the side with a flat brush;
- then draw a "bold" vertical line to the very bottom, after which the paint is smeared horizontally;
- repeat the previous two steps until the entire surface is painted.
The drying time for one layer is about 70 minutes, it is allowed to fully use the bath after 6-8 days. The drying time of each layer should not be artificially reduced - this often leads to deformations, deteriorating the overall appearance.

