Features of self-restoration
Independent restoration of furniture is a complex, laborious process that requires at least a little theoretical and practical knowledge. When working on outdated interior items, there are important points to keep in mind:
- Furniture that is constantly in use needs to be strengthened by the frame. As a rule, the body of a cabinet, sofa or table looses after 5-7 years of use, so restoration work should be started by strengthening the frame.
- It is necessary to select tools and paints taking into account the material from which the base is made.
- If there are drawings on the subject, then you need to work with them carefully, either choose the right shade of paint for painting, or use a thin brush to draw details.
- When restoring wooden furniture, the condition of the wood should be assessed. If it is badly rotten, then there is no point in restoring the item.
Before starting work, it is important to assess the general condition of the frame. In some cases, its restoration is impractical.
You can replace the fittings and upholstery, repair the mechanism, but if the base is very dry, it has been eaten by insects or has rotted, then it is better to abandon the restoration.

Restoration of a children's chest of drawers
A children's chest of drawers is a reliable and practical thing, where a lot of children's things are stored.

Furniture made in a thematic style is placed in the child's room, then it will ideally fit into the interior.
- Children love bright colors. For boys, furniture should be painted blue, light blue, brown or green. While for girls other shades are used: pink, white, red, yellow, beige.
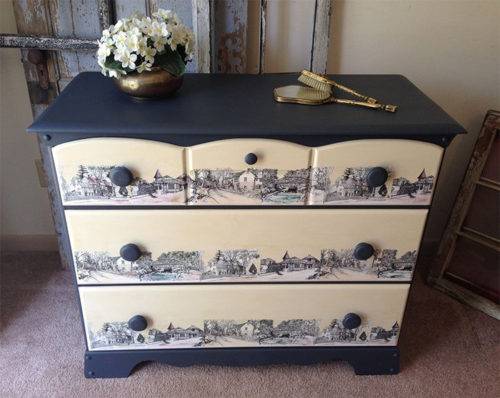
- As a decor on the chest of drawers, you can apply pictures with characters from cartoons and fairy tales, create interesting collages. And on top they are varnished. Also girls love butterflies, flowers, animals, boys cars, robots, soldiers.
Read more: Useful little thing from a regular lid for the kebab season
It is important to choose the right thing here so that the color scheme of the furniture is in harmony with the overall interior.
Stylish DIY furniture
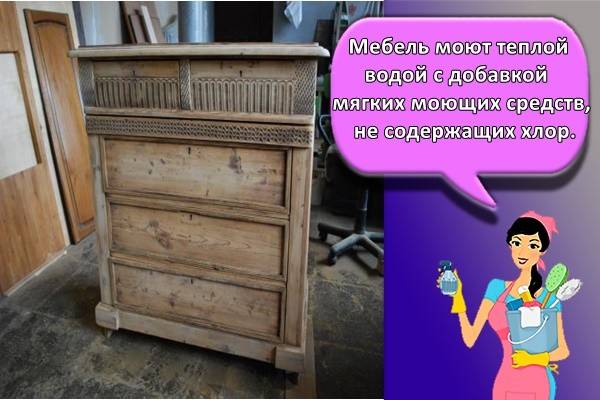
Long-term use of wooden furniture leads to damage to the paintwork, weakening of adhesive and metal fasteners. The influence of moisture and wood bugs violates the integrity of the structure. Some parts, especially the legs, can rot and flake.
The restoration of an old chest of drawers is able to cope with even the most severe damage. There is an option to contact specialists and fully rely on their professionalism. However, carrying out repair work with your own hands will not only save a large amount, but also decorate the interior with the pride of the owner.
The renovation process is not easy. It requires a number of skills, patience and knowledge of how to restore an old chest of drawers, with a clear sequence of actions - from cleaning the surface to decorating and varnishing.
The importance of each stage can hardly be overestimated. Especially if you are restoring Soviet furniture with carved elements and inserts, specific fittings and many component parts
Another repair option
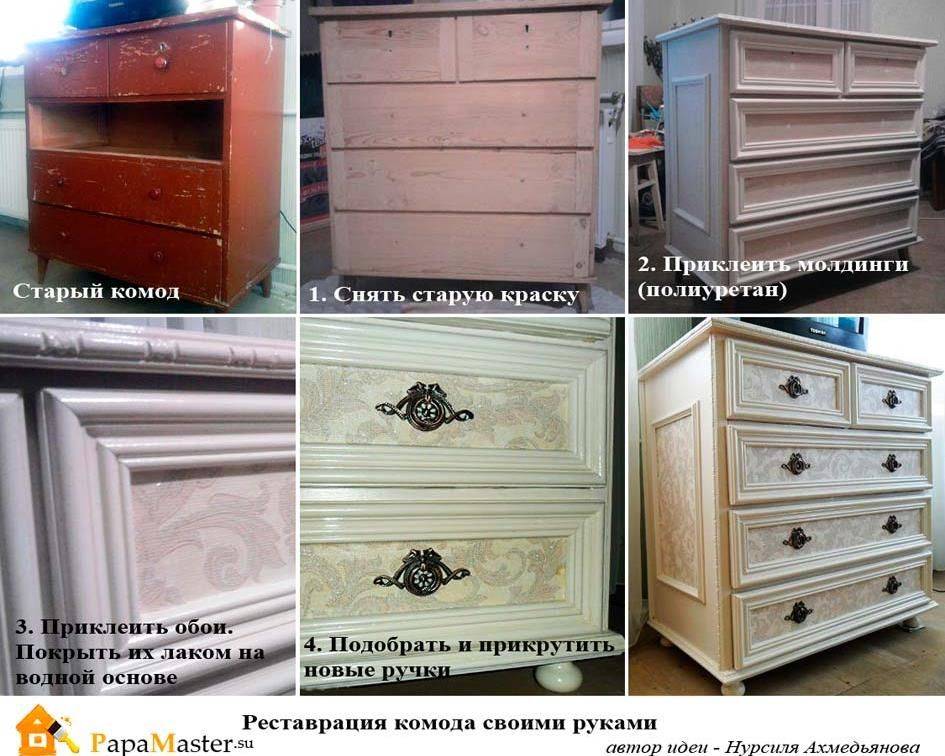
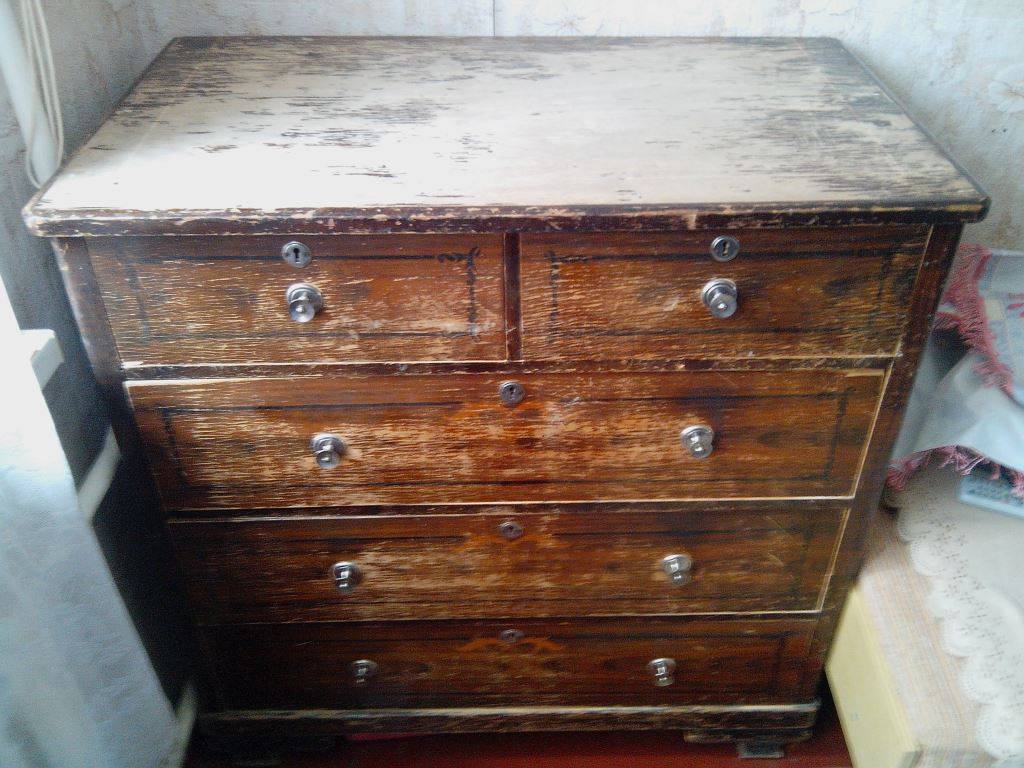
This method will help you turn an old and boring bulky chest of drawers into a light and elegant piece of furniture. For the transformation, we will take a classic model without any special decorative ornaments: three wide drawers and two small ones.
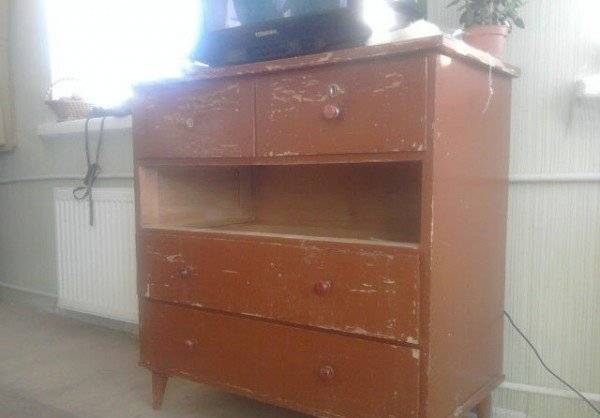
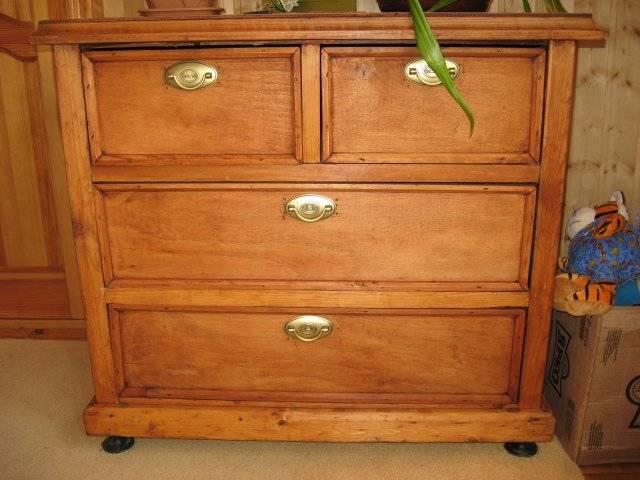
Classic chest of drawers with three large and two small drawers
You will need the following tools and materials:
- a means for removing an old layer of varnish or paint;
- sandpaper;
- chisel;
- matte putty;
- PVA glue;
- self-tapping screws;
- polyurethane foam decorative moldings;
- wallpaper;
- paraffin;
- water-based acrylic paint;
- transparent water-based varnish;
- 8 decorative handles.
Preparation
Unscrew the handles from the dresser. Examine it carefully from all sides
Pay special attention to the lid and legs: these are the places where the wood is usually the most damaged. If the deficiencies are minor, it is not necessary to eliminate them.
But if more serious damage is found, sometimes it is necessary to replace some parts completely.
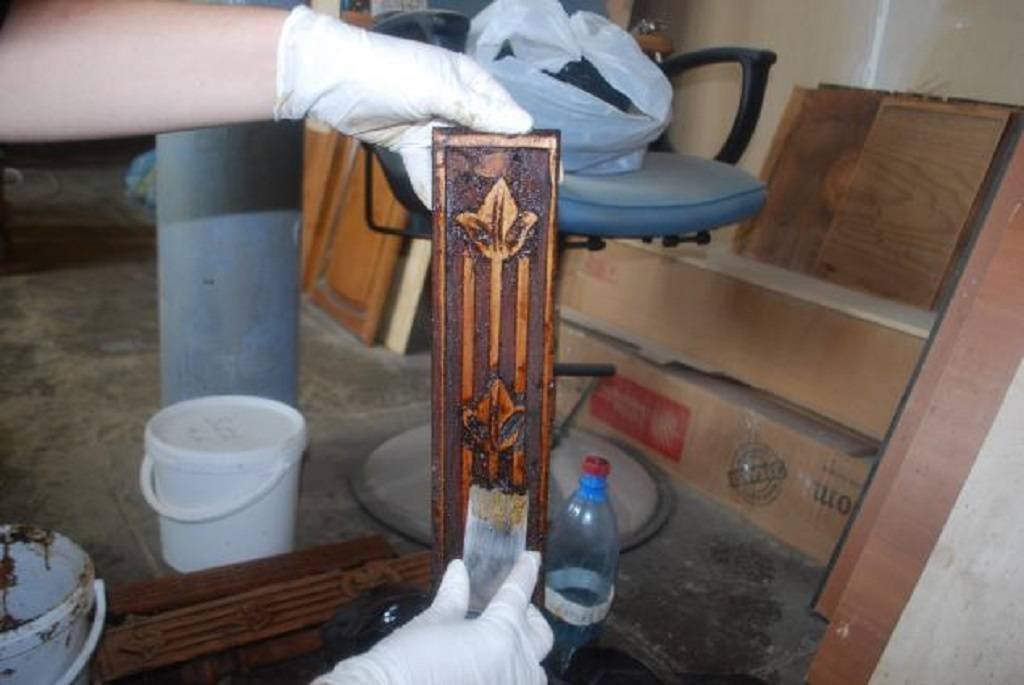
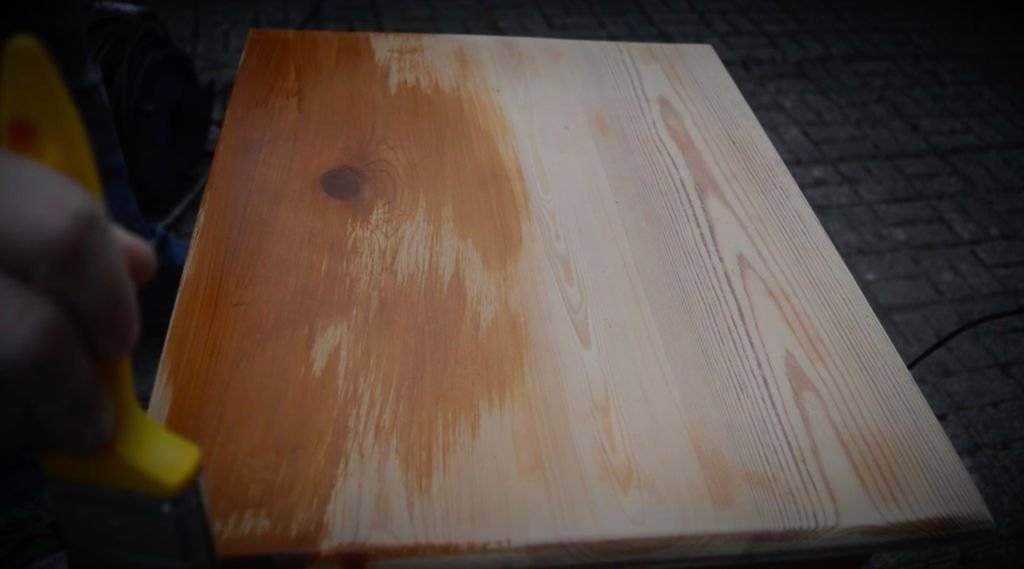
Free the chest of drawers from old varnish or paint. The upper layers can be removed with a chisel; they usually come off easily. Thoroughly rub the remains with emery so that clean wood is visible.
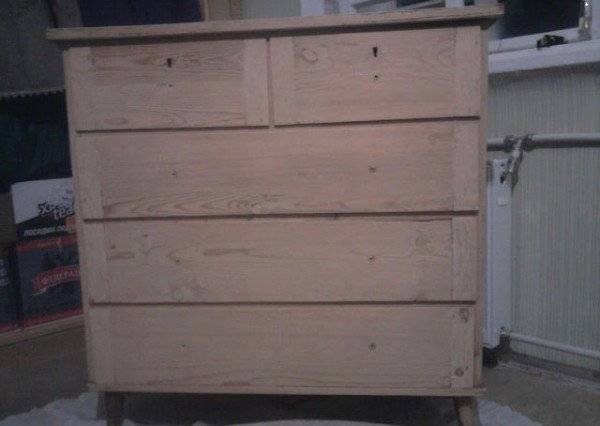
Thoroughly clean the product from old paint and remove the fittings
On places where noticeable irregularities and dents are found, apply mastic with a spatula and level the layer. After drying, sand these areas with fine-grained emery paper. Do this carefully, do not press too hard, otherwise you will damage the fresh layer of mastic. As a result, the surface should become perfectly flat.
New dresser handles you purchase may be smaller or larger than your old ones. In this case, you need to seal up the holes left over from the old handles that you removed with mastic, and make new ones in the right places with a drill.
Dilute PVA glue with water. Use a brush to brush over the entire surface of the dresser. You can replace the glue with any primer. When the surface is completely dry, you can start decorating.
Decorative elements
First of all, prepare the main decorative elements - the frames for the sidewalls and drawers. They can be made from conventional polyurethane moldings. In this work, the main thing is correct measurements. The frame for the drawer must be positioned strictly along the edge. It is better to make a small indent on the sidewalls.

Correctly size the decorative frames on the drawers
It is also very important to properly trim the corner pieces of the molding. When you prepare all the parts for the frames, proceed with their fastening.
For greater reliability, fasten the frames with screws, then seal the places where they enter the moldings with mastic so that the caps do not stand out
When you have prepared all the parts for the frames, start attaching them. For greater reliability, fasten the frames with screws, then seal the places where they enter the moldings with mastic so that the caps do not stand out.
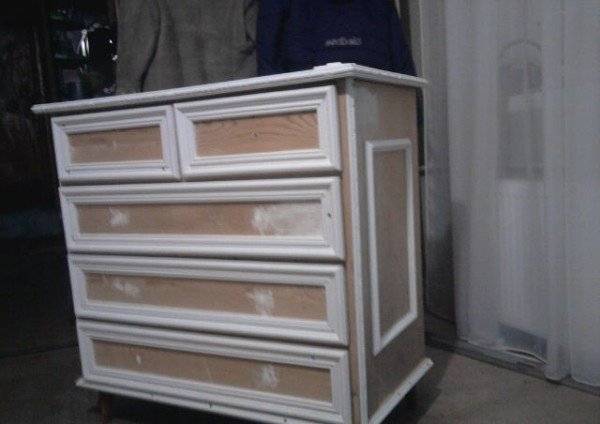
Apply mastic to the places where the screws enter the moldings.
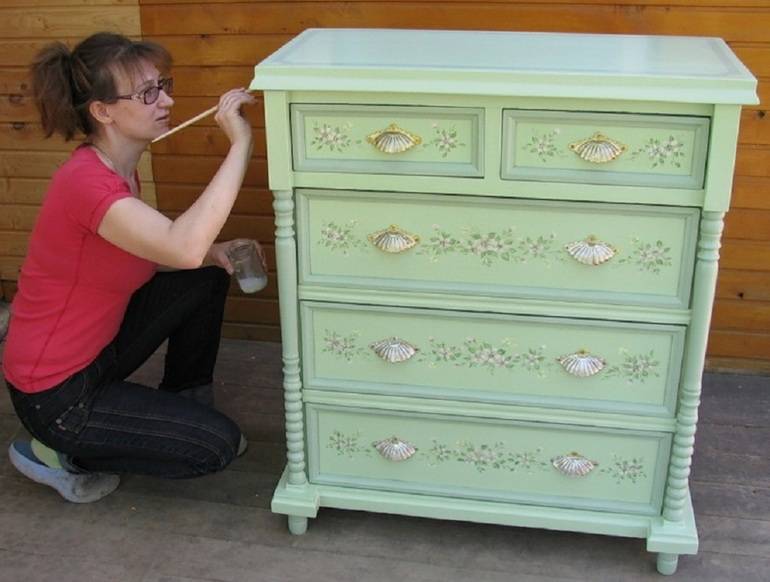
Now paint the installed frames with acrylic paint. Choose whichever color you like or suit the interior of the room. For example, for a French-style chest of drawers, light coffee or beige is well suited. Apply the paint in several layers, each time until it dries completely.
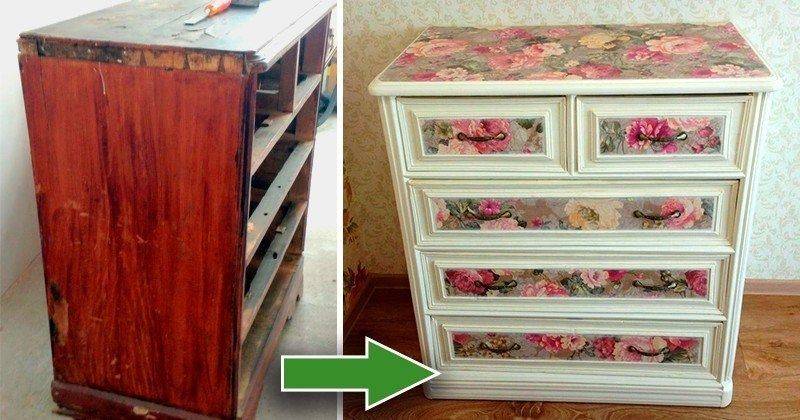
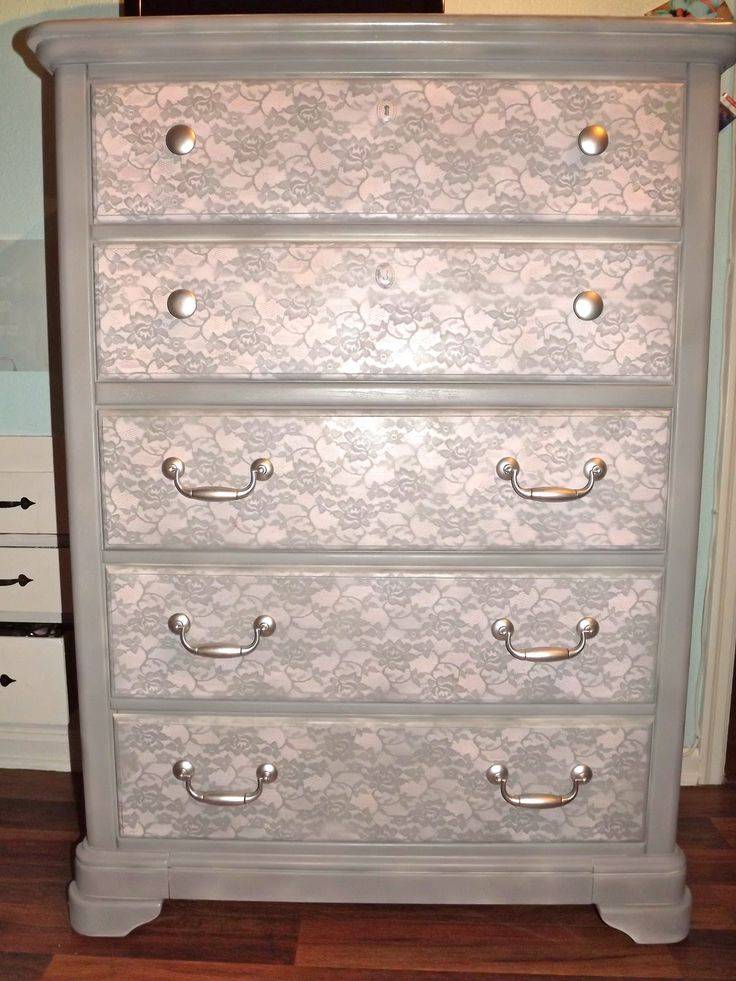
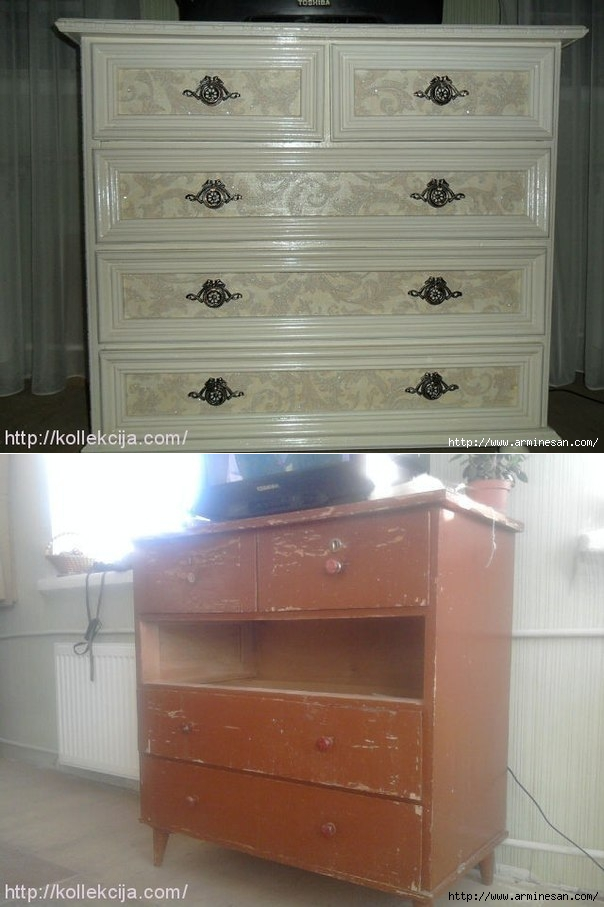
Stick wallpaper inside the frames. It's good if they have a thick texture and a quirky pattern. The ornament should be darker than the general background. After you finish pasting the wallpaper, carefully screw the knobs back into place.
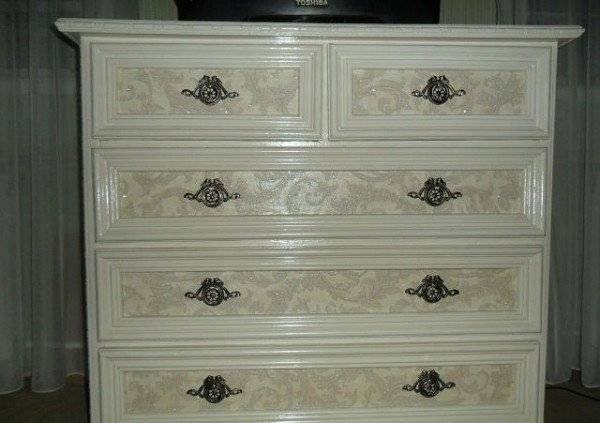
For the originality of the decor, use wallpaper.
The final touch is the covering of the chest of drawers with transparent varnish. It should be applied in several layers.
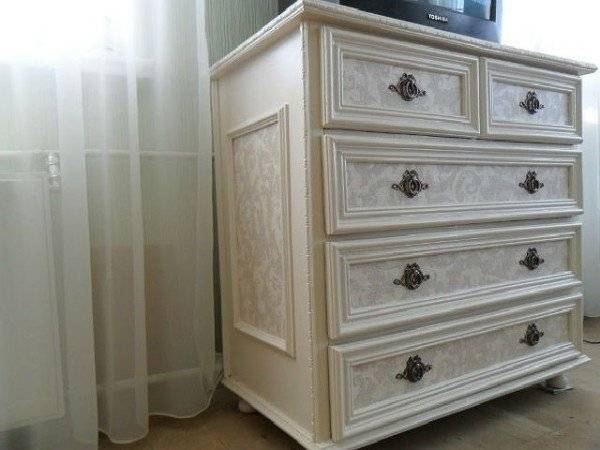
Chest of drawers after restoration in the interior of the bedroom
To make the drawers easy to slide out of the grooves, lubricate the wooden parts of the slide system with paraffin. Sliding will be greatly facilitated.
Master class on the restoration of the chest of drawers
On thematic resources, connoisseurs of old things and lovers of doing something with their own hands will find wonderful master classes. The videos show how to restore and restore an old chest of drawers, give detailed step-by-step instructions, talk about the necessary tools and materials, and reveal the features of decoupage.
 You can get a lot of ideas for decorating furniture from master classes.
Master classes will help you do everything correctly, in the required sequence.
Decorating a dresser yourself is a great opportunity to show your artistic taste, create an updated and completely unique interior object. A simple thing can be turned into an example of almost any stylistic direction.
 Thanks to the art of decoupage, you can make a unique art object from a simple boring thing.
Restoration of light scuffs and scratches
If the furniture products have partially retained their original appearance, but scratches have formed on a small surface area, do not throw the item away. In this situation, it will not be difficult to restore the structure of the coating. You can do the necessary work with your own hands, using home tools and buying the necessary tools from the hardware store. Below are several options for how you can restore scuffed furniture coverings from different materials:
- Varnished wood - a special putty stick is used to restore the surface. It is sold in hardware stores and is very easy to use. It is necessary to apply the product to the problem area, and then carefully remove the excess nodules. To keep the product well on the tree, use a sanding pad: gently rub the substance inside with circular soft movements;
- Wood of light colors, treated with oil - when restoring old furniture with your own hands, you should use similar oil compositions. To begin with, the surface is lightly sanded, after which the product is applied using linen or other natural material. Lightly rub the oil with a cloth, evenly distributing it over the coating;
- Other materials - it is unlikely that it will be possible to visually remove scratches from the metal parts of the furniture: the way out is to paint the surface. It is also better to paint over plastic elements.
For wood, substances such as putty are often used - it is produced in liquid form and applied to the cleaned surface with a spatula. In addition, folk remedies used at home are widely used: walnuts, honey, colored pencils. In order not to additionally spoil the old furniture with means, check the effectiveness of the method in advance on an inconspicuous area of the product.
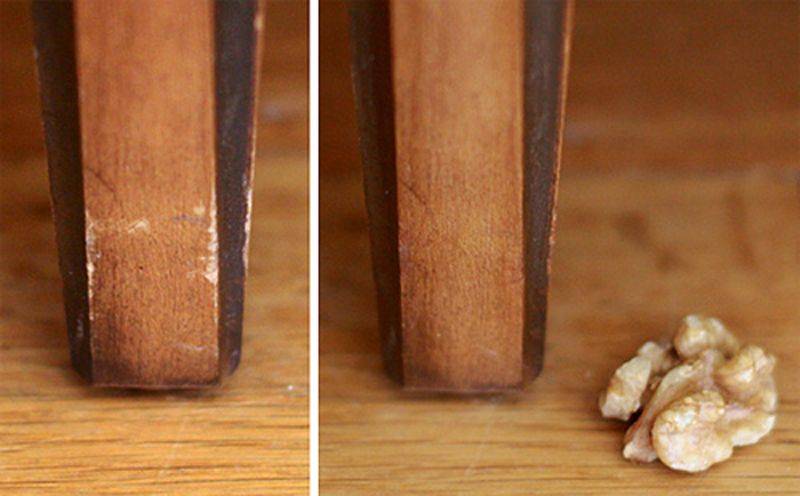 Walnut for scratch removal
 Butter
 Using a special pencil
How to update large furniture?
You can restore an old chest of drawers or wardrobe in a similar way. Large pieces of furniture often contain many boxes that swell or dry out over time. The restoration of an old cabinet, bureau, chest of drawers should begin with checking the integrity and ease of movement of these parts.
If necessary, you can disassemble the boxes into their component parts. The joints (usually a thorn-groove in different versions) are cleaned of old glue, processed with a file and glue thin pieces of wood into the grooves. To do this, you can take a cheap veneer or use one of the layers of plywood. Having compacted in this way, apply glue (carpentry, PVA, instant) to the surface and connect the parts of the boxes. Thin self-tapping screws can be used.
If it is necessary to replace the handles, cover the holes from the old fasteners with a crack repair compound. After drying, sand the surface with a sandpaper. Make new holes and reinforce the fittings.
The front wall of the box can be fixed on wooden dowels. If during the parsing process it was not possible to save them, then it is very easy to make new ones from a round stick of a suitable diameter (kebab skewers, for example). The remnants of the old pins need to be drilled out, pour a little glue into the recess and insert a small piece of stick there. Also make mating holes and put the wall in place.
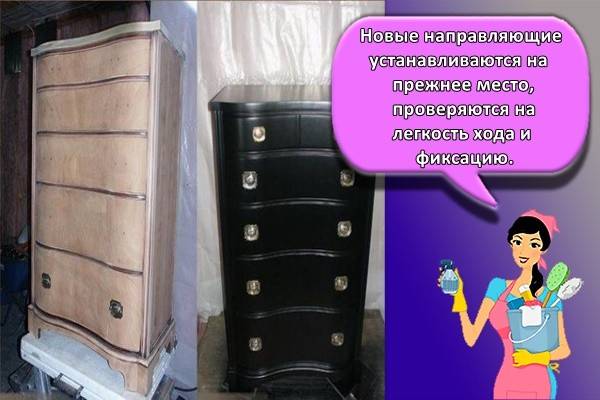
As a rule, the restoration of cracked boxes also solves the problem of their movement along the guides.If there is interference somewhere, you can examine the rubbing surfaces and grind off some of the wood with a file.

When pasting with any thin film, you need to remember that surface defects under it will be noticeable. Chips, cracks, peeling coating must first be leveled. Wipe wood defects with a putty compound, and remove the old coating. On large surfaces of dressers and wardrobes, this is easiest to do with a sander. The drill attachment in the form of a round brush with metal components is also suitable.
It is advisable to use a respirator and goggles during work to prevent dust from entering the eyes and respiratory tract. Cleaning large furniture from paintwork is best done in a non-residential building or outdoors. The dust remaining on the furniture after processing must be thoroughly washed off with clean water.
Ideas for decorating a wardrobe or chest of drawers
It is up to the master himself to decide how to restore old furniture at home. It depends on the style of the interior of the room. Reconstruction can be done in different ways:
- pasting film;
- coloring and decoration;
- varnishing.
Restoration of Soviet furniture with a flat surface and without unnecessary decor can be done using fabric or thin leather (leatherette). Depending on preferences, the front walls of the drawers can be covered with such material or pasted over with a metallic film. Usually, this is how the restoration of chipboard furniture is carried out, which does not imply the preservation of the pattern of valuable wood.
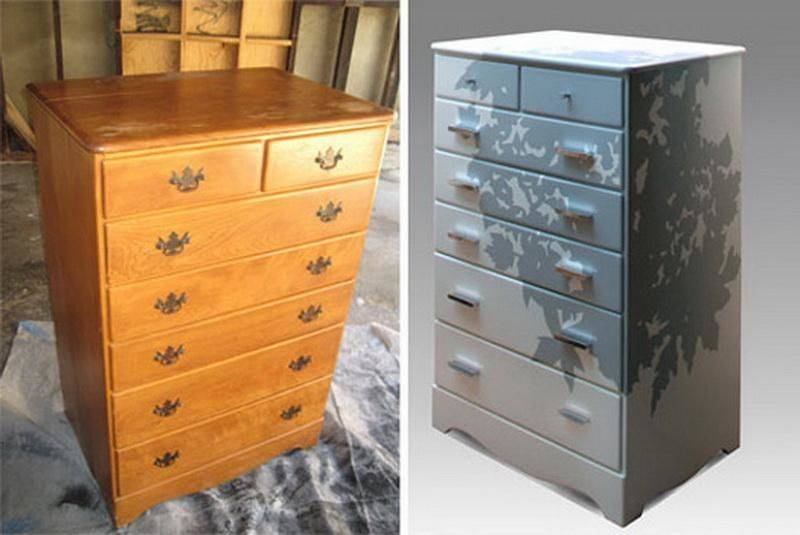
At the same time, the sides of the chest of drawers, its countertop can be painted in contrast: in dark colors for a minimalist style or hi-tech, in cheerful, but dim beige, blue, pink shades for country and similar interiors. Corresponding hardware details can complement the finish. In furniture stores and construction companies, there is always a wide selection of moldings that imitate stucco or have strict graphic outlines. Decorative overlays on the pieces of furniture free from pasting will give the updated dresser or wardrobe a resemblance to antique carvings. Handles of the appropriate design will help to complete the look of the transformed object.

Furniture with a slight worn effect is very fashionable nowadays. This does not mean at all that you can put a curbstone or chest of drawers with a peeling coating. The shabby chic style is characterized by the imitation of well-preserved, but old furniture. Therefore, any chair, wardrobe or whatnot is prepared for repair according to the general principles: removing the old coating as much as possible.
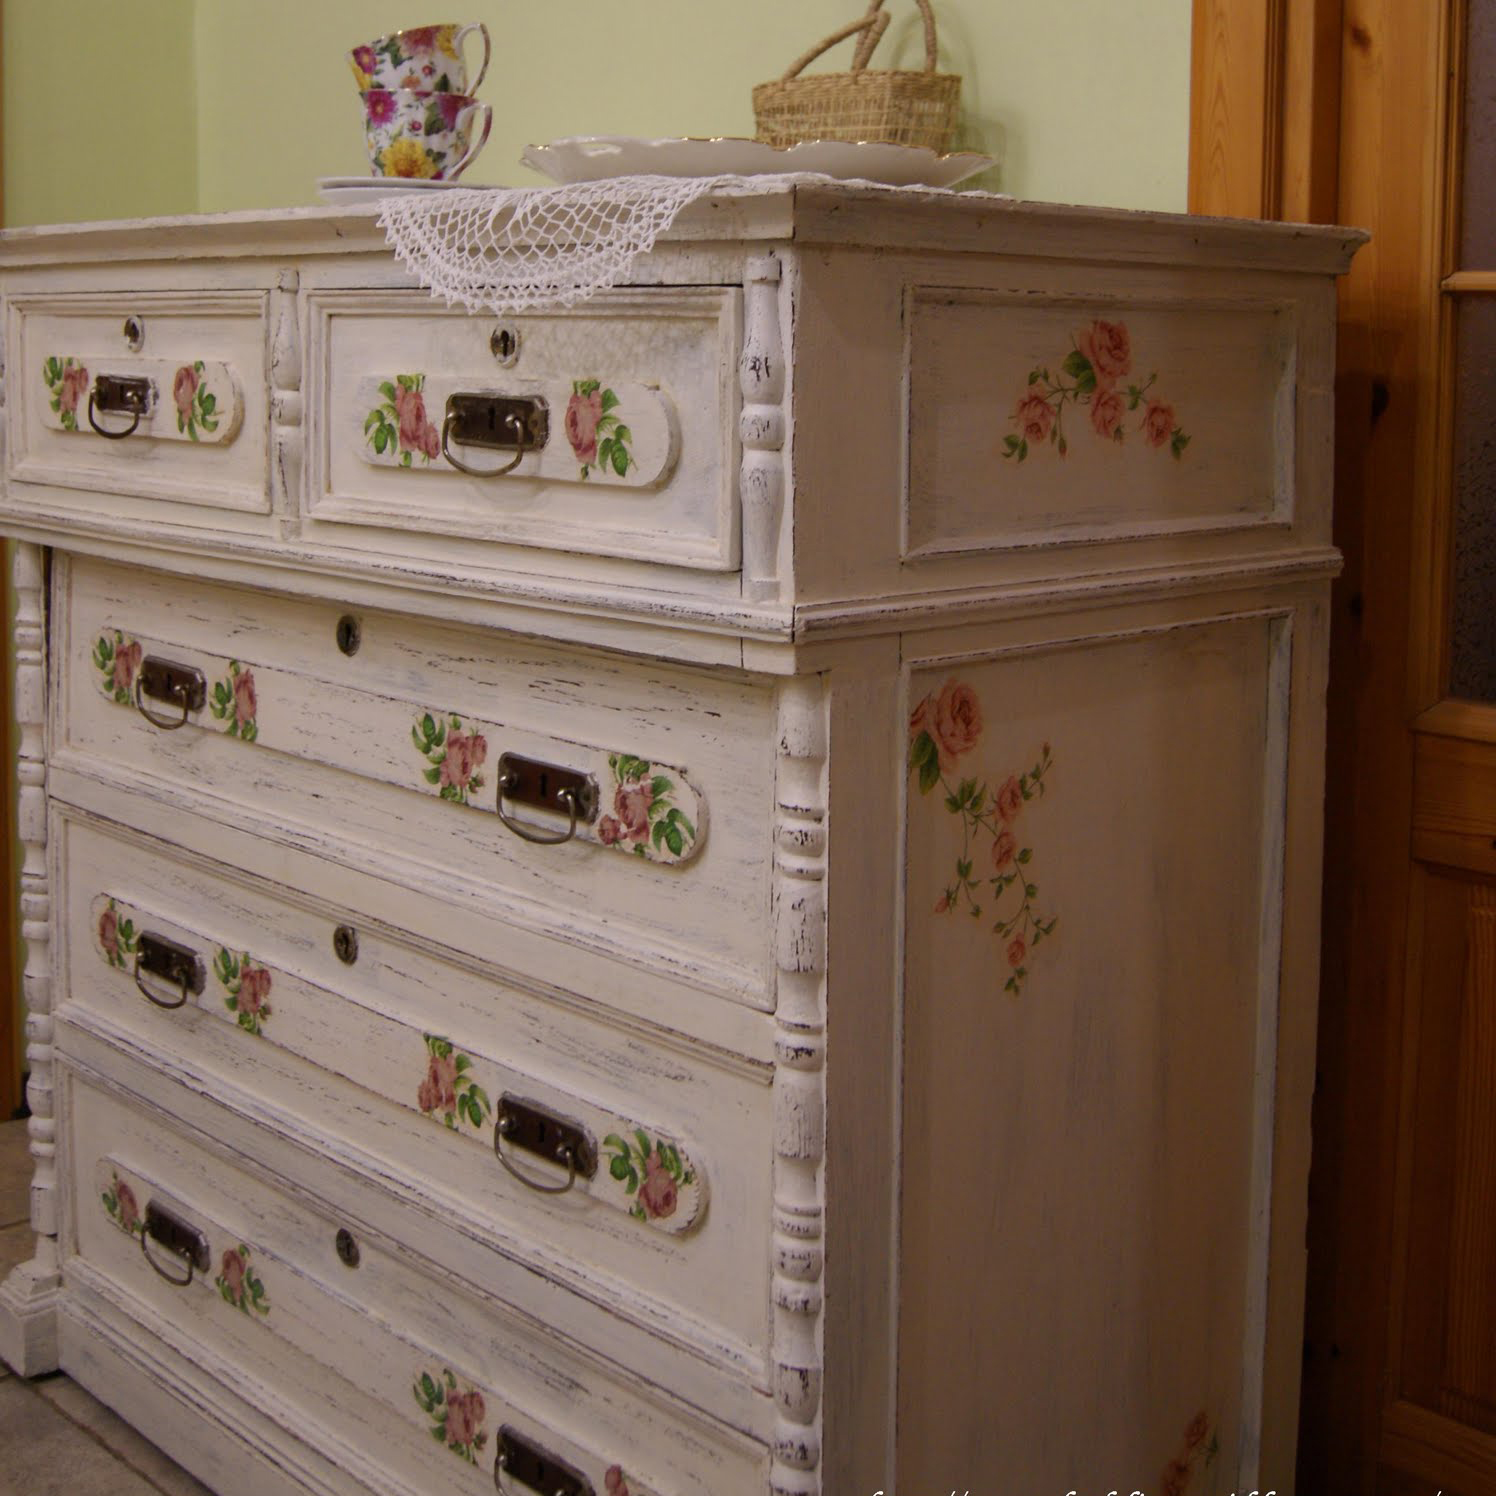
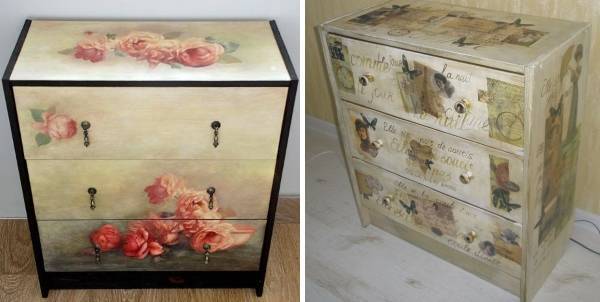
To do this, use ready-made drawings, pages of old books or notes, napkins with the desired pattern. A layer of PVA glue is applied to the furniture, press the picture and smooth it with a soft brush, removing air bubbles. Once dry, you can sponge paint the edges of the design to mask the transition from paper to painted surface. Do-it-yourself restoration of the chest of drawers can be considered complete, and to protect the pattern, the surface must be varnished.
Stylish DIY furniture
The easiest way to renovate old furniture is to decorate surfaces in a modern spirit. With the help of simple techniques, served things can be given a modern look in different styles. Homemade kitchen sets and dressers of the 30-40s of the last century will always find a place in country, shabby chic, Victorian and similar styles that imply not quite modern details. Soviet products of the 50-70s. will fit quite well into a minimalistic modern interior. You just need to slightly change their standard appearance and restore the furniture in accordance with your requirements.
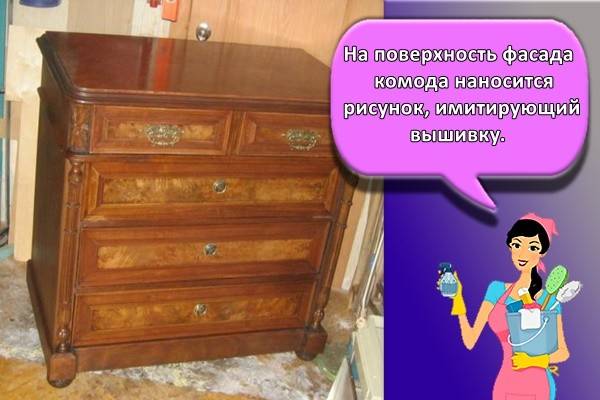
The new life of an old nightstand can start by removing dirt and old paint. Some surprisingly elegant and exclusive handcrafted items have been repainted several times over the years. This completely deprived them of the attractiveness and charm of antique furniture.It is best to remove the paint completely, to clean wood.
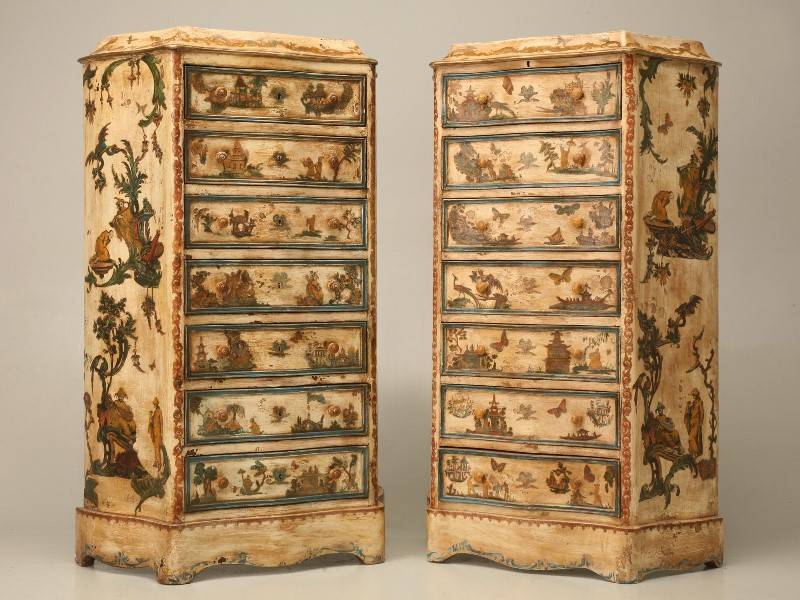
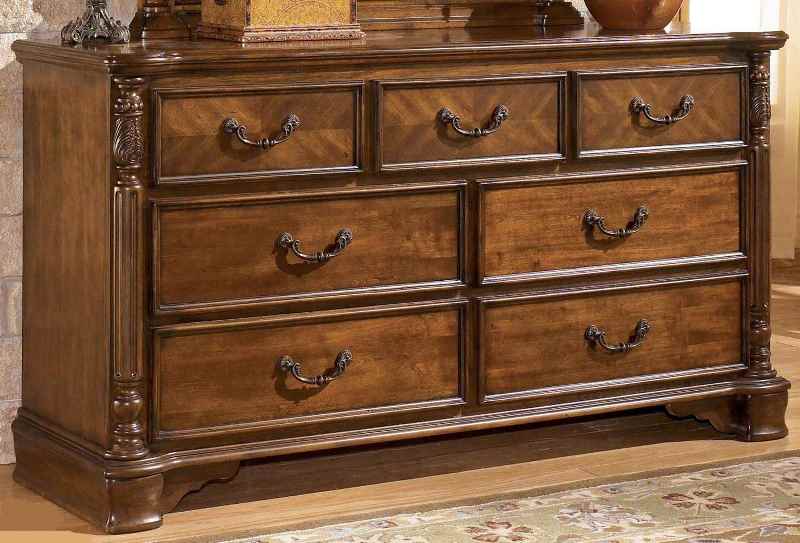 Before renewing old furniture, it is worth determining if it is not too valuable antiques.
The same should be done if the cabinet was varnished. As a rule, the coating is in very poor condition. It is easiest to remove both paint and varnish with a sharp knife, file and emery cloth. Loose and poorly closing doors are best removed to replace fittings.
If cracks and potholes are found on the furniture, then you need to make a special putty based on wood glue or acrylic resin. For 1 part of the binder, you need to take 3-4 parts of small sawdust (if possible, even sift them). With this compound, cover up defects, capturing intact areas around the groove. After the mastic is completely dry (up to 48 hours), treat the surface with an emery cloth stretched over a flat wooden block.
A beautiful pattern of cleaned wood can provide ideas for finishing without painting. In this case, you need to cover the product with a wood stain for valuable species. Dry the bedside table, add decor to your taste (painting, decoupage) and cover all parts with transparent varnish. Install the handles of doors and drawers in their regular places, if necessary, you can replace them with more modern ones or, conversely, corresponding to the style of noble antiquity.
 The easiest way to renovate old furniture is to decorate surfaces in a modern spirit.
How to update upholstered furniture?
Compared to reworking wooden things, restoring upholstered furniture with your own hands seems quite difficult. But you can cope with this task as well. Most often, you have to change worn upholstery and filler.
To re-fit an old chair with your own hands, you will have to pick up furniture fabric. For modern headsets, flock or velor are also suitable, but they can deprive an old thing of its inherent solidity. For artsy armchairs with carvings and curved details, you will have to look for quality furniture tapestry.
Disassembling the upholstered furniture of the last century, you can find a spring block or foam rubber inside, which most often cannot be repaired. They can be replaced with modern high-density foam rubber. It is best to choose a thick plate of denser material, and on top of it make a thin (about 2 cm) pad of soft foam. For greater preservation of the filler, burlap or other dense fabric is placed on top.
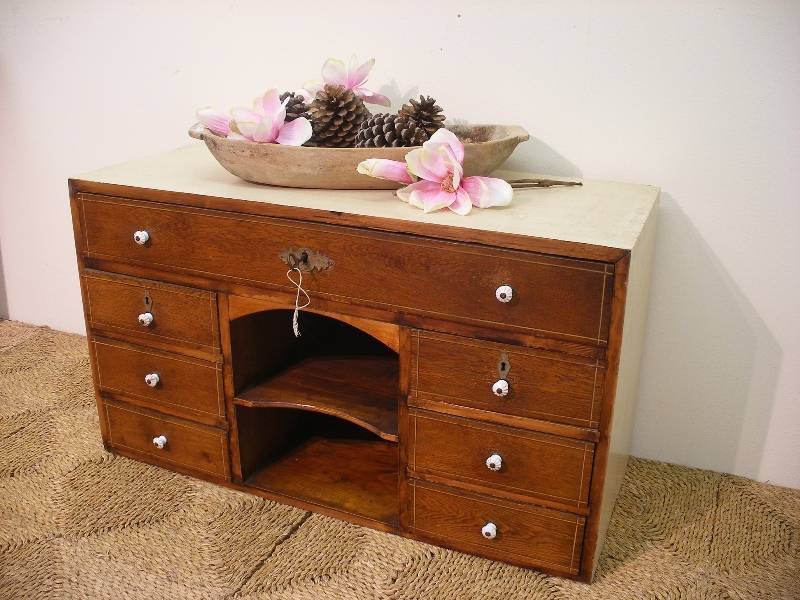
If the chair or sofa was not completely soft, but contained polished parts, then before restoring the furniture with your own hands, you need to restore the coating with varnish. Polishing is done with GOI paste.
The restoration of the chair continues by laying the filler:
- grease the base of the seat with glue and lay thick foam rubber on it;
- press evenly over the entire surface;
- smear the surface of the foam rubber with glue and lay a thin material;
- lay a rough burlap upholstery over the foam rubber, attach it with staple staples;
- paste over the armrests and backrest, if necessary.
Depending on the design of the upholstered furniture, it may be necessary to make a relief on the filler. Parts protruding above the surface must be cut out separately and glued.
Finally, you will need to sew new covers. Use the old upholstery for the patterns. Put the finished cover or furniture fabric on the wrong side near the edge of the polished part, attach with a stapler along the edge.
Turn over on the face, covering the soft filler, pulling the cover over the armrests and backrest. Attach to the inside of the furniture, underneath the armrests, etc., restoring the upholstery as it was installed before. If the chair had overlaid wooden parts over the fabric, they are reinstalled last, when the upholstery is completely replaced.
Some old furniture models have overhead pillows. Their filler should be inspected and replaced if necessary.Covers can be easily sewn using patterns taken from old upholstery. There is much less work with these details than with the constriction of the sofa or chair itself.
The restoration of old furniture is a creative process in many ways. Even restoring its old look, one has to use both new casing and modern technologies, spending a lot of time and no less imagination. But when looking at a sofa restored at home, carved or polished furniture that can be used for a long time, the master does not regret the effort spent.
How to replace metal parts
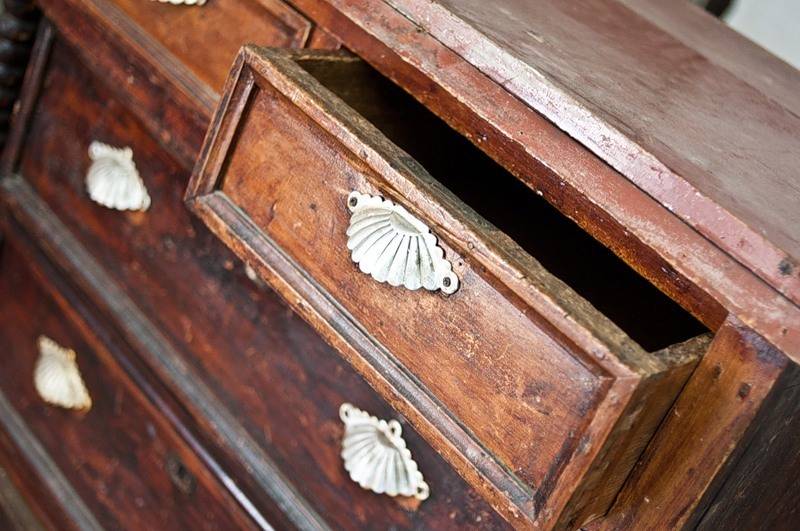
It is not enough just to decorate an old chest of drawers, it still needs to be restored. Metal elements of furniture deteriorate over time.
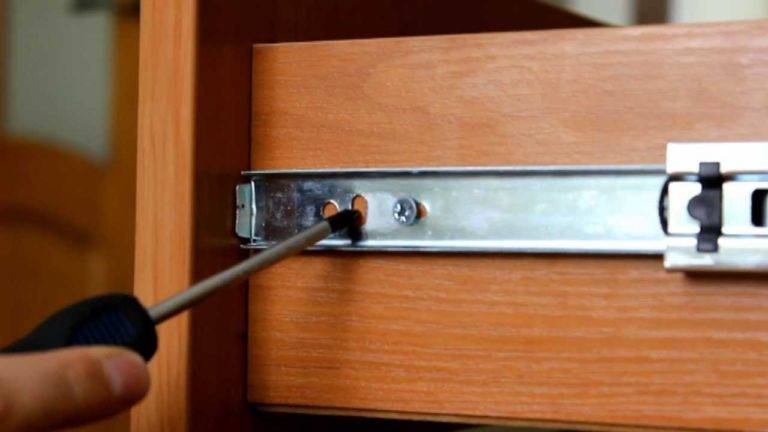
For a modern restoration, it is necessary to exchange furniture handles for new products.
- It is necessary to carefully inspect the condition of the fasteners.
- Unscrew the loose screws.
- Pour glue (carpentry) into the holes.
- We select the size of the dowel and install. Then we screw the screws into them.
- Using metal corners, we fix the frame parts inside the chest of drawers.
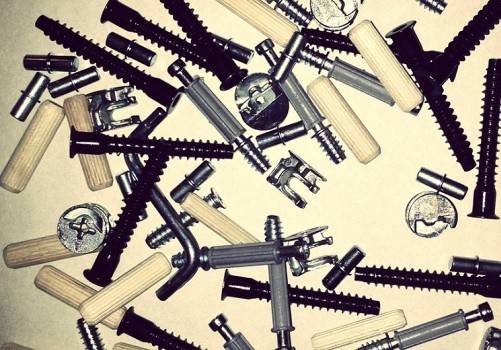
Now we check the condition of the furniture legs. If they are loose, they should be replaced. Mounting plates are replaced with furniture guides. This is necessary so that the drawers slide easily. Then you can start decorating. Metal decorative overlays can be used as decoration.
Selection of materials and tools
To restore the cabinet, it is worth preparing everything you need in advance:
- Sandpaper. It is also permissible to use a grinder. This will help give the surface an even and smooth texture.
- Screwdriver and screwdrivers. They must be matched to the diameter of the bolts. This will help you adjust the product and remove the hardware before cleaning.
- Putty knife. The device is used to cover chips and holes.
- Paint roller. A narrow brush is also often required. These tools are used to update the surface.
- Joiner's glue or PVA.
- A set of self-tapping screws.
Additional accessories and materials depend on the chosen technique. To decorate the cabinet by decoupage method, use napkins with a pattern. You will also need acrylic varnish. In addition, it is worth preparing a thin synthetic brush.
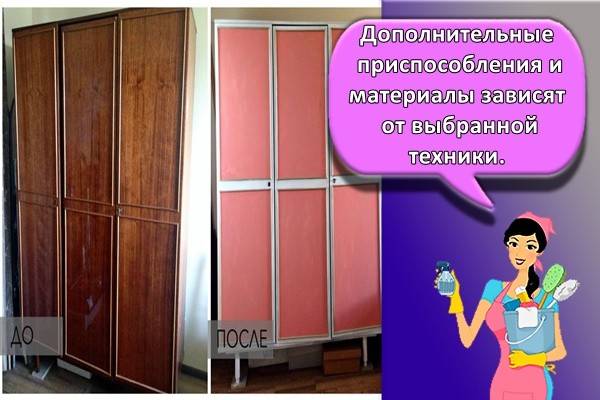
For the restoration of the old cabinet, a primer, dyes, masking tape are used. Wood putty is also often used. To use craquelure, you need a varnish of the same name.
Turning a dresser into an open storage system

Necessary materials
replacement for boxes (wicker baskets, suitcases. wooden boxes).
Another way for those who don't want to bother. To turn a dresser into an open storage system, just take out the drawers and replace them with something more original. For example, wicker baskets or old suitcases. Just. And how spectacular!


It is not necessary to have an art education to give furniture a second life. It is enough to arm yourself with the necessary materials, drop the notion of right / wrong, and simply allow the inner child to manifest itself.
If your eyes diverge from the number of options, go to our style preferences. At the same time, you will learn something new about your internal designer.
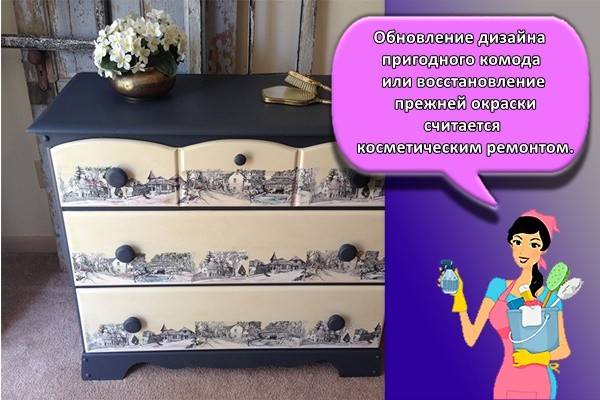
Many of us have such furniture in the house that is still functional, but outwardly is already outdated. No need to throw out old things, because they can be transformed. One of the best solutions for such furniture is cosmetic repairs. Consider simple and interesting ways to update an old chest of drawers with your own hands.
Basic methods of restoring an old cabinet
There are several ways to restore an old cabinet, which allows you to choose the best option.
Painting
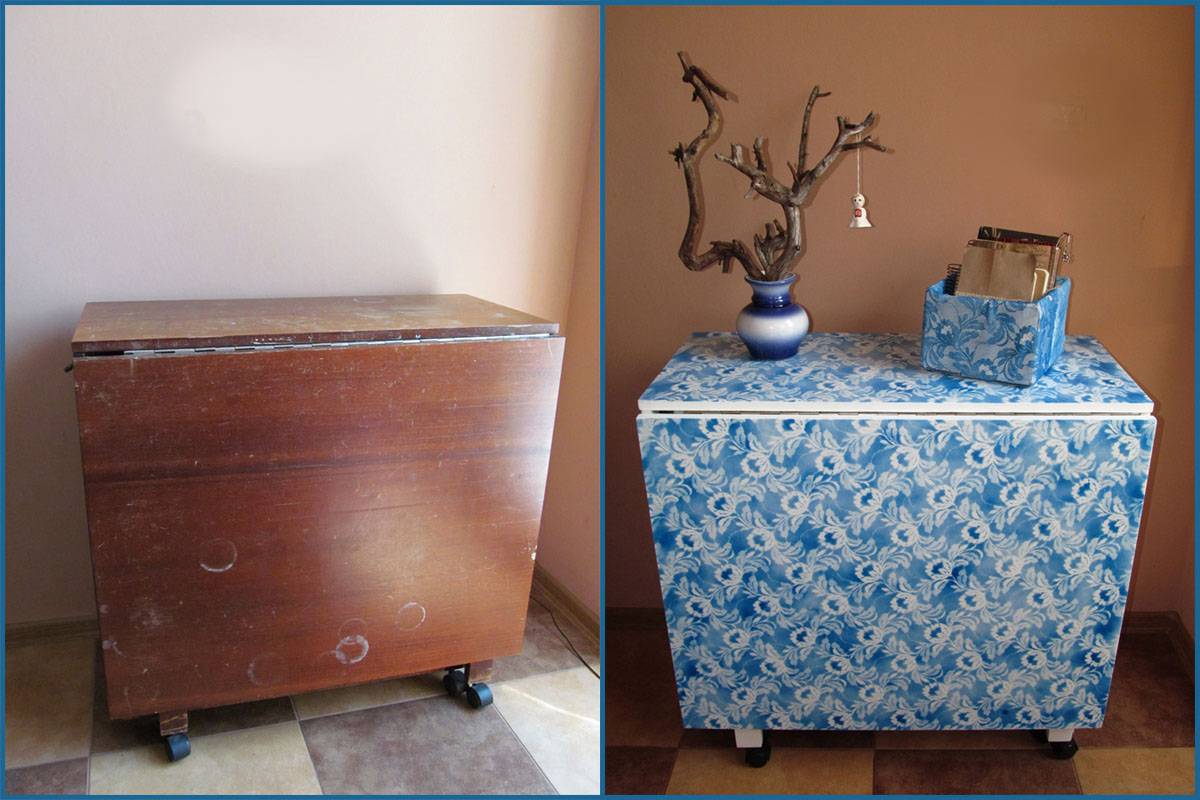
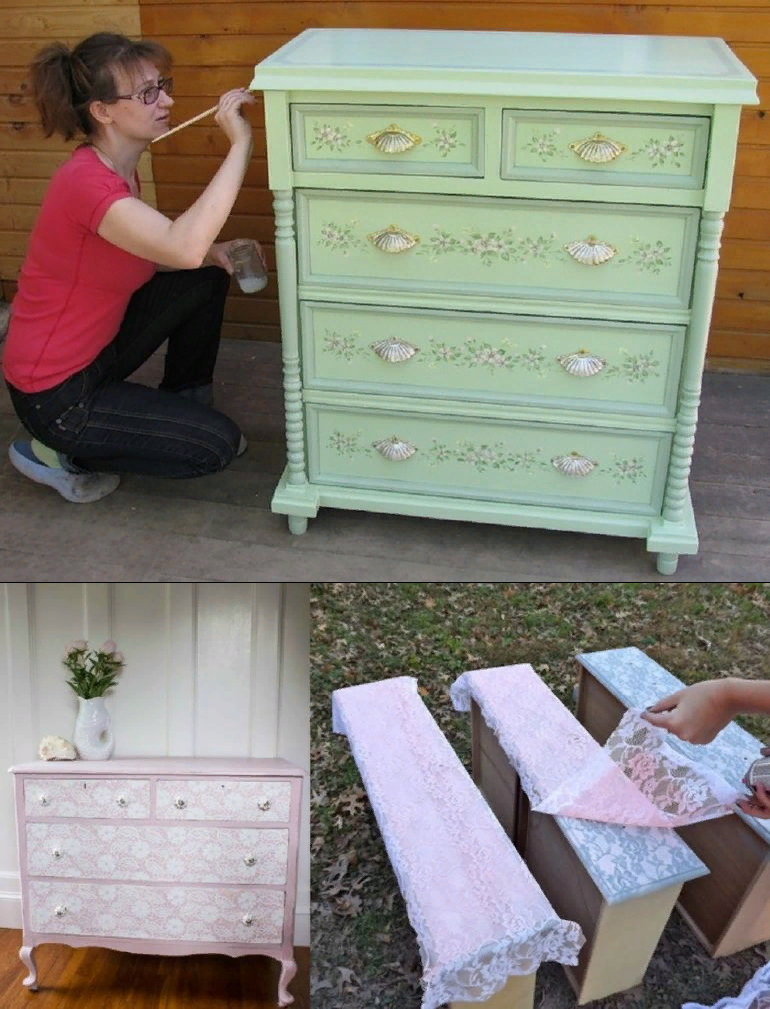
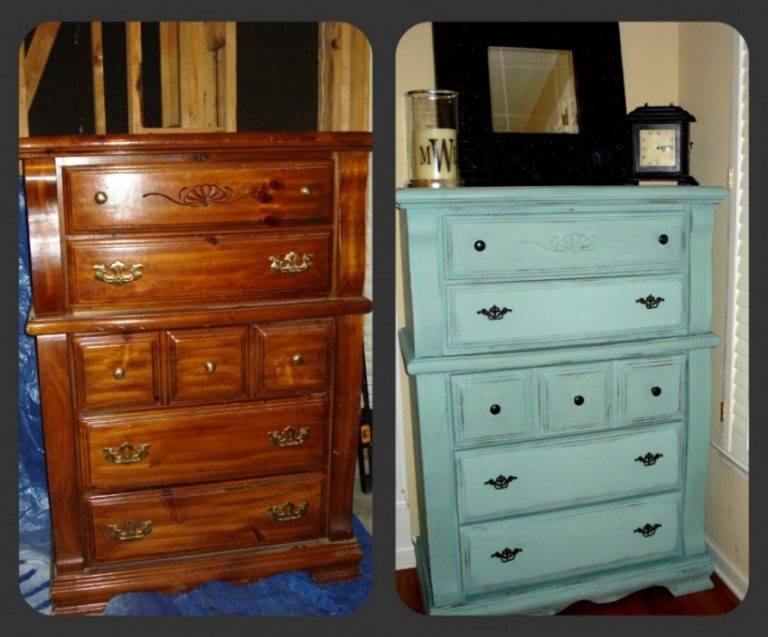
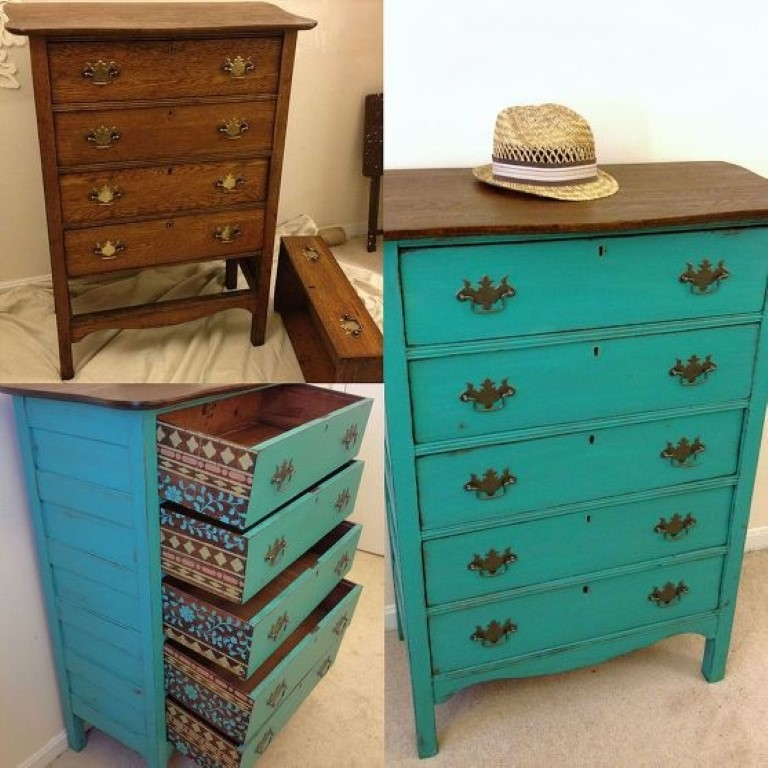
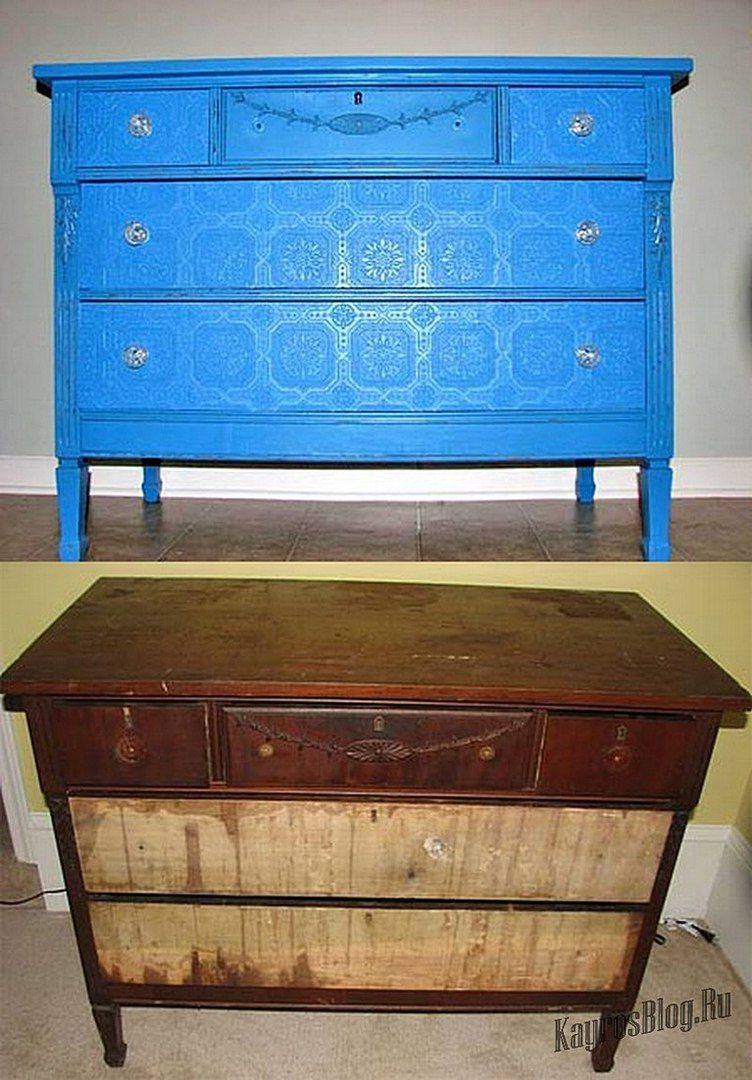
This is a simple and reliable solution.At the same time, it will be possible to obtain many results that differ in colors and methods of applying paint. The product should be completely repainted in a different color or change certain fragments - for example, drawers or doors. An interesting solution would be to use the ombre technique. At the same time, they make the transition from saturated to pale shades.
> When restoring an antique dresser, do not cover its surface. It is recommended to cover this unique product with a diluted layer of dye, which will help preserve the luxury of antiquity. Acrylic is considered the ideal paint option for such work. It mixes easily. The substance can be easily washed off in case of errors. In addition, it does not leave a pronounced aroma. Acrylic primer is in harmony with such a dye.
Craquelure varnish
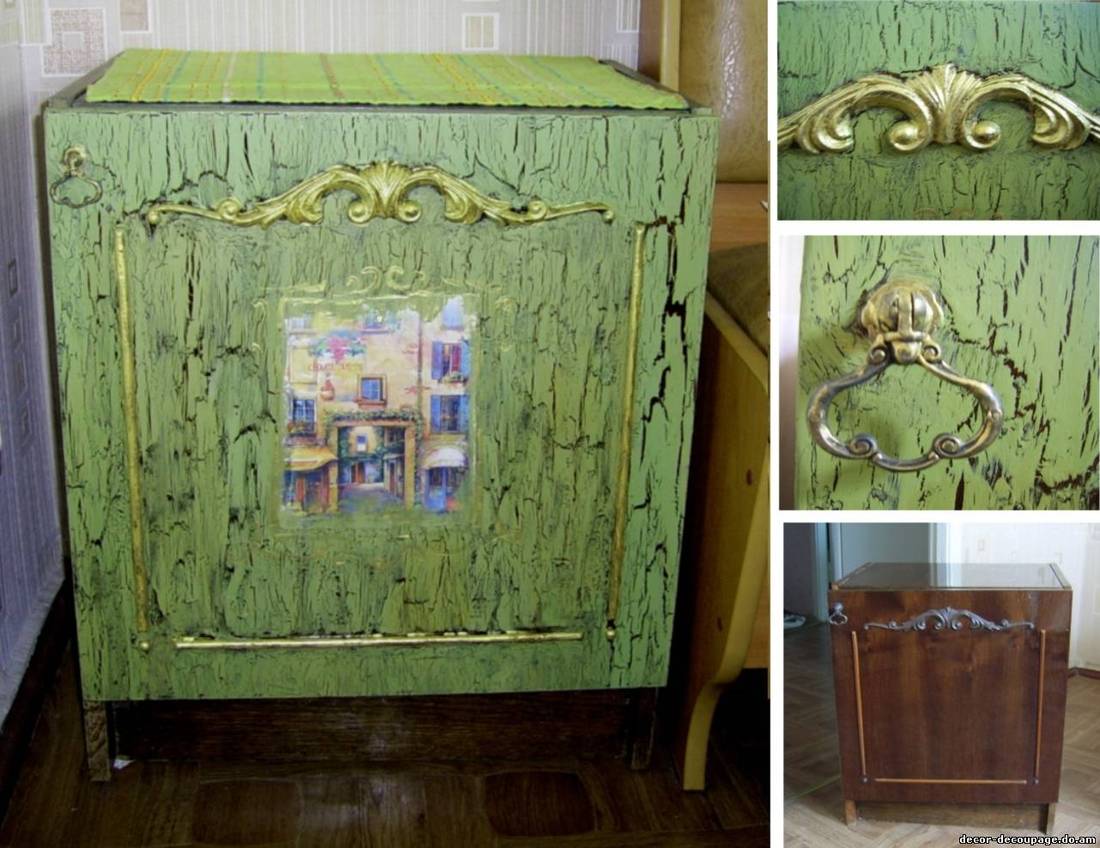
For surface restoration, it is permissible to use a special varnishing method, which involves the use of craquelure. To remake an old cabinet, it is allowed to use different types of such a substance. Options with a patina or gilding effect look good.
The usual substance is applied in a thick layer to the paint. After that, they are covered with a different shade to accentuate the cracks. In addition, craquelure varnish can include 2 components. The first is applied to age the surface, the second is used to obtain decorative cracks. The use of this type of varnish is suitable for people who love antiquity. It should also be used by fans of country style.
Decoupage
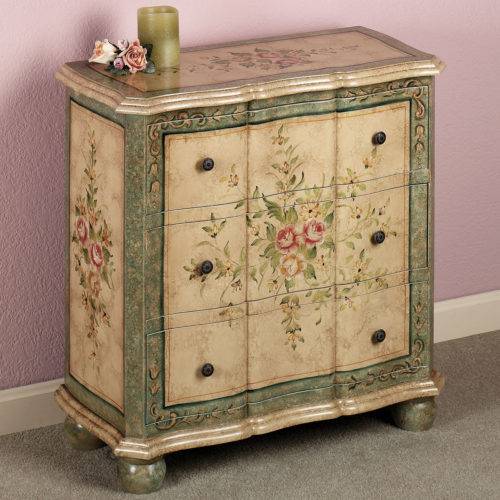
With the help of decoupage, it will be possible to decorate the wardrobe with a pattern that will firmly merge with the surface. Although this technique is considered simple, the finished product will look luxurious. For the procedure, you should use ordinary napkins with your favorite pattern. Today there are interesting options with images of flowers, animals, landscapes. In this case, the drawings are clear or blurred - it all depends on the style of the chest of drawers.
It should be borne in mind that when applying thin paper, there should be no bubbles or wrinkles on the coating. It is recommended to smooth them out immediately. If this fails, the procedure is restarted. After the napkin has dried, it should be varnished, since the surface is highly sensitive to external factors. The main material can also be newspapers or letters. Tram tickets will be an interesting and extraordinary solution.

Fittings
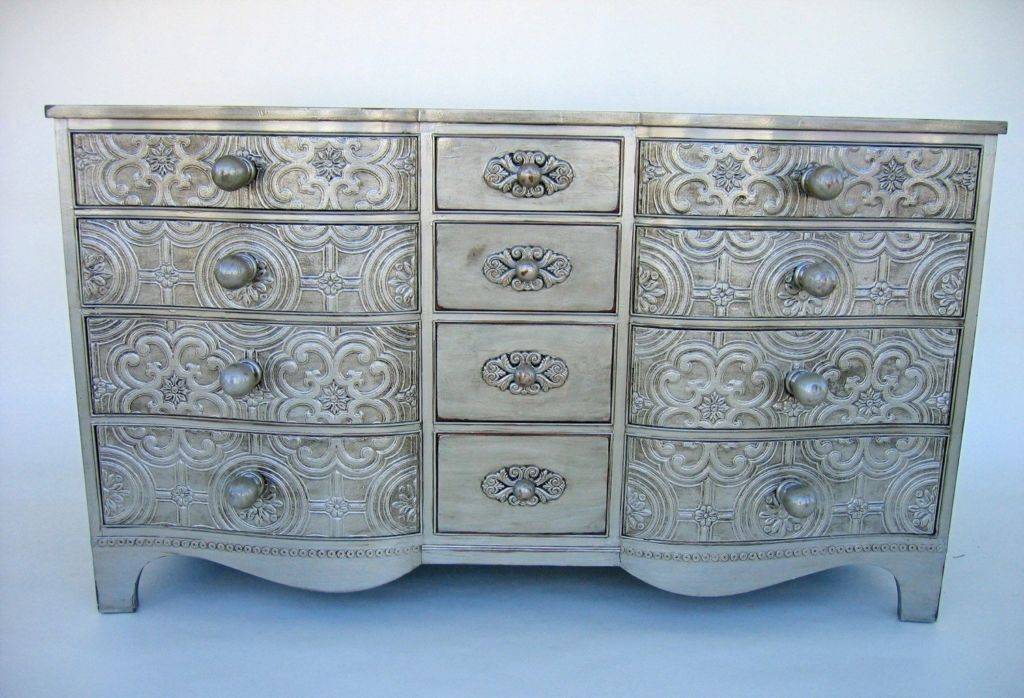
The use of fittings is considered one of the simplest and most affordable methods to change the appearance of furniture. An interesting solution would be to install decorative overlays in different styles. Popular options for restoration include flowers, curls, and columns. They will help to decorate the wardrobe and give it any stylistic direction. As a result, it will be possible to obtain a product in the Baroque, Gothic or Rococo style.
Handles will help to make the product interesting. They should be replaced if necessary. Thanks to this, it will be possible to strengthen and complement the design. Today there is a large selection of fittings. It often has interesting glass or porcelain details. The choice of accessories is based on the style of the product.
Antique decor

Necessary materials
: acrylic paint, paint roller or brush, sandpaper, leaf, glue, varnish.
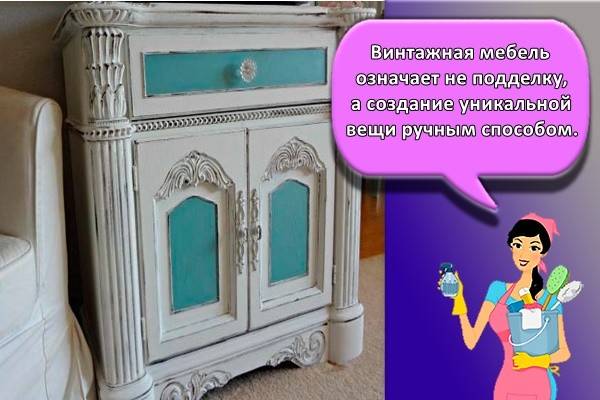
An antique decorated chest of drawers is suitable for a country or Provence style bedroom. The funny thing is that even the traces of time have to look stylish, so you have to work a little. On the prepared surface (the 5th stage of our list) we apply two layers of acrylic paint in contrasting colors. After the paint is completely dry, we process the corners and protruding places with sandpaper.

If you want to give the chest of drawers a sense of former luxury, additionally use a thin foil called leaf. Apply glue to the selected areas, and then put the gold leaf on top. Give it at least two hours to dry, remove excess.The final stage of work, as you probably already guessed, is varnishing.
Stages of complete restoration
If you decide to completely update the piece of furniture, then there is a lot of work to be done. It takes place in several stages:
- Disassembly. Hardware and upholstery are removed if they need to be replaced. Keep in mind that antique items have good material retention, which can be damaged. If you are remodeling a chair, but the upholstery is intact, then there is a reason to keep it.
- Removal of paintwork. The varnish is removed with a grinder or sandpaper. Cracked coating can be easily removed with solvents. You can also remove the paint with sandpaper or preheat with a construction hairdryer, and then clean the softened material with a spatula.
- Removal of damage. We wrote above about the ways to remove scratches, stains and cracks, use them to restore the integrity of the surface.
- Preparation for surface painting. Prepare the area before painting. Remove dirt, dust, debris. Then degrease the surfaces to be treated. For better adhesion, apply a primer.
- Paint application. The paint is applied with a brush or spray gun. For a bright shade, apply 2-3 coats of paint.
- Application of varnish. To get a shiny surface, apply varnish to the dried paint.
- Upholstery. The fabric is attached to the frame with a construction stapler or small nails.
- Assembly. The final stage is the assembly of the structure, the installation of fittings.

Restoring furniture completely with your own hands is interesting, but rather troublesome. If you are not ready to spend a few days on home remodeling of interior items, contact the professionals.
How to restore an old dresser with your own hands
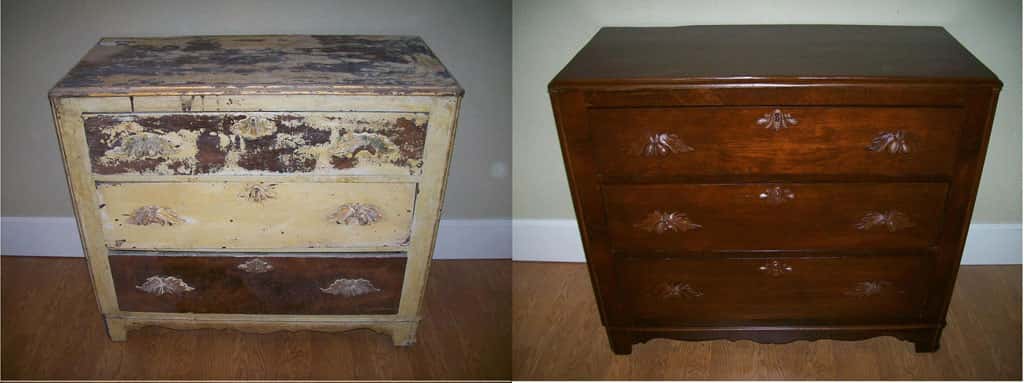
Over time, any furniture ceases to be attractive: the varnish can peel off, the colors often become dull, etc. But everyone is subject to restoration work at home: restoration and renewal.
 Over time, the chest of drawers can lose its attractive appearance.
How to restore an old chest of drawers with your own hands? The main thing that needs to be done is to prepare everything that is required for this kind of work - finishing materials and tools - and familiarize yourself in detail with the methodology of the process. Having realized the decor of the chest of drawers, the master will give another life to the old piece of furniture.
 Decor can be used to renovate old furniture.
Solutions for children's furniture
Children's chests of drawers have their own specifics in materials, design, safety requirements. If the dresser to be restored is intended for a children's room, its elements should be made of natural wood. The maximum height of the furniture is 95 centimeters. For the safety of the child, legs are not used in the structures. The chest of drawers rests on the floor along the entire perimeter. The drawer guides are equipped with reliable latches to prevent them from being pulled out.
Chest functions combine:
- storage of linen and diapers;
- of things;
- toys.
Furniture design takes into account the age of the child and the purpose of the interior element. The general background of the room for a small child should have a calming effect. The prevailing colors are pastel. Growing up children are encouraged to be creative with lemon yellow paints. The color of the chest of drawers should take into account the gender of the child. Boys prefer blue, brown, green colors. For girls - pink, combinations of white with red, green, beige.

