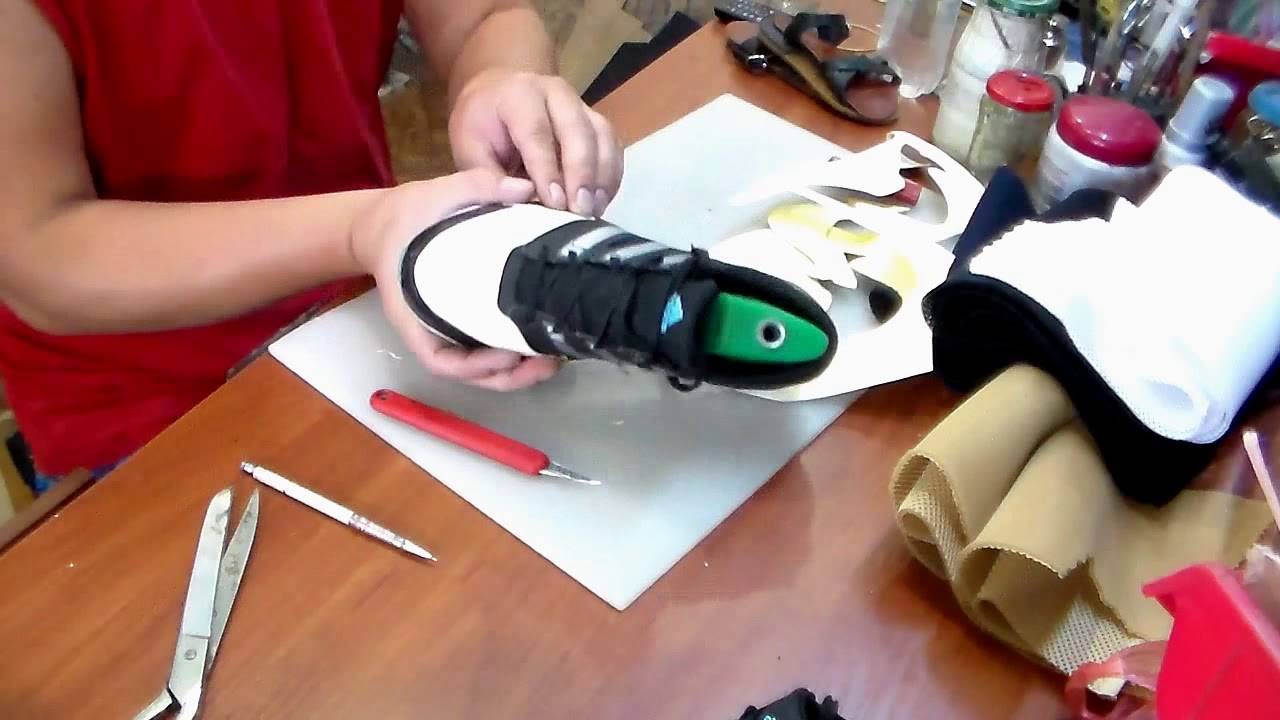
How to glue the sole
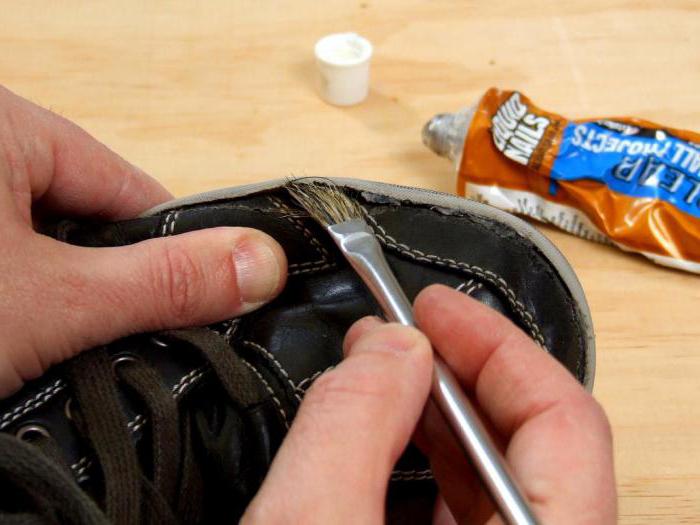
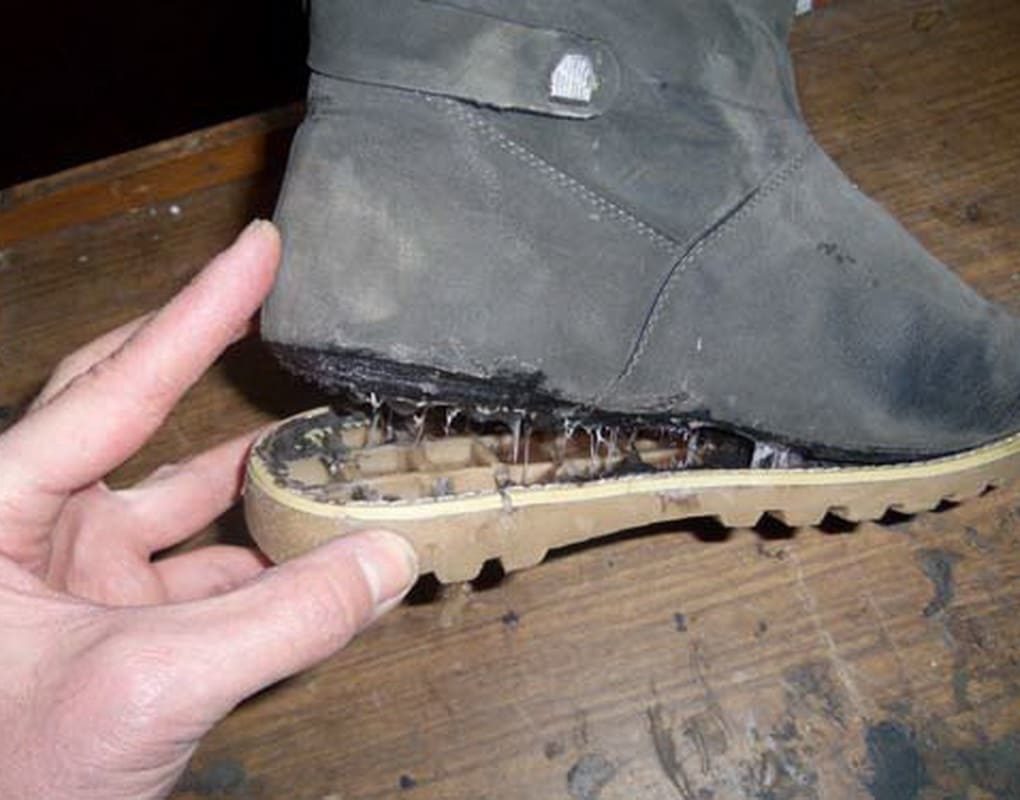
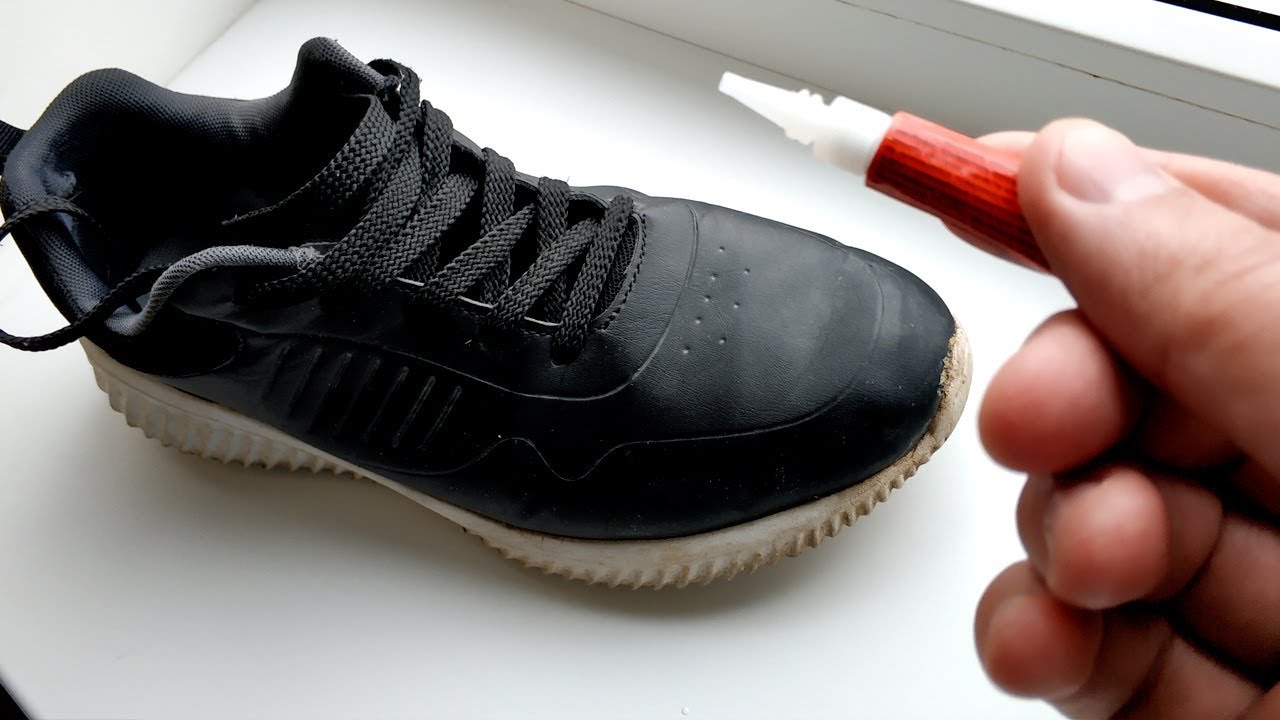
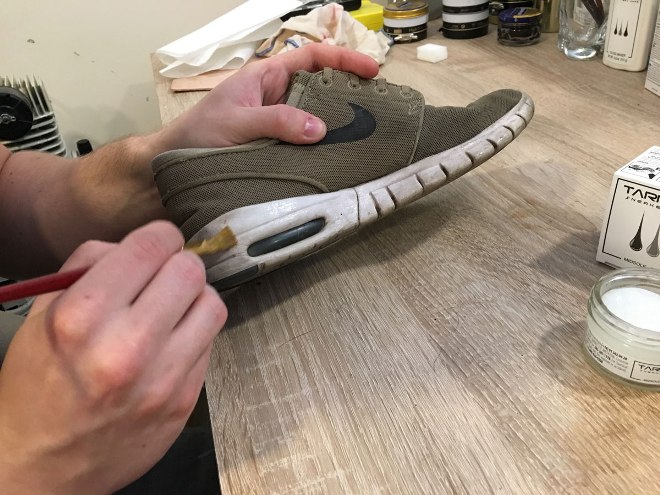
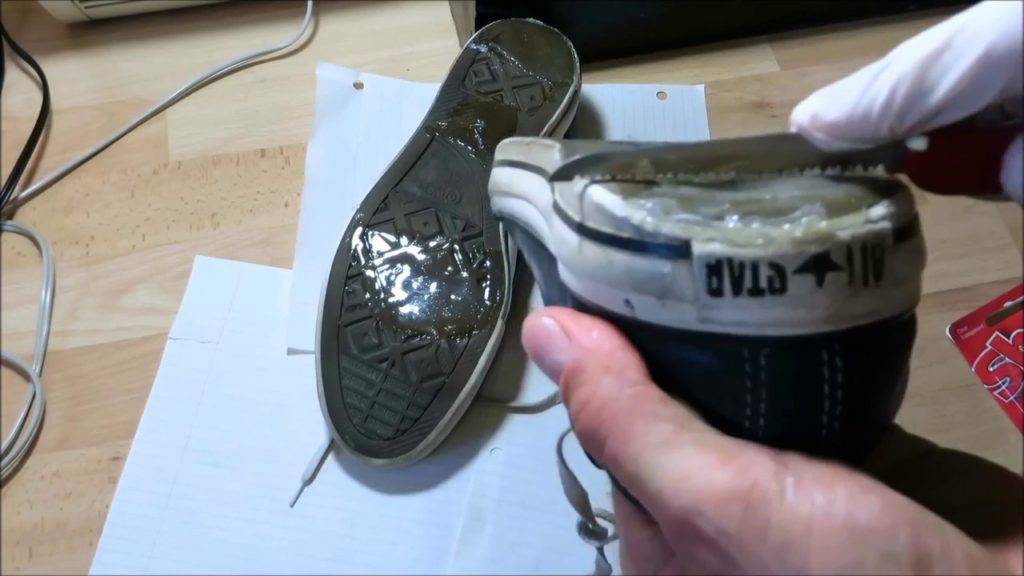
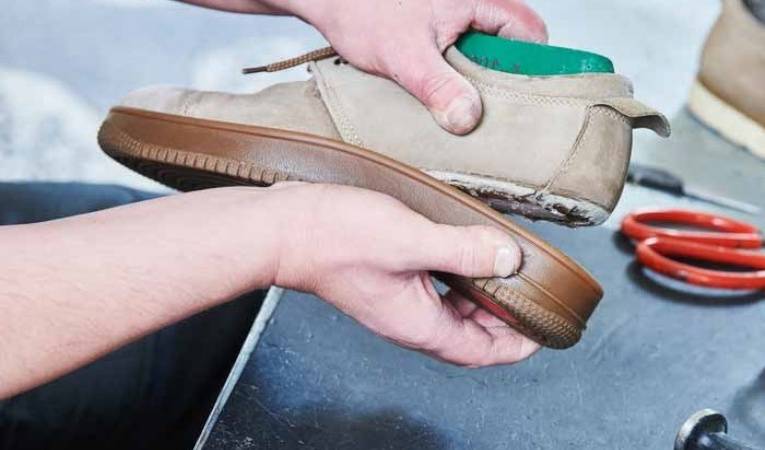
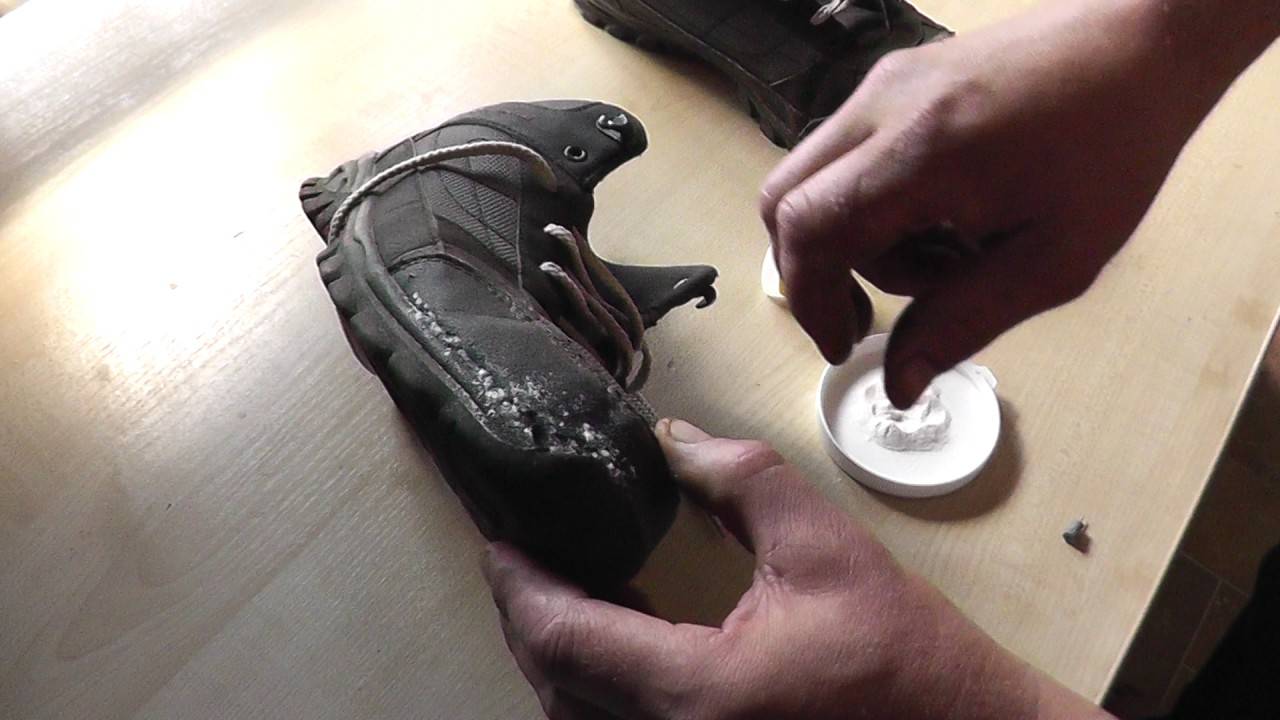
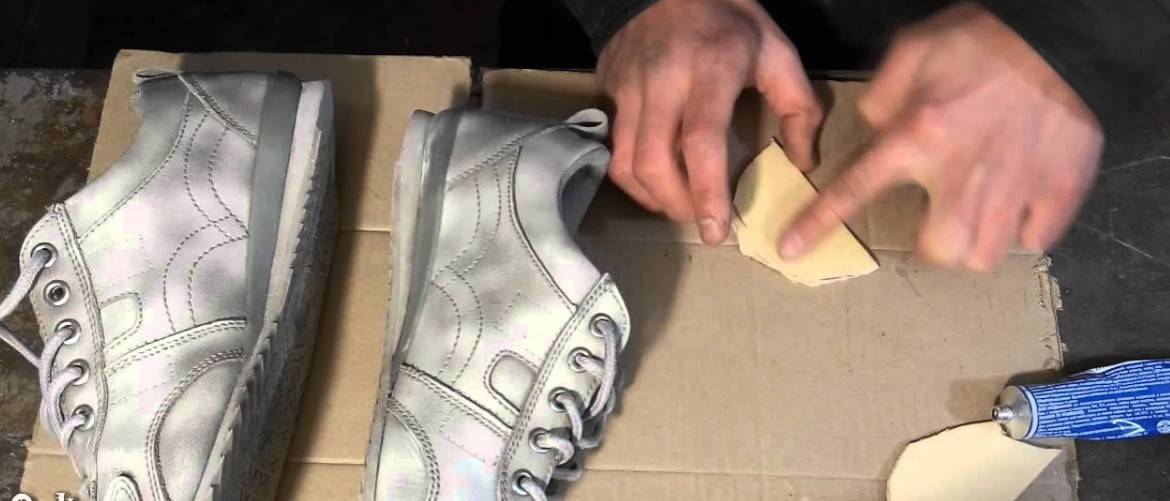
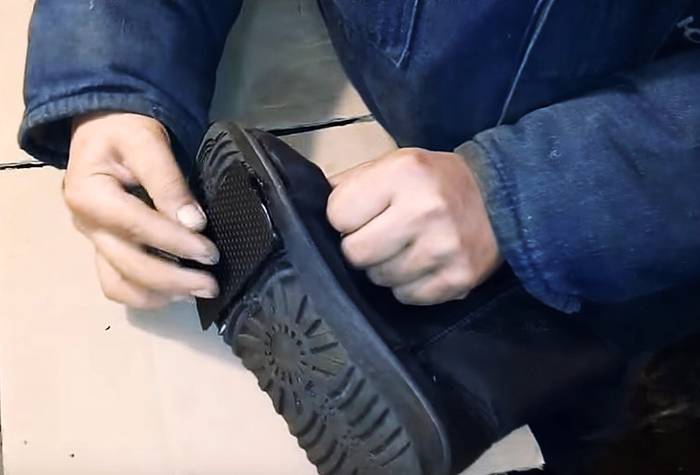
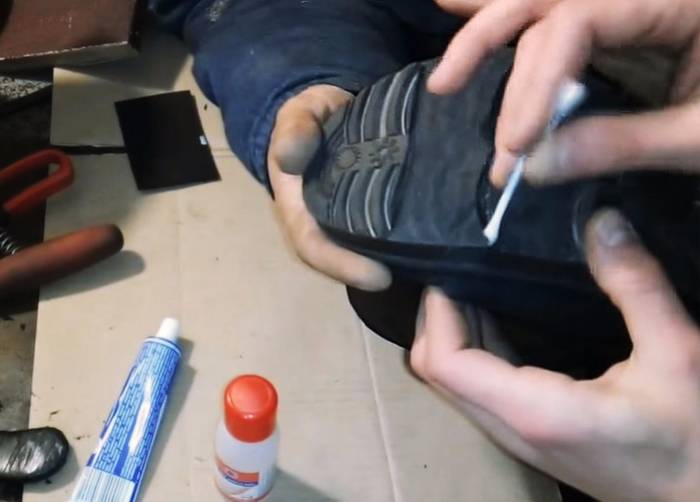
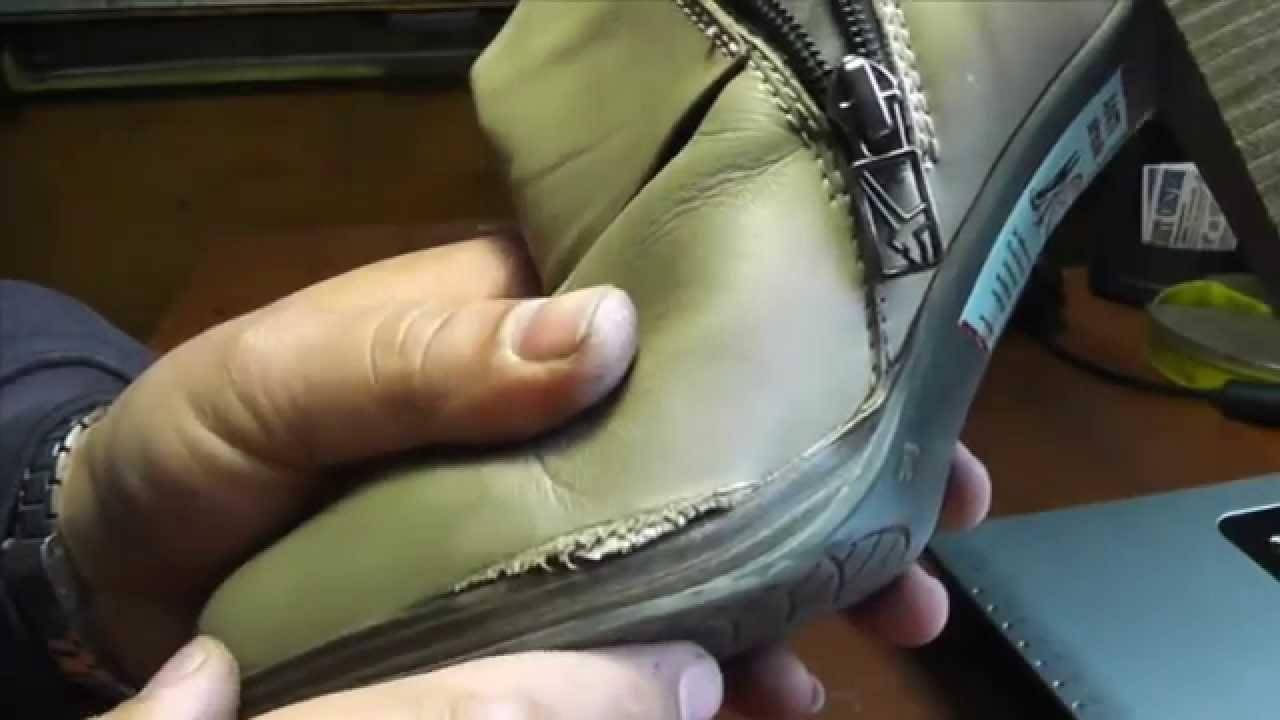
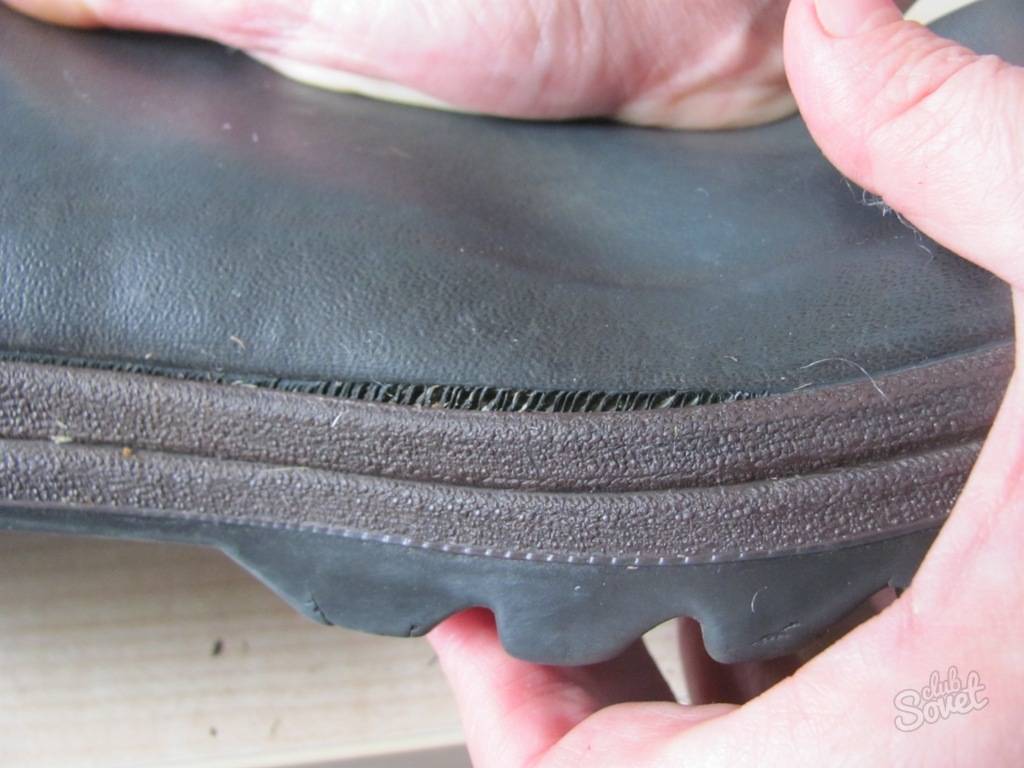
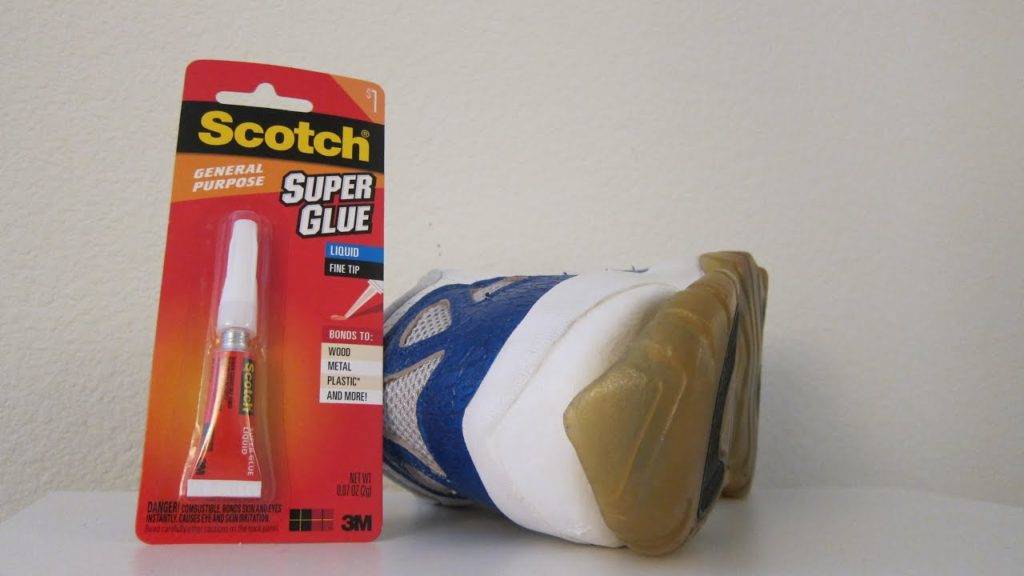
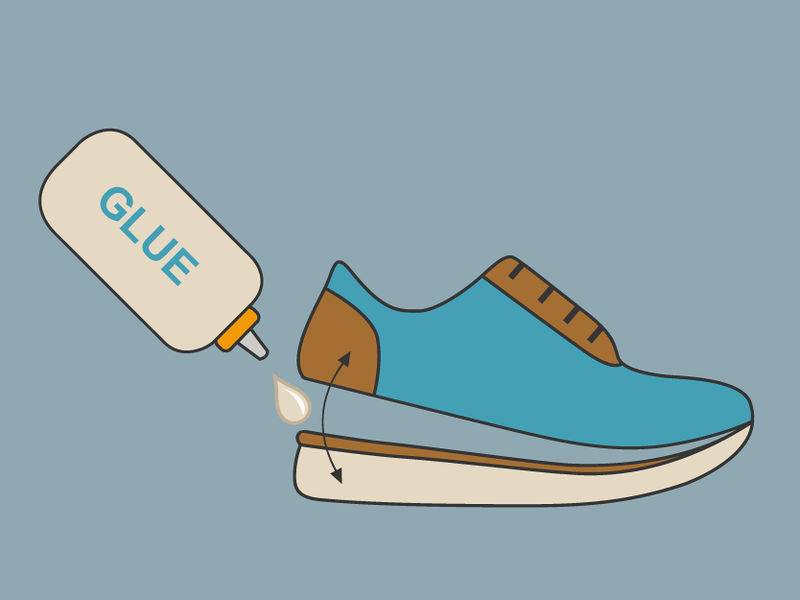
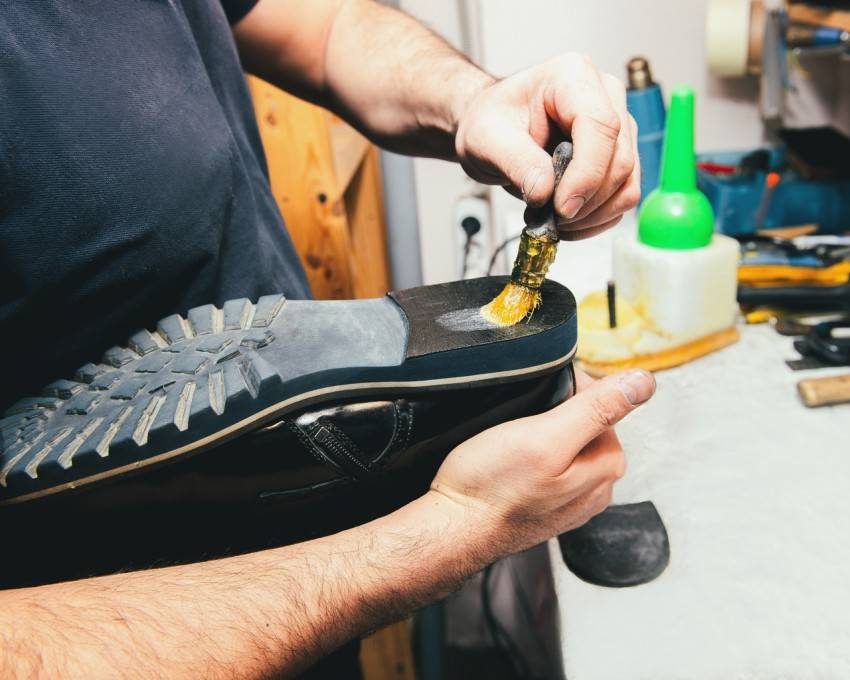
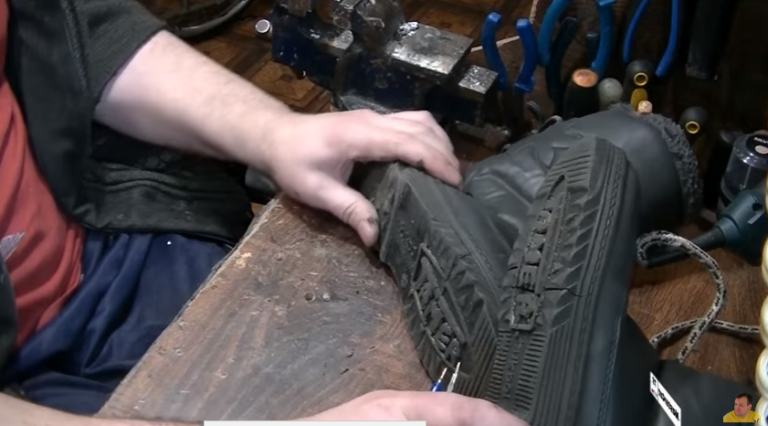
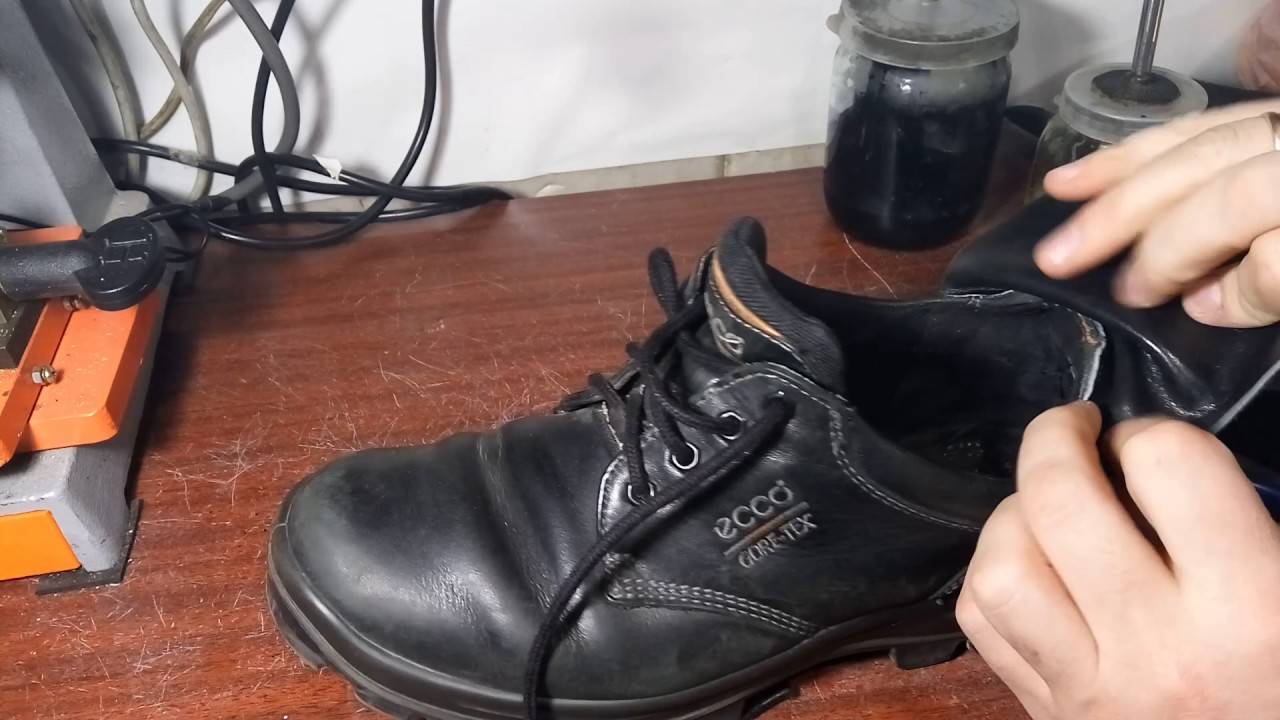
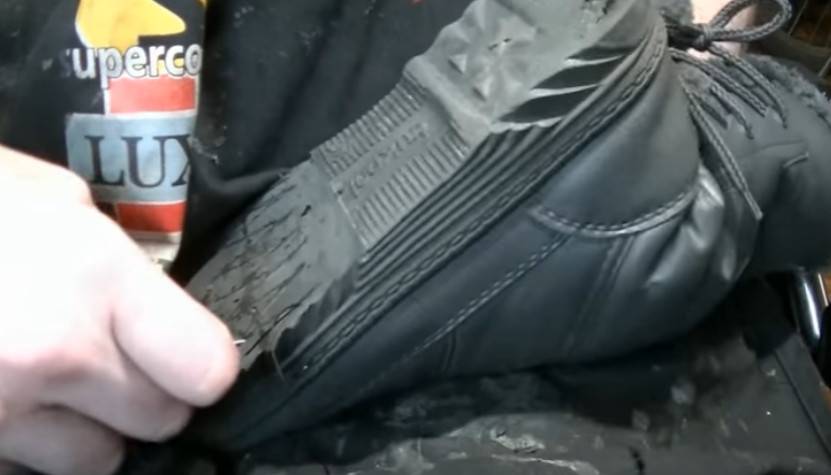
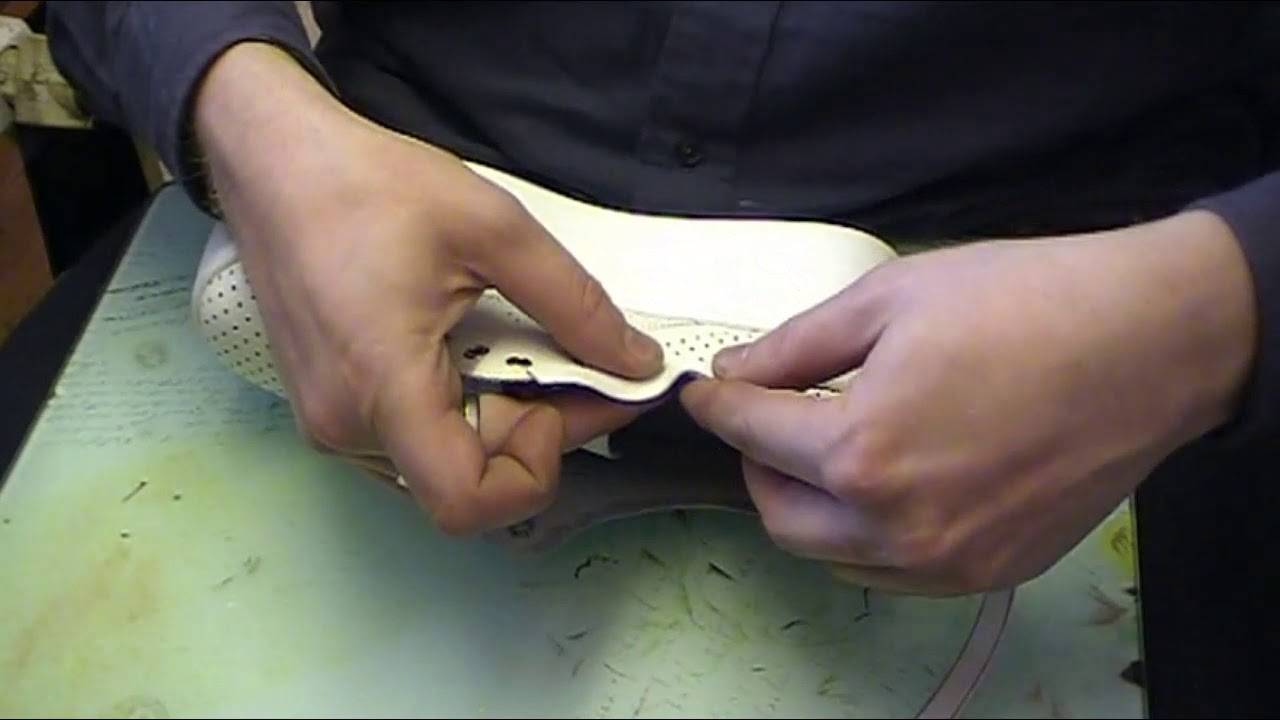
If the shoes are slightly loose at the edges, you can seal the items with a suitable glue. Clean and dry the products, degrease the surface so that the glue adheres better and provides a secure connection. Then you need to apply the composition to the parts and leave for ten minutes, then glue the boots and press down with a load.
Method two
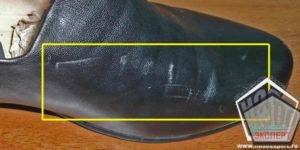
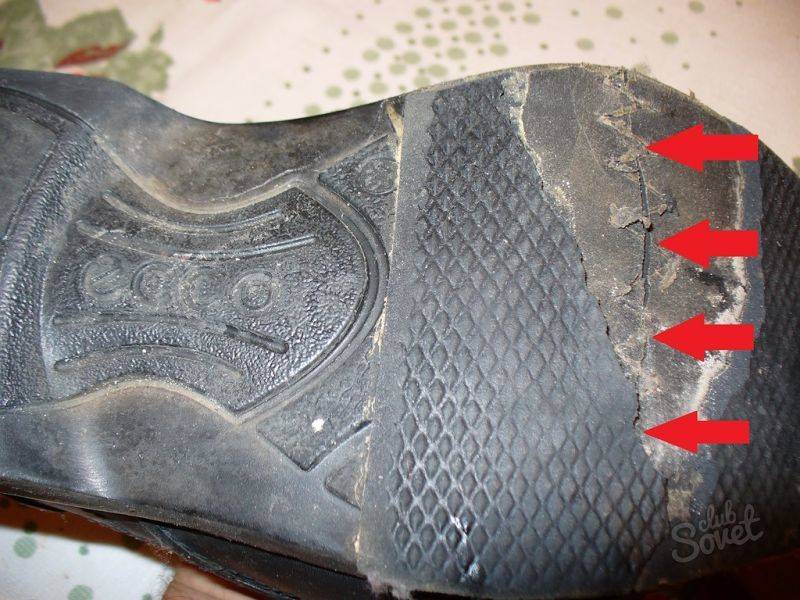
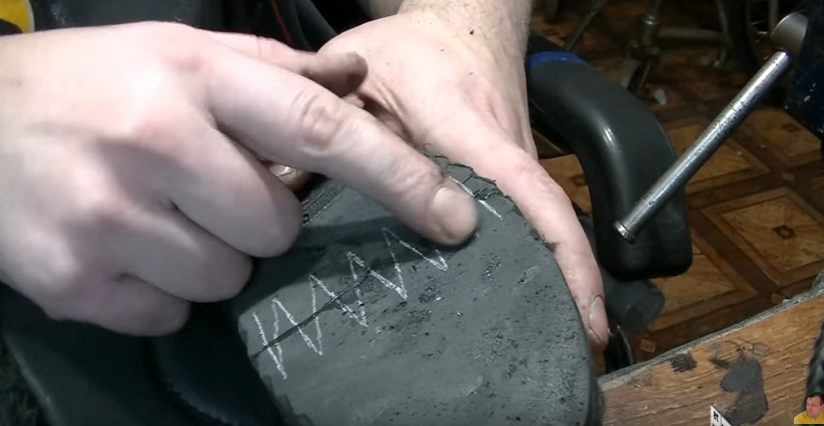
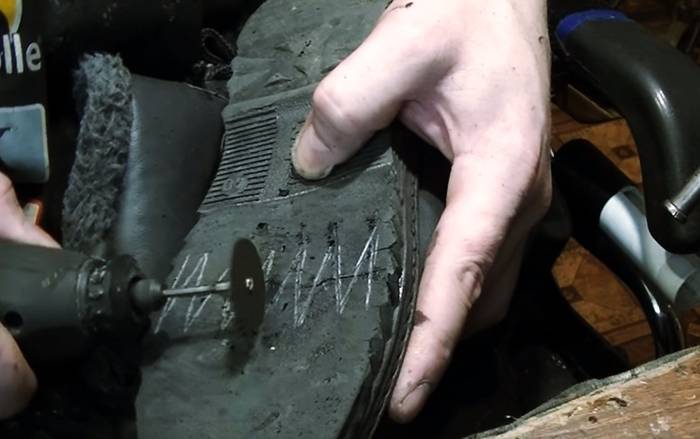
To repair the crack in the sole, step back five centimeters from the gap in the direction of the heel and draw a parallel line. The area from the line to the nose is smoothed with sandpaper along with the crack. Then you need to glue the gap with Moment glue and make markings for the holes for the threads.
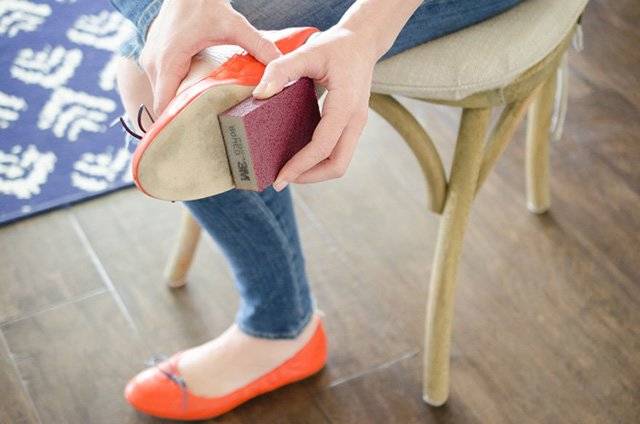
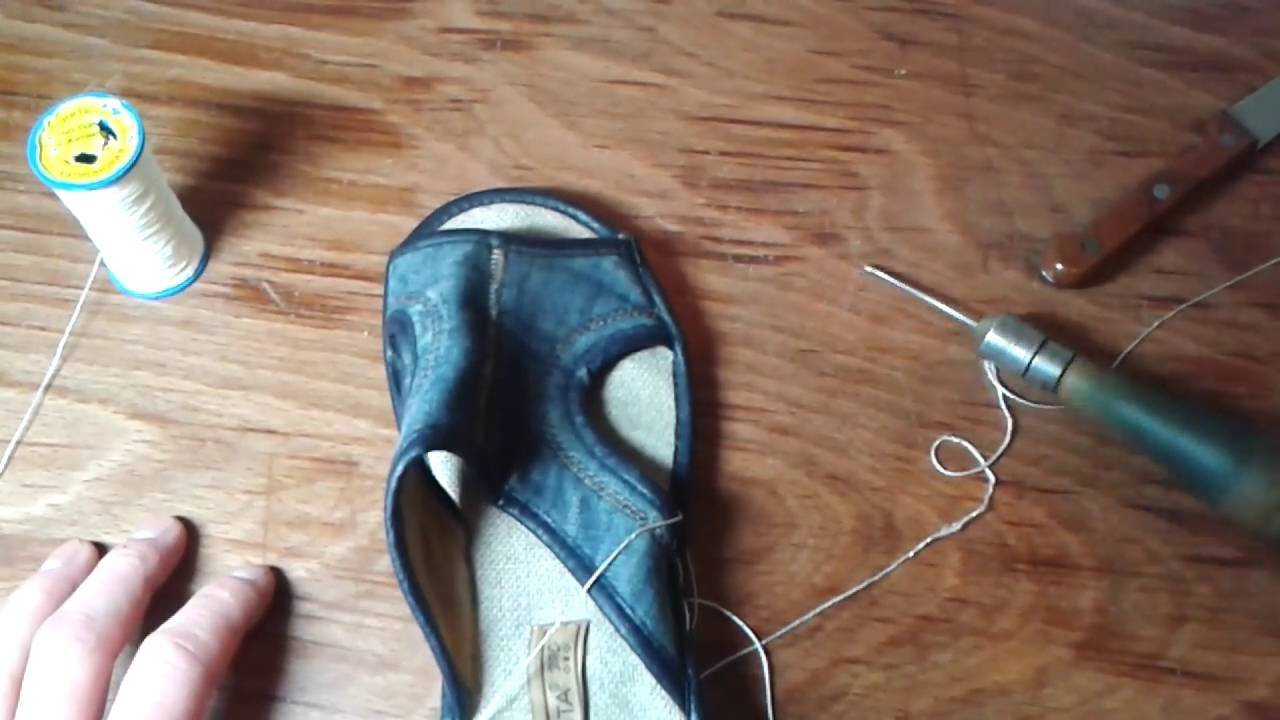
Remove the insoles from the shoes, take a boot knife and cut small holes along the markings. Then sew the material with strong threads through the resulting grooves. From above, each seam is covered with glue and left to dry. Clean and degrease the sole again, then cover with micropores and press down with a press.
Third method
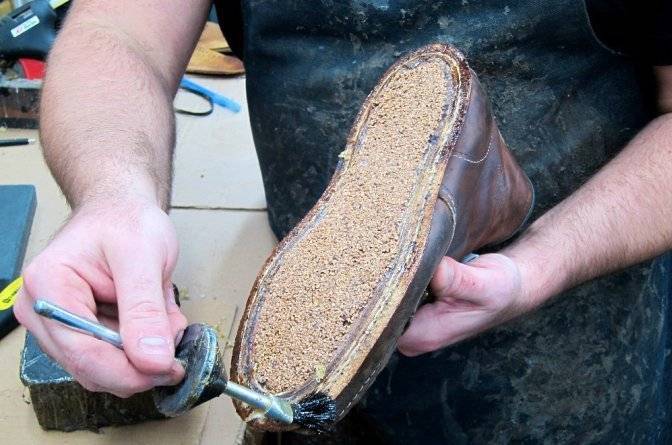
Clean the crack inside and degrease. Cut the edges of the sole along the edges with a depth of one mm and indents of five mm in each direction. Then make a rubber patch with a margin.
A bicycle camera is suitable for making the patch. Sand the material and degrease, completely cover with glue on one side, on the other - leave dry edges of five mm.
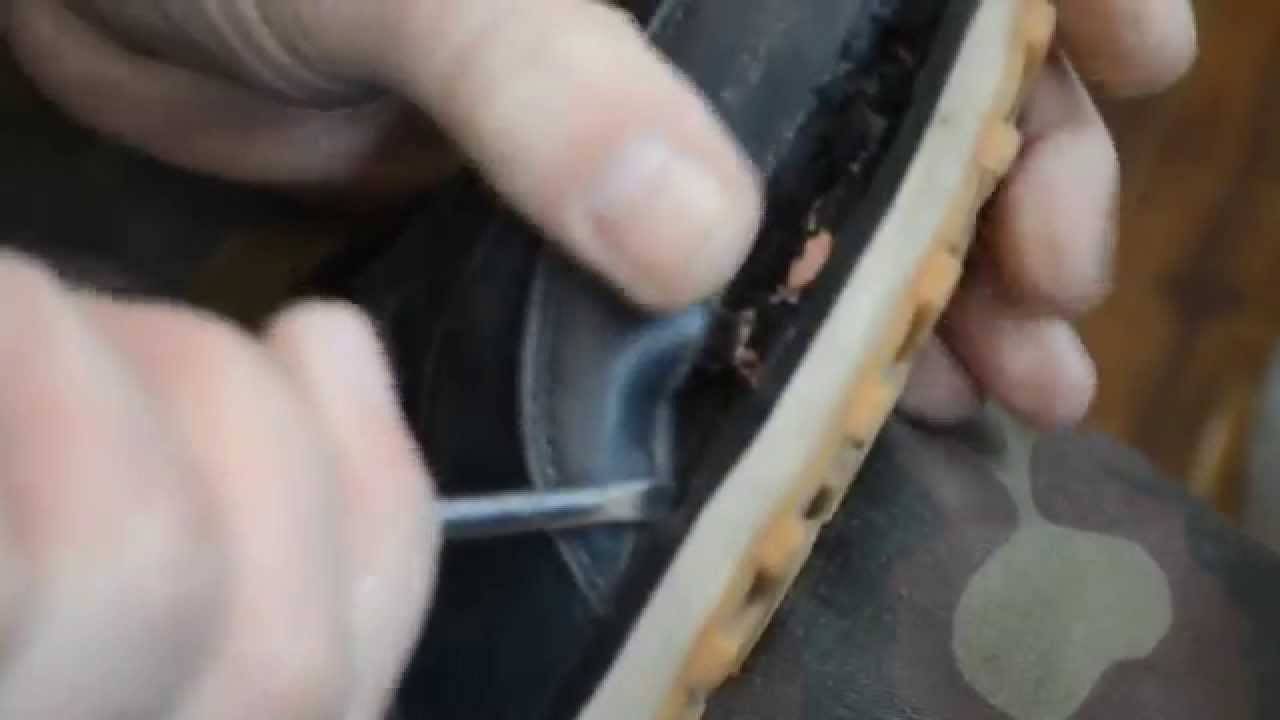
Bend the cracked sole so that the break is revealed, and brush with glue. After it dries slightly, glue the rubber patch over the affected area and straighten it out. Leave under load. The listed methods will help if the soles of boots, boots or shoes are cracked.
Fourth method
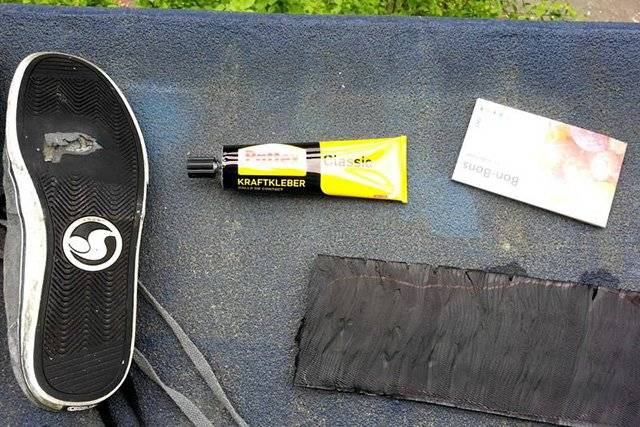
You can seal the hole in the sole with silicone glue-sealant. You need to glue the products from the inside of the shoe under the insole. Carefully insert open glue into the hole and completely fill the hole with the compound.
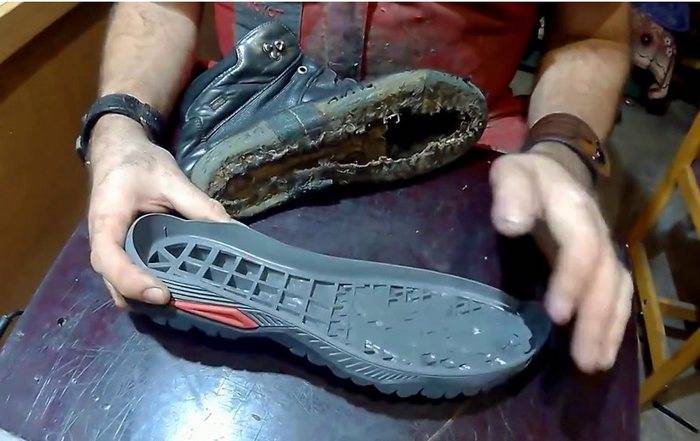
Leave the products to dry under the press for the time specified in the instructions for the sealant. Close the big hole with a special polyurethane horseshoe and glue it with thick glue. You can buy such a horseshoe at the shoe department or store.
Sports shoes - how to repair?
If the training process in the gym gave its results not only in the form of better physical shape, but also in broken shoes, you still won't have to give up your favorite pair of sneakers.
Of all the domestic adhesives, it would be best to use epoxy, which is specifically designed to solve the problem of DIY repair of sneakers. Its cost is quite low, and its application will be simple:
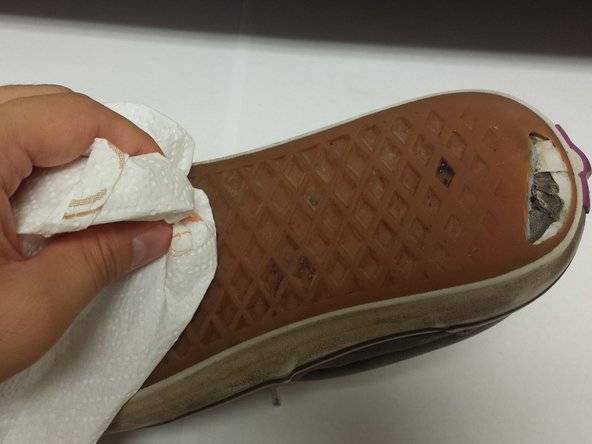
- Thoroughly clean all the edges of the hole in your sole and then degrease with a solvent.
- When everything is dry, carefully apply the properly diluted epoxy adhesive.
- If the hole is large enough, it will not be superfluous to put a mesh in it, which is made of fiberglass, it is called a serpentine.
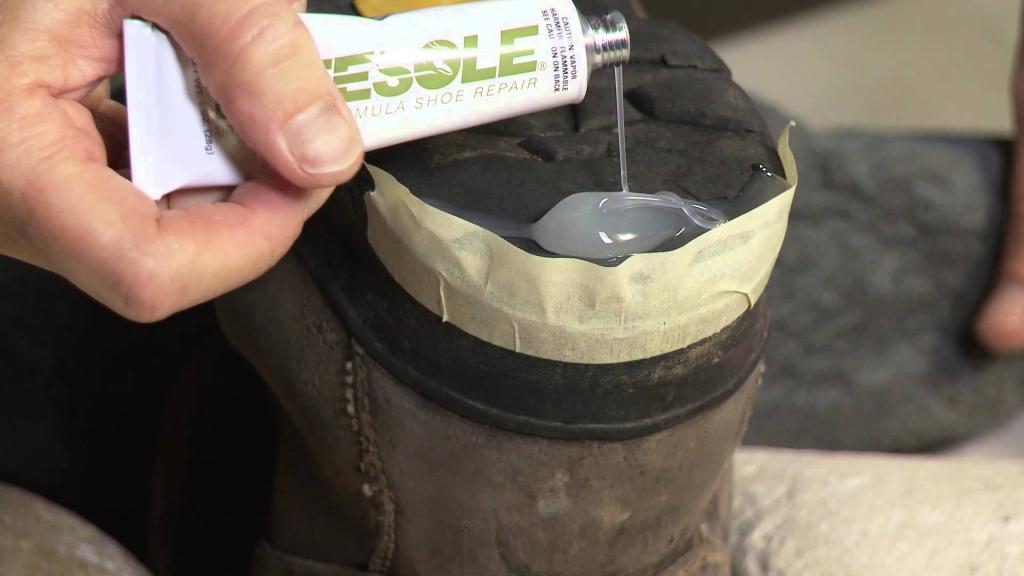
- At a time when the glue dries up, it is better to cover the place of the hole that has appeared on the outside with masking tape so that the sole remains completely flat.
What to do if the mesh on your sneakers is frayed or torn
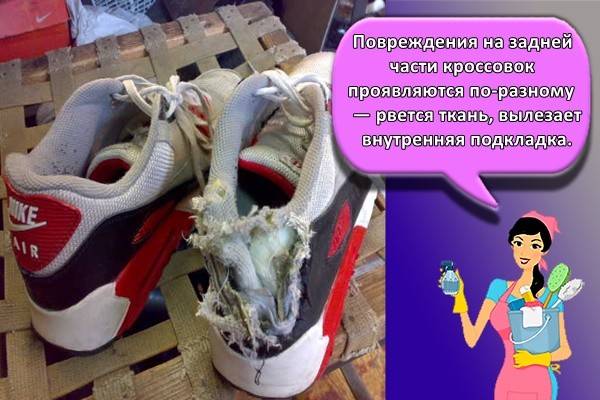
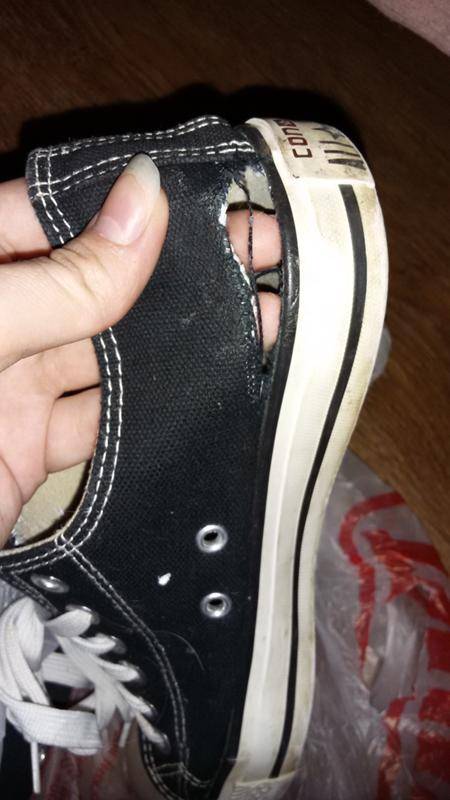
Even the highest quality running shoes can rip or deteriorate. In order not to throw away a good pair of shoes, it is worth trying to fix them yourself.
Sew up with thread if a small area is torn
You need to take a thread that matches the color of your sneakers and a needle. A needle is inserted into the holes in the mesh and gradually tightens the material until the seam hides the torn area. You need to sew not along the edge of the hole, but a little further, grabbing more fabric. This will prevent the shoe from tearing again when worn. When the seam is complete, you need to tie a tight knot and cut off the unnecessary part of the thread.

Cut out the pattern and sew on a beautiful patch
This option is a little more complicated than the previous one, but much more reliable. There are two ways to apply a patch.
The first is suitable for a situation where the mesh is torn from the inside (for example, in the area of the thumb), but looks normal from the outside. From dense material, you need to cut a piece the size of a wipe. It is best not to make the patch too large so that it does not interfere with walking. You need to sew a piece of fabric to the material of the sneaker with threads. The work is carried out from the inside, so that the seam is almost invisible from the outside.
The second method is used if the mesh is torn through and through. You need to cut out a piece of fabric or leather and glue it from the inside. When the glue dries, you need to hem the mesh outside to hide the hole. The seams go through and are visible from the outside of the shoe. You can sew on a typewriter or manually. The main thing is that the threads match the color of the shoes, and the seams do not stand out in the general drawing.
Sewing up a torn mesh on sneakers is not difficult at all. All that is needed is basic sewing skills and a little patience. 10-15 minutes of work can save several thousand rubles.

Gromova Anna, professional in the shoe business. The owner of a small shop and workshop for the restoration and repair of shoes.
Any footwear, including sneakers, loses its original appearance and wears out with prolonged use. Simple sneaker repairs do not require any special skills, so you can repair your shoes yourself. In case of severe wear, it is better to entrust the work to specialists.
Community posts Search
SNEAKERHEAL | Repair of sneakers number 1 entry pinned
SNEAKERHEAL | Repair of sneakers number 1 entry pinned
SNEAKERHEAL | Repair of sneakers number 1 entry pinned
SNEAKERHEAL | Repair of sneakers number 1 entry pinned
WE START TRAINING Next weekend 11/23/19
SNEAKERHEAL | Repair of sneakers number 1 entry pinned
WHO ARE WE? Who all the same serves your sneakers?
We are the ones who hide the souls of real creators behind the masks of luxury, sneakerheads, scientists devoted to the art of knowledge and innovation, we are the ones who open technology and expand the market by openly sharing knowledge with you. We are graduates of the Moscow State University of Education and Science of the Shoe Department. We were taught to distinguish leather from shitty, suede from nubuck, and not luiki from guchi. We know brands by their jambs, not callabs. We are the ones who can advise what to wear and how long it will live, not the ones who drool over a dilapidated pair of off white after 2 weeks of socks. WE ARE THE SNEAKERHEAL TEAM.
SNEAKERHEAL | Repair of sneakers number 1 entry pinned
Hello everyone! Everyone thought that the weather would not bring us a good surprise and we would drown in puddles and mud, but the first frosts hit, which covered the surface of the puddles with a thin ice film. The need for dry cleaning has practically disappeared. What type of services will be relevant for you now?
SNEAKERHEAL | Repair of sneakers number 1 entry pinned
Hello everyone! Well, the weather. Everyone has already tried on their fall bow and took care of protecting their sneakers. To protect leather shoes, use creams and waxes, they provide a water-repellent effect. Use water-repellent impregnation on textile and suede shoes!
SNEAKERHEAL | Repair of sneakers number 1 entry pinned
There are many brands, a lot of shoes, and there are many of you, connoisseurs of quality repairs. We invite you to go in for sports together, namely to run a marathon of brands! Every week, until the end of the year, we will announce the name of the brand, for the service of which we will give a 20% discount. YES THE MARATHON FOR PUMA STARTS
Send photos of your damage on Puma sneakers to direct and we will show you how best to fix it.
Smiley in the comment who has at least one pair of pumachi
SNEAKERHEAL | Repair of sneakers number 1 entry pinned
WHY IS IT AND NOT OTHERWISE
The place of bending of sneakers when walking is the most problematic and weakest in any shoe, because compression deformation constantly occurs in this place. The most resistant material to this type of load is leather, because it has the property of being molded to the leg (remembering the shape). To avoid tearing the material: 1. Insert spacers into shoes at night to straighten the skin. Show full ... 2. Clean materials with special products to avoid drying out. 3. Clean off reagents and salt in time, as it also contributes to the hardening of the material. Saphir Hiver Winter will help you with this.
If you can't avoid problems, come to us. We will easily repair any gap on your shoes. Send a photo of sneakers to direct if you have the same problem.
How to wash sneakers
Can I machine wash my sneakers? Of course you can, but you need to follow a number of rules! Even very old shoes can be transformed by machine washing.
If your sneakers have reflectors, you cannot wash them in a typewriter - bright details will definitely come off. Before washing, be sure to remove the laces and insoles from the sneakers, so the shoes are washed much better.
Place shoes in a washing bag before loading them into the machine. Choose a delicate mode, the washing temperature should not exceed 30 degrees. I recommend turning off the spin mode: this can harm the washing machine, even if the sneakers calmly endure the procedure.
Never dry your sneakers in the washing machine! This will deform them. Before leaving your sneakers to dry naturally, fill them with white paper. Never with newspapers - newspaper paint can stain shoes. You can use food parchment for this purpose.
If your shoes smell bad, baking soda can help! Place an open plastic bag of baking soda inside your sneakers overnight. Soda will absorb any odors and moisture like magic!
Hope these tips help you bring more than one pair of old shoes to life! Tell us what tricks you use for home shoe restoration, we will be very grateful.
Previous articleNext article
Alexandra Kilimchuk
She has been interested in medicine since childhood, and grew up in a family of doctors. She knows how to cook a gorgeous breakfast from literally nothing, she is not afraid to experiment in the kitchen: she makes pies without flour, low-calorie mayonnaise, healthy sweets. He never gives up and believes that people are created to help each other! In all her household chores, her son Sasha acts as an assistant. Alexandra's favorite book is "The Art of Love" by E. Fromm.
How to reduce the number of cracks
Violation of the rules of use is a common cause of cracks in athletic shoes. In particular, defects appear on sneakers due to wearing larger shoes, excessive bending of the foot during wearing, prolonged pressure, exposure to high or too low temperatures.
To reduce damage, it is recommended to use special mold holders, pads and spacers during storage. It can also be helpful to stuff the sneakers with crumpled paper to flatten out the shells. Another factor that leads to cracking is shoe contamination. When a large number of dirt particles accumulate, the number of cracks increases and they grow faster. For this reason, the products should be kept clean.
Review of the best brands
Today the choice of glue for shoe repair is very large.There are both domestic and foreign brands with high technical characteristics. The most famous are several of them.
"Moment Marathon"
This type of glue is specially designed for shoe repair. It is resistant to moisture, low temperatures, aggressive environmental action. "Moment Marathon" has the consistency of a gel, so it does not spread. The tube is equipped with a thin spout, which makes it easy and simple to apply. After 24 hours, the shoes are used for wearing. The composition is not recommended for gluing products made of polyvinyl chloride, polypropylene. Perfect for repairing soles made of leather, cork, felt and other materials.
The advantages of "Moment" include:
- efficiency;
- economy of consumption;
- the possibility of purchasing in a package of different sizes.

"Nairit"
Many experts recommend Nairit glue for shoe repair. It is suitable for various materials - leather, rubber, wood, textiles, leatherette. When using glue, a durable, moisture-resistant seam is formed, characterized by elasticity. Hot application technology assumes the use of shoes after 5 hours, cold one requires waiting for 2 days after repair.
"Eva"
Eva glue has been sold on the domestic market for more than 10 years, and during this time it has proven itself well. It is resistant to water, retains its properties at low and high temperatures, leaves no residue after use, and is transparent. The seam formed by "Eva" is strong and durable. The bottle has a dispenser, thanks to which consumption is economical. The manufacturer warns that Eva is not intended for bonding polyurethane or vinyl products.
Kenda Farben
The glue is universal and is capable of making a combination of natural and artificial leather, textiles, polymer surfaces, polyurethane, rubber. Curing and hardening is fast. The result is a durable seam. Repaired shoes are used no earlier than two days later.
Among the advantages of Kenda Farben glue:
- the possibility of using at home;
- temperature resistance of the mixture;
- lack of unpleasant odor.
"Contact"
Special shoe glue "Contact" is based on synthetic elastomers. It is used for polystyrene, leather, rubber, polyvinyl chloride. Not intended for fixing styrofoam, polyethylene. Glue "Contact" has the following properties:
- high strength;
- elasticity;
- wear resistance;
- optimal fluidity.

To maximize the effect, it is worth using the press. After repair by "Contact" the product is used after 24 hours.
UHU Schuh & Leder
The glue is most often used for shoes. After application to the surface, it dries quickly. The pluses of the composition include:
- resistance to moisture, alcoholic, acidic and alkaline solutions;
- in the process of wearing shoes, the seam does not lose elasticity, does not dry out or crack;
- does not leave stains after application;
- repaired shoes can be used in the temperature range from -30 ⁰C to +100 ⁰C.
Among the disadvantages of UHU Schuh & Leder glue, users note an unpleasant pungent odor and an uncomfortable tube.
Method 5
Repair of winter shoes with a one-component, rubber-based polyurethane adhesive. You can take the Monument PVC glue. It is also often used to repair PVC boats.
- Clean and dry well the surfaces to be bonded.
- Bend the sole and walk with coarse sandpaper inside the crack, degrease.
- Apply glue to both sides of the defective area. Wait 15 minutes and apply another layer of adhesive. Note: all the time while the glue is applied and dries, the crack must be open.
- After 5 minutes, straighten the sole, dock the surface to be repaired.
- Next, to fix the sole, take a round stick, place it along and secure with a string. Place the shoes on the table, with the soles facing you, and warm them up with a hairdryer for 30 minutes.The heating temperature should be 60 ° C.
If you repair your shoes in the evening, then in the morning you can already go outside in it.
How to glue the sole of the shoe?
To prevent the repaired pair of shoes from falling apart on the very first day, or, even worse, not deteriorating at all, you need to choose a glue that is suitable for repairing shoes. Below are adhesives that you can safely use:
- "Desmokol" - transparent adhesive with polyurethane, intended for gluing PVC, repairing leather and suede products, including for gluing shoe soles. This composition has earned the trust of professionals and is sold in specialized stores.
- Clay "Moment Marathon" specially designed for repairing shoes. Possesses water and frost resistance, as well as elastic and resistant to negative environmental influences. Not suitable for bonding a range of materials (styrofoam, polyethylene, polypropylene, plasticized PVC). Consumers love this adhesive for its ease of use. In a day, the shoes are ready for use.
- Epoxy resin (B7000) - after drying, the composition turns into a durable elastic waterproof layer, which is great for shoes that by their nature are in motion all the time. When repairing shoes, it gives minimal shrinkage, but it may take 1-2 days to completely dry.
- "Nairit" adhesives or "Shoemaker" they contain polychloroprene rubber, tackifier and organic solvents. Designed primarily for shoe repair. These compounds adhere well the leather upper of the shoe to the rubber sole (except for polyurethane), and are also suitable for gluing insoles, lining and other elements. It will be possible to wear the repaired product only after three days.
- Kenda farben and Bonikol - special compositions for the footwear industry from European manufacturers. They guarantee reliable adhesion. Suitable for gluing leather and leather substitutes, as well as heels, insoles and cork.
The nuances of the work done
In order for the shoes to serve for a certain time, you should know about the following nuances of repair:
- absolutely all surfaces, before applying glue, are cleaned, degreased, and then thoroughly dried;
- the adhesive is applied in a small layer, which is no more than 3 mm;
- before joining the parts, the glue must be allowed to stand for about 10 minutes;
- shoes must be under pressure for at least 10 hours.
- the load must be selected so that the shoes cannot deform, and if a shoe last is available, you will not have to worry about the pristine shape of your favorite shoes or boots.
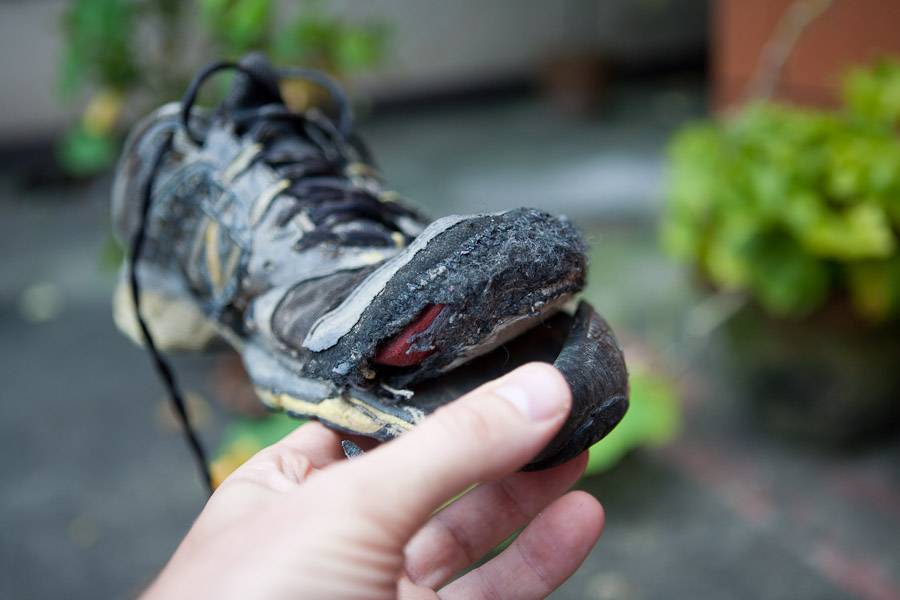
Over time, even the highest quality and most expensive footwear becomes unusable. Most often, the sole suffers. It is erased, cracks and holes appear. You can take the leaky shoes for repair, or you can cope with the problem on your own with the help of improvised means.
How to repair your heels
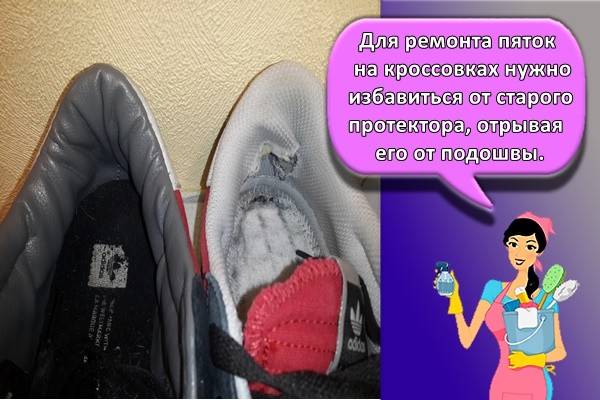
To repair the heels on sneakers, you need to get rid of the old tread, tearing it off the sole, trimming it in places where it is impossible to separate the element manually. To simplify the task, you can treat problem areas with a solvent.
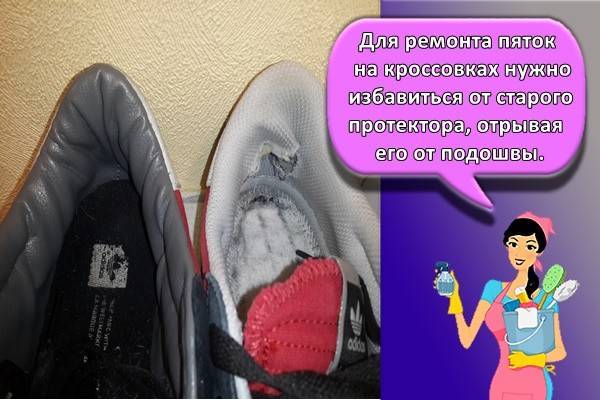
Having removed the protector, the contour of the sole is transferred to thick paper or cardboard and the erased edges are painted. Having drawn a contour, the pattern is cut out of paper and used to create a new blank. You can make a sole using a rubber mat available at hardware stores. It is impractical to partially restore the sole, so if the heel is damaged on sneakers, the base is completely changed.
DIY sneakers
Sequins can dramatically change the look of regular sneakers.
Gold sequins (about 50 grams)
Place old newspapers inside the sneaker, and cover the places that you do not want to cover with glitter with tape. Mix glitter with PVA glue.Cut off a piece of the sponge and start applying the glue and glitter mixture to your sneakers. Wait for the mixture to dry and then add another layer if desired.
This project will take a little more patience and time, but you will love the result.
Plaster or thimble
It is best to cover your fingers with a plaster or use a thimble, as it will be quite difficult to sew with a needle through the dense material of a sneaker. The sequins should be sewn onto the shoes one at a time until you have covered the entire desired area.
Sequins and rivets
Another option for using sequins and rivets to decorate sneakers.
Remove the laces and place old newspapers or plastic bags inside the shoe. Cover the sole of the sneaker with tape. Attach the rivets to the sneakers with glue and press well. Mix glue with glitter and a sponge, apply to the rest of the sneaker.
You can try replacing the laces on your sneakers or sneakers with beautiful ribbons.
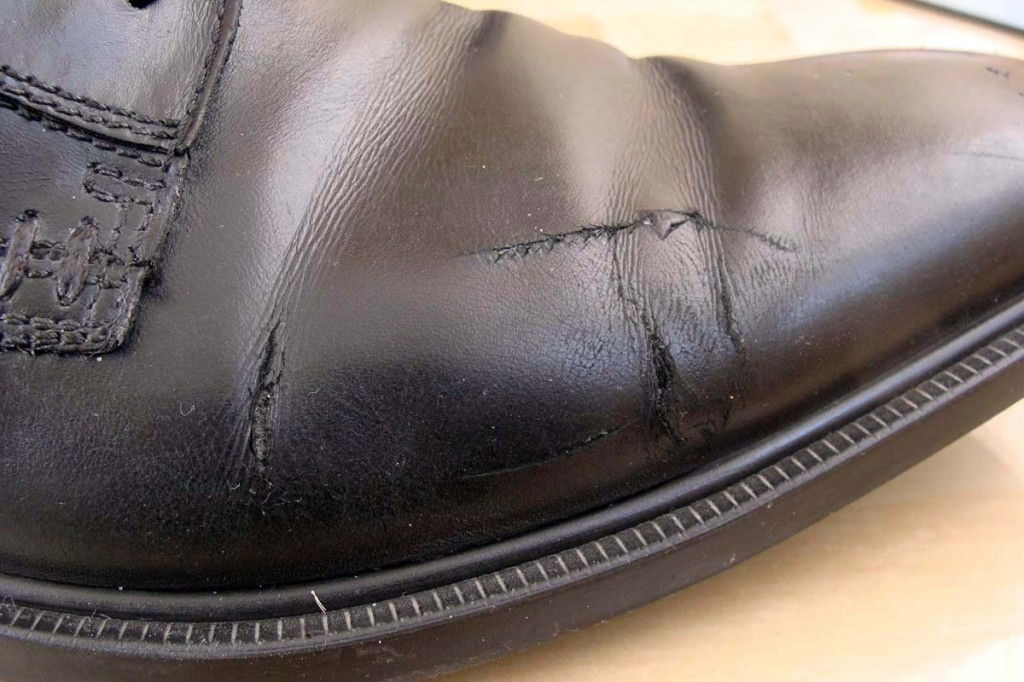
How to remove creases and dents on shoes: A way that will prolong the life of even "ditched" shoes and sneakers
Nothing lasts forever in this world. And we must come to terms with this. But all deep philosophy goes to hell when you find on dear (both heart and wallet) shoes or sneakers "accordion" dents. But they are almost inevitable. Moreover, if the shoes are made of genuine leather. There are two options here: take offense at the vicissitudes of fate and send a couple that have seen the sights to the box "for the dacha" or try to rectify the situation. Yes, not everything is so hopeless: One little trick will help you get your shoes back neat.
Bad things happen. Dents on shoes too. In the high-risk group are shoes made of thick leather and sneakers. The latter, due to their flexibility and the position of the foot inside, are especially prone to the appearance of an "accordion" from the toe to the laces. This phenomenon has two sides: on the one hand, the shoes become softer; on the other hand, dents spoil the aesthetics. But there is a way to fix the situation. You just need:
1. Steam iron; 2. Cardboard and paper; 3. Small towels; 4. Ironing board and lining cloth (you can use a towel); 5. Water.
How to fix athletic shoes
If sneakers or sneakers have worn off at the location of the socks, sand the damaged areas with sandpaper and degrease. Take rubber or polyurethane different thicknesses and cut out the patch. A thicker material is applied to the site of damage, and a smaller one - to a normal sole.
Sand the patch in the place where it is adjacent to the damaged area. Then cover the material with glue and press it against the sole of the sneaker or sneaker. Keep under pressure for 24 hours.
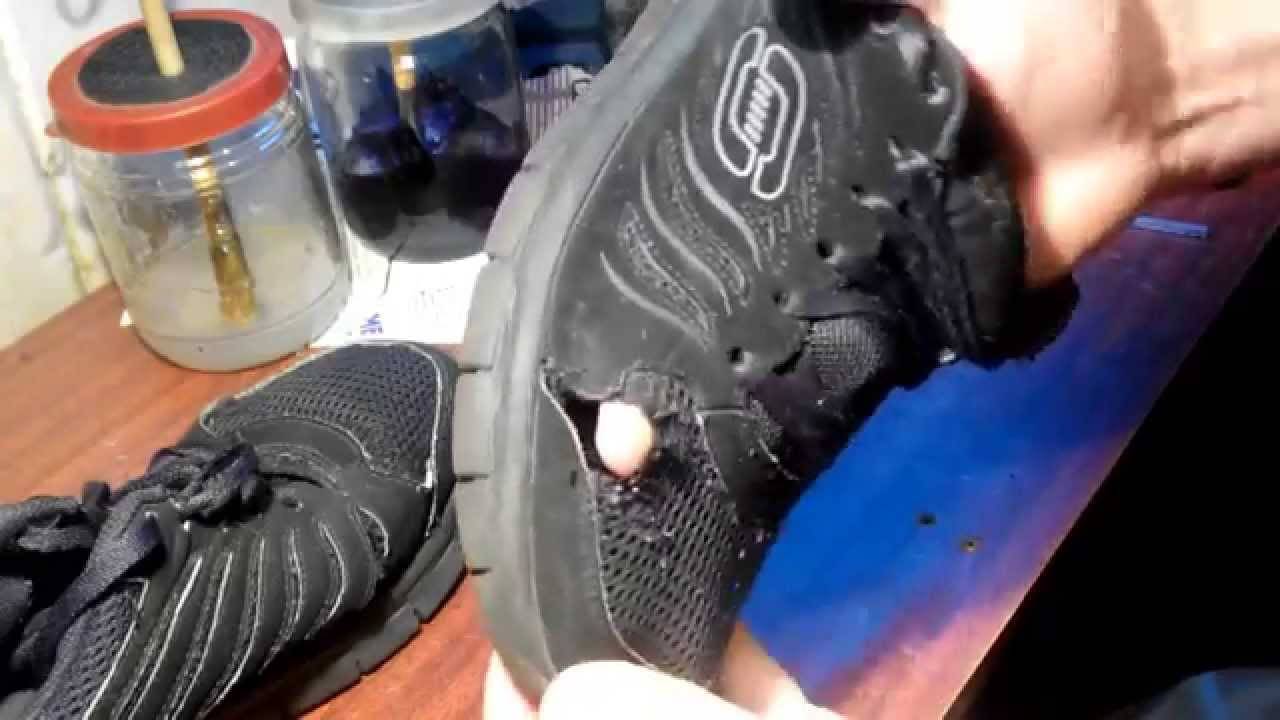
If a hole has formed in the sole of a sneaker or sneaker, the edges of the hole must first be cleaned and degreased, then an adhesive should be applied. A fiberglass mesh (serpyanka) is inserted into a large hole.
DIY protector repair
The most vulnerable are the heel protectors. To restore them, you will need a hard piece of rubber that can be taken from the soles of unnecessary shoes. From a number of tools and accessories, they will come in handy in work: shoe glue, a sharp knife, coarse-grained sandpaper. The process of repairing protectors is as follows:
- A patch is cut out of a piece of hard rubber and fitted in place of the damaged or worn out tread.
- Using a knife and sandpaper, make the patch wedge-shaped.
- The surfaces to be glued are roughened with sandpaper, then wiped with a solvent and allowed to dry.
- Two layers of adhesive are applied to the patch and the future location of the tread. The drying time of the first layer should be about 20 minutes, the second - 4-6 hours.
- After the glue dries, the surfaces are heated over the stove until an odor appears, applied to each other, squeezed strongly and held until they cool and fix.
It is allowed to wear sneakers with retreaded treads immediately after the repair is completed. If possible, it is recommended to wait a day before operating to give additional reliability.
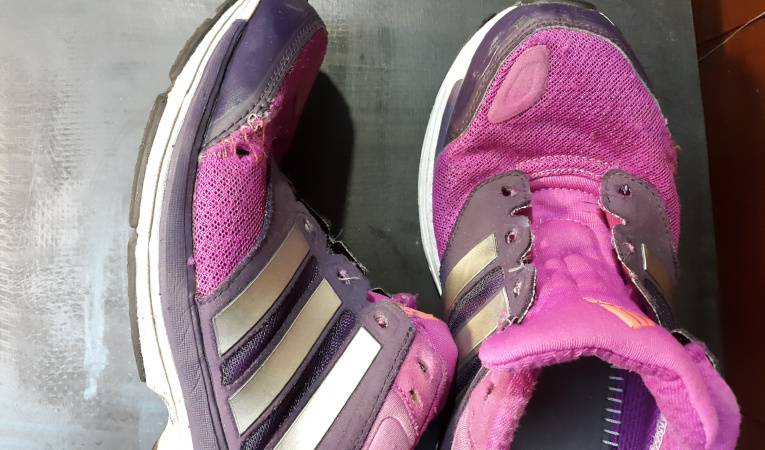
Why is the mesh rubbed and torn?
A vulnerable and fragile part of sports shoes that is often rubbed is the mesh. The reasons for the damage are as follows:
- Feature of the legs. In some people, the legs have structural features that differ from the standard ones. This can be a protruding toe, a bone, or an atypical foot shape. Where the foot presses on the shoe more than necessary, the mesh breaks faster.
- Sloppy walking. Sometimes people move quickly, do not look under their feet, often stumble or bump one foot against the other when walking. These actions ultimately lead to damage to the shoe.
- Active lifestyle. Hiking, climbing mountains, and even walking for hours in the city can negatively affect your sneakers, as a result, they quickly lose their appearance.
- Frequent washing. If the shoes are light, they have to be cleaned almost every day. To prevent regular exposure to the brush and detergents from damaging the mesh, it is worth using special soft rags, sprays or wet wipes, and it is better to completely wash the sneakers as rarely as possible.
- Accident. Nobody is safe from small accidents. If a person accidentally stumbles, bumps or even touches the mesh with something, it can break, especially if it is made of thin material.
- Weather. Rain, snow, mud and other natural factors often negatively affect the condition of the fabric of the sneaker. The mesh becomes thinner and wipes faster.
- Sport. Sports enthusiasts need to be prepared for damage to their sneakers. Football, volleyball, and even running wear out your shoes more than walking. In this case, it is better to have a special pair for physical education.
Sole
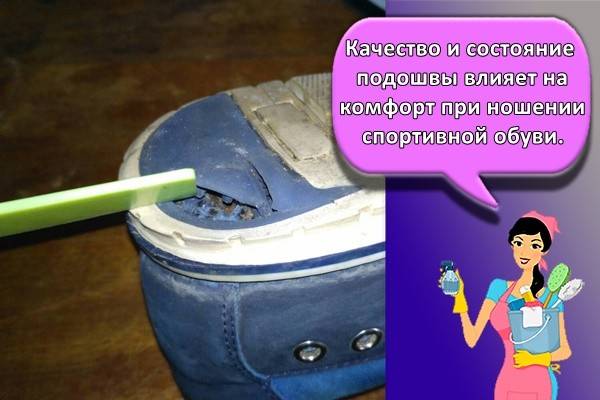
The quality and condition of the sole affects the comfort of wearing athletic shoes. With prolonged use, the sole of the sneaker will wear out and deform. Stepping on stones and ground surfaces risks damaging the sole, causing holes to form on it.
How to seal a hole
Holes in the outsole can be repaired in different ways, depending on the base material and the amount of damage. Most often, epoxy glue is used to eliminate holes, which has a relatively affordable cost and is easy to use. The holes in the sole are sealed as follows:
- all edges of the hole are well cleaned and treated with a solvent for the purpose of degreasing;
- when the area next to the defect is completely dry, a diluted adhesive is applied;
- If the hole in the sole of the sneaker is too large, a fiberglass mesh is placed in it to fill the void;
- when the glue dries, the damaged area from the outside is covered with masking tape to level the sole;
- the sneakers are left in a well-ventilated area for final drying.
How to build up worn out
If the soft sole has slightly worn down on the sneakers, then it can be increased to its original thickness. For this purpose, you will need to purchase microporous rubber. A workpiece is cut out of the material in the shape of a worn-out element, the surface is cleaned with sandpaper and glued to the shoes.
Replacement
A sole with a lot of damage is easier to replace with a new one. This will significantly reduce the time spent on repairing each damaged area. The replacement sole, as well as for the extension, is cut out of microporous rubber. The sneaker is applied to the cardboard and the outline is outlined, and then it is transferred to the prepared material and the workpiece is cut out.
The advantage of using microporous rubber to create a new sole is the ability to cut parts of different shapes and sizes.From the material, you can make the sole of the desired type with minimal cost. In addition, microporous rubber has the following performance characteristics:
- light weight, strength and elasticity;
- fast abrasion resistance;
- anti-slip;
- immunity to the effects of various atmospheric phenomena;
- no need for additional processing.

Microporous rubber of high quality is non-toxic, elastic, does not deteriorate during temperature extremes and exposure to frost. The material can be produced with a different content of synthetic or natural rubber, which affects the strength and service life. The only negative side of the material for the restoration of sneakers is a sharp specific smell, but it tends to quickly disappear, so the repaired shoes will not create discomfort.
Depending on the material from which the upper part of the sneaker is made, an appropriate patch is made. The size of the patch should be slightly larger than the damaged area so that the defect is completely hidden, and the likelihood of further rupture is minimal. To fix the patch from above or from the side, you need to attach the prepared material to the shoes and sew with strong threads around the entire perimeter.
Car awning repair
Professional repair of awnings is carried out using hot air welding, and a high-quality result is possible only with the use of appropriate equipment and materials. This list includes:
- welders;
- stitching rollers;
- accessories for installing fittings (punches, crimps for installing eyelets);
- awning fabric;
- accessories (eyelets, expanders, staples, belts, rivets, pads, tensioners, rollers, hooks, rings, tips, cables, etc.).
Awning material is a sheet of polyvinyl chloride (PVC, PVC), reinforced with a polyester (polyester) base. Depending on the thickness, the awning fabric differs in density (weight per 1 square meter). The most common fabrics have weights from 600 to 1200 g / m2. There are also heavier ones - they are used for the lateral sides of sliding (curtain) structures.
Welding equipment includes automatic and manual machines. The machines are used to produce long weld seams and are mainly designed for working with new materials. To repair damage, manual ones are used, since they allow repairs to be carried out on a vertical or horizontal surface without dismantling the awning.
A linear cut (break) is repaired by welding a patch on the outside or inside of the tarpaulin. The width of the patch, depending on the length and nature of the damage, must be at least 40 mm. Awnings with a density of more than 700 g / m2 require two-sided repair.
The algorithm for repairing a cut or rupture of a car awning, regardless of the nature of the damage, is as follows:
- a support surface is placed under the damaged area to avoid tissue deformation when heated. Most suitable for this is textolite, plywood or fiberboard (at least 5 mm thick). Do not use metal and plastic sheets;
- the place of repair is thoroughly cleaned and degreased - the presence of oily contamination, scotch and glue residues is not allowed;
- a patch is applied and pressed with a roller;
- uniform and simultaneous heating by hot air of the lower layer of the patch and the upper layer of the damaged element. As the melting progresses, a uniform roll-on is performed with a connection roller. Overheating of the material must not be allowed. The complete polymerization time is usually no more than 10 seconds. The operating mode lies in the range of 600-850 degrees and depends on the condition of the material (the older, the higher the temperature) and the ambient temperature.
Please note: Do not use construction hot air guns to repair awnings - their performance is insufficient for this. The result of such work is often a violation of the geometry of the awning cover, up to the need to replace the entire element
The pressure roller must have a heat-resistant silicone working part. Do not use rubber, plastic and metal rollers.
Aging of awning fabric is associated with the evaporation of PVC plasticizers. The material becomes tough and begins to flake off, exposing the fabric base. In this case, welding is possible only from the inside, or an element replacement is required. Such situations most often happen with the roof of an awning, since it is most exposed to ultraviolet radiation.
It must be remembered that welding PVC fabrics requires knowledge of many subtleties, as well as sufficient experience and skills, so if you are not sure of a favorable outcome of the work, then it is better to entrust it to a specialist.
Common mistakes
How can you spoil the look of your jacket:
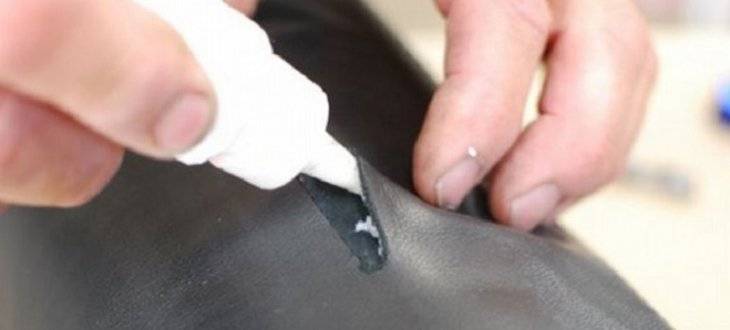
- seal the gap with PVA glue - a patch held on a water-soluble composition will fall off after rain;
- sew on a typewriter with a thin needle - a special machine and needles are used to work with leather in the atelier;
- abuse glue - traces will remain on the front side;
- paint the patch without checking - you need to try on a small whole area of the skin, how the paint or cream will look.
Leather stitched on a regular sewing machine will stretch and wrinkle. Dried excess glue can be wiped off with a dry cloth. It is impossible to wash off the traces with water, as the patch will move away from the moisture.
Combo top repair
On sneakers with a combined upper made of synthetic material with foam cushioning or made of natural and artificial suede, the fabric in the toe, where the shoe touches the toes, is most often damaged. On the outside, this area can be protected by a rubber insert around which there is a mesh, which is typical for running shoes.
If minor damage appears on the front of the shoe, it is allowed to sew a patch. In the presence of large holes, it is required to rip up the seams, adjust a piece of strong nylon fabric in size and shape and sew it into place.
A method that involves placing a patch
This method is somewhat different from the past. The crack is smoothed with sandpaper. The surface must be degreased. For this, acetone or gasoline is suitable. A boot knife should be prepared. With its help, the edges of the surface are cut. The cutting depth is one millimeter
In each direction, it is important to retreat a step equal to five millimeters.
The next step is to measure the depth of the crack and add 1.5 centimeters to the resulting number. If you have an old bicycle camera, then you should not throw it away. It can be used to cut a great shoe sole patch. You will get a rectangle that closes the crack along its length. The strip for the patch is protected with sandpaper. After that, this section is degreased. The strip is processed from all sides with glue. One side is completely coated with glue, the other is processed almost all over, you need to leave only dry edges. The indent will be 4-5 millimeters.
After the work done, it is necessary to fold the sole so that the crack becomes visible. The edges should be coated with glue
It is important that the edges of the broken part of the sole do not stick together. The rubber strip must be placed exactly in the crack space.
After that, the surface should be fixed with special glue with quick coupling. This method is great for repairing shoes and boots. You can glue almost any shoes yourself.
