How to disassemble?
Before disassembling electrical or induction non-working equipment, you need to carefully inspect the outlet and cable for damage, check with a multimeter if they are powered, if there is voltage in the network.
A common cause of incorrect operation of the control display and poor heating of the hotplates is low mains voltage
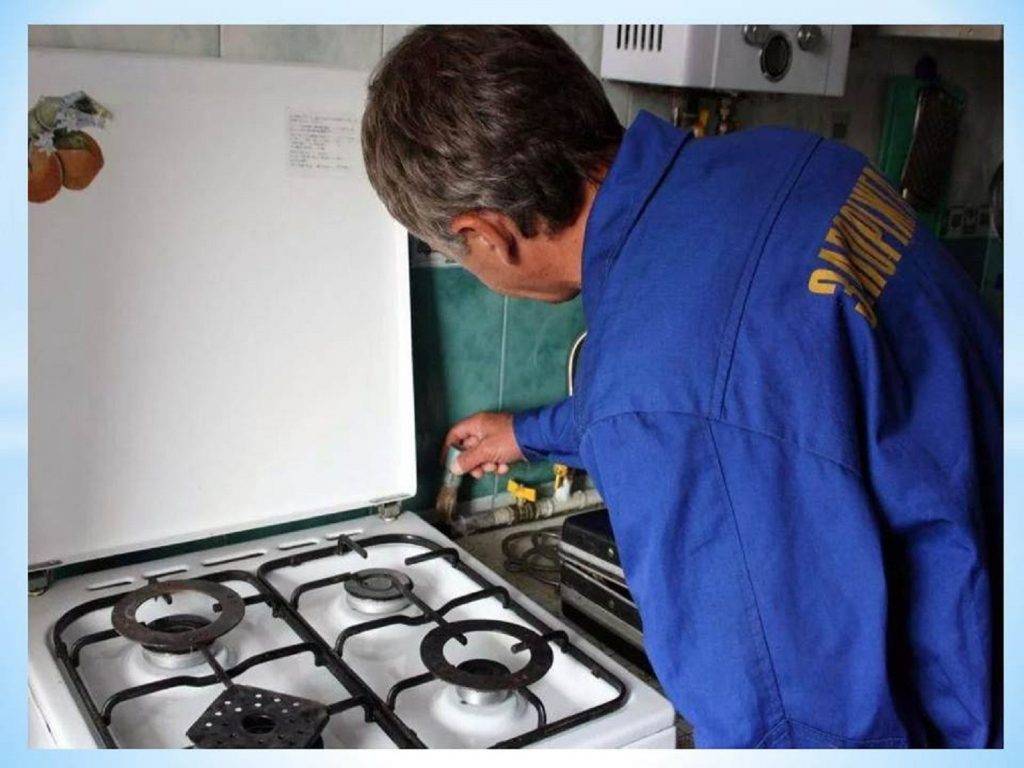
For devices with gas burners, make sure that the gas supply valve is not closed, and only then proceed with further diagnostics.
Disassemble the device carefully so as not to damage the contacts and other parts. The electrical equipment is first disconnected from the network, in induction models, an additional discharge of the capacitor bank is carried out, which may contain a dangerous potential even when the stove is turned off.
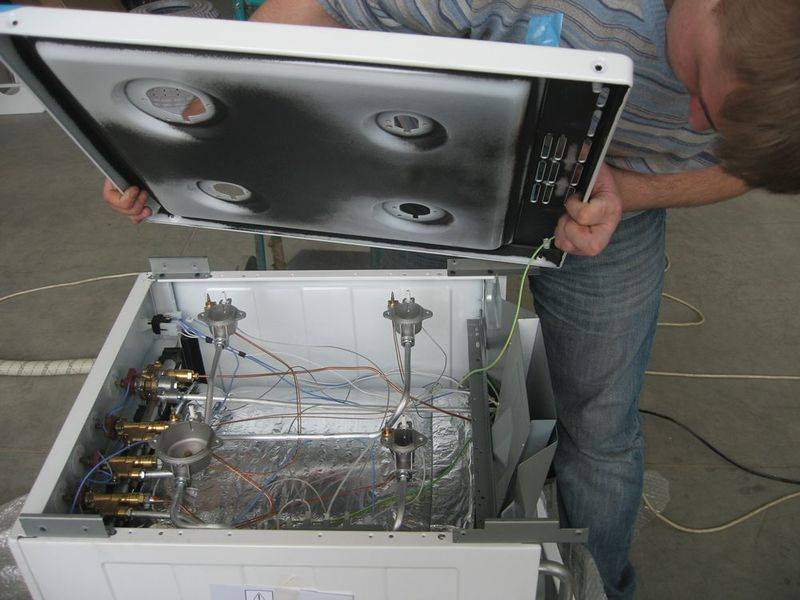
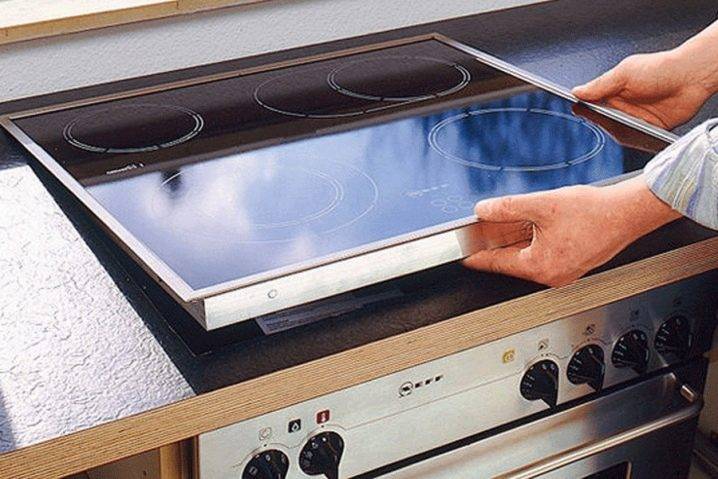
Disassembly begins with dismantling the upper decorative part, attached to the tabletop with clamps
To remove the panel, just pull on it. The heating elements connected to the hob are also dismantled. If the plate is planted on a sealant, pry it off with a flat screwdriver, warm up the sealant with a construction hairdryer and pull it out.
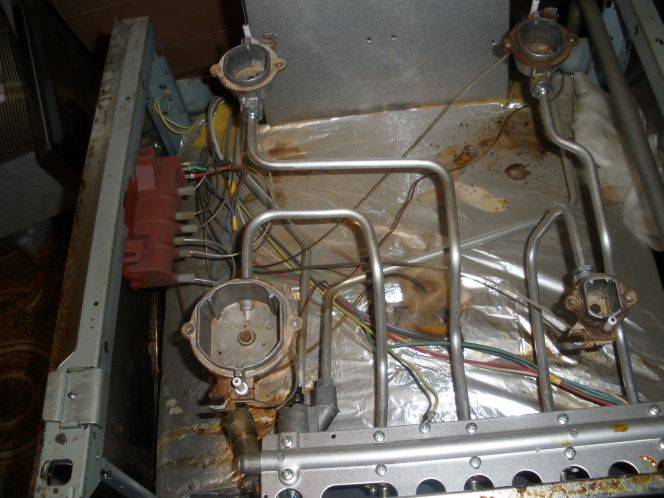
To carry out repairs, place the heating elements upwards on a hard, even surface, carefully handling glass and glass-ceramic covers. Having removed the upper part, they gain access to the inside, inspect and identify the cause of the malfunction in this compartment.
Having localized the breakdown, the non-working unit is removed for research and repair.
We have a lot of materials on the repair of ovens, including electric stoves and gas ovens. Namely, how to repair the timer, glass, door.
Tools for repair
To carry out repair work of any kind, you need to prepare a set of tools:
- To dismantle the plate and its elements, a screwdriver with replaceable tips is useful.
- To determine the presence of voltage - a multimeter.
- To carry out electrical work, shorten and strip the cable - an assembly knife.
- For installation work - pliers, wire cutters, which cut the wires.
Attention
For repairs, you may need socket wrenches, a basic electronic circuit, so owners who decide to repair the hob on their own need to take care of such details in advance
Repair specialist advice
 A few tips from experts for those who decided to start repairing household appliances.
- If the performance of the gas hob malfunctions, the gas does not ignite, or it ignites, but goes out, in case of other breakdowns, it is advisable to contact the master for help.
- If the owner of the equipment is confident in his own abilities, has experience, it is allowed to replace a burned-out heating element, clean the injectors, install power regulators and other elements. Household appliances are repaired when the gas supply valve is closed and fresh air is supplied.
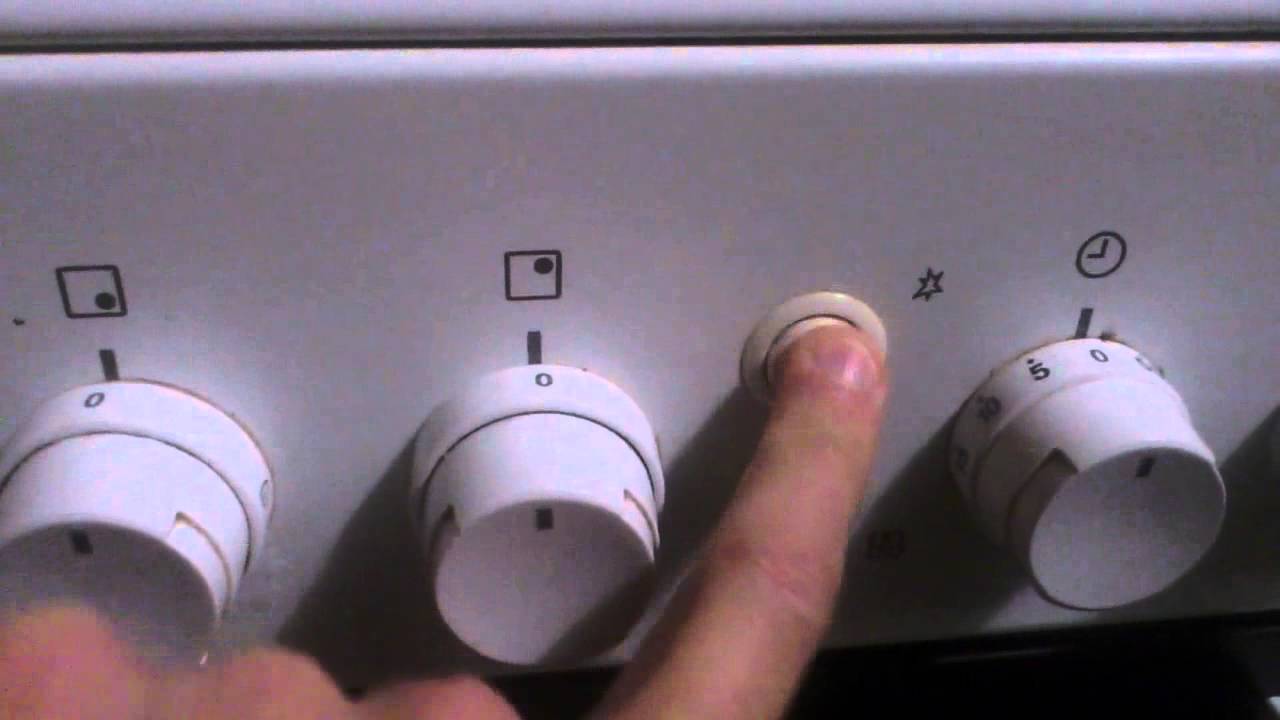
- If the ignition system does not work properly, the electronic unit needs to be replaced. Before replacing it, it is worth checking the serviceability of the button that turns on the igniter.
- In electrical models, the cause of an inoperative device is often damage or burning of the cable going to the heater. To fix this, it is enough to disconnect the non-working wire, strip off the charred part of the insulation. But this method is a temporary measure. To carry out better service, you need a complete replacement of the loop of wires going from the switch or thermostat to the heating element.
- The induction hob needs repair if the high-frequency voltage generator or transistor switch breaks down. Restoration of the power supply unit will be performed by the master, as this requires knowledge and experience, special tools.
-
Cracks or chipping of the glass of the hob are relatively rare. Such a part cannot be restored, and given the complexity of the installation and the price, you can use a used product. The size and brand of the purchased used equipment for spare parts must correspond to the damaged one.
To replace a broken panel, it is enough to disassemble both elements, detach the inner working parts from the decorative surface, and rearrange the working parts instead of unusable ones.
Hobs equipped with modern components also wear out, components and mechanisms fail. Professionals will perform high-quality diagnostics and repairs. But sometimes repairs can be done independently, taking into account the recommendations and observing the safety conditions.
How to disassemble a gas stove
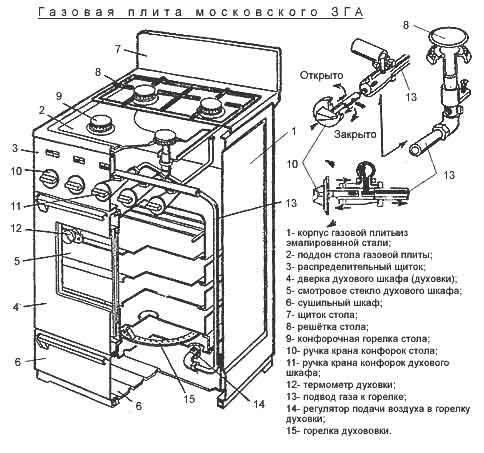
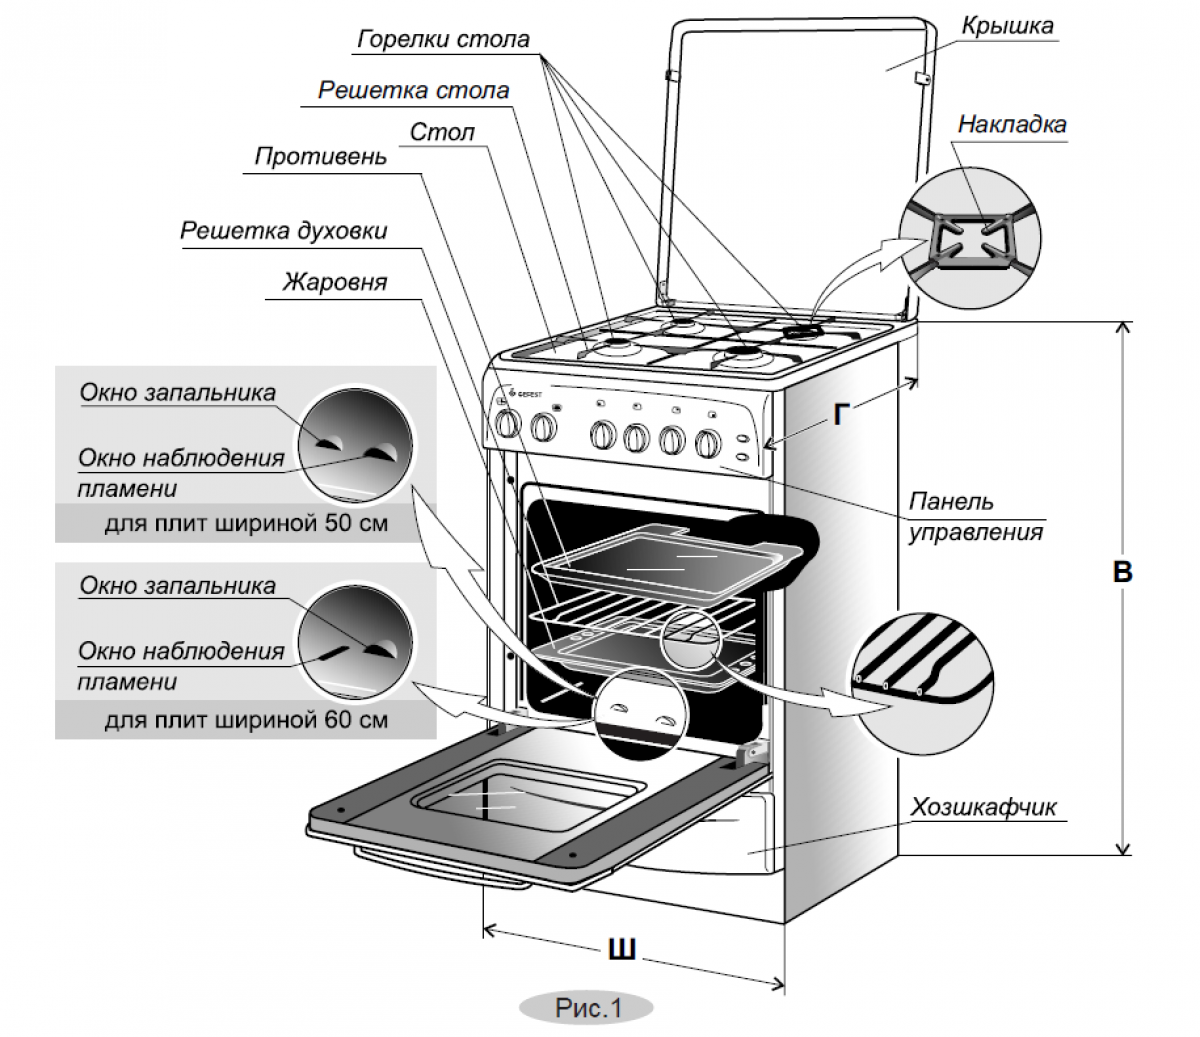
Repairing a gas stove requires certain skills and it is very important to know how to properly disassemble the device in order to perform the required work. Before disassembling the product, turn off the gas valve
If you follow all the steps according to the instructions, then you can disassemble the stove and troubleshoot yourself. Then you need to disconnect the stove from the gas network and electricity.

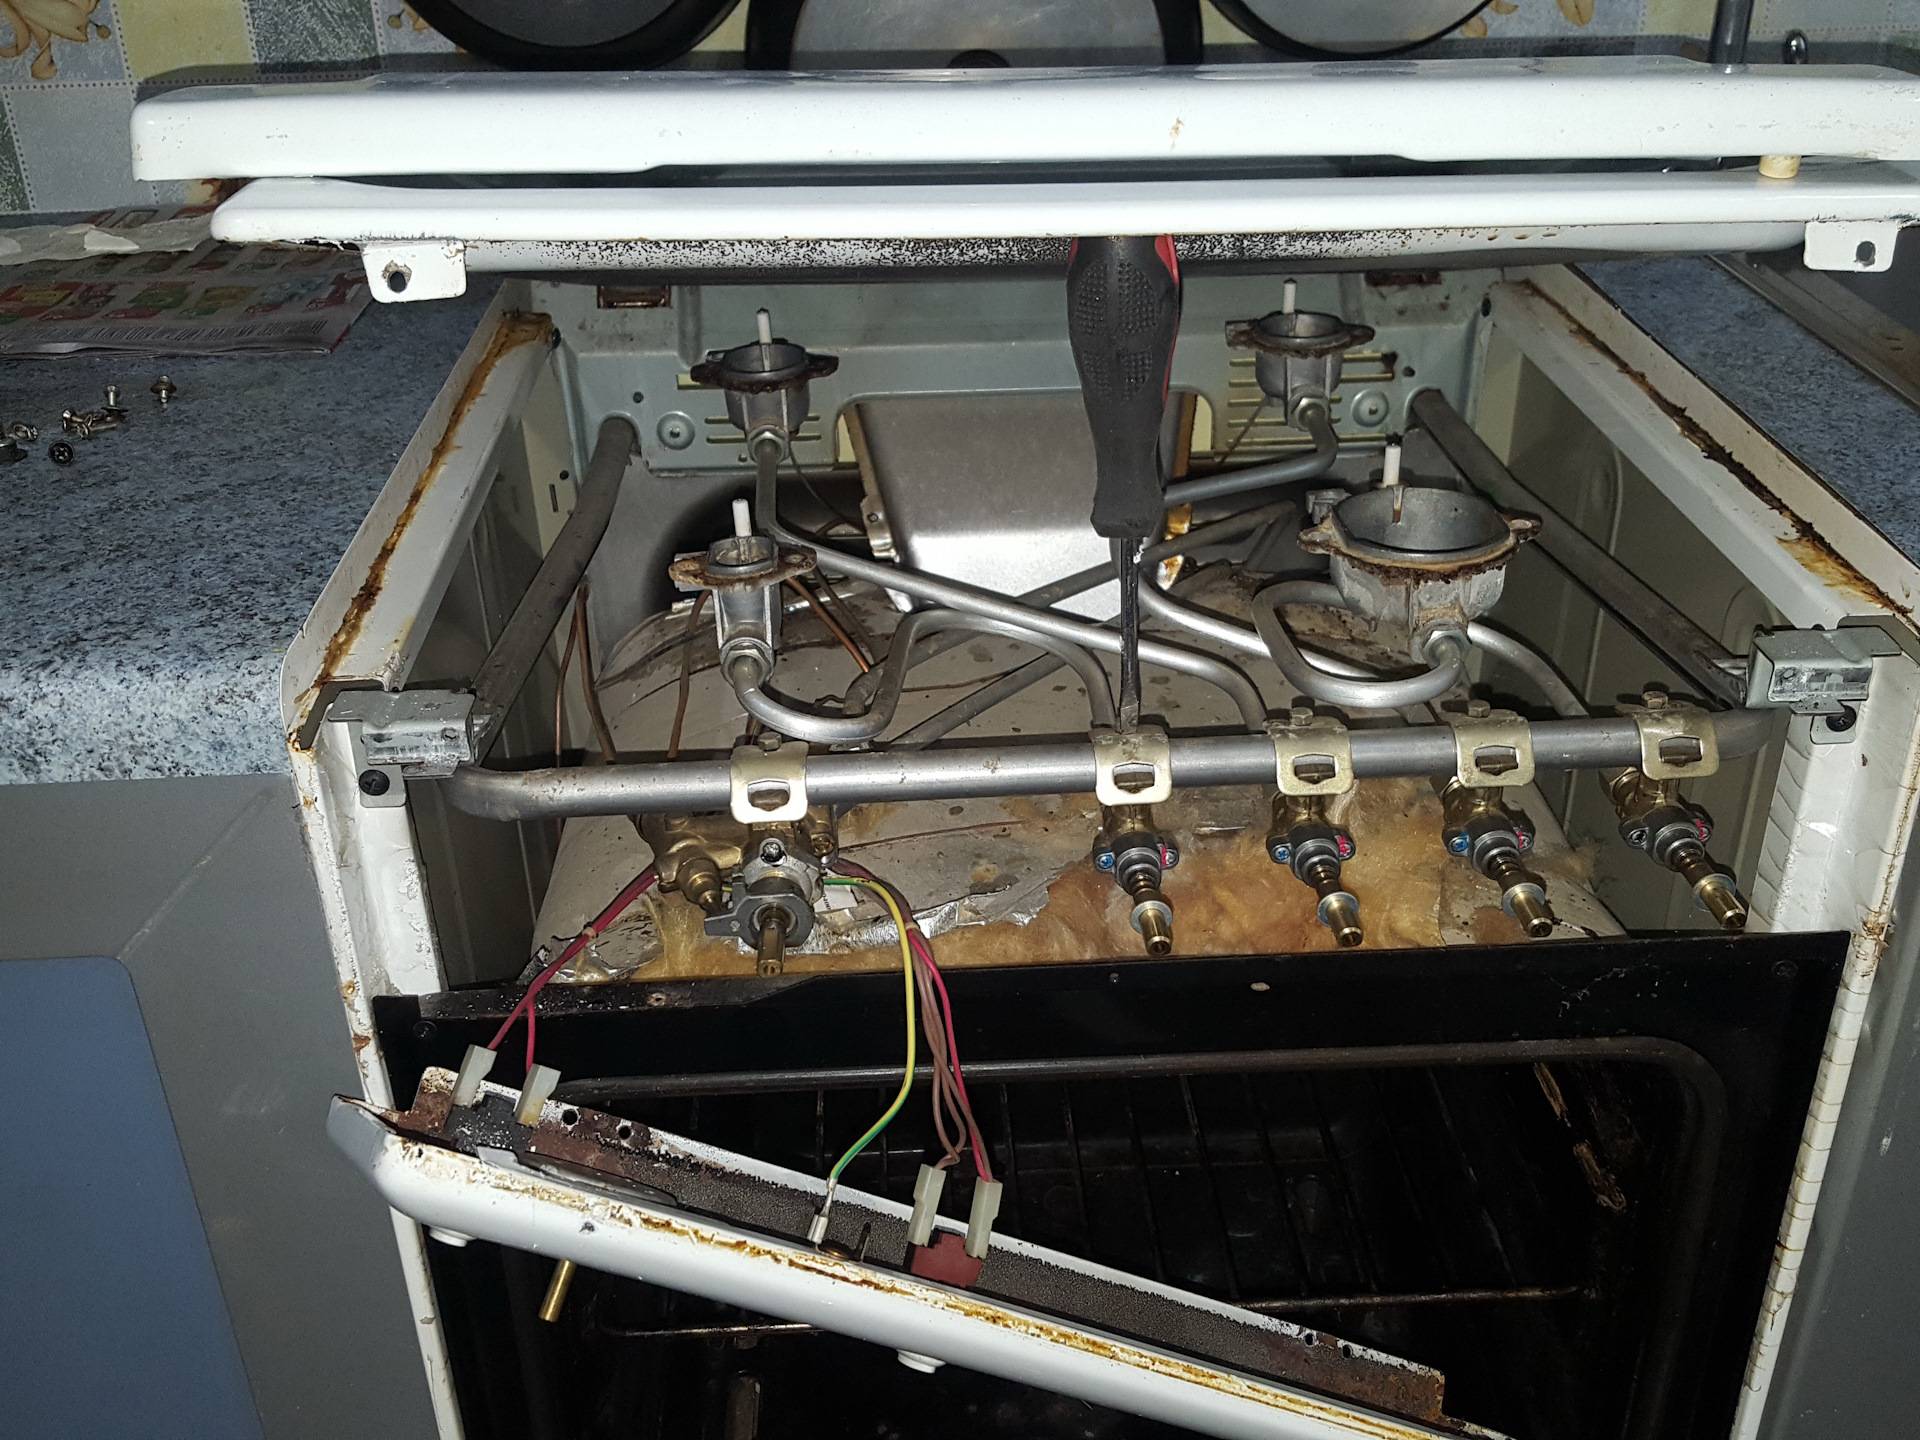
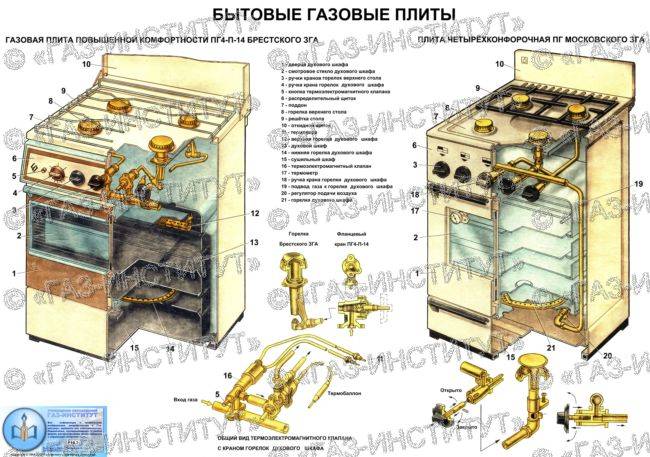
Dismantling the slab consists of several stages, namely
:
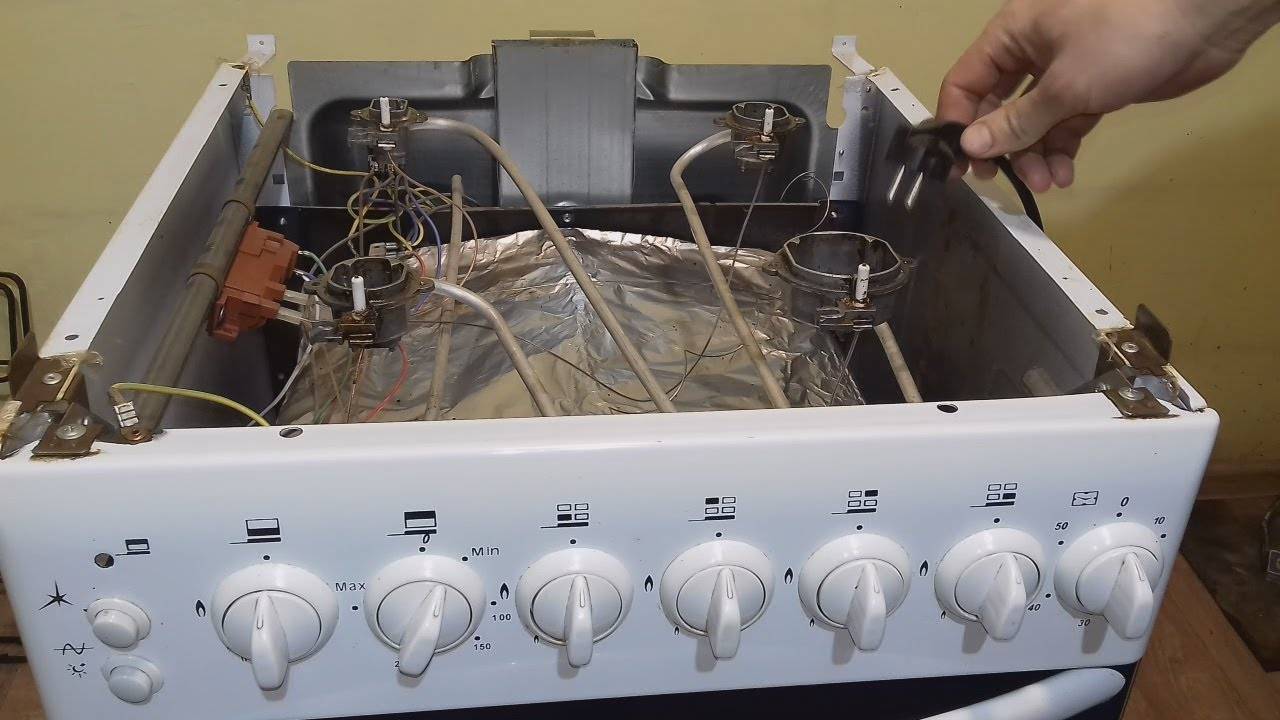
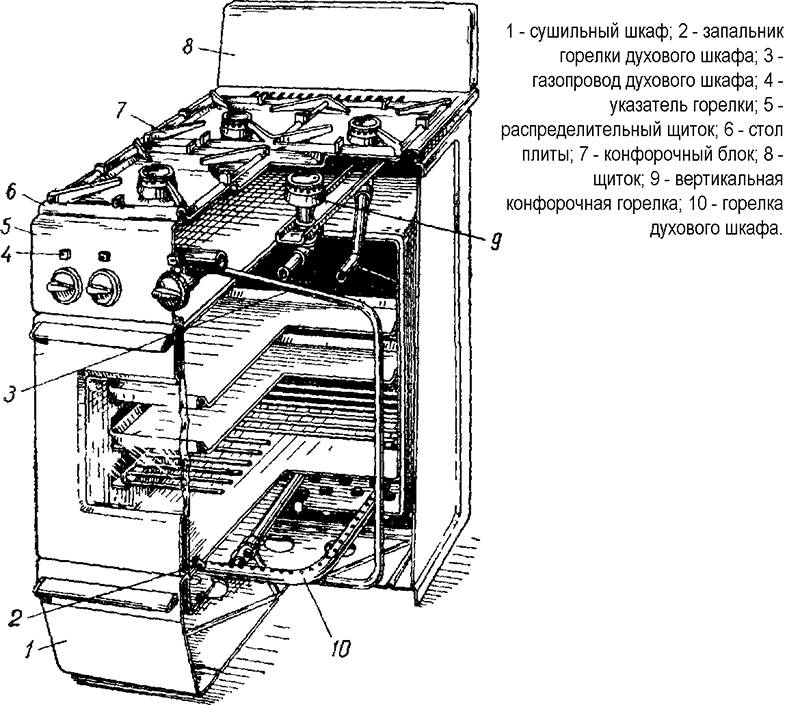
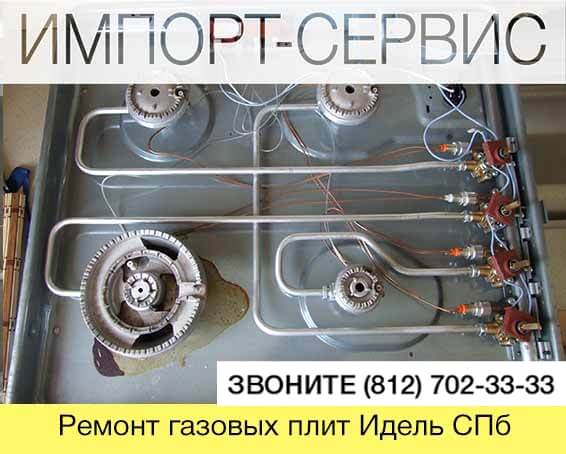
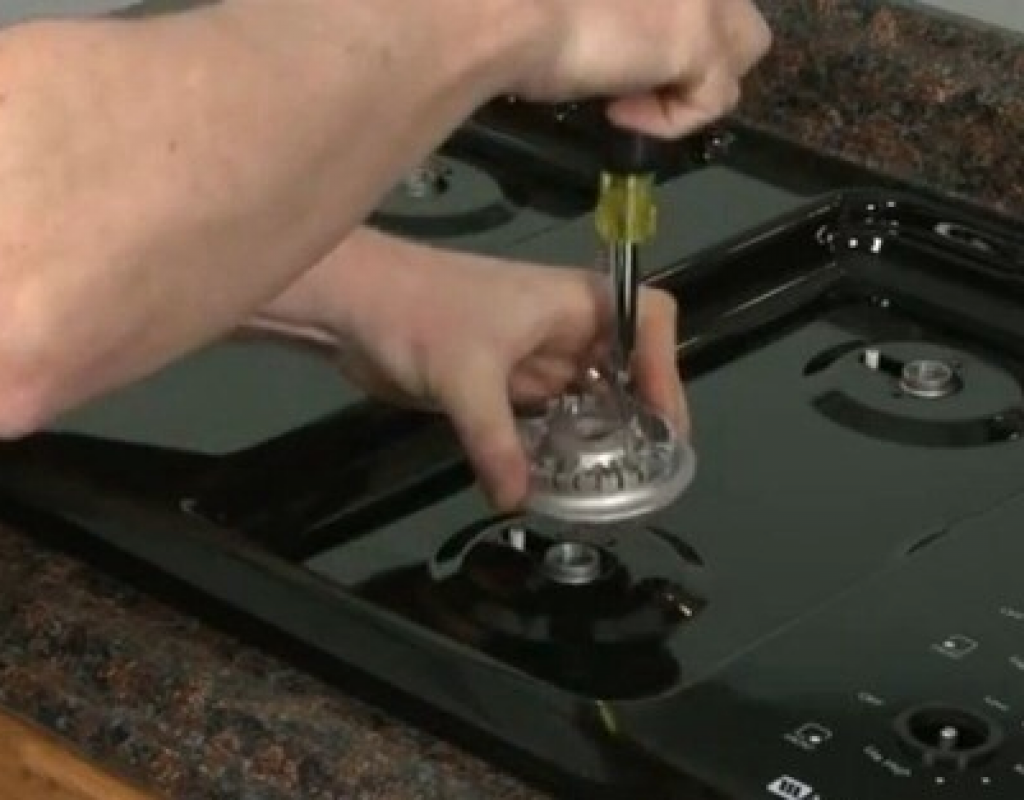
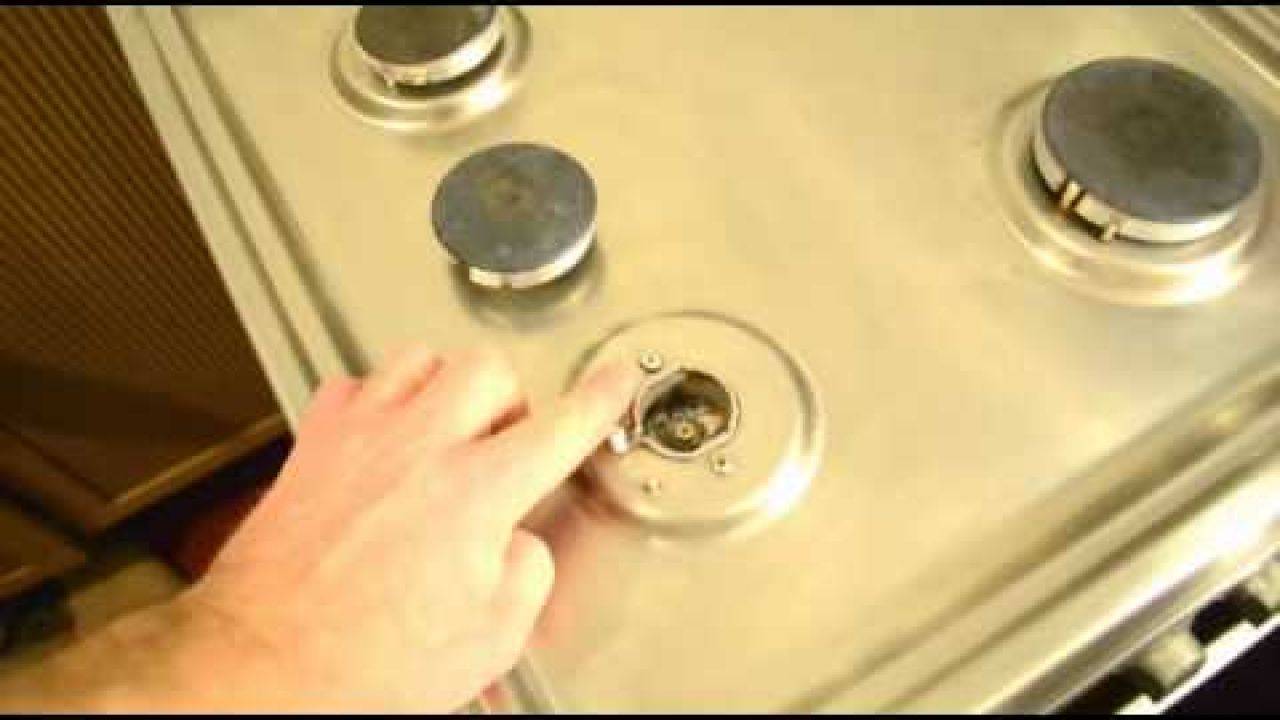
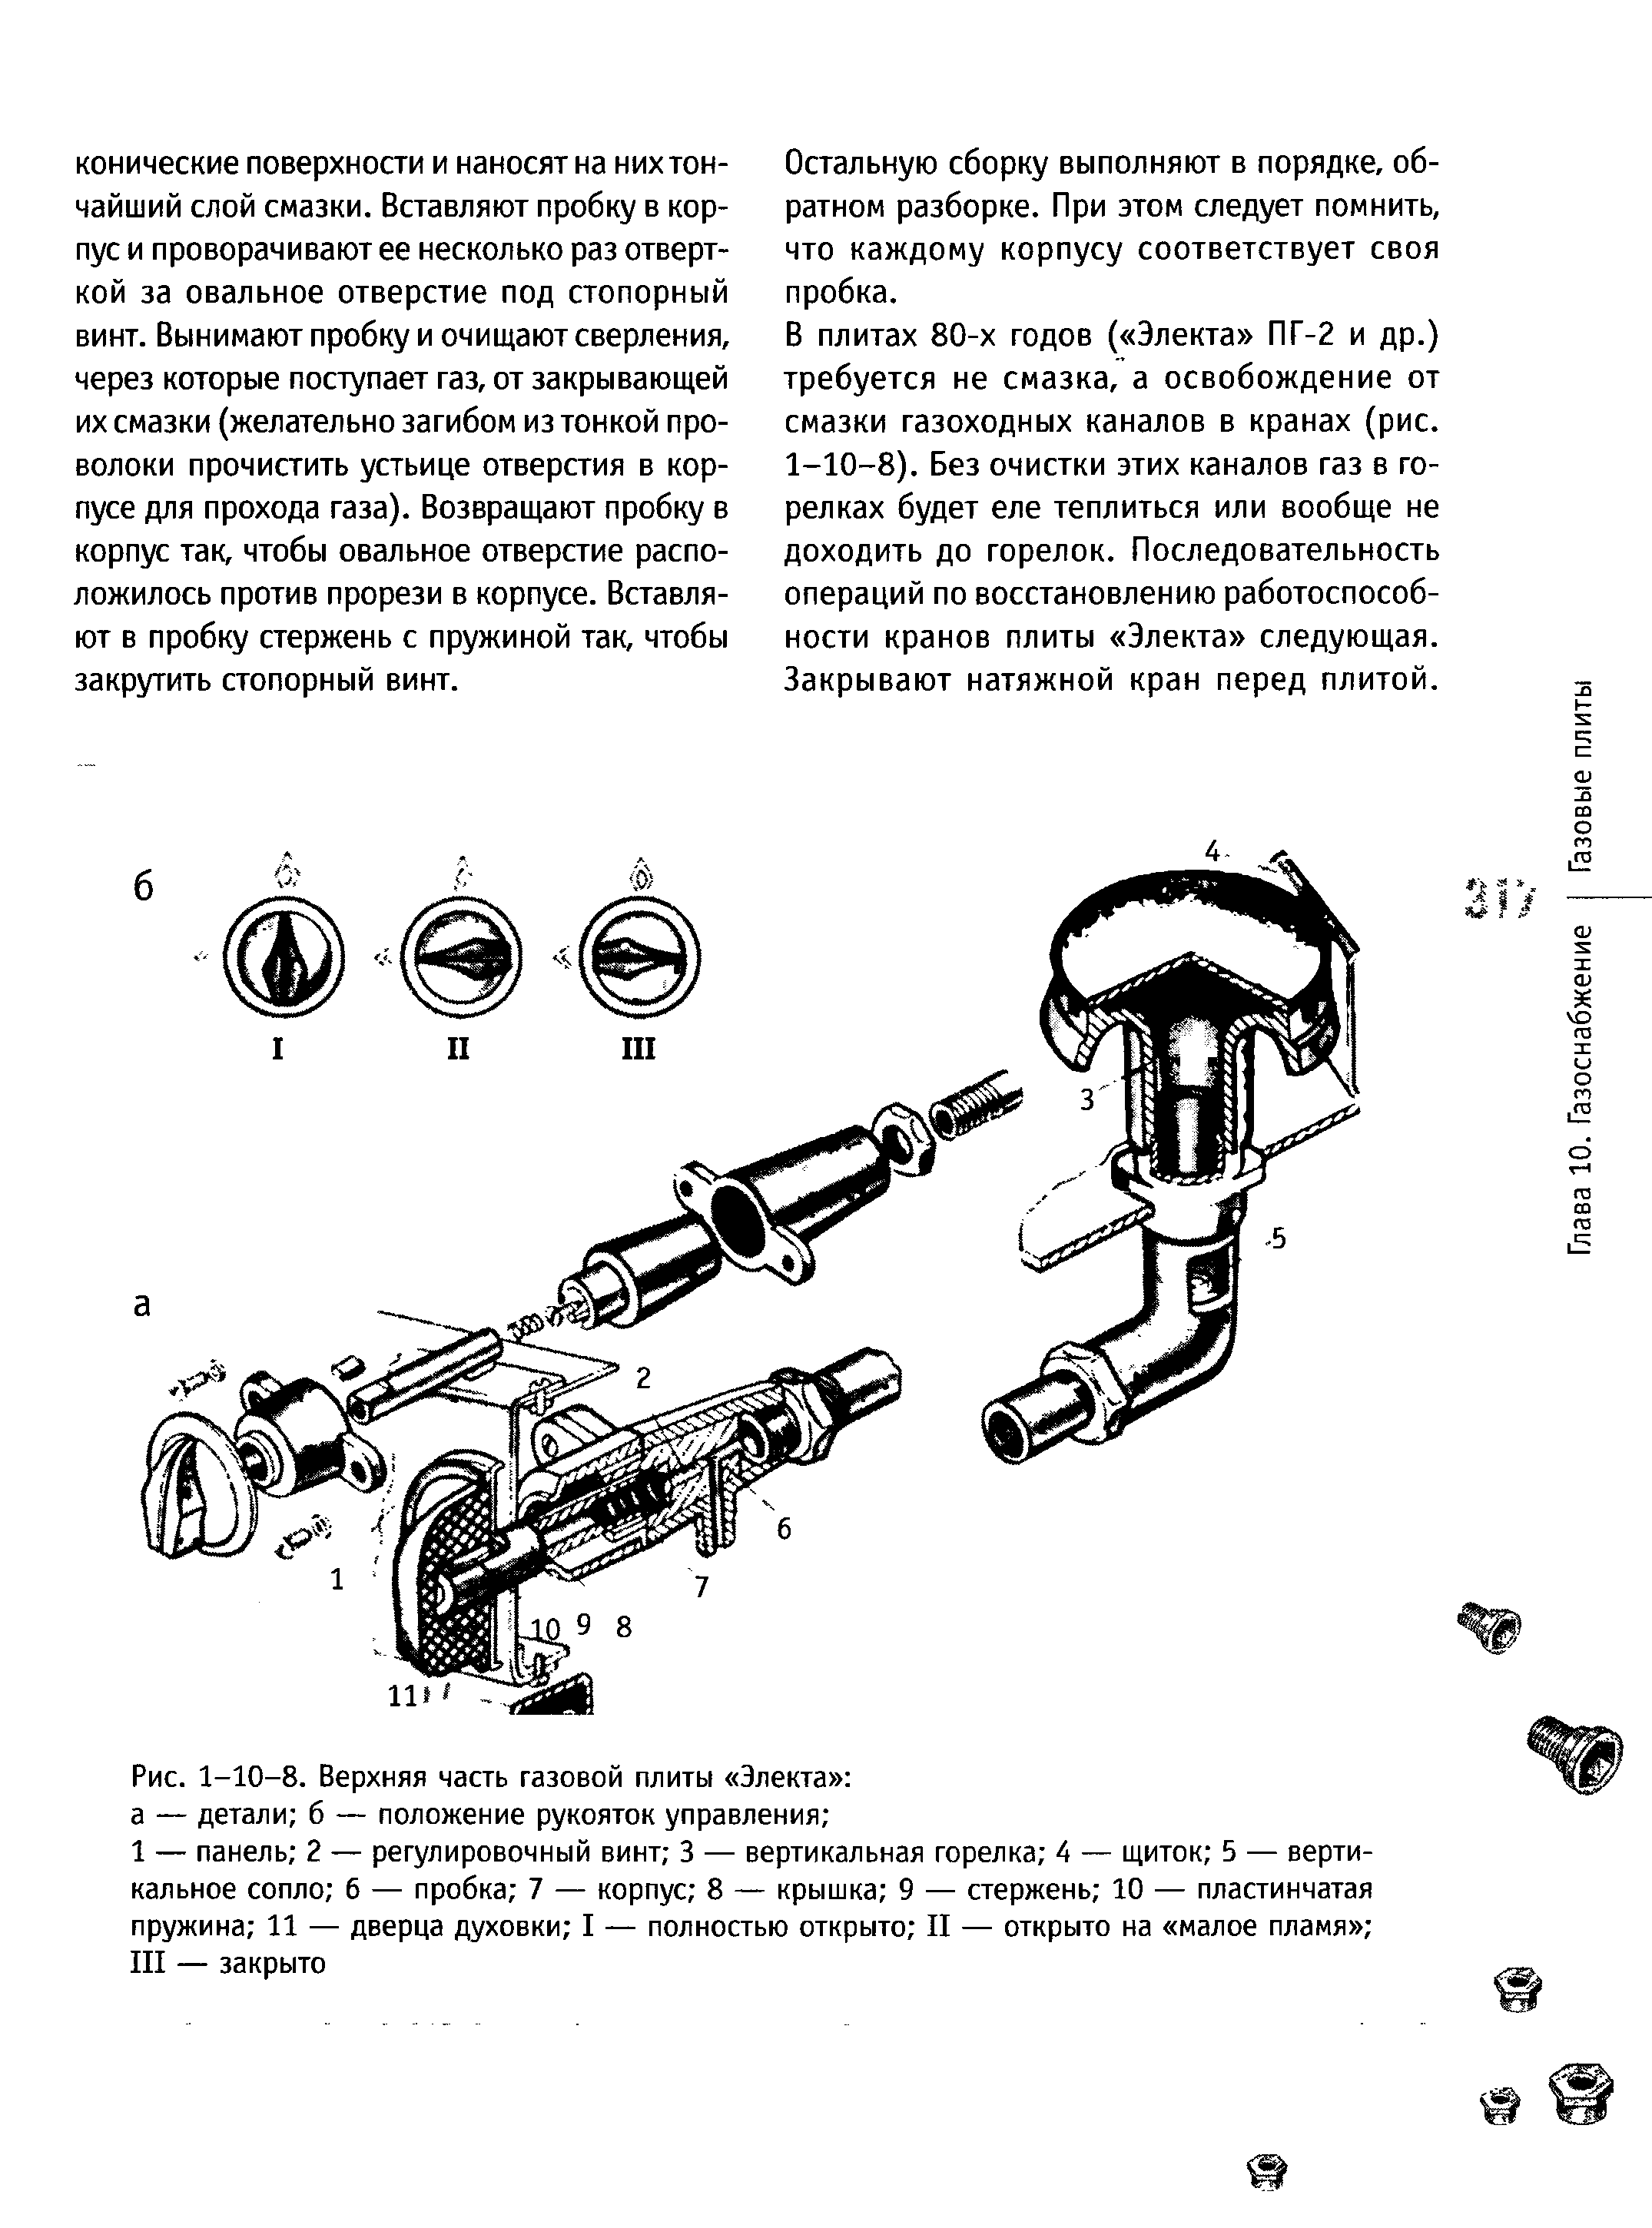
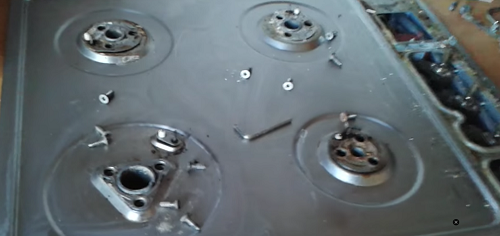
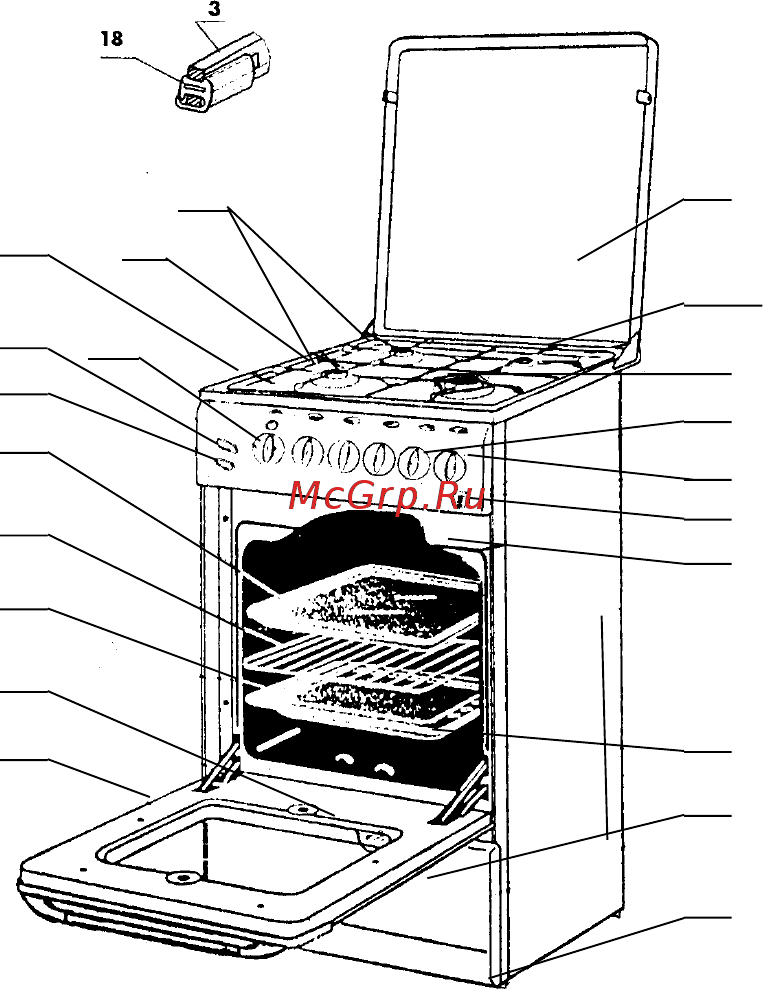
- Remove the burners, unscrew the bolts, lift the top cover;
- To access the oven slide, it is necessary to remove the side wall;
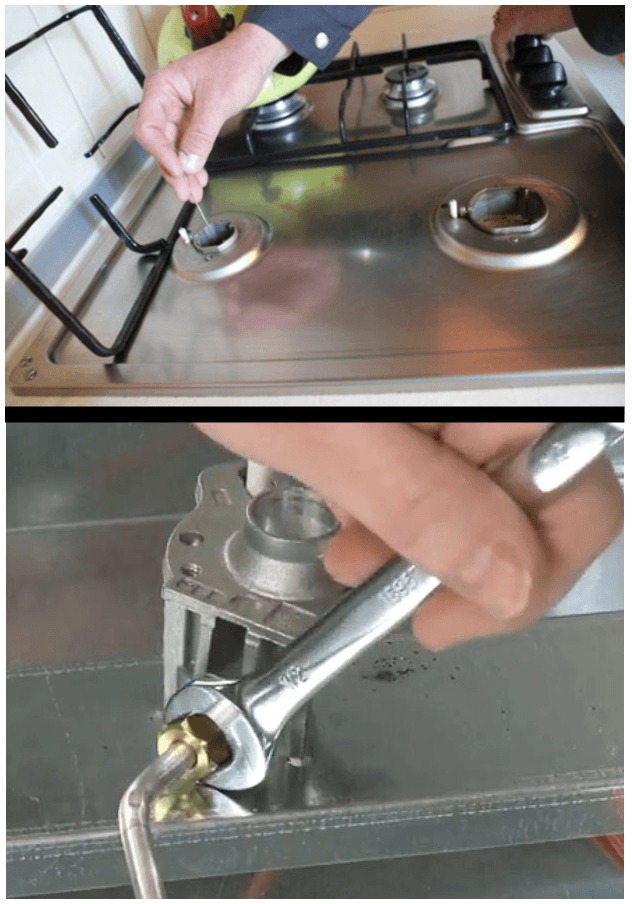
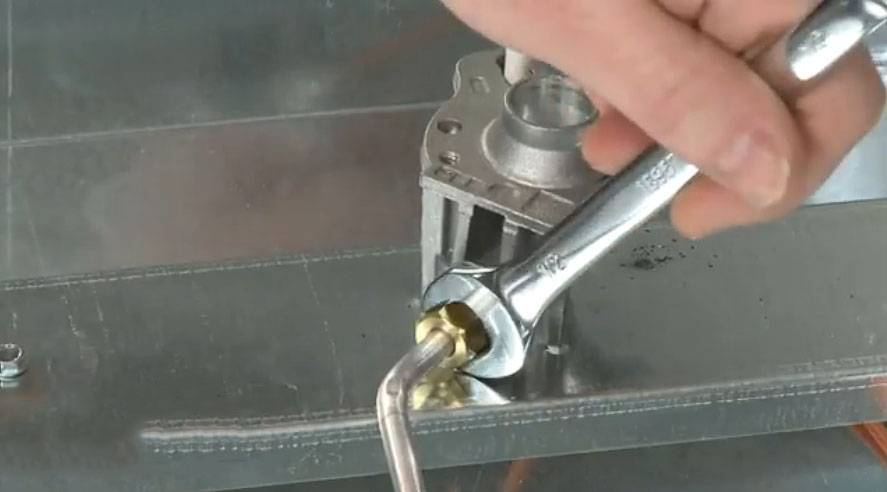
- Remove the burner nozzle.
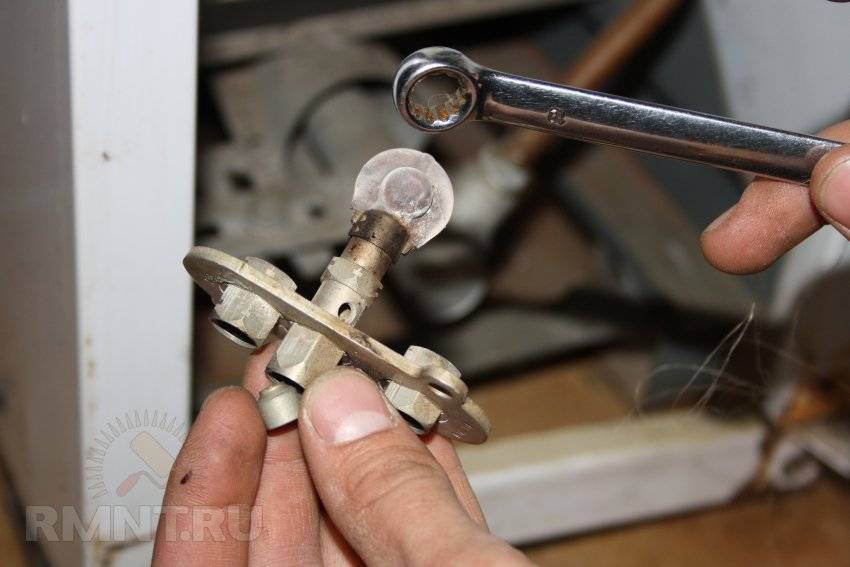
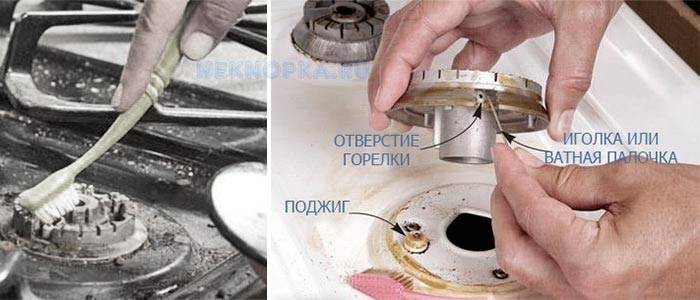
If there are problems with the operation of the stove and the burners do not ignite well, then a mandatory ignition adjustment is required. If only the burner is faintly lit, then the problem may be a blockage. The repair is very simple, as it is enough to clean the nozzle using a thin wire or needle. Getting to the oven nozzle is not always easy, for this you need to unscrew the bottom wall of the oven, remove the burner and clean the nozzle.
Gas can periodically disappear if the thermocouple is damaged, therefore, if there are problems with the fuel supply, you need to inspect the integrity of the part. If the flame ignites for a very long time, then the solenoid or gas valve of the burner fuel flow rate must be replaced or repaired. In addition, it is necessary to correct the operation of the thermostat. There may be other malfunctions of the stove, therefore, if there is no experience in working with gas equipment, it is best to give it to a professional master, let him repair the device.
How to repair it yourself?
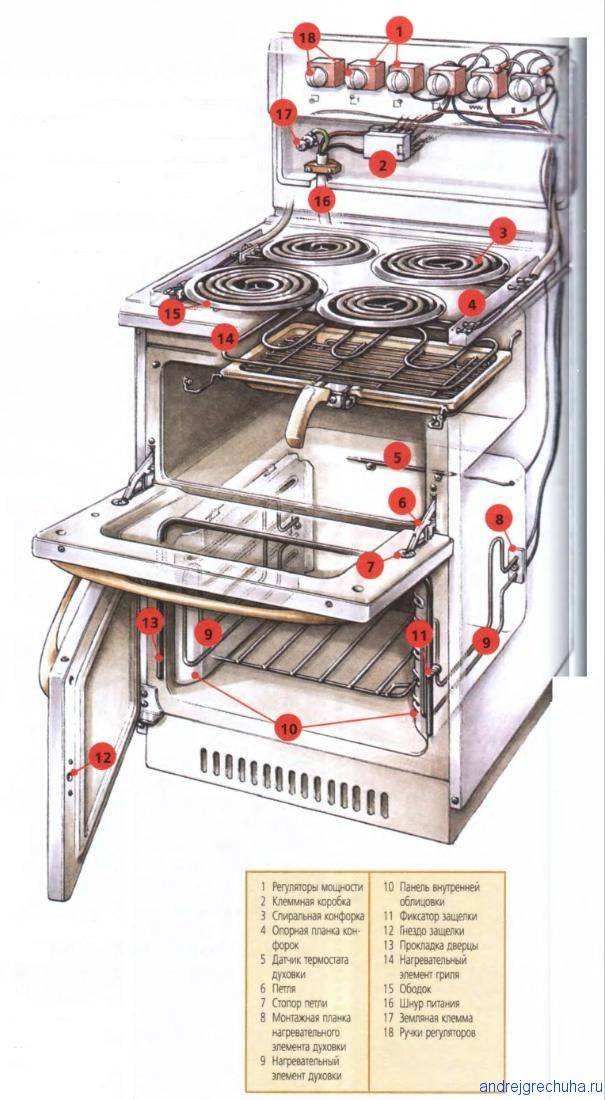
An electric stove is considered a household appliance of increased danger, so you need to do it yourself with the utmost responsibility. If the problem is serious, then it is best to entrust the restoration of working capacity to an employee of a specialized service. Self-repair of an electric stove in most cases consists in replacing parts that are out of order. For example, a heating element cannot be repaired, regardless of the complexity of its breakdown. If it does not work properly, you will have to replace it with a new one.

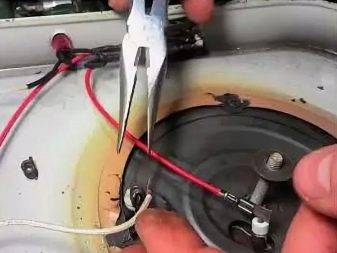
The same applies to the temperature controller: if it is not possible to set it up due to some problems in operation, then it will have to be replaced. You need to be careful when checking the power supply and repairing it. At first, you can try to replace only the loop, however, if there is no positive result, you will have to buy a new module. In most cases, repair or replacement of the electric stove switch is carried out as follows.
- We turn off the power to ensure the safety of the master. Under no circumstances should repair work be carried out while the power is on.
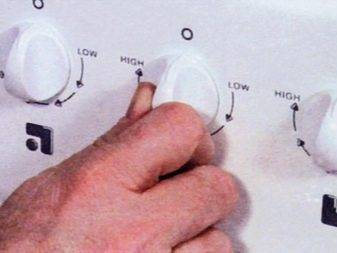
- The thermostat must be turned to the minimum temperature until you hear a click.If it does not exist, then you can be sure that the device is out of order. If you wish, you can carry out another check of the thermostat by simply leaving it in the center position and applying power. In this mode, the thermostat should turn off every 30 seconds.
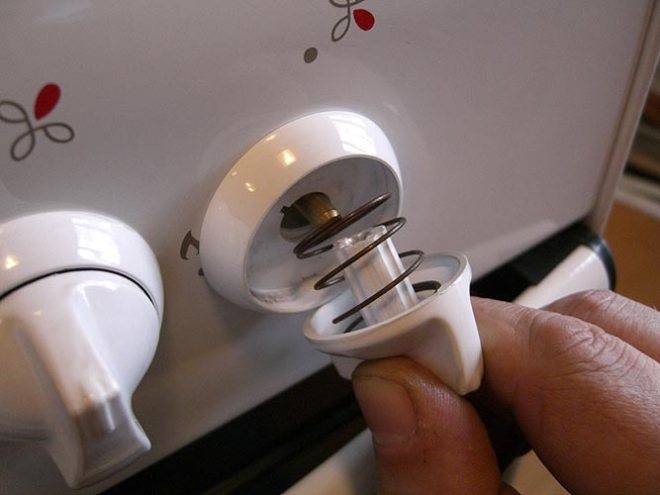
- The handles can now be removed. Before that, it is imperative that you read the manufacturer's instructions, since for some models this part is non-separable.
- First of all, you need to remove the handles that are responsible for external adjustment, and only then you can go to the front panel.
- Under the front panel there is a strip that presses the switches.
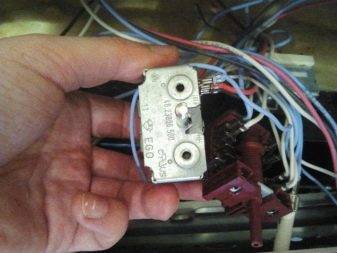
Another common problem is a cracked coil, which has to be replaced with a new one. This process is as follows.
- The electric cooker is disconnected from the network. There is usually no point in trying to fix the coil, so it's best to buy a new one right away.
- We remove the correct hob with burners. Here, in most cases, there are holes for the heating element.
- The part is pushed on with a small screwdriver and removed. It is necessary to take care in advance of removing the wires and contacts so that no current flows.
- The spiral is installed in the same way.

Thus, repairing an electric stove with your own hands is a complex process that requires certain skills, knowledge and special tools. During repair work, you need to be extremely careful, since the integrity and performance of the device in the future depends on this. If your device shocks when turned on, the glass breaks, stops turning off or heats up weakly, then, first of all, you need to determine the cause of the problem. Repair can only be started after a possible source of malfunction has been identified.
For information on how to repair an electric stove with your own hands, see the next video.
Ignition system malfunctions
Let's say the hob is connected to the electrical network, but the button for turning on the burners does not work. This happens if the power supplied through the wires is insufficient for operation. This happens in homes with a weak power supply, or when the hob is connected to a tee. In this case, an electric voltage stabilizer comes in handy. When connecting electrical appliances to it, it begins to evenly distribute energy between all equipment. Thus, it is possible to provide the 220 volts necessary for the operation of the panel. Also, a voltage stabilizer will minimize the risk of burning electrical appliances in the event of a voltage surge or short circuit.
Electric voltage stabilizer
The following symptoms may indicate problems:
- The hotplate does not turn on when the button is pressed.
- The candles spark when switched on, but the burners do not light up.
- The panel turns off after releasing the start button.
Repairing a hob powered by electricity is possible in several ways.
Varieties
The hob is a flat product with a thickness of no more than 6 mm, for the installation of which a rectangular hole of the required size is cut in the worktop. All models from three main groups differ in the types of heating elements.
With gas burners
 The front side is equipped with gas burners that act as heating elements, there is no oven. The principle of operation is the same as in standard gas stoves. Surface - cast iron, enameled or stainless steel.
Supplemented with automatic electric ignition and "Gas-control" systems, which cuts off the gas supply when the flame goes out. There are no timers on such a model; gas supply and regulation are performed mechanically.
Induction
 These stoves are electric, but the burners themselves do not heat up in them, and the heat to the containers installed on them is transferred from flat coils made of lacquered copper wire that conducts an electric current.
The process generates a high-frequency alternating electromagnetic field with a power of up to 100 kHz. This field interacts with the ferromagnetic properties of the cookware on the stove, creating induced eddy currents in it.
The bottom of the cookware heats up due to the resistance that the current experiences during movement.The panels are made of tempered glass or glass ceramics.
here
With a simple heater
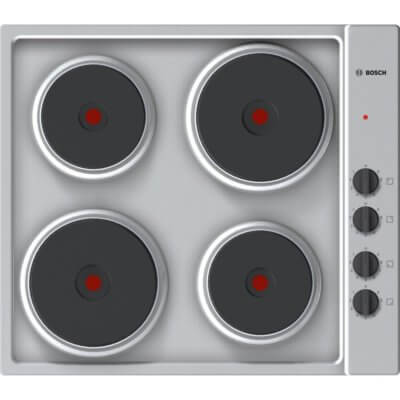 The principle of operation practically does not differ from the old electric stoves, but the panels are made in a more modern form. A tungsten heating element is made in the form of a spiral or corrugation, heating occurs by a current that passes through them. The surface of the slab can be enameled or stainless steel. The burners are made of cast iron, glass ceramics.
The oven door is not covered
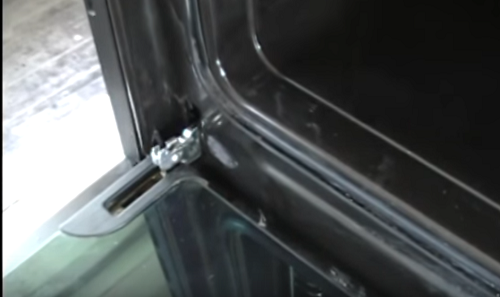
The most common oven breakdown is poorly closing the oven door. It occurs most often when there is a small child in the house who simply sits on the open door, as a result of which the brackets holding this part bend and do not fulfill their function of pressing the sash.
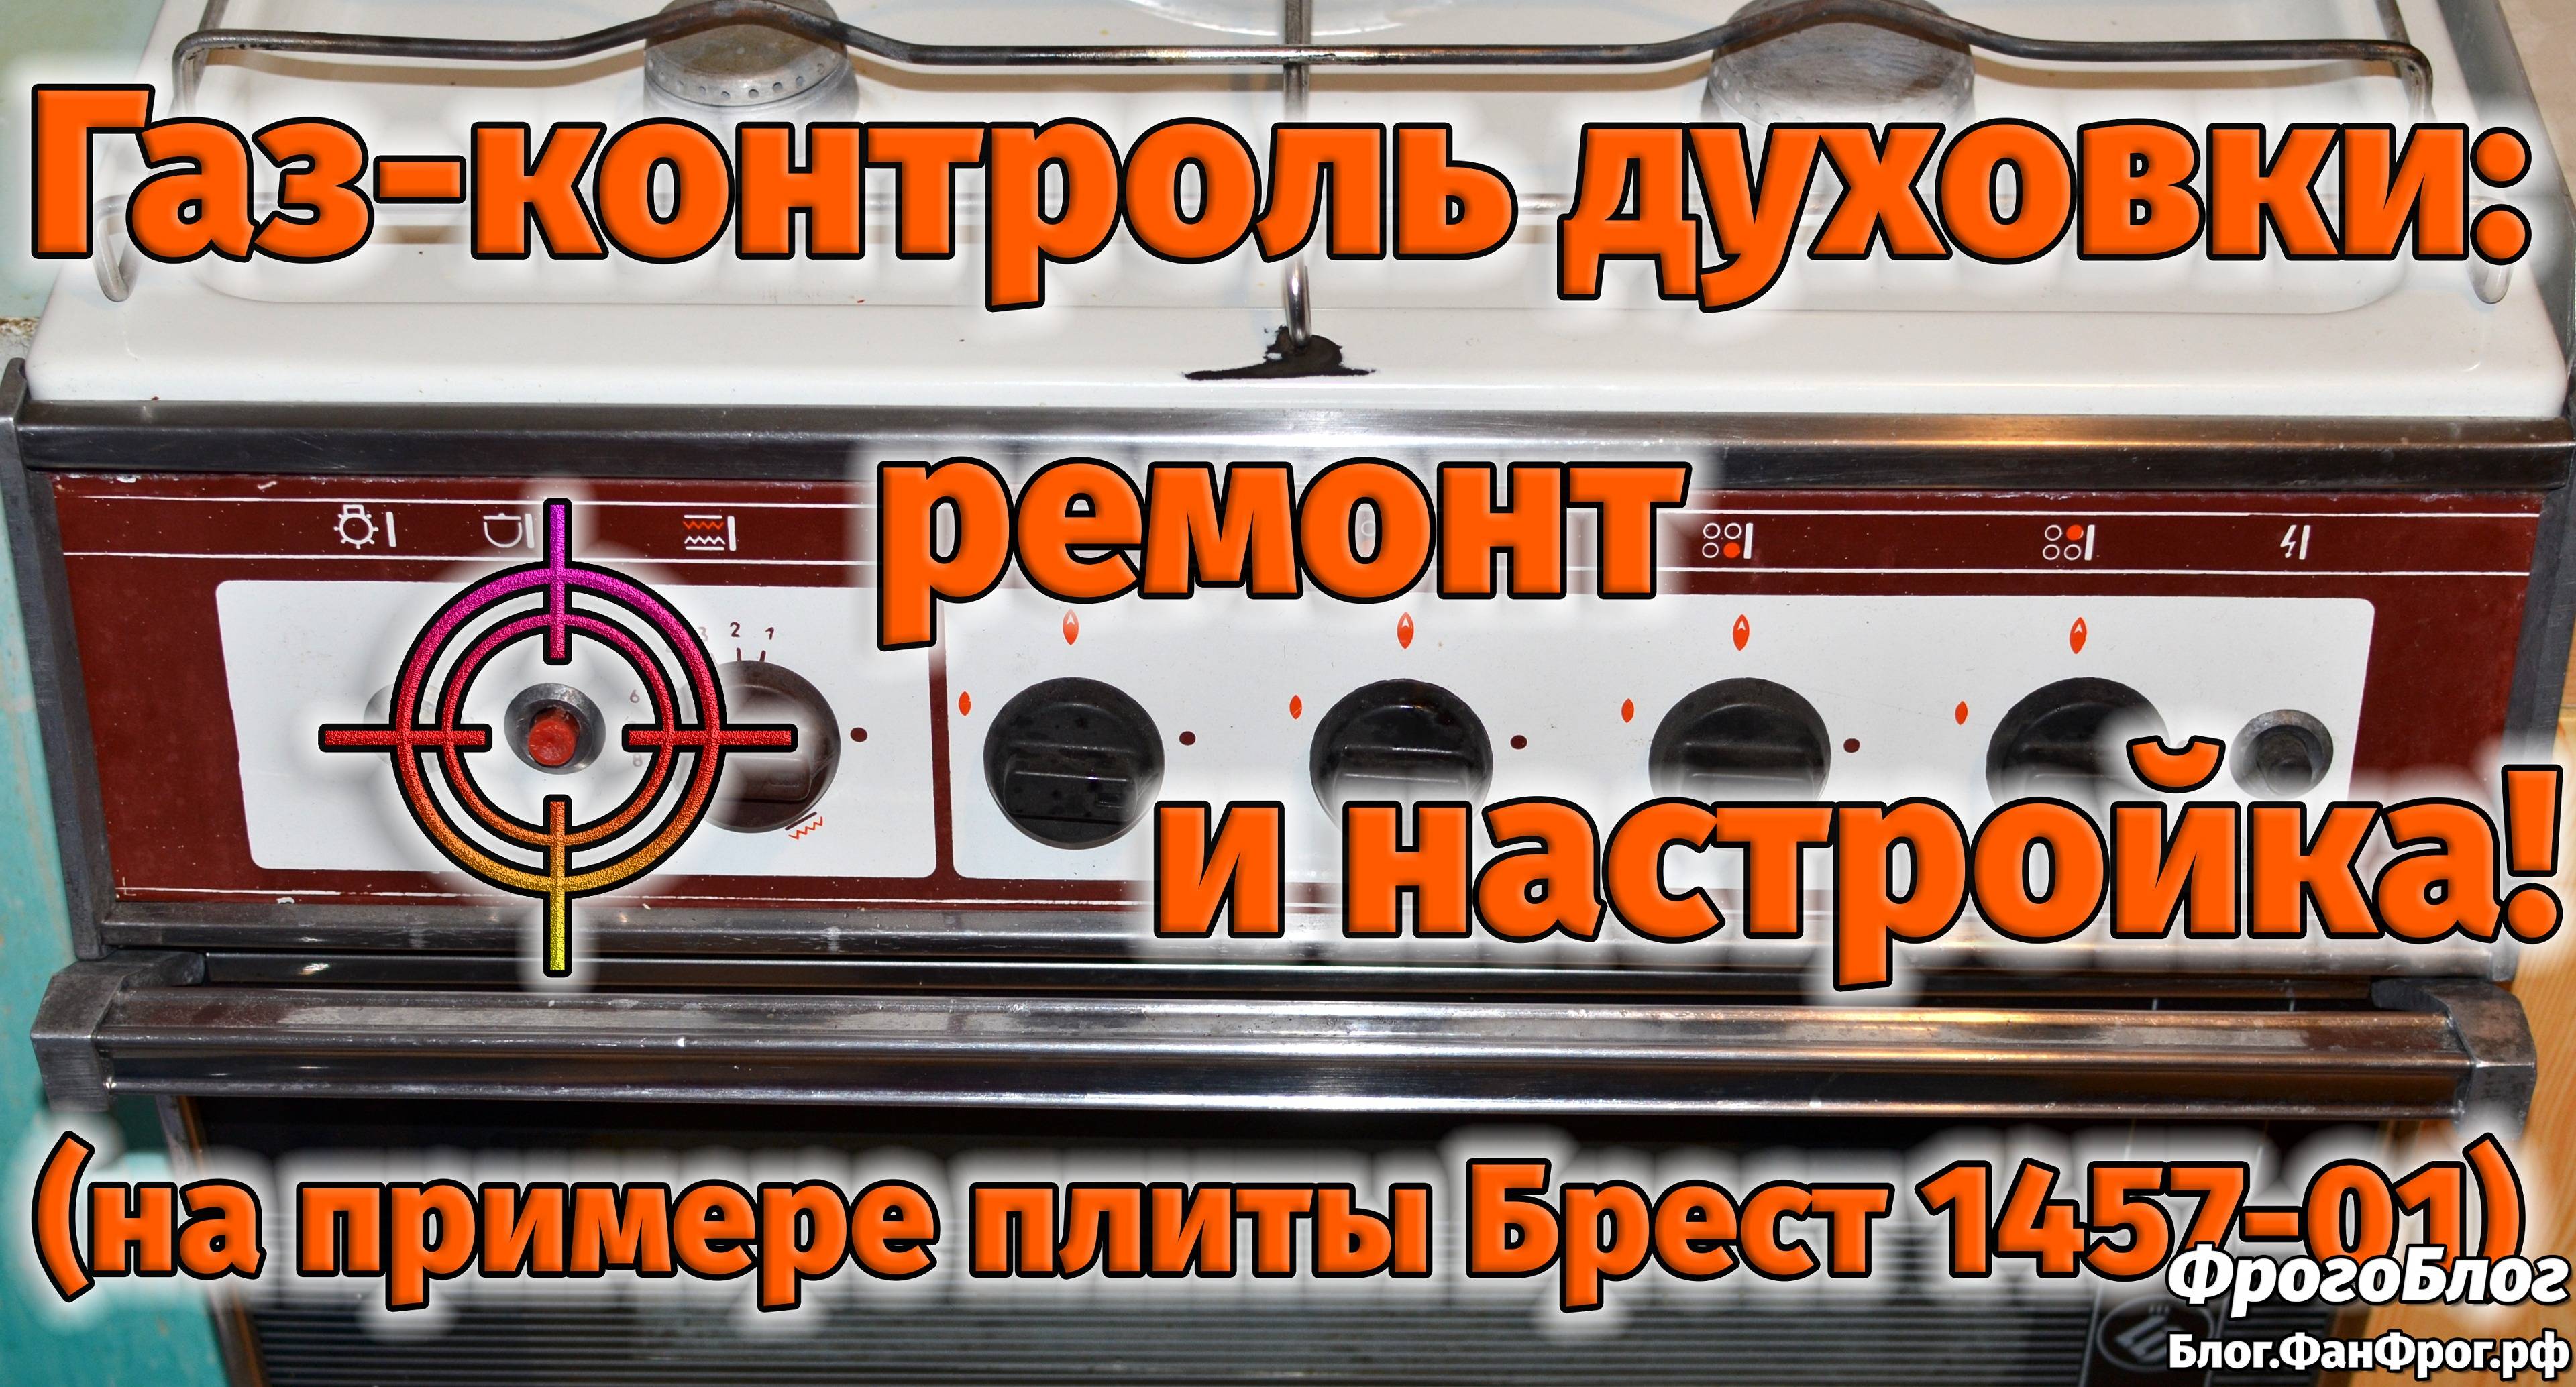
To repair the oven of the Indesit gas stove, Brest 1457 or the Flama stove, you will need disconnect the door from the unit
... To do this, you need:
Summing up, we can say that only the above malfunctions can be eliminated with your own hands. All types of troubleshooting of a gas stove associated with the disconnection of gas supply pipes and hoses must be carried out by a gas service employee, after which he draws up an act of repair performed.
It's no secret that during operation, gas equipment, like any other device, tends to fail. Therefore, in this article I would like to give some advice to those, and for those who would like to save a couple of thousand rubles on repairing a gas stove. After all, the services of a specialist can cost a pretty penny, and the work that he does, you yourself can do in ten minutes.
I want to say right away that gas is a source of increased danger, and when mixed with air in certain proportions, it forms an explosive mixture. Therefore, before you start any manipulations with your beloved device for, be sure to turn off the lowering tap (the tap, which is usually on the wall, with someone behind the stove or hidden in the kitchen set), just in case, open a window or window and unplug the electric ignition cable, if any.
Major malfunctions
Damage to electronic circuits
Electronic systems may not work with the following symptoms:
- The hob does not turn on because there is insufficient or no voltage at the socket. Parts of the microcircuits may be defective. The multimeter checks the status of the outlet, the lack of current or its lack. If all is well, then you need to check the health of the fuses. Electronic circuits can burn out due to the fact that the contacts are frayed or the cord is crushed. Sometimes the heating element may break down.
- If one or two burners are faulty, the heater contact may be broken. They are soldered and contact is returned. In this case, the burned-out heating element must be replaced with a new one. If the contacts are broken, the control unit switch is repaired or replaced with a serviceable one.
- If the hotplate is poorly heated, the heating element, thermostat or thermostat may overheat. Parts can be repaired, but the thermostat only needs to be replaced with a new one.
- If the fuse blows, the electronic circuits are damaged. In this case, fluctuations can occur due to voltage drops on the electric lines. The part is inexpensive, so it is easier to replace it with a new one.
- The sensor stopped responding. Use a multimeter to check the suitability of the part. If there is no reaction of the device, then the part is completely removed and replaced with a working one. In rare cases, a simple cleaning of the sensor with a baking soda solution will help to get it working.
- The hob is overheated. It stops turning on or gets very hot. Following it, the thermostat fails. The part cannot be repaired. It needs to be changed to a new one.
Broken heating elements
 If the equipment does not turn on, you need to check the voltage. The hob may not turn on due to low voltage. To prevent such situations, a stabilizer is installed.
Heating elements break for various reasons.
- First you need to inspect the power cord. In 80% of cases, heating elements break due to a pinched, bent or burst cord. It is inspected by first removing the equipment from the network, and then ringing for the integrity of the wires.
- The reason may also lie in a defective fuse. It stands at the entrance, but it can easily burn out if more significant parts are protected from voltage surges. Its resistance is checked with a multimeter. An infinitely large resistance or a break in the indicators indicates a blown fuse.
DIY gas stove repair
You can fix the following problems with your own hands:
• The hotplate does not ignite;
• Electric ignition does not work;
• The burner goes out after lighting it up;
• The oven lid does not close well.
In all other cases, under no circumstances try to make repairs yourself, call a qualified technician!
The hotplate does not ignite
So, if the burner does not ignite, then there may be several reasons:
• Clogged nozzle;
• The ignition plug is broken;
• Damaged wire that connects to the candle;
• The electric ignition unit is broken;
• The power button does not work. If the nozzle is clogged, then you just need to remove the burners and clean the nozzle with a toothpick (it is important to use only wooden objects for cleaning, never metal!). This completes the entire repair of the stove.
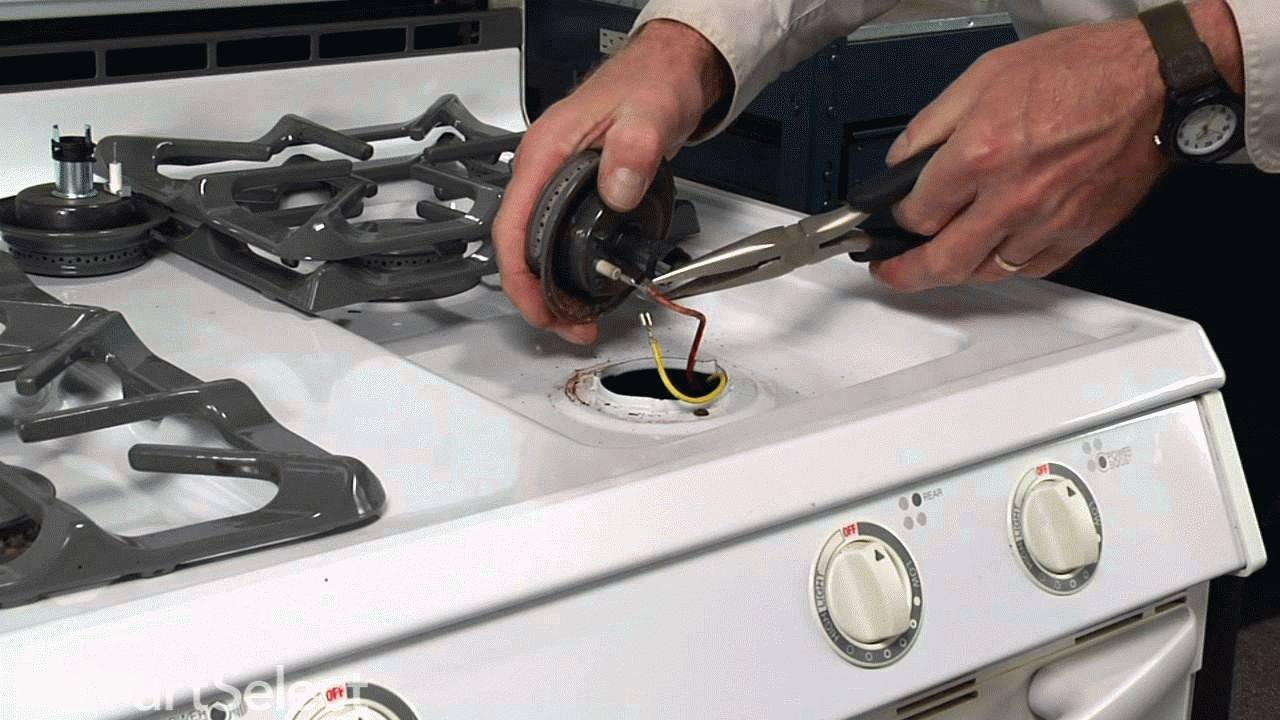
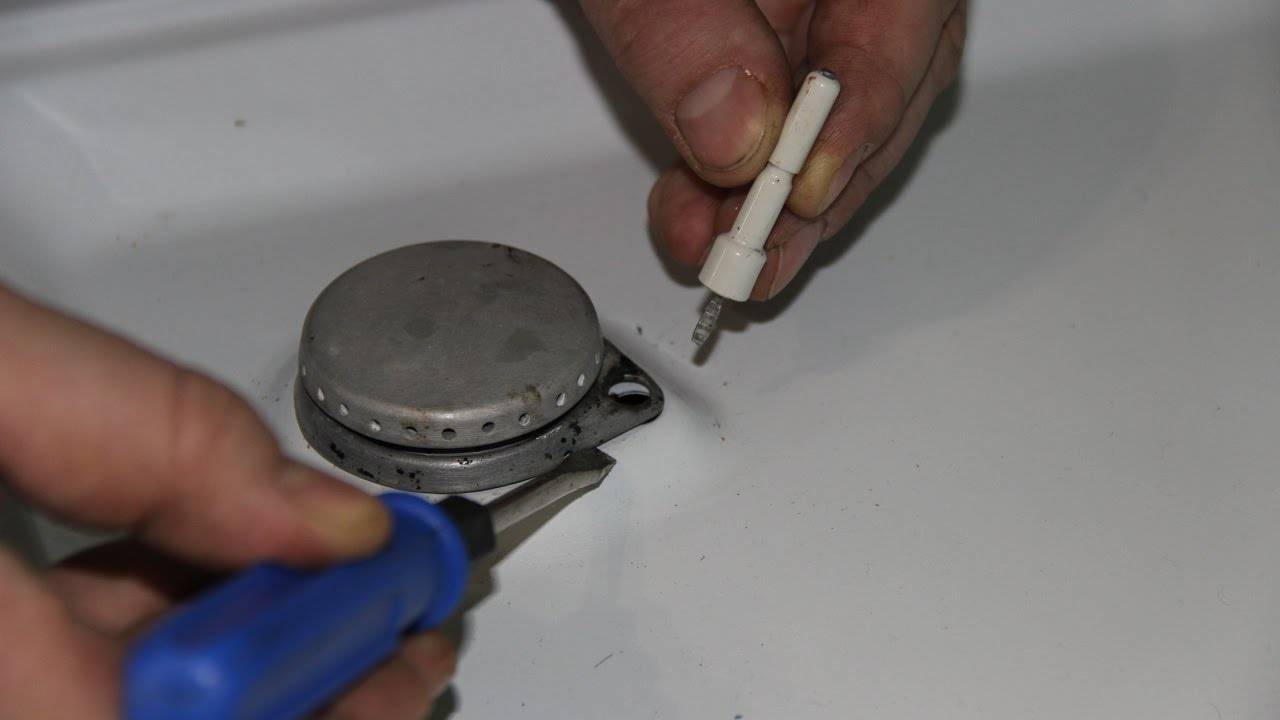
If there is no spark in any of the burners, then, most likely, the ignition plug (electrode) is damaged. Changing the candle is also not difficult at all - you need to remove the burners, unscrew the bolts, remove the cover and replace the electrode.
If the wire leading to the candle is to blame for the malfunction of the burner, then it must also be replaced with a new one.
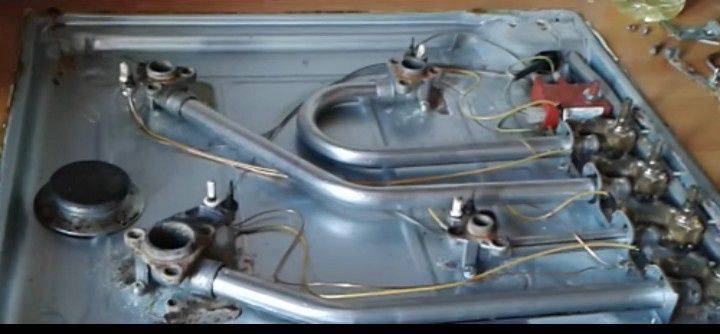
If none of the burners is working, then the electric ignition unit is out of order and it must also be replaced with a new device. The block is located under the top panel.
Burner damping
The fading of the burner after ignition indicates that the thermocouple has become unusable - it is she who is responsible for turning on the supply of the combustible mixture. It is not difficult to repair it. It is necessary to remove the burners, stove covers, the top plate of the stove. You will need the disassembled hotplate that does not work. There will be two parts next to it. You need one that is not white. This is the thermocouple. There is a wire from herleading to the connector. It is this wire that you need to pull out, and disconnect the thermocouple from the burner. After that, all that remains is to replace the old sensor with a new one - and the stove works again!
If the power button is not working, it is enough to replace it with a new one.
If the oven door does not close completely, then most likely you need to replace the brackets that are responsible for securing the door. Most often this happens in the case of their deformation. If you open the oven door inaccurately or abruptly, or put something heavy on the open door, sooner or later the brackets will deform. To repair a malfunction, you need to unfasten the door and see which part is damaged and replace it with a new one.
Most importantly, don't forget to unplug the stove from the electricity before deciding to repair it yourself!
Be careful and very careful when doing DIY gas stove repairs. And remember that in case of more serious breakdowns, it is better to entrust your equipment to a specialist, you do not need to save on your safety! Below is a video on how to repair a slab:
Diagnostics and restoration of indirect heating panels
Only experienced electricians can repair induction hobs. Without knowledge of the material, with a simple multimeter and pliers, the operation is doomed to failure. At the same time, many problems are not malfunctions at all: a common violation of the operating mode.
Typical malfunctions of induction heating systems
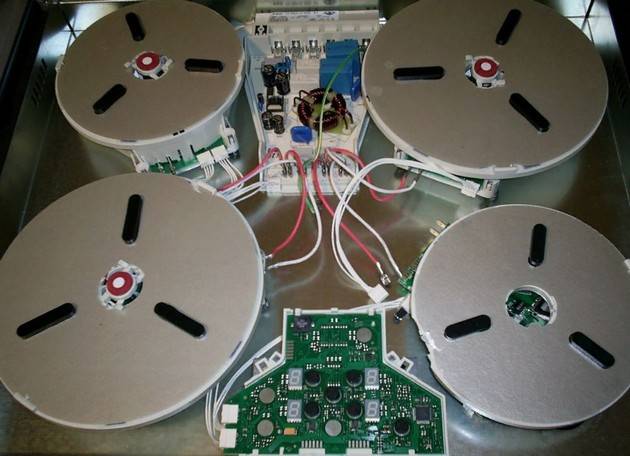
- The induction hotplate either does not turn on at all, or the power is lost immediately after starting work. This can be a protective function: if you remove the dishes from the heating plane, or the size does not correspond to the diameter of the hotplate, the automation will block the operation. The same applies to aluminum or copper cookware.
- The same problem (wrong cookware) can lead to the induction hob not working at full capacity.
- Self-activation of the heater may be due to contamination of the plate, or the presence of a massive steel (cast-iron) object next to it.
Real malfunctions, not related to a violation of the operating mode, manifest themselves in the circuit of the inductive field generator. As we have already noted, the winding fails very rarely.
Typical diagram in the illustration:

In fact, there is no space technology here. The transformer converts the supply voltage, and the generator creates an increased frequency of oscillations of the electromagnetic field. After visual inspection (for clearly "burnt" radioelements), the generator is checked using a home oscilloscope. If you have such a device, it makes no sense to explain the principle of checking the inductor generator, your level is sufficient for repair.
If you do not have enough experience, you will have to contact the masters. In any case, repairing a separate unit is not as expensive as buying a new panel.
Electrical surface
First, let's talk about how to repair an electric hob and what kind of malfunctions this version of the stove may have. Most often, owners are faced with a situation when the hob does not work or one of the burners does not heat up when the power is connected.

In this case, the repair boils down to the following steps:
- Check the voltage at the outlet, because it is possible that this electrical point has failed, as a result of which there is no power.
- Carefully inspect the cord and plug for mechanical damage. Sometimes this is where the repair ends - you just need to replace the electrical plug or cord.
-
Dismantle the hob from the worktop by disconnecting all wires and unscrewing the fastening strips.
-
Use a multimeter to check the thermal fuse (pictured below) and the transformer. If there is no resistance or differs from the nominal, you need to replace the circuit elements with new ones.
-
Check all wire connections (on the control unit, switches, thermostat, burners) and make sure that there is no trivial open circuit. First, try to visually find the malfunction, and then use a multimeter to ring all sections of the circuit according to the diagram.
Often, finding a breakdown of an electric hob with your own hands is not difficult if you know how to handle a multimeter. In the absence of this device, you can use an indicator screwdriver, which will show the presence of voltage in a certain section of the circuit.
In addition, I would like to tell you why the hob may stop working, so that you know the cause of the malfunctions and how to repair each. So, among the main breakdowns, the following are most common:
- Fuse blown due to power surge. Replacement is not difficult, and the cost of the fuse is scanty. To protect the equipment from such a malfunction, it is recommended to install a network surge protection device.
-
The burner does not work (one or several at once). Most likely there was an open circuit on the heating element.If this wiring is soldered off, DIY repair will not be difficult if you have a soldering iron. If the heating element burns out, it must be replaced with a new one. The heating element rang, but is it intact? Check the control unit, sometimes an open contact occurs on the switch, which needs to be either repaired or replaced.
-
Sensor does not work. Here things are already more serious, tk. the touch-sensitive hob will be difficult to repair for a novice electrician. First, as in the previous cases, ring the sensor. If you cannot find the commonplace cause of the malfunction, you will have to either replace the touch panel or hand it over for repair. Usually, the failure of this circuit element is extremely rare and is caused by improper operation of the equipment. If you find that the sensor does not turn on after washing, it means that the control unit simply burned out from the saline solution, which some would-be advisers on the forums recommend to wash the surface.
- Does not heat up or heats up weakly. Again, ring the heating element, thermostat, temperature controller. The opposite situation may arise when the electric hob gets very hot and does not turn off. In this case, with a probability of 95%, we can say that the cause of overheating is the failure of the thermostat, which does not turn off the power when the burners are sufficiently heated. The thermostat is not repaired and must be replaced.
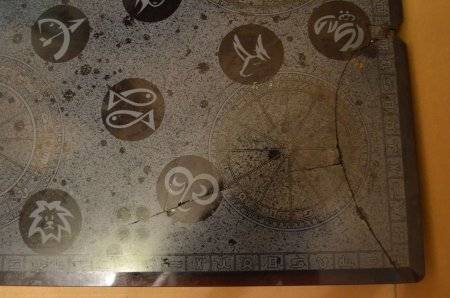
- Cracked surface. The rarest of cases that can happen with a glass ceramic hob. If you see that a cobweb of cracks has formed on the surface, and at the same time you are 100% sure that no one from the family has dropped heavy dishes on it, there may be two reasons.
We immediately recommend watching a visual video instruction, which shows how to properly repair an electrical surface:
Design and device
The hob, unlike standard stoves, does not have an oven, it is a flat body 3–6 cm thick, built into the worktop. This creates the possibility of arranging a hot zone anywhere in the kitchen space, taking into account safety regulations. Made in a square or rectangular shape, it is equipped with several burners located in different parts depending on the shape and size.
Consists of two main units - control display and cooking zones. Each of them is connected to a thermal relay and equipped with contacts and wired to the control panel. The relay controls the heating temperature, turns off or turns on the device.
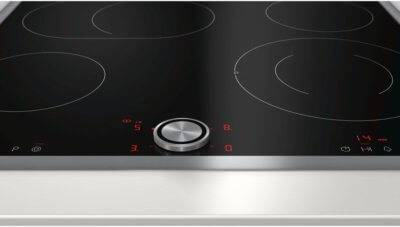 There are several types of control panels:
- electronic;
- mechanical;
- with touch buttons.
Equipped with:
- thermal sensors;
- timers that turn off the device;
- sound signals that notify of the end of cooking, etc.
The hob can be coated with:
- cast iron;
- of stainless steel;
- ceramics and glass ceramics;
- enamel.
herehere
Advice
The stove is switched on by acting on the buttons located on the surface, then the power relays are triggered, transmitting current to the heating elements located under the surface of the stove.
Ignition plug problems
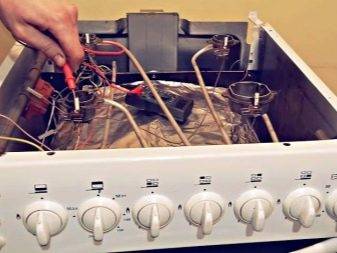
When the spark plugs are sparkling yellow or orange, this is a sure sign that the power supply is broken. If you notice sparking candles, then in this case, you should disassemble the panel in order to get to the electronic filling of the device. It is necessary to act as follows:
- Disconnect the hob from the mains.
- Using a screwdriver and other tools at hand, remove the top cover.
- Now disconnect the contacts from the power supply.
Thus, you can replace the block: just take the broken one and show it in the store to sales assistants who will offer a working part.
You can make sure that the problem is with the unit by turning on the hob in the dark.If the spark is blue, it means that the unit is working, if it is yellow or orange, it needs to be replaced.
Sparking yellow or orange light can also be due to oxidation of the candle stem. The problem is solved by replacing the defective part. It is worth noting that such problems are extremely rare and occur only where the concentration of moisture in the air exceeds all necessary standards for a long time.
It can also happen with too frequent transfusions. Particles of water can penetrate the inside of the panel, causing droplets to enter the wires or microcircuits. In this case, fast and high-quality drying will help, otherwise the candle rod may oxidize. Otherwise, the wires will coarse and can easily break, as a result of which you will have to completely replace the electronic filling of the hob.
The interior of the electric hob
Gas control repair
Such problems are typical for hobs that have been used for a long time. The burners either light up for too long or go out after releasing the handle. This type of problem is caused by a clogged thermocouple. This mechanism is responsible for supplying gas to the burner. If the burners go out quickly, disassemble the burners, find the thermocouple and clean with the help of improvised items. A regular wire, needle or knife will do.
If the measures taken do not bring the desired effect, then perhaps the reason is a malfunction of the thermocouple itself or the magnetic valve. These parts will have to be replaced.
Thermocouple

