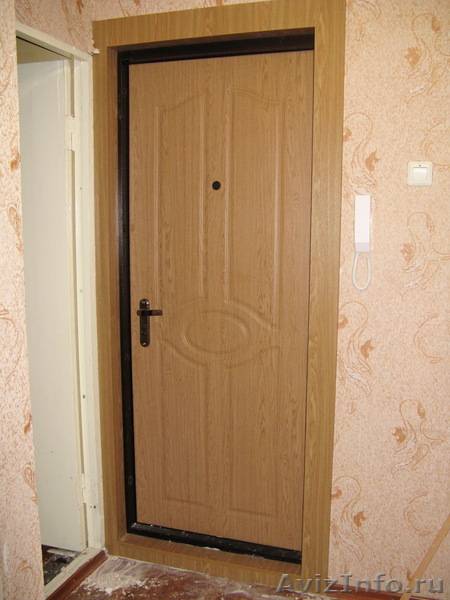
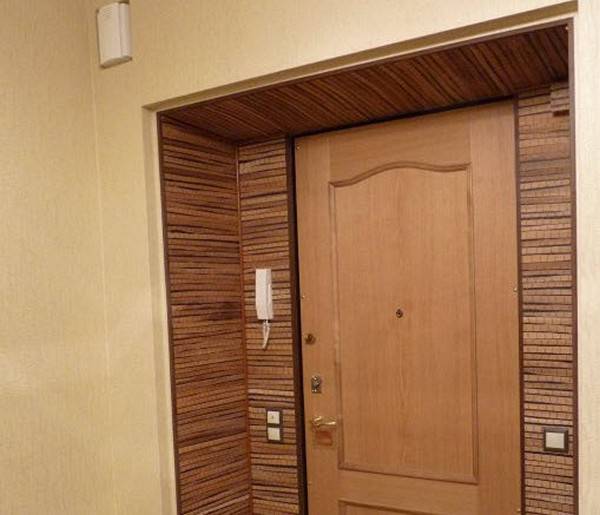
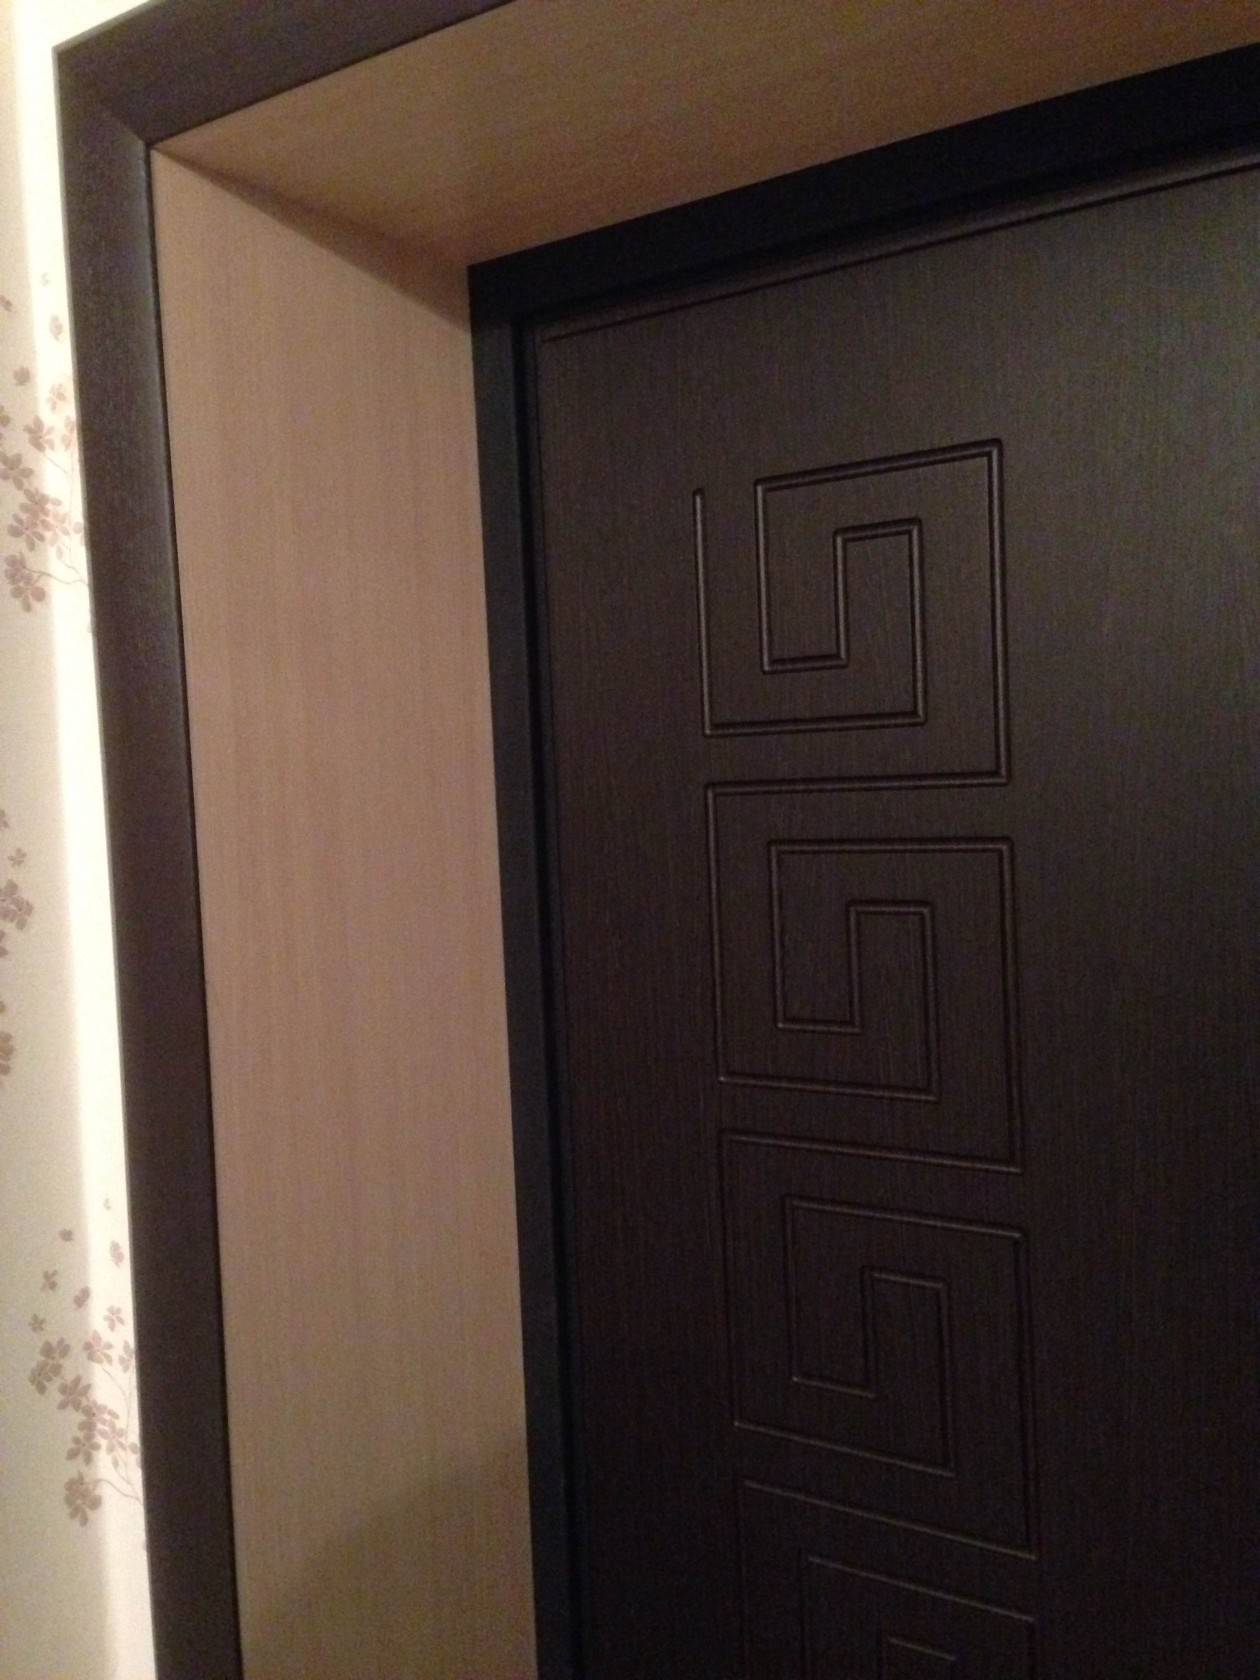
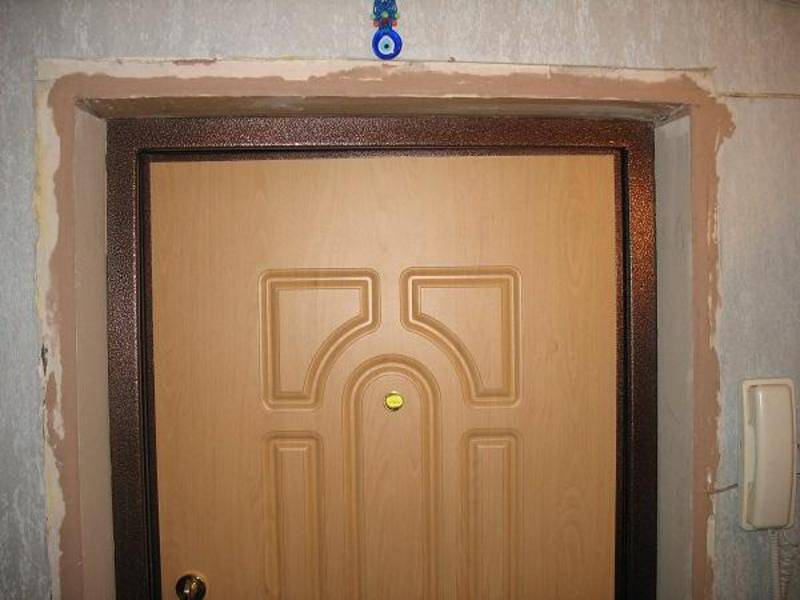
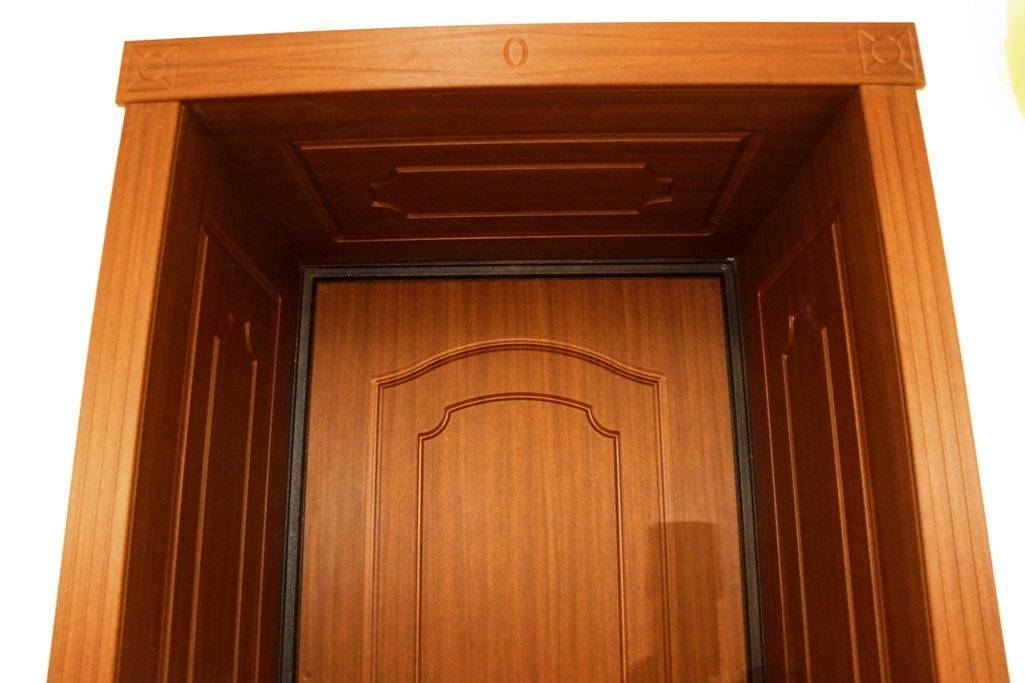
How and how to finish the door slopes in the house and apartment ↑
Outside, a small gap between the opening and the frame can be closed using platbands - special shaped strips, usually included in the door installation kit. However, from the inside of the room, a fairly wide area of open brickwork with layers of concrete mortar remains, and to ensure the proper level of tightness, it must be finished with not one, but several types of materials - insulating, load-bearing and decorative.
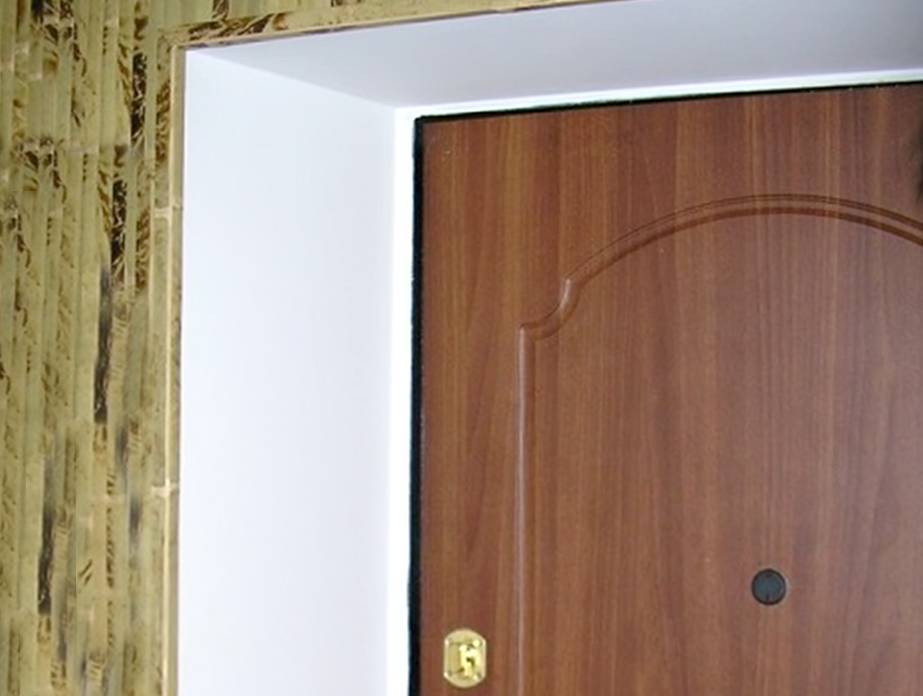
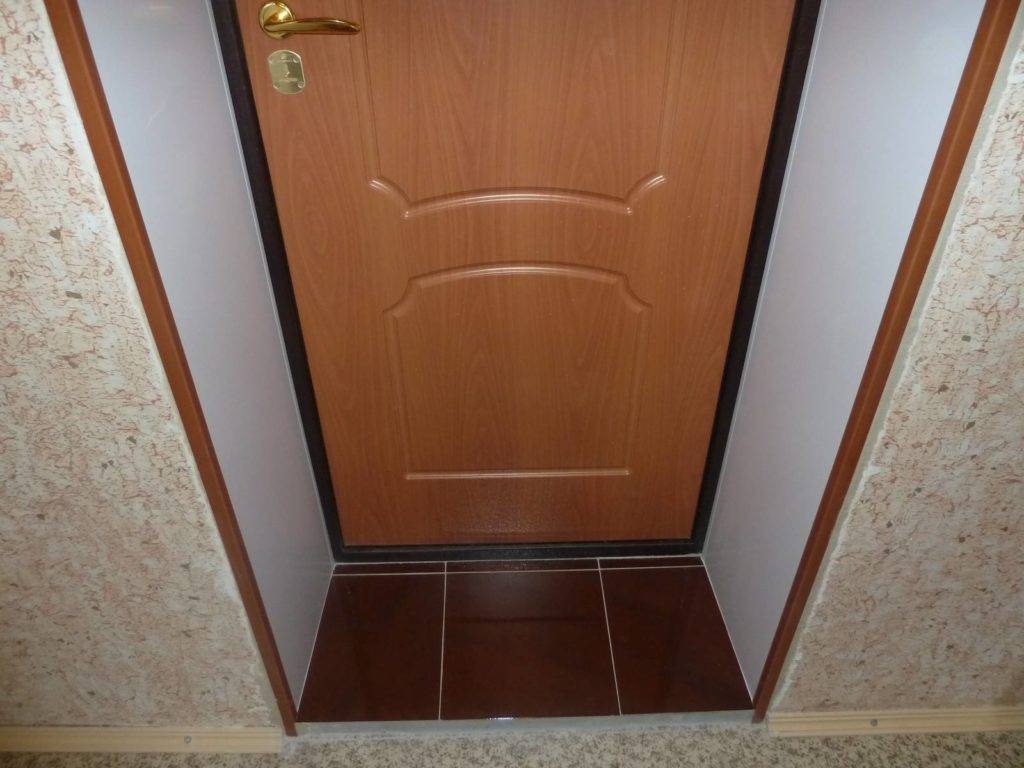
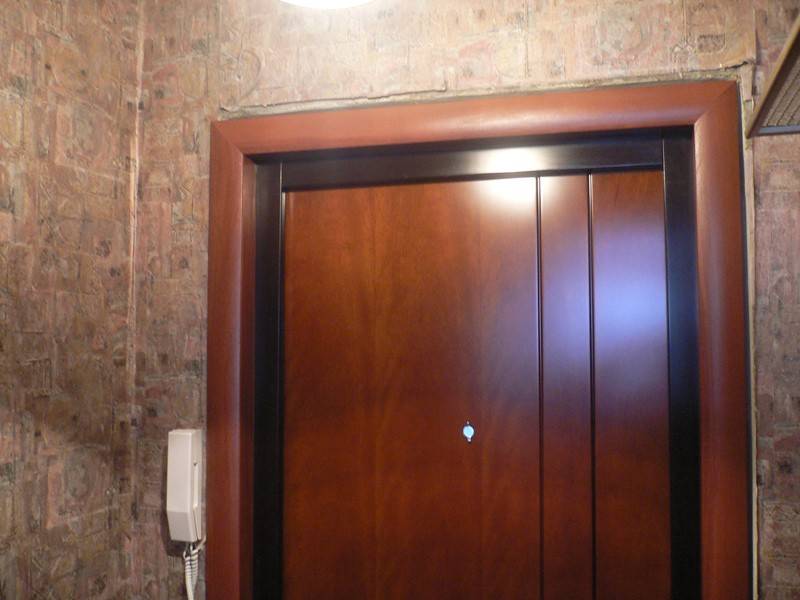
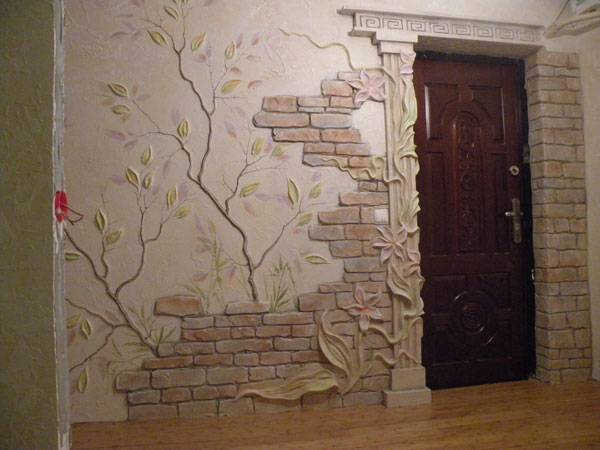 Slope trim improves the microclimate and is part of the design
According to the method of installation, there are 3 options for finishing the slopes for entrance doors:
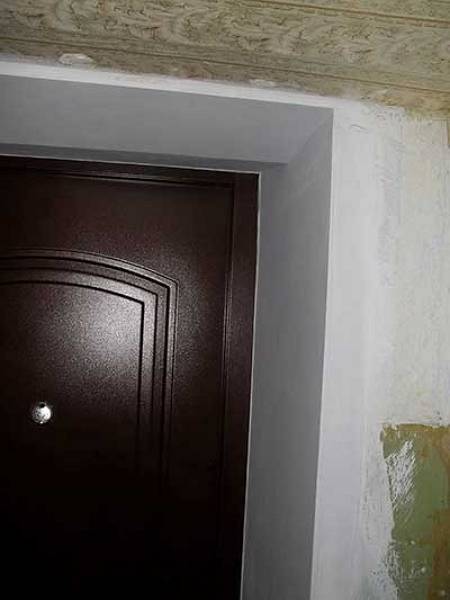
- Application of cement mortar directly to the wall and its further plastering. It is considered the most reliable and budgetary method, but also the most time consuming. To lay out perfectly flat surfaces, there must be some experience both in the preparation of the plaster mortar and in its application.
- Bonding of finishing panels with a suitable adhesive mixture. Finishing door slopes according to this principle is more expensive, while the "wet" installation process is quite long (you need to let each layer dry), but it is quite accessible even for a beginner in the repair business.
- Fastening of finishing elements to a pre-assembled frame. The fastest solution to achieve a perfectly flat surface, hide telephone or electrical communications, install lighting equipment in the door block. The downside is the low mechanical strength required to protect the door mounts from burglary.
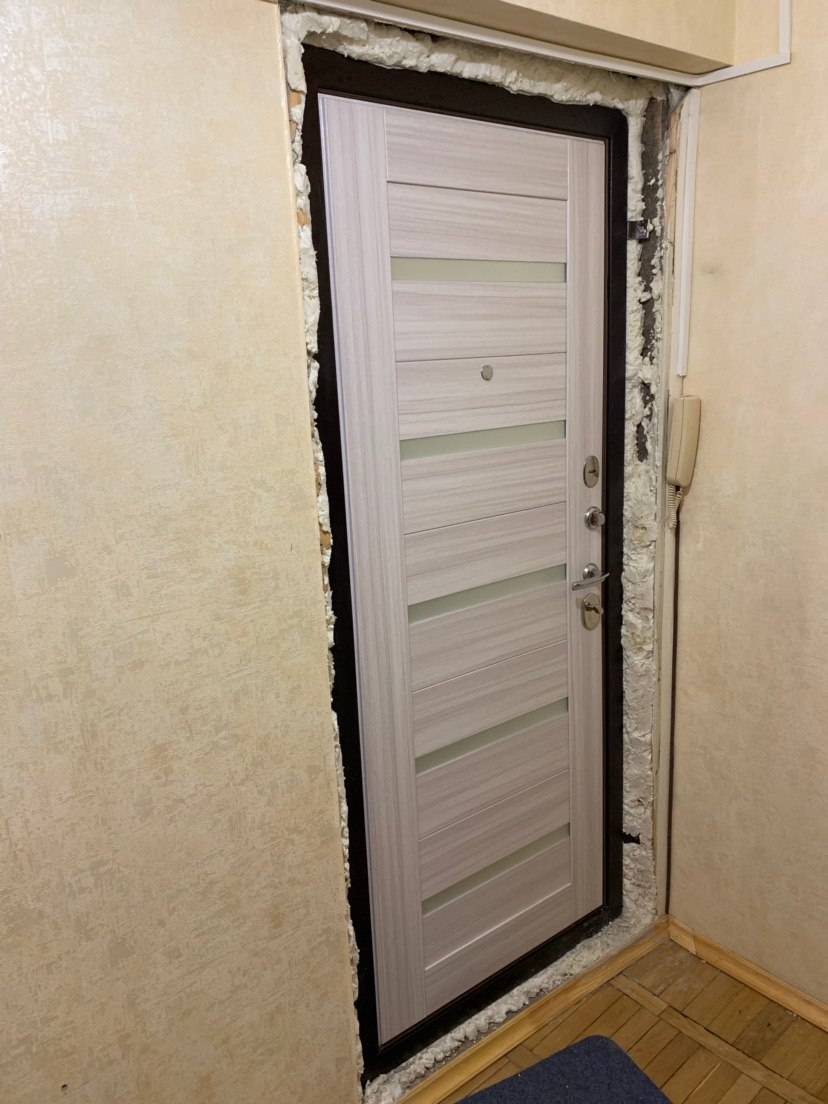
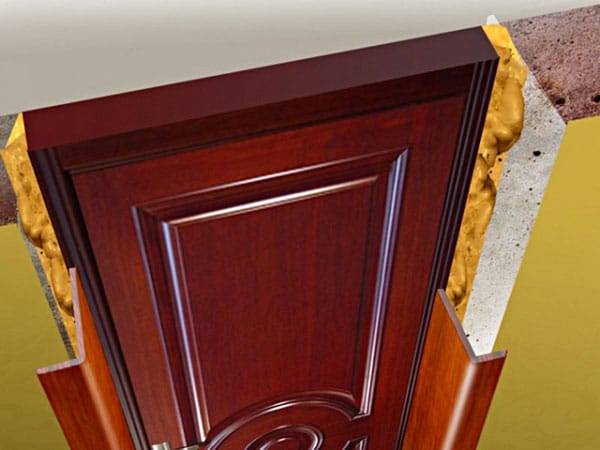 It is advisable to insulate slopes from concrete walls with a layer of polyurethane foam or mineral wool
In order for the slopes to withstand temperature changes, especially noticeable if the door leads directly to the street, and not to the corridor or to the staircase, it is advisable to mount a layer of thermal insulation on the wall: it can be mineral wool, polystyrene or its modification - penoizol. If the width of the trap does not allow installing the insulation (according to SNiP, the dimensions of the doorway should be at least 0.8x1.9 m), glue the slopes with sandwich panels.
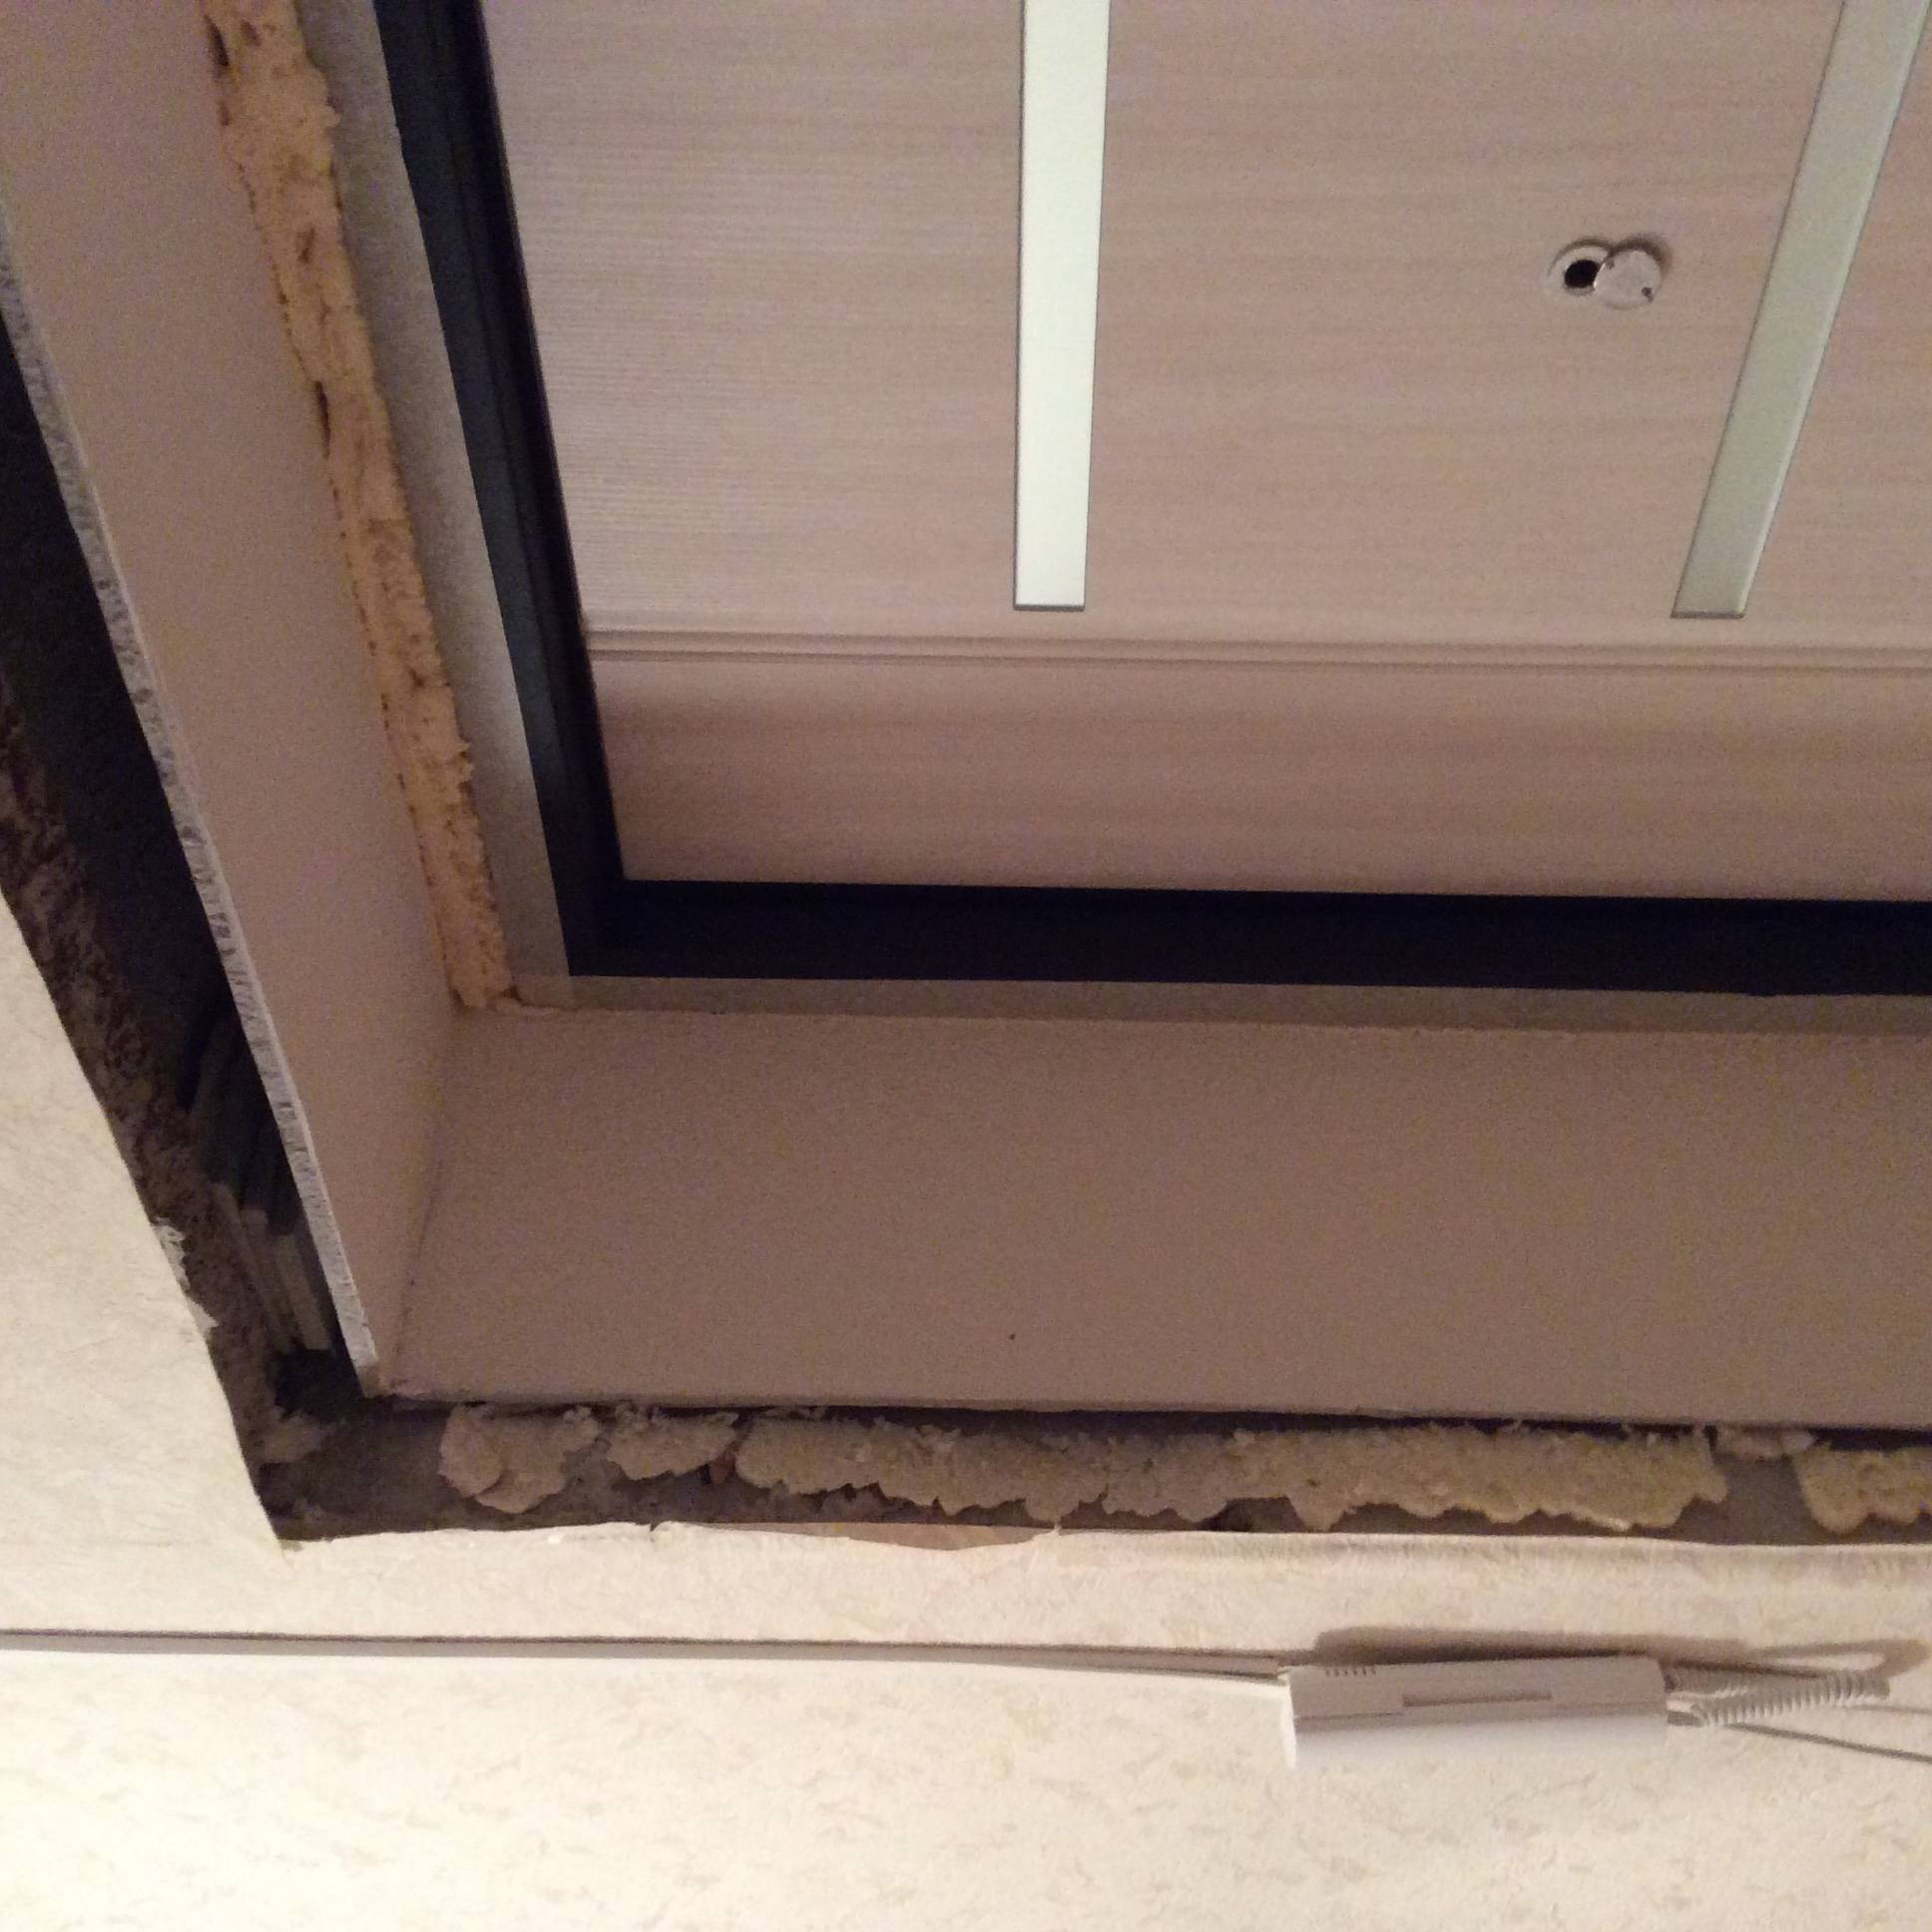
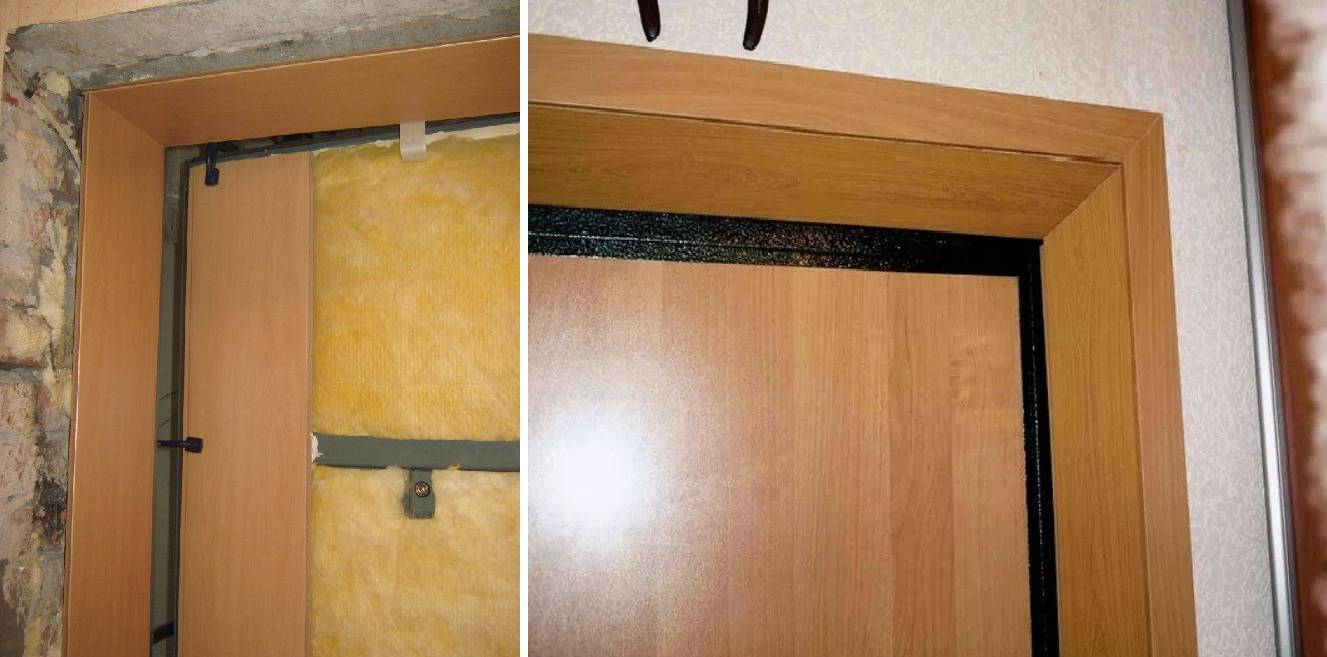
Frame slopes are irreplaceable when the opening is too wide, and a large volume of cement mixture is required to seal it. They are also chosen when there are damp walls, or there is no time to do finishing work - plastic or wooden panels themselves look presentable. In order to fix thin sheets, the space between them and the walls is filled with polyurethane foam sealant, which also serves as a heat barrier.
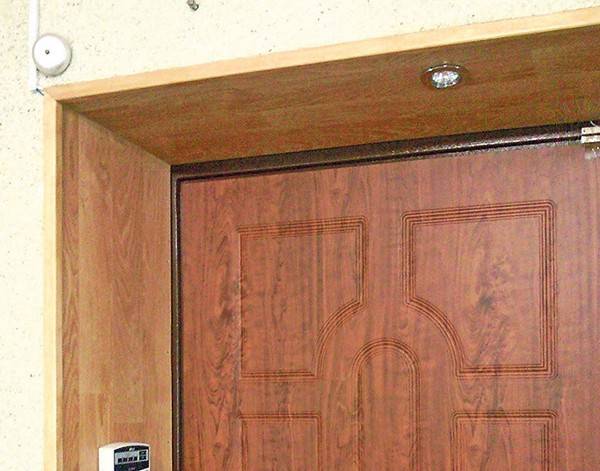
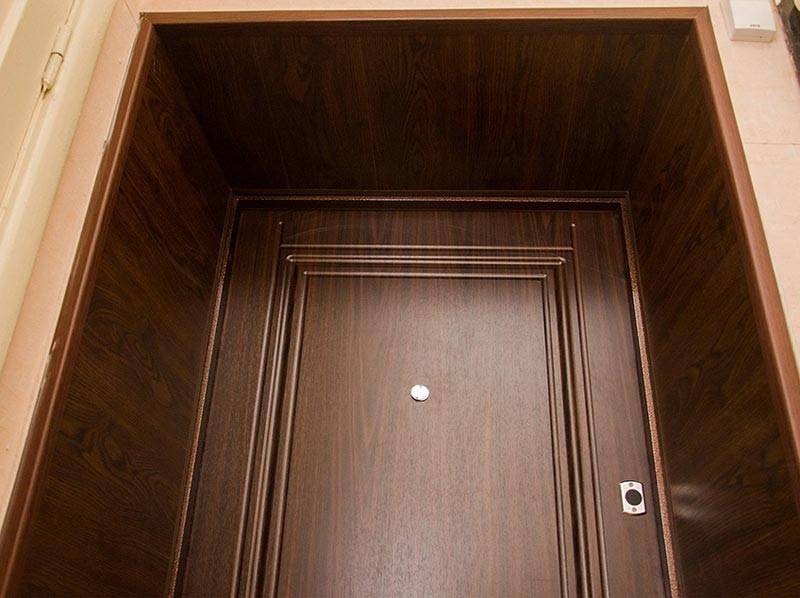
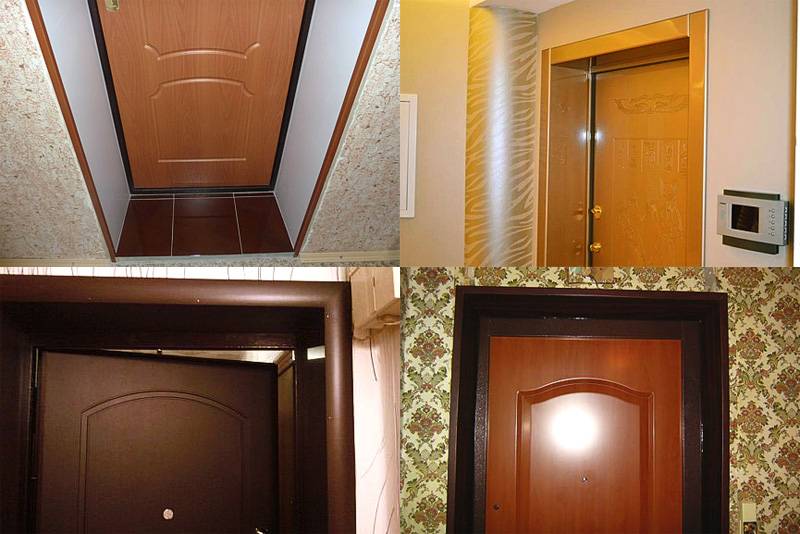
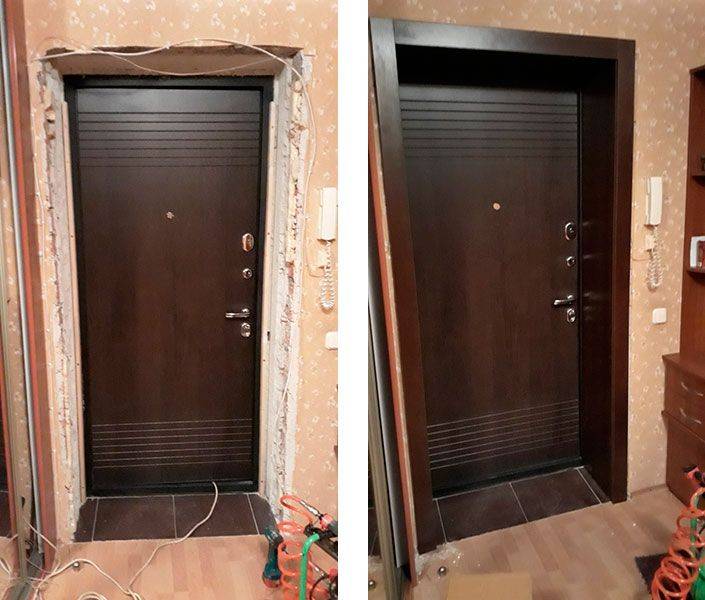
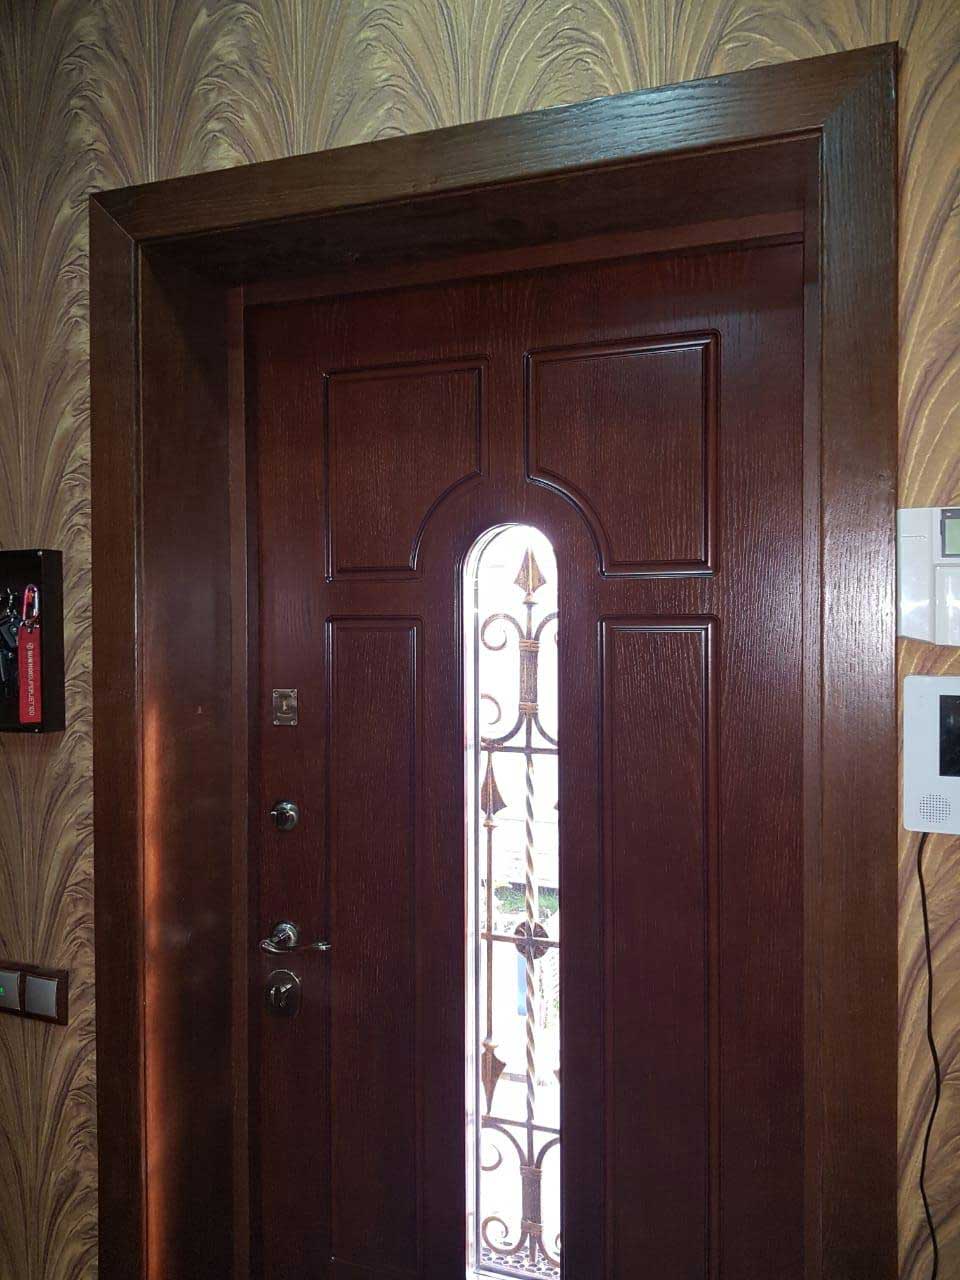
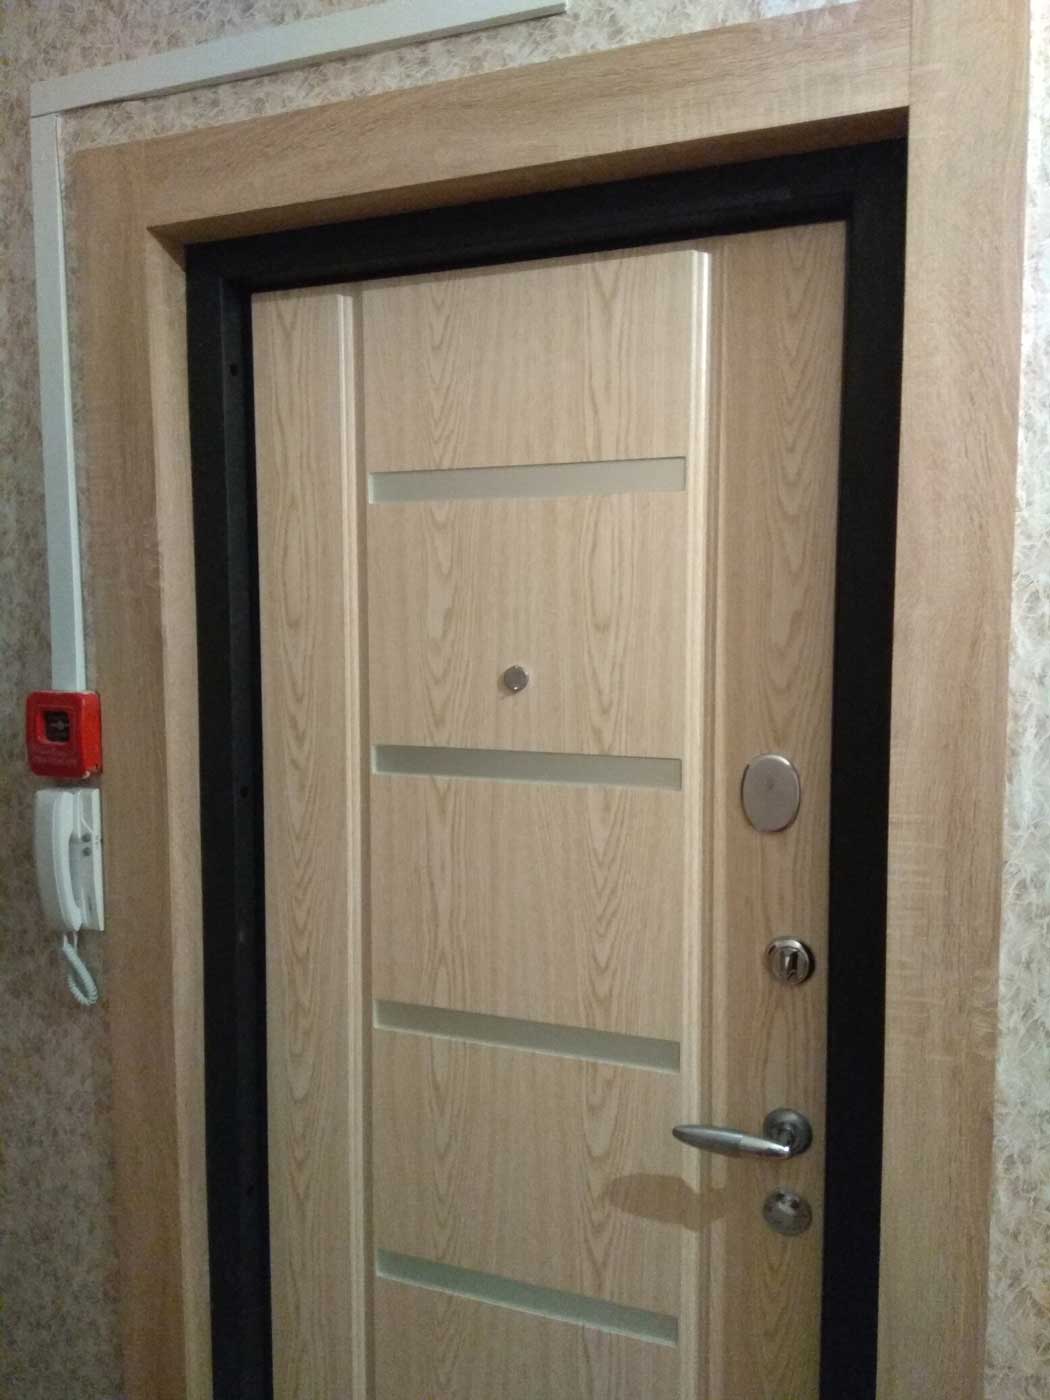
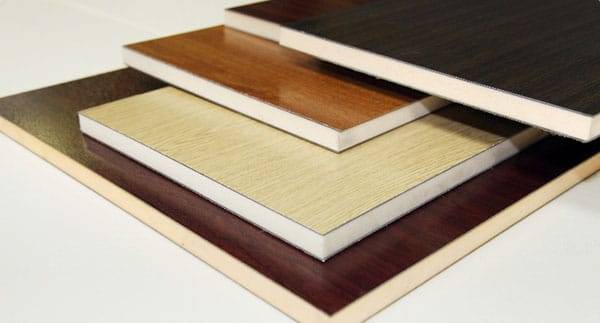 The color of the entrance door can be matched to the shade of the sandwich panel
In addition to the protective function, the slopes perform the task of decorative design of the opening. To veneer a rough surface, one of the following materials is layered on concrete or drywall:
- paint - thanks to a varied palette, you can choose any shade, and if desired, a textured pattern, thereby original decorating the hallway space;
- wallpaper is a good choice for those who, at the same time as replacing the door, make repairs in the corridor, since using the same wallpaper on the wall and slopes creates the impression of a monolithic surface (a step-by-step algorithm showing how to decorate the slopes at the entrance door with wallpaper is described in the section on finishing operations);
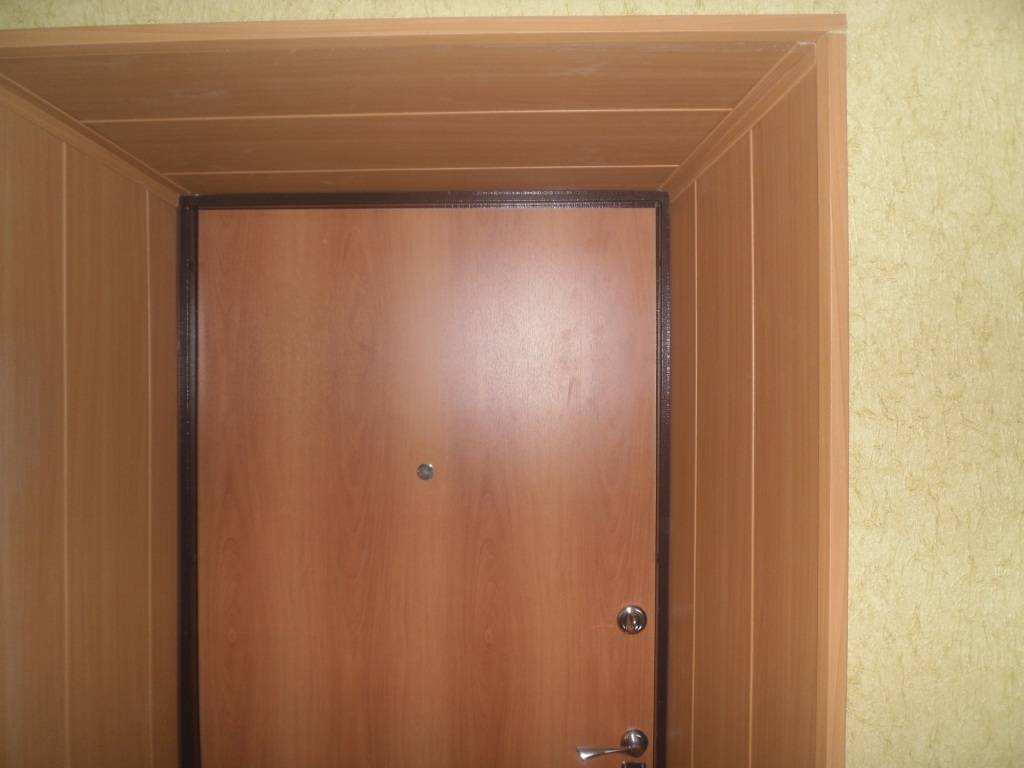
- one-sided sandwich panels - due to the peculiarities of their structure (a layer of extruded polystyrene foam is attached to the sheet of polymer plastic), there is no need for additional measures for warming and soundproofing surfaces, and the minimum weight allows them to be attached directly to the wall using an adhesive method;
- plastic panels - are considered a compromise option, since, despite the external similarity with sandwich panels, plastic is very fragile, and when finishing deep slopes, it is very problematic to achieve uniform rigidity over the entire area;
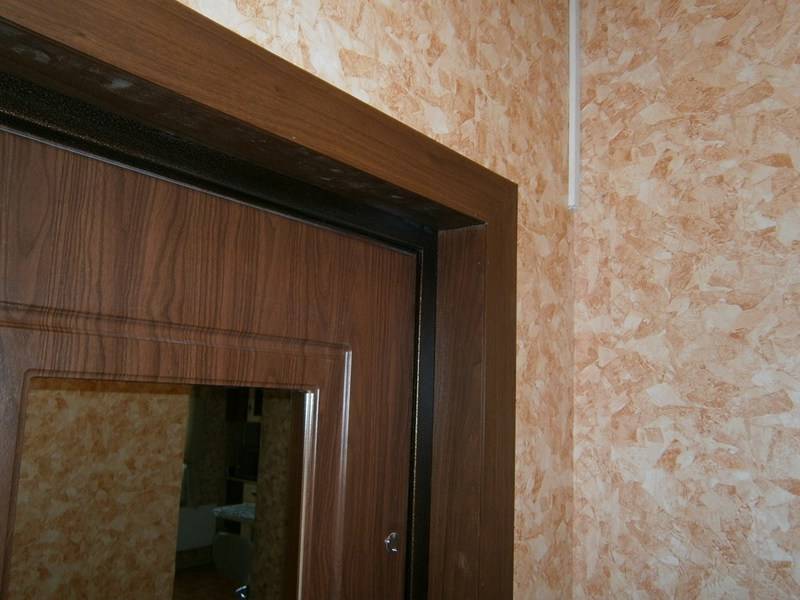
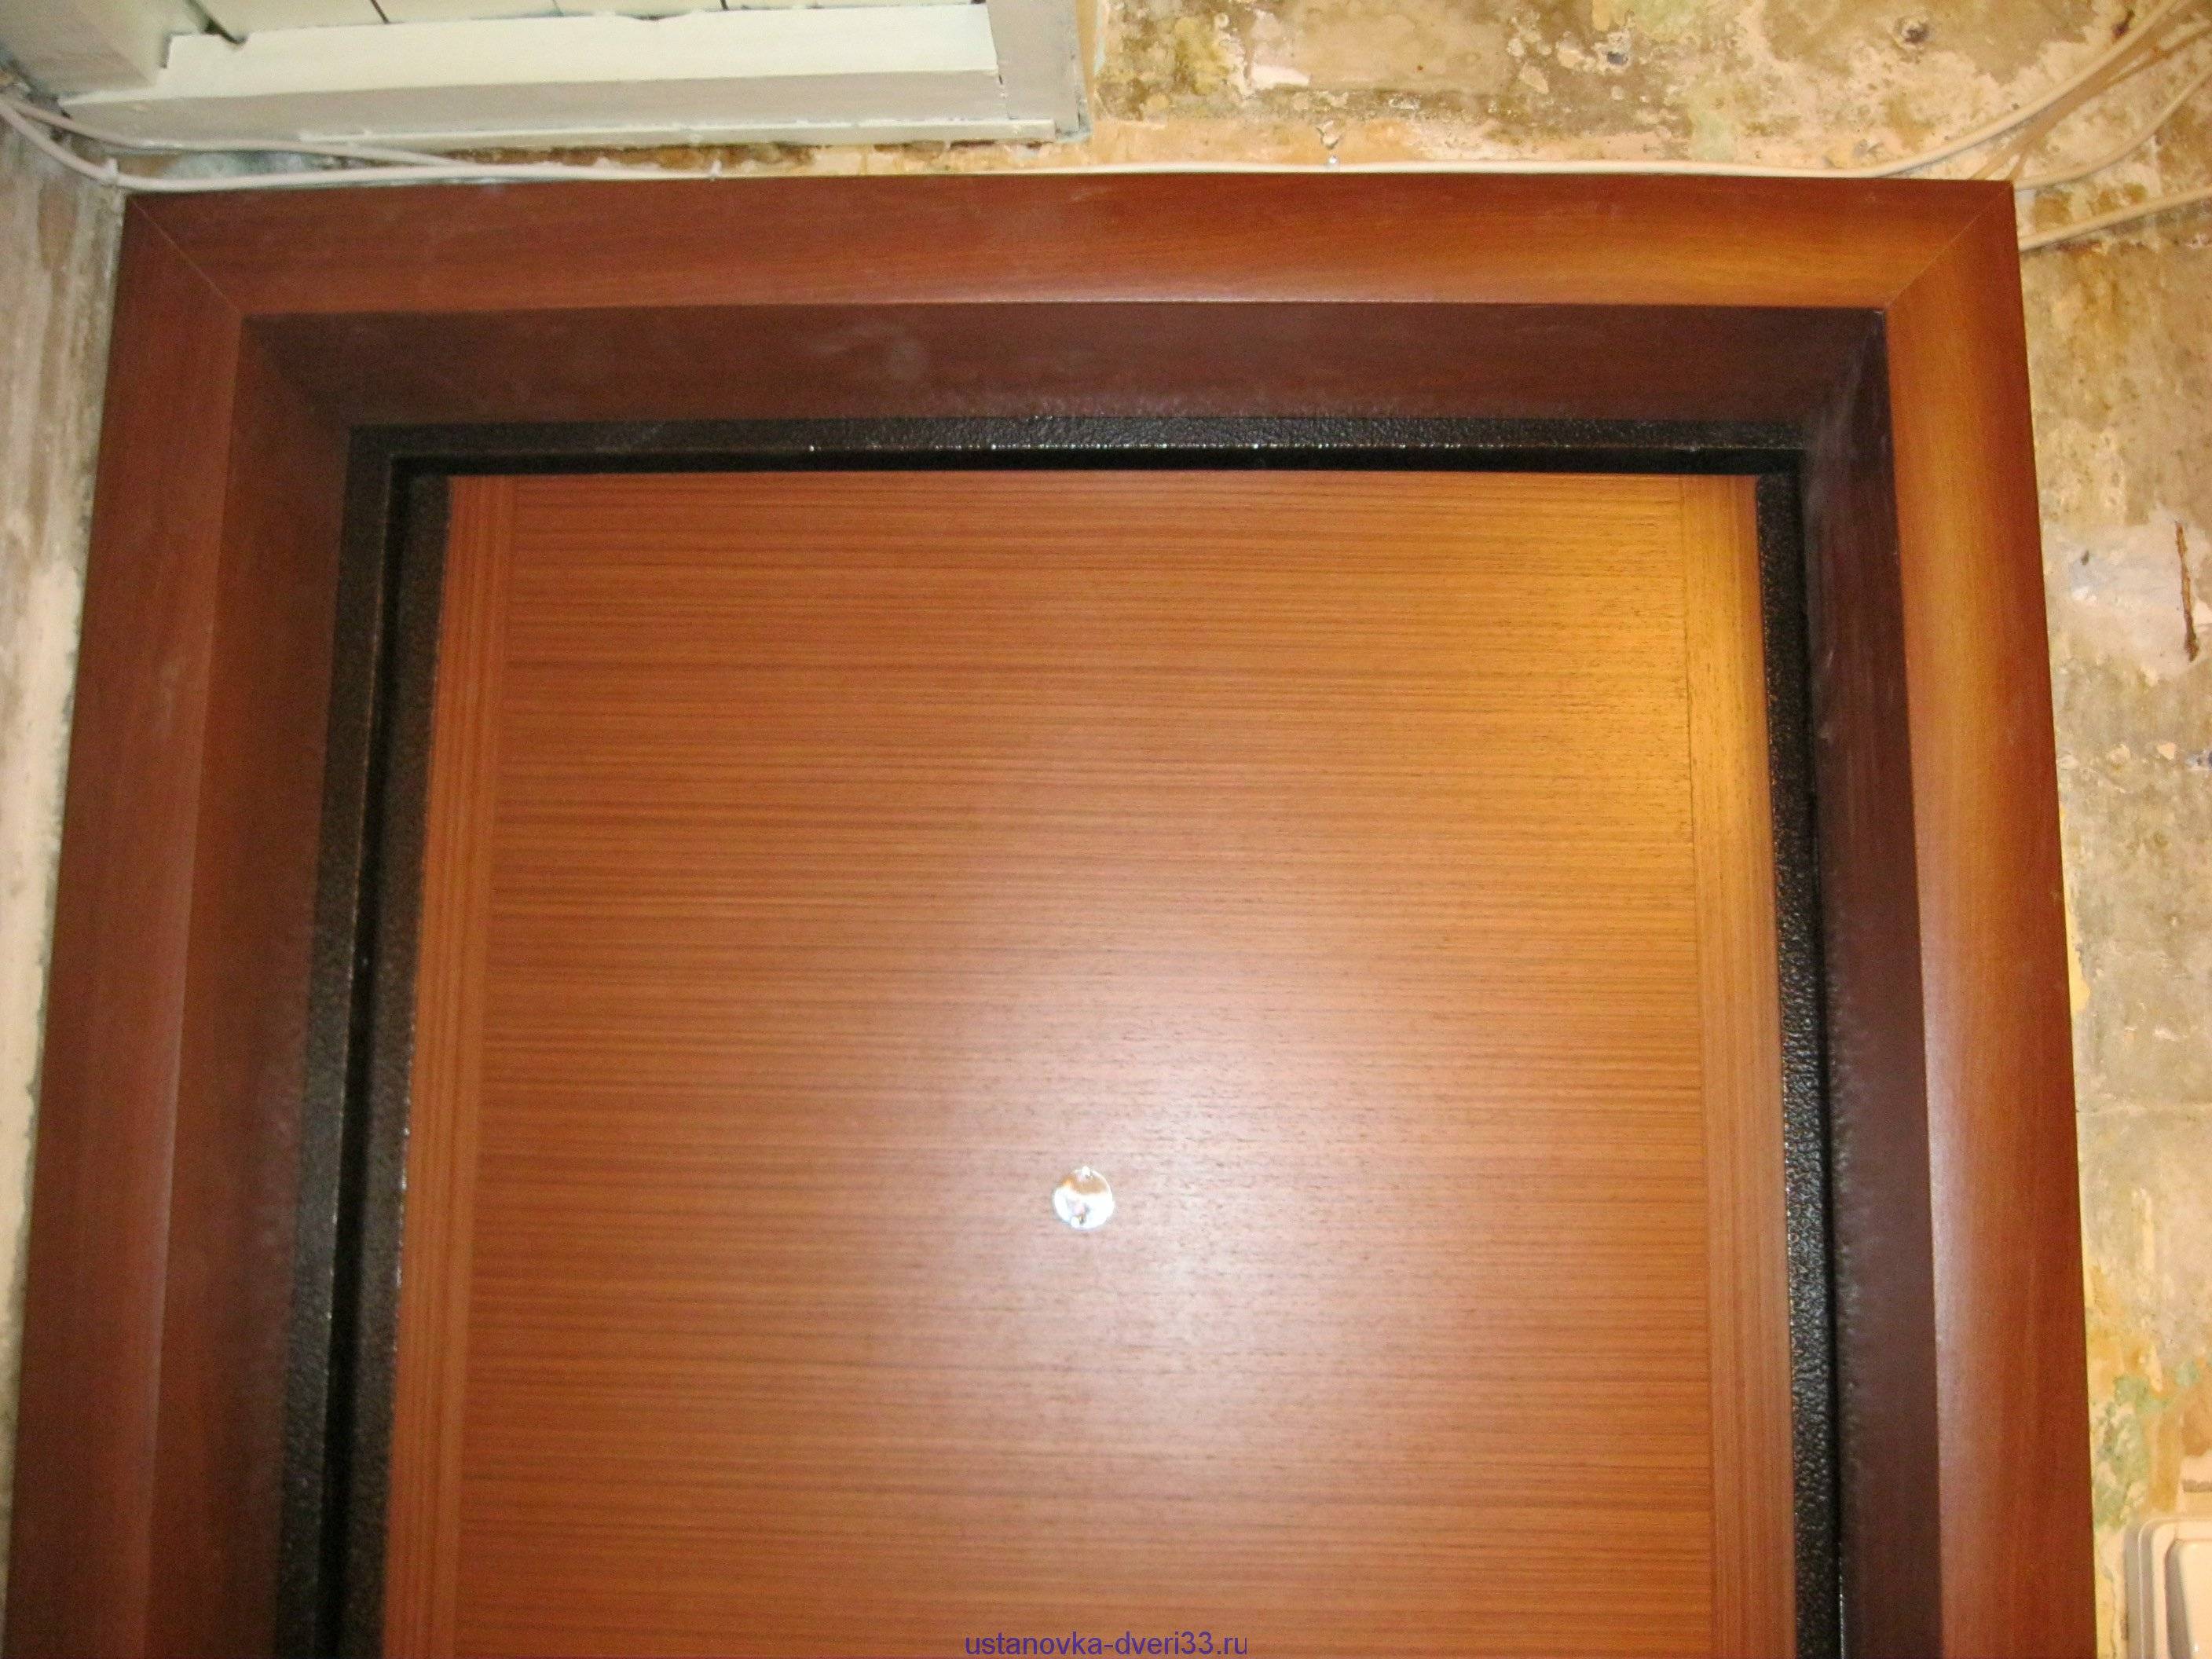
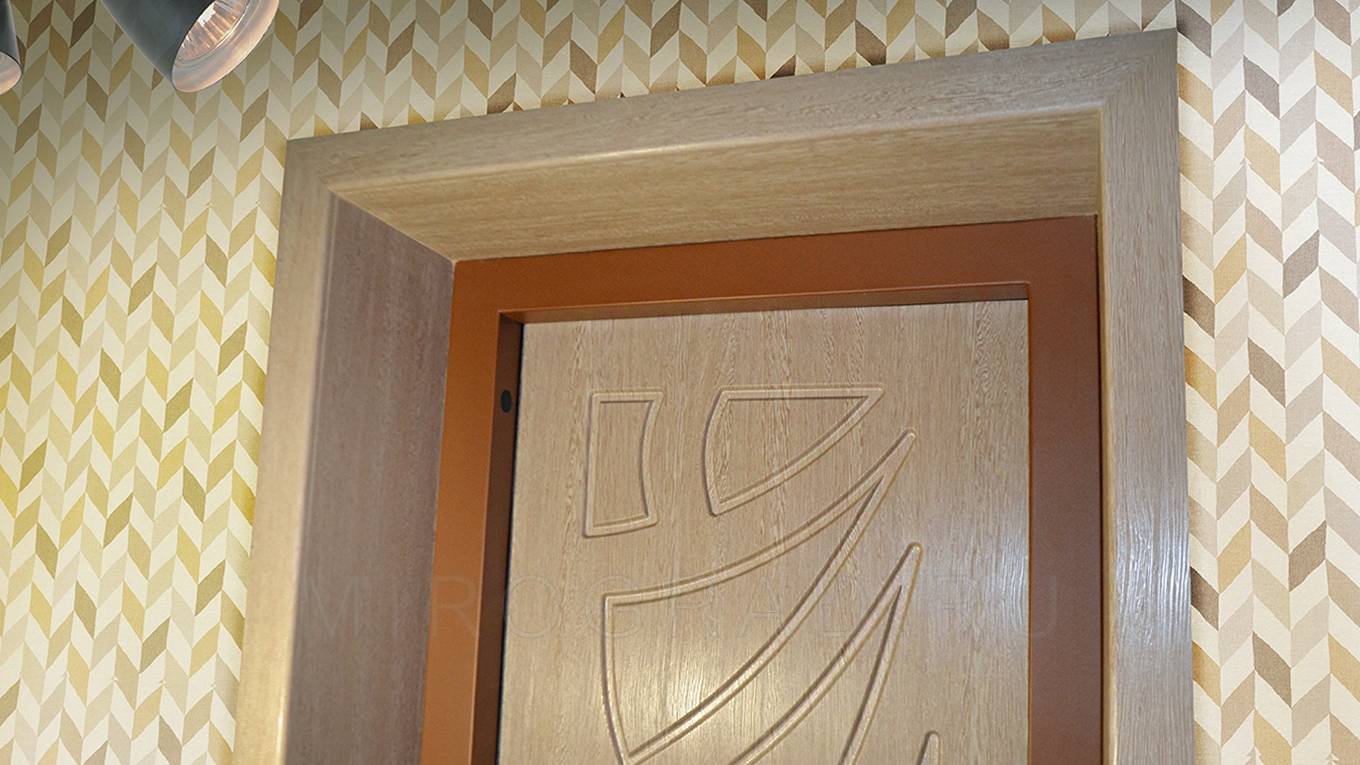
- MDF - strong enough (withstands a medium impact load without the formation of scratches or dents) and easily assembled material, which allows it to be installed even under conditions of increased operational load;
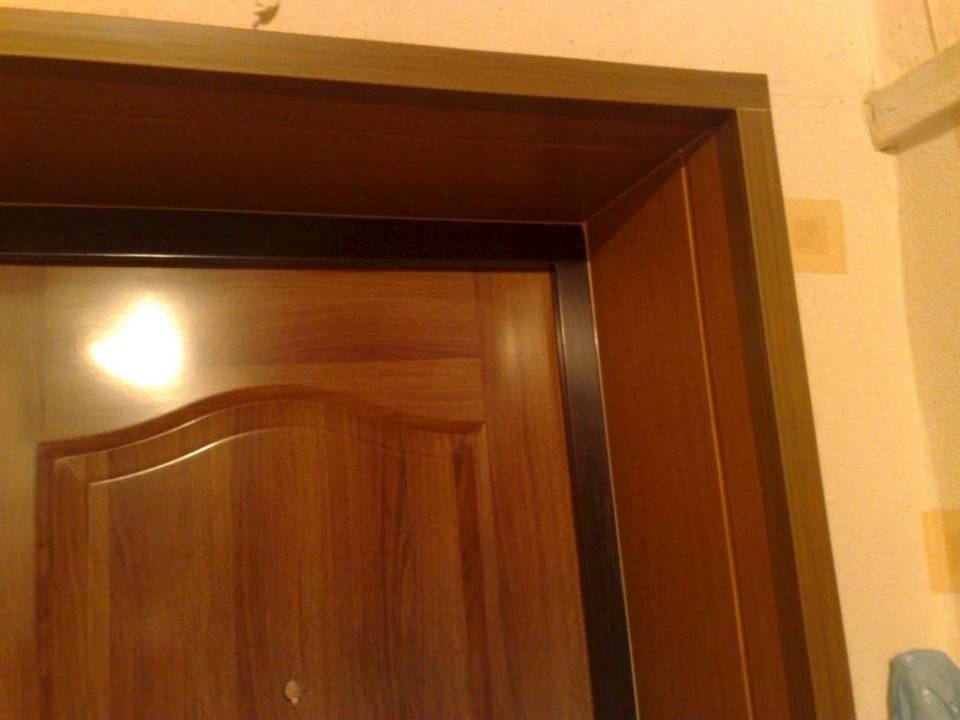
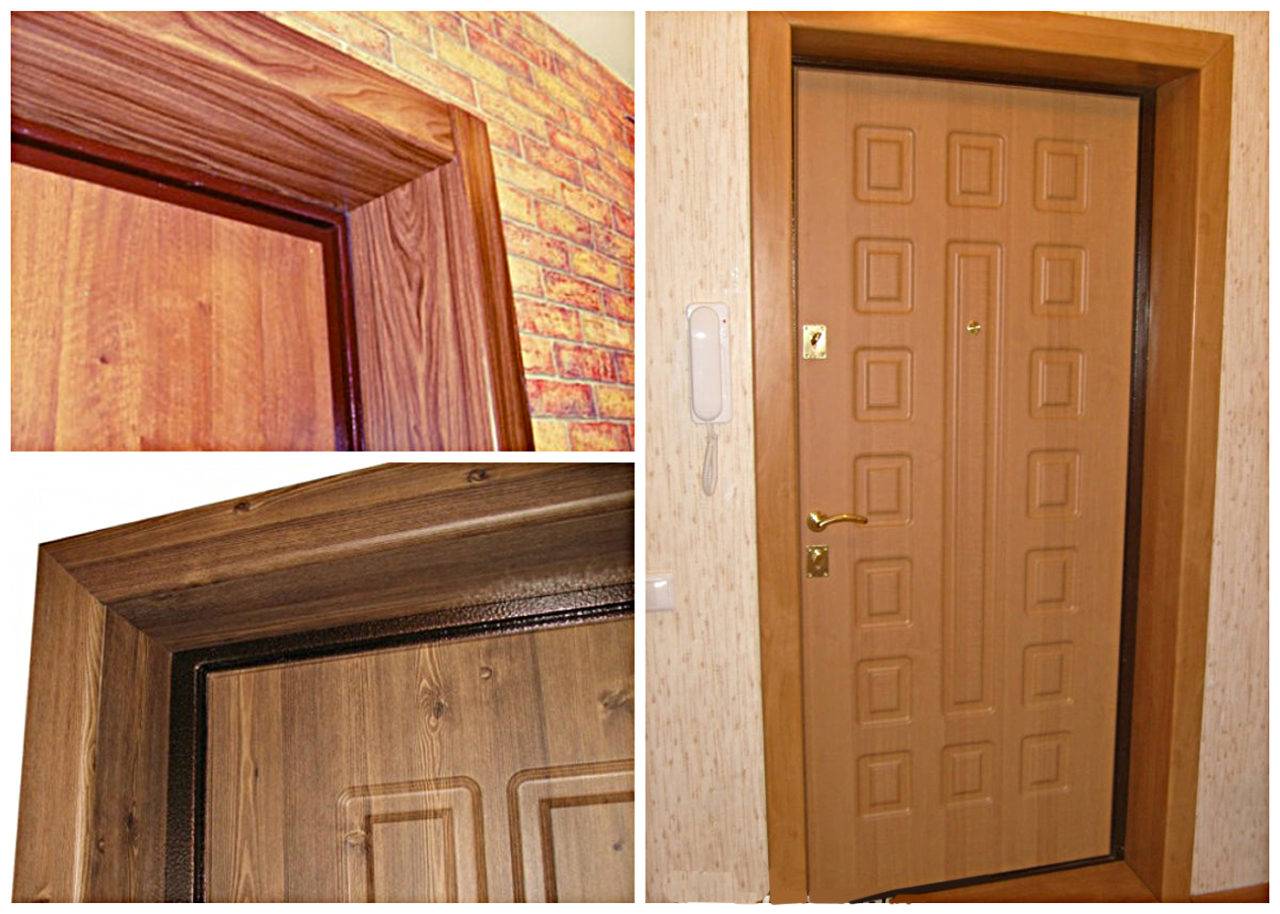
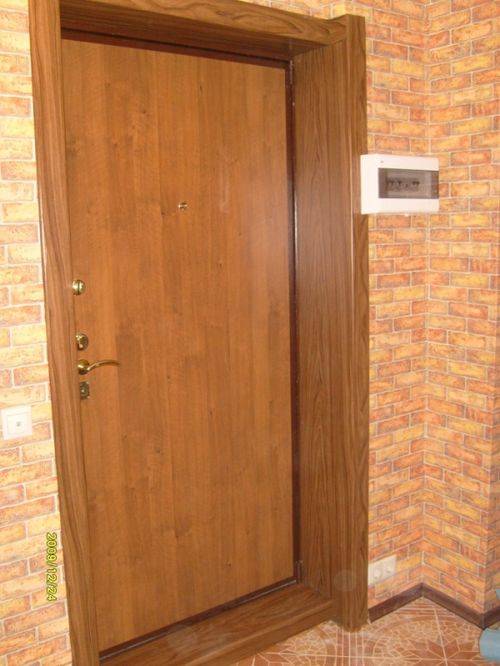
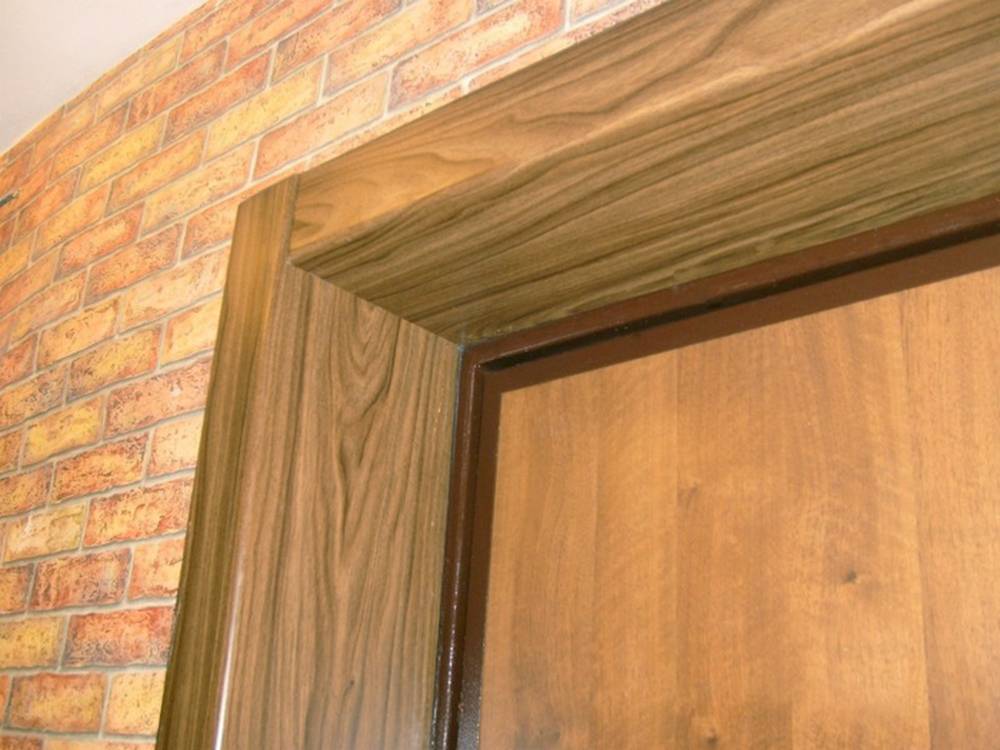
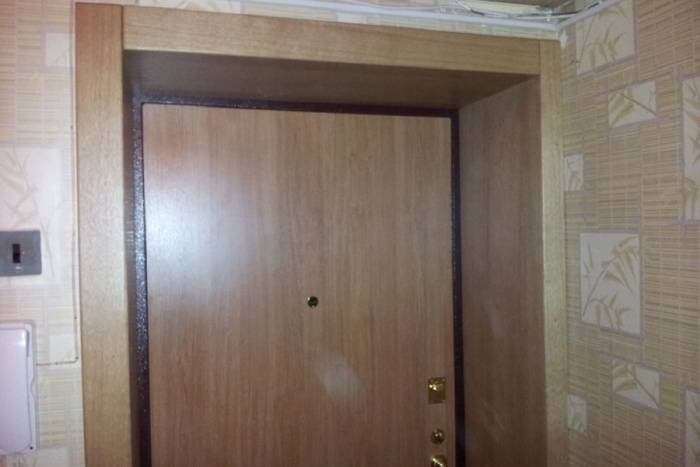
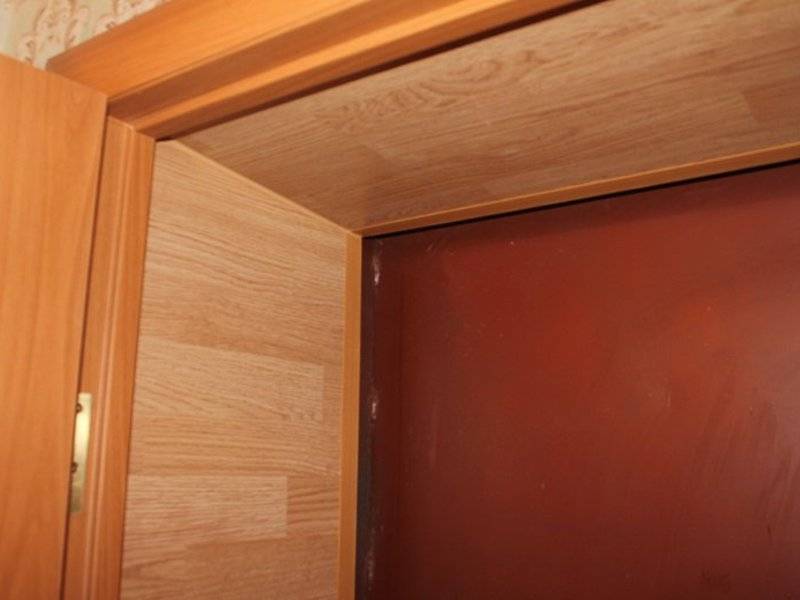
- laminate or parquet board - a wide variety of colors and textures allows you to select the panel in tone with the door leaf and door frame, and the high strength, designed for use as a floor covering, determines the long service life of the slopes.
 Laminate cladding
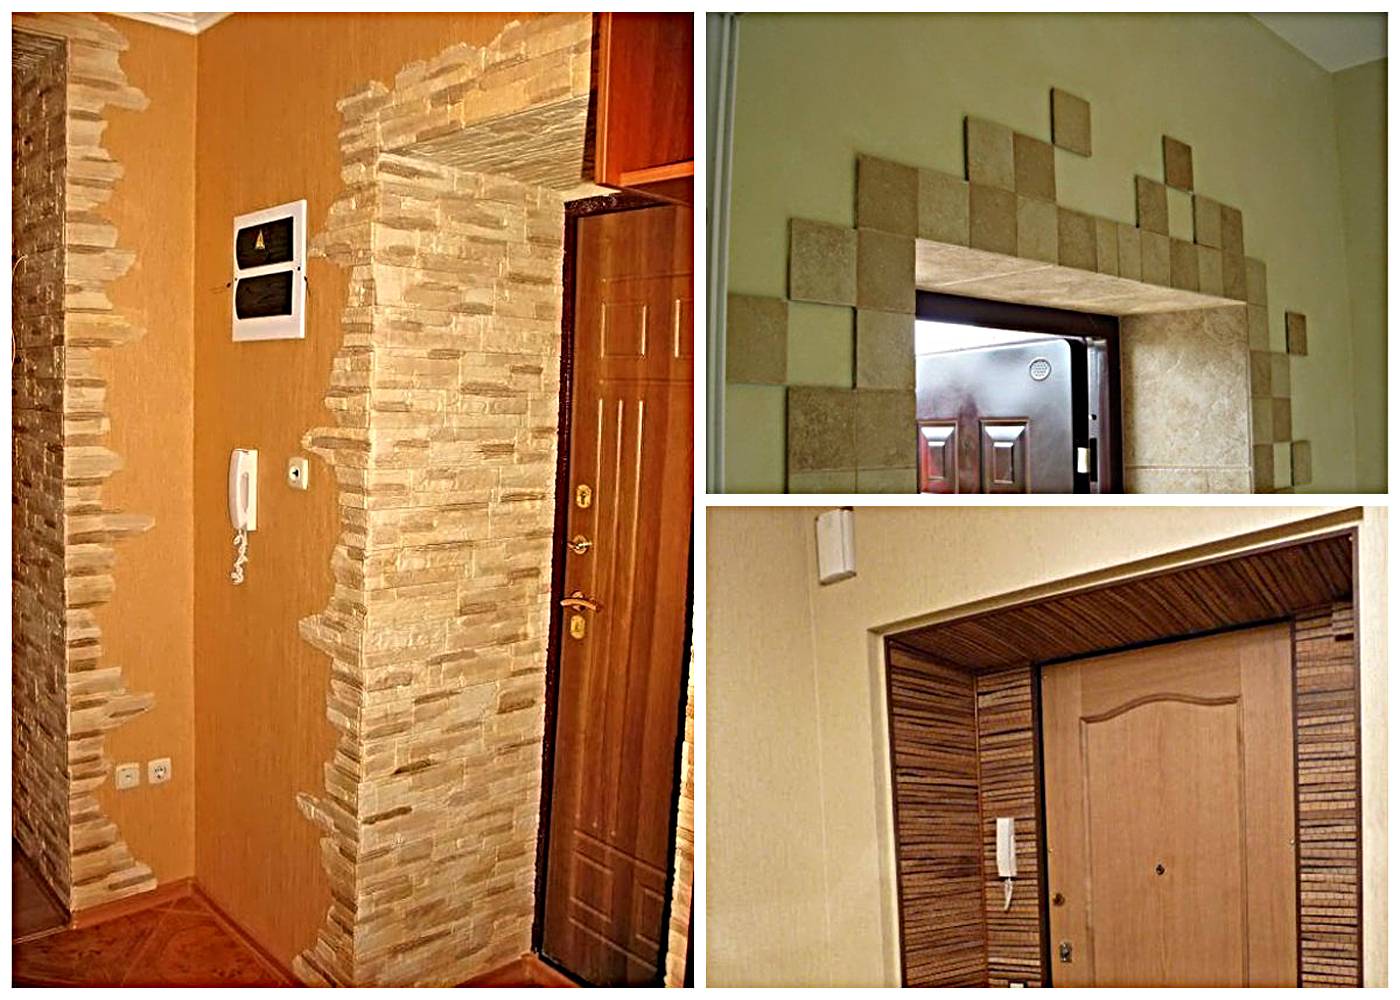
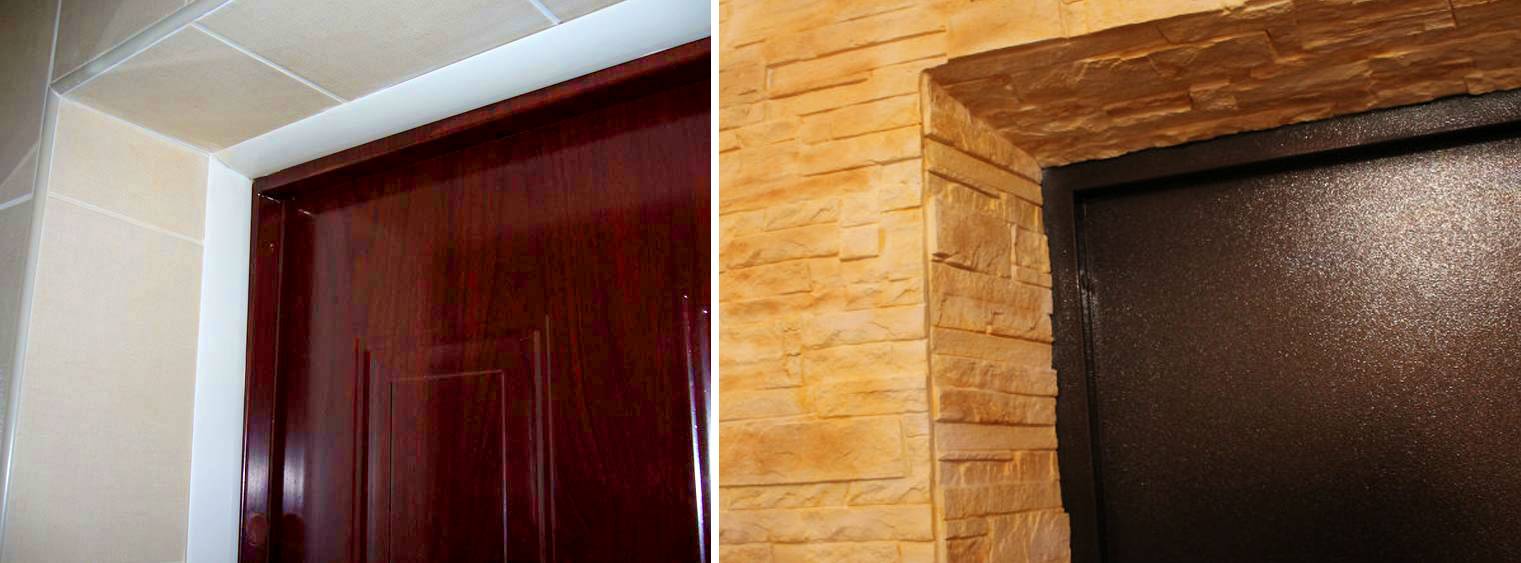
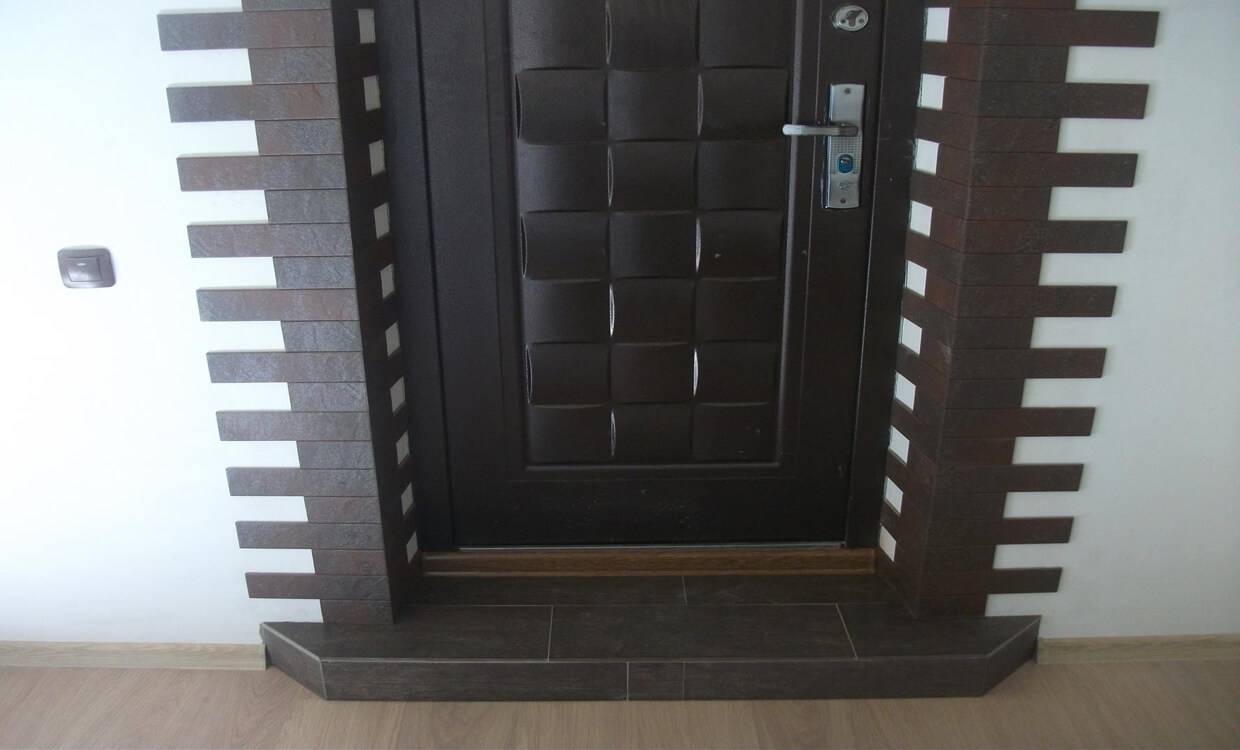
Recently, designers, trying to include the doorway in the overall interior picture, have been using atypical building materials for its decoration - ceramic tiles, mosaics, natural or artificial stone.
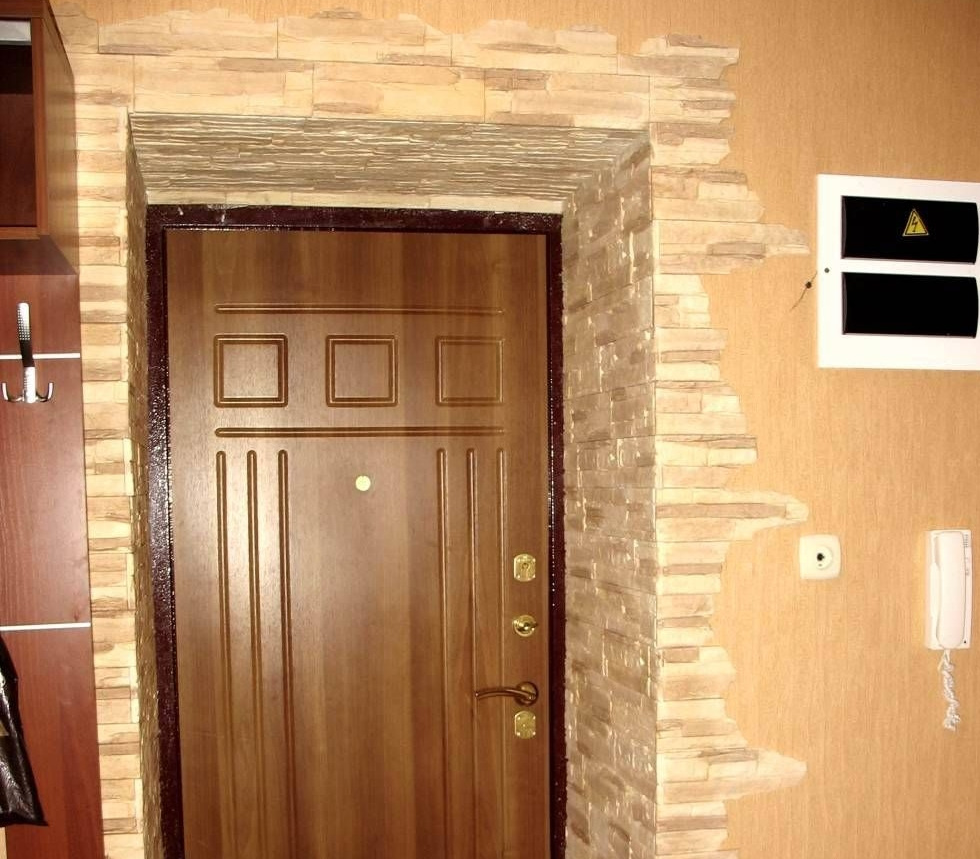
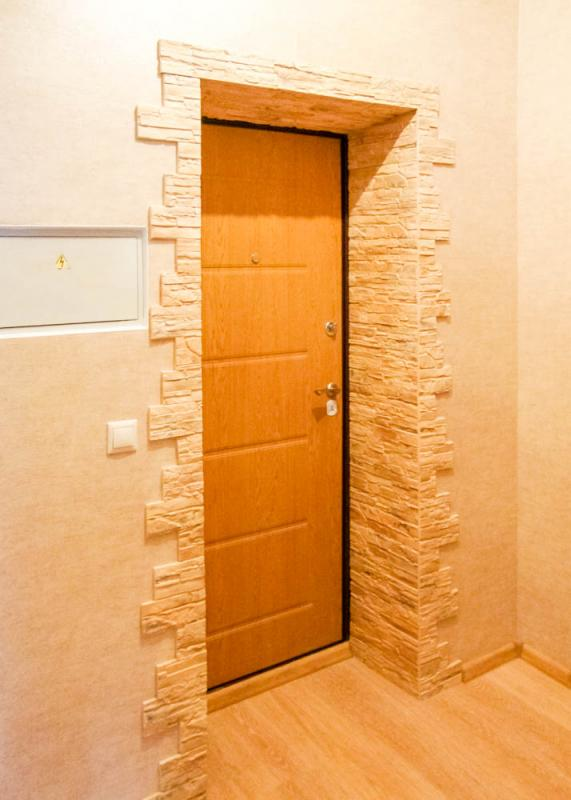
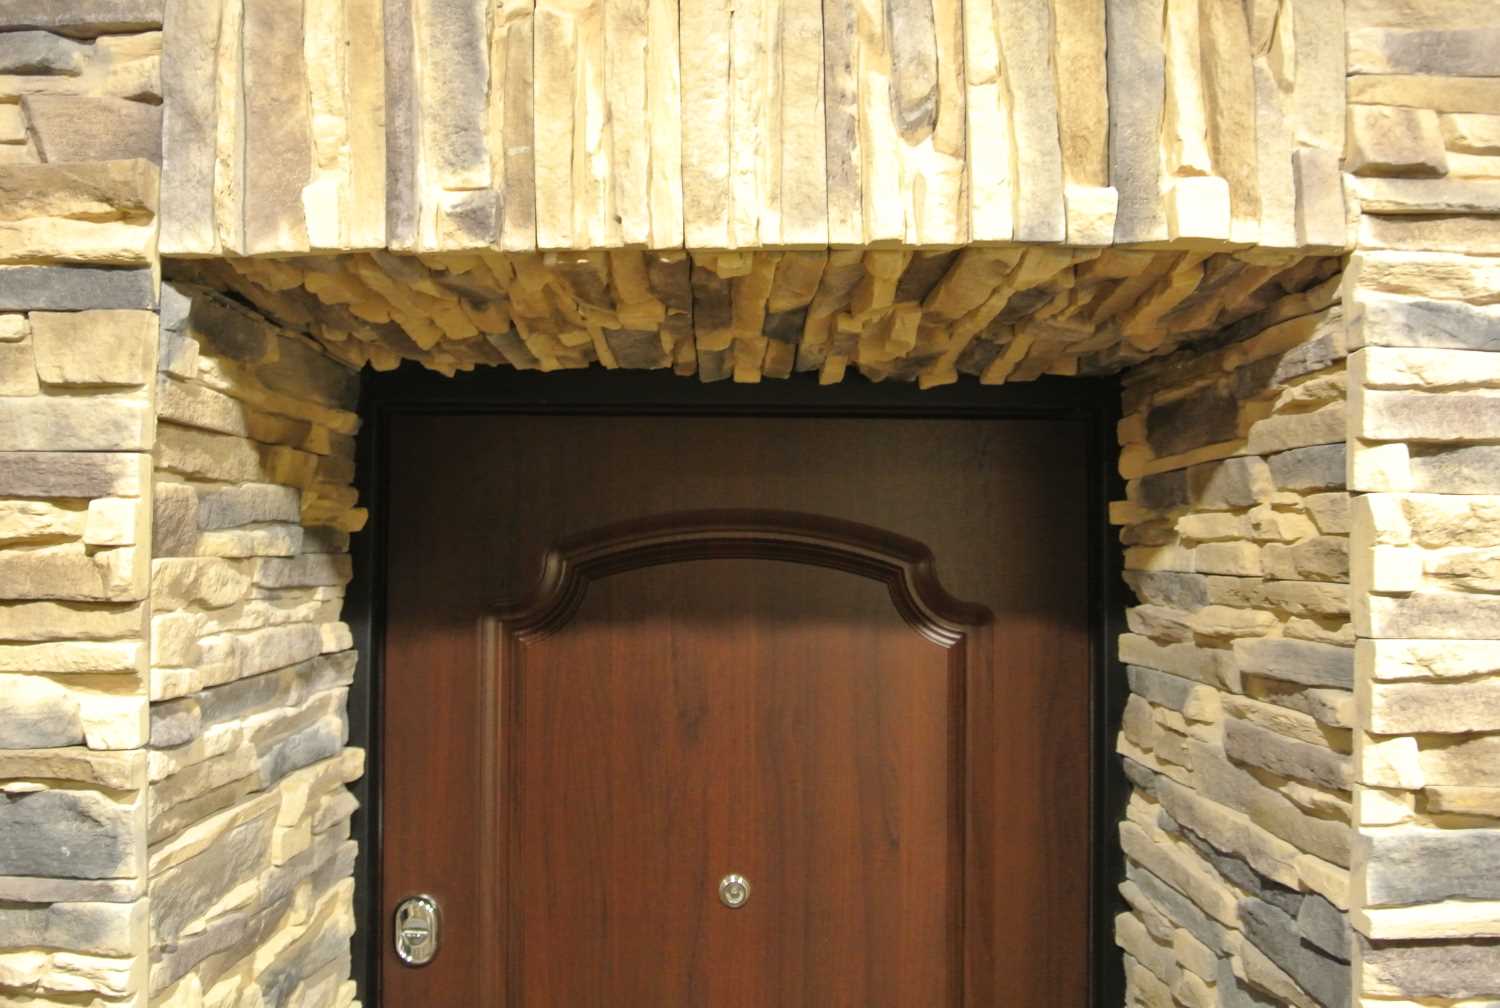
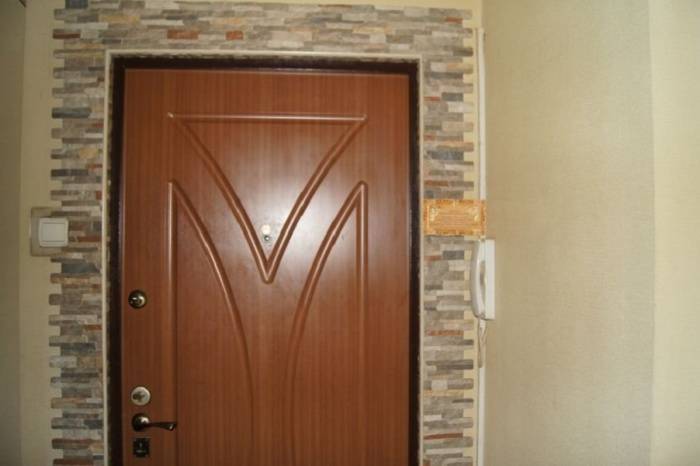
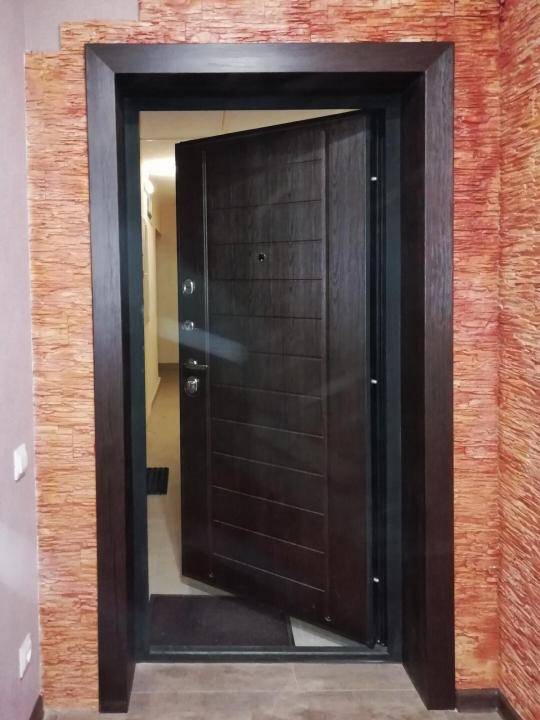
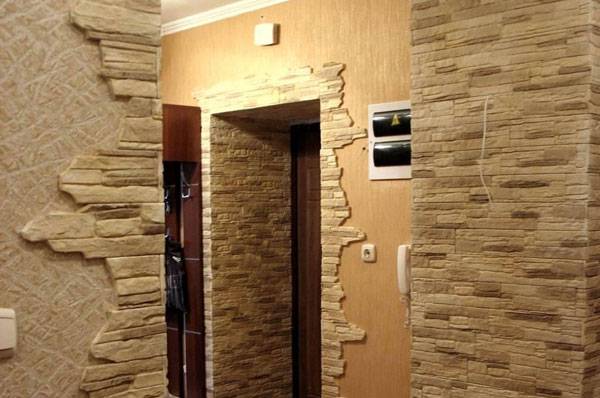 Artificial stone in the hallway looks modern
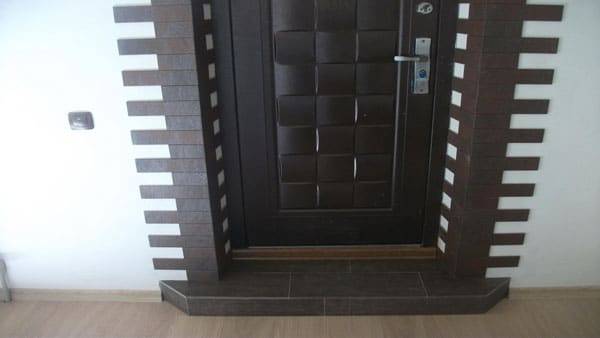 Tiling
6 Stone look finishes - a great alternative to other materials
Decorative stone tiles are an excellent alternative to natural stone, but at the same time they are inexpensive, lightweight, easily attached to the walls with a special solution, and do not require special care. The variety of products makes it possible to choose an imitation for a specific natural stone. The tile can withstand significant temperature fluctuations and is moisture resistant. Its disadvantage is fragility. During installation, the tiles have to be adjusted to the dimensions of the opening, since the standard dimensions are rarely suitable. Therefore, you need to have experience with tiles: to be able to cut it correctly so that it does not crack.
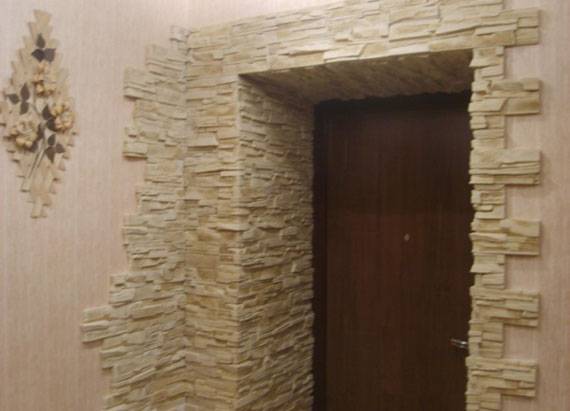
Artificial stone trim looks luxurious in the interior, however, it has a high cost. Decorative stone has many advantages:
- environmentally friendly material;
- during installation, a flat working surface is not required;
- has a low weight compared to natural material;
- a wide selection of textures allows you to choose the material for any interior;
- during installation, the shape and size of the doorway does not matter, the dimensions can be adjusted;
- resistant to high temperatures, non-flammable;
- easy to clean, does not absorb foreign odors;
- keeps warm well.
Artificial stone is not recommended for exterior decoration, since under the influence of low temperatures in severe frosts, it can slightly collapse. Finishing work with decorative tiles and artificial stone is similar to the finishing options discussed above: we prepare the work surface, seal the seams, remove excess foam, and attach the finishing material to the slopes.
Peculiarities
After installing the door, I want to rest, but the most crucial stage is just ahead. After installation in the opening of the product, it turns out that the door slopes look, to say the least, ugly, they can spoil the first impression and the joy of replacing the door. A quite reasonable question arises, and what can be used to close up the walls so that they look attractive.
The most popular options are to plaster and then paint or cover the space with laminate. Both options are practical, but in working with laminate you will have to make a crate. If you have absolutely no experience in carrying out construction work, and you want to spend a small amount, then plaster remains the most attractive option.
There are several reasons why you should choose wall plastering. Among the main advantages:
- there is no need to make a crate, which on the interior doors will take up part of the space in the aisle;
- there is no need to involve specialists in the work;
- low material cost;
- it takes half the time than in any other case when making slopes.
But this method also has disadvantages that you should be aware of:
- it is necessary to additionally cover the slopes with paint;
- from an aesthetic point of view, not the best option.
Working with laminate flooring requires not only experience, but also patience. It takes more time to create the lathing, additional tools will be required:
- hammer;
- glue;
- screw gun.
Plasterboard installation: 3 ways
This is another easy way to make eye-catching do-it-yourself door slopes.
Finishing putty

Instead of the adhesive used for plastic, they prefer the usual finishing putty, which has proven to be a good fixer for drywall sheets.
- Careful repeated measurement of all surfaces of the opening is the first necessary step. Marking is applied to drywall, the material is cut into blanks with a construction knife (hacksaw for metal, jigsaw).
- After trying on all the elements in the opening, putty, diluted with water to a pasty consistency, is applied to their “wrong side” with large “slaps” patches. Details are fixed on prepared (primed) slopes.
- If suddenly there is a need to fix them, then they use props - for example, a wooden bar. Having fixed the material, it is left in this state for 10-12 hours. Then the props are removed, and the composition is waiting for the complete drying.
- The surface of the plasterboard slopes is putty, polished, primed and painted.
Polyurethane foam
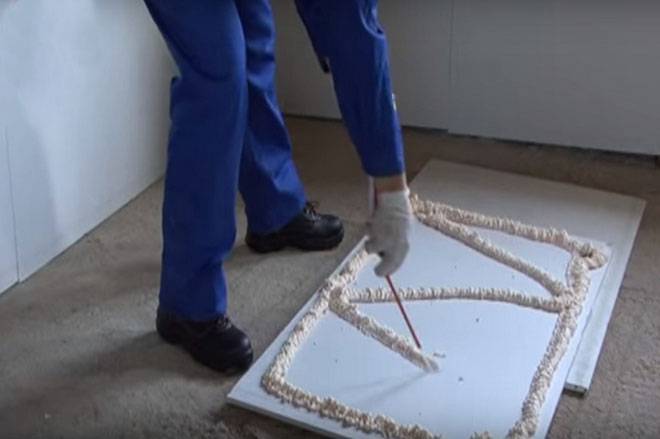
This material is used if a good surface preparation has been carried out, which means that there are no large depressions (up to 30 mm deep). If they are, then the potholes are pre-filled by 1/3 with foam. Deeper defects require the intervention of a cement mortar or starting plaster.
- A snake made of foam is applied to the inside of the drywall blank, its thickness is not more than 10 mm. The part is pressed to the surface, then torn off and laid to the side. The purpose of this step is to wait for the foam to increase.
- After 5-8 minutes, the element is finally fixed, left until the composition hardens for 12-24 hours. The last step is to close the gaps between the drywall and the wall with plaster. The slopes are trimmed after the material has dried.
Both methods have a big plus - simplicity, speed of surface design. But there are also disadvantages:
- pre-leveled surfaces are a prerequisite, otherwise ideal installation is impossible;
- there is a risk of bending drywall elements;
- voids left between the wall and the material;
- small reliability of such a finish.
For those who want to get durable and beautiful door slopes, it is better to choose the next, more complex, option.
Frame mounting
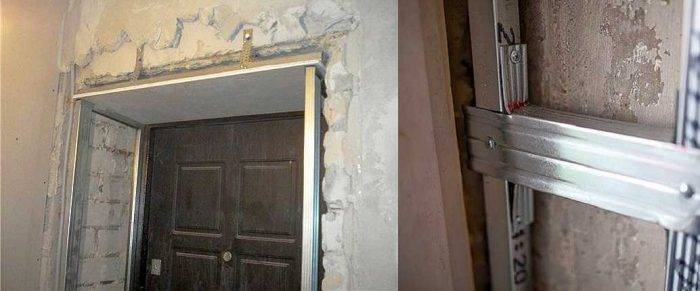
This method is universal, but also more laborious, but the end often justifies the means. The frame is made from a wooden bar or (better) from an aluminum profile. Such slopes can withstand almost any cladding: both tiles and artificial stone.
- Measure the opening - the dimensions of the racks, as well as horizontal guides. The necessary elements are cut with a grinder or metal scissors.
- In the opening with a step of 300-400 mm, holes are made with a puncher into which plastic dowels are inserted. Constantly checking the geometry with a level, the segments are fixed with self-tapping screws. For reliability, jumper elements are mounted.
- If the work is carried out in the opening of the front door, then the slopes are additionally insulated. In this role, they use practical mineral wool, glass wool, polyurethane foam (in a very thin layer) or a more expensive material - extruded polystyrene foam.
- Plasterboard blanks are fixed around the perimeter, observing an indent of 200 mm. The hats are buried in the skin by 1 mm, but no more. The outer corners are reinforced with perforated corners, they are fixed with self-tapping screws.
Plasterboard sheets mounted on a frame, foam or putty are finished. The seams are glued with a serpentine, the surfaces are putty, primed, then the finishing material is applied.
2 Plastering is an economical finishing option
Plaster is one of the economical options for finishing slopes. With its help, you can not only close up doorways, but also align them. Plaster is a natural insulation, has high strength characteristics, dirt can be easily removed from it, it stays on the walls for a long time. By applying the material to the surface in various ways, it is possible to give the slopes an exclusive look. The disadvantage is dirt and dust during plastering and a long drying time for the material: the plaster dries completely within 3-5 days.
Plastering work consists of 8 steps:
- 1. First, install the beacon profiles to help level the surface. We fix them on a plaster mortar.
- 2. Then, using the building level, align the beacons and wait for the gypsum to harden.
- 3. Next, we prepare a cement-sand mortar with which we will fill the door slope. It is prepared as follows: four parts of sand, one part of cement and a little gypsum are taken. The solution is applied using a trowel and a spatula.
- 4. The solution is leveled over the entire surface, focusing on the beacons.
- 5. To align the corners, we use perforated painting corners, which we plant on a plaster mortar.
- 6. When the plaster is dry, apply a layer of starting and finishing putty.
- 7. After the surface is dry, so that it is perfectly flat, sand it with an abrasive mesh.
- 8. At the final stage, paint the slope with the chosen color or cover it with decorative plaster.
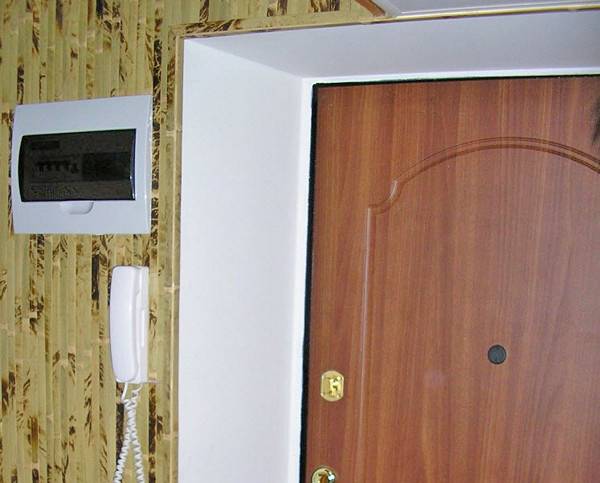
What materials can you use?
Next, let's talk about the building materials used in finishing door slopes according to the degree of demand, price advantages and quality characteristics.
Dye
Decorating slopes with ordinary paint is the easiest and fastest way, but the aesthetic component in this case fades into the background. The main advantage of painting is the ability to quickly renew the coating, as well as replace it at any time.
For painting, you can use a water-based emulsion or special textured mixtures. There are many design options in this case. The use of paint is especially important when you want to quickly complete the repair.
Wallpaper
Wallpaper will look advantageous only when the door slopes have an even base. Wallpaper is usually used when a full renovation is planned in the hallway. The main advantage is the ability to visually expand the space in general and the doorway in particular, as well as create the impression of a monolithic surface of the door slope.
It is not difficult to glue the wallpaper - everyone can cope with this task. It is better to give preference to dense vinyl or non-woven wallpaper - they will lie smoother on the wall surface and will last much longer than paper counterparts.
Single sided sandwich panels
Sandwich panels are made of plastic, however, unlike PVC panels, their inner part is filled with polyurethane sealant, and not hollow. The main advantages of the material are:
- spectacular exterior design;
- ease of installation;
- ease of care;
- good thermal insulation;
- moisture and heat resistance;
- no need for finishing;
- absolutely flat surface, allowing you to make even wide slopes (up to 1.5 meters).
Important
Among the disadvantages, it should be noted that over time, the sandwich panels turn yellow, and when mechanically exposed to them, cracks and scratches are formed.
Plastic panels
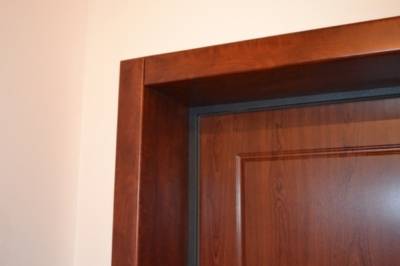 On the construction market, you can buy plastic for every taste and color - from plain white to unusual options for leather, wood and other materials. At the same time, the installation of plastic slopes will take only a couple of hours. The main rule when installing plastic panels, if you decide to trim the door slopes with plastic - you need to handle the material carefully,as it is very fragile and can break even from slight pressure.
MDF
When choosing MDF panels for finishing slopes, it should be borne in mind that they will only stick on walls covered with lime-cement mortar. The composition is applied to a surface previously treated with a primer. Special glue is used to fix the panels.
The advantages of the material are:
- laconic design - you can choose MDF panels to match the door leaf;
- high resistance to stress;
- no additional finishing is required - putty and painting, which saves time and money for panel installation.
Among the shortcomings, we note the high cost of material and the complexity of installation.
Parquet board
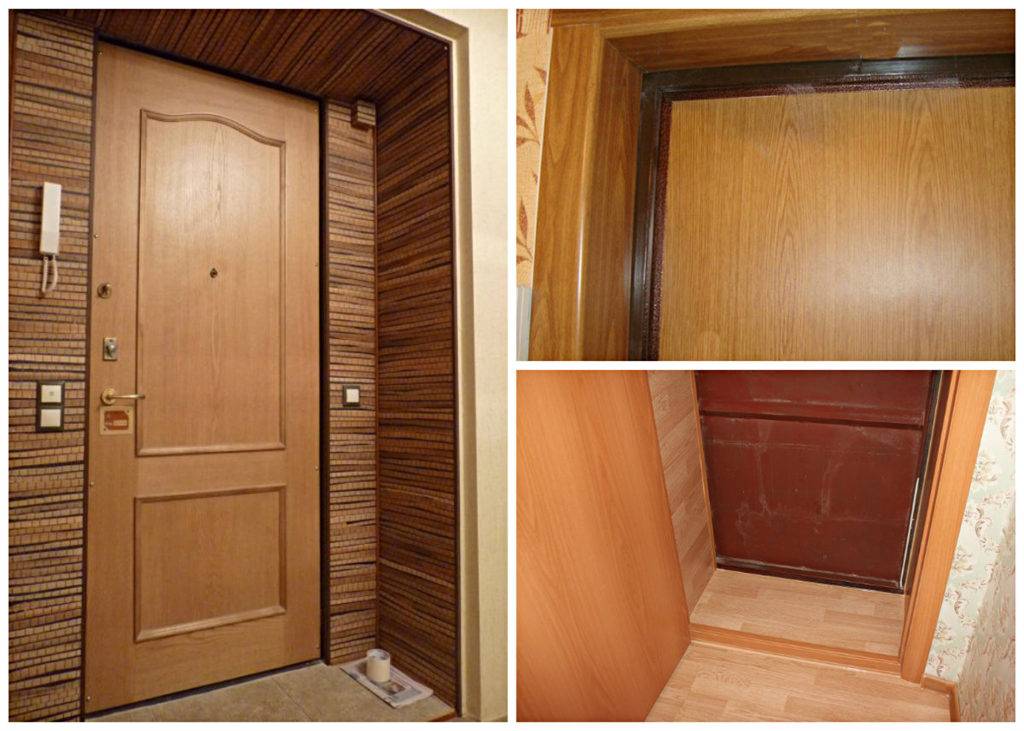
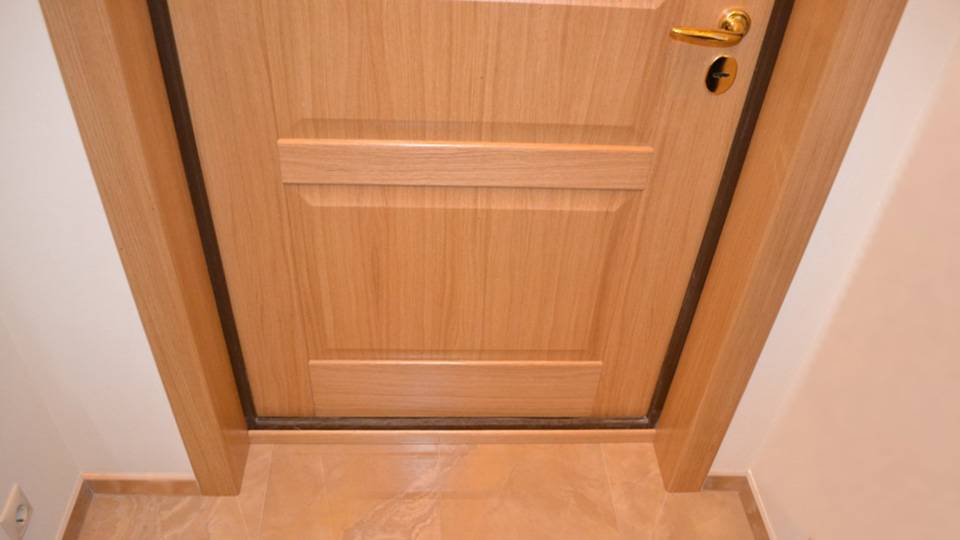
On the construction market, there are many options for parquet boards, which can be selected for any type of door leaf. Models in wenge color look beautiful and modern. Most often, a parquet board is used to decorate wooden doors or to match the flooring.
Laminate
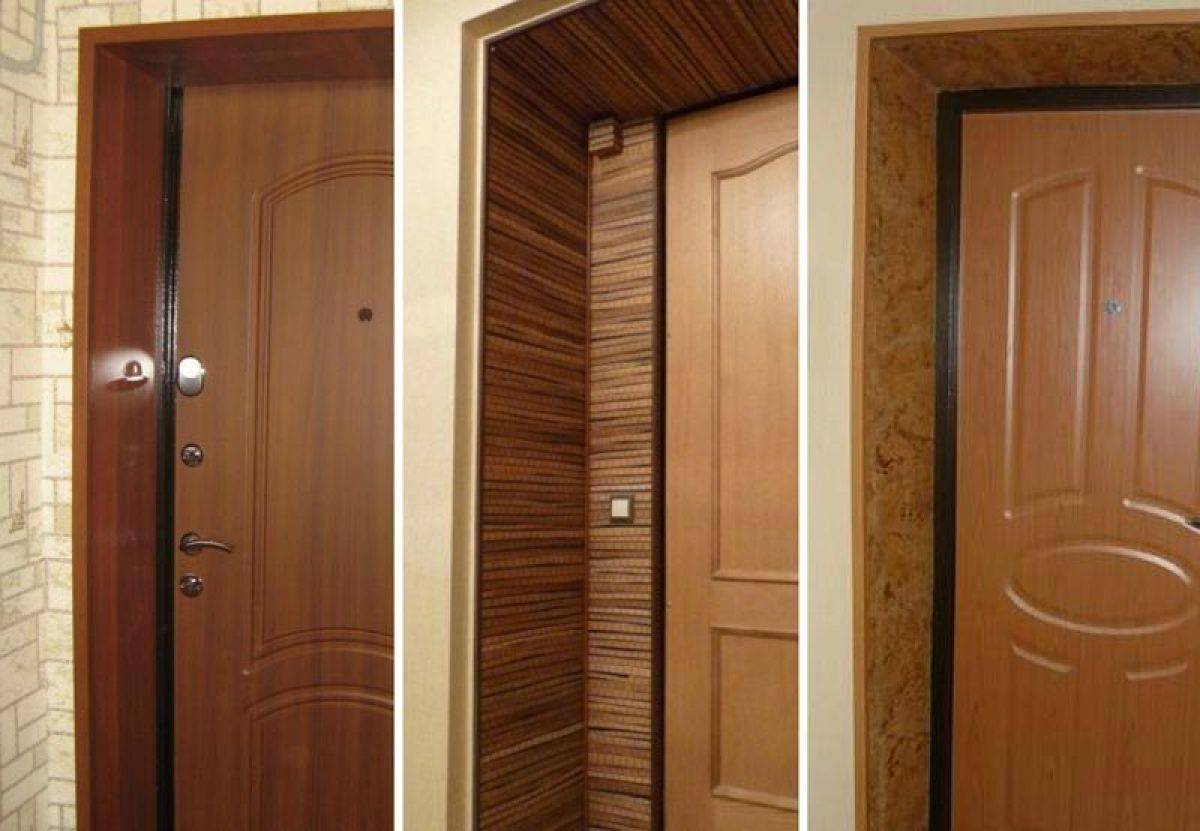
Laminate is notable for its strength and endurance, so it is often used for door decoration. It is well suited for finishing doors made of natural wood, while being distinguished by its low cost and availability. In addition, there are options that imitate a wide variety of surfaces - stone, marble, etc., so you can choose a laminate for any type of entrance door.
Advice
In addition, the laminate is resistant to moisture and detergents, has a low specific gravity and is easy to install. This material can be mounted both on adhesives and on short screws.
PVC slopes and polyurethane overlays
Wherever PVC is not used now! So the front door can be framed with it. Installation is carried out quickly, and the price for PVC slopes is very low. But this material does not have many advantages.
PVC is fragile and easy to break. Sometimes it's enough just to lean your elbows on it and all the work will go to waste. The slope cannot be repaired; it will only have to be changed. And in general, the service life of the material does not exceed a couple of years. Someone pastes over plastered slopes with plastic, but in fact it looks ugly and cheap.
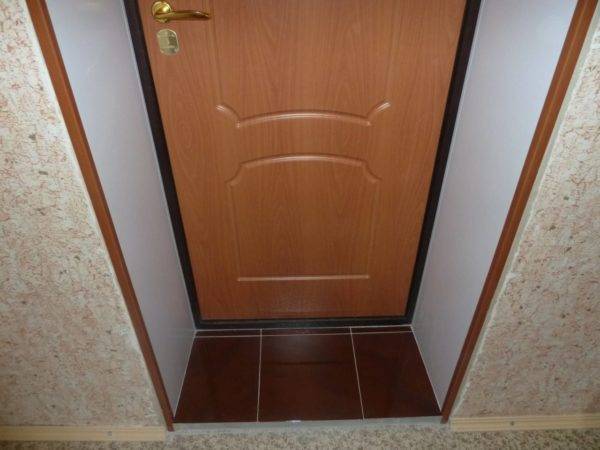 Plastic slopes
By the way, you can also decorate the slopes with polyurethane overlays, which can imitate stucco molding. This option looks decent. But the price for such linings is also high. You need to glue the lining on a flat surface, so you still have to plaster or close the ends of the walls with drywall beforehand.
Do-it-yourself door slopes - original ideas
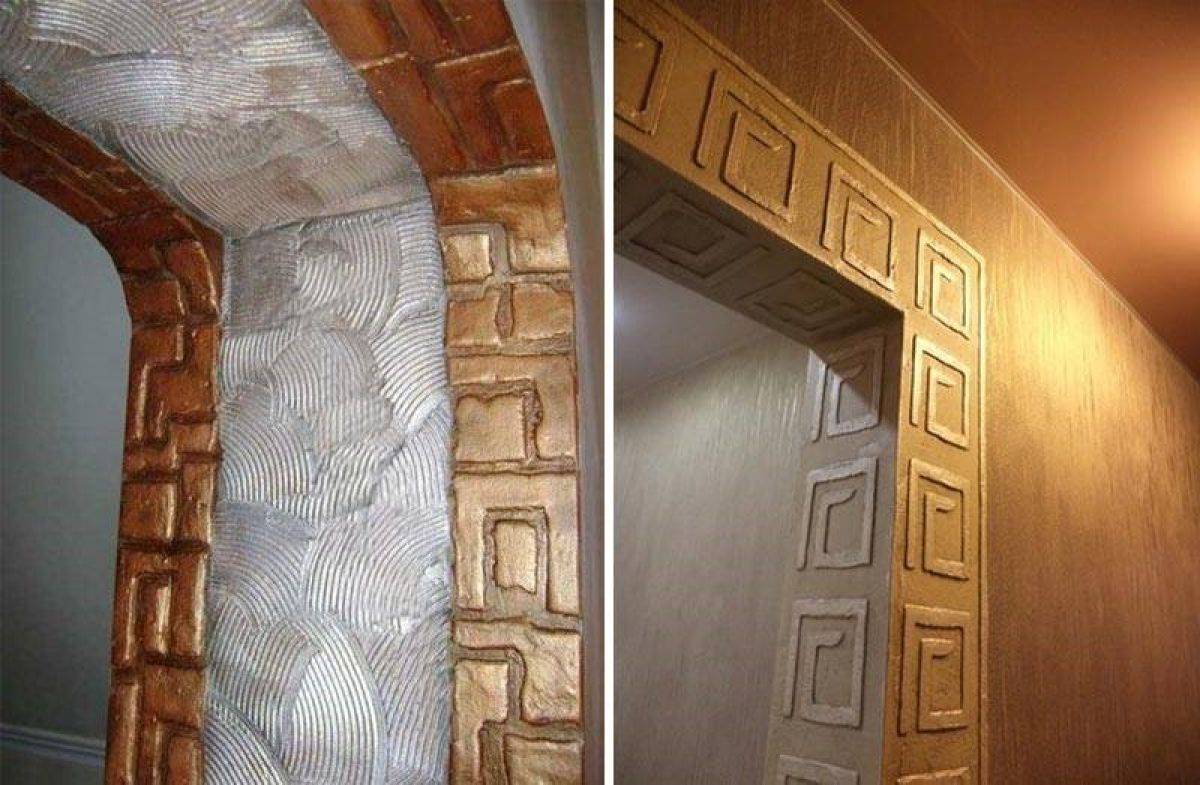
How to make original door slopes at no extra cost? Even the simplest option - painting - can be turned into a fun way to finish. Alternatively, you can apply two layers of paint: the background layer is applied with a regular roller, and when it dries, a second layer of lighter or darker paint is applied with a textured tool. You can buy one or make it yourself - just wrap a standard paint roller with a piece of suede, so that the material forms waves, bends, depressions, in a word, texture.
- Another effect - kolorosh - will make the slopes and walls look more airy, softer, if you like. To begin with, the main background is also applied, on top of which a lighter paint is applied, close to the background, with a sponge or cloth. Rub the second layer with light washing movements or crosswise movements, due to which a picture of airy lightness is formed. If there is no time for fiddling at all, use stencils, which you can either purchase ready-made or cut yourself.
- If you still have wallpaper after repair, you can paste over the slopes with them. This is quite practical, especially if the wallpaper is washable - after all, the doorway gets dirty enough.
- Slopes made of laminate or parquet boards are mounted very quickly and look original.Just don't forget to buy special corners to hide the dice joints at the corners. If you think about it, this method is very practical - only on the floor, the laminated coating can last about 25 years, and even longer on the walls. Laminate is easy to clean, does not fade and is resistant to mechanical damage.
- Another quick and durable option is MDF board slopes. It should be noted that MDF is still not as strong a material as the same laminate, but its installation is even easier - you just need to cut the strips in accordance with the width of the slopes, fix them with glue and refine them with corners.
- Artificial stone slopes are more complex in execution, but very beautiful and durable. Depending on the shape of the stone and its color, you can achieve the effect of antiquity, or vice versa, create modern designs. The stone is attached mainly to a special glue base; to fit individual elements, you will need at least a grinder with a diamond wheel. To give a wet effect, be sure to cover the surface of the stone with polymer varnish.
- Ceramic tiles or mosaics look very impressive in a doorway, especially if you choose the right colors and location. The option is very practical: durable, easy to clean from any dirt, does not attract and does not accumulate dust.
- Mirror tiles or mirror mosaics will give the doorway a greater height and width. Do-it-yourself finishing option for a modern interior design, slopes for interior doors look best from this material.
- The use of cork panels will allow you to create a very harmonious finish on the slopes, especially if the hallway is covered with parquet, parquet board or laminate. To increase the wear resistance of the material, it can be coated with a special elastic cork varnish.
Before making door slopes, evaluate the happy owner of what materials or decor elements you already have, perhaps this will push you to a fresh idea. It is simply impossible to list all the options - in different parts of the world, designers come up with a wide variety of finishing methods. Surely, somewhere they are already experimenting with 3D slopes or coming up with how to use the free area. Indeed, why not arrange small niches, bookshelves or hiding places in the interior slopes? So do not limit yourself in imagination!
1 Door slopes - what is their purpose?
Entrance door slopes are the part of the wall that surrounds the door frame. After the iron entrance doors are inserted, the doorway looks unsightly: bare concrete, fasteners are visible, unadorned bricks. The purpose of the door slopes is to mask all the shortcomings that remained after the installation of the doors.
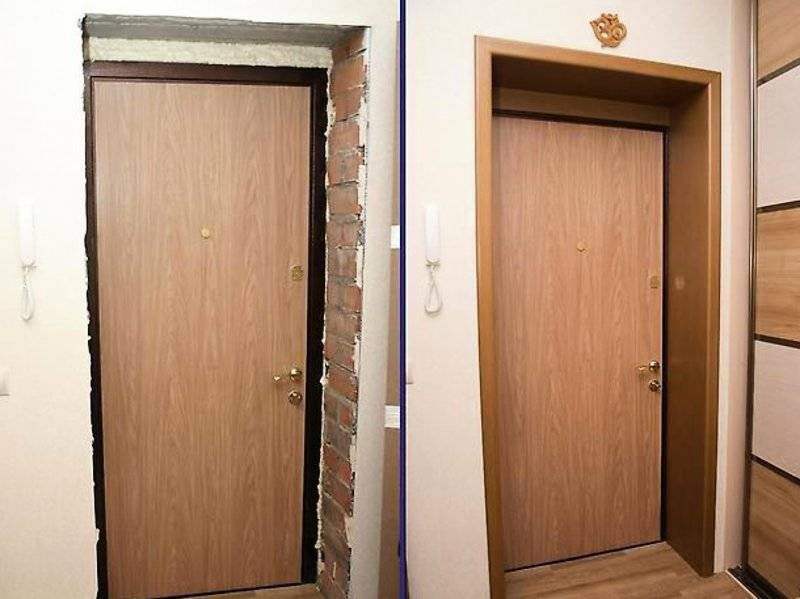
In addition, the slopes increase safety, since if they are present, the door becomes more resistant to burglaries, they also serve as an additional heat insulator.
The structure around the doors also carries a decorative load: even the most beautiful wooden door will lose its beauty, if the slopes do not harmonize with it, they should be a continuation of the design of the hallway or corridor, therefore, special attention should be paid to the choice of finishing material
To work you need to prepare:
- pencil, straight rail or long ruler for marking;
- clerical or carpentry knife;
- hammer drill or drill;
- screwdriver;
- roulette;
- putty knife;
- trowel;
- carpentry miter box;
- hammer.
The set of materials depends on the chosen finish. It may include masking tape, glue, foam, primer, starting and finishing putty, sand, cement, plaster, painting corners, plaster mortar, abrasive mesh, dowels, screws. Before creating the frame, we perform a number of preparatory work. We close the door leaf and frame with plastic wrap to protect them from damage and contamination during finishing work.We fix the film with construction tape.
So that the protruding parts do not interfere with the protruding parts during the installation of the door frame necessary for the sheathing of the slope, they need to be combed off, leveling the surface. Next, we clean the surface from dust and small particles, cover with a deep primer. If the walls are made of foam block or other fragile material, apply a surface primer. At the preparatory stage, we lay the wires necessary for the light switch. If you plan to install the frame, then we lay the wires after installing the frame fastening of the slopes. So that you can choose the material for finishing the slopes on the front door, below we will tell you about the existing types and characteristics of materials.
Materials for finishing slopes
The slopes framing the entrance to the apartment should correspond not only to the external features of the door, but also to the design of the hallway as a whole. In addition to a purely decorative function, such elements around the door serve as an additional insulation. They also cover the joints between the box and the wall.
For this purpose, you can use various materials or put existing slopes in order. If the door is strong and reliable, but does not stand out in appearance, it is enough to level the slopes with plaster and strengthen them. Such work is usually carried out not only from the side of the entrance, but also in the hallway. Plastered slopes look pretty neat. They can be painted in a color similar to the shade of the door itself, or to match the wallpaper in the hallway.
It will reliably close the joints between the wall and the door frame, and also make the walls warmer. Due to this, the slopes will take on a neat appearance. Drywall can be:
- paste over with wallpaper;
- cover with paint.
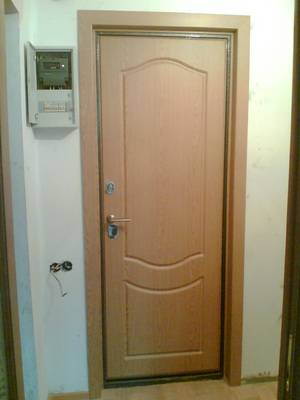 This material has many advantages. The main advantage is that there is no need to level the plaster with a building rule, followed by cleaning the wall. You can trim the slopes from natural wood, if it is suitable for finishing the doorway.
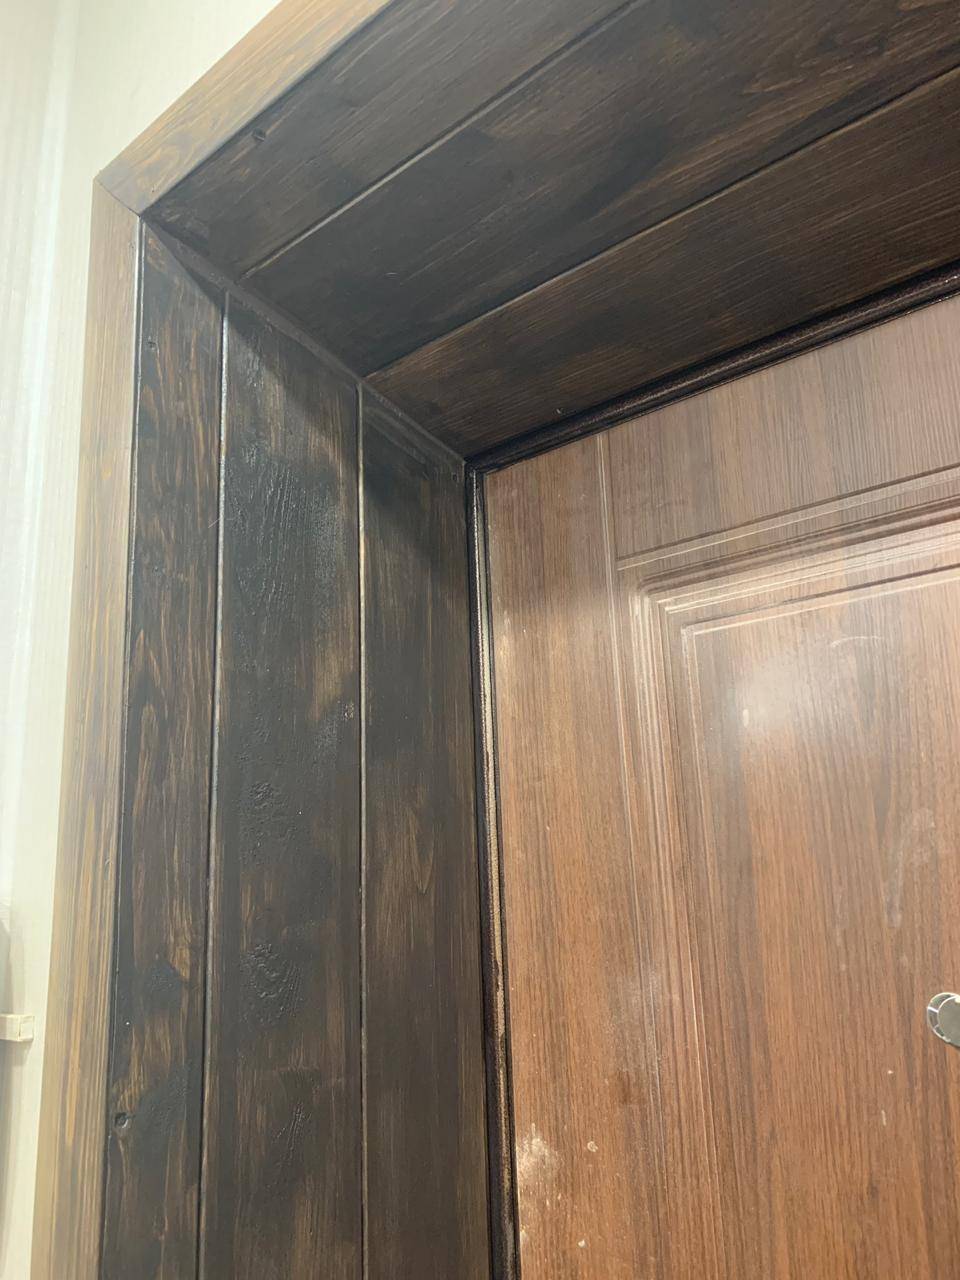
Wood has always been in demand and never went out of fashion. It combines perfectly with any interior. It can be easily tinted with modern or folk remedies. The tree will serve for many years, retaining its decorative properties. As a last resort, you can paint the wood with paint to match the color of the hallway.
An alternative to wood can be a laminated lining made on the basis of fiberboard. It is produced in various colors and imitates the textured pattern of various types of wood. Accordingly, you can choose housing for any design of the hallway. But it is not recommended to trim the slopes on the outside of the door with this material, since it does not remain there for a long time.
Another finishing option is ready-made PVC panels. They are made in various widths and in a rich assortment of colors. The production of such parts and their subsequent implementation are carried out by profile diagrams. They have a subway that installs panels. This finish looks respectable. It has good aesthetic properties. PVC panels can last a long time. But it is better to put them from the side of the apartment.
From the side of the entrance, it is better to use 1 or 2 finishing method, which was mentioned above. If you are confident in your abilities, then you can independently install ready-made parts of the slopes. Another option is the use of polymers for interior decoration. This is a plastic lining. It can be easily matched to the color of the walls in the hallway. The stores offer a wide range of the specified material.
 Slopes are sometimes sheathed with chipboard panels. They are usually used for very thick walls. But it should be noted that today this finishing method is becoming less and less popular. This is due to the emergence of alternative materials that can replace these massive panels.
One way or another, if material of the required size was found at home, you can use it to decorate door slopes from the inside.It should be noted that there are other materials that can be used to install slopes on the front door. They can be used to arrange planes around the door. And yet the options that were described above are the most popular.
How does the process of decorating slopes with MDF panels take place?
Step 1. The first step is to prepare all the tools. This is a tape measure, square, pencil, miter saw, sharp knife, hammer, masking tape, screwdriver, drill. Fastening materials and polyurethane foam are also needed.
 Tools required for the job
Prices for popular models of screwdrivers
Screwdrivers
Step 2. Next, you need to take measurements. The procedure is performed after installing the door - you need to measure the width of the end part of the wall, as well as the width of the doorway. It is better to take measurements at several points at once vertically and horizontally.
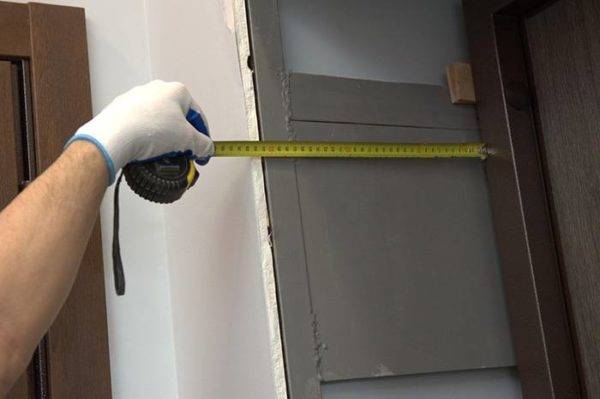 Taking measurements
 The width of the opening is measured
Step 3. Now you need to make markings on the MDF strips according to the dimensions obtained. The edge along which the cut will be made must be glued with masking tape. If this is not done, ugly chips may appear on the panel during sawing.
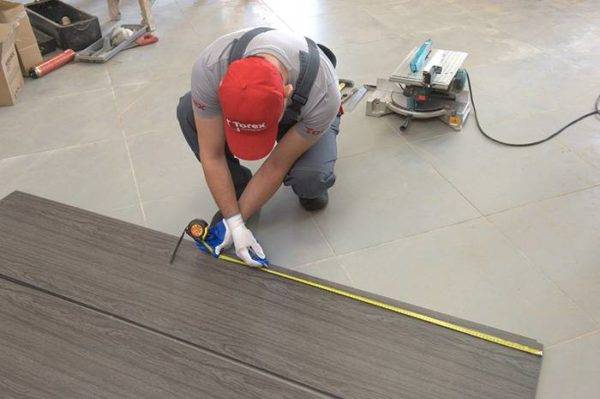 Layout of MDF panels
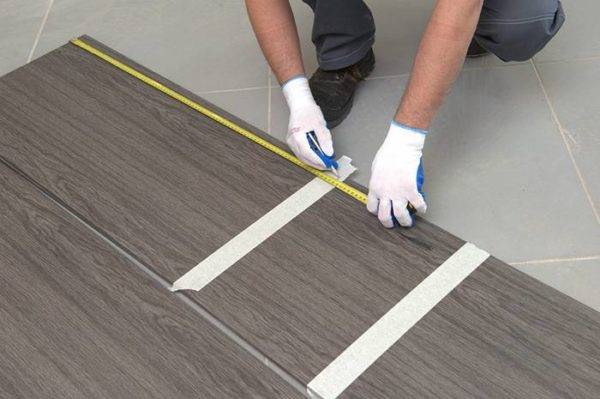 The edges of the cut are glued with masking tape
Step 4. Using a square, you need to draw a straight cut line.
 Cutting line is drawn
Step 5. Using a miter saw, you need to cut the workpieces.
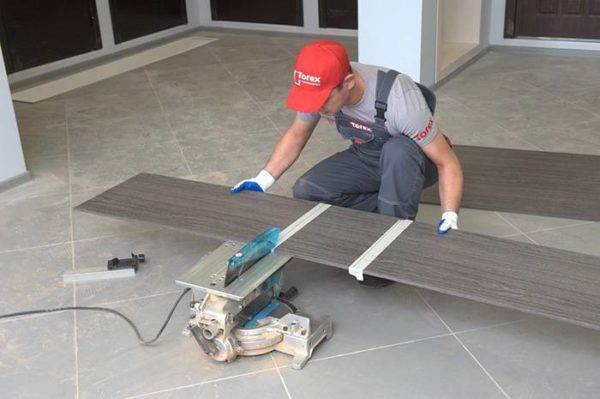 Workpieces are sawn
Step 6. Now you need to collect the received extras into one structure. With a drill you need to drill holes for self-tapping screws. It is not recommended to screw them in immediately with a screwdriver - the fasteners can damage the panels. The holes are made in a number of pieces at a distance of 10-15 cm from each other.
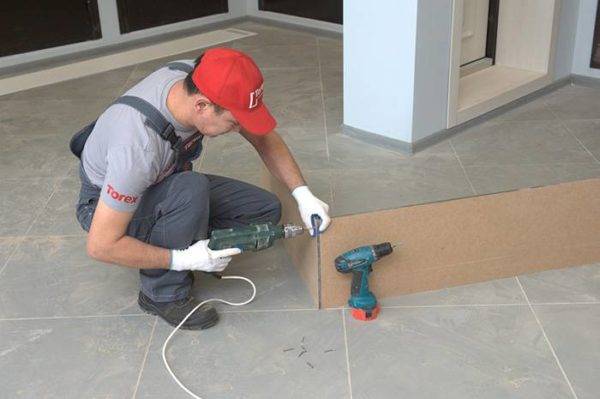 Assembling addons
Step 7. Next, the resulting box must be installed in the doorway. You need to install it evenly so that the gaps between the box and the door are equal on all sides.
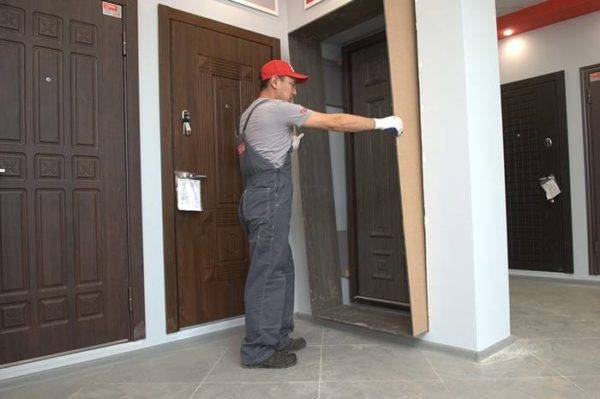 The box is installed in the opening
Step 8. Now it is necessary to make about 10-12 spacers from a wooden block.
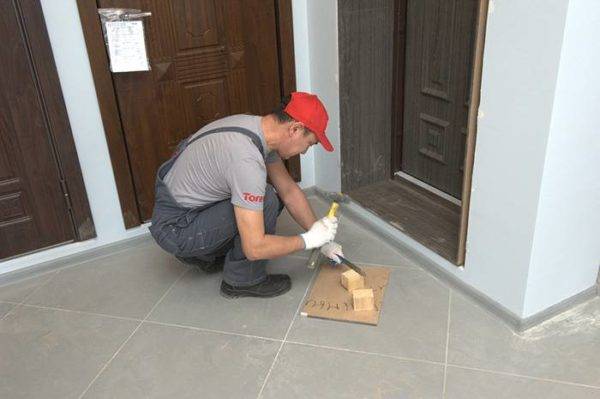 Manufacturing of spacers
Step 9. Spacers need to be hammered between the wall and the box. About 3-4 pieces are hammered vertically, and 2 pieces each along the upper and lower border of the box. The bar should not stick out, you need to hammer it tightly.
 Spacers are clogged
Step 10. Now you can install the platbands. First you need to attach the platband and measure the desired length.
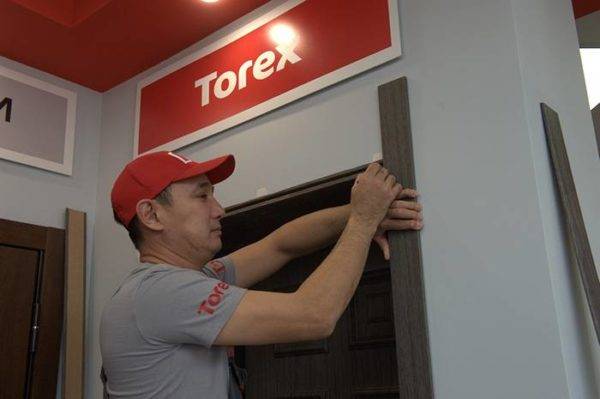 Installation of platbands
Step 11. Next, you need to cut the platbands using a saw to measure at an angle of 45 degrees.
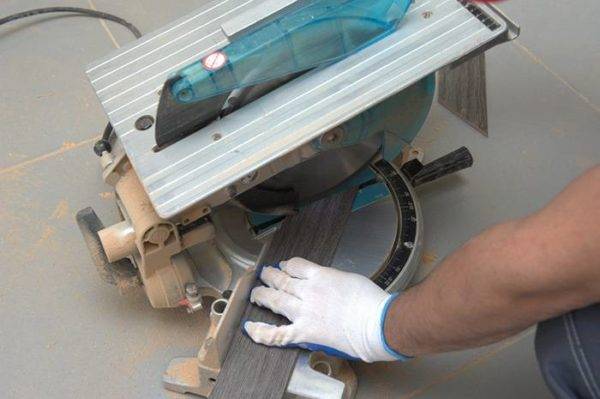 Trimming platbands
Step 12. Before installing the platbands, the gaps between the wall and the box must be covered with polyurethane foam. It will help to further fix the box and provide sound and heat insulation. Excess foam can be cut off with a knife after it has set.
 Gaps are blown out by foam
Step 13. Next, you need to fix the vertical platbands on the extrusions using small decorative nails.
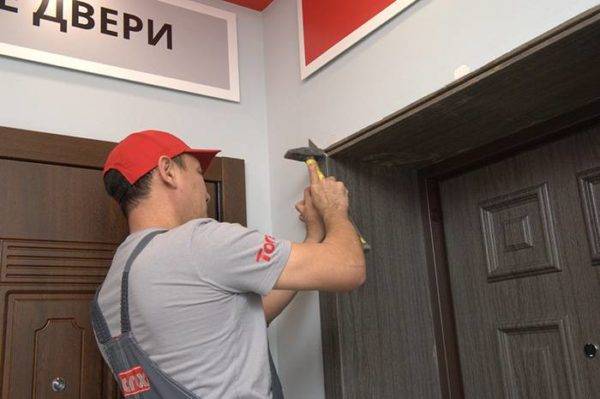 Vertical platbands are nailed
Step 14. Now you need to measure and saw off the platband from above and below, and then secure it with studs.
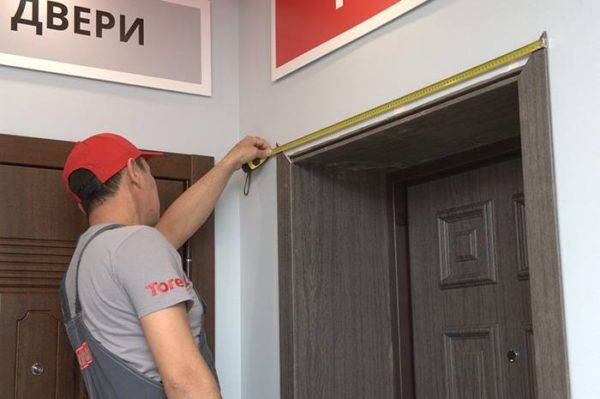 The platband is measured
Step 15. After the structure has been assembled, you need to fix it on the door frame with masking tape for about a couple of hours. Once the foam is completely dry, the tape can be removed.
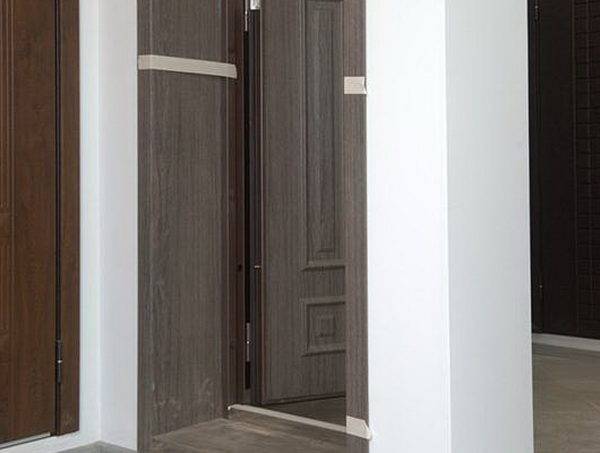 The structure is fixed with masking tape
Video - Finishing narrow slopes
After the main work on finishing the slopes has been completed, you can proceed to additional decoration. If they were plastered or decorated with drywall, then there is a lot of room for creativity. You can cover the slopes with paint, decorative plaster, wallpaper, draw patterns, attach laminate, stone, tiles, and use other materials. The main thing is that they fit the general style of the interior and meet all the wishes of the owner of the house.
Door slopes to the entrance door from panels or strips
These options differ little in the way of installation, so it makes sense to consider them together.
Surface preparation:
- marking of slopes for the installation of the lathing (frame) and their installation. Frame elements can be wood or metal. In the second case, it is advisable to use a special profile for mounting drywall. For more details on how to mount such a frame, read the article. You can learn more about the features of the installation of an arched frame for subsequent cladding here;
- after fixing the frame and checking its position, try on the panel / board in place. Trimming is done so that you can easily bring the elements of the box in the corners. For panels and boards with a thickness of 0.5 ... 3 cm, it is advisable to cut at an angle;
- further prepared panels are mounted in place. They can be attached to the lathing bars / profile with self-tapping screws or "liquid nails". The second option is preferable for lightweight materials;
- external elements are fixed in place - platbands and additional parts covering the joints.
Depending on the quality of the material and the processing features of its edges, you can first put a corner along the edge of the doorway, and then fix the platband on top of it, as shown in the video. If the ends are processed carefully and they can be brought together without gaps and defects, you can do without corners and other "masking" details.
For sealing gaps and for easier joining of panels, you can use not an external corner, but curly skirting boards with a small section.
The corners between the platbands are easy to fill with special inserts.
It is also advisable to close the junction of the slopes to the front door with additional elements.
Important: if the depth of the doorway coincides with the thickness of the door leaf, it is advisable to trim the entire plane adjacent to the door and adjacent walls with panels.
Another interesting way to decorate the slopes of the entrance door with wood from the inside is shown in the master class. It is suitable for those cases when adjacent walls are already sheathed with wood (clapboard, block house, imitation of timber, etc.) or are made of relatively soft materials - for example, drywall. The video shows the fastening of the board to the sheathing with nails, but sometimes it is more convenient to use self-tapping screws.
After fixing the board on the slope on top of it, neatly cut diagonally corners are attached to the "liquid nails". The doorway takes on a complete look.

