Types of noise insulation, the choice of the optimal material
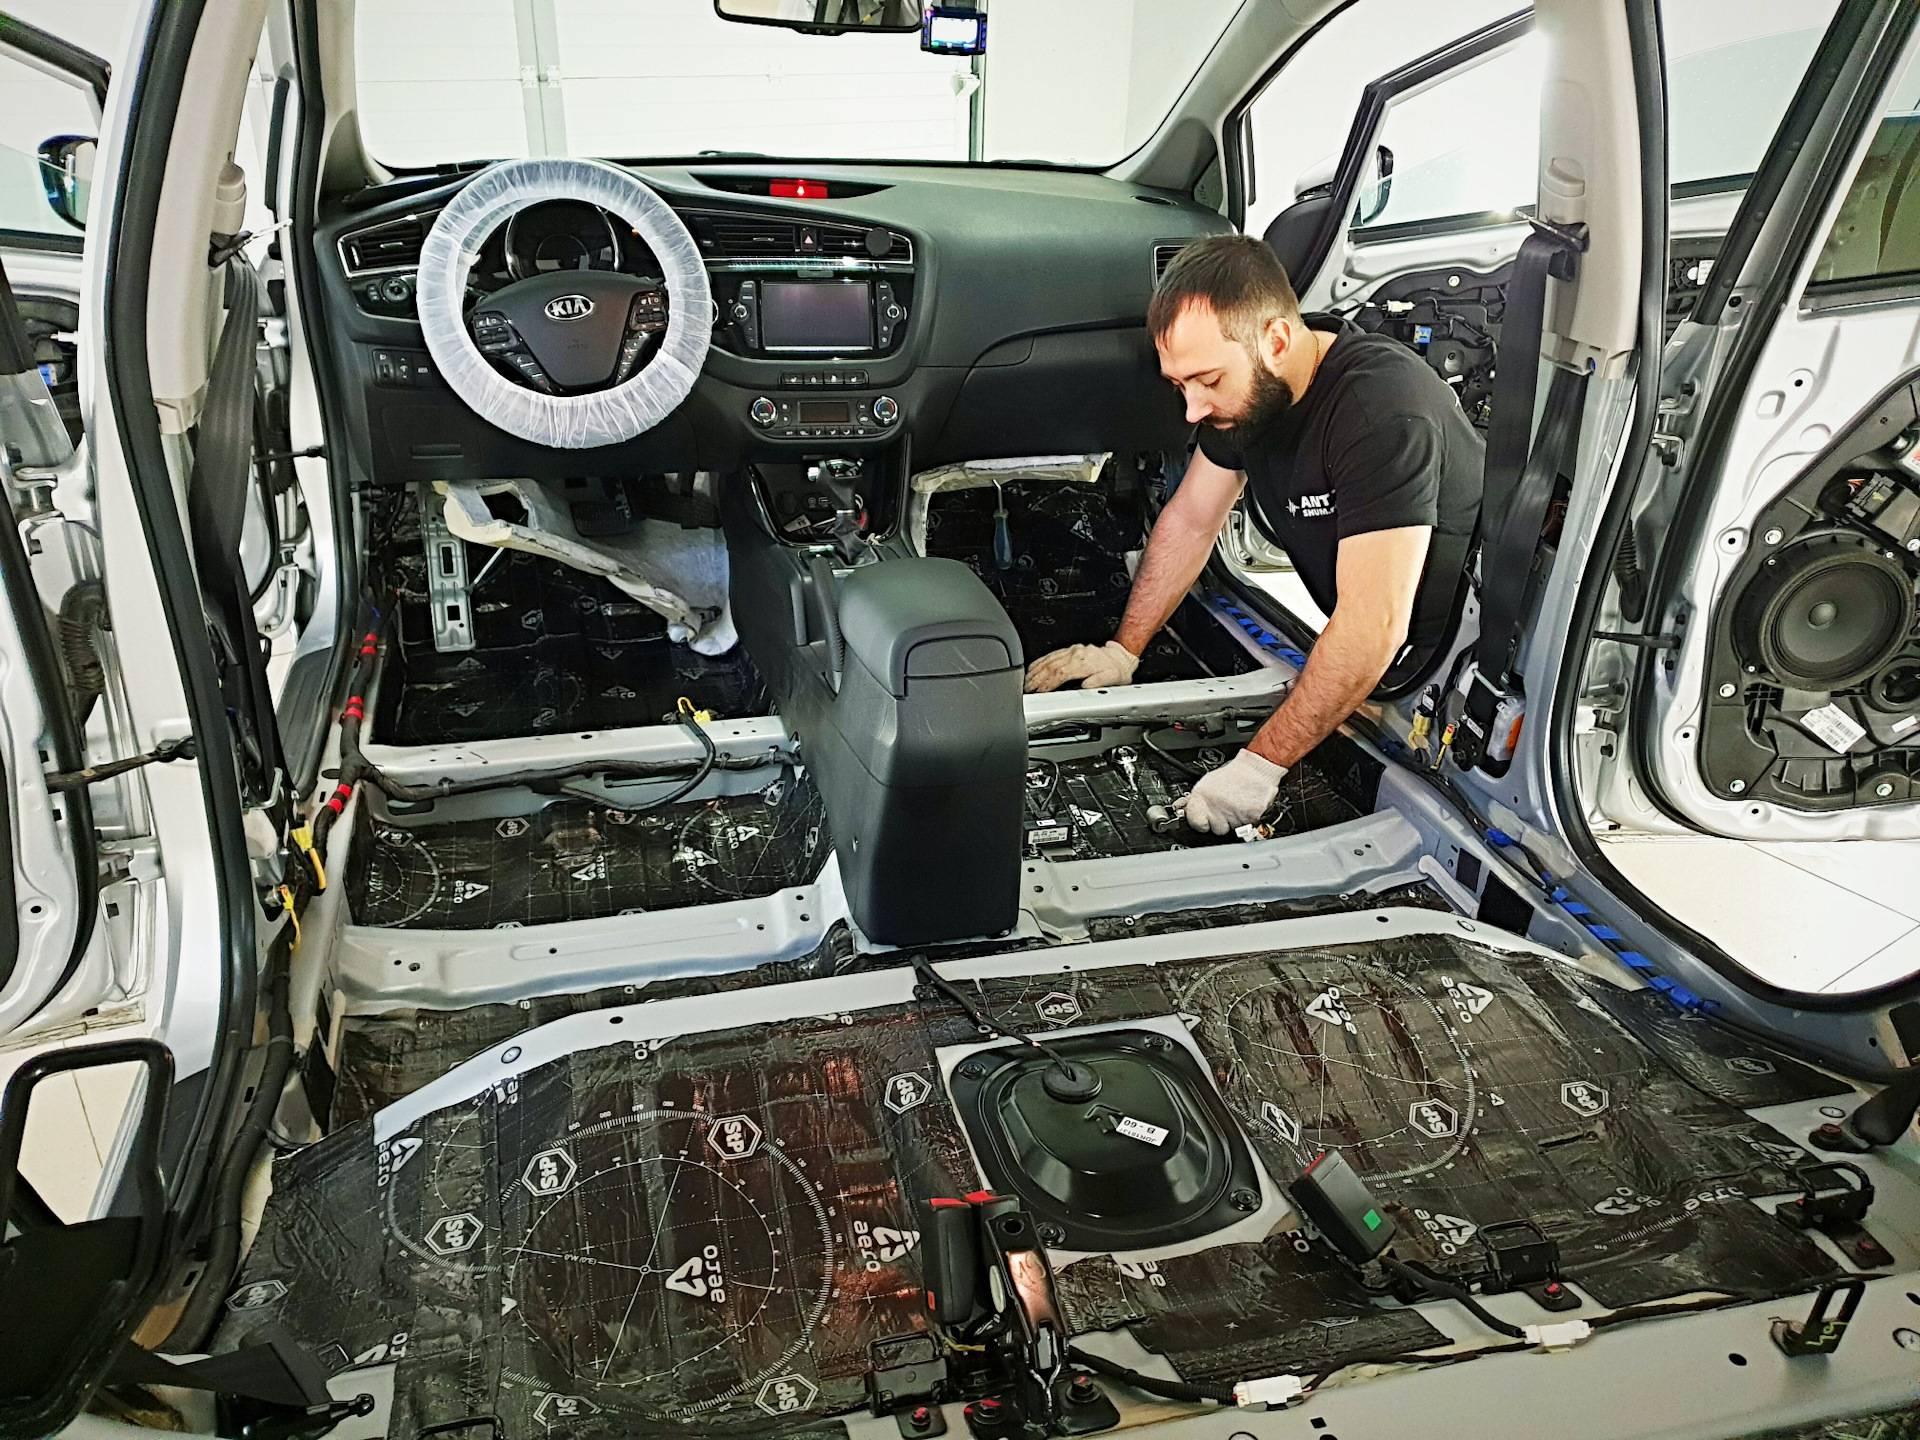
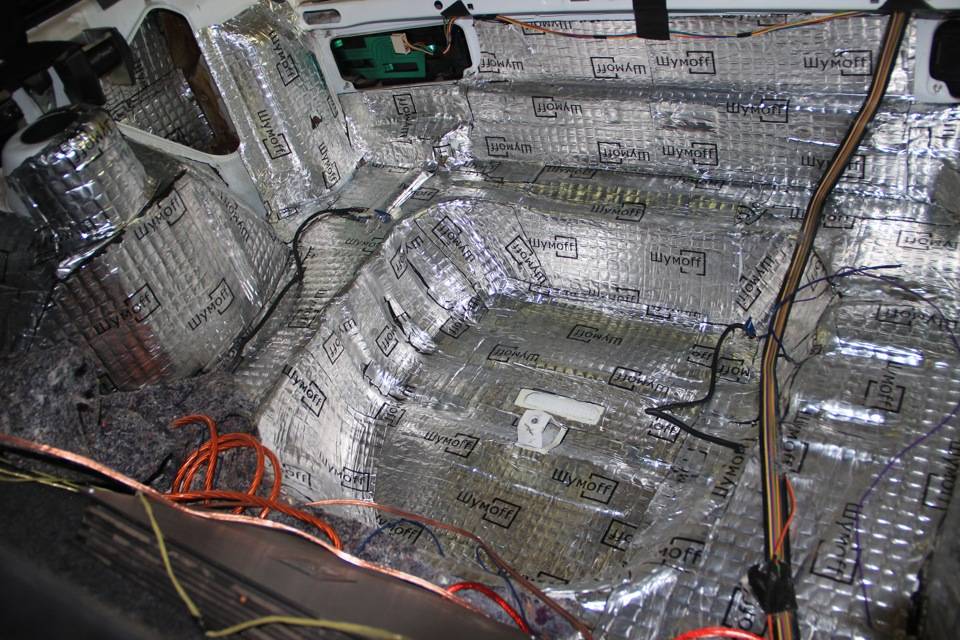
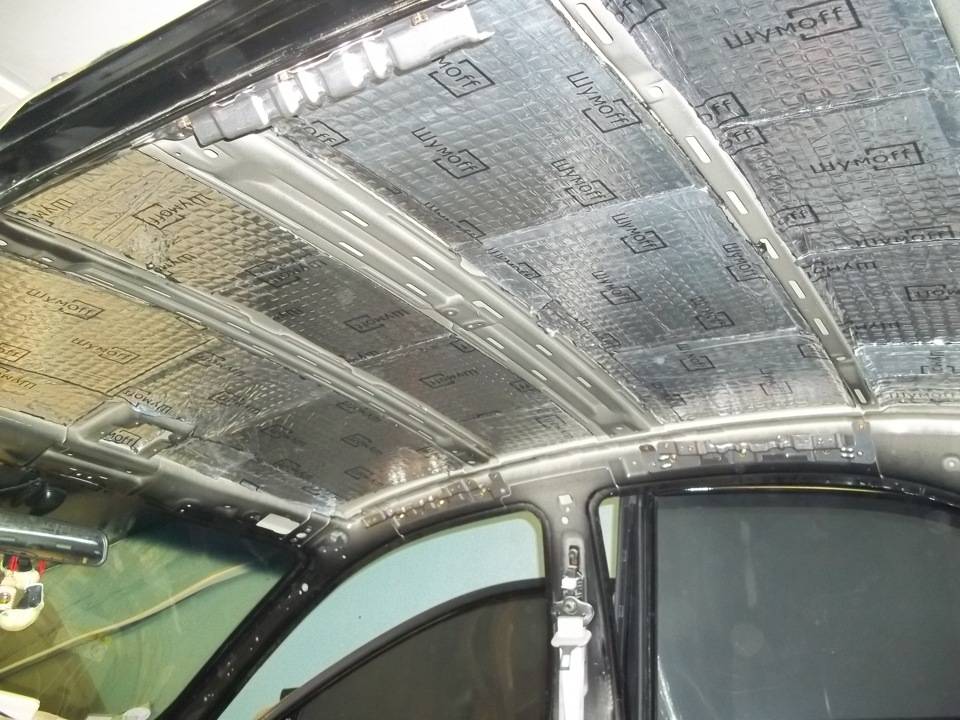
If a motorist decides to make noise insulation for a car with his own hands, he must first select a suitable material, which differs not only in price, but also in its properties. Various sound-, vibration- and noise-absorbing means are on sale. The choice of the optimal material directly depends on the place or surface that will subsequently be insulated. According to the location of the absorbent material, different types of sound insulation are distinguished, such as insulation of doors, wheel arches, floor and ceiling in the passenger compartment and the luggage compartment. A properly selected product helps to eliminate all squeaks, which are strongly felt by passengers and the driver inside the cabin.
Before the car soundproofing is done with your own hands, it is necessary to clearly represent the main problems to which the forces and funds of the motorist will be directed. The fact is that, depending on the desires and preferences of the owner of the car, noise insulation can be either complete or partial.
The choice of this or that material will determine the presence or absence of various thermal and vibration insulation properties, which are aimed at increasing the level of comfort, which is especially important during long trips.
Today, there are many different materials on the market that have proven their effectiveness in practice, have proven themselves as high-quality insulating agents developed directly for vehicles.
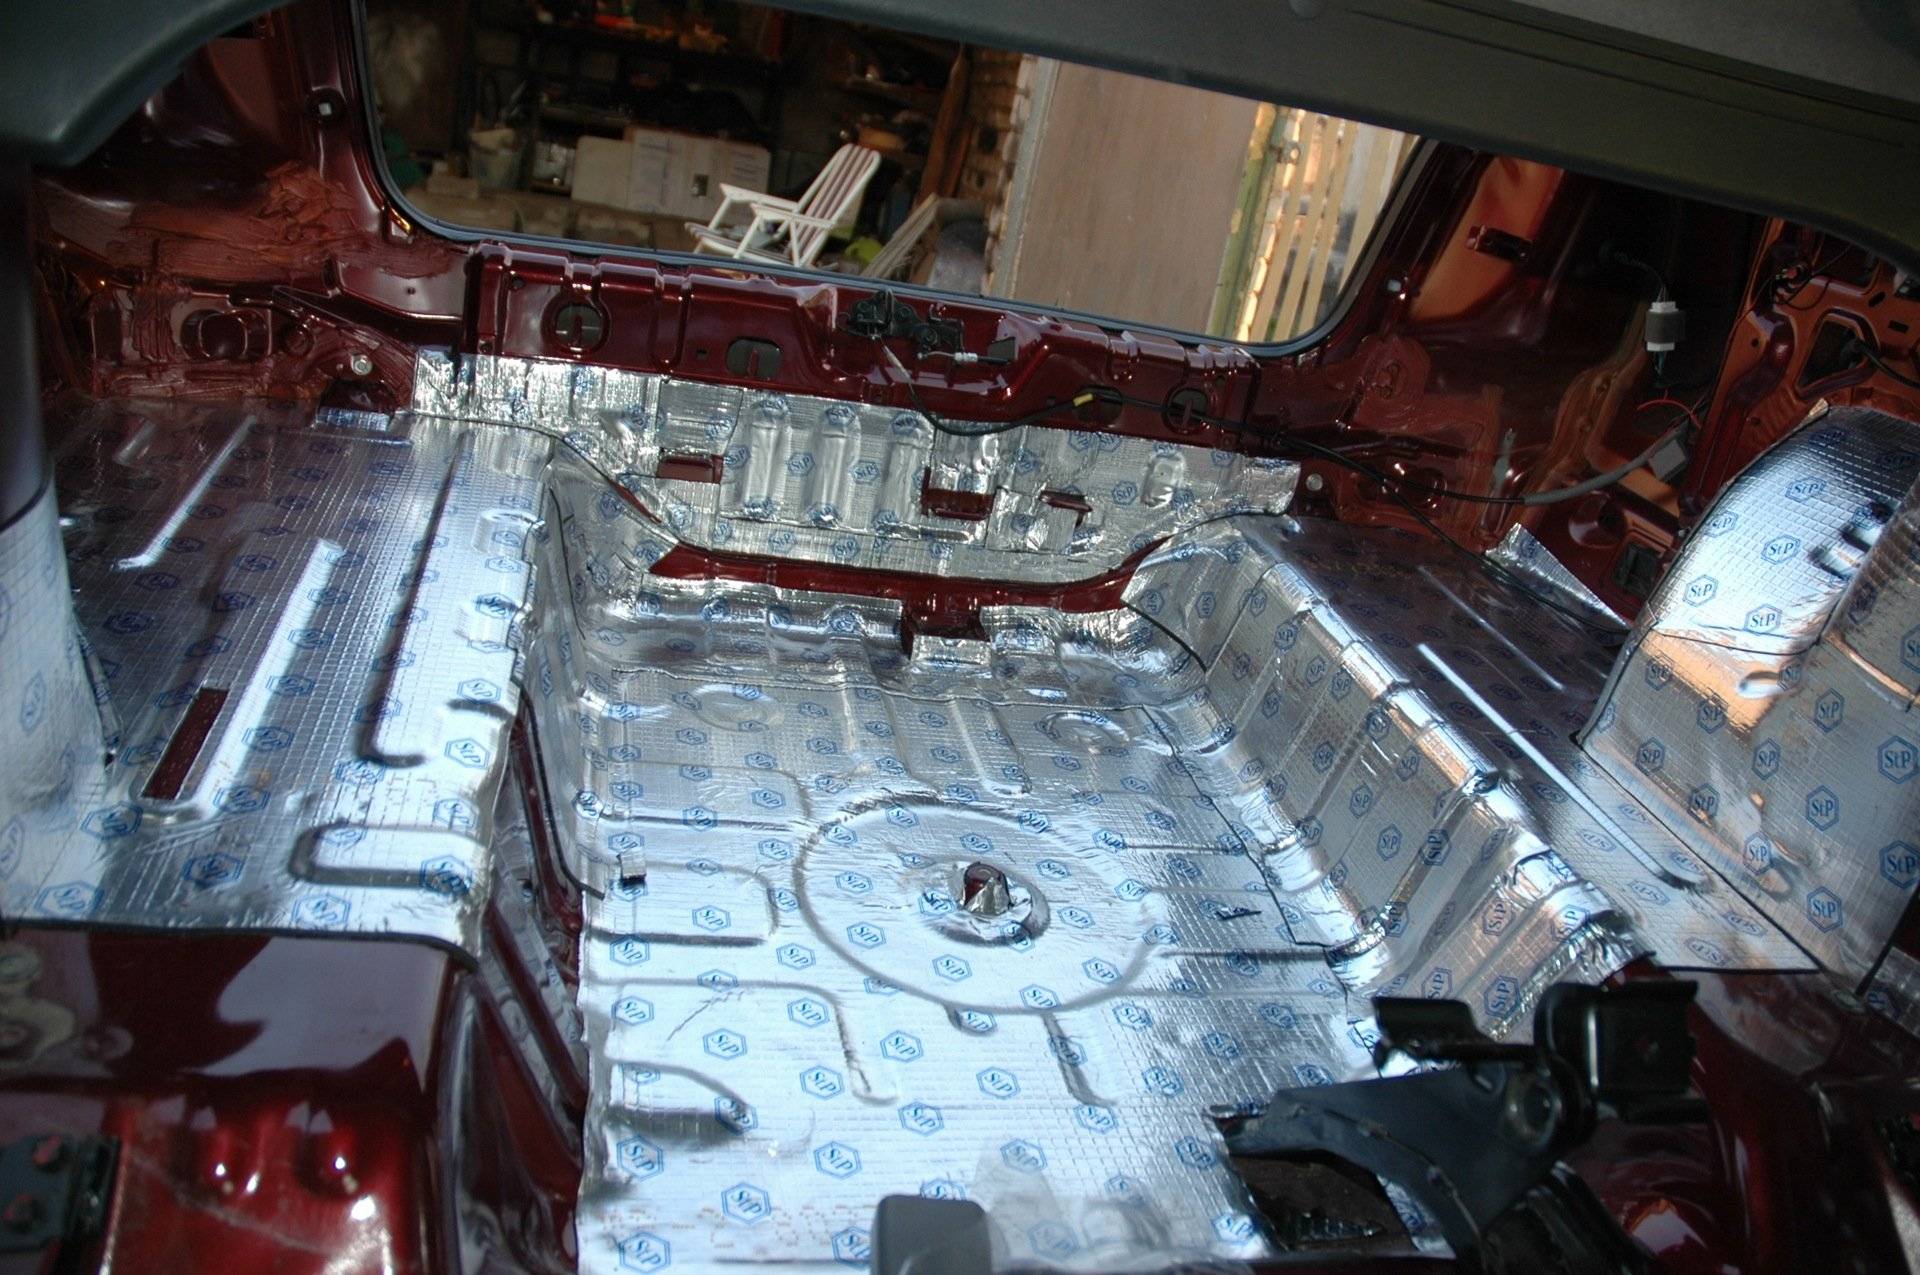
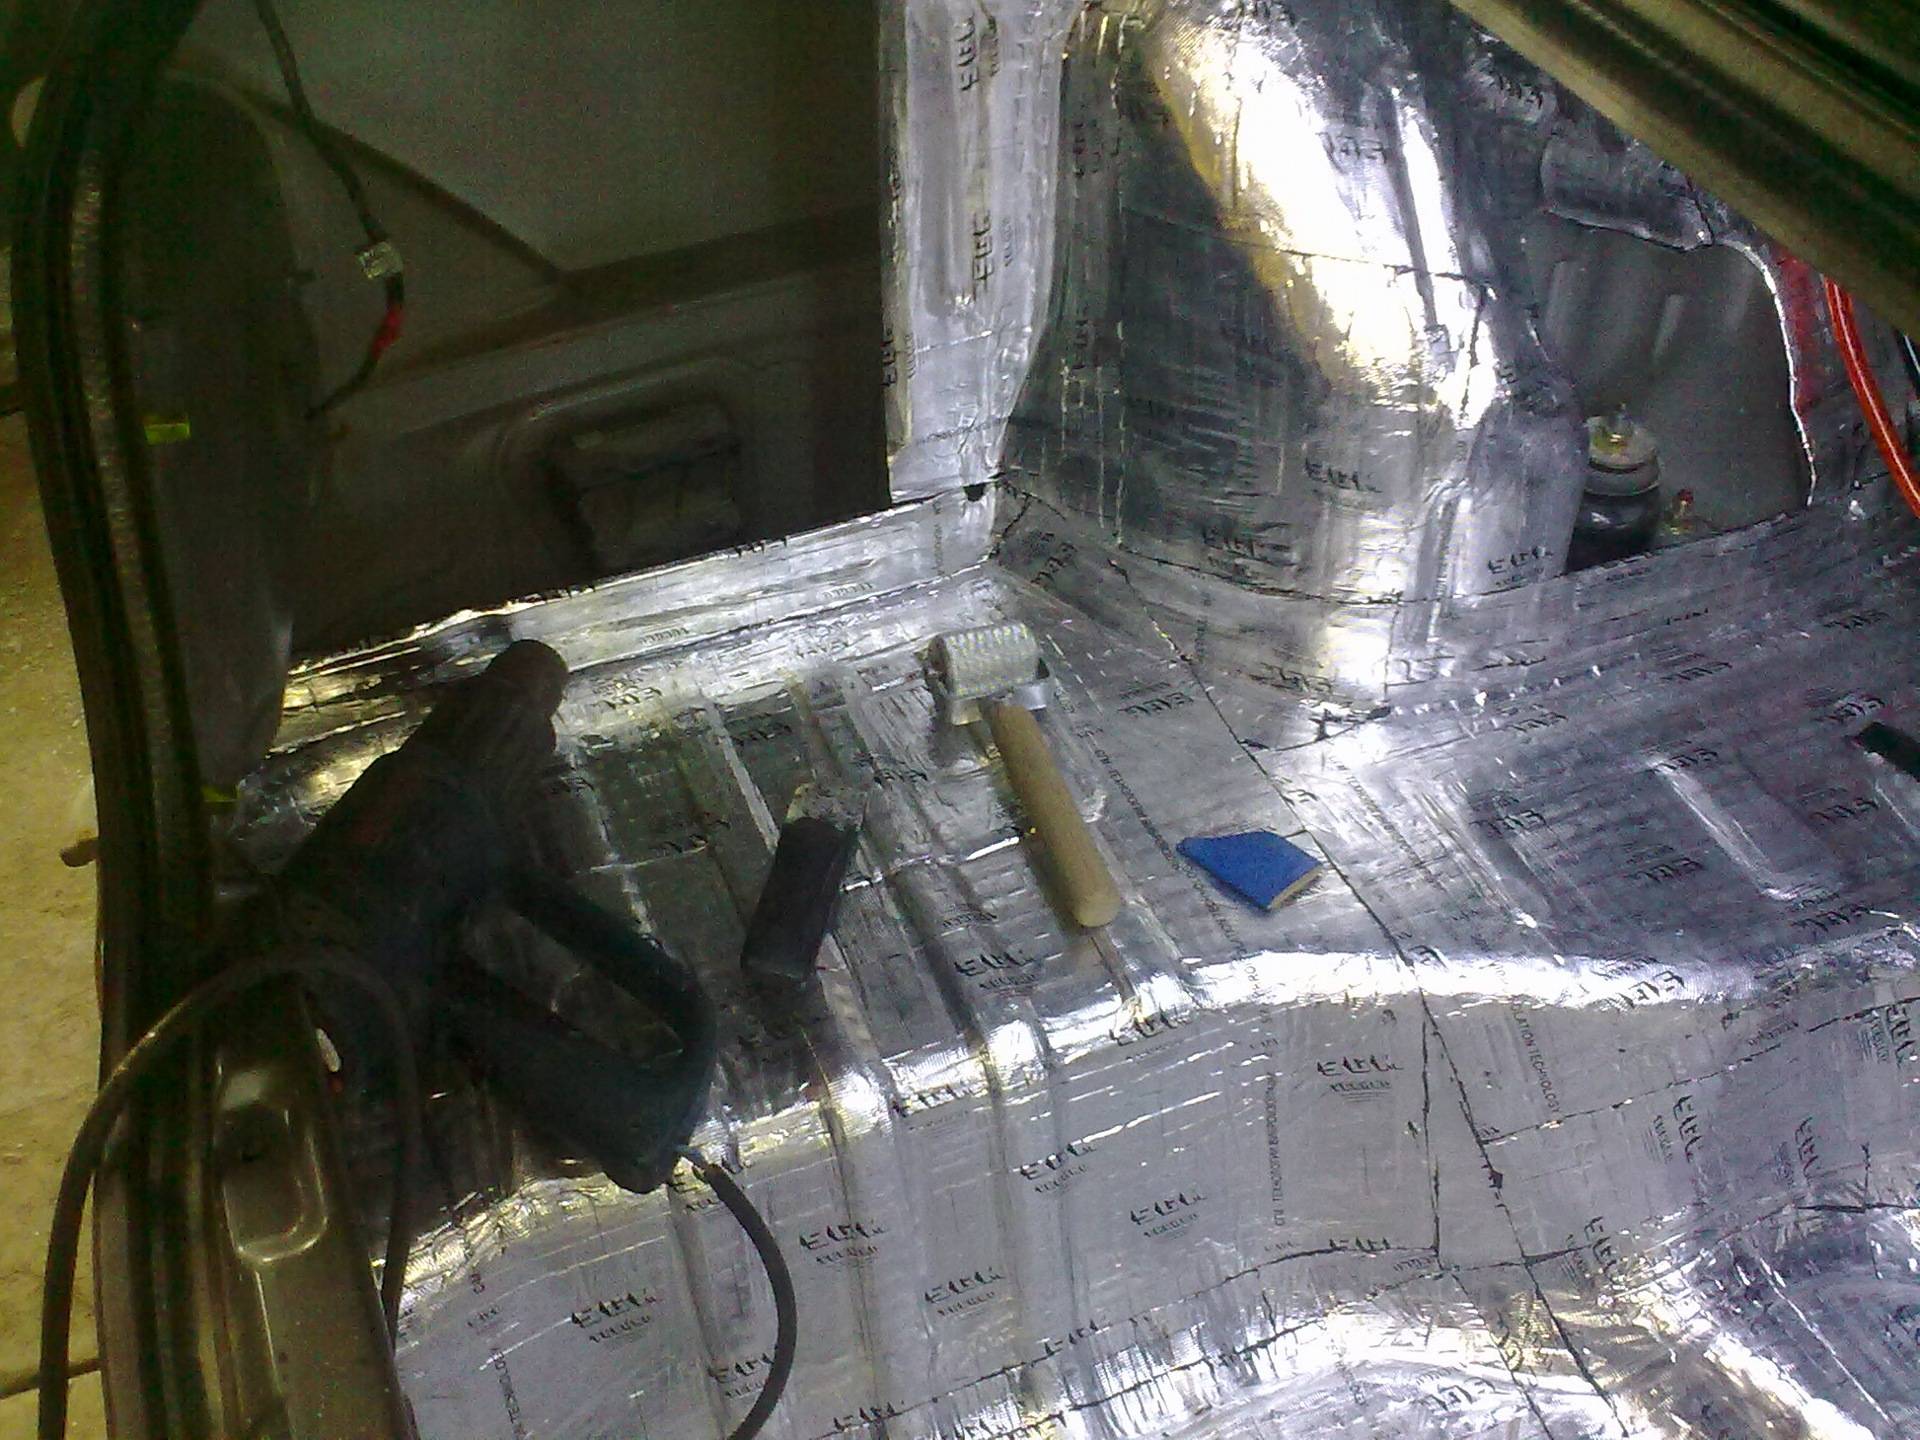
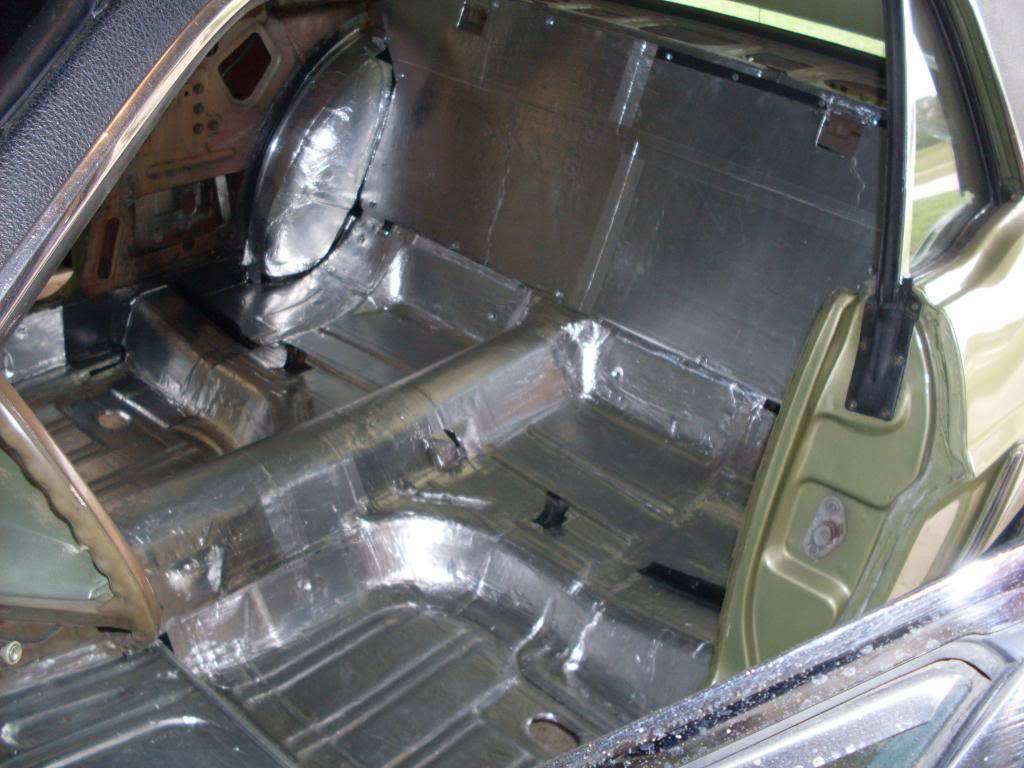
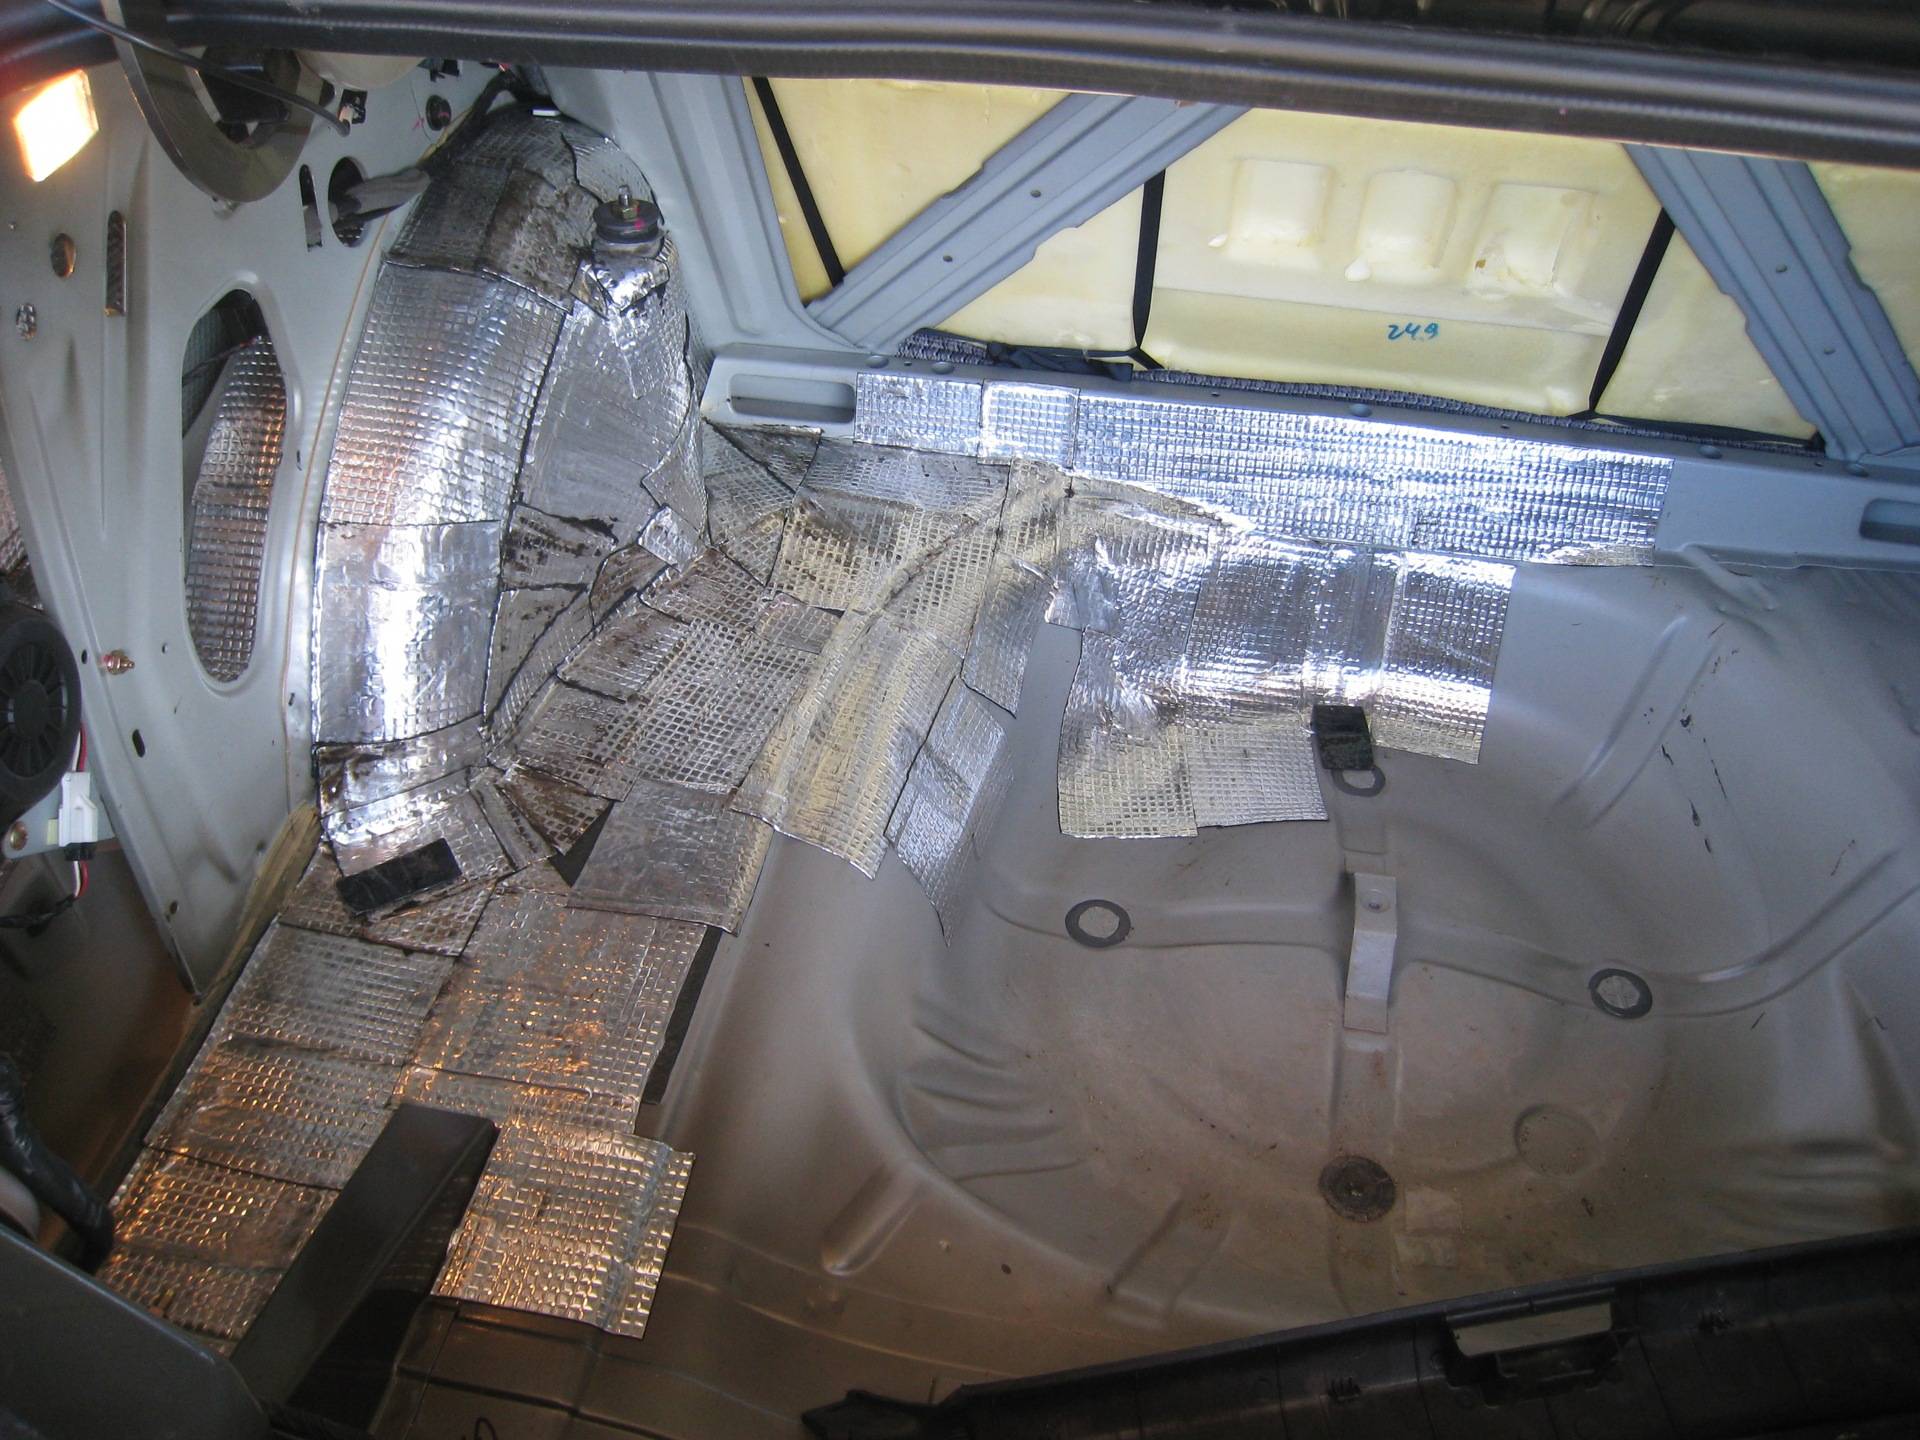
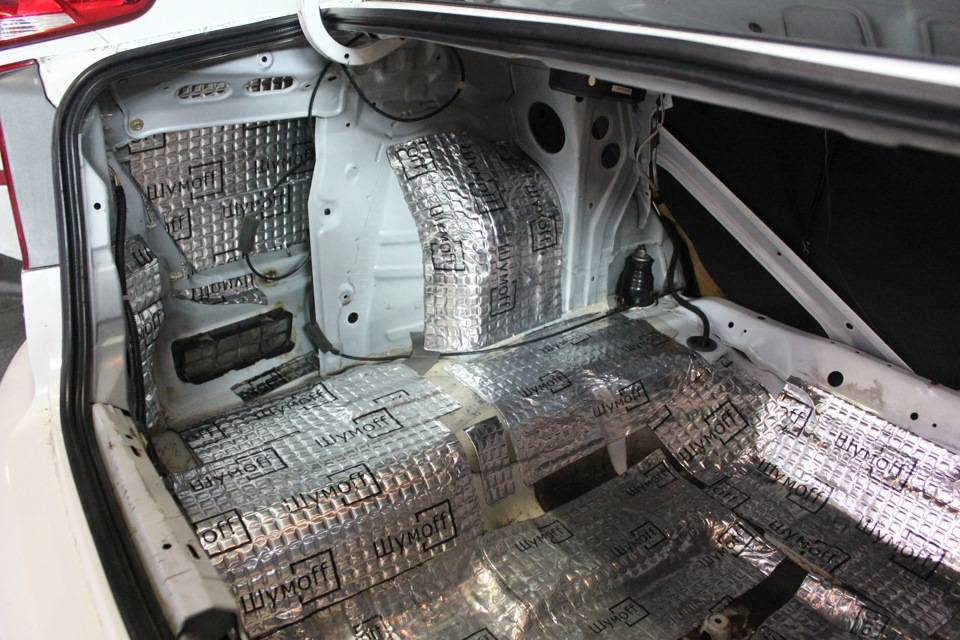
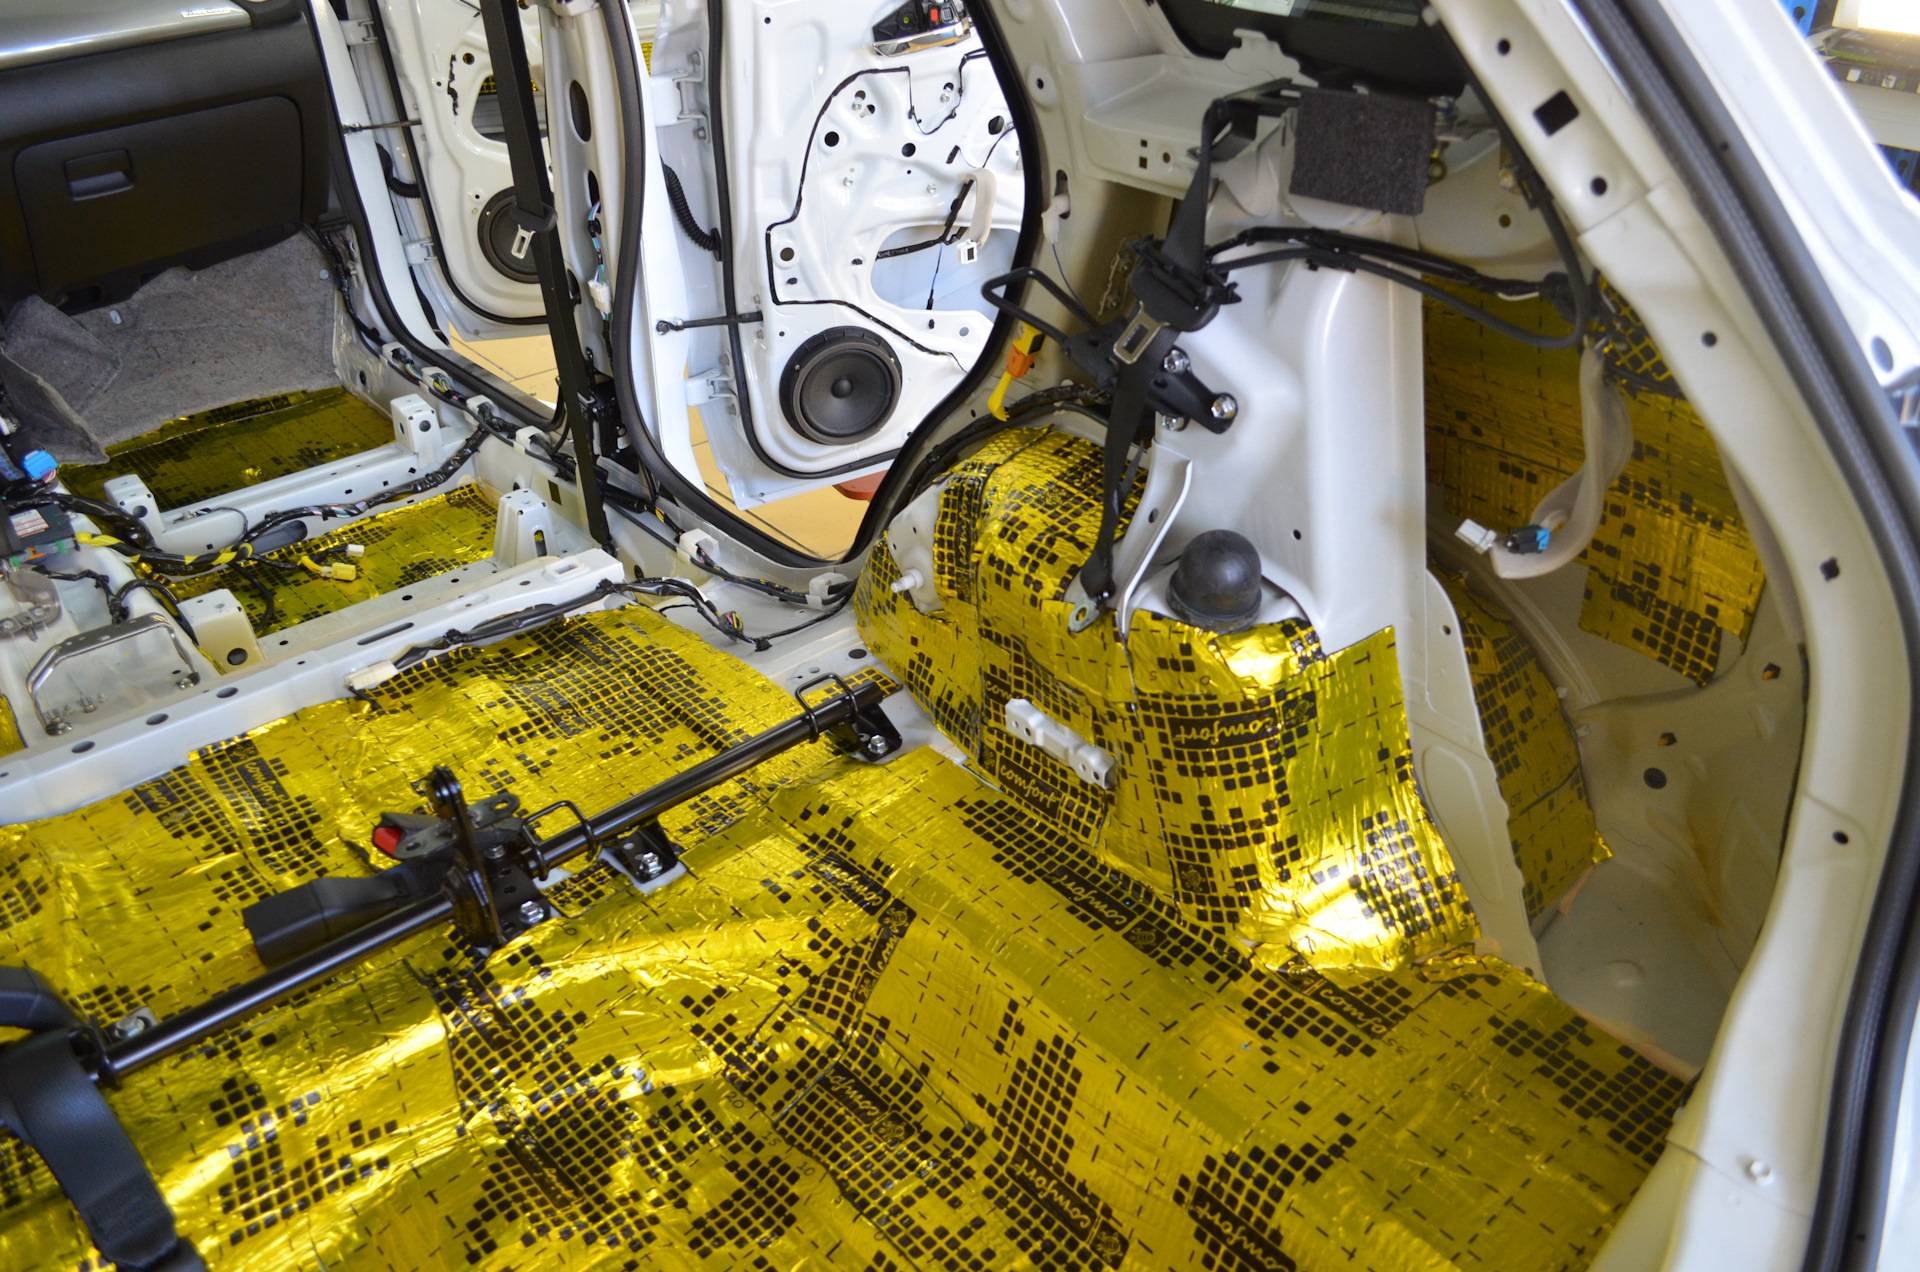
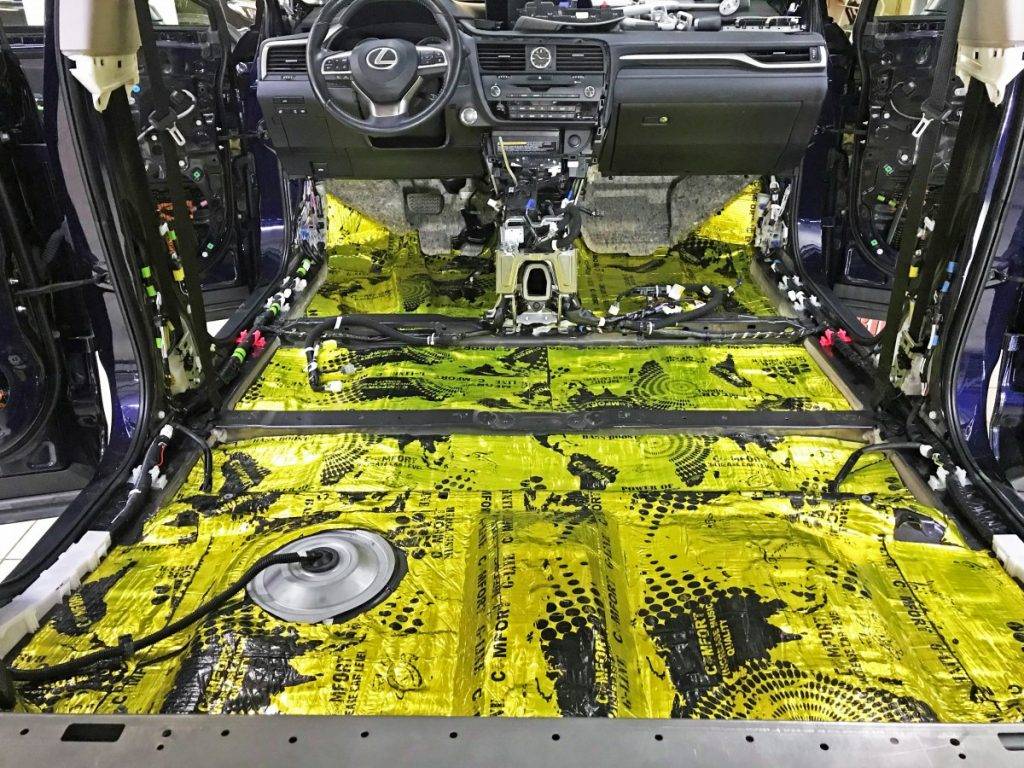
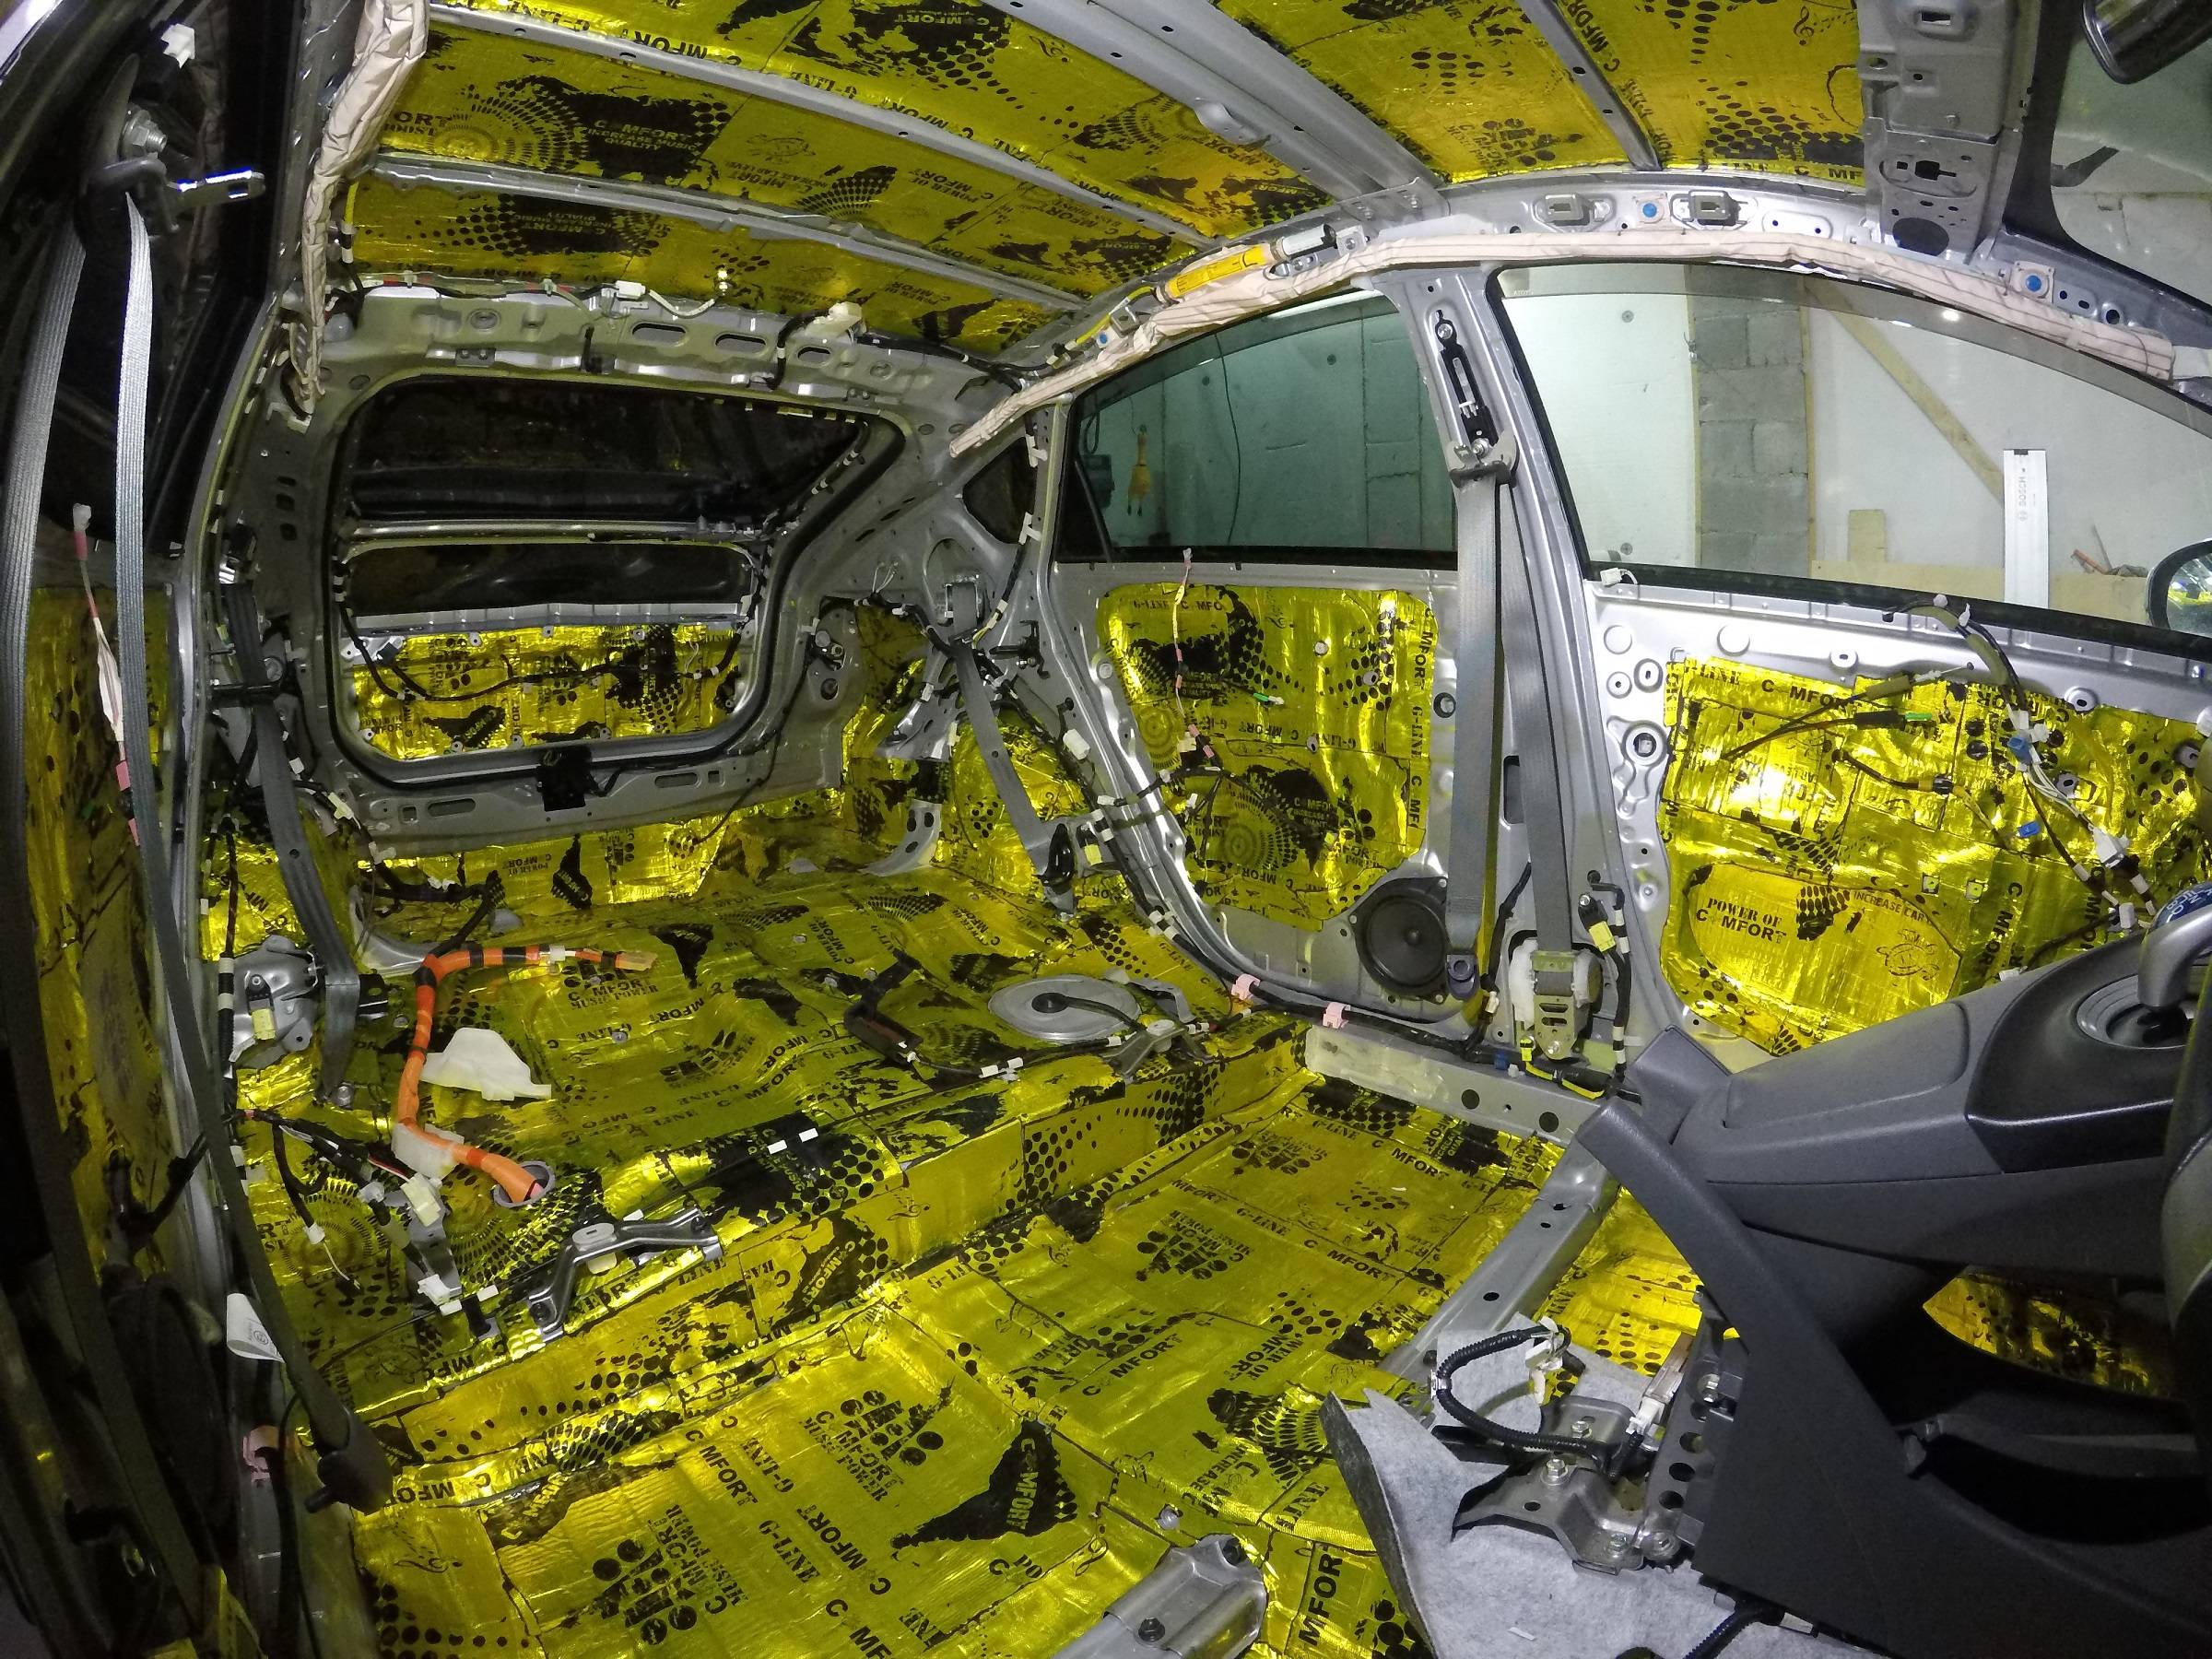
Such means for soundproofing as visomat is made on the basis of resin, the top layer of which is covered with foil. The visomat hides noise especially well, it is easier to attach it to other materials on large surfaces of the car. You can insulate the floor, arches, roof or luggage compartment with a visomat. Among its advantages, it is worth noting the effective damping of sound vibrations, a tangible reduction in vibrations. Before surface treatment, the visomat should be warmed up with a building hair dryer to a certain temperature, after which it should be applied to a previously cleaned and degreased surface.
Vibroplast, in turn, belongs to the universal materials with a foil surface. The processing of the insulated areas can be carried out both with the help of a building hair dryer, or without it. Most often, the vibroplast is located on the roof, doors and in the luggage compartment.
Splen is a porous insulating material that has excellent sound-absorbing properties, however, this tool has one important drawback - when interacting with plastic elements, the material can emit an unpleasant squeak.
Bitoplast is able to qualitatively hide various creaks; with the help of this material, you can fill the gaps between any parts that are in the car interior. By its characteristics, Bitoplast has much in common with foam rubber; when filling a gap or gap, it takes their shape, creating a reliable insulating layer. Bitoplast can be used to process various plastic elements of the passenger compartment and windshield pillars.
Madeleine belongs to the class of decorative fabrics that can be glued without additional equipment. Madeleine has a special adhesive layer in the inside, through which you can get rid of any gaps between the structural elements.
Sequence of the procedure
The obesshumka does not have clear, unambiguous instructions. Each car model has its own nuances. However, the sequence of actions is the same for everyone.
Dismantling
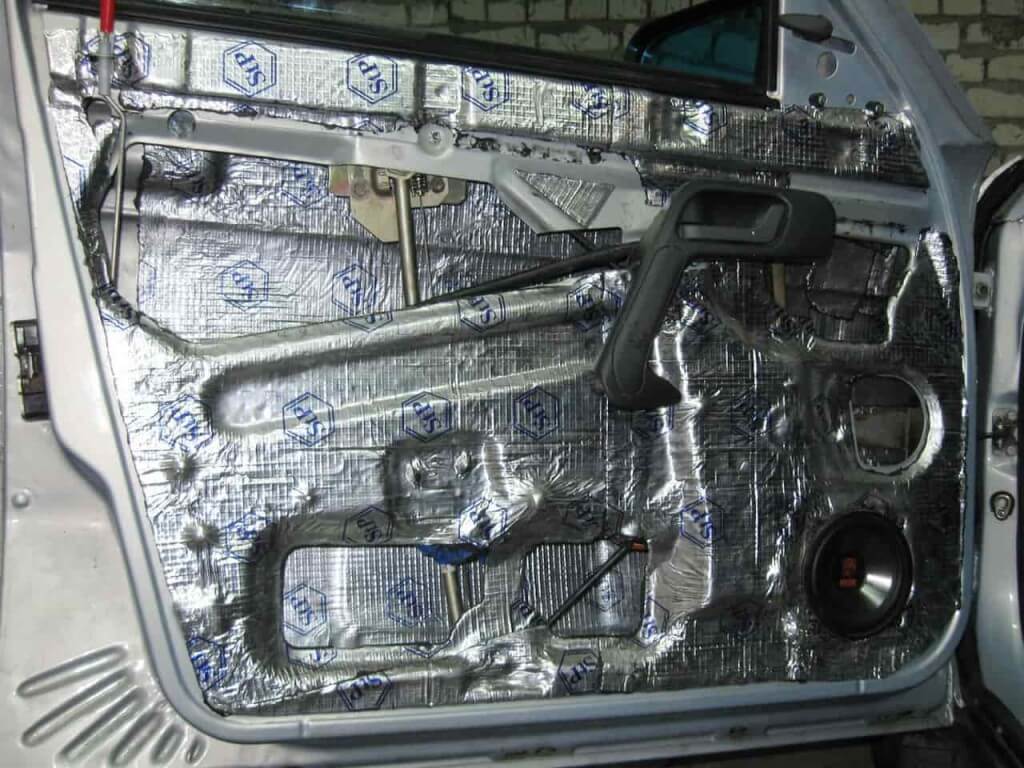
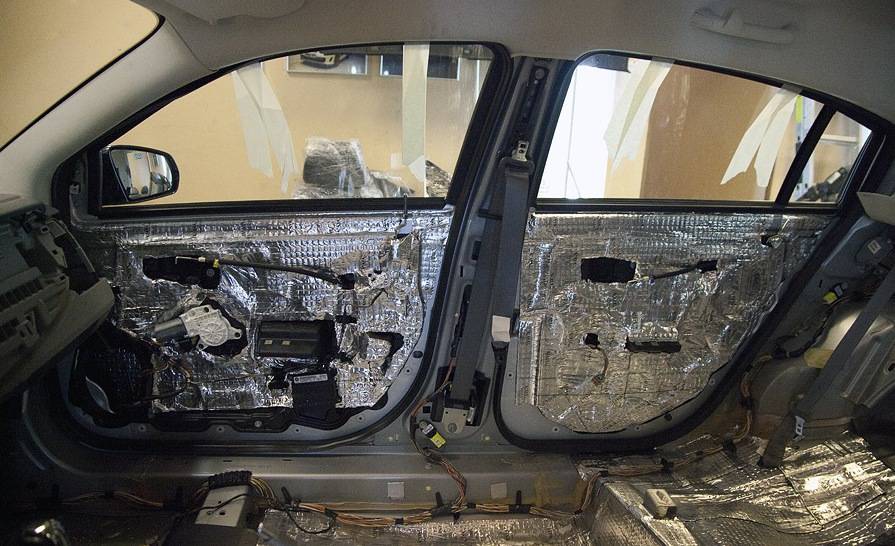
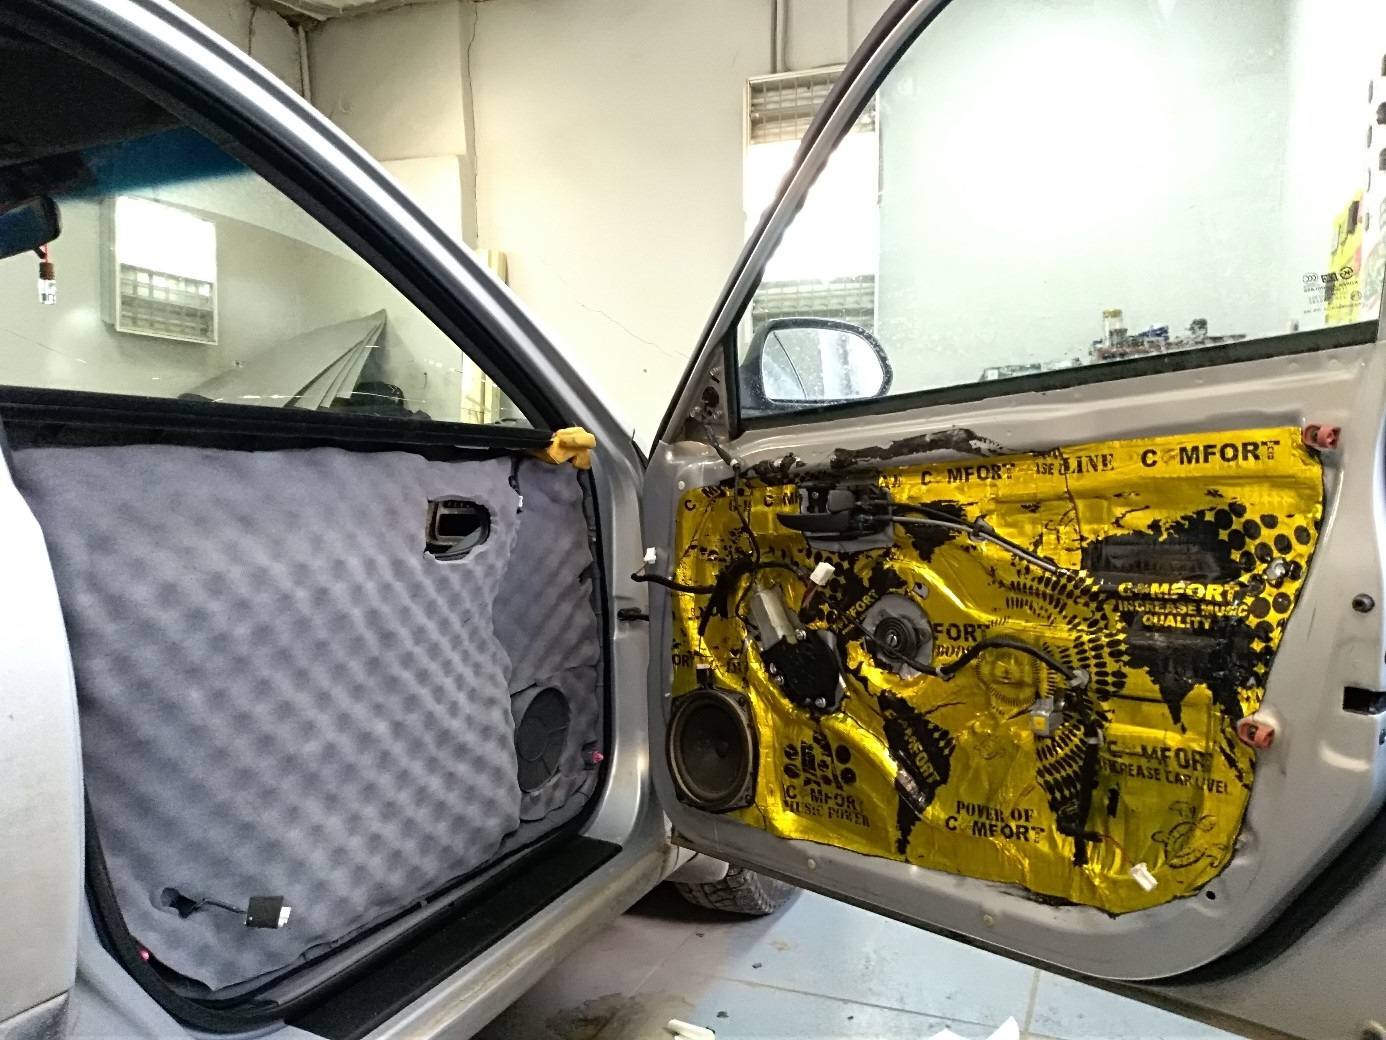
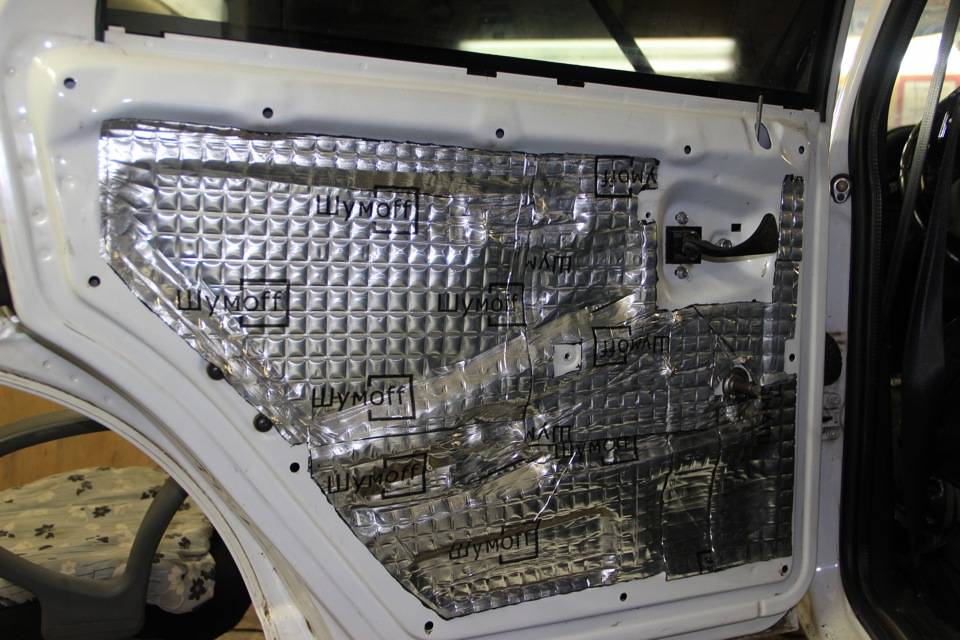
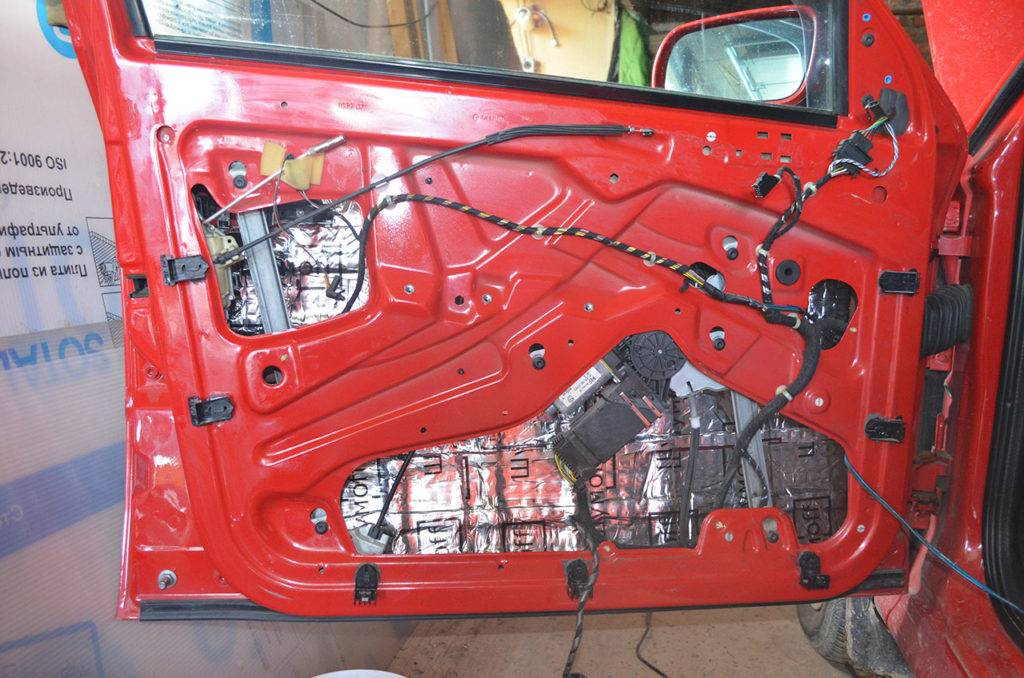
Before gluing the sound insulation on the doors in the car, they must be dismantled. Then remove the casing, remove the moisture-proof film.Clean all surfaces, degrease with a suitable product.
Vibration isolation
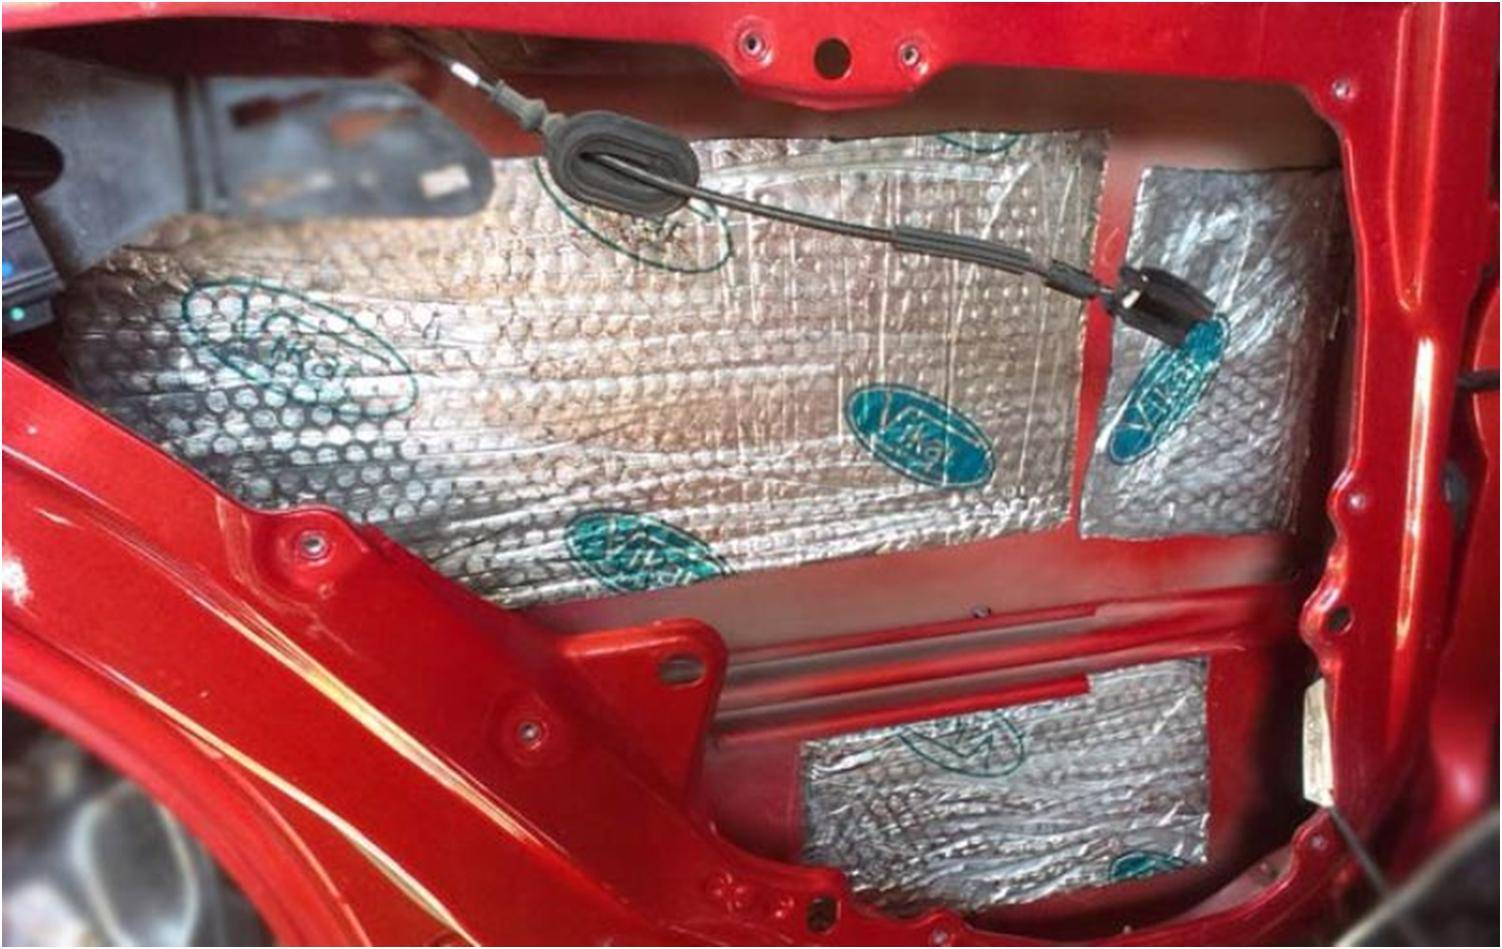
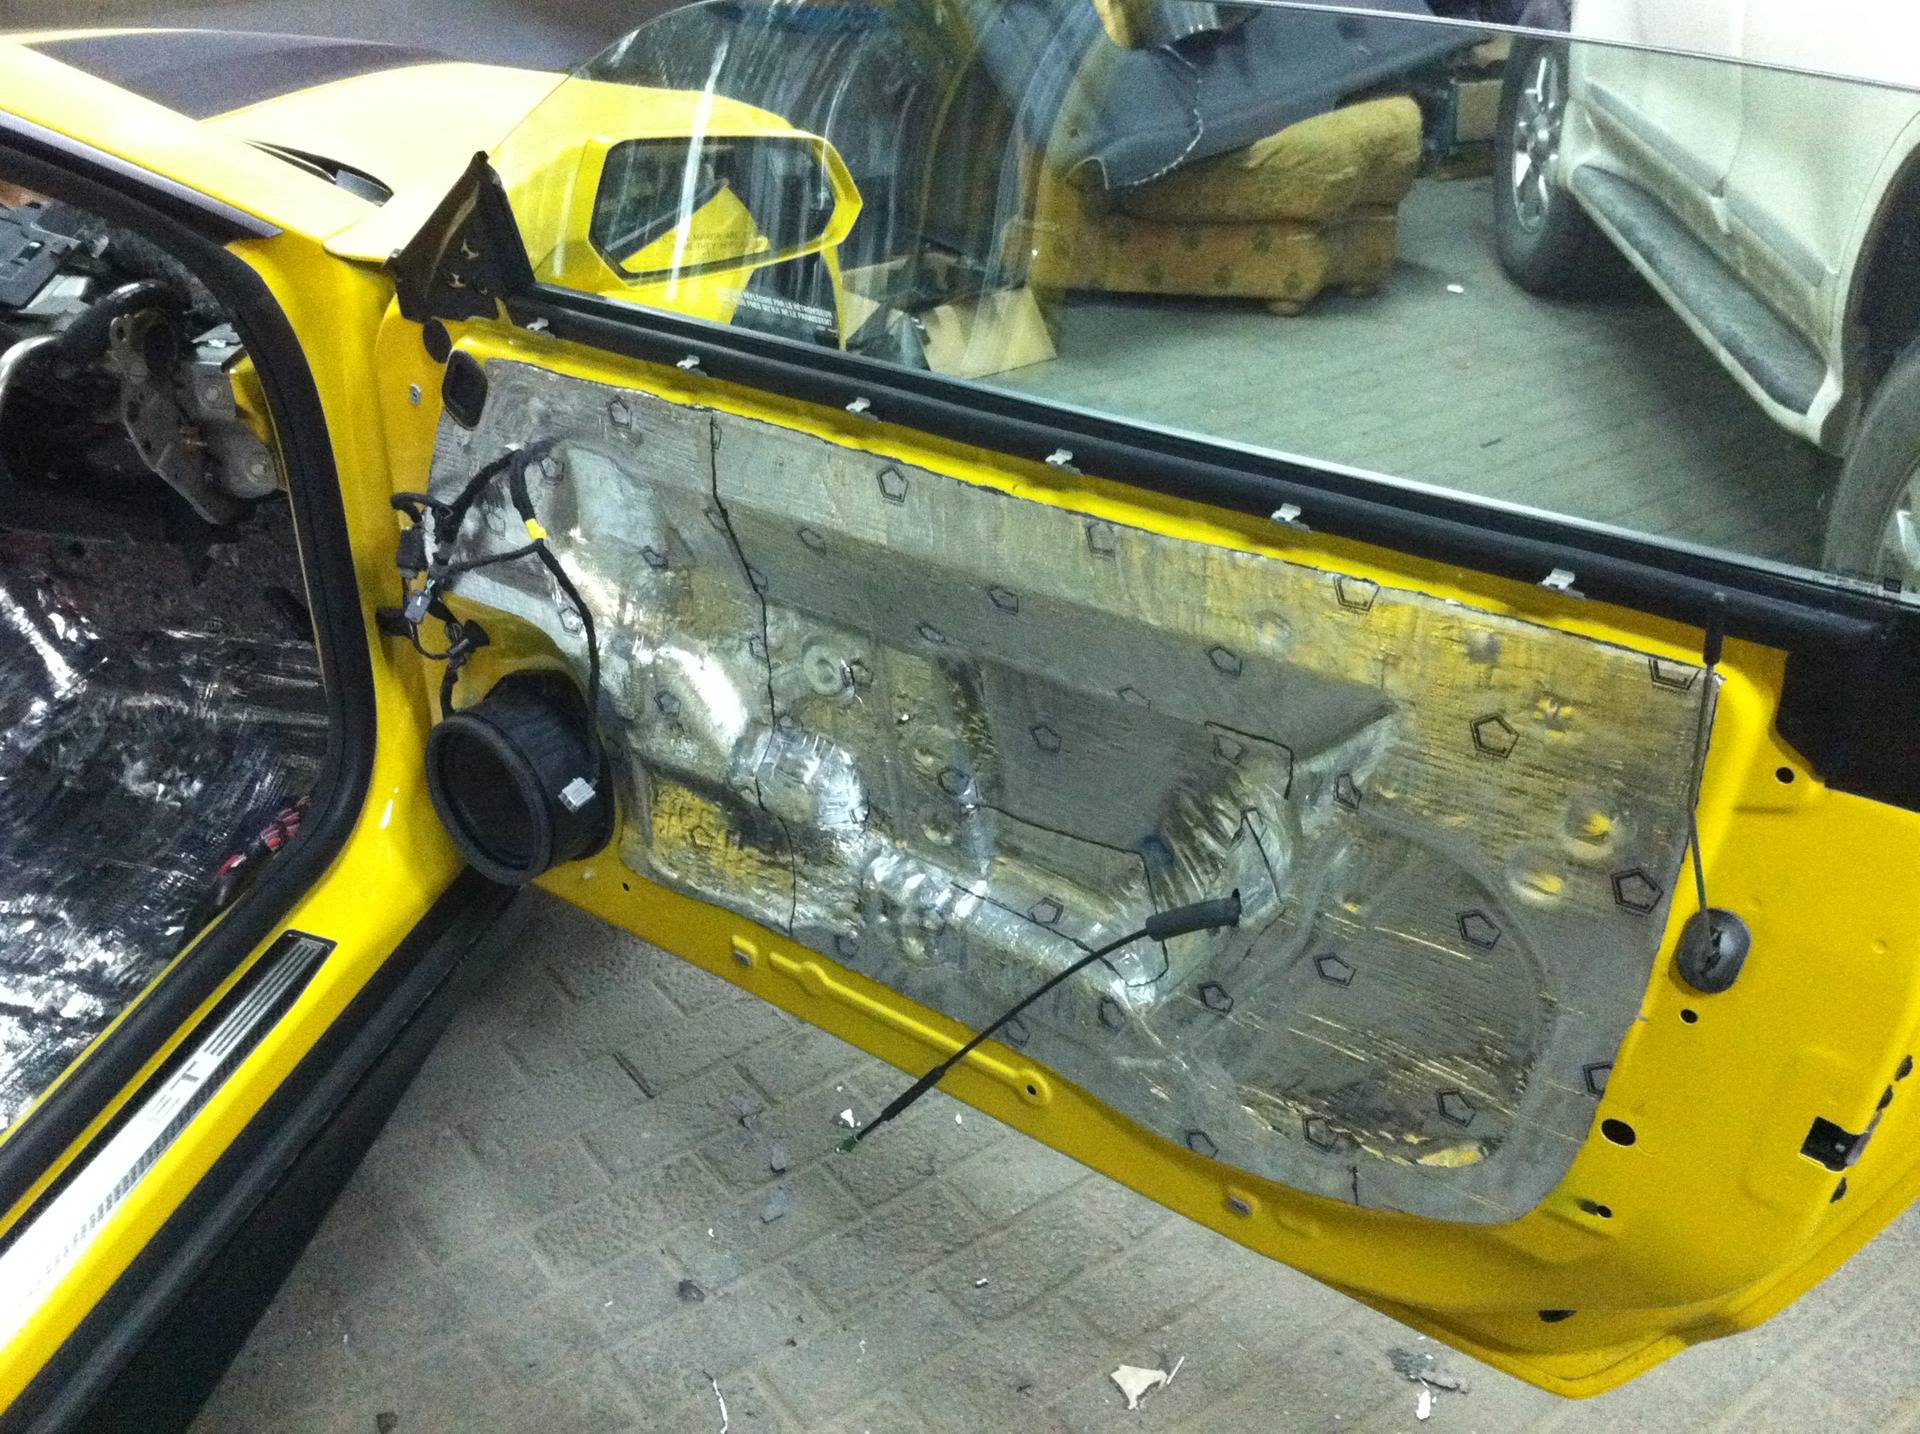
On the inner part of the structure, a vibration isolation layer is glued between the stiffeners. The material should not be allowed to go over the ribs. This will create unnecessary air pockets and negate the effect. Therefore, you should carefully mark and cut the material. After the sticker, it is necessary to seal it, for this use a stitching roller
It is important to leave open the drain holes at the bottom of the structure.

When finishing a shield with technological holes, one should be guided by the traces of the removed moisture-proof film. During installation, you can immediately cut holes for fasteners, otherwise it will be more difficult to find them later.
Noise isolation
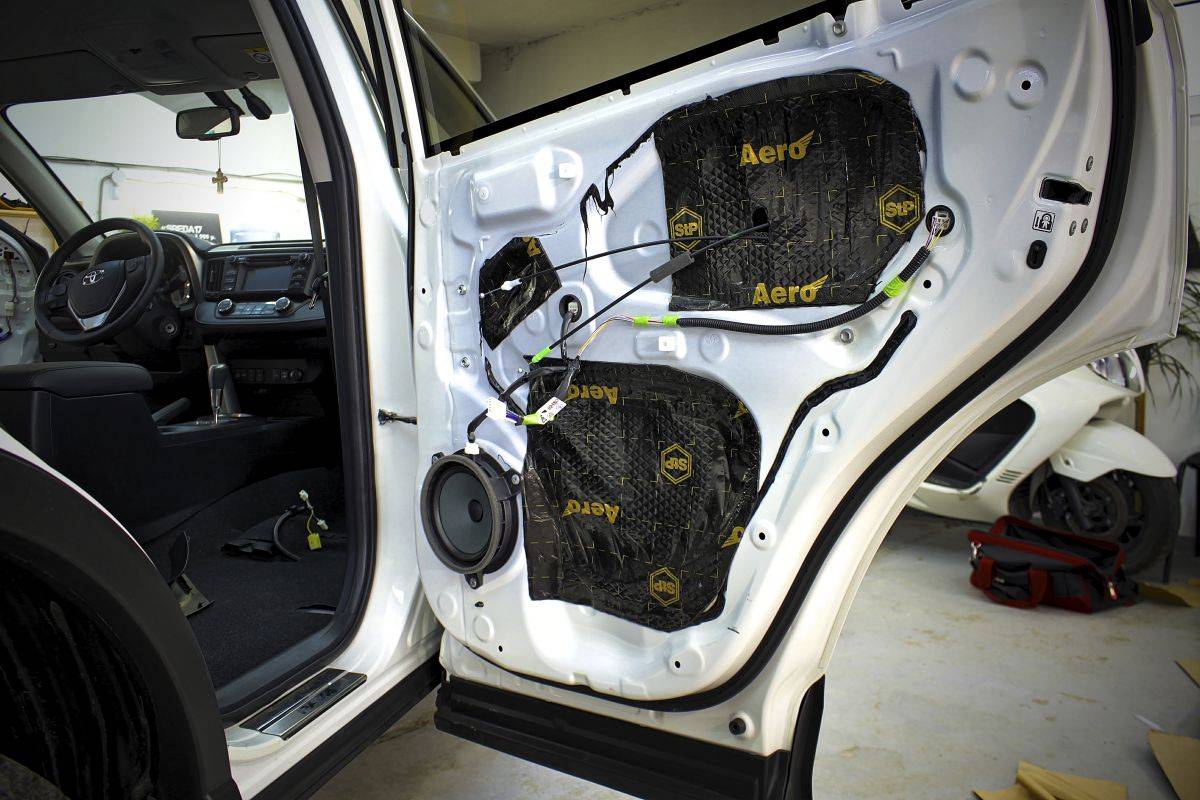
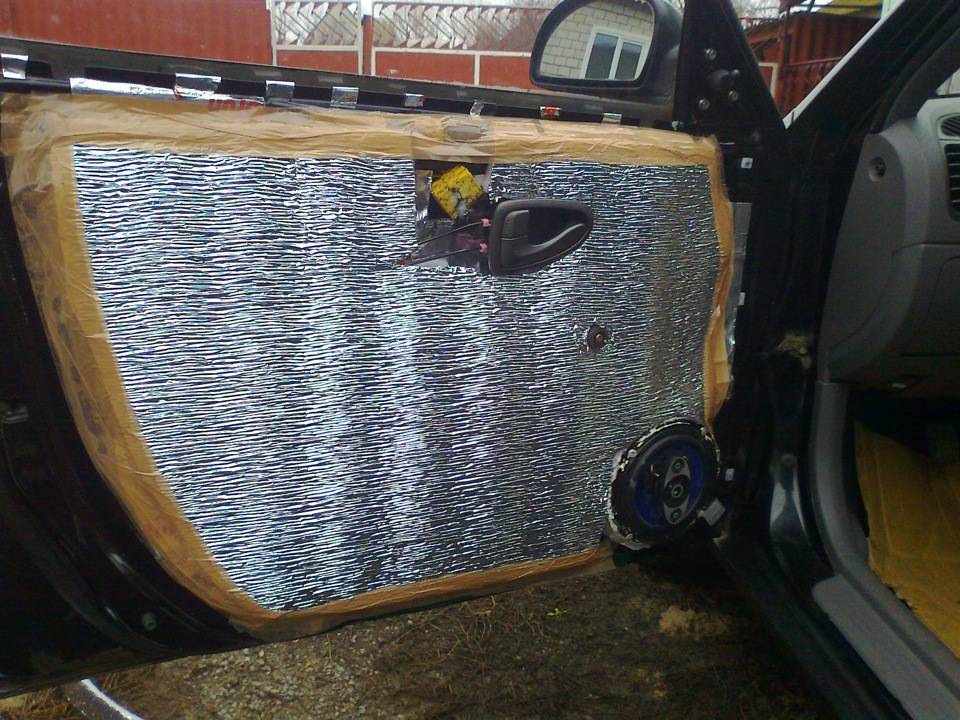
Consider how to properly glue sound insulation in a car on the door:
- remove standard noise insulation;
- degrease the surface;
- measure, cut out the desired piece of material;
- glue the layer, carefully repeating all the bends of the sheathing;
- along the way, cut holes for the speaker, clips, a set of wires, a handle;
- skip a strip of anti-squeak material along the edge of the insulating layer.
After that, the structure is put back. For the rest of the doors, the scheme is exactly the same.
What materials are needed
By the nature of propagation, there are two types of noise: airborne and structural.
With air, everything is clear - this is the superposition of acoustic waves from different sources. Sources with respect to the car are external and internal. External - this is normal street noise, which is partially blocked by enclosing surfaces (body, interior cladding). Internal - this is the noise that the car itself produces when the engine is running, as a result of the interaction of tires with the road surface. But if external noise penetrates exclusively by air, then internal noise enters the cabin in two ways - air, by transmitting vibrations by body elements. This is the second propagation method that causes the so-called structure-borne noise.
Theoretically, there are three types of materials, the complex application of which can reduce the noise level inside the "closed" space:
- soundproofing;
- sound absorbing;
- vibration-absorbing.
Vibration-absorbing and sound-insulating
Sound insulation is the ability of the barrier to reflect the sound wave. The thicker or denser the obstacle in the path of sound, the more energy it will reflect. In construction, it is possible to increase the thickness of the walls with facade panels, interior cladding or plaster. They do approximately the same for a car - they create an additional sound barrier made of dense and elastic material. But, taking into account the specifics of the car, where noise and vibrations are closely "related", and the amount of insulation is limited, the functions of noise insulation and vibration absorption are combined in one material - vibration-absorbing (or vibration-insulating).
Vibration-absorbing materials are thin viscoelastic materials (with a low modulus of elasticity) that act as a damper. Due to the "tight" fastening, elastic structure and greater thickness (than the body panels), they dampen a significant part of the vibrations of the sheet metal.
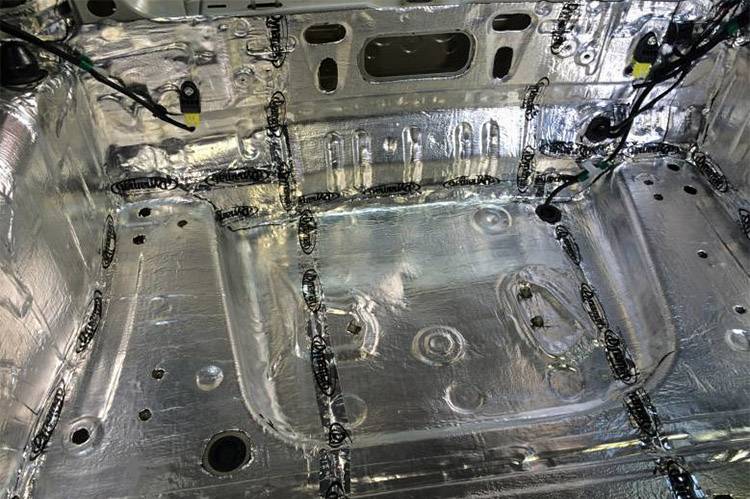
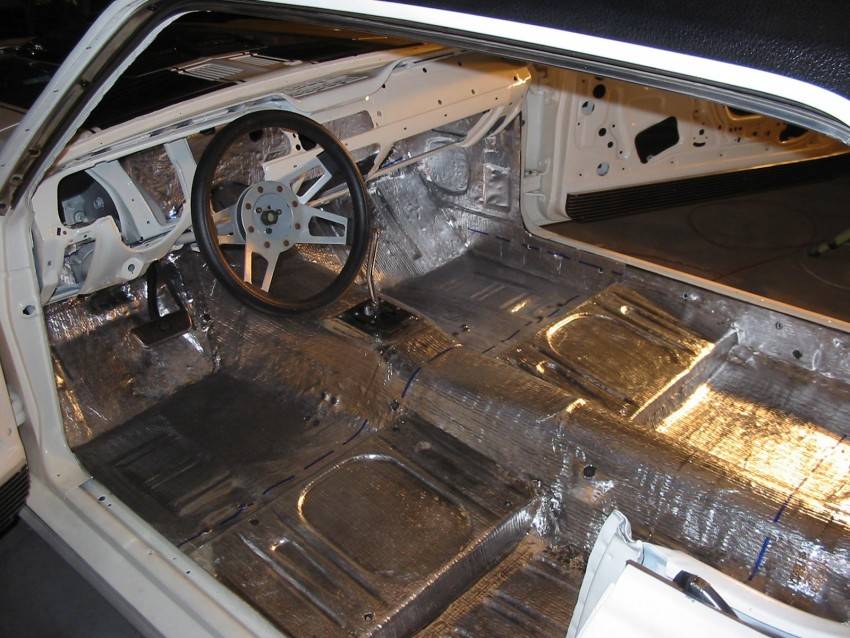
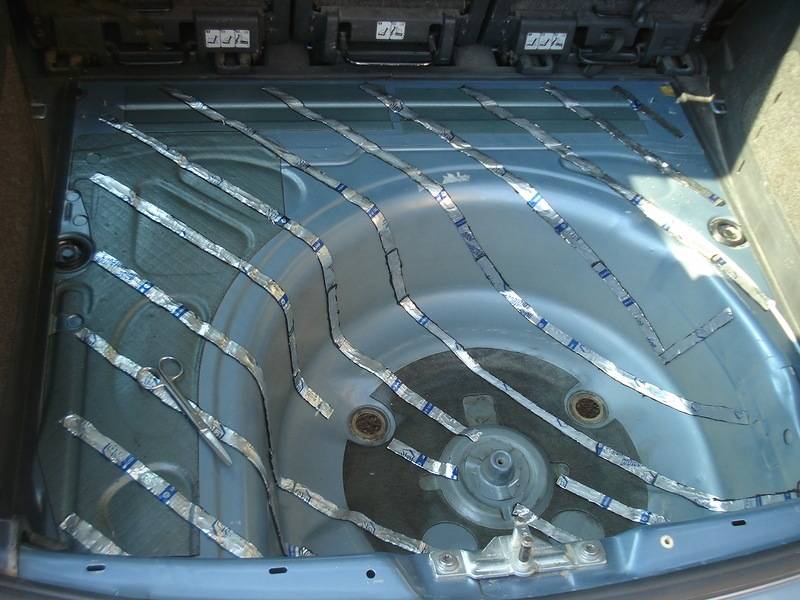
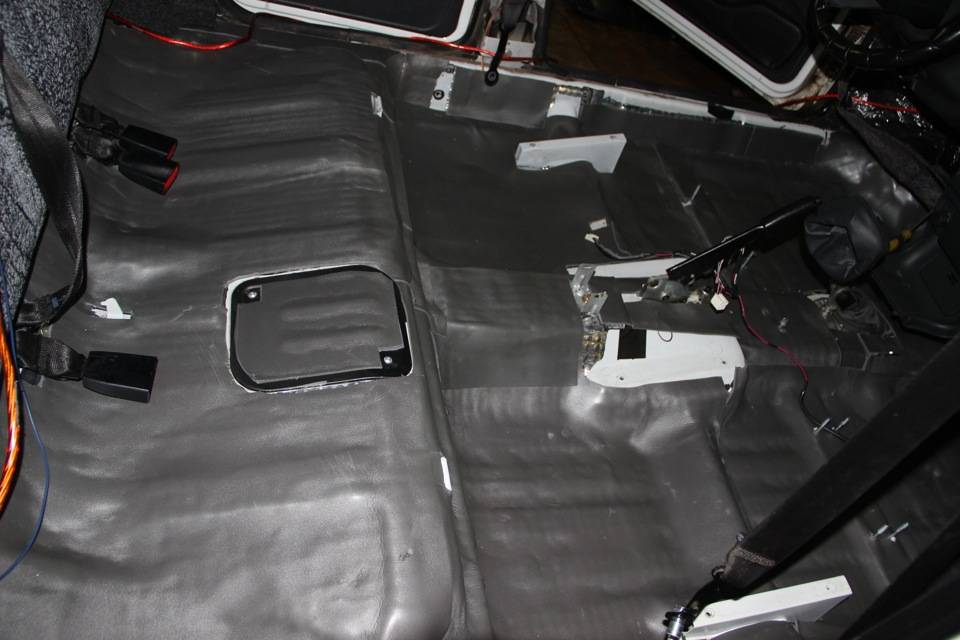
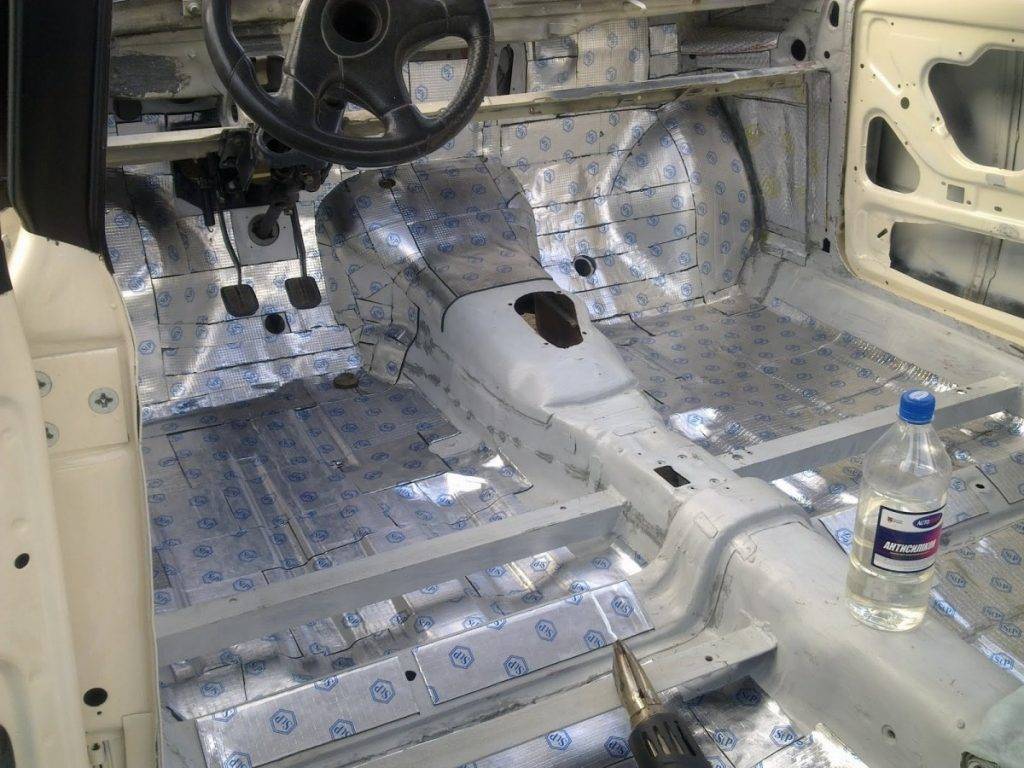
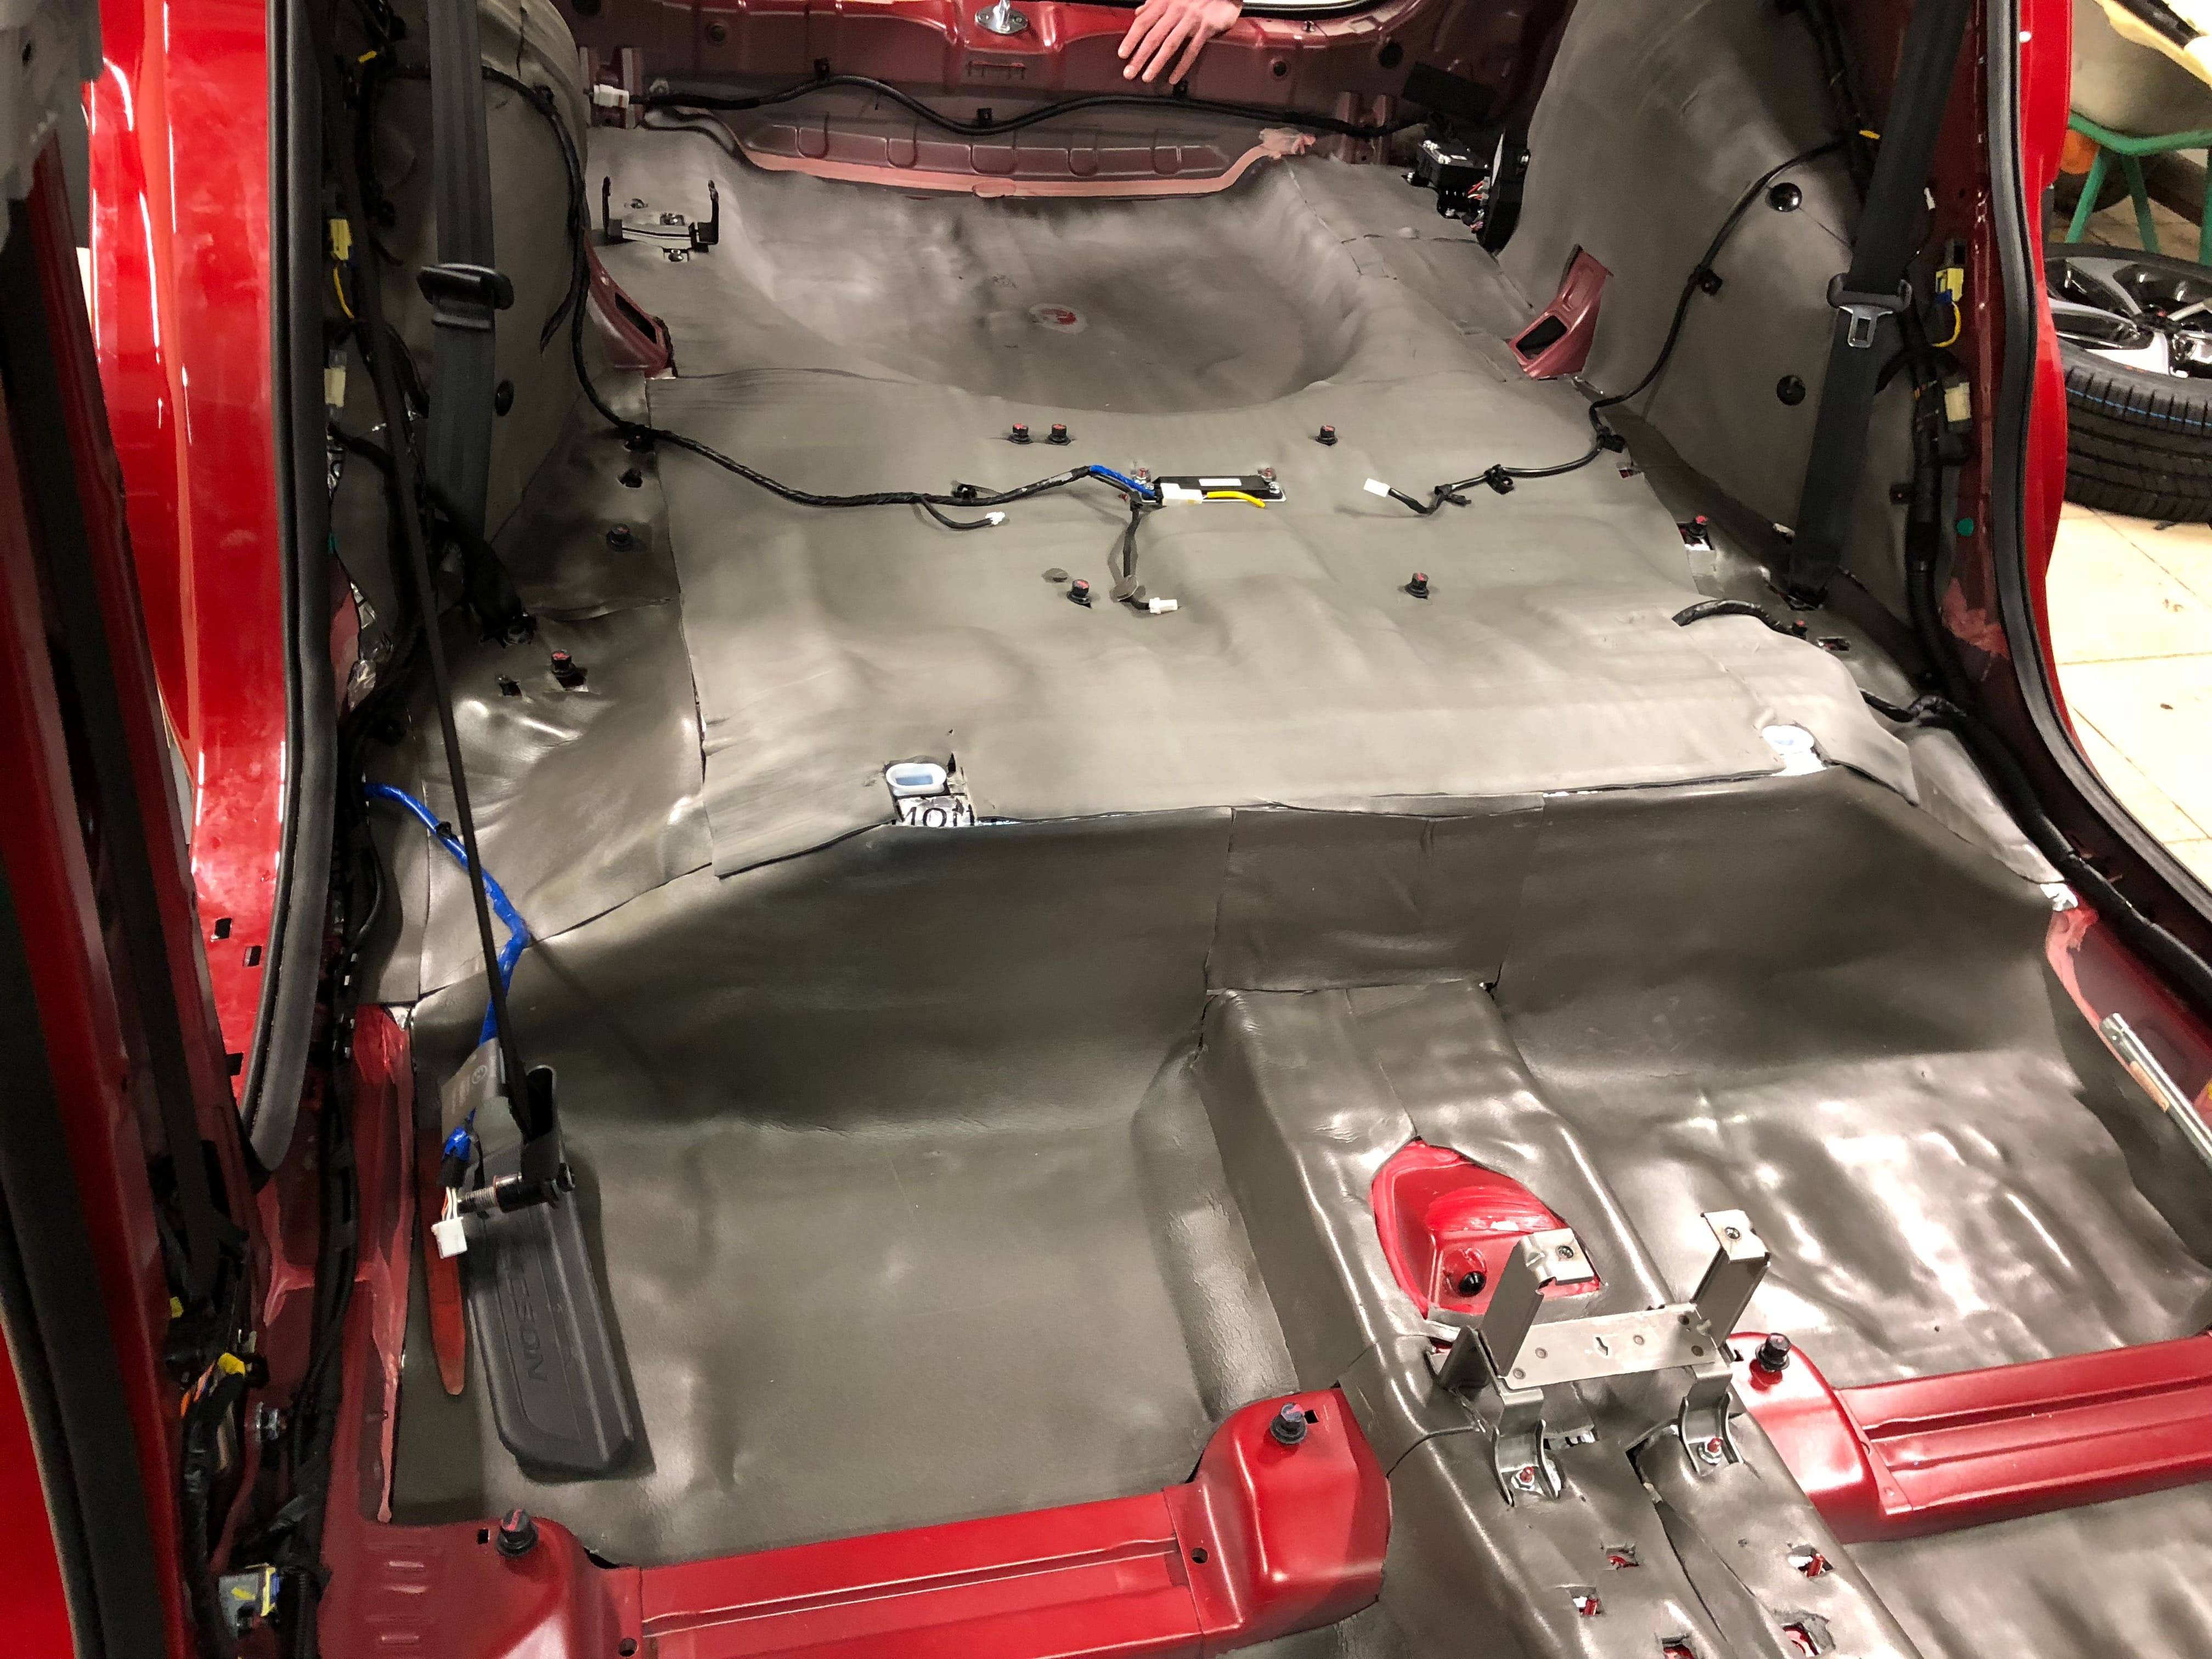
There is a certain peculiarity in the use of soundproof and vibration-absorbing materials. In order to dampen vibrations, it is enough to cover about 50% of the panel surface. And in order to improve the noise insulation properties, the walls of the cabin (doors, roof, floor, partitions of the engine compartment and trunk) must be pasted over from the inside on the maximum possible area. If you look at how the "Shumka" of the factory car is made, you can see that it is made with an almost continuous layer as much as possible.
The most popular materials have an adhesive layer on one side and a protective layer on the other:
- Bimast. Varieties: "Standard" (cloth covering, thickness 3 mm), "Super" (covering from thick paper, 4 mm), "Bomb Premium" (covering - foil, 4 mm).
- Vibroplast coated with aluminum foil. Varieties: M1 (1.5 mm), M2 (2.3 mm), "Silver" (2 mm), "Gold" (2.3 mm).
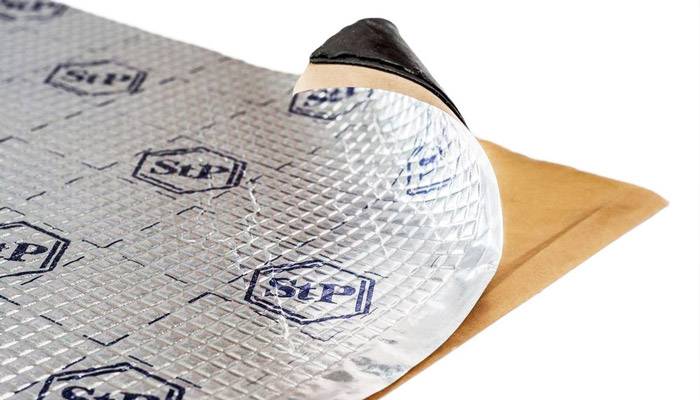 bimast
Sound absorbing
Sound absorbing materials dampen the energy of the sound wave. This is due to the "friction" of the sound wave in the open air ducts. When airborne noise passes through them, part of the energy of the sound wave is converted into heat. Ideally, such a sound absorber should be located between two dense skins, so that, after passing through it, part of the energy is reflected back again, in order to be partially absorbed again. This is exactly how the car is done: the outer skin is the body panels, the inner one is the decorative panels of the passenger compartment.
In addition to the intermediate layer, sound absorbers can be used as part of the interior upholstery. This has another goal - to reduce the "echo" effect that occurs due to reverberation (multiple reflection of sound from the walls in a closed space).
The most popular materials are made of foamed polyethylene: "Splen", "Barrier", "Vibroton".
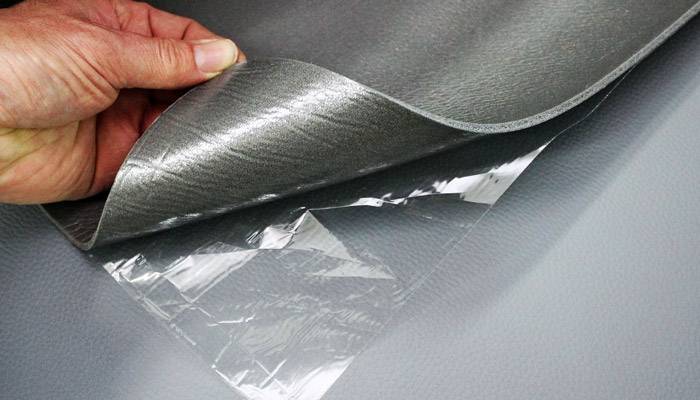 vibroton
Interlining
This is another way to deal with structural noise, but already arising inside the cabin itself. They appear due to contact and friction between the trim parts, dashboard, seats, decorative elements. Cushioning materials are also used to seal gaps to combat squeaks in the interior. These can be roll materials made of polyurethane (foam rubber) of the Bitoplast type or special fabric tapes of the Madeleine type.
Video review
This video demonstrates how to carry out soundproofing of the most important areas: floor, trunk, interior doors.
How to insulate the hood
For good noise insulation of the hood, it is better to use a vibroplast, since it is lightweight. Adding too much material will make the cover heavier and may result in leakage of the bonnet shock absorbers.
Watch the video to find out more:
Spleen is suitable for thermal insulation.
How to properly prepare for work? In order for the surfaces to adhere well, it is necessary to clean them with a brush and degrease them. In addition, you will need to pre-roll the material with a roller. To avoid mistakes when cutting out parts from Shumka, you need to make cardboard templates. They must match the size and shape of the surfaces. Parts from noise-insulating material are cut out according to the patterns.
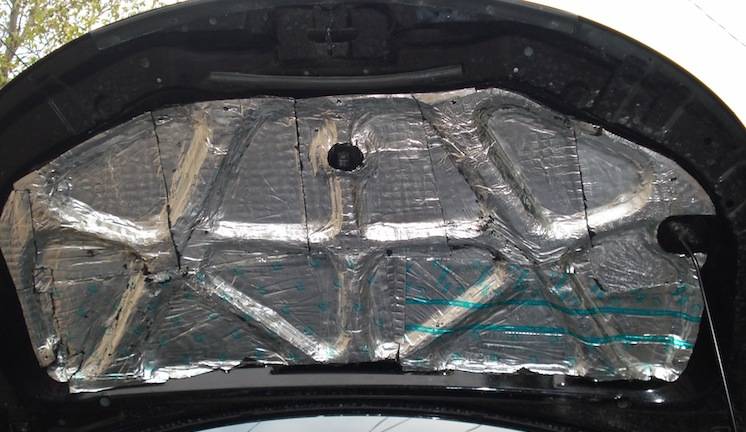 Bonnet bonding is not difficult (click to enlarge)
High-quality soundproofing of the hood is done in three layers:
- the first layer is to glue the vibration-absorbing material. It must have high thermal stability. All surfaces between the stiffeners are glued with a vibrating layer. It is forbidden to glue the material directly onto the ribs, because this can cause the hood to warp;
- the second layer should be glued with heat-insulating material;
- the factory Shumka can serve as the third layer, but it is better to glue it with modelin.
Newbie mistakes
The most common mistakes car enthusiasts make with noise insulation.
With the choice of the contractor company
A mistake when choosing a workshop threatens not with high-quality work, a banal loss of money and, as a result, a lack of sound insulation effect, and the most unpleasant thing, in this case, that you will conclude that sound insulation in a car has no effect
Your presence in the room the craftsmen are working on your car
As a rule, craftsmen do not like it when clients constantly pry into their work:
- This is the opinion of most of the masters with whom I know personally.
- When someone constantly stands over your soul and looks under your arms in the process of work, even from you one can expect a very hostile reaction
- Almost no one likes it when someone constantly asks "will everything be ready soon?" affects the result not in the best way
Haste and no plan
When you are very fired up by the implementation of noise isolation and immediately want to do it:
- Starting work without planning will be fraught with a huge loss of time and, of course, money.
- You may need to travel several times to pick up a missing instrument
- It may happen that you have to redo the work again.
- Once glued and then torn off, the sound insulation is no longer suitable for repeated use - again a loss of money
- In addition, the process of noise insulation is a business that requires a lot of time and effort, so it is worth considering the time and effort (for an hour or two you will not manage), here you will have to be patient, perseverance and hard work, especially if you are a beginner
Wrong choice of materials
This is one of the most common and unpleasant mistakes, from not knowing how to properly make noise insulation in a car:
- As a rule, good, and even more high-quality materials always cost good money.
- Here, the habit of saving easily leads to new expenses.
- Not only will they flake off prematurely, which leads to corrosion of the case, the effect of such materials for noise insulation will be weak, and you can again argue that noise insulation does not work
- In addition, low-quality materials can be harmful to health, they, being in the cabin, will poison the air with vapors, and then you and the passengers will breathe.
Error with the choice of the level of noise isolation
When at first you decide that it is enough to just insulate the car to a minimum, then it will seem to you that you should have done better, more expensive, thicker, but this, as a rule, is a problem of very economical people and perfectionists
An error with the choice of the place of work
The Internet is full of descriptions and photos of the do-it-yourself noise insulation process, which are carried out wherever they fall:
- Right on the street, near the office, on the side of the road and others
- Here the problem will be the fact that in the wrong place where you will make your soundproofing, you will either be extremely uncomfortable, the onset of night will catch you at the most inopportune moment
- And the most unpleasant thing is that in this case something will certainly be stolen from you, right from under your hands, you can lose not only tools but also interior elements, mobile, radio, video recorder, etc.
Use of unsuitable tools
Let's figure out how to make noise insulation in the car, if all the work is done with only one screwdriver - and disassemble the car and roll in vibration isolation, then it will be at least difficult, although it seems to be real:
However, if you want to do the job efficiently (so that something does not fall off later), disassemble / assemble the machine without any problems, then you will need the appropriate tools
Lack of confidence in their abilities
Often, having learned how to perform soundproofing of a car with their own hands, any motorist is seriously puzzled, there is really a lot of work to be done, it will take more than one day to complete complex soundproofing, although a large sum will have to be paid for a similar service in a car service, and a high price may not mean quality. but which path to choose here, of course, is up to you
3 reasons why you need car soundproofing
Practice shows that the use of noise-insulating materials is justified even on high-quality, expensive foreign cars (to say nothing of budget domestic cars).
This is necessary for three reasons:
- Improving traffic safety. An obsessive, prolonged and unpleasant sound (especially loud), deposited in the driver's subconsciousness, can lead to irritation of the nervous system. If the car owner is forced to constantly hear the hum, the sound of engines of passing cars, the creak of plastic in the cabin, he is involuntarily distracted from driving, which can provoke an emergency.
- Driving comfort. Reduced noise load reduces fatigue. The driver and passengers of the car get more pleasure from the trip.
- Additional factors to which the protective function belongs.For example, noise insulation of car doors protects the surface from mechanical stress and corrosion. In addition, the temperature in the cabin is stabilized by keeping the coolness from the air conditioner in the heat and the heat from the stove in the cold.
But, if you get too carried away with increasing the noise insulation characteristics of the car, it is possible to miss important sounds indicating malfunctions in the chassis, transmission, engine and other elements.
For this reason, there should be high-quality sound insulation in the car, but not absolute. In addition, soundproofing materials significantly increase the weight of the structure (about 40–80 kg additionally). Accordingly, fuel consumption increases, acceleration is slower.
Another reason for installing high-quality soundproofing in a car is having a good powerful audio system. To listen to your favorite music was comfortable, outside sounds from the outside should not penetrate into the salon. In addition, very loud music coming from a passing car is not pleasant to all people around.
Vibration isolation is also an important component, since the speakers transmit vibration waves to the cabinet and its components during operation, resulting in unpleasant sounds. The thickness of the vibration isolation layer is directly proportional to the thickness of the metal body
Therefore, to equip a tuning car with a powerful audio system, expensive high-quality insulation materials are needed.
DIY vibration isolation
Vibration insulation materials are glued primarily as a base on which soundproofing and sound-absorbing materials can be installed. You can install only vibration isolation materials (which, in most cases, many do), but the effect will not be complete. Installation of vibration and noise insulation material is required for most parts of the car body. The vibration damping material, as an addition to the audio installation, is designed to reduce or prevent rumbling and vibration generated by low frequencies. The main purpose of car vibration isolation is to get the pure bass from your audio system.
Installing a complete set of vibration dampers in a car will add an average of 25–40 kg additional weight.
The thickness of the metal on the bottom is different from the thickness on the roof. Based on this, the thickness of the vibration isolation should be selected accordingly. The vibration damping material can be of different thicknesses (usually 1.6 mm, 2 mm, 2.6 mm and 4 mm). On the bottom of the body, the vibration isolation layer should be thicker, and on the roof there will be a fairly thin layer.

A vibration damping material is most effective when it covers 50% (maximum 80%) of the panel area. 100% coverage of the surface with this material is useless and will only add extra weight to the car. Placing the material on 20% of the area, in the middle of the panel, will give 80% improvement, remove most of the vibration and rumble. Sticking the material over the other 80% will only make a 20% difference.
The use of multiple layers of vibration damping material to reduce road noise (airborne) undoubtedly has a certain road noise reduction effect, as it adds significant mass to the sound path. But the vibration damping material does not have a structure that would reflect sound. Instead of all these layers, it is better to use one layer as vibration isolation and an additional layer of material specifically serving as a sound barrier.
To install vibration isolation with your own hands, you need to disassemble the car interior.
After removing the protective paper, the material becomes sticky and easily adheres to any surface. After gluing, you need to cut off the remnants and cut out the necessary technological holes.
When applied, the material must be carefully pressed against the metal. A vibration-damping material that is not firmly glued to the surface will not give a vibration-damping effect.
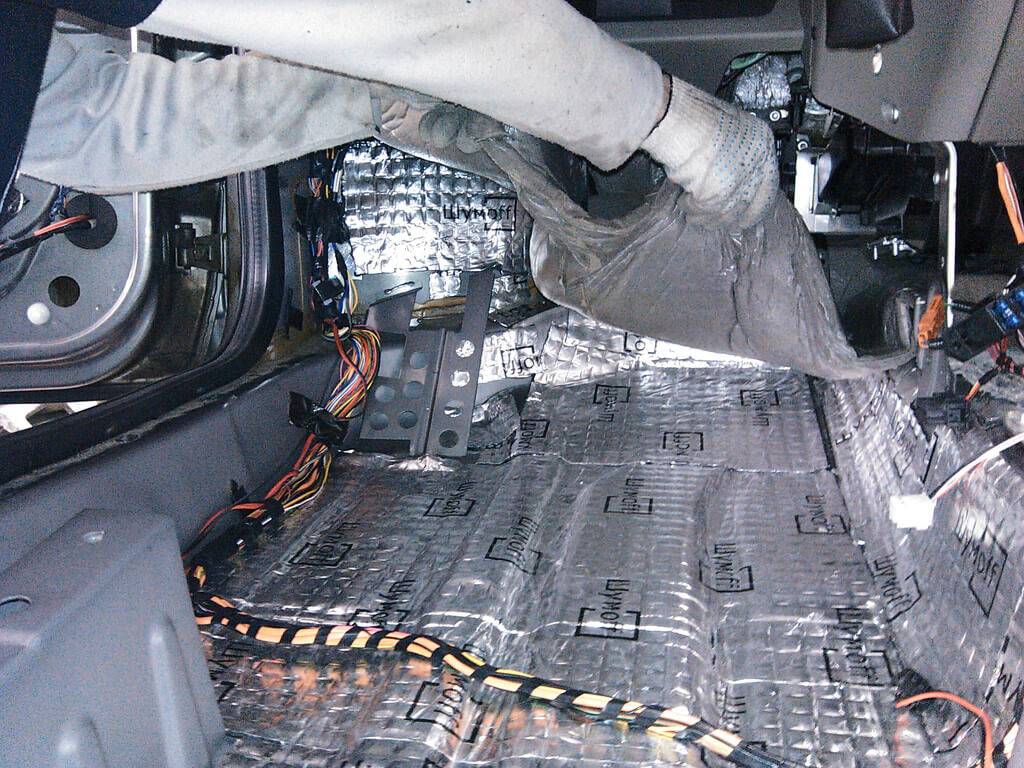
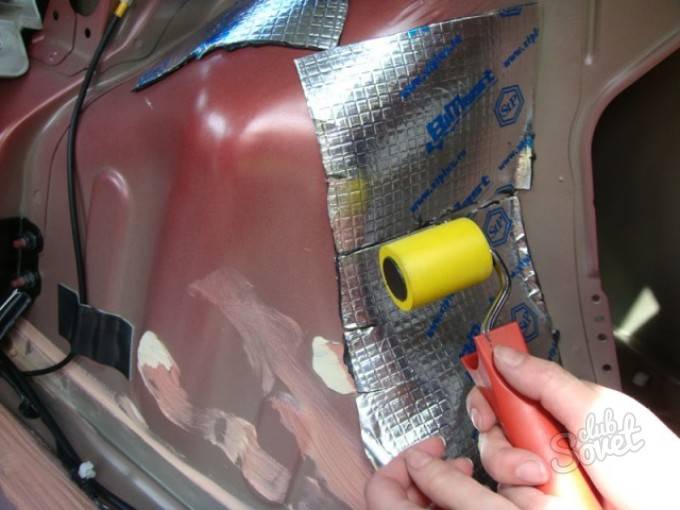
Modern materials do not require heating during gluing and smoothing, however, if noise insulation is carried out in a cold room, then it is necessary to preheat the metal and material, or both. The material is very elastic and easily follows all the contours and shapes of the panel. Use a roller to smooth the sheets. Start flattening from the center and continue to the edges, rolling each panel outline. Even if the surface is flat, rolling with a roller will ensure good adhesion and full contact of the material with the panel, removing air bubbles.
Pasting with vibration isolation does not guarantee the complete absence of a rumble. If everything is done correctly and efficiently, then vibration and rumble will remain at a minimum level.
Soundproofing methods
All options have a different execution technology. Which method to choose is a personal matter for everyone.
Minimum
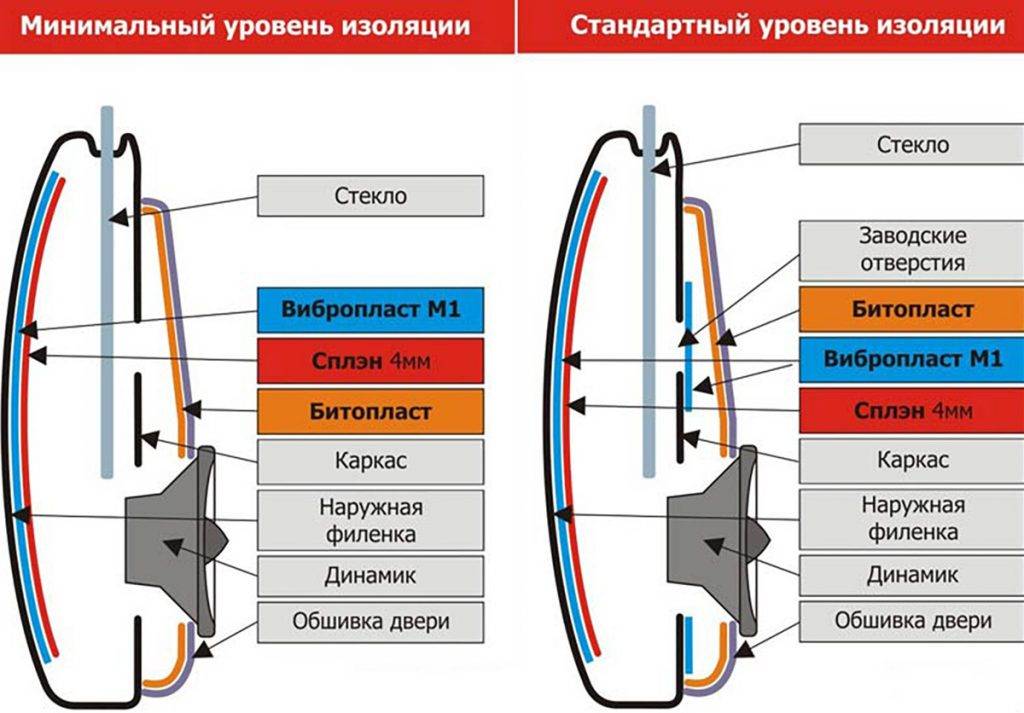
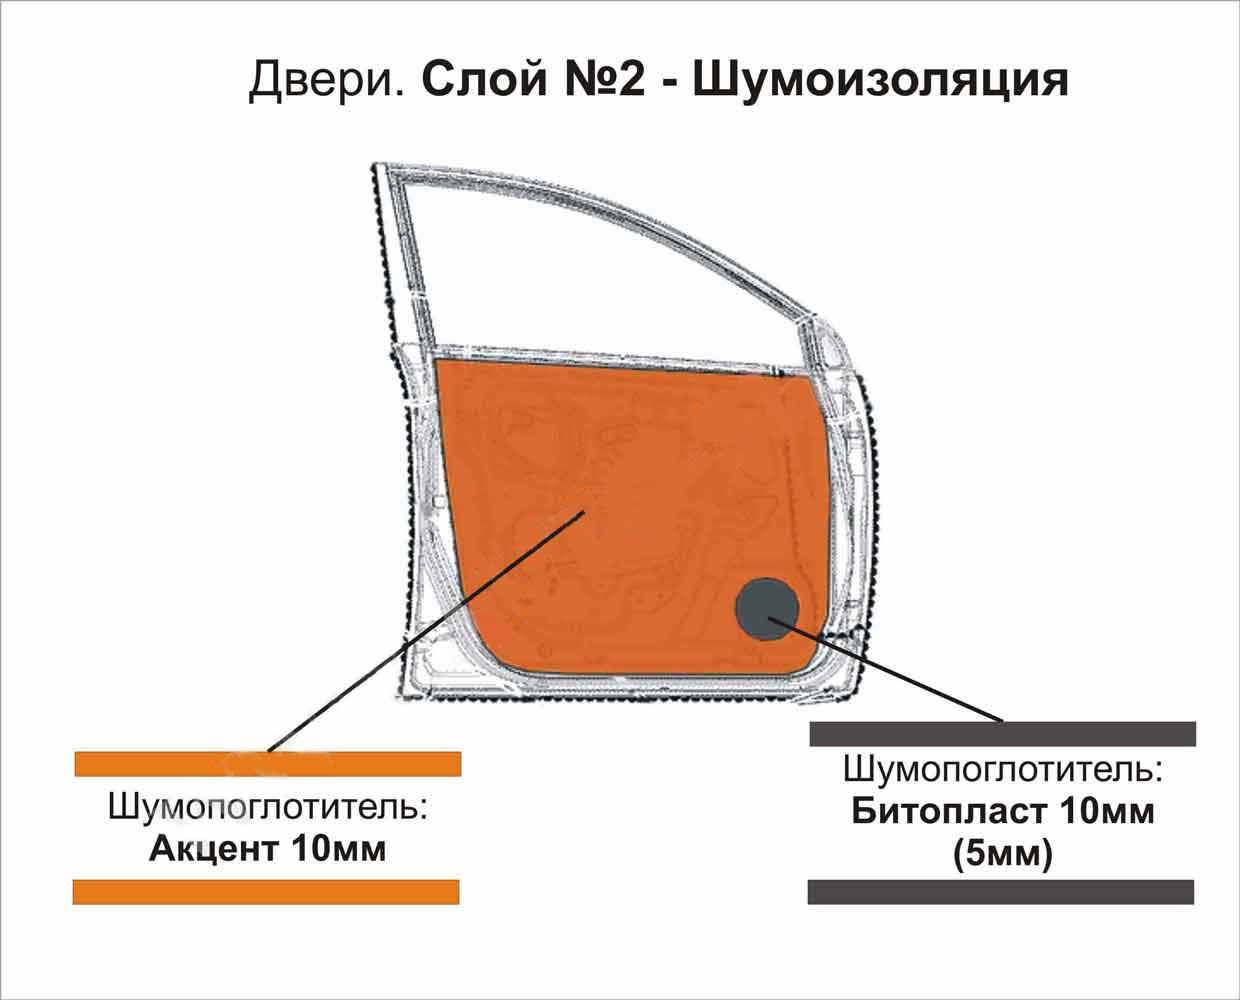
Its purpose is to reduce the level of noise coming from outside. It is not suitable for use of serious acoustics in a car. Advantages - ease of installation, low price. All that is required is to glue the door with a continuous layer of material. Thickness - at least 2 mm. The surface of the door card is pasted over. The isolate layer also acts as a protection against dust and water. This method is often chosen for soundproofing front doors.
Average
Used to reduce the level of noise coming from outside and also to improve the sound of the speaker system. Advantages - optimal price-quality ratio. Installation is more laborious than in the first case. A vibration isolation layer is applied. The second layer is soundproof. Additionally, it is recommended to install an acoustic lens.

Maximum
It is used to enhance the sound of a powerful speaker system with speakers in the doors. Eliminating sounds outside is not essential, but this problem is solved automatically. The procedure involves more steps than the minimum and average. We list all the layers of such insulation:
- Vibration isolator up to 3 mm.
- Sound absorber with adhesive layer.
- Adhesive aluminum foil, used for technological holes.
- rigid vibration isolator up to 2-3 mm.
- Soundproof Splen or others.
For noise insulation of door cards, a layer of vibration-insulating material is laid. Also carry out the installation of speakers.
Extreme
It is installed for powerful acoustics. Advantages - complete isolation from all extraneous sounds, the most pure sound. This makes the door much heavier. Stages of gluing car doors:
- The door is reinforced with aluminum strips or rigid vibration isolation.
- A layer of thick vibration-absorbing material is placed between the reinforced ribs.
- A glue-based noise absorber is placed on top.
- The holes are covered with aluminum or a special resin.
- Vibration isolation 3-4 mm is laid on top.
- The final layer is made of a sound insulator.

For the processing of door cards, vibration and noise-absorbing thick materials are also used.
Additional tips and tricks
To install Shumka, it is worth adhering to some recommendations:
It is recommended to carry out the procedure on a clear and sunny day. The best time to do this is in the summer. The temperature outside should be + 18-20 degrees.
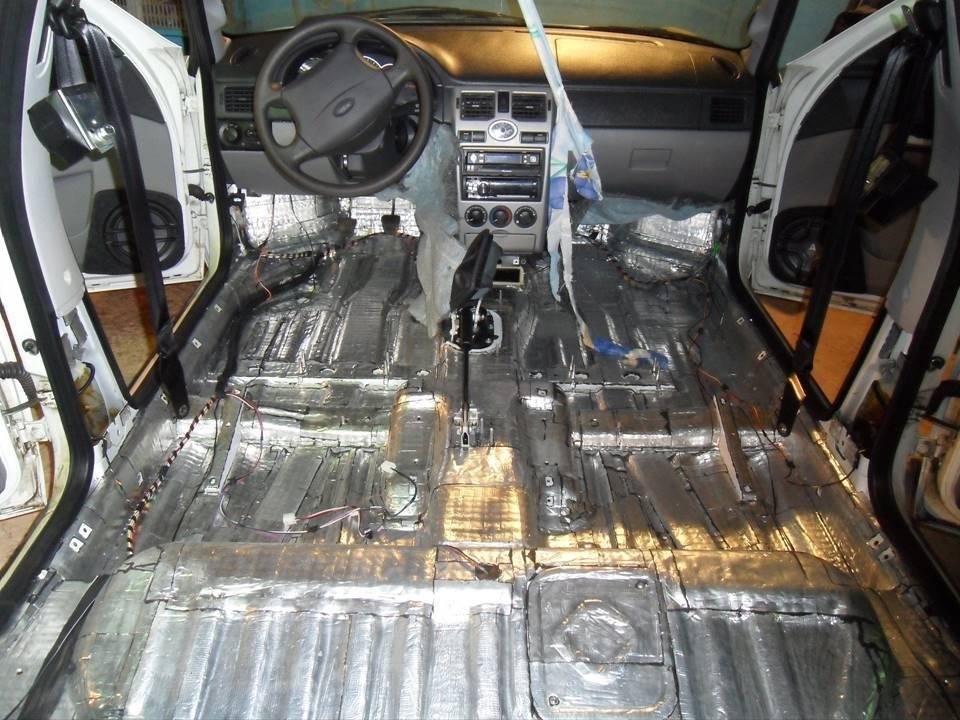
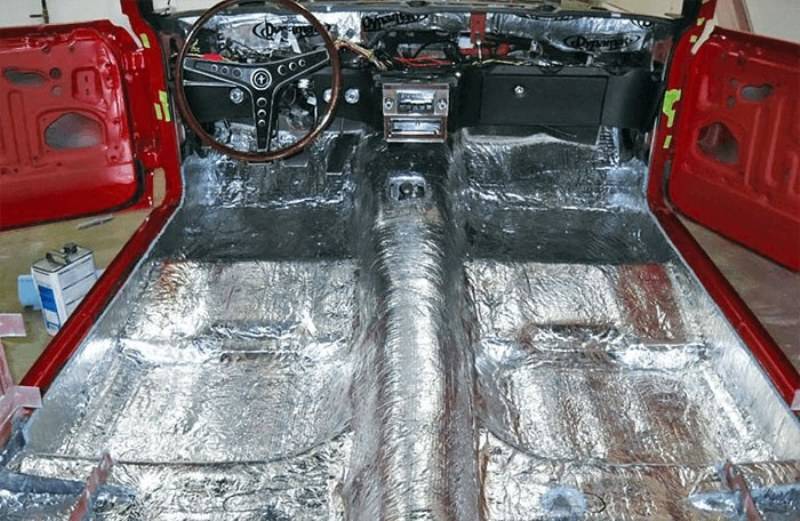
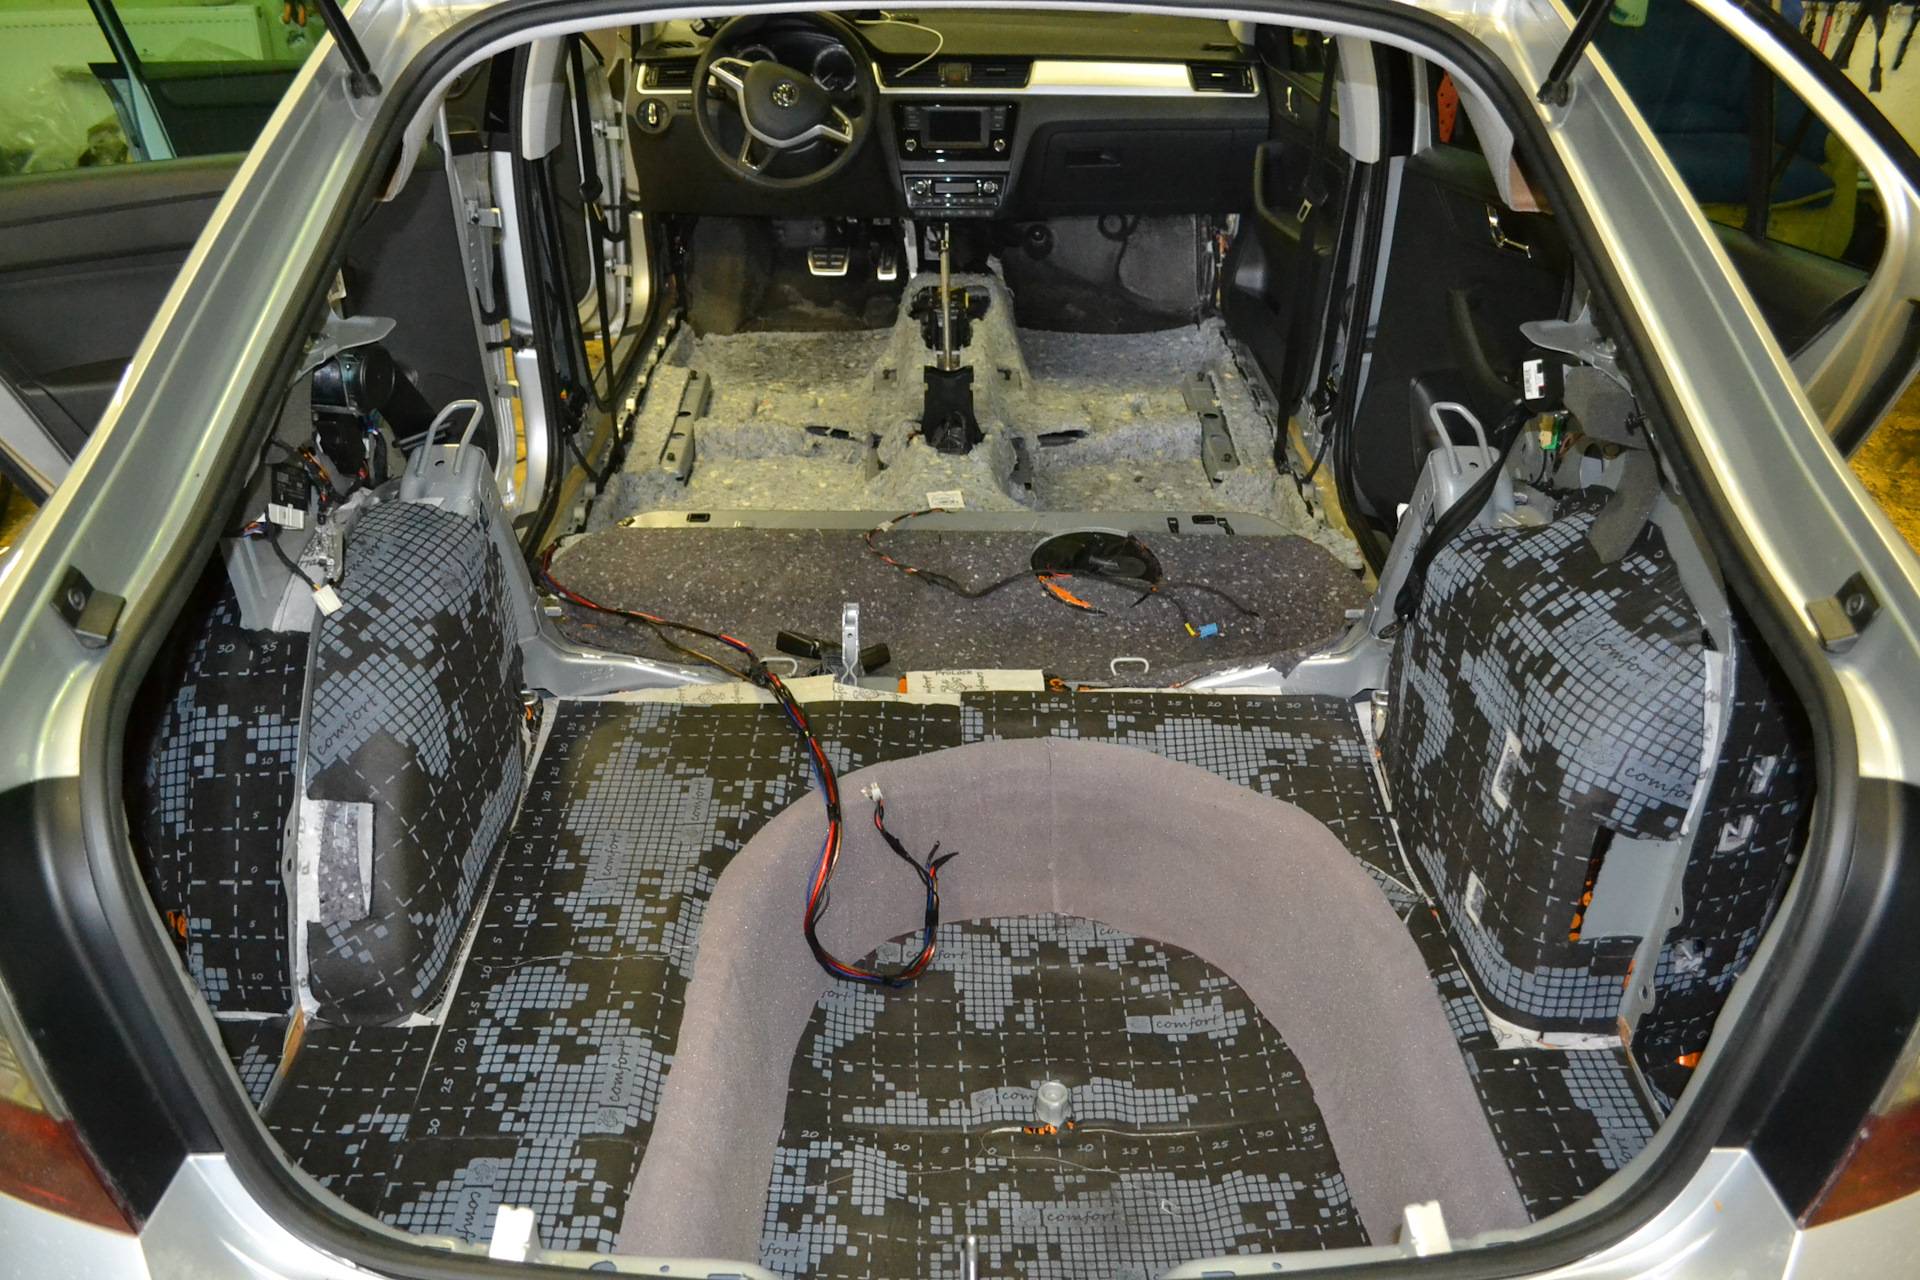
A single piece of material is applied to the roof and floor. However, it does not need to be applied to the entire surface. Work starts from one edge and gradually moves to the other.
After gluing each material, it is recommended to roll it over its surface several times. This will help remove air bubbles and provide a tighter hold.
After completing all the noise insulation operations, you should not drive the car for 12-24 hours
It is important that the adhesives of the substances are completely fixed.
To carry out soundproofing of a car, it is worth adhering to a number of important recommendations. First of all, you should choose the right material and strictly adhere to the rules for its application.
Share link:
How to make the correct soundproofing of a car with your own hands?
Expert opinion
Ruslan Konstantinov
Automotive expert. Graduated from ISTU named after M.T. Kalashnikov specialty "Operation of transport and technological machines and complexes"
More than 10 years of professional car repair experience.
After deciding to make the car soundproofing, many motorists pay attention only to the advantages of the procedure:
• relative silence in the cabin and the absence of extraneous sounds, especially important for domestic cars;
• high-quality sound of the speaker system;
• the ability to talk to a passenger at high speed without raising your voice;
• fast warm-up of the passenger compartment and slow cooling;
• lowering the center of gravity, which entails increased controllability.
But few people think that sound insulation, and especially if it is done incorrectly (which is not uncommon for beginners), can become a source of additional problems:
• loosening of fasteners and deformation of body parts due to improperly selected weight of sound insulation;
• weight can increase up to 50-70 kg, which entails an increase in fuel consumption;
• when disassembling the passenger compartment, you can damage the interior details;
• if the car is under warranty, do-it-yourself soundproofing will deprive it;
• incorrectly selected size of soundproofing elements leads to problems of their installation;
• with soundproofing of the floor, the level of the latter will become higher, the rugs can cling to the legs;
• when soundproofing the trunk, the weight of the lid increases, which may be the result of problems with automatic opening;
• if water gets into the inner cavities of the doors, the soundproofing will absorb moisture and slow down drying, which will cause corrosion;
• paradoxically, but after self-isolation, extraneous sounds may appear that were not there before.
Along with this belief, two questions arise: what material for sound insulation to use? and how to make a car soundproofing correctly? So let's look at what the correct installation of noise insulation with your own hands means.
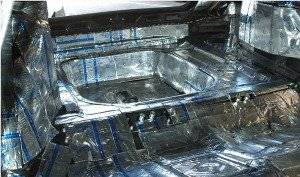
In any case, whether the noise isolation procedure is done in the service or by hand, the vehicle noise isolation technology remains unchanged. Namely: vibration-absorbing materials are applied to reduce the vibration of the car, and noise-insulating materials are applied to reduce noise.
We do not focus on thermal insulation materials for a simple reason. Today, manufacturers, as a rule, combine two properties in one material: noise, and thermal insulation.
Correct installation of soundproofing has two main stages, which apply to both full and partial soundproofing, regardless of the place of the body to be processed.
