Replacing one tile
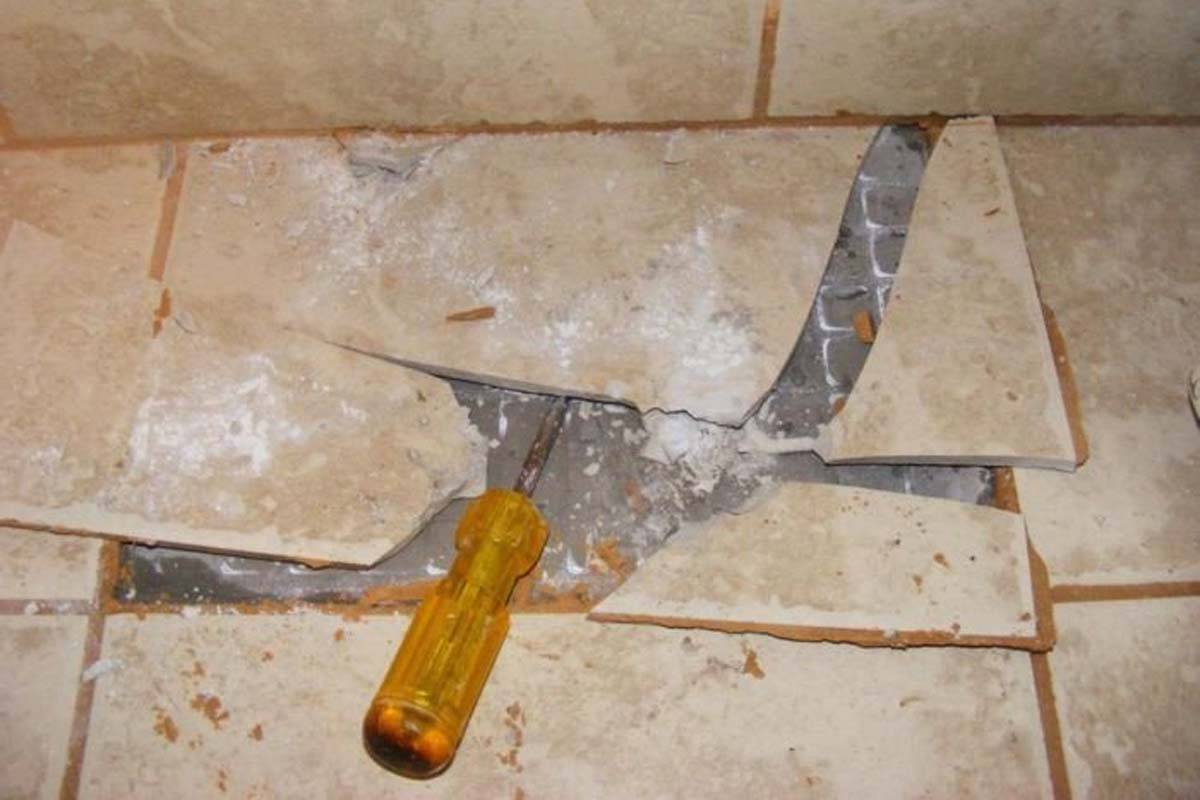
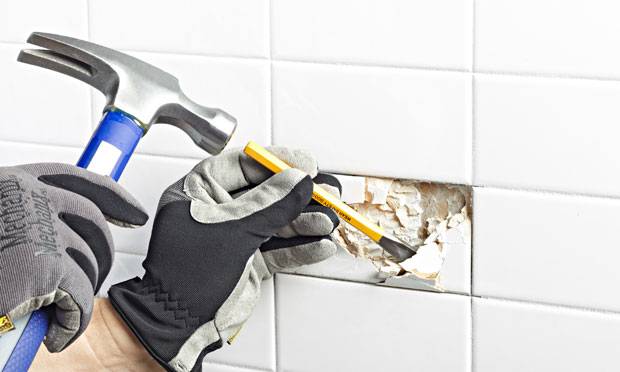
Sometimes it is necessary to replace only one piece of masonry, for example, if it has a defect. Also, communications can pass behind the tiles, and if they are damaged, you cannot do without dismantling. To carry out all the work with minimal damage, you need to remove one or more tiles without damaging the adjacent ones.
It is recommended to proceed as follows:
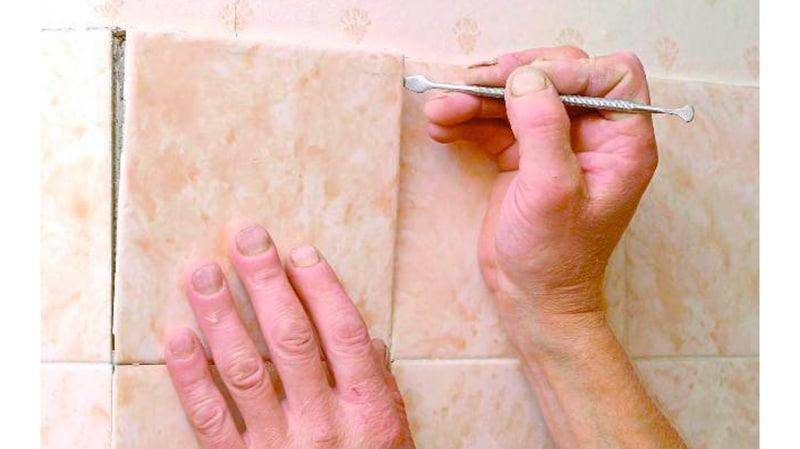
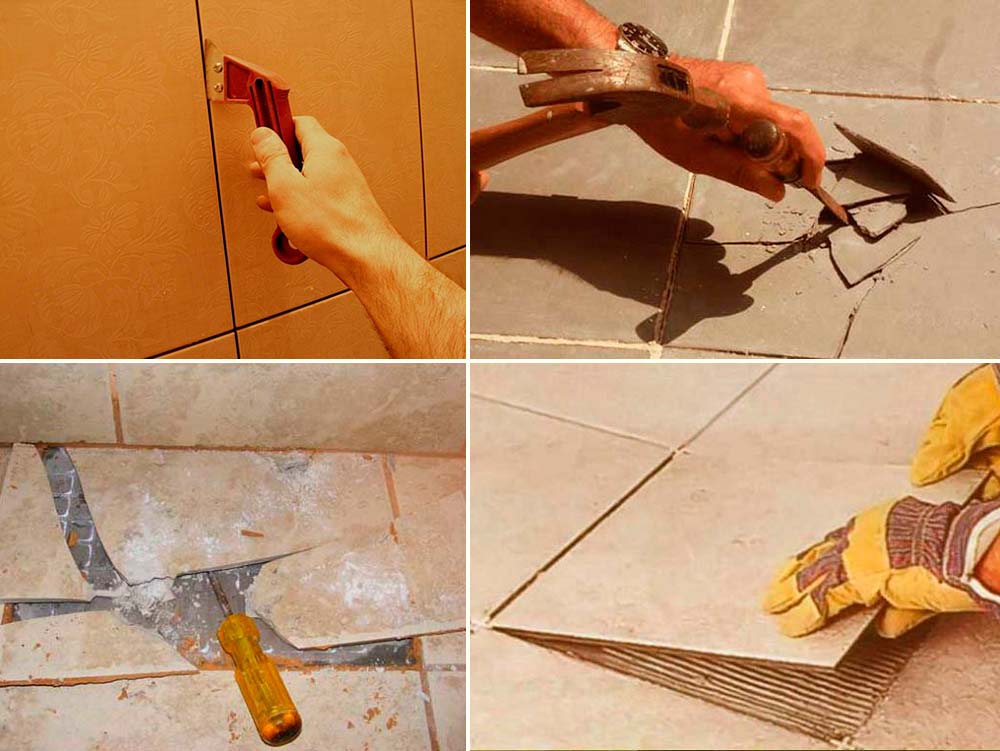
- Separate the tile to be removed from the rest of the tile. To do this, you need to clean the grout in any way indicated above, taking into account the hardness and composition of the mixture.
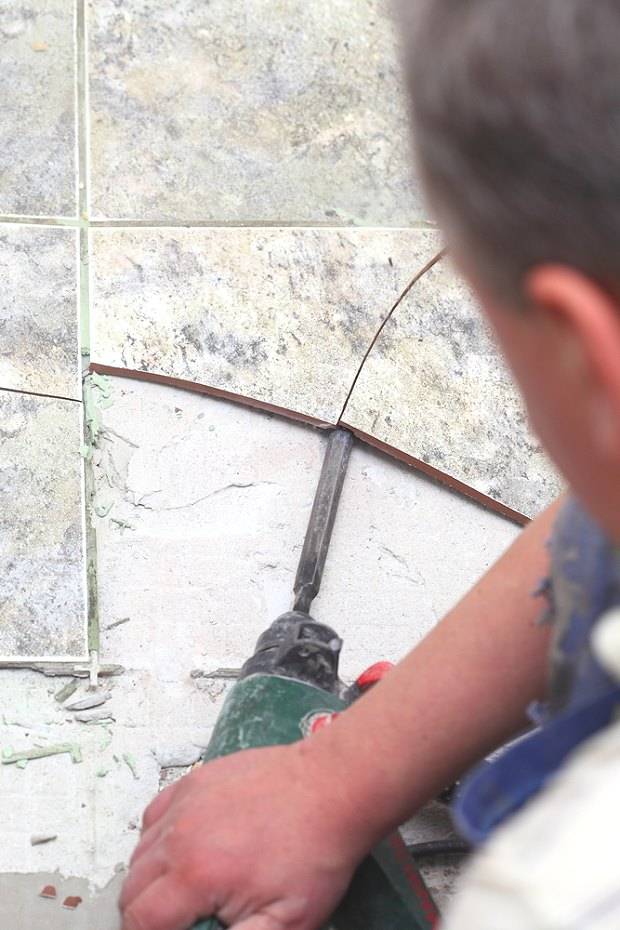
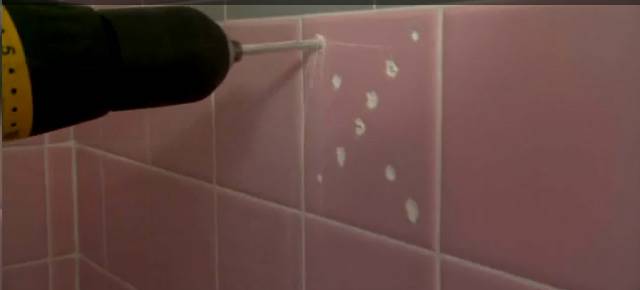
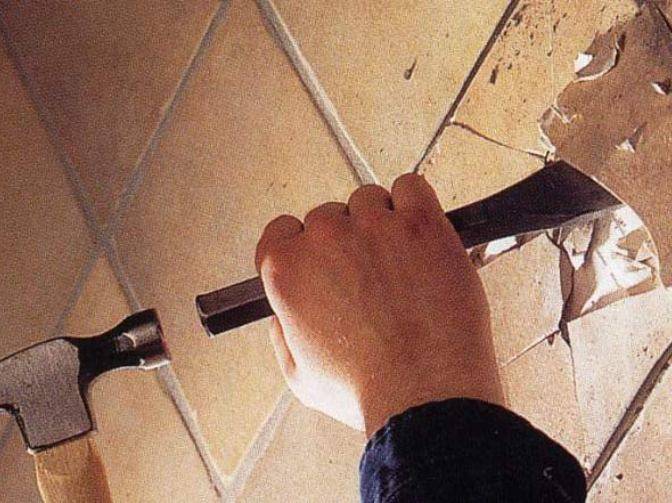
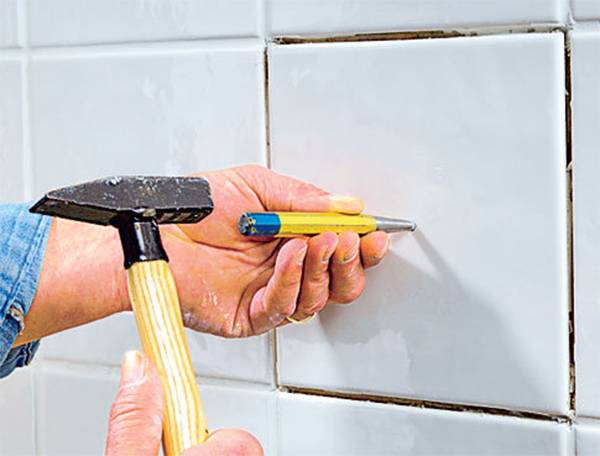
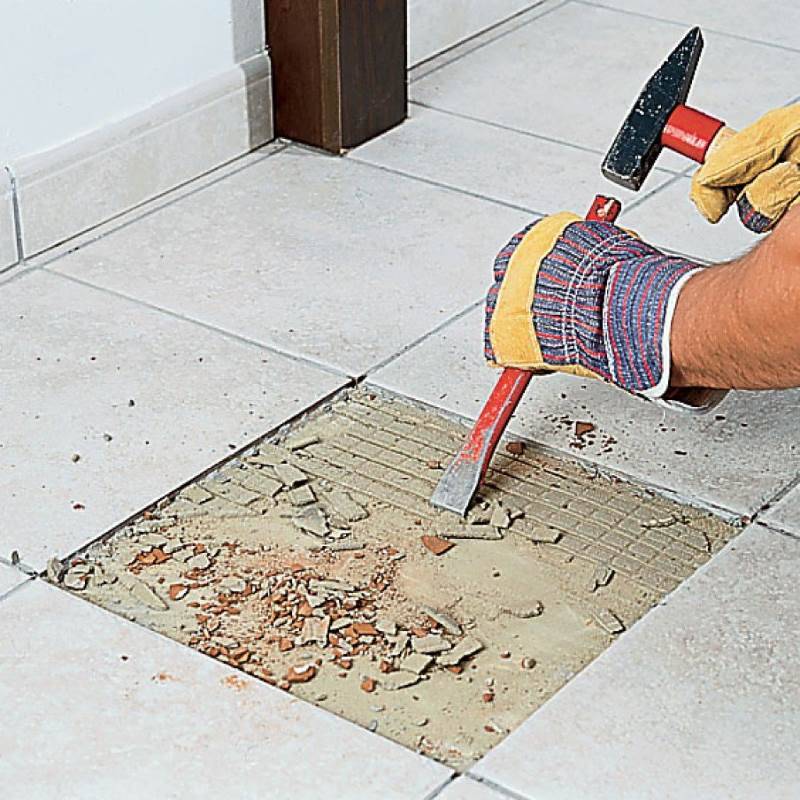
- Tap the tiles. If there are voids underneath, you can simply smash the fragment with a hammer. If there are no voids, drill a hole in the center of the tile with a diamond crown (or make several holes with a drill throughout the entire area) and knock off the finish with a hammer and chisel.
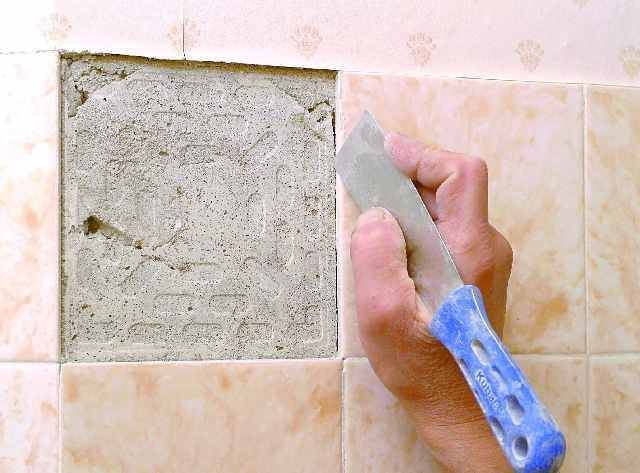
- To put a new piece in its original place, you will need to remove the old glue. Removing the adhesive is necessary to ensure that the new tile is in the same plane with the intact areas.
- Prepare the surface for the installation of new tiles: remove dust and prime.
If it is not possible to purchase tiles with the same design and color instead, we recommend using decorative tiles with a pattern that will match the bathroom interior.
Instruments
Of course, this procedure cannot be performed with bare hands. An appropriate tool will be required. But first, personal protective equipment should be noted, without which dismantling turns into a lottery - a game with your health:
All these elements must provide protection of the body (eyes, skin and hair) from mechanical stress. In addition, a respirator comes in handy. After all, the work is dusty. If you don't have a respirator, you can make a cotton or gauze mask.
Now we give a list of tools that will come in handy for dismantling:
- puncher;
- putty knife;
- chisel, chisel and hammer - just in case there is a hammer drill with the same attachments;
- roller and container - to minimize the formation of dust in the room. After all, it is, as a rule, very small and even the presence of a good hood in such a situation will not save.
How to remove old tiles?
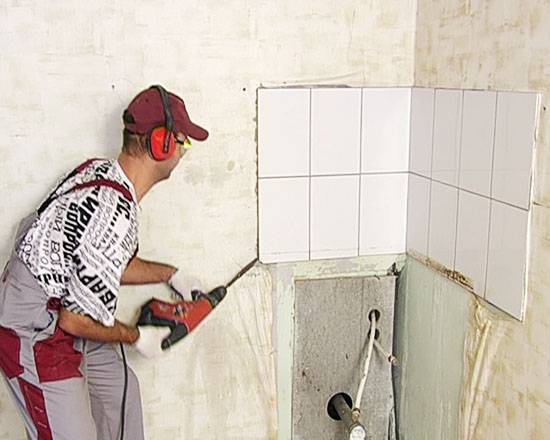
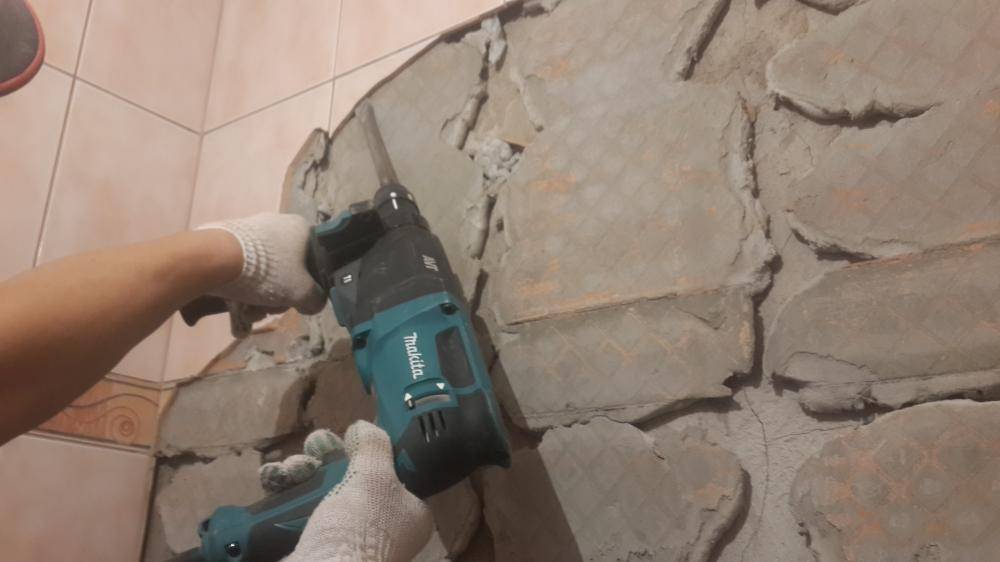
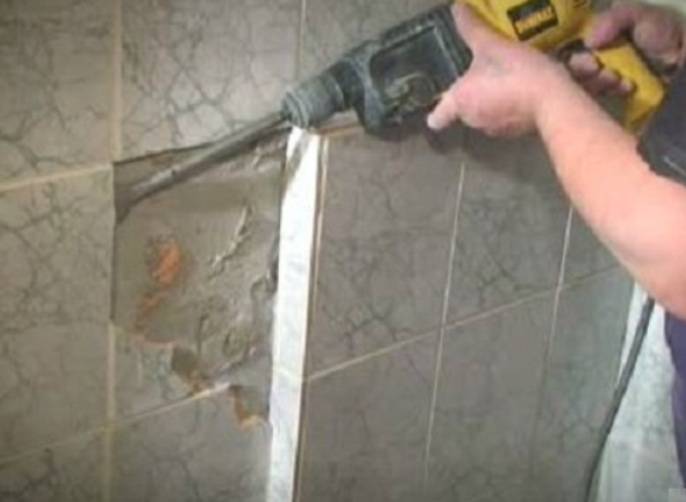
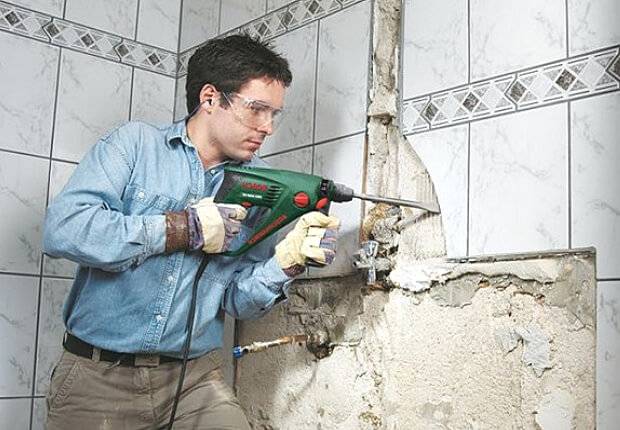
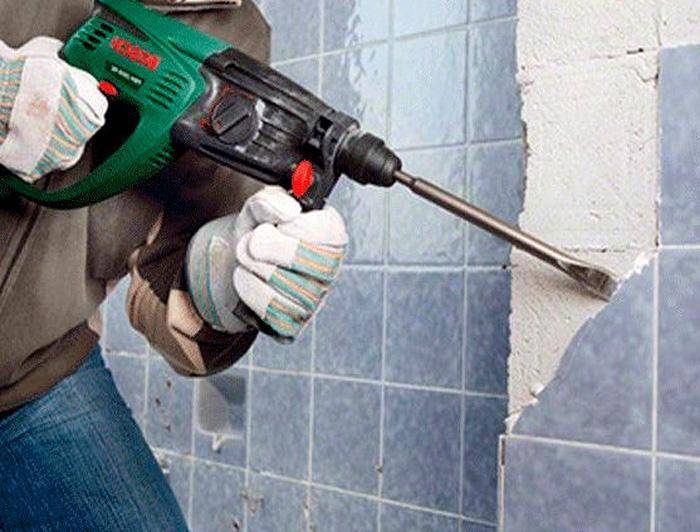
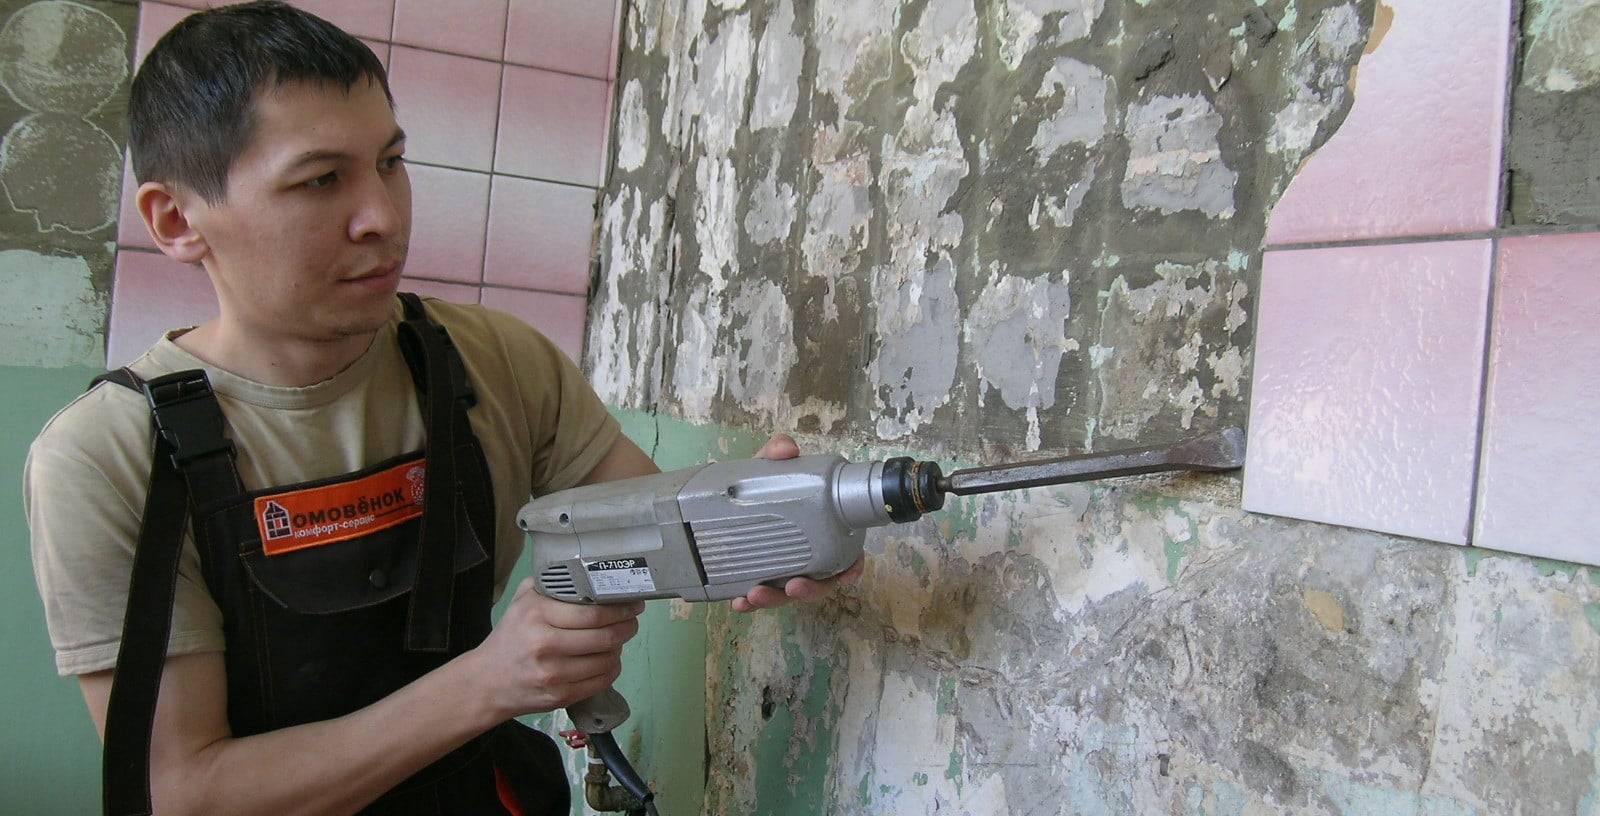
The blue tiles of the Soviet era, which were used to decorate the walls in the kitchen in our apartment, are clearly outdated, we thought. We did not ponder how to remove the old tiles for a long time. Traditionally, a hammer drill came to the rescue. The husband has long been using it not only as a drill and screwdriver, but also as a scrap. In this case, it is not necessary to use a special nozzle - a chisel:
A regular drill or drill will work:
It is better to start off the old tile with a perforator from the top and gradually go down. First, cover the floor with old newspapers, cardboard or cloth so as not to scratch it with debris.
It is unlikely that a punch will be able to remove the tiles without damaging it. As you can see, the result is as follows - the tile was crushed into small pieces:
The method will be relevant in cases where you want to remove the old tile from the wall completely and irrevocably, throwing it into a landfill.
A wall cleared of old tiles can be cleaned with a metal spatula.
How to neatly remove tile from a wall
But there are times when it is necessary to remove the tiles from the wall without damaging them. For example, to carry out communications or use an outwardly attractive (albeit old) tile for decorating premises in the country.
- Hammer and chisel
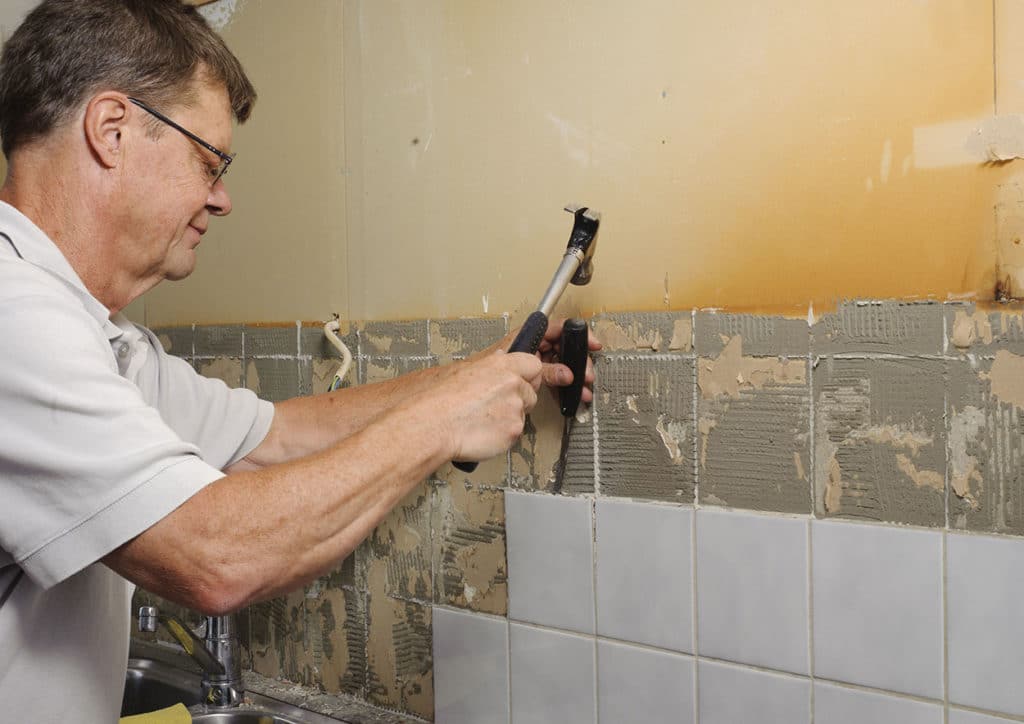
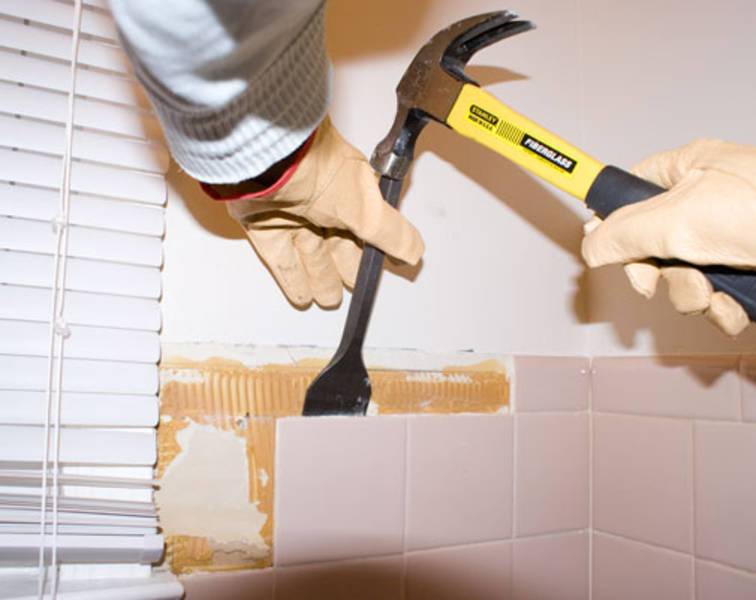
We insert the chisel into the seam and carefully, but hitting it hard with a hammer, we try to remove the tile from the wall. Use gloves to avoid scratching your hands when fishing for tiles
Alternatively, the tiles can be gently loosened with the same chisel and carefully separated from the wall by hand.
2. Grinder with special attachments
On the Internet, you can find master classes in which old tiles are cut out with a grinder using special attachments. I don’t know how realistic this is, we didn’t try it.
3. Combined method
To beat off the tile manually, without a punch, you can also do this:
- the grouting joints are sprayed with water from a spray bottle (starting from the very top),
- the seams are cleaned with a metal scraper, chisel or spatula,
- gently tap the tile with a hammer to determine the voids,
- slip a chisel under the tile and carefully remove it from the wall,
4. Steel wire hooks
Hooks are slipped under the tile from both sides and pulled with all their might.
Good luck in the repair! We will be glad if you also share your own experience. We will be happy to answer questions that you can write to us in the comment form below.
How to remove old tiles?
The blue tiles of the Soviet era, which were used to decorate the walls in the kitchen in our apartment, are clearly outdated, we thought. Take a long time to think about how to remove the old
Tile preservation
Sometimes the tiles in the bathroom outwardly look no longer attractive, outdated, but their condition is still quite decent to use in the country or somewhere in the closet, where aesthetics are not so important.
In this case, you can try to remove the tiles carefully, keeping the maximum amount intact.
In this case, the power tool is not suitable, you need to work more delicately.
From tools you will need a hammer, chisel, chisel or large flat screwdriver, metal spatula, knife, or perhaps a grinder with a diamond wheel.
To keep the maximum number of pharmaceuticals in the bathroom intact, they must be isolated from each other. To do this, the seams are first embroidered - the grout is removed. Sometimes it is soft and can be picked out with a knife or spatula without any problems. If it doesn't work, then you can try to wet it.
If this is a high-quality mixture on a cement or acrylic base, a knife and a spatula will not take it, and it will not work to soak it.
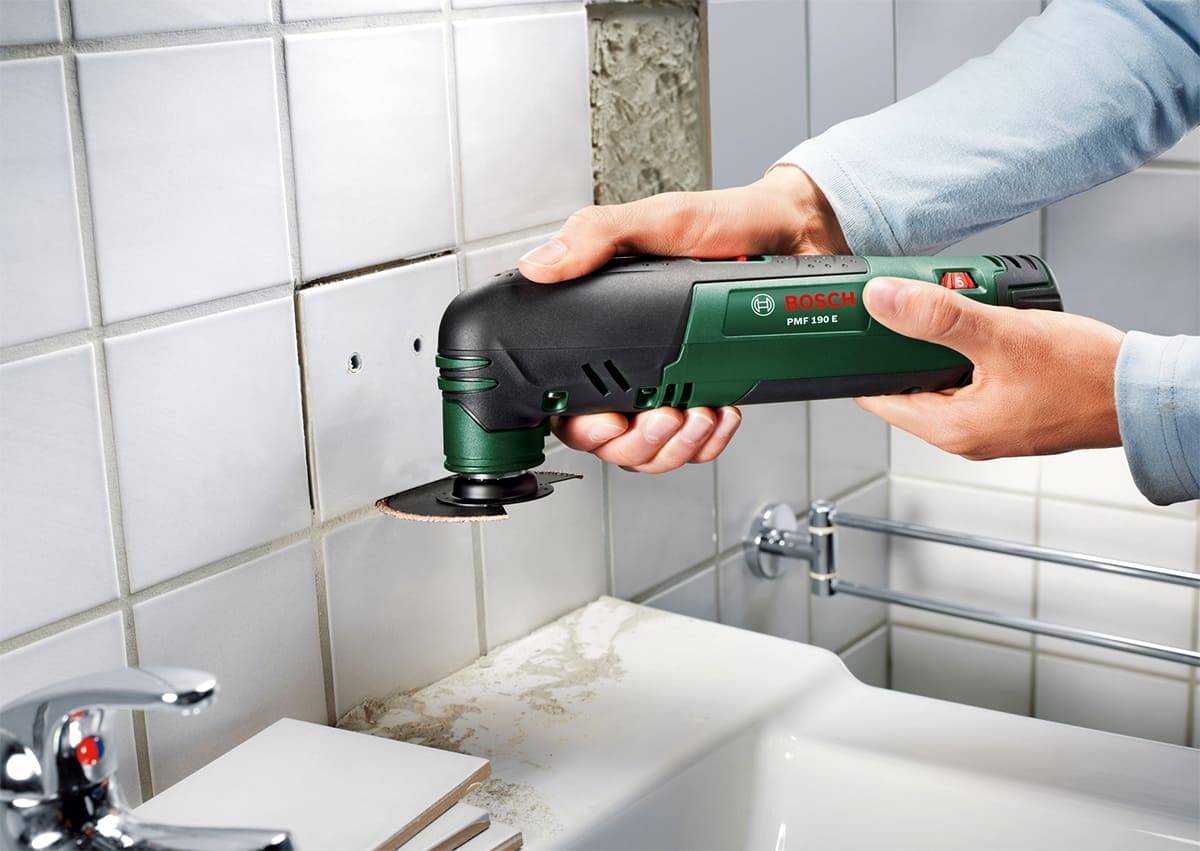
In this case, you will have to carefully embroider the seams with a grinder. A diamond wheel is ideal, it bites perfectly into stone
But sometimes the seams in the bathroom are too thin for him, in which case you can try to work with a ceramic circle of small thickness.
After joining, you can proceed to the beating.
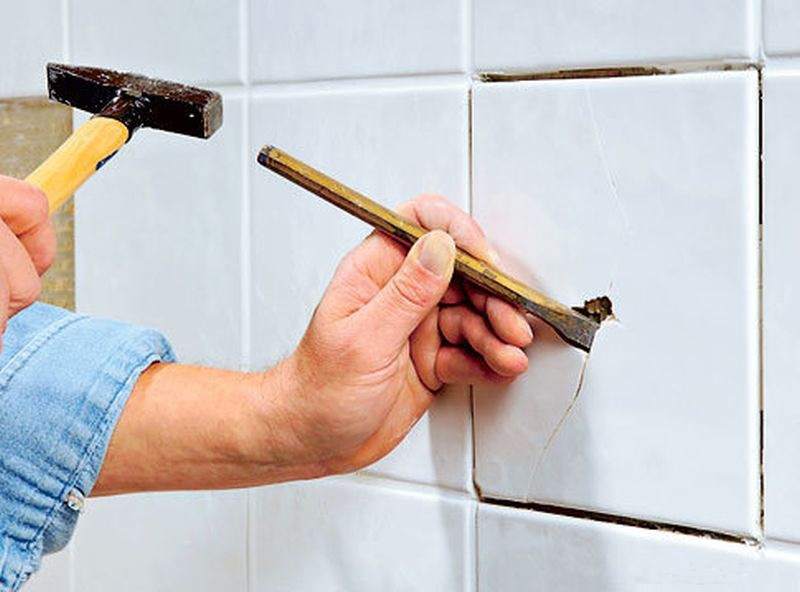
Each fragment is carefully knocked out with a hammer and chisel, tapped from all sides.
If the glue is weak, then you can count on a large percentage of the whole tile.
If the master has tried his best, then it is unlikely that he will be able to save even half of the tiles.
It is worth remembering that the procedure will take a long time, it will take a lot of effort, and the result is questionable. In some cases, it is cheaper and easier to buy the required amount of new cheap tiles than to fiddle with ceramic tiles in the bathroom.
Helpful hints
As you can see, there is nothing super complicated in the procedure for removing old tiles. However, this does not mean that the job is easy. It will still require time and effort.
It is only important to follow the recommendations
If you show carelessness or carelessness, then the complexity of the work is guaranteed. Therefore, the dismantling procedure must be carried out in a concentrated manner. A perforator in such a matter, as already found out, is a good deed. And if you imagine how much effort is required to process a large surface, then the choice is clearly in his favor, and not in favor of manual labor. This refers to a hammer and a chisel or chisel. At the same time, the power tool provides a given force and frequency of impact, so its operation is to some extent predictable, and therefore less dangerous. Don't forget about fatigue.And on large areas when working with a hammer, it is she (fatigue) that is a risky factor that can turn the procedure into a health hazard. In addition, it is much more convenient to work with a puncher when removing tiles from the floor than with a hammer and chisel.

You need to be especially vigilant at the points of attachments and pipe exits. There is no need to rush. In this case, the hammer may be more relevant, or you can use a weak impact mode, if such is provided. You need to tap the chisel with a hammer gently with a small swing.
Such neat behavior is especially important near plumbing fixtures, as well as sewers - objects, especially fragile ones.
It must be remembered: the better the old solution is removed, the better the new layer of glue will fit.
How to remove floor tiles
If you decide to replace the tiles, there shouldn't be any special difficulties. After all, you don't need the tile itself, so you don't have to worry about removing it without damage. True, it will be dusty and noisy. But how quickly you can remove the tiles is a question. The amount of time spent depends on how well the craftsman has done and what materials are used. Sometimes it takes a couple of hours to dismantle the tiles on the floor, and sometimes the same area has to be cleaned for several days. Sometimes there are those that are easier to leave than to bring down, but this is quite a rare occurrence.
Removing tiles is dusty and physically challenging
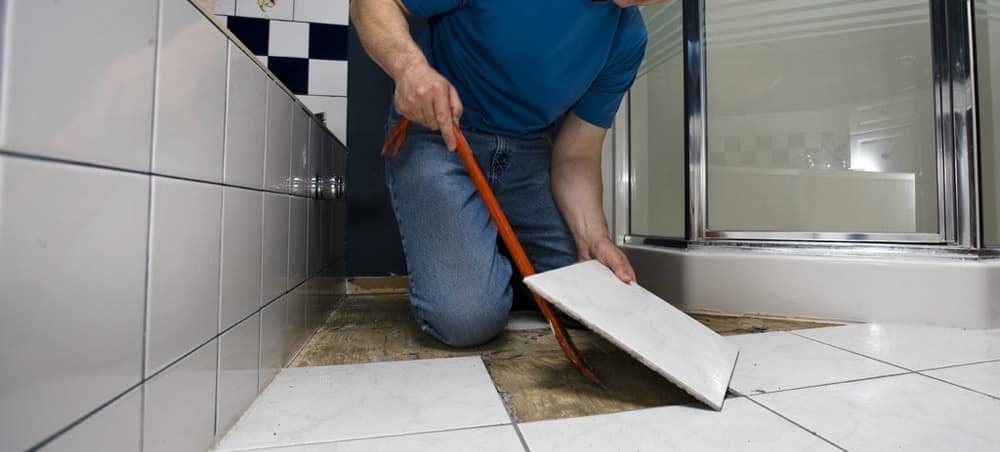
If you think there is a miracle cure, you are wrong. Despite the fact that technology is moving forward, the dismantling of tiles is carried out using old-fashioned methods - with the use of force. If there are some electrical devices such as a hammer drill, less effort will be required. If there is no such device, you will need a chisel, crowbar, pry bar or crowbar, a sledgehammer, hammers of different weights and physical strength.
Removing tiles: how to proceed
The technique for dismantling ceramic or tile floor tiles is simple:
- A scrap, chisel or punch blade is pushed between the base of the floor and the glue or compound on which the tiles were laid.
- If a hand-held instrument is used, the sequence depends on the instrument:
-
The chisel is knocked on with a hammer. This method is good for small areas or if you need to "point" to remove several tiles. Also do at the very beginning - so that you can insert the same punch blade.
- The punch hammer itself. All that is needed is to choose the correct mode and paddle. If it is necessary to simultaneously remove thick tile adhesive, a massive tip is needed. If you're only trying to knock off tiles, the spatula is thin and narrow. And you have to look for the angle of inclination of the tool.
- You can put your own weight on the scrap or crowbar. If it works, then try to knock it down with a hammer to drive the point deeper. Then lean on to tear off a larger layer.
-
The result of any outcome from tile dismantling methods is how lucky. Sometimes some small part breaks off - if this continues, it will take a lot of time. But it also happens that it leaves in layers, in large chunks. Then dismantling the tiles will take very little time.
Features and tricks
If you're unlucky enough to remove a small portion of the coating, take a close look at what's hidden in the screed. If there is a painting net - plastic, or something that resembles it, try to drive the tool under this net. Chances are that anything above will come off in a cake or in large pieces. And to shoot down what remains, or not, will have to be decided later. But without a tile, the solution gets off easier.
See the grid? It is better to drive the edge of the tool under it.
The most difficult case is if a masonry mesh was laid under the tiles. This is a welded metal mesh. If it is not necessary to remove it, it is better to remove the layers that are higher.If you have to shoot, it may be easier to first cut the floor into small squares with a grinder, guaranteed to cut the mesh, and then work with a crowbar, crowbar, crowbar, clearing one section of the floor after another from the tiles. Removing tiles with masonry mesh is a tricky task.
Basic ways
There are several ways to dismantle tiles, which must be dealt with in advance.
How to quickly remove without damage
Sometimes people have to remove whole tiles
To remove it carefully and not damage it, perform the following sequence of actions:
Get rid of the grout. For this, the seams are wiped with a damp sponge or fine sandpaper.
Cut the seams. This work can be done with a grinder.
Pry the tiles
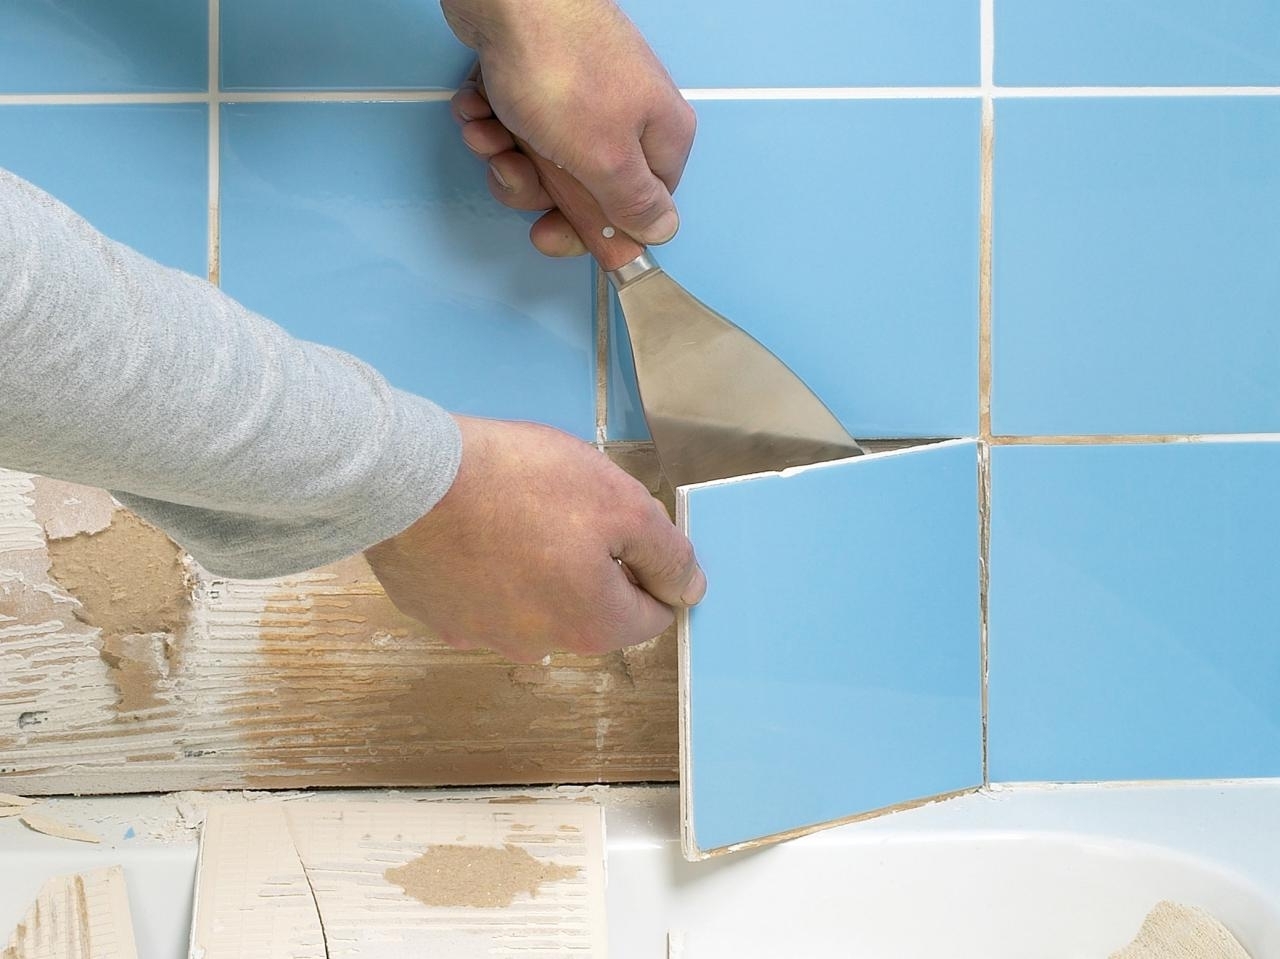
Use a small spatula to gently pry the slab.
Get rid of the remains of the base. When the boards are removed, the surface is cleaned from the remnants of glue or cement.
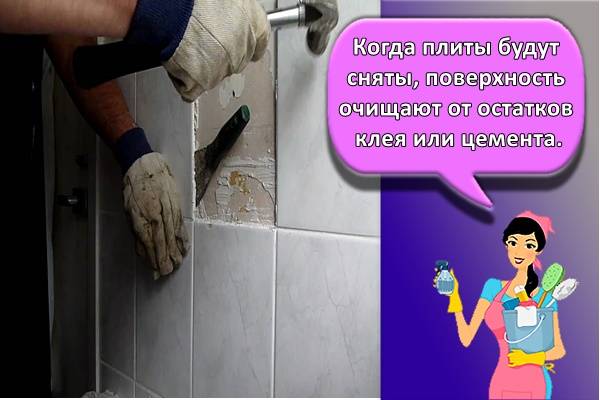
How to remove tiles without damaging adjacent tiles
There are several useful recommendations that will help you to neatly get rid of the tile:
You cannot try to tear off the tile from the surface by force, especially if it does not give in initially. This can break the tiles that are laid near the stove.
It is recommended to loosen the fastening of the tile material in advance.
To do this, carefully pry the edges of the material with a chisel or spatula.
A hammer drill and other electric tools should not be used, as they will damage the material.
Perforator
To remove tile material with a perforator, adhere to the following recommendations:
- Working with the tool is carried out at an acute angle. This is done so as not to damage the base and surface of the wall.
- Dismantling work should be done from top to bottom. If you do the work the other way around, the tile located on top may collapse.
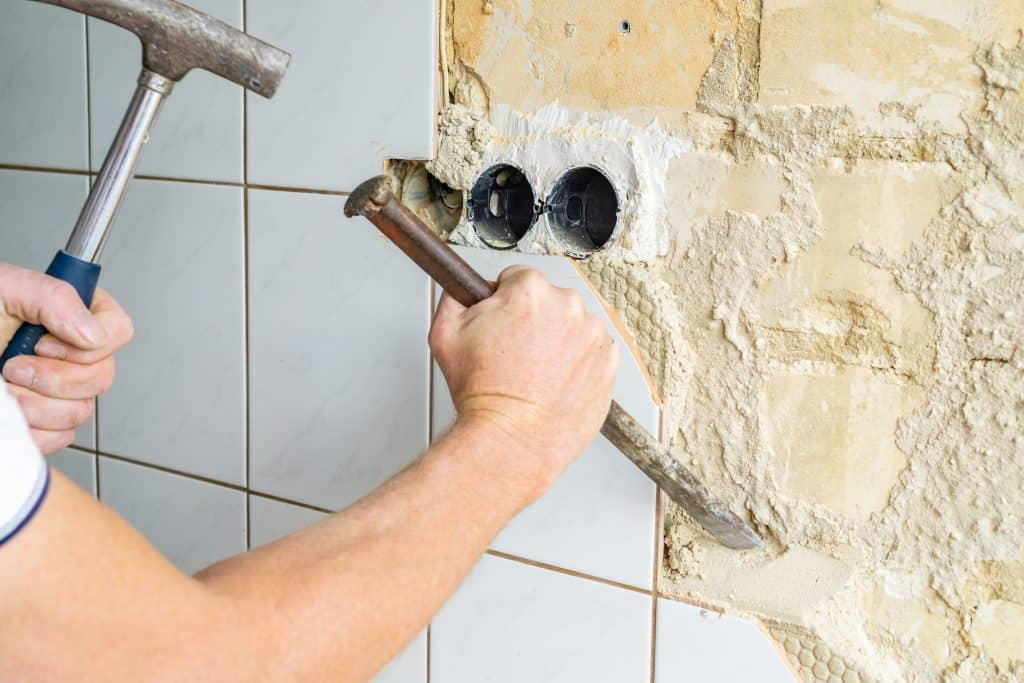
- To beat off the tiles laid over the communications, it is better not to use a puncher. A chisel and hammer are used instead.
With metal hooks
A common way to remove ceramic tiles is to use iron hooks. This method is used to gently dispose of tiles. For the manufacture of hooks, hard wire or unnecessary screwdrivers are used. Before using the iron hooks, you need to get rid of the inter-tile grout.
Then metal products are launched under the tile, pry it off and carefully remove it.
Dismantling process
The choice of dismantling method will depend on two factors: what material the previous cladding was mounted on, and how urgent is the need to keep the tiles intact.
How to remove tiles without damaging them
The tile will most likely remain intact, for which special glue was used to fix it. It is recommended to start work with tapping - this will help to find places where there are voids and where the tile is weak.
These areas should be dismantled first - this way the work will go faster and it will be possible to avoid the sudden collapse of the whole piece.
It is preliminarily recommended to process and carry out curettage of the seams using the method described above. Then, prying the edge of the tile with a chisel, carefully chip off the product, being careful not to damage it.
Advice! If “weak” spots and voids in the cladding are not found, dismantling starts from the top row of the masonry.
With a hammer and chisel
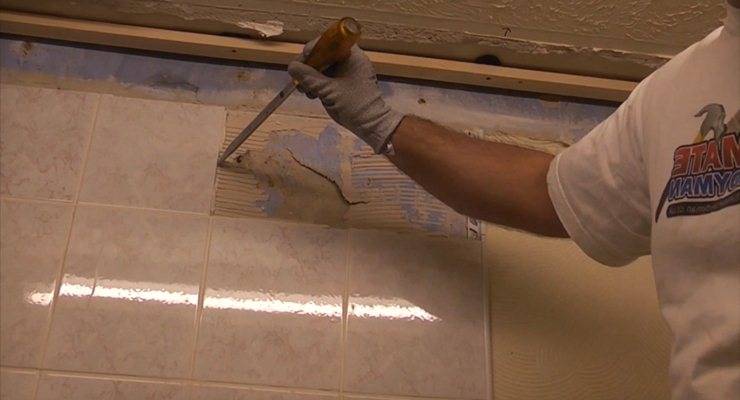
Dismantling with a chisel is a versatile and reliable method that allows, with a certain skill, to partially keep the ceramic products intact. But for this you need to “feel” the tool, find the angle at which it will pry the tile in the best way.
As a rule, the optimal angle is 45 ° - in this case, the chisel will act as a spacer between the plane of the wall and the tile.
The chisel is inserted between two horizontal rows so that it is possible to pry off the top tile.To begin with, make a recess in the center of the tiled end, then on the left and right sides at the edges.
When the indentations are ready, the chisel can again be slipped into the central part of the tile - the tile should move away.
If it was not possible to remove the facing element the first time, you will have to help yourself with a hammer. They hit the chisel several times, each time increasing the force of the blow and trying to break the tiles off the wall.
If the tile does break, it should be cut diagonally with a tile cutter and boldly removed with a power tool.
Perforator
The use of a hammer drill significantly speeds up the dismantling process. True, in this case, you will have to forget about the safety of the tiles - the coating is removed once and for all. It is best to choose a chisel from the nozzles - this is how the tool will work by analogy with the previous method.
After turning on the punch, the nozzle is gradually driven into the gap between the tile and the wall.
By adjusting the rotation speed of the nozzle, you can more accurately calculate the impact force without damaging the wall.
Using metal hooks
Even the most convenient and modern rock drill will not help if you have to dismantle in inaccessible places. Hand-prepared metal hooks bent with the letter P. will help to cope with the task.
Advice! Hooks can be made from old knitting needles, strong wire, and even old thin screwdrivers.
Dismantling is carried out after the joint grout has been soaked and removed. One edge of the hook is slipped under the bottom of the tile, and the edge of the second hook is slipped under the top. By pulling the hooks towards yourself, you can easily break off the element and even leave it intact.
But this method is only good for glued, well-laid cladding.
Room preparation
Dismantling the cladding material is difficult and dusty. Pieces of tiles fall to the floor and surrounding objects and can damage the toilet or sink. The bathroom is carefully prepared for renovation:
- take out the washing machine;
- remove cabinets and mirrors;
- hang windows with oilcloth or old rags;
- carefully dismantle the plumbing.
If the toilet bowl or sink cannot be removed, they are covered with an old blanket. A protective blanket is wrapped around the product, and the corners are fastened with clothespins or tape. The fabric and cotton wool soften the impact, so the plumbing will remain intact.
Lay a layer of plastic wrap on the floor, cover it with newspapers on top. The paper prevents slipping and protects against household injuries. Construction tape is glued to the baseboards. Carefully fasten the joints of the film so that dirt and dust do not settle on the floor.
How to remove tiles carefully: drywall and its pitfalls
In most cases, the question is how to remove tiles from drywall. it is rather difficult to solve - it would be more accurate to say that it is not being solved at all. The glue adheres so firmly to its surface that drywall deteriorates along with it. If we talk about one or more tiles, then this is still fixable - after removing the glue, the damaged area of the drywall is cut out and replaced with a new one. But what if we are talking about replacing all the tiles in the bathroom, laid on drywall? Here we can only rely on luck and not very responsible craftsmen.
In any case, you need to try - the method is the same as described above. A chisel is driven between the glue and the tile, and the tile, in theory, should fly off by itself. If not, then you will have to gnaw it along with the plaster. At the end of the dismantling work, you will have to assess the damage done to the drywall and decide how to deal with it. It might make sense to replace it with a new one. Here, the remainder of the glue on the drywall can also play a role - you can, of course, remove it, but this process is quite laborious. In fact, it will not have to be removed, but gradually cleaned off with the help of special attachments for the grinder
And you need to do this very carefully.
The process of removing tiles from drywall in the bathroom
If the tile was laid on drywall under a comb, then the old glue can be left - in such a situation, the walls are primed and covered with a thin layer of mortar, which will hide the unevenness left by a notched trowel
With this approach to business, special attention should be paid to the strength of the old glue - if it crumbles or does not hold well, then the risk that the new tile will not last long is very high
At the end of this topic, we will consider the question of how to remove the adhesive from the tile. Here you can go in two ways - easy and difficult. In one situation, when we are talking about just a few tiles, the problem can be solved with a hammer and chisel, and in another case, when it becomes necessary to clean a large amount of tiles, it is better to use a special grinder attachment.
In the case of a hammer and chisel, it is better to pre-soak the tile in water for at least 20 minutes, or it is better to immerse it in liquid overnight - after such water procedures, it will be much easier to separate. As for the grinder attachment, it is better not to use it at home, since this work is very dusty. In any case, you will need to purchase a respirator, goggles and, of course, gloves that will protect your hands from injury.
The hammer drill is the first assistant when removing tiles on a large area
Finally, a few words about how to remove an old tile in a bathroom in a single copy - I hope you have already understood that such a trick cannot be performed accurately. Even if you manage to remove the necessary tile intact, then you will necessarily damage the neighboring one - perhaps you will not split it, but chips are guaranteed in such situations!
It is possible to remove one old tile without damaging the neighboring ones, without additional processing of the tile joints, only if the tile was recently laid
To do this, you first need to clean the seams - either a screwdriver or a special knife with replaceable diamond blades will do. When the seam is cleaned, the tile is carefully poked with a chisel or chisel, while it is better to wrap the tool with electrical tape so that the metal does not chip on the adjacent tile. In any case, when performing a single tile replacement, make sure that there is something to replace and one more tile.
This is how things stand with the question of how to remove tiles from the wall. How much you succeed in this fully depends on your skill and, of course, on the quality of its styling and other factors mentioned above.
How to carefully remove the tiles from the bathroom wall without breaking it, see the video.
Watch the video clip showing the process of removing old tiles during DIY repairs. How to remove a tile and not break it video.
How to remove mortar / adhesive from tiles
We figured out how to dismantle the tile, but often it comes off with part of the glue or mortar. If the solution is still somehow amenable to cleaning, then it can be very difficult to remove modern tile adhesive with polymer additives. There are several ways:
- Mechanically. With a chisel, an old screwdriver, a small hammer. We put the chisel at an angle, knock on the handle.
-
Small angle grinder with a diamond disc for concrete. Removes quickly but very dusty. It is best to work away from the premises.
- If there is a small layer of glue, a petal disc should be installed on the angle grinder. Dust is not less, but you can carefully remove a thin layer.
- Concrete solvent ATLAS SZOP. Inorganic acid that corrodes glue, cement-sand mortar.
- Can be treated with sulfuric acid solution. But not with pure acid, but by adding 3 parts of water. Work should be done outdoors.
Please note that after chemical treatment, the glue / solution will still have to be removed mechanically, but it comes off easier.
Removal technology
First you need to prepare the place. This is the only way to remove tiles quickly and accurately.
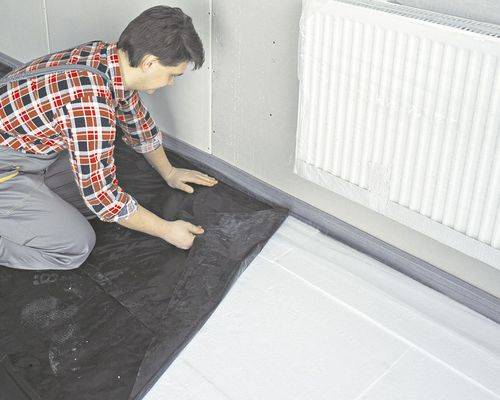
You need to lay plastic wrap on the floor, but first you need to take out everything that is possible.If it is possible to remove the sink, it is better to do it. Otherwise, cover the bathtub and washbasin with foil. In this case, it is worth taking care of their safety if fragments fall on objects. To do this, you must first cover the products with a soft blanket, and only then - with a film. Thus, the plumbing will remain intact and it will be convenient to collect the garbage.
It is necessary to start removing the tiles from the top row, moving to the bottom. This will gradually remove the pieces from the wall.
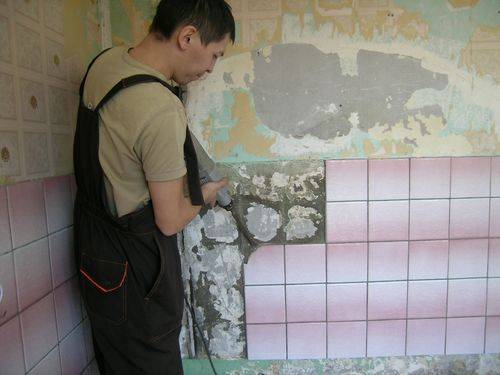
The tile needs to be picked up with a chisel or chisel from the edges. If it is physically difficult enough to do it manually, then using the necessary technique - a perforator - the procedure turns into a matter of time. In some cases, if a layer of adhesive holds the tile securely, you have to break it first. For this, a hammer is used. When the tile cracks, it is much more convenient to disassemble it in parts.
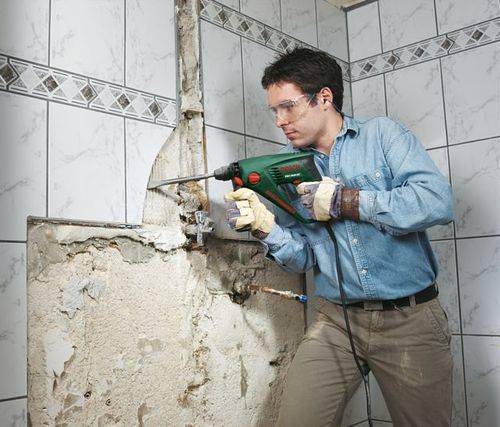
When all the tiles are removed from the surface, you can start removing the layer of glue. You need to achieve a flat surface. In the process, it is worth moistening the coating with a damp roller or brush to reduce the amount of dust.

