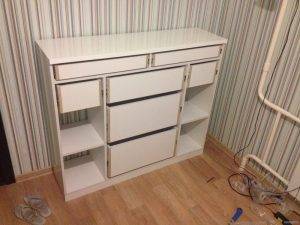
Dresser assembly process
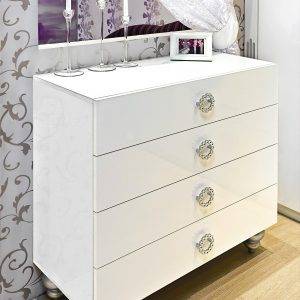
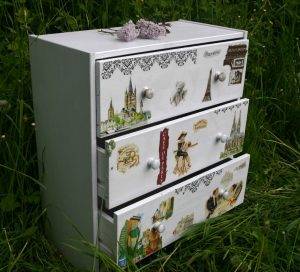
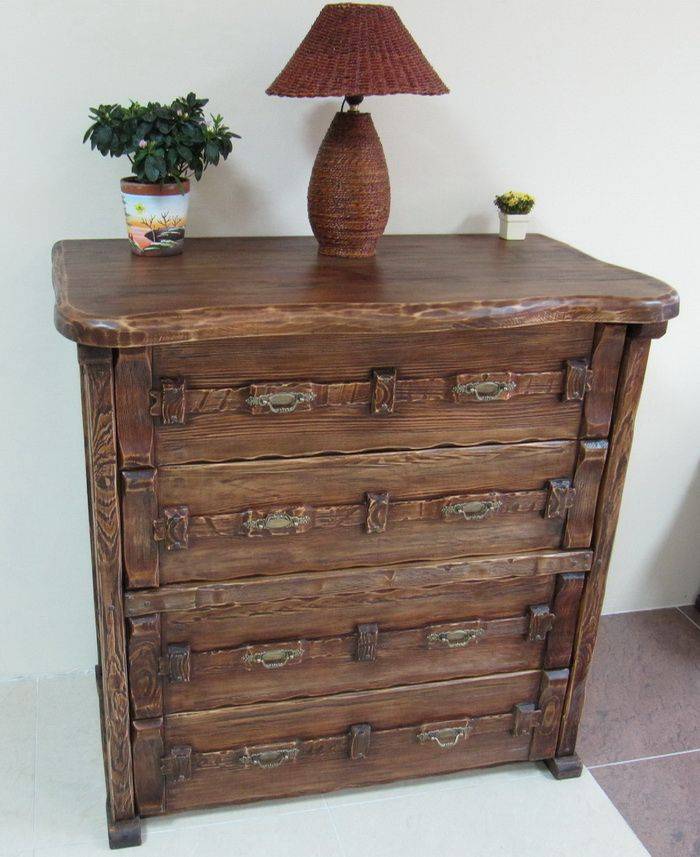
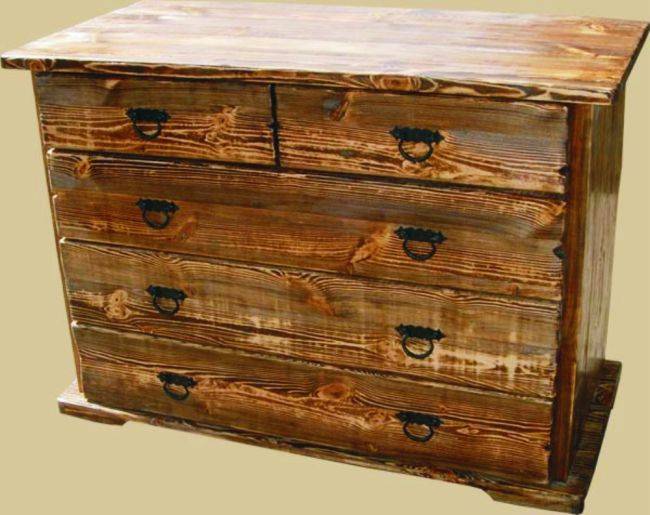
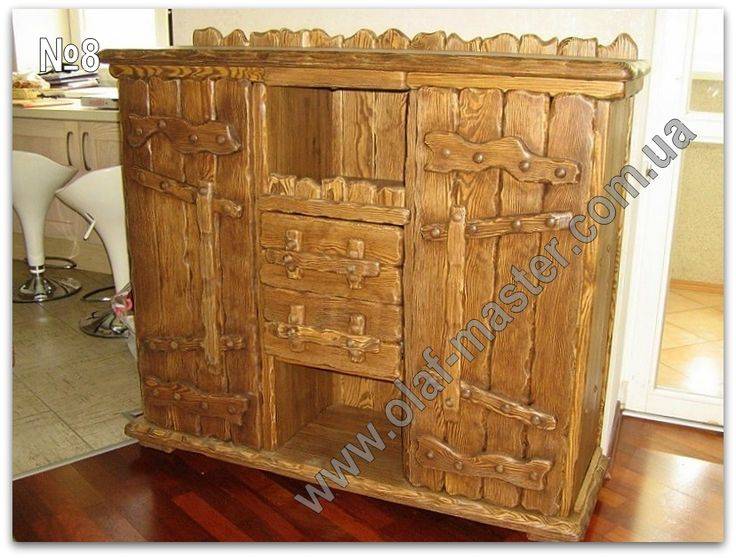
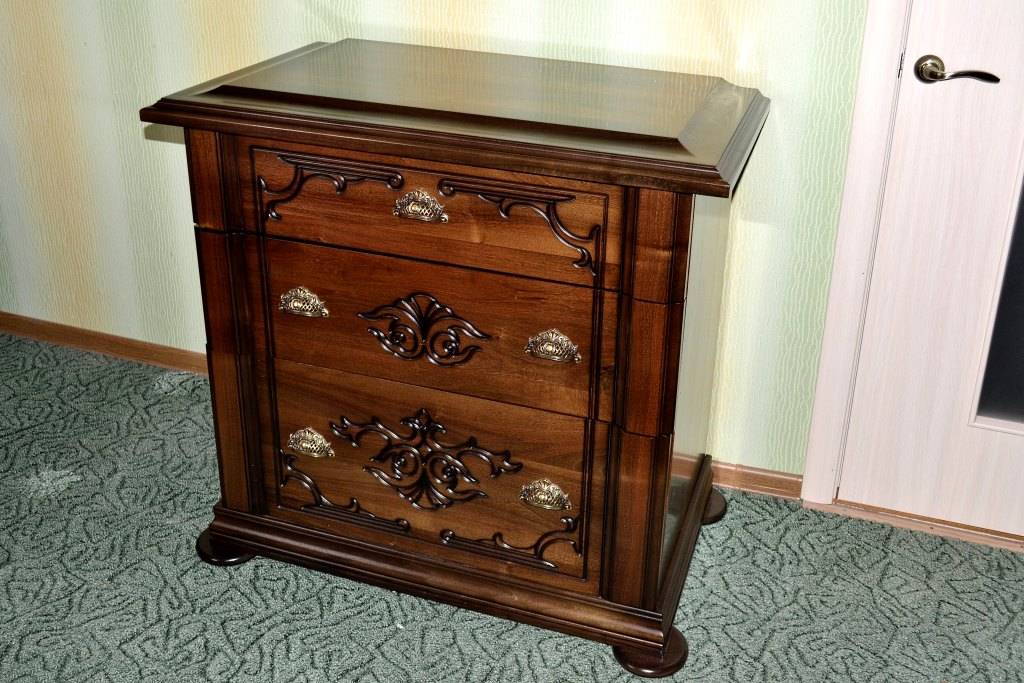
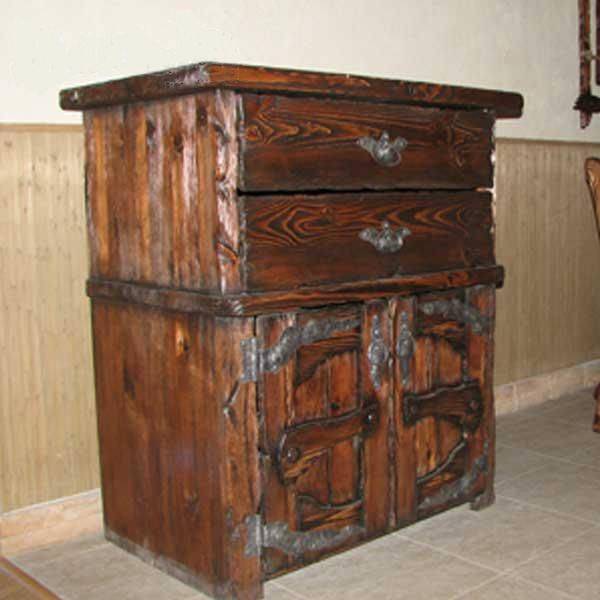
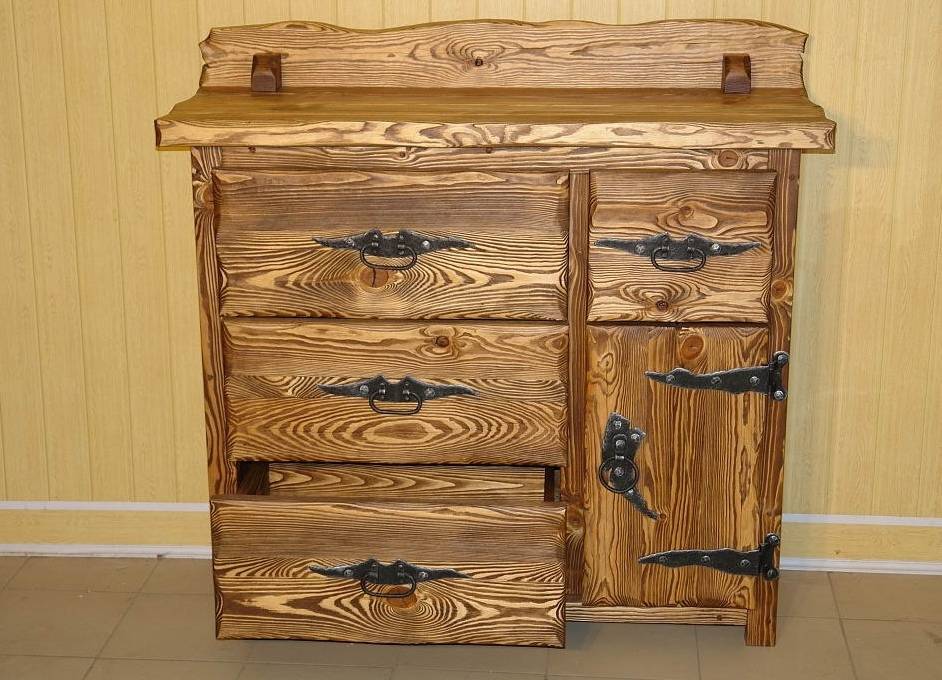
To fully understand the topic - how to make a chest of drawers with your own hands, it should be noted that there is a wide variety of such furniture. All products differ not only in design, but also in purpose. For example, an ironing chest of drawers is designed not only for storing things, but also for ironing linen, and the vintage version will be ideal for people who like to add antiques to their interior decor. The same can be said about the Provence style chest of drawers.
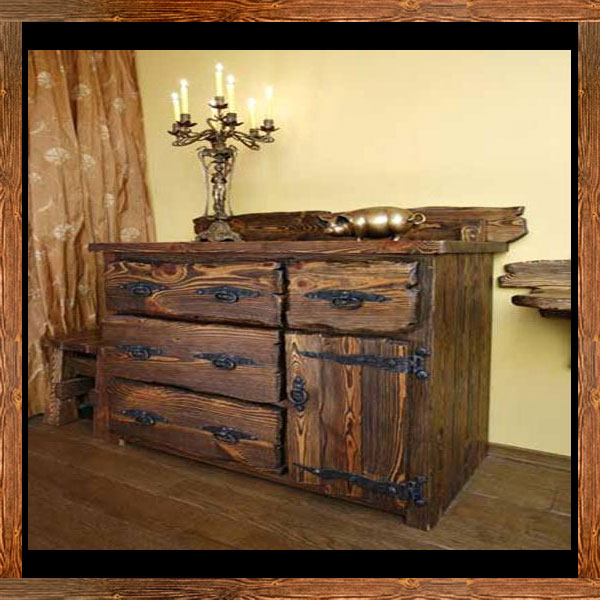
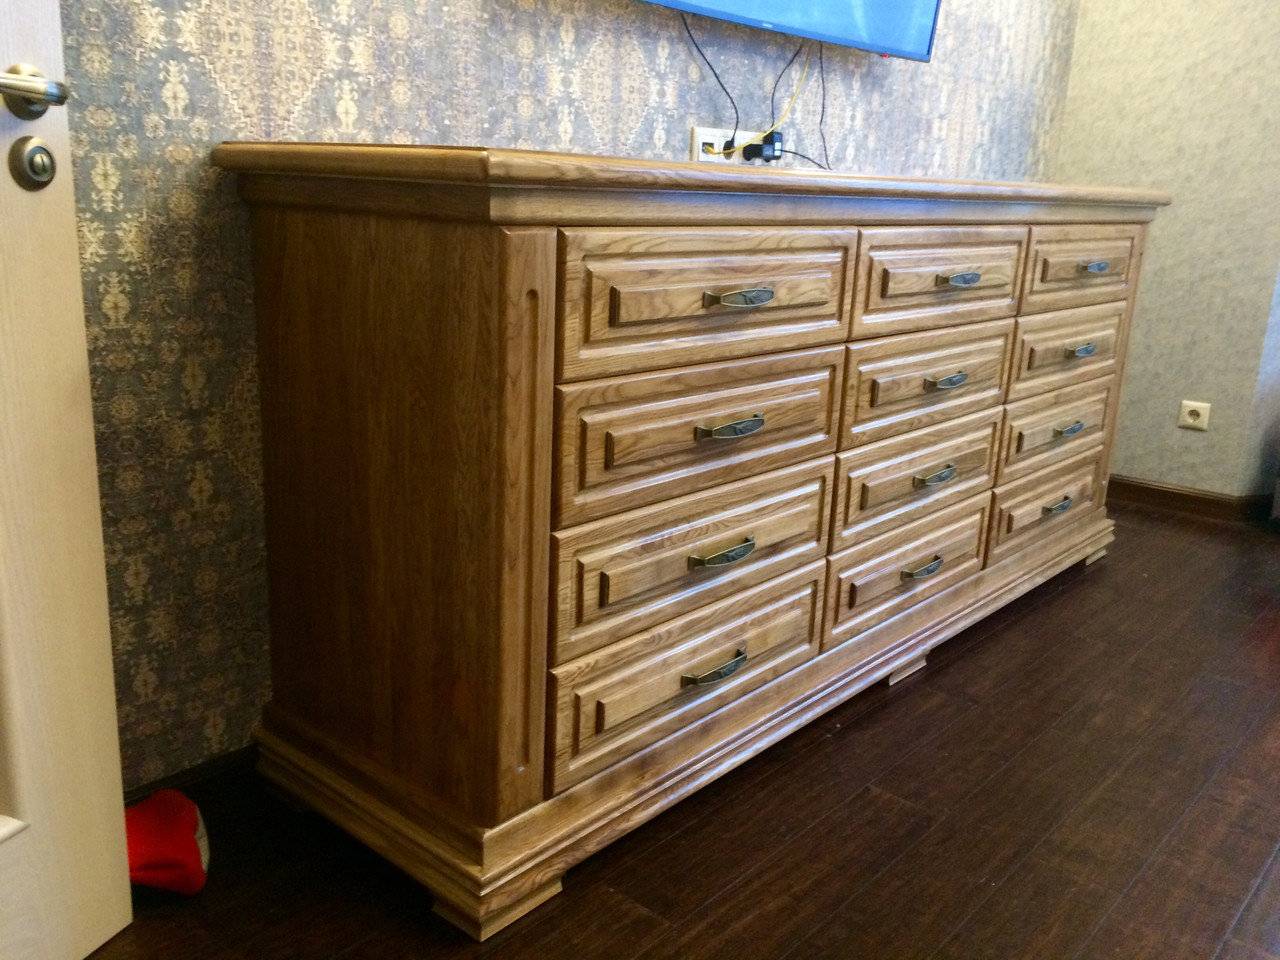
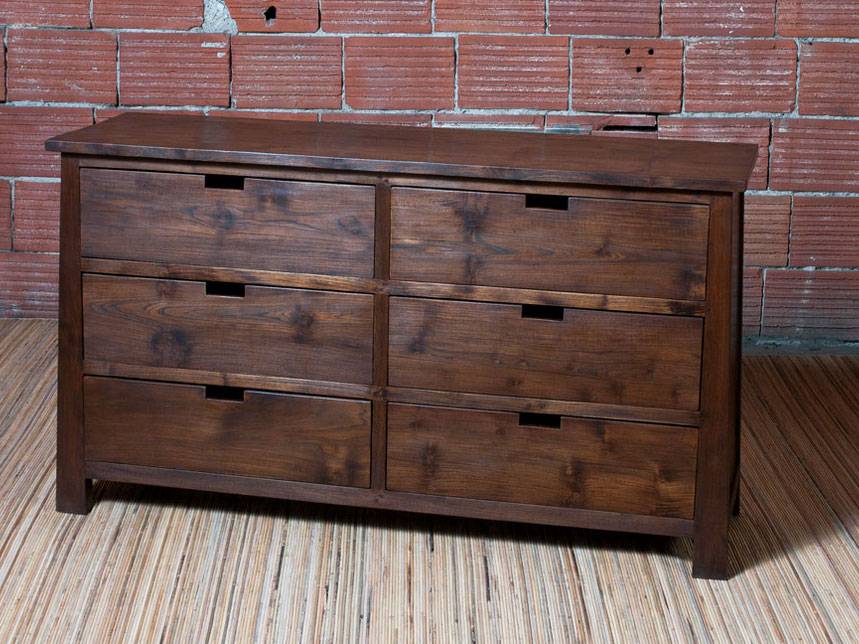
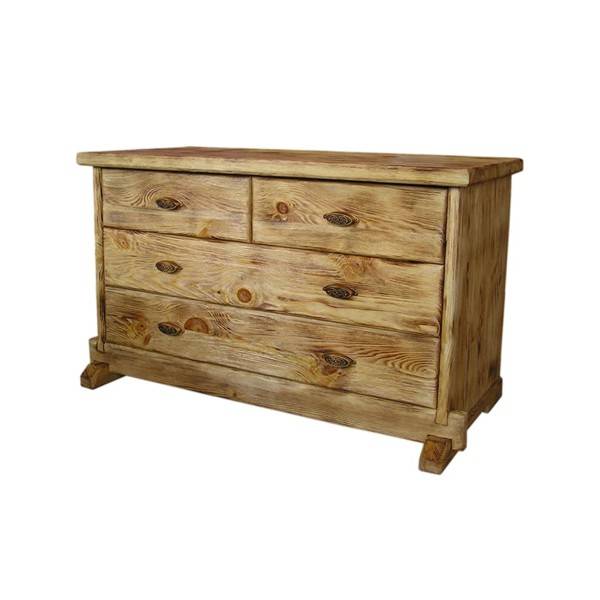
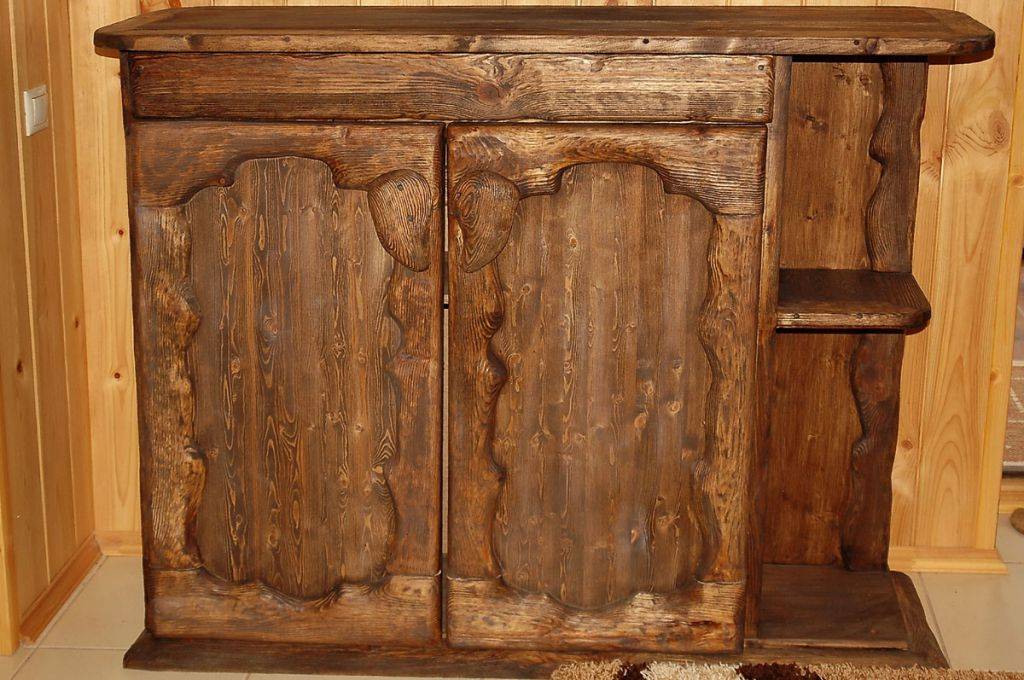
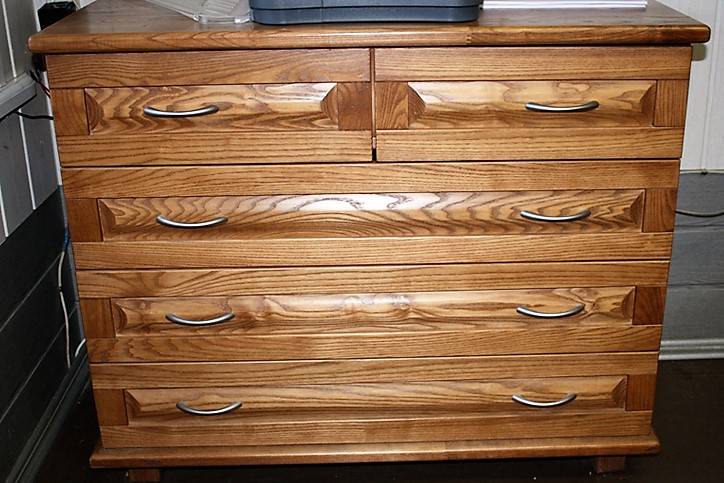
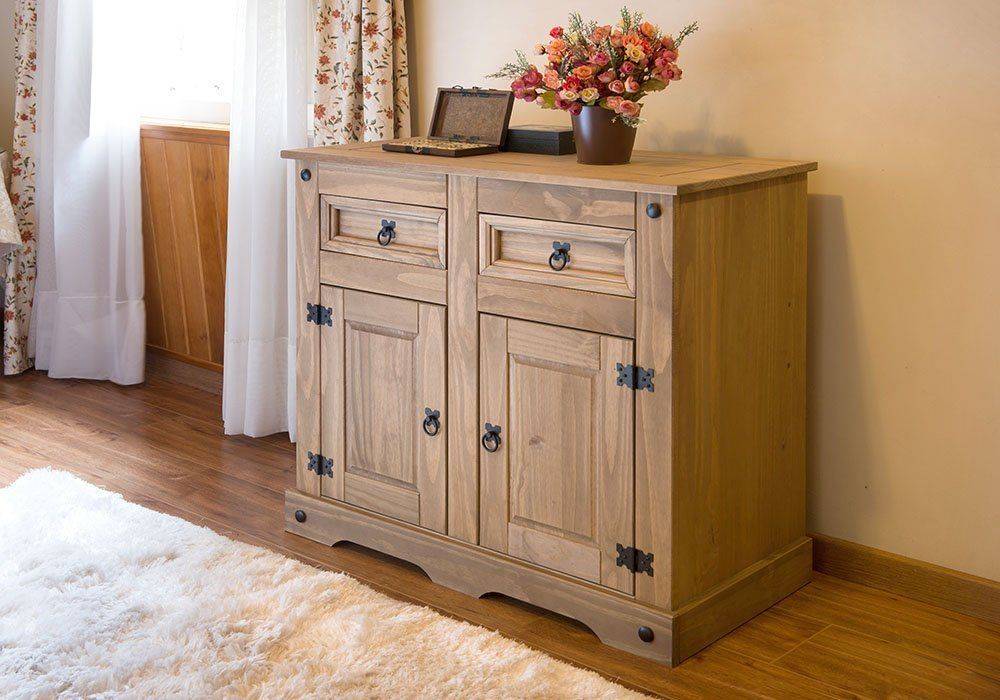
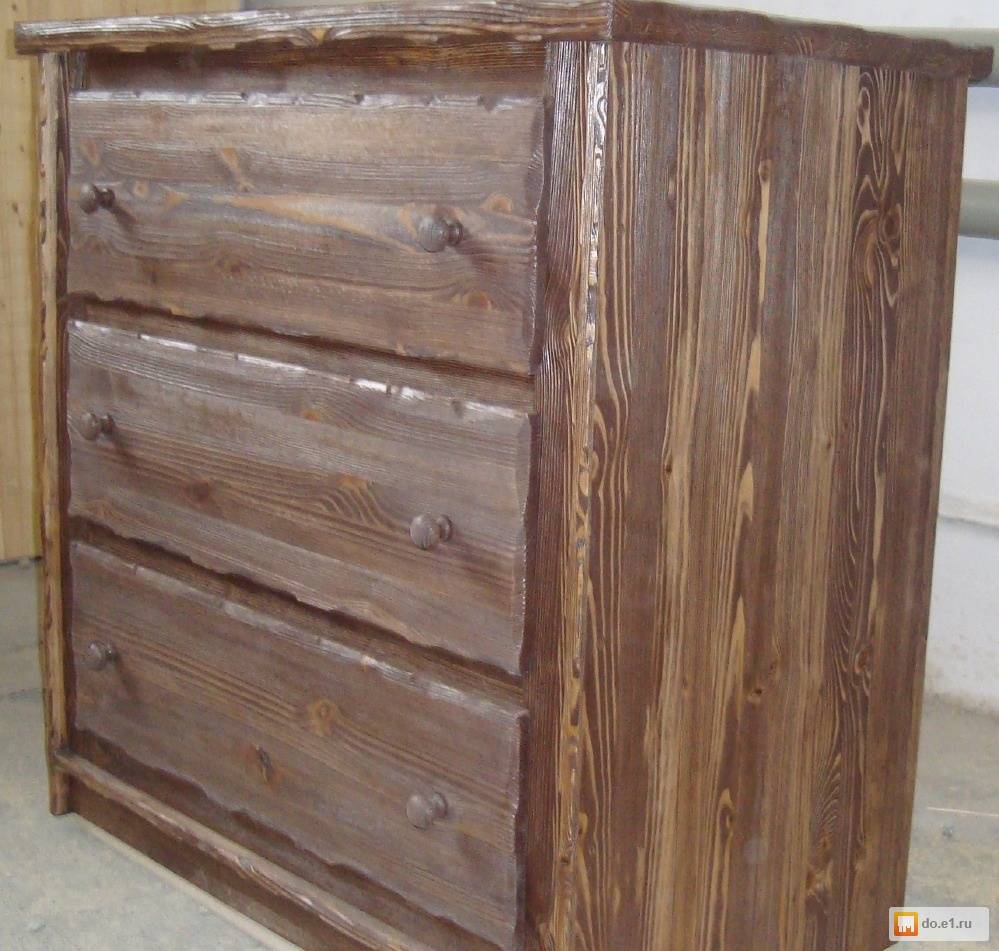
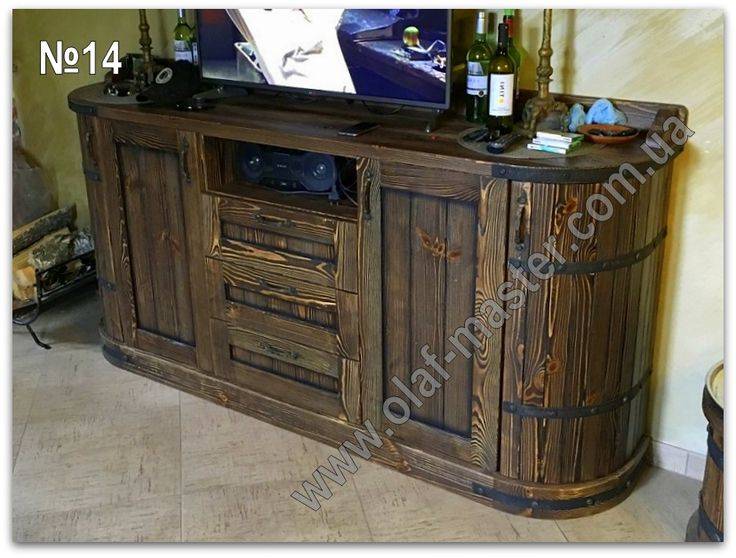
If you want to diversify the interior with rustic romance, such a piece of furniture made in the style of Provence with your own hands will turn your home into a miniature village. When making a dresser for a bedroom, wood should also be preferred. Its original natural texture gives the space a sense of aristocracy and warmth.
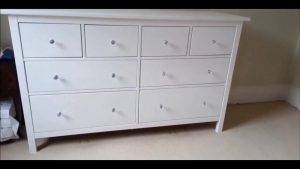
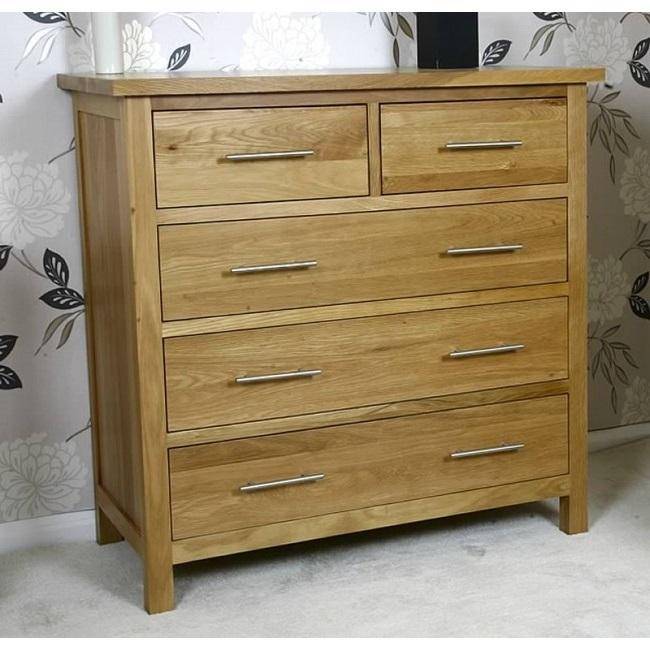
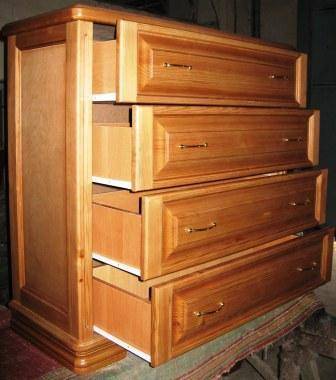
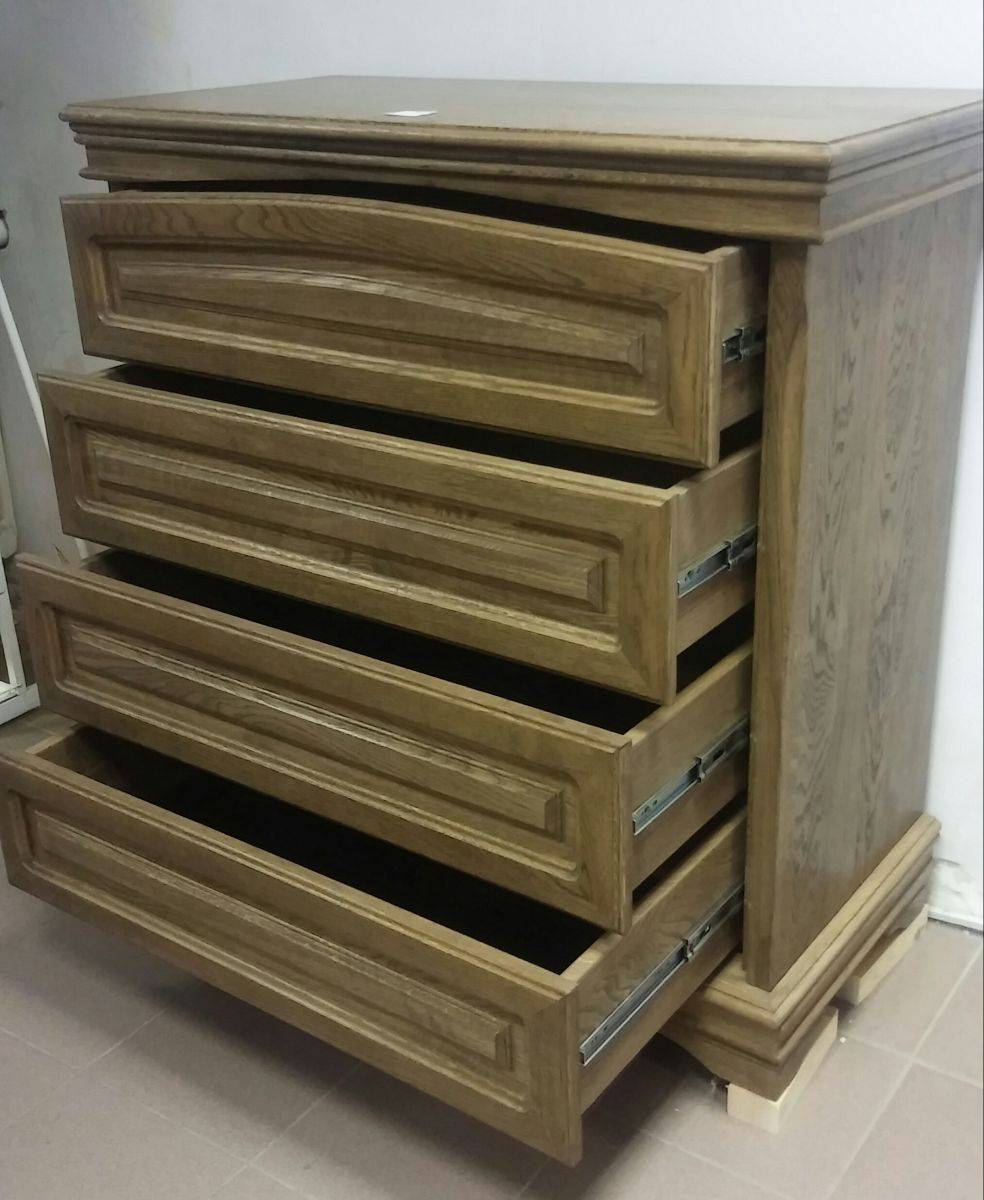
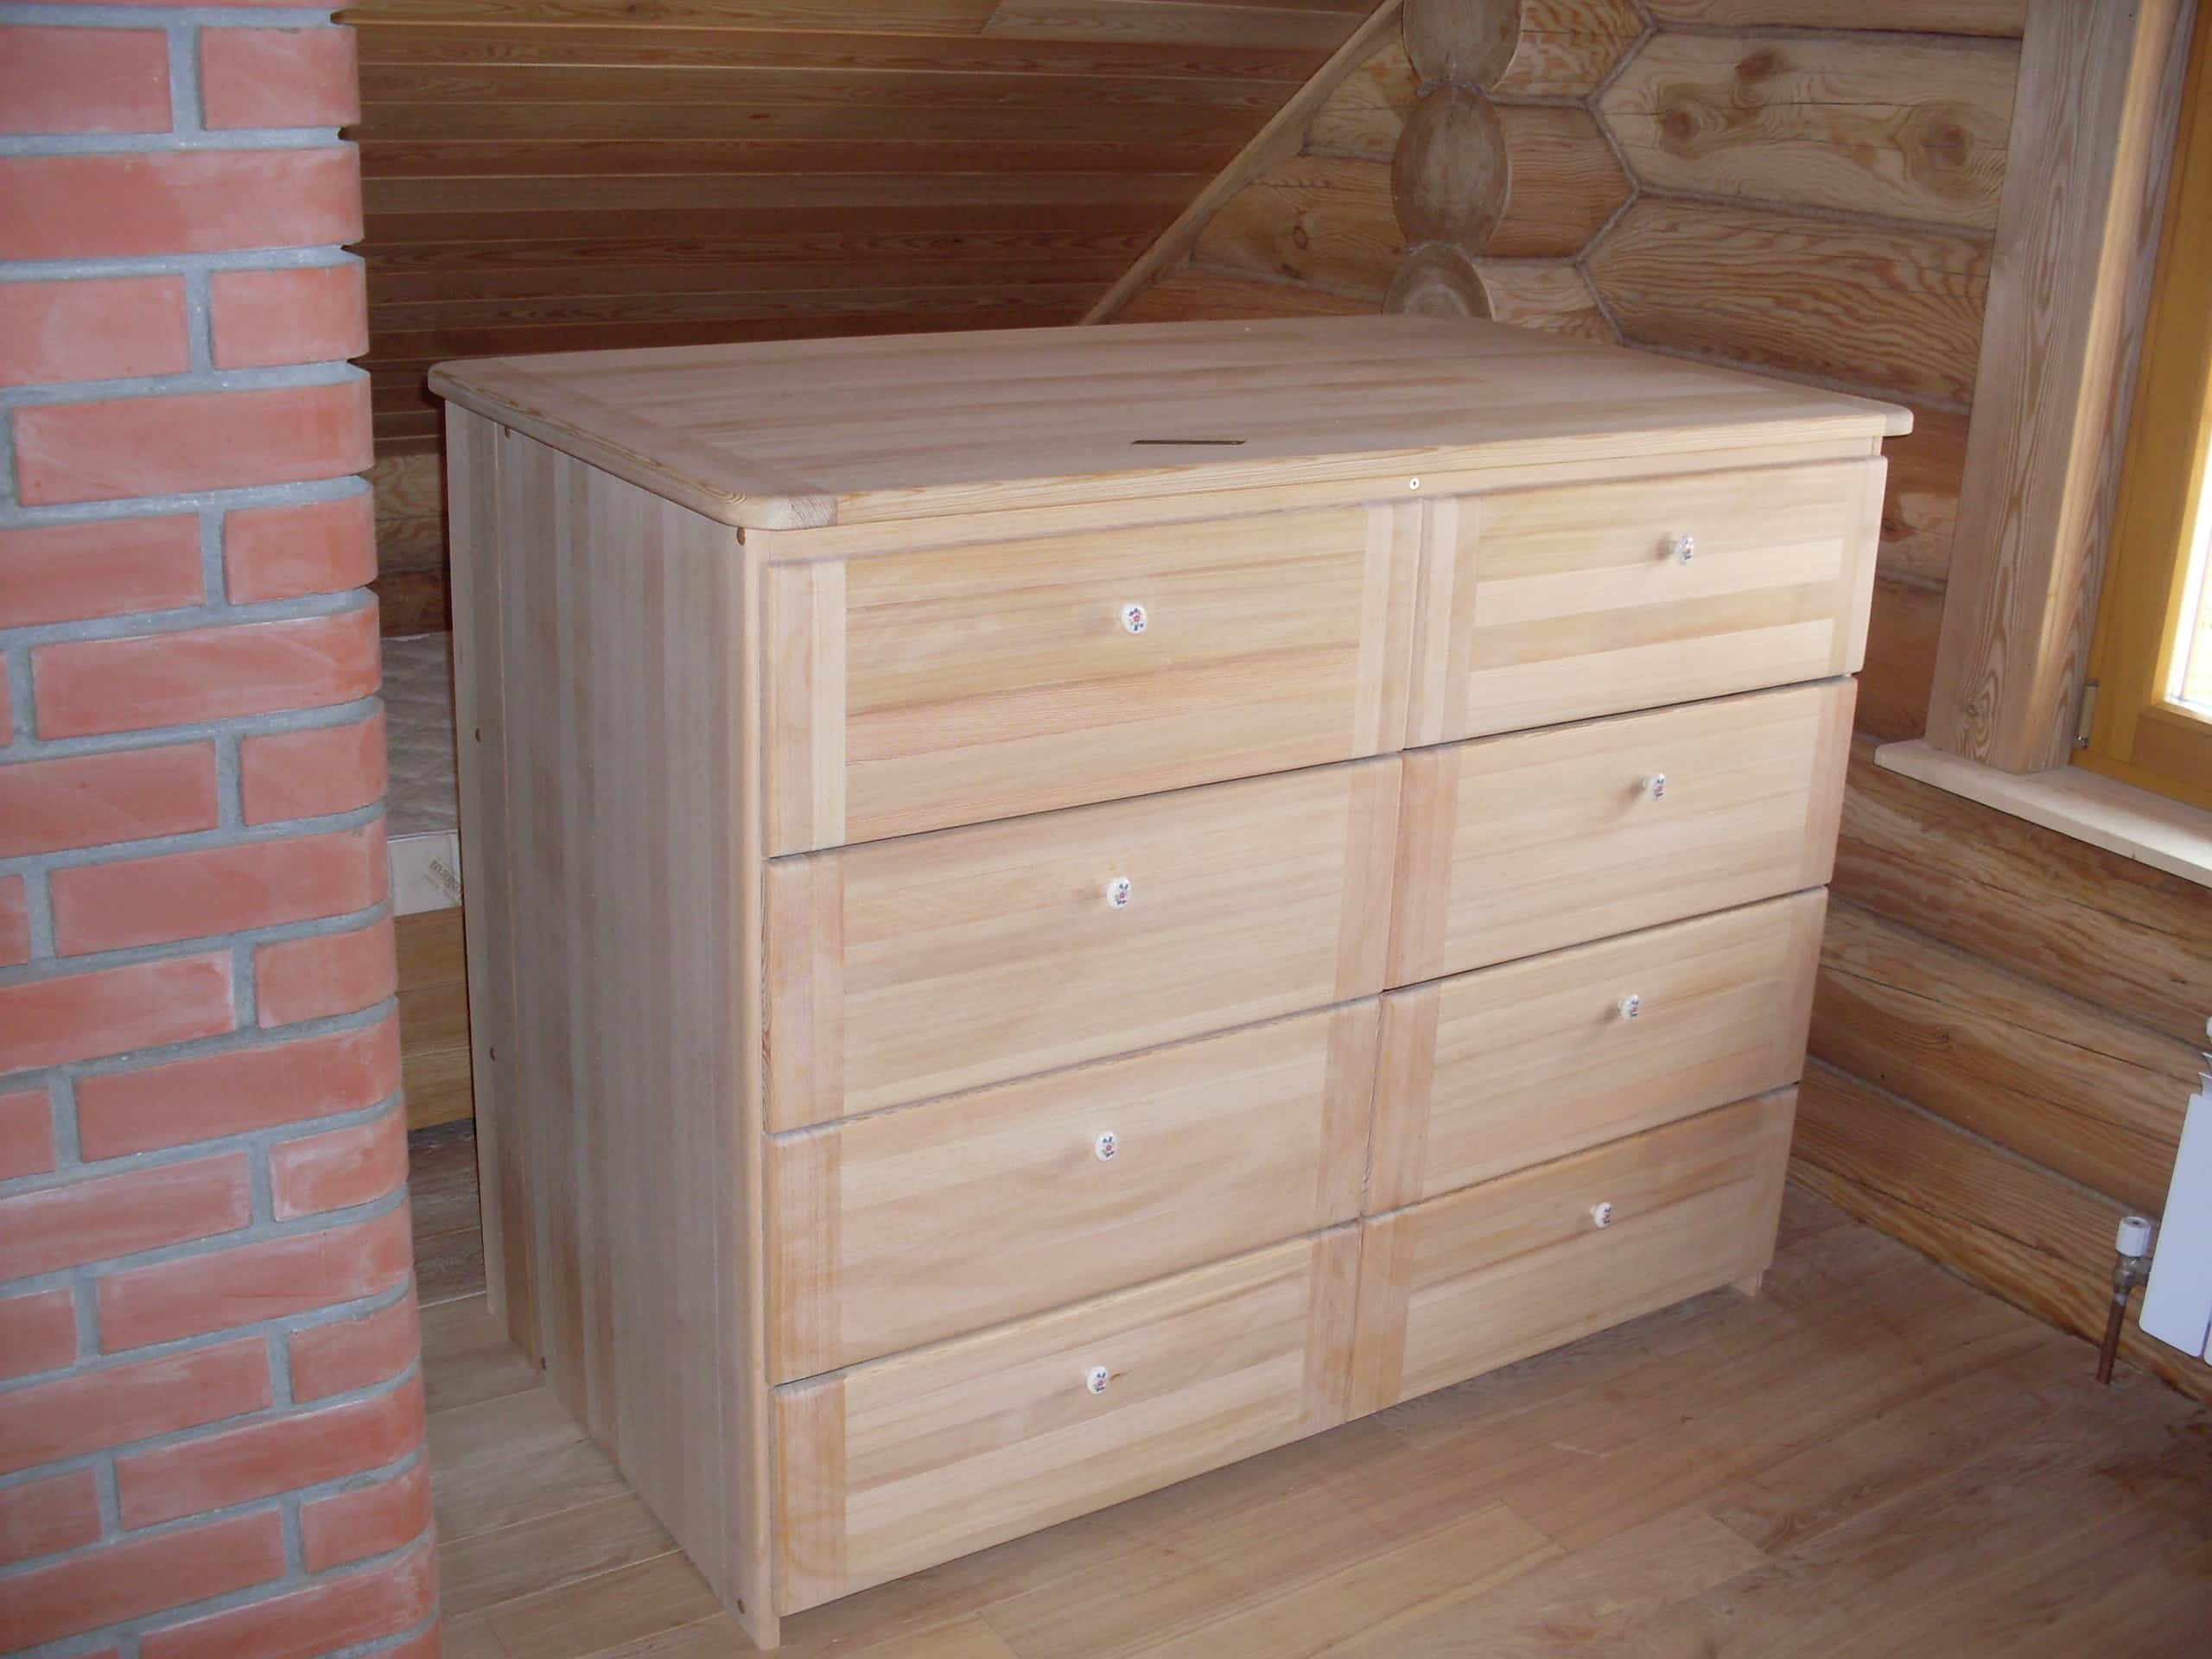
A chest of drawers made of wood consists of 4 main parts: lid, bottom, side and back walls. The assembly process involves several stages:
- mounting in the lid and bottom of the fasteners for fixing the side walls;
- assembly of boxes, fastening of guides for them;
- connecting legs;
- fastening the bottom and lid to the side walls;
- fixing the back wall
- installation of handles on drawers, if any.
By following these instructions, you can quickly assemble your creation. Remember that all holes must be made with special tools. Use different drill bits for different holes and materials.
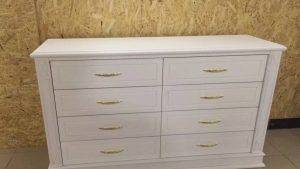
The next step is painting. Figuring out how to paint a dresser is pretty simple. This stage involves the processing of wood with sandpaper, which will allow the paint to lie evenly on the product, and directly to the painting itself.
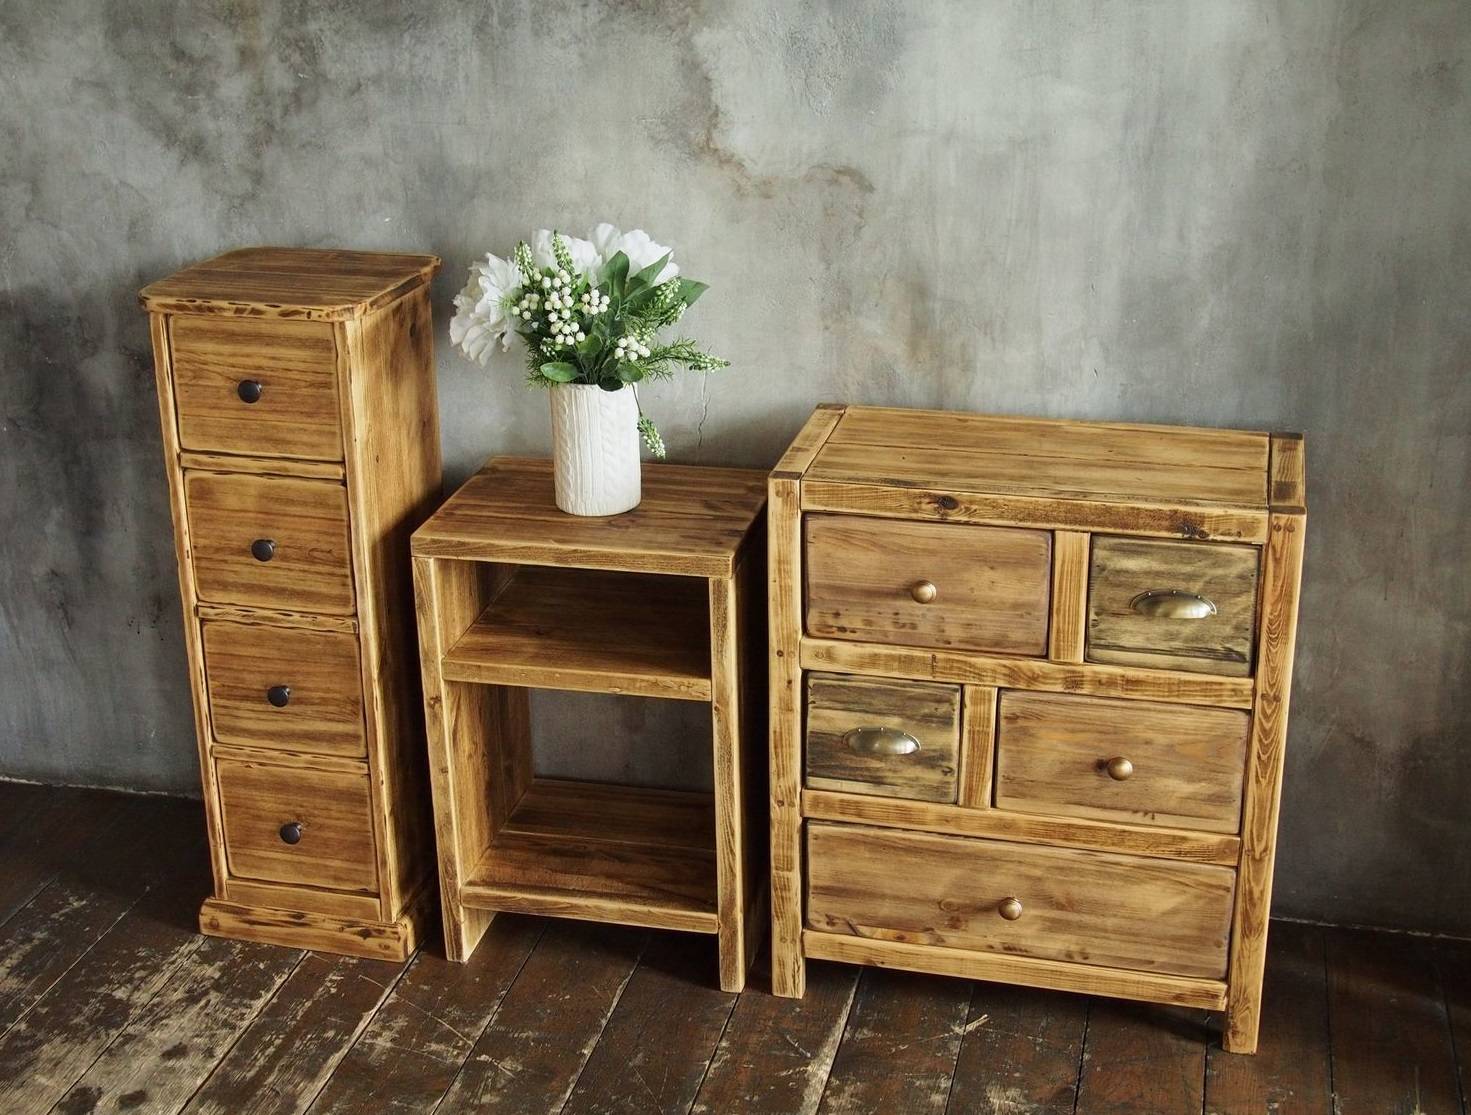
Now you can move the entire structure to the wall and admire your creativity.
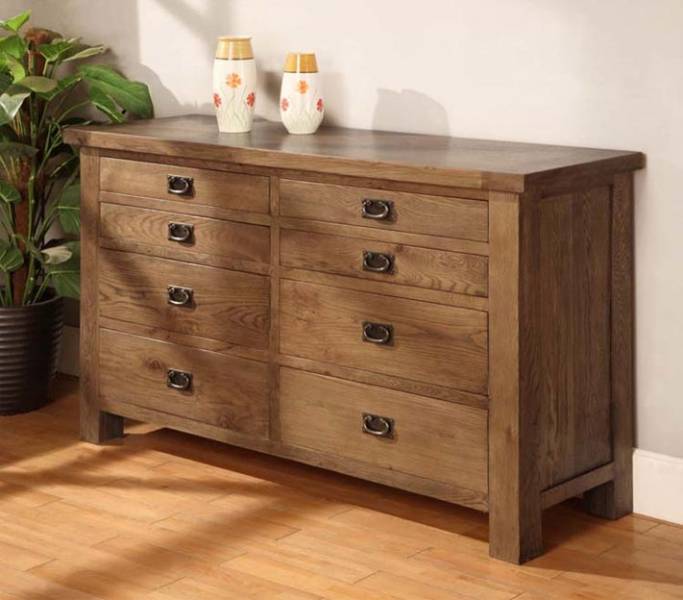
You can put a vase with beautiful flowers or an original lamp on your own painted piece of furniture.
Euro pallets can also be used as the main material.
Manufacturing preparation process
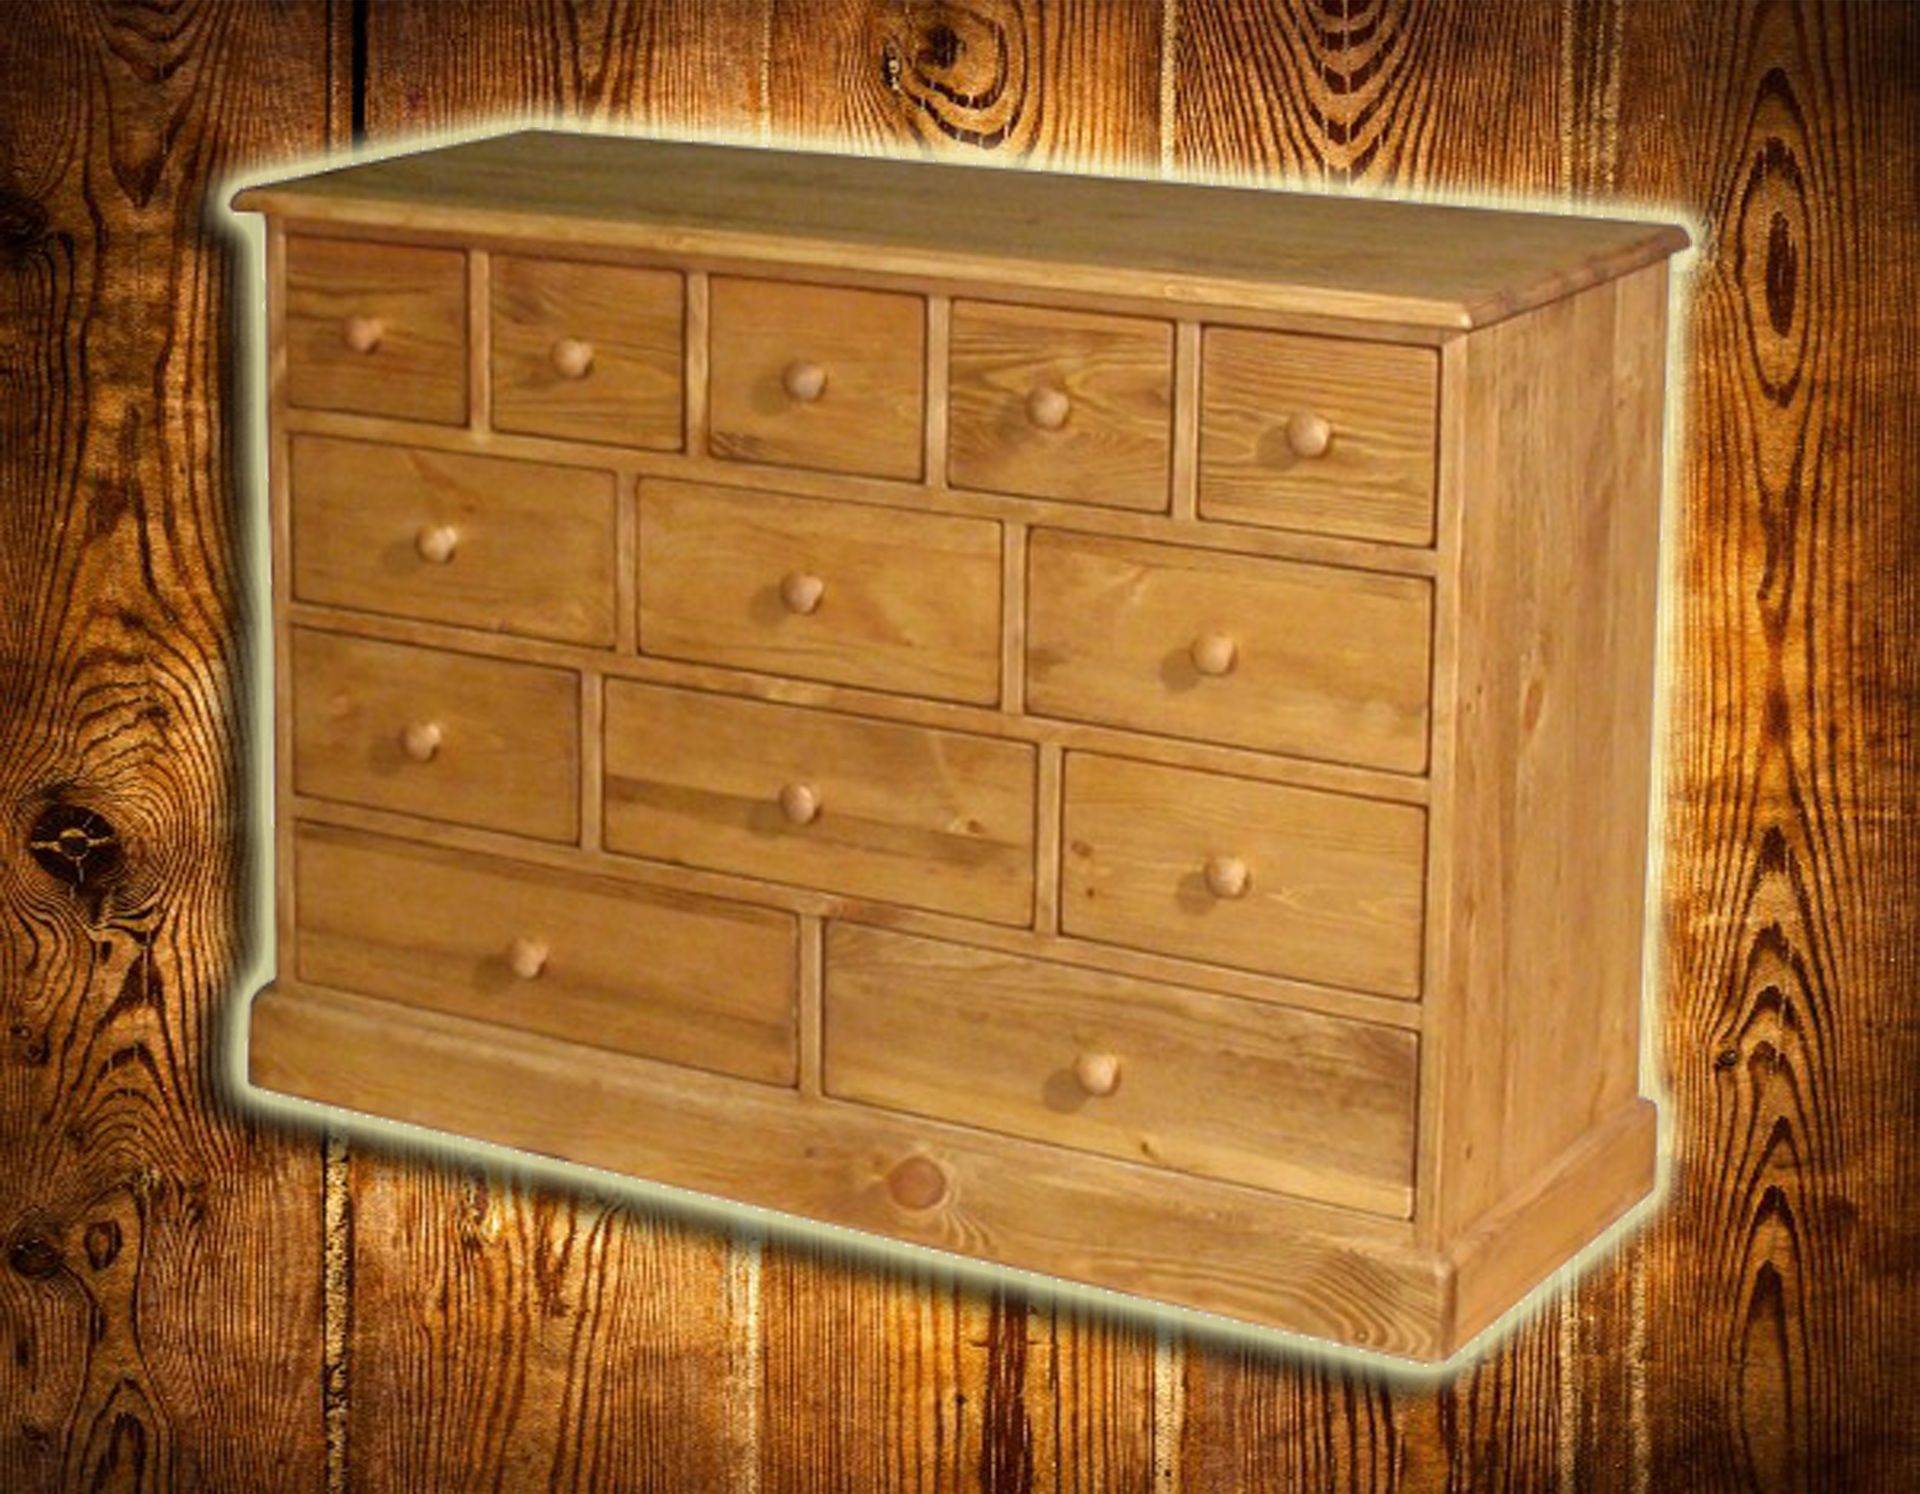
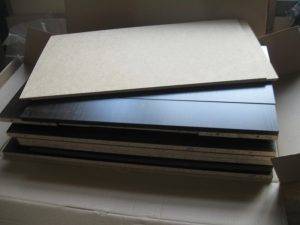
Due to the high cost of industrial products or their low quality, not everyone can afford to buy this piece of furniture, but making it with their own hands from improvised means, including from a furniture board, is within the power of any person who has the slightest skills in this matter ... The process of creating a dresser with your own hands begins with choosing a place and developing a project. Before proceeding with the design, it is necessary to decide on the place of its installation.
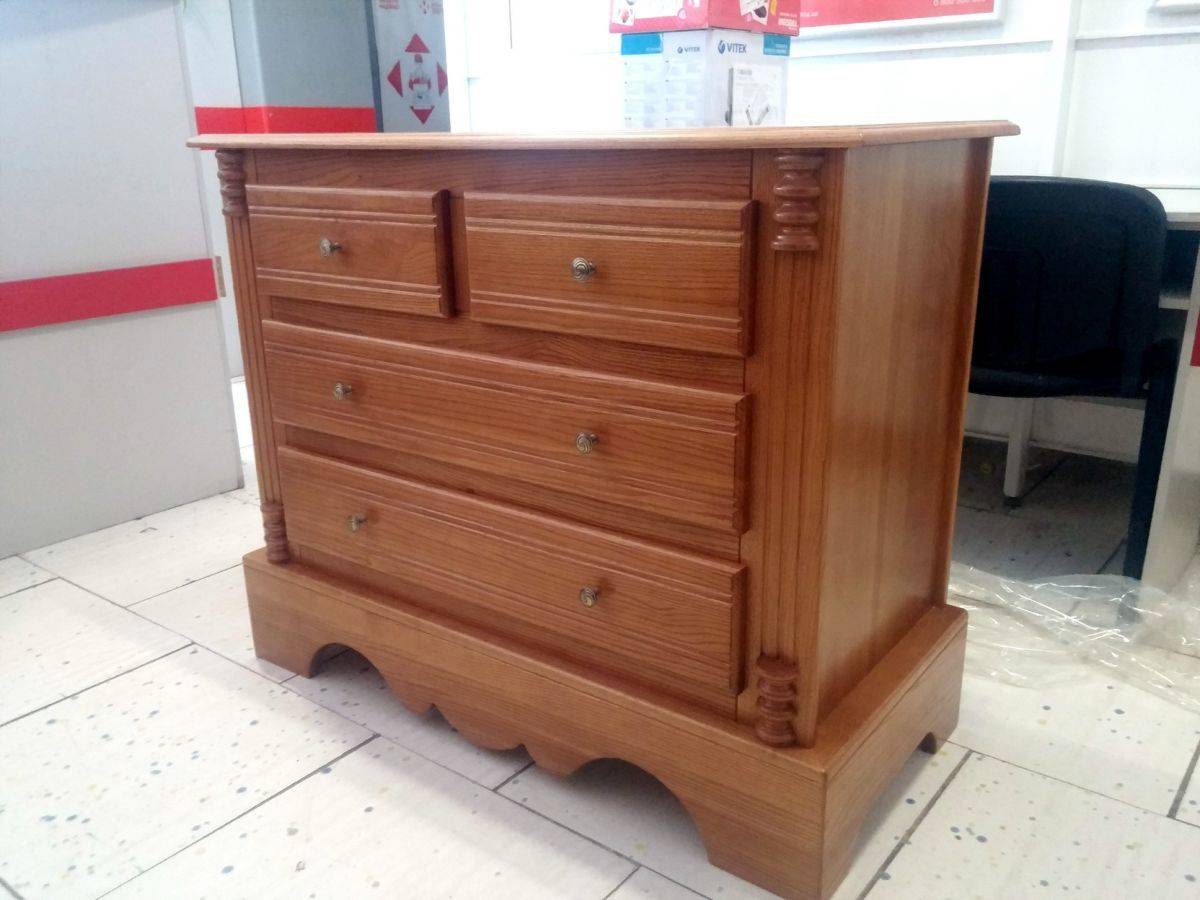
It is necessary to carry out calculations, determine the size of the countertop and start assembling the boxes only after the entire room has been carefully examined. It is necessary to study how the skirting boards are arranged, make sure that there are or are not on the wall switches and sockets. Nothing should interfere with the use of furniture. An equally important point is to determine the size of the product. The optimal height of the chest of drawers is considered to be 80-85 cm, and the width is 80-130 cm. The standard depth of the chest of drawers is 30-35 cm. It is desirable that the dimensions of the product are suitable - the large size of the chest of drawers can disrupt the harmony of the interior.
The third stage is the manufacture of elements
So, you have in your hands a full-fledged, ready-made design of a chest of drawers, where the dimensions of each of its individual elements are indicated in millimeters. You can begin to physically create a chest of drawers at home.


Therefore, the creation of elements is best done in special woodworking workshops, where there are planing and thicknessing machines.

Probably one of your friends' acquaintances has the contact details of a workshop that is loyal to let you in to work on the machines. Do not start work on your own if you have no experience. professional machines pose a rather serious danger to life and health if safety precautions are not followed.
In a situation where there is no opportunity to work in the workshop or you simply do not risk approaching the machines, you can always come to any private furniture manufacturer and ask him for a fee to cut out the necessary elements of the chest of drawers for you.

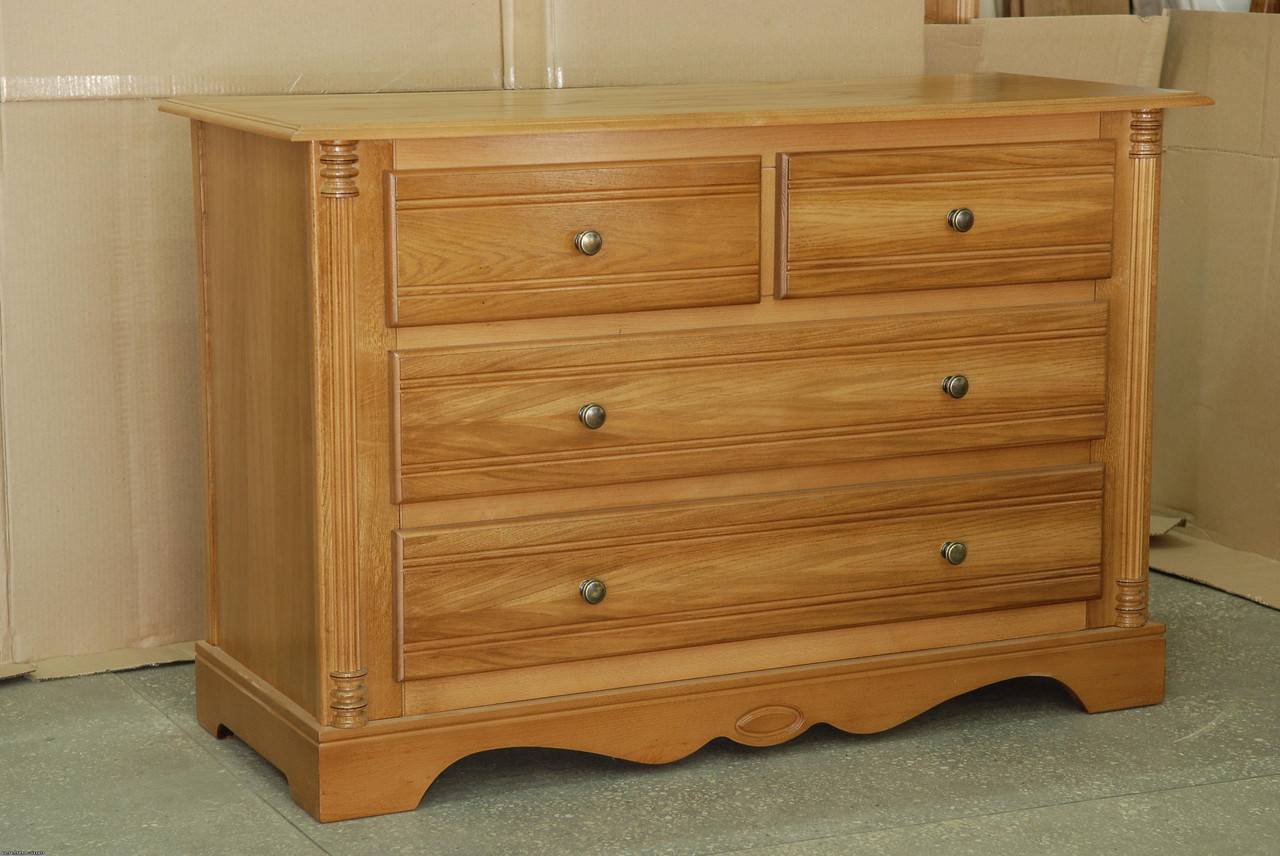
After that, paint the elements, if you like, and, most importantly, saturate with a water-repellent compound and varnish.

The second stage is the creation of the drawing
Making the correct drawing of a dresser according to your sketch can be quite a difficult task if you do not have a specialized education, and school drawing skills have long been lost. To get out of this situation, you can order a drawing from special firms, or completely abandon it by creating a layout in an electronic program.

You can look for help from friends - no, no, but one will turn out to be a master of drawing. But no matter how you create the project itself, you need to understand what exactly will be in it. To determine this understanding, you need to take a few simple steps:


Measure the length and width of the space in the apartment where you want to fit your product. Make adjustments to the dimensions for the presence of skirting boards, as well as the need for free access to sockets and switches. Determine the height of your product, as a rule, chests of drawers are created with a width of 80-120 cm, a length of 100-200 cm and a height of 80-85 cm.

Draw up a detailed drawing of the length, width and height of all shelves and their location in the frame. Remember that the drawer rollers also take up space. It is not recommended to place the bottom shelf close to the floor, because in this case, inconvenience may arise when using it.

If you do not have experience in such work, be guided by the indicators provided: the thickness of the wooden plates is 1.6 cm, the distance from the back wall of the box to the back wall of the frame is one centimeter. The gap between the side walls of the box and the frame must be at least 3 millimeters.

After these manipulations, if you did everything correctly, you will have a full-fledged diagram of the future chest of drawers, from which you cannot now retreat a single millimeter, because otherwise, the whole project may turn into failure.

The fourth stage is the assembly of the chest of drawers
At this stage, you should have in stock all the elements of the future chest of drawers, including slats, guides, rollers, and so on. Now is the time to collect it, for this follow the next step-by-step instructions. Basically, you can assemble it completely yourself, without the help of other people.
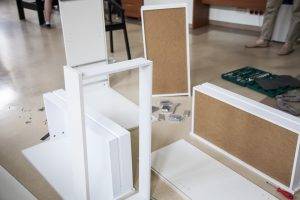

Assemble the frame from rails that are fastened to each other by a system of grooves, or thanks to self-tapping screws. When the frame is ready, place it in the spot you have allocated for the chest of drawers, and make sure your calculations were correct and the product really fits in size.


Now install the side and back walls, be careful not to change the corners of the frame. The walls should be installed easily, without the use of excessive force.

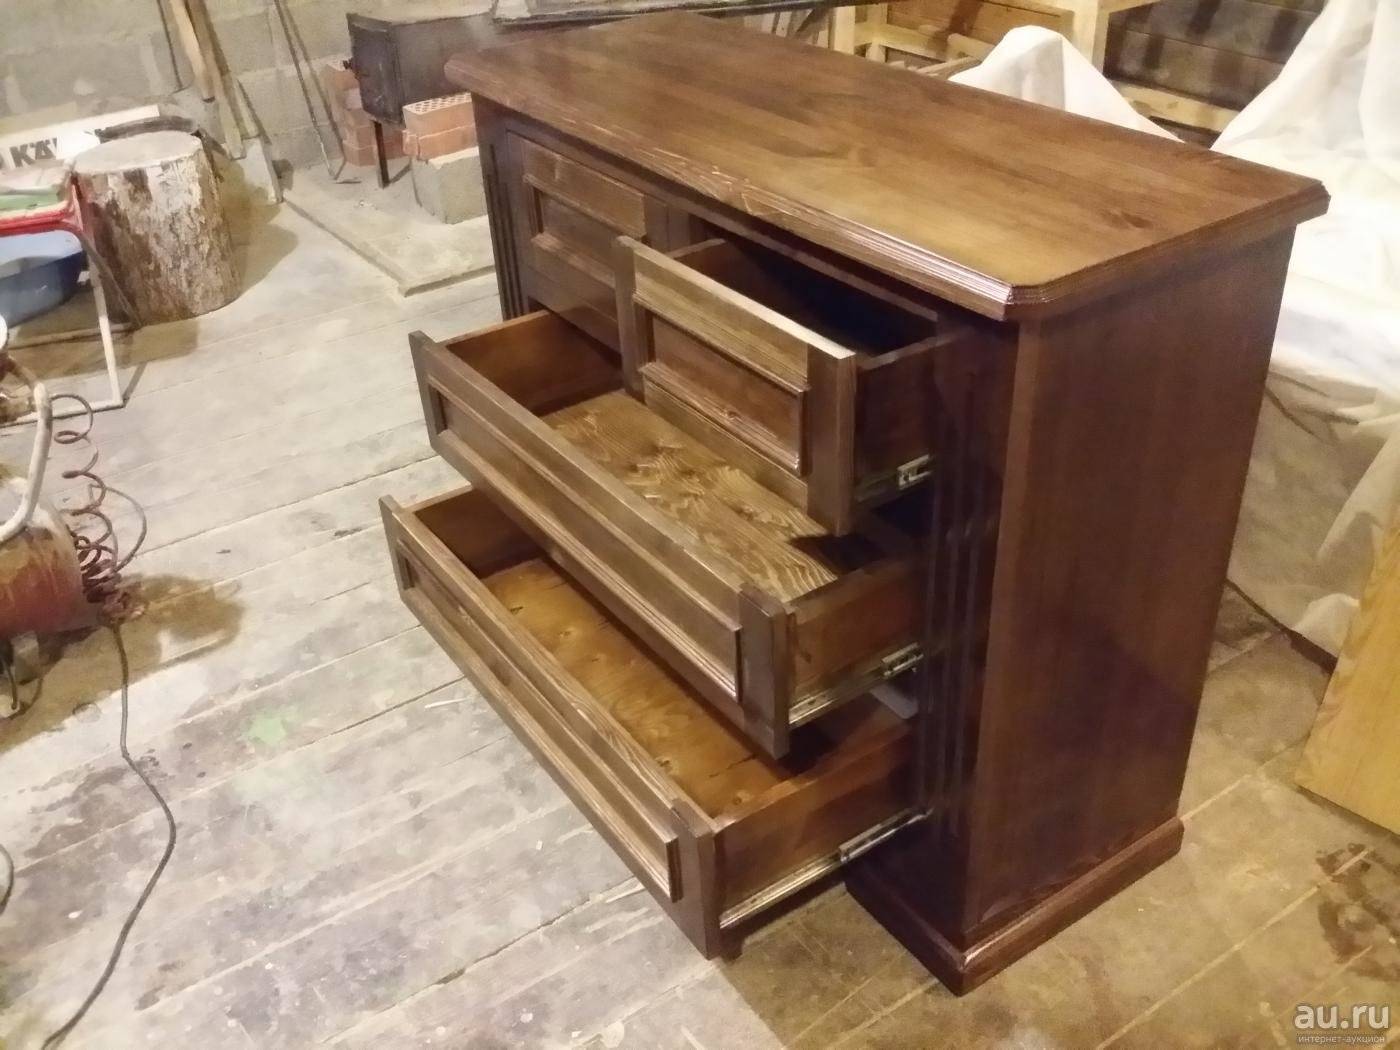
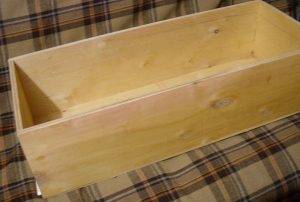
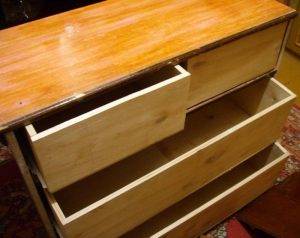
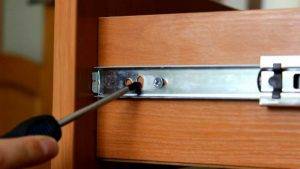
Boxes are installed next. First, secure the side roller rails to the sides of the dresser using self-tapping screws or small nails. Collect crates separately. Install all the drawer parts on them, and on the rails already attached to the dresser. After that, place them in the desired grooves and make sure that the drawers slide out smoothly, pleasantly and easily.

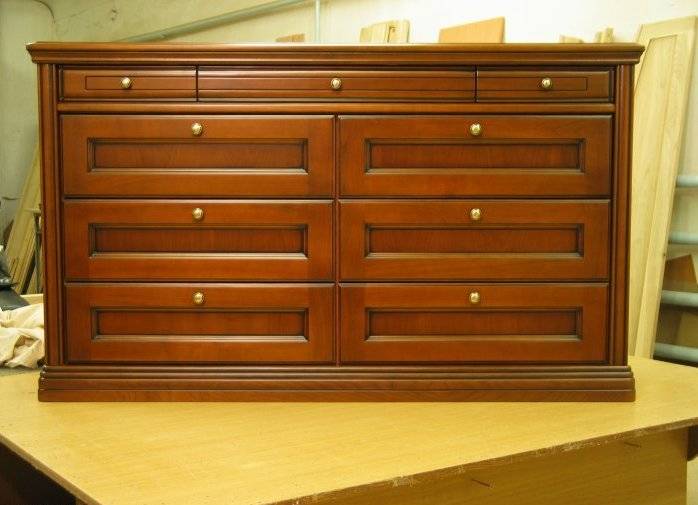
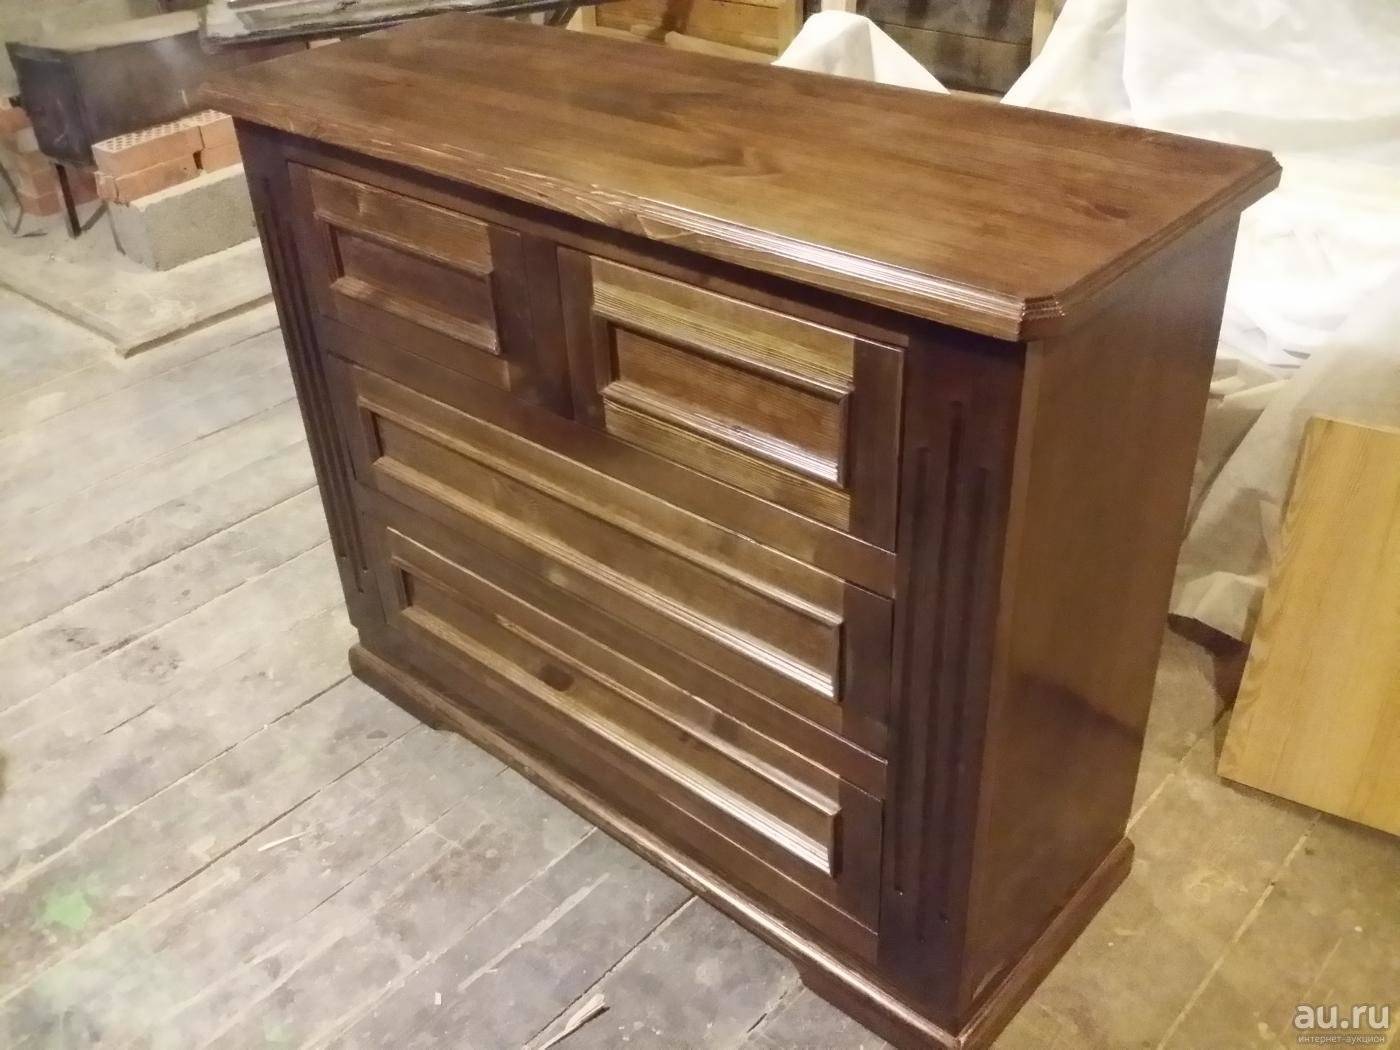
Finally, install the countertop! That's it, your product is ready. Install it in the planned place, lay out things, take pictures and send your friends a photo of your new hand-made chest of drawers.