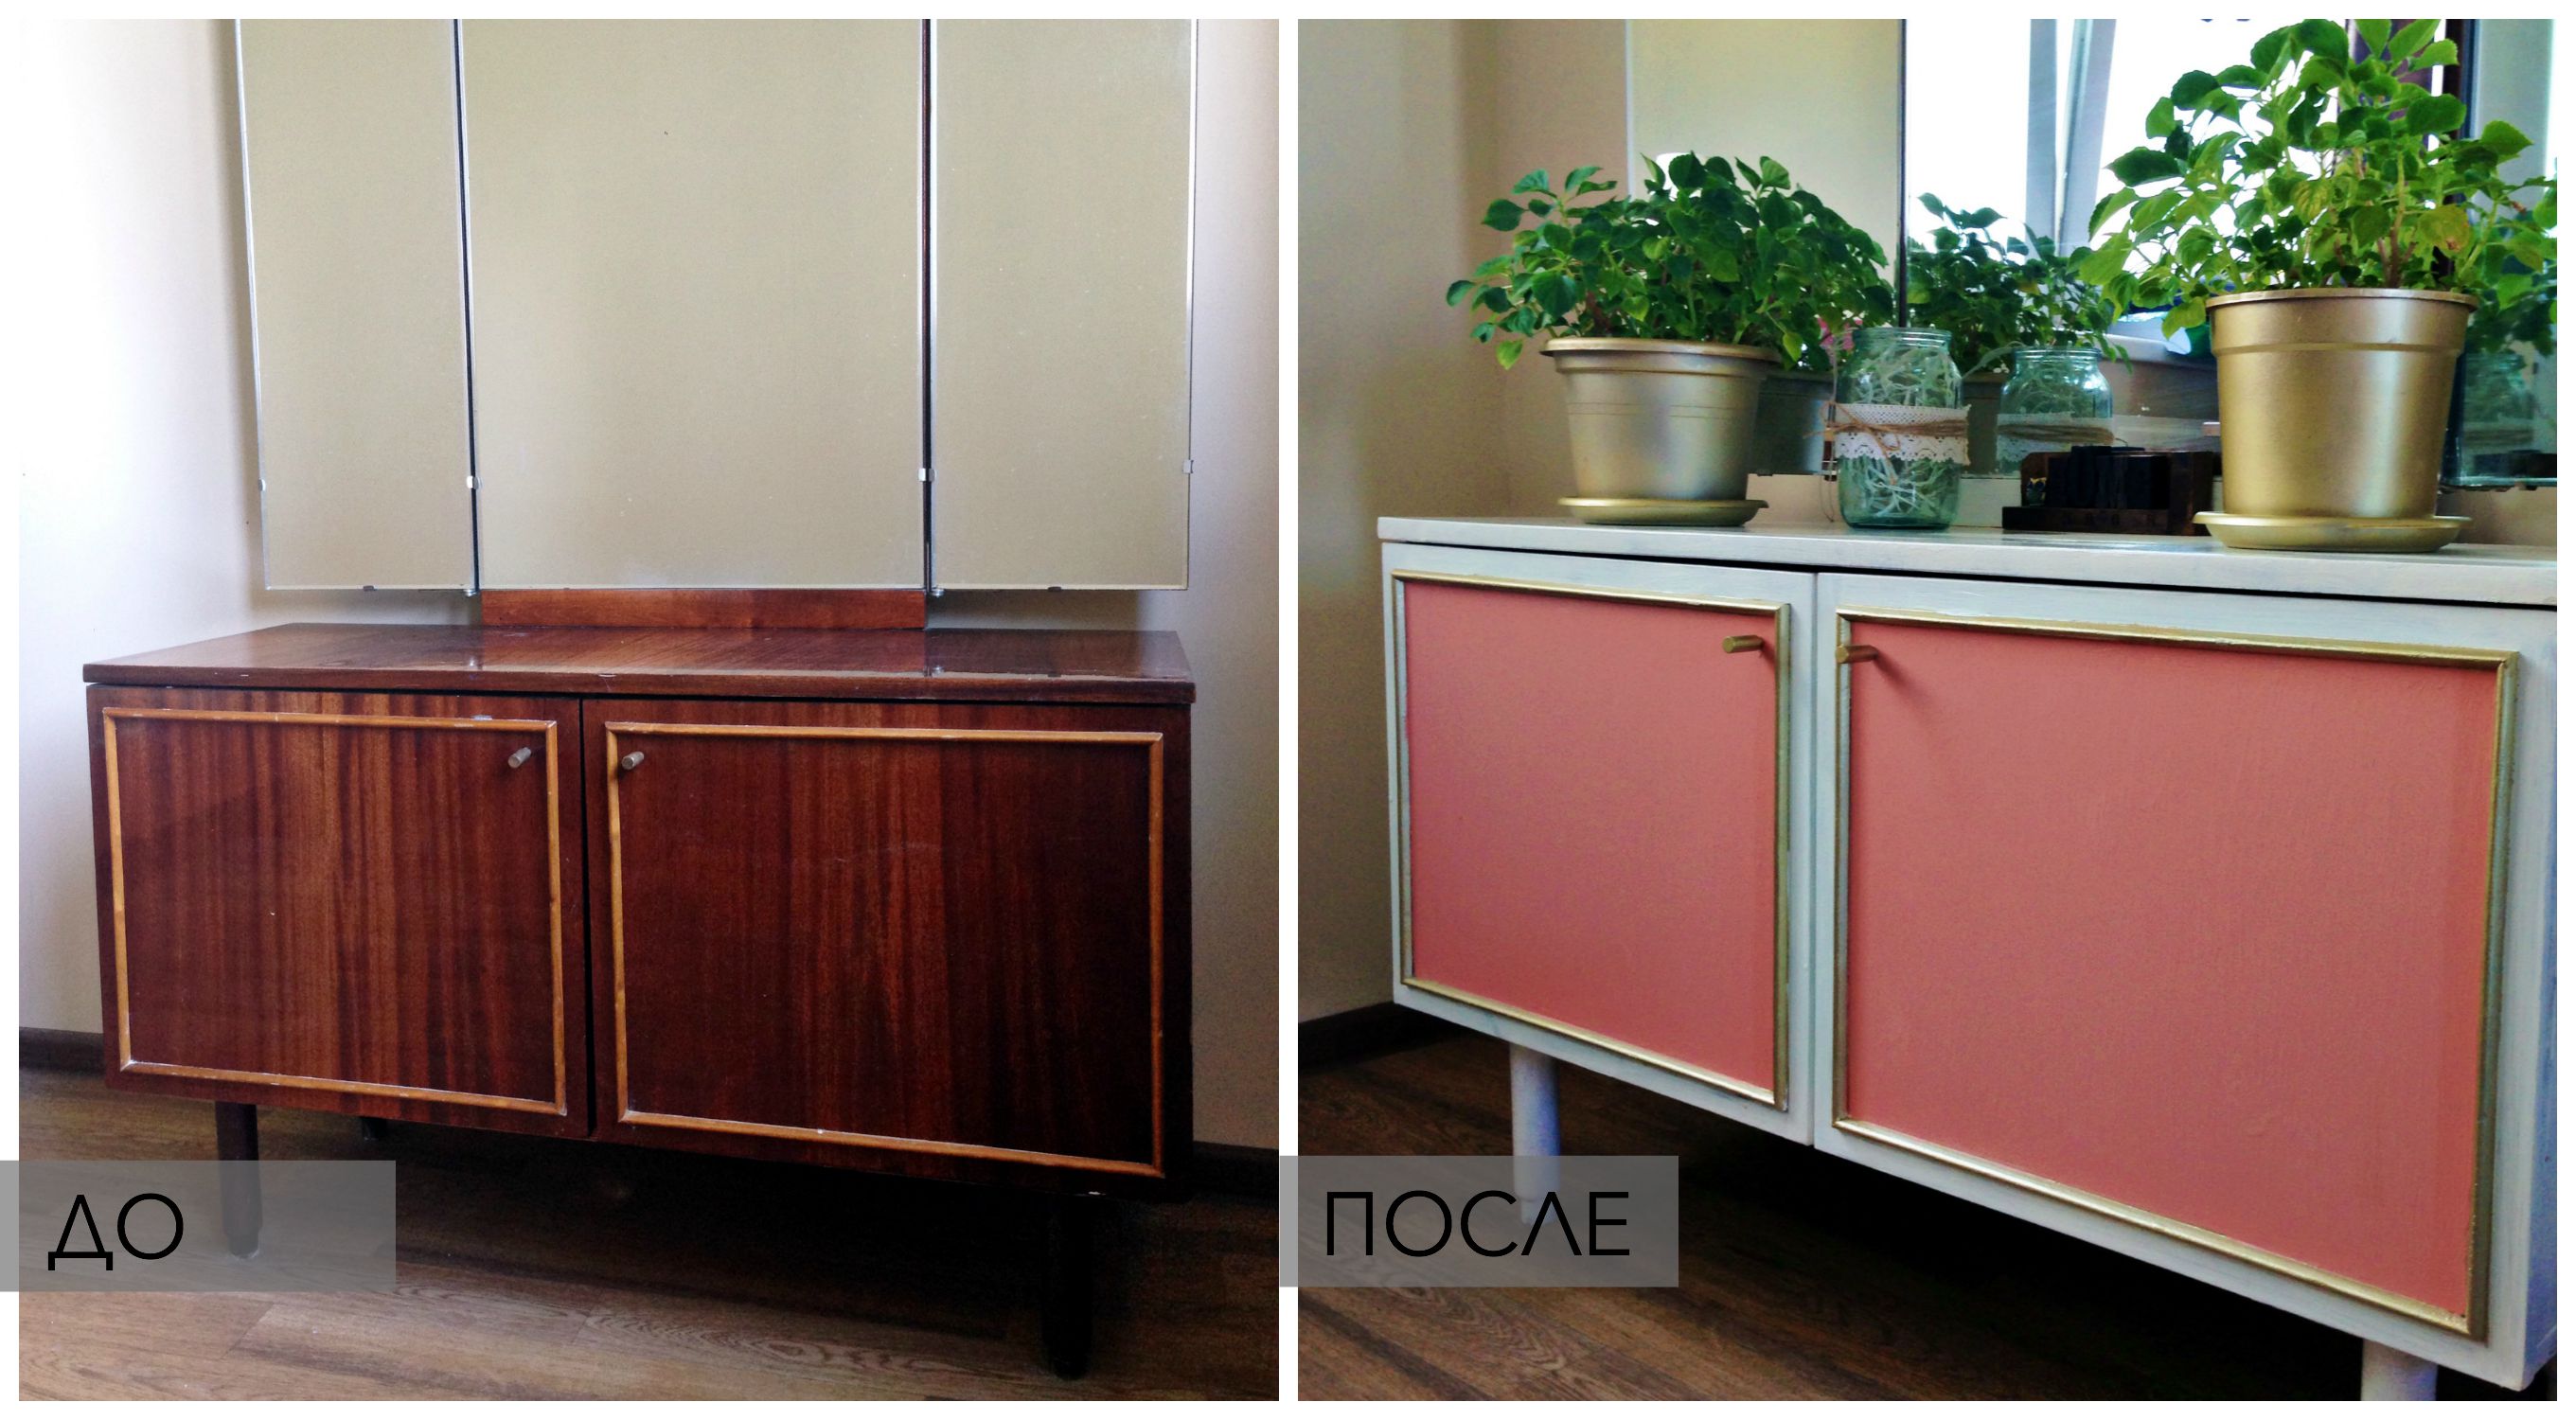
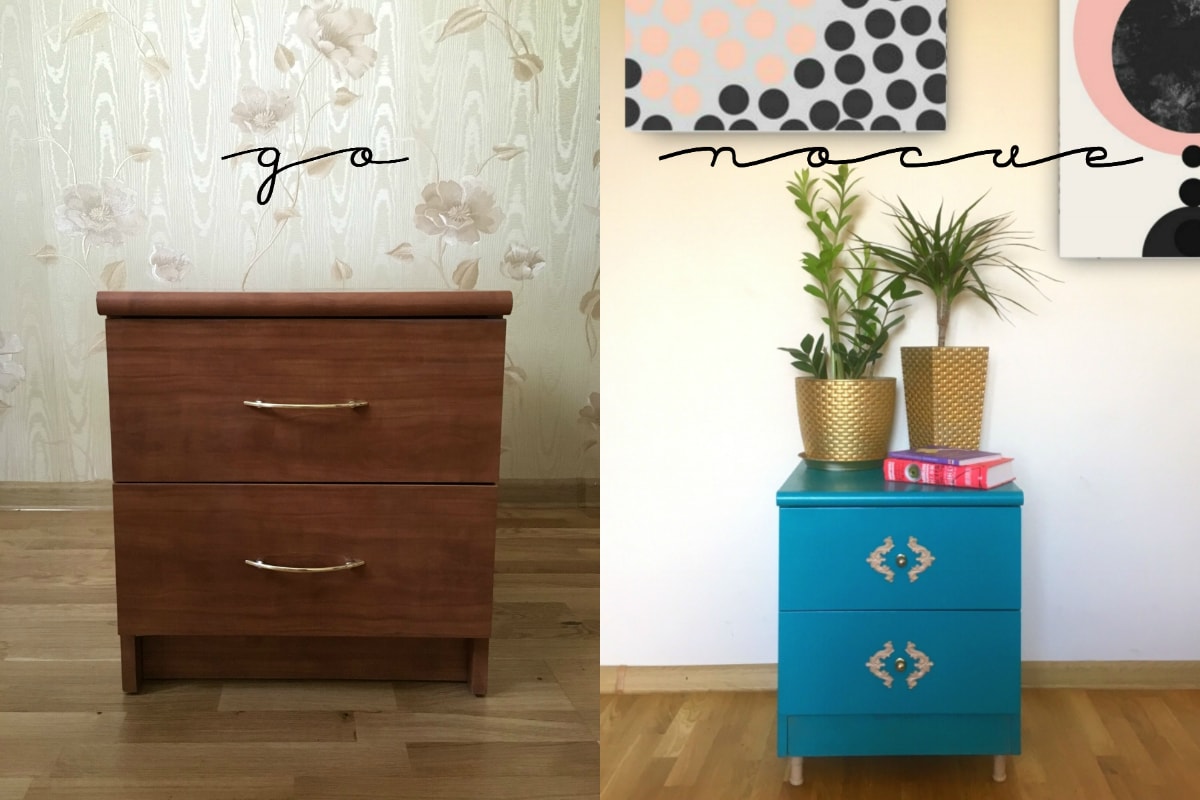
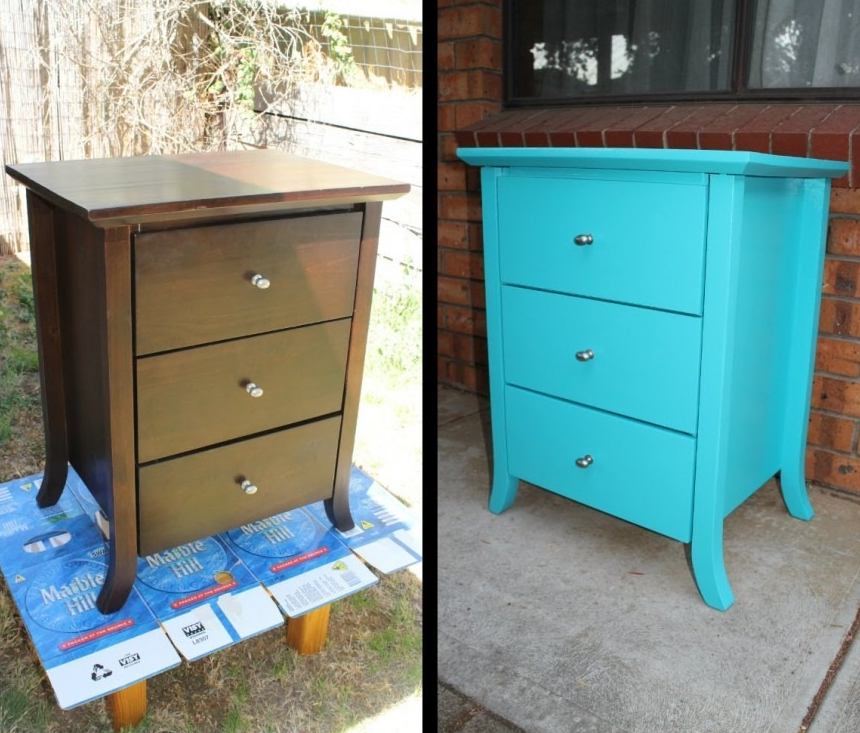
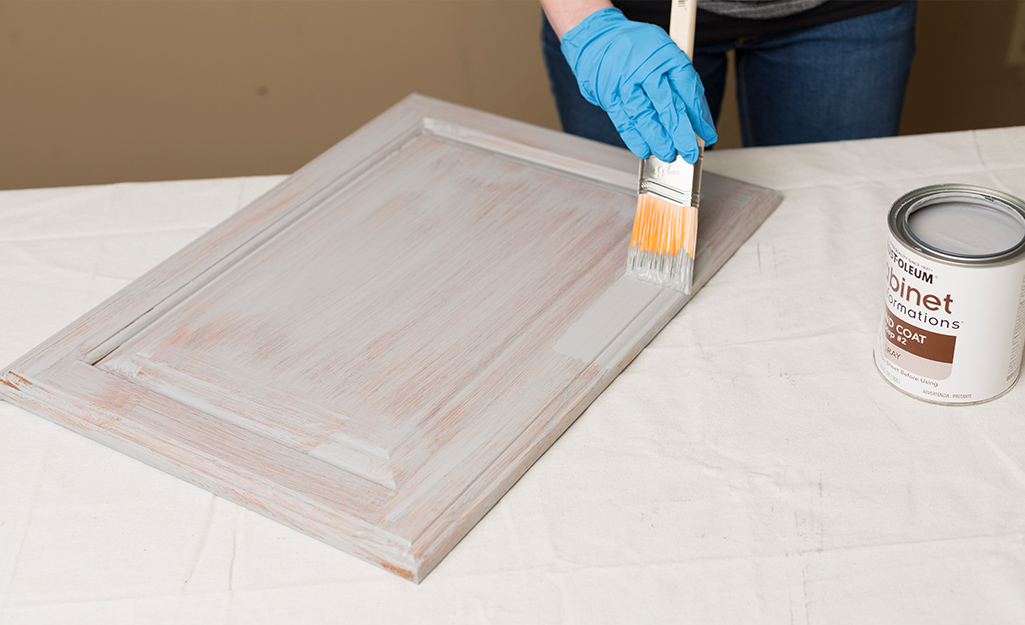
How to paint chipboard and fiberboard?
The choice of paint is a very important process, the final type of coating depends on this.
Chipboard paint
The solution is selected taking into account several factors, which depend on the type of surface and external parameters. It is recommended to use the following types of formulations:
- Acrylic. This option is well suited for painting particle boards, but it has certain limitations. The main thing is that the mixture cannot be applied to an unprepared surface; priming must be performed. The fact is that the composition of such paints has a water base, which is quickly absorbed and can cause destruction of the plate.
- Latex. They are also a kind of water-dispersible materials. Their use allows you to achieve excellent protection of products from moisture. The technology of application is similar to acrylic mixtures, but such products have several disadvantages: the relatively high cost and laboriousness of removing the decorative layer.
- Alkyd. Enamels are a traditional option for such an event. They can be laid without preliminary priming, but the consumption of the mixture will increase significantly.
- Stain. It is used as an impregnation to create a specific texture. The use of wood stain for chipboard does not give such an impressive result as when working with natural wood, but it allows you to get a good decorative effect. It is this option that is an excellent solution for laminated chipboard.
- Varnish. This composition has many tint varieties; colorless is used to protect the surface.
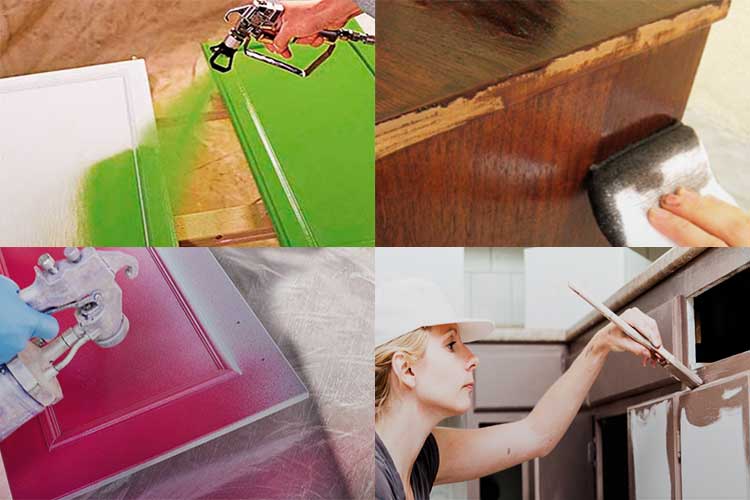
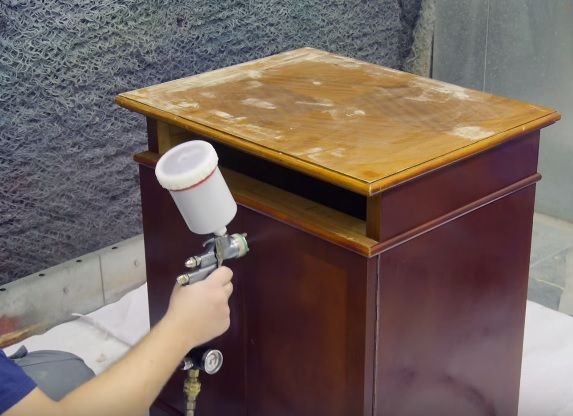
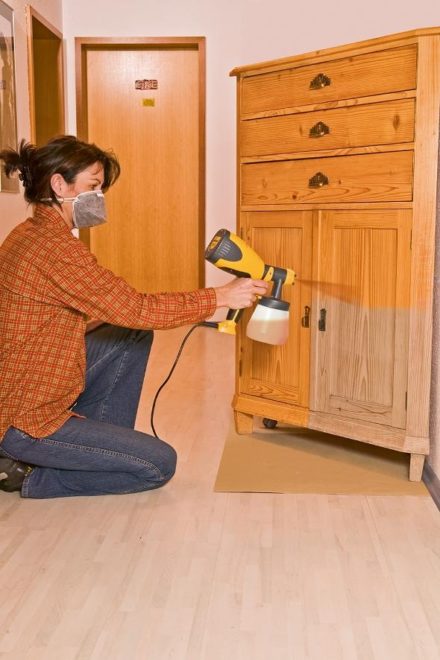
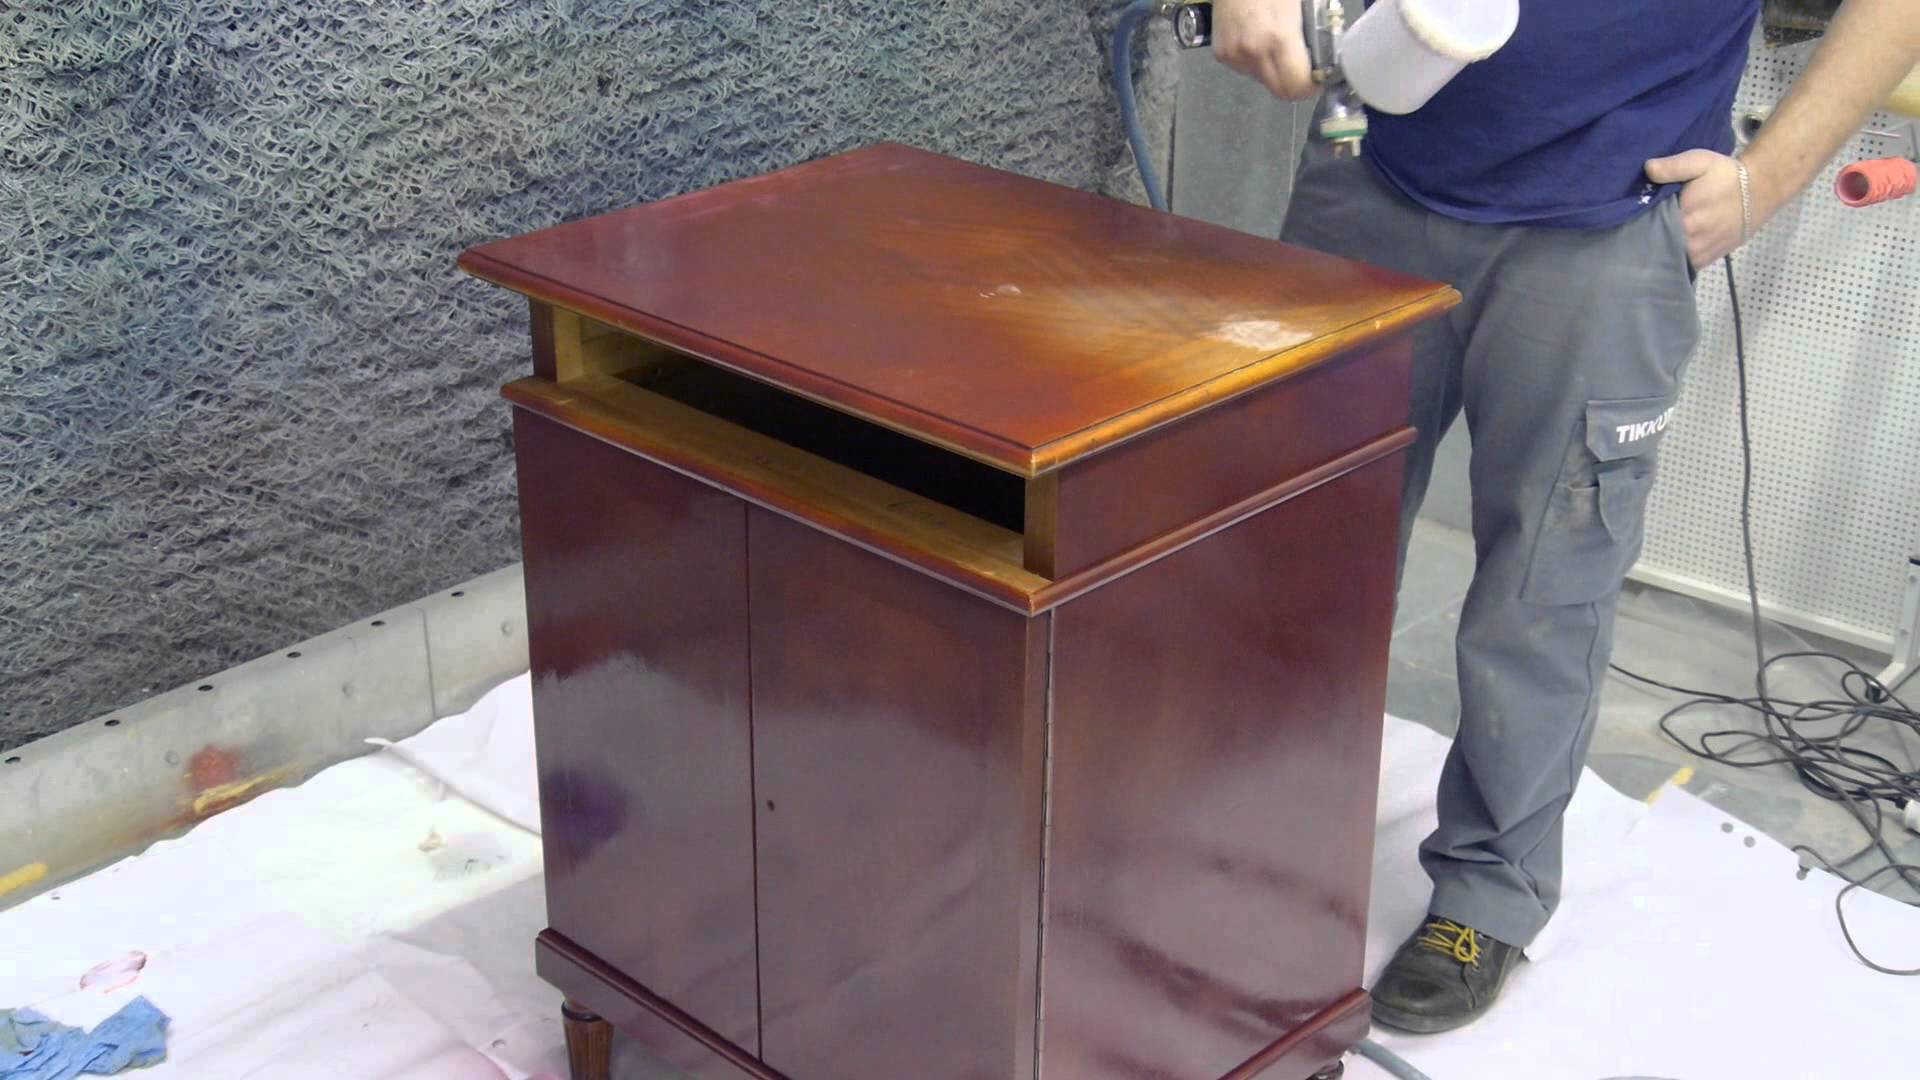
Spray paint is a good option. But aerosols do not allow painting a large area, so they are used for decoration.
Compositions for fiberboard
Not all types that can be used for chipboard are suitable for fiber boards and panels. For example, water-based paints do not have good adhesion to such a surface, since the fiberboard contains paraffin, which repels water. That is why, when choosing acrylic mixtures, a deep penetration primer is additionally selected.
In addition to water emulsion, materials can be coated with the following types of coloring solutions:
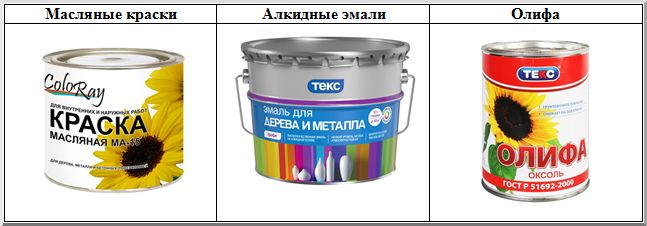 The use of budget compositions is justified in most cases
- Oil. This variety is used less and less because of its toxicity, pungent odor and long drying time.
- Alkyd. A good option that suits all types of products made from wood-based materials.
- Drying oil. It is used as a decorative and moisture-proof impregnation, which is additionally varnished. Stain can be an alternative.
For decorative varieties, a quick-drying, colorless varnish is suitable.
Staining stage
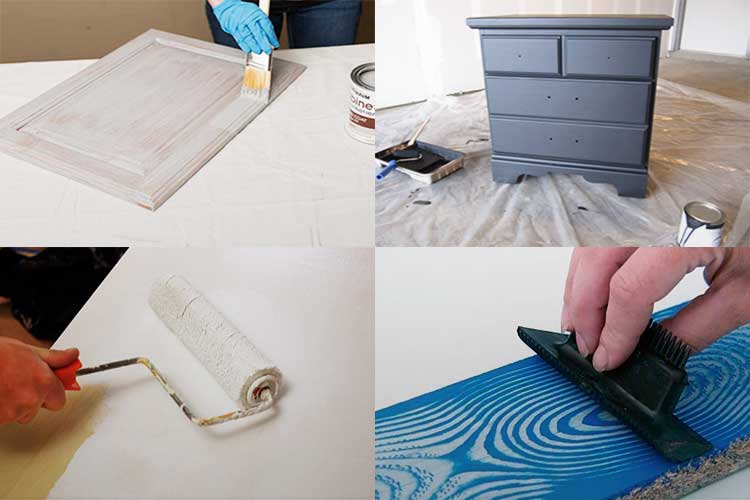
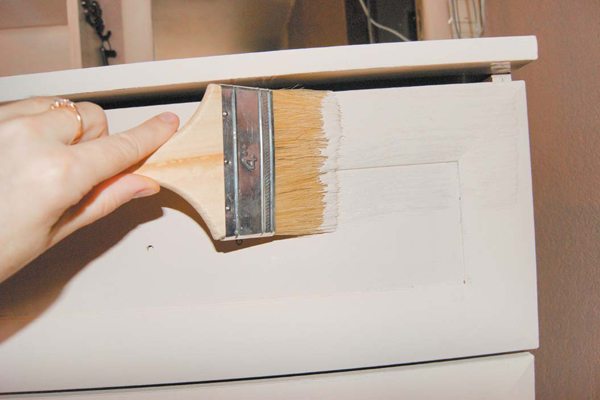
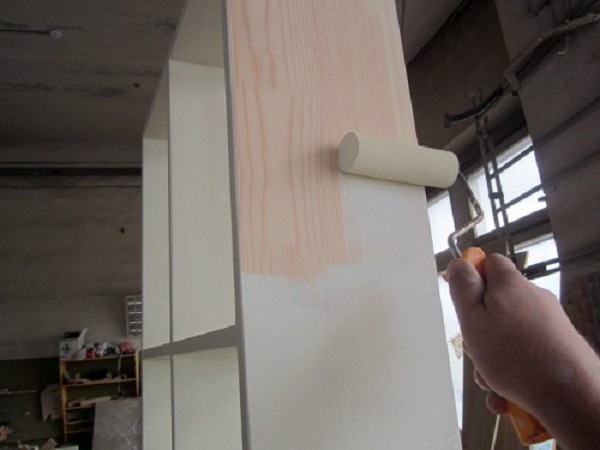
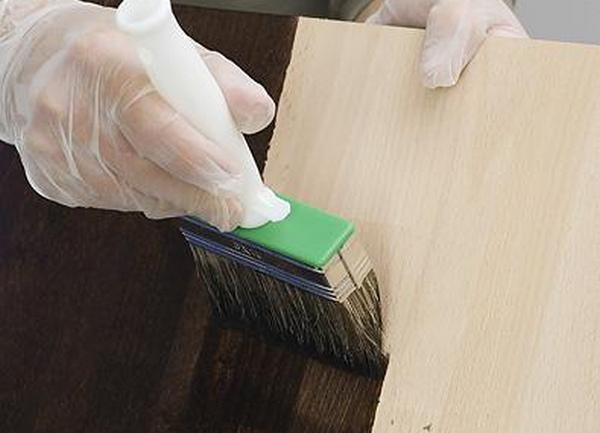
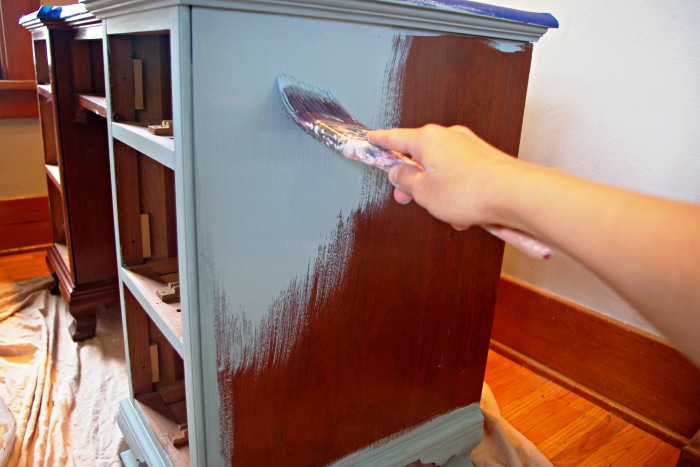
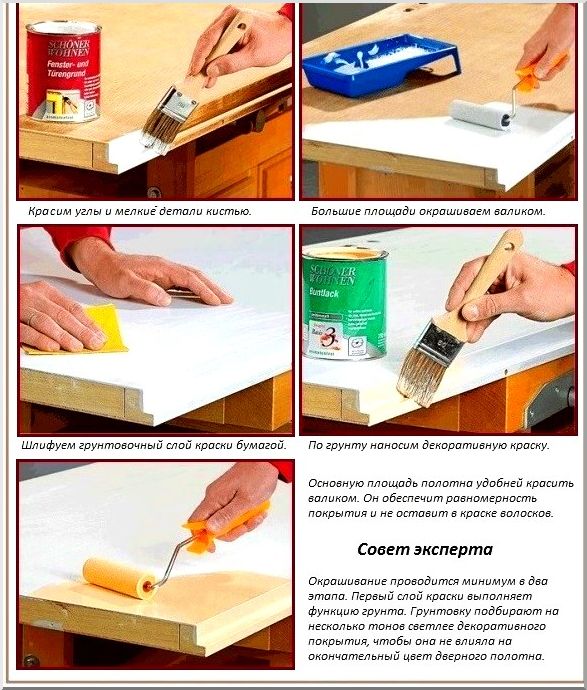
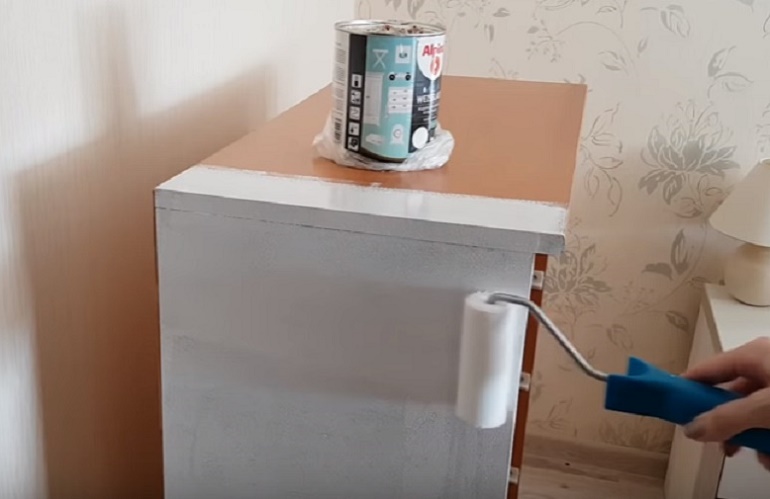
It is best to paint the chipboard surfaces in a horizontal position, in this case, the paint is applied evenly, without forming unnecessary streaks. If your base is vertical, then you need to apply the paint smoothly from top to bottom. For small parts you can use brush, for large surfaces - roller.
For best results paint should be applied in 2-3 layers, while each previous layer should dry out. Therefore, you should not rush and do everything in a hurry. Apply one layer, wait 15-20 minutes, then apply the second, etc.
Particular attention should be paid to the processing of joints, corners and other elements. Only after all layers of paint have dried can you proceed to varnishing.
It is necessary in order to prevent damage, as well as to give the surface the desired shine and attractiveness.
Only after all layers of paint have dried can you proceed to varnishing. It is necessary in order to prevent damage, as well as to give the surface the desired shine and attractiveness.
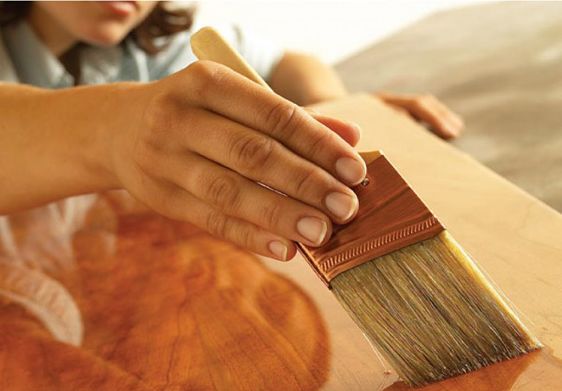
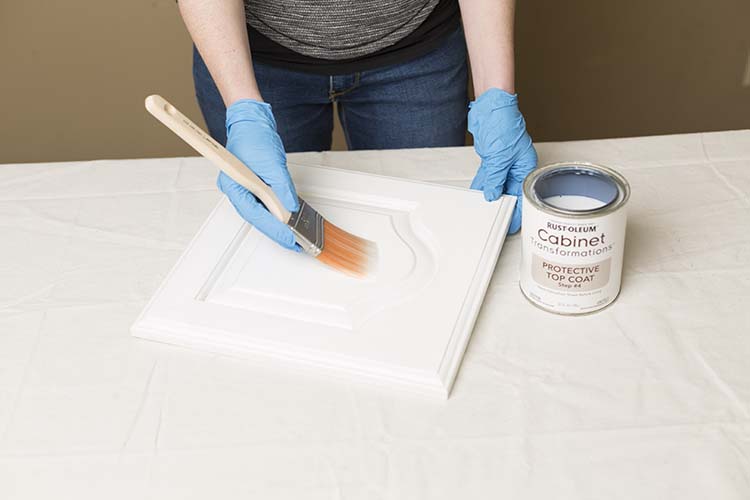
The varnish is applied in 1-2 layers with a sponge or a thin brush. For these works, both matte and glossy varnish are suitable, it all depends on your tastes.
You already know the chipboard with your own hands, but finally, here are some useful tips when working with this material.
If you want to paint the base in a dark color, you must first apply 2-3 layers. To increase the service life of a chipboard product, the working surface should be treated with a special deep penetration mixture.
Sanding is carried out before the start of painting after stripping and applying the primer.
When working with chipboard, it is better to use paints and varnishes and other materials from one manufacturer. To obtain an even and smooth painted surface, you can use a short-haired roller, to obtain texture - a roller with a long nap.
When painting, always use protective equipment and thoroughly ventilate the area.
Video on how to paint quickly and efficiently:
And do not forget that any process involves obtaining the desired result, the main thing is to choose the right means and methods for its implementation.
Sometimes, when reworking furniture, the question arises of how to paint the chipboard. This material is one of the most common materials for making furniture, it is also used in construction and renovation work. Chipboard (chipboard) has been used for more than a dozen years in various fields, furniture made of this material is especially common.
Chipboard consists of wood chips glued together with formaldehyde resin. Since chips can peel off under the influence of external influences, they are protected by an outer coating - this can be a layer of varnish, paint, polypropylene film, etc. In addition to protection, chipboard painting also creates a decorative effect, since this method can create surfaces not only of different colors, but also with different textures.
To restore the attractive appearance of chipboard, it is enough to renew the paint layer, thanks to which the products of this material acquire their own unique style. Also, painting the chipboard increases its moisture protection and makes the material resistant to ultraviolet rays. With the correct painting work, old furniture and other chipboard products not only get a new look, but also extend their service life. Also, coating chipboard with paint reduces its impact on humans (over time, resins tend to evaporate, and paint prevents this process).
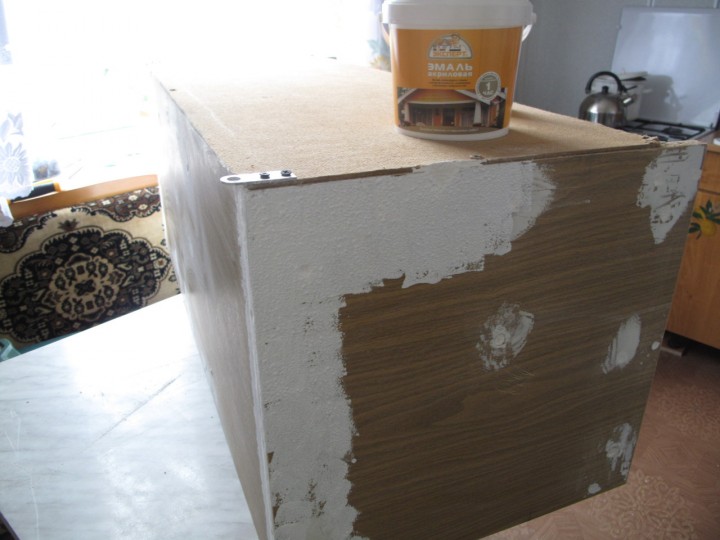
An important point is what the chipboard is covered with on top - varnish. There is no veneer, paint, film or coating. Of all the listed options, laminate is the most difficult to embed. It must be covered with several layers of primer and no one can guarantee the result.
Stages of staining
All work is carried out in several stages. It is not recommended to cover furniture with new paint without removing the varnish - this will greatly impair the quality of the finished surface. It is better to carry out the restoration in accordance with the advice of the professionals, which will make the result beautiful and durable.
Surface preparation
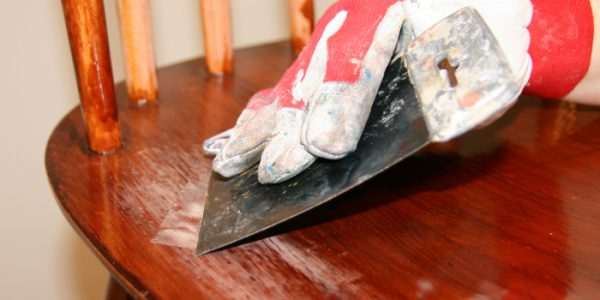
Removing the old coating is the main stage in preparing furniture for repair. You can remove varnish in different ways - mechanical, thermal and chemical. Experts prefer to use a building hair dryer for thermal varnish removal. The procedure is as follows:
put on a protective suit and gloves, not forgetting about glasses;
walk with a hairdryer on a small area of the surface, warming it up well (instead of a hair dryer, some use a blowtorch, but this method requires extreme caution so as not to spoil the tree);
take a spatula or knife, scrape off the varnish.
The mechanical method is more laborious. You should act like this:
- pull the drawers out of the furniture, remove all the accessories;
- rinse fasteners, handles and other accessories well with soapy water, if necessary, use soda;
- wipe the furniture with soap, powder to degrease it and remove dirt;
- wipe off the varnish with a scraper, coarse sandpaper, metal brushes;
- sand the surface with fine-grain sandpaper or a sander.

It is also possible to get rid of the coating by the chemical method; for this purpose, you will need a solvent that does not harm the tree. The wash is applied to the surface of the object with a brush, left under the film for 3 hours. Then, using a spatula, carefully remove the old varnish.
Damage putty
To accurately assess the condition of the furniture, it is recommended to disassemble it into as many elements as possible. So it will be possible to process even the most inaccessible places, replace all old, broken, ugly fittings. After finishing sanding, they get rid of dust (wipe the furniture with a dry cloth or vacuum cleaner). Next, an antiseptic is applied so that the product is not damaged by the fungus in the future.
All large and medium defects must be carefully putty. It is better to buy transparent putties - they are suitable for any type of wood, do not change its structure. It is necessary to apply the putty in a thin layer, level it well so that the surface remains smooth. After allowing the layer to dry completely, apply it again, if required. At the end of the work, the treated area is re-grinded.
Degreasing
This procedure increases the service life of the renovated furniture. Also, degreasing significantly improves the adhesion of paint to the surface, making the paintwork layer even. For this, use any detergent. They are diluted in water, wiped the surface of the product, washed off.
Wipe dry, dry until moisture completely disappears. If puttying was previously carried out, it is better to use alcohol or vodka for degreasing, not an aqueous solution. Stubborn stains of grease and dirt can be removed with table vinegar.
Painting process
Immediately before painting, priming should be carried out, for which only transparent primers are used. It is necessary to apply the agent not only on the putty areas, but on the entire surface - the primer reduces the absorbency of the paint, improves adhesion.
Painting is carried out as follows:
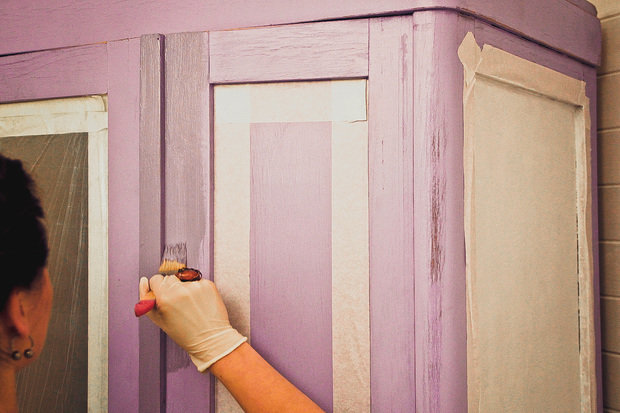
- All elements that will not be stained must be removed or sealed with paper tape. So you don't have to wash them after the restoration is complete.
- Apply paint to each element separately. It is better to use a roller, so the paintwork will lie flat. Especially carefully it is necessary to paint over boxes, shelves, dry them separately, only then fasten in place. It is necessary to ensure that there are no paint drips.
- After drying, apply another layer of material to the furniture. So the result will be consolidated.
- Collect furniture. You can put it in place.
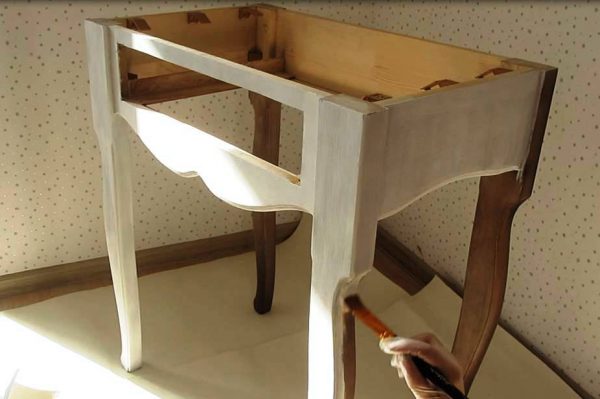
Correct drying
Acrylic, latex and other water-based paints and varnishes dry for a long time. So that the furniture does not interfere, it is better to prepare a place for work and drying in advance. Drying of each layer takes 12-24 hours, and many enamels are harmful with their fumes. It is impossible to live in the room where the furniture stands, and children and animals cannot even be temporarily. The best temperature for drying is 20-23 degrees, so the coating will dry within the time specified in the instructions. If the temperature is lower, drying will take longer.
Chipboard preparation and staining
Any work on painting chipboard at home consists of several stages. Do not neglect them if in the end you want to get a high-quality result. Furniture for the manufacture of which chipboard was used must first be prepared for painting.
Before painting chipboard furniture, you need to decide on a few questions:
- full and partial repainting is planned;
- dyeing design, that is, completely in one color or combined.
We will consider all the stages using a specific example, how to repaint a chest of drawers
In principle, it doesn't matter what is being repainted, the main thing is to figure out the process, but you can apply it to any furniture
In the video:
painting of chipboard products.
Surface treatment
Before painting chipboard furniture, it is important to properly process its surface and prepare it for painting.
Initially, the chest of drawers should be disassembled into separate elements. Remove all drawers, disassemble them if possible and remove the fittings
It will be easier to process them and paint the chipboard furniture with your own hands with high quality.
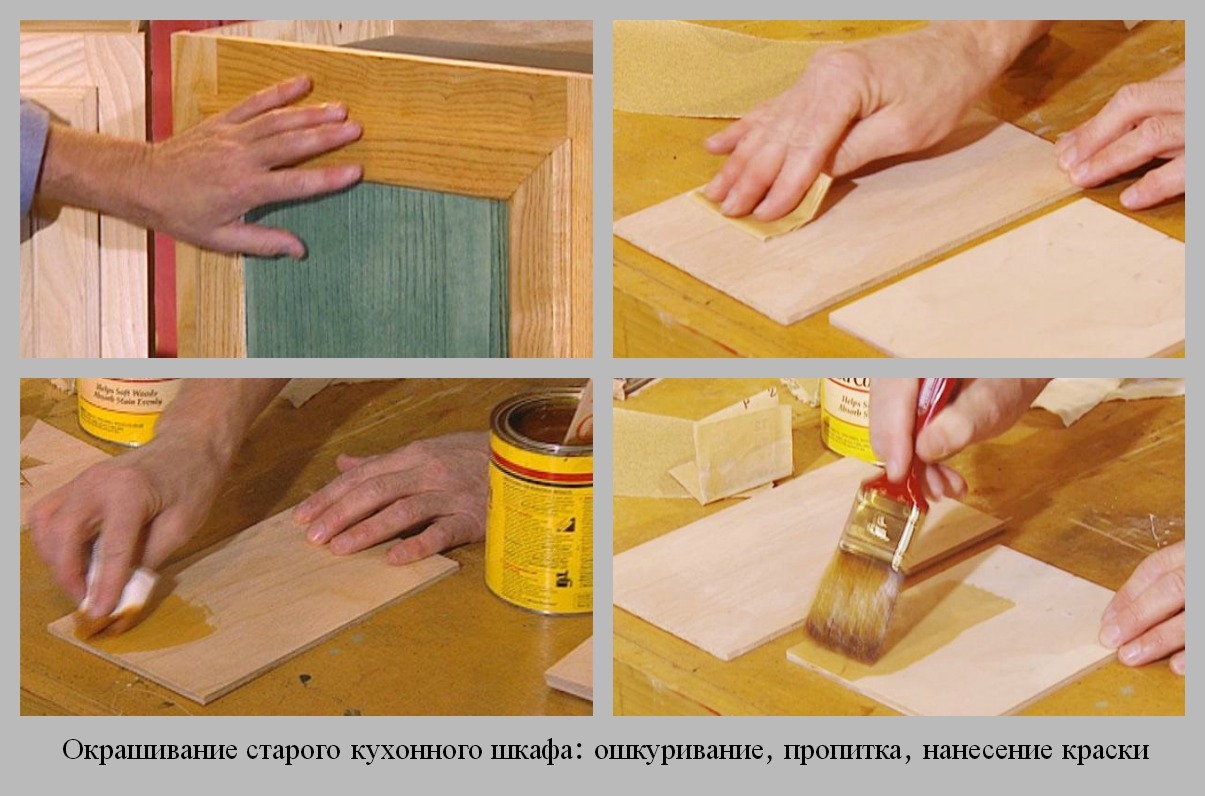
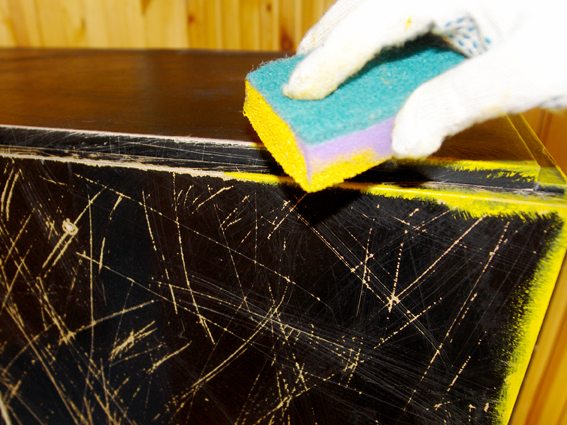
Sanding is necessary until the old paint has completely disappeared. We also make sure that there are no greasy spots and other contaminants on the surface. Otherwise, high-quality painting cannot be guaranteed. When sanding, movements are performed with a swing and along the fibers.
After completing rough processing, we clean the parts of the chest of drawers from shavings and dust. You can use a flat paint brush. It is absolutely impossible to work with this rag. On the contrary, the rags will hammer the shavings into the smallest dents. chipboard boards, which will negatively affect the quality of painting.
The main thing in this process is to process difficultly permissible places. Finishing the process, we again completely clear the chips. At the final stage, we wipe the details of the chest of drawers with a damp cloth, then wipe with a dry cloth and let it dry well.
Padding
Painting work should not be started without first priming the furniture parts.
Treating them with a primer will significantly increase the quality of staining. The primer is best used on an acrylic base.
Painting of chipboard furniture is carried out both with a brush and with a roller. The main thing is that the layer is as thin as possible. After applying the composition to the surface, we leave the parts for a while to dry completely.
Choosing a paint shade
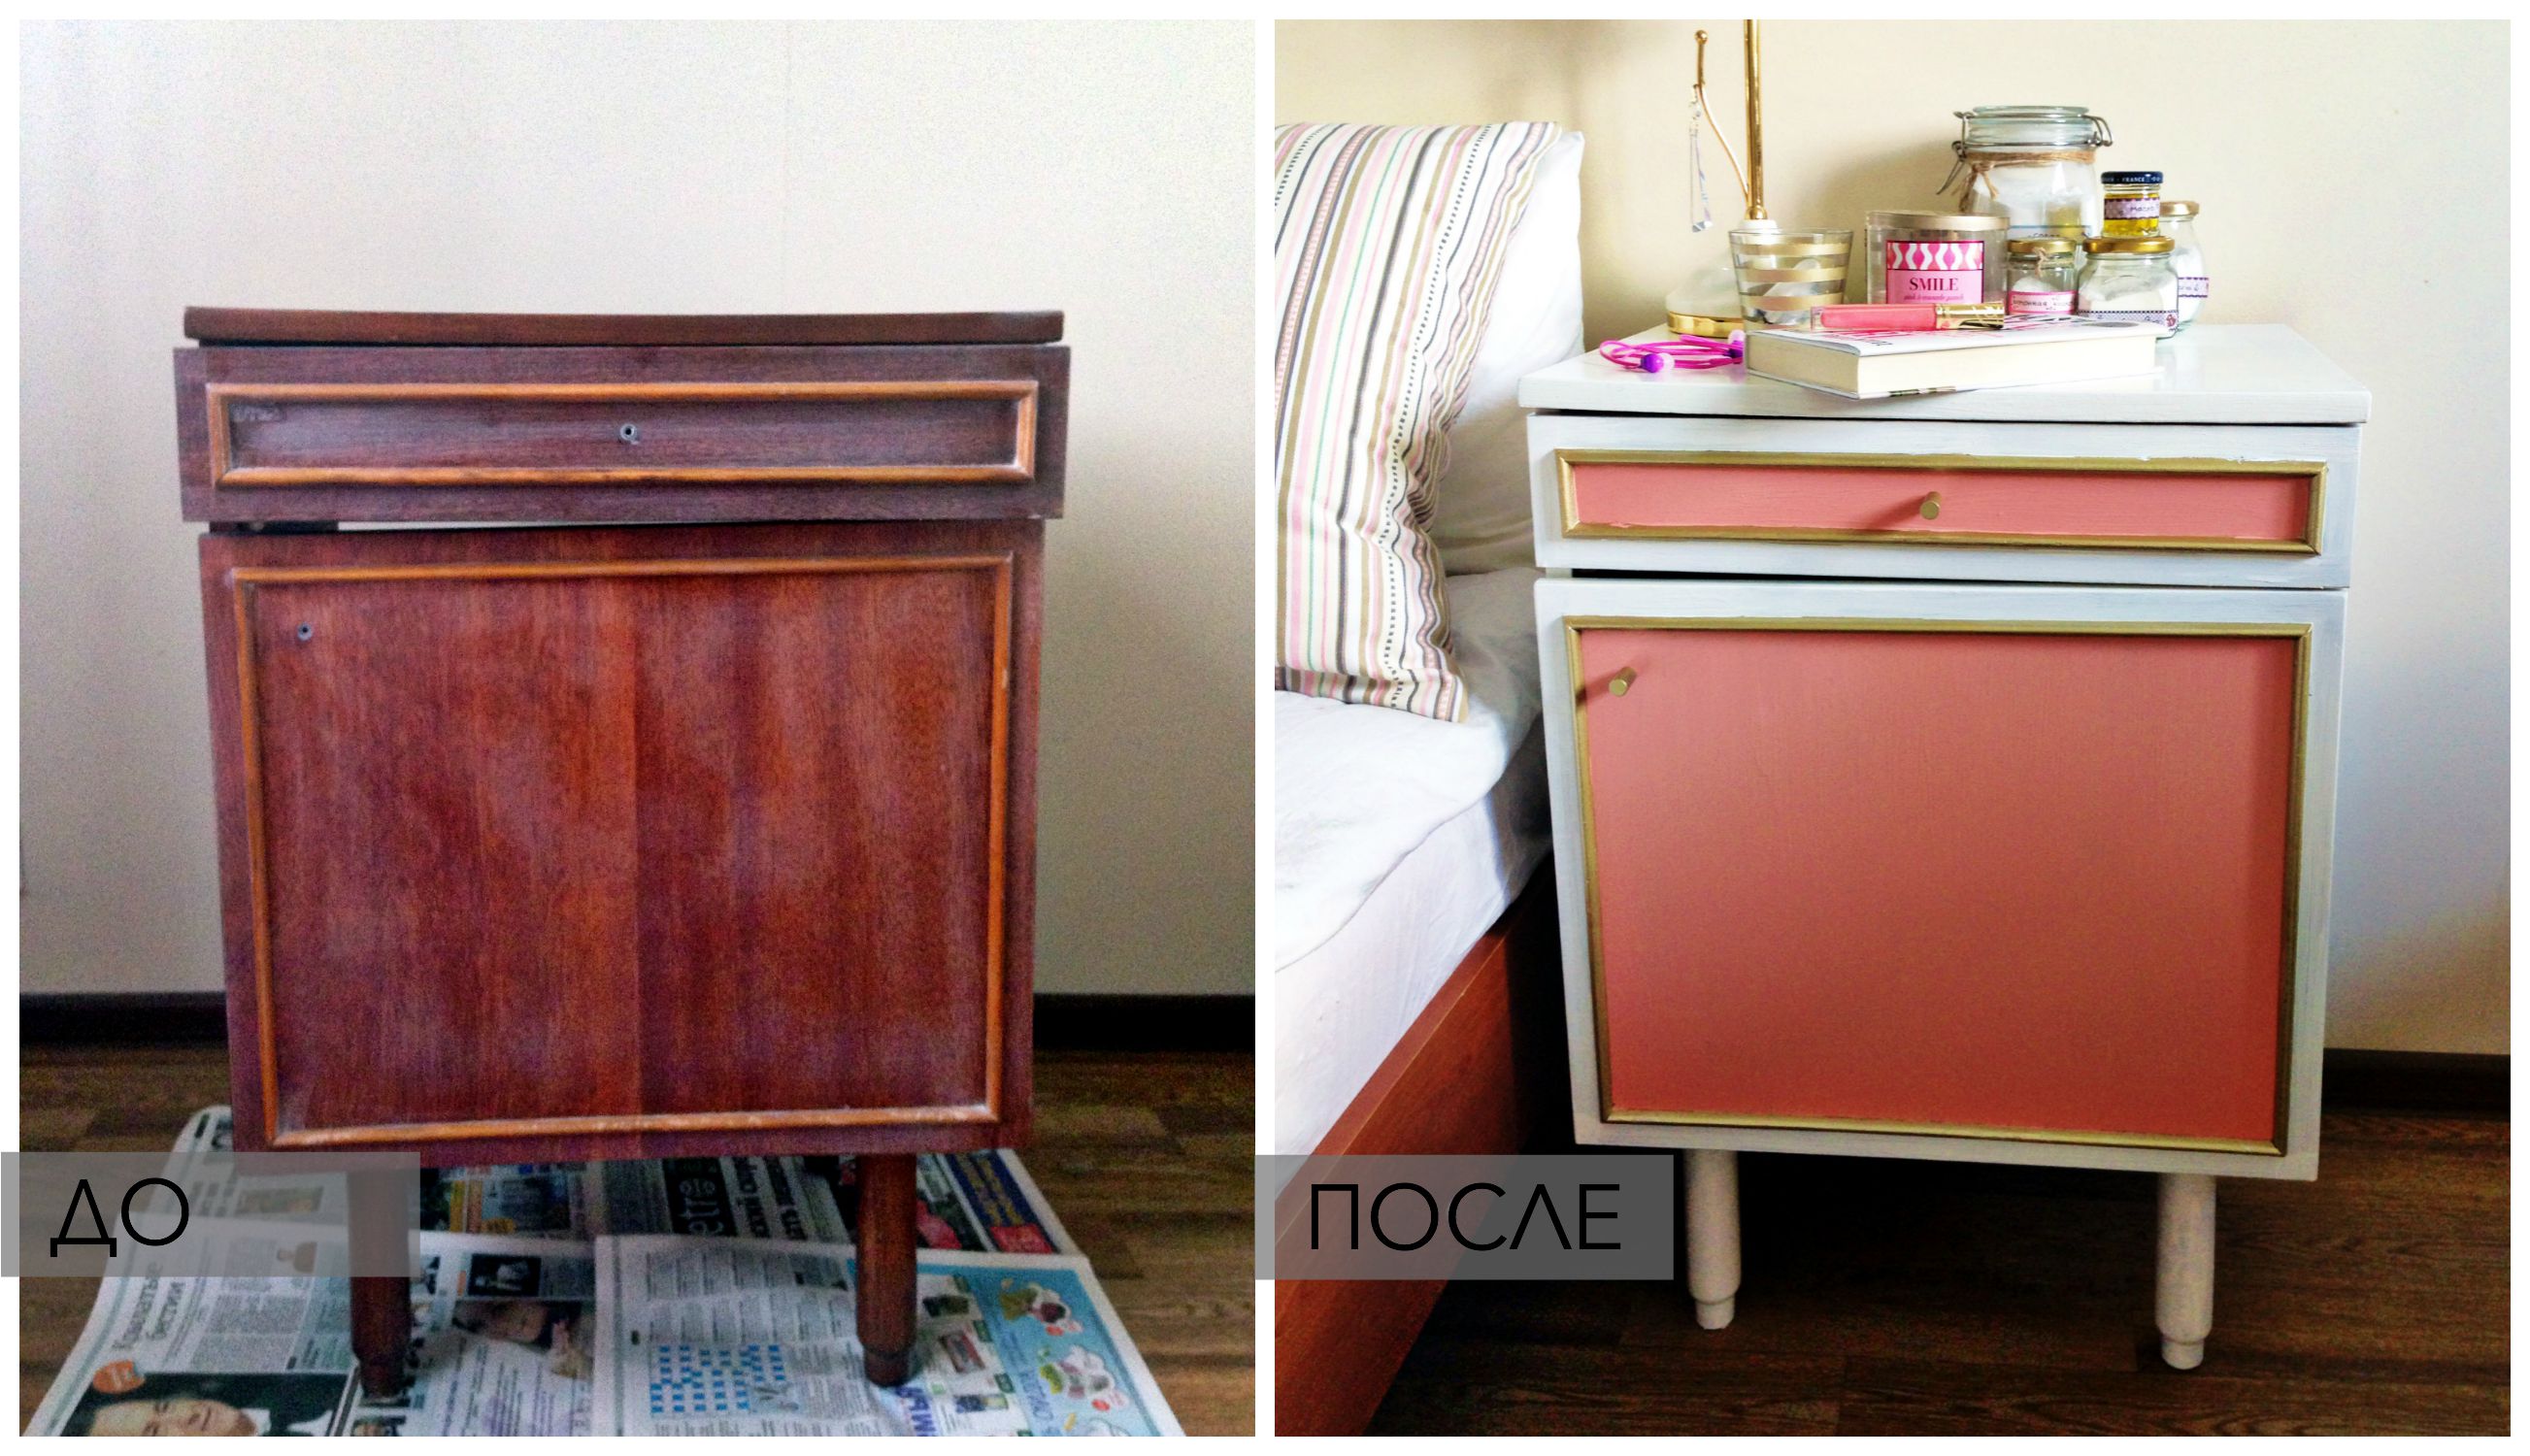
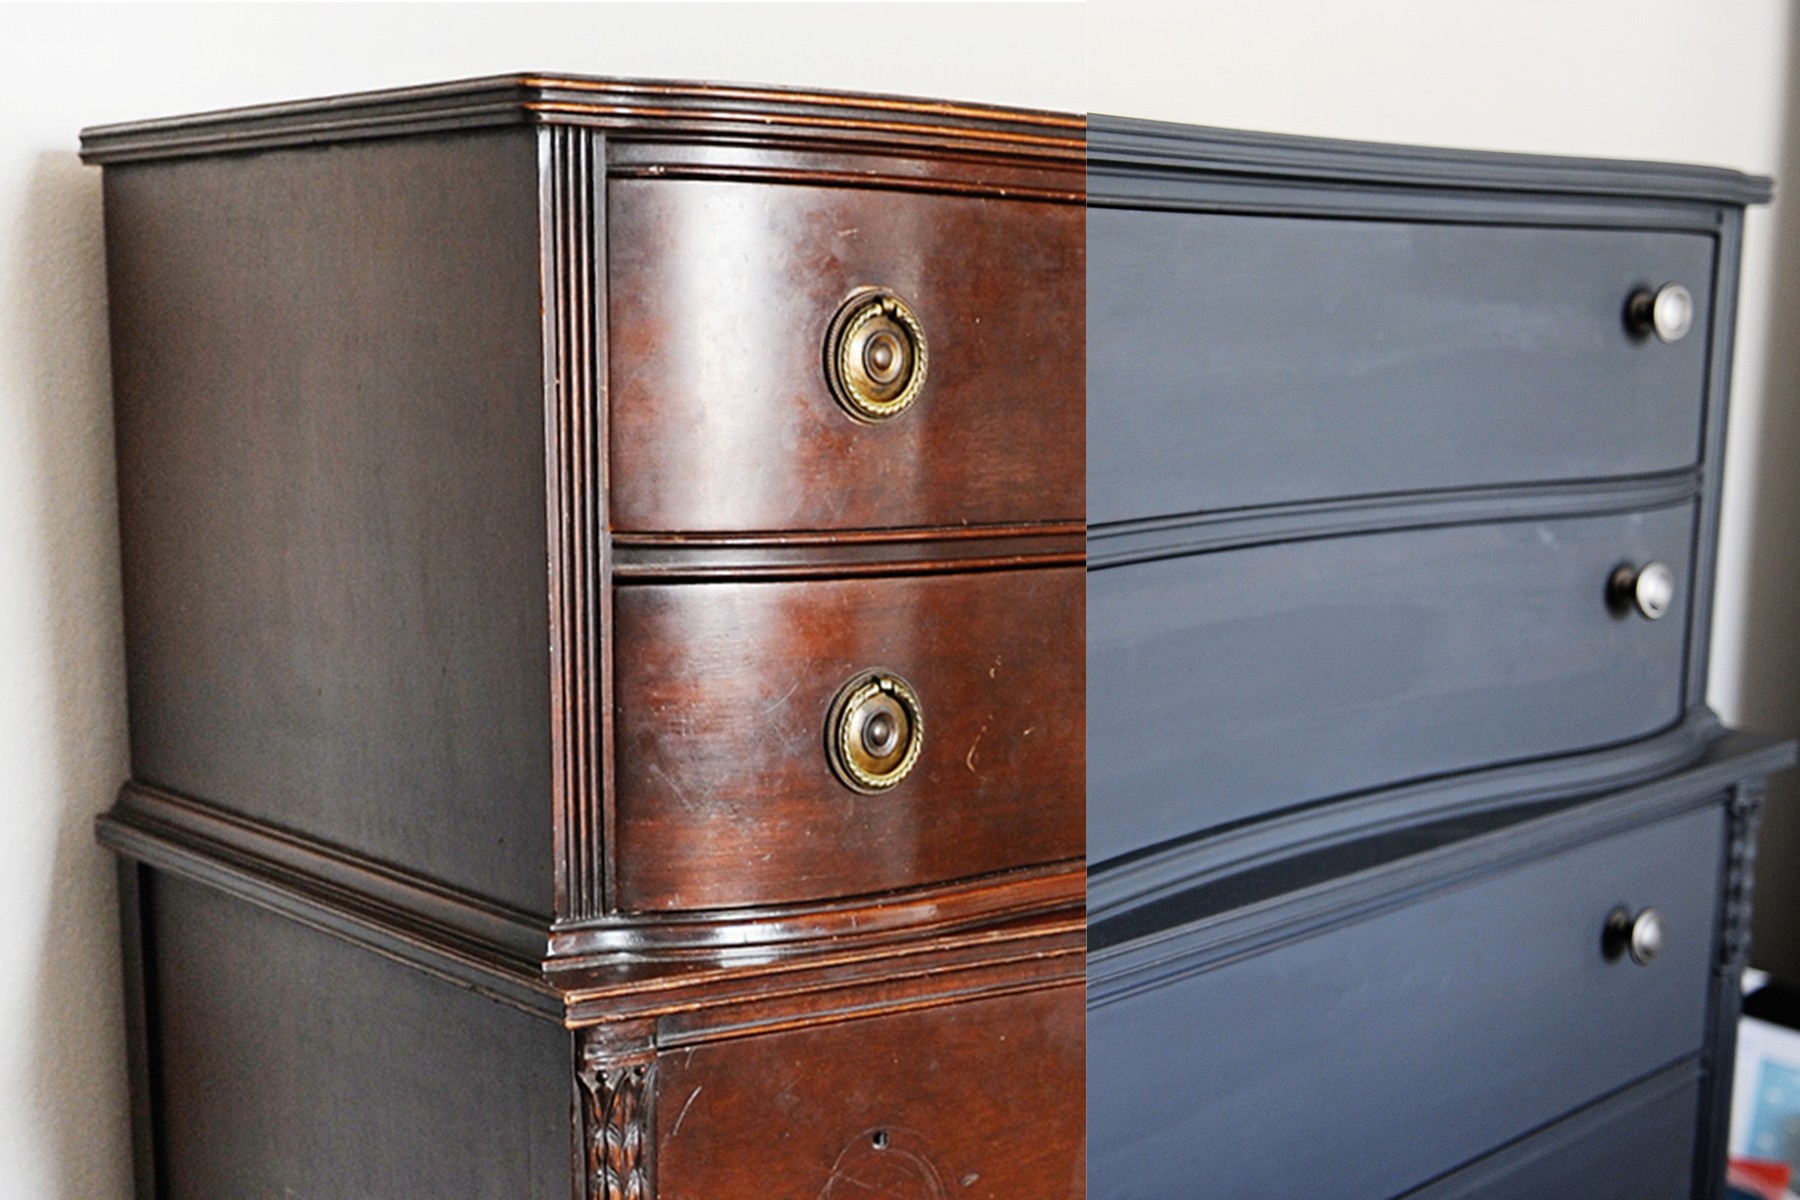
While the primer is drying, we select the tone of the paint. If a monochromatic coloring is planned, for example, in white, then there will be no special nuances. If you decide to be creative and paint old chipboard furniture in combined colors, then you should choose tones that are comparable in relation to each other. We choose the main color, and already we select related tones to it, as if shading the main palette.
Before you paint the chipboard with dyes, it is necessary to apply paint to the unnecessary wooden surface for determining the natural shade. This is due to the fact that acrylic paints change their tone when they dry.
Paint and varnish application
Next, we will take a closer look at how to paint the chipboard with your own hands. At the first stage, we decide on the coloring solution, or rather, with its quality. It should be of optimal consistency, not liquid or thick. Also should not contain dry grains.
Next, we determine the number of layers applied. It is up to the consumer to decide here, who takes into account the condition of the old chipboard furniture, personal preferences and other factors. But, experienced craftsmen advise to apply at least two layers. Be sure to apply each subsequent layer after the previous one has completely dried. For even application of the layer, paint should be done with a roller or brush, which are carried in the same direction.
The next step is to fix the paint with varnish.
To do this, after waiting until the paint is completely dry, we apply varnish to the surface using foam rubber. To do this, we dip the foam rubber into a container with varnish and evenly apply it to the paint layer with gentle movements. For the best effect, the procedure is repeated several times, naturally after the previous layer has dried. After waiting for the last layer to dry completely, you can assemble the chest of drawers.
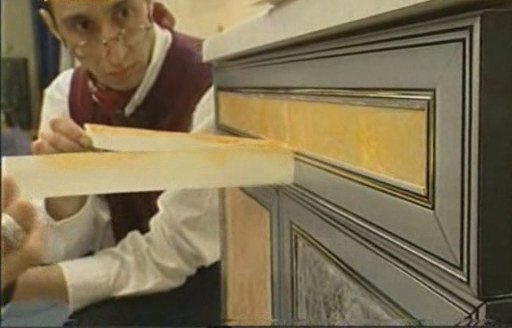
Additional finishing touches can be added to add originality or to achieve an antique design. Draw gold lines or artificially age. The main thing is not to leave smudges and other blots during the execution of additional strokes. You can ruin all the work done. It is better to use masking tape for insurance.
How to fix minor defects
In order to restore and repaint old furniture, it must first be disassembled. The more individual elements you have, the easier it is to work through particularly hard-to-reach areas.
 If this is the first time you are going to paint furniture with your own hands, then paint with a roller, and not with a brush, so you can more evenly cover the desired area.
All damages and dents are putty and cleaned. An extra coat of antiseptic can be applied to prevent mold and mildew growth. If you do not plan to paint the product, but only varnish it, buy a transparent putty. It will not stand out against the background of the entire wooden surface. To correct defects, work in thin layers, which should dry well.
 It is better to apply putty several times than to create a dense layer that will dry for a long time and possibly deform during the staining process.
High-quality painting of interior doors: painter's advice
Each theater begins with a coat rack, and the interior of any room begins with a door, which sets the mood and makes a significant contribution to the atmosphere of the interior and is an important element of room zoning.
Many renovators underestimate the need to renovate interior doors, focusing on the choice of wallpaper, flooring and furniture. As a result, an unpleasant contrast is created between the room "with a needle" and the lost appearance, the old door.
But this can be avoided by painting the interior doors yourself. Subject to the correct selection of paint and adherence to the staining technology, the result will be excellent, which will allow you to create a holistic, harmonious interior and at the same time significantly save money.
Choosing paint for repainting furniture
Furniture material influences the choice of paint.
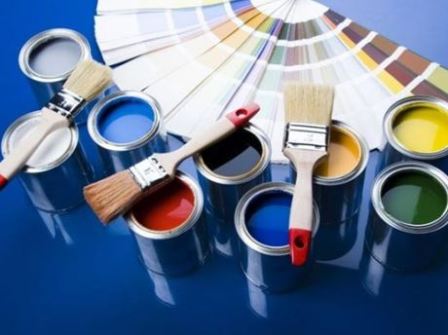
Acrylic paint is popular for painting wooden furniture. Among its advantages:
- increased stability due to good absorbency;
- quick-drying;
- economical, since it is diluted with water;
- the smell is not aggressive;
- applies without priming;
- antiseptic properties,
- incombustibility.
Minus: only white color, which can be tinted with color scheme.
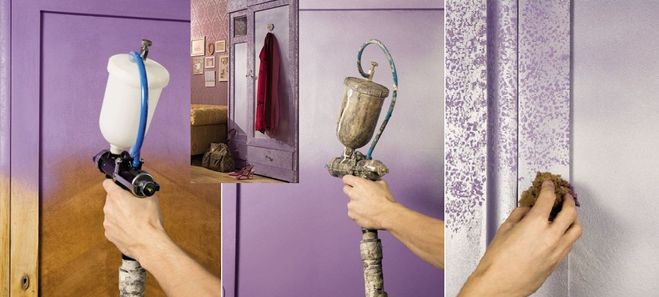
The spray in the can accelerates the staining process, lays down evenly, dries soon.
For a glossy surface on wood, choose an enamel varnish paint.
So that the surface does not shine, take an oily matte finish.
To preserve the natural structure of the tree, a colorless product is obtained, which are available in shades.
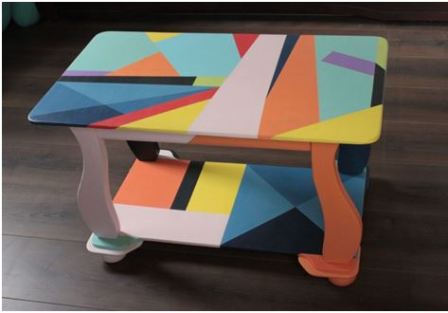
Surfaces painted with latex can be washed. The paint is not afraid of water and sunlight, but it is expensive.
Silicone paints with the addition of acrylic are also expensive paints. The paint penetrates into the wooden surface, moisture is not afraid of it.
Choice of paint
Now directly about what you can paint. There are a lot of paint options on the market
Here, the main focus is on the material from which the furniture is made. In addition to paints, they actively use varnish.
It creates an attractive appearance and has excellent protective properties.
Varnish is included in the composition. The corresponding coloring pigment is added to it. That is, start by choosing a varnish base, which can be:
- alcoholic;
- epoxy;
- oil;
- polyurethane;
- alkyd;
- nitrocellulose.
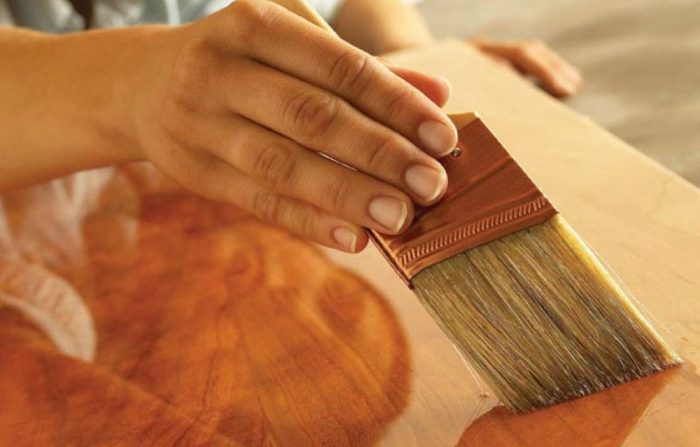
If you want to use paint, then listen to a few tips.
- Acrylic compounds are considered the traditional choice for furniture.They are durable, quick-drying, safe and free from strong unpleasant odors. In this case, they are divorced with water;
- Spray work is much easier in terms of work execution. They also use acrylic compounds. Lay flat on the surface, no need to use rollers and brushes. But the price is higher and the consumption is more impressive;
- Enamels are mainly used for treating wooden surfaces. Their plus is that they create a glossy and shiny structure;
- If you want a matte finish, use oil based formulations;
- The laminated surface is painted with polyurethane and alkyd compounds;
- Epoxy enamel is generally good, but dries for a very long time, plus an unpleasant characteristic odor remains in the room for a long time;
- In theory, it is possible to cover chipboard and MDF with acrylic latex paint, but then you will have to use a special primer and apply it in 2 layers.
The usual white base paints are very popular, for which a large number of pigments are provided. This allows you to create your own shades, experiment, without spending a lot of effort, time and money.
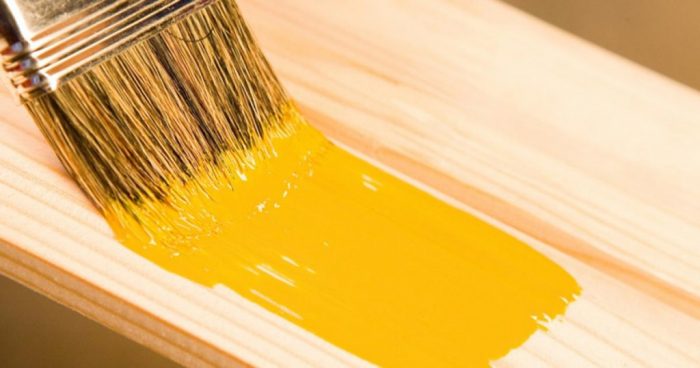
Removing old paint
We often come across furniture based on chipboard. Even if it has worn out in order, you can restore and fit into the interior favorably.
Any repainting procedure begins with preliminary preparation. And sometimes you have to get rid of old paint first before applying primer, putty and new paint.
There are 2 ways to clean surfaces.
- Chemical method. Here you will need to purchase special chemicals that are designed to remove old coatings. Here, start from the material with which the furniture was previously covered. Means are distinguished by adaptation to a specific material. It is imperative to use gloves during work;
- Thermal method. The bottom line is exposure to heat. A building hair dryer would be an ideal option. First, hot air is blown to the surface. This allows you to soften paint or varnish, which is then simply removed with a scraper.
Now you can safely putty, sand with sandpaper and primer before applying the topcoat from the selected paint or varnish.
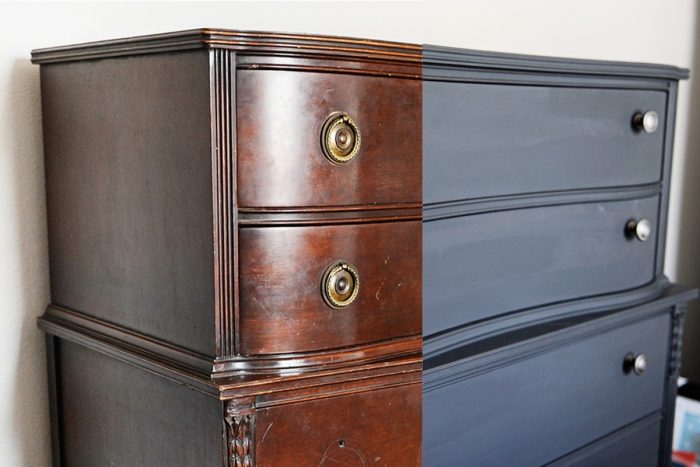
Technology for applying paint and varnish to furniture
So, you can start painting the furniture. First, you should check the expiration date of the paintwork. If the enamel (varnish) has thickened or dried out, you need to dilute with water or a solvent according to the instructions, stir thoroughly.
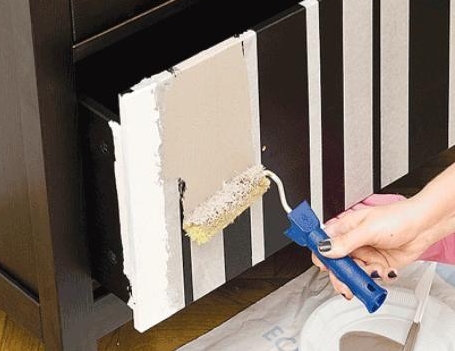
Apply the first (background) layer of enamel with a roller or brush, leave to dry for 24 hours. Then either paint the surface again, or carefully, tightly stick masking tape in accordance with the design idea or a stencil with a pattern and cover with a second layer. Drying time depends on the manufacturer, but is usually at least a day.
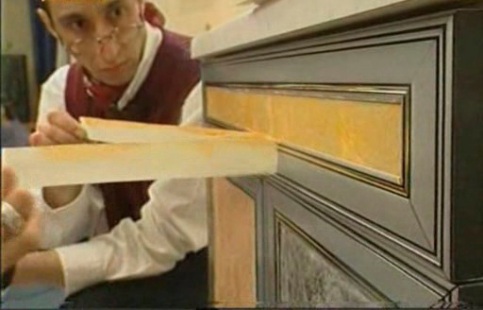 Scotch tape allows you to bring some design ideas to life
If the hiding power of the selected brand is weak, and the original color shows through the paint, then it is possible and necessary to apply the coating one more time. Mirror gloss is achieved with an additional layer of acrylic or alkyd universal varnish.
Varnishing and tinting impregnation is carried out in the same way. The difference is that this process requires perfect cleanliness of both the surface and the room; any speck of dust can negate all efforts.
Surface preparation
For the production of furniture, they have used and are still using different coatings on chipboard, which have to be removed at home using many different methods.
In any case, cabinets, tables, bedside tables are best disassembled and taken out into the street or other open, well-ventilated space. If necessary, you can work without disassembly, then you should free up space around, spread a newspaper or thick oilcloth underneath so as not to stain the floors in the room.
Painted furniture
If the boards have been coated with varnish or paint, they can be blown dry. After warming up and softening, the top layer can be easily cleaned off with a spatula. Thick coatings made from old paints can form bloated bubbles under the influence of hot air, which are much easier to peel off than thin layers.
If you need to clean an ancient countertop, a regular hot iron will do. Having ironed the surface through the foil, the coating is quickly removed with a spatula or knife. For vertical or curly planes, for example, on a rustic chest of drawers, in the absence of a hair dryer, a burner, a blowtorch with any source of heating will help to remove the old paint
The work must be carried out very carefully, keeping in mind the safety measures
There is an alternative way to remove varnishes and paints, the essence of which is to treat the layer with solvents. The organic liquid is abundantly distributed with a brush over the surface, wait a while, then the softened layer is removed with a spatula
The solvent method is convenient, but requires caution due to the high volatility and flammability of the liquid
Furniture coated with resin, veneer or laminated paper
If there is a laminated, veneered or laminated layer on the surface, you will have to work hard. It is very difficult to remove them in the same way as paint, because there is a high probability of damage to the chip base of the chipboard material. Therefore, the furniture is treated with emery cloths until the roughness of the coating is formed, which will allow a new layer of paint to be securely fixed.
Nowadays, chipboard home furniture often has a laminated outer layer. It should be prepared with increased care, especially if subsequent staining of the chipboard is planned in an elegant white color.
Sanding is first carried out with coarse sanding plates, then the dust is gently swept out with a brush
Please note that you should not wipe dusty areas with a cloth, because dirt particles will penetrate into the pores and interfere with the subsequent fixation of the coloring pigment.
At the next stage, sanding is carried out with fine-grain emery sheets, especially focusing on the edges, corners, and other areas where preliminary processing was previously difficult to do. After that, all dust particles are swept out again.
Note! Before starting painting, it is recommended to vacuum the room so that dust particles in the air do not stick to freshly painted furniture.
Otherwise, instead of the long-awaited glossy cabinet or table, you may end up with a non-uniform matte finish.
After sanding the surface of the furniture, you need to slowly move your hand, probing each area for irregularities or damage. If there are any, the furniture must be putty with special compounds or a mixture of fine wood chips with PVA.
After waiting several hours, up to a day, you can proceed to the primer, which is absolutely necessary to improve the fixation of the coloring pigments in the future. The primer mass will also need a day to dry completely, provided that the work is carried out in a warm room.
If the temperature approaches the minimum allowable 5 ℃, it may take longer to dry.
Preparation for staining
Before you start painting, remove the door from the hinges. In the event that you only need to slightly renew the paint layer, this is not necessary. Do-it-yourself painting of doors in an apartment begins with preparing a workplace. The door removed from the hinges is laid horizontally on suitable supports at a height of at least 50 cm from the floor. Ordinary stools are successfully used as supports, on which boards the width of a door leaf are placed. The supports must be covered with a non-slip, lint-free, dense cloth. The door is processed first on one side, then turned over to the other.The first stage of work is the removal of the old paint layer. For convenience, all fittings (handles, hinges, etc.) are preliminarily removed, and a small amount of cotton wool or rags is placed in the holes. To remove a layer of old paint, use a solvent, a stiff metal brush or sandpaper.
Decorating the painted surface
There are many ways to decorate an updated wardrobe or sideboard. For this purpose, designers recommend using drawings, ornaments, contrasting inserts of parts of the facades from wallpaper or fabric. It all depends on the imagination of the master and the availability of certain materials. One rule works here: the combination must be harmonious.
An interesting way to decorate a wardrobe is painting. It is believed that only a professional artist is capable of applying a pattern on a wardrobe, but an inexperienced master can also perform simple drawings.
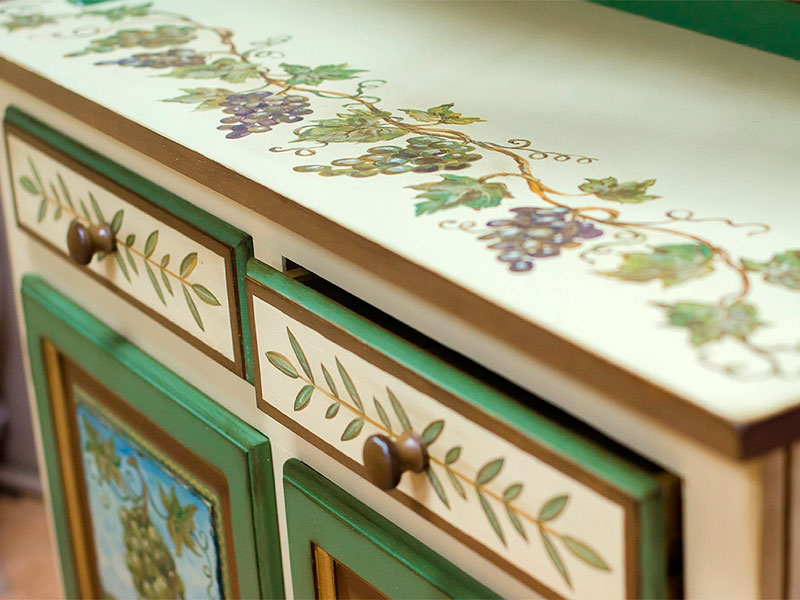
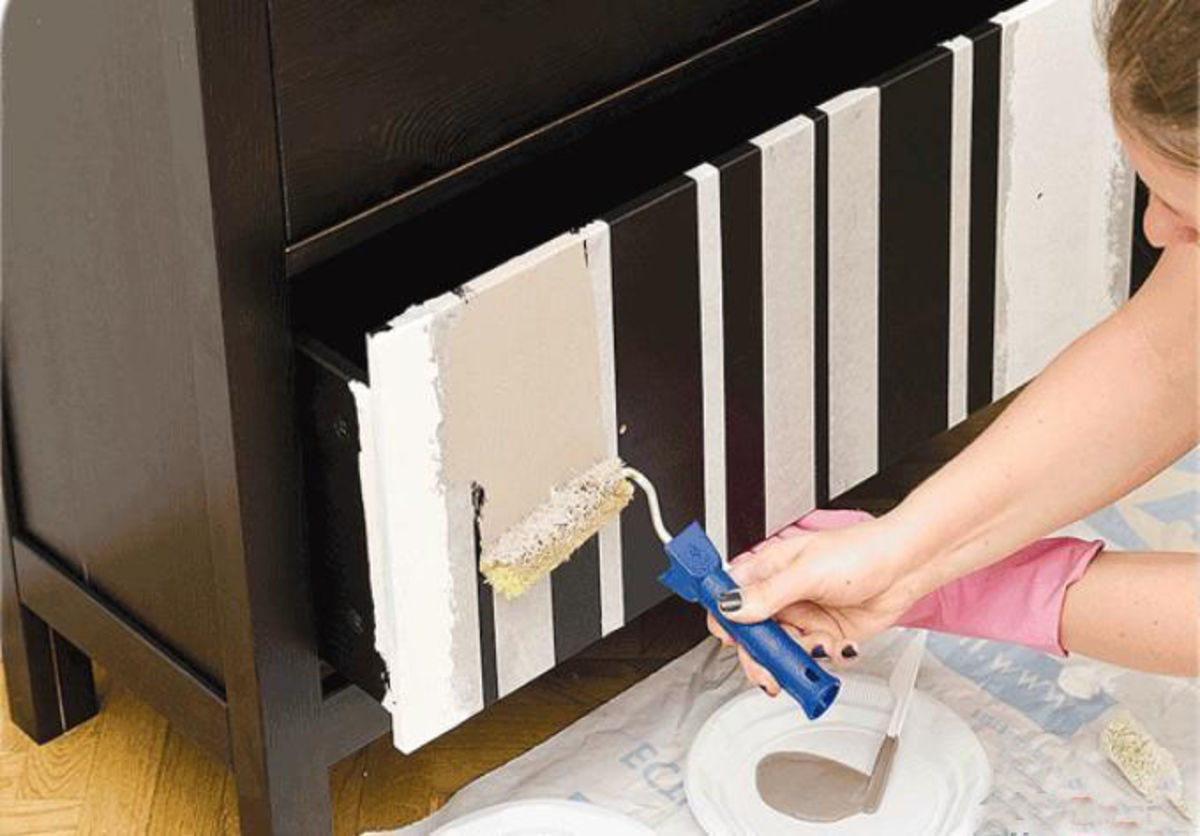
A good way to decorate your cabinet door is to use a stencil. It is not difficult to make it yourself or buy it ready-made in a specialized store. Some people use masking tape: the strips are glued in the desired order, paint is applied, and then the tape is removed. It turns out a rather interesting and unusual drawing.
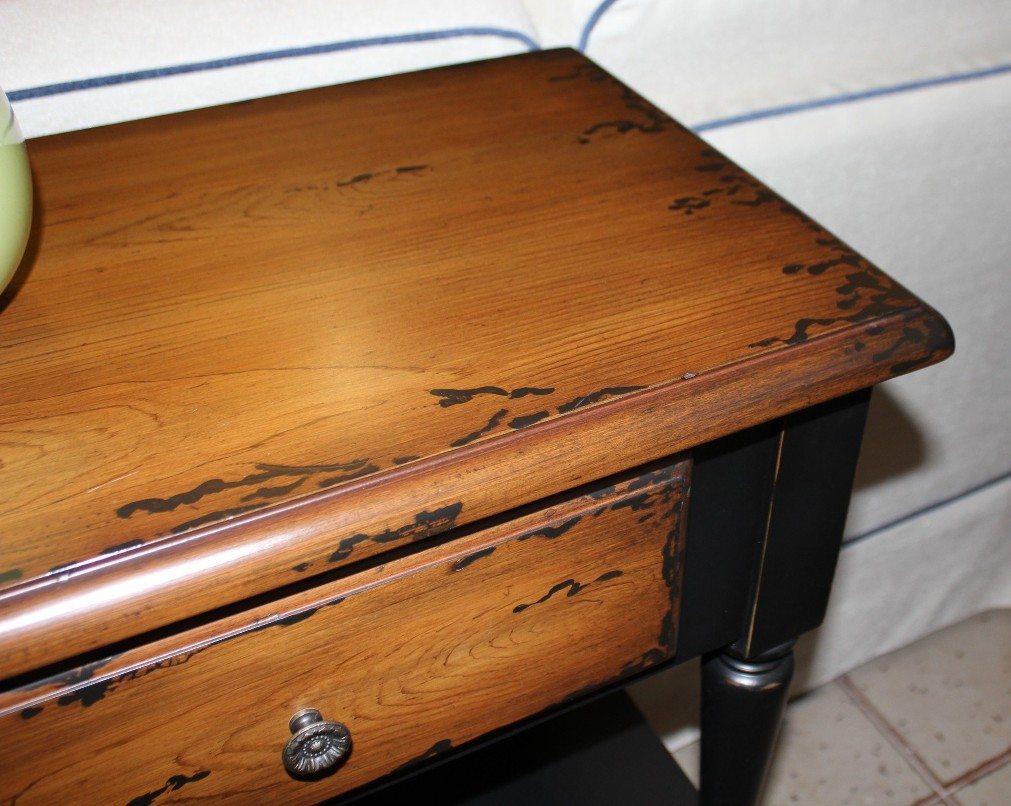
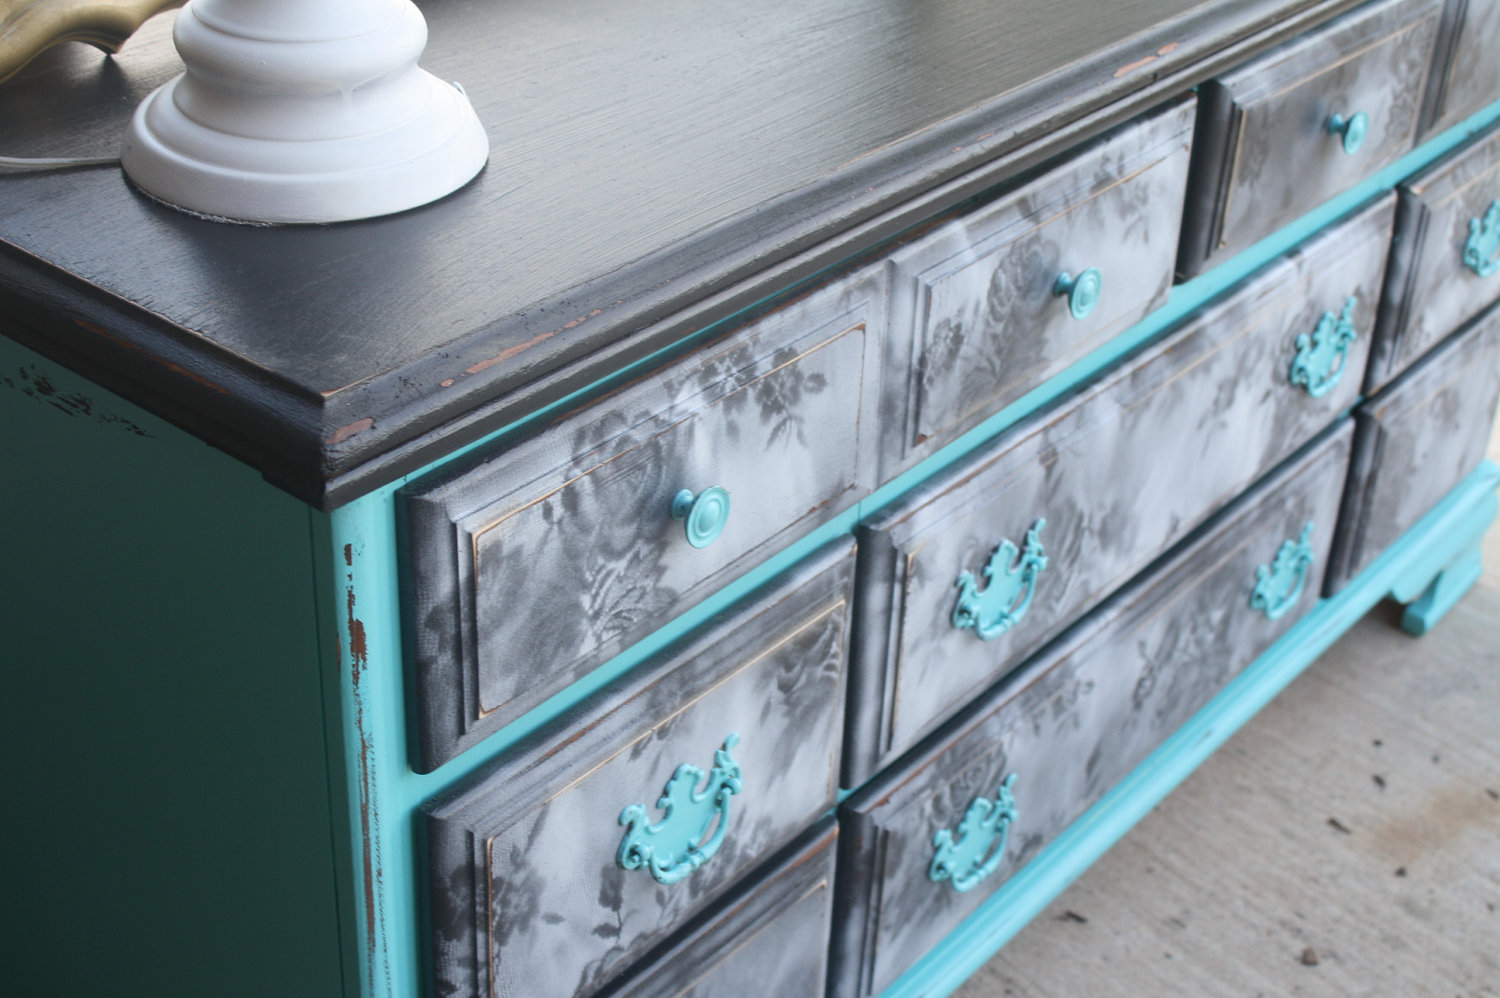
Many owners of old furniture dream of giving it an antique look. To this end, you can cover the product with chalk or matte paint, and then create abrasions near the fittings and in the corners with sandpaper.
Old chests of drawers or sideboards, which in some places are painted with brown or blue paint, and then rubbed with wax, will ideally fit into the Provence style. After that, it remains to cover the entire product with paint, and then, when the layer dries, rub these places with a spatula or knife.
Furniture items with a beautiful textured surface will look spectacular if you cover them with two types of stain - first a light water-based stain, and then a dark oil stain. It is possible to create a patina effect with your own hands even in the absence of experience. For this, the facade is painted with acrylic enamel and allowed to dry. Then, in some places, the sheets are sanded and polished with a dry cloth. A layer of paint of a darker or lighter shade is applied on top of the product. Selected areas are again processed with sandpaper. The final touch is the application of a double layer of acrylic varnish.
It is possible to cover with a transparent composition not only furniture with a pattern or pattern. This product will give the item a glossy shine, which makes it look attractive and retains its new-found appearance for a long time. The varnish dries for at least 12 hours. After that, you can assemble an old wardrobe, sideboard or chest of drawers and enjoy the result of your work.
I hope that the presented chipboard processing methods will help you rejuvenate old furniture and save your family budget. The following video will facilitate the perception of the above.

