Installation rules
For many who first encounter confirmations, a natural question arises regarding which holes to drill for the used Euro screw and how this procedure is generally performed.
Problems with how to drill holes, if you have already worked with a drill and imagine the principle of its operation, should not arise.
Before installing the confirmation in the furniture case, it is required to make the appropriate markings. To apply it, you will need a jig or a template. With their help, you can significantly speed up work, as well as achieve a high level of accuracy. If you are doing simple markup, you will not need a conductor (template).
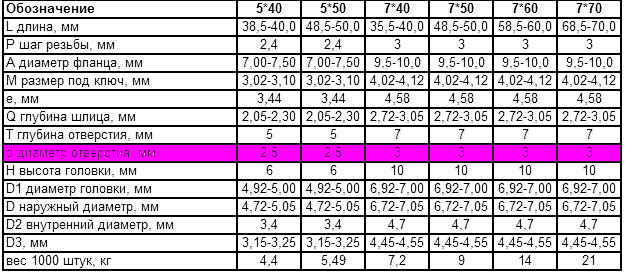
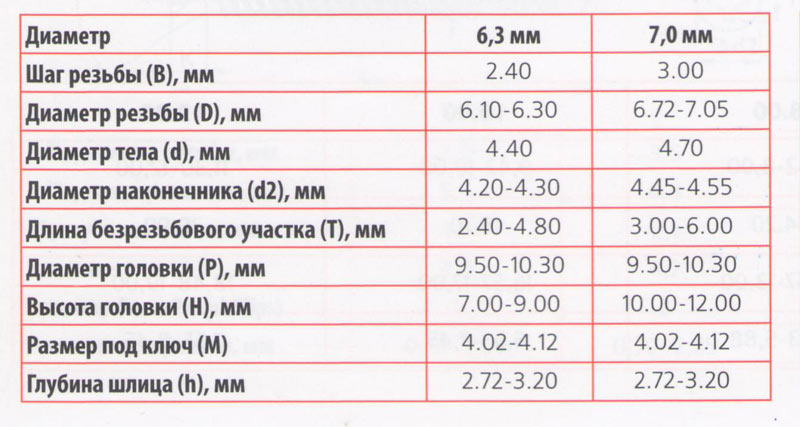
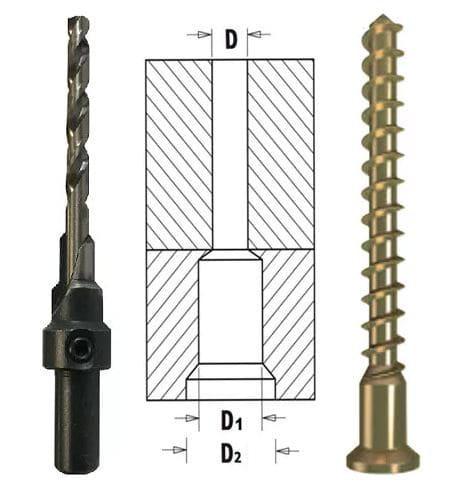
For the correct installation of the confirmation, it is recommended to find out in advance about the material of the furniture itself, as well as about the design features of the euro screw. A total of 3 holes are needed:
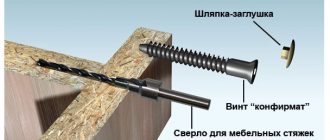
- under the threaded screw part;
- for the smooth part of the eurohead;
- under the hat.
A drill of the corresponding diameter is used for each hole. It is the time it takes to create several holes that make you spend much more time assembling furniture.
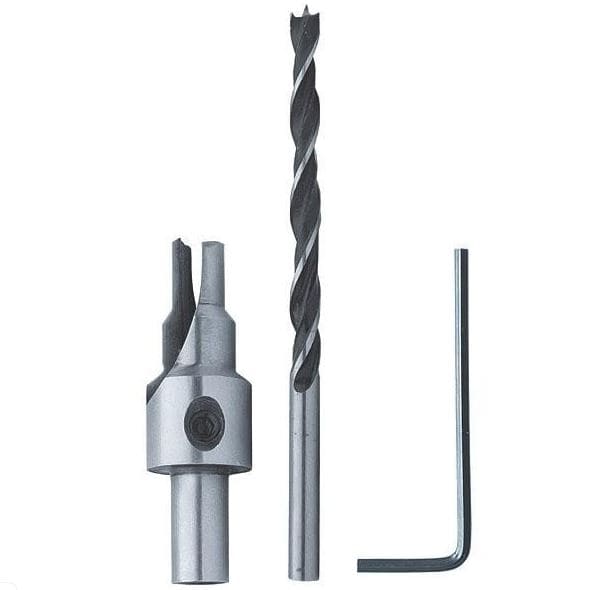
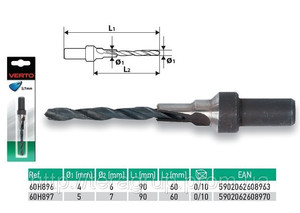
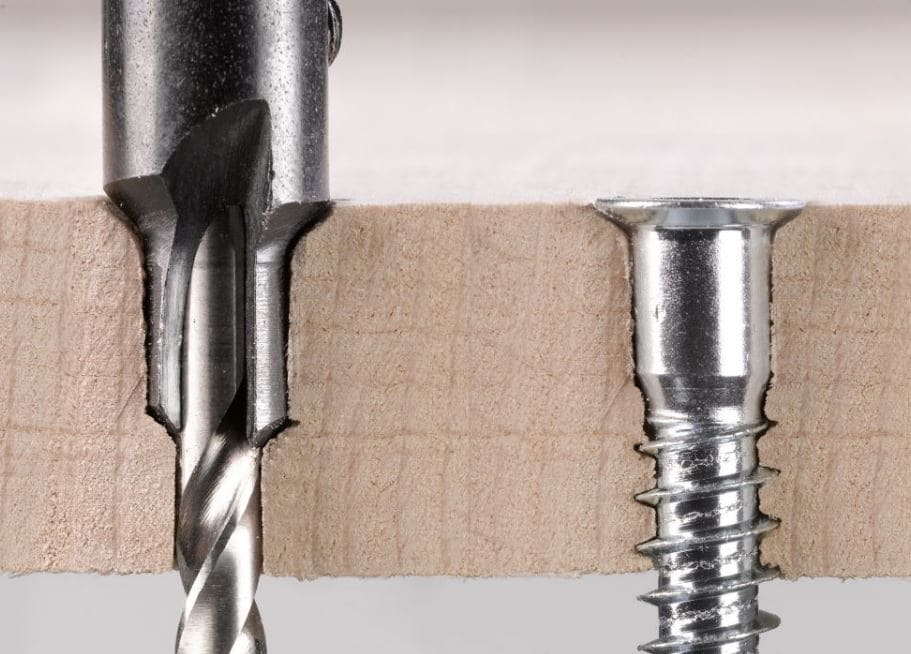
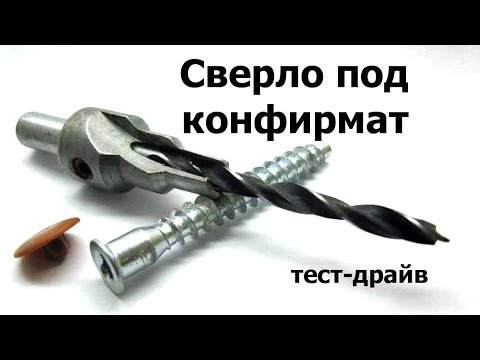
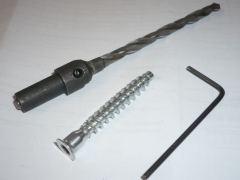
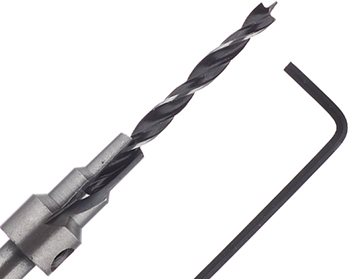
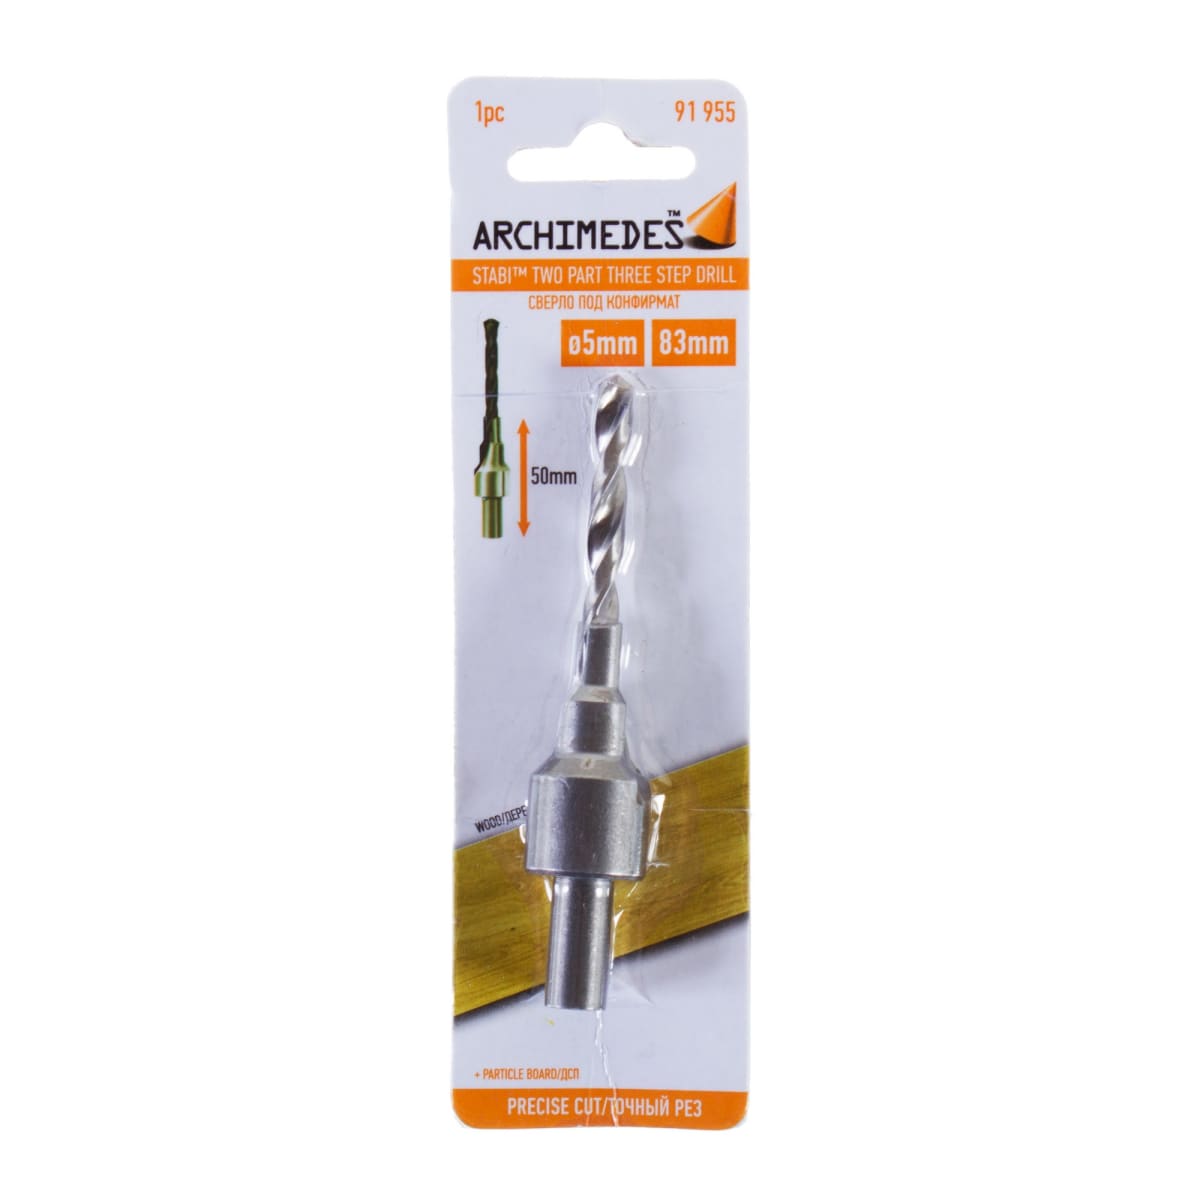
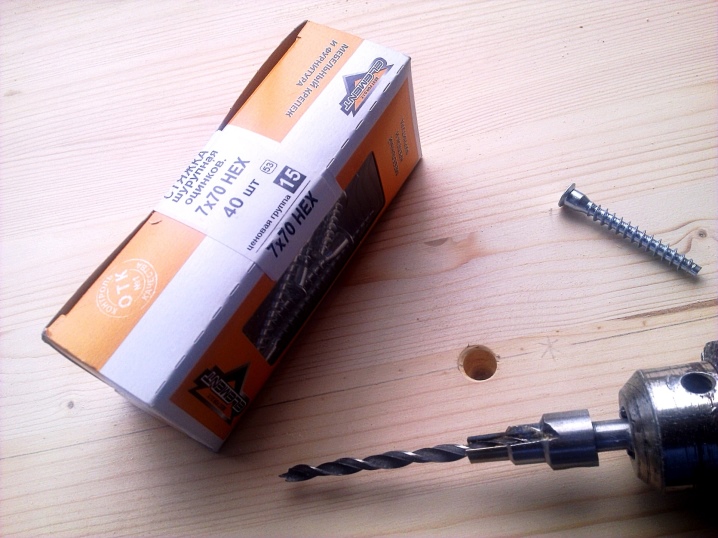
But there is a solution. It is presented in the form of a special drill, which is intended specifically for confirms. Finding it in Leroy Merlin or in any other furniture accessories store will not be difficult. The peculiarity of the special drill is that it allows you to prepare 3 different holes at once in one go. This is due to the design of the drill itself.
Drilling and installation
Step by step we will consider the procedure for drilling a hole with the subsequent installation of a confirmation in it.
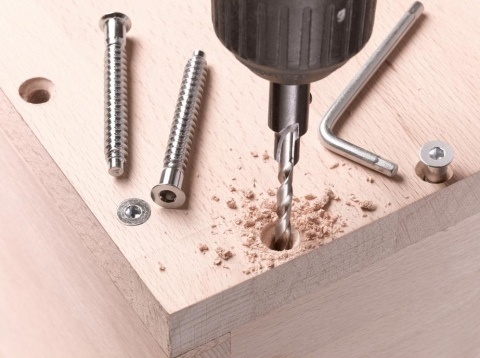
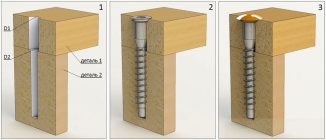
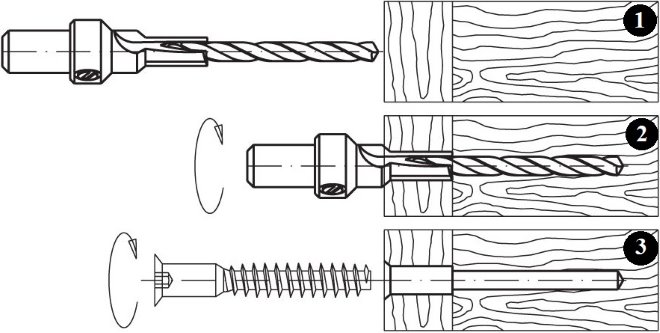
To assemble furniture using Euro screws, you need to prepare special holes. The process involves the following actions:
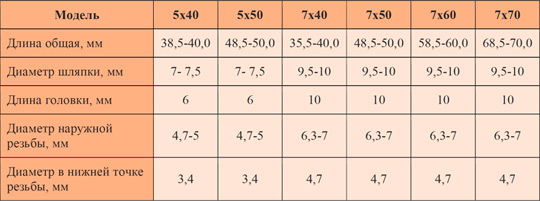
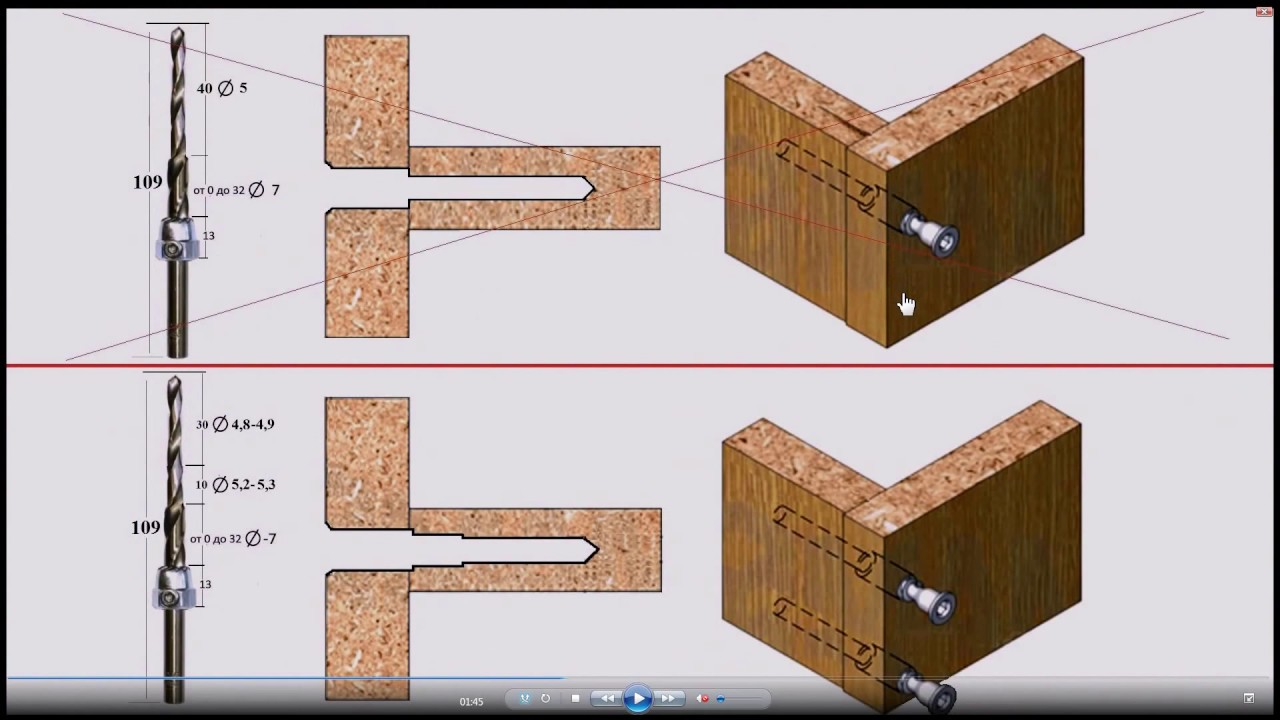
- First, a hole is drilled for the screed (confirmation). Drills with a diameter of 4 to 7 millimeters are often used here;
- Due to a stepped cutter or just a special drill for a confirmation, it is possible to significantly facilitate the procedure;
- The cutter is fixed to the drill. This makes it possible to correctly form a hole in two components at the same time;
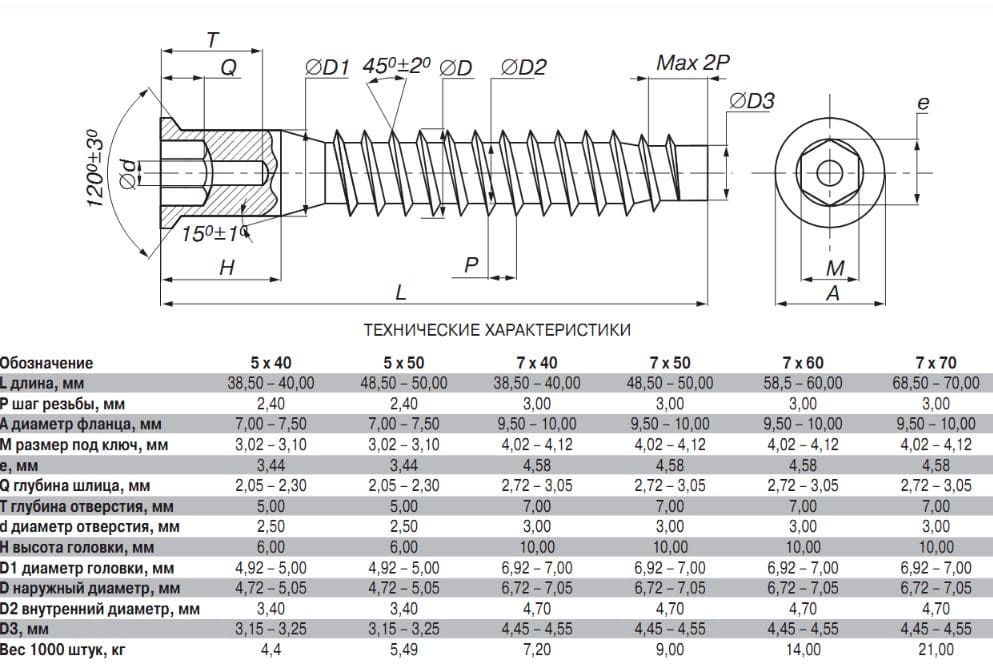
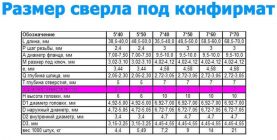
- For the threaded part of the confirmation, the diameter should be 5 millimeters, and the diameter of the hole for the head itself is already 7 millimeters;
- On the first furniture element, a through-type hole is made, since the smooth part of the special head and the hat itself will be located there;
- In the second part, a blind hole is made, where the internal thread is formed by drilling the threaded part of the Euro screw in the end part;
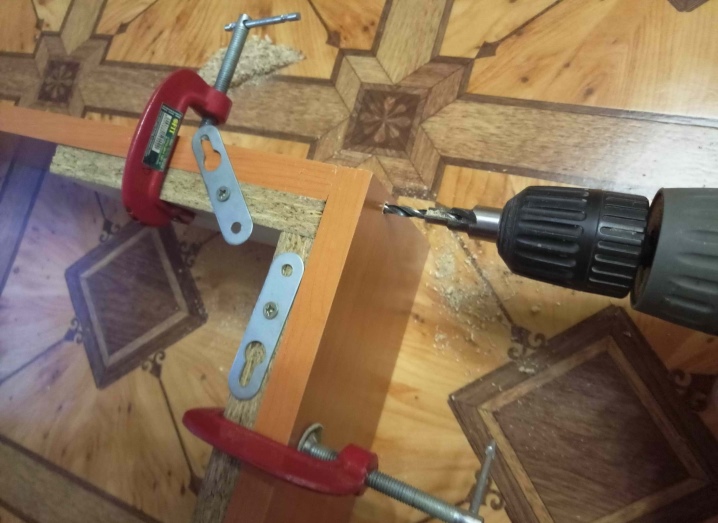
- To ensure the most accurate connection, furniture elements can be fixed using machines, furniture vices and other devices. This prevents possible shifts.
When drilling, try to use a drill or screwdriver that can rotate at the highest adjustable speed possible. This will ensure the creation of the most accurate, even and quality holes.
It is difficult to imagine the assembly of modern cabinet furniture without the use of confirmations. This is the most modern type of hardware that allows you to significantly speed up and simplify the furniture assembly process.
The use of confirmations allows you to abandon corners, screws and other fasteners that do not have the most attractive appearance, and are also inferior to the Euro screw in terms of reliability.
Confirmation is not just a whim or a fashion. This is a truly versatile and effective solution in furniture production. And we are in many ways lucky that now we have the opportunity to assemble furniture with the help of such fasteners.
What do you think about confirmations and have you had to work with them? Who assembled ready-made furniture and used such fasteners? And who had to make the holes for the confirmation himself? Share your experience and your opinion.
Thank you all for your attention! Subscribe, leave comments and ask relevant questions!
When designing and assembling furniture, the confirmation is the main fastening furniture element. It is with his help that the main parts from chipboard are connected that we have designed on paper.
Precise and convenient jig for drilling for dowels and confirmations
The markings must be done very accurately, especially in length, because if the markings are incorrect, your parts have excessive gaps or protrusions when joining.
Better to do end-to-end hole in the first part, attach it to the second - and immediately mark the place of drilling at the end of the second part with a drill. And then, separately already, quietly drill the hole.
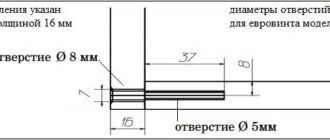
We do hole extending 8 mm from the edge.
Before making a through hole, place a piece of unnecessary chipboard under the part. This will prevent chips from occurring on the reverse side.
When the through hole is made, the part can be drilled by weight to drill holes for the neck and the head of the confirmation.
The main rule is that when drilling in the end face, the drill should be strictly perpendicular to the end face of the part. If you do not hold the drill straight, the drill goes to the side and goes out, thereby ruining the part.
This option is considered the clearest and, additionally, the fastest. To, to do hole in 2 parts at once, you need to fix them before drilling. For this purpose, there are variations, special clamps, clamps and other devices are useful.
So that every time you do not mark 8 mm from the edge both into the layer and along the end, a special device is used, which, when, is easy to do yourself.
Read the same
It is essentially some kind of wooden template with an iron bushing for the drill from the inside.
It looks like this, see the photo:
As you know, there is a more professional thing:
Advantages
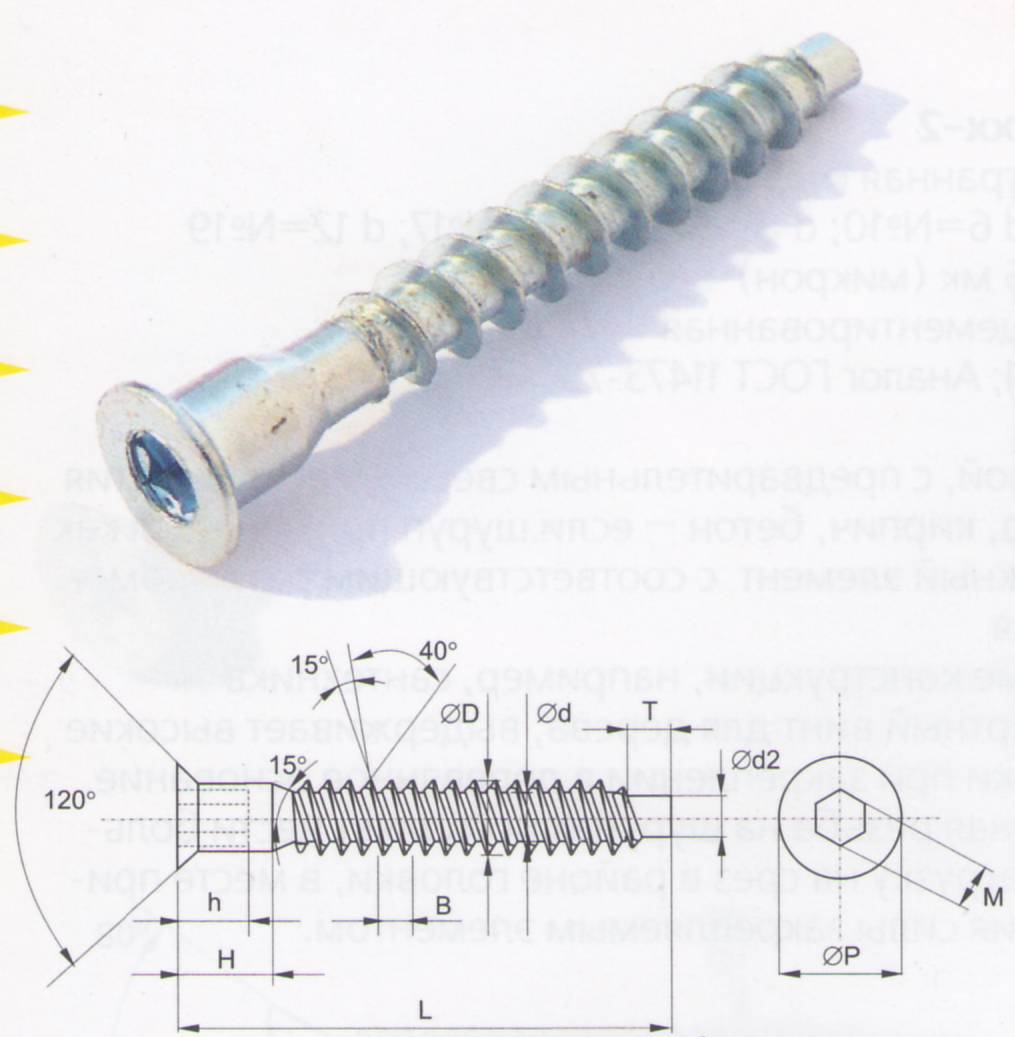
 A hole is required for the Euro screw. The difficulty lies in the fact that by its design it is heterogeneous: the outer diameter of the thread and the size of the head are different. There is also a hat. All this must be taken into account for reliable fastening. You can do the following:
- Drill a hole corresponding to the length of the confirmation. Its diameter is made slightly smaller than that of the external thread.
- The head of the Euroscrew is slightly wider. It should fit snugly into the hole, but not too much, otherwise cracks may appear. The upper part of the already made hole will have to be expanded with a drill with the required diameter.
- In order for the hat to fit well, it is necessary to free up space under it. To obtain the desired socket, processing is additionally performed using a countersink. Although some masters omit this step: it is enough to tighten the confirmation a little harder.
That is, in order to insert one Euro screw, you need to have two suitable drills and, preferably, a countersink. You will need to do several operations, each of which may end in failure, especially for a beginner:
- the position of the hole and its angle may be taken incorrectly, which will affect the reliability of the connection;
- chipping is possible when countersinking.
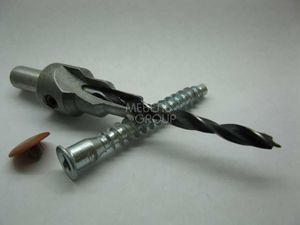
A special confirmation drill can significantly simplify the process, save time and nerves. It usually replaces all the tools described above and allows you to make a hole quickly, in one motion. Good specimens do not spoil the edges of the hole or do so slightly. A small defect can usually be closed with a hat or a plug. Products fit:
- for hard and soft wood;
- for chipboard with and without coating;
- for plastic.
Design features
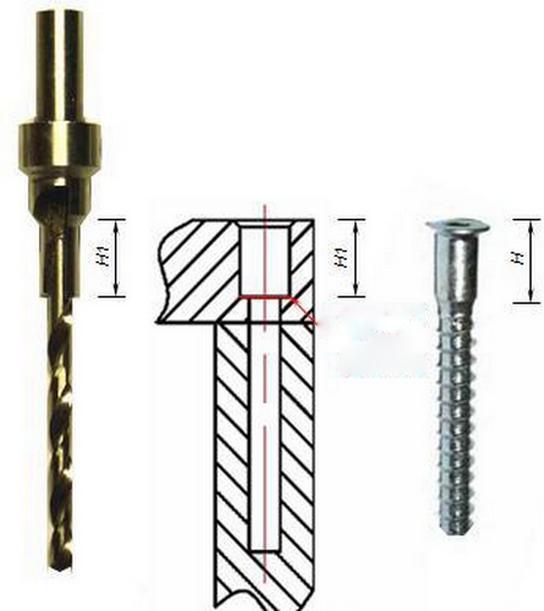
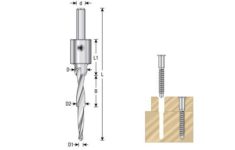
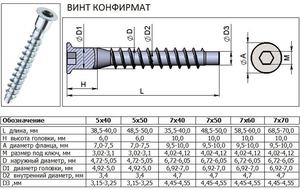 The hole should be stepped, since the confirmation has parts of different diameters. Therefore, special drills for it must repeat the shape of the fastener.This can be achieved with the help of an appropriate design.
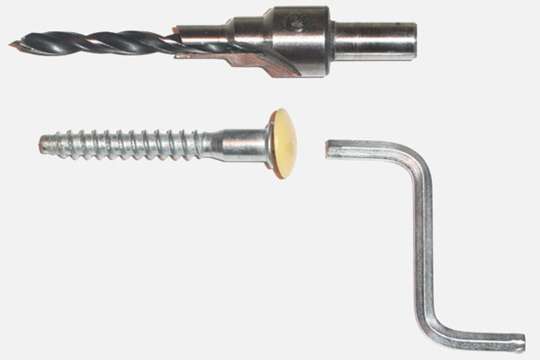
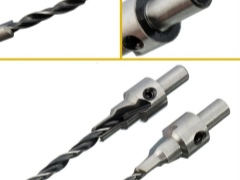
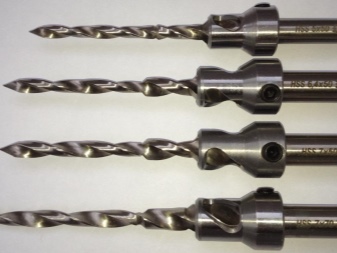
The fixing part is connected to the drill chuck. It has a hole (blind) for a removable drill. Landing of the latter is sliding, made with a slight clearance. This prevents bending and breakage. The cutting part is stepped, allowing you to make a hole with several diameters at a time. The design can also be non-separable.
The drill for the Euro screw has the following structural features:
- The front part is made at an acute angle. This is necessary for a better fit and ensures that the hole is centered.
- The angle of the helical groove is the same as that of the thread in the confirmation. The fasteners fit well and hold more securely.
- The position of the thrust piece can be adjusted. This helps to avoid over-drilling: there is no need to additionally monitor the depth of the hole.
- Particular importance is attached to polishing the surface of the feathers. This reduces friction and promotes better chip evacuation. The latter is removed through the holes in the end of the stop.
- The contact area of the stop is made as small as possible so as not to crush the side surfaces of the hole. Drill life remains within acceptable limits.
- The stop not only centers, but also performs countersinking, which is necessary for a better entry of the cap. That is, the hole is turnkey, you can immediately insert the confirmation.
How to drill?
Often, home craftsmen had to deal with a situation where they have to use what is available.
Application of 3 drills with different diameters
This method is suitable for small-volume jobs, since it involves a lot of time. The hole is prepared in 3 steps.
- Drilling for the entire length of the confirmation through 2 parts. The diameter of the cutting tool should correspond to a similar parameter of the Euro screw body, but without taking into account the thread (we have already talked about this). This is done so that the helical surface of the thread creates a mating thread in the material.
- Reaming the existing hole for the flat part of the fastener, which should fit snugly, but not too much, so as not to tear the material. Expansion is carried out with a drill of the same thickness as the neck, while the depth should correspond to its length.
- Machining the hole for embedding the cap into the material. This is done with a larger diameter cutting tool. Experts advise doing this with a countersink so that there are no chips.
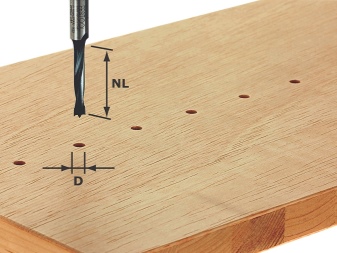
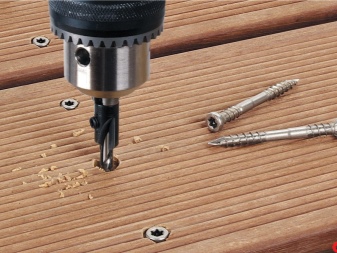
Specialized drill bit for euro ties - 3 in 1
It is much easier to work with a specialized drill for a euro tie, since it has a special stepped design, and the whole procedure is done in one pass.
In addition, the confirmatory drill has a lead-in with a pointed end, which ensures accurate entry of the cutting tool, and does not allow it to go off-center at the beginning of drilling.

Markup
The strength and quality of the assembly carried out by means of confirmations largely depends on the correct marking of the future screw holes. As a rule, 2 types of markings are applied to the parts, which will lie on the end surface of another part of the furniture structure:
- drilling depth (5–10 cm);
- the center of the future hole, when the thickness of the abutting element is 16 mm, should be located at a distance of 8 mm from the edge of the chipboard.
On the abutting part, the drilling points must be marked on its end part, placing them exactly in the center of the furniture board.
In order to mark the drilling areas as accurately as possible, you can resort to a rather simple method: after marking, a hole is made in the superimposed element (for the entire thickness of the part), through which, by attaching the first element to the second element, a rotating drill indicates the location of 2 holes for the euro tie.
