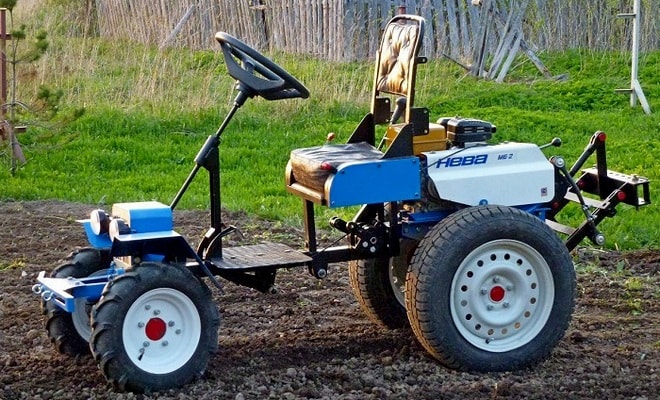
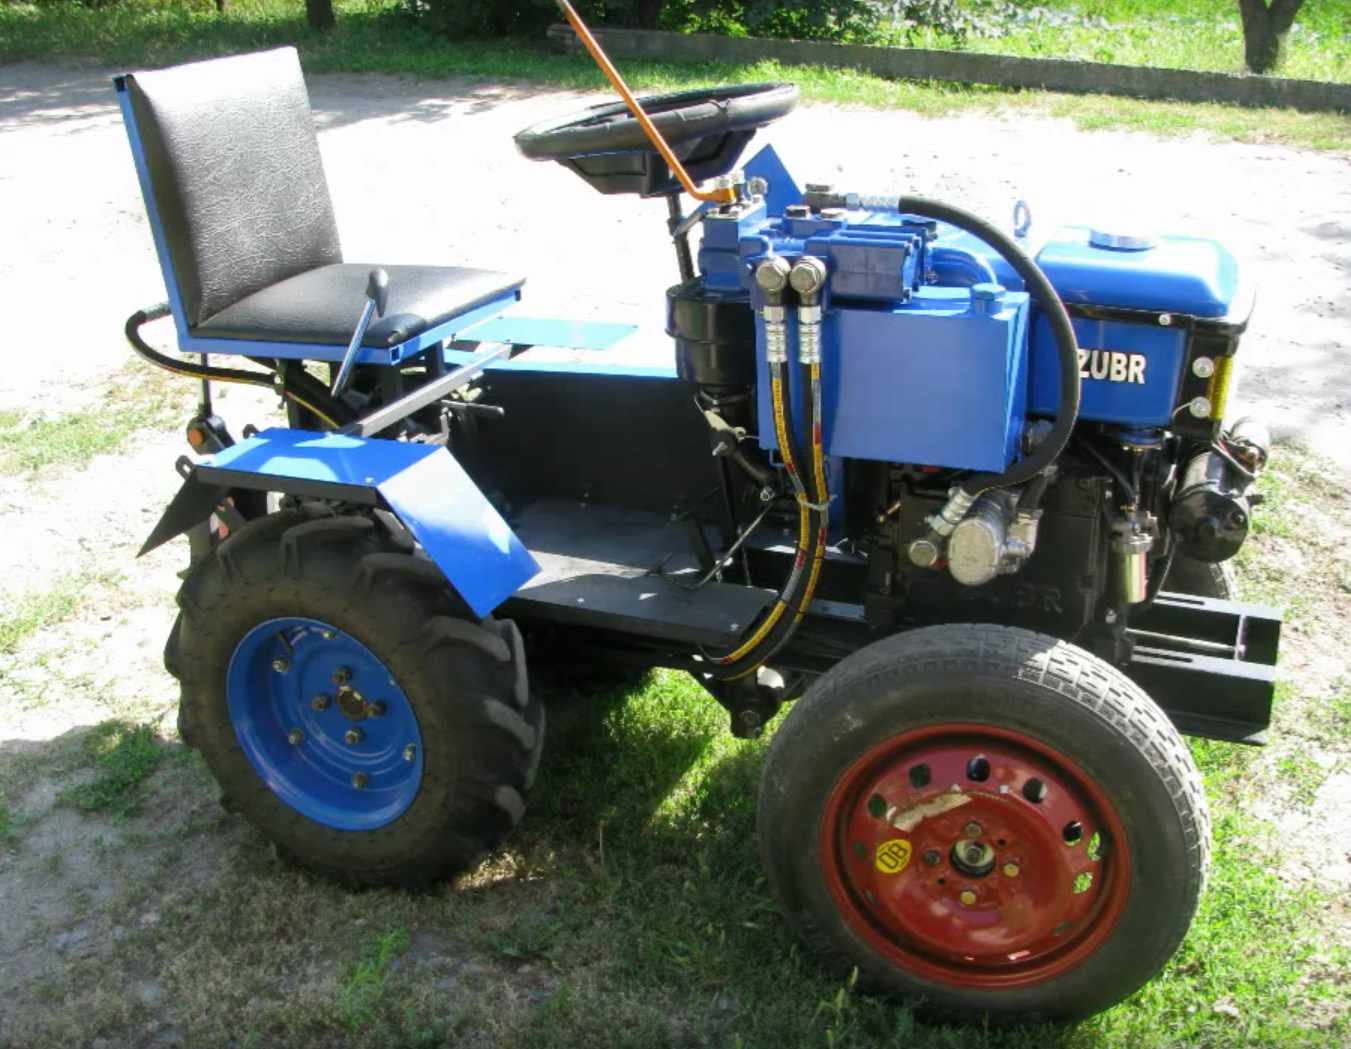
Detailed instructions and drawings - how to build and assemble a simple mini tractor
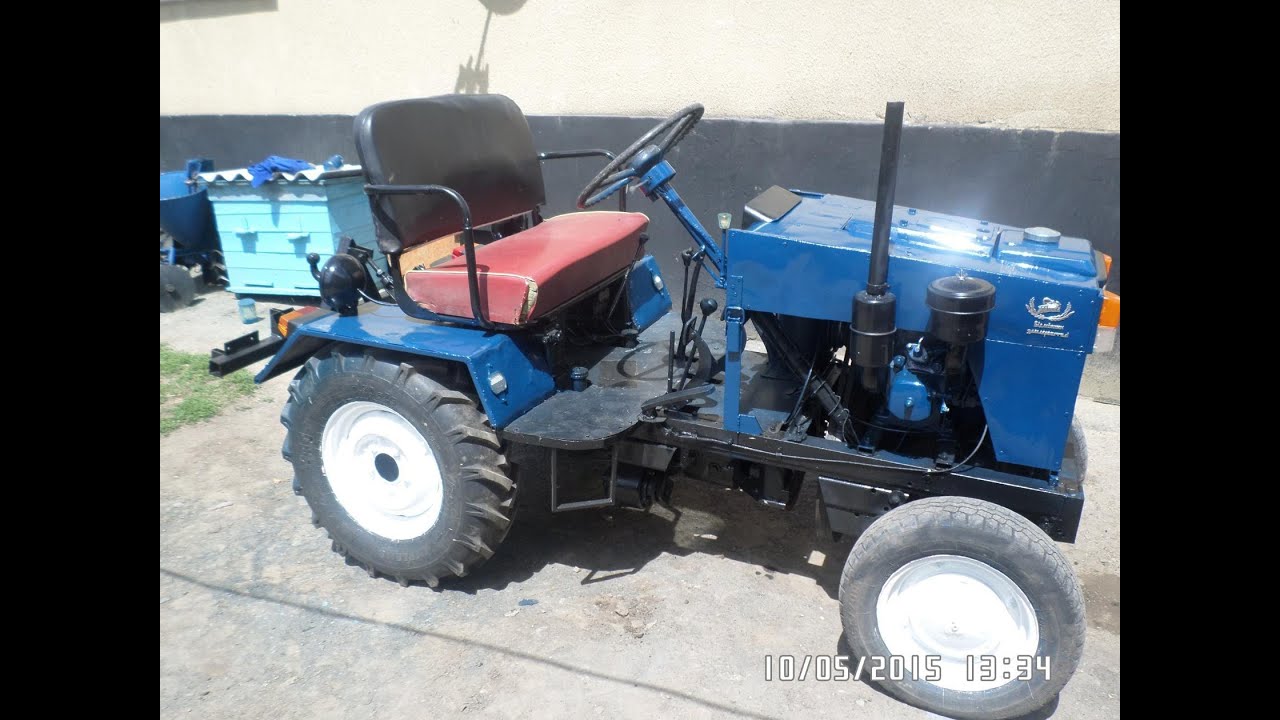
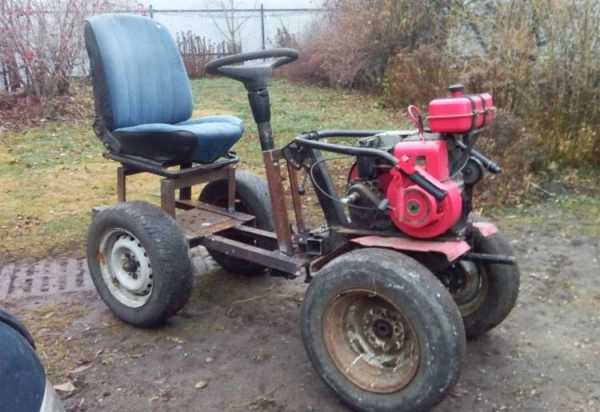
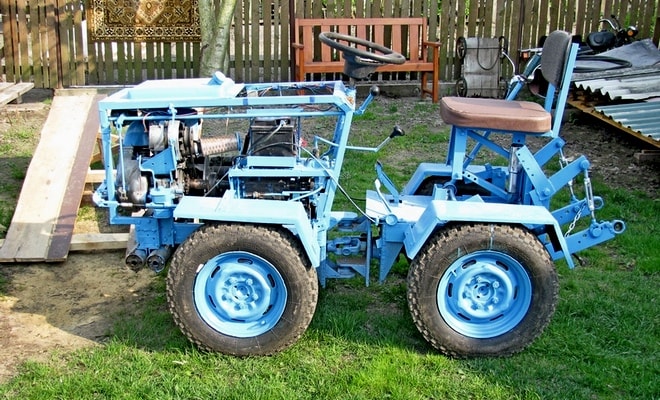
Self-made mini tractors with their own hands at home are a fairly typical design, although not attractive in appearance.
But, the question of external beauty does not play absolutely no role here, because self-assembly assumes only the presence of those performance characteristics and indicators that allow for a rather extensive range of works.
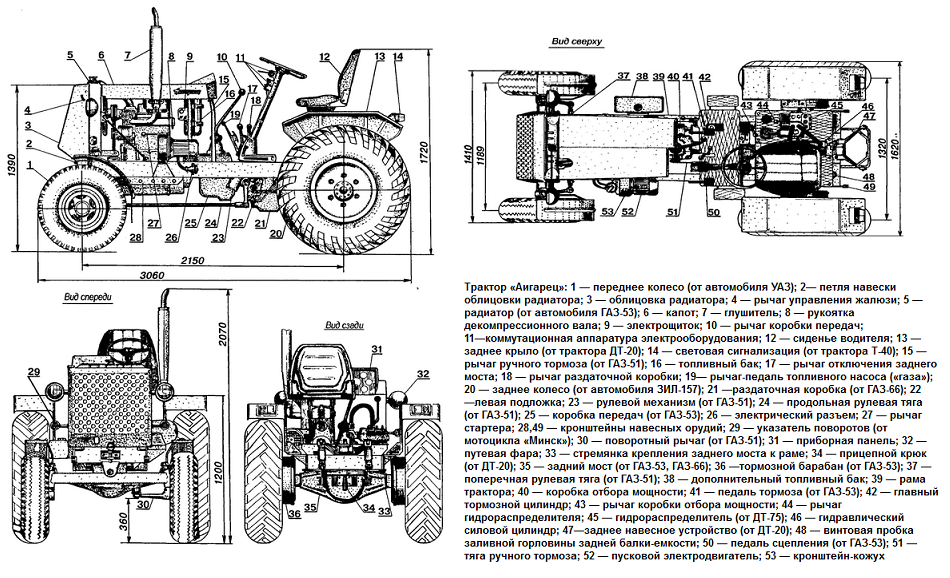
At the initial stage, you need to do one very important thing - draw up a detailed drawing of the future unit, indicating the exact dimensions and main working units. If you do not have the necessary knowledge in this matter, you can use outside help (for example, an article on how to make a fracture mini-tractor with your own hands).
Anyway, you can use the Internet by typing in the address bar the query "do-it-yourself mini tractor drawings dimensions", and you will immediately see more than one detailed assembly diagram.
Drawing 1
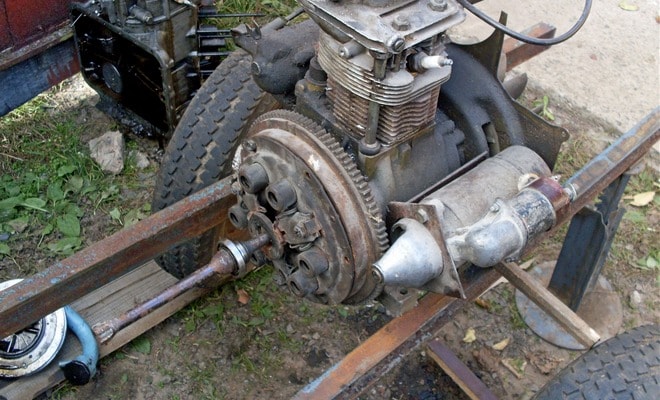
The frame is a supporting structure. All attachments are attached to it.
Drawing 2
This step is very important, because the independent manufacture of any unit involves a certain revision and adjustment to the desired parameters. Obviously, this is easiest to carry out according to the drawing than to be guided approximately.
In addition, the same turner will understand what is required of him by looking at the detailed drawing, rather than a formal explanation in words.
At the planning stage of the project, it becomes clear what kind of unit will be in the end. For many, a do-it-yourself fracture mini-tractor at home, located on an articulated frame, is quite popular.
Having decided on the type of mini tractor, the question arises of finding the necessary spare parts and components. We are talking about the frame structure, engine, transmission, controls and wheelbase. Most of this can be found on the Internet by visiting sites that specialize in the sale of various parts.
The assembly process itself will include several stages:
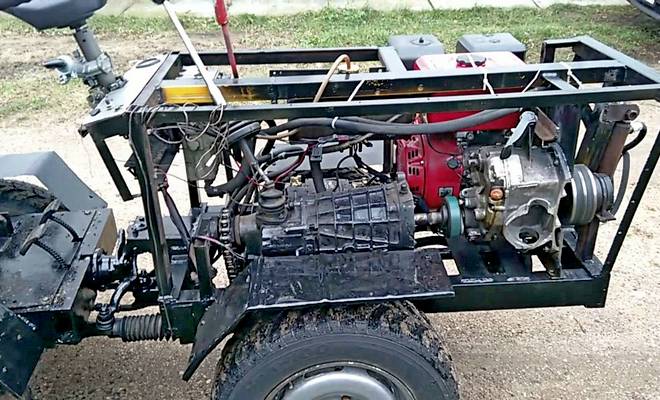
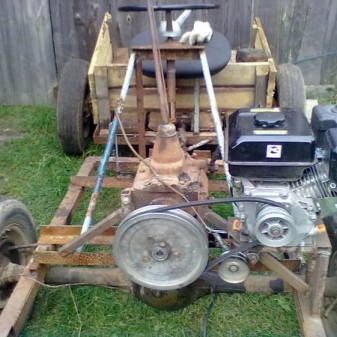
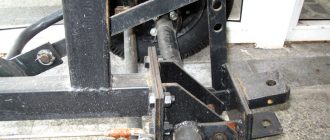
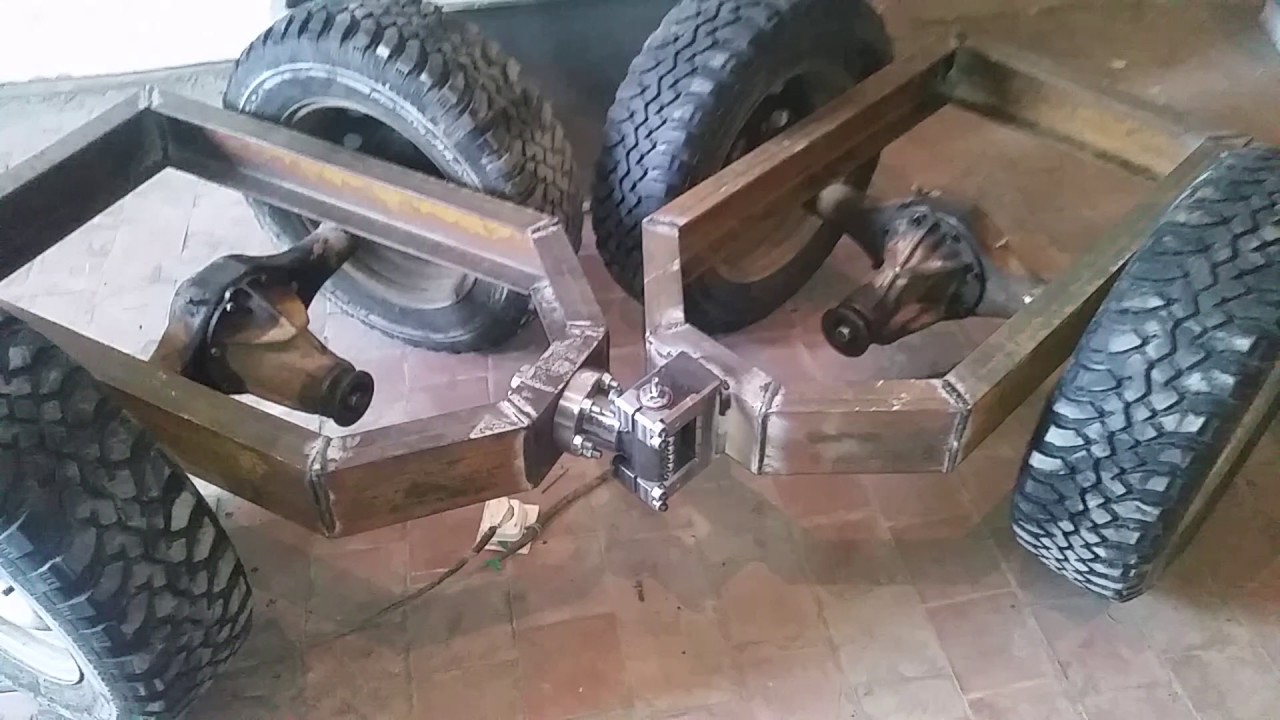
Frame manufacturing. Breakage is carried out mainly from channel number 5 and channel number 9. Of these components, you need to weld two half-frames, and they will be connected to each other using a hinge. In this capacity, you can use cardan shafts from heavy vehicles.
Frame making
- There is another way to design a frame. It consists in the manufacture of a one-piece structure, consisting of two traverses and two spars. The traverses are made of channels number 16 (for the rear) and number 12 (for the front).
- The side members will be made of channel number 10. A metal bar is used as a cross member.
- As an engine, you can use the models MT-9, UD-2, UD-4, etc. Their power will be quite enough for a homemade version. In principle, any engine with a relatively high power will do - about 40 hp.
- The PTO and gearbox can be removed from the GAZ-53, and the clutch can be taken from the GAZ-52. Remember that these parts will have to be adjusted to fit the design parameters. At the flywheel of the motor, you need to cut off the rear part a little, and also drill a hole in the center.
- The steering wheel can be provided with a hydraulic system, which must be taken from old agricultural equipment.
- The design of the rear axle can be borrowed from old passenger cars, but it will have to be slightly corrected on a lathe.
- Any suitable wheels can be used as wheels, but that their diameter is about 18 inches is an acceptable minimum for agricultural work.
- In this sequence, in principle, lies the answer to the question - how to make a mini tractor at home? Most of the necessary components can be obtained from old technology, which greatly simplifies the question of finding the right part.
In addition, the costs are minimal, because even the purchased parts will cost much less than the finished mini tractor.
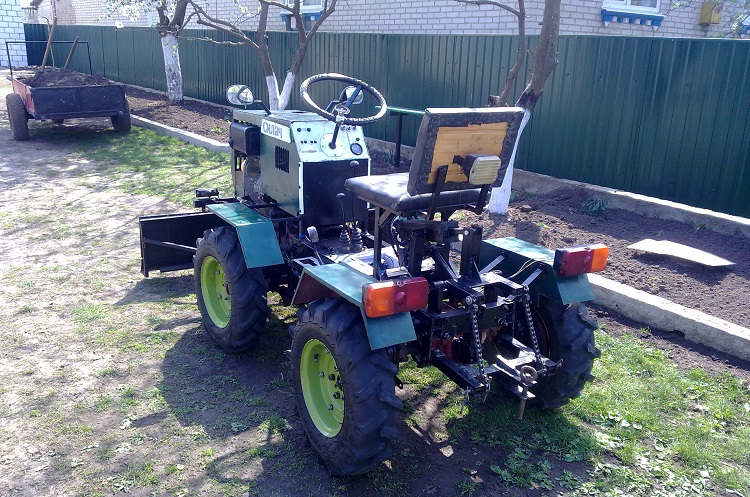
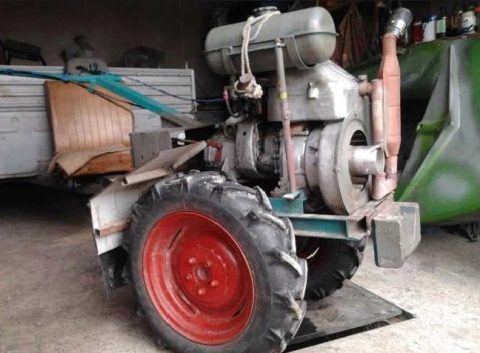
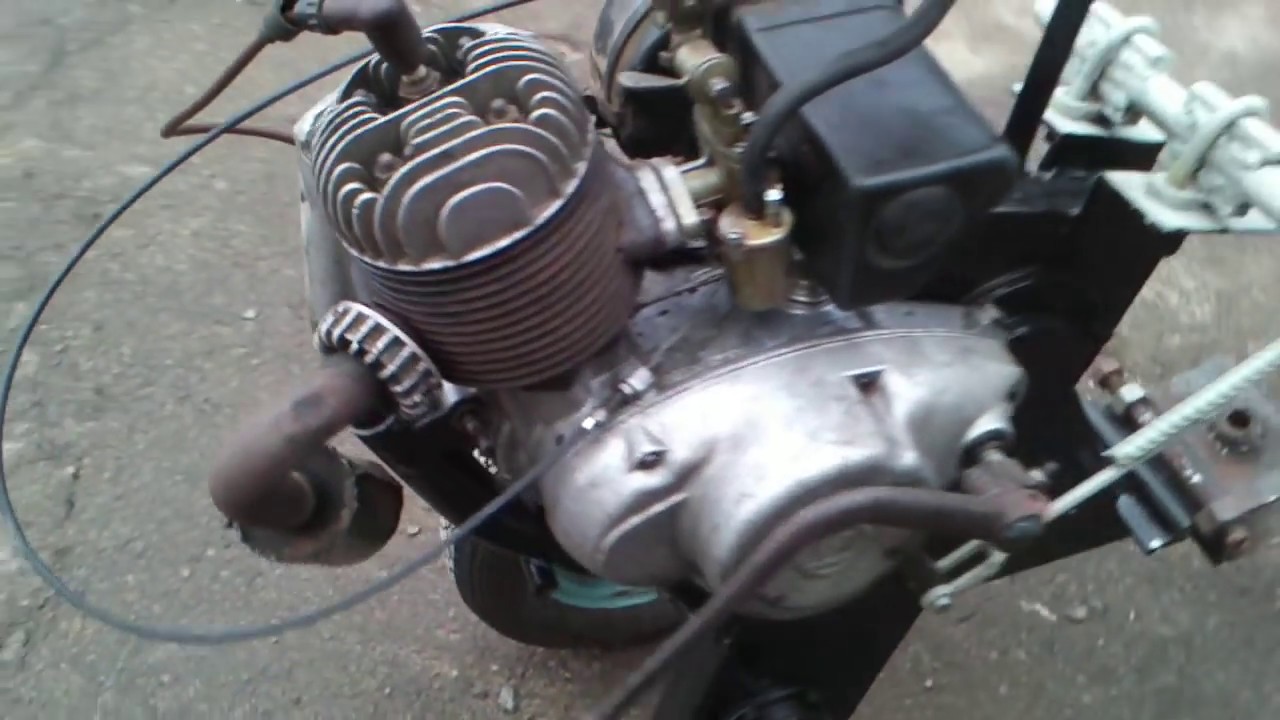
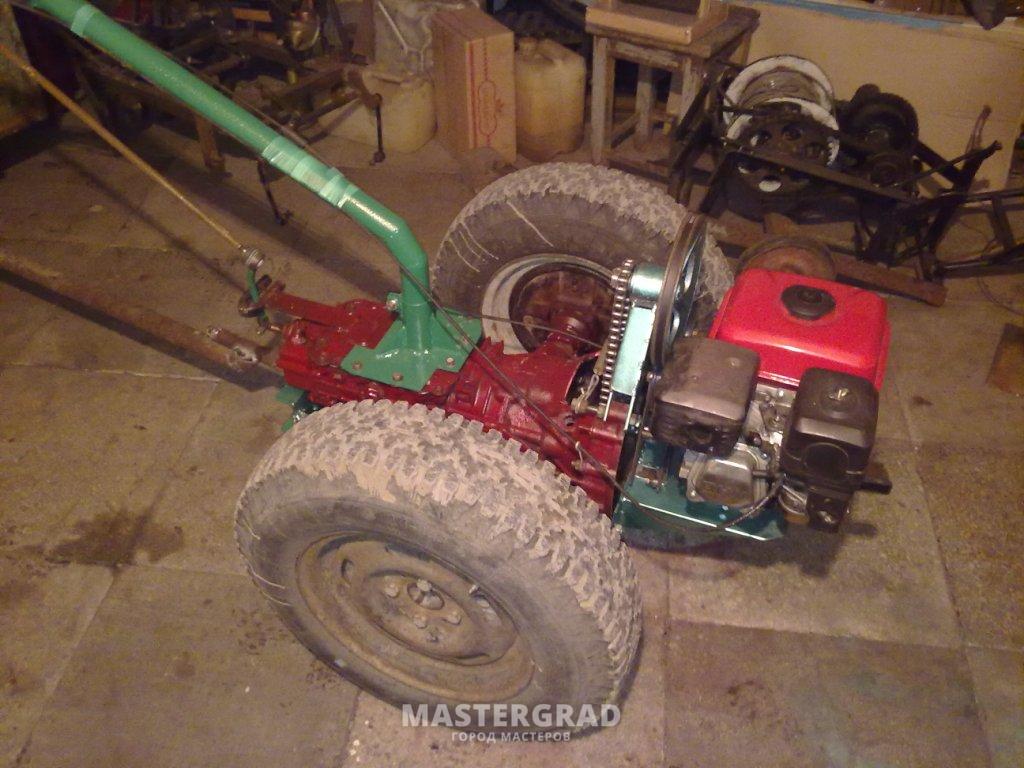
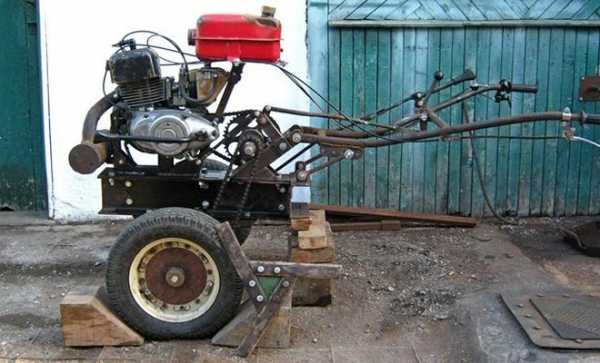
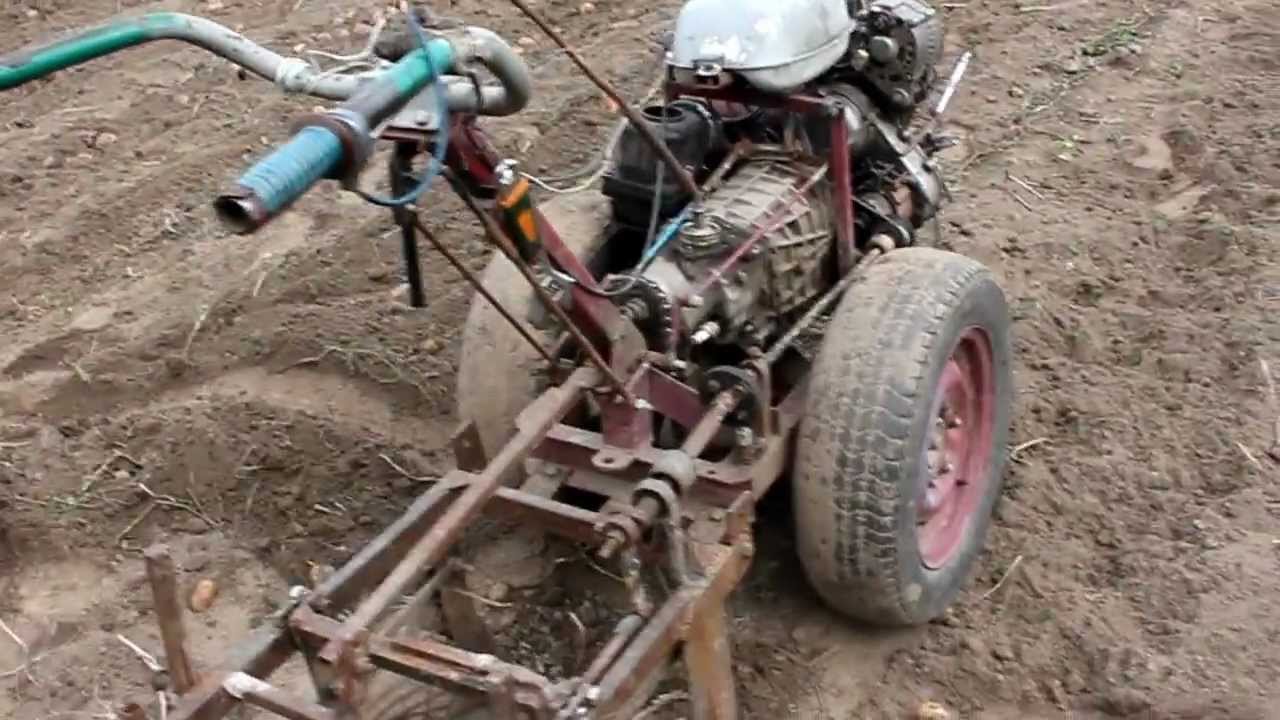
Photo of a walk-behind tractor with your own hands



We also recommend viewing:
- DIY mill
- DIY gate
- Summer shower with your own hands
- DIY garden figures
- DIY swing
- DIY toilet in the country
- DIY garden paths
- DIY playground
- Do-it-yourself veranda
- Do-it-yourself shed
- DIY pond
- Do-it-yourself beds
- DIY chicken coop
- DIY flower garden
- DIY septic tank
- DIY fountain
- DIY tire crafts
- DIY cellar
- DIY fly trap
- Aviary with your own hands
- DIY pool
- DIY canopy
- DIY garden
- Do-it-yourself porch
- DIY paving slabs
- Do-it-yourself smokehouse
- DIY crib
- Brazier do it yourself
- DIY barrel
- DIY hammock
- DIY landscape design
- DIY flower beds
- DIY greenhouse
- DIY alpine slide
- DIY a cage
- How to decorate the yard with your own hands
- DIY watering
- Diy drinker
- Do-it-yourself change house
- DIY fishing rod
How to make a homemade mini tractor from the "Centaur" walk-behind tractor
Practice shows that the most affordable and reliable mini tractor is obtained from a walk-behind tractor, which belongs to the category of professional or semi-professional. Their main distinguishing feature is high power and a large resource of use. Motoblock "Centaur" is well suited for all these qualities. It has a diesel engine with a power of 9 hp. This allows it to be used as a basis for a mini tractor. But the final choice depends on the goals set when creating such a technique.
For the future minitractor, you need to prepare the body, and think over how it will be connected to the engine block. To create the body and frame, profiled pipes or metal corners are used. If the motor of the walk-behind tractor is powerful enough, then you can use a small trailer for a motorcycle or car as a body. Then you need to think over the connection scheme of the body to the walk-behind tractor.
When a home-made mini-tractor from the "Centaur" walk-behind tractor, you need to develop a kinematic diagram that would transfer torque from the engine to the drive wheels. It is also necessary to evenly distribute the load on the drive axle. If it is planned to transport goods with such a mini tractor, then weight distribution will play a decisive role.
When assembling a mini tractor, the most important point is the correct placement of components and assemblies. The output shaft is the best option for placing the braking system. The gear shift lever is located on the axle. The start of the motor remains factory-set.
The place for the driver must be made comfortable, since the minitractor does not have any means of shock absorption. It also needs to be equipped with a hitch so that the mini tractor can use attachments. This actually completes the work on the independent transformation of the "Centaur" walk-behind tractor into a mini tractor. Now it will be much more effective to take care of the household plots.
Mini tractors have a lot of functional advantages in terms of
compared with walk-behind tractors. They are more practical, productive and convenient. If you
you are the owner of a diesel walk-behind tractor, and you want to make
mini tractor, thereby making it as versatile and comfortable as possible in
work, you will need a kit for converting a walk-behind tractor into a mini tractor. The
the set will save you from the need to look for individual parts, think about what
make this or that structural element.
With this kit, the accompanying instructions for
assembly and the simplest hand tools, you can independently alter
single-axle walk-behind tractor in a four-wheel mini tractor.
Read useful information about homemade mini tractors:
Chassis and controls
The undercarriage is a frame on which you need to attach all the parts of the walk-behind tractor and wheels. When there is no frame, then the transmission performs its functions, and the motor and wheels should be mounted on it.
This is a suitable option in order to change the distance between the wheels and set the desired track width.
To make a walk-behind tractor with your own hands based on the rear axle of the Zhiguli, it must be shortened, focusing on the distance between the rows on your site. Having chosen the required size, cut off the bridge from the VAZ on both sides with a grinder or welding, between the hub of the car wheels and the main gear. Further, having removed the extra sections, the axle and the housing of the Zhiguli rear axle should be welded.
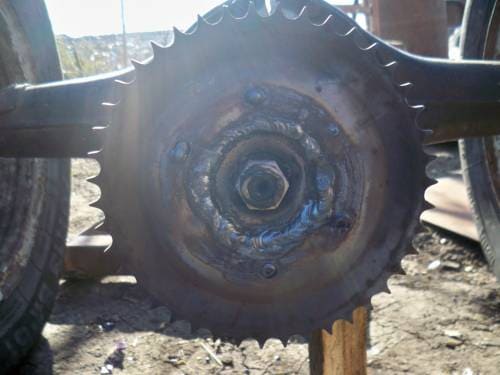
Weld the sprocket or pulley to the drive shaft of the axle. The choice of this or that part will depend on which transmission (chain or V-belt) will be installed from the motor or gearbox.
If there is no rear axle from the Zhiguli, then it will fit from the Ant or the all-terrain vehicle.
On walk-behind tractors, it is customary to use 2 types of wheels:
- Pneumatic.
- Weighted metal ones that have lugs. They are bolted or welded to the wheels. Additionally, other weights can be hung on metal wheels to increase the weight of the walk-behind tractor and improve traction.
The walk-behind tractor is controlled through a system of levers, gearshift rods and steering wheel. Some models have operator seats, but most of the vehicle is only manually operated. You can arrange the required structures on the following nodes.
On the left of the steering rod, the clutch and emergency stop control lever is attached.
The throttle, wheel drive and brake levers are installed on the right side.
Did the described recommendations for creating a walk-behind tractor inspire you?
How to make rims
This is the name of homemade off-road tires. They are much cheaper than factory ones. As a basis, they take large-sized rubber from a truck (GAZ-66, KrAZ-255, ZIL-131), a tractor or an aircraft and cut off excess material. The permeability is due to the low specific pressure on the ground, which in turn is due to the large area of the contact patch.
Before making the rims out of the tires, you need to choose the type of tread.
It depends on what kind of coverage you plan to move.
It can be:
- Dirt. Self-cleaning protector required.
- Wetlands. A low groove pattern is used for improved traction.
- Snow drifts, sands. A tread with closely spaced elements is used.
The tools are used:
- awl;
- construction knife with a set of blades;
- grindstone;
- clamps for straightening car bodies or clamps;
- winch with a cable;
- hammer;
- cardboard or tin tread pattern;
- chalk.
Procedure:
- The tire is cleaned of dirt. Inside, it should not be worn out, otherwise, as a result of peeling, holes will appear in the rubber.
- The pattern of the future tread is applied in chalk according to the template.
- With a construction knife, an incision is made along the inner circumference.
- Rectangles are drawn near it with chalk. Cut them out with a knife.
- The wire that appears in the "windows" is pryed off with a winch hook and removed. The tire must first be nailed to the base with a nail.
- Cuts are made along the chalk-drawn tread pattern.
- Pliers clamp the edges of the hole and open it.
- The detached material is torn off with a winch. During the process, the rubber is trimmed with a construction knife, periodically sharpening and changing the blades.
- The excess is removed from the side surface in the same way.
- The tire is processed with sandpaper, if necessary, touch up with a hammer.
The camera is installed on a homemade disk. The latter is made from an aluminum bowl, carefully polished.
The contact area is regulated by internal pressure. The tire is inflated before driving on dense ground.
Homemade all-terrain vehicle from a finished walk-behind tractor
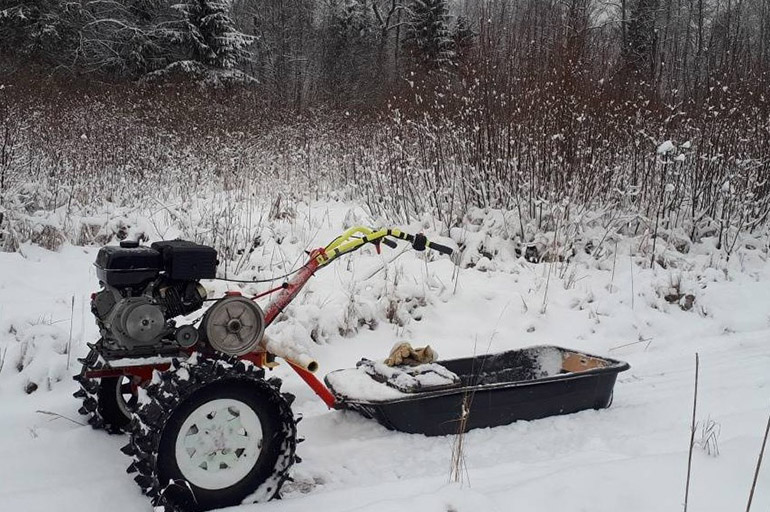
This unit is available in many households. The universal mechanism is used to solve a number of tasks, depending on what kind of replacement equipment is installed: a blade for clearing roads from snow, a cultivator, a plow, a mulcher, etc. By making small changes to the design, you can turn an agricultural attachment into an SUV.
Required items
Anyone who wants to make a karakat from a walk-behind tractor with their own hands will need:
- Corner.
- Round and profiled tube.
- Cameras from a truck, for example GAZ-53.
- Wheels from a VAZ passenger car.
- Steering column.
- Hubs.
- Bolts with nuts, self-tapping screws.
- Reinforcing bars, steel wire.
In addition to locksmith tools, you will need a welding machine, a grinder and a drill.
Each kit comes with a BOM, which makes it easy to prepare materials and estimate financial costs.

Creating a wireframe frame
The rectangular frame is assembled from a profiled pipe, reinforced with a corner. The workpieces are connected by welding. The dimensions indicated in the drawings should be exactly observed so that there are no distortions in the structure.
If the frame is made of 2 parts with a steering fist between them, then the rear crossbars are reduced to the fracture site in the form of a triangle. This will increase the angle of rotation.
Engine block
A thick steel plate with pre-drilled holes is welded to the frame. The power plant from the walk-behind tractor is screwed to it.
A generator and a battery are placed next to the motor.
Undercarriage assembly
To install rubber from GAZ-53, wheels with an increased diameter are required.
They are made in the following sequence:
- 6-8 sections of profiled pipe laid across (parallel to the axis) are welded to the disks from the VAZ car evenly around the entire circumference.
- Reinforcement in the form of a ring is wound on the ends of the rods and fixed by welding.
- Several concentric rings made of wire are placed in the inner space of the circles. All of them are combined into a one-piece structure by means of spokes oriented from the center of the wheel to the edge. The intersection points of the round and beam parts are welded.
The resulting rollers are fitted with truck tires.
Next, perform the actions:
- Attach the transmission from the "Zhiguli" to the frame.
- Assemble the rear axle and steering gear.
- The brake drum from the Voskhod motorcycle is installed.
- The wheels are fastened.
Tire pressure is selected empirically.
Final stage
At the end of the procedure, the metal frame of the SUV is sanded, primed and painted. The headlight is screwed in front for driving at night.
Power plant tuning
Its power and equipment performance depend on the stability of the engine. It is very expensive and unpromising to upgrade a regular motor. But, there are several ways to make the engine work more efficiently.
This requires:
- Install a quality spark plug. Regularly clean it from carbon deposits, periodically check the gap. At the first sign of a decrease in power, replace the plug.
- Use the best strips on all joints. This allows you to maintain the required pressure in the unit, prevents a decrease in power and the formation of smoke during operation.
- Fill the engine with the best oil up to the upper mark. It should be remembered that when the unit is tilted, oil flows out from rubbing parts.
- Check the quality of fuel before filling into the tank. It is advisable to let it settle for a while so that the water sinks to the bottom of the container. The tank itself must be cleaned and wiped dry every 2-3 days.
- Install an additional radiator. To do this, steel plates are welded to the engine casing, which will effectively remove excess heat.
A radical solution is to replace the power plant with a more powerful and perfect one. Today, Japanese, Chinese and European engines are available for high performance and reliability. It is possible that the frame will have to be redone for a new power plant.
Advantages and disadvantages of manual assembly
Perhaps the main advantage of a home-made mini tractor is the unconditional savings in money, compared to purchasing full-fledged units in a store, such as Uralets, Kubota, Bulat 120, Yanmar, Belarus 132n, Scout.
At the same time, its performance indicators will not differ much from the factory options, because the design uses a sufficiently powerful motor, which is quite enough for processing land holdings with an area of up to ten hectares.
Advantages
The costs of manufacturing a mini tractor pay off in almost one calendar year, because most of the components are taken from old equipment, or the cost of purchasing them is minimal. Many adapt other equipment for a mini tractor, such as a walk-behind tractor, which further simplifies the assembly process.
In addition, homemade units have other advantages:
- Relatively high degree of immersion in the soil. If everything is correctly foreseen, the depth of digging will be identical to that shown by purchased analogs. Be that as it may, it is still better than digging up the garden by hand.
- Sufficiently high mobility, as a result of rather modest dimensions. The use of such units is advisable precisely in small gardens and summer cottages, where large-sized tractors cannot be turned around.
- Due to the fact that you are making a mini tractor yourself, there is a possibility of additional modernization of the unit. You can remove components, changing them to other, more powerful ones, or add new devices.
- In the mini tractors sold, such an opportunity is absent, moreover, in the operating instructions it is directly written that making any changes to the configuration is strictly prohibited.
disadvantages
Among the shortcomings, the following points can be noted:
- Relatively complex assembly process. Here we are talking not only about direct work, but also about certain difficulties in the selection of the necessary components. Many of them have to be adjusted on a lathe, which in itself presents additional complexity.
- The likelihood of breakdowns, because a homemade version is made mainly from old parts and spare parts.
In principle, the pros and cons are about equal in importance, but there is one small digression here. Today's realities are such that the issue of price is becoming dominant, overshadowing other arguments.
How to make a walk-behind tractor from a chainsaw
The following products and materials are used:
- Steering wheel from a motorcycle.
- Transmission from an old moped.
- Stainless steel pipes with a diameter of 20-30 mm.
- Wheels with pneumatic tires from a car or agricultural machinery. An alternative is homemade metal rims with grousers. For their manufacture, you will need a steel sheet and a corner.
- Bolts and nuts.
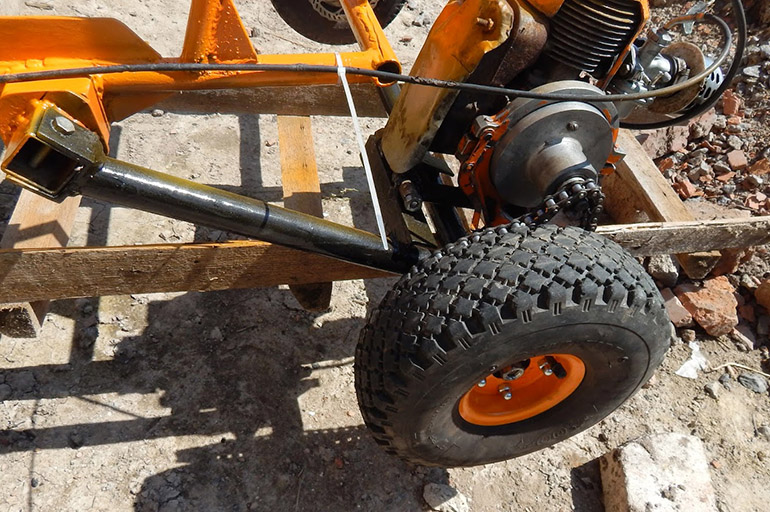
The engine is removed from the chainsaw. It is recommended to take a professional tool with a 10-13 hp motor.
The work is performed in the following order:
- The stainless pipe is bent into a U-shaped frame. The ends of the "legs" should be bent upwards.
- Strengthen the structure with jumpers made of the same material.
- Weld on the steering wheel.
- Fasten the plate for installing the battery using electric welding.
- A muffler is made from a piece of pipe with a diameter of 7 cm and a length of 250 mm. The internal space is filled with sawdust so that the size of the outlet is no more than 1.6 cm.
- A small U-shaped frame for the engine is made from a pipe with a diameter of 4 cm. Bolt brackets are welded to the edge and in the middle.
- Install the motor on the frame and screw it on.
- Semi-axles reinforced with a cotter pin are fastened and wheels are installed on them.
- At the end of the process, the steering wheel, gearbox and gas tank are attached.
It remains to test the car in the field.
The scheme for creating a walk-behind tractor
A self-made walk-behind tractor from the ZAZ gearbox consists of 2 wheels, is self-propelled, assembled with an engine on which there is forced cooling of the cylinder head. It is carried out with the help of air. The motor must be selected so that it can operate at different speeds, including low speeds, and be able to perform large volumes of work. You can put the motor from a scooter, and remove other elements from it:
- control cables;
- engine mountings;
- handles;
- chains;
- arc, frame.
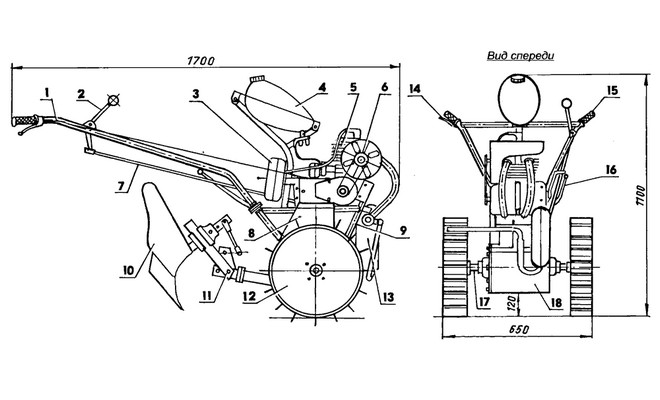
The brakes on the walk-behind tractor are used both by factory production and by our own. Homemade brakes will allow you to take into account the necessary parameters and loads.
With everything you need at hand, you can make a homemade mini-cultivator at home quickly and without any problems. A motoblock based on the ZAZ gearbox is created as follows:
- A U-shaped frame is cooked from steel pipes.
- On a lathe, you need to grind a wheel axle from a steel pipe with a thick wall with a diameter of 80-100 mm. To the ends of the pipe, weld homemade wheel hubs, which can be ball bearing housings with a place for mounting the wheel.
- Weld the brackets to the pipe, fix the gearbox from Zaporozhets and the holder for attaching the motor to them. The engine can be installed directly at the ZAZ gearbox.
- Make 3 homemade pivots that fit the front and control rods. This approach in the assembly was used by the designer Arkhipov when he was making his walk-behind tractor. The hinges were used to connect the cultivator, handlebar and plow.
- Weld a steel pipe onto the frame of the machine, on which the axle should be. It is needed to provide tension that is transmitted to the gearbox. In order for such a tension to be constantly present, a swinging rocker must be made.
- Weld the shift knob. A small piece of steel pipe is suitable for these purposes.
- The undercarriage can have a chain pitch of 12.7 and 15.9 mm. The sprockets on the chain have the following characteristics - the output shaft is 11 mm, the output shaft is 60 and 20 mm, the travel axle is 20 mm.
The main stages of manufacturing a walk-behind tractor:
- The frame is welded, on which the engine must then be installed, 2 pipes in the form of an arc.
- A fuel tank is attached between them.
- We assemble the motor using a bracket that is also welded to the frame.
- A motor with a suspension must be hung on the axle, and then all the parts are connected to the arcs of the frame.
- The output shaft is mounted.
- Control cables are pulled.
- The chains are tightened.
Mini tractor
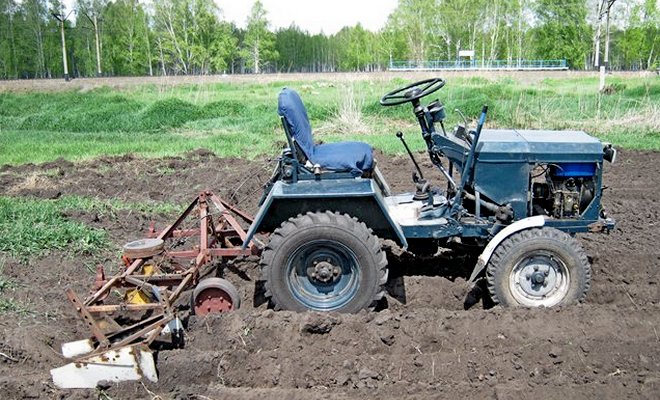
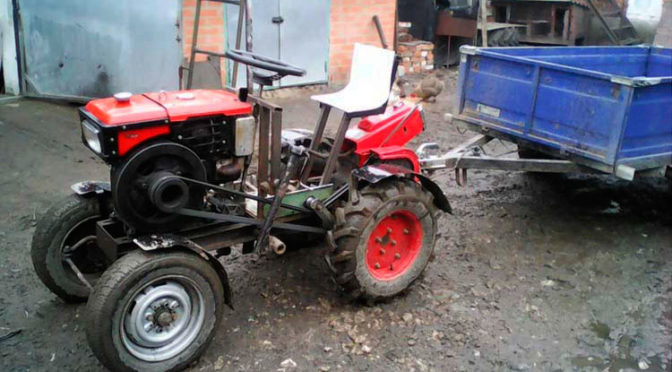
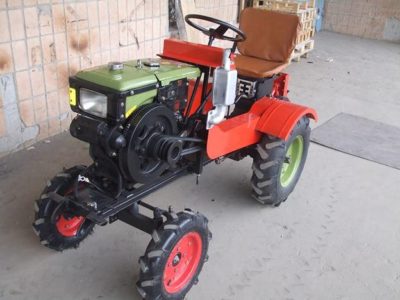
A minitractor differs from a walk-behind tractor in that its power is higher, which means that the field of application of equipment on the farm increases and changes. It is quite simple to make a mini tractor from motoblocks by connecting a suitable trailer. Here you can use both the factory model of the walk-behind tractor and its home-made counterpart. It will turn out to be such a walk-behind tractor from the bridge from the Zhiguli and with a trailer. As an engine, it is worth taking a diesel one, preferably more powerful. This assembly option also involves the use of a special drawing.
From the Zhiguli, not only the rear axle will come in handy, but also the gearbox. Some rework will be needed:
- The top of the gearbox is sheared off, it is bolted to a makeshift frame. The ratio of the pulleys is 1: 4.
- A chain drive is pulled from the checkpoint to the axle, adjusting sprockets are installed with an efficiency ratio of 1 to 3.8.
- The bridge itself is bolted to the frame of the walk-behind tractor.
- Wheels are made of Zhiguli disks. You can disassemble the structure along the welding seams, and then narrow the disc itself, putting a smaller part into a larger one and welding the resulting part with welding.
The option involves the use of 2 ready-made units: a walk-behind tractor and a trailer.
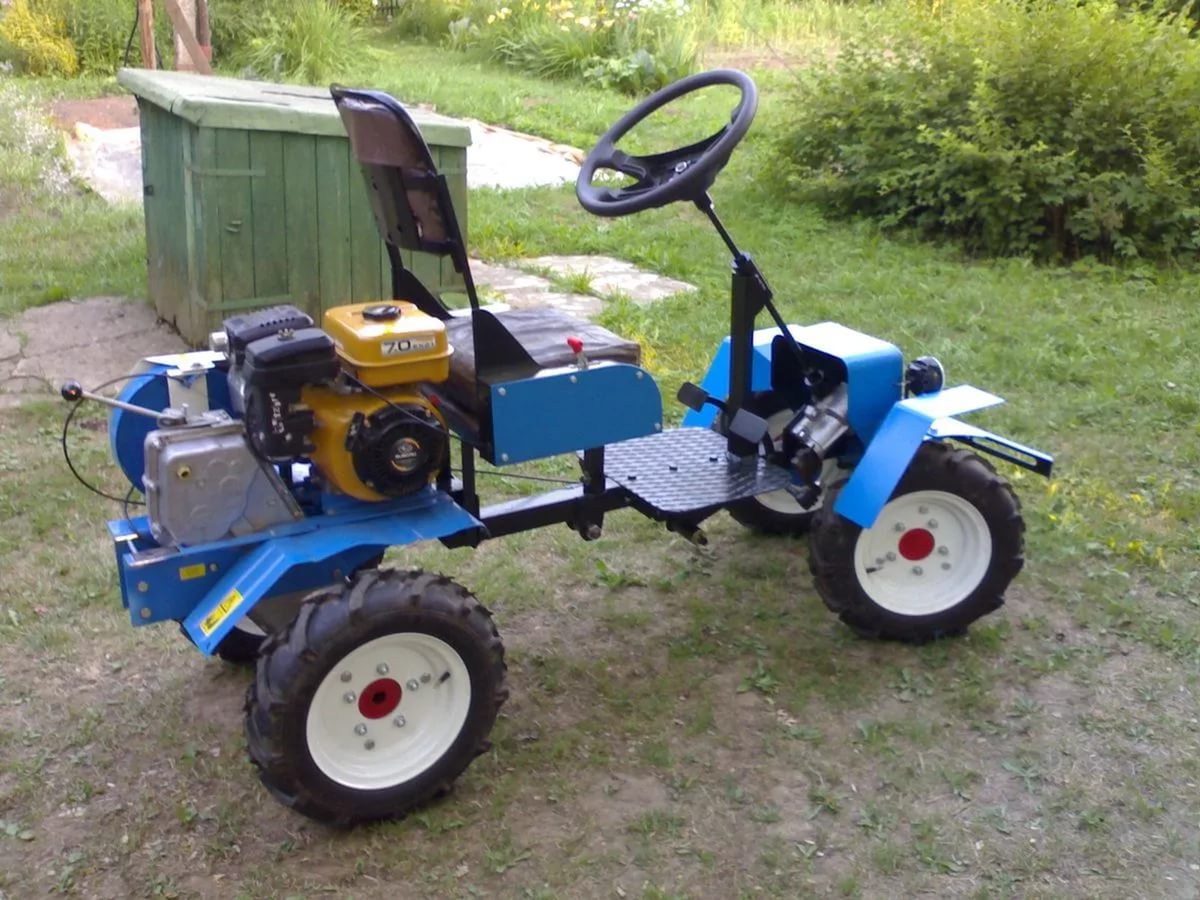
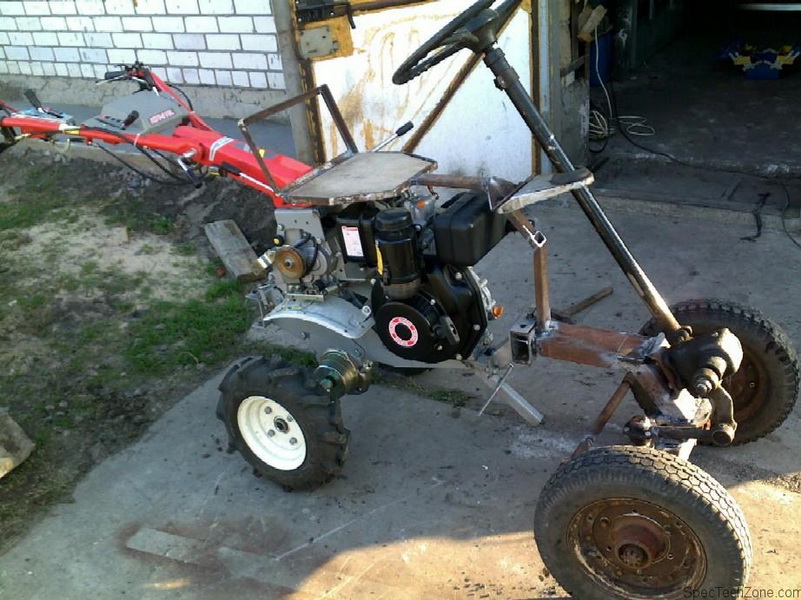
Self-made tractor with your own hands with an engine from a walk-behind tractor. DIY mini tractor from a walk-behind tractor
In order to make a miniature tractor from a walk-behind tractor with your own hands, you will need:
- Bulgarian;
- fastening parts;
- channels and pipes;
- drilling device;
- electric welding;
- measuring instruments (corner, tape measure, vernier caliper);
- small hand tools (screwdriver, wrenches, hammer, etc.).
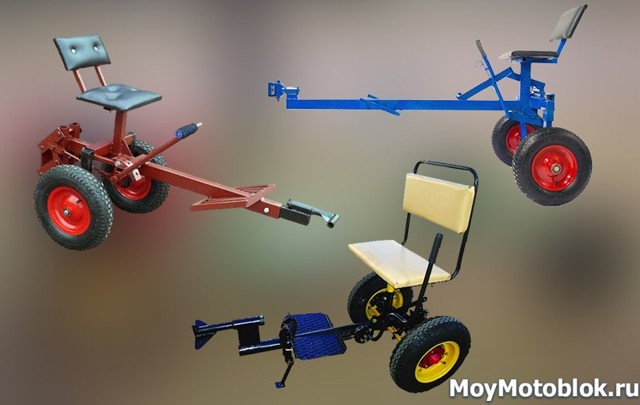
You also need to purchase a ready-made kit for converting a walk-behind tractor into a mini tractor. This will be the main cost item, but you should not save on this equipment, so as not to question the quality of the future product.
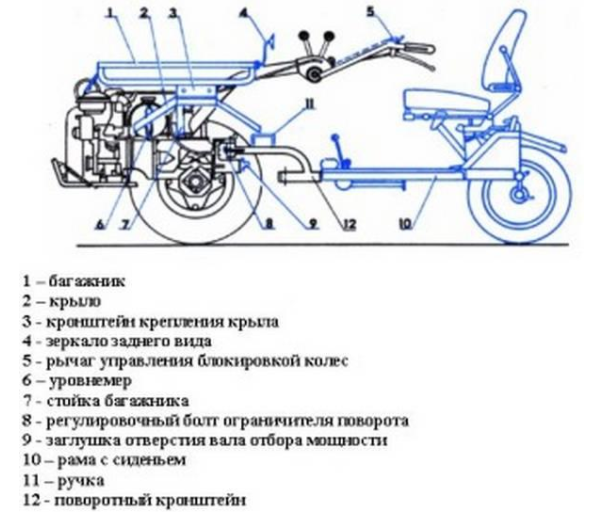
You also need to choose a comfortable and high-quality steering wheel, seat, wheels and pedals. When all the necessary components are selected, you can start creating a drawing. Do not neglect this stage - with clear drawings and diagrams, it will be much easier and faster for you to work. The photo below shows examples of the simplest drawings for self-converting a walk-behind tractor into a mini tractor.
A good home-made minitractor with an engine from a walk-behind tractor can only be obtained when the original unit has good power and performance. Heavy diesel motoblocks are ideal for converting. They are quite economical, have a lot of weight, have considerable power, are productive and hardy. All these parameters will make it possible to make a full-fledged mini-tractor from a walk-behind tractor, capable of plowing heavy soils and working for a long time without interruption.
The alteration process as a whole is carried out according to the same algorithm, with minor differences for different models. The general scheme for converting a walk-behind tractor into a mini-tractor is as follows.
Frame preparation
Since another pair of wheels is needed for a mini tractor, the frame design will have to be improved and strengthened. For the manufacture of a new frame, a metal profile or a metal pipe is used. The thickness and size of the blanks should be selected based on individual preferences, taking into account the power of the future unit. The components of the future frame are cut out with a grinder and connected by welding. It is advisable to reinforce the structure with a crossbeam. Also take care of the attachment point and the hitch if you plan to use a trailer.
Running system
The front wheels are mounted on a piece of pipe of a suitable diameter. On it, in turn, ready-made wheel hubs with brake pads are attached. A hole is made in the center of the structure through which it will be attached to the frame. Further, the steering rods are mounted to the frame through a worm gear. At the end, the steering wheel itself is installed.
To install the rear axle, bearings are pressed into the bushings. The pulley will transmit torque to the axle itself. Wheels can be left from the previous unit, you can pick up new ones, with more powerful tread and wider width. The diameter of the wheels for the future minitractor is recommended to be selected in size from 12 inches.
Engine mounting
It is recommended to mount the engine on the front frame member. This will improve the balancing of the unit.
It is important to ensure that the PTO is parallel to the rear axle pulley. This will protect the belt drive from wear.
Additional systems
When the main part of the work is done, the braking system and the attachment control system are installed. Also, the installation of lighting devices will not be superfluous.
After complete assembly, the mini-tractor must be run-in in accordance with the requirements of the operating instructions for the walk-behind tractor.
Let's take a closer look at how easily and quickly walk-behind tractors of different models can be converted into a mini-tractor.
Homemade angular gearbox for walk-behind tractor
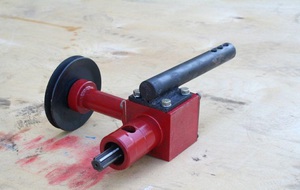 The design of the gearbox is not particularly intricate, and it is quite possible to assemble it yourself. First, the rated power is calculated: (Pn); Pn = Pe (hp) x FS, which will allow you to correctly determine the angle of the bevel gear.
According to the same principle, the number of possible revolutions per minute and the calculation of the torque are calculated. A hand-made device needs to determine the working conditions, including the radial or axial load of the shafts at their ends. Optimum performance with the correct temperature and lubrication.
The assembly is performed after these above steps. You can take the factory building. Its diameter will tell you what the bearing housing should be for the shaft. A good quality drill and vernier caliper will help here. Further, two bearings are taken under the shaft.
The steel flange is mounted on the front. Inside is a flange bearing and a washer. The flange is attached to the generator with screws. Steel key with pinion gear and driven pinion shaft are preselected.
The rotary generator is connected to nodes that are connected to the transmission mechanism. It has a pulley that provides V-belt transmission. It is secured to the driven shaft with a nut with a spring washer.
The main elements of the gearbox
In the automotive industry, bevel gears are often used, because these units ensure efficient operation. The angular gearbox ensures the docking of the transmission with the engine. You can modify an already finished product. Among the main elements of the gearbox are:
- Flange.
- Generator housing.
- V-belt driven pulley.
- Fastening the pulley.
- Steel washer.
- Rotor shaft.
- Steel key.
- Flange bearing.
- Flange attachment.
The gear unit is quite easy to understand by looking at its transmission, which is the transmitter between the wheels and the motor. The direction changes in the walk-behind tractor. A transmission is a clutch transmission. It is often used in heavy walk-behind tractors.
The main structural elements of the walk-behind tractor
- Bed or frame. The motor, the transmission system to the wheels, the traction device for the attachments and the suspension are mounted on it.
- Power unit. Power - 5-10 liters. with. Engines from motorcycles, mopeds, compressors and chainsaws are used.
- Suspension. Usually primitive: from self-made wheels or ready-made wheels from agricultural machinery. Sometimes motorcycle and car wheels are used. It can be gantry or axial.
- Reducer for walk-behind tractor. Serves to reduce the speed of the drive shaft with a simultaneous linear increase in torque. A gearbox from a scooter or a car is quite often used as a gearbox.
A self-made device does not require pairing with an engine, because the calculation is made for specific tasks, and there is no limitation due to a ready-made technical solution.
Increase in speed and cross-country ability
These questions are relevant for those who have to work on hard and wet ground, on ups and downs. Even the most advanced models can slip, forcing the operator to put extra effort in pushing the machine forward. Many are not satisfied with the speed of the unit when towing equipment or transporting various goods.
There are several ways to solve these problems:
- Increase the diameter of the wheels. Most motoblocks are equipped with wheels with a diameter of 25-30 cm. If you put wheels 45-50 cm from an old small car, then the speed of the unit will double. But, you should not make a racing car out of a walk-behind tractor, since this device is not distinguished by high strength and good stability.You can accelerate to 25-30 km / h only on a flat road without sharp turns.
- Make and install weighting materials. For such factory-made devices in the store, you will have to pay a large sum. It is better to make them with your own hands from scrap materials. Weights are placed on the wheels and on the frame. The wheel weights are made of steel rims and a hexagonal solid profile. The welded parts are inserted with a hexagon into the hubs and secured with cotter pins in the drilled holes. Instead of iron discs, you can use reinforced concrete blanks or flat round jars with a neck, into which sand is poured. The body of the walk-behind tractor is weighted with the help of removable frames from the corner. Weights of various weights and configurations are already bolted to the frame.
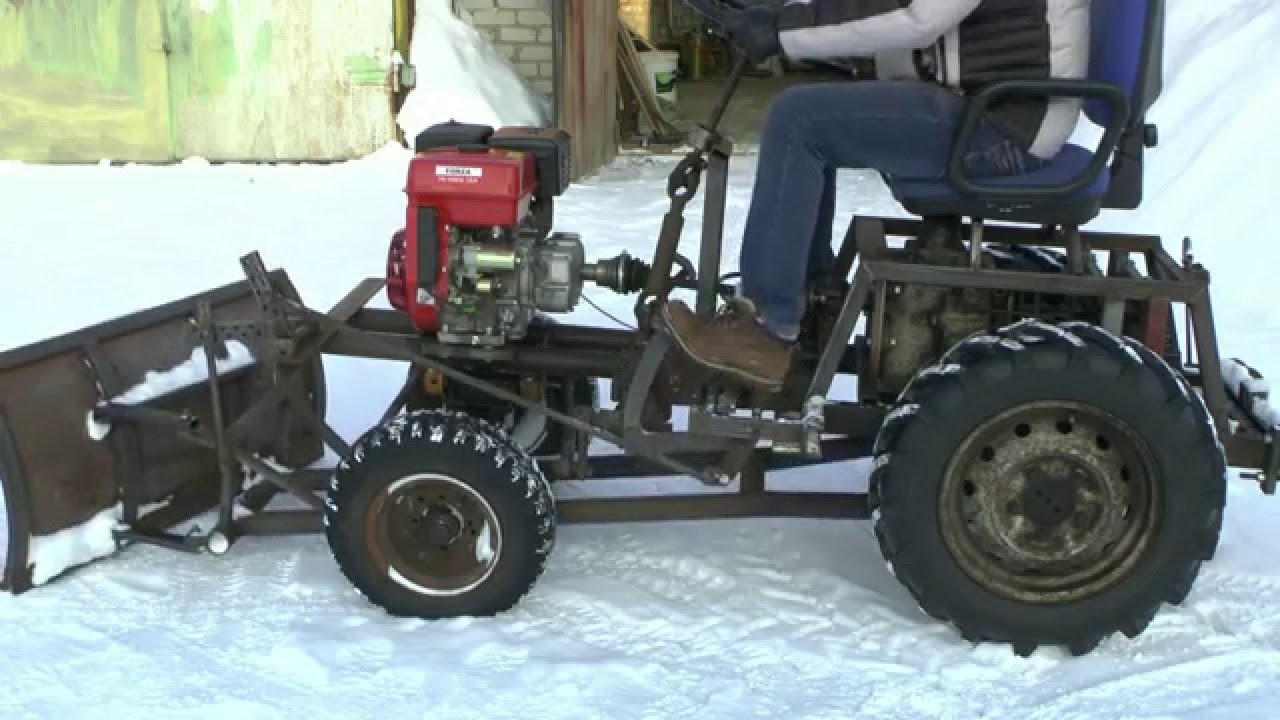
- Secure the tracks. This solution will allow you to turn the walk-behind tractor into a full-fledged low-speed snowmobile. It is enough to install one more axle with wheels and purchase wide rubber tracks. Restrictors must be attached inside the tracks so that they do not jump off the wheels. A homemade snowmobile can also come in handy in the spring, when the soil is wet and the terrain is impassable for conventional vehicles. In a kit for a homemade snowmobile, you can make a sled for transporting various property on the snow, driving for hunting, fishing, or to the nearest store after a snowfall.
There are many opportunities for a radical transformation of even a small domestic-made walk-behind tractor. This technique can be transformed into any agricultural implement and off-road vehicle.

