Attachment methods to different surfaces
Walls and ceilings are made of different materials with different structures and densities. Depending on this characteristic, the fastening method changes:
-
Dense - wood in any form, plaster and soft plaster solutions (including gypsum). A nail or self-tapping screw fits perfectly into all these materials. In some - chipboard, OSB and some others - it is better to pre-drill a hole of slightly smaller diameter than a self-tapping screw, and then screw it in. Nails are more often driven in immediately without pre-drilling.
-
Solid. This category of materials includes bricks, concrete, screeds, cements. You cannot screw a self-tapping screw into them, even with a pre-drilled hole. For such materials, dowel-nails are used (they are also called dowels). This is a fastener consisting of two parts - a plastic dowel cap and a metal (sometimes plastic) screw. In such cases, a hole is drilled in the material with a drill diameter equal to or slightly smaller than the dowel diameter. A plastic cap is inserted into the hole. Its upper edge should be flush with the surface (if necessary, you can hit it a couple of times with a hammer to level or cut off the excess with a sharp knife). Then a fastening element (plate, clamp, etc.) is applied, which is attached to the inserted dowel with a screw.
-
Thin or soft. These are plastic, drywall, fiberboard, aerated concrete, foam concrete, etc. In them, the usual fasteners do not hold, you need a special one, which has an extended "back" part. It has a large support area, due to which the fasteners can be held. Some examples of such fasteners (umbrella, butterfly dowel and dowel with a drill) are shown in the photo.
Actually, these are all surfaces that are found inside the house when laying wiring. But sometimes it is necessary to attach the cable to the pole, for example, when the electricity input from the pole to the house stretches or to the pipe - when the cable rises along the combustible wall.
To the concrete pillar
The cable is attached to the reinforced concrete post with long black plastic ties. They serve for about 5 years.

One way to lower the cable along a reinforced concrete post
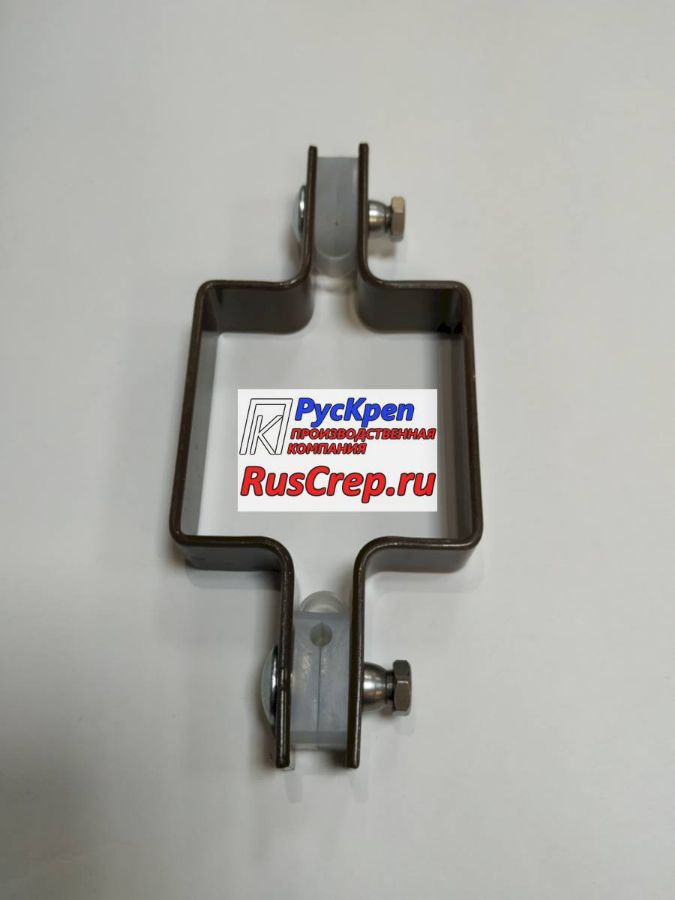
You can use clamps for installing sewer pipes, but holes must be drilled under them, which is very difficult. Another option - if there is a ground wire on the pole - a round wire with a diameter of 5-6 mm, then you can fasten it with ties. Another option is to fix metal strips on the pole - to make something like clamps, and attach the cable to them.
In a metal pipe
If the cable runs up the wall of the house in a metal pipe, it is simply run inside. Since quite solid cables are used for external wiring, its rigidity is usually enough to more or less hold inside the pipe.

Laying the cable in the pipe. They fix the pipe, and the cable only on the way out of it to the wall
Above and below the pipe is closed with some kind of cork (you can cut it out of foam and then paint it along with the pipe). This plug will additionally fix the position of the cable (do not press it against the edge), and so that it does not move inside the pipe, it is attached to the wall at the exit from it.
To the cable
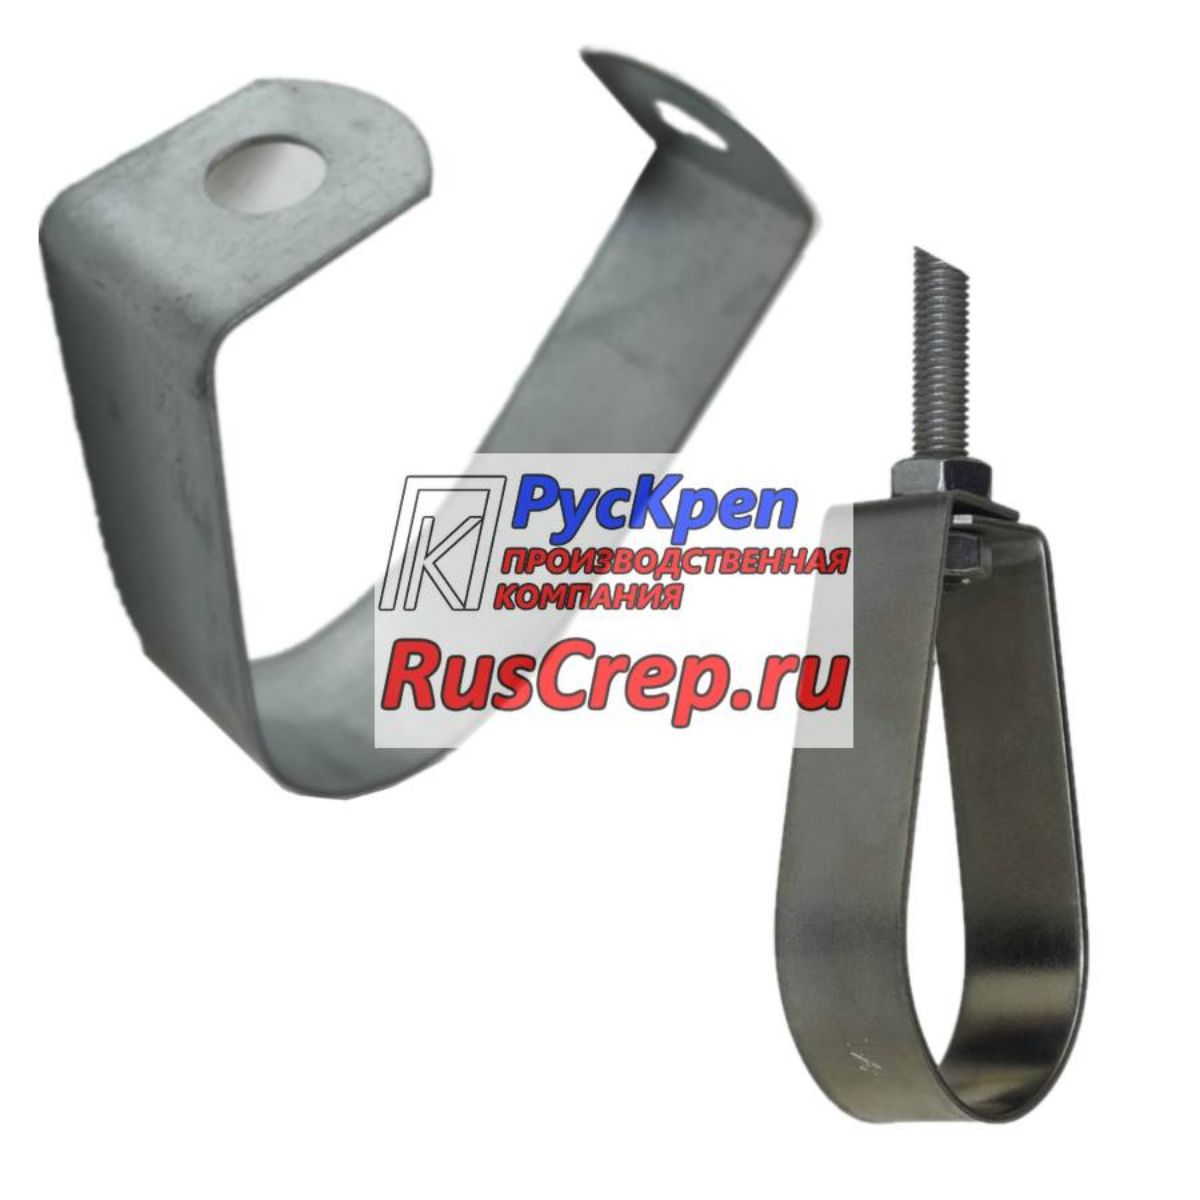
To fasten the cable to the cable, special metal and plastic hangers are used. They consist of two parts - there is an opening for the cable and a larger one for laying the cables.

Hangers for attaching a cable to a cable
Which is better - metal or plastic? Metal ones are more durable, but they take longer to install - you need to tighten the screw. Plastic ones will last about 5 years, but they are installed quickly - the "tail" is pulled into the corresponding hole, tightened. That's all.
What's special about homemade devices
It is good to have factory tools in the workshop. But everything breaks down, and so many materials at hand that will help avoid problems, will reduce the time for the production of the necessary things. In homemade devices, you need to take into account the design feature:
- couplings that firmly hold the material to be processed must be thick, where the objects to be joined will be in a rigid state, the seam will not bend during welding;
- it is necessary to use copper screws, their thread is not broken by soldering when the molten alloy enters, the service life is increased;
- welding clamps provide free space for action, increase working areas, the welder sets parts at the desired angle, adjusts their position.
Body construction with mobile unit and clamping bolt
The body design with movable unit and clamping bolt allows control of the work process, increasing productivity, reducing production time.
Manufacturing technology
A self-made metal clamp is much more reliable and practical than a wooden structure. For the manufacture of self-made units, you will need welding equipment and locksmith units.
Tools for making any type of clamp
Option 1
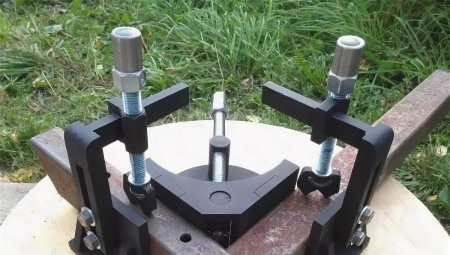
Following the instructions, you can make a homemade clamp from metal fittings.
Let's start:
-
We cut the reinforcement into separate elements in order to start making the jaw for fixation, as shown in the photo with instructions.
-
First we make the sliding part and add the nut to the movable arm.
-
Then we start to make a screw and a rotating stand for turns.
-
We cut the threads in the rod, then we construct the shoulder.
-
The finishing step will be the manufacture of handles and panels on the jaw.
Option 2
To make an angular clamping tool with our own hands, we need the following materials: steel trimmings from a corner 40 * 40, 50 * 50 and 30 * 50 200 mm each, 2 F-shaped clamps and a strip 10 * 50 to 250 mm long.
Let's get started:
- With the help of a construction locksmith corner, we place all the details, as in the photo.
- We turn the corner face down, weld the strip to the corner.
- Then we weld a clamp to the base so that the fastening of the structure is more reliable.
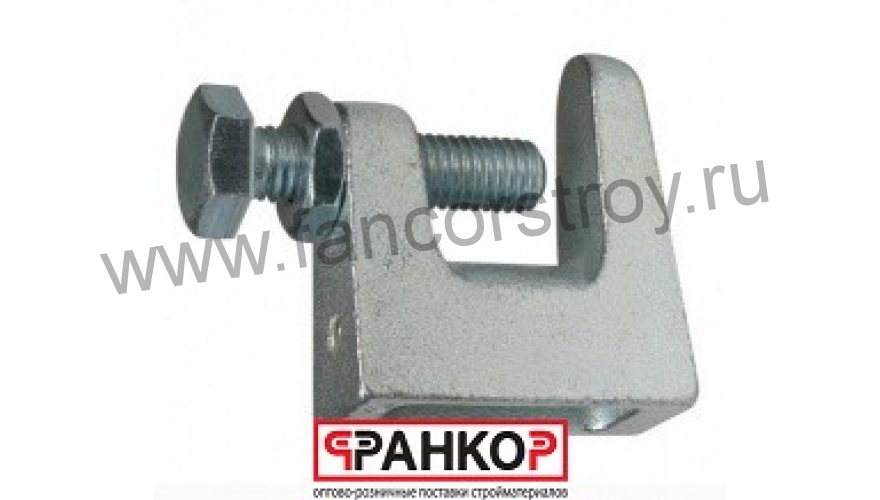
Buying clamps in hardware stores is quite expensive. Everyone wants to save themselves the extra costs if there are alternative options. You may need several such tools at once, this is especially true when assembling, manufacturing or repairing pieces of furniture. Homemade clamps will replace your manual vise, as you can choose the model, type and size of the tool. Following the instructions in the photo and video, you can quickly figure out the manufacturing mechanism and quickly make a manual clamp from scrap materials.
Joiner's clamps - general description

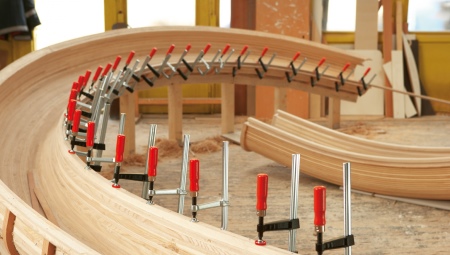
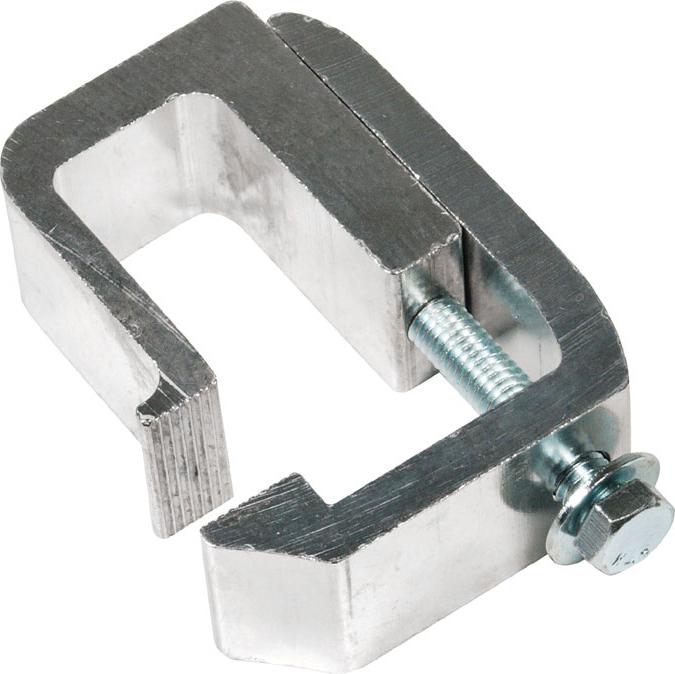
The simplest manual clamp consists of a main frame and movable elements, which are equipped with clamps in the form of screws or levers. They not only fix the moving part, but also regulate the compression force.
There are linkages that are based on both the axle system and the levers. They are most commonly referred to as clamps or clamps. With their help, you can make a quick fixation of the workpiece. To do this, you only need to make a little effort to move the handle, and a decent clamping force is created instantly.
Types of locksmith and carpentry clamps


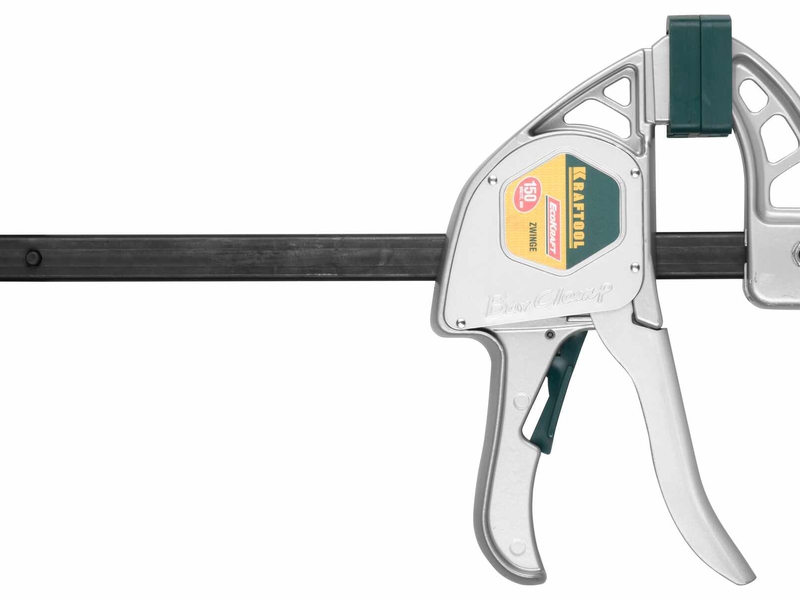


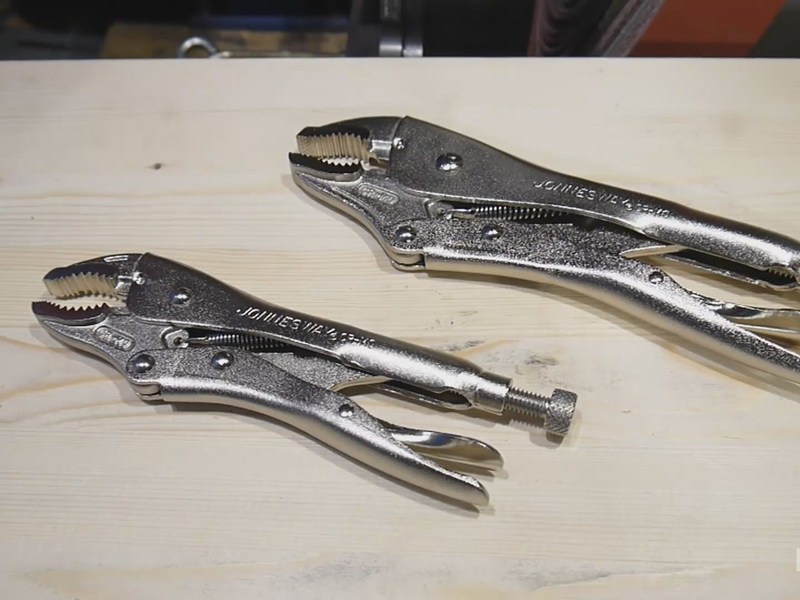
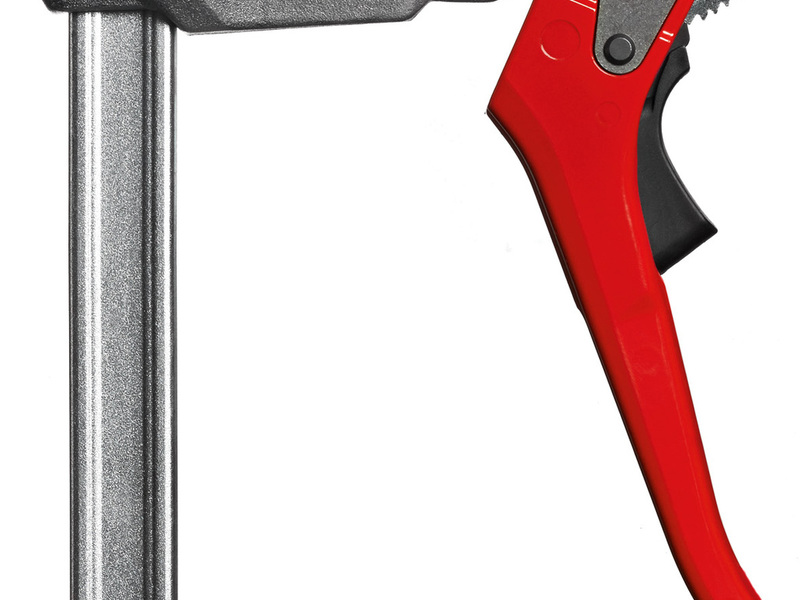

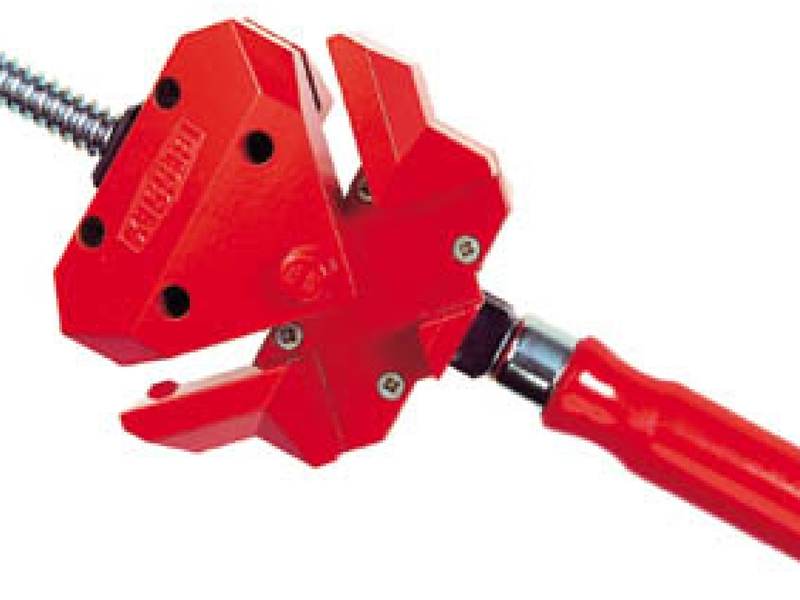


Clamp models differ in mechanisms, therefore they are divided into the following classes:
- corner;
- assembly room;
- screw;
- manual;
- quick-clamping.
When choosing such a device, it is necessary to pay attention to the distance to which the latches are moved apart and to the working stroke. The most practical are the clamps that have the highest of the above indicators.
With their help, you can work with large products (from 20 to 350 mm).
Additional Information
When choosing clamps for welding, special attention should be paid to the materials used in the clamp design. For fixing metal blanks, preference should be given to clamps with metal jaws
The fact is that when welding blanks, the metal of the assembled part can heat up to reddening. If the sponges are plastic or rubber, they will immediately "float".
Do not limit yourself to ordering a single clamp size. In the bins of an experienced metal structure assembler, each of the types of clamps is represented by three or even four standard sizes.
If welding works are carried out in the framework of serial or mass production, then preference should be given to factory-made clamps. Homemade clamps in this case will not provide high accuracy of joining the workpieces. For single home use, experienced welders often use homemade clamps. Among these clamps, there are also unique specimens that have no analogues on the industrial market.
Connecting the self-supporting insulated wires to each other
It is impossible to connect or build up the wires of the self-supporting insulated wire with piercing clamps. Even if it is a short section of up to 25m, for example, entering a house. Therefore, they are called branch clamps, not connecting clamps.
To join the wires, it is necessary to use crimping sleeves. You can read in great detail about all the nuances and errors of working with them in the article "How to connect the self-supporting insulated wires to each other."
Moreover, it is not recommended to connect the main SIP on the anchor support with such punctures, even if there is no tension there.
Since the contact area in such a clamp is incommensurate with the cross-section of the main wire. And a full continuous load of 100 or more Amperes, such a clamp, without consequences for itself and the wires to be connected, may not miss, not to mention the short-circuit current.
Split bolt punctures also have a shear head. It plays the role of a kind of "fuse". Since the self-supporting insulated wire is in a taut state and each core is subjected to a longitudinal mechanical load, it is necessary to pierce the wire and immerse its teeth into the core itself just enough so as not to reduce the mechanical strength of the line by more than 20%.
It is not necessary, after a break, to manually pull on the second nut if it seemed to you that the contact is not good enough. This will only damage the carrier wire.
Certain brands of clamps, for example Sicam have the so-called Turbo option. It facilitates and simplifies the installation process.
The entire installation is divided into two stages:
separate installation on the line. Take the untwisted clamp, insert it into the trunk wire and tighten the nuts with one hand so that the clamp is fixed.
while the other end remains divorced as before. Calmly install a branch into it and finish the installation process.
General rules
When installing the cable hidden or open, indoors or outdoors, there are several general rules:
- The optimal distance between fasteners is 40-50 cm.
- If self-tapping screws, screws, dowels are used, they are tightened all the way - so that the protruding cap does not damage the insulation.
-
The cable is laid evenly, without humps. If a stock is needed, it is laid in the least noticeable place.
Basically, the recommendations are all. They are versatile and uncomplicated. The distance can be reduced if necessary. For example, on the turns of the track, fasteners are installed at a short distance from the bend - 5-10 cm. The task is to ensure reliable fixation and prevent sagging.
Connecting two wires on one puncture
Another important point when using punctures is that it is forbidden to use the connection of more than one branch on one sealed piercing clamp, if this is not provided for by its design.
It would seem that you have two outgoing cables with a cross section of 6mm2. If you twist them together or even insert them inside the clamp without twisting, then nothing prevents you from tightening the contact in this way. Often this technique is used when connecting several luminaires through one piercing clamp.
However, just the same contact over the entire area of the outgoing vein will no longer be sufficient here. Moreover, the insulating rubber gasket in this case will not be able to squeeze the wire from all sides. And accordingly, we are no longer talking about any tightness. Moisture will calmly penetrate inside the puncture, flowing down the surface of the insulation of the two cores.

