disadvantages
Owners of Interskol tools still notice the disadvantages of drills.
- These include, for example, the weak built-in lighting of the working area of some models of this company. Many people note the insufficient length of electrical wires, which is not always convenient when working in large spaces.
- It happens that the speeds do not immediately switch, but this, most likely, depends on the specific model and its serviceability.
- Some types of drills are equipped with sufficiently wide ventilation holes through which debris and production waste can enter.
Of course, it is important to remember that all the shortcomings are associated with the conditions in which this tool is operated, with its serviceability. In any case, the diversity of opinions converges on one thing - the products of the Interskol brand have a large number of advantages, due to which you can completely ignore minor shortcomings
In any case, the diversity of opinions converges on one thing - the products of the Interskol brand have a large number of advantages, due to which one can completely overlook minor shortcomings.

Types of malfunctions of the electrical and mechanical part of the drill
A malfunction of the electrical part manifests itself in the form of a lack of rotation of the engine, i.e. when there is no indication that the engine is running (hum, vibration, etc.). If the impact drill does not turn on, and the cartridge is easily turned by hand, then we can safely talk about a malfunction of the electrical part. The same can be said if there is no speed control or reverse rotation. He says about the expected malfunction in the electrical part. Temporary interruptions in the operation of the drill, extraneous noise can also indicate an electrical circuit.
Most often, a malfunction in the electrical part is due to wear of the contact brushes. If they are 40% sharpened, then sparking and malfunctions can be observed. With more wear on the brushes, the electric motor simply does not turn on. The procedure for determining the culprit of a malfunction in the electrical part is recommended as follows (as available). First, the tester determines the integrity of the cord (cable). Then the operation of the start button (switch) and the integrity of the starting capacitor are checked. Then the contact buttons are removed and checked. Finally, the integrity of the motor windings is determined.
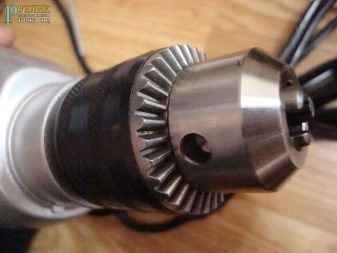
Drill chuck diagram.
A clear sign of a mechanical problem is a jammed drill shaft. If the cartridge cannot be rotated by hand, and at the same time the hum of the electric motor is heard when turned on, then the reason lies in the breakdown of the gearbox or bearing. The most common cause of mechanical failure is the failure of support bearings. A breakdown of the gearbox can also appear in the case when the chuck is turned by hand and the electric motor is running, and the rotation is not transmitted to the main shaft. A malfunction in the mechanical part can cause periodic malfunctions (temporary stoppages) of the drill, hum, grinding and insufficient shaft rotation speed. In rock drills, a malfunction in the mechanical part can remove the impact movement of the drill.
Finally, a malfunction can manifest itself in the drill chuck. So, it can be difficult to remove the drill when the cams do not open due to breakage in the engagement inside the chuck. Sometimes the malfunction manifests itself in the form of scrolling the chuck relative to the drill shaft. In this case, a malfunction has occurred in the area where the chuck is attached to the shaft.
What is the function of the chuck in the drill
The drill chuck is one of the main components of the electric drill mechanism. It serves to transfer rotary motion from the electric motor to the working tool.Its task also includes fixing the drill in such a way that the maximum accuracy of hole drilling, reliable fastening and quick tool change are observed during work.
In all drills, the tool is clamped in a chuck
Types of fasteners
Engineers have come up with various design solutions for fixing cartridges. Depending on the method of attachment to a rotating shaft, chucks are:
- threaded - the cartridge is screwed onto the shaft thread;
- tapered - a cartridge with a tapered shank is inserted into the mating socket, held by friction;
- collet - the chuck is put on the shaft and fixed with a screw.
Photo gallery: types of tool mounts
Methods of fixing the working tool
All chucks clamp the tool between the jaws (jaws). Three cams approach each other evenly, the tool is fixed strictly along the axis of rotation. According to the method of fixing the drill, the chucks are divided into:


clamping. In them, the sponges are tightened with a special wrench;
The jaws of the chuck are tightened with a wrench
-
quick-clamping. The master spins the cartridge by hand;
-
self-tightening. The chuck is equipped with a ratchet wheel that prevents the drill from spinning;
-
SDS + and SDS-max cartridges. The chucks have no jaws, the drill is inserted into a special slot and fixed. These chucks are developed by Bosch and are used in rotary hammers and powerful drills. The tool will never fall out of the holder.
Advantages
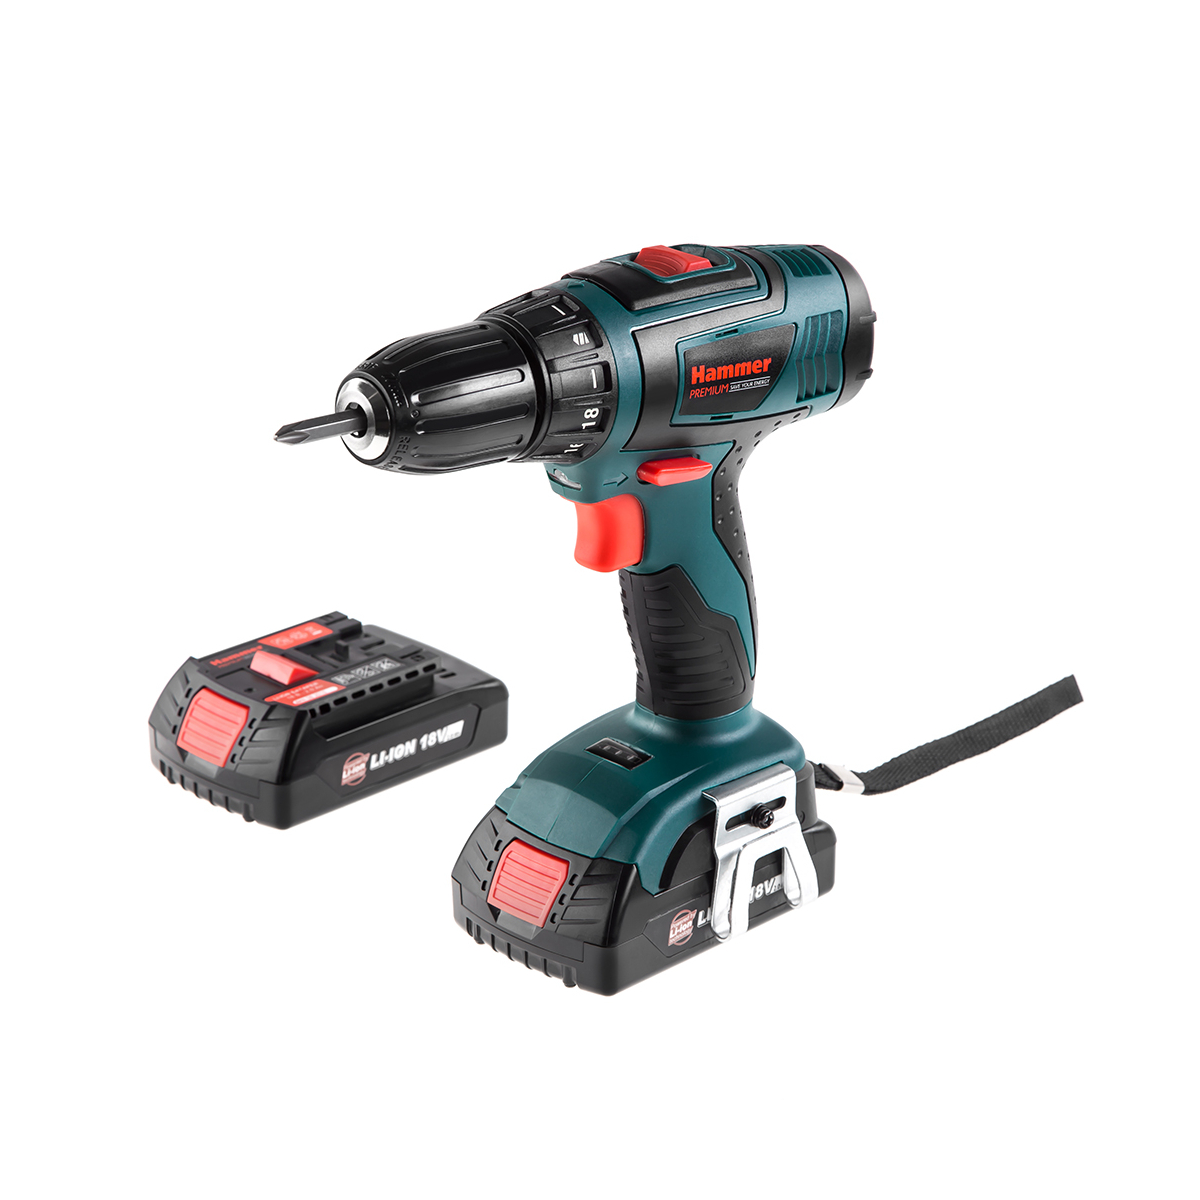
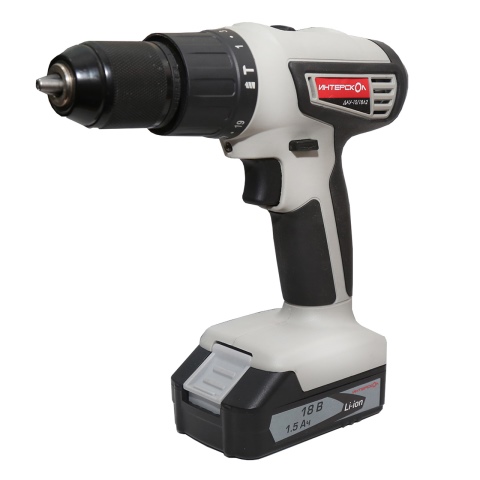
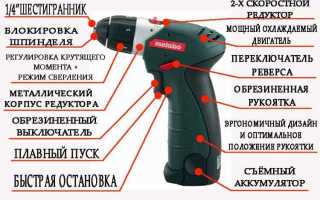
The company "Interskol" uses all the most modern technologies in the manufacture of its products.
- Each of the models is ready to boast a high-performance engine. In addition, the drills are equipped with brush reversing, which provides an equally high level of torque in both forward and reverse directions.
- Hammerless drills of this brand are used to make holes both in soft materials (for example, in wood) and in more durable structures (metal, steel, plastic). The most popular are impact drills, which masterfully combine the possibility of conventional drilling and drilling with axial impact (that is, drilling). These tools are capable of providing a high enough torque and are well suited for creating holes of considerable depth.


- It should be noted the high speed of the drills. This allows you to work with the tool quickly and accurately.
- The most important advantage is, of course, the reliability of the products of this brand. However, even if something happens to the instrument, you can always contact the service center. They exist in huge numbers in many cities of Russia.
- Of course, every owner of a tool from this company notes the adequate cost of products, and this is a key factor when buying, especially in combination with excellent quality.

Dismantling the electric drill
In order to find a malfunction and repair the device, it is often necessary to disassemble the tool. Since all devices are outwardly similar, their disassembly can be represented as follows:
- Screws are unscrewed around the perimeter of the device, for this you will need to use a Phillips screwdriver.
- Having unscrewed the screws, the halves of the case are disconnected.
- The power button and reverse are carefully removed from the grooves.
- The reducer is removed from one half. In order to remove it, you need to turn it in the seat.
- The assembly takes place in the reverse order. With it, it is necessary to ensure that all the removed elements and wires are located in the recesses specially made for them.
To lubricate the mechanical parts, the gearbox will need to be disassembled. For this, the protective cover is removed, after which the screws are unscrewed and the top cover is removed. Viscous materials such as Agrinol are used as lubricants. It should be noted that repairing a power tool with your own hands if the gearbox is damaged is almost impossible, since it is difficult to purchase separately replacement for worn gears.
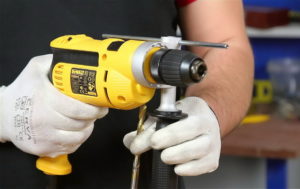
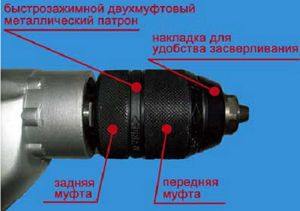
When repairing, you often have to deal with the need to disassemble the cartridge. It is a quick-release design. Fastened using a threaded connection or a Morse taper. In the first method, you will need to unscrew the mount using a hex key, and then, having installed the key in the chuck, tighten it tightly. The cartridge itself is unscrewed by turning the key. Removing the mount using a Morse taper occurs by gentle blows to the end of the cartridge.
How to remove the keyless chuck from a threaded drill
A special feature of the threaded connection of the chuck to the shaft is the left-hand thread of the fixing screw. This is done so that, while rotating the drill and "biting" into the material, the shaft simultaneously tightens the holder of the chuck. Therefore, the answer to the question of how to remove a self-clamping chuck from a drill of this type is simple - it is necessary to rotate the chuck, holding the body firmly, clockwise.
Usually, simple rotation is not enough, you have to tap on the joint so that the tightly tightened thread parted slightly and made it possible to freely rotate the connection.
In more detail, the process of how to remove the self-clamping chuck from the drill is shown in the video.
- Since there is a retaining screw inside the chuck, it must be accessed. To do this, the jaws (cams) of the chuck are spread as wide as possible, a screwdriver is inserted inside. With a clockwise motion, it is unscrewed from the socket. It is impossible to immediately determine the type of cap, so you must first highlight the inside of the cartridge and, most likely, try two or three different screwdriver bits.
- After removing the screw, the chuck is easily screwed off the shaft.
Some models do not have a fixing screw. Then the cartridge is simply screwed on, but more effort will have to be made. It is necessary to fix a key or other convenient part in the jaws, and fix the shaft with an open-end wrench.
Next, we rotate the tools in different directions (as shown in the photo).
It helps a lot in the work of the WD40 - it is sprayed on both the shaft and the fixing screw inside the chuck. This is especially useful if the screw head is clogged and its type (Phillips, straight slot) is not detected. After machining with WD40, the splines are easy to clean and the thread runs better.

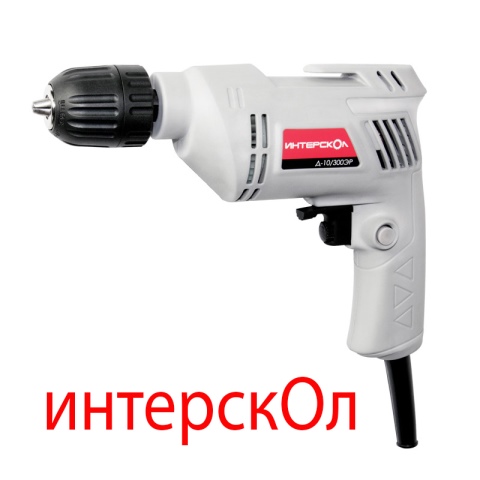

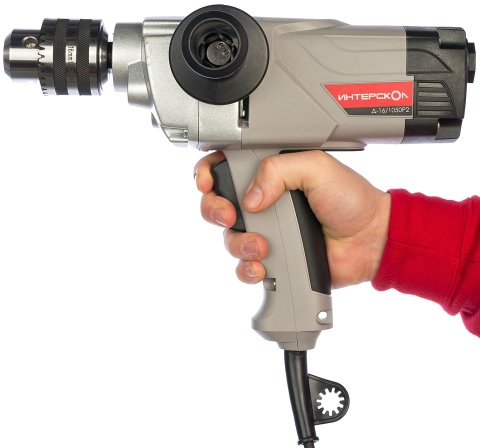

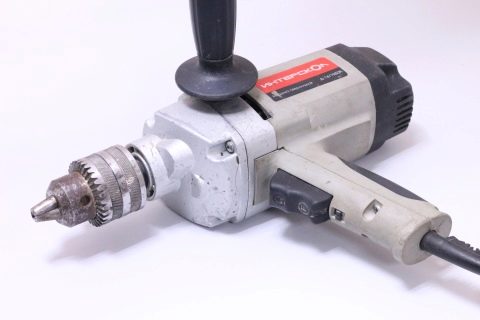
Steps: how to remove the cartridge from the Interskol drill
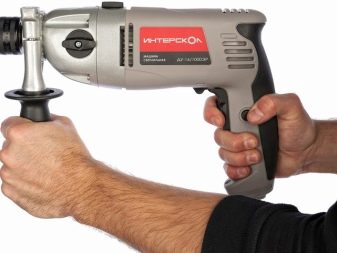
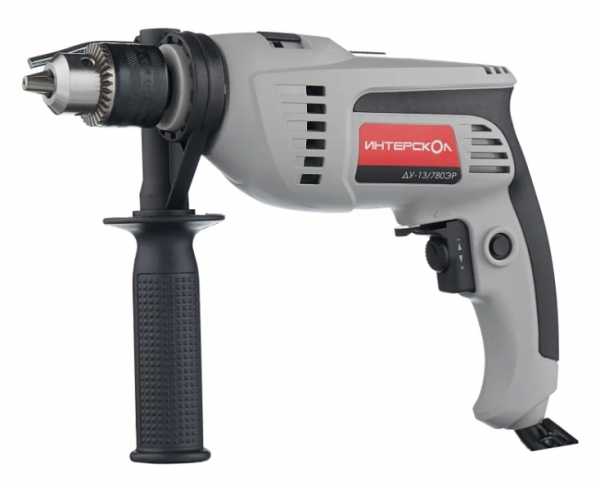
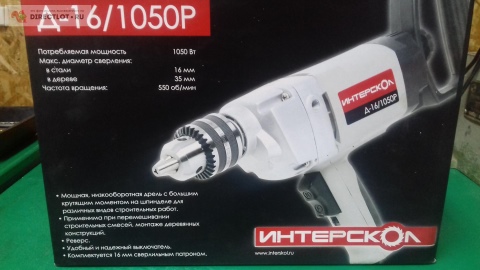
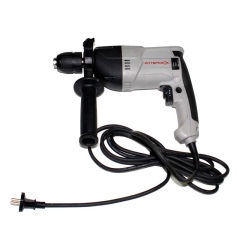
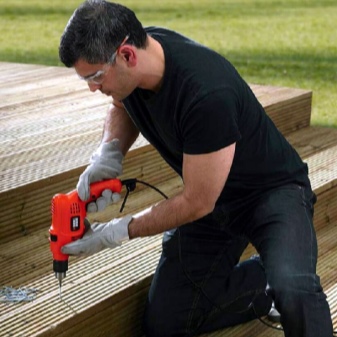
Drill Interskol has a number of advantages. It is lightweight and easy to operate, when working at height, it is possible to hang it on a belt, thereby freeing your hands. You can change the number of revolutions.
To remove the chuck in the Interskol drill, you need to clamp the hexagonal L-shaped wrench thicker. Hit with a sharp, lashing blow on the long end of the key in a clockwise direction
First of all, it stands in the segment of the most inexpensive in comparison with such competitors as:
- Bosh (Bosch);
- Makita;
- Metabo and others.
There is a function of fixing the engine speed: press the switch lever all the way, then press the fixing button and release the lever. The revolutions will be fixed and you can continue to work, at this time you can concentrate not on the pressure of the drill, but on the material with which you are working.
The main thing is not to hit the chuck with a hammer or other tools when unscrewing it - you can break not only the chuck, but also damage the axle. So, first of all, it is necessary, as usual, to unscrew the bolt. Next, you can take the gas wrench, grab the edge of the part you want to remove, and either jerk or slowly unscrew the cartridge. In order not to face the problem of the impossibility of removing the cartridge in the future, be sure to lubricate all parts with lithol or other grease.
About this article
Co-author (s):
Master
Co-author (s):. Jason Phillip is a craftsman specializing in fixing wall objects. With over five years of professional experience in installing and hanging objects, he owns his own company, Jason's Handyman Business, and performs work such as installing window air conditioners, fixing art in galleries, installing kitchen cabinets and replacing lamps on plasterboard, brick and plastered walls. Every year since 2016, it is rated "Top Pro" on Thumbtack as one of the most highly rated and popular pros on Thumbtack. Number of views for this article: 2,245.
Categories: Household Tips
English: Change a Drill Bit
Deutsch: Den Bohrer einer Bohrmaschine wechseln
Français: changer un foret sur une perceuse
Español: cambiar la broca de un taladro
Português: Substituir uma Broca
日本語: ド リ ル ビ ッ ト を 交換 す る
Instructions: how to disassemble a drill chuck
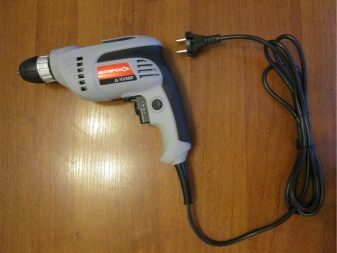
The tools are popular in Russia and the countries of the former Soviet Union due to their good quality and inexpensive prices. The Russian manufacturer, which produces both a drill mixer and a screwdriver, distinguishes between impact and non-impact drills. The percussion is characterized by the presence of an additional function - the percussion movement.
First, unscrew the top nut with teeth
A gas wrench can be used, but be careful not to damage the nut. Depending on the model chosen, it varies:
Depending on the model chosen, it varies:
- Electric motor power;
- Chuck diameter;
- Rotational speed.
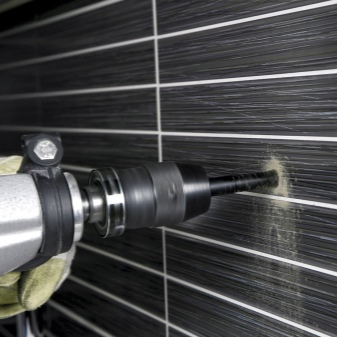
The simplest and most efficient parsing method is as follows. You need to take the hammer drill, remove the boot from it, install the adapter and put the cartridge on it, which was previously removed from the drill, press the cartridge against the wall, not forgetting to lay a rubber shock absorber between them.
Next, we press against the wall and turn on punch in impact mode... That's it, the cartridge is disassembled. We clean it from the debris with which it was clogged - it is optimal to lubricate all the insides before assembly. An important point is not to confuse the jaws in the chuck, each jaw must be in its place.


How to choose?
If you are thinking about buying a drill, then it is important to familiarize yourself with some of the characteristics of a truly high-quality tool.
First of all, pay attention to the power of the device. This affects how quickly and efficiently the drill performs its task.
For household work, there is enough power of 500-700 watts.
See if there is a speed adjustment function. For example, hammering or sanding requires a higher speed, and it takes about 500 rpm to tighten a screw. Hence, adjustment is important.
Drilling diameter. It is known that such a diameter is indicated in the instrument passport for concrete, metal and wood. At least it reaches 0.6 centimeters, then increases to 30 centimeters on multifunctional models. However, an intermediate value will be sufficient.
Sharpen your attention on drill chuck type... It can be quick-release or key. Undoubtedly, using the first is much easier than the second, since you can lose this very key from the key. But it also happens that a chuck with a quick clamp does not last long. It's up to you to decide.
Little things like electronic speed selector, soft start or button hold are also important. With their help, you can significantly simplify the construction process and save your time.
Electric drill device and malfunctions
Drills can be of different sizes and colors, but inside it is always the same scheme.
Impact drill device
The main components of a hammer drill:
-
Cartridge.
- Metal gearbox housing.
-
Electric motor.
-
Start button.
-
Button to switch between normal and shock modes.
-
Frame.
-
Induction rings.
-
Capacitor.
-
Network cable.
-
Brushes.
-
Reverse button.
-
Regulator of turns.
In a simple drill without a hammer mechanism, there is no metal gear case. Shaft and gearbox bearings are inserted into the drill housing.


Hammer drill gearbox
The main malfunctions of the drill:
- Does not turn on. Causes: Damage to the power cord, wires inside the drill, start button, or starting capacitor.
- Engine malfunctions.
- Broken or worn brushes.
- Sparks, smokes, crackles, unpleasant odor. The reason is the brushes or the motor.
- The loss of power is due to an armature malfunction.
- Breakage of power buttons, reverse, speed controller.
- Bearing wear.
-
Poor chuck clamping.
Engine malfunctions:
- Shaft deformation.
- Anchor development.
- Loss of fastening of the poles to the frame in the stator.
-
Broken wire windings from overload or abrasive dust.
- Short circuit to case or between turns.
All these malfunctions, with the exception of engine malfunctions, are not difficult to repair yourself. Engine repair is possible with certain skills and knowledge. Sometimes it's easier to take it to the workshop or buy and install a new one. Installing any new unit is cheaper than repairing in a workshop, since professionals take a payment equal to the cost of the unit for one replacement.
Video: drill device
Recommendations for extending the performance of new and refurbished drills:
- The drill should not operate for more than 20-25 minutes continuously after plugging in.
-
The device must not overheat to the hand-burning temperature.
- It is necessary to clean the cartridge from dirt and lubricate.
-
Extremely blunt drills must not be used.