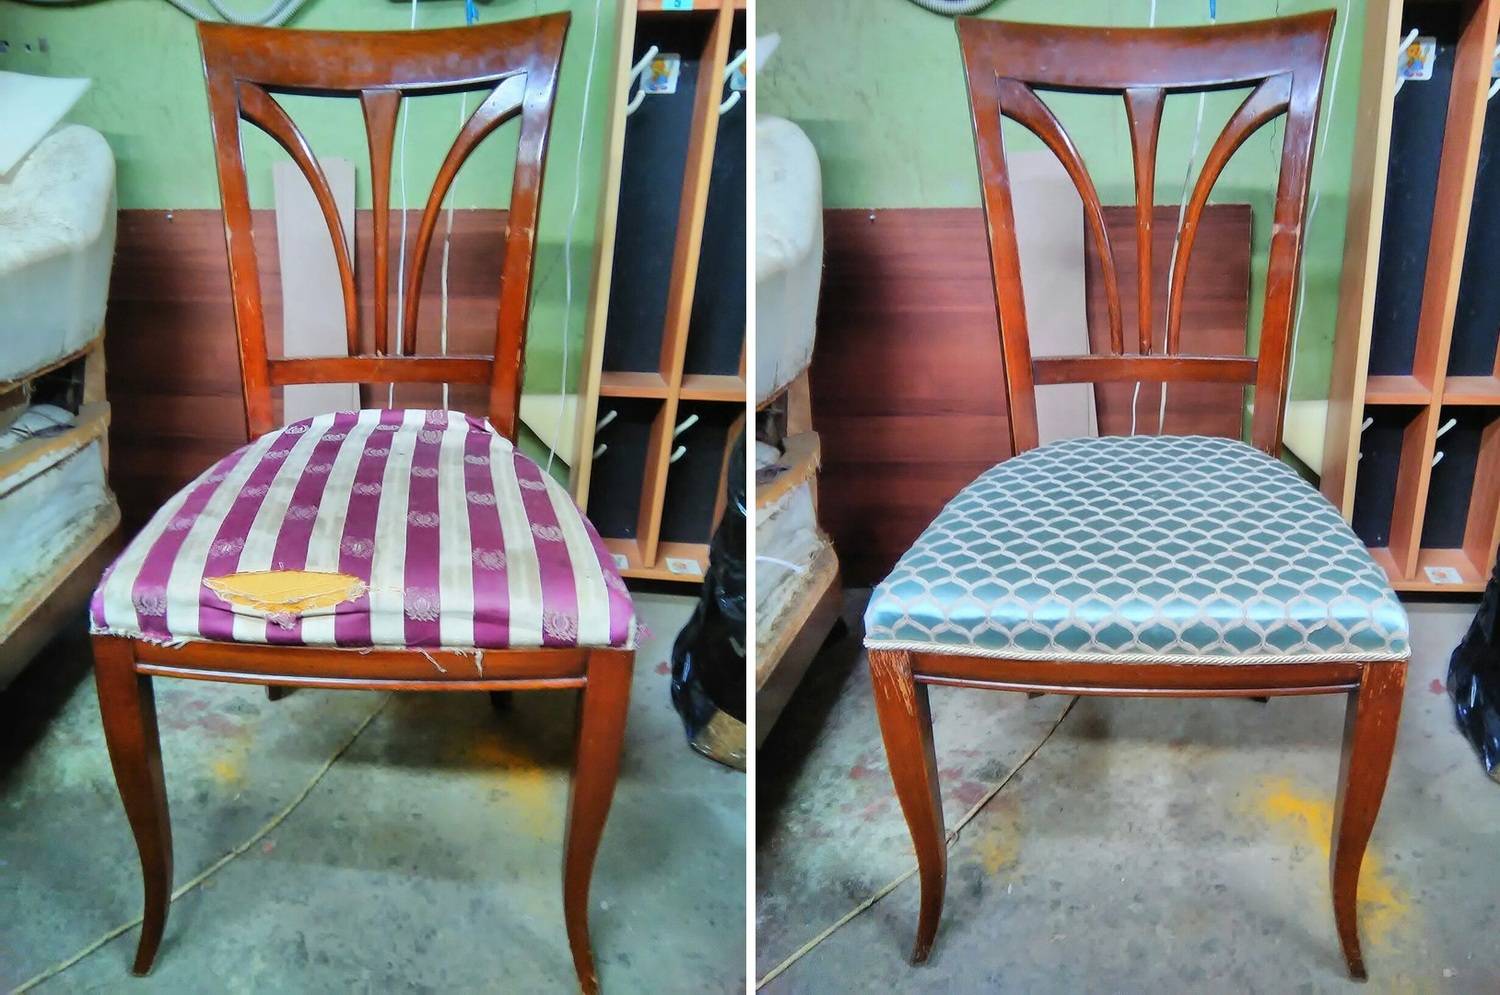
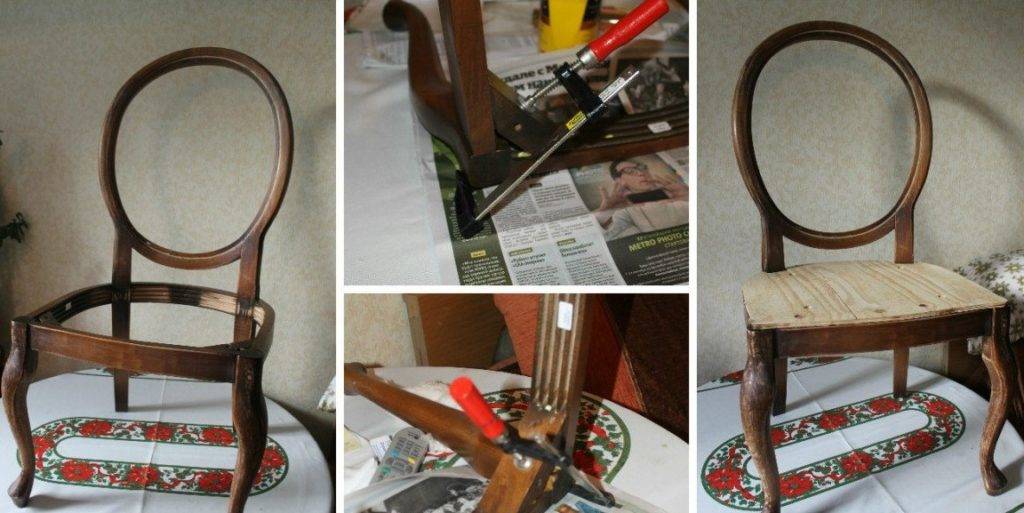
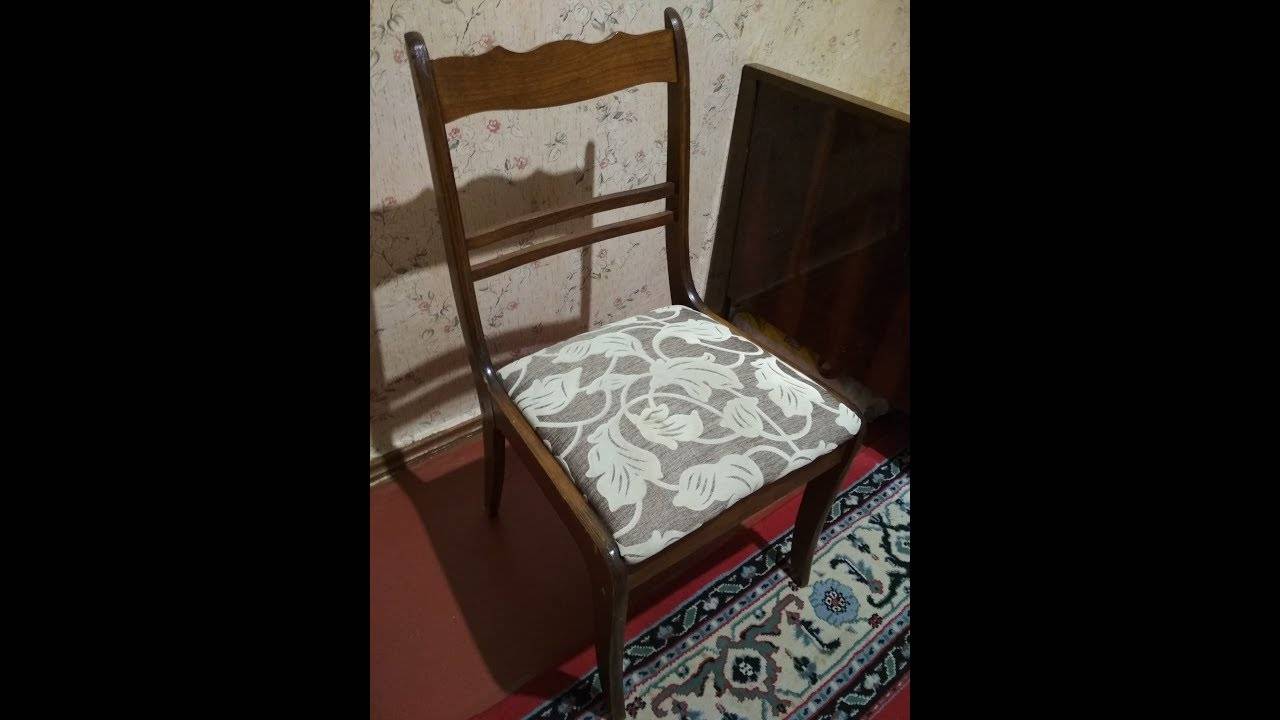
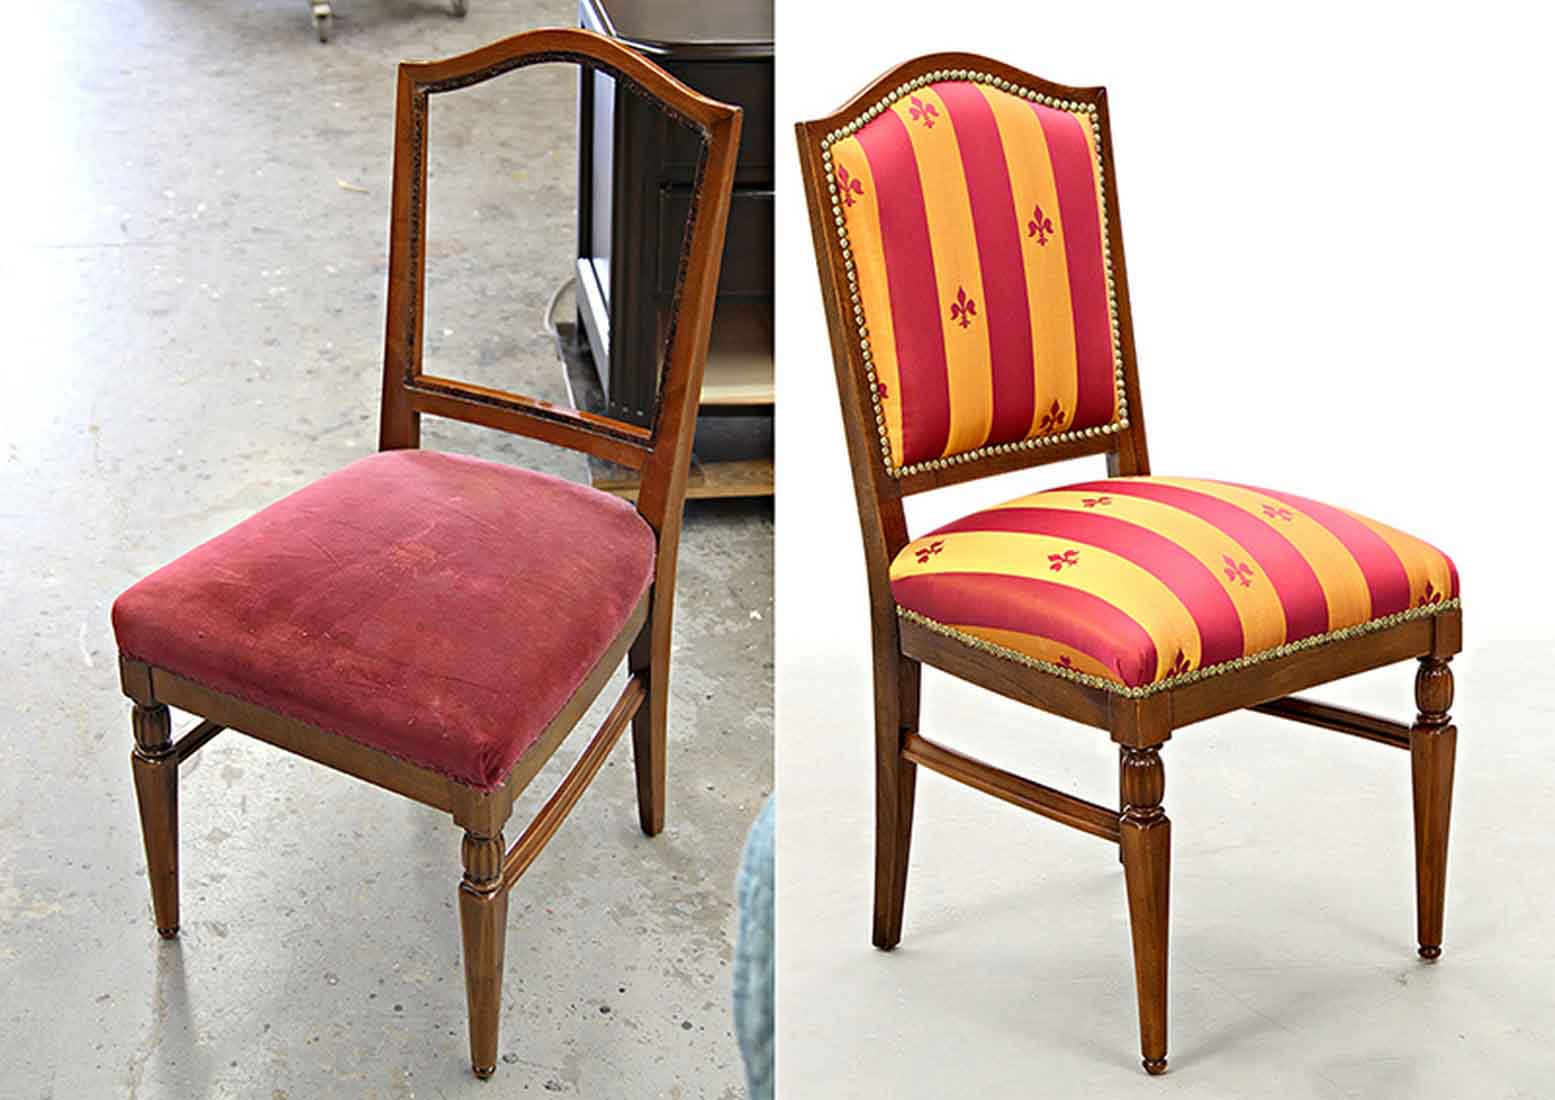
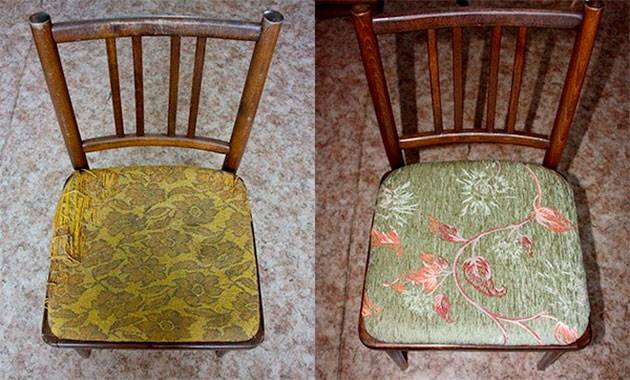
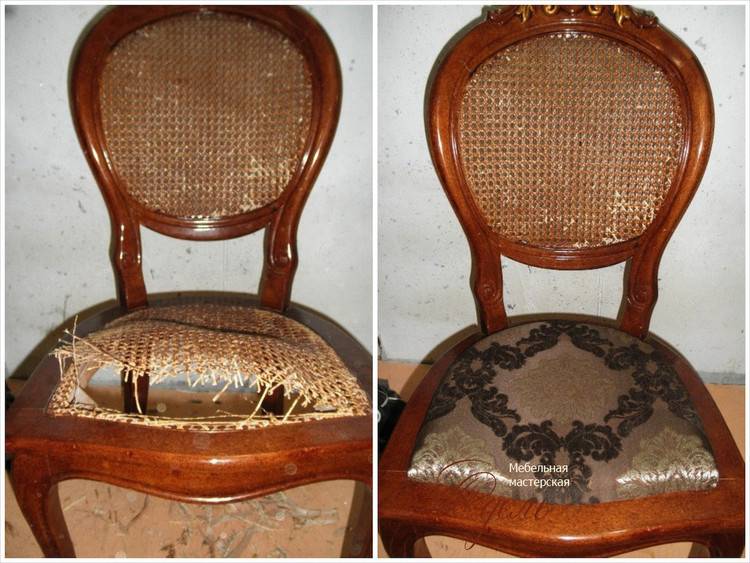
Benefits of self-restoration
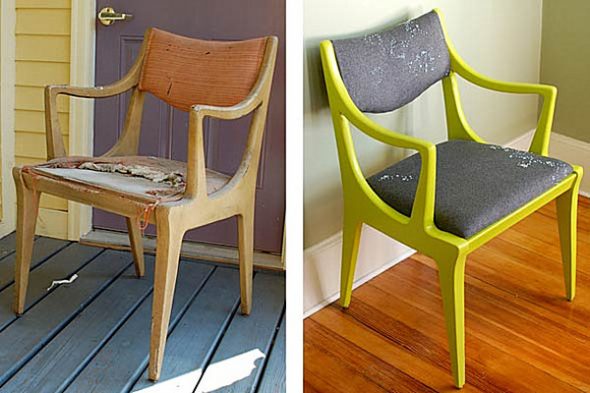
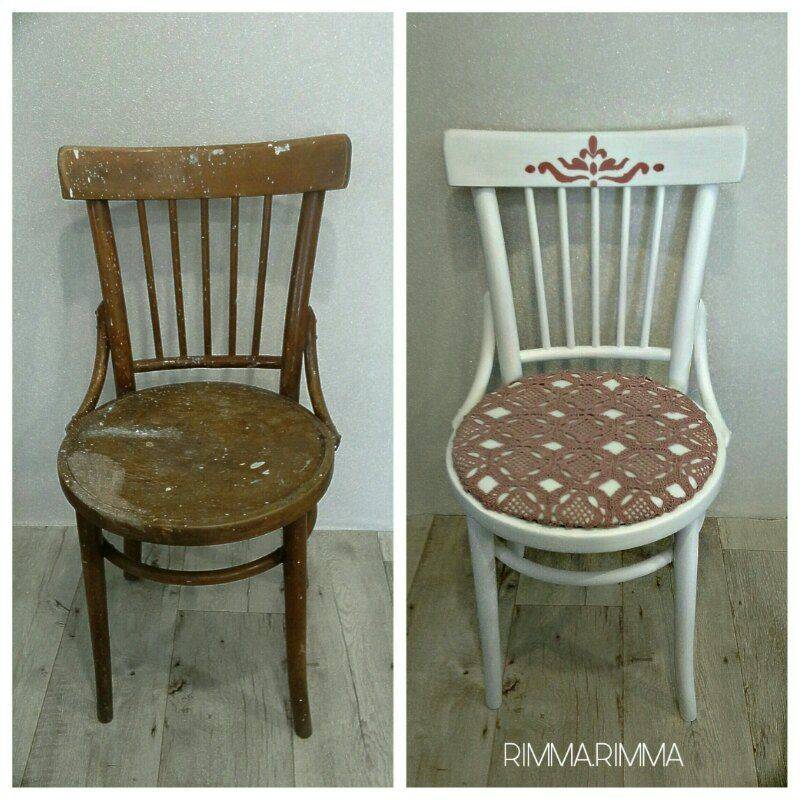
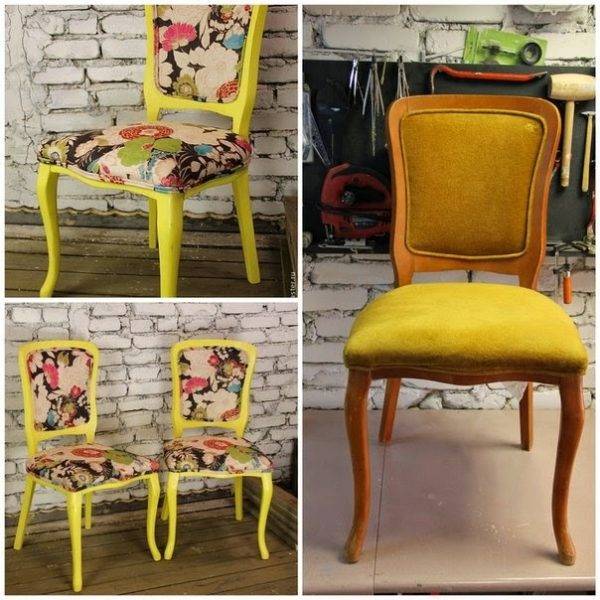
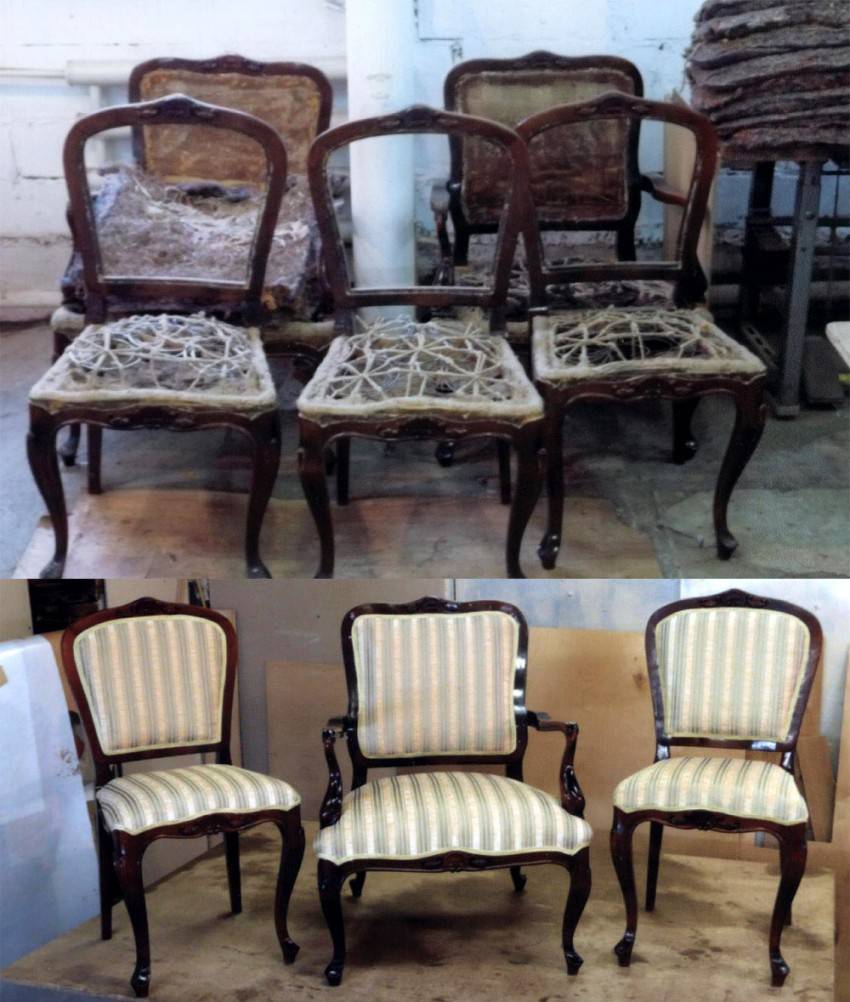
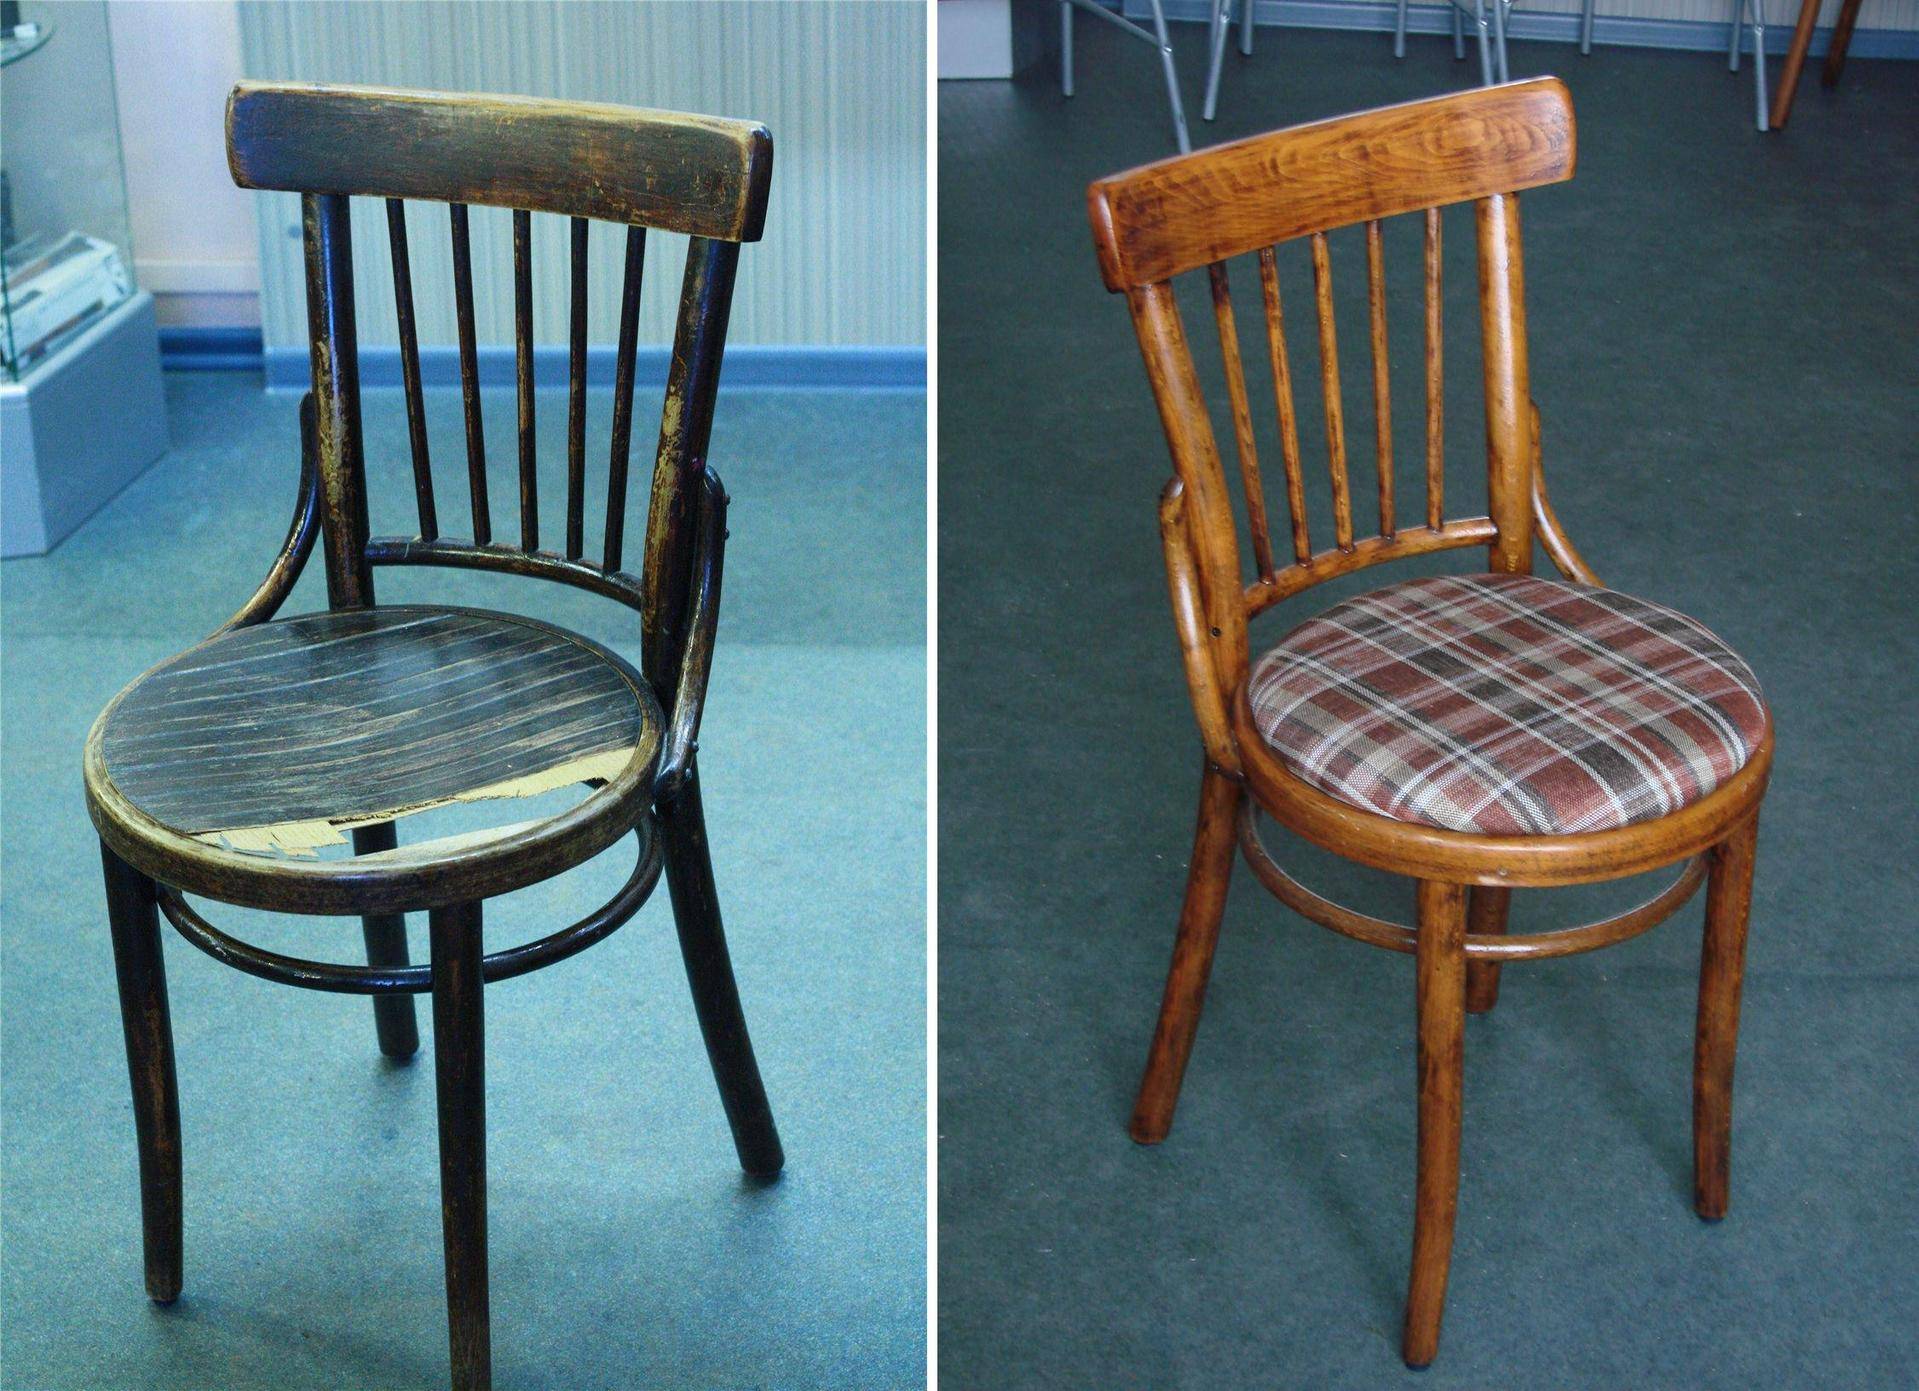
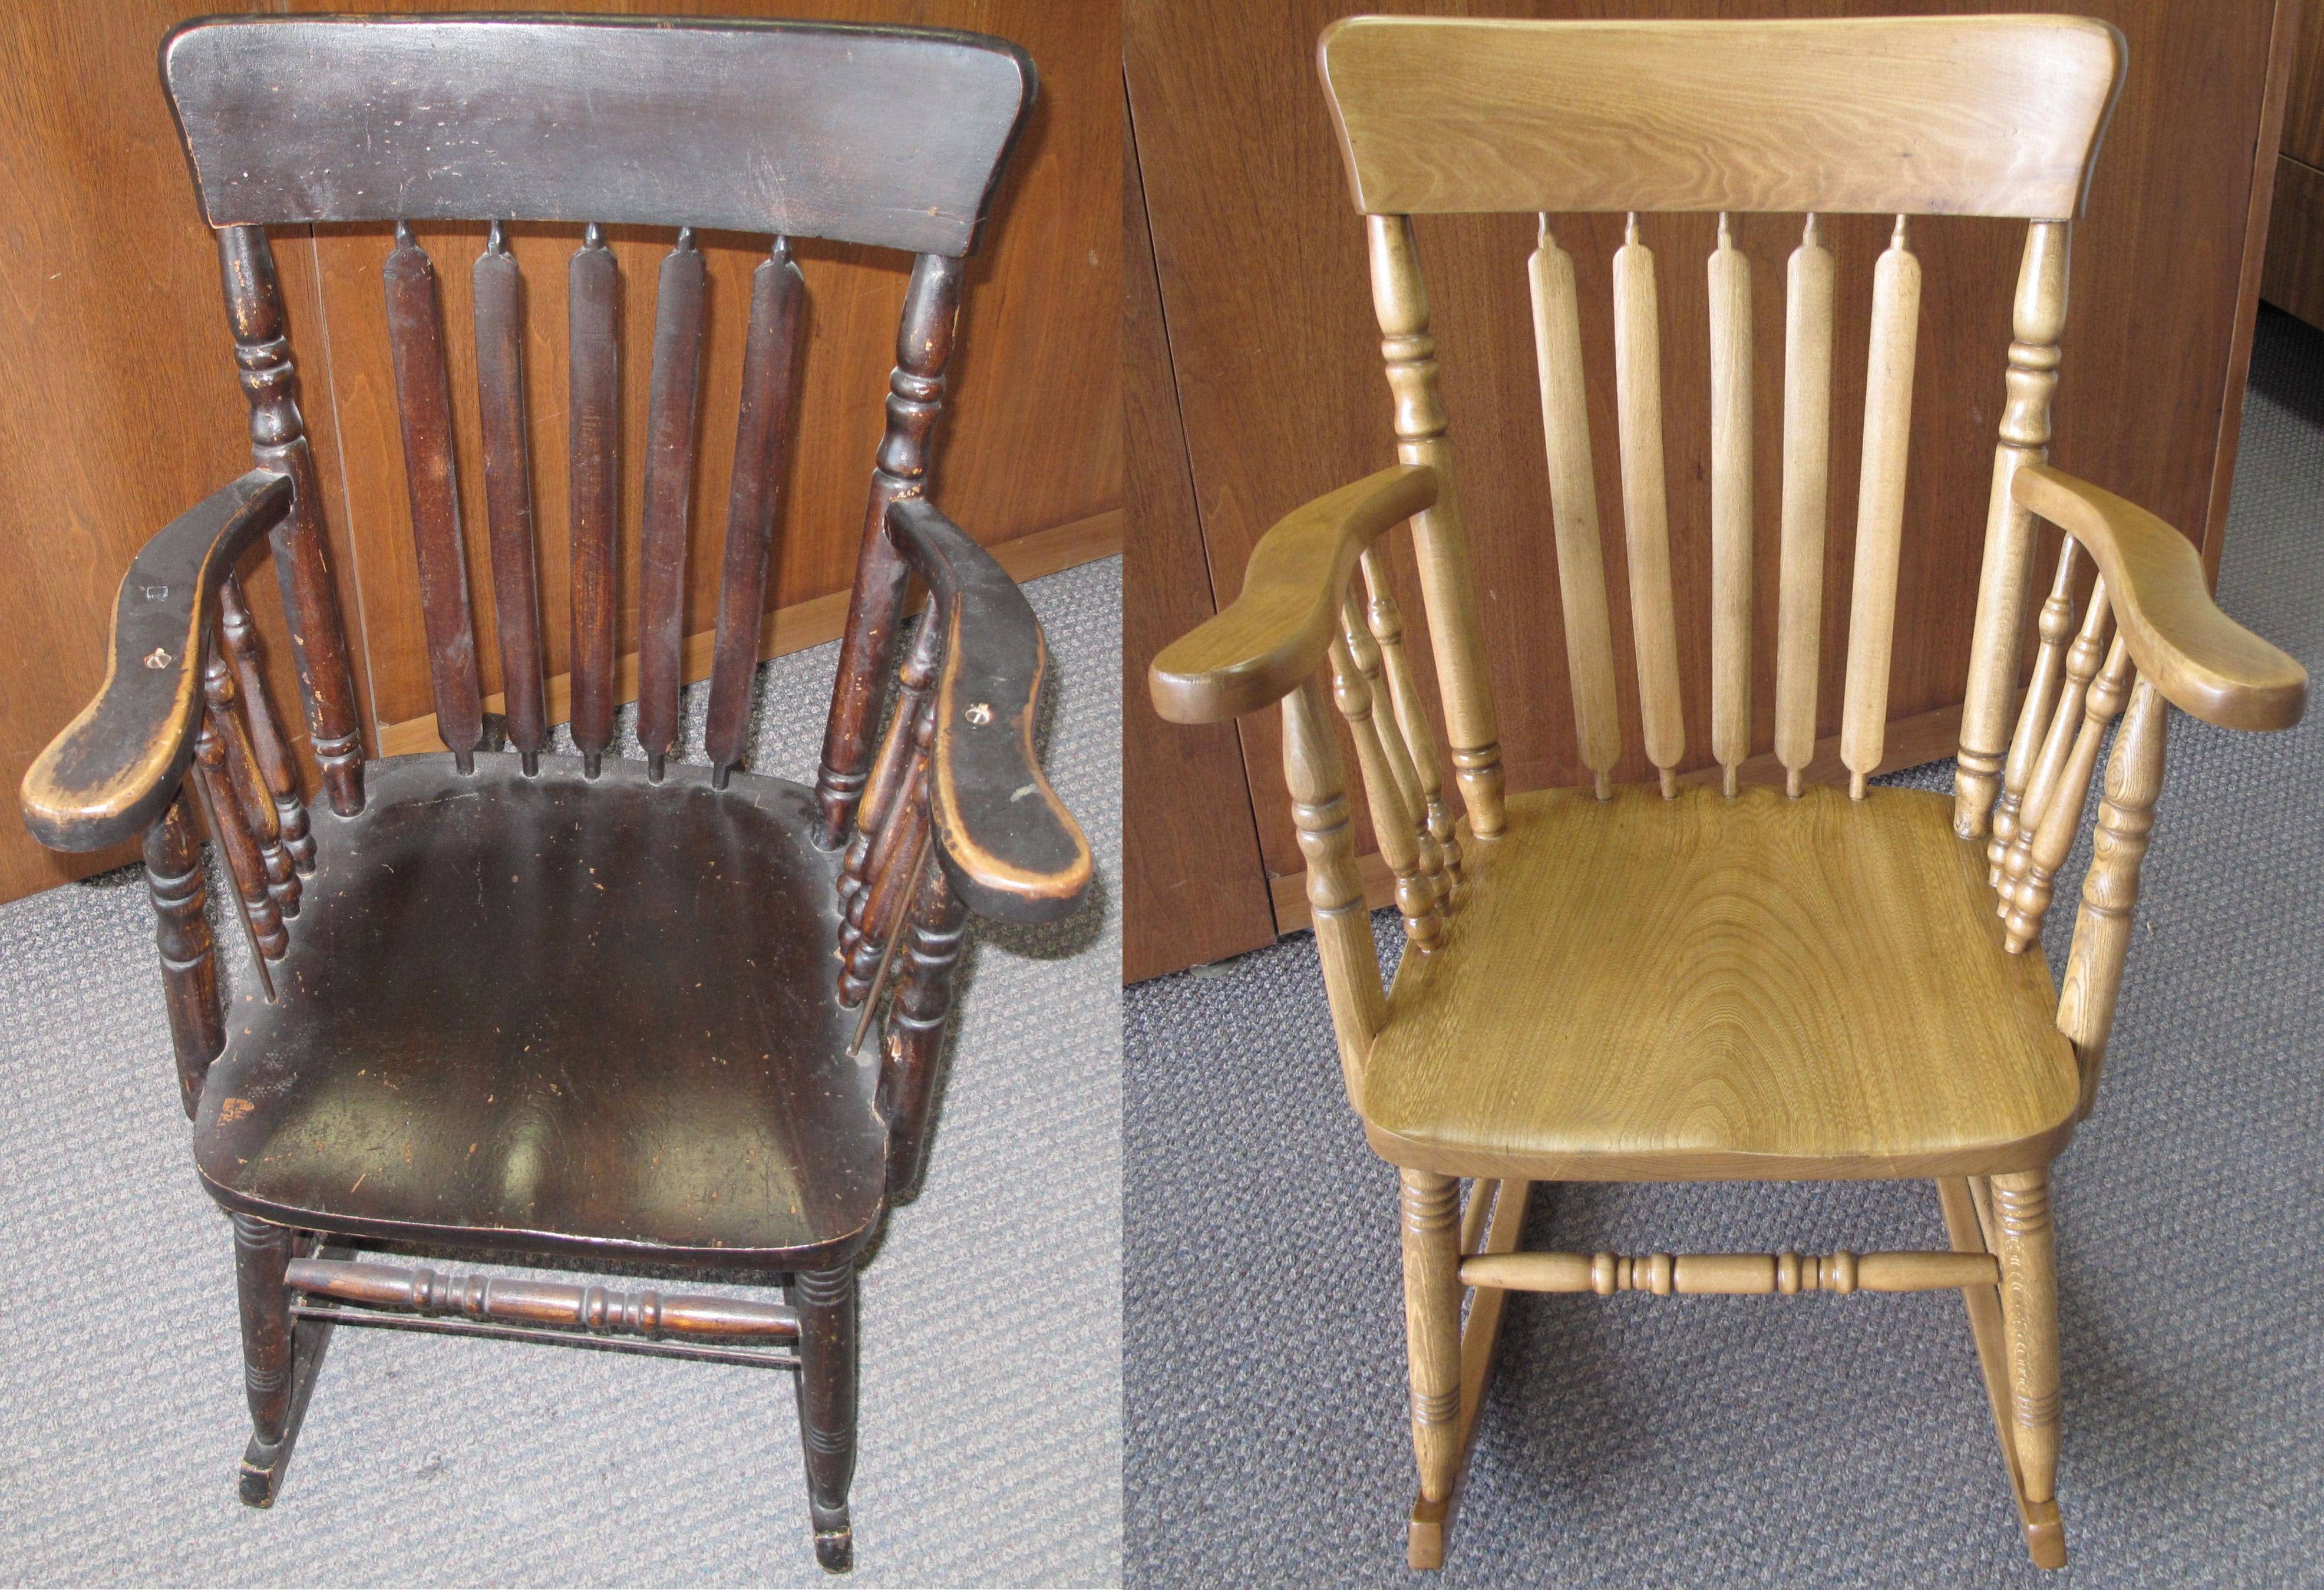
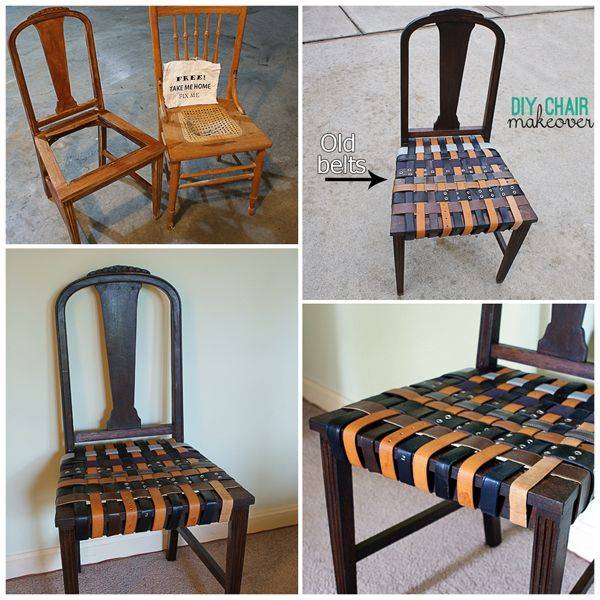
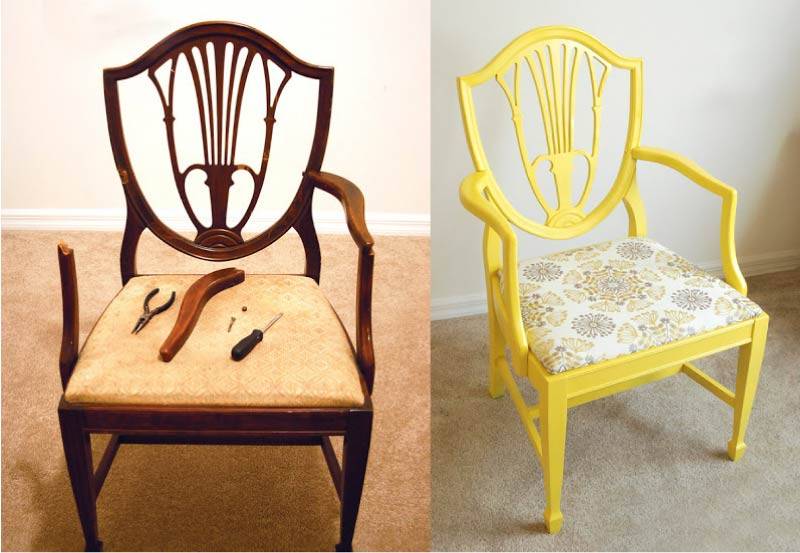
Having engaged in the restoration of old chairs with your own hands, you can make completely new versions of products, real works of art. In addition, it will be much cheaper than purchasing a new product. To update a wooden chair with a back, it does not take a lot of materials, tools, time.
Benefits of restoration:
- It is possible to completely restore the chairs of the last century, which today do not harmonize with the design of the house. The use of new materials will help to adapt them to modern interiors.
- The ability to change the design and design using colored or transparent inserts, carved or forged elements.
- Even an inexperienced master without special knowledge and skills can update old chairs.
- Saving. Professional restoration of antique furniture is expensive, so if you wish, you can do this work yourself at home at minimal cost.
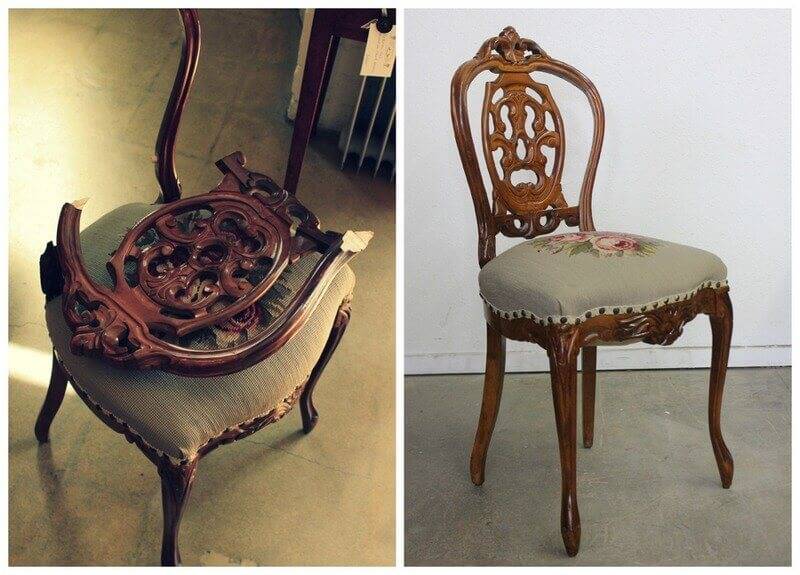
Most often, products made from valuable wood species are subject to renewal. In rare old chairs, carved legs and backs are restored, the upholstery fabric is changed, and the frame is also strengthened. The main thing is not to damage the coating during disassembly of antique furniture, as this will significantly reduce its value.
Restoring a kitchen stool includes changing the seat upholstery, painting the legs or sewing fabric covers. Furniture can be upgraded in two ways:
- If the surface of the stool is not damaged, without visible defects, then it will be enough to remove the old upholstery, polish, varnish the wood, decorate the seat.
- If there are cracks or small chips on the surface, they are repaired with wood putty or glue. In case of severe damage, furniture elements require a complete replacement.
The restoration of a highchair takes place using the same technology as an adult
Only in this case, you need to pay special attention to the condition of additional elements. They need to be strengthened for the child's safety.
 Chairs from the last century can be completely restored
 The ability to change the design and design
 The work can be done without special knowledge and skills.
 Saving
To make wooden chairs look more interesting after renovation, they can be decorated using various techniques:
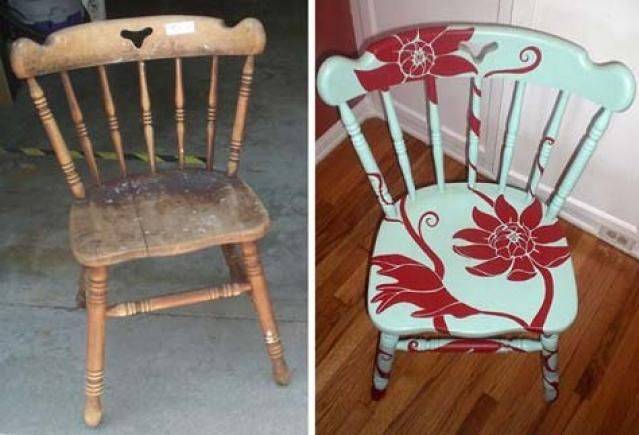
- Artistic painting - colored patterns are applied to the refurbished chair with a brush.
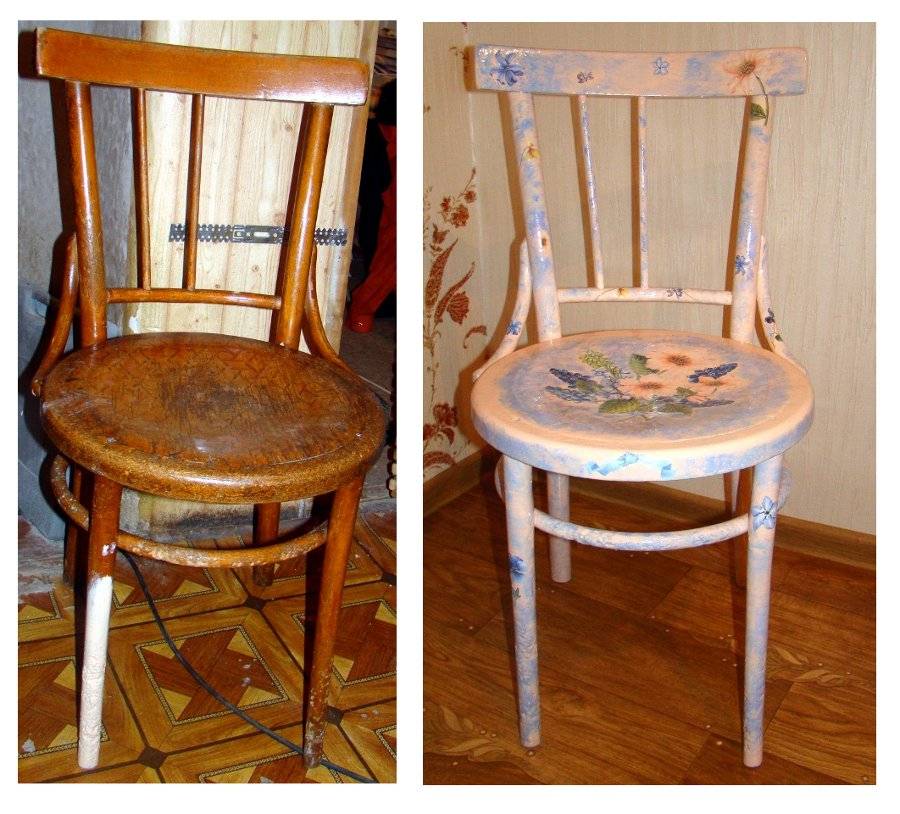
- Decoupage - gluing cut-out pictures from paper napkins and applying glue and varnish to them.
- Self-adhesive film - both colored and imitating natural wood can be used.
- Craquelure is a technology for creating aged material. For work, you will need special plaster, varnish or paint.
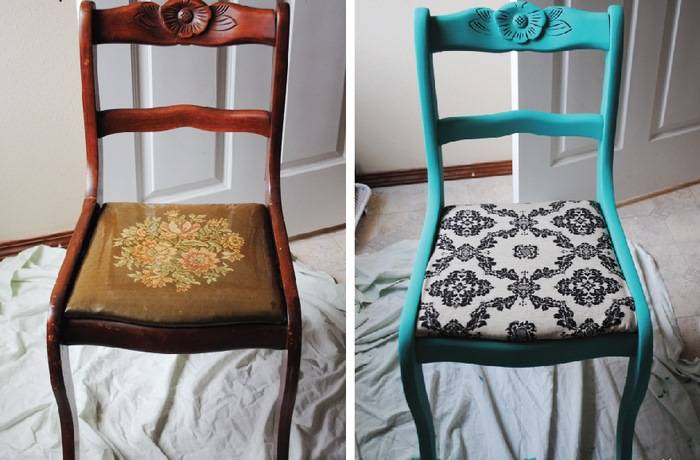
- Regular painting.
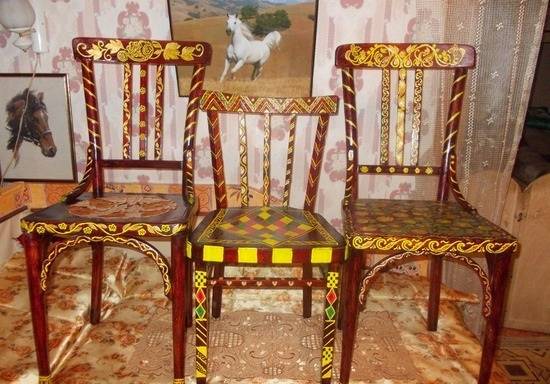 Art painting
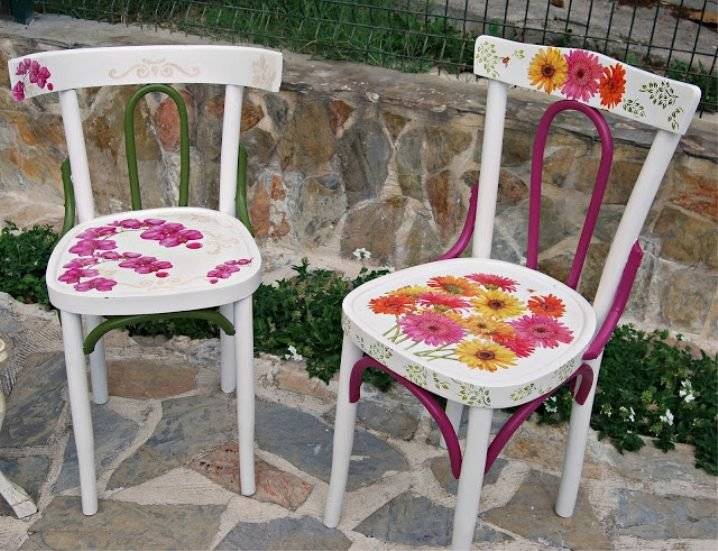 Decoupage
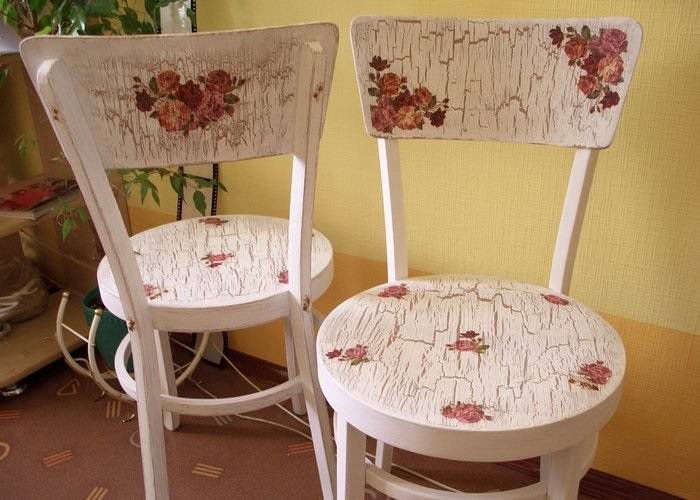 Craquelure
 Painting
 Adhesive tape
Removing stains
Furniture stains are the most common defect. They can appear on soft surfaces or MDF panels. Most modern furniture is made from this material, so every owner should know how to clean stains. Stains can be of different origins, each stain has its own method of removal:
- Fresh greasy stains can be easily washed off with a cotton pad soaked in a solution of water and liquid soap. Remaining moisture should be wiped off with a dry cloth. Do not use a large amount of water, the particle board is afraid of moisture and may swell;
- If the stain is already ingrained, then remove it with alcohol or acetone. A napkin soaked in it is briefly applied to the dirt after applying the soap solution.Immediately after this, wipe the damaged area with a dry cloth;
- Remove stains from varnish and paint from furniture by applying a cotton pad with acetone. It should not be left on the surface for a long time to avoid major damage;
- Stains left on the surface by hot objects are removed with vodka and sunflower oil. The mixture is applied to the stain, after which it is removed, and the surface is wiped with a cloth. When the folk method does not help, you can resort to pencils for the laminated surface.
Removal of stains from textile surfaces is carried out immediately after they appear, until they are ingrained and can be easily removed.
- The furniture should be vacuumed;
- Before starting work, all cleaning agents must be tested on an inconspicuous part of the upholstery. Wipe the dirt with a napkin moistened with vinegar;
- The stain must be wiped off with a napkin or cotton pad soaked in soap solution. You can wait until it is absorbed and starts working on removing the stain. It is not allowed to use a large amount of water, it is better to wet only the surface layer;
- It is necessary to dry the upholstery without the use of special devices; to speed up the process, windows are opened and a draft is created.
In many homes, furniture is covered with bedspreads to prevent stains. It really helps when solid contaminants get on the surface, but when it comes to stains left by liquid substances, then only removing the stains already formed can help. To make it easier, they begin to fight pollution as soon as possible.
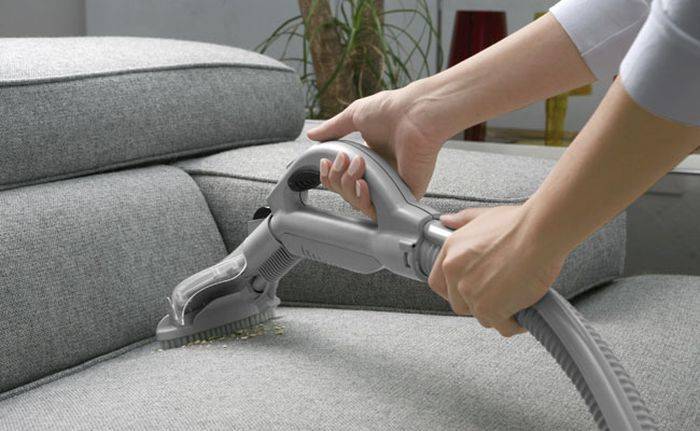 Vacuuming the sofa
 Apply stain remover
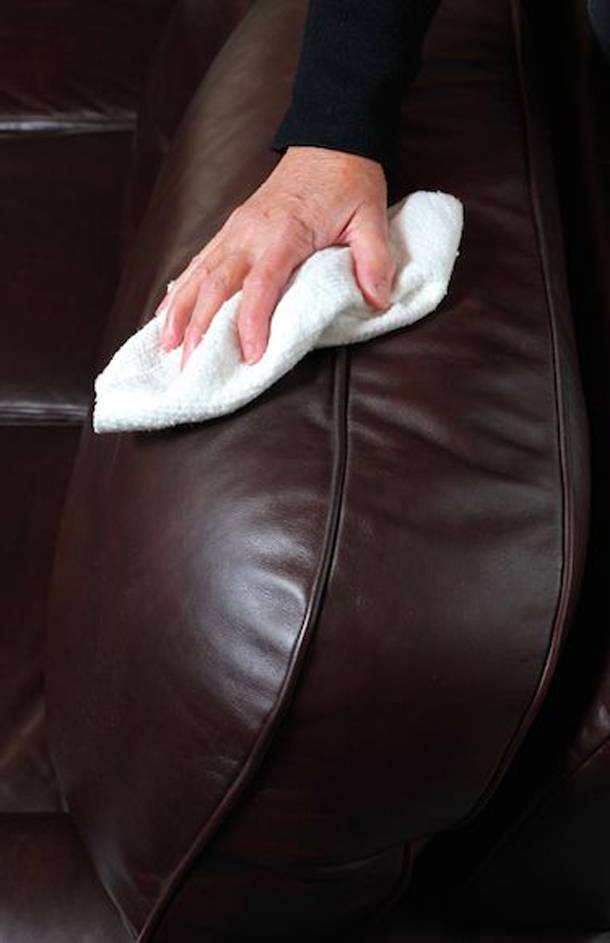 Wipe with a dry cloth
Recovery process step by step
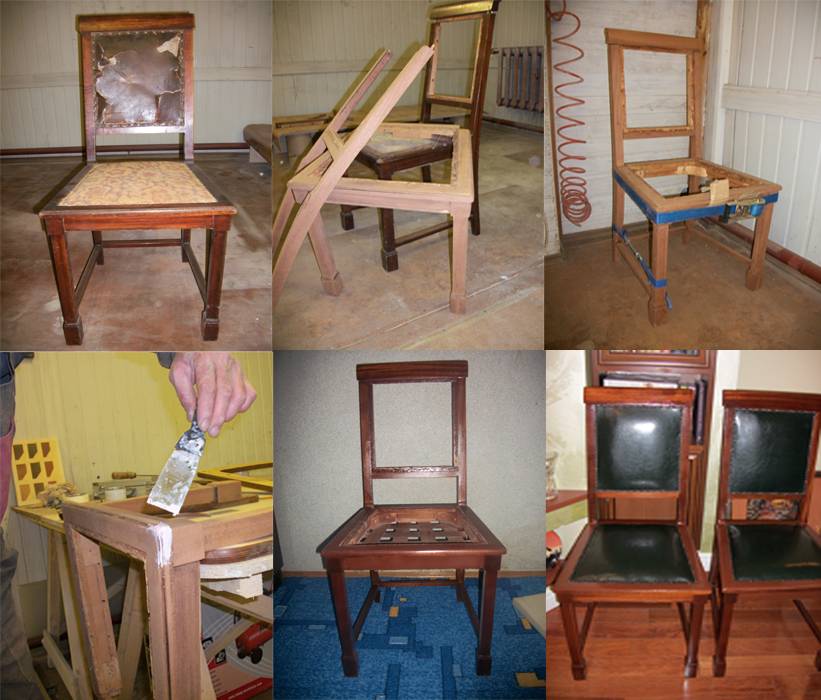
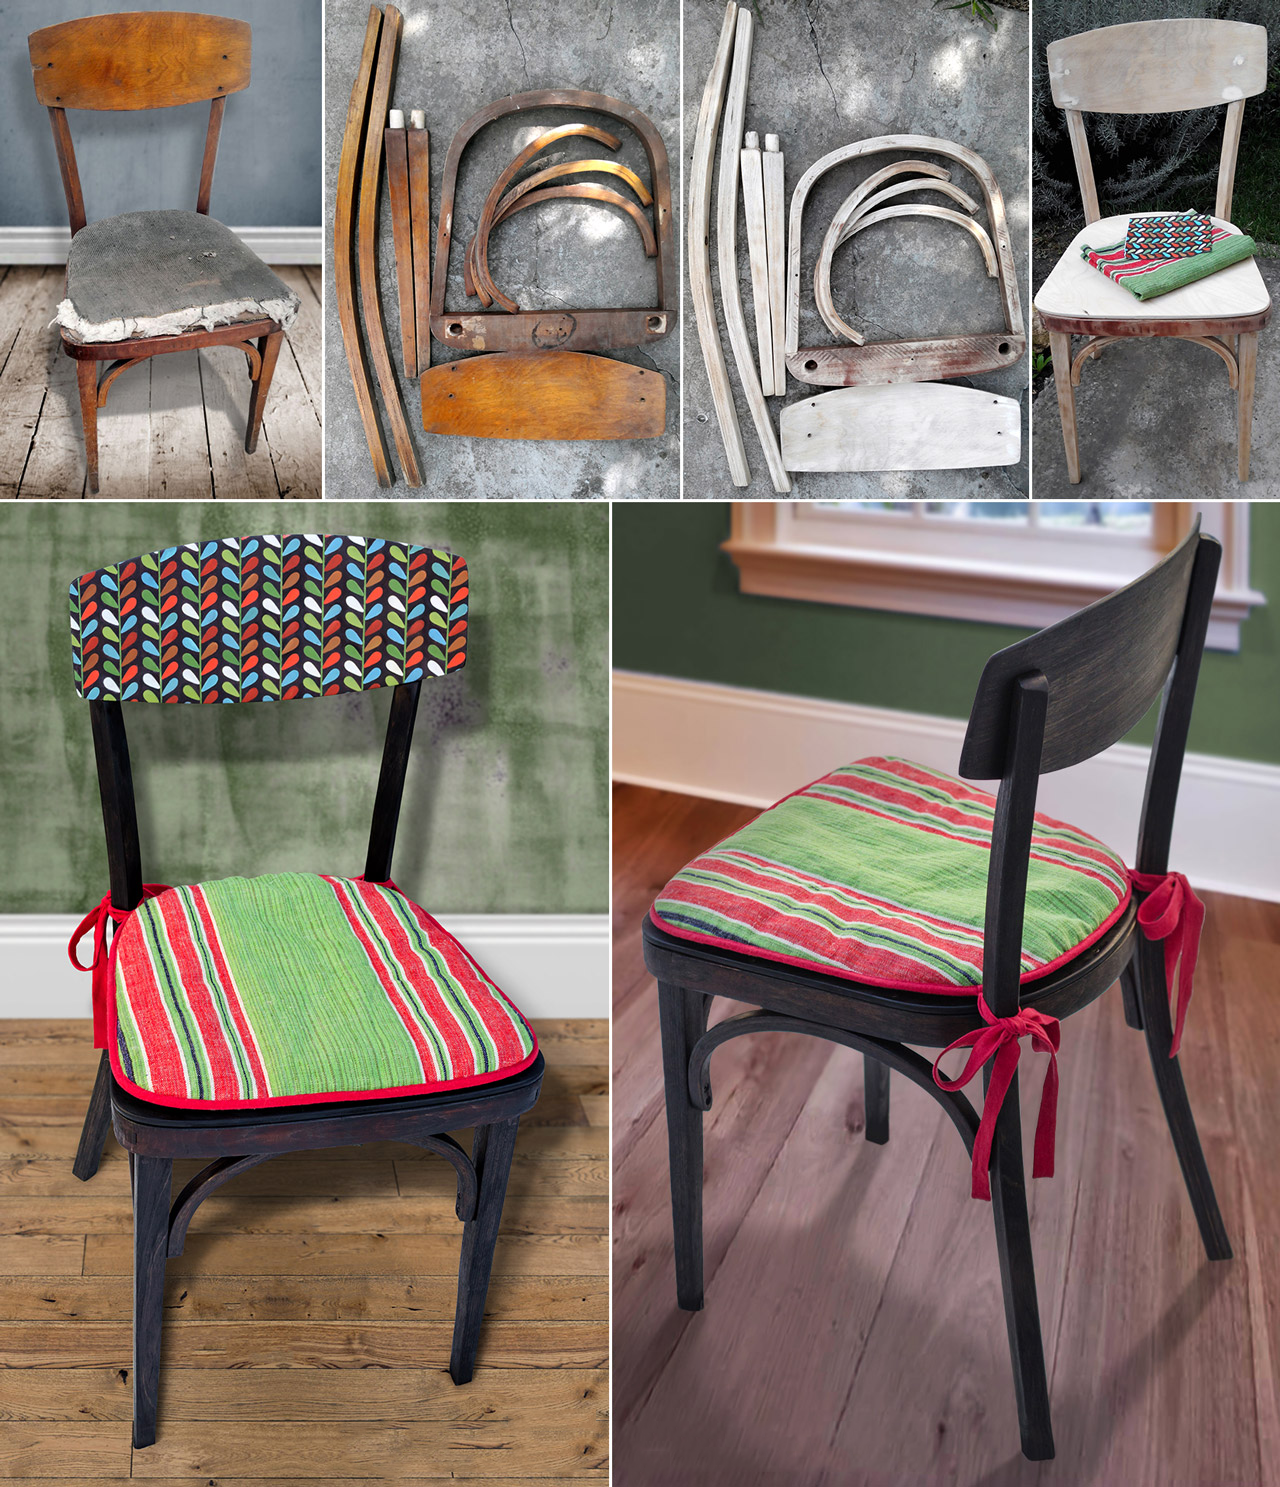
So, at the first stage, our chair is disassembled, the damage to the structure has been repaired, the old paintwork has been removed, and you can start the renovation directly.
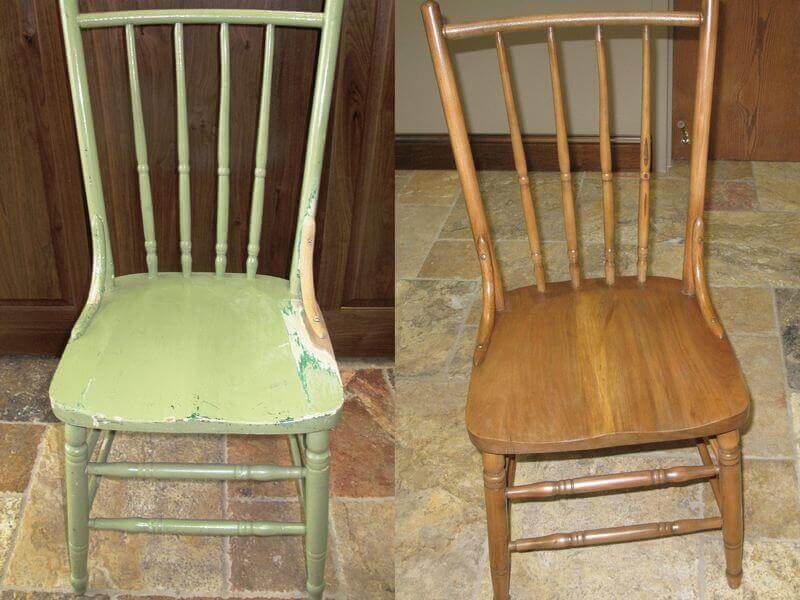
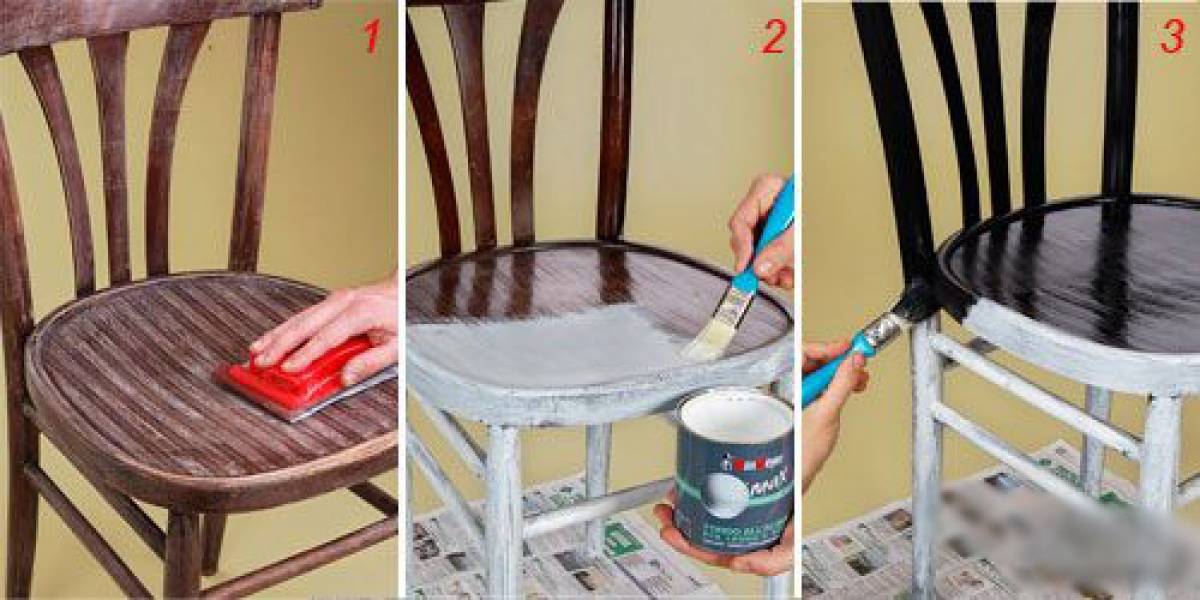
At the second stage, on the cleaned surface, we apply a primer corresponding to the type of material to be painted. After it dries, it should be re-processed with a thinner sandpaper. Then we apply the first layer of paint or varnish and after drying we check - if the base is visible, apply one or two more layers.
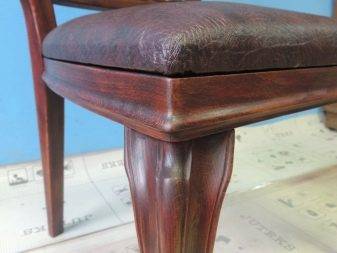
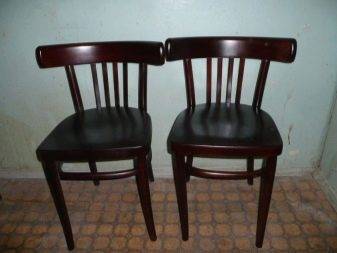
Each material has its own characteristics when dyeing. On the frames of iron chairs, an anticorrosive primer composition is applied with the first layer, after drying, the main color is applied, and if the paint is transparent, then it is applied in stages in two or three layers. When painting metal chairs, it is better to use metal enamels.
The frame of a wooden chair is initially treated with wax, applying a little product to a piece of cloth and rubbing it thoroughly into the wood, or brush it with an oil primer. Followed by one or more layers of acrylic paint. These new generation coatings are convenient to use, odorless, dry quickly, and are suitable for indoor use.
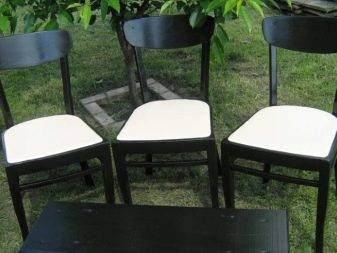
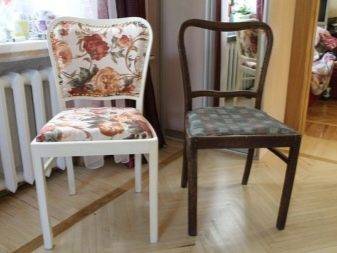
To restore Viennese chairs, use a lacquer coating on a wax base or on a primer.
For plastic chairs, painting is undesirable, since the flexibility of the material will provoke paint peeling, it is better to sew covers or pillows on them from a suitable fabric.
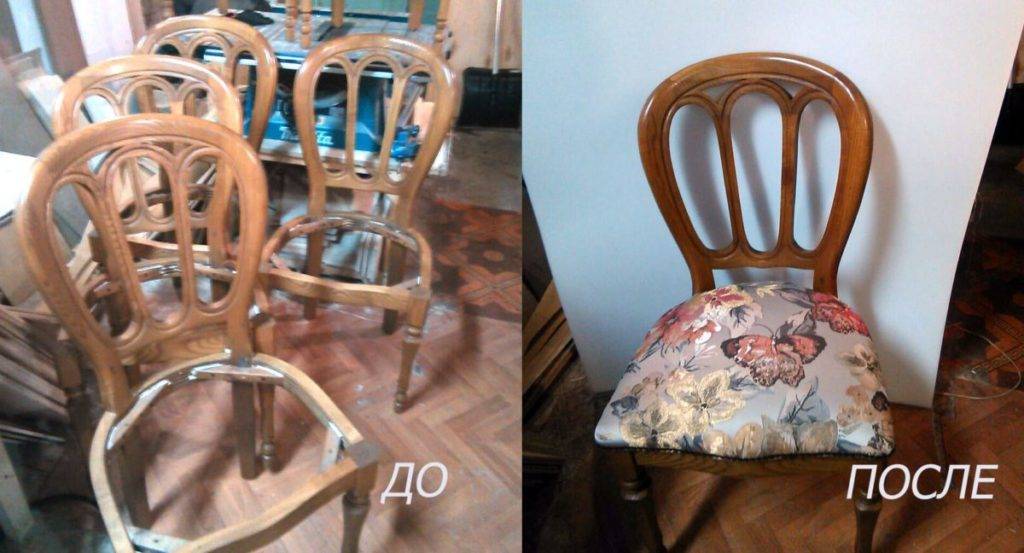
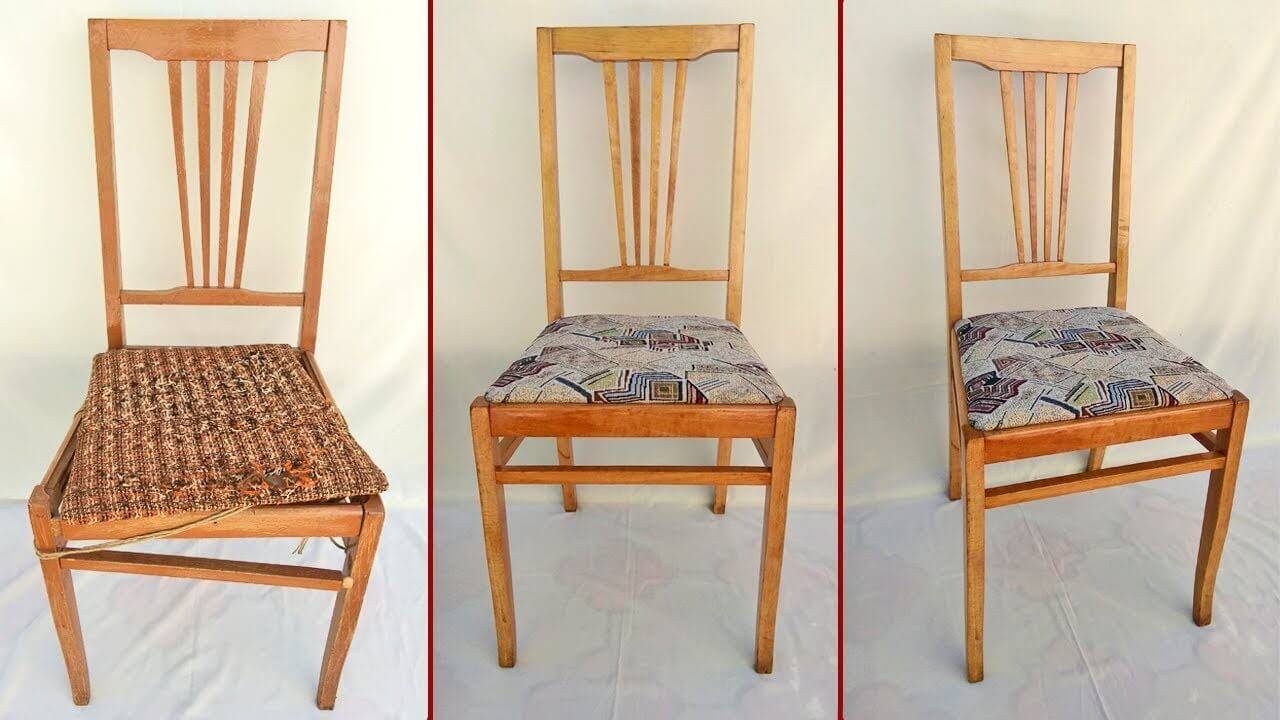
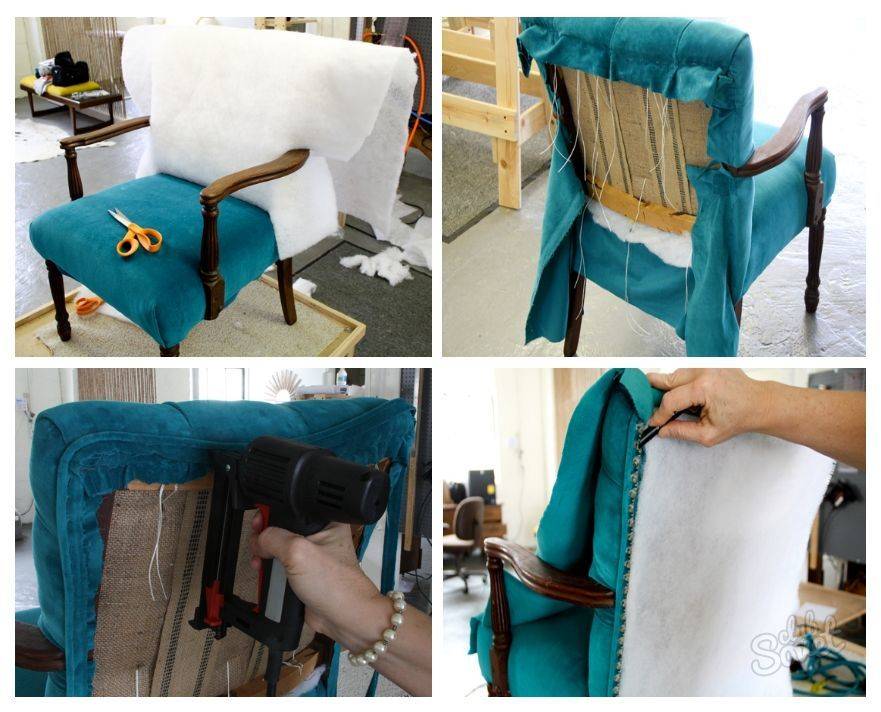
Finally, the last step is to update the upholstery of the upholstered parts of the chair. After the old upholstery has been removed, the foam rubber of the desired thickness is cut to the shape of the seat base, it can be fixed with glue. The fabric is cut out, taking into account the hem allowance around the foam rubber with plywood.
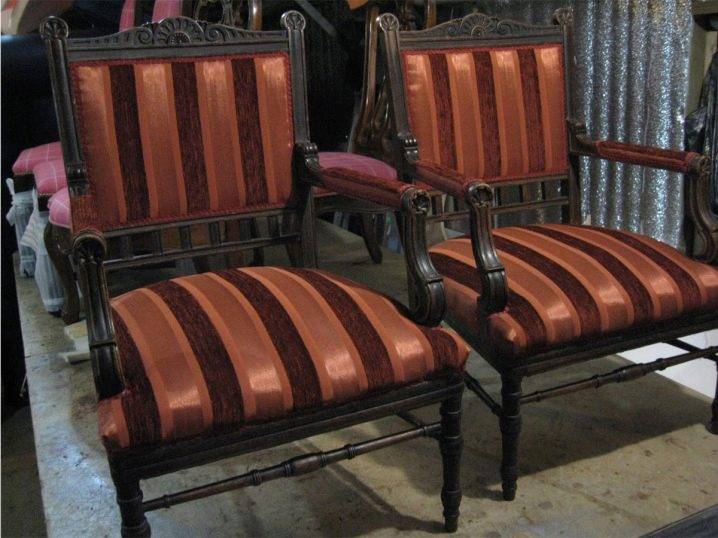
With a furniture stapler on the back side, the fabric is first fixed from opposite sides so that it is tightly stretched, then the corners are folded end-to-end, folded along the base and fixed with staples in several places on the back side so that the fabric does not puff up. It is better to use a fabric with a floral print or solid color. A geometric pattern requires a special arrangement of lines. The picture may be skewed, so skill is needed here.
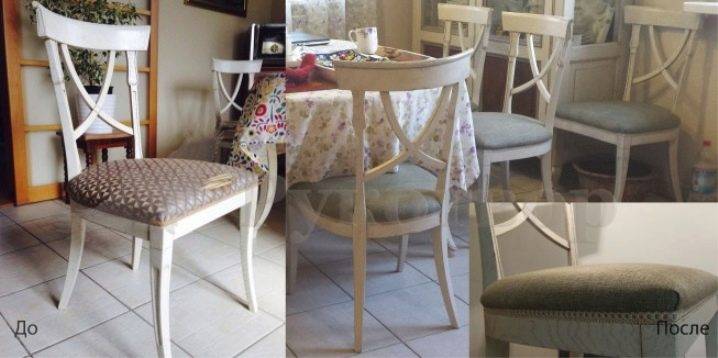
When tightening a seat with springs, batting or other dense material is first laid, then a layer of foam rubber
The fabric is cut out and attached using the same technology as with one foam rubber, but here it is important to tighten the upholstery more strongly in order to smooth out the relief of the springs
Restoration options
The main focus of the restoration is changing the facade surface.
Dyeing
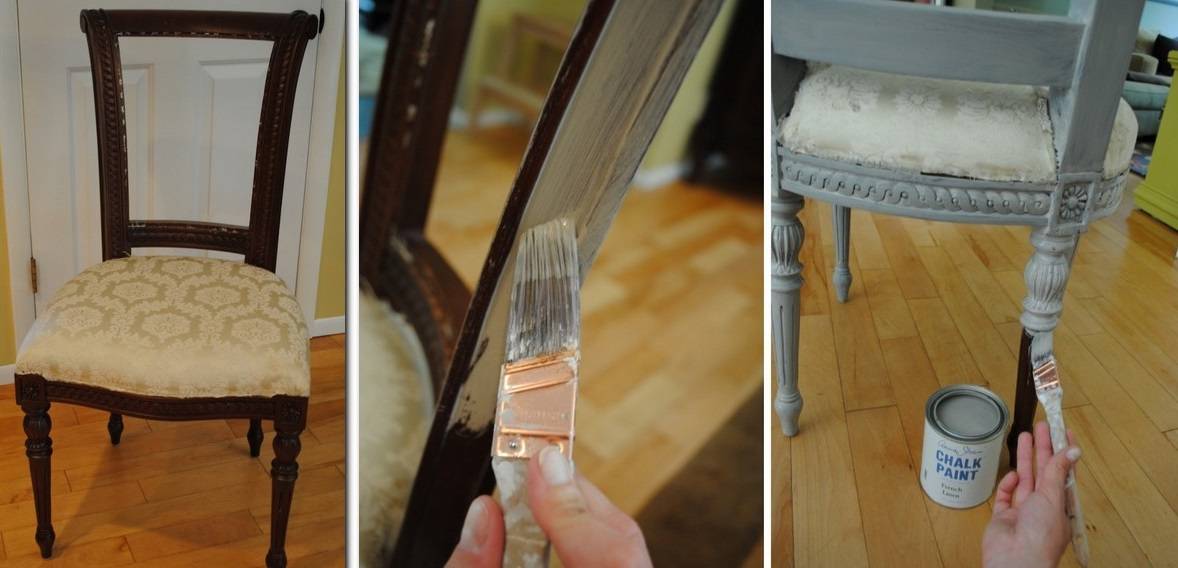
Repainting a dresser in a different color is the easiest way to change its decor. The main requirement is the complete removal of the previous paint and varnish layer. Using a grinding tool, remove 1-2 millimeters from the surface of the furniture elements.
Cracks are covered and grinded. They are primed, polished. Furniture painting begins with the interior. For corners and hard-to-reach places, paneled brushes are used. After drying, they begin to paint the countertops, facades, sidewalls. The result is fixed by varnishing the surface of the chest.

Aging
The craquelure method is used in the manufacture of furniture in the style of Provence, country, shabby chic. The essence of the method is to imitate scuffs and cracks on a fresh paint coating. The processing of the dresser begins with the definition of the decoration area on the dresser. The marked areas are colored black, brown, blue. After drying, rub with wax. The entire chest of drawers is painted white. Then peel off the paint with sandpaper together with the wax coating. Cleaned from dust, varnished.
Additional decoration
You can decorate the chest of drawers with original handles, overlays, patterns of furniture nails. Various methods of coloring are used: contrast and gradient, optical illusion. A variety of options gives the use of stencils. To change the style of furniture, it is enough to change the drawers, raise the structure on the legs.
Decoupage
Gluing appliqués is a convenient, uncomplicated method of decorating a chest of drawers. Pictures are cut from magazines, napkins, newspaper sheets, pieces of wallpaper are used. The base tone should be lighter than the applique to enhance the accent of the design on the furniture.
DIY recovery
We recommend watching a video with decoration options:
Now let's see what can be done with antique chairs during restoration and how best to decorate them.
Decor with fabric
It is quite simple to make such decoration. You need to either make a constriction of old soft places, or sew covers. By the way, a similar approach can be applied to sofas and other pieces of furniture.
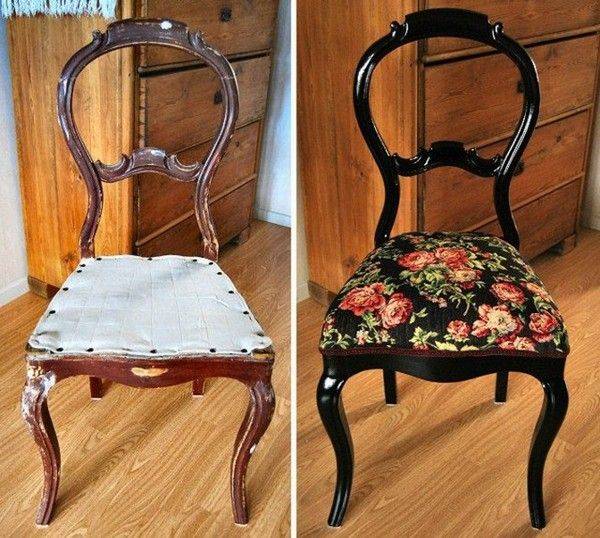
Backrest update
There are different options. Among the most common ones that can give new life to chairs are decoupage and the use of textiles (including denim).
Restoration using upholstery constriction

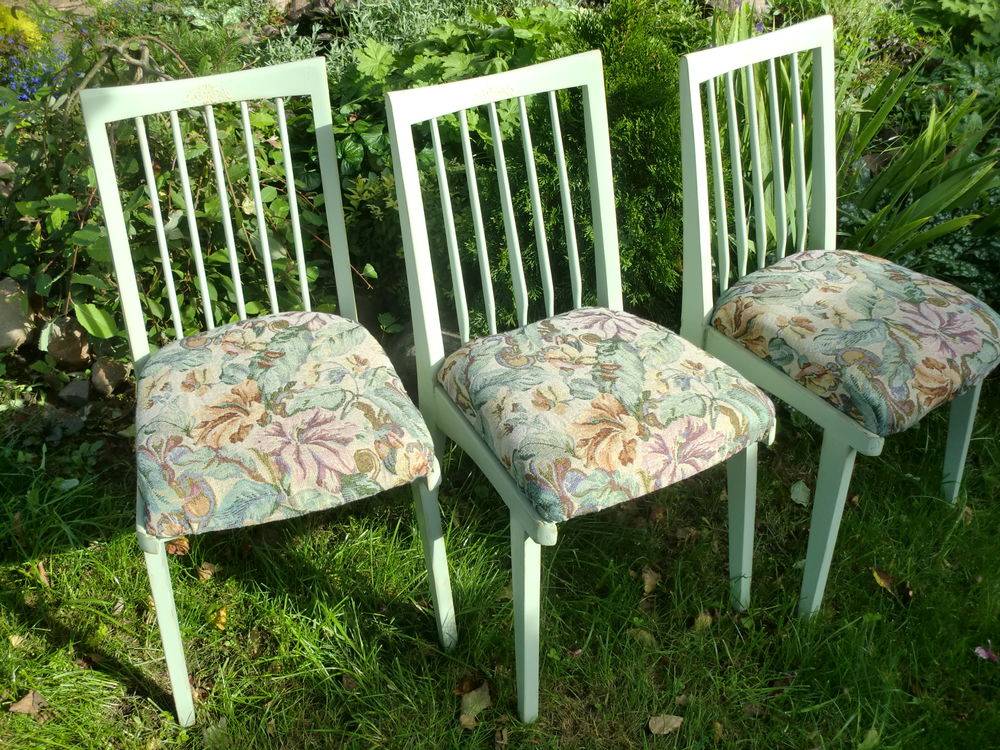
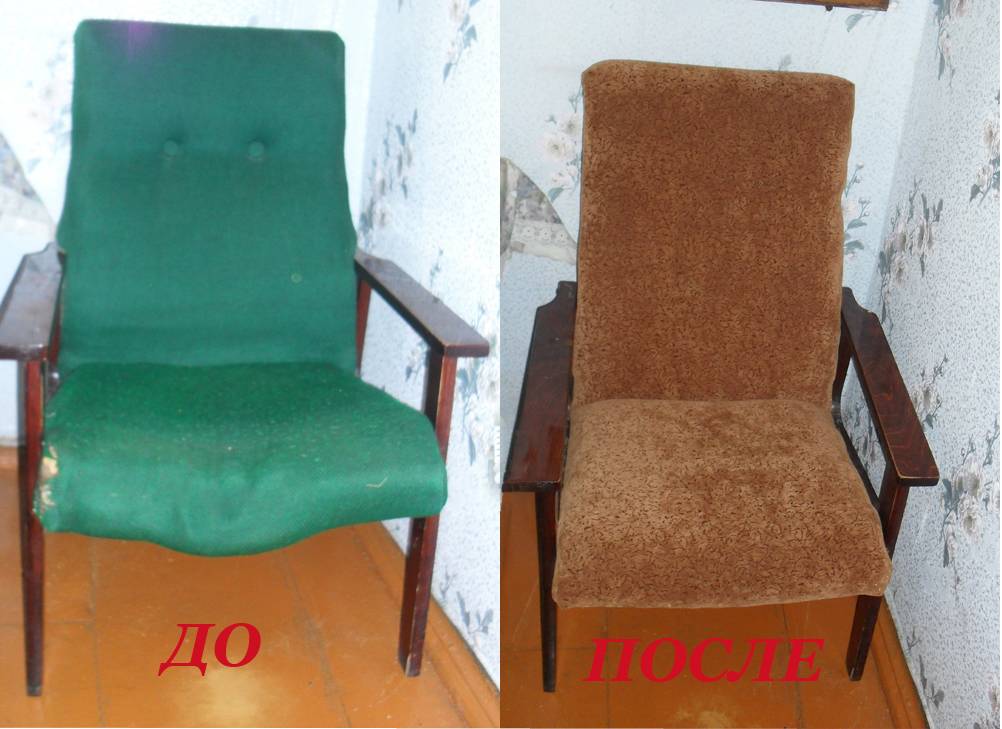
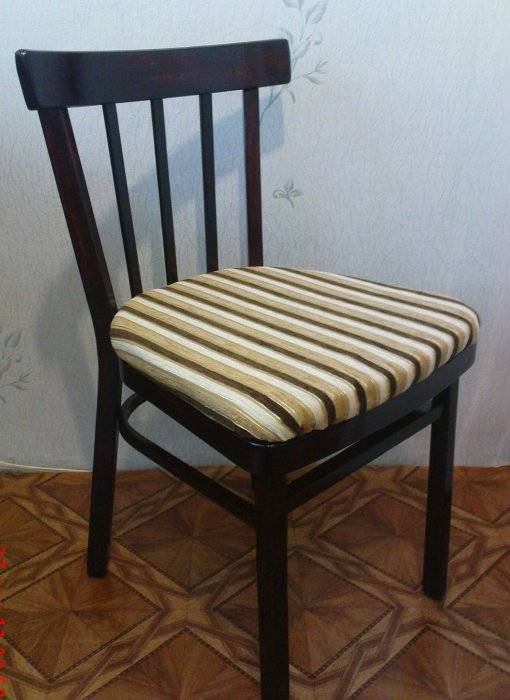
The main thing in this case is the choice of high-quality and durable fabric. These include jute, tapestry and jacquard. Sometimes velor will do. Upholstering chairs using tapestry is a great technique that, by the way, gives a great result in the end. By the way, you can add a pattern woven according to the macrame method to the fabric.
We use macrame for decoration
If we talk about macrame in a little more detail, then it should be noted that this can be done even if you do not have the skills of weaving with this method.
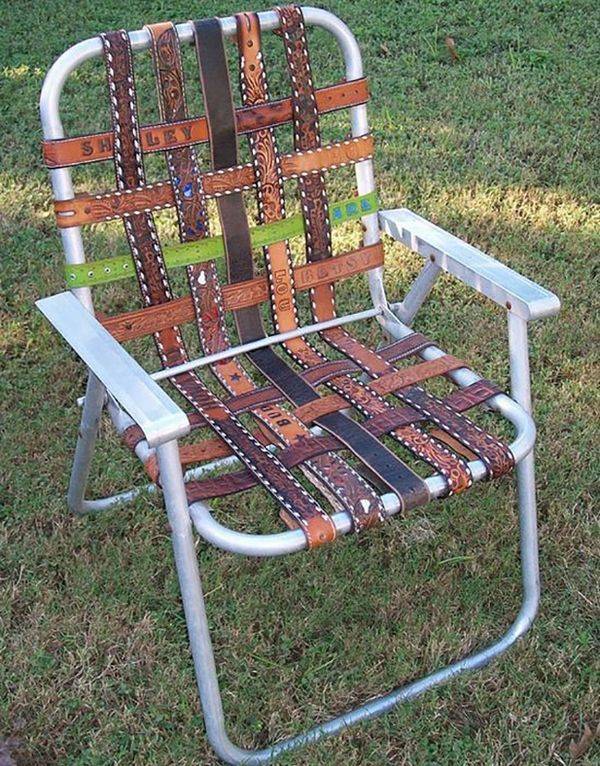
One possibility is that if the back of the old chair is soft, remove the upholstery and weave a simple square mesh. By the way, the size of the cells can be either large or small. To give the new chair a more harmonious look, you can also redo the seat upholstery.
Decoupage technique
This option can make a true decoration out of your chair. Using this method, you can decorate a lot of things by completing various crafts, up to decorating a box for souvenirs. So, you can extend the life of antique chairs, however, only if all their structural elements are made of wood.
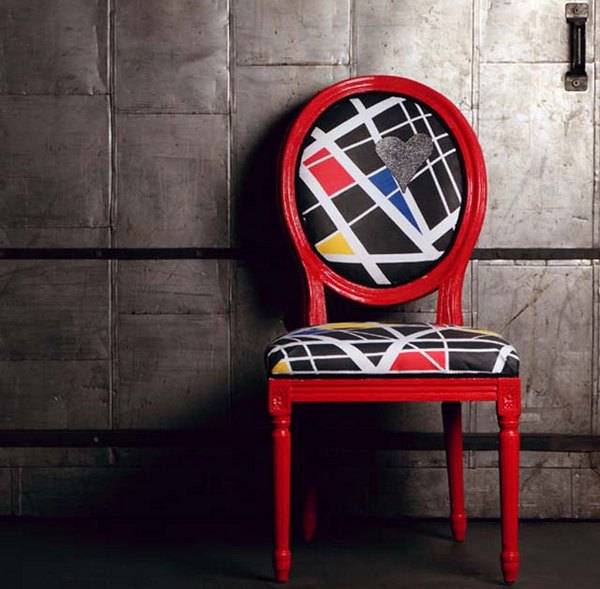
Jute decoration
And finally, I would like to say a few words about how you can decorate an old, for example, a Soviet chair, if you have unnecessary or torn jeans. There are two options for making the decor: completely pull the chair with jute, and use denim as an additional decoration. It can be a strip or a small flap.
Restoration of upholstery
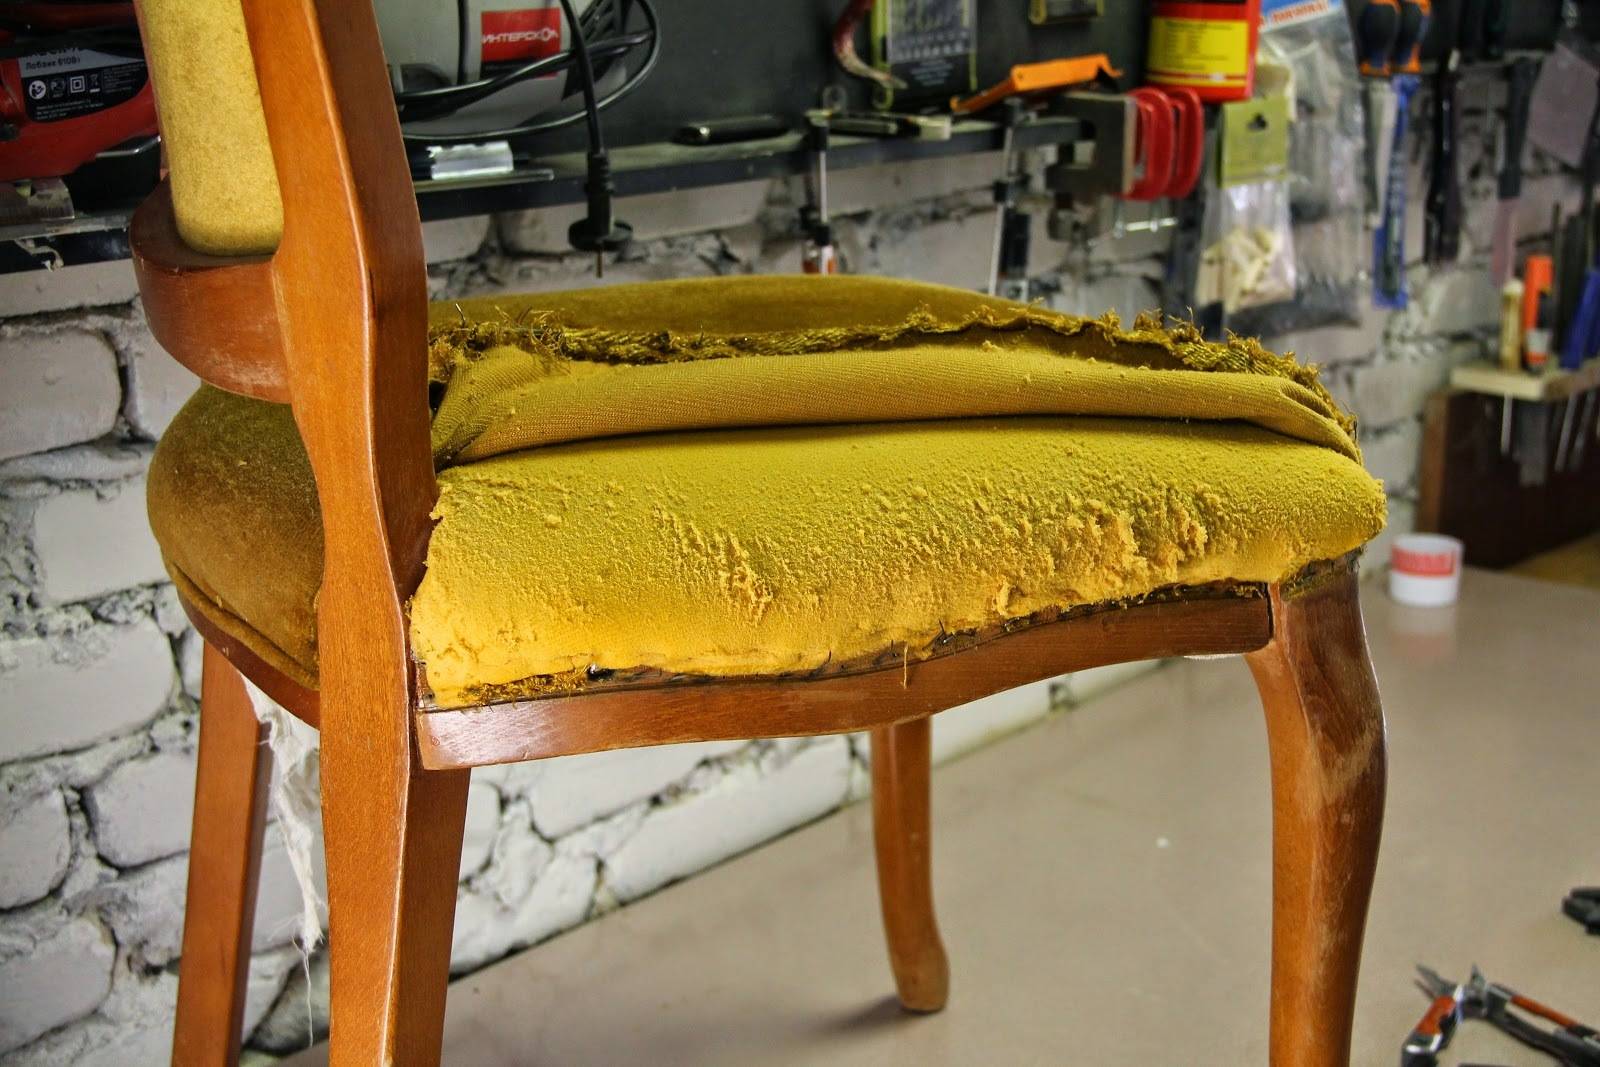
If you look at the chairs in concert halls, you will notice their perfect condition: the upholstery looks like new, despite the constant stress. Upholstery of upholstered furniture is its most important part. It is the upholstery that has an incredible load that makes it unusable. Over time, scuffs appear, torn parts of the fabric, soft filler crumples.
The easiest way to update the chair cover is:
- First of all, you will have to disassemble the chair and separate the old fabric from the seat;
- After making accurate measurements of the seat, you can go to the store for fabric. The size of the canvas should be approximately 20 cm larger than the size of the seat in all dimensions. If you change the upholstery on all chairs, you can choose a completely new color that matches the interior of the room. Choose a strong and durable fabric. In addition to upholstery, you will have to buy a soft filler, for example, a synthetic winterizer;
- The soft part is cut along the contour of the seat with a margin of a couple of centimeters;
- The synthetic winterizer is placed on the seat and covered with a cloth; it is attached with a stapler to the back of the seat;
- After fastening, close the wrong part of the upholstery with another piece of the same fabric. And collect the chair.
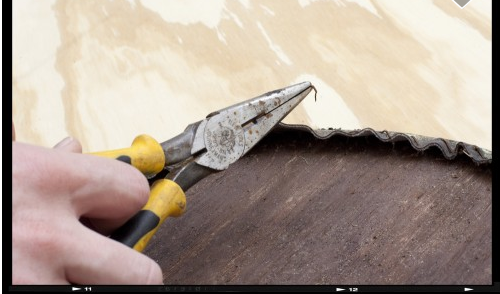 Removing the staples
 Pry off the old upholstery
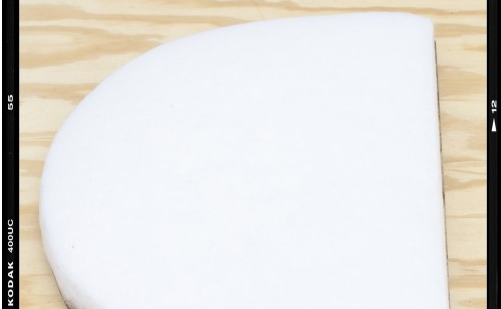 We fix the synthetic winterizer
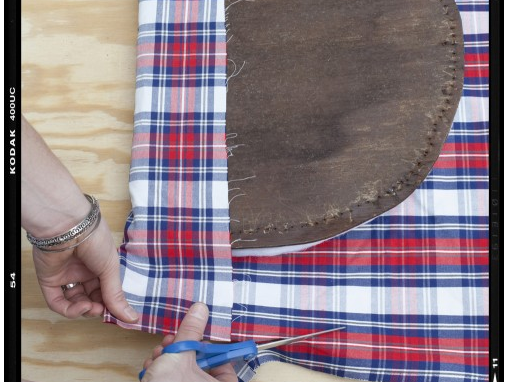 Cutting the fabric to size
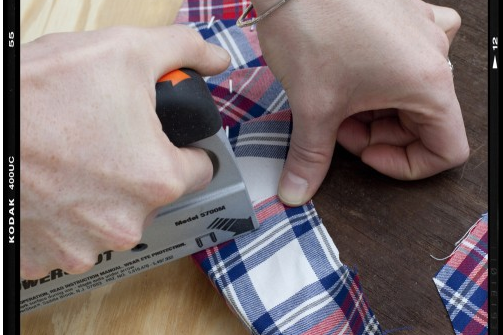 We fix the new upholstery with a stapler
Self-upgrade benefits
DIY furniture repair is actually not as difficult as it seems. If you have sufficient skills, and they will be acquired, accumulated and improved with every step, even a beginner in this business will be able to update the chair at home. According to experts, the main thing here is to act carefully and not deviate from the plan - in this case, the end result will impress the household. In addition, independent furniture hauling has an undeniable advantage - it will be much cheaper than contacting professionals or buying a new product. And if you show a little imagination and creativity and think in advance how to update an old chair with your own hands, change a design that has lost its trend or improve its shape, you can turn it into a completely new element of the environment.

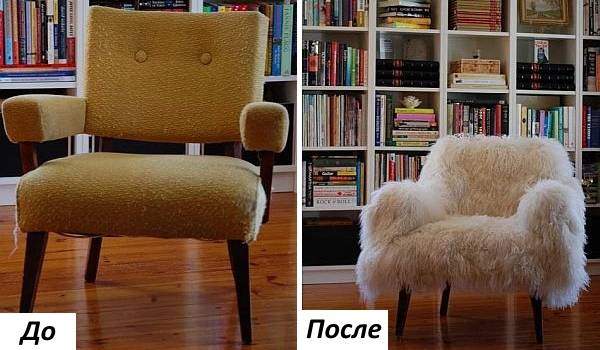

Dismantling old furniture
You shouldn't have any problems with pulling out the back and seat - you won't have to make much effort to do this. Most chairs are designed in such a way that these elements have a fairly simple connection. After that, you can begin to disassemble the chair frame. Here you need to do everything as carefully as possible so as not to damage the details. Therefore, we recommend using a mallet. Take your time, try to knock out the details carefully. If you notice that the connection is holding tight, then we advise you to leave it. It is still reliable and will serve you for years.
The easiest way to disassemble is a chair that uses screws and screws. But sometimes certain fasteners are difficult to unscrew. In this case, you should use technical oil. Try to remember which fasteners and where they stood so that during assembly you can return everything to its place.
Difficulties in dismantling
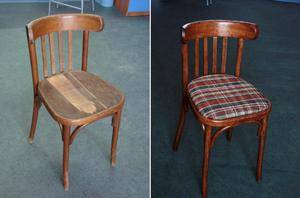 In some models, epoxy glue can be used to connect the elements. To make it easier for you to deal with it, use hot water, which will quickly soften the glue. Take a cloth or rag, soak it in hot water, and then place it over the bonding area and hold until the glue softens. Then you just have to remove it with a regular knife. After completing this operation, be sure to dry the wood.
Resin can give you certain difficulties. Here hot steam will come to your rescue. With it, you can soften the resin in a couple of minutes. To create a jet of hot steam at home, you need an ordinary kettle - put a rubber hose on its spout, after fixing a metal tip at the end. After completing this procedure, it is also necessary to thoroughly dry the wood.
Disassembly of the structure
The chair connection diagram is well known; it is not difficult to disassemble the structure yourself. First, the backrest and rear legs are unscrewed. The assembly of the chair takes place in the reverse order, then all the grooves will fall into place. If the chair is mounted on glued spikes, you need to melt the joints with hot water - for this, apply a hot wet cloth several times or use a steam generator.
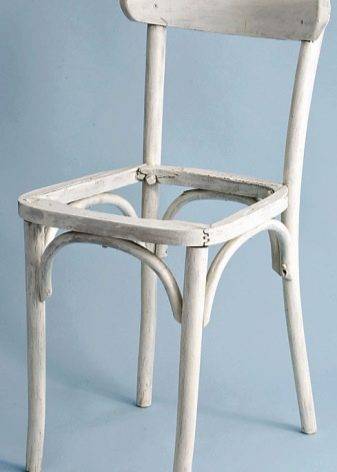
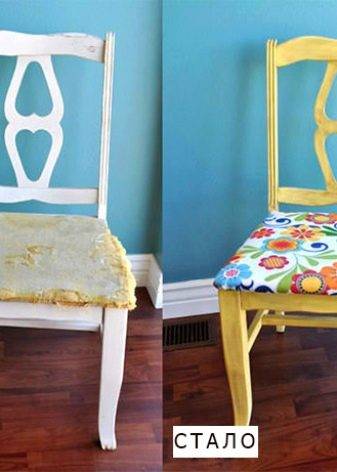
Found cracks are poured with a mixture of sawdust and glue or sealed and tightened to fix until dry. If the spike joints are damaged, new plugs are made to replace the old ones, and to strengthen the side joints, they use a spike-groove fastening and gluing. It is necessary to drill a thin hole to the thorn and pour glue into it with a syringe, fix it until it dries. If the legs are inserted into special grooves in the bottom of the chair and the chair staggers, then the legs are removed and the upper part is wedged, it becomes larger and fits more tightly into the groove.
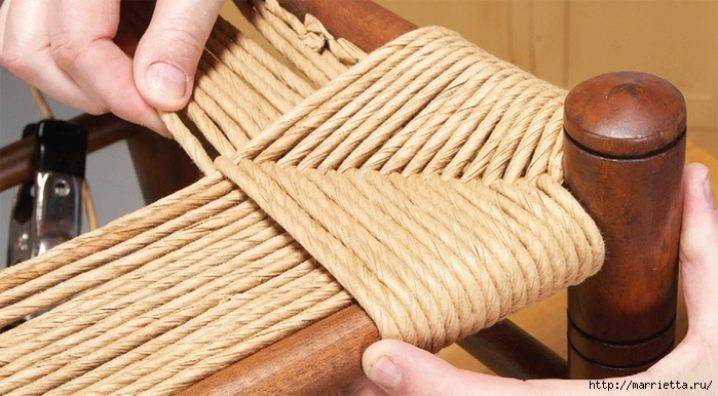
If the highchair is being updated, in addition to the above, it may be necessary to replace the hinges or the swivel mechanism for transformation. Most wooden highchairs are made up of a large number of parts to ensure the safety of the child. It's a good idea to glue them again with wood glue for strength.
When disassembling the folding chair, it is enough to remove the axle pins connecting the backrest and seat and unscrew the seat. Chairs on a metal frame are simply unscrewed, in models with cast frames, only the seat and the soft part of the back can be unscrewed for upholding.
The chair seat can be equipped with a spring block. The unit itself does not need to be dismantled and torn off from the base; if necessary, individual springs are replaced.
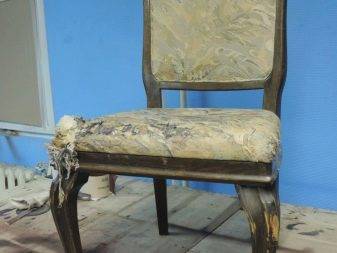
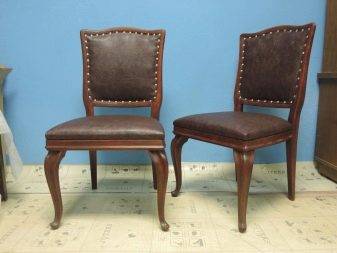
Vienna
To repair Viennese chairs yourself, you first need to assess their general condition. The amount of damage may vary depending on the operating conditions.
The most important damage that can be assessed at home is instability. This is due to the weakening of the spike joints. To bring the product to its normal state, it is necessary to increase the size of the spike, put the seals on the drawers and replace the power bars. After that, the paintwork is replaced and the seat is restored.
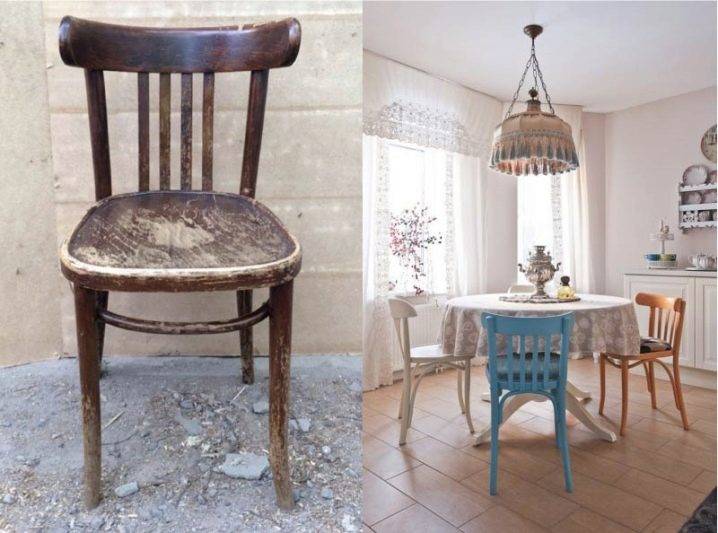
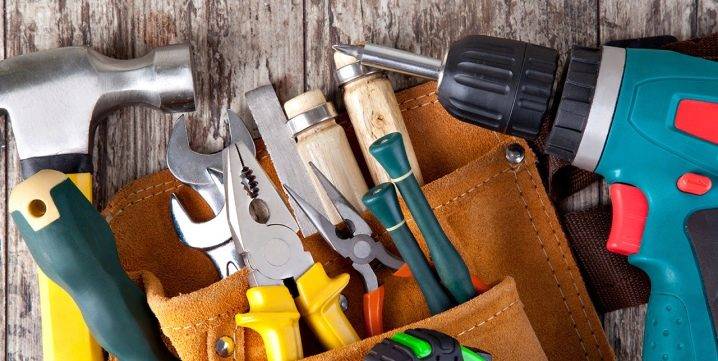
To restore an obsolete structure, you need to prepare the basic materials and tools. To work, you need to get a hammer, furniture stapler, self-tapping screw, paints and varnishes, solvent, brushes, glue, scissors, cloth and sandpaper.
The renovation process begins with cleaning all surfaces of the product from dirt and dust. After that, the analysis of the chair begins. First, remove the seat and back, which are usually held by screws. Then, step by step, the rest of the details are removed.
It is important to check the strength of all joints. If some attachment point does not hold well, then you should not disassemble it
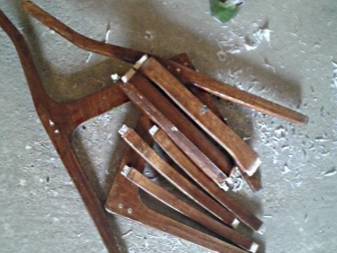
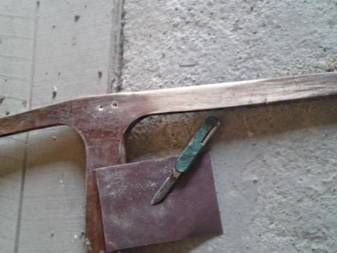
Disassembled elements must be replaced immediately so that no errors occur during the assembly process. All parts are smoothed with sandpaper in order to thoroughly clean them of old varnish. This is necessary so that after repainting the furniture, the new layer fits perfectly on the chair.
Next, be sure to inspect the places where the elements are glued. The top of the legs, which are attached in the grooves, must be wrapped in several layers of bandage, having smeared each layer with glue. If the leg wobbles very much, then a hole is made at the end, into which a small wedge is then driven in.Thus, the width of the end will increase, and the leg will firmly hold in the groove.
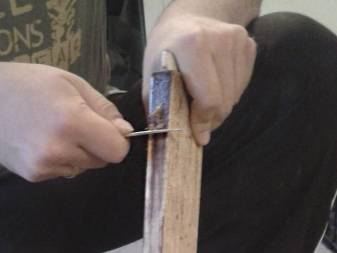
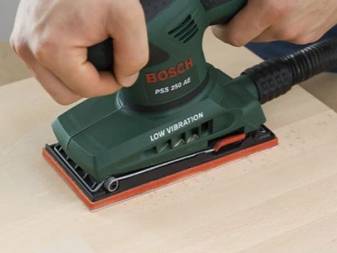
For side structures with a weakened seam on the inside, you need to make a hole, and use a syringe to inject an adhesive into it. You can also resort to greased matches and insert them into the socket when assembling the chair. In this case, the ends must be fitted with great accuracy so that there are no gaps between them and the tsars.
The assembly of the structure begins with the complete gluing of all spike joints. Excess glue must be removed with a napkin. The product dries for about a day, and for maximum fixation, you need to put some heavy object on the seat.
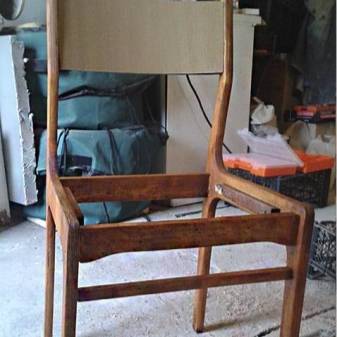
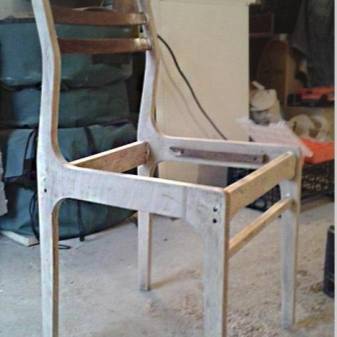
To renew the seat, you need to get rid of the worn-out upholstery and fix all surface imperfections. If it is necessary to change the foam rubber, then on the new foam rubber sheet you need to draw a markup and cut out the part. The fabric that the seat will be upholstered with should be larger than the resulting seat. It is placed close to the surface and secured with paper clips on the back side.
The chair itself can be decorated in the Provence style. To do this, all wooden parts are painted, and after drying, they are processed with a grinder.
How to make a chair
 Perhaps the easiest way, if you have a chainsaw and a grinder, is to make it using ordinary acacia hemp or another tree with a beautiful texture. It is done in the following way. A stump of a suitable size is cut off, the diameter of which will vary from 25 to 30 cm. You choose the height yourself, focusing on the one that will be comfortable for you. Height can be determined by measuring some home stool. After that, an incision is made with a chainsaw in the form of a cross, up to about half a hemp deep.
Then a small depression is made with an ax in the middle of the hemp and a small amount of combustible material is poured into it - gasoline or diesel fuel
During the combustion process, the inside of the stool will burn out, it is important to monitor this process and prevent the legs from leaking out. The legs must be at least five centimeters thick at the base and expand towards the seat
All burnt wood is scraped off with an ax or knife and polished with a grinder. A special nozzle in the form of a brush with coarse bristles is put on it.
After cleaning the inner surface, using a grinder and a grinding disc, the edges of the legs and the seat are processed along the entire circumference. Then it is painted with stain diluted to the desired shade and, after drying, varnish.
Stool
To make a simple stool you need very little time and a minimum set of tools. Of these you will need:
- board with a section of 20 millimeters;
- screwdriver or Phillips screwdriver;
- semicircular router or coarse sandpaper;
- electric jigsaw;
- pencil;
- self-tapping screws;
- set of drills;
- varnish and brush;
- Sander.
The diagram below shows with a dotted line the shape of the leg, which you need to cut out in the amount of four pieces, as well as the required dimensions for the board. The form can be different, here it is shown as an example.
Important: The base at the leg must be flat to give the stool stability.

After marking the workpiece, cut with a jigsaw strictly along the line. In the future, the resulting leg can be used as a model by simply applying it to the material, tracing and cutting. When all four legs are cut off, we start processing them. You can clean the edges with a semicircular router, but if you don't have one, use regular sandpaper. True, it will take a little longer. For a stool seat, a board of the same section in the form of a square with a side of 320 mm is required. The edges of the seat need to be smoothed and made semicircular. The workpiece is also cleaned from all sides with a grinder.
Then, when all four legs and the seat of the stool are ready, provided that they are well finished with sandpaper, you can start connecting all four legs. First, we drill two holes in each leg in the upper part. The drill must be used with a slightly smaller diameter than the self-tapping screw, otherwise it will not hold. Then a small indentation is made with a drill of a larger diameter, so that when the screw is screwed in, its cap is drowned and it can be safely primed in the future.
An approximate connection diagram is shown in the figure below, for this you need to attach one leg perpendicular to the other and connect with self-tapping screws.

In the same way, we connect the other two legs and fasten them to the rest. Such a connection is very reliable, since four screws hold one leg. When all four legs are connected, we apply the entire fastened structure to the stool cover and mark its contours with a pencil in order to know where to screw the screws when connecting the seat with the legs. We make holes on the outside of the seat, not forgetting about a small hole with a larger diameter to hide the caps of the screws. After tightening all the screws, it remains only to clean out the places in which there were connections and cover the entire surface of the stool with varnish and stain (if desired).
Required tools and consumables
To repair wooden chairs, you must first prepare tools and materials. The list depends on what exactly the master plans to do. To completely restore an old chair, you will need:
- Acetone, alcohol, remover, degreaser - to remove old varnish.
- Furniture foam rubber. The classical hauling of chairs or stools involves the use of a thick variety 5-10 cm wide and 2-3 cm thin.
- Construction stapler. Strong staples hold the upholstery fabric to the furniture frame.
- Stain, primer, varnish. Liquid formulations will give the product a specific color.
- Paint brushes. They can be with synthetic or natural bristles.
- Plywood sheet. If the restoration of the chair requires replacement of the seat, a 4-ply material is used.
- Moment wood glue. It is a quick-drying material that perfectly holds the elements together and does not delay the repair process.
- Clamping devices - clamps. They free both hands and fix the repaired items in a certain position.
- Upholstery material - required at the final stage of restoration. The size depends on the dimensions of the chair itself.
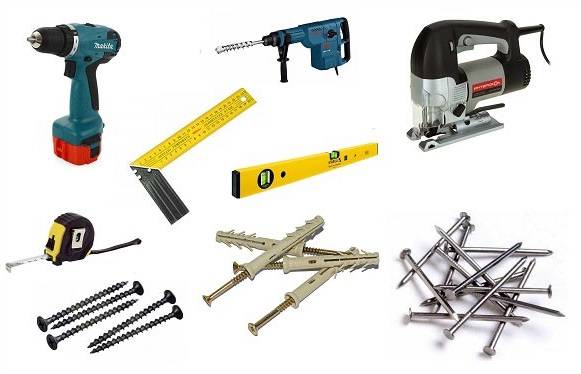
- Hammer, mallet, electric drill, electric jigsaw, screwdriver.
- Fasteners: screws, corners.
As for sandpaper, it is chosen depending on the stage of work. For the initial processing of a wooden chair, a material of grain size P40-P60 is used, and to prepare a product for painting, decorating, you will need a skin marked P150-P180 or less. For interlayer cleaning of varnish or paint surfaces, a type of P220-P360 sandpaper is used.


Step-by-step instructions for stool recovery
Correct home stool restoration includes the following operations:
- Prepare the tools and materials needed for the job.
- Clean and wash all parts of the product from dust and dirt.
- Dry the piece of furniture thoroughly.
- Disassemble the product.
- Repair wooden elements: legs and frame.
- Sand hard parts.
- Assemble the frame.
- Cover the tree with paints and varnishes.
- Decorate with fabric, ribbons, jute rope.
If you need to turn a hard chair into a comfortable one, then, while the wood parts are drying, a comfortable seat is made or its constriction is performed. Then the soft elements of the furniture are connected with its frame.
Disassembling the chair
To make it easier to repair an old piece of furniture, it is taken apart. Screws or screws holding the frame to the seat are unscrewed with a screwdriver.If the fastener is difficult to turn, it is lubricated with a small amount of vegetable oil. The wooden parts, connected by the thorn-groove method, are gently loosened to make it easier to disassemble the chair. The glued elements are separated by placing a rag soaked in hot water on the joints. The procedure is repeated several times. Soon the glue will soften, and then the product can be disassembled.
Chair frame restoration
Since you want to restore the frame with high quality, you should carefully examine all its parts for defects. The holes cut by the beetles can be masked with wood glue, to which sawdust is added. Cracks are poured with the same material and tightened with clamps. Excess adhesive can be easily removed with a damp cloth.
If the part is loosened, then in that part of it that enters the hole, make a small cut or cut and drive a thin wedge into it - now the elements will connect tightly.
Making a new seat
An important part of the chair is the seat. When it is badly damaged, it should be replaced with a new one.
For this purpose, a sheet of plywood is suitable, to which an old part is applied and outlined with a marker. Then the workpiece is cut along the line with an electric jigsaw. After that, the foam rubber is prepared. From above it is closed with a thick cloth and fixed on the seat with staples.
Assembling the chair
After 2 days, when the glue is dry, you need to sand the elements and start assembling them. Parts of an interior item are glued together with a joiner's composition. The legs can be strengthened with crossbars for strength, connecting the elements with nails or self-tapping screws. A soft part with plywood is superimposed on the frame and fixed to the chair with fasteners.
Decor
In accordance with the owner's idea, the interior item is decorated with a cover, fabric or ribbons, decorated using decoupage technique or covered with coloring compounds. A decorative cord is glued along the edge of the connection between the seat and the frame, thanks to which the fastening brackets and screws become invisible.
Conclusion
In this review, we have outlined the most general points. You can find more information on the Internet or read specific restoration books. I would like to note - there is no limit to perfection! Each master learns and improves his skills throughout his life. Maybe not right away, but everything will work out.

Take a photo of the furniture before and after the restoration, compare the result - we are sure that you will experience the pleasure of your work, and if something did not work out right away - do not despair, skills develop over time, maybe tomorrow you can do what today seemed impossible.


