Repair of frame framing
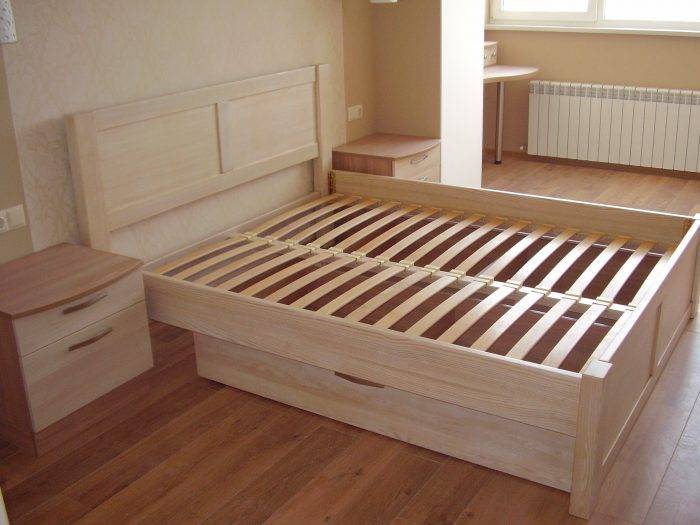
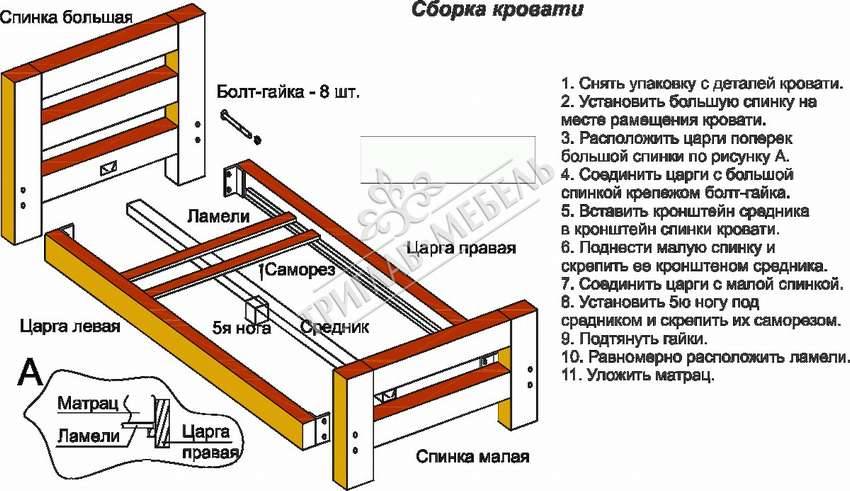
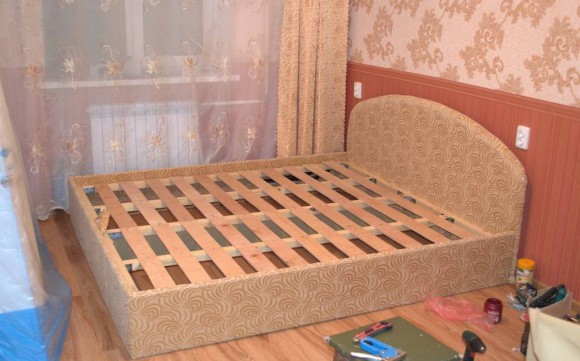
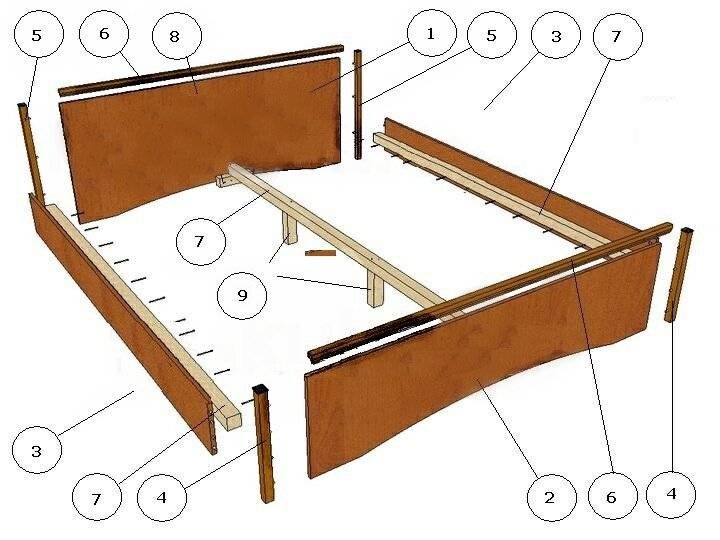
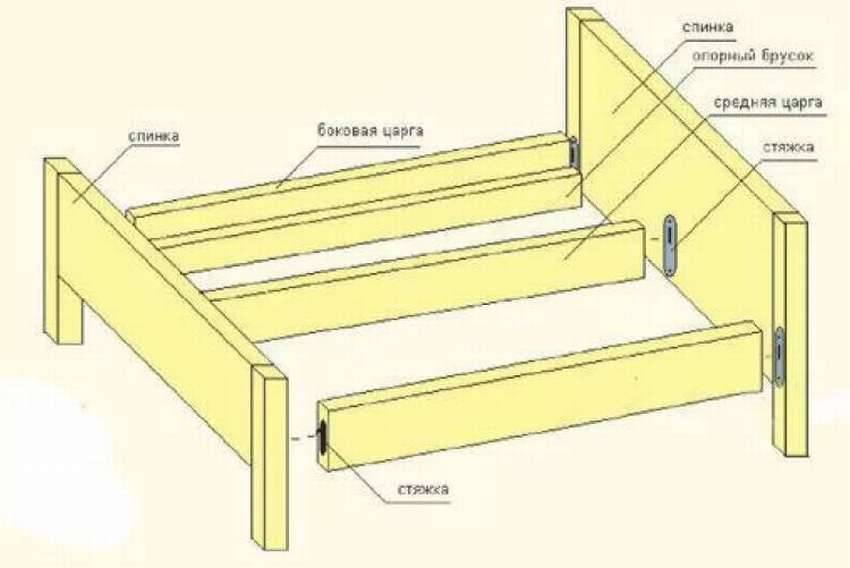
The frame frame consists of the front and rear backrests and side elements, or crossbars. Its task is to provide an aesthetic component, that is, to add a beautiful appearance to the rich functionality of the bed.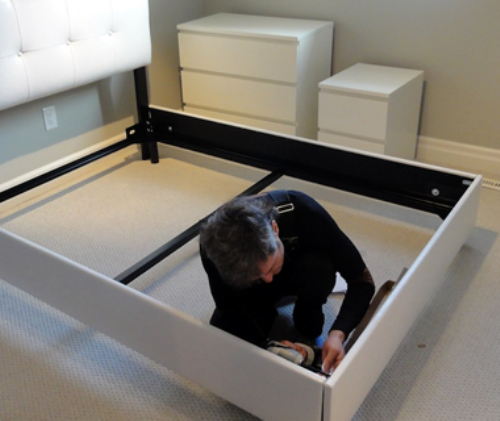
Most often, over time, the bolts tightening the backs and crossbars loosen, the fastening is loosened, the wood wears out. As a result, the side components pop out, the backs fall off. Due to wear and tear, in most cases, it is not possible to connect the sidewalls and backrests in the old place, and more thorough repairs have to be carried out.
This is done very simply. At the end of the cross member we drill three holes, one above the other. We insert connecting spikes (plastic or wooden) into the outer ones, we leave the middle one for the tie bolt. The diameter of the bolt should be slightly smaller than the hole for it. Now we turn to the side of the cross member. At a distance of about 40 mm from the end, we make a hole about 30 mm in diameter, exactly above the place where the tightening bolt will pass. A clamping boss or eccentric is inserted into this hole, through which the bolt is inserted.
From the seamy side of the sidewall, we drill two holes for the guide pins and one for the metal case, which we screw or press into this hole. We screw the tightening bolt into the shoe. The backrest and cross member are connected.
In some cases, it is enough to insert the dropped foot into its original place. For this you will need:
- or a small wooden barrel, which is inserted into the loose hole from under the footboard and into which a new hole is drilled;
- or thread and glue on wood, which will help to reliably glue the footwear to the old place.
Chips
For kitchen facades, it is advisable to use furniture repair wax. The substance will help fix chips and cracks on the surface. For easy application, use wax crayons. Repair instructions with wax:
- Selection of the required color. To repair chipboard furniture, purchase a wax crayon of a suitable shade in specialized stores. If the store does not have the desired color, then mix the adjacent shades. To do this, you will have to take shavings from two pencils, mix and melt in a metal bowl. When choosing proportions, achieve the desired shade. After that, minor furniture repairs will not cause difficulties;
- To repair chipboard furniture with your own hands, you need to clean the surface. This is done with sandpaper and a blade to gently cut away loose pieces;
- When applying a pencil to furniture, you will have to melt it, but not with an open flame. The beeswax, which is part of the composition, is to blame, the pencil will simply light up. A heated metal object is used for melting. A knife is perfect for this. It is heated over a flame and the pencil is melted, after which they continue to repair the veneer on the furniture;
- A chip or crack with a slight excess is filled with molten wax;
- After the composition has dried, its excess is removed with a blade;
- Wait until the mixture is completely dry and polish the surface;
- Polished surfaces are varnished to secure repairs and extend the life of the furniture.
The repair is easy enough, but the repaired chipboard furniture must still be protected from further damage. To prevent them, cover the furniture during repairs with plastic foil and secure it with tape. This prevents stains and dust from penetrating the surface of the furniture.
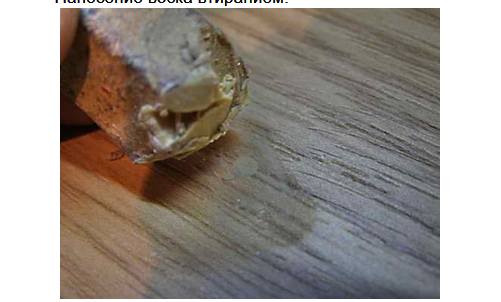 Apply wax
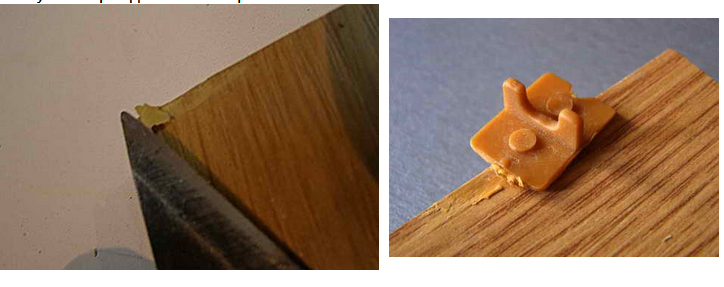 Removing excess wax
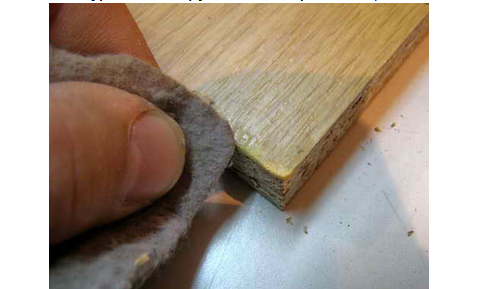 We polish the coating
Restoration of light scuffs and scratches
If the furniture products have partially retained their original appearance, but scratches have formed on a small surface area, do not throw the item away. In this situation, it will not be difficult to restore the structure of the coating. You can do the necessary work with your own hands, using home tools and buying the necessary tools from the hardware store. Below are several options for how you can restore scuffed furniture coverings from different materials:
- Varnished wood - a special putty stick is used to restore the surface. It is sold in hardware stores and is very easy to use. It is necessary to apply the product to the problem area, and then carefully remove the excess nodules. To keep the product well on the tree, use a sanding pad: gently rub the substance inside with circular soft movements;
- Wood of light colors, treated with oil - when restoring old furniture with your own hands, you should use similar oil compositions. To begin with, the surface is lightly sanded, after which the product is applied using linen or other natural material. Lightly rub the oil with a cloth, evenly distributing it over the coating;
- Other materials - it is unlikely that it will be possible to visually remove scratches from the metal parts of the furniture: the way out is to paint the surface. It is also better to paint over plastic elements.
For wood, substances such as putty are often used - it is produced in liquid form and applied to the cleaned surface with a spatula. In addition, folk remedies used at home are widely used: walnuts, honey, colored pencils. In order not to additionally spoil the old furniture with means, check the effectiveness of the method in advance on an inconspicuous area of the product.
Walnut for scratch removal
Butter
Using a special pencil
The main reasons for the appearance of a squeak on the floor
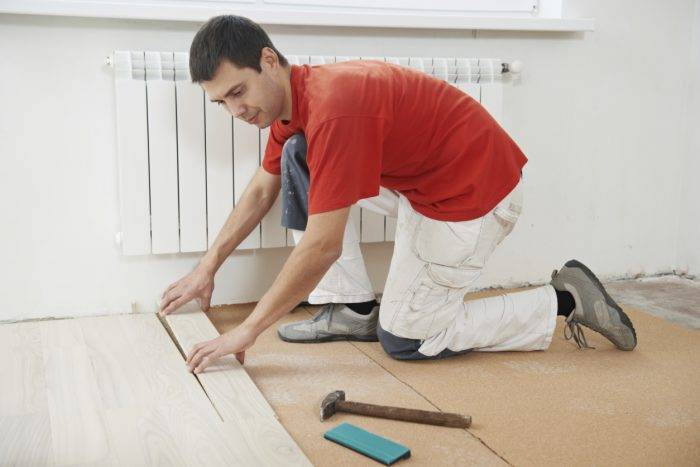
Wood is considered a fairly durable material, but extremely sensitive to changes in the external environment. After a certain time, the parquet floor begins to emit an unpleasant creak. There are many reasons for this:
- incorrect laying of the coating;
- sub-floor defect;
- the use of a cushioning pad that is too thin;
- defect in parquet beams.
Errors when laying parquet
Failure to comply with parquet laying technology is considered the most common cause of parquet squeak. Usually, this is caused by the absence of expansion joints, namely, a small gap, the distance between the wall and the parquet. Among the most common mistakes when laying parquet flooring should be highlighted:
Uneven base. Most often, a cement screed is used for the subfloor.
Before laying it, it is important to ensure that the floor is carefully leveled, and all debris must be removed from the surface.
Defects of crossbeams and their location. This is the frame of the future floor, so the logs must be strong.
They require careful installation.
Lack of vapor barrier. It protects the wood from the harmful effects of condensation. It is laid between the screed and the substrate.
Missing backing or using the wrong backing material. Intermediate material is used to avoid contact of the floor covering with the floor. Otherwise, you will be annoyed by an unpleasant crunch, constant creaking or other extraneous sounds. The use of a thick backing can lead to backlash, the locks of the parquet board are not designed for such a load.
Drying or swelling of the parquet board from high humidity. Damp or dry boards will deform on their own. Therefore, when buying flooring material, it is important to monitor the quality of the packaging.
Failure to comply with the required humidity conditions in the room. The tree tends to change shape over time under the influence of temperature changes and moisture. This can cause parquet planks to increase or decrease in size. If during the installation of the flooring you do not leave gaps or make them too small, then the parquet, swollen from moisture, will start to rest against the wall. This will cause an unpleasant squeaking sound whenever you apply pressure to the floor covering.
Laying in violation of the basic requirements for the formation of the structure. Often this includes too large a distance between the elements, rare fasteners, poor-quality support, lack of waterproofing. To correct this error, it is necessary to completely dismantle the floor and look for the causes of the squeak.
Parquet flooring with end latches can also cause creaking. In the process of laying, the rows of such parquet are displaced due to the snapping of the locks. As a result, the planks start to rest against the wall and make an unpleasant sound.
Wood properties

Parquet is not suitable for every room. Often it starts to creak due to the wrong type of wood. So, for example, if you plan to lay the material in a room with high humidity, then it is recommended to choose larch or ash.
If it is planned to install a heating system under the covering, it is highly undesirable to use beech or maple for these purposes, since such wood is most actively deformed. According to the manufacturers themselves, this is the most common reason why parquet floor creaks in an apartment. You should also monitor the level of humidity. In winter, when the heating is on, the moisture level in the room decreases, the planks dry out and begin to squeak. In this case, you should use special humidifiers.
Parquet wear
Over time, any coating gets old and requires replacement or restoration. As a result of long-term use of parquet:
- wooden planks dry out and twist, support beams and plywood are destroyed;
- the lining material sags;
- the elements of the old parquet are peeling off;
- fasteners of nails, hairpins, self-tapping screws loosen and fall out.
Manufacturing process
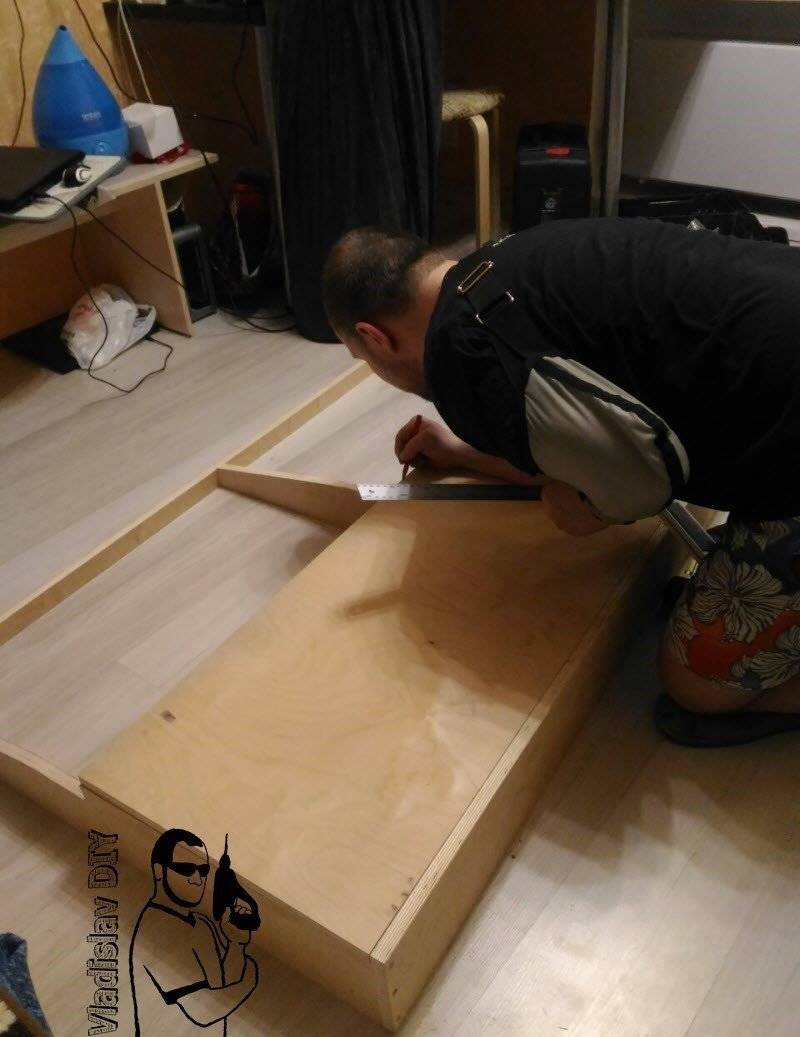
After acquiring the required materials and preparing the tools, you should start applying the markings and further sawing them. It is recommended that you adhere to the following rules in this process.
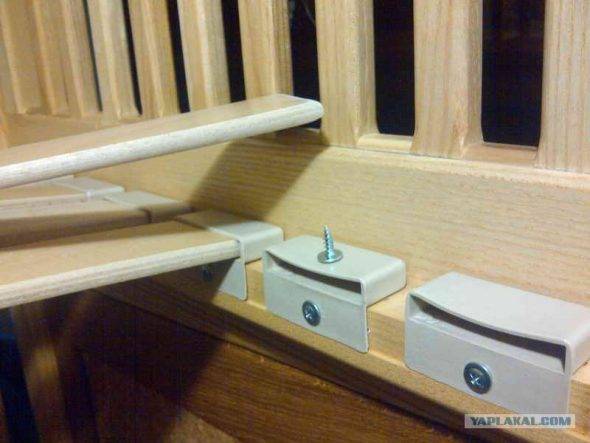
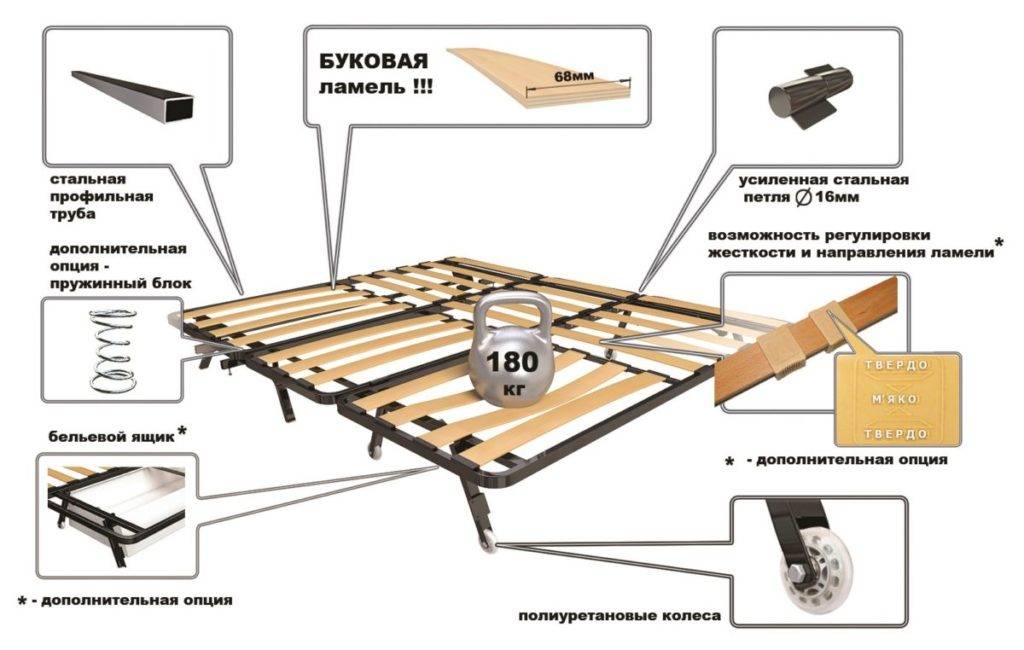
Ideal method for fastening lamellas with metal fasteners.
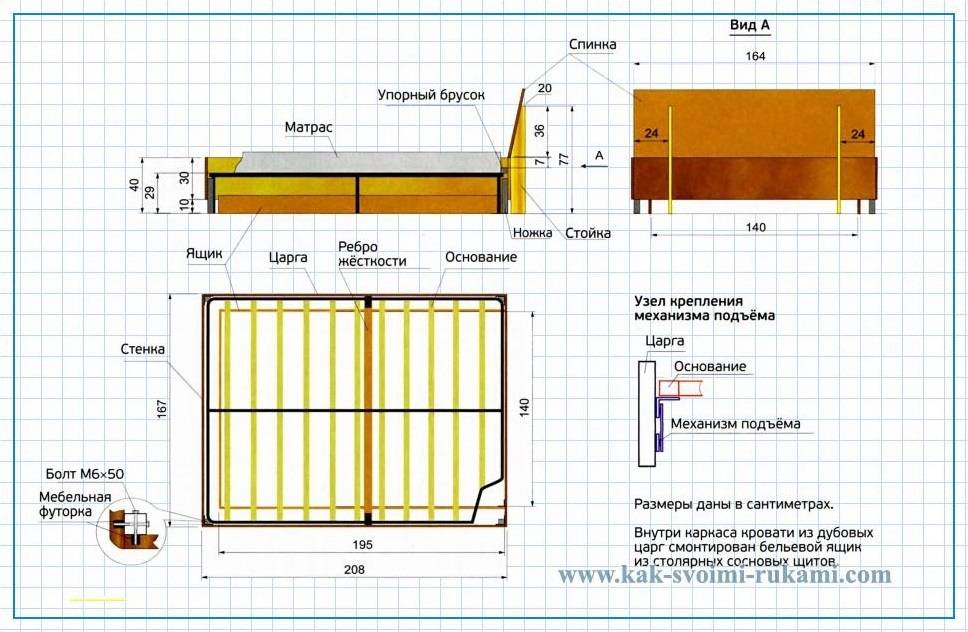
- Complete a detailed drawing of the future bed, indicating all the exact parameters.
- Write a list of all the parts you need for the item. Indicate how much material is required for each of them.
- It is recommended to make markings in places of future cuts using a cutter or pencil and always a ruler.
- Making parts identical in parameters in several copies, one should be made and left as a template. This will make the process easier and faster.
- Places of cuts must be cleaned with sandpaper.
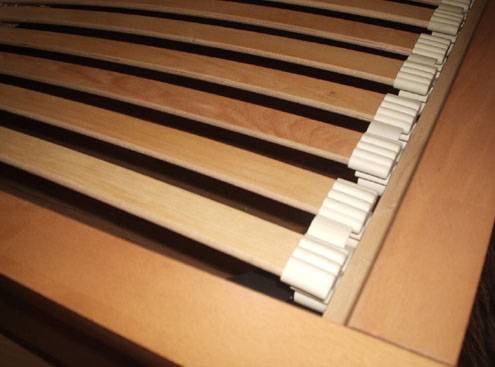
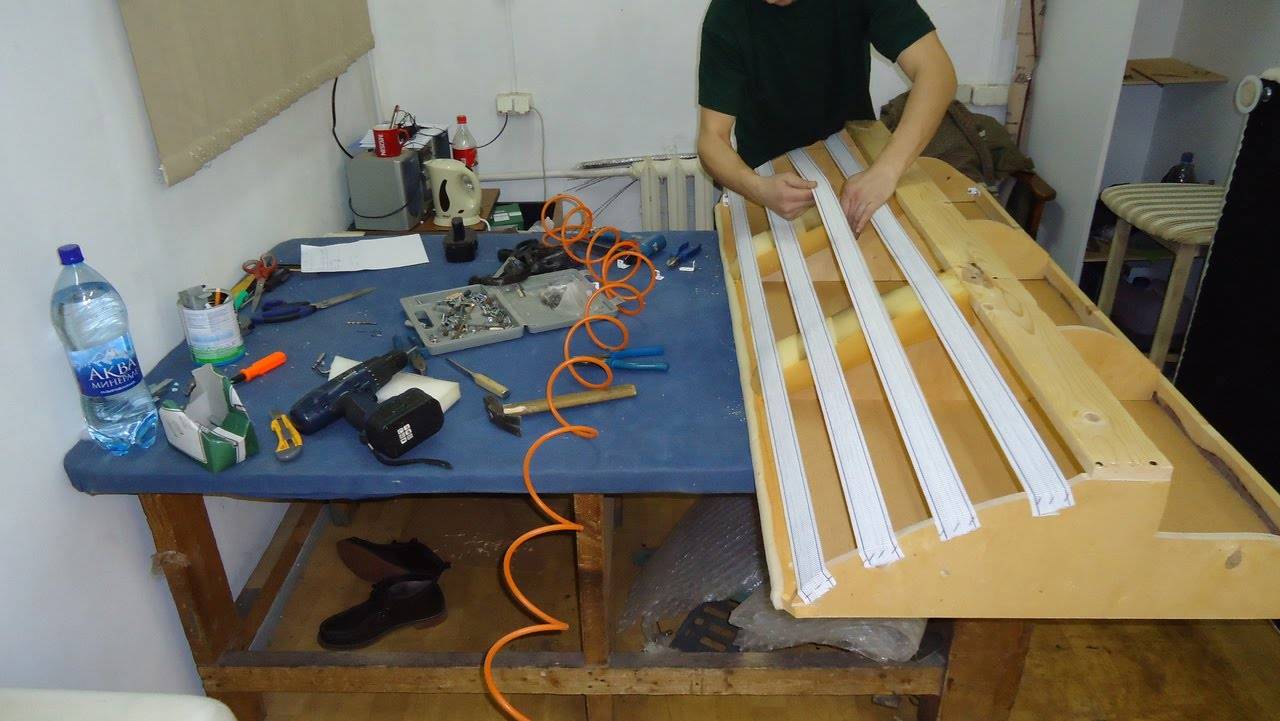
Ortho-frame for baby cot
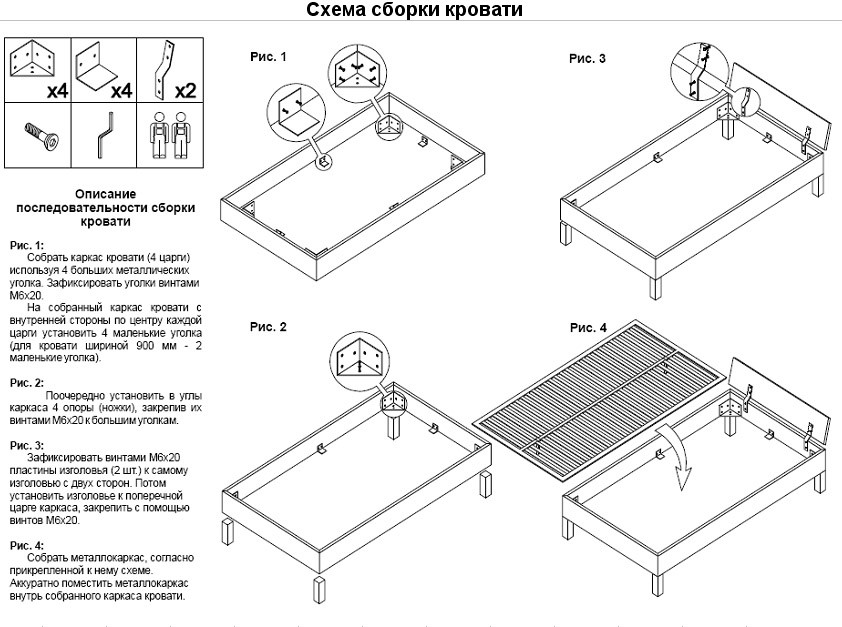
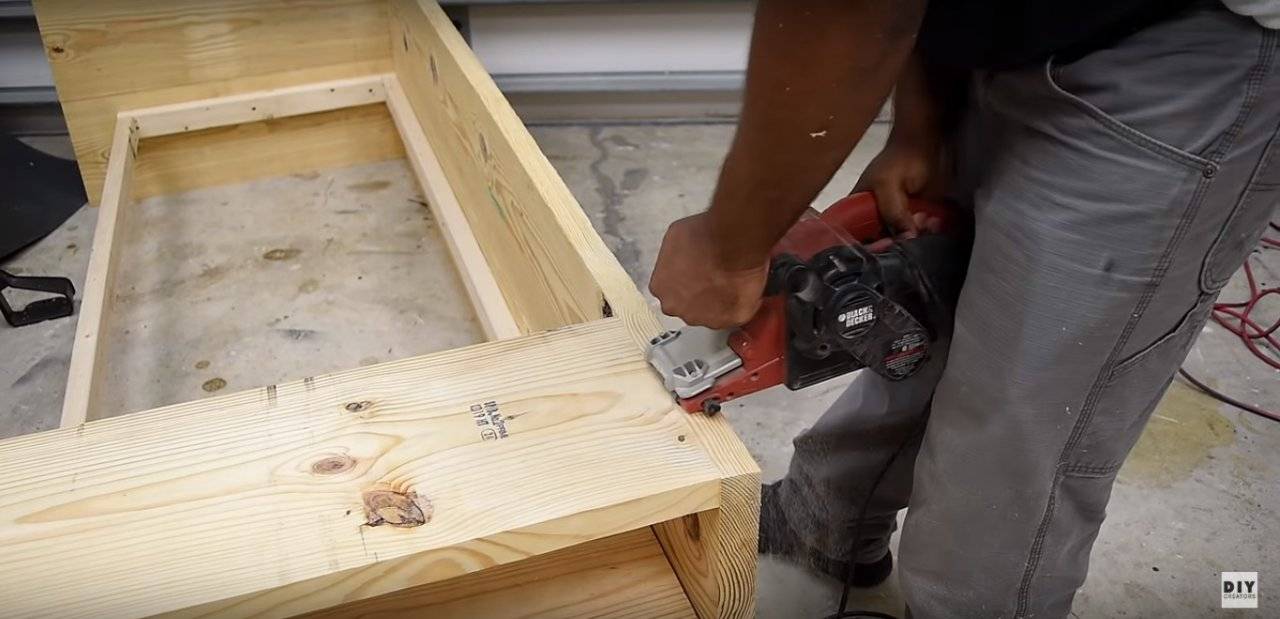
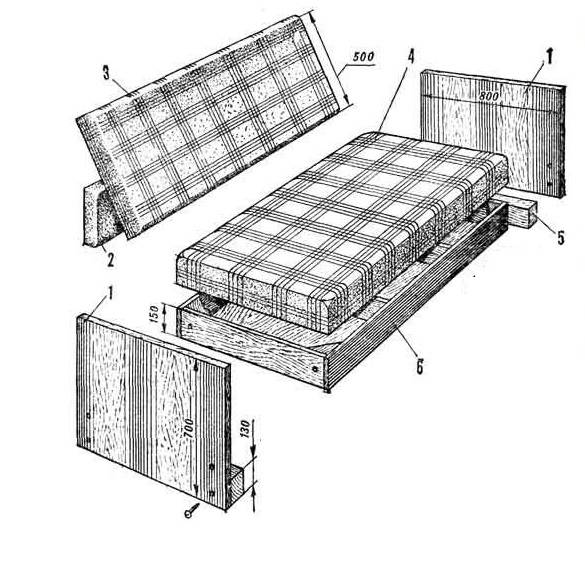
After applying the marks, you can proceed to the construction of the frame.
It is recommended to start assembly by measuring the parameters of the mattress that will be used on this bed. It fits freely into the frame of the frame.
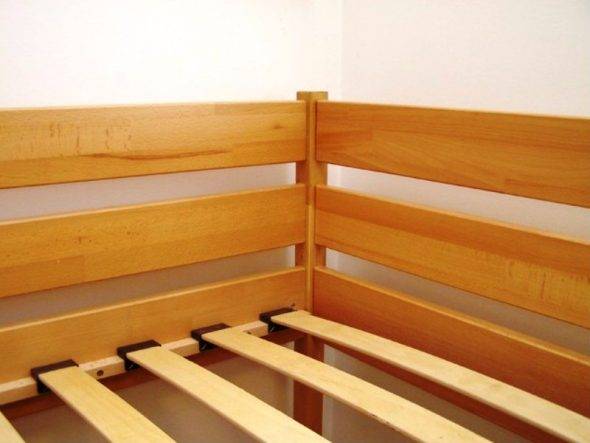
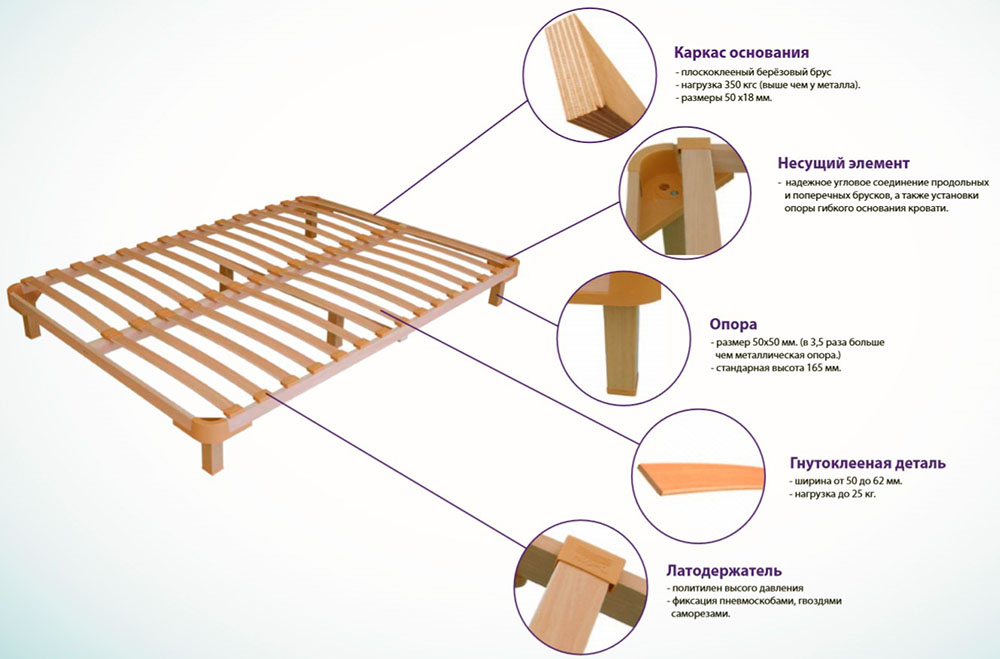
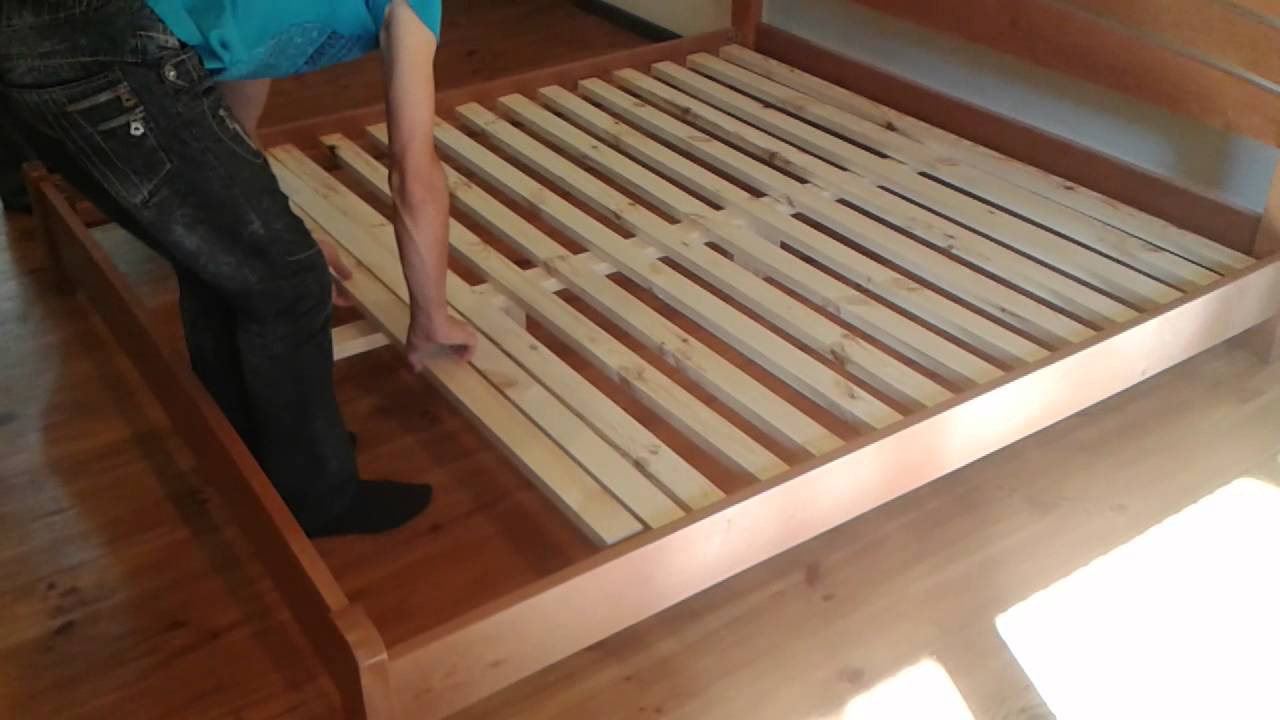
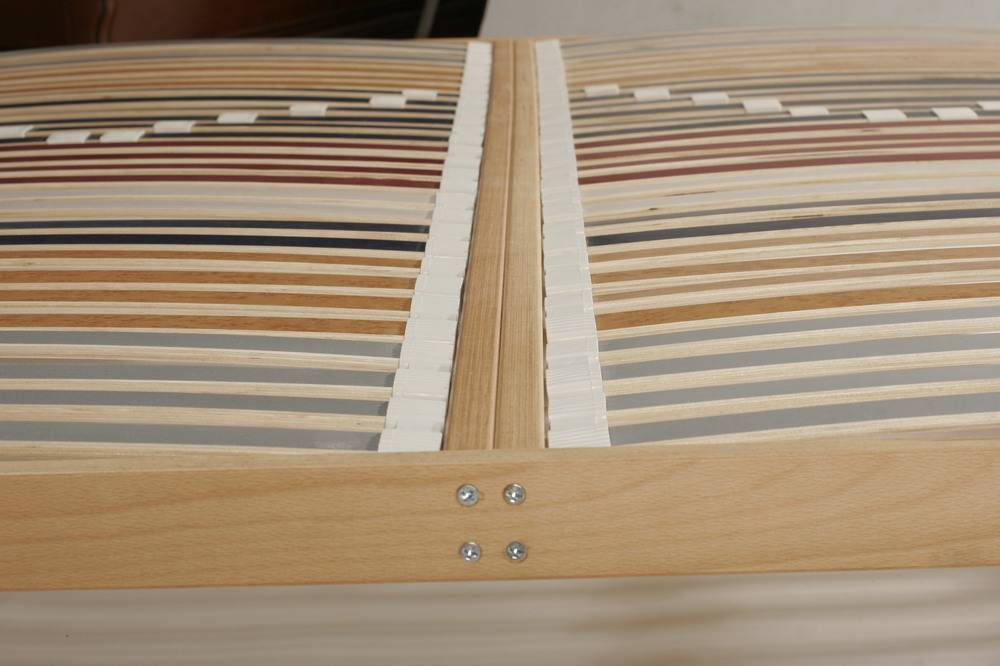
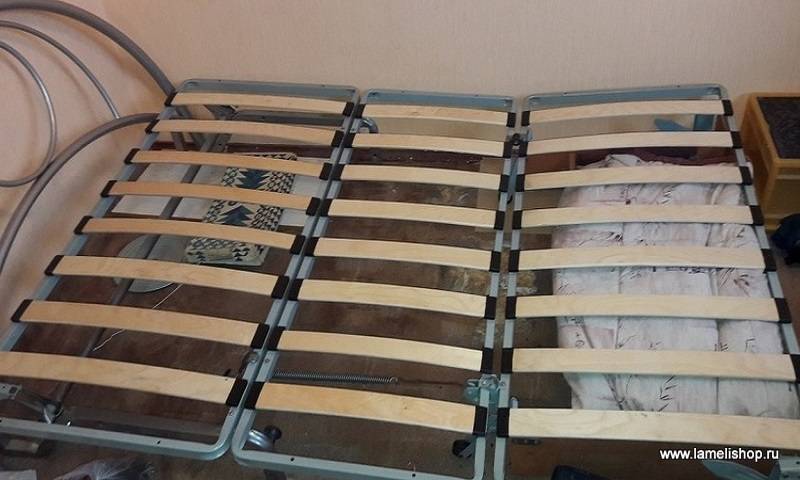
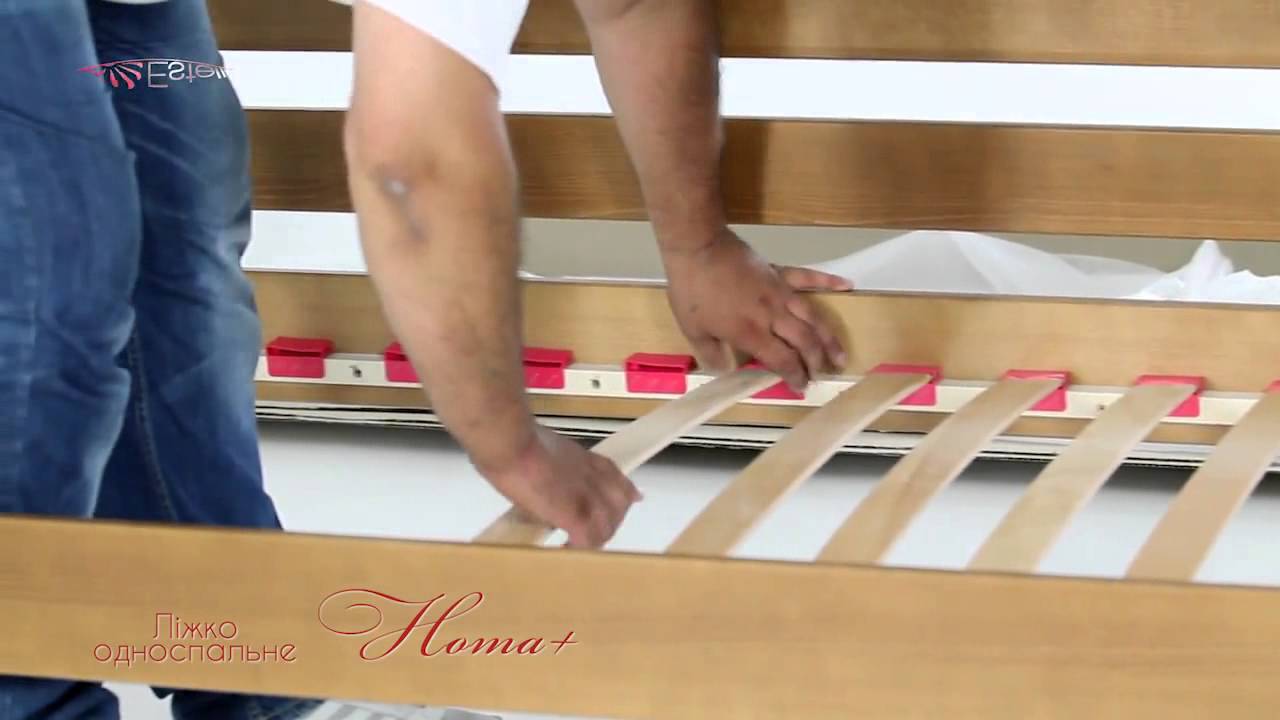
Slats are increasingly being used for the perfect and durable bed base.
Using the removed parameters, saw off 2 end and long boards, which will become the sidewalls.
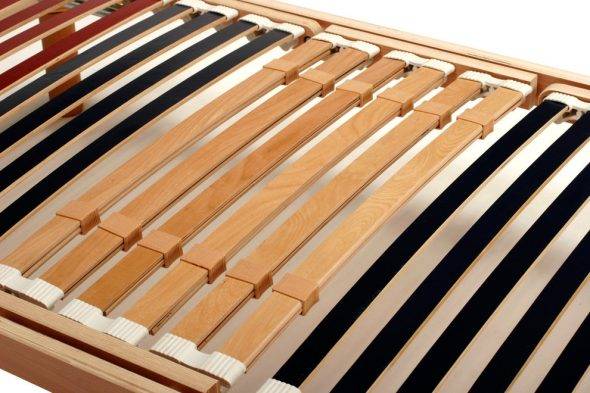
Reinforced slat block for high-quality bed bases with a high degree of stress.
Assemble the resulting pieces into a rectangle. To fasten them together, you can use wooden spikes or eyelets. Cut the holes with a jigsaw. Can be hollowed out with a chisel.
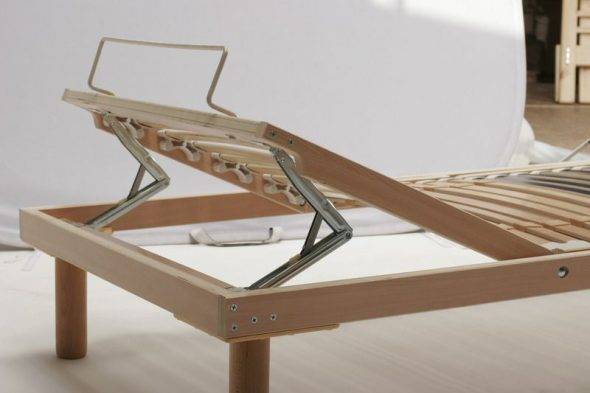
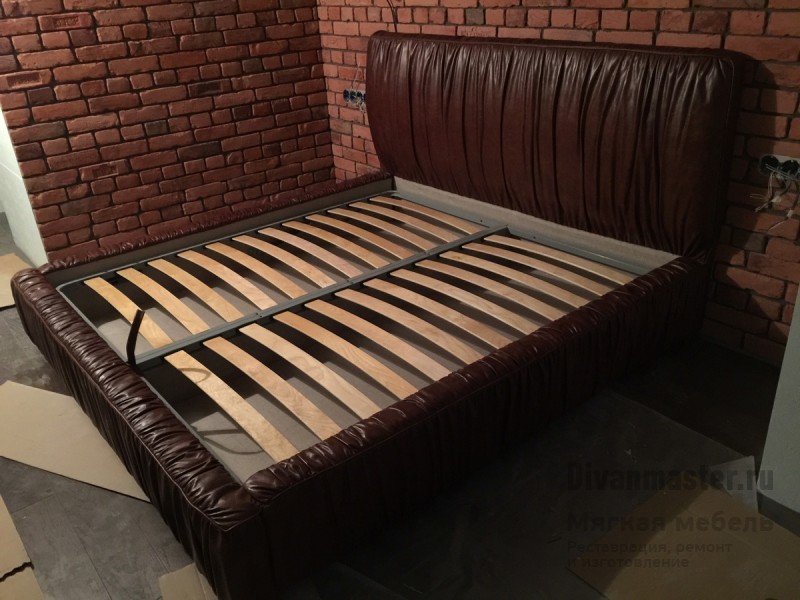
Adjustable orthopedic base
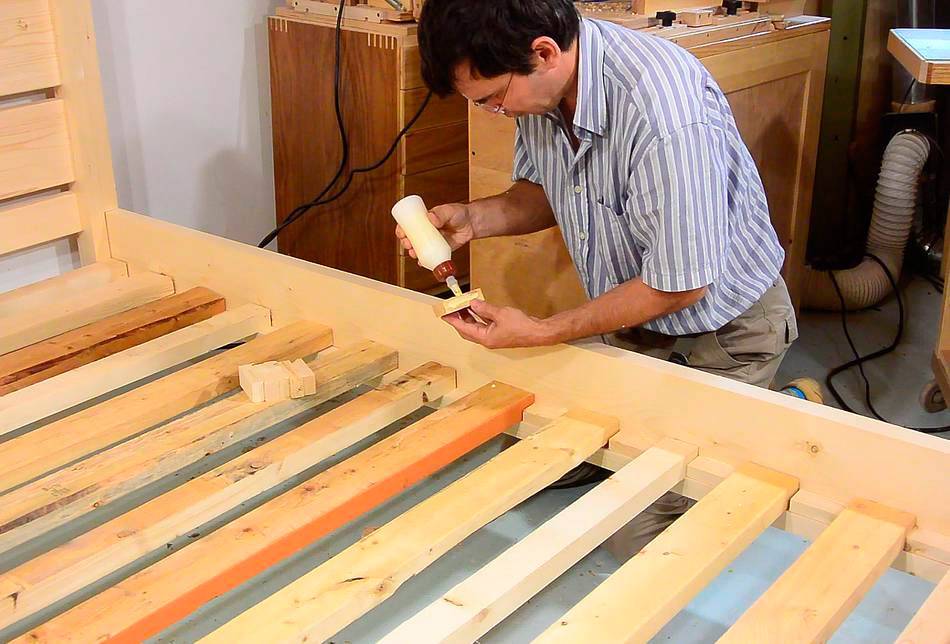
The resulting lugs are greased with glue and connected.Align everything at a 90 degree angle and, using the clamps, secure until completely dry.

Choose the type of lamella fastening that will become the most durable and reliable.
The frame is ready. It is quite reliable and sturdy. To make the assembly of the base of a wooden bed an easy process, you should connect the parts using self-tapping screws with additional fasteners and metal corners.
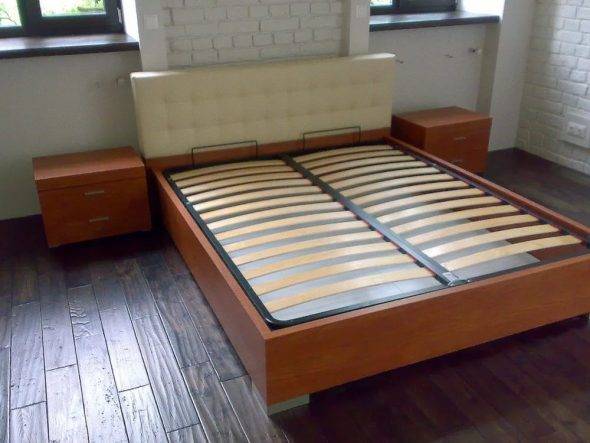
Orthopedic double bed frame made of slats.
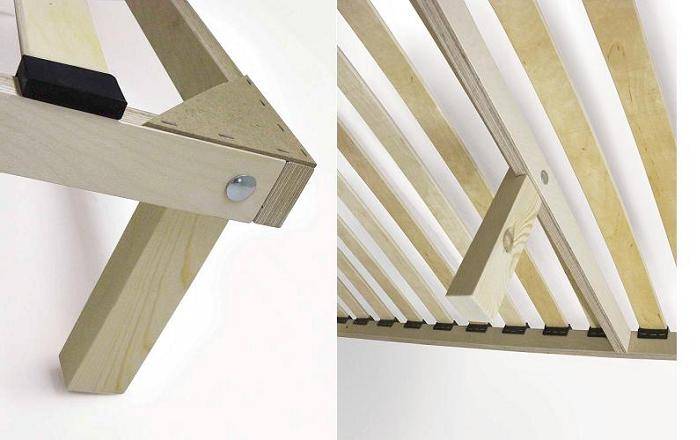
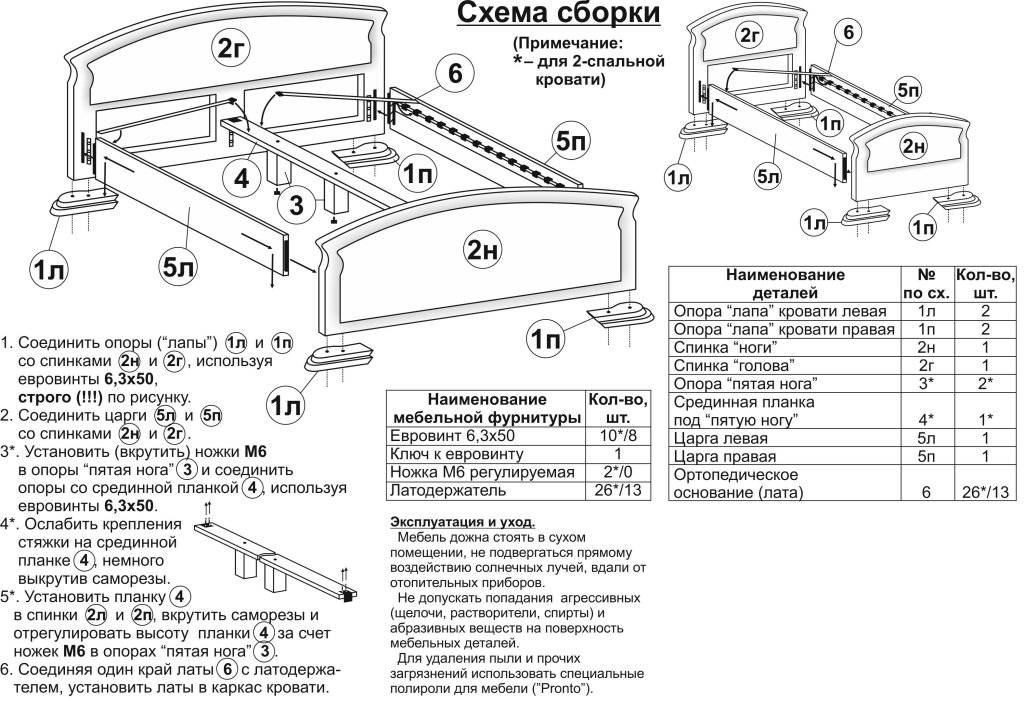
After the frame, they begin to install the legs. Cut several pieces of equal length. They are mounted in the corners of the product. They can be inserted into the frame or fixed from the outside, from the inside.
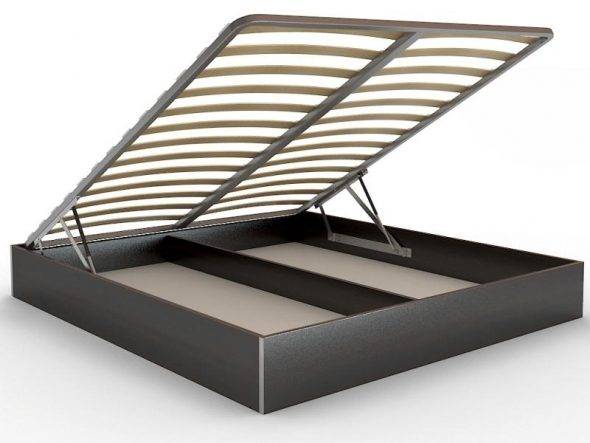
Lifting bed base
Use the anchoring spikes to insert the legs directly into the base. This is the most reliable option. If the bed is more than 220 cm wide, place 5 feet in the middle of the product. For this, a longitudinal board is mounted, to which it is attached.
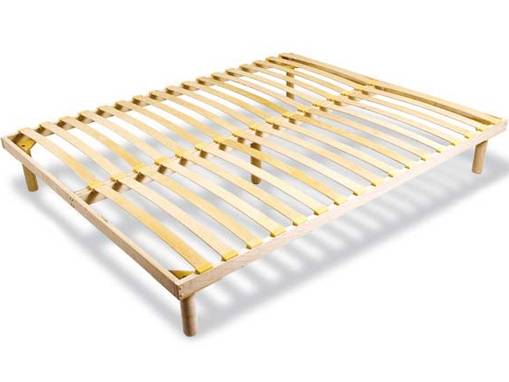
Bed base, set on five legs
How to replace a corner with your own hands
Independently, you can fix not only a new canvas, screw on the handle, but also repair the mosquito net, even if the corners burst in its frame. Plastic elements break under uneven loading resulting from improper installation of the structure. The store sells both standard and reinforced corners, which are distinguished by high strength and long service life. To replace a broken part:
- With a sharp object, pry the cord intended for sealing, remove it from the groove located in the upper part of the frame.
- Tapping the board with a hammer, they take out a broken bar.
- Holding with pliers and pushing with a screwdriver, the burst parts of the corner are pulled out of the grooves, and the new part is fixed to the upper bar.
- The edges of the mesh are straightened, tightened, the sealing cord is placed in the frame, pressing tightly with scissors or a screwdriver.

You cannot knock on the plastic with a hammer, but it is better to put a block of wood, then the paint will not peel off, no cracks will appear on the surface. To extend the life of the aluminum profile, it is recommended to attach an angle made of galvanized steel sheet. It does not need to be pushed into the grooves of the frame, but should be installed on plastic elements, having drilled holes on both sides, and connected with rivets. The metal corner is processed with sandpaper, primed, painted white.
The final stage
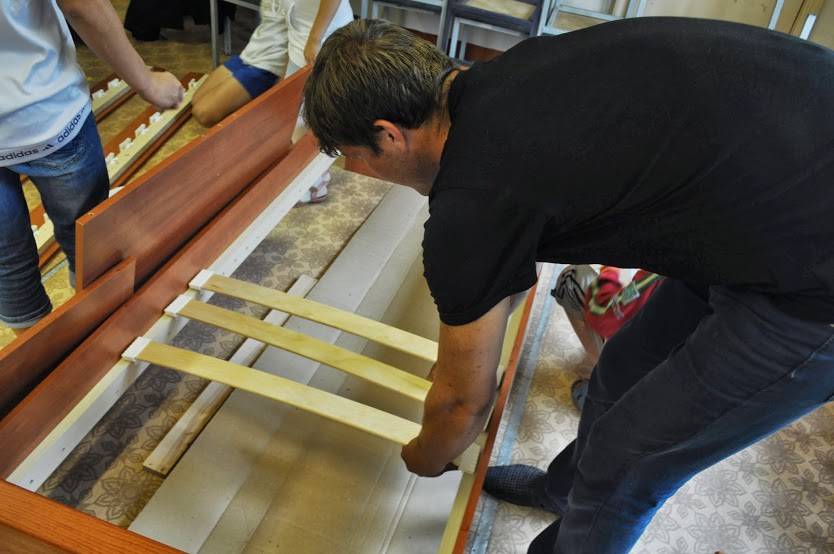
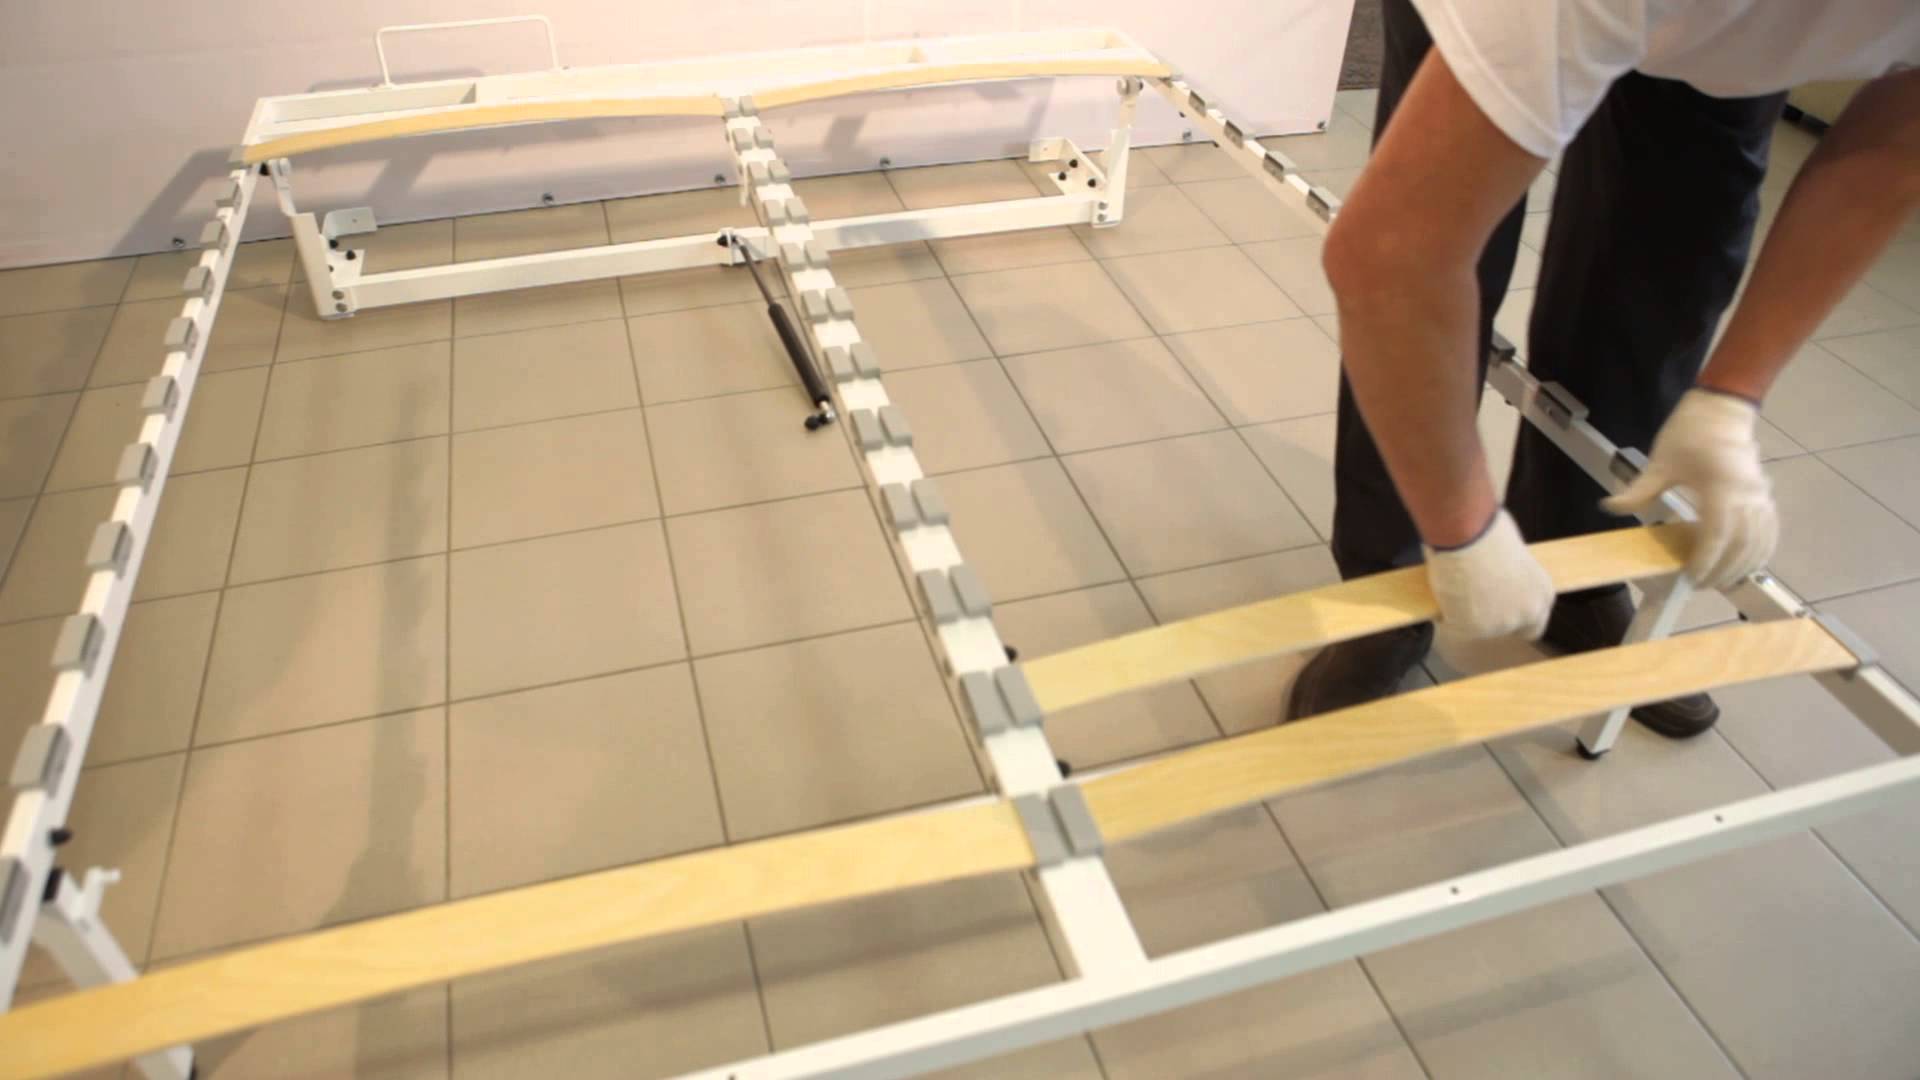
Now you can proceed to the assembly of the lamellar base. These are transverse slats that support the mattress and prevent it from deforming.
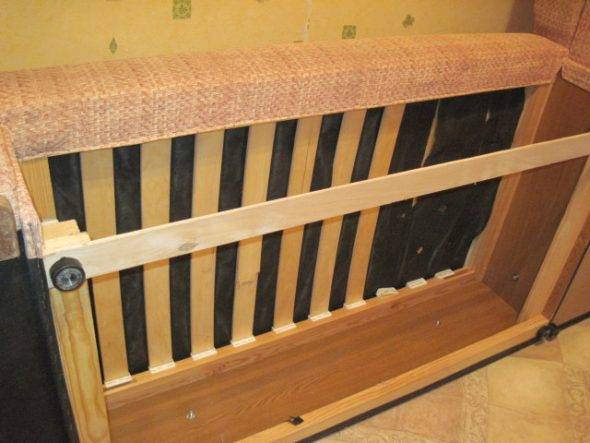
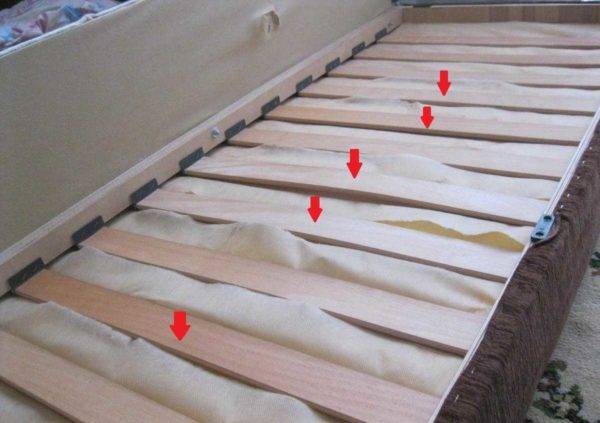
Slats in the base of the sofa
- Fill the base, side and end part with the retaining rail.
- Mark at a height of at least 100 mm at the edge from above.
- The rail is attached around the perimeter using a solid line and dotted line. You can take a metal corner instead.
- You will need a bar with a section of 30x30. Make a frame for the cross bar from it. They fix it according to the internal parameters of the base.
- Then a rail is stuffed onto the frame, measuring 150x4x2 cm.Fix it across the length. The distance is at least 5 cm.
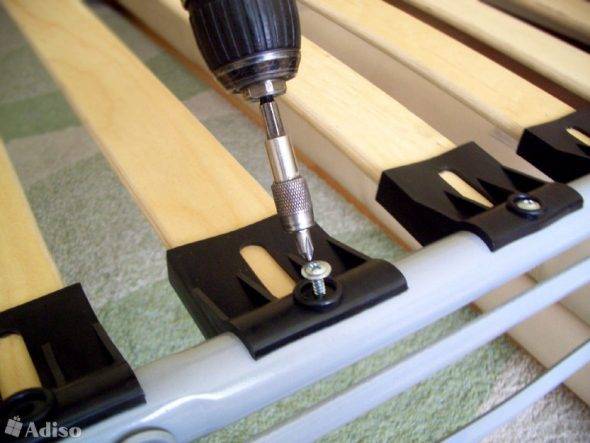
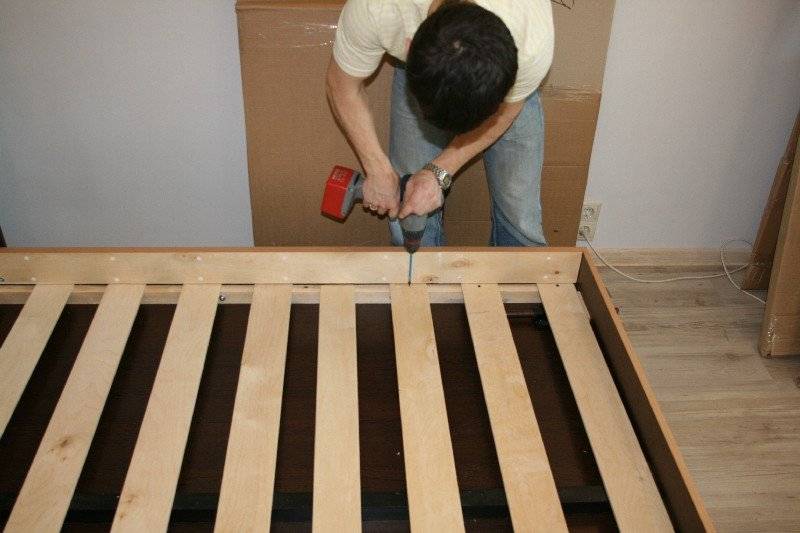
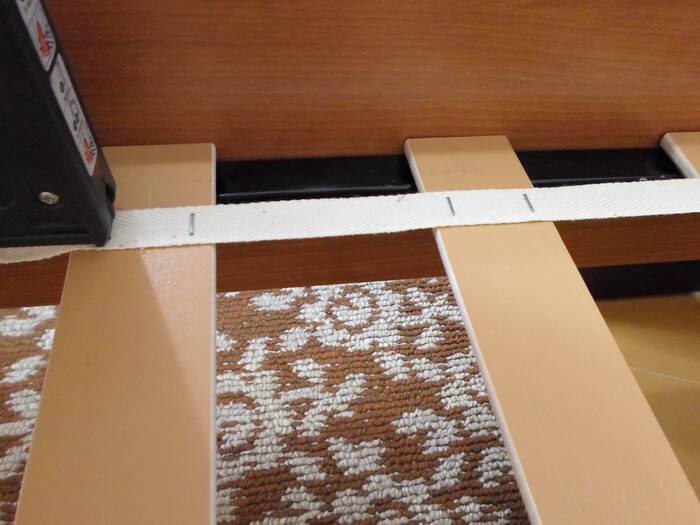
The lamellas must be attached to the metal frame by means of metal fasteners.
If you follow all the steps following strictly made drawings, you will not have any installation problems. At the final stage, the base should be sanded and varnished.

The lm holder can be completely invisible, but at the same time as durable as possible.
You should carefully consider the choice of the finished bed cover. After all, it must completely fit into the interior of the room. Before coating the product with varnish, it is recommended to first give it a tone. A stain is suitable for this.
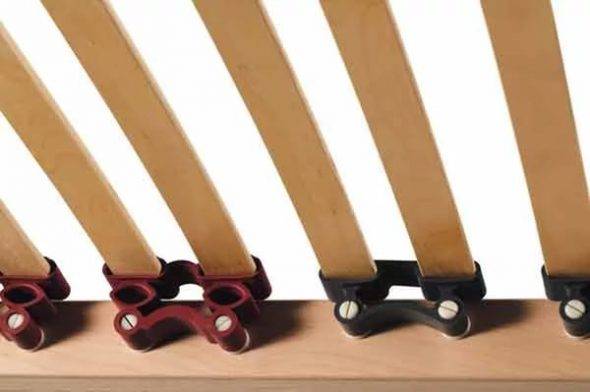
Reinforced metal fastening for wooden lamellas
It should be applied evenly using a brush. It is worth covering the surface with varnish only after the stain has dried.It is necessary to make 2 varnish layers.
How to choose the right lamellas?
If you are wondering how to choose the right lamellas, we recommend that you pay attention to certain characteristics and properties.

The type of fastening for slats should also be selected based on the base of the bed.
The more slats in the base, the longer your bed will last.
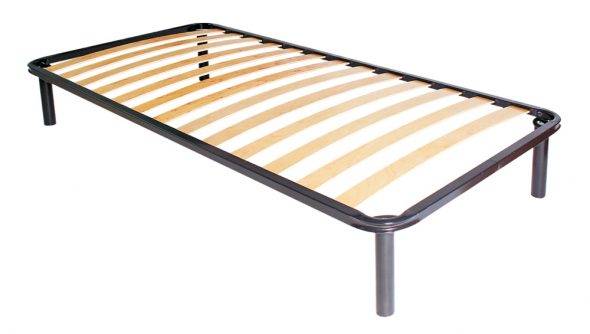
A variant of the model of a single bed, in the base of which there are wooden slats.
In a double bedroom, more than 30 should be provided, and for a single bedroom - more than 15 pieces.

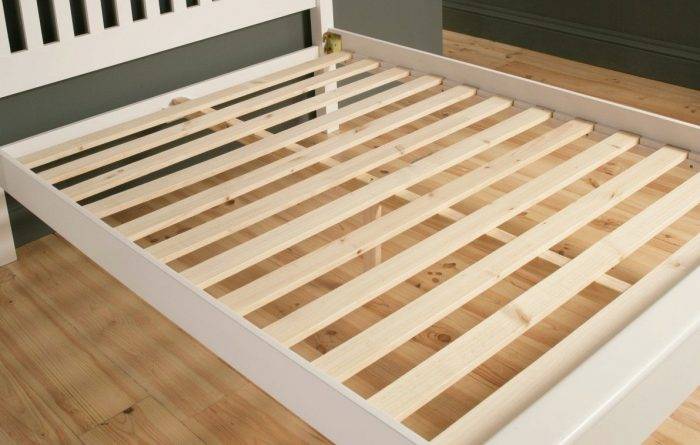
Standard placement of slats in the base of a double bed.
The distance between the plates should be kept to a minimum.
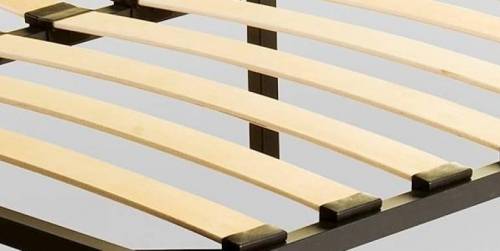
Choose for yourself the bed in the base of which the distance between the slats is minimal.
For an orthopedic bed with slats, you need to choose the appropriate mattresses in order to distribute the load evenly and avoid deformation.
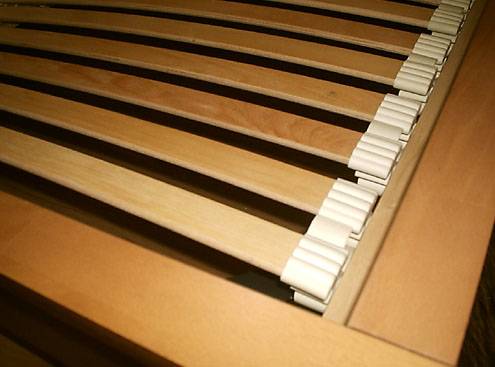
An orthopedic bed base made of slats must be complemented by a high-quality mattress, then your sleep will be perfect.
Do not forget to pay attention to the cost of products, the material from which they are made, and most importantly - to the name of the manufacturer.

Fastening of wooden lamellas is carried out by various methods, none of which is inferior in terms of reliability and quality.
Should you buy "magic plates"?
Definitely worth it, because they have more pros than cons.
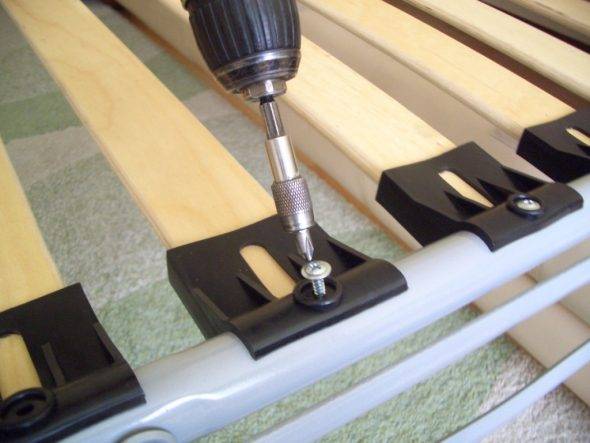
The lamellas should be attached to the metal frame of the bed only with metal fasteners.
Moreover, at the moment there are many profitable options for purchasing and replacing them. If you are in doubt about something, you can always consult with specialists.
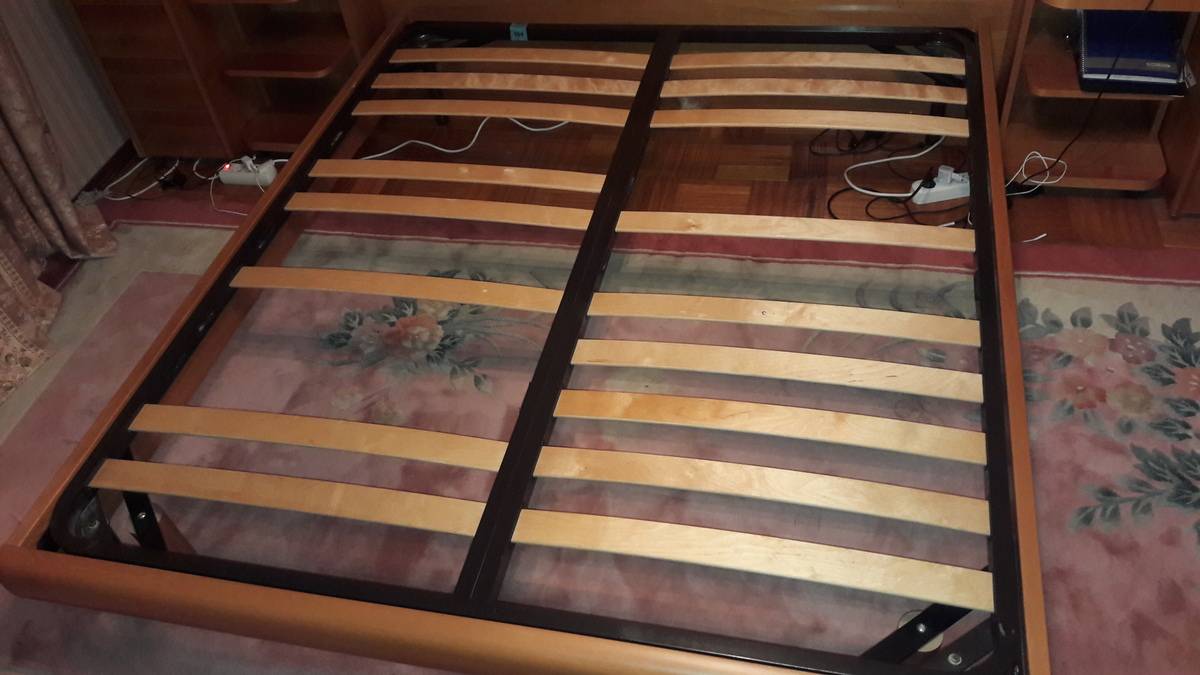
Repairing bed slats
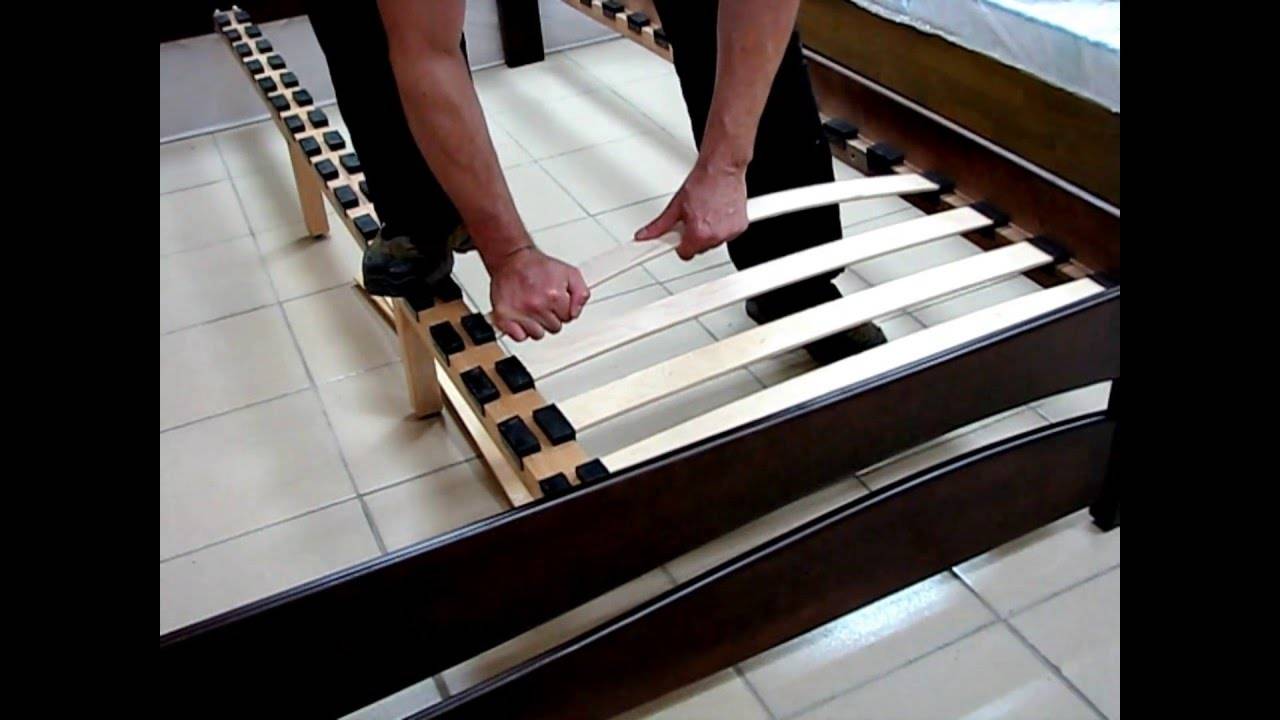
If the bed slat (rail) has broken down so that it is not possible to glue it, you will need to buy a new element. Bed slats can be found in furniture stores or online. Lamellas are made in a single copy in carpentry workshops. Remove the dimensions from the element and contact the wizard. In just a few minutes, a new slat for your bed will be made for you. In workshops and shops, you can order and buy not only lamellas, but also lat holders. Although these elements are made of durable plastic, they can also break under constant stress.
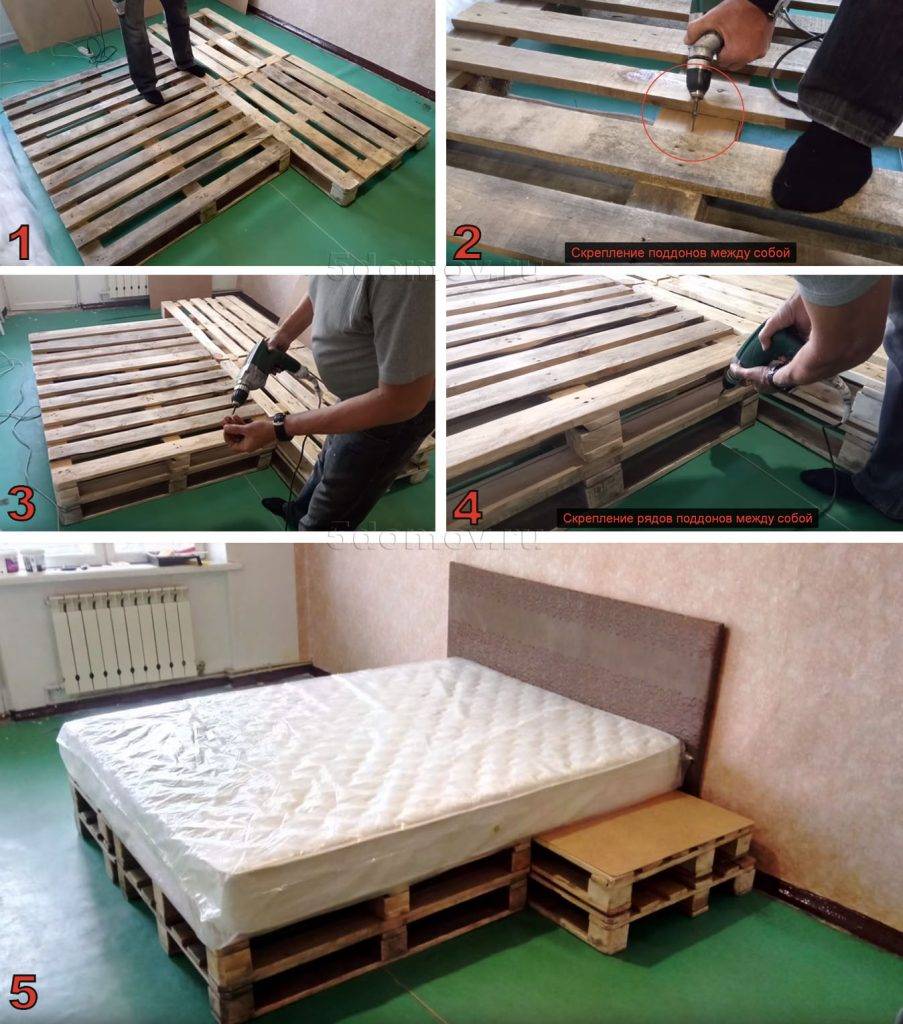
If the whole base is out of order, you can make a new one, using boards or thick plywood in the work.
Features of the repair of legs
There are usually no problems with replacing the legs. A broken leg can be replaced with a new one, and if it is loose, replace and tighten the fasteners.
When replacing the legs, be careful when dismantling the element - it is important not to damage the bed base during work, the replacement of which will be a difficult and costly process. How to fix a creaky bed?
How to fix a creaky bed?
It is impossible to sleep and get enough sleep on a creaky bed. A loud and unpleasant sound can disrupt sleep, interfere with rapid falling asleep. If you are going to deal with the elimination of a defect, the first step is to find out exactly what kind of material your furniture is made of. If the structure is made of MDF or chipboard, then the reason for the squeak can be both fittings and baseboards. Metal beds most often begin to creak where the screws are installed.
To identify the cause of the squeak, the bed structure will have to be completely dismantled and then fully assembled. During the assembly process, all fasteners are carefully screwed and tightened. If you are not sure that you can disassemble and then assemble the bed correctly, you can try to solve the squeak problem by treating all joints with different substances: special furniture grease, wax-based compounds or silicone based.
Let's write down the instructions for eliminating the squeak of the bed step by step:
First, it is worth checking the tightness of the twist of all fixing elements, tighten and strengthen all the nuts, bolts, screws and screws
It is also recommended to coat all fittings with a special furniture grease.
Check the mattress: its springs may squeak.
It is also worth lubricating all joints in the structure with wax, soap or silicone.
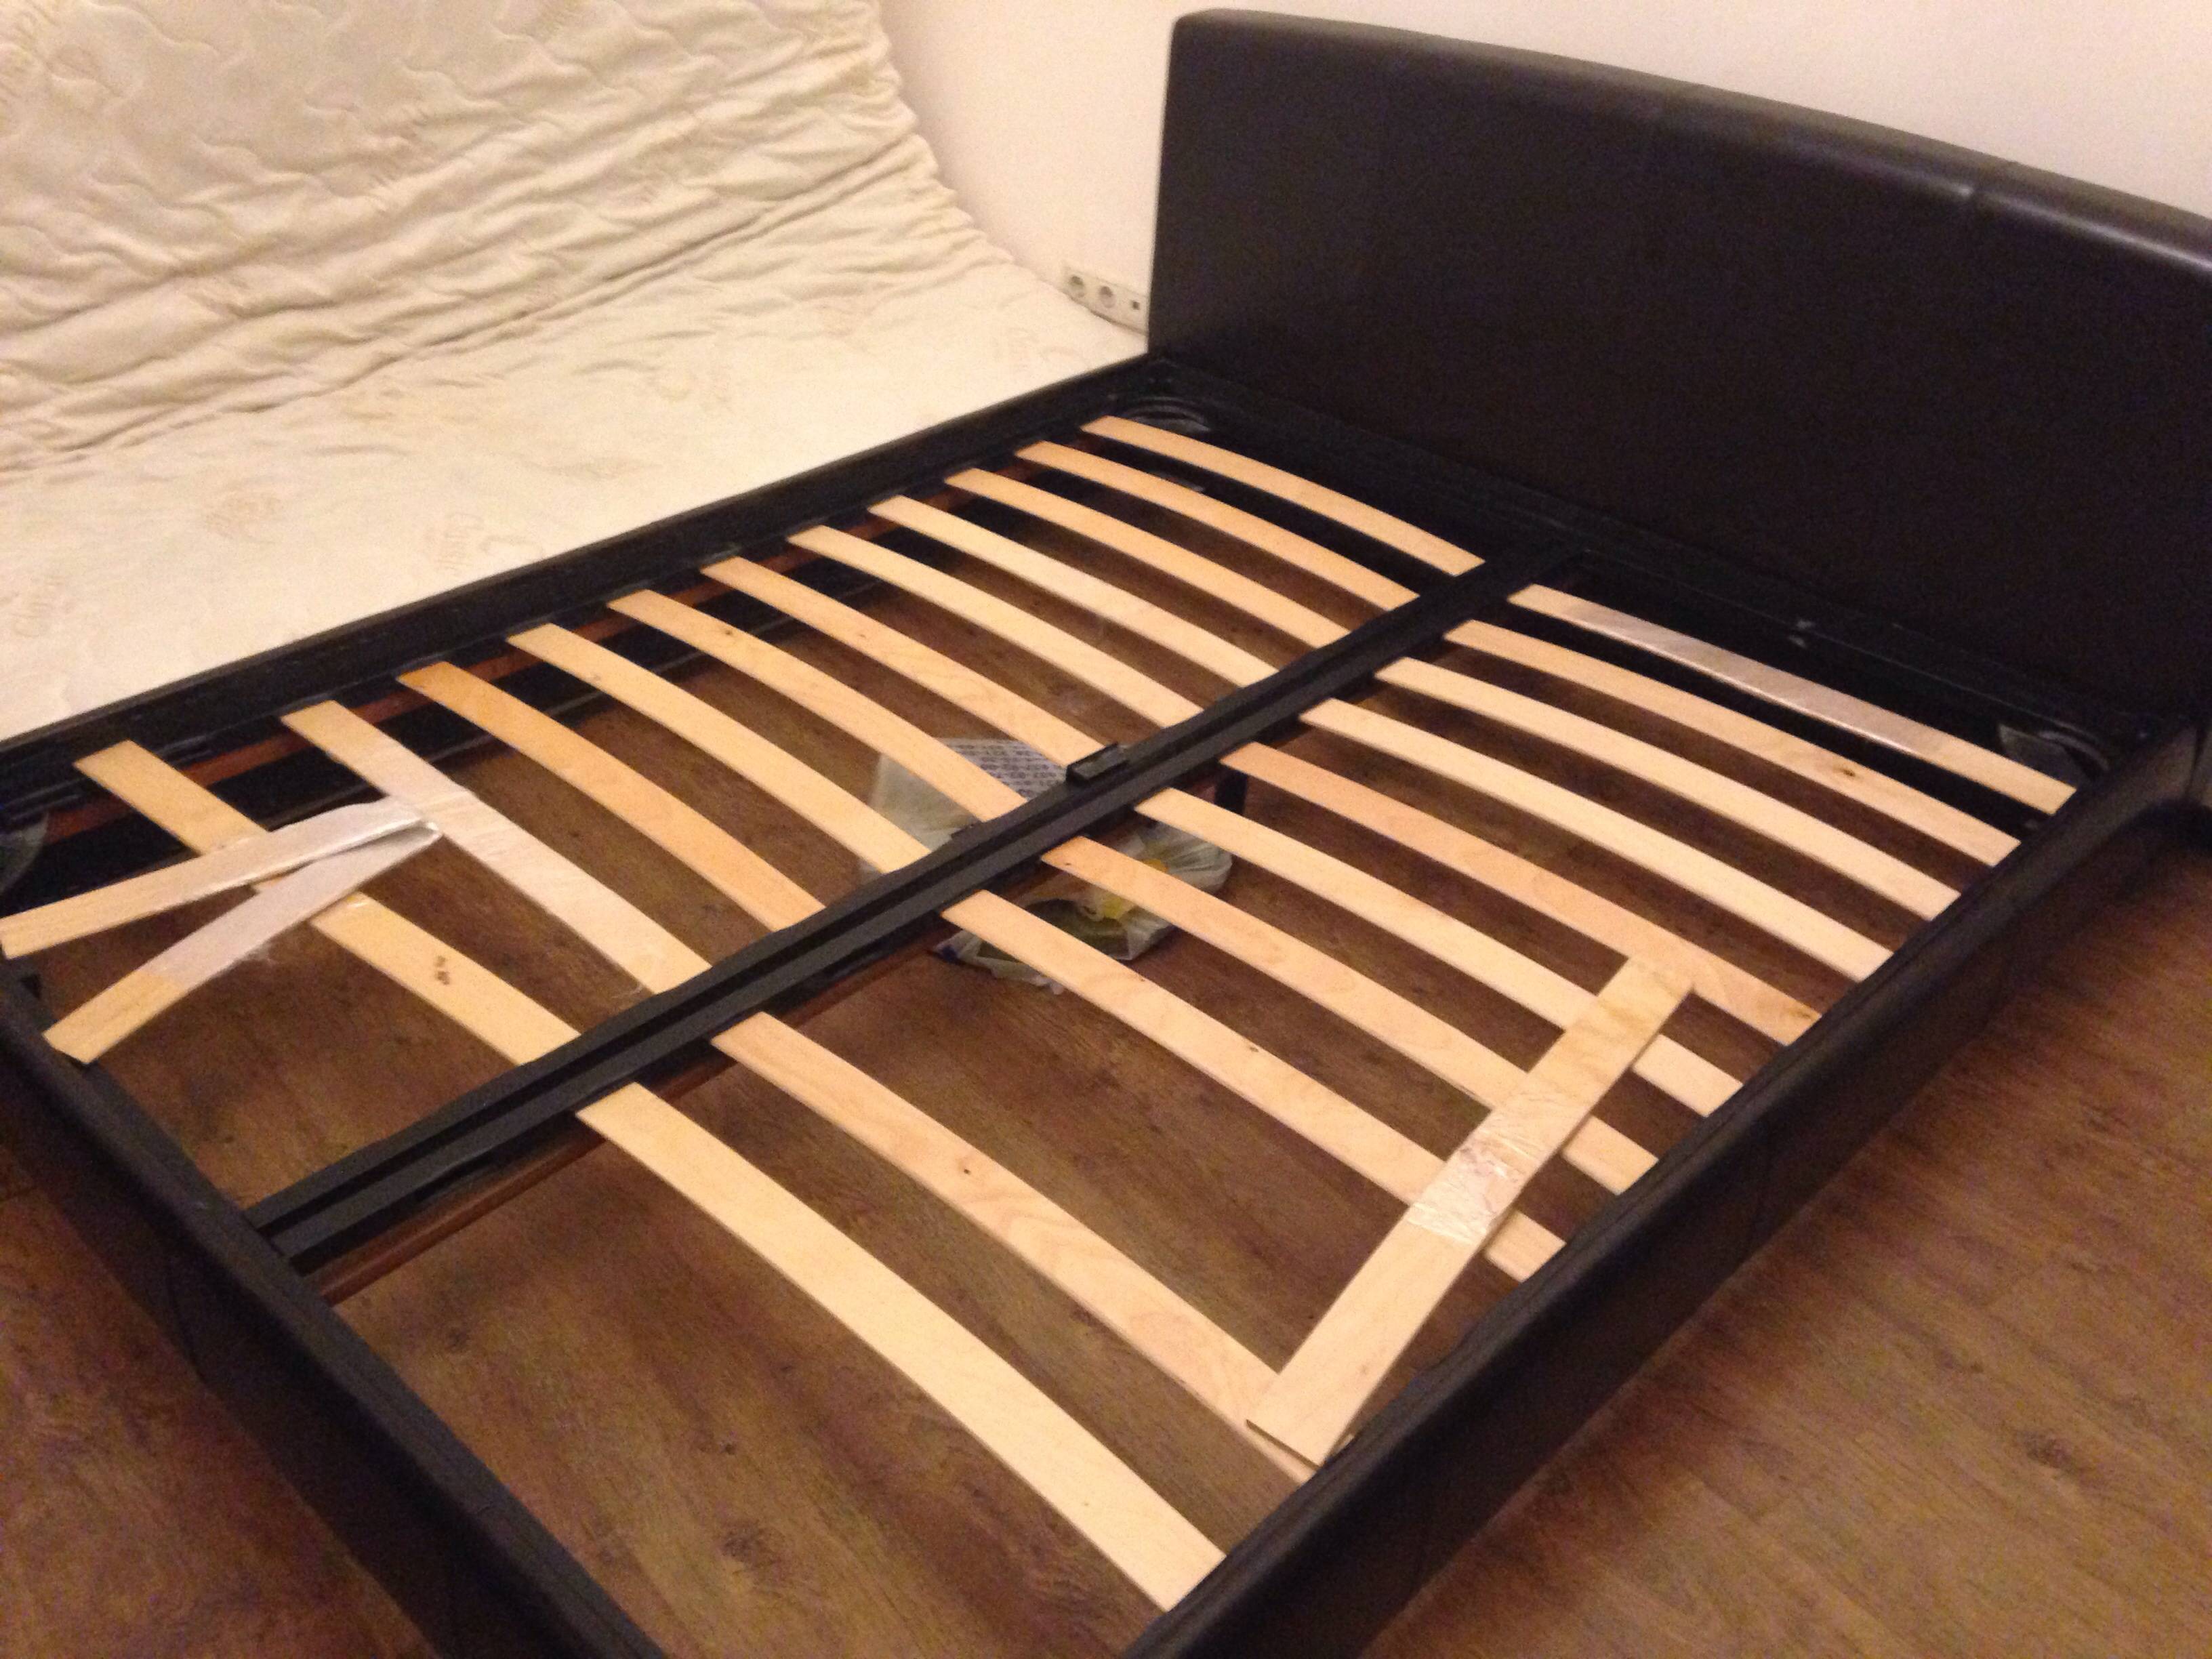
Pay attention to the slats. If they are the ones who make the squeak, you can replace them or change the distance of their installation.
Her legs can also creak in bed.
The creak of the legs is eliminated by replacing this structural element.
It is worth checking the evenness of the position of the boards on the base. They should not lie close to the sides of the structure. If one of the boards creaks, try swapping it with other elements, or even just turn the base over.
The reason for the squeak may lie in the mountings. The easiest way to solve the problem is to replace the old fasteners with new fixing elements. If you do not want to face the problem of squeaking, when buying furniture, you should give preference to metal and forged bed models.
Choosing high-quality fasteners for repairing a bed
Do you want the bed to serve you flawlessly for many years, and to repair it as little as possible? Pay careful attention to the correct choice of fasteners. Professionals categorically do not recommend using ordinary fasteners - bolts, screws, corners, ties
These types of fixation elements fail quickly. It would be best to choose special types of bed fasteners for repairs in specialized stores. An excellent fixation of all structural elements can also be provided by the classic combination of a bolt and a foot.
Door restoration step by step
Most often, after repair, wooden doors are treated with paint or varnish. Consider how, in this case, repair and restoration should be carried out.
Preparatory stage
Before repairing a wooden door, it must be removed from its hinges, placed on the floor or table, so that it is convenient to work. The upholstery should now be removed, if any.
Removing the blade from the hinges is carried out using a screwdriver and a hammer. Look at the hinges attached to the door frame, perhaps they should be reinforced with longer screws or changed altogether.
Removing paintwork
Before you repair a wooden door, you should get rid of the old coating. The easiest way to do this is with a construction hairdryer and a spatula. We pry the paint with a spatula, and heat it up with a hairdryer to such a state that it quickly falls behind. Remember that the appliance heats surfaces quickly and very well, so do not get too close.
Every 15 minutes, the hair dryer needs to be given a rest, otherwise the instrument will quickly become unusable. In hard-to-reach areas of the door leaf, for example, in the corners, you need to remove the paint layer very carefully so as not to damage the door base.
Grinding
After removing the paint with a spatula, sand it. This process will help get rid of any residual finishing material. You can perform the action manually using sandpaper, or use a grinder.
Elimination of defects
At this stage of repairing the entrance wooden door, we start using putty
We apply the composition in an even layer on the canvas, paying special attention to depressions and irregularities. After the surface is completely dry, you should once again walk over it with medium-grained emery paper.
It is convenient to do this by attaching emery to a wooden block. Perform the action in the direction of the wood fibers so that in the end there are no traces of sanding.
If you plan to varnish the door, sand very carefully and efficiently. Because when treating the surface with a transparent compound, all defects will be visible.
When you are finished sanding, wipe the door with a sufficiently damp cloth, and then again go over the surface with fine-grained sandpaper.
Painting
The final stage of the restoration of the entrance wooden door. Painting needs to be done in several layers. Apply the first ball with a brush or roller, moving along the line of the wood fibers. It is enough to apply the paint in two layers if it is thick and saturated. We begin to apply the second layer only after the first one has completely dried.
In the case when the color is not saturated enough, the wood should be treated with white enamel before painting. The color composition will fit well on it, and will not look transparent.
Better to apply both coats of paint in the same direction. For example, if you applied the first ball from left to right, then the second must be done in the same way.
Toning
This stage can be performed if you want to make the door especially original and beautiful. Toning is done with very liquid paint, and therefore all work must be done very carefully. We apply the composition with a brush, the number of layers will depend on individual preferences.
The tinting paint dries in about 8-12 hours. More details can be found in the manufacturer's instructions. After the surface is completely dry, you need to walk over the door with zero sandpaper.
The finish
When the repair and restoration of wooden doors is completed, you need to put all the fittings in place - handles, locks, latches, and so on. After that, we return the canvas to its place, securing the loops.
Restoration of children's upholstered furniture
If a breakdown of a baby bed is found, it should be immediately eliminated, because the deformation of the surface of the bed will eventually affect the health of the child, his posture and well-being.
The places in children's beds that are most often out of order can be:
- Lifting mechanism in a pull-out or built-in bed;
- Wooden partitions of the base and the frame itself due to normal wear of the material or any extraneous mechanical impact;
- Installed fragile decorative legs on furniture under strong impact (intense play of children, jumping on the bed);
- Poor quality mattresses and deformation of the product, which negatively affects the health of the child;
- Additional elements: armrests, drawers and sections.
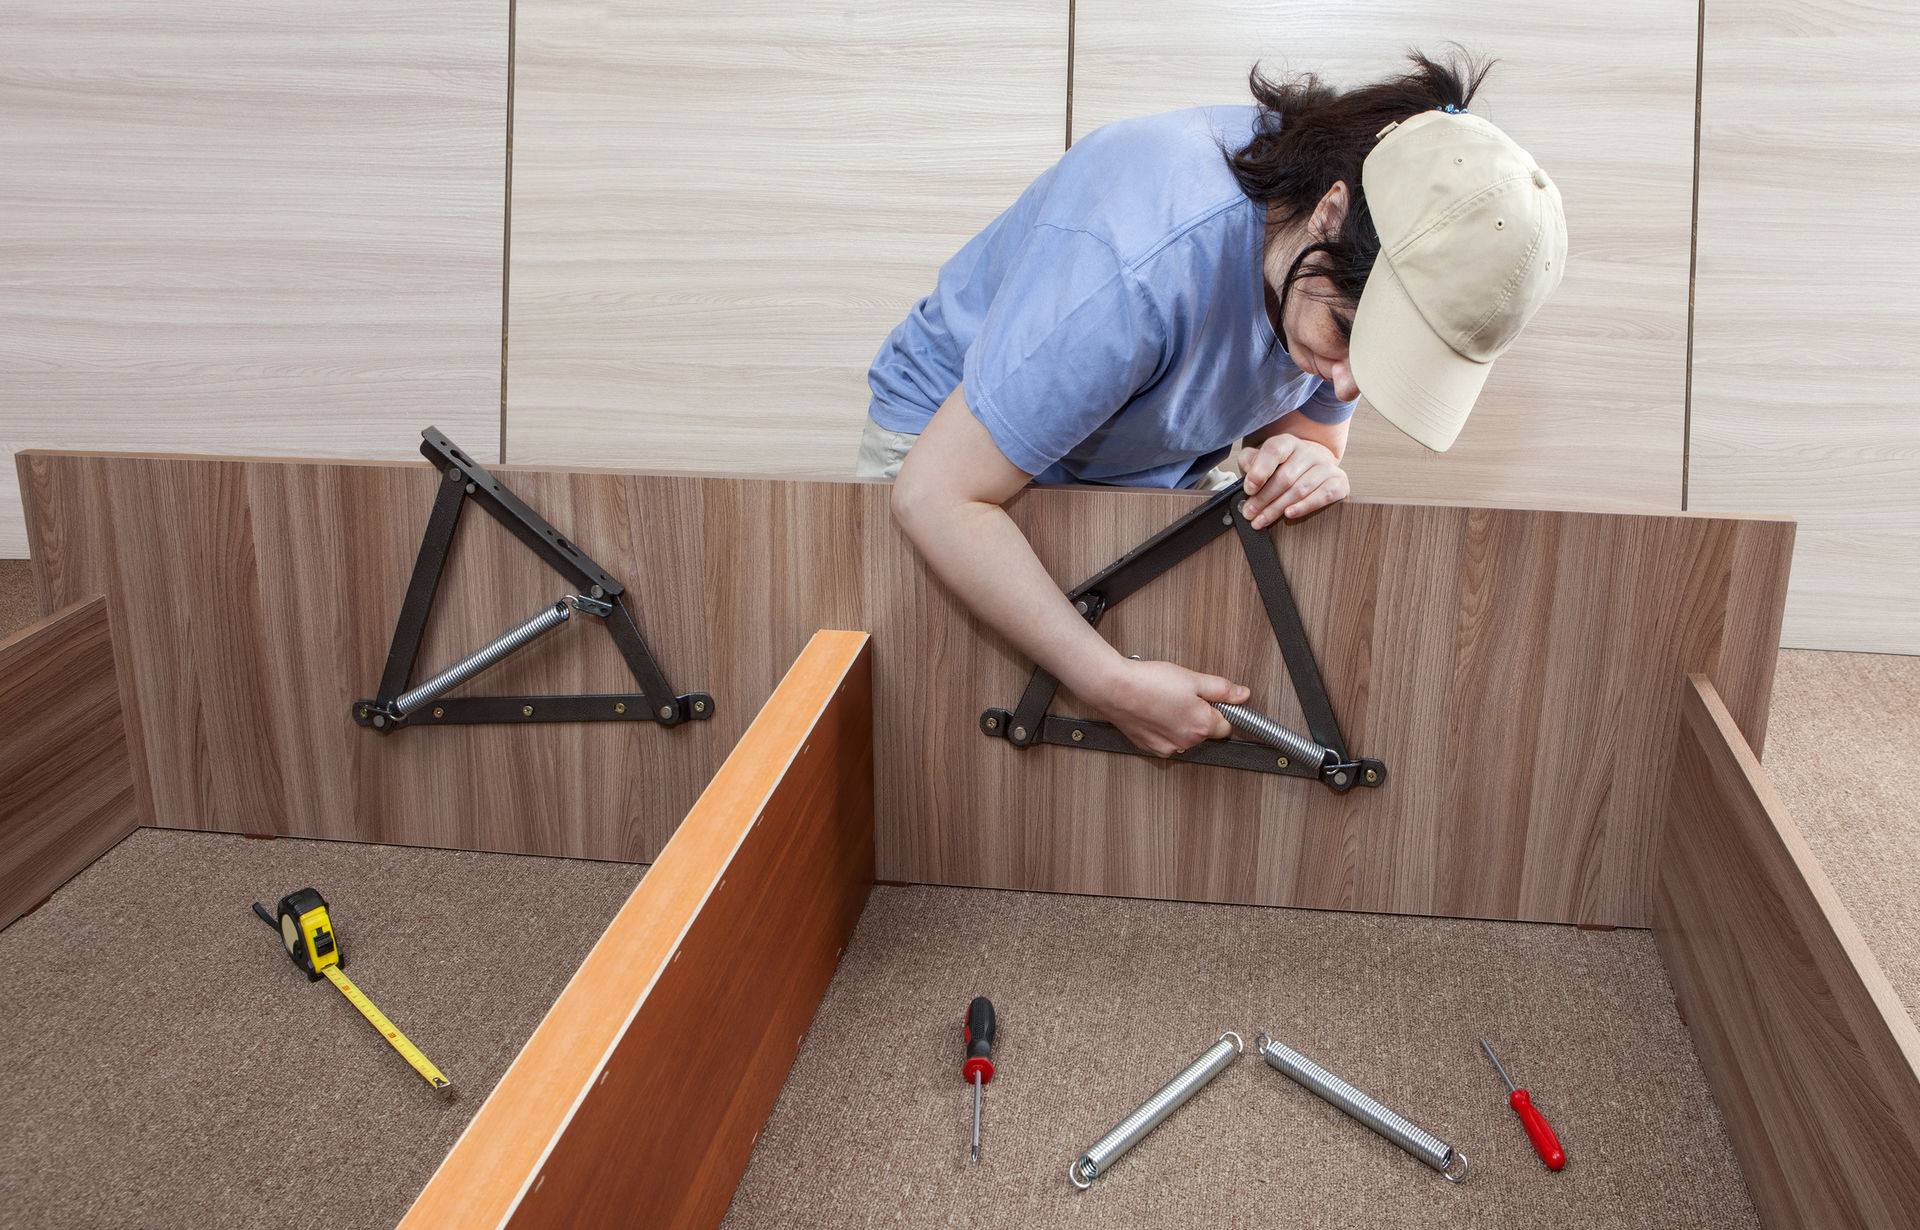
Before buying new furniture, you should try to fix your old bed. Broken parts can be replaced, and some elements can be corrected by yourself. There are several types of lifting devices in the design of furniture, and each has its own characteristics. To repair the lifting mechanism of the bed, you need to have some knowledge and skill, so it is better to entrust this process to a specialist.
The main reasons for the breakdown of children's upholstered furniture:
- Children, unfortunately, often treat furniture carelessly. They perceive it as an element of the game, jumping on it, using it in the form of a trampoline;
- The tree from which the structure of the bed or sofa is made tends to exfoliate, dry out. Natural wear and tear of the material leads to various breakdowns of the product;
- Sometimes design flaws lead to premature failure of a furniture sample. This is an incorrect position of the lifting devices or feet at the base of the frame. As a result, the furniture body is influenced by significant mechanical loads that break the furniture;
- Poor quality assembly of the structure, when the lifting mechanism is installed in places not provided for by the furniture assembly scheme, due to the incompetence of the worker who performs the operations.
Thanks to the variety of building materials and tools, you can try to repair your bed at home. The result should be good furniture. A renovated bed is a new object in the interior of an apartment for little money.
It is worth noting that it is rather difficult to repair beds with built-in lifting mechanisms of a complex design. It is recommended to change the side drawers, slats or the base itself for an orthopedic mattress. It is better to purchase the walls where the lifting devices are installed. The procedure for repairing a baby bed is no different from the step-by-step restoration of large adult sleeping sets.
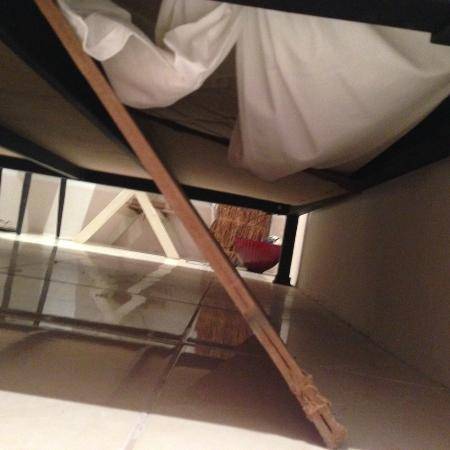 See if there are any broken parts
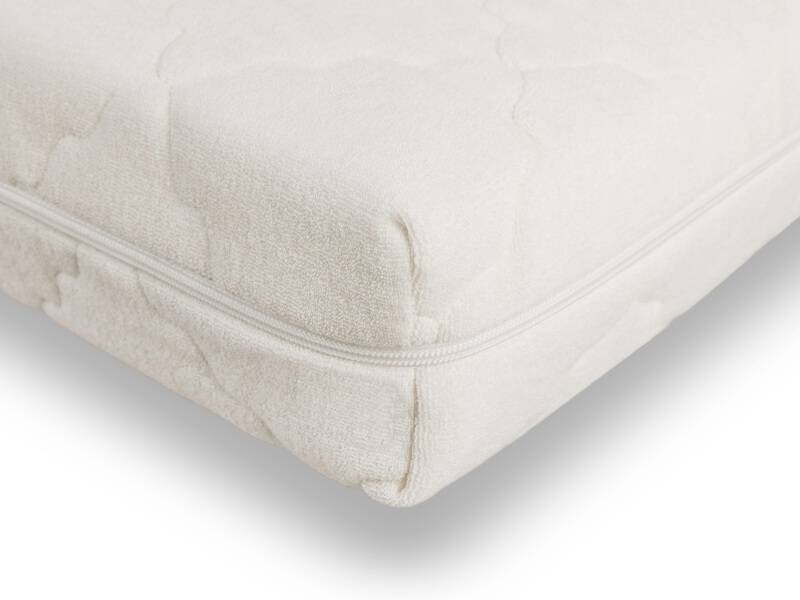 The mattress must be intact
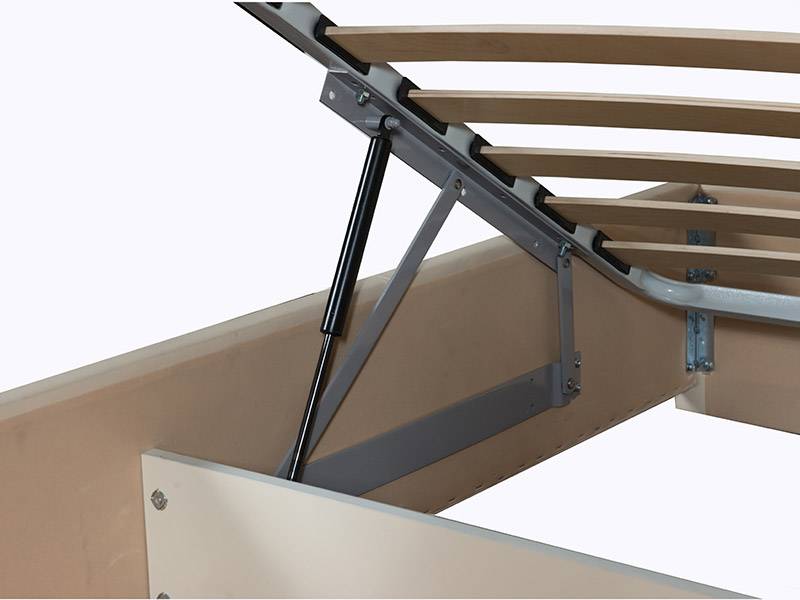 Check the lifting mechanism


