Choice problems
Choosing plaster for the bathroom
So, gradually, we came to the question of which plaster to choose for the bathroom.
Manufacturers of building materials always indicate what kind of work a particular product is intended for. The bathroom is a room with constant high humidity, therefore, for plastering in the bathroom, it is necessary to purchase plaster mixes that are resistant to moisture.
Such compositions are produced cement based or plaster. The choice of type depends on the skills of the plasterer and finance.
- Gypsum plaster mixes are usually more expensive, but more convenient to work with.
- Cement-based plasters are cheaper, but require, if not skill, then at least some experience (although, of course, if you do not know which end to hold the spatula from, then gypsum plaster will not help).
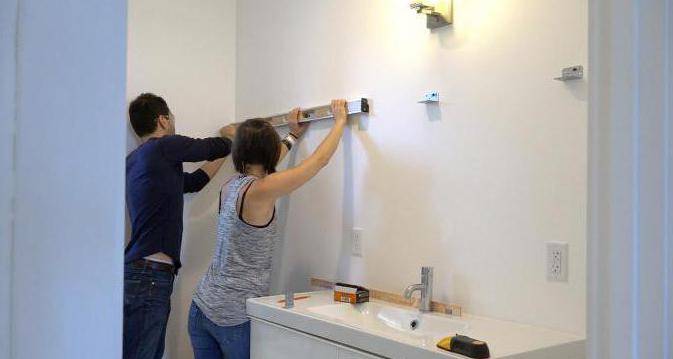
In addition to the plaster itself, plaster beacons are needed to level the walls. To install beacons, you need a level and a straight solid rail, a plastering rule. The length of the rule should be about two meters - you need to look at the length of the largest wall in the room: bathrooms often have a small area, so the length of the wall may be less than two meters.
In this case, the two-meter rule can be shortened. It makes no sense to buy a longer rule, because it is hard to work with it, and it is easy to "dig holes" with a short one, if you do not have a lot of experience in plastering. And this, most likely, is the case - it is unlikely that a professional plasterer does not know which rule suits him.
What composition is needed to install beacons
Mix for the installation of beacons
To install beacons, a mixture is needed that has the property of quickly hardening - losing mobility. In the rest of the premises for the installation of lighthouses, gypsum plasters, such as Rotband from Knauf, are ideal. But, if choosing which plaster to use in the bathroom, the choice is made from cement compositions, then it is undesirable to introduce the gypsum mixture inside the cement layer. You can use some kind of repair compound - they have a cement base, and special plasticizers contribute to rapid hardening. But the specificity of the material is such that this fast curing is too fast for a layman.
You can also use alabaster if you have one at hand.
How much plaster is required
Option for applying plaster to the surface
It is possible to calculate the amount of what to plaster the walls in the bathroom only after calculating the thickness of the layer. This can be done after installing the beacons.
- Measure the thickness of the layer from the surface of the existing wall to the intended surface, indicated by the plane of the installed beacons, at least in three places per square meter.
- From the results obtained, you need to find the arithmetic mean value of the layer thickness.
- After the mathematical exercises, you need to carefully read the instructions, what kind of mixture consumption was provided by the manufacturer, and make all the other calculations.
Therefore, it is better to select which plaster is suitable for the bathroom after measuring the layer thickness: not all plasters are designed for a thick layer. It is also not necessary to buy in advance a mixture intended for a thick layer with a guarantee: the thicker the possible application layer, the more various additives in the mixture, which means that it is more expensive. If the thickness of the layer turns out to be too large, then you will have to do the work in two stages, letting the first layer dry.
Plastering technology
The main feature is the application of plaster in three layers. But, before that, work is performed to level the working area.Preparing walls for plastering in a bathroom includes the process of applying several layers of a special sanitizing agent.
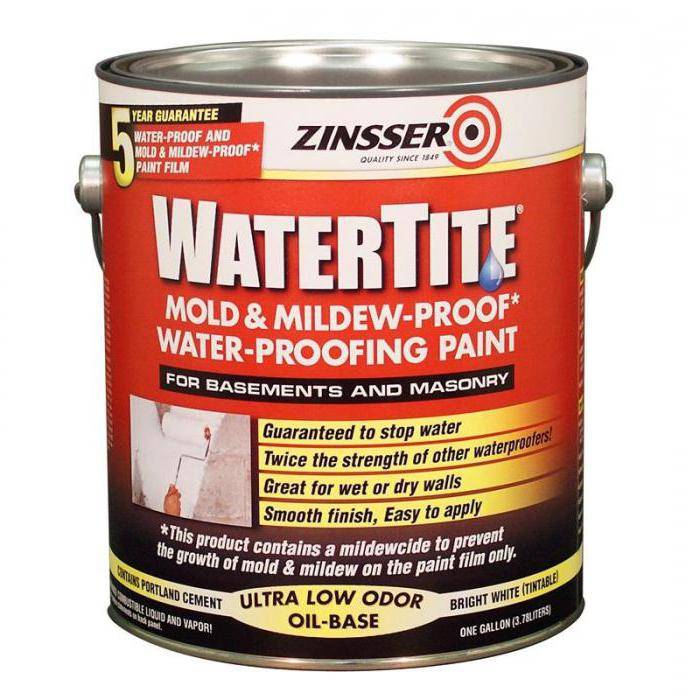
The material contributes to leveling and acts as an additional waterproofing layer. It acts as a salt barrier and serves as a microclimate regulator in a humid room.
If there was previously a tile in the bathroom, you can refuse to dismantle it by covering it with a plasterboard structure. It should be borne in mind that he (drywall) will eat part of the free area. Small rooms will be particularly affected.
Places of contact of plaster with other finishing materials should be covered with a moisture-resistant sealant. After leveling the walls and drying, the coating is started.
Application instructions
In this work, it is necessary to observe the principle of sequential surface treatment in several layers. The minimum number is three.
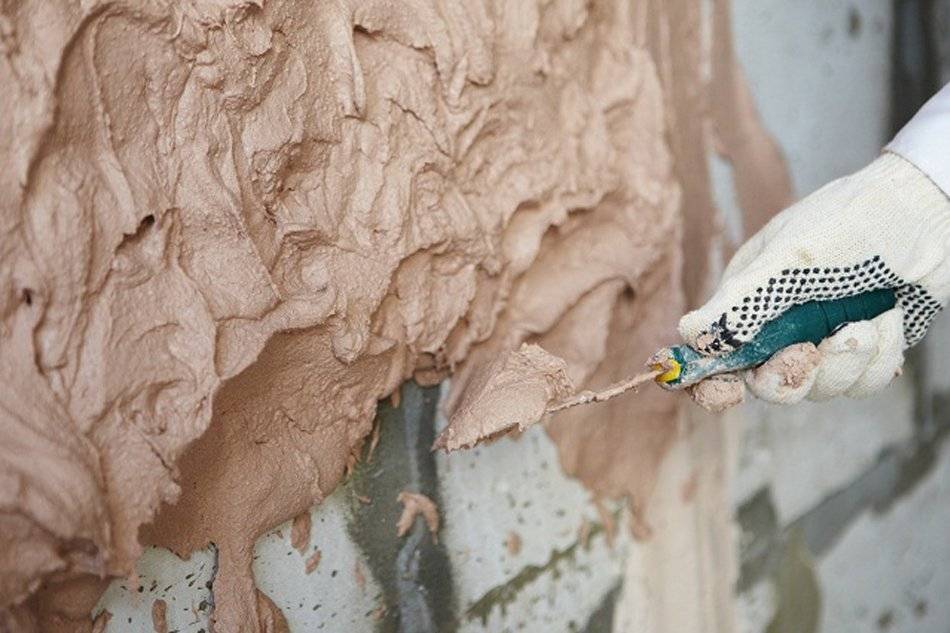
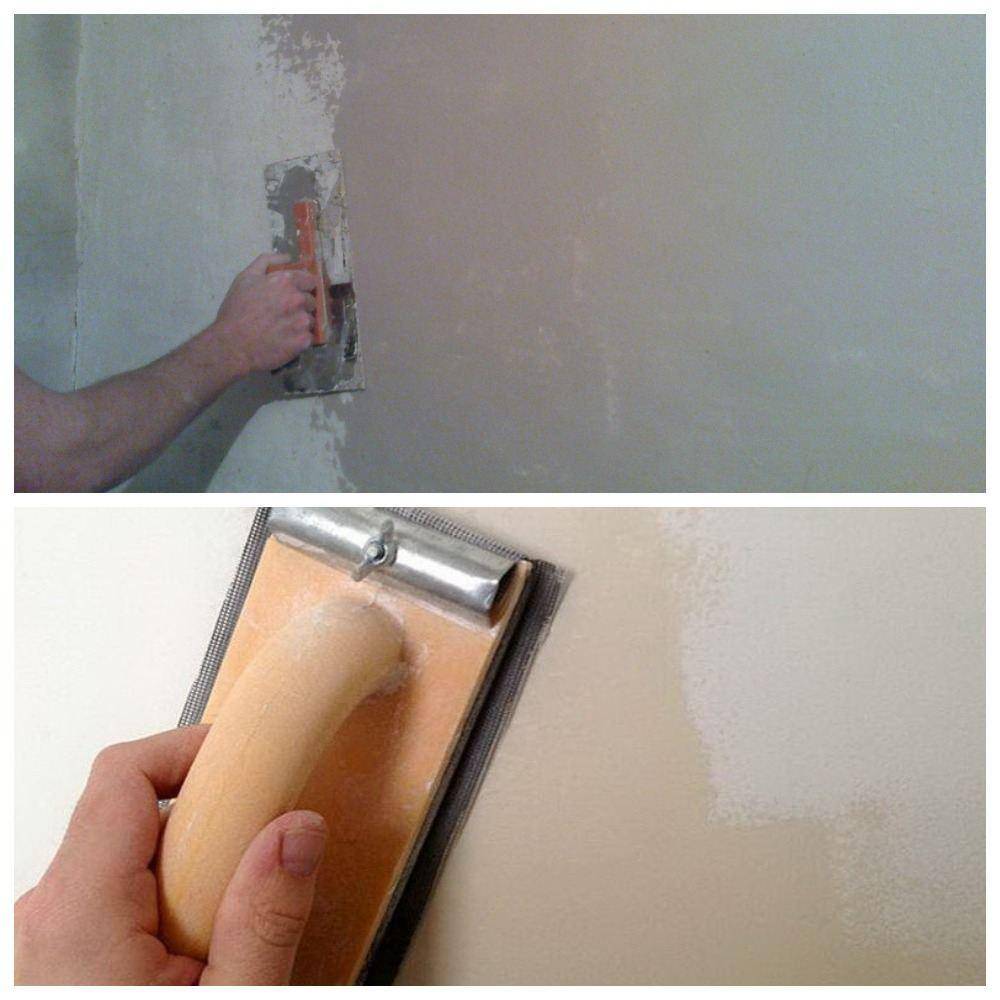
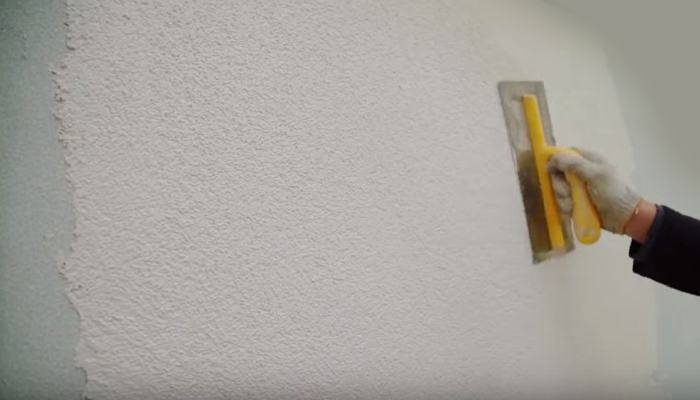
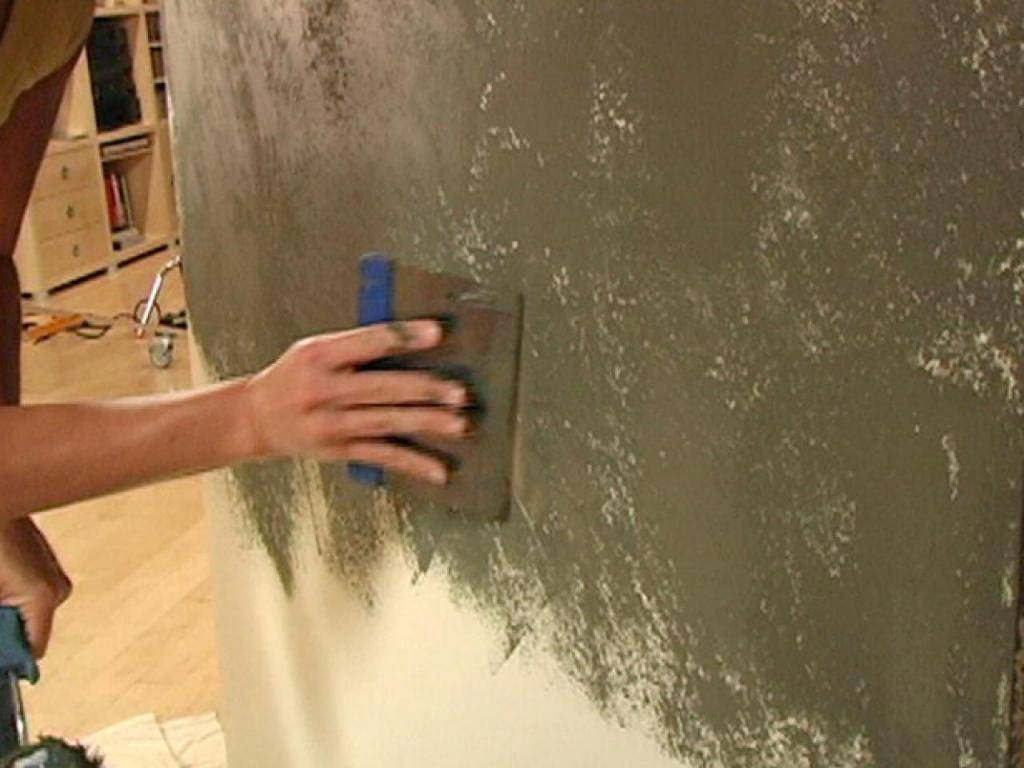
The first layer is applied with a rectangular trowel. Movements should be short, rounded. The working thickness of the first layer is 1 millimeter.
They need to cover everything, leaving no gaps. Then, you should pause and let the plaster dry. This is approximately 2-2.5 hours.
When the surface is dry, you can sand it using a steel trowel or fine sandpaper: 0 to 2.
The second layer consists of asymmetrical short strokes, which are immediately rubbed at a slight angle. Tool: spatula. In working slang, this technique is called "butterfly".
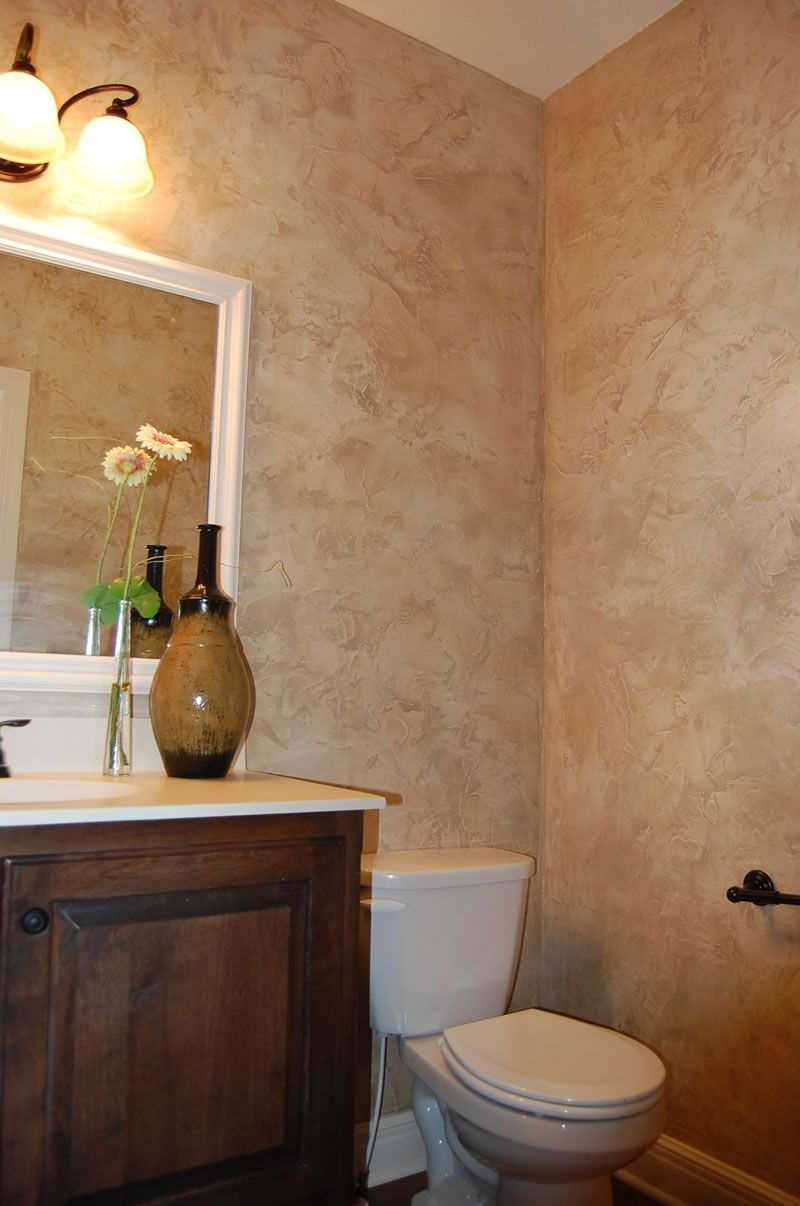
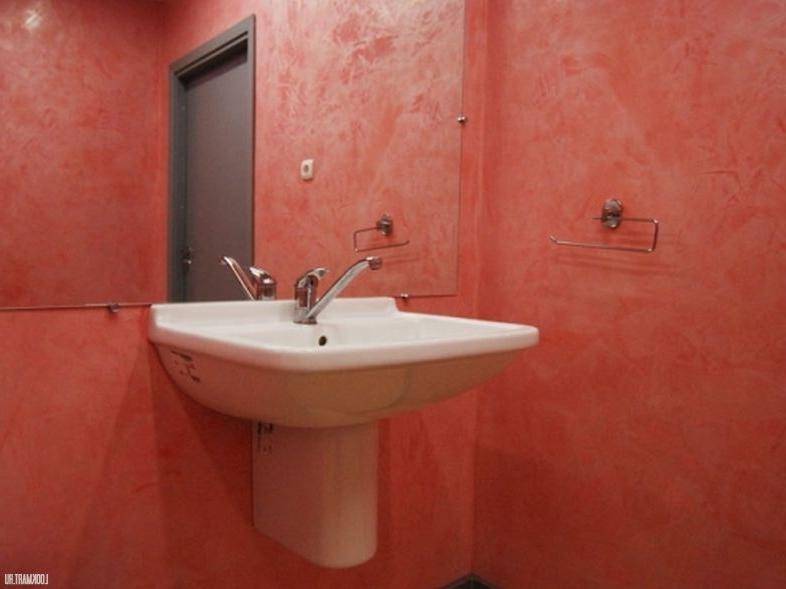
When processing the surface with a spatula, excess material is removed and pressed into the bottom layer. The result should be veins that create the effect of monolithic marble.
No matter how many layers are used: 3 or 5, the crown of the work will always be the treatment of the walls with a special wax coating, which forms a gloss, enhances the shine and inner glow. To give a certain shade - matte, mother-of-pearl or ebb, you can use different shades of wax
Surface treatment is carried out with a special glove, followed by a grinding process with a special machine with a pile pad.
Tiles and their types
When it comes to bathroom finishing options, the first thing that comes to mind is ceramic tiles. This material is ideal for wet rooms and has many advantages:
- High moisture resistance. Moreover, if you wipe the seams well, the ceramic tiles will protect the underlying layers from moisture.
- Hygiene. It washes perfectly with any detergent.
-
Durability. The decoration of the walls in the bathroom made of tiles is changed mainly because you want something more modern, attractive. The ceramics themselves, as a rule, remain in a normal state. The seams look bad, but they can be updated by cleaning out the old composition and refilling with a new one.
- High maintainability. If one or more fragments are damaged, they can be replaced with new ones (therefore, leave a couple of tiles of different types in reserve).
- Wide range of. There are tiles of different sizes - large, medium, small, there are - square, rectangular, multifaceted, there is even a round. All this in different colors - plain or textured, with graphic or floral patterns, glossy or matte.
All this is great, but finishing the walls in the bathroom with ceramic tiles has its drawbacks. The first is the considerable cost of the finishing material. The second is the laboriousness and complexity of installation, and, therefore, the high cost of services for its installation. If you wish, you can lay the tiles yourself, but even under such conditions, this repair cannot be called cheap. The third drawback is rigidity. When the house shrinks due to the lack of elasticity, the tiles can crack. Therefore, in new buildings they are trying to choose other options for finishing the bathroom. In any case, until the main shrinkage processes take place.
The combination of tiles and mosaics is a great option for finishing a bathroom
The wall decoration in the bathroom with porcelain stoneware and mosaics should be attributed to the same category. Their wall mounting technology is very similar, as are the properties of materials, but the cost of material and work is even higher.
Instructions for plastering walls in the bathroom
Is it always necessary to carry out plastering work on the walls in the bathroom? If the walls in the room are perfectly flat, you can skip this process. But if there are irregularities, plaster is indispensable. Our guide is suitable for working with both ready-made mixtures and homemade ones.
Step 1. Preparatory work
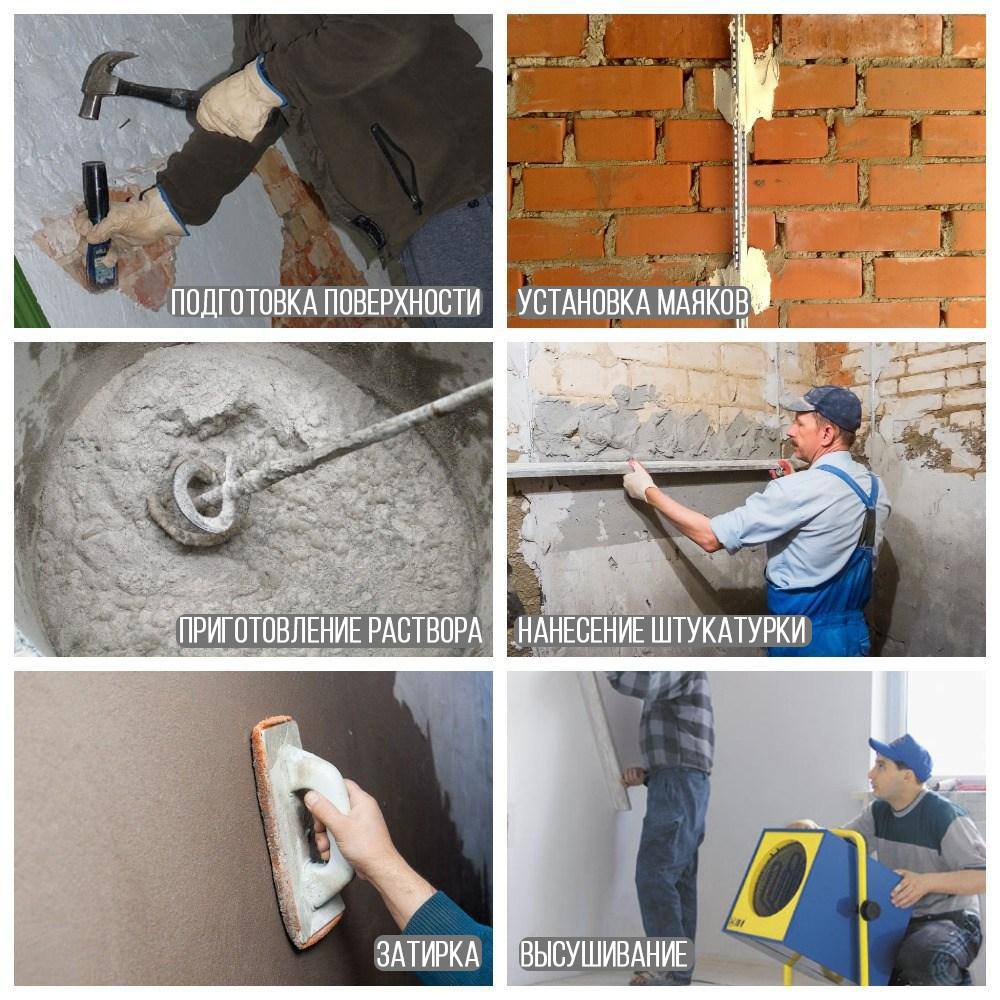
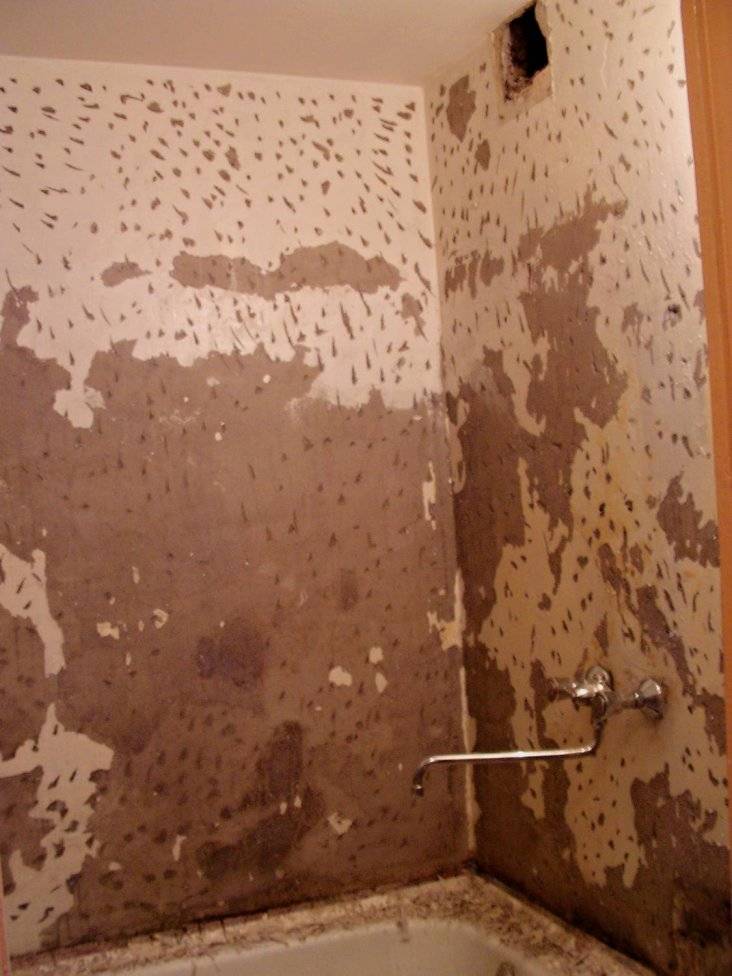
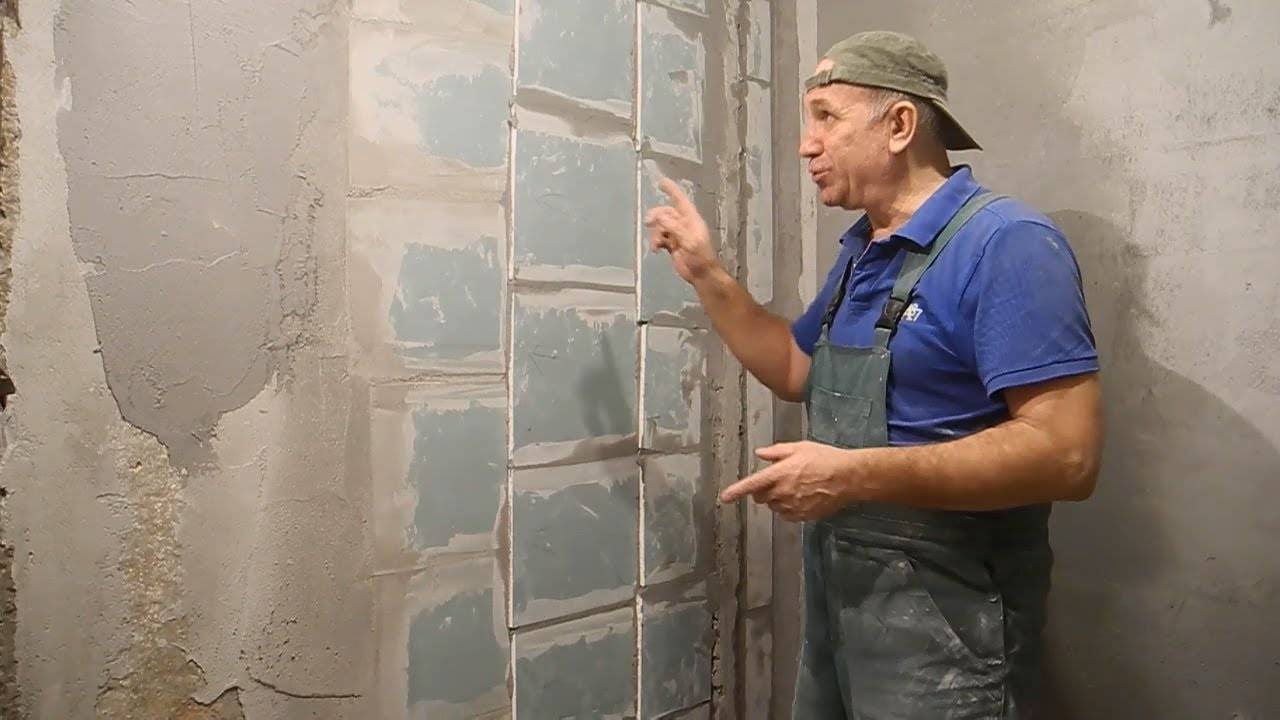
It doesn't matter what kind of work you do. First, inspect all surfaces well to find blemishes: depressions, cracks, bumps. If the walls in the bathroom have been painted, it is best to remove the old paint by removing debris and stains from the walls. Be sure to tap the walls with a hammer to reveal hidden cavities. After removing all unnecessary, you need to make small notches on the walls with a small hatchet or chisel. This will improve the grip of the mixture.
Removing the old paint coat
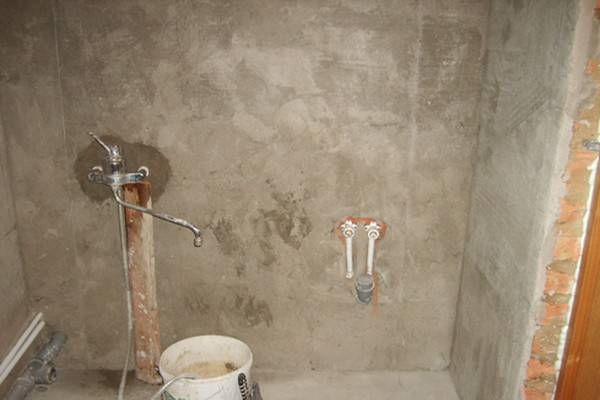
It is advisable to knock down the old plaster to the very base - brick or concrete. Do not be lazy and be sure to hold this event, otherwise, after repair, the old layer of plaster may not withstand and fall off. As a result, you will have to think about how to rebuild the repair. The cleaned walls must be primed. When working with brick walls in the bathroom, you need to deepen the seams between the bricks a little, by about 0.5 mm. This will ensure good adhesion of the plaster to the wall. If the walls are concrete, cover them with a special concrete contact.
Step 2. Apply a starting layer of plaster
The first thing you need to do is install beacons that will avoid curvature when applying the mixture.
Pay attention to this step as it really matters. Lighthouses are installed on the mortar using a building level. When working with a brick wall, you need to moisten it a little, ensuring high-quality adhesion to the cement mixture.
If you have to plaster a concrete wall, be sure to treat the surfaces with any waterproof primers.
When working with a brick wall, it needs to be slightly moistened, ensuring high-quality adhesion to the cement mixture. If you have to plaster a concrete wall, be sure to treat the surfaces with any waterproof primer.
Application of a starting layer of plaster
The consistency of the solution should be similar to sour cream, but not too liquid, otherwise the work will be difficult. The opinions of builders differ about a suitable tool: someone prefers to use a trowel, others apply the mixture with a spatula. Then apply a little mortar and with strong, sweeping movements, throw the plaster onto the walls. The first layer should be below the level of the beacons.
Step 3. Final work
Apply the second layer, which needs to be done above the lighthouses
Here it is important to act according to the rule: lean on the beacons and move the tool from the bottom up in zigzag movements. The remains of the solution must be removed
At one time, most likely, you will hardly be able to level the surface to an ideal state. For example, many novice builders have gaps on the surface. To eliminate them, it is necessary to prepare a liquid solution and fill the voids with it, using the rule.
Proceed in this way until the walls are perfectly flat. In this case, focus not on the lighthouses, but on the already plastered walls. It is quite difficult to plaster the walls in the pipework section. In such places, it is desirable to install more lighthouses. And it is very difficult to level the walls with the rule, therefore it is better to use a spatula or a metal corner.
Decorative painting methods
In addition to the classic solid coloring, when working with paint, you can use a number of special tools for original techniques:
- Stencils. They are used to apply drawings over a layer of dried paint.
- The effect of "stardust" is obtained by spraying paint of a different color using a stiff brush, which is thoroughly squeezed out before the procedure. This technique looks beautiful and stylish on dark walls (purple, blue) if light or silver paint is sprayed.
- Aging effect or stippling. Suitable for completely dry surfaces. Glaze is applied on top of the paint layer. Until the composition has hardened, it is artistically smeared over the surface with a sponge. As a result, the lower paint layer is gradually exposed.
- Contrast coloring. For work, you will need paints of different colors and supplies of masking tape. Adhesive tape is used to limit individual areas, which are painted in different shades. The technique is often used to create complex geometric patterns.
- "Chaos of strokes." For work, use a do-it-yourself rag roller. Pieces of fabric are wound onto the holder in such a way that as many folds and nodules as possible are obtained. A new shade is applied to an already dried layer of paint using this tool. It turns out an original, abstract pattern.
- Crumpled skin effect. Sheets of thin decorative paper are applied to the freshly applied paint. It is crushed and allowed to dry. After that, the surface is recoated with paint. The wall takes on a characteristic relief. To get the effect of regular leather, use a homemade suede roller. It is convenient for them to form the desired relief on a fresh surface.
- Textured coloring. It is used as an analogue of Venetian plaster. A special roller is used for work.
In the latter case, you can additionally use a colored primer or pearlescent glaze, which give a simply stunning effect if their shade is correctly matched to the tone of the base paint.

Polymer compositions
Polymer-based plaster mixes are applied in a thin layer and are able to hide small cracks or irregularities on the surface. They can be used on a plasterboard, concrete or brick base.
The advantages of using decorative plaster in the interior of the apartment:
- antiseptic properties;
- suitable for use in rooms with high humidity levels;
- has decorative properties and gives an aesthetic appearance to the room;
- suitable for both outdoor and indoor work;
- has waterproofing properties.
The main disadvantage of polymer compositions is that they must be applied on a perfectly flat surface.
Plaster finishing methods
On decorative plaster, using auxiliary materials, you can get the following types of relief:
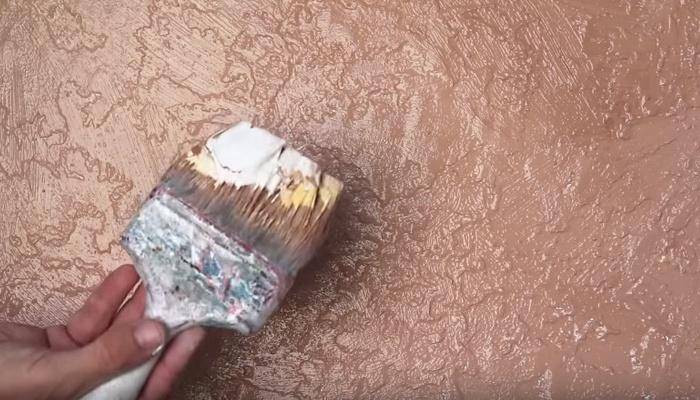
rough, uniform. This surface can be obtained using a soft sponge or crumpled newspaper placed in a plastic bag. With these objects, you need to process the entire surface, lightly touching it.
Creation of relief on the surface of decorative plaster
rough with grooves. This technique is carried out using plaster "bark beetle" and resembles the effect of thinned wood. It is obtained due to marble chips or other granules that make up such a mixture. The larger the crumb, the larger the pattern will be.
Rough relief with grooves
- furrowed. The relief is created by pressing the trowel over the raw material. In this way, the effect of stone or brickwork is created.
- Venetian. It is obtained by mixing different shades of special mixtures.
Attention! This method requires experience, so if you have never done such work, it is better to trust the professionals
Types of decorative mixtures for the bath
The decorative coating will not only reliably protect your room from mechanical and other damage - it will allow you to create an individual design in the bathroom and toilet that will brighten your everyday life and will surprise guests. Modern moisture-resistant plaster decorative mixtures have a smooth or fine-grained structure, which allows you to hide minor defects and create really beautiful surfaces. They can be used as bath plaster.
Textured
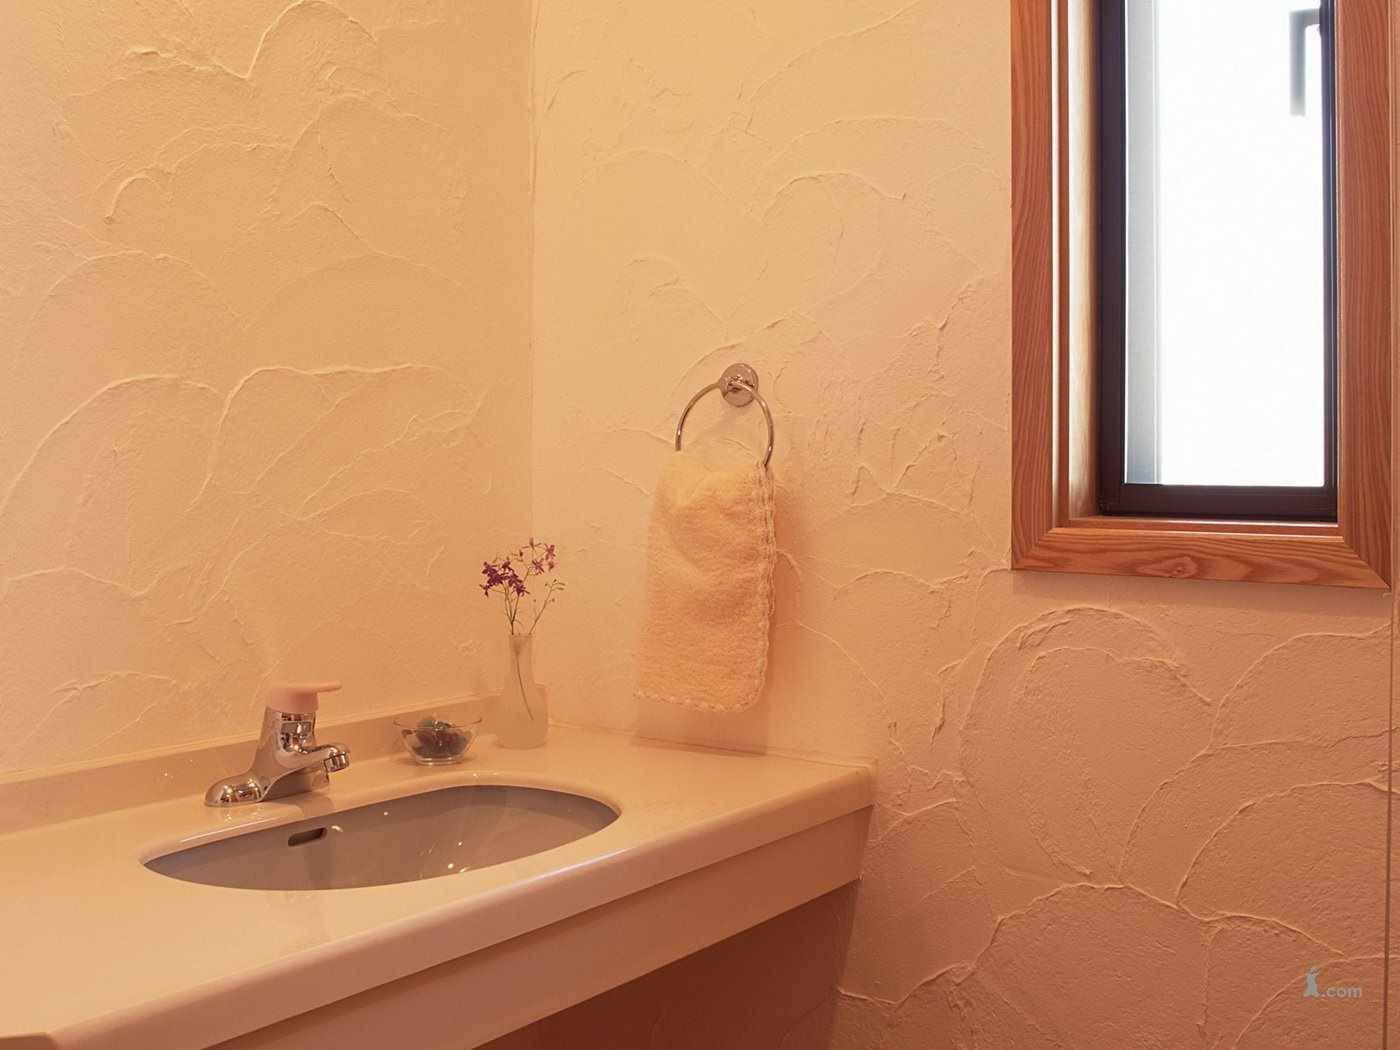
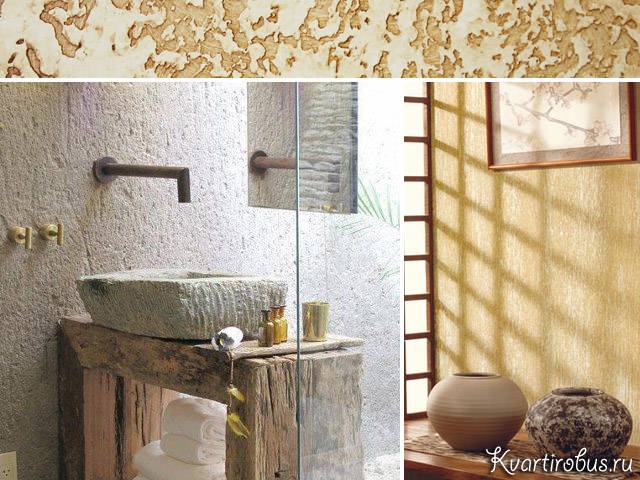
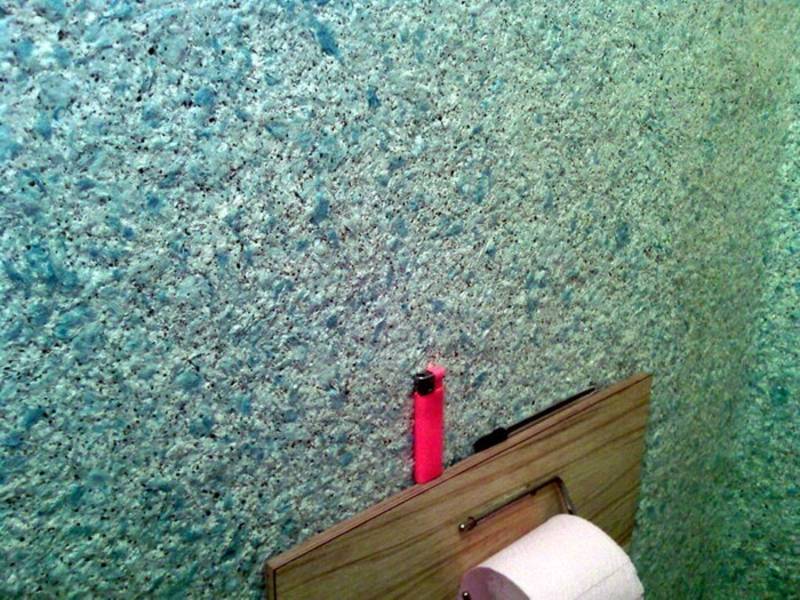
With the help of textured mixtures, several goals can be achieved at once: it is very practical for the bathroom, and has an original composition, which, after being applied to the walls, gives them a unique look. In addition to the astringent base, the textured mixtures include additional fillers. These can be cotton or wood fibers, the smallest particles of mineral chips or small stones. After processing with such a plaster mixture, the walls acquire an original pattern that resembles embossed silk, natural wood or stone.
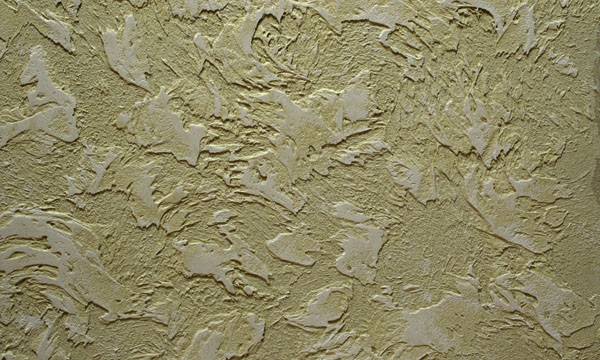 Textured plaster
The textured mixture for the bath does not require careful alignment, it better hides all minor surface defects. It has high adhesion characteristics and retains its strength for a long time. In addition, such a plaster for the bathroom is good because it can be painted by changing the boring color.
The ready-made mixture, packaged in plastic containers of 15 or 20 kilograms, goes on sale. There are two types of textured plaster - roller and trowel. Keep this in mind when choosing a material.
Venetian
A very popular textured mixture with water-repellent properties, which is called Venetian plaster, or simply Venetian. Its waterproofing qualities are so high that the Venetian is successfully used even for finishing the pool. Of course, those surfaces that are directly exposed to water should be covered with ceramics or glass panels - they will form a single ensemble with the Venetian.
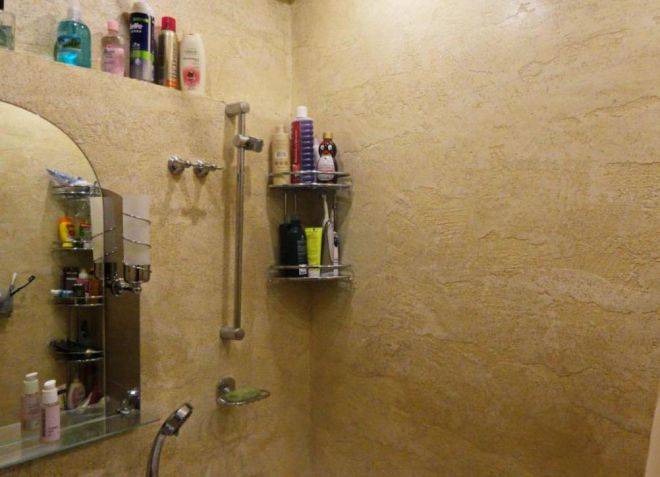
Venetian-finished surfaces resemble in texture a saw cut of natural stone, marble or granite. This gives the room a special sophistication and luxurious look.
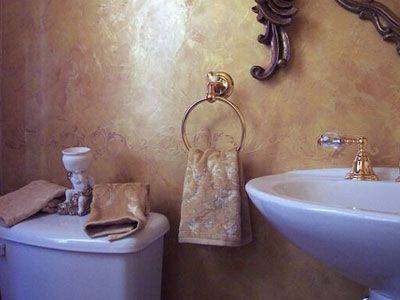 Venetian plaster
It is better to apply Venetian plaster in thin layers in several stages. Each layer should be very thin - up to transparency. This technology creates the impression of the depth of the material and the saturation of the picture. Venetian processing requires careful attention: only by achieving perfect smoothness, almost mirror shine, you can achieve the desired effect.
We introduced you to several types of plaster mixes that can be used to decorate bathrooms with tiles or decorative plaster. The choice of how to plaster the walls in the bathroom is yours. It depends, first of all, on your capabilities and finances. However, whichever type of decoration you choose for your bathroom, it is necessary that the walls be treated with special moisture-resistant plaster - including under the tiles. Only in this way can you save yourself the need to regularly carry out cosmetic repairs and make your bathroom truly beautiful and cozy.

Apply plaster
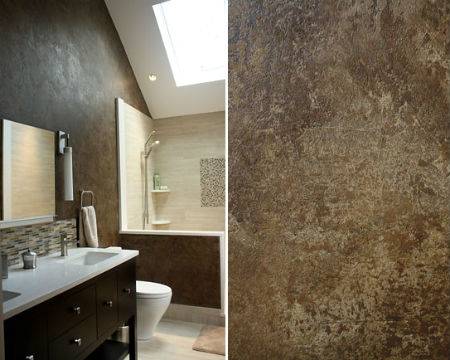
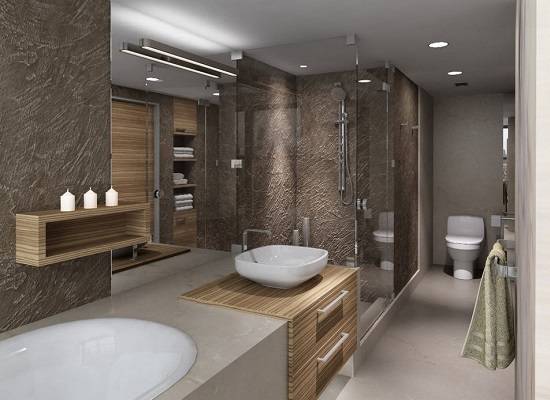
Wall decoration with moisture-resistant plaster involves the sequential application of three layers: base, rough and finishing (protective). The base coat of the finishers is called spatter. First, the surface of the wall is abundantly moistened with water. Then, while the moisture has not been absorbed, a thick solution is collected using a small ladle and thrown onto the wall. The thickness of this layer should not exceed 0.5 cm. It can reach 1 cm if the surface is wooden.
The spray is done so that the entire wall is covered with the solution. At the same time, do not level the mixture - it should solidify in its original form.
When the first layer is dry, you can take up the draft layer.It needs to be leveled. A spatula and trowel are suitable for this. First, a small amount of plaster is applied to the surface, just like in the first layer. Then the composition is leveled. After that, it is necessary to smooth the surface with a wooden trowel, periodically moistening it with water. Movements should be circular. Check the surface with a spirit level.
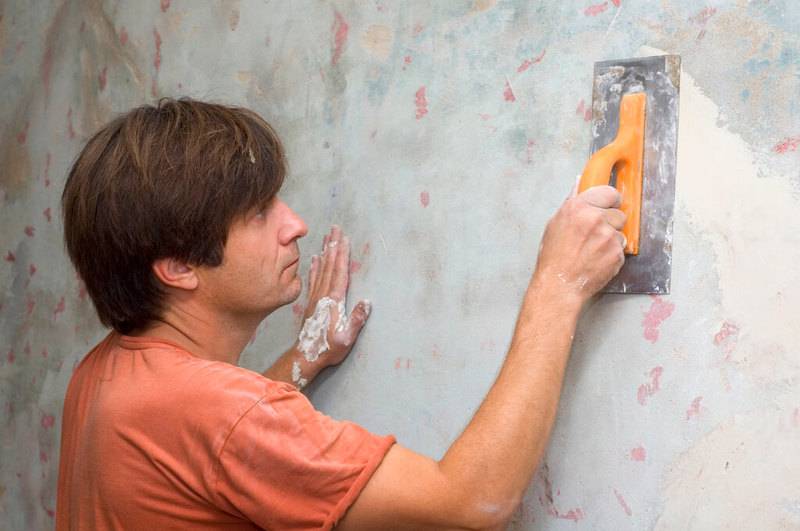
And finally, it remains to apply the final layer. They proceed to it after the previous one has dried. The wall is again moistened with abundant water. Moisture-resistant putty is applied with a trowel, after which it is rubbed to a flat surface with a trowel. When working with a trowel, experienced plasterers recommend holding it at an angle of 20 °. This will make the process easier, and the material will lay down more evenly. If you want to apply a decorative pattern, this is done immediately, before the solution has hardened.
We examined the features of applying plaster to the walls in the bathroom. If you do it right, you will get a beautiful and durable finish. The main thing is to choose the right material and knead the dry composition strictly according to the instructions that are indicated on each package.
Choice of colors
When choosing a color scheme for a bathroom, several characteristics are taken into account:
- the size of the room;
- design style;
- taste preferences.
Color plays an essential role in creating mood. Older people should not choose dark or overly bright shades. Recall that aggressive tones quickly get bored and do not allow you to relax.
White
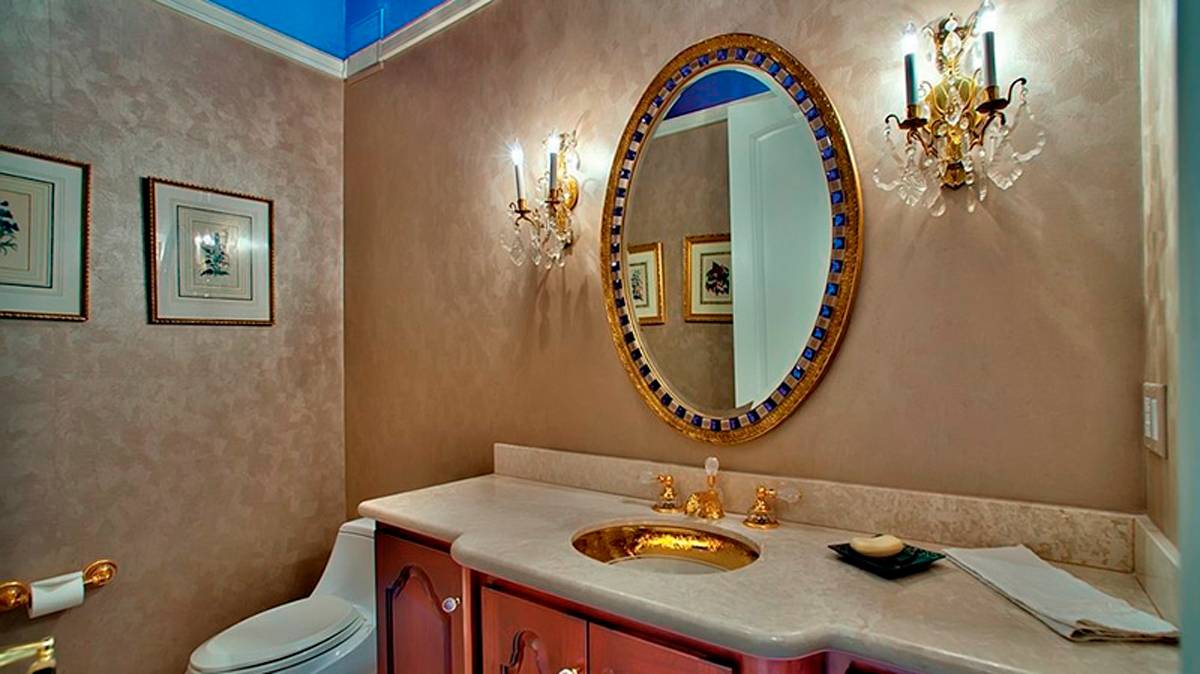
Classic white is considered ideal for the bathroom. It is synonymous with cleanliness and hygiene. It is worth combining white with black or any other color so that the bathroom does not look sterile and impersonal. White expands the space, a room with a predominance of white will look spacious and light.
Gray
Gray is considered sophisticated and versatile. It matches perfectly with any color, suitable for modern bathrooms. It is better to choose complex shades - gray-blue, gray-pink, pearl.
Black
The design in black is suitable for young positive people who are not prone to depression. The bathroom will look stylish, expensive, sophisticated and modern. It is necessary to provide for many lamps, glossy surfaces, illuminated mirrors.
Beige
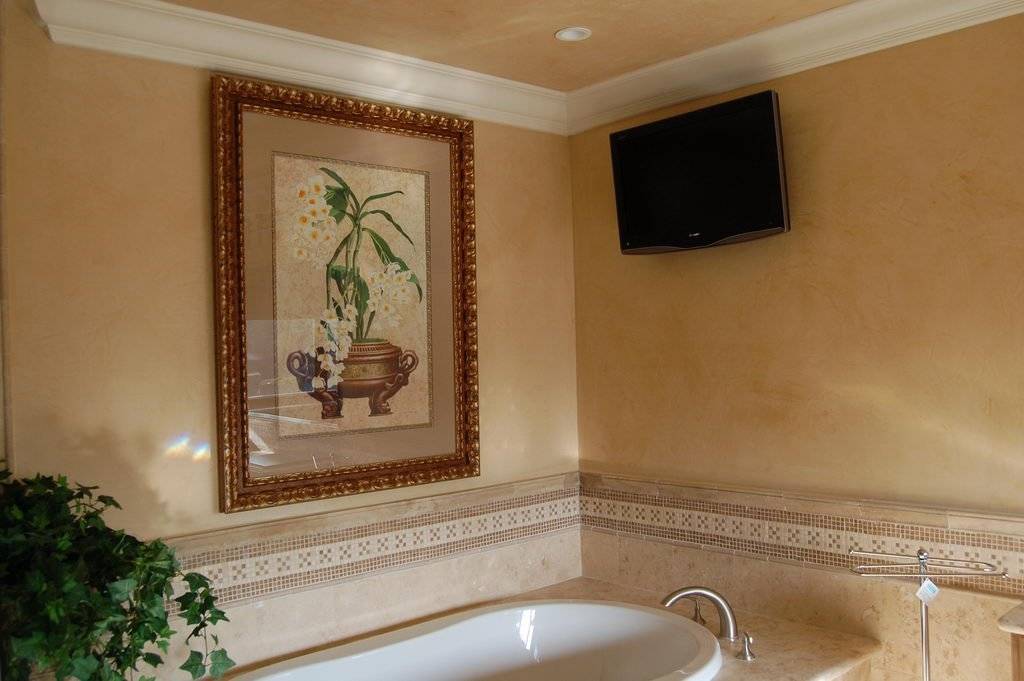
A discreet beige color is neutral, pleasing to the eye, does not tire. Good for those who make renovations for years to come. Suitable for classic style rooms. In bright colors, accessories are usually chosen to liven up the interior.
Gold
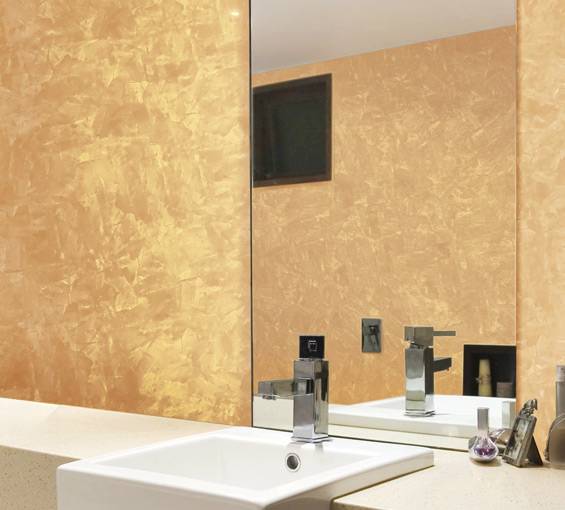
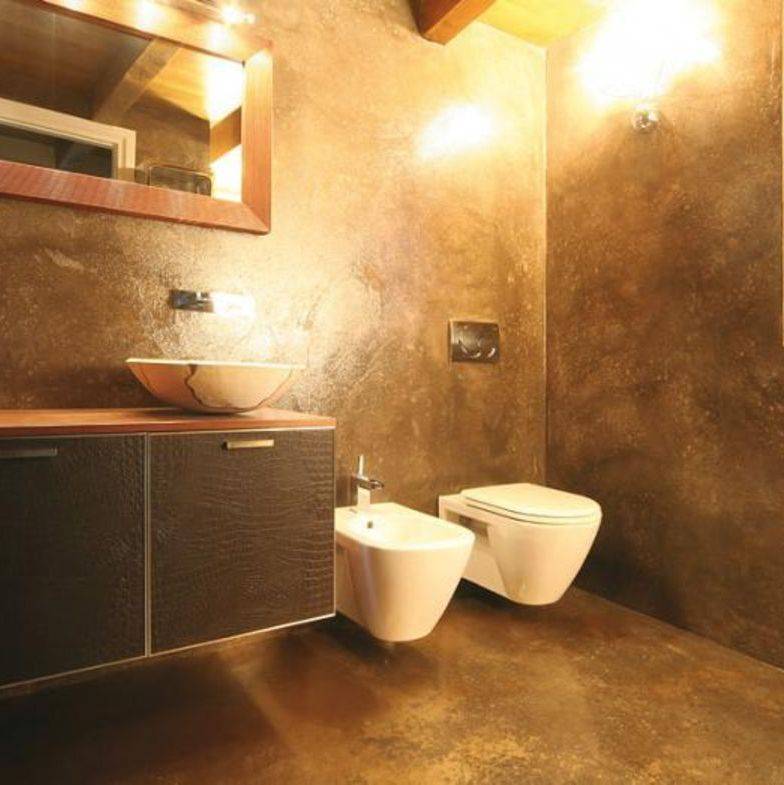
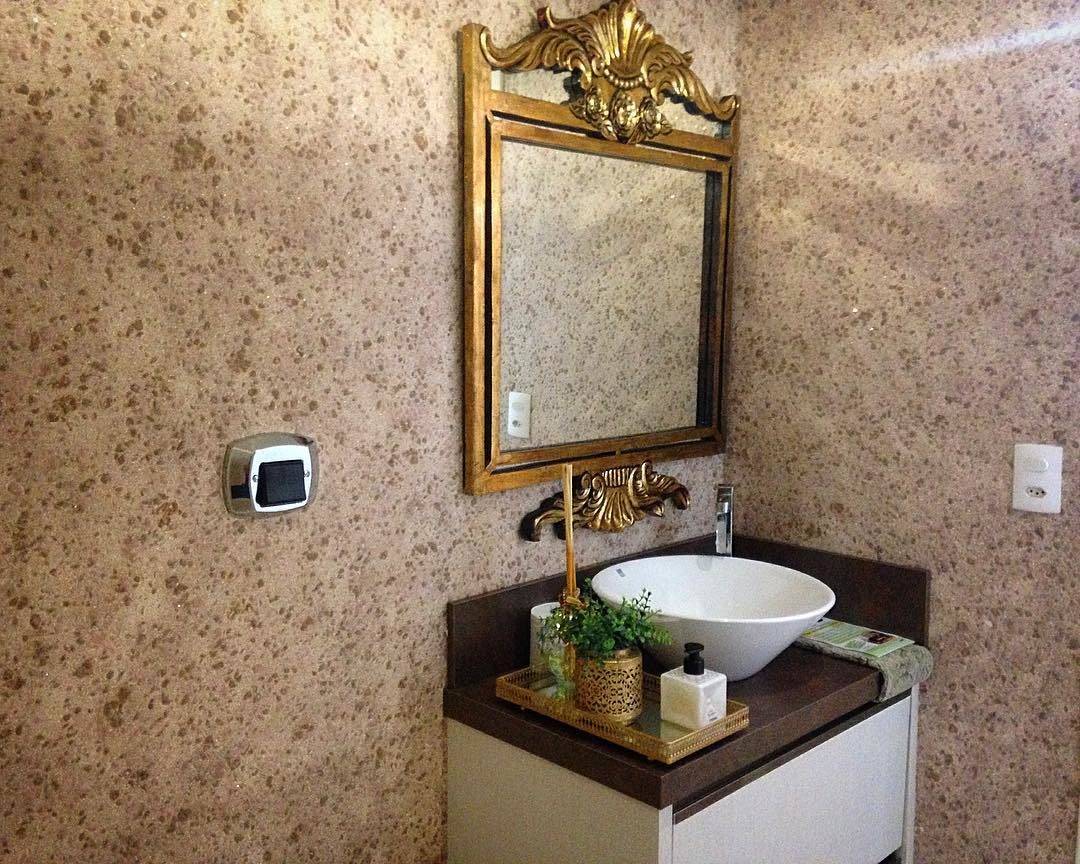
Gold-streaked surfaces and gold-look accessories are gaining popularity. The interior in this design looks luxuriously oriental. Note that it is better to use blotches of gold. Shiny gold particles will enliven the walls, add depth and mystery to the bathroom.
Green
Those who want peace and relaxation should choose green tones - they relax, charge with positive, increase vitality. Natural colors look fresh and natural.
Red
The color of blood and love is considered aggressive and exciting. Red shades awaken during the morning shower and awaken sensuality in the evening. Do not choose too bright a tone and make all the walls red. The bathroom will look extravagant and catchy.
Blue
Shades of blue are often used in bathrooms. They resemble the sea on a sunny day. Blue goes well with rich blue and white colors.
Types of decorative plaster for the bathroom
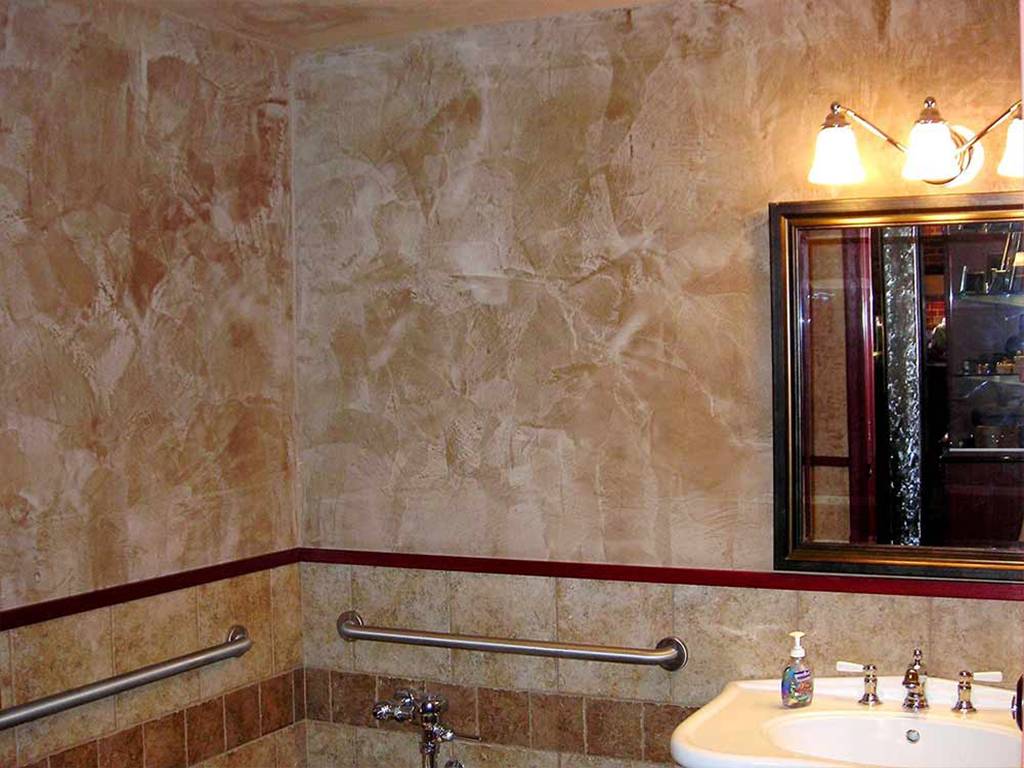
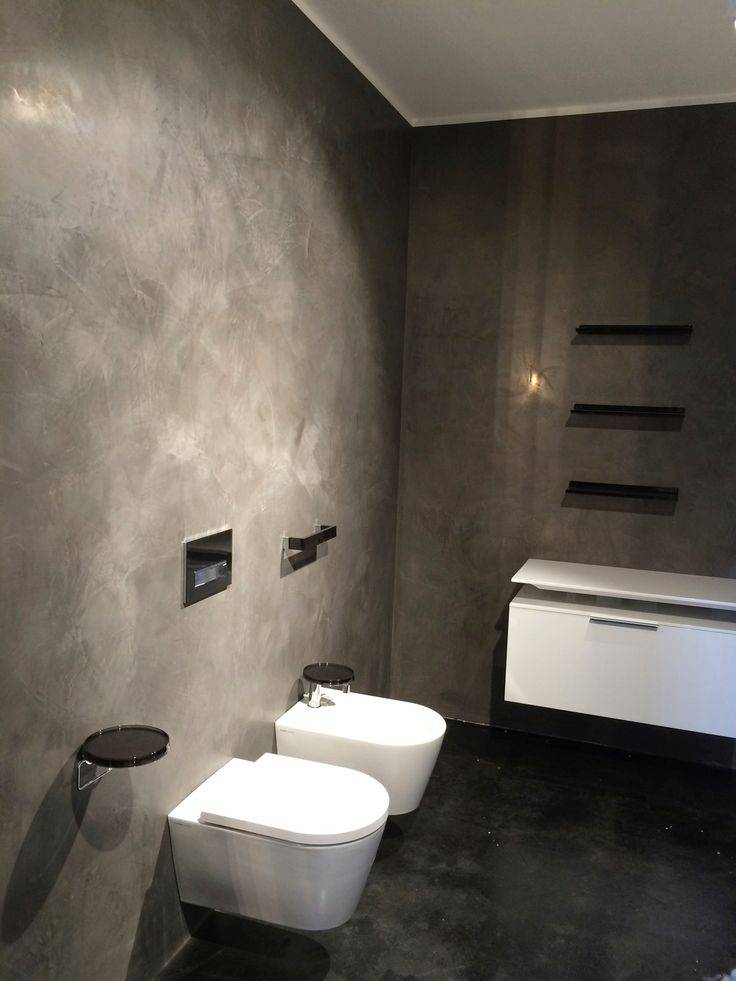
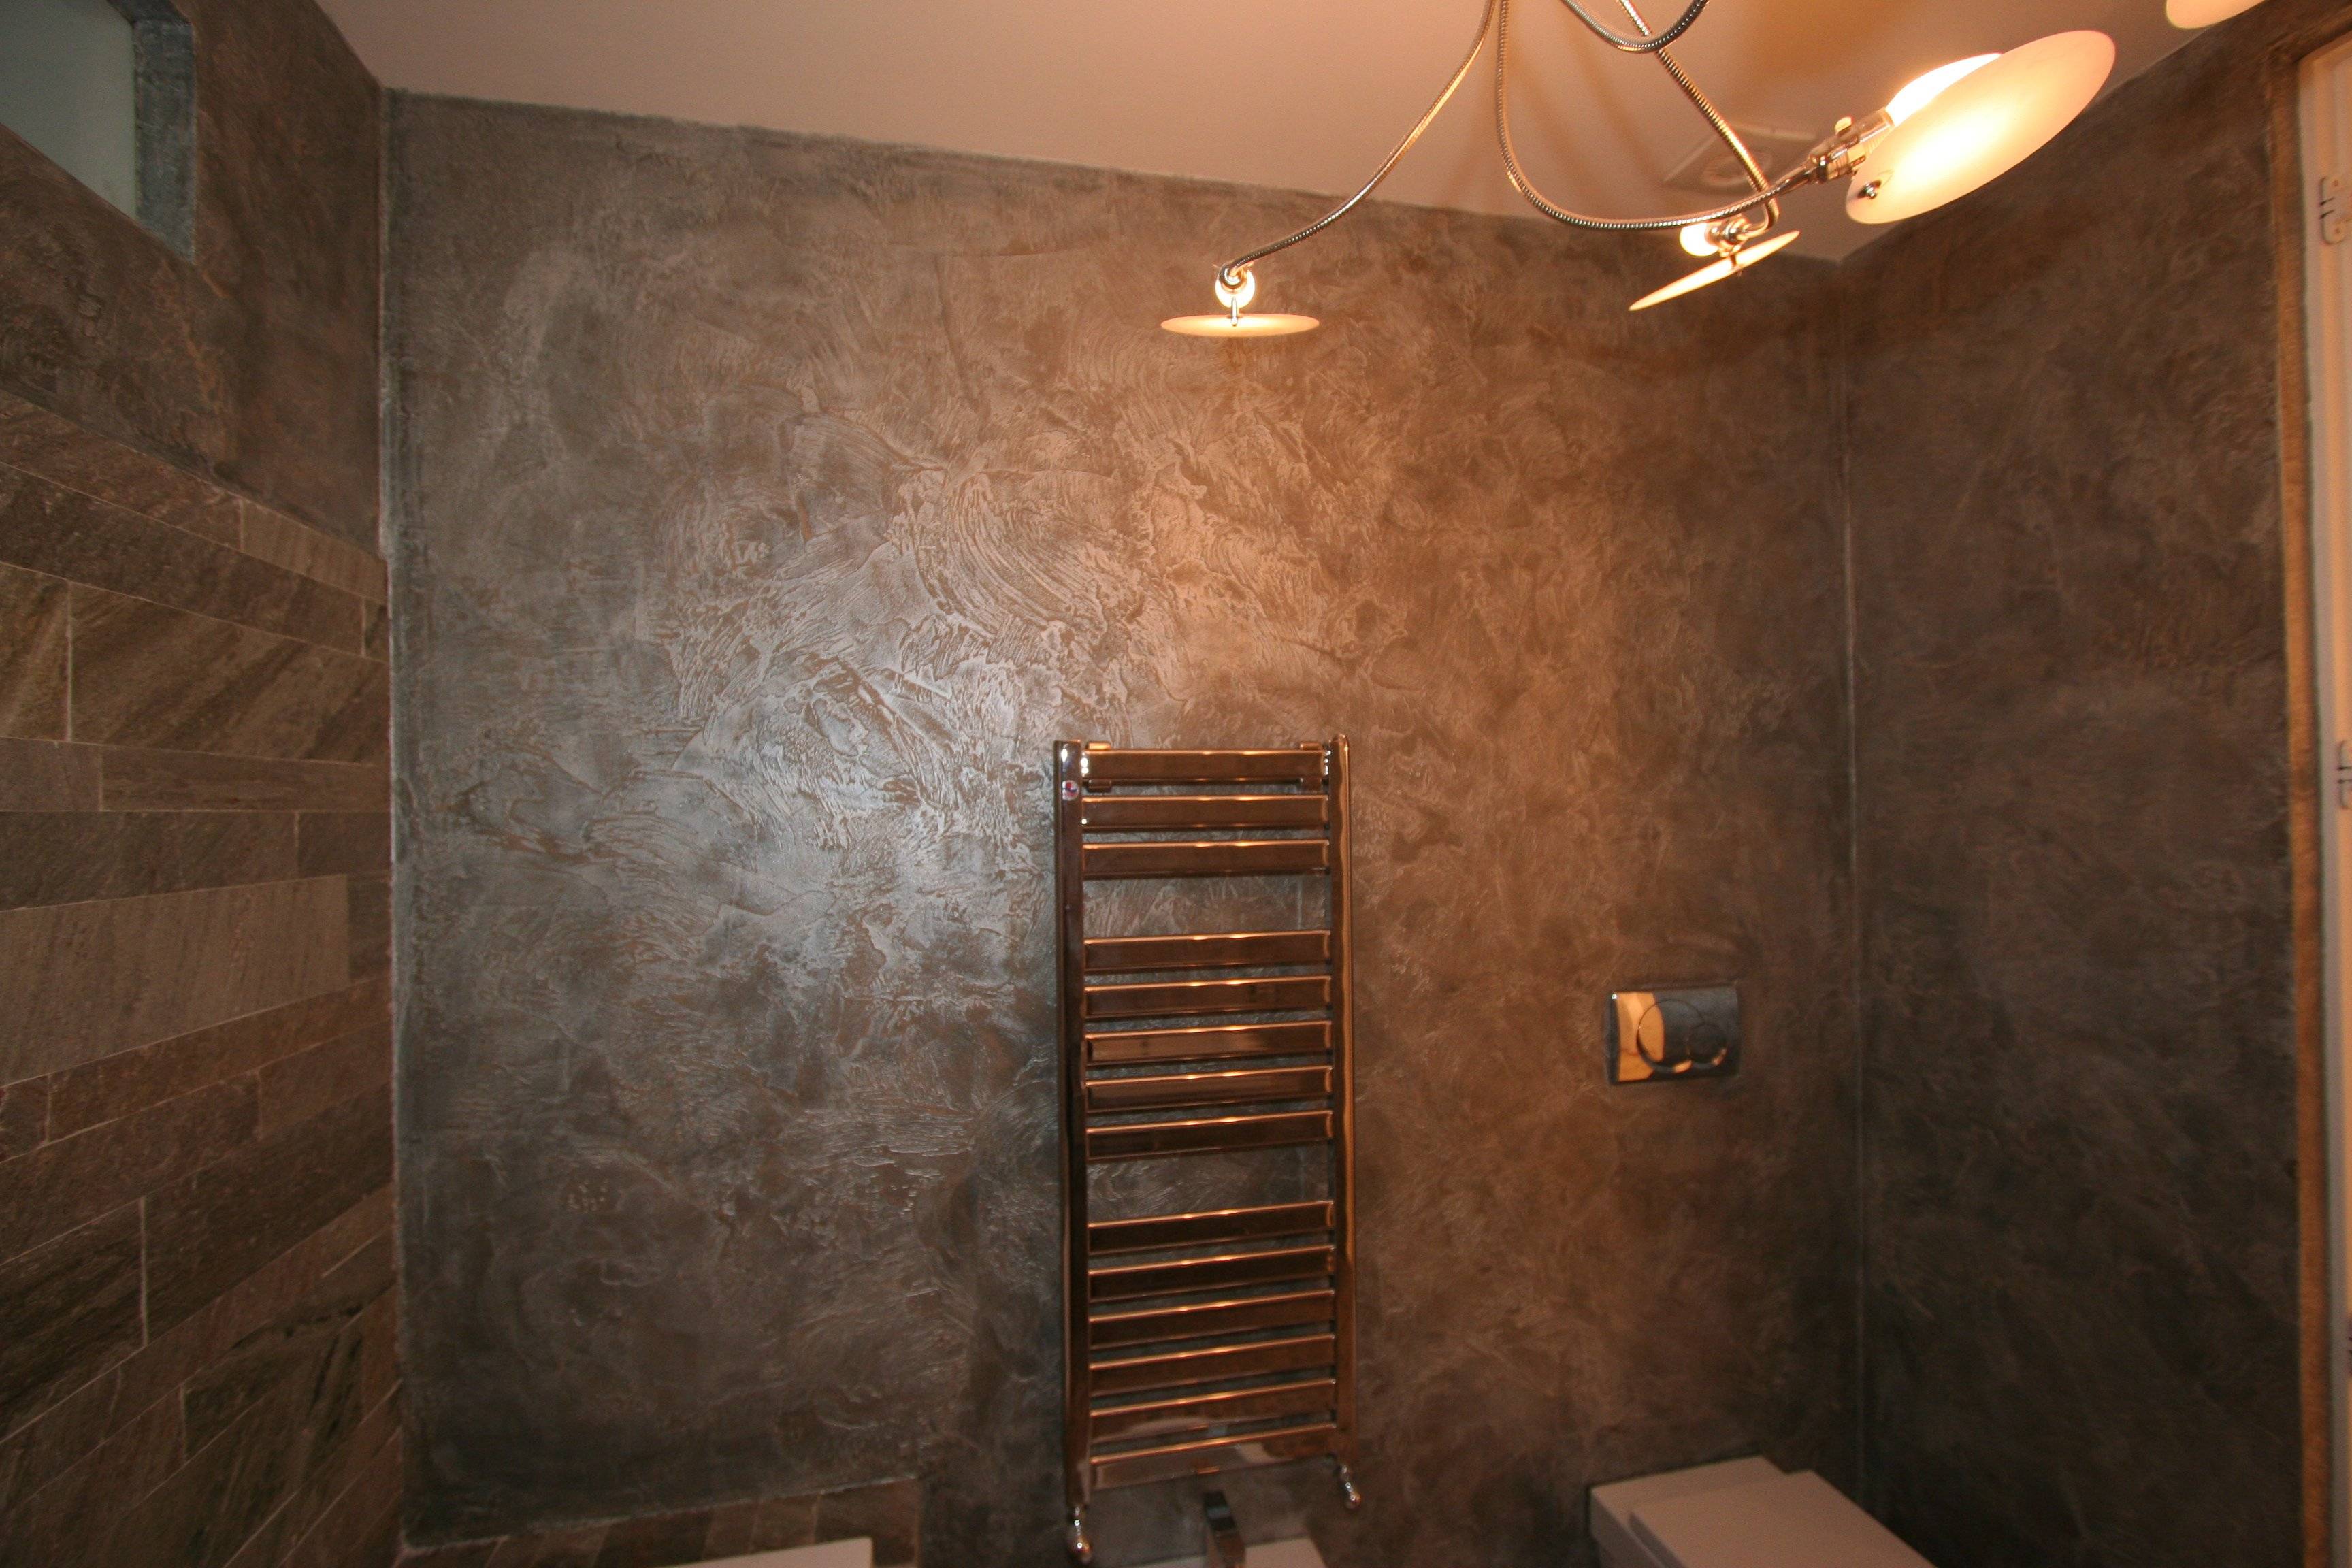
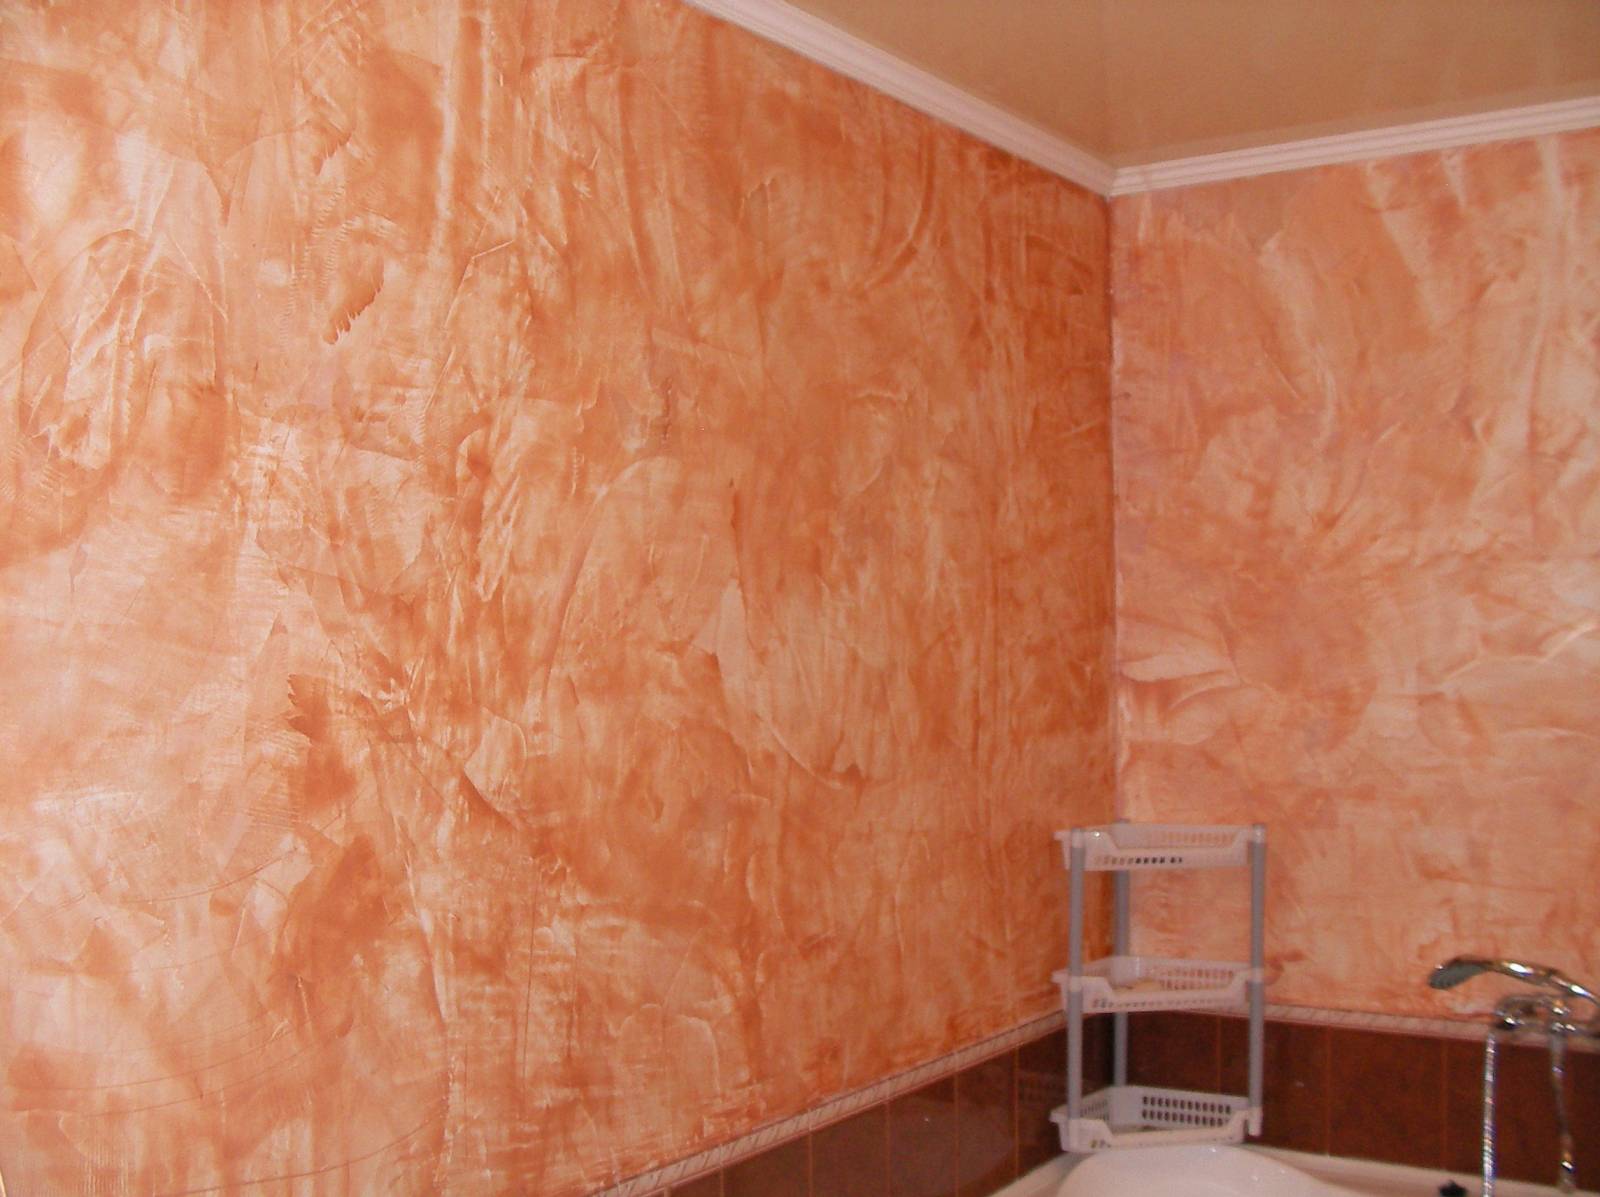
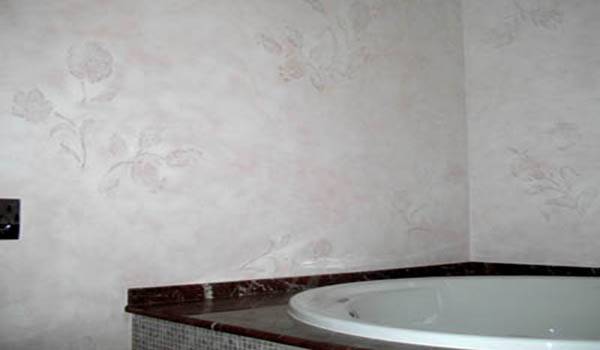
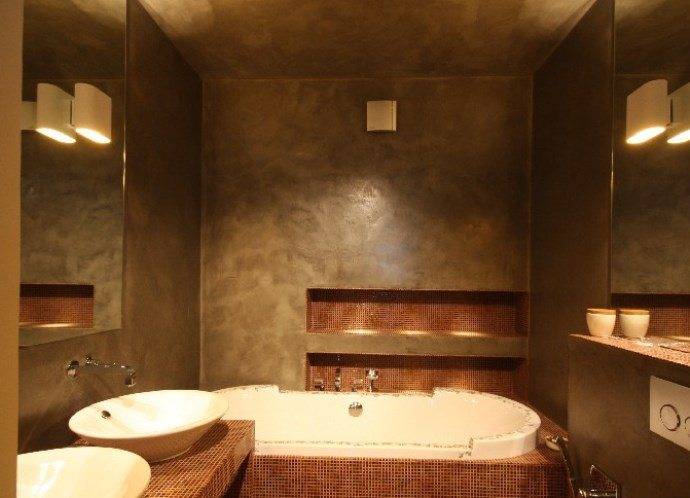
Many of you have probably come across a classic type of finishing material that imitates marble. Decorative finishes can give a workspace a silvery, gold or pearlescent hue.
Less common, but there are rooms with walls made of malachite, jasper, or the same granite.
Let's get acquainted with common types, which include:
- Veneto.
- Trevignano.
- Marbella.
- Ensausto.
Read more about each of them below.
Today it is a common classic imitating marble. Its peculiarity: thorough grinding.
Trevignano type
It belongs to the decorative coating category. Feature: there is an interior lighting effect that creates a semblance of a marble wall with a mirrored shade. Venetian bathroom plaster of this type, thanks to translucent layers interspersed with colored spots, allows you to achieve a stunning, non-standard effect.
Marbella type
With its help, the effect of roughly cut marble is achieved. Feature: unusual shades can be achieved through the play of light.
2 Plaster mixes - which are suitable for the bathroom?
Among all the variety of plasters for walls in home construction, gypsum and cement-based compositions are most often used. They are the most affordable and easy to use. In addition, they can always be bought at any building store, and the choice of manufacturers is quite wide. Gypsum-based mixtures are well known to every home craftsman. Who has not heard about Rotbant, Volma and similar brands. Such compositions are perfect for plastering walls indoors - they are flexible, dry quickly and are easy to use, even for those who first try themselves in plastering. However, they are only suitable for dry rooms.
The fact is that gypsum tends to absorb moisture (and there is plenty of it in the bathroom), as a result of which it begins to crumble and collapse. For this reason, it is not recommended to use ordinary drywall in the bathroom - it is replaced with moisture resistant one. If the walls are already plastered with gypsum mortar, and this is done really well, then there is a way out of this situation - you need to equip high-quality waterproofing of the walls.
How to plaster the walls in the bathroom under the tiles in this case? The ideal solution would be to use cement plaster. It provides excellent waterproofing of the walls, while remaining vapor-permeable, which allows the walls to breathe. This contributes to the fact that neither fungus nor mold forms on such walls. Cement plaster is environmentally friendly and has great durability.
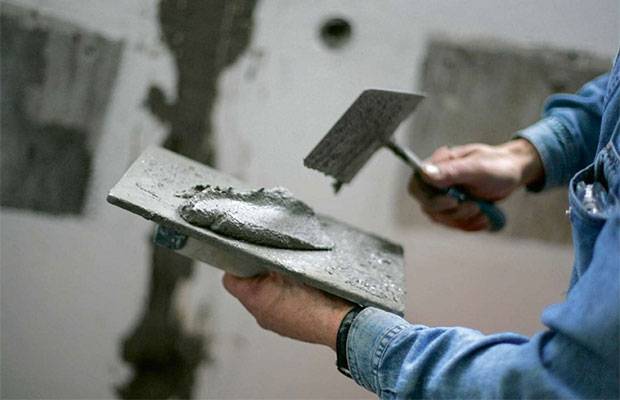
The ideal solution would be to use cement plaster: it provides waterproofing of the walls, while remaining vapor-permeable
On the construction market now there is plenty to choose from - this is Cerezit, and Eunice, and Prospectors - the list goes on. But it should also be noted that anyone can prepare the mixture on their own. You need to take cement (4 parts) and sand (1 part). For better plasticity, it is recommended to take quarry sand, since it contains clay, which is responsible for this quality. If only river sand is available, then a plasticizer for cement must be added to the mixture. It can be a little soapy water or washing machine powder - this method has been tested many times.
Bathroom cement plaster has its drawbacks. The applied solution dries much longer than the gypsum counterpart. In addition, cement-sand mortars are quite heavy, so if there is a need to apply the mortar in a thick layer, then it is better to carry out the work in several stages, letting each layer dry for at least one day.
Sanitizing plaster for tiles is another type of mixture that can be used in wet rooms, because it is successfully used not only inside, but also on the facades of buildings. The uniqueness of the plaster lies in its two-layer composition. The base layer has a porous structure that helps to wick moisture away, and it does it quickly enough, not allowing water to linger on the surface.

Sanitizing plaster for tiles is another type of mixture that can be used in damp rooms.
The sanitizing top layer has special additives that absorb salt, preventing it from showing through on the surface. In this way, the salt crystallizes inside the pores of the layer and does not come out at all, without spoiling the appearance of the surface. The plaster does not crack even when applied in a thick layer, although 2 cm is enough to protect the walls. The disadvantage of this type of composition is its weak resistance to frost and drying out, but this only applies to its use outdoors. For this reason, the use of renovation plaster is also an excellent opportunity to level the walls in the bathroom.
Is it possible to lay tiles on plaster
For a high-quality leveling of the surface, it is best to plaster it, choosing a suitable composition. But the putty does not need to be applied, since the minor differences that it removes are neutralized by the tile glue. In some cases, the walls have already been leveled at some point and, despite the fact that the plaster is old, the result remains. There may be doubts about whether it is worth revealing such a base.
First of all, you should carefully examine the coating and assess its condition. It is best to take a hammer and methodically tap the wall. A voiced sound will indicate the normal state of the base, a dull sound indicates the presence of voids. In such areas, the plaster is removed. They also remove it where it crumbles and cracks. All defects are carefully repaired with a suitable solution.
It is somewhat more difficult if the plastered wall is painted. Laying the tiles on the paint is not worth it, the adhesion will be very poor. It is optimal to remove the paint layer, but this is a very laborious process. You can proceed as follows: apply notches, which will significantly improve adhesion. They are made at a short distance from one another. They do the same with an unpainted smooth base if they want the lining to last for a long time.
Stages of plastering walls
Before plastering the walls, remove the old coating and brush the surface with a brush. Then it is recommended to wipe the surface with a damp sponge, and rinse heavy dirt with soapy water.
It is imperative to measure the plane with a level or plumb line.
A primer must be applied before plastering. As mentioned, this will give the finish strength, moisture resistance and mold protection. Primed with a brush, roller or spray in two layers.
The plaster mixture is applied in three layers. For each subsequent solution, the solution is made more liquid. Procedure:
- Before starting the application, metal beacons are installed on the walls, which are attached to the surface in small portions of the solution.
- It is recommended to spray under the first layer of the wall with water from a spray bottle.
- Spread the mortar with a spatula or a paint bucket, starting from the bottom. Then they align with the rule attached to the guides, lifting it up and moving it slightly from side to side.
- The crumbling walls are additionally reinforced with a mesh, which is fixed in the first layer of plaster.
- After complete drying of the solution, you need to plaster again.
- For better adhesion to the finishing layer, notches are made on a fresh second layer with a notched trowel.
- The last layer is made from a decorative mixture or rubbed, if prepared for painting.
What decorative plaster is suitable for the bathroom
Materials for bathroom renovation must be moisture resistant - this is the most important rule in choosing cladding for rooms with difficult operating conditions. So that decorating the walls in the bathroom with decorative plaster does not bring unpleasant surprises in the form of black spots, peeling, bubbles, you should carefully study its composition, and choose from a huge range of moisture-resistant types, preferably for outdoor work
These include: silicate, mineral, acrylic, silicone.
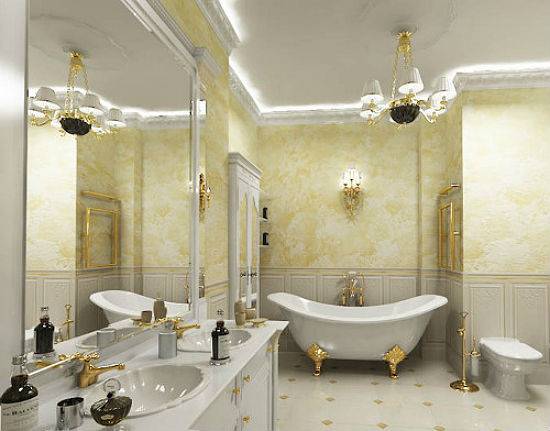
Classic bathroom interior using modern and traditional materials
Mineral
Mineral decorative plaster is considered one of the most water-resistant, thanks to the waterproof fillers in its composition. The covering is textured, vapor-permeable, the room with such a finish "breathes". The main components are cement and lime, sometimes interspersed with marble, the larger the fraction, the brighter the relief of the coating. During operation, the plastered surface can be washed with warm water with the addition of household chemicals, rubbed with brushes and abrasive sponges. The disadvantages include low elasticity, therefore it is not recommended to use it in bathrooms of new buildings and in houses subject to vibrations.
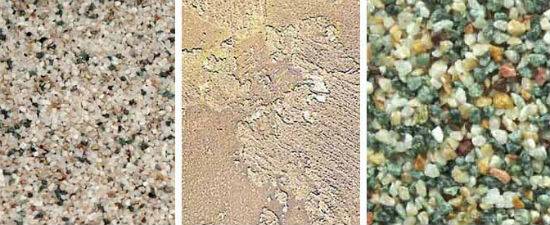
Decorative plaster in the bathroom, in the photo the finished layer of the mineral composition
Acrylic
Acrylic-based polymer decorative plaster in the bathroom is a ready-made mixture that includes ash elements, synthetic resins, fine fractions of glass or marble. This plaster can be tinted in any color, therefore it is of particular interest to designers. The acrylic mixture has a high degree of resistance to moisture, but the polymers in its composition make it difficult for air exchange, therefore, when deciding to use this particular composition, you should take care of good ventilation of the room in advance.
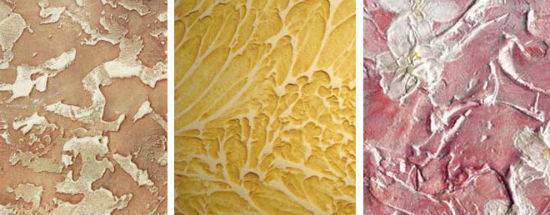
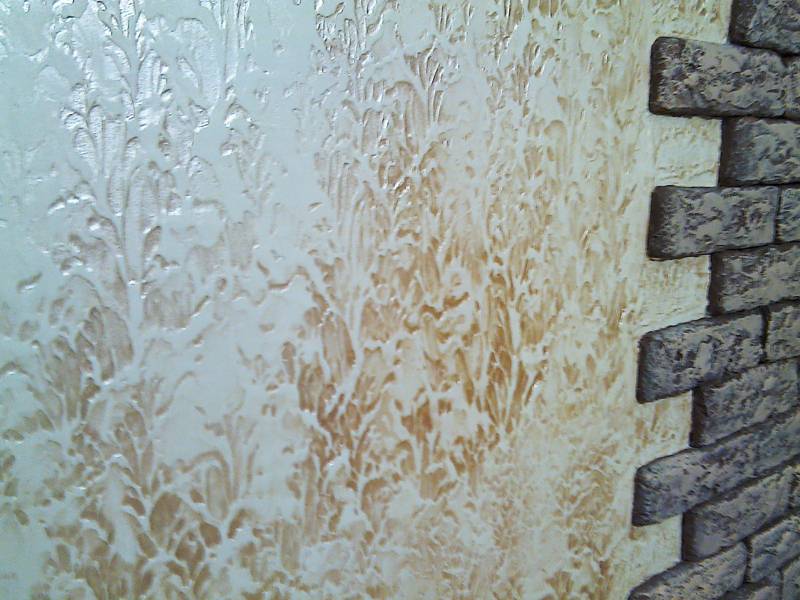
Examples of acrylic textures
Silicone
Silicone resin plasters are one of the most versatile materials for bathroom finishing. The composition is elastic, therefore, silicone decorative plaster in the bathroom with your own hands is easily applied to the wall, has high hydrophobic characteristics, is vapor-permeable, prevents the formation of microorganisms, mold, fungi. Silicone plaster for the bathroom does not fade under the influence of ultraviolet radiation, which is essential for bathrooms in private houses where there is a window.
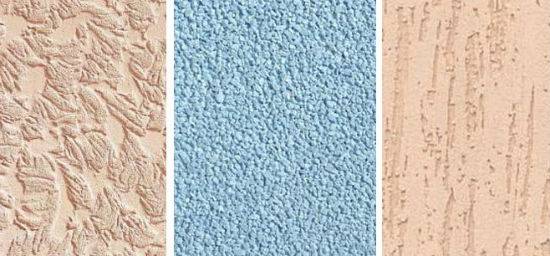
Silicone application methods, discreet texture pattern suitable for small spaces
Silicate
Silicate moisture-resistant plaster for the bathroom is prepared on the basis of potassium (liquid) glass. The walls in the bathroom, plastered with a silicate mixture, do not allow water to pass through, prevent the formation of mold and mildew under the finish. The solution is vapor-permeable, which contributes to oxygen exchange and the maintenance of a favorable microclimate. A wide range of color shades allows you to choose the desired color scheme for any interior style. The only disadvantage of the silicate mixture is the high price, but this is more than covered by the aesthetics and durability of the finish.
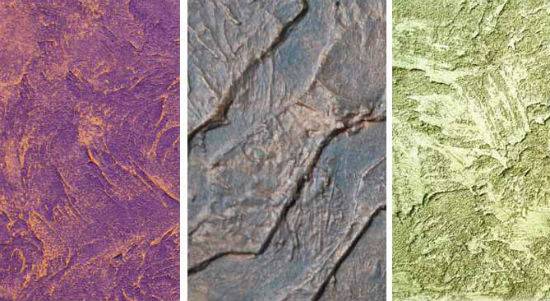
Textured silicate finish, ideal for accent walls or large rooms
Application technique
Each type of decorative plaster can be applied in a special way to obtain a finish with an original pattern. For the bathroom, the most relevant:
- Fur coat or goose bumps - they are passed over a smooth layer with thick paper or cellophane crumpled into a lump, forming a kind of relief.
- Bark beetle - carried out with construction floats, possible in mixtures with large-fraction inclusions.
- Furrows - drawing with a trowel or spatula, imitates brick or masonry.
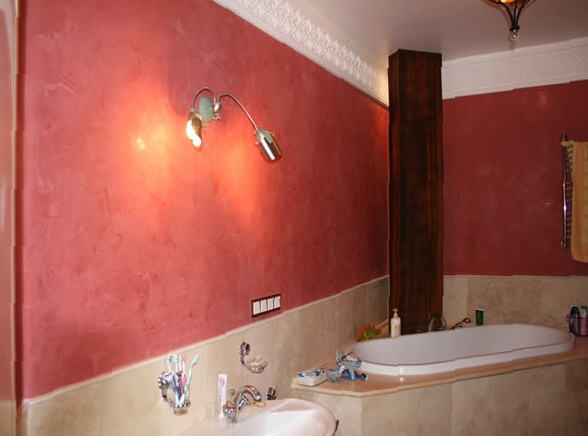
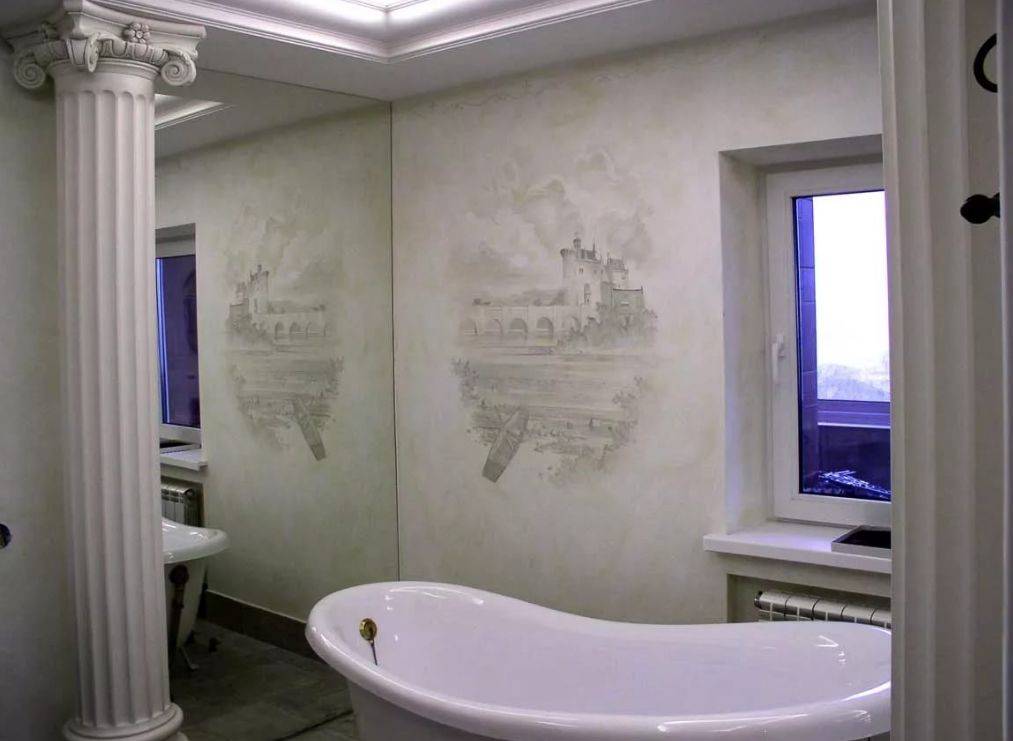
- Venetian plaster in the bathroom is the most demanded and beautiful way of decorating, it is achieved by multi-layer, different shades, scraping and compaction of the composition. The result is a surface that faithfully imitates marble and other stones.

Decorative plaster in the bathroom, photo of a combination of different materials in the interior
Specialist recommendations
Whatever plaster you use, you can only use a solution that resists moisture, steam, and temperature changes well. However, there are still some pitfalls that complicate the decoration and operation of the shower room. Some tips will help you avoid them. Recommendations:
- To make the mixture, use water without impurities at room temperature. The solution must be kneaded by sprinkling dry powder into water, stirring it constantly.
- The composition must have a certain consistency based on the required layer thickness.
- When mixing the solution, you need to understand that this amount should be applied in about 25-30 minutes, otherwise the composition will harden.
- When plastering walls and bricks, the joints should be filled, flaws and irregularities should be smoothed, and then the solution should be applied to the prepared surface.

