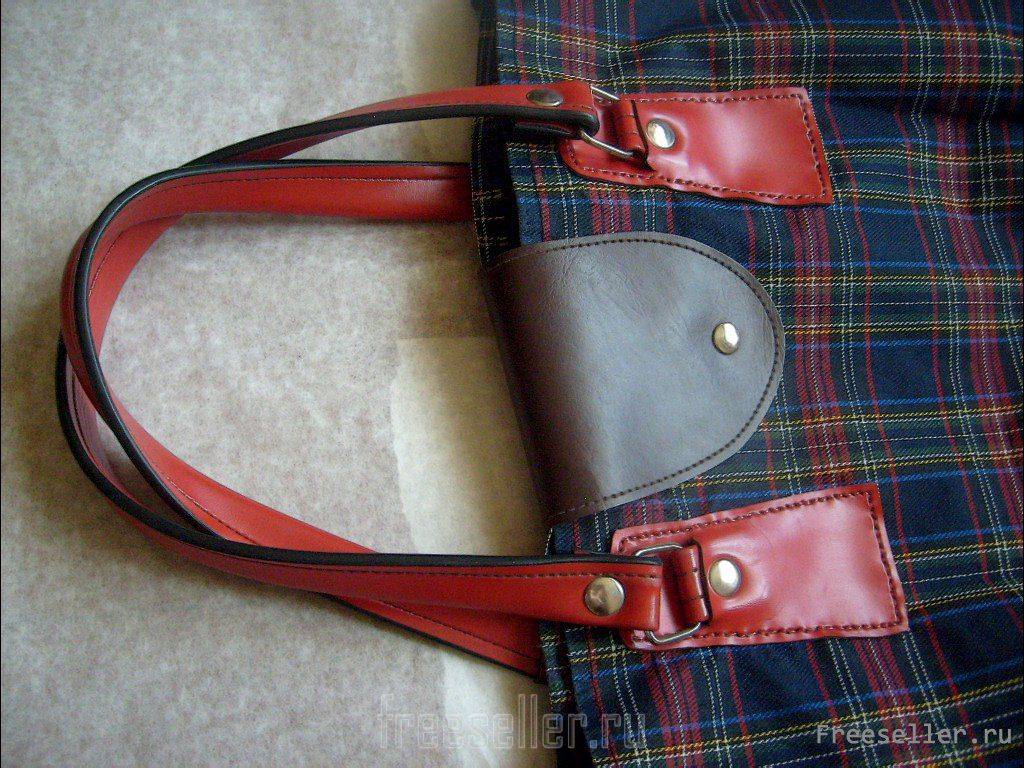
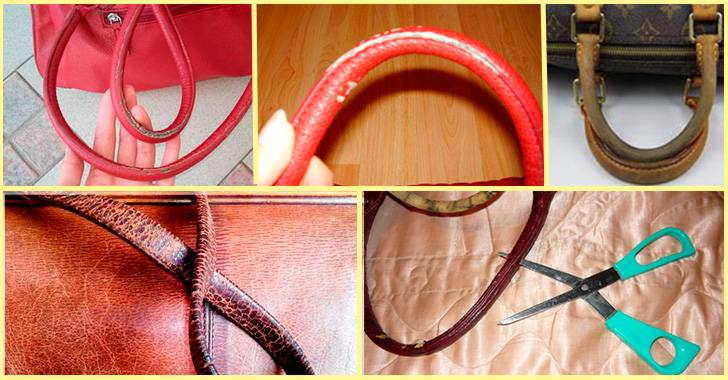
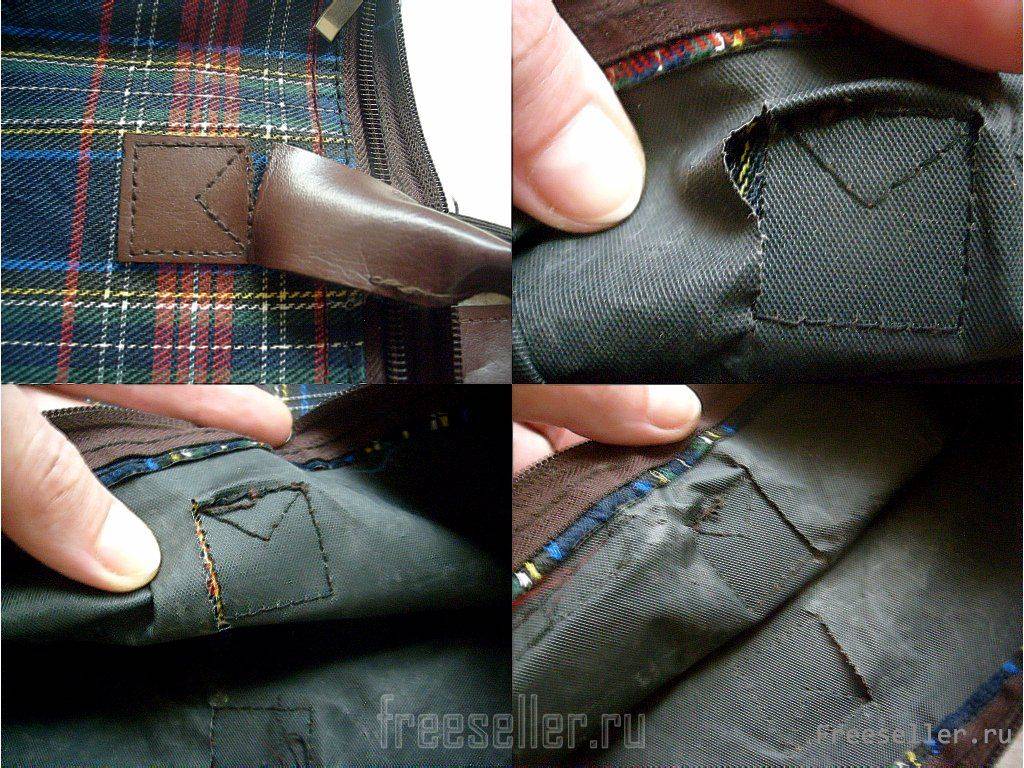
How to update bag handles with your own hands in a step-by-step master class
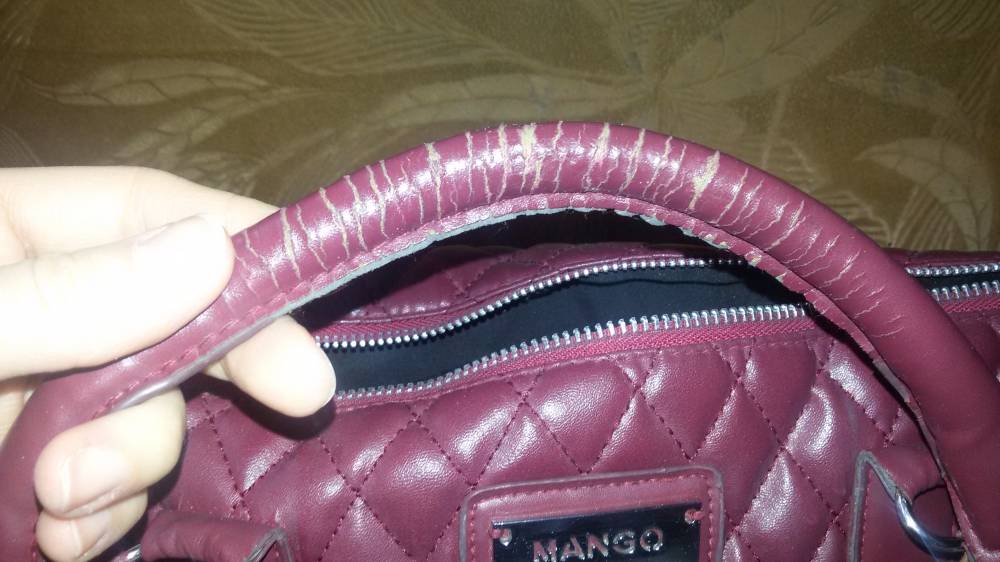
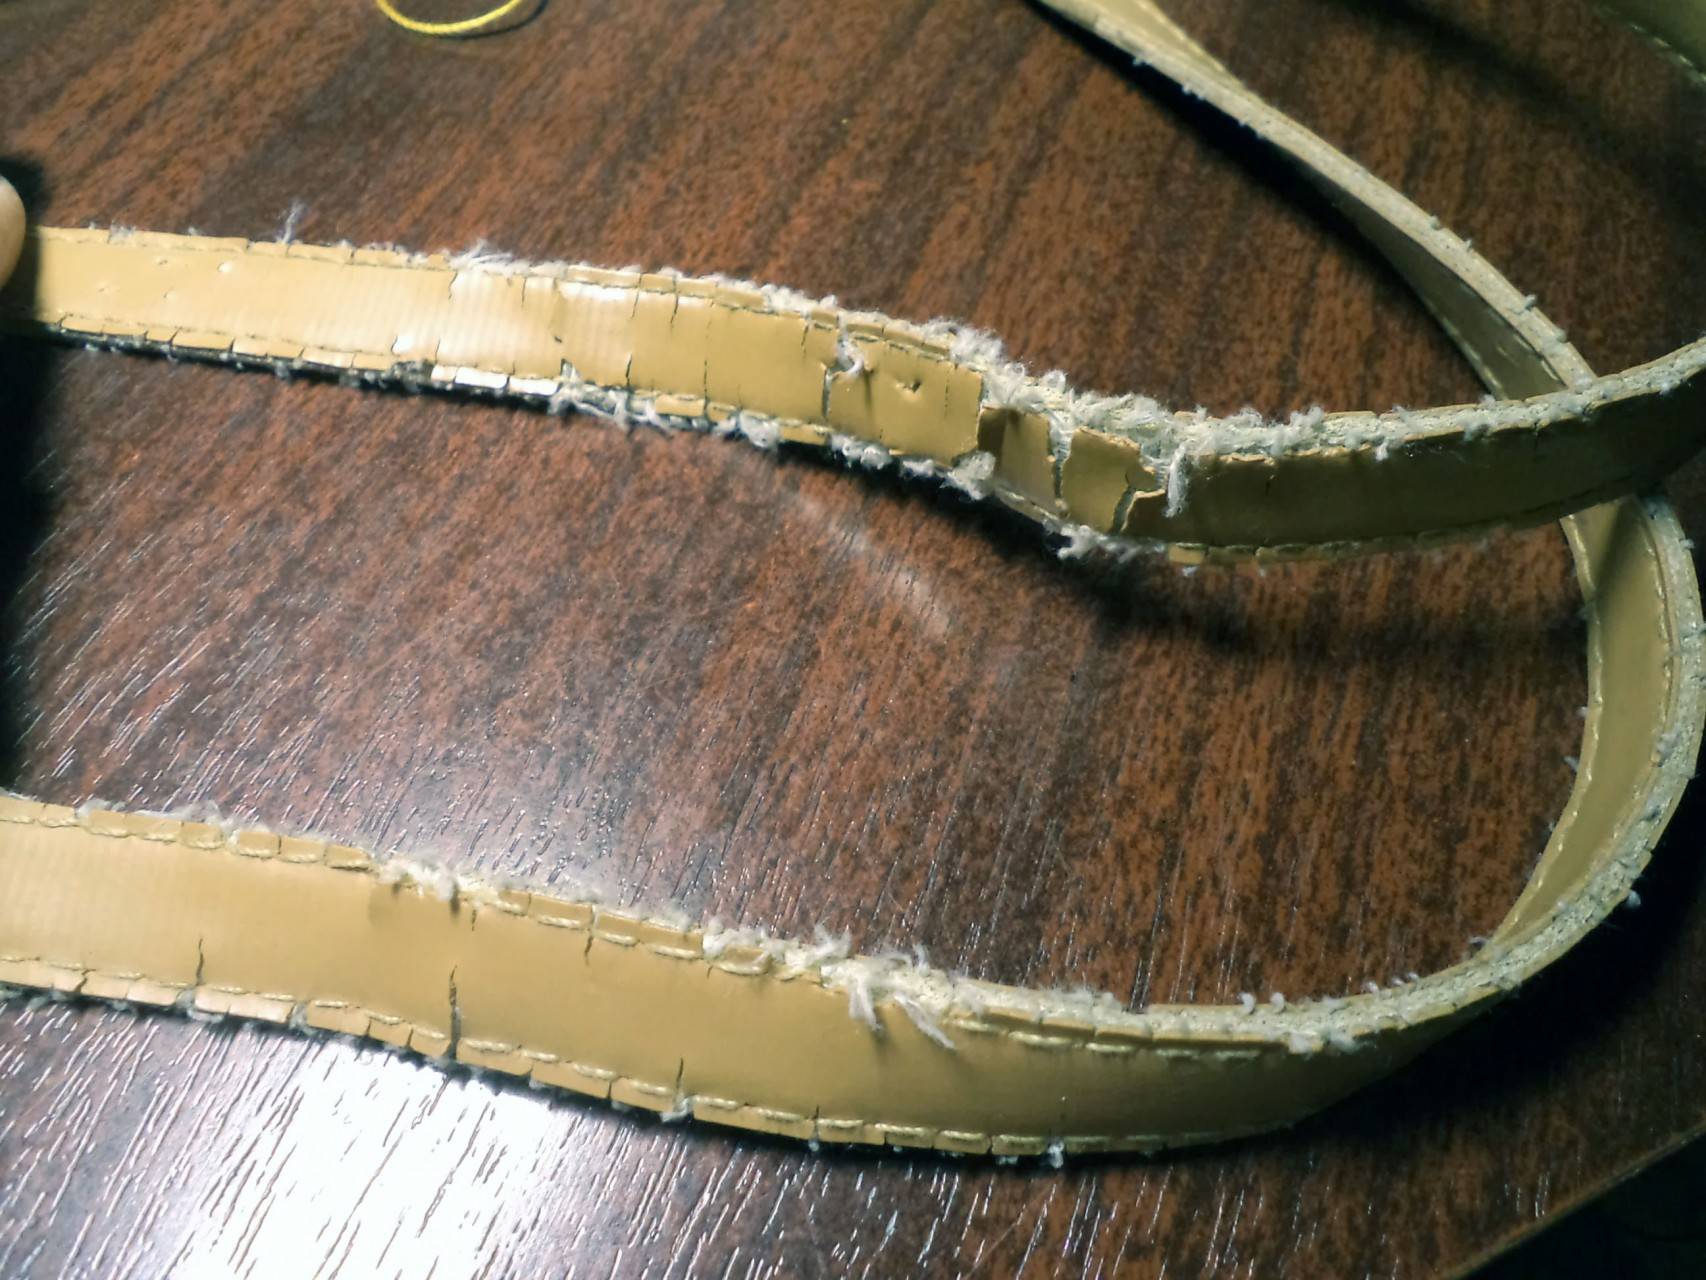
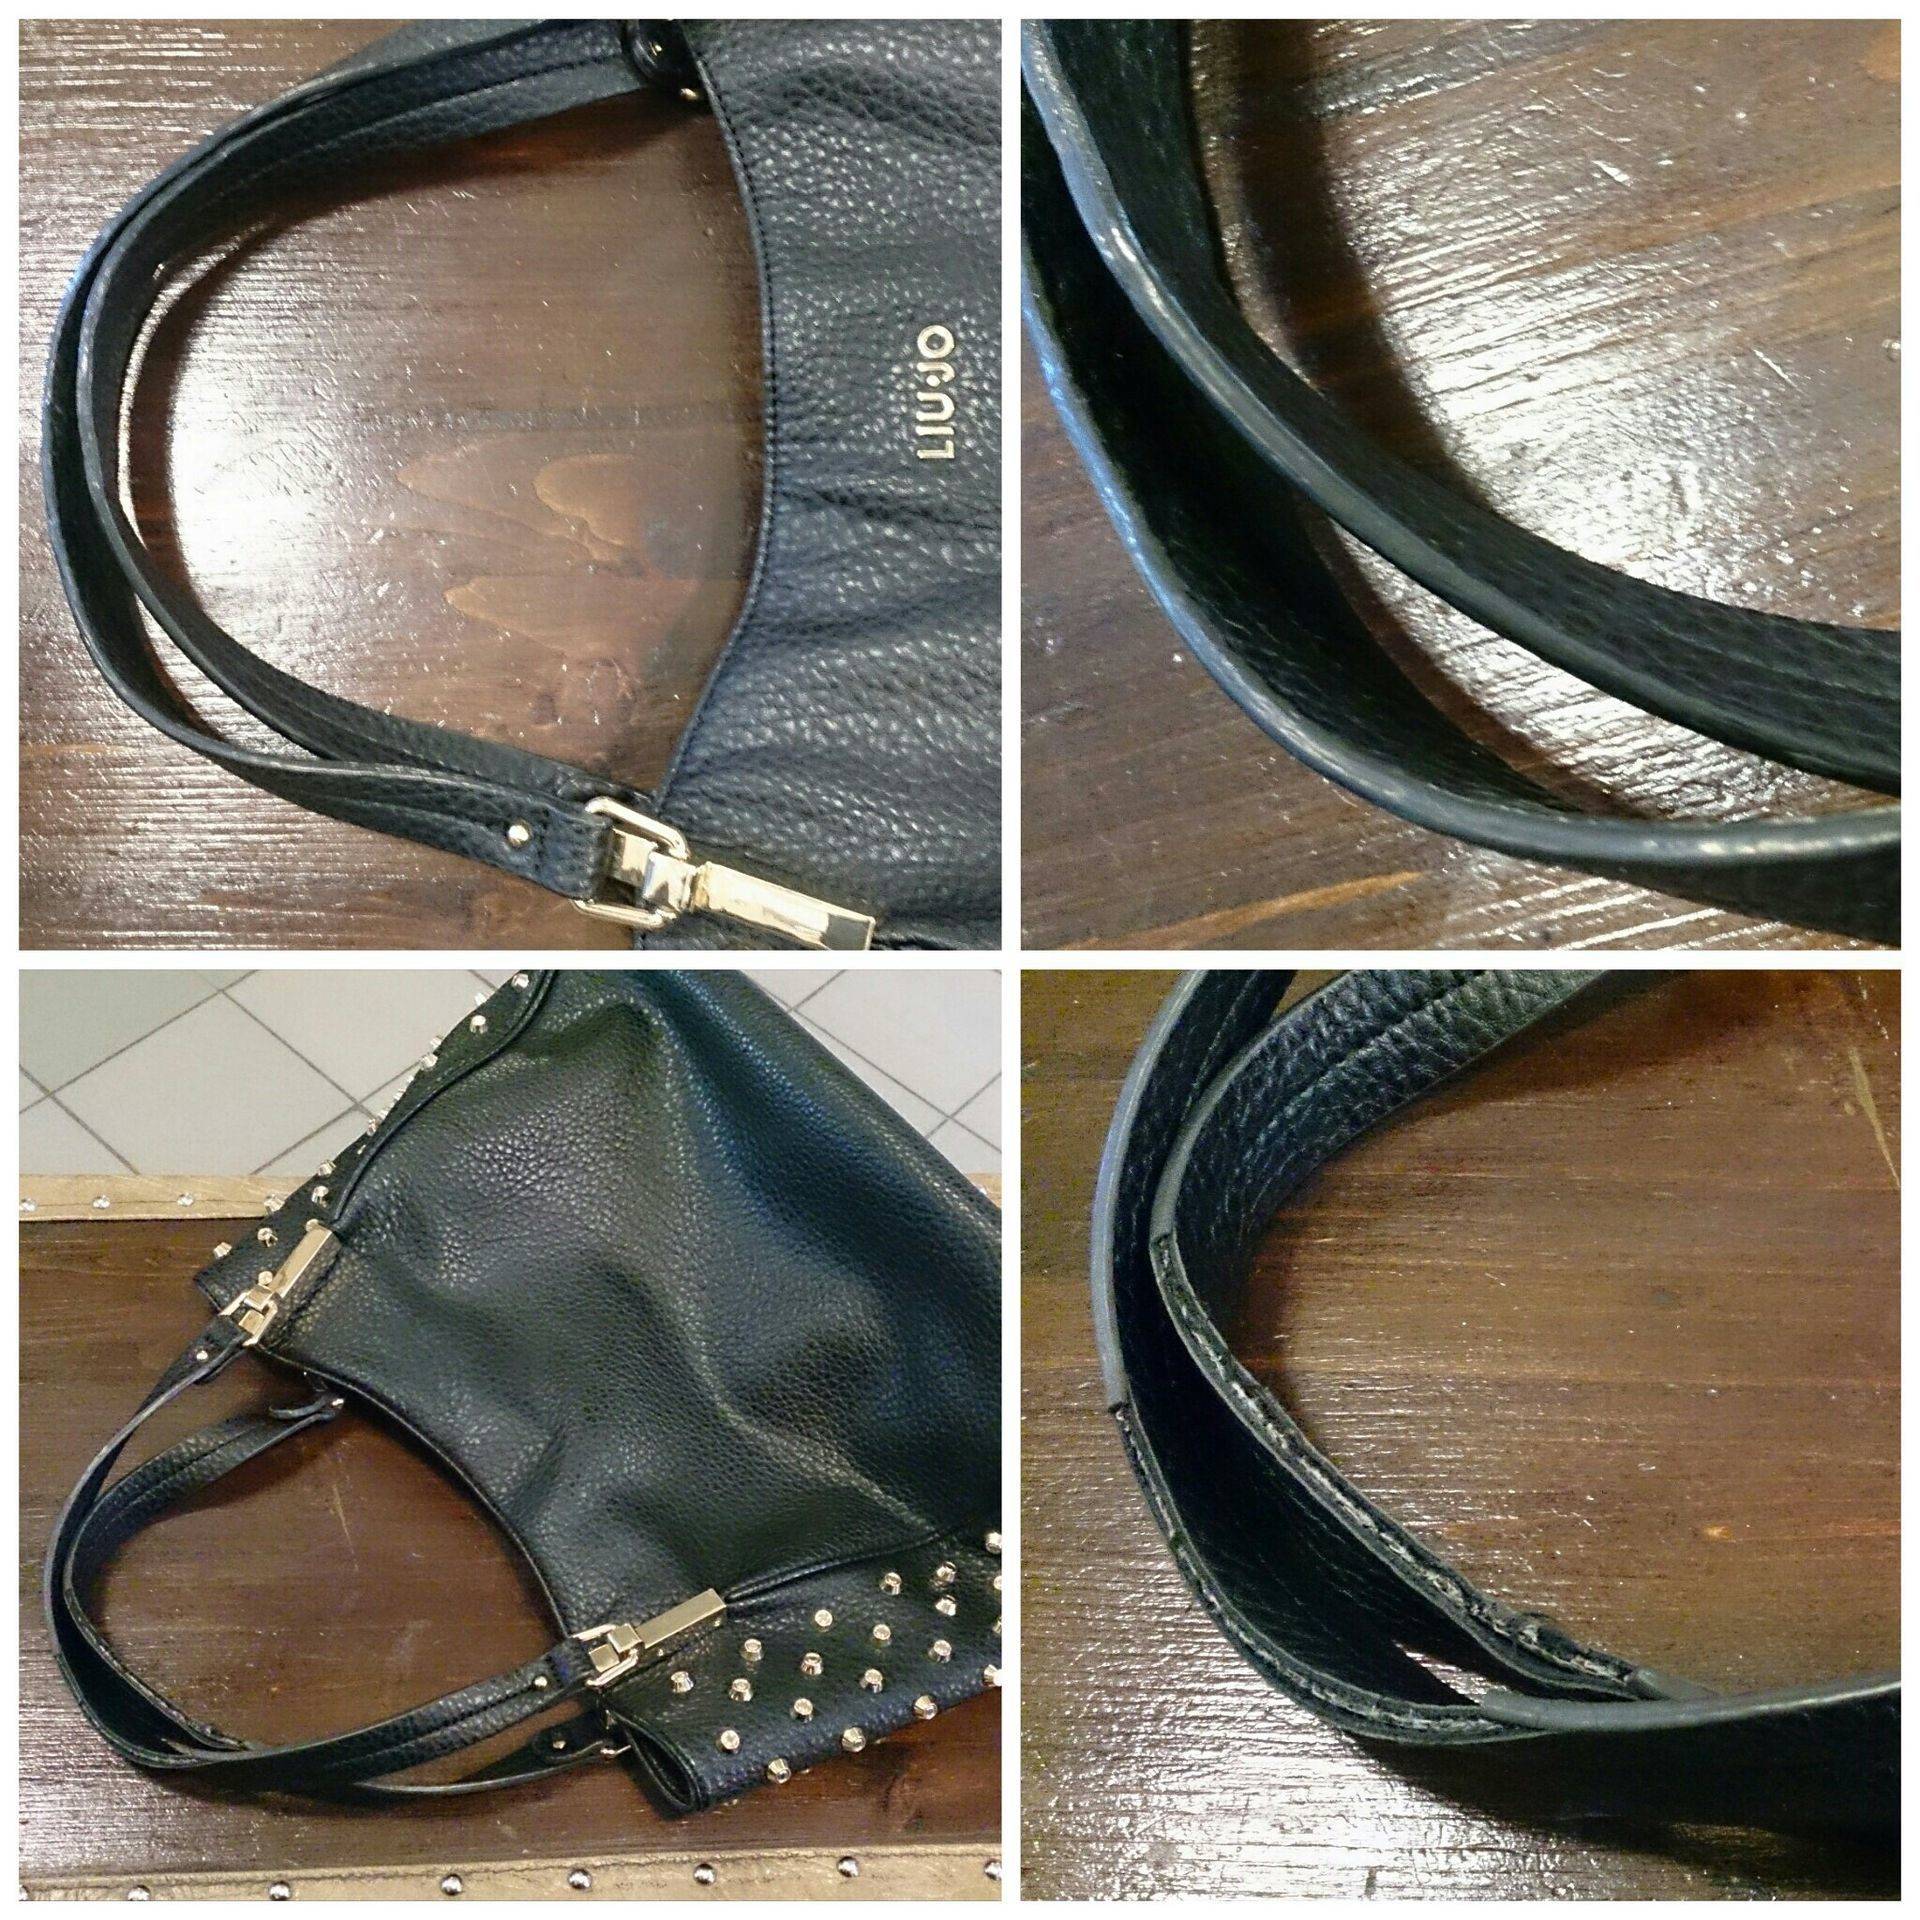
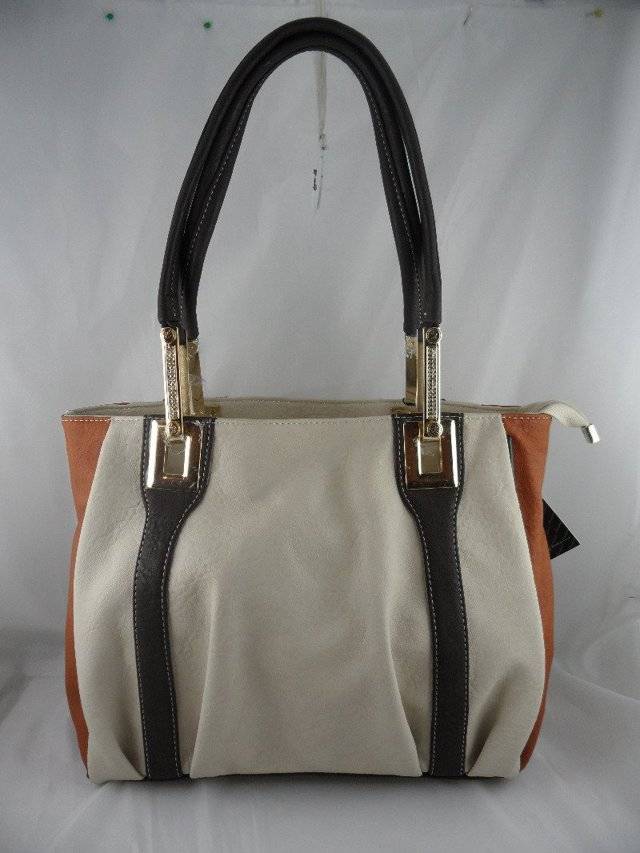
This option is the most popular, because it can be used to reconstruct handles of any model, regardless of the shape and style of the bag itself. If the handles of your bag are cracked and peeled off from frost, or a dog gnawed them, or something else happened to them that completely ruined the appearance of the thing - this option is for you.
For work you will need:
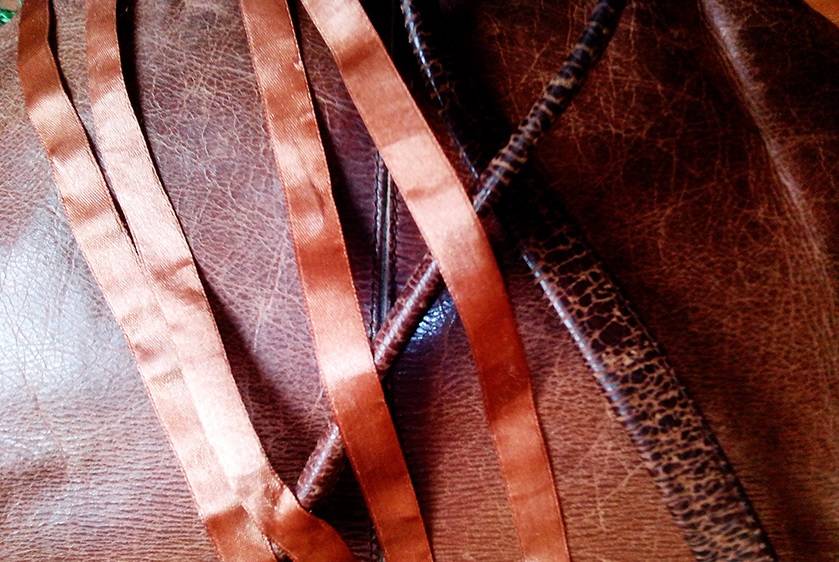
- two suede ribbons of a suitable length and color to match the color of the bag.
- tools to help detach the handles of the bag.
- Glue. It is best to use transparent, quick-drying glue, such as Moment "Crystal" or "Gel".
- Scissors, a large stationery clip, a stationery knife, and an awl - if the handles have holes for the tongue.
It is also worth taking care of the workplace - cover it with newspapers, so that later it would be easier to put it in order, because small crumbs, the remnants of the top layer of handles, are quite difficult to sweep.
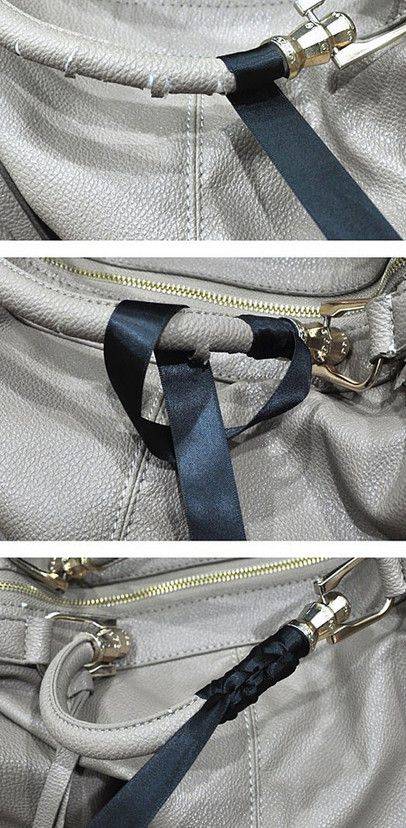
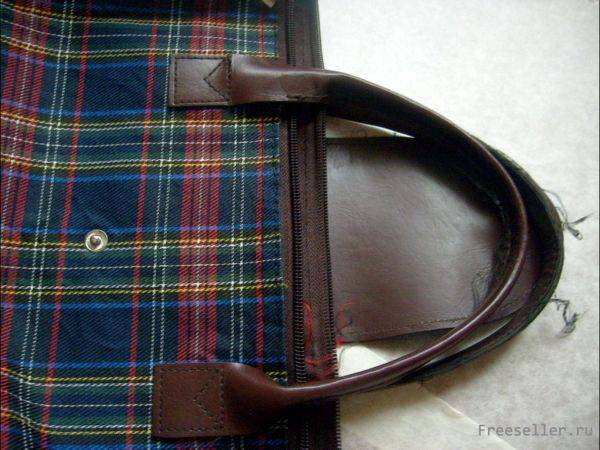
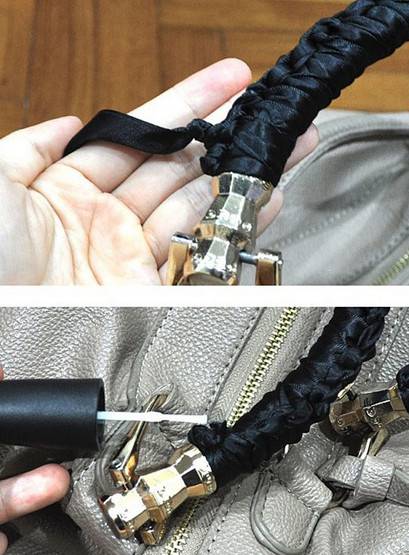
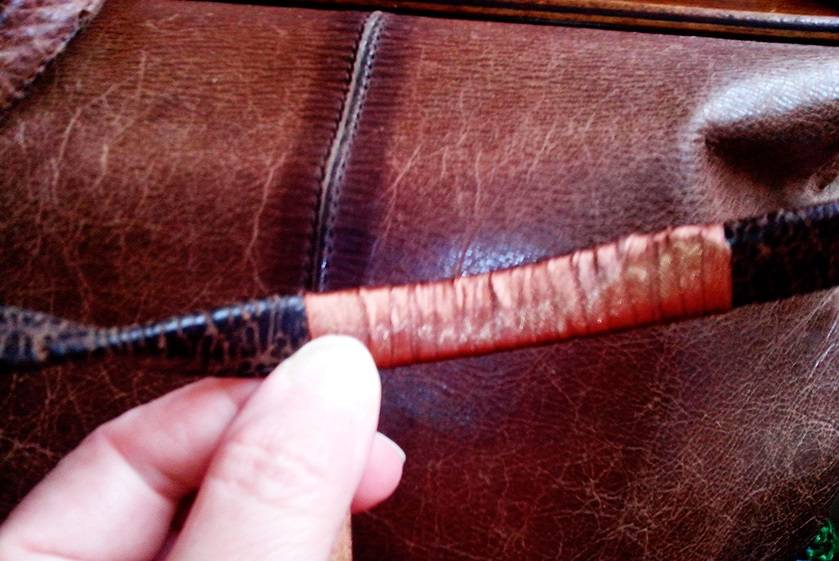
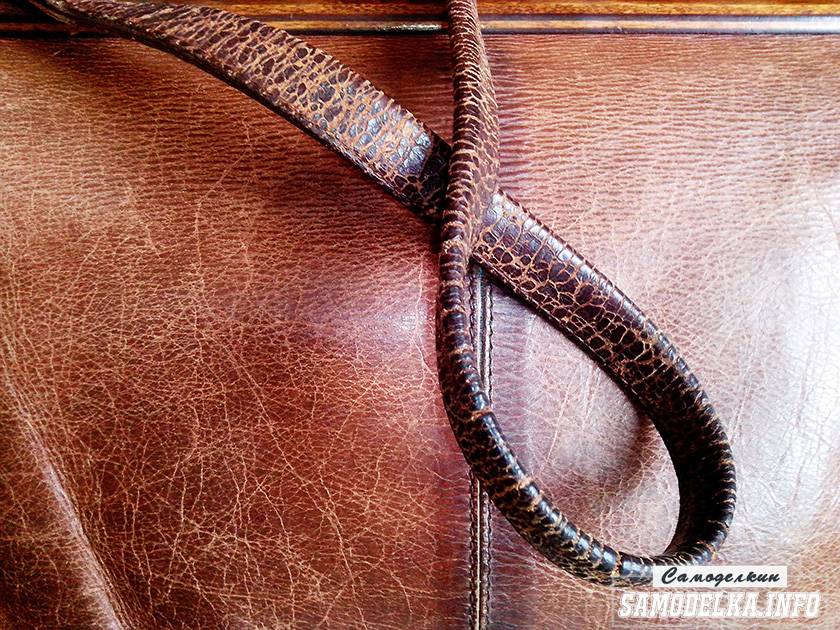
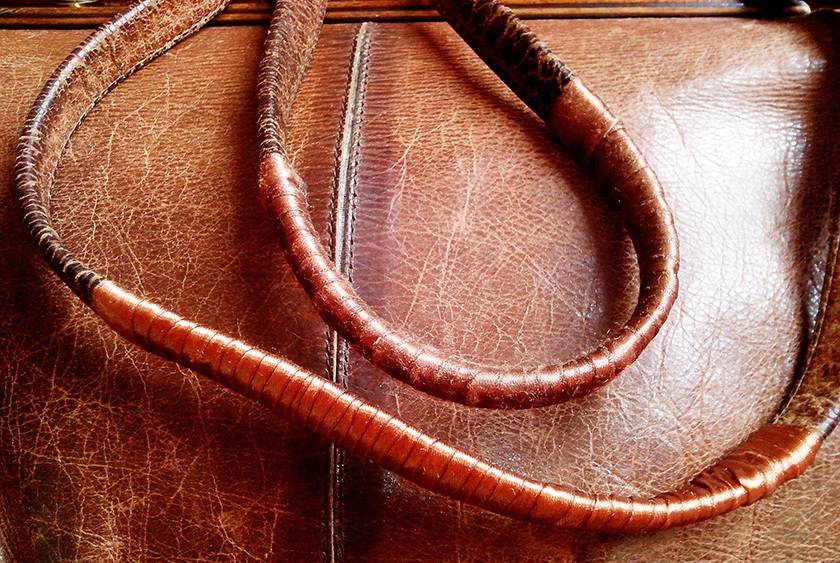
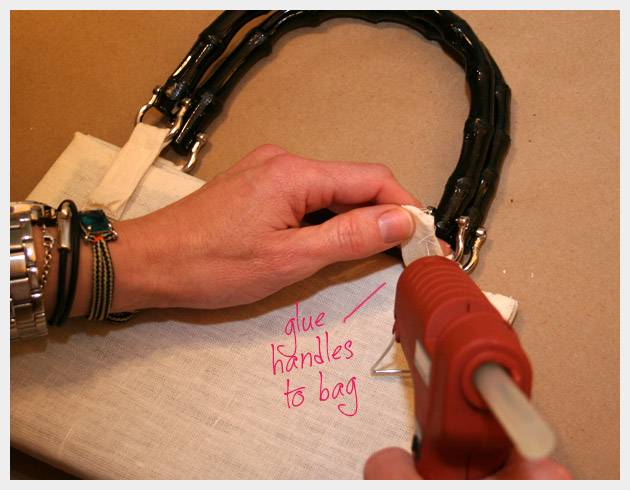
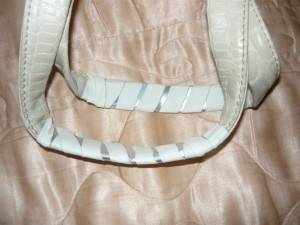
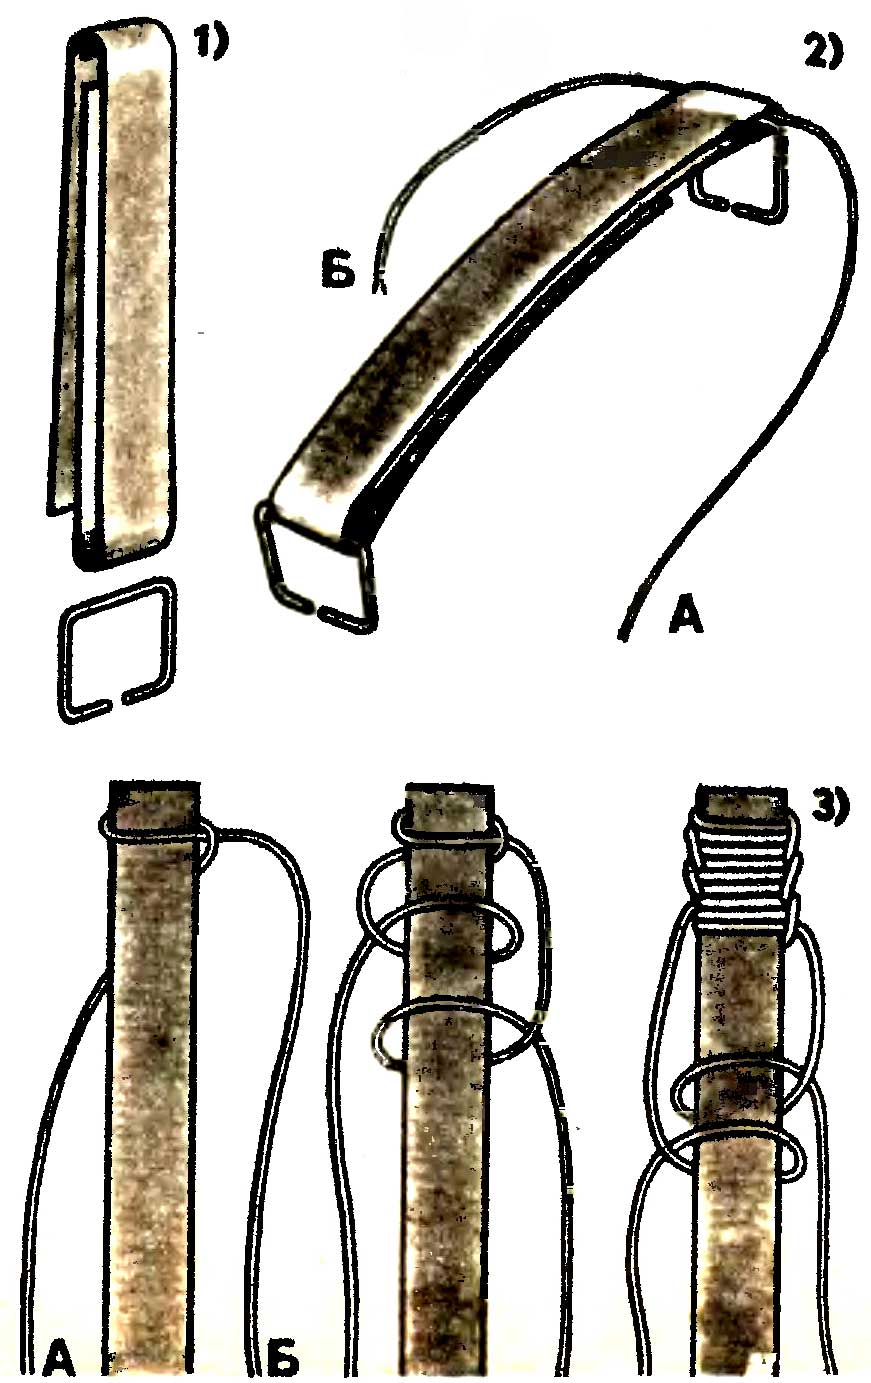
The separated handles must be cleaned from the remnants of the original material, otherwise the new material may not adhere tightly, or peel off along with the remnants of leather or leatherette. One end of the handle can be secured with a large stationery clip to the edge of the table for much more convenience. You need to glue the handles with new material from one of the ends, applying the tape with a slight overlap, by about a third, closing the previous turn. Thus, the handles are wrapped along the entire length, and as they dry completely, the handles are fastened back.
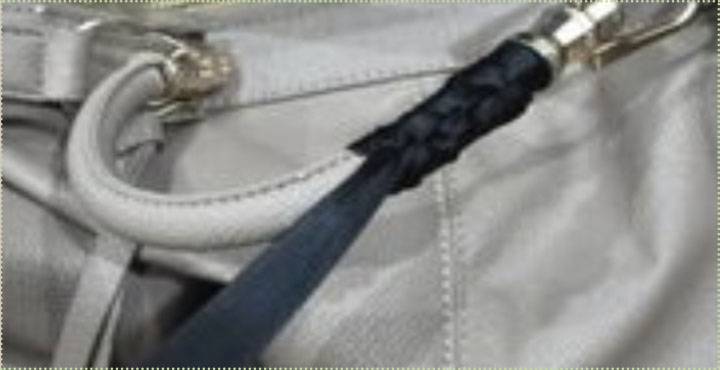
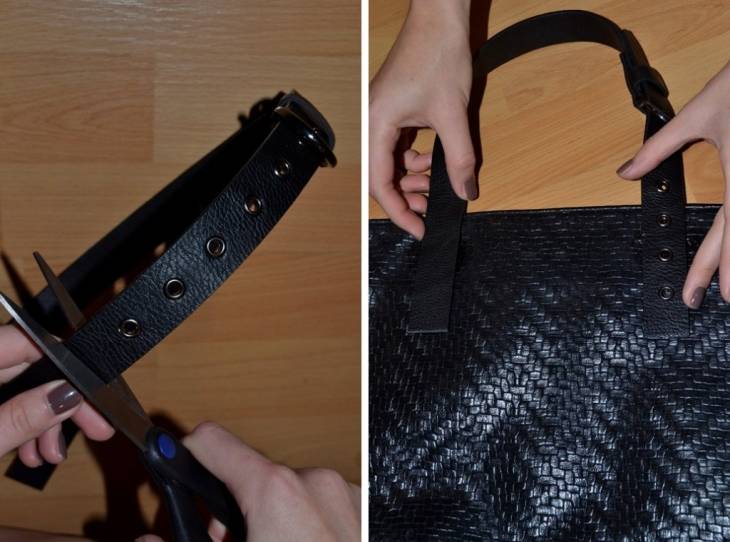
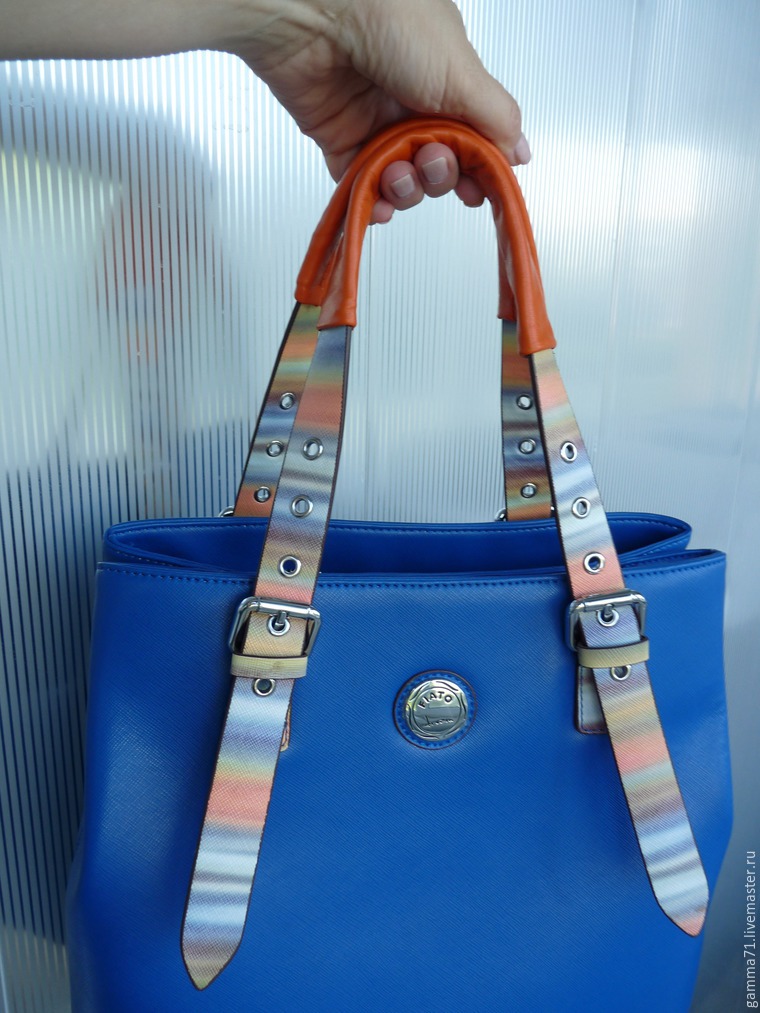
This method allows you to glue not only with soft fabric materials, but also with harder and denser materials, for example, a thin strap, as shown in the photo.
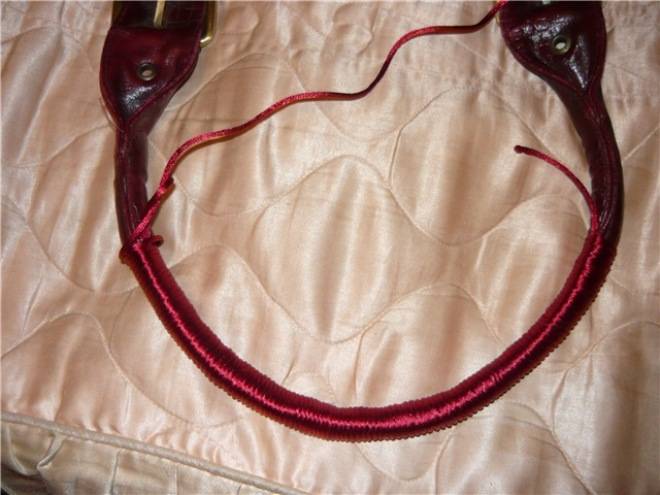
If the handle attachments are designed in such a way that you cannot remove them - or are in doubt that you can put them back on properly, it is best not to experiment. In this situation, you can get by with a silk cord, or soutache. The latter is used in the creation of jewelry, and in needlework stores there is a fairly wide range of shades, therefore, it will be easier to choose the right one. If you glue the handles of the bag with a cord, then this is not done with an overlap, but on the contrary, the turns should go joint to joint. Glue the lower parts of the fasteners themselves with a cord, it is quite plastic, and it is not difficult to give it the desired shape.
Folds and creases.
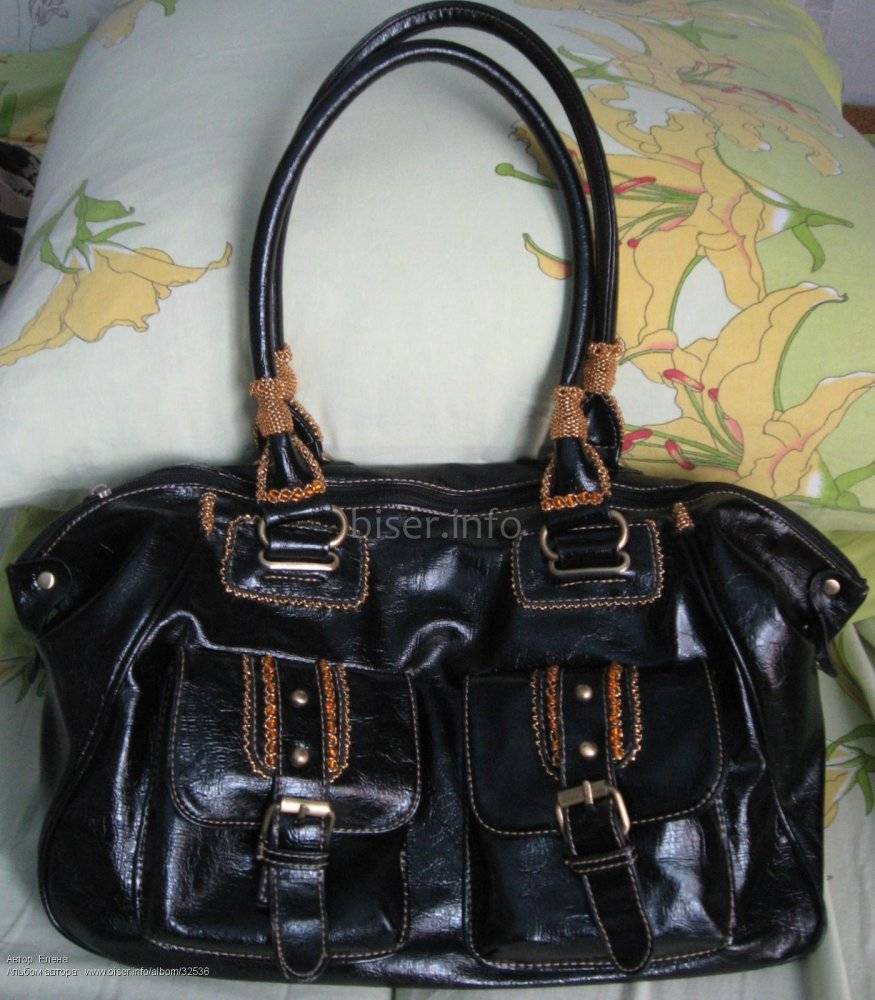
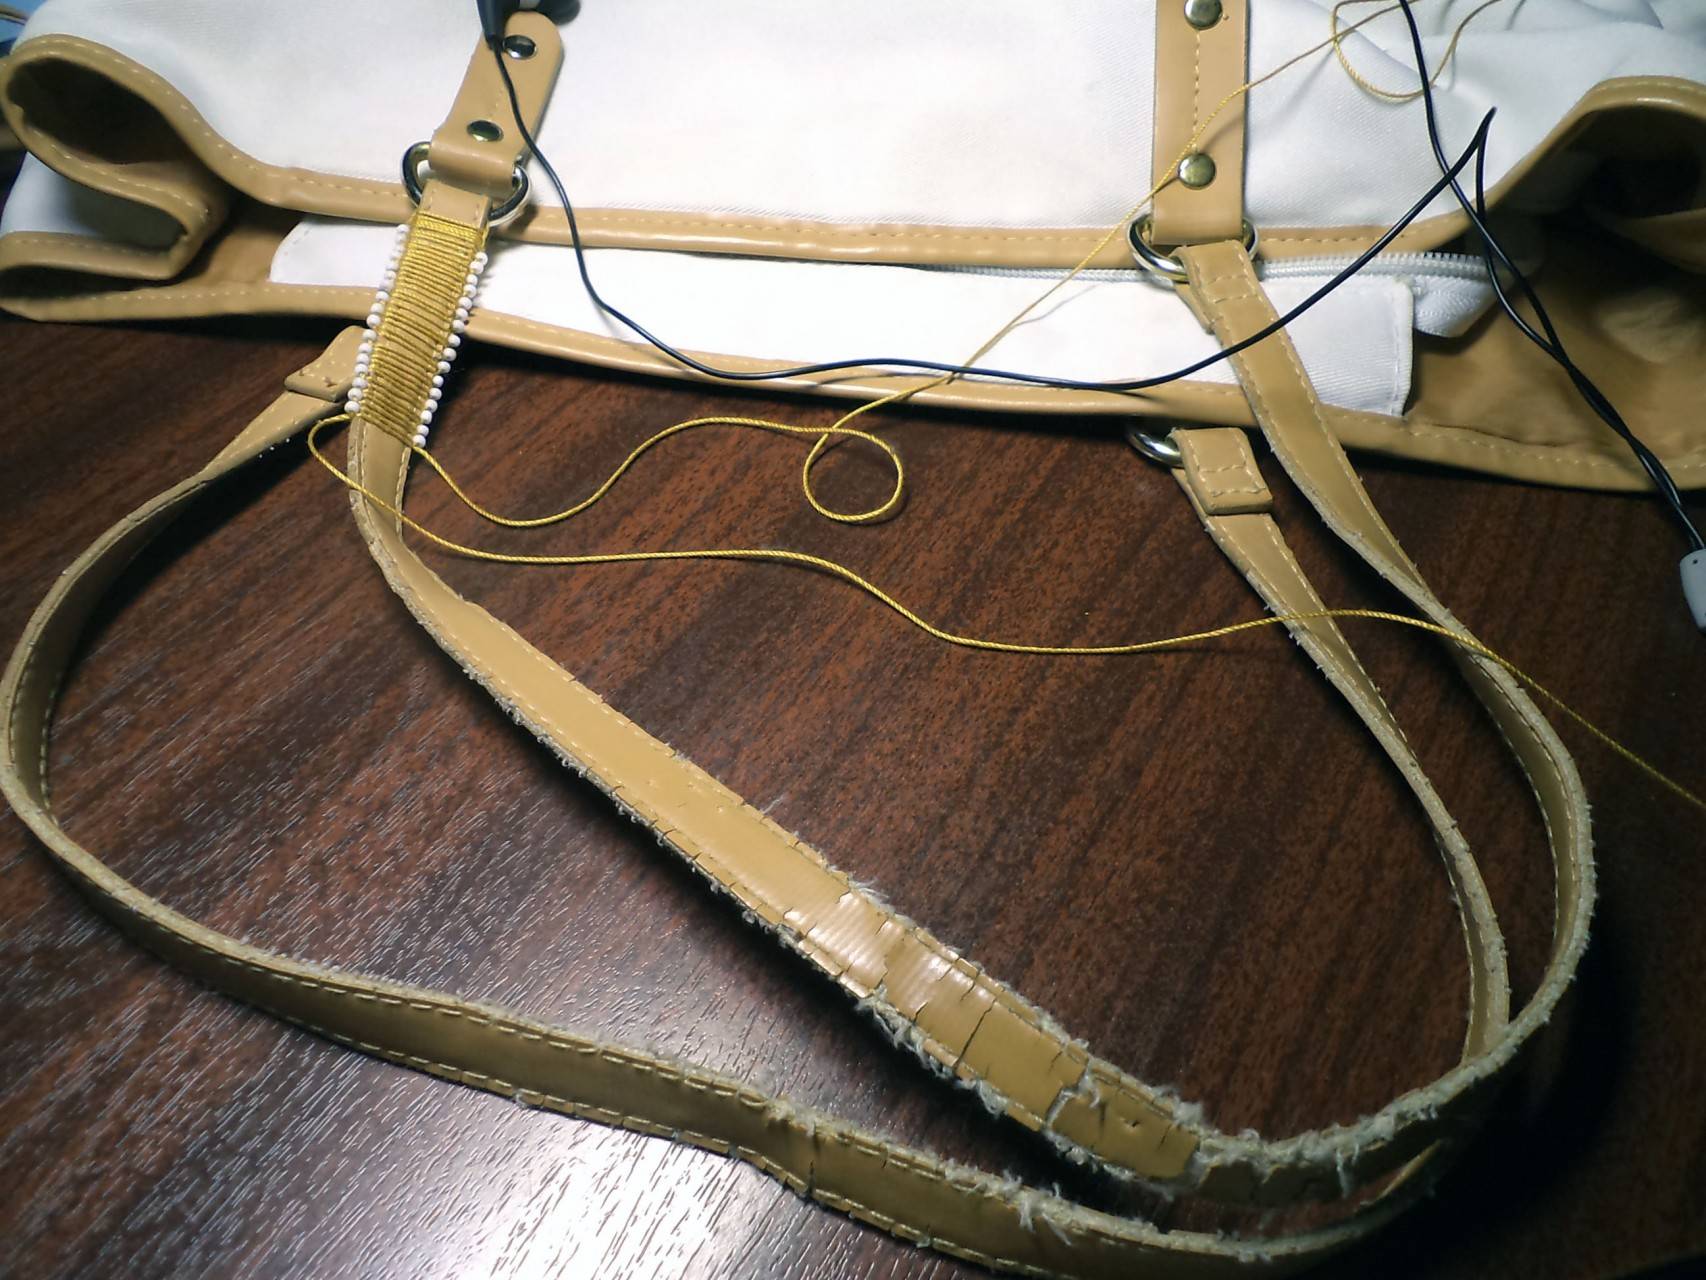
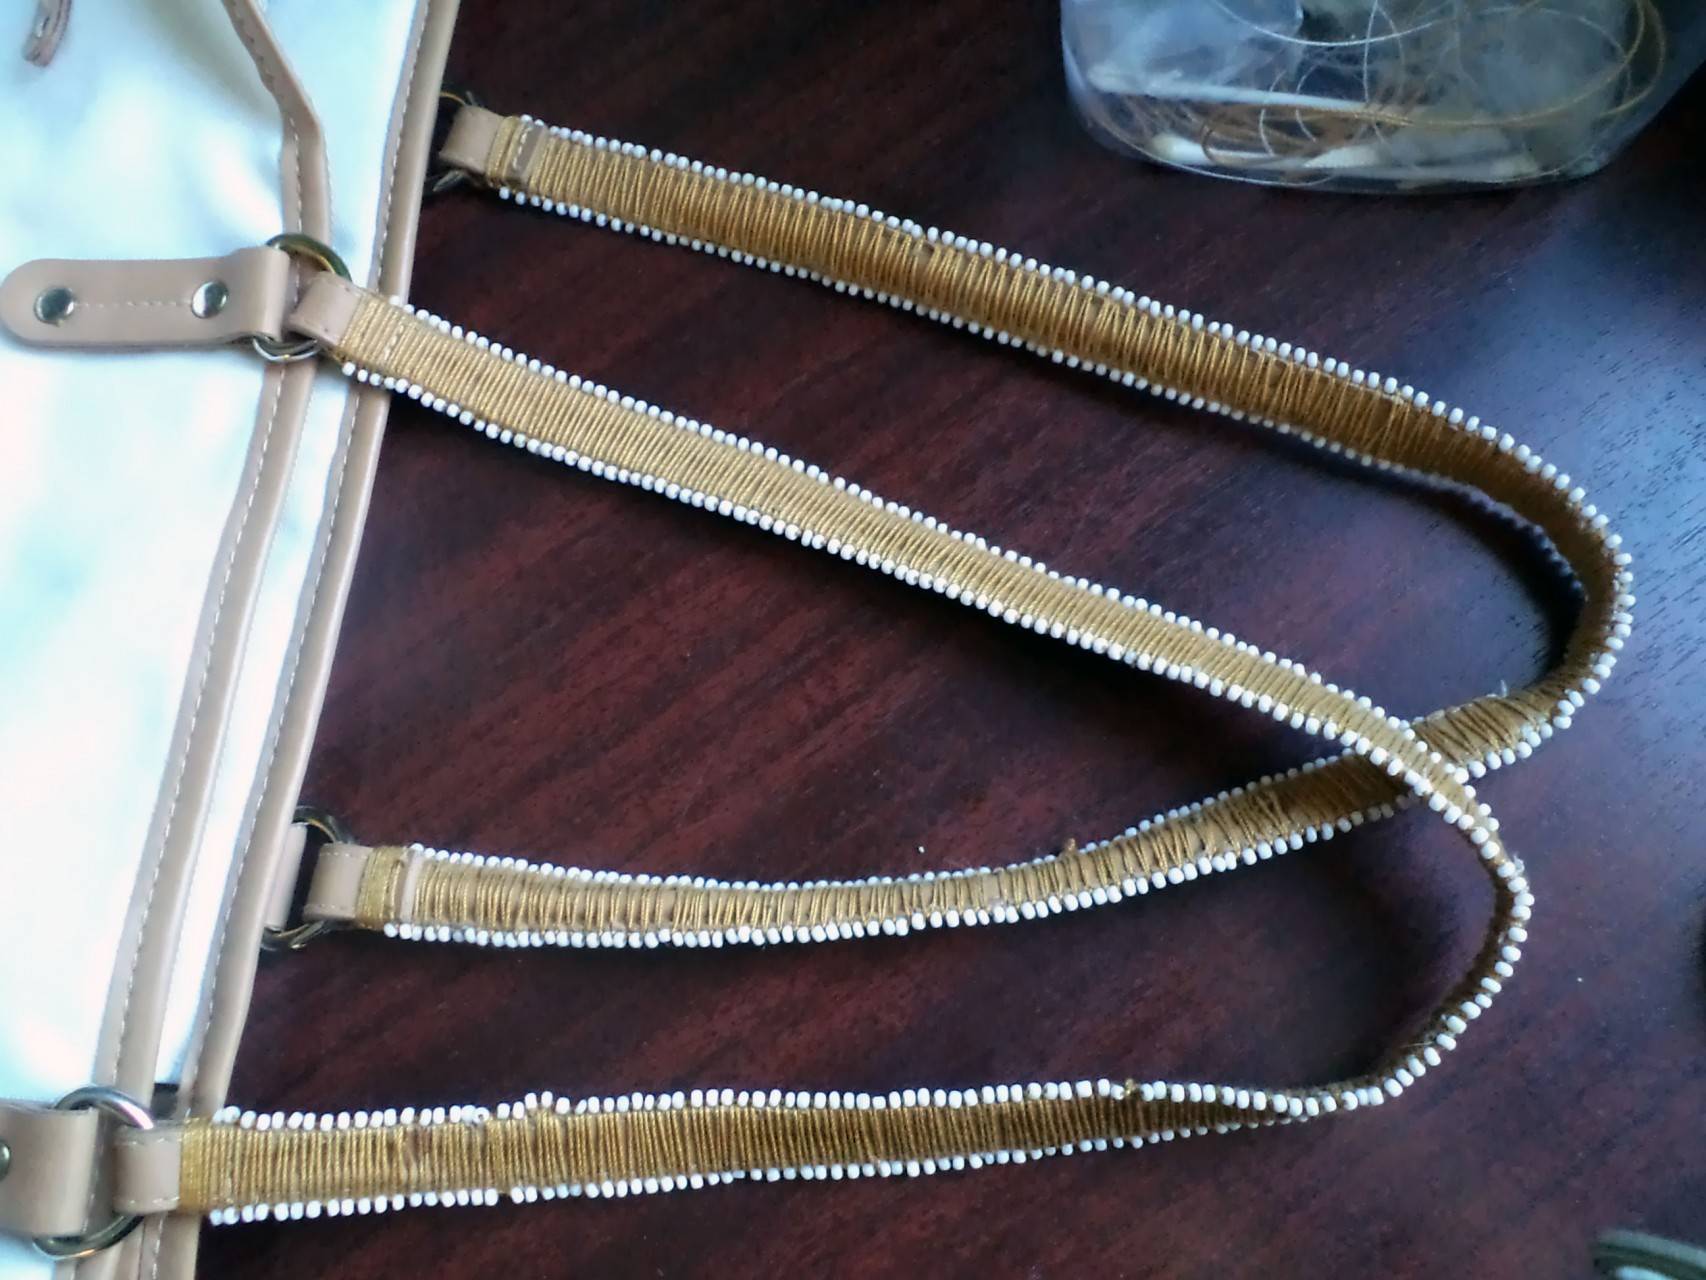
If the material of the bag is quite tough, but leaves much to be desired in terms of quality, creases can form on the handles in the most prominent places - near the handle mounts and on the mounts themselves, on the pocket flaps, and other places subject to wear more than others. In this case, a rather creative option can help out - embroidery with beads. Of course, this solution cannot be applied to every bag, but there are chances to revive your favorite thing in this way. You can choose a contrasting color of the beads, or you can match it in tone, or in tone with the decorative stitching, which often differs from the main color of the bag.
Replacement.
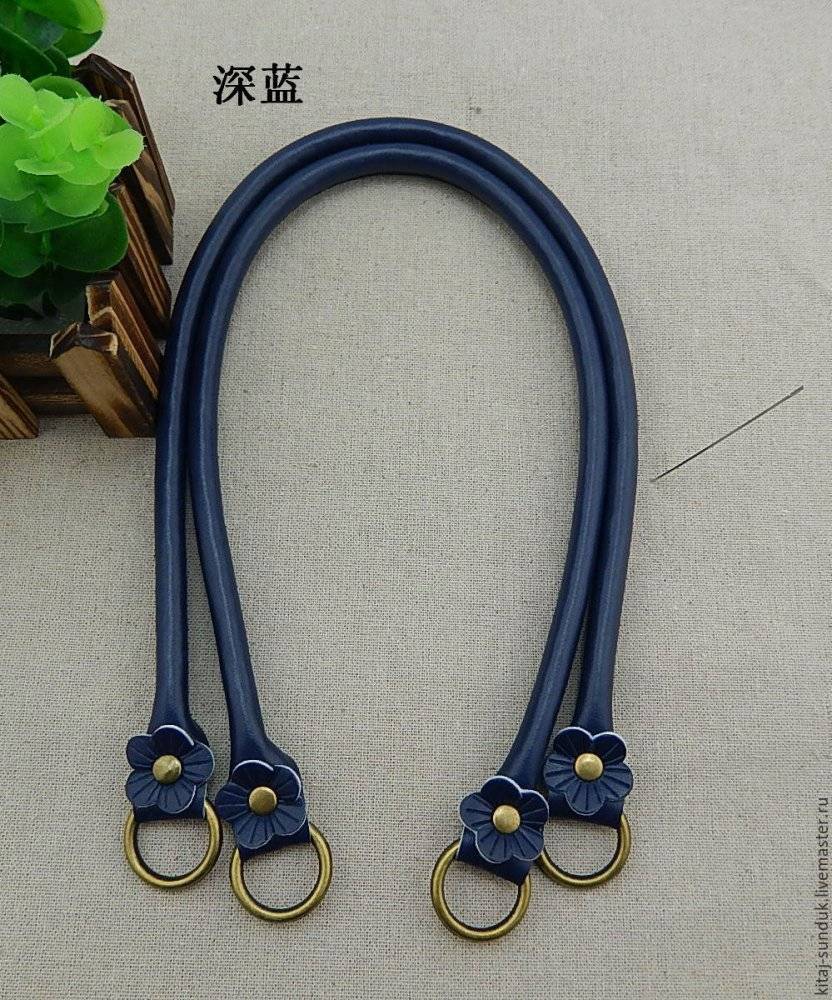
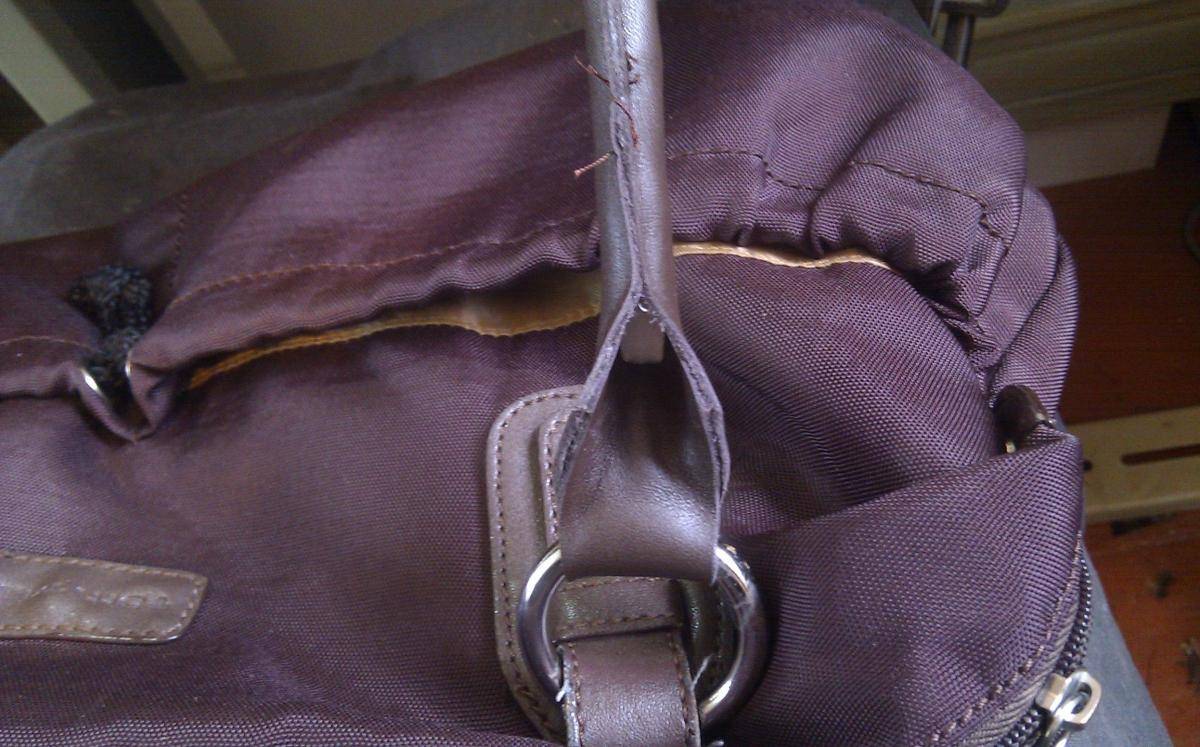
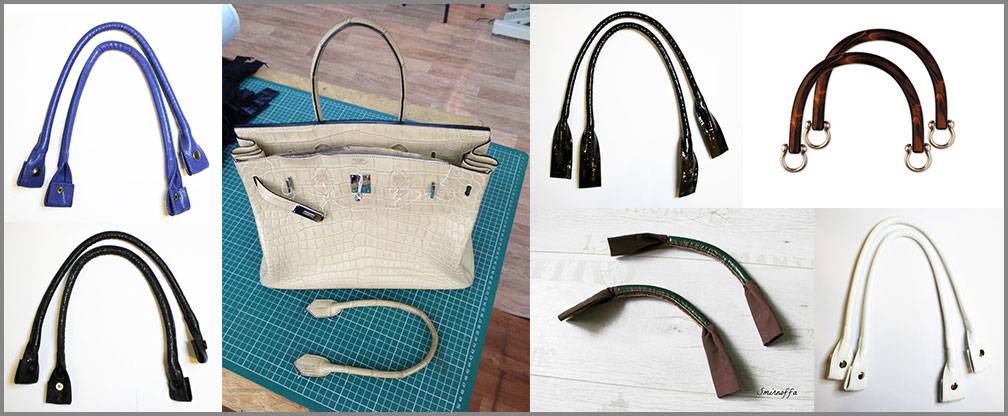
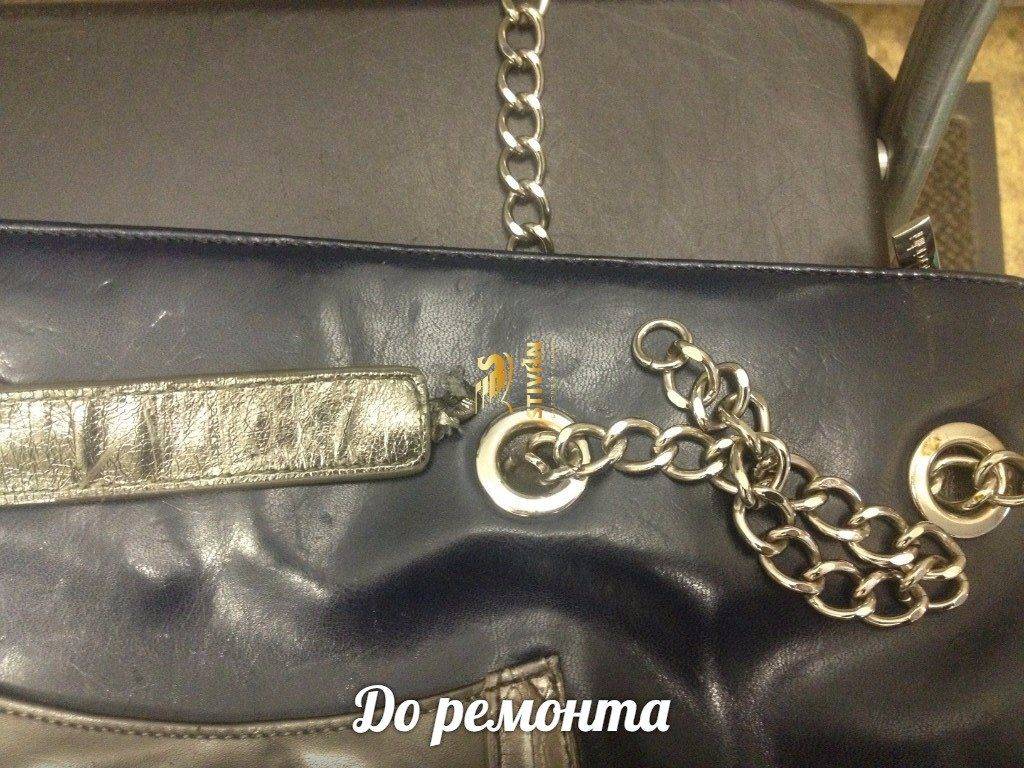
Sometimes, when looking at an object, you understand - the patient is more likely dead than alive. And it's easier to completely replace the pens than to try and update them somehow. The easiest way to do this is if the handles of the bag are attached to the rings. Then there are several options for replacing the handles at once.
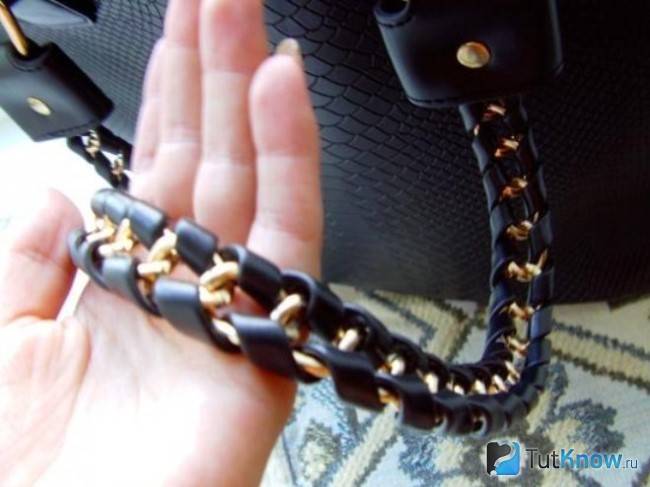
The first and the simplest one is to replace the textile or leatherette or even leather handles with more durable chains. So that they do not look like a foreign object, a piece of fabric can be passed between the links to match the bag - if the style of the thing allows it. Technically, it is not difficult to do this - the chain links are unbent with pliers and are threaded into the fastening ring.
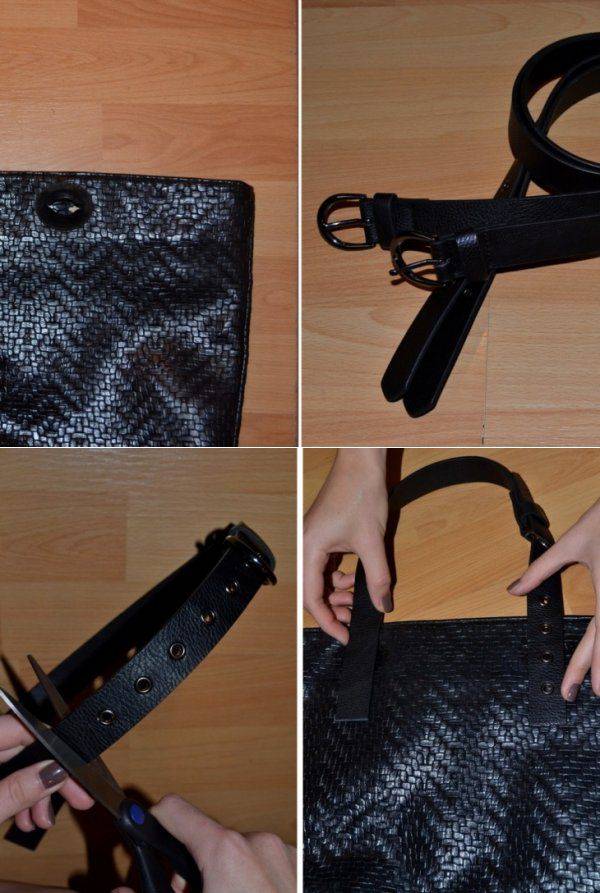
The second option is to use thin female waist belts.Their edges need to be stitched so that they can be threaded into the ring, and equipped with rivets of the appropriate type and size - for a better match.
The third option is to modify the bag with new handles.
A few more easy ways
- Slightly scratched handles can be refreshed with a can of black paint, just spray it evenly at a distance of 30 cm. Allow to dry - and voila! To consolidate the effect, it is best to treat it twice, after allowing the paint to dry for the first time.
- Glycerin is ideal for aging, dull skin, making it look new and attractive. It is enough to grease cotton wool with glycerin and wipe the frayed areas.
- Barely noticeable scratches can be masked with a regular stationery marker, matching it to the tone of the material. Perfectly masks black.
- Scratches on the white bag are masked pointwise with a clerical stroke. For durability, the procedure is done twice and dried for several minutes.
So, there are at least several good ways, the main thing here is to choose the one that suits you best. Using the tips above, it's easy to save thousands of dollars and keep your favorite thing in order.
Replace with chain

If the handles of the bag are badly cracked, it is better to completely replace them with chains. And then you will receive a new design accessory. You can choose the chain links corresponding in color, size and shape in the special departments of accessories for the repair of clothes and shoes.
To replace, you will need pliers, with which you need to unbend the lower chain links and thread them into the rings where the old handles were attached. Then fix the links again with pliers. Additionally, a leather or fabric strap can be woven into the chain to match the bag. It looks original.
Recent Entries
How to sew a medical mask yourself Do not rush to part with an old jacket, it will still serve Old towels no longer take up space: tips where to attach them
Disguise with a new piece of skin
A popular way to update cracked handles on a bag is to replace the necessary parts with new pieces of leather or leatherette. At your request, the previous color is selected or another shade is taken to match the color of the accessory.
Leather material can be taken from an old jacket or purchased at the store the desired piece. Cut rectangular parts out of it, glue cuts of cotton fabric to them from the seamy side and let them dry. Next, you need to wrap the straps with them, sew or glue the edges.
In such simple ways, you can give your favorite bag a new, original and neat look.
Easy repair of your favorite bag
If the handles of the accessory are intact, and the corners are pretty worn out, then use leatherette patches. You can cut from the material not just patches, but whole applications, for example, circles or rings. You don't even need a sewing machine to hide a flaw on your bag.
To extend the life of your favorite bag, use the following materials and tools:
- Leatherette.
- Glue.
- Scissors.
- Needle and thread in the color of the material.
Use the prepared materials as follows:
- Cut a stencil out of the paper. The size of the circle should cover the worn area of the product.
- Prepare 4 parts from the material for the lower corners (circles) and 4 for the upper corners (semicircles). Add 0.5 cm to the hem.
- Make cuts around the entire circumference of the pieces to gently fold the edges of the patches.
- Fold in the edges and sew.
- Glue the patches to the corners of the accessory.
Additional tips and tricks
Consider the following nuances during the restoration process:
- leather parts should be thoroughly rinsed with water and then dried thoroughly. So you get rid of dirt and dust, which will interfere with work or corrode the material during further operation;
- frayed leather handles can be treated with glycerin. He will return them to their former shine and freshness;
- for the restoration of white and red leather, it is allowed to use a special paint. Such repairs will be cosmetic in nature, but with its help it is easy to mask minor material defects.
Often, handbags on women's handbags rub their handles and lose their beautiful appearance. When the thing remains beautiful, but the handles do not look like the whole product, you should think about repairing. After all, it's a pity to throw out a good thing, but with a small defect, especially if it's just recently purchased. You can make a high-quality and quick repair of the product at home, it will be several times cheaper and faster than giving it to a specialist. To do this, you should stock up on a little patience, time and imagination. Let's analyze the most relevant and effective options for replacing and repairing bag handles.
How to fix bag handles with your own hands?
If a part of the bag has worn out over time, then you can replace it with the help of scrap materials. For repair use:
- Waist belts.
- Neck scarf.
- Pieces of cloth or leather.
- The chain.
- Wooden or plastic beads.
- Braid or satin ribbon.
We suggest you use the following ideas for repairing handles.
Idea number 1. Pen case
You can sew the cover from genuine leather so that the accessory will last as long as possible.
Step-by-step instruction:
- Buy a piece of thin leather (to match the color of the handles or a contrasting shade).
- Cut and cut the blanks. The width of the workpiece should be 2 times the desired width, plus seam allowances. The length of the cover can be chosen arbitrarily, for example, only for a worn (worn out) area.
- Glue the blanks with a thick cotton cloth. Use ordinary all-purpose glue for this operation.
- Glue the ends of the blanks and wrap them inside out.
- Fold the blanks in half and sew them on a typewriter. Use a dedicated leather needle.
- Turn the covers right out.
- Put on the handle covers.
- Make holes with an awl on the sides of the handle, sew on the covers.
- Wear your favorite accessory for years to come.

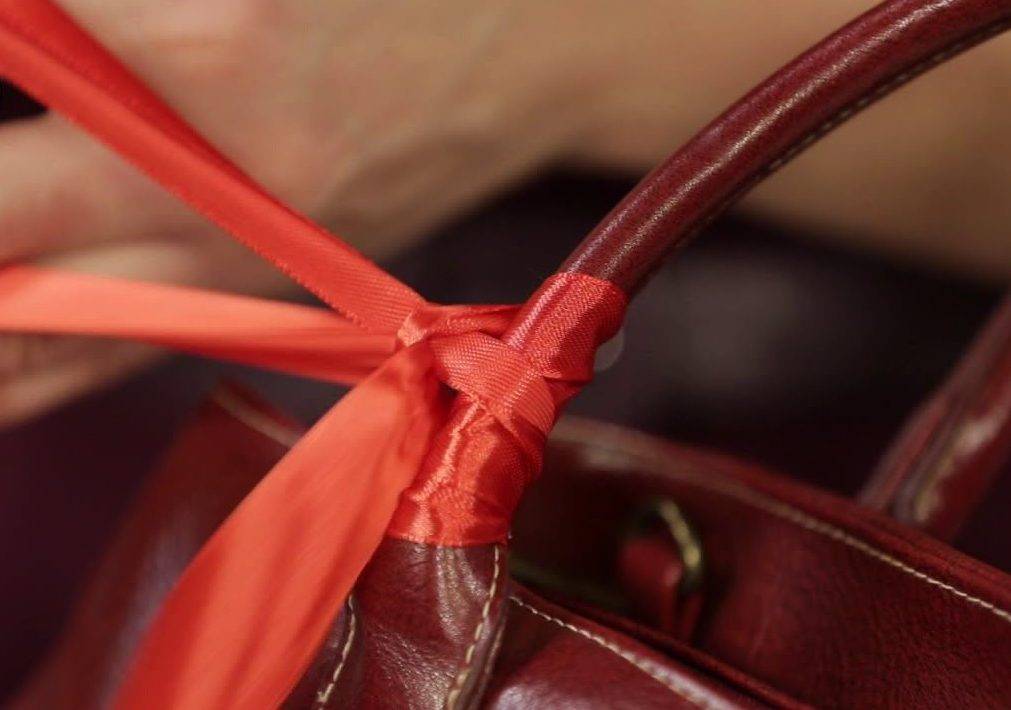
Idea number 2. Wrapping handles with tape, satin ribbon or leather strips
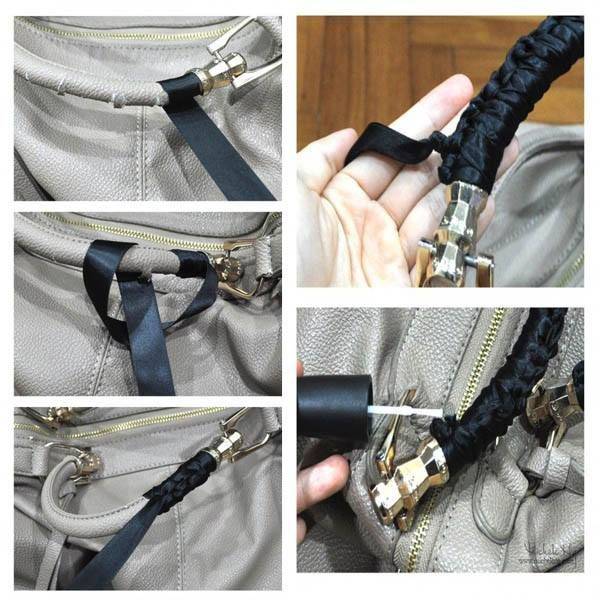
The handles can be trimmed to match gloves, shoes or other accessories. The idea itself is the old way of wrapping the details with a satin ribbon (braid) or pieces of leather.
To work, you need a ribbon of a suitable color or lace.
Step-by-step instruction:
- Determine the center of the handle and the length of the restoration.
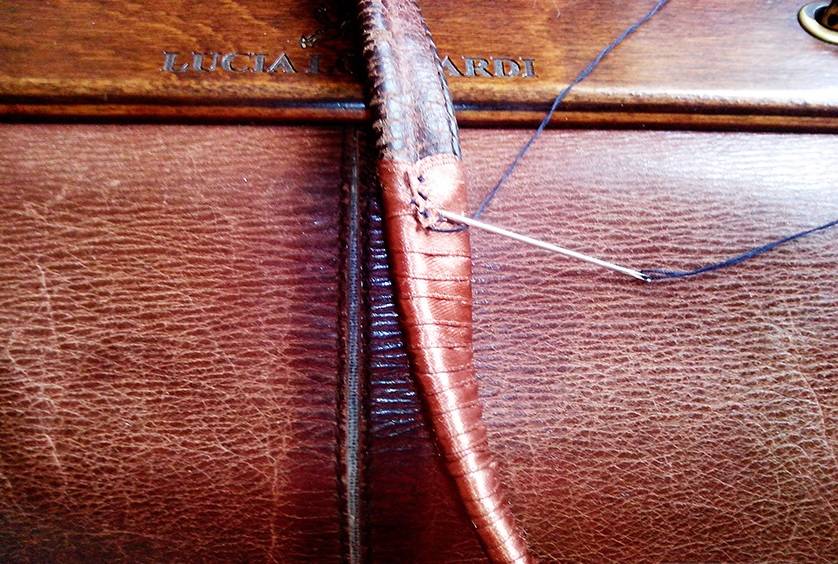
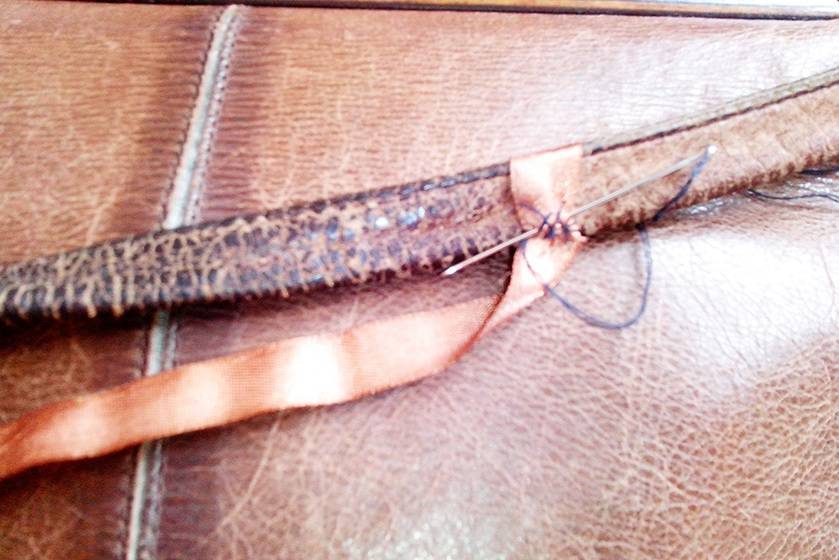
- Wrap tape around the handle tightly. To prevent it from moving along the handle, secure it with a few stitches.
- Fasten the thread and cut.
- Tape the handle tightly over the top to hide the seam. Leave a distance between the turns of about 3 mm. Make sure that the tape not only adheres to the handle, but also does not twist as a result of strong tightening.
- At the end of the work, fix the tape on the inside of the handle with a needle and thick thread.
Idea number 3. Waist belts
If the handles are worn out, replace them with waist belts by measuring and cutting them to size. The good idea is that you can adjust the length of the new handles.
If the accessory has one long handle, then use one strap, sewing it with a thick needle and strong thread.
Idea number 4. Leather handles and chains
To work you will need the following materials:
- Pieces of leather.
- Large chain.
- Scissors.
- Thick needle and strong thread.
- 4 or 2 rings (depending on the number of handles).
Step-by-step instruction:
- Cut the leather into strips of equal width.
- Sew the strips together by hand or on a typewriter.
- Lubricate the wrong side of the strips with glue.
- Fold the strips in half.
- Wait for the glue to dry and start designing.
- Wrap stripes around one and then the other side of the chain.
- Make the second leather and chain handle in the same way.
- Thread the two free ends of the leather strap through the ring.
- Fold and sew the ends of the tape.
- Take a wide leather strip and thread it through the ring so that it is in the center of the strip.
- Sew a wide strip with a ring to the bag.

Idea number 5. Handle Repair Silk Scarf
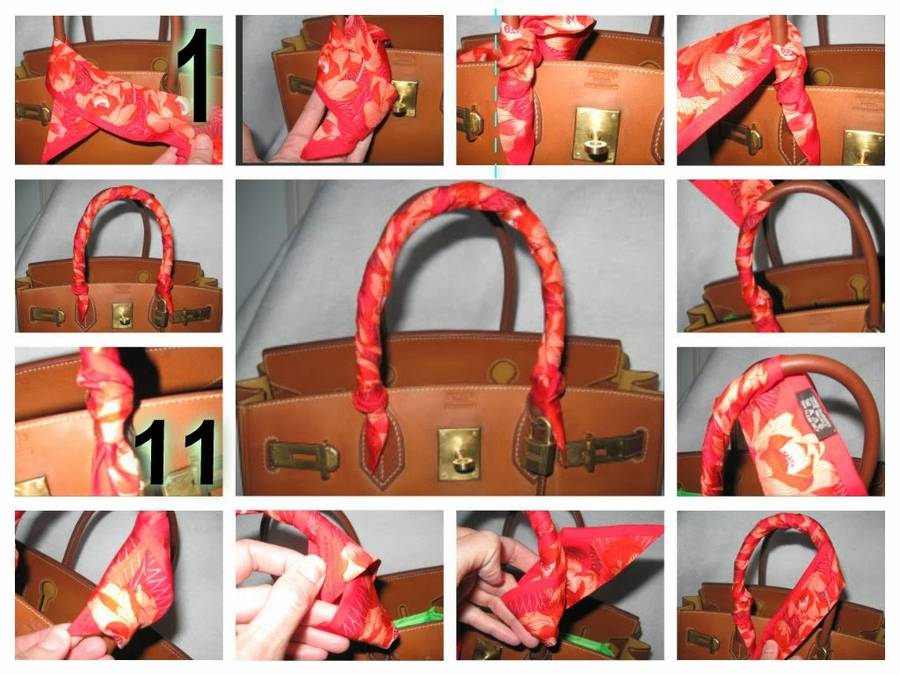
An interesting designer thing will come out of a silk scarf instead of a handle. Here are just a few recommendations on how to repair the handles of a bag with your own hands in this way:
- You can wrap up old parts with a handkerchief, thus hiding scuffs and flaws.
- If the handles are too worn out, then open them, and attach 2 scarves in their place. Tie a corner on the old handle ring. Do the same with the opposite corner, securing it to the ring on the other side. Create the second part in the same way.
- If the handles are not very worn out, then wrap them with a scarf in turns at a short distance from each other so that the bag material can be seen between them.
And on our portal you will find many interesting ideas to add practical accessories to your wardrobe. Click on the link and follow the master classes to:
- Sew a fabric bag with your own hands.
- Decorate the bag in an original way.
Idea number 6. Beads instead of a handle
If you have old wooden or plastic beads that have the same round fragments, then use them to change the look of the accessory.
Proceed as follows:
- Take a strip of fabric that matches the color.
- Wrap the beads in a cloth.
- Trim off excess fabric, leaving seam allowances.
- Stitch the 2 edges of the fabric together.
- Pass the beads inside the finished steering wheel.
- Separate each bead from the next, marking the gaps between them with threads.
- Sew new handles to the bag.
We looked at a few ideas on how to repair the handles of a bag, and now we will tell you how to update an accessory without spending a lot of time and money on it.
DIY bag handles: some options
Bags for women and girls are a very important attribute for every day. Without them, not a single representative of the fair sex even leaves the house. Quite often, this accessory may have problems that relate to the strength of the product. In this article, we will consider handles for a bag, it is not difficult to create them with your own hands.
Wicker and more
The handles, which are made by the weaving method, have a very beautiful appearance. Let's consider this option first. As a rule, do-it-yourself bag handles of this type are made from a material identical to the accessory itself. In addition, in this case, you yourself can choose the length that is optimal for you. When you determine your suitable option, then add a third part in order to carry out weaving and attaching.
Some people use this type of store-bought product. These are not really handles, but, for example, a leash for a dog. He often has a pretty attractive appearance. And, most importantly, great for pens.
You can also purchase various chains in similar stores. They will also decorate your purse with additional drawstrings as handles. In addition, you can purchase a variety of fabrics, from which it is easy to make the part of interest to us. Very often, bags made with interesting materials are even confused with well-known brand accessories.
A little about the repair
As you know, every bag has a weak point, and it is a handle. After all, it is this detail that, before the product itself, loses its original appearance over time. Also, the handles come off and break. The repair process is quite difficult, because they cannot be glued with glue. In this article, we will tell you more about how to repair bag handles with your own hands. What materials should be used?
To make handles for a bag with your own hands, you can use a rope or, as a last resort, a piece of hose. At the same time, you can get the necessary part and quality at the same time. You just need to sew this piece into the bag. In order to make this process easier, you need to take the length of the material somewhat shorter than in the previous case.We advise you to use special rivets when attaching the hose to pierce leather or fabric.
In the event that the model of your bag fits, then you can make a cut-out type handle. This kind of it will suit you only if you will not use the accessory under heavy loads.
Strengthening
How to make handles for a bag with your own hands? The process is quite difficult, but interesting. Any type of handle must be reinforced inside. The reinforcement should be much denser than the fabric from which the part itself is made. You also need to consider both the size of your palm and the width of the product. This is necessary in order not to be mistaken with the size.
Beads on your handle will look great as a decor. In this case, you can purchase this jewelry or take the one that is available. The material of these beads can be completely different, it does not matter. It should be noted that this type of handle should not be used as a long option, as the bag will slide off the shoulder. It is better to use beads with short handles that are worn in the hands.
The details that are made from buttons also look interesting. It is quite easy to find such fasteners at home, so choosing the material is not difficult.
A denser option
In the event that your bag will play a huge role in the household, that is, it is needed in order to carry heavy things, the material for the handle should be at the highest level. As a rule, its length in this case depends solely on your height and weight, which will be carried.
Do-it-yourself bag handles are best made of very high quality and strong material. That is, these or those cords, as well as belts, are perfect. You need to know that ropes are also used as a handle, but they must be specially prepared in a certain solution, and then washed in a washing machine.
Useful Tips
Taking care of your leather accessories will help to qualitatively restore the attractiveness of your purse. Experts advise:
- Before repairing, clean the surface from dirt using a soap solution with ammonia.
- If there is a greasy stain on the product, then chalk poured on it and left overnight will help. Just kick the bag out in the morning.
- Suede parts are cleaned with a special brush.
- Use glycerin to shine your skin.
- Lacquered bags are wiped with a dry soft cloth.
- Shabby hardware can be replaced to renew an accessory.
- Sew on a new pad to replace the old one.
- Small external defects can be eliminated with beads or other decorative elements that are in harmony with the tone of the bag.
Do-it-yourself bag repair is easy if you follow these guidelines. An updated accessory after restoration will last longer and will save you money to buy other things.
The restoration of the kitchen table is carried out using self-adhesive film, decorative tiles, art painting technologies, monochromatic tinting, ...
Most natural minerals are shapeless. Natural stone processing will provide a beautiful structure that emphasizes ...
A properly formed arch of the foot is the key to the full development of a child, prevention of diseases of the musculoskeletal system (deformity of the feet, ...
The bag is a convenient and beautiful accessory that facilitates a person's daily activities. A well-chosen bag will allow you to carry away a lot of useful things, while emphasizing the sense of style of its owner. Bags, like any other item, are subject to wear and tear. Handles are especially affected by constant contact with the owner's hands. Let's figure out how to quickly repair the handles of a bag at home and what is required for this.
How to repair bag handles with your own hands
To quickly and efficiently repair the handles, we need:
- Metal rings 2.5 - 3 cm (4 pieces).
- Scotch tape for leather of medium thickness.
- Leather fabric (15 cm longer than the handles themselves, and twice as wide as the handles).
- A small piece of tarpaulin.
- Strong thread for leather in fabric color.
The algorithm of actions is as follows:
The leather fabric must be cut into two equal strips. We fold them joint to joint in width. And glue it with tape. You need to glue firmly so that the part does not disperse. Cut the edges with medium scissors for fabric and sew the product from the front side at a distance of 3-4 cm. Bend the rounded ends inward and glue with tape.
We thread rings into the resulting product from four sides, and then bend the ends inside out. Use a pen to mark where the edges end. Glue adhesive tape to the mark (it should be in the center, but not along the seam).
Put the tarpaulin fabric on the tape and press it tightly to the skin. Make sure that the sticky layer does not come out of the fabric. Glue a small piece of glue on the second side of the fabric.
We fold the leather product in the middle and glue it together. Begin to glue the leather from the middle, pressing the product well on both sides
It is important that the fabric is evenly glued over the entire surface, and there is no air inside.
On a sewing machine, we make a securing line so that there is at least one and a half centimeter along from the tip inserted inside. From above we do one more line already on the done
At the other end of the part, we perform similar actions. Do not forget to make sure that the needle clearly goes through the punctures of the previous seam.
Now all that remains is to attach the hand-made handles to the bag, and the new version of the product is ready. If everything is done carefully, then the new pens will be indistinguishable from the factory ones. In the case when it comes to a model made of fabric or jeans, new parts should be made from the appropriate fabric.
How to update a leather bag at home with your own hands
How to update a leather bag is a question that interests many women, because such accessories made of genuine leather are always expensive. In the photo, how to update a bag with your own hands, this process goes through several stages:
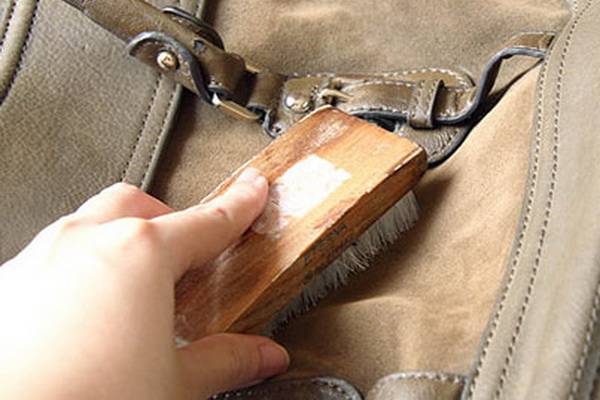
1. Cleaning the surface of the material. Before doing anything with an old product, you should thoroughly clean its surface from various contaminants. Wipe the skin with soapy water, in which a small amount of ammonia is diluted. Then traces of moisture must be removed by wiping the bag with a towel. If you have greasy stains on your purse, try removing them in the following way: sprinkle crushed chalk on the contaminated areas, leave it overnight, and in the morning remove it. It is better to clean a suede bag with a special brush designed to care for such material.
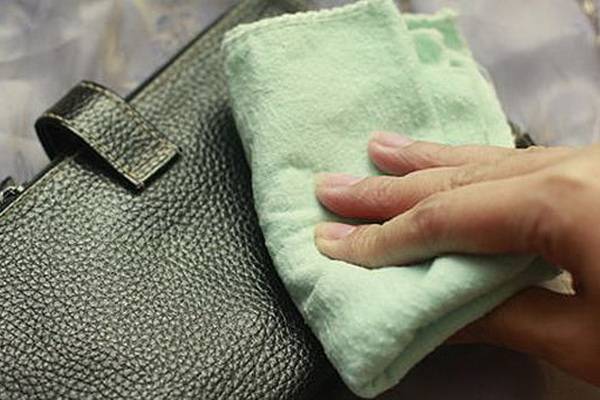
2. Processing with glycerin. An effective way to renew the skin on a bag is to treat the surface with glycerin. You can buy it at the pharmacy, you should moisten a swab in this product and thoroughly wipe the entire surface. Your old but beloved product will immediately take on a new look, become shiny and attractive. If your bag is made of genuine patent leather, you do not need to process it with glycerin, just wipe it with a dry clean cloth.

3. Replace hardware. The fact that the bag is already old is often indicated not by the leather, but by frayed fittings. You can get rid of it yourself and replace it with new elements.
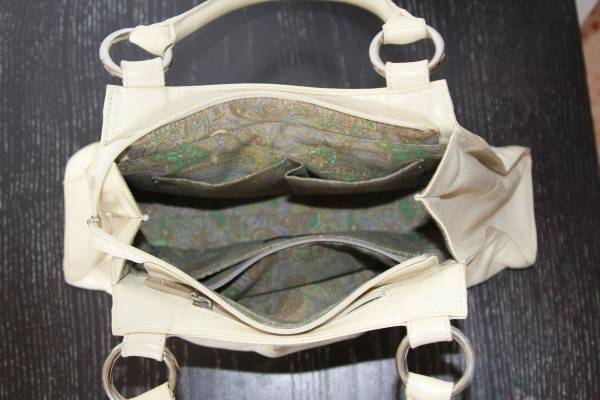
4. Get rid of the old lining. The worn-out lining makes the bag inconvenient to use, because often many things fall into holes, and it is not so easy to get them out of there. It is not difficult to make a new lining yourself, but if difficulties arise, you can take the product to a sewing workshop.

5. Disguise defects. Many decorative elements can be used to hide minor imperfections on your favorite piece.However, not all women love flowers, beads, rhinestones and other jewelry, in this case, it is better to use liquid skin to mask defects.
When choosing such products, pay attention to the matching of shades so that the treated areas do not stand out on the bag.
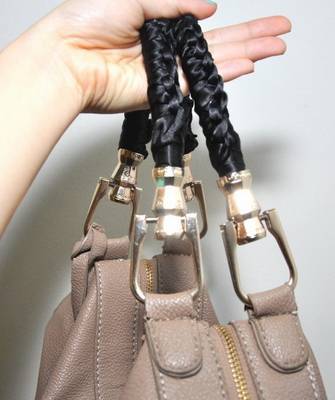

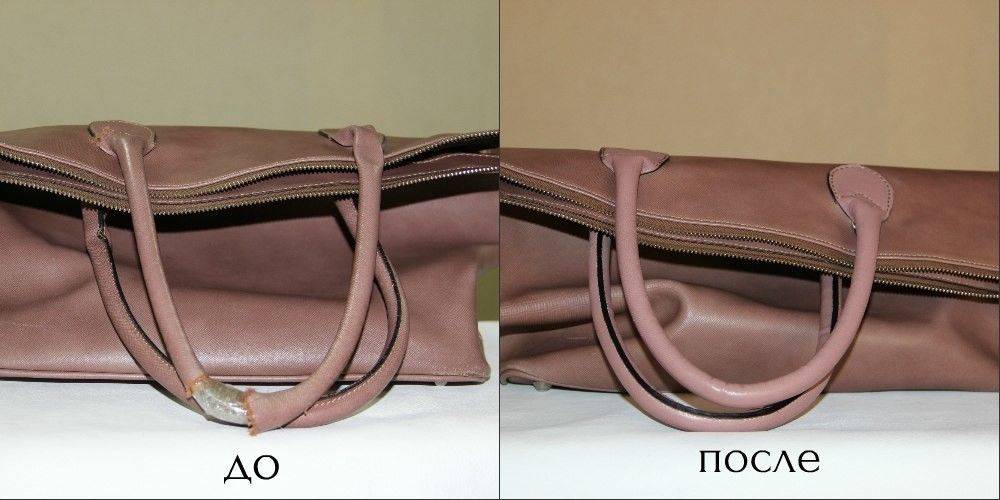
Sometimes the skin will peel off only on the handles, and the entire product remains attractive. In this case, you should find out how to update the handles on the bag so that the accessory can be used for several more seasons. The easiest way is to wrap them with braid, matching it to the color of the product.


Knowing how to update a leather bag at home, there is no need to spend money and time buying a new accessory.
Video
The question of how to update your favorite handbag interests every woman. We hope that our ideas will inspire you to the creative process, as a result of which your favorite accessory will delight you with its beauty and creativity for many years to come. And most importantly, you were able to change the look of the bag with your own hands. So, there is a reason to praise yourself beloved!
An easy way to update your bag handles
If you don't have a sewing machine or it is quite difficult to sew new pens. There is a simplified version of how to give a product a fresh and beautiful appearance. To do this, you can quickly and easily sew pen covers. The main difficulty in this method is that the received covers will need to be turned onto the front side. Otherwise, this is a fairly affordable and easy method.
To sew covers, we need to follow these steps:
- We take a small piece of thin leather, you can take leatherette and make a pattern of two with a cover. To do this, draw two rectangles on the fabric as wide as one pen in a square.
- We cut out blanks, and glue dense cotton or any other material on them from the inside. You can use regular PVA glue or Superglue.
- We wrap the ends inside out and also glue well. Our blanks are ready.
- Now it remains only to connect the two ends of one part, and sew them on a sewing machine. If there is no such technique, then you can buy a leather needle at a sewing store and sew a seam by hand. We make a seam from the seamy side, after which we turn the parts out to the front side.
If desired, the covers can be made with Velcro so that they can be conveniently put on and off the thing. Velcro should be glued or sewn onto the front and back of the part. It will not be visible on the subject, but it will help to simplify the cleaning process of the model.


