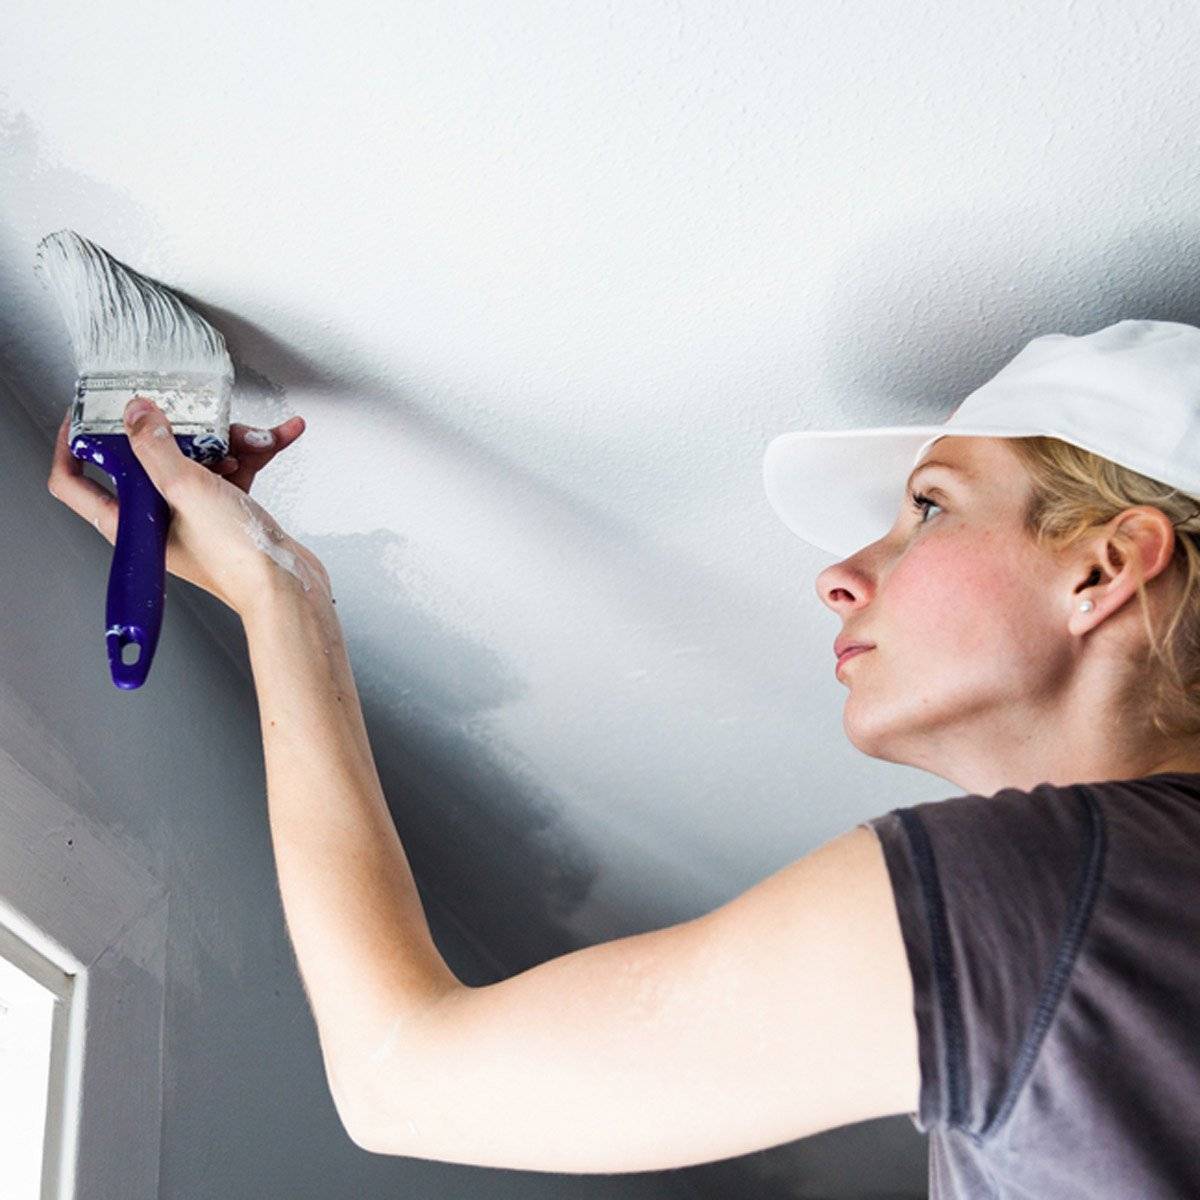
Methods for removing whitewash from the ceiling
Unfortunately, often each new layer of whitewash was applied on top of the previous one, as a result of which an uneven rather thick chalk or lime layer forms on the ceiling. Regardless of the chosen method of cleaning the ceiling surface, the room should be freed from furniture as much as possible and covered with plastic wrap.
Traditional methods of whitewashing
It is possible to wash off the whitewash from the ceiling in the traditional way, if it is based on a chalk or lime composition.
To do this, you can use a regular sponge dipped in warm water. You need to change the water as often as possible, otherwise the chalk dissolved in it will be applied with a sponge again. Rinsing should be continued until the water after wringing out the sponge ceases to be cloudy.
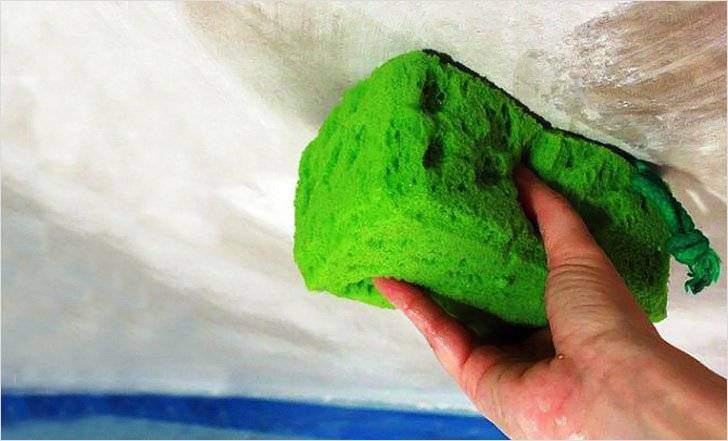
Highly salted hot water is more likely to soften the whitewash layer, therefore, before starting the process, you need to add to very hot water, otherwise the salt will not dissolve well, 1 kg of ordinary table salt per 8-10 liters of water. The most effective temperature of the water-salt solution for washing off the whitewash is 40 ° C.
It is much more difficult to clean the lime-based whitewash ceiling. For this, in addition to a sponge, you will need a spatula. If the layers are removed dry, a large amount of harmful dust is formed in the room, therefore, the process of clearing the ceiling from lime whitewash should be organized as follows:
- Protect the floor surface with plastic wrap, old wallpaper or at least newspapers;
- Moisten a small piece of the ceiling, no more than 1 × 1.5 m, abundantly with warm water. To do this, use a roller, spray gun, or a wide hard brush;
- Wait until the lime layer is sufficiently wet. This will be evidenced by the darkening of the whitewash layer;
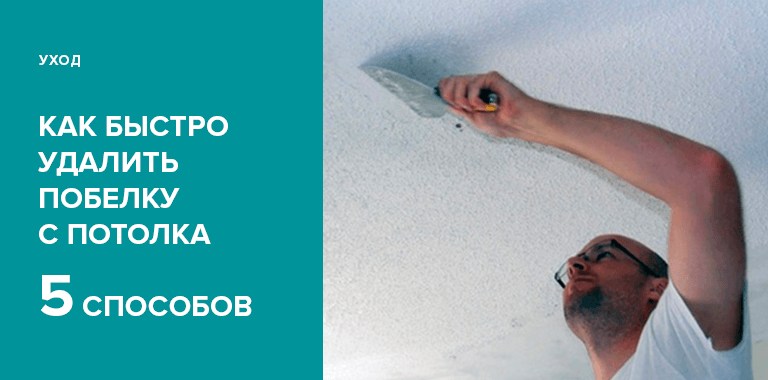
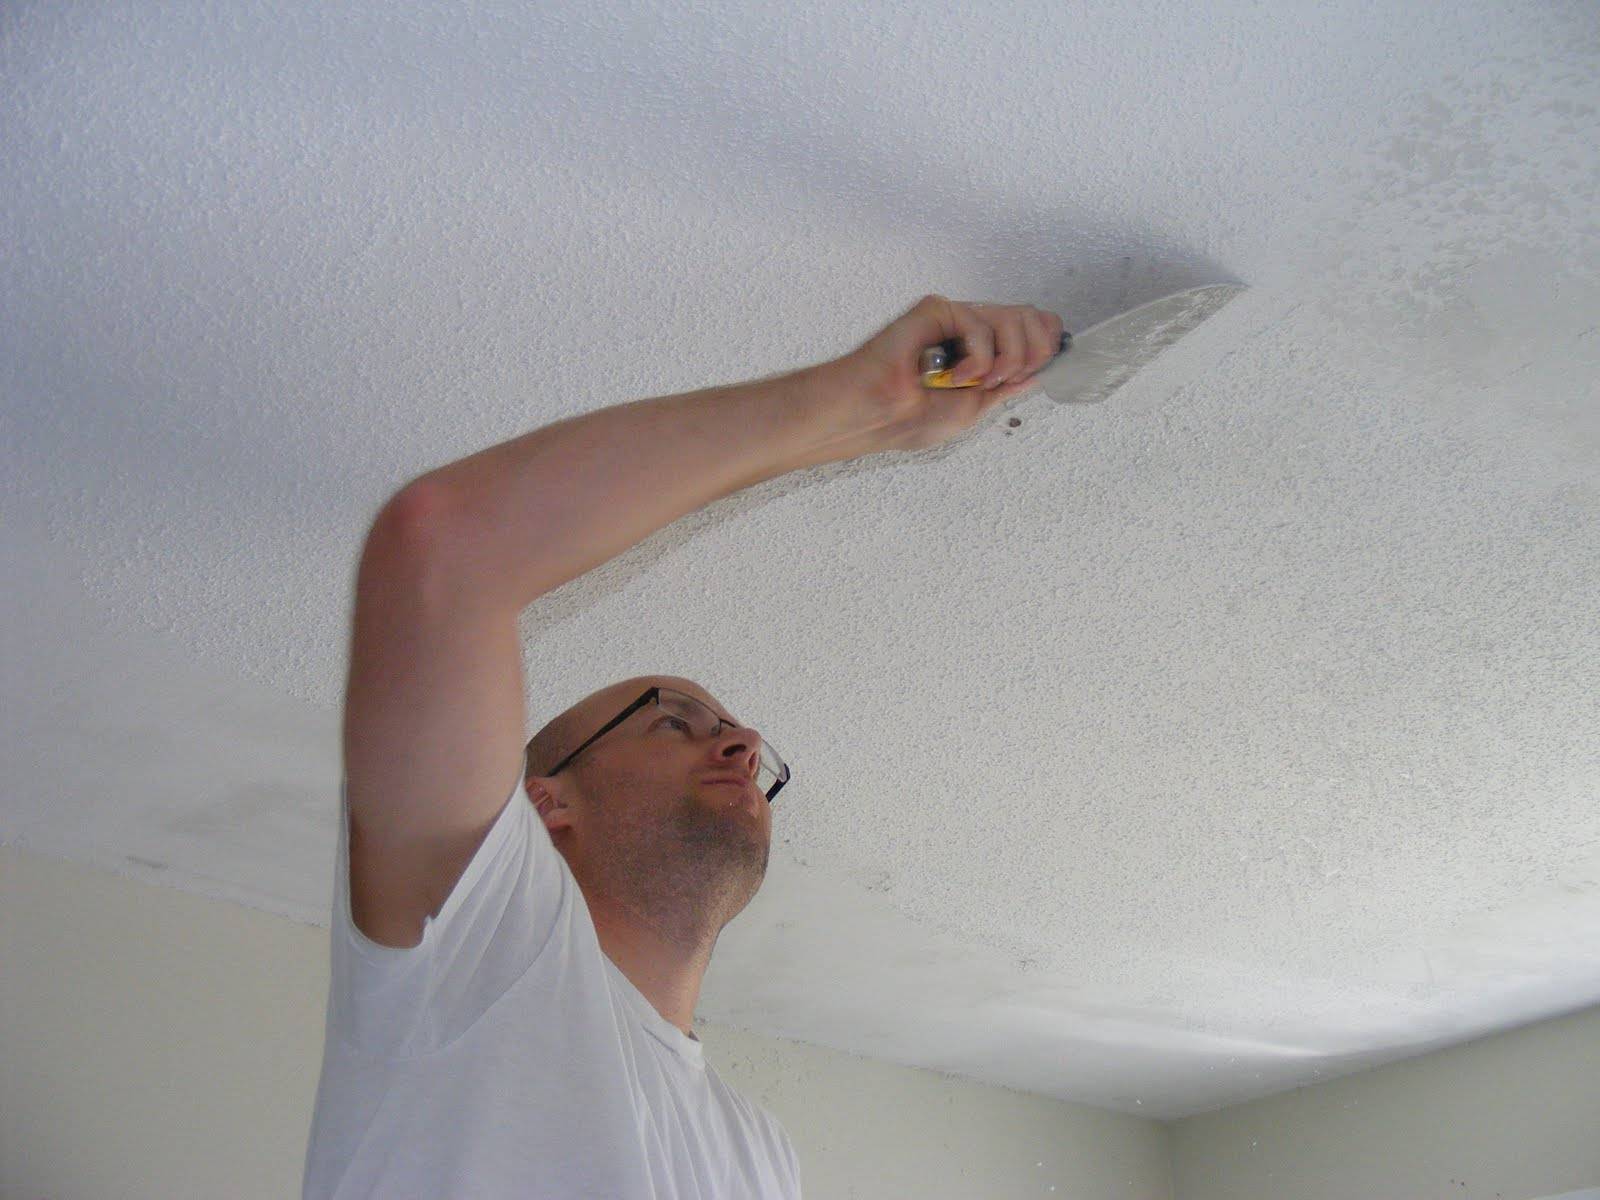
- Remove the whitewash layer that has lost its hardness with a spatula;
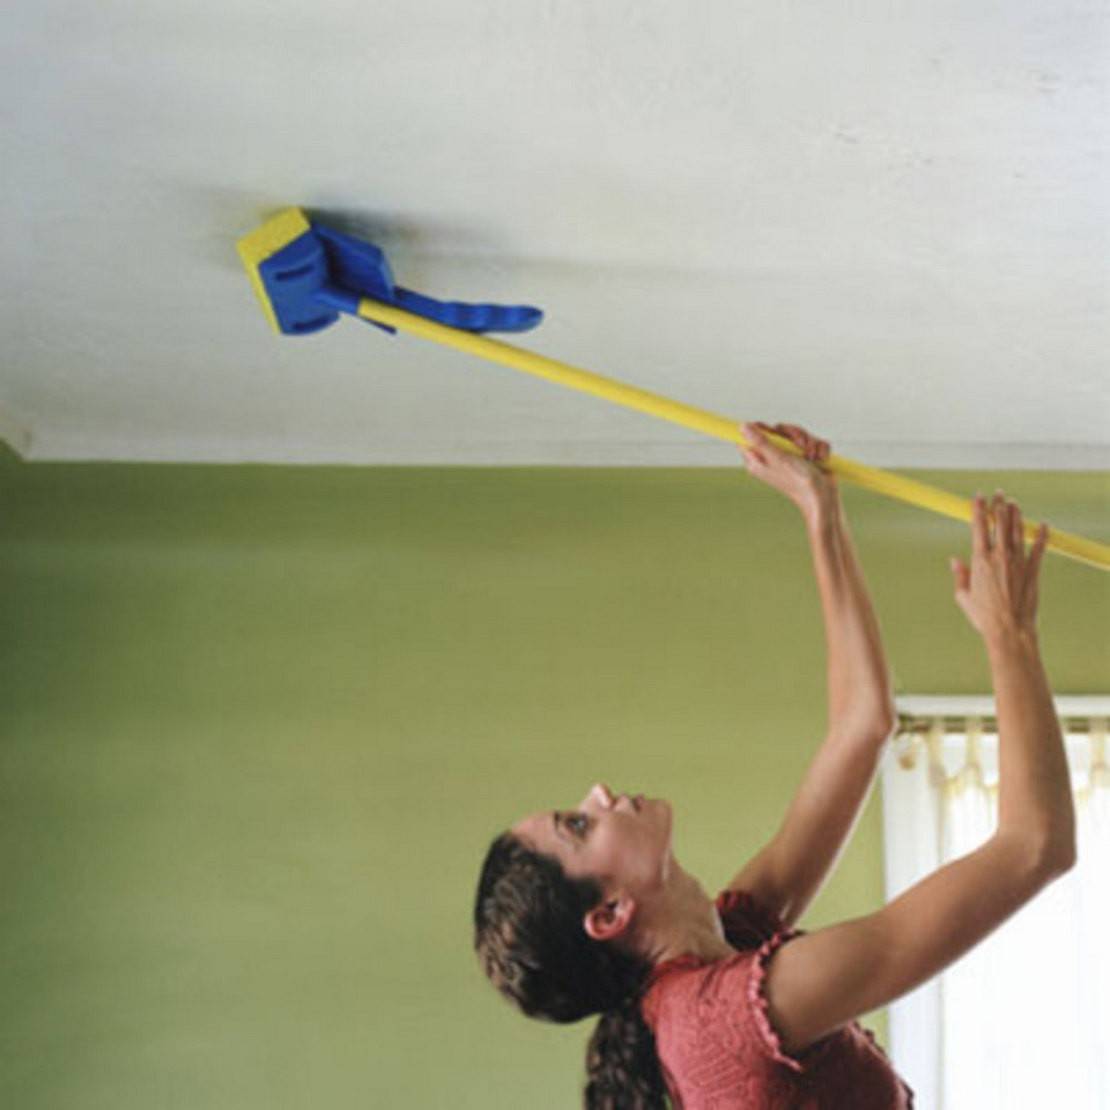
- Wash off the remainder with a sponge.
Before carrying out work, you should protect your hair and eyes, preferably using protective goggles. Minor fragments and dust particles of lime can seriously injure the eyes.
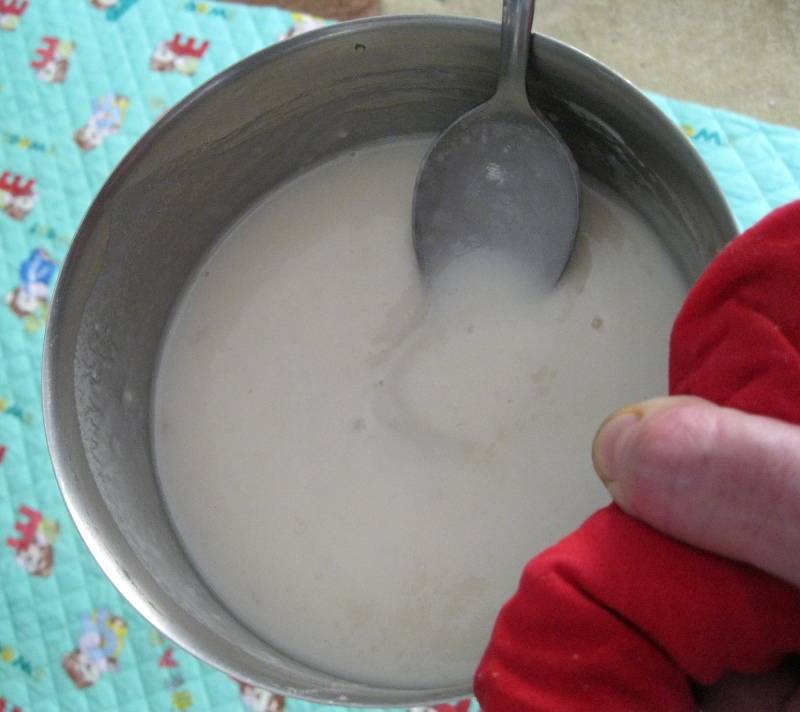
Professional craftsmen, in order to quickly remove the whitewash, use a solution of hot water with soda ash and laundry soap. The disadvantage of this method is that its traces also then need to be washed off the ceiling surface. Soda ash residues can interact with many adhesive-based paints, and traces of soap due to the fat contained in it will prevent the layer from being applied evenly.
But in difficult cases, you can use this recipe.
Composition for washing off lime whitewash:
- 12 liters of water;
- 2 tablespoons of grated laundry soap;
- 5 tablespoons of technical soda ash.
Ceilings painted with water-based paint can also be cleaned with a spatula and trowel with an abrasive surface, or with ordinary wooden grout. You can quickly remove the old whitewash based on water-based paint by adding a pharmacy iodine bottle to hot water (10 l).
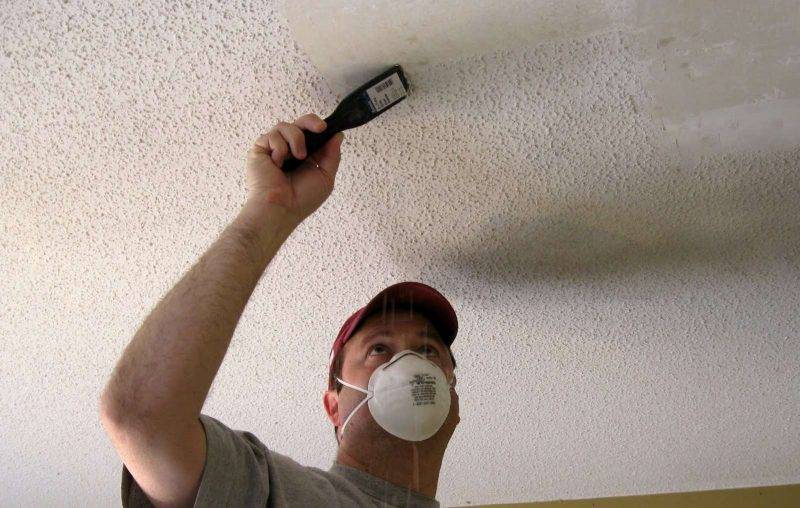
Wet cleaning
In cases where a sander is not available, you can clean the whitewashed ceiling with a simple wash.
The order of work, how to properly wash off the whitewash from the ceiling:
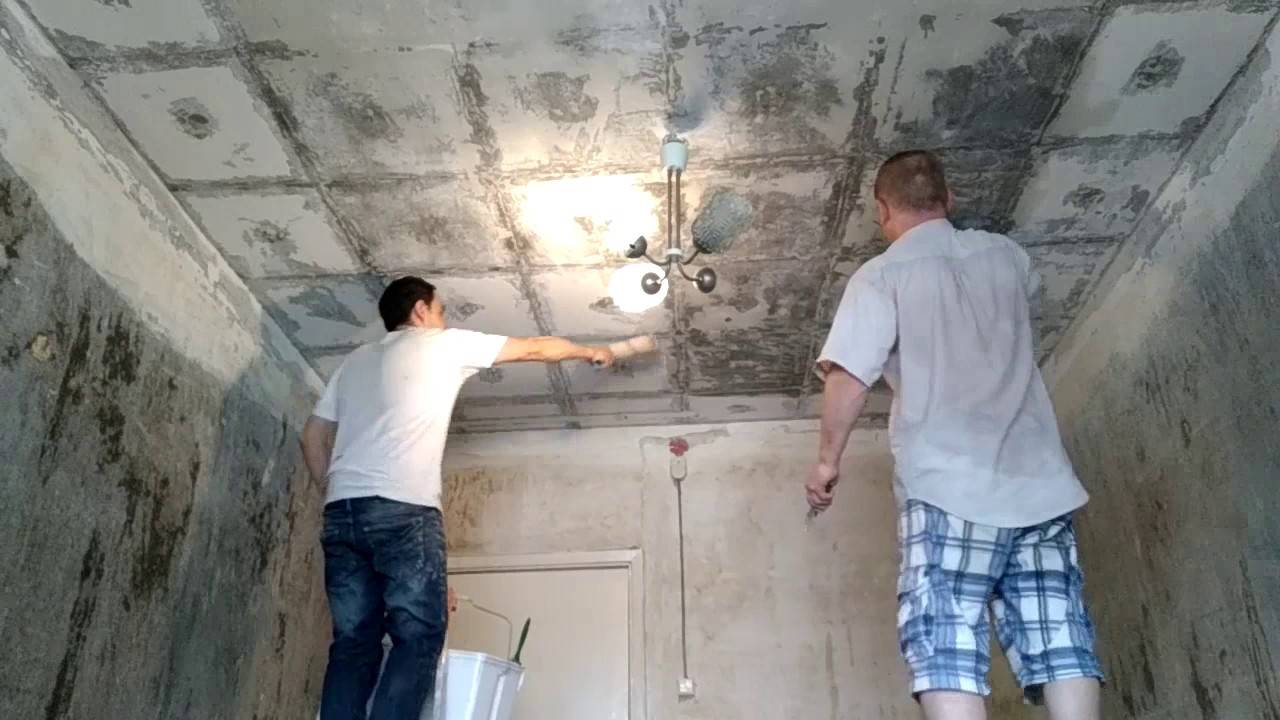
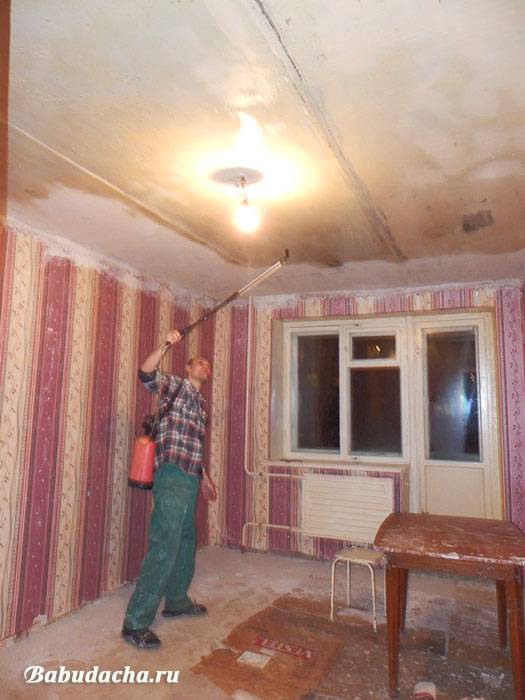
- Use warm water and a foam sponge to wet the ceiling. This procedure can also be carried out with a brush or a spray bottle, spraying water from a distance of 60-70 cm to the ceiling.
- To prepare a solution for washing, in addition to warm water, use 3 tablespoons of washing powder and 5 tablespoons of soda. Powder and soda can be replaced with regular table salt. A textile roller is used to apply the finished solution to the base. Difficult and hard-to-reach areas are treated with a paint brush.
- It should be borne in mind that the process of water absorption into the whitewash occurs very quickly. To quickly wash off the chalk from the ceiling, as a rule, soaking the whitewash several times helps: this will allow the old finish to spread well. To avoid excessive dirt, a prepared container is placed under the whitewash to be removed.
- Then a short pause is made until the whitewash becomes limp and malleable.
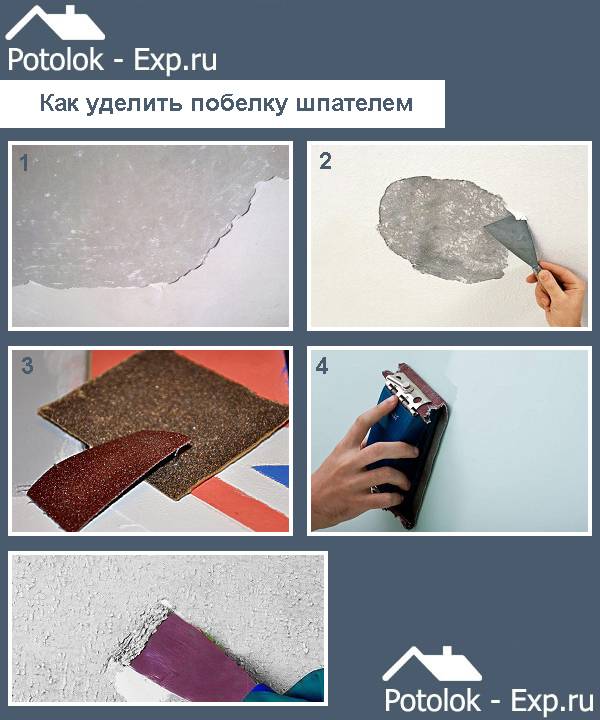
- A sturdy trowel or scraper is used as a surface cleaning tool. It is necessary to initially prepare for the fact that this method will not allow solving the problem of how to quickly wash off the ceiling from the whitewash. In this case, you will have to work hard. At the end of peeling off the old layer, the clean surface is treated with sanding paper. Next, a layer of primer is applied.
- Any surface flaws found during sanding must be eliminated with a repair mixture. The most convenient way to do this is to use gypsum plaster or plaster. Each hardware store has a large selection of similar materials.
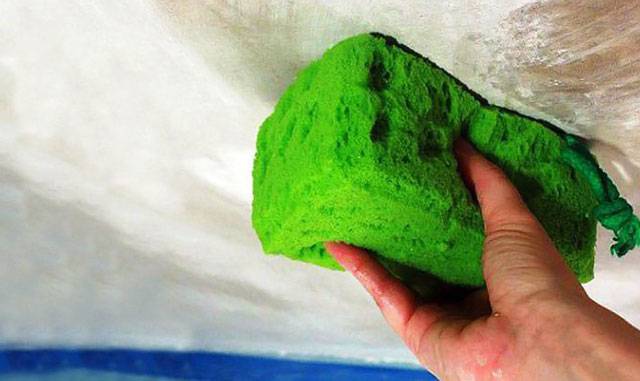
In the course of soaking the ceiling, it is recommended to soak it in small areas, immediately peeling off the soaked layer. This will make it possible to maximize the goal of how to quickly wash off the chalk from the ceiling. In this case, the wetted whitewash will not have time to dry. If the whitewash layer is small, then the procedure can be carried out by simple blurring. This will require a stiff brush or rag. However, in this case, the load on the worker's muscles noticeably increases, since it is necessary to rub it over the surface with a brush with decent effort. The process is characterized by a fairly large amount of water that gets on the clothes and the floor.
When and why to remove whitewash
- cladding with lightweight polystyrene foam tiles, with the installation of skirting boards
- wallpapering, incl. washable (as a variant of one of the old ways)
- painting with water-based paint
- installation of a suspended or suspended plasterboard ceiling
All these methods have many advantages over the usual whitewashed ceiling, but if you decide to resort to any of them, with the exception of suspended or tension structures, then you will have to remove the old whitewash from the ceiling.
If this is not done, it is impossible to guarantee that the new coating will adhere well. Chalk and lime are not intended to be painted, wallpaper or tiles glued on top. Wallpaper glue leads to a chemical reaction, as a result of which the bleached layer breaks down and foams. This will cause both the wallpaper and tiles to start falling off soon.

Please note: only stretch and suspended ceilings are indifferent to the presence or absence of whitewash, but only in one case: when there are no mold spots on the surface, that is, it is not affected by a fungus (the main reason for this is moisture, for example, the consequences of being flooded)
In this case, it is also necessary to pre-clean the ceiling from whitewashing in order to treat it with an antifungal agent.
In addition, in some old apartments (for example, in the "Stalinist" foundation), the layer of ceiling plaster after many repairs acquires an impressive thickness and can collapse simply under its own weight.
In this case, removing the whitewash from the ceiling also acquires the status of a vital operation, even if you just want to whitewash it again.

Washing off lime whitewash
- Unfortunately, lime whitewashing is often much more problematic than chalky, so many ways to quickly remove whitewash can be unsuccessful. In the worst case, the owners will simply lose time, which is worth its weight in gold in the repair process.
- Most often, in this situation, it makes sense to use a soapy solution, which demonstrates the greatest efficiency. However, unlike the method we described earlier, more grated soap should be used in order to significantly increase the effectiveness of the solution.
- In addition, unlike the method described earlier, the solution should not be sprayed over the surface, but rubbed with a dampened sponge. This, again, will increase the efficiency of the mixture, and wash off the lime wash will be easier. Interestingly, there is simply no point in using these recommendations for chalk whitewashing.
Technology
Consider the stages of traditional whitewashing from the ceiling.
- You have water and a spray bottle. Now you need to moisten the ceiling. Try to do this evenly. If you pour a lot of water in the same area, it will eventually start to drain from the ceiling. The whitewash must absorb moisture. Only then will the chalk swell. Therefore, take a small area of a couple of square meters and start moisturizing them evenly. If you notice that the water has been absorbed, then wait 10 minutes and then moisten the same area again.
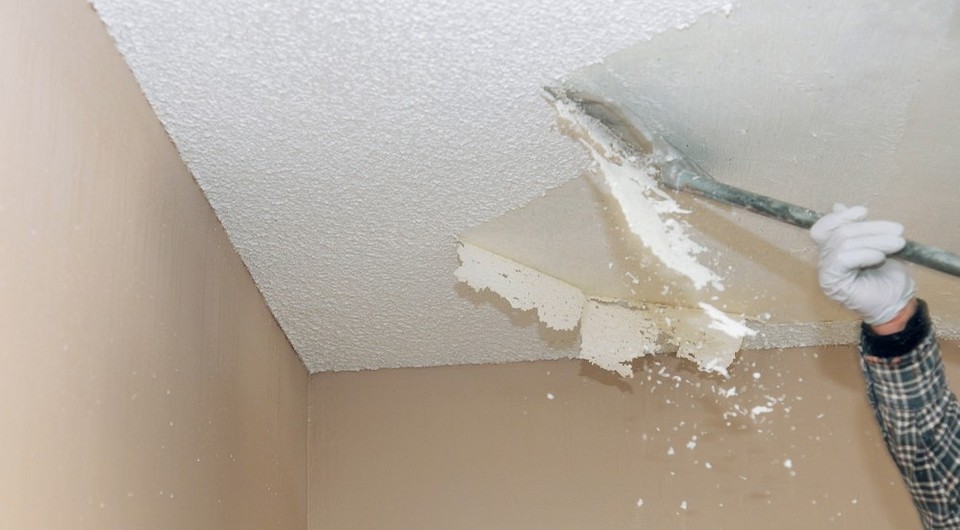
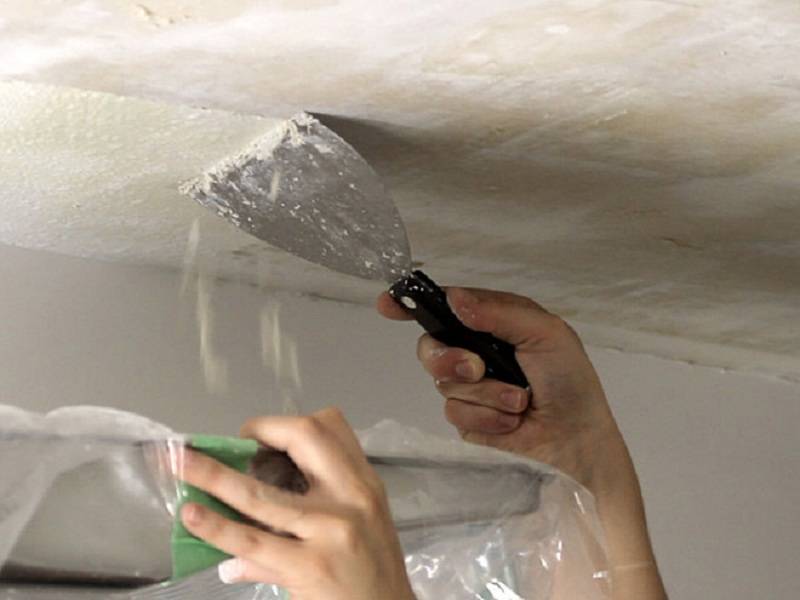
- Now you can remove the old whitewash. At this stage, a spatula will come in handy, with which you will have to clean off the whitewash. If you moisten the ceiling properly, the chalk will begin to lag behind it in thin layers. If the whitewash runs over the spatula, then you have used too much water.
- To work continuously, while one part of the ceiling absorbs water before the second run, moisten the rest of the areas. While you peel off the chalk from one place, the other will already be soaked with might and main.
- At the end of the work, the ceiling must be rinsed. Warm water and a foam sponge will help with this. It is easy to check the quality of work: when the ceiling is dry from water, slide your finger over it. If there are no white marks on your finger, then you did everything right. If there is some chalk remaining on the surface, there is no need to restart flushing. It is enough to apply a primer to the ceiling for whitewashed surfaces.
Useful Tips
When starting repair work, you should follow safety precautions and work using protective equipment
Particular attention should be paid to the fact that lime and other materials can get into the eyes, thereby causing burns or other damage to the cornea. Work only with special protective goggles!

It is important to pay attention to the fact that washing off the whitewash from the ceiling can wet the wiring, therefore, turn off the lighting during operation. If there is not enough light, the necessary places are illuminated with a flashlight or carrier
If you did not find a special wash at hand or it is impossible to use any of the above methods, you can use a homemade mixture.
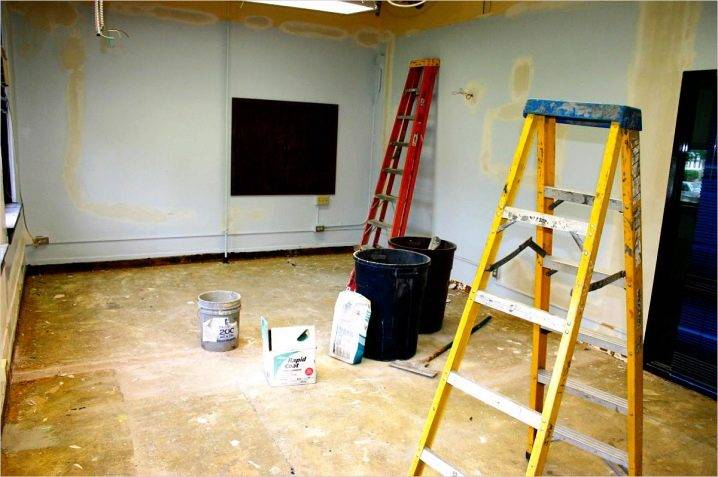
For a homemade wash, you need:
- collect 5 liters of water in a bucket;
- add 5-6 caps of bath foam and 1 tbsp. a spoonful of vinegar;
- small areas of the surface are treated with this soap-vinegar composition;
- you should wait 5 minutes until the surface becomes sour;
- use a spatula to clean the ceiling;
- when the work is finished, wash the ceiling with warm water.
When working with a homemade remover, be sure to lay old newspapers or any oilcloth on the floor, as there will be plenty of dirt.


You can apply another method that does not require a special investment of money - using ordinary salt. Table salt is added to warm water. For 10 liters of water, take a 1 kg pack of salt. Such a homemade wash will be very cheap, and the result will be no worse than using other means. You can easily and effortlessly clean the ceiling from the whitewash.
Self-made mixtures will be much more economical than purchased options. One of the old ways that was used to remove traces of whitewash from the ceiling is to use a solution with laundry soap. For the solution, take a laundry soap that does not contain dyes or other additives. In this case, it will be better to remove the whitewash from the ceiling and walls. Add a spoonful of baking soda and 2 or 3 tablespoons of laundry soap shavings to a small bucket (5 l) with warm water.
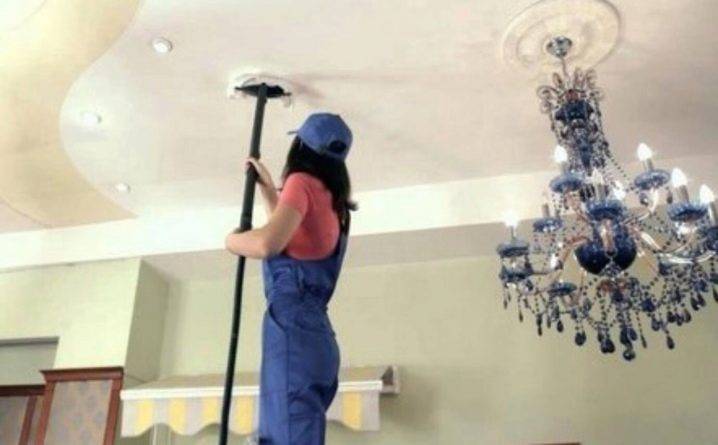
After renovation work, it is difficult to get rid of whitewash marks on the floor. Even if you put oilcloth, plastic wrap or newspapers on the floor, there is a high probability that the floor will still become dirty. You can wash off the whitewash from the floor by wiping it with water and vinegar; if it is very dirty, wash the floor at least three times.
Using any of the listed methods, you can get rid of the whitewash on the ceiling. Each of them has its own advantages and disadvantages. Which one to apply - everyone decides individually, it may depend both on the funds that are available, and on some other conditions.
For information on how to wash off the whitewash from the ceiling, see the video below.
How to clean it yourself: an overview of the funds
Rinse with water
 If the layer of whitewash is relatively thin, then it can be washed off with water.
- Dissolve 1 kg of salt in 10 liters of hot water.
- Let the solution cool to 45 degrees.
- Soak a sponge in the solution, wipe the ceiling until the chalk is completely washed off the base. Work should be done carefully so that drops do not start to run down your hand, drip onto the floor, head or clothes.
- The ceiling is washed off with a sponge, removing layer by layer until a clean surface appears. The water is changed as often as possible, and the sponge is rinsed in clean running water.
How to remove with paper?
Stages of work:
- An adhesive solution for wallpaper is being prepared (you can use paste).
- With a wide roller, the solution is evenly applied to the ceiling surface in a thick layer.
- Old wallpaper, newspapers or paper are soaked in glue solution, then glued to the prepared surface until dry.
- When the wallpaper or newspaper is dry, remove it from the ceiling. The old whitewash is removed along with the paper. If in some areas the coating still remains, then it is scraped off with a spatula.
Attention
For the convenience of work, the edges of wallpaper or newspapers are left unsticked, so that it is easier to remove them.
Removal with paste and wallpaper glue without dust and dirt
Stages of whitewashing with wallpaper glue or paste: 
- Prepare wallpaper glue or paste. To prepare the latter, you will need flour or starch, water. Flour or starch is dissolved in 1 liter of warm water, slowly poured into boiling water, while stirring until completely dissolved (boiling water volume is about 3 liters).
- Densely cover the ceiling with glue or paste, let it dry a little (not until completely dry), while the coating layer should be thick.
- Remove the wet whitewash layer with a spatula.
Quickly using a sander
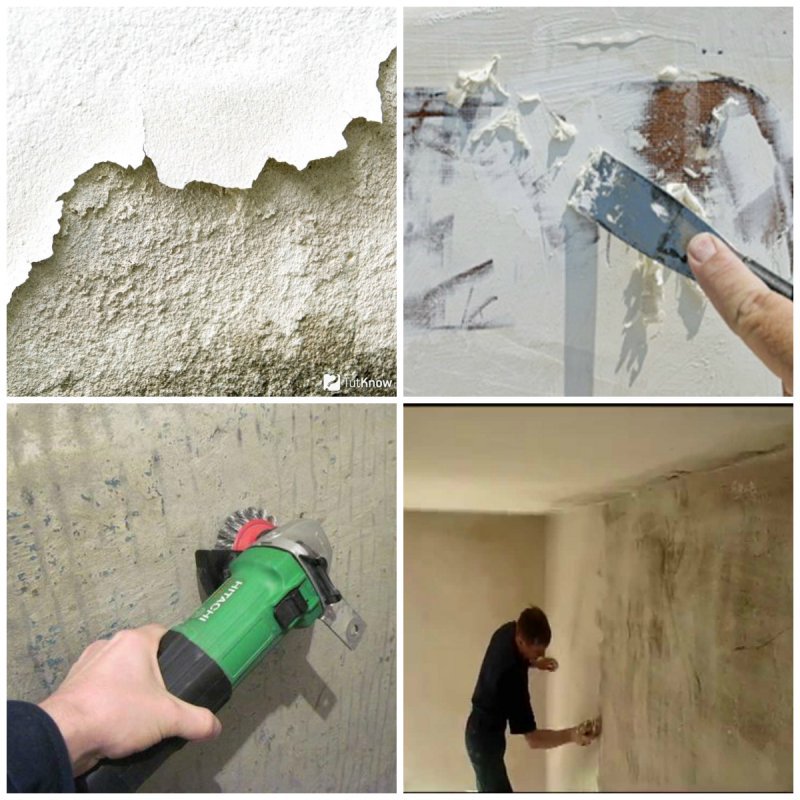
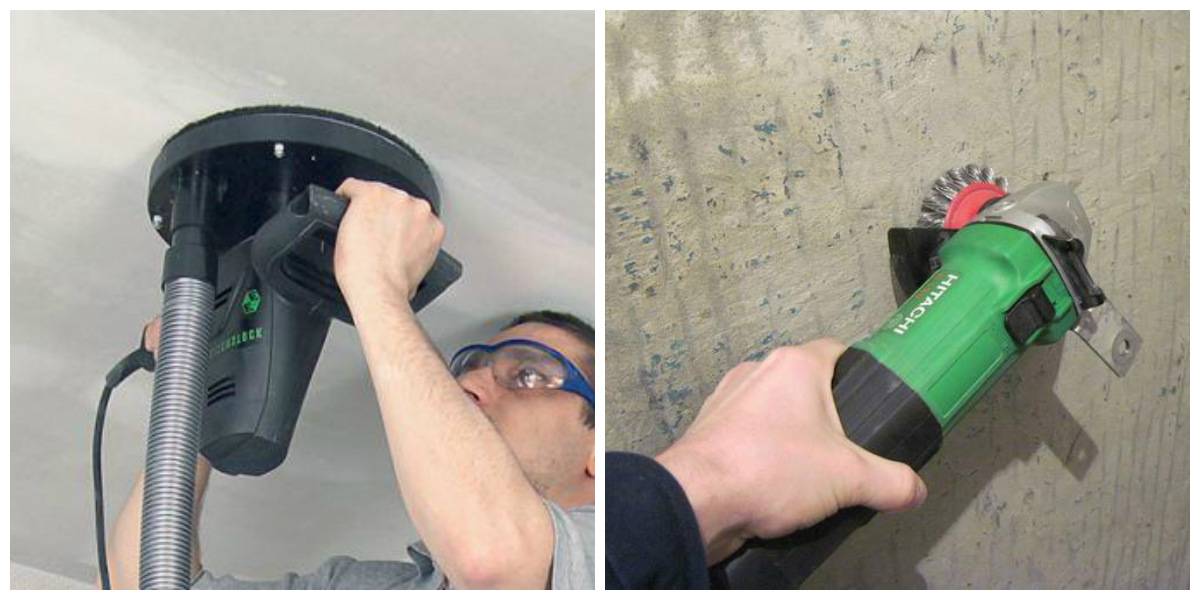
Removing the old coating with a sander is a simple, quick way. When working with a sander, take care of safety measures
Special solutions
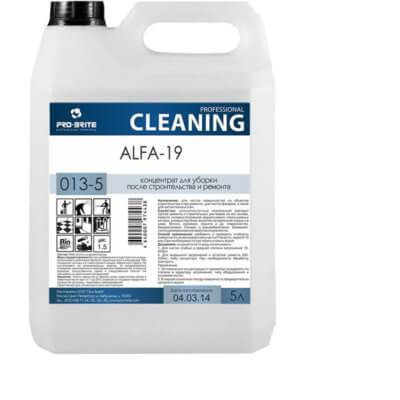
- The ALFA-20 detergent concentrate for cleaning after renovation works perfectly with lime and chalk whitewashing. For work, the product is diluted with water in a ratio of 1/20, applied to the surface with a brush, roller or spray bottle. The solution is left for a few minutes and then the coating is removed with a spatula.
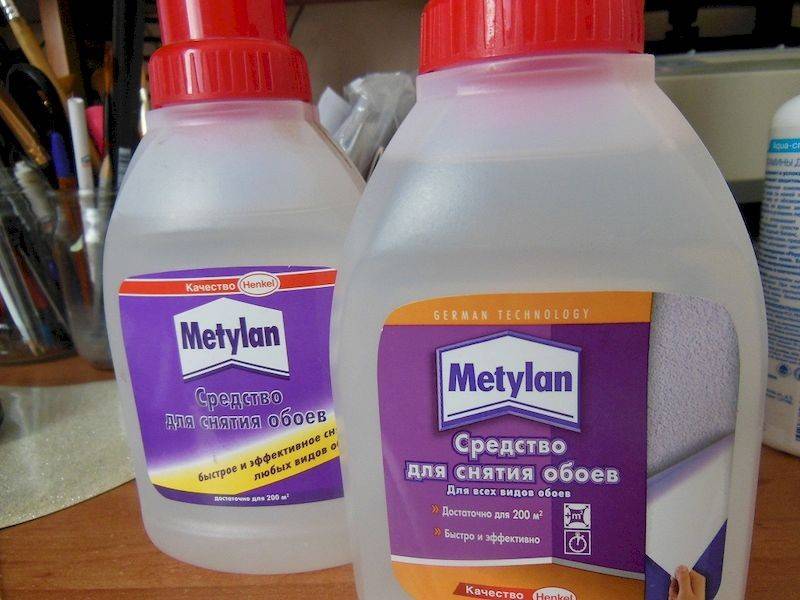
- Metylan wallpaper remover is diluted with water in a ratio of 1/10. She copes well with calcareous, chalky compositions, the principle of her work is the same.
- A special composition for removing whitewash - Probel - is dissolved in water, and then washed off with a sponge. The remains of the coating are removed with a spatula.
- Cleaning Concentrate from Probel is also suitable for rinsing off old coatings. The composition is diluted with water in a ratio of 1/20, applied to the surface. The ceiling is cleaned with a spatula.
- To do this, dissolve 2 tablespoons of ammonia in 3 liters of water, add a soda solution, 2 caps of bath foam, 1 tablespoon of vinegar.
- To prepare a soda solution, 1 part of soda is diluted in 3 parts of water.
- 2 liters of boiling water are poured into the finished composition, cooled to a temperature of 50 degrees.
- Apply to the surface and then remove the coating with a spatula.
Preparatory work: tools and materials
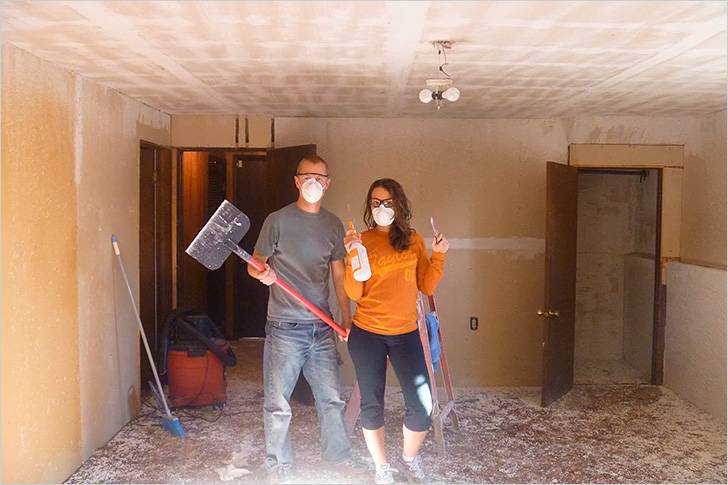
Before you wash off the whitewash from the ceiling, you must prepare:
- wide canvases of plastic film;
- an ordinary medical mask or respirator;
- special glasses for eye protection;
- headdress (scarf, comfortable hat);
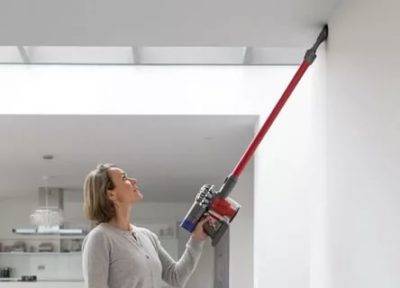
- water spray or vacuum cleaner;
- spatulas of various widths;
- comfortable clothing that does not hinder movement, preferably with long sleeves;
- household rubberized gloves;
- the right amount of hot or warm water;
- stable platform (you can take a table);
- large household sponges, gauze (for cleaning the ceiling).
Before removing the whitewash from the ceiling in the room, it is advisable to remove all the furniture from it. The work of cleaning the ceiling from whitewashing involves a lot of dirt and dust, therefore, if it is impossible to remove all large interior items, they must be covered with a film as carefully as possible. It is possible to lay cardboard or large newspaper sheets on top, and secure the film securely with adhesive tape.
Otherwise, in addition to cleaning the room, you will have to clean all furniture surfaces. Therefore, before removing the whitewash from the ceiling, you need to think over and solve this problem in advance.
Useful information: "How to whitewash the ceiling on an old whitewash"
The floor in the room is covered with foil, paper. At the entrance to the room, you must keep a damp cloth to wipe your shoes when the master leaves the room, otherwise all the dirt will spread throughout the apartment.
How to wash off whitewash from the ceiling with rust?
Despite the strength and reliability of a whitewashed ceiling, it is very difficult to prevent rust stains. Rusty spots on a white surface look messy.
To whitewash such a ceiling again from above is useless, since rust will show through through new layers. This whitewash is best removed using a vitriol solution.
To prepare such a solution, you will need water (10 l), soap (250 g), dry glue (240 g), chalk (2.5 kg), drying oil (30 g), copper sulfate (130 g).
First you need to dissolve vitriol in water, then add everything else there and mix thoroughly until a homogeneous mixture is formed.
The finished product must be applied to the ceiling (so that it gets into every corner). After a little time, while the whitewash has dispersed, try to clean the surface with some kind of tool (a spatula is ideal).
If the entire layer has come off well, wash the entire ceiling and start sanding.
Instrument and room preparation
Depending on the choice of method for removing the topcoat, the following set of tools and materials will be required:
- Grinding machine for plaster and concrete, or construction float;
- Spatula and hammer;
- Container for water;
- Roller or spray bottle;
- Ladder;
- Sponges and rags;
- Protective equipment.
Grinder Aspro
A detailed review of how to choose a whitewash for the ceiling - read in a separate article.
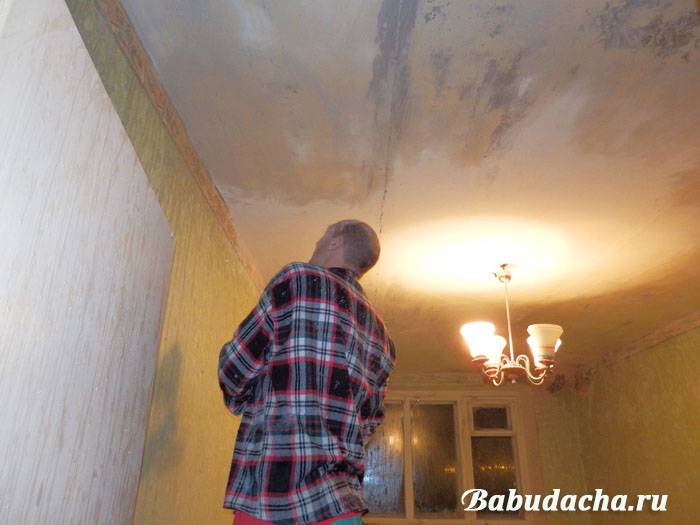
You will not be able to quickly wash off the whitewash if you do not prepare the room accordingly. It removes all interfering interior items, in particular sofas and armchairs, the upholstery of which can be hopelessly damaged by dirty water, pieces of lime and chalk dust.
Heavy large-sized furniture, which is difficult to take out, is well covered with a waterproof film and secured with tape. The floors are covered with newspapers and brown paper. Chandeliers and other lighting fixtures are dismantled from the surface of the ceiling, and the wiring is de-energized to prevent a short circuit. The following accessories are required:
- stepladder and hot water tank;
- soft sponge, rags and high-quality waterproof film;
- a two-liter bottle made of plastic, in the lid of which holes are made for quick moistening of the surface;
- goggles and respirator;
- headwear, rubber gloves and work clothes.
Careful preparation of the premises will allow you to clean the ceiling quickly and efficiently
A wet rag should be placed on the threshold. It will help you wipe off dirty shoes as you move from the work room to the clean room.
Technique for removing whitewash from the ceiling step by step
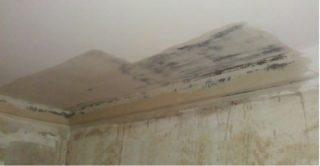 Work in small areas: this will make it easier to work the entire surface
Before you wash off a layer of old or new whitewash from the ceiling, it is necessary to prepare. Following the rules guarantees a good result:
- Everything unnecessary is taken out of the room so that movement with a stepladder does not cause difficulties. The surface of the floor is covered with polyethylene and covered with newspapers on top. A damp cloth is placed at the door to wipe the shoes. Then the building dust will not get into the neighboring rooms.
- Wear suitable clothing, gloves, headgear, goggles and a respirator before starting work.
- Bring a bucket of clean cold water and a container of boiling water into the room to quickly prepare a sufficient amount of warm liquid.
- It is best to use a spray bottle to apply water. Cold liquid is poured into it, then boiling water. It is better to take a small bottle so that your hands do not get tired quickly and you still have the strength to scrape off the whitewash.
- The entire surface of the ceiling should be sprayed with water. Spraying is carried out evenly. If you wet the whitewash too much, liquid will drip onto the floor.
- After a while, the procedure is repeated. After 10 minutes, you can proceed to the direct removal of the whitewash.
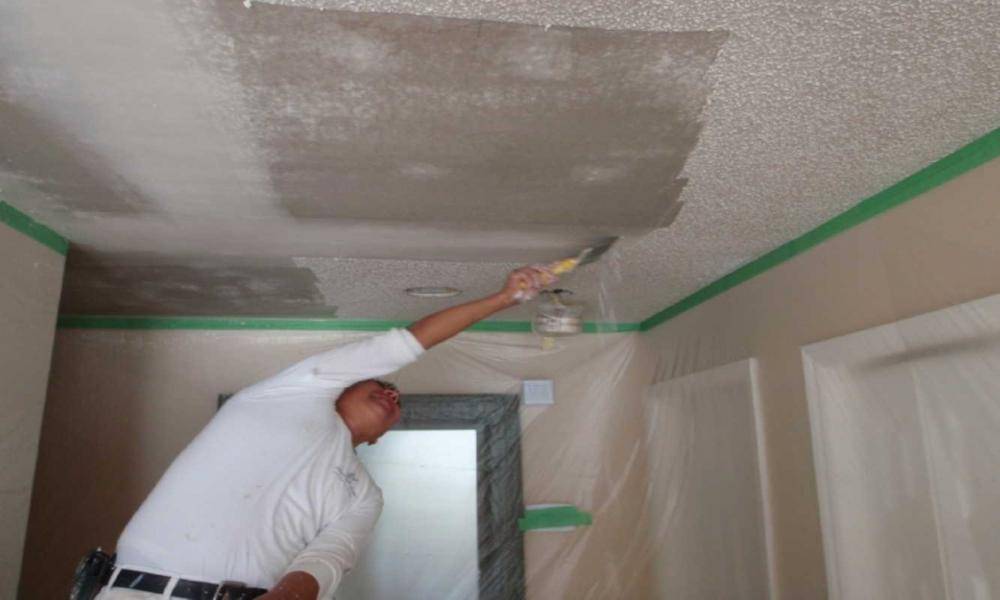
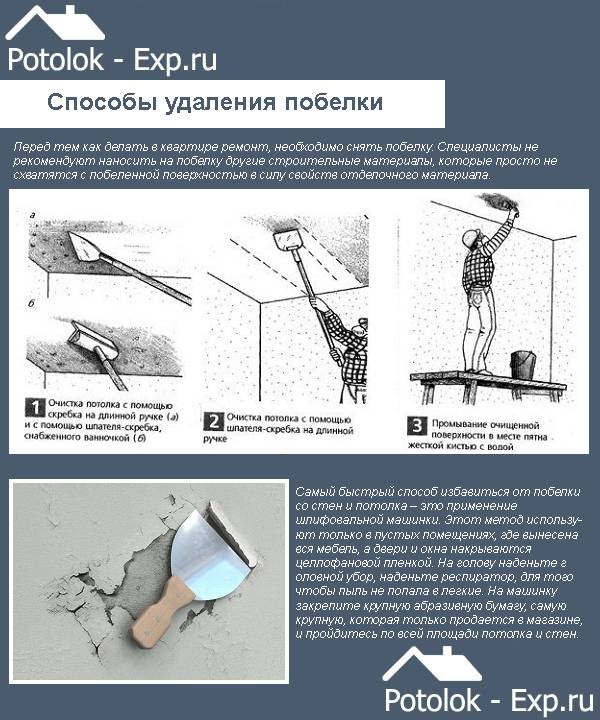
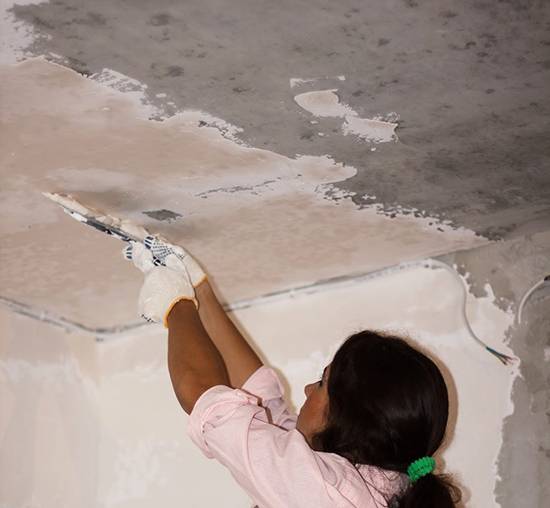
- It is better to remove the top layer with a spatula. Under normal water saturation, the coating will peel off in small layers.
If there is not enough liquid, the chalk becomes dusty. In this case, you will have to repeat the moisturizing. If lime spreads over the scraper, there is too much water, then it will take additional time to absorb. The cracks are expanded with a scraper while they are wet. This will greatly speed up your workflow. After cleaning with a spatula, the ceiling is washed with warm water using a sponge.
After cleaning and completely drying the ceiling, you must run your palm over the surface. If there are no traces left on it, this is an indicator of the quality of the procedures. Now you can use any finishing materials.
Traditional whitewashing
- Despite the fact that the above recommendations often work for removing whitewash of various thicknesses and compositions, it also happens that the manufacturer adds special components to the material, thanks to which it is almost impossible to get rid of the white layer. Therefore, it is worth considering the traditional methodology of this process, which, by and large, also does not take very much time.
- First of all, the ceiling is moistened with a roller soaked in water or with a spray. In this case, the main rule is to use a small amount of water, since later it can simply drain from the ceiling, which creates many problems.
- If the surface becomes wet, after which the water is simply absorbed into the whitewash, a little more water should be used. Humidification occurs within a small area. You should concentrate on 2-3 square meters, no more.
- If the moistening of the ceiling went well, then with the help of a spatula, the whitewash will be removed without problems, and there should not be any particular difficulties with the walls. It also happens that during the removal of whitewash, water flows through the spatula. This is due to the fact that too much water was used at the beginning of the process. You should wait a bit for the situation to become more stable.
- The process should be carried out continuously, removing one area of the whitewash, while moisturizing the other.
- Ultimately, you need to clean the ceiling with a damp sponge. Unfortunately, this is a rather dirty job, so you should get a special suit and glasses that will definitely simplify the process when removing whitewash on the ceiling.If, after washing off, there is still whitewash on the ceiling, the process is carried out again, and so on until the traces of the material disappear.
Stages of paint washout
Despite the entire scale of the work, the whitewash can be removed quite quickly, observing the stages of the work. In principle, repairs do not imply a fun pastime, but strict adherence to the instructions will make the process more comfortable and clean.
Preparation
 Room preparation
The first stage of work involves preparing the premises for the repair of the ceiling. This step is necessary in any case to protect walls, windows and furniture. After the preparatory work, it remains to decide how to wash out the old whitewash from the ceiling and get started.
Before removing the chalk layer:
- tighten windows, frames, window sills with transparent film;
- take out or cover furniture with a film, bedspreads, rags;
- remove mirrors, remove small interior items (lamps, paintings, chandeliers, books, photos);
- cover the floor with film or newspapers;
- seal the sockets with masking tape or polyethylene;
- hang walls (bare walls with peeled wallpaper can be left like this);
- turn off the electricity in the room and take care of the light source (bring a lantern, connect an extension cord from another room, use diode lamps);
- put a wet rag in front of the front door to wipe your feet before leaving and close the gap between the door and the floor;
- prepare a stable step-ladder with which it is convenient to reach the ceiling;
- prepare ammunition - plastic glasses, a kerchief, a respirator or gauze bandage, comfortable work clothes.
To prevent the sheets of film from scattering on the furniture and the floor, it is recommended to secure the joints with tape. The furniture can be pre-covered with special dense covers. It is better that the protection hides the interior completely, right up to the floor, since dust easily penetrates into any cracks and holes.
 Covers protect furniture from dust
Instruments
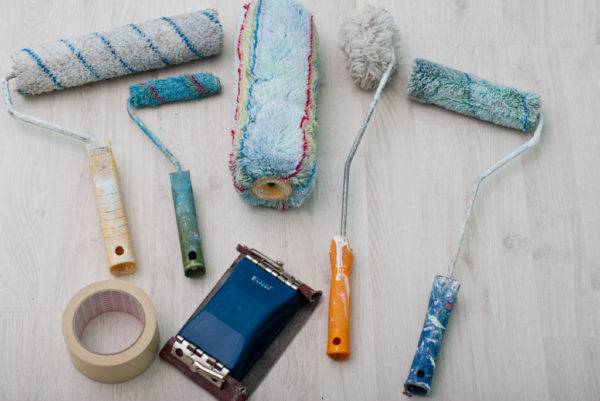 Required tools
The choice of how to blur the whitewash on the ceiling depends on the type of finish and the abundance of stains. Lime layer or paint can only be removed with a scraper - dry. For deep stains and mold, you will need additional tools and liquids - soap solution, antiseptic, acids, solvents. Dealing with mold and rust should be studied separately.
| Image | What is needed for |
|
|
Easily remove layers of whitewash with a scraper |
|
|
Warm water is poured into the container to wet the surface |
|
|
Needed to moisturize whitewashed surfaces |
|
|
Washes away dirt and chalk |
|
|
Required to spray moisture |
|
|
Easily applies soapy water and moisture over large areas |
|
|
Convenient for picking up pieces of whitewash when working with a spatula |
|
|
Useful for cleaning cleaned surfaces |
The chalky layer is washed off with plain warm water, but in some cases you will need a prepared solution for flushing. In case of difficult removal of whitewash, it is recommended to prepare in advance:
- laundry soap;
- soda;
- flour;
- bath foam;
- vinegar;
- whiteness;
- iodine;
- salt.
The price of all instruments and tools is low. Everything you need to handle the ceiling can be found at a hardware store, hardware store, or at home.
Flushing process
When a preliminary analysis of the work has been carried out, all the necessary tools and methods of protection have been prepared, you should start cleaning. This can be done in two effective ways - wet and dry.
| Method | Instructions |
|
|
Wet the surface and wait for it to dry. Clean off the whitewash with a spatula. Wet and clean again if necessary. Remove the remaining chalk with a damp sponge. |
|
|
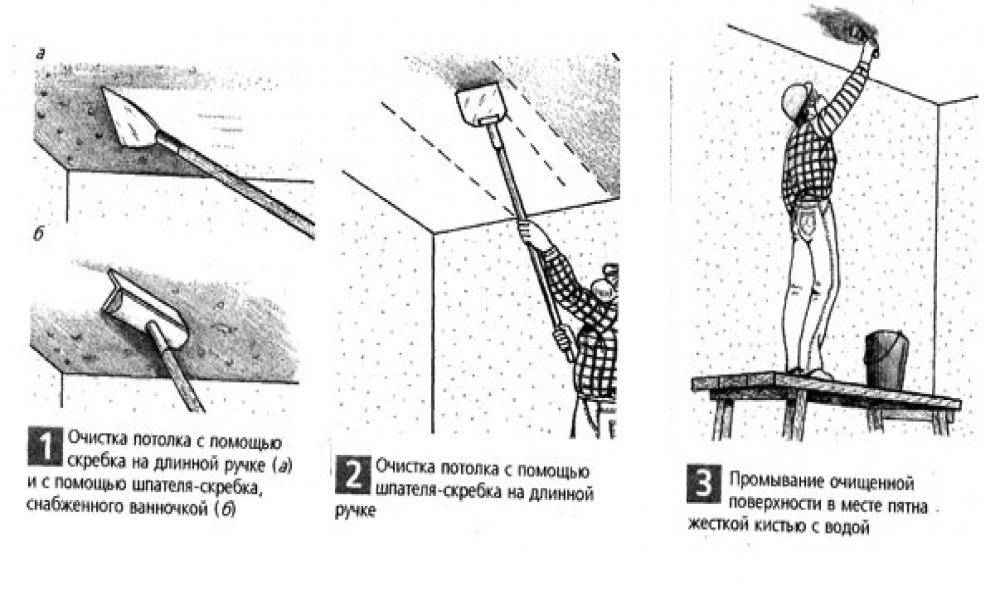
By “tapping” the hollow layers of whitewash with the back of the trowel and gently scraping off pieces of paint with a blade, it is necessary to clean the surface of the ceiling. For convenience, you can change the wide blade to a narrow one.At the end of the procedure, rinse the dusty surface with a damp cloth or sponge. |
Completion
After more or less it was possible to wash the whitewash on the ceiling, it is necessary to evaluate the work, work out especially difficult places and wash the surface with plain water. Sweep up the settled dust and pieces of whitewash, collect in one place and throw away. When the surface dries up, you can start repairing - new whitewashing, wallpapering or thermal insulation boards, painting.
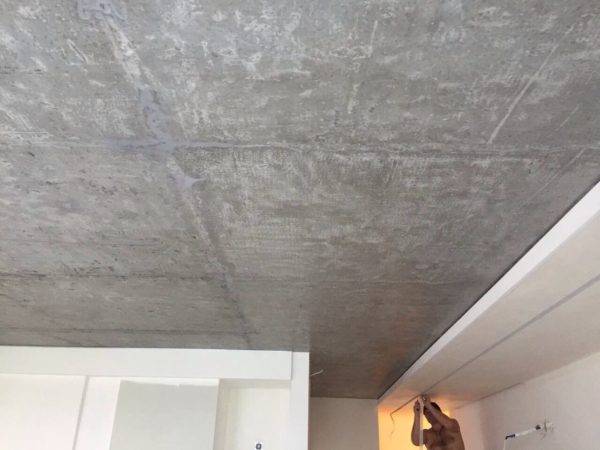 Whitewashed ceiling
How to whitewash the ceiling
The most correct way to whiten the ceiling surface is to use a sufficiently liquid solution that penetrates well into microcracks and pores.
This method remains more time-consuming, care and attention is required Since the missed areas on the ceiling will instantly be highlighted after drying
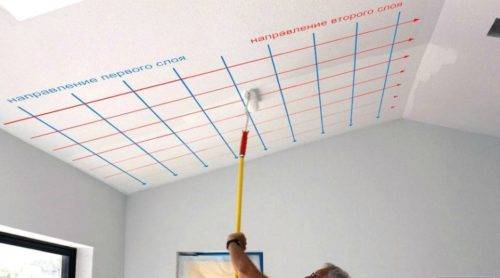
Chalk or lime is applied in at least two layers
How to dilute the whitewash for the ceiling
There are two ways to whitewash a ceiling tile, either well or quickly. Usually, a minimum of 2 kg of slaked lime per 5 liters of water is recommended. It turns out a very thick pasty mixture, to which 30 g of laundry soap and the same amount of clerical silicate glue are added. The mass is ground to the state of liquid kefir. In order to whiten with such a mixture, serious physical effort is required, but the result is worth it.
The whitewashing process is as follows:
- The ceiling is abundantly moistened and soaked in water;
- The liquid lime mass is applied to the ceiling and stretched with a spatula and a stiff brush;
- After 10-15 minutes, the laid mass must be whitewashed with a lime solution diluted in half.
Important! Lime is well "applied" to the ceiling, but streaks remain, so it is important to whitewash a second time with a liquid composition.
The result is a very uniform, stain-free, smooth and dense surface. The next time it will be possible to whitewash in 2-3 years.

Kneading must be done 3-4 hours before the start of work
How to whitewash the ceiling with the first layer
If you use a standard mix of 1.7 kg of lime per 10 liters of water, then you will have to whitewash at least two, or even three times, depending on the quality of the concrete ceiling. It is necessary to moisten the ceiling before whitewashing in moderation, there is so much water in the solution itself, and its excess has a detrimental effect on the quality of work.
The first layer is applied with a roller or brush. Despite the liquid solution, lime also needs to be rubbed into the ceiling, otherwise the first layer will not stick to the concrete. It will not work to whitewash with a pneumatic spray or a brush-bundle, all the lime will be on the floor of the room.

On the old whitewash I rub the lime with a spatula
How to re-whitewash the ceiling
For the second layer, you can use any convenient tool, you can even use a household vacuum cleaner with a nozzle for spraying on a liter can. The main thing is not to leave marks and streaks on the ceiling.
The second layer can be whitened no earlier than half an hour after laying the first one, during this time most of the water has time to be absorbed into the ceiling, and there is practically no dripping of the solution.

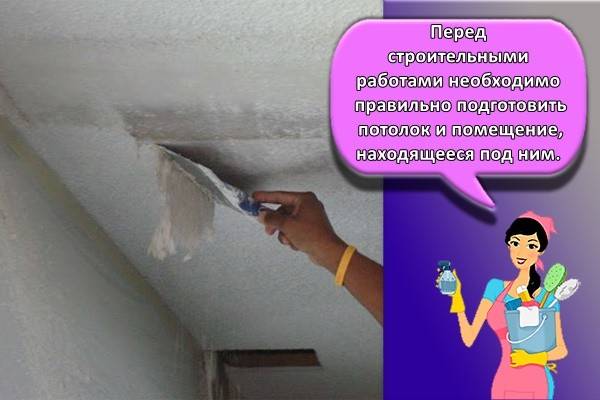
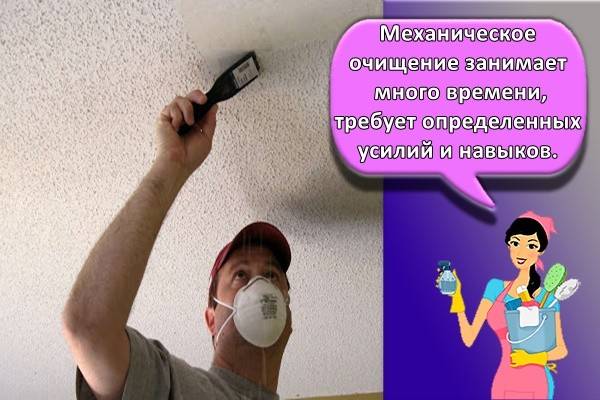
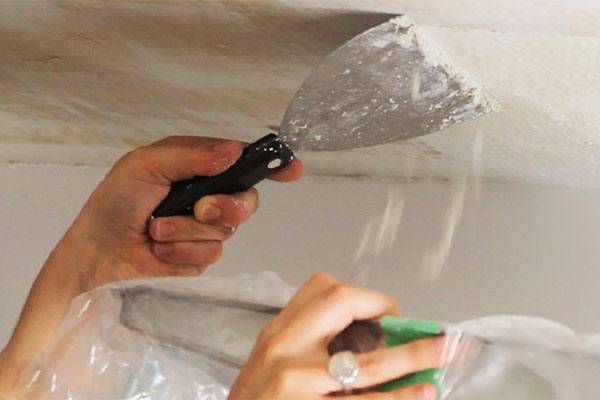







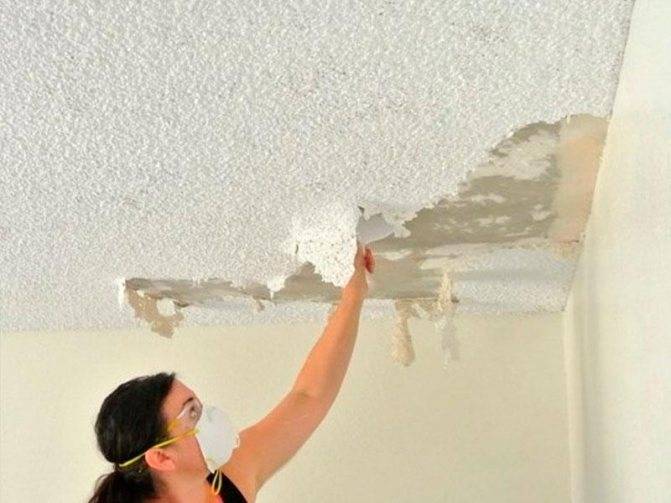
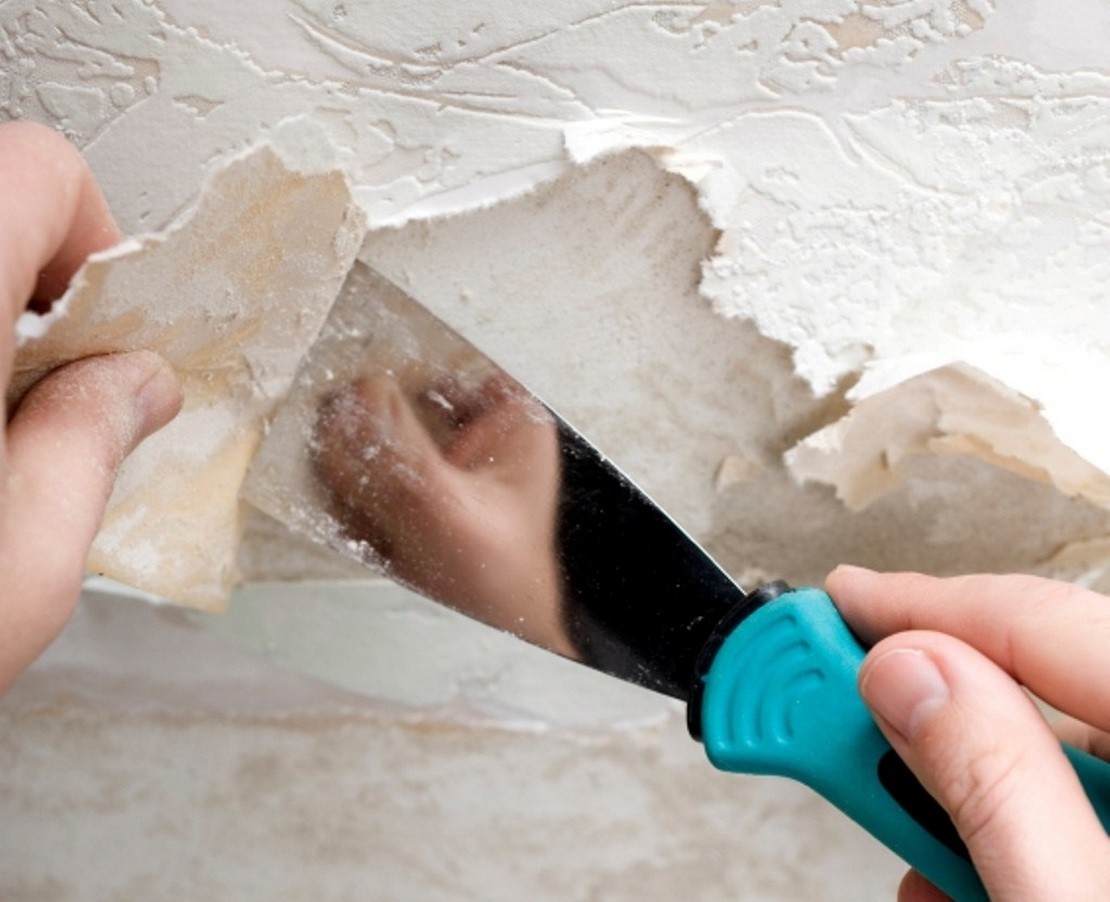

 Spatula with narrow and wide blade
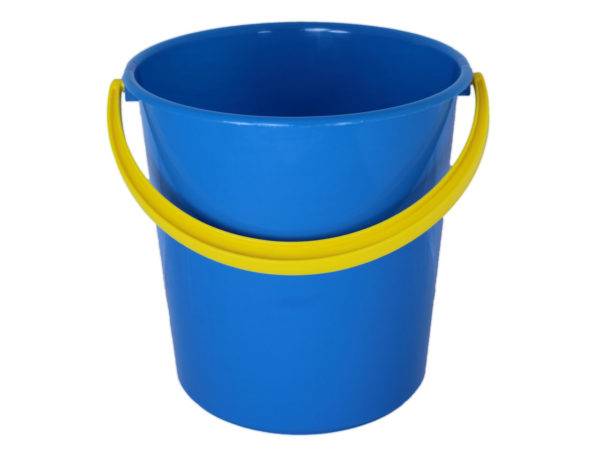 Bucket or basin
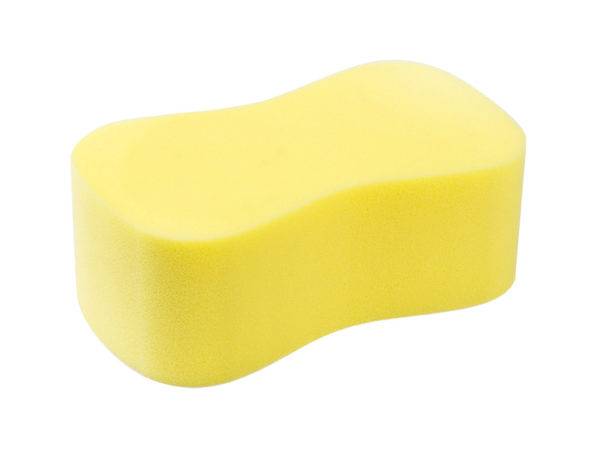 Sponge
 Cloth rag
 Spray
Spray
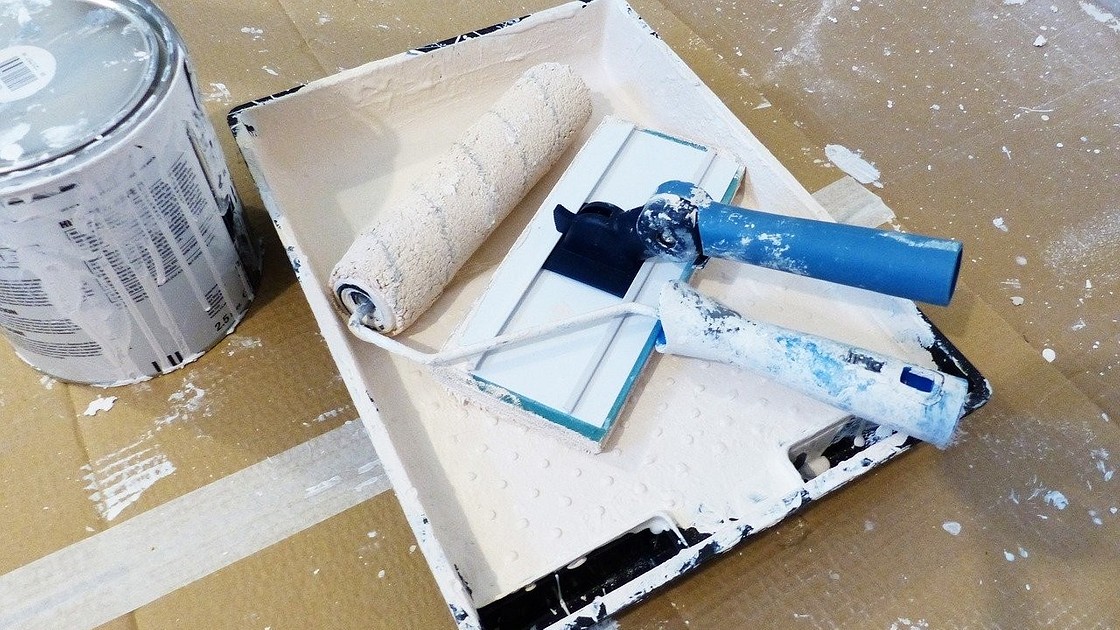
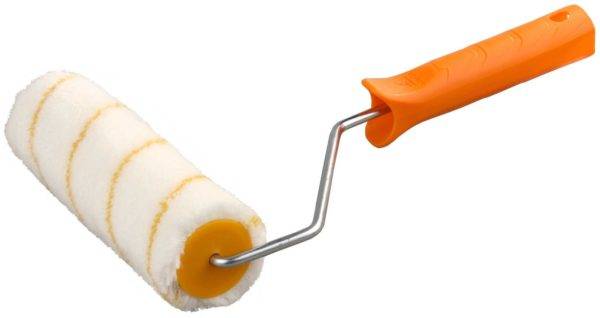 Roller
 Tray
Tray
 Mop
Mop
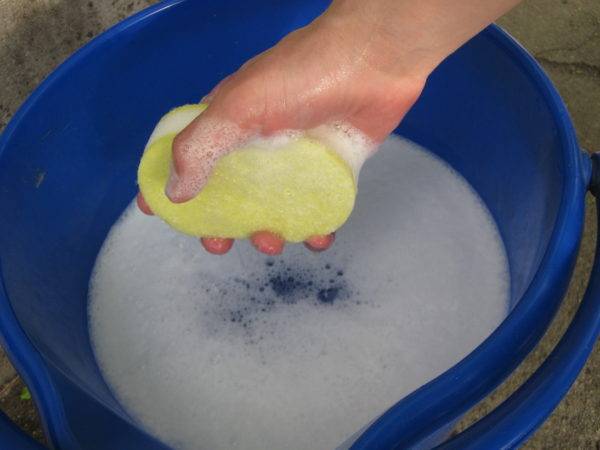 Wet
Wet
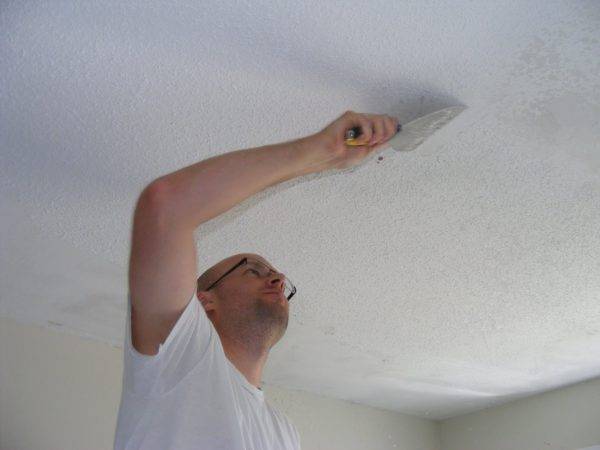 Dry
Dry
