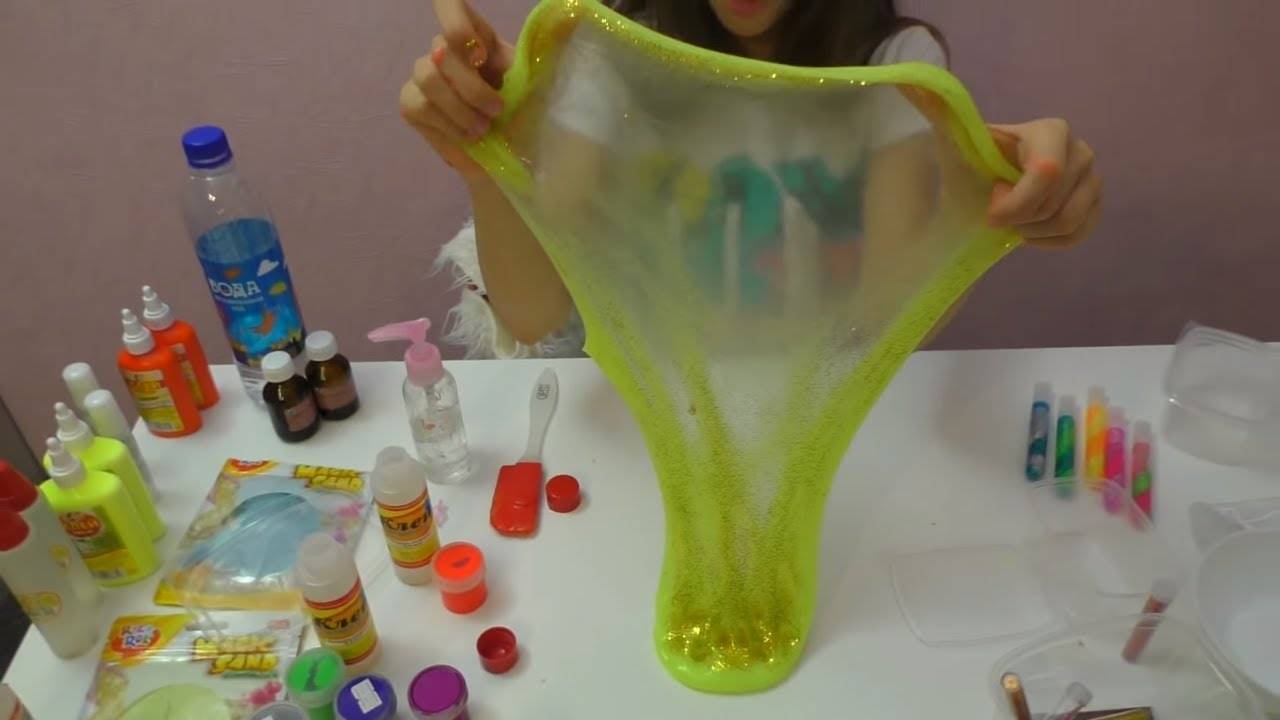
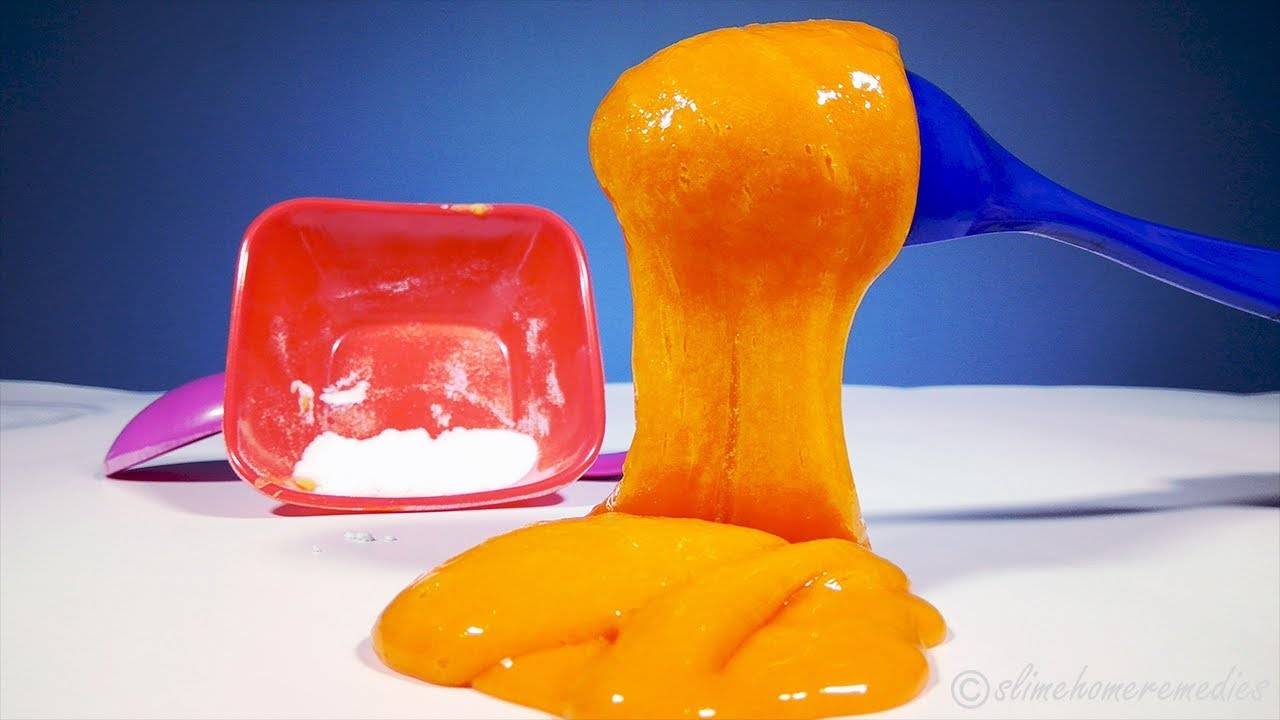
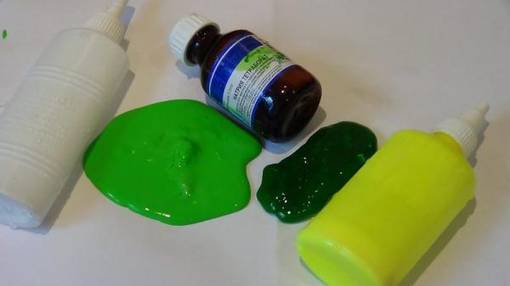
How to cook
There are many recipes for making snow slime, these recipes will help you create an airy, pleasant to the touch toy.
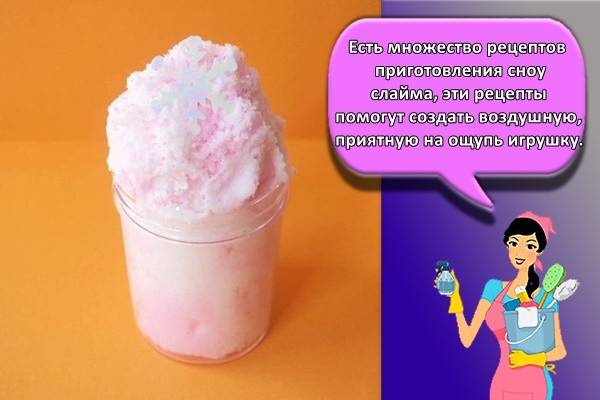
To make a snow slime, you will need the following components:
- PVA glue;
- liquid soap;
- hand cream;
- water;
- thickener;
- artificial snow.
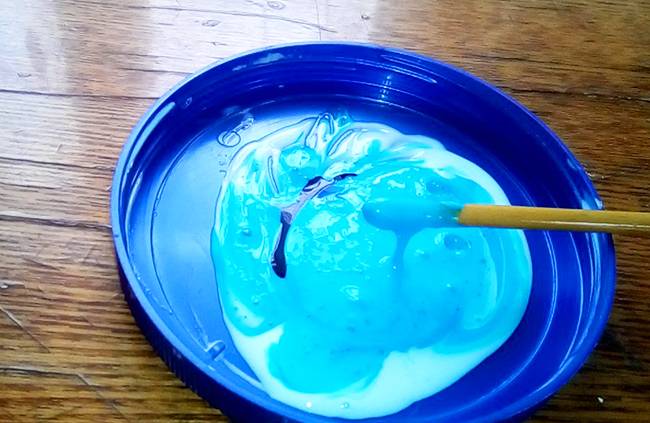
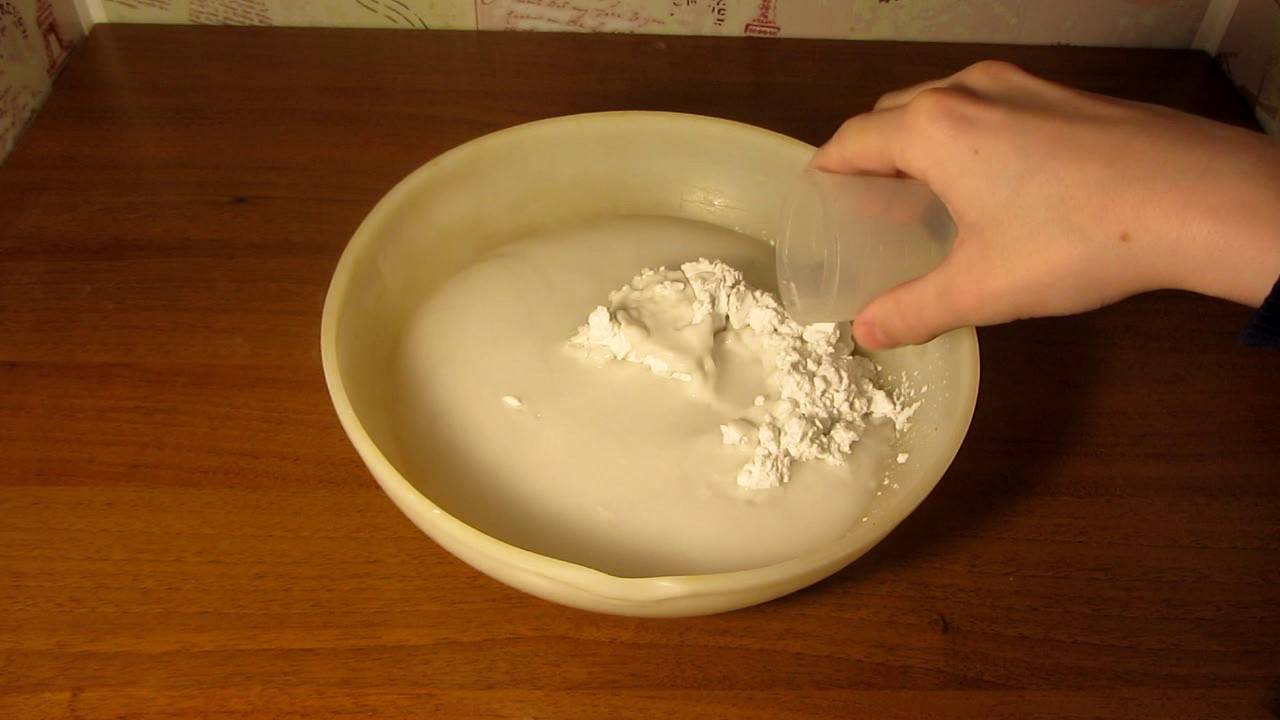
Glue, a little water, liquid soap are poured into a plastic container, the composition is thoroughly mixed. After stirring in the cream, thickener. The finished substance should stick to your hands. Pour a tablespoon of snow into a separate bowl, pour five tablespoons of water, mix. The resulting mixture is gradually mixed into the slime.
The second method of making snow slime
Composition:
- 50 milliliters of PVA glue;
- 80 grams of clear glue;
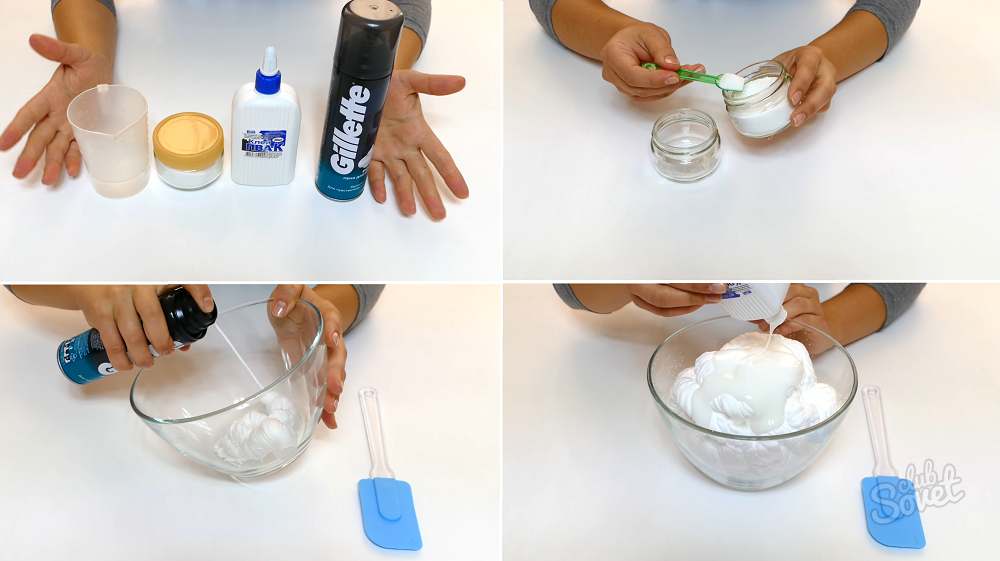
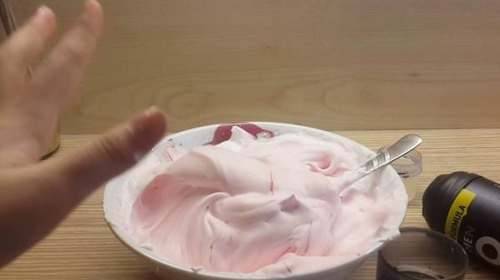
- a small bowl of shaving foam;
- a teaspoon of blue acrylic paint;
- 0.5 teaspoon hand cream;
- sodium tetraborate;
- artificial snow.
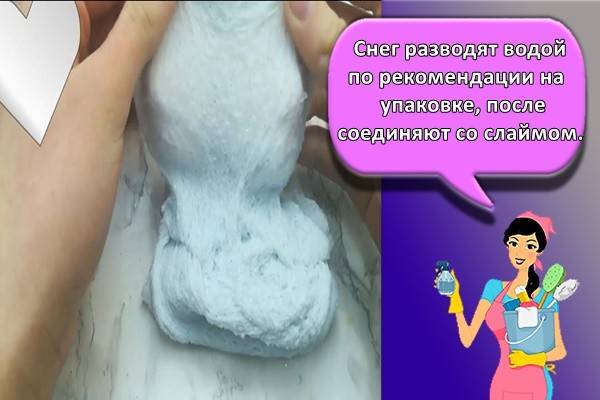
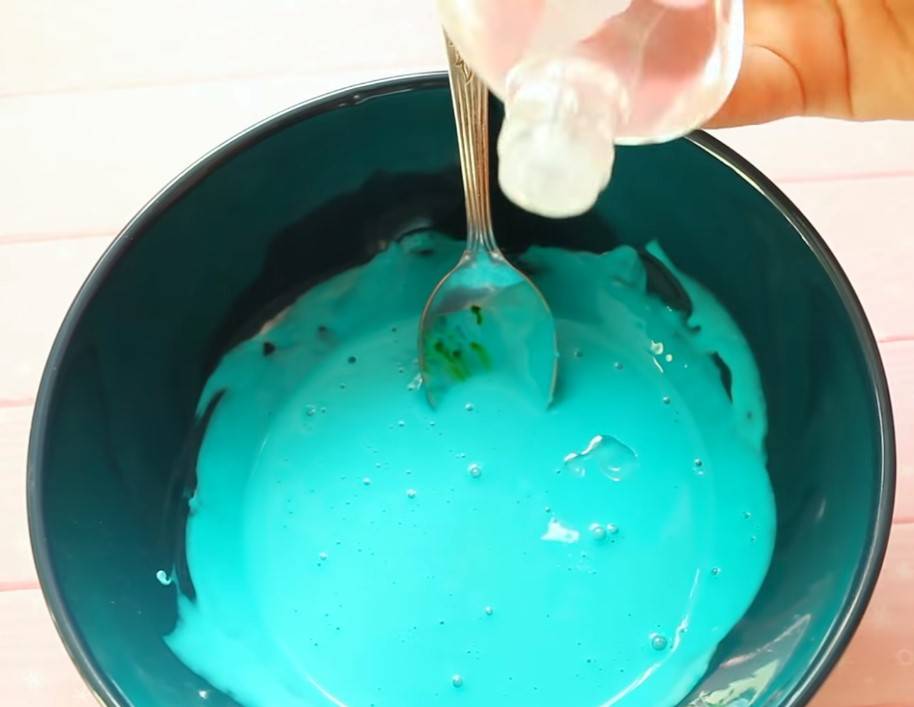
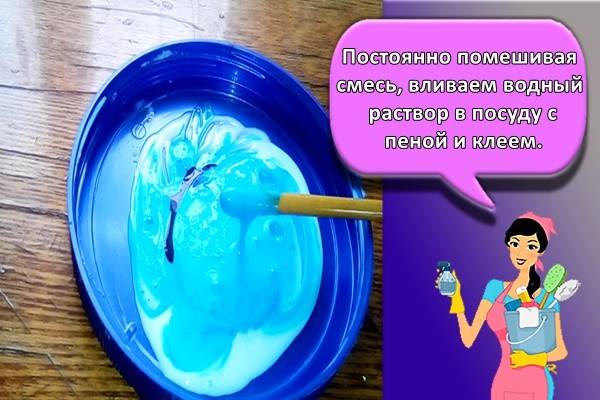
In a suitable container, mix the two types of glue with the shaving foam. Add paint, hand cream to a homogeneous mass, mix, gradually thicken with tetraborate, previously diluted with water. The snow is diluted with water according to the recommendations on the package, after which it is combined with the slime.
How to make edible slime
Other ingredients are used to create an edible slime. You can add various sweets and other ingredients if desired. Making an edible slime has a number of advantages, including the following:
- accidentally swallowing the product, the child will not harm his health;
- to create a toy, you do not need to buy special components;
- at any time, the slime can be eaten, and not thrown away.
Marshmallow
The marshmallows are placed in a small saucepan and melted. The resulting mass is thoroughly mixed and allowed to cool, after which the slime is ready.
Gummy candy
Due to their viscous consistency, gummy gummies are suitable for making slime. It is enough to melt the sweets in a water bath and wait for the melted mass to cool. As it hardens, you can give the product the desired shape.
From "Nutella"
To make a slime from Nutella chocolate paste, you first need to melt the marshmallows, and then add the paste itself. The mixture is thoroughly mixed for 5 minutes to obtain the desired consistency.
Butter Slime
The name of the slime butter is due to its ability to spread easily. This variety is no longer edible, because for the manufacture you need to mix glue, starch, thickener, shampoo and body lotion or cream.
Crisp
An unusual variety of slimes is the crunchy version. To create it you need:
- pour glue into a container, add soda and mix thoroughly;
- add water and stir again until smooth;
- add thickener and dye, mix again and wait for complete thickening;
- leave the slime for 4-6 hours in a cool place.
The easiest recipe
The basic slime recipe is extremely simple. Glue, salt and water are mixed in a container, after which the resulting mass is kneaded with hands. Dye can be added to add color if desired.
Manufacturing instruction
Making magnetic slimes at home is easy enough if you follow the steps and the amount of active ingredients exactly. The result is a beautiful substance with exceptional properties.
Classic recipe
The classic recipe means the use of a composition with sodium tetraborate. If we consider the production of slime in stages, then the process looks like this:
- Stationery glue is poured into the cup.
- Sodium tetraborate is gradually mixed into it, ½ tsp.
- A few tablespoons of water are introduced.First you need to stir with a spoon, and then, when the substance is compacted, with your hands.
- At the very beginning of mixing, it will stick to your hands, but gradually it will form into an elastic mass. If the composition sticks to your hands even after 5 minutes of stirring, then you need to add more sodium tetraborate.
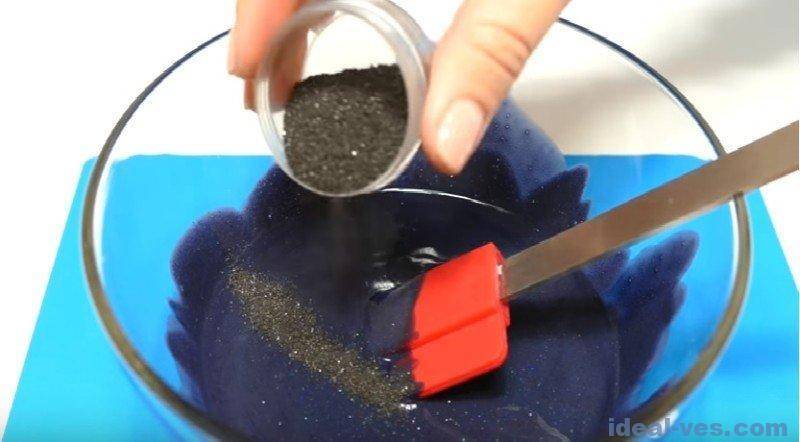
- When the slime is ready, magnetic shavings are mixed into it, but gradually over a teaspoon, otherwise the slime will turn into hand gum.
If the slime does not magnetise well, then you can still report the shavings
But here it is important to know when to stop. In the traditional recipe for magnetic slime, the ingredients are measured by eye.
That is, "until ready" is added.
Liquid starch recipe
It is even easier to create a mass at home using a recipe with liquid starch. It is enough to gradually mix all the components and, as a result, get a durable and pleasant to the touch magnetic slime:
- About a quarter of liquid starch is poured into a glass. Pour it into a deep bowl.
- Add a quarter cup of white regular PVA glue and mix thoroughly with the other ingredients.
- Next, you need to start kneading the composition with your hands for 7 minutes to form a homogeneous mass.
- If the substance continues to stick to your hands, you need to add a little more liquid starch to the mass to be crushed.
Here's how to make a magnetic slime with just three ingredients. In 15 minutes you can get an interesting toy. It will have such strength that a balloon can be inflated from it.
From soap
According to the recipe, you can also make a magnetic slime from soap:
- An eighth part of the bar must be crumbled to fine shavings. Then it is poured with 100 ml of hot water and stirred until complete dissolution.
- Pour a vial of boric acid into a cup. Add soap solution in the same volume.
- Next, glue and dye are mixed in a volume of 70 ml.
- It is necessary to knead until the composition reacts and turns out to be uniform and formed.
- After obtaining the substance of the desired consistency, you need to roll it over the surface and add half of the shavings. Start kneading. When the composition becomes homogeneous, add the remaining magnetic powder.
You need to knead the slime until the iron oxide is evenly distributed throughout the mass. After that, you can already use the product in accordance with its intended purpose.
Application and storage rules
Parents, allowing their children to make and play with slimes on their own, should know that this is not the safest toy.
Therefore, you should pay attention to the following recommendations
- Before making a slime, you need to check the child's hands for burns and wounds. If such damage is present, contact with the slime should be postponed until the skin is completely healed.
- You should not allow your child to play with slime for a long time, since prolonged contact with the toy can cause an allergic reaction.
In most cases, the use of children's toys is limited by the expiration date, snow slime is no exception. Subject to all the storage rules, the slime will last quite a long time.
First of all, before you start making a slime, you should take care of the container in which the slime will be stored. For this purpose, a food container with a lid, which can be purchased at any supermarket, or a hermetically sealed glass jar of cream are suitable. It is advisable to store a suitable container with a slime at a temperature of three to ten degrees. Direct sunlight should also be avoided.
The use of funds for activating slime at home
There are many recipes for making slime, and each recipe has a different thickener. The consistency and properties of the future gum depend on the type of activator. Here's a basic recipe using commercial thickeners:
- dilute a bottle of PVA glue with a volume of 100 ml with a glass of water;
- add any food coloring and stir so that all inclusions dissolve and the color becomes uniform;
- gradually add the activator to the resulting mixture to the desired viscosity.
Now let's talk about how to use each type of thickener.
Liquid sodium tetraborate
It must be diluted carefully, avoiding contact with the skin. Take half a glass of water and add half a teaspoon of tetraborate to it
Stir very well and add to slime base.
Attention! Add the solution in small portions as this thickener is strong enough. Sodium tetraborate perfectly binds components, has a low price and low consumption
But at the same time, it requires protection of the skin and respiratory organs, since it tends to accumulate in the body and cause allergic reactions
Sodium tetraborate perfectly binds components, has a low price and low consumption. But at the same time, it requires protection of the skin and respiratory organs, since it tends to accumulate in the body and cause allergic reactions.
Contact lens solution
Choose the cheapest solution available at the pharmacy and the thickener is ready. It is good because it is safe to use, but it works only when paired with soda and has a decent cost. If, when adding a couple of spoons of the product to the base, you did not get the desired effect, add a pinch of baking soda, it will increase the density.
Powdered borax
First, we turn the powdered borax into a boric acid solution. To do this, pour 10 grams of powder into half a glass of warm water. We are waiting for complete dissolution and the activator is ready.
Try a simple yet effective recipe:
- Mix 100 ml of PVA with a glass of water and dye;
- achieve complete mixing of the components;
- dissolve a teaspoon of boron powder in half a glass of warm water;
- combine the two liquids and stir with a spoon and then with your hands for about 10 minutes.
Boric acid perfectly holds the glue, but at the same time it is toxic, like tetraborate itself.
Slime made with bur:
- has an elastic structure;
- keeps its shape well;
- able to even bounce when hitting a hard surface.
Salicylic acid
Salicylic is available in the form of powder and alcohol solution. If you got a bag of powder, dissolve it in water at a ratio of 10 grams per 125 ml. If you are lucky enough to buy an alcohol solution, then no revision is required.
Salt and soda
These ingredients are found in every home. Mix one and a half tablespoons of salt and baking soda with one spoonful of water. Ready.
And here is the simplest recipe:
- squeeze some shower gel into a container;
- add a spoonful of baking soda;
- stir in salt continuously;
- when the mass thickens enough, stir it for about a minute more.
Reference! If the slime turned out to be very liquid, regardless of the type of activator, a pinch of soda will come to the rescue. Add it to the slime dry, it will help. Soda is a safe thickener in its own right.
Salt will help if the slime is dry and has lost its elasticity. Place it in saline with a drop of cream for 4 hours.
A toffee based on soda and salt is of medium density, stretches well. But you need to store such an anti-stress in the refrigerator.
Tips & Tricks
You need to take note of a few recommendations for using the slime:
- You can store the toy in a plastic bag (preferably with a plastic fastener), as well as in a plastic food container with a tight sealed lid.
- High air temperatures contribute to the loss of elasticity and spreading of the slime. To avoid this, you should store a container with an unusual toy in the refrigerator, on the side door shelves. But the freezer cannot be used for these purposes, since the slime will be covered with ice, freeze and wrinkle. The optimum storage temperature is 5-10 degrees Celsius.
- To preserve the original properties of the slime, it is imperative to use it for warm-up at least every three days.
- To clean the jelly-like mass from dirt, you need to rinse it in a bowl filled with warm water.To get rid of dust, you can use a medical syringe - remove the needle from it, attach the nozzle to the place of dust accumulation and draw in air.
- If the slime is made using glue, detergent, or sodium tetraborate, you should wash your hands with soap and water after each warm-up. In no case should a child take such a toy into his mouth.
- Slime should not be placed in sand or on fleecy carpet surfaces.
Share link:
The best recipes for activators at home
Making a sodium tetraborate antistress toy is the most popular recipe. The finished slime contains only 2% of the chemical composition of this substance. Despite the aggressive components, one should not be afraid of filling it. When working with it and other ingredients, it is recommended to follow safety precautions and wear rubber gloves.
Making the simplest activator takes 5 minutes: mix 500 ml of water and 15 ml of sodium tetraborate, shake well. The liquid should be oily. Stir the solution thoroughly before each use. This thickener is suitable for all types of slime.

How to make an activator from borax: add 10 g of powder (or 1 tsp) to 125 ml of water. Slime without dye with such a thickener produces a pleasant matte color.
Hairspray can be used to fix more than just styling. For the thickener, the extra strong hold option is best. It is enough to spray the varnish for 4-7 seconds for the desired viscosity, stirring occasionally the future slime. Do the same with an air freshener. The main thing is not to forget to put the mask on your face when spraying.
0.5 tbsp salicylic acid together with 125 ml of water will be enough for the activator. In order for the substance to dissolve, the water temperature must be at least + 20 ° C.
How to make a slime using natural activators (soda, salt, starch or gelatin) without sodium tetraborate: mix 3 tbsp. bulk component and 1 tbsp. water. The use of powder components is recommended. Saline slimes are the most elastic.
You can thicken the slime with hydrogen peroxide. With it, the slime turns out to be thick and more airy. The peroxide is added in the last step with the dye, 5 drops are enough.
Slime from water and glue
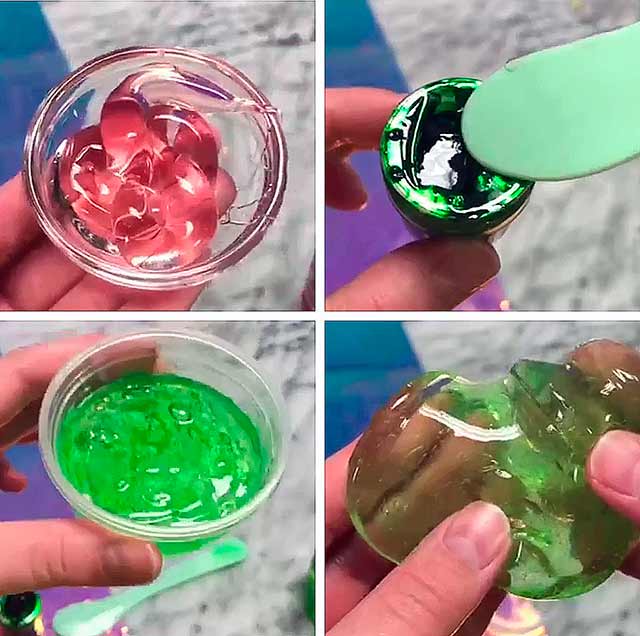
One of the simplest ways to make a slime, which has been repeatedly tested and has many modifications. Consider a classic transparent version, fast to manufacture, requiring a minimum of time and money. For this toy you will need:
- warm water;
- stationery transparent glue;
- some paints (if there is a desire to make a shade or color);
- thickener (tetraborate).
Dissolve the paint in warm water to make a bright toy. It is water that needs to be dyed, not slime.
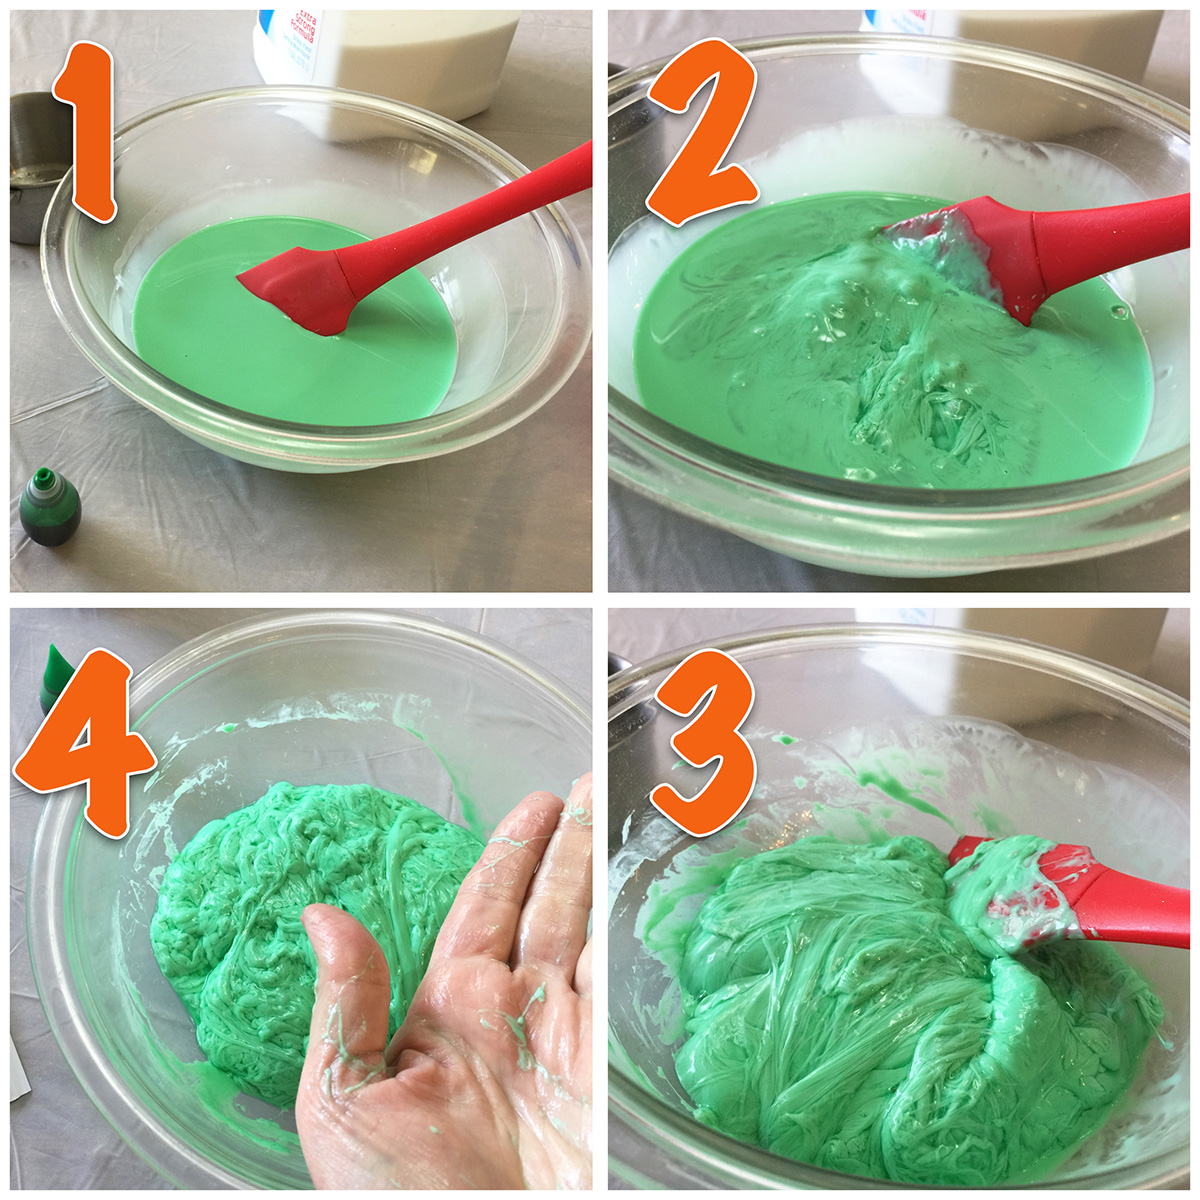
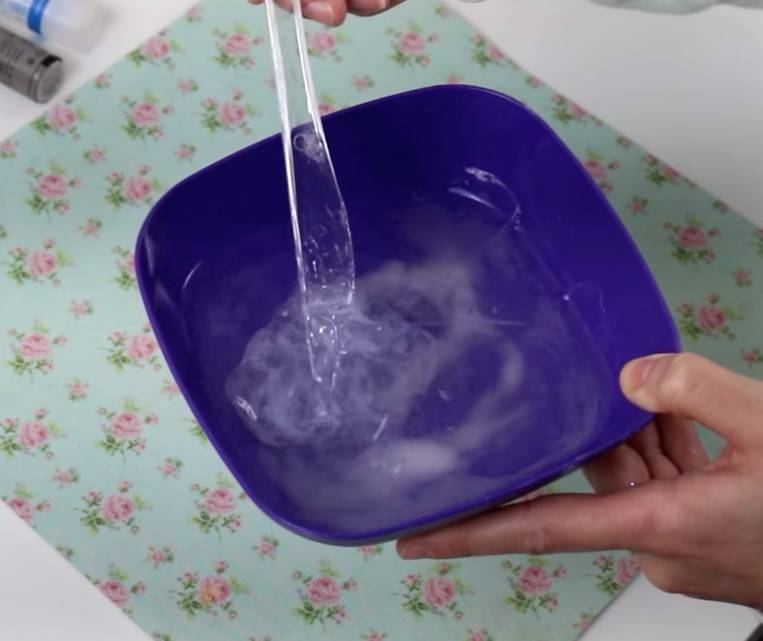
Pour a tube of glue into the tinted water, start stirring quickly (it will begin to curl up, this is normal).

Then we try to knead the glue coiled in water (to remove it from the water, wind it around a pencil or spoon).
If the slime is thick and kneaded, a thickener is not required, but if the glue is not removed from the water, a couple of drops will be enough - the glue will thicken.
You can make such a slime from PVA, but you need a soap base (add a couple of tablespoons of liquid soap to the glue). This will increase the volume of the slime, it will absorb more water.
How to make slime at home?
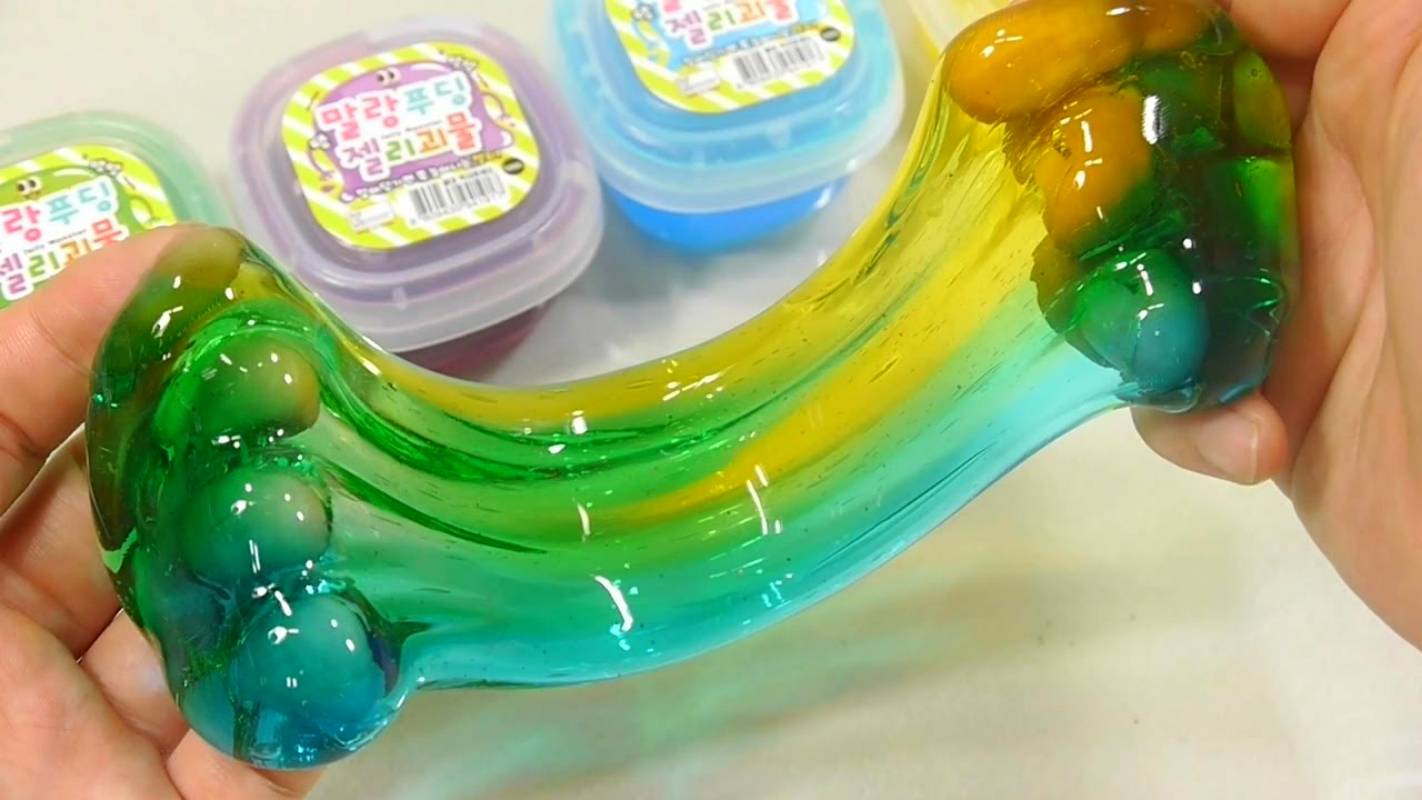
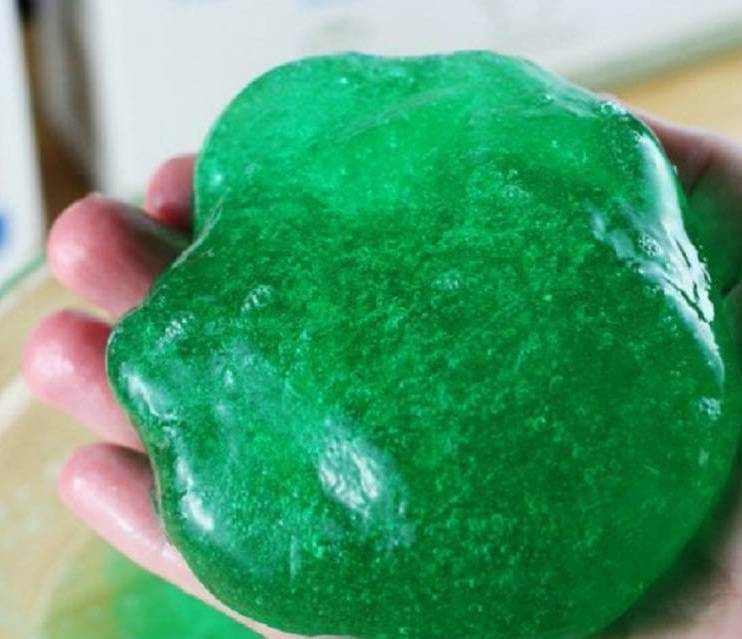
The preparation technology allows you to obtain a jelly-like, non-melting substance. She:
- easily changes shape;
- does not stick to hands;
- perfectly cheers up.
Dyes are used for color in the recipe. And to give the slime a pleasant smell, you can add a few drops of essential oil.
Ingredients and their proportions
To create a fun substance you will need:
- small container for mixing ingredients;
- wooden spatula;
- dishwashing detergent (1-2 tbsp. l.);
- a pinch of baking soda;
- some food coloring or acrylic paint;
- PVA glue.
Liquid soap is sometimes used instead of dishwashing detergent. The exact amount of ingredients depends on what size the slime is intended to be.
Slime recipe
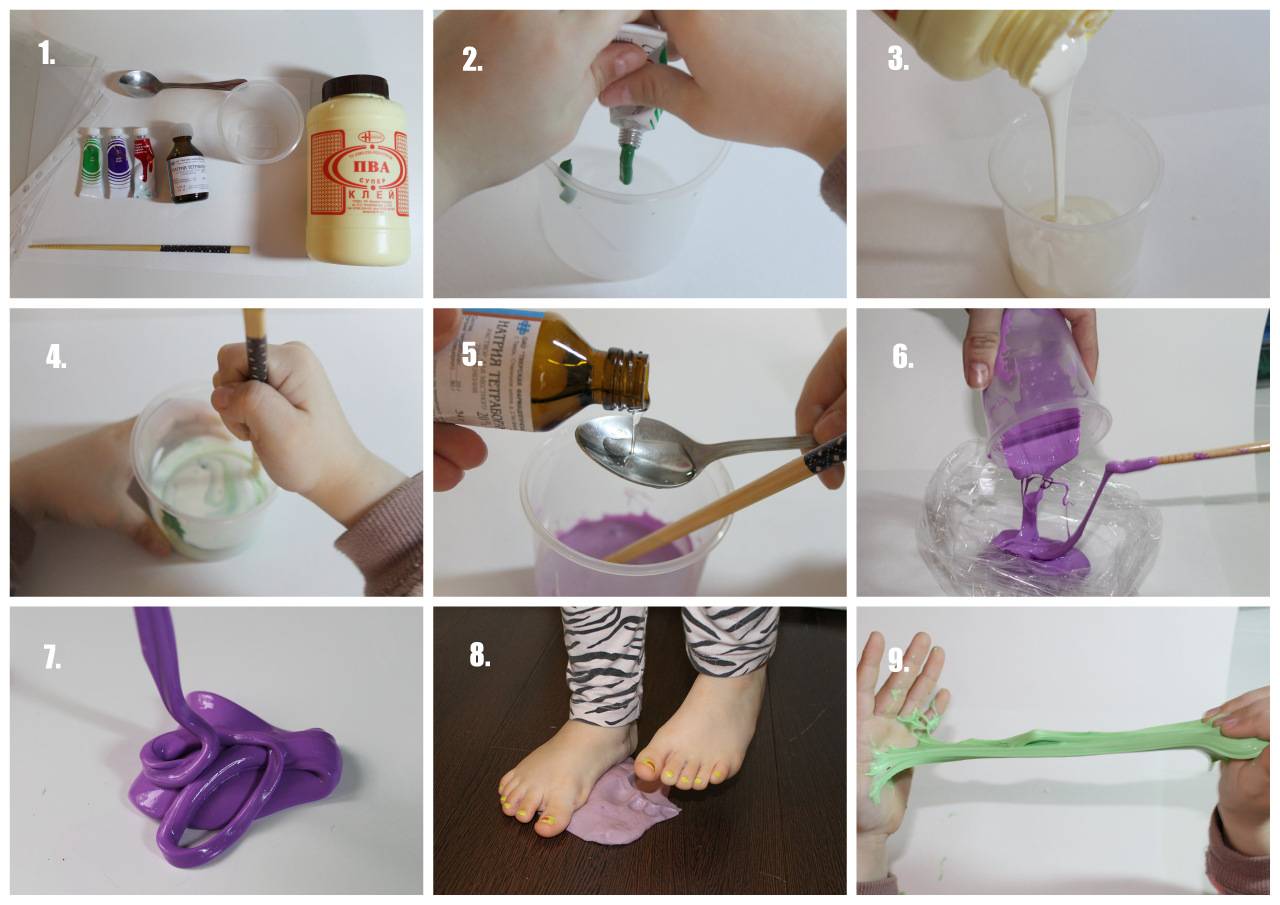
- The first thing to do is add PVA glue to the prepared container. For a small slime, 2-3 tbsp is enough. l. funds. Approximately the same amount of detergent will be needed.
- Pour in the second component in small portions and mix thoroughly. The main thing is not to overdo it, otherwise the toffee will spread and not work.
- When the substance begins to peel off and collect on the spatula, add a pinch of baking soda and a little dye.
- We continue to knead the slime, but with our hands for 2-3 minutes.
According to this recipe, the slime turns out to be dense and stretches well. You can safely start playing.
At home, it is possible to make even a slime so that you can eat it later. To do this, in a water bath, you need to melt any gummy candy, such as Frutella or Mamba. And so that the slime begins to peel off from the hands, powdered sugar is added to the substance.
Features of storing water slime
Slime will not lose its properties and will last longer if you know how to properly store and care for it. For this, a number of recommendations should be followed:

- Do not leave the toy near heating appliances or in direct sunlight.
- Store the gum in a clean, tightly closed container and place in a cool place.
- If the slime has thickened, you can dilute it with water, then knead it.
- The toy should not come into contact with fluffy and dusty surfaces.
- If the slime has become excessively liquid, it should be thickened with glue, sodium tetraborate or starch.
Slime not only develops hand motor skills, but also has a positive effect on mental health. There are a large number of different slimes, but it is impossible to buy all of them in the store.
You can make your own water toys at home. To do this is simple and quick, you just need to follow the recipe. If you store your hand gum correctly, it will last quite a long time.
PreviousBest Soda Slime and Dishwashing Liquid Recipe. What to do if the slime didn't work out? NextThe best ways to make slime - how to quickly and easily make it at home? Slime storage

