Tips & Tricks
Often, when making a slime, the result is not the one that a person expects. The final product depends on the following factors:
- observance of proportions;
- quality of ingredients;
- following the stages.
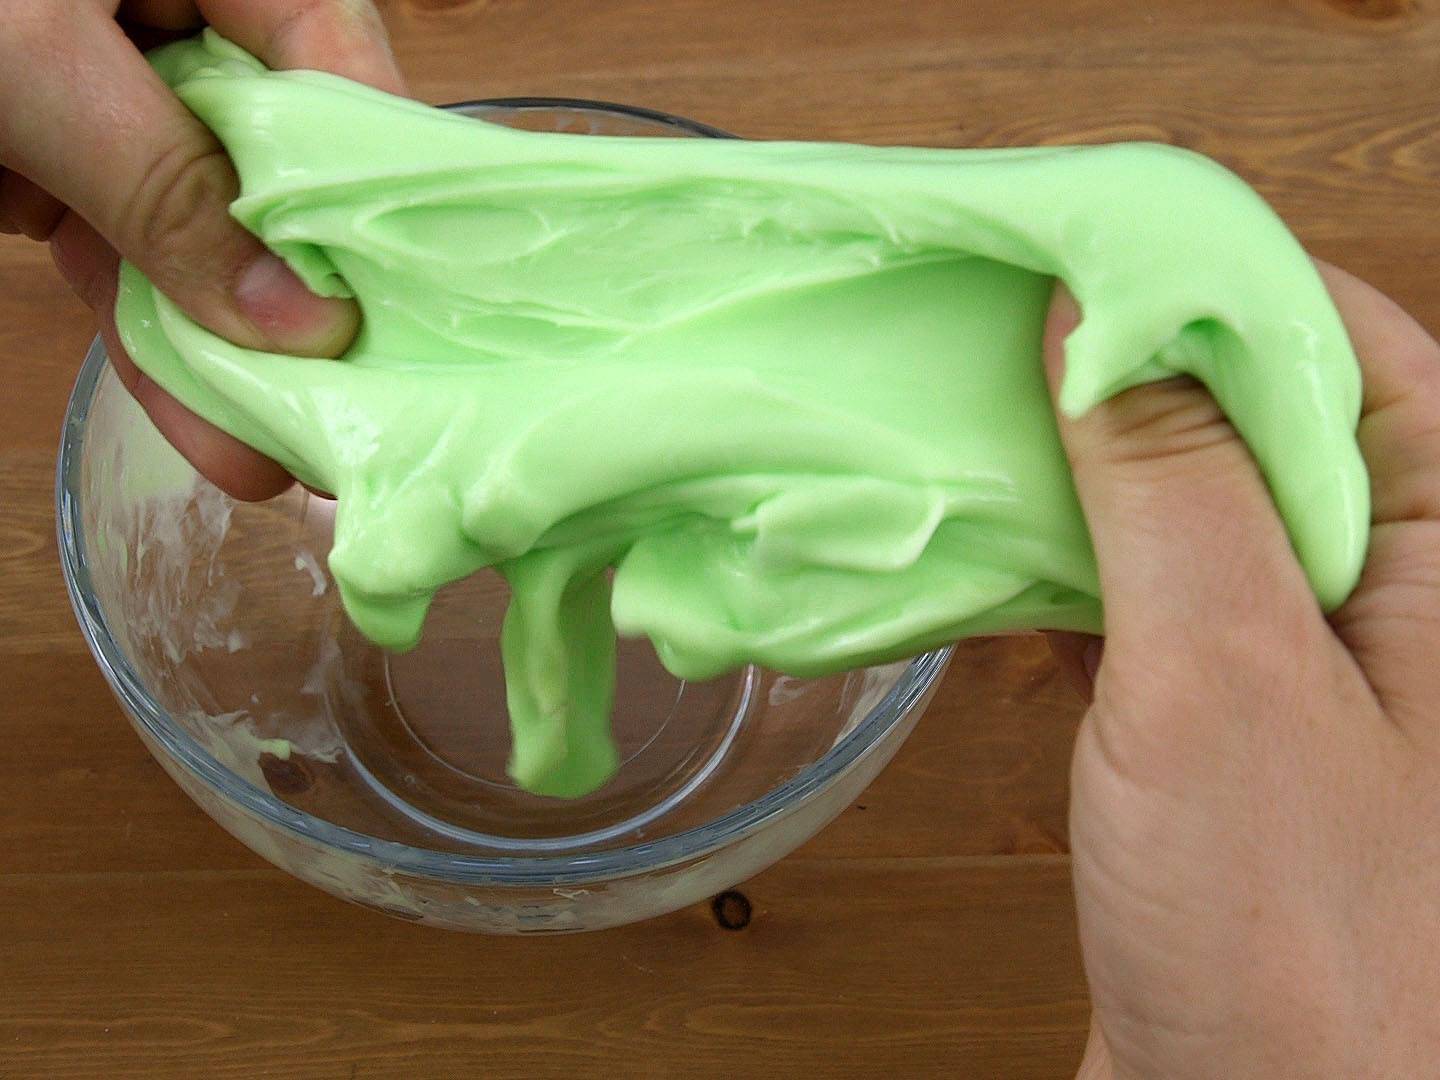
If the slime turns out the way it should, this is evidenced by its consistency. It should be smooth, light and easy to remove from the container. In this regard, you can save the toy by continuing to knead until smooth.
If the toy does not stick off the spoon and stretches like a cobweb, adding starch will correct the situation. You may also need water depending on the situation. Slime, which does not linger in the hands and slips out, contains a large amount of liquid. In this case, a binding powder is taken according to the recipe.
Share link:
How to do it yourself
To make slime, you will need corn or potato starch and any hair balm:
- A small amount of hair balm is poured into the container.
- Starch is added in small portions.
- The components are actively mixed until the mixture ceases to stick to the walls of the container.
- They take the lump in their hands and begin to knead them with their fingers.
The following components are required:
- hair balm without harmful additives;
- glue "Titan";
- any dye;
- container and spatula.
The work involves the implementation of sequential actions:
- a little balm is poured into the container;
- add dye, sparkles;
- the components are mixed until a homogeneous mass is formed;
- pour in glue in a ratio of 3: 2;
- the mass is kneaded until it ceases to stick to the walls of the container;
- they take the lump in their hands and continue to knead intensively for 3 minutes.
Slime can be made without glue:
- hair balm is poured into the container;
- pour in shower gel in the same proportion with balm;
- mix all the components;
- the finished mixture is placed in the refrigerator for 45 minutes.
In addition to hair balm, the recipe contains flour. The following components are required:
- hair balm - 16 ml;
- flour - 105 g;
- food coloring;
- warm water - 125 ml.
As soon as all the ingredients are prepared, they begin to manufacture:
- warm water is poured into the prepared container;
- add balm and mix;
- add a dye;
- pour in flour and thoroughly mix all the components until a thick, elastic mass is formed;
- the finished slime is placed in the refrigerator for 1.5 hours;
- then the toy is rinsed under running cool water.
Before you start making slime, you need to choose the correct, working recipe. It is advisable to read the reviews and study the step-by-step instructions.
Basic recipes
There are only 3 recipes with varnish on the Internet: with sunflower oil, silicate and PVA glue.
With sunflower oil
This is a recipe based on just two ingredients:
- sunflower (olive) oil;
- nail polish.
Manufacturing is extremely simple, as they say, "by eye". We take small dishes. It can be anything - porcelain, plastic, metal.
Next, pour a little oil into a bowl, about 3 tablespoons. Then we add varnish. It must be fresh, liquid, otherwise a significant amount will remain in the bottle. We begin to mix the mass. Very quickly, the nail polish thickens, knocks into sticky lumps on a spoon / stick. It remains to see the result:
- Advantages:
- turned out a small lump weighing about 5 grams;
- the mass first stretches, then breaks.
- Disadvantages:
- sharp unpleasant odor;
- the substance leaves greasy marks on the fingers from oil and colored from varnish.
With silicate glue
We prepare dishes, a spoon.
Ingredients:
- silicate glue (sold in the stationery department);
- nail polish;
- sodium tetraborate solution (borax, borax, purchased at the pharmacy).
Pour the bottle of glue into a bowl. The bottle, as a rule, is made of plastic, therefore, when the composition is squeezed into the container, it is filled with air bubbles. Using a spoon, the amount of gaseous substance is reduced.
Next, varnish is added. Its amount can be different: the more ingredient is poured in, the richer the color. The mass is thoroughly mixed until it is evenly colored. Then sodium tetraborate is used as a thickener. To begin with, you can add it in the amount of 1 teaspoon. If during the mixing process the mass has not compacted to the desired state, you can apply some more.
- Advantages:
- it turned out to be a dense slime;
- stretches elastically;
- retains its shape;
- bounces off the surface when thrown, like a ball.
- Disadvantages:
sharp, unpleasant odor.
With PVA glue
Ingredients:
- PVA glue;
- varnish;
- warm water;
- sodium tetraborate.
To begin with, glue and varnish are mixed until smooth. The sequence in which these components are added is not important. You can add the 1st to the 2nd, or vice versa. Then warm water is poured in in a volume equal to the volume of PVA. Stir vigorously again.
Now comes the crucial moment - adding a thickener. The first serving is 1 teaspoon, the next one if necessary. The result is a hand-gum slime. It can be infused with shaving foam. The disadvantage is the same - an unpleasant smell.
Ingredients for starch slime without glue
Polyvinyl acetate (PVA) base is the most popular ingredient for homemade slimes. The glue is easy to thicken, and the formed specific elastic mass practically does not differ from the purchased one. The best process activators are sodium tetraborate and borax. They work quickly even in minimal quantities. But starch can also be added as a thickener.
Starch is a unique material for slimes. This food product has a complex structure, and when interacting with warm water forms a specific substance - starch paste. The water absorption capacity of starch makes it useful as a thickener. A number of recipes for slimes from starch with glue have been developed, which are no less popular than with pharmacy activators, since there is a food product in almost every kitchen.
However, it must be admitted that glue is not always the best ingredient for slime. If the jar has been opened for a long time, the glue stops working. And in some cases, PVA even causes skin irritation in slimers. It is necessary to work with the material only in a well-ventilated area, and for children from 5 years old only in the presence of their parents.
Thus, both the glue and the starch in the slime play an important role. The first is as a base, the second is as a thickener. But if the use of polyvinyl acetate is impossible for one reason or another, then options should be considered on how to make a slime from starch without glue. The food is safe for children, easy to process and can be found in almost every home. But in the case of non-adhesive formulations, there are nuances of preparing anti-stress.
A starch slime without glue is created due to the ability of a food product to convert into thick gluten. In this case, it acts as a key ingredient. The reaction will also require water or water-containing components.
The easiest recipe for making a starch slime without glue is to mix the powder with warm water and let it stand for 5-10 minutes. This toy is a bit like squishy filler or soft handgum, but it makes it just as fun to play with.
Additional ingredients can improve the texture of the slime and bring it closer in properties to purchased anti-stress:
-
Shampoo. Adds elasticity and airiness to the mass. For work, shampoos that are thick in consistency are best suited.The leader among the slimers is Pantene 2-in-1 shampoo and a moisturizing series from this manufacturer.
-
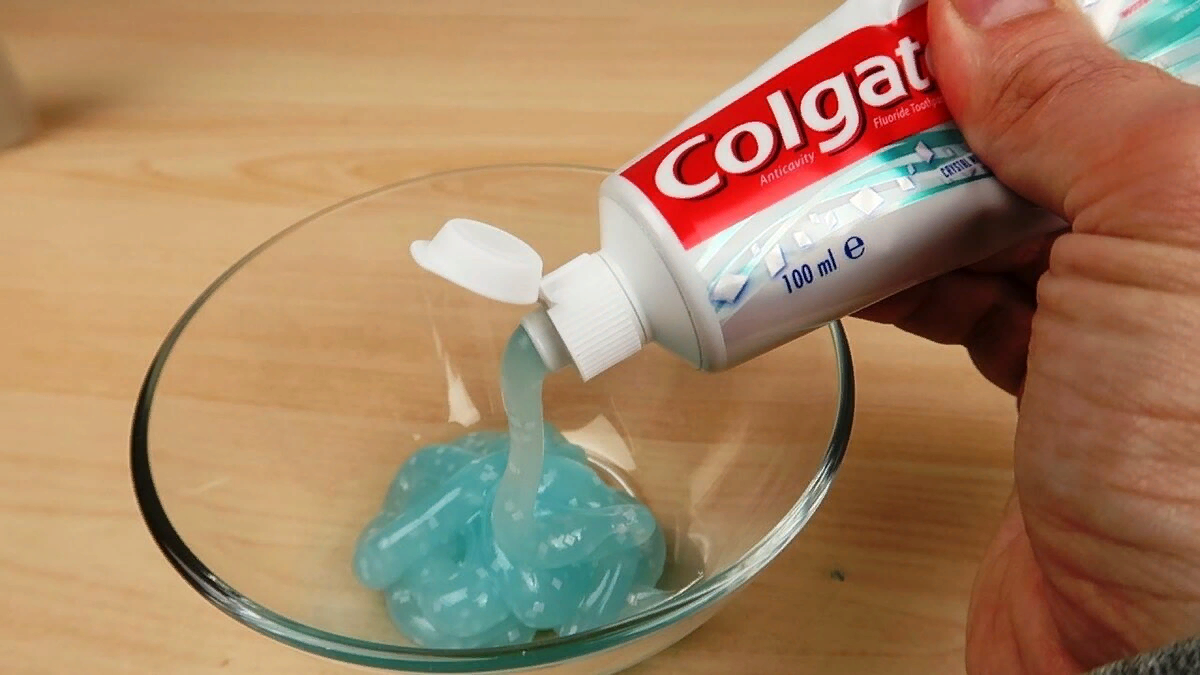
Toothpaste. Starch slimes without glue, but with paste, crunch and crunch well. Any paste is suitable for consistency. The tool, in addition to airiness and crunch, adds aroma to the toy.
-
Shaving foam. It is the best component for creating fluffy textures at home. Foam works even in recipes where no glue is used.
-
Shower gel, liquid soap. They also add elasticity to the mass, are used in original and butter textures, add a pleasant smell and color to the slime.
-
Hand cream with glycerin. In a small amount, it adds a glossy shine to the slime.
The list of auxiliary ingredients is constantly increasing, as slimers regularly come up with new recipes for making slimes from starch without glue at home.
Important! The process of hydrolysis of starch followed by the formation of a paste is possible only with warm water. Therefore, before mixing, it is recommended to slightly warm the ingredients or at least leave them until they reach room temperature.
In custody
As you noticed, slime can be made in many different ways. And they all differ from each other and have their own characteristics and properties, be they transparent, luminous, magnetic or even edible handgams.
If desired, glitter or mother-of-pearl can be added to your slime. Or add essential oils to make it aromatic. It is possible to mix the slime with foam balls. In general, there are many ways to make your slime unique.
We also want to remind you that it is advisable to store the slime in a container with a sealed lid. And if it has dried up, then the dried mass can be put into water for a short time, and it will become soft there again.
Do not forget to involve your children in the process of creating a slime, for them this is a real scientific quest. Just remember about safety precautions. If using a spray, keep the room well ventilated.
And do not forget that the slime can leave stains that are quite difficult to remove.
Slimes with stationery glue
This slime, when finished, turns out to be soft, spreading, but not sticky. You need to take 100 ml of any brand of stationery glue, as well as 100 ml of cold water. Put the glue in a container, fill it with water. Then, with a spatula or spoon, make a lump of glue, as if knocking it into a single whole. Then take out the clot, continue crushing it with your hands (you can put it in a plastic bag).
Another recipe for making slime is as follows:
- take 100 ml of boiling water, dissolve a tablespoon of salt in it;
- tint the liquid in the desired shade;
- after cooling, pour in 2 tablespoons of glue;
- leave the product for 20 minutes without stirring;
- begin to stir the solution intensively, as a result of which a clot of glue will form at the bottom;
- catch the future slime, knead it with your hands;
- if the slime sticks, it must be thrown into the salt solution again, then taken out and kneaded again.
Features of care and storage
In order for the slime to retain its original qualities for a long time, it must be properly looked after and stored according to the instructions. Before playing with it, you need to wash your hands, and after playing, immediately put it back in place.
Storage rules:
- The best storage place for a slime is in the refrigerator, as even cooling will greatly extend its lifespan. It is not recommended to put this toy in the freezer, as it starts to crumble from too low temperature.
- After use, the slime should be placed in a container with a sealed lid, which will protect it from excess moisture. A homemade toy can be stored in a food container, cream jars, or glass containers.
It often happens that slime loses mass over time due to reasons such as improper use or storage. There are several ways to fix this:
Add salted water to the slime container and mix the contents gently until smooth
You can inject liquid into the toy with a syringe.
Gently mix shaving gel, starch, wheat flour or baby powder into the slime.
This procedure should be carried out daily, preferably at night. To do this, add a few drops of water or grains of salt to the dishes in which the slime is stored, close the lid tightly and put it in a cold place.
To make the toy last as long as possible, you need to regularly "feed" it with water or salt. This procedure should be carried out daily, preferably at night. To do this, add a few drops of water or grains of salt to the dishes in which the slime is stored, close the lid tightly and put it in a cold place.
If the slime is dirty, it must be cleaned:
- motes are removed with tweezers;
- wash it from dust and dirt for 3 minutes in warm water;
- pull the mass into a syringe without a needle and push it out under pressure (the debris will remain on the walls).
Making a slime at home is quite simple. In order for the toy to turn out like one bought in a store, it is imperative to adhere to the proportions recommended in the recipes. Advantages of a self-made slime: safety, ease of storage and care.
PreviousThe role of a thickener in a slime recipe. How to make a slime from 2 ingredients NextSlime from scrap materials: how to make a slime from gelatin and plasticine? Toy care and storage
From glycerin without tetraborate
This method requires thick PVA glue, since the activator is rather weak and, for example, a product such as Ray is not suitable. The shampoo needs to foam on contact with water, and any paint is suitable. Instead of Persil, you can use Perwoll or Laska liquid washing gels.

Cooking method
- Shampoo and water must be placed in one dish.
- They are shaken so that foam appears on the surface.
- The next component is PVA glue.
- After mixing the composition, a dye is added, the mass is also shaken until evenly colored.
- For the softness of the slime, you will need glycerin in the base.
- After adding it, Persil concentrated gel is gradually poured into it.
- Stir the mixture with a spoon until it stabilizes.
- When you manage to pick it up, the almost finished toy is kneaded like dough.
Made from glycerin with stationery glue
This recipe is used to make a transparent slime. It will turn out right away if you knead it carefully at all stages. At the end of cooking, it is better to pour the diluted sodium tetraborate into the palm of your hand and knead the sticky mass. If the toy does turn white, let it rest in a closed container for 1-2 days.

Slime preparation method
Pour the glue into a bowl.
An activator is immediately poured into it - most of the aqueous solution of sodium tetraborate.
Then the glue must be mixed with slow movements so that bubbles do not form in it.
The thickened mass is carefully crumpled in the hands.
Then glycerin is added to it.
It must be mixed into the slime with careful movements.
Then the remaining sodium tetraborate is added, since the mass becomes sticky due to the last component.
And it is slowly kneaded until tender.
From glycerin and boric acid
The main component of this recipe is working PVA glue. If you don't have a shower gel, you can use liquid soap or shampoo. Any cream is also suitable, or take body lotion. And you don't need to add light plasticine. Without it, all the other ingredients will make a quality original slime.
Ingredients
- 1 pea of toothpaste
- 0.5 tsp glycerin,
- 40 ml PVA glue,
- 1 tsp shower gel,
- 0.5 tsp baby cream,
- 5-7 drops of boric acid (alcohol solution),
- 1 pinch of baking soda
- ½ bag of light plasticine.
Cooking method
- Squeeze some toothpaste into a clean bowl.
- Then glue is poured there.
- The next component is shower gel.
- The composition is supplemented with a cream for greater softness of the toy.
- Next, the components are mixed to obtain a homogeneous liquid.
- Then glycerin is poured into it.
- After stirring, add boric acid.
- You will definitely need baking soda.
- Now the mass needs to be kneaded with a spoon until it turns into a soft sprawling lump.
- Knead it with your hands until ready.
- Slime needs to be mixed with light plasticine to get a butter slime.
We recommend reading about how to make a butter slime. From the article you will learn about what a butter slime is, how to make it from glue, airy plasticine, a film mask and other ingredients.
And here is more about how to make an airy fluffy slime.
Glycerin is optional when making slime. But this substance helps to improve the quality of the toy, to extend its shelf life. Still, you shouldn't add too much of it. This can cause the slime to fall apart.
Be sure to watch the video on how to make a fire butter slime from glycerin and boric acid:

