Squishy rolls from a sealing bundle
For sushi lovers, soft squishy rolls are suitable, which can be made from small pieces of white sealing cord. It looks like an airy rice filling, and if you paint it, you can get a completely believable roll.
To make a toy you will need:
- sealing harness;
- gouache and brushes for painting rolls;
- hot glue;
- scissors.
To get three different rolls, you need to do the following:
- Cut identical pieces from the rope, which will resemble real sushi in size and have the shape of a cylinder.
- Paint the first piece on the outside with black and green paint, which will imitate nori leaves.
- The second piece can be left white, but apply bright red dots on the outside, which will resemble salmon roe.
- The third cylinder can be arranged as a roll, wrapped in nori and sprinkled with sesame seeds. For this, the main background is painted over with black and green paint, and light yellow specks are applied on top.
- In order for each roll to have its own filling, grooves must be cut out in the center of each cylinder using scissors.
- Small pieces are cut from the remainder of the sealing cord, which will need to be painted in different colors. For example, green chunks might mimic cucumbers or avocados, orange-red chunks might look like salmon meat, and small yellow slices might mimic cheese.
- The dried "filling" is glued to the center of the roll cylinders with hot melt glue.
How to make a DIY antistress toy
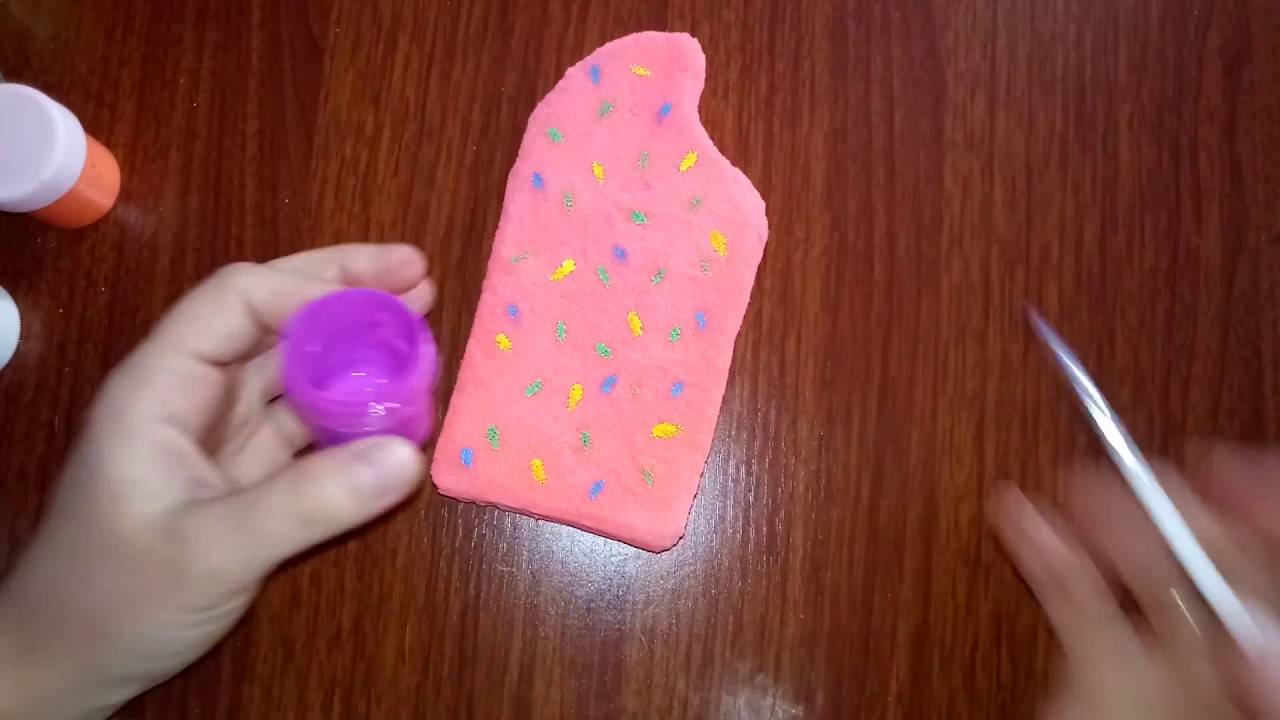
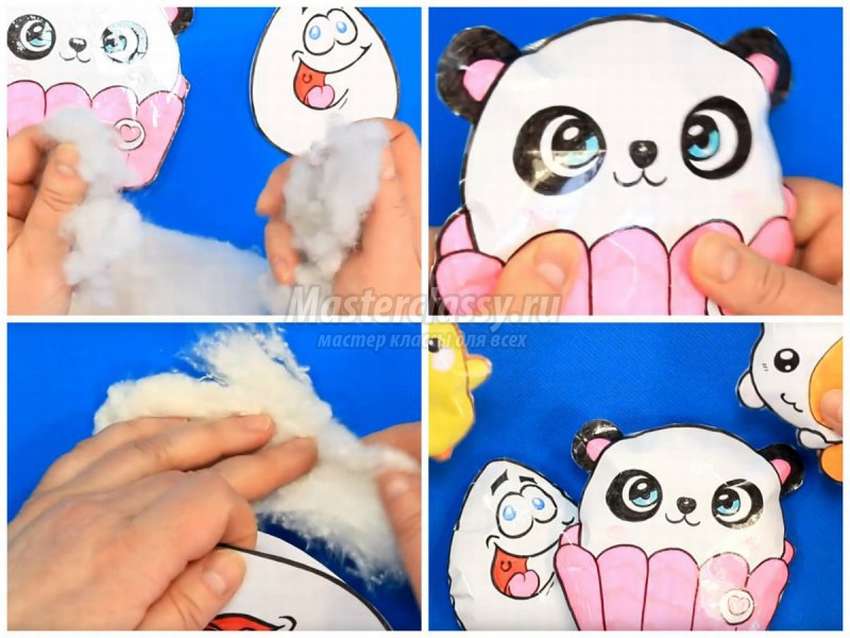
To make a bright and positive toy, you should familiarize yourself with the key steps of this procedure. First of all, it is recommended to decide on the product. You can make a small cupcake out of a dish sponge.
To do this, take the following:
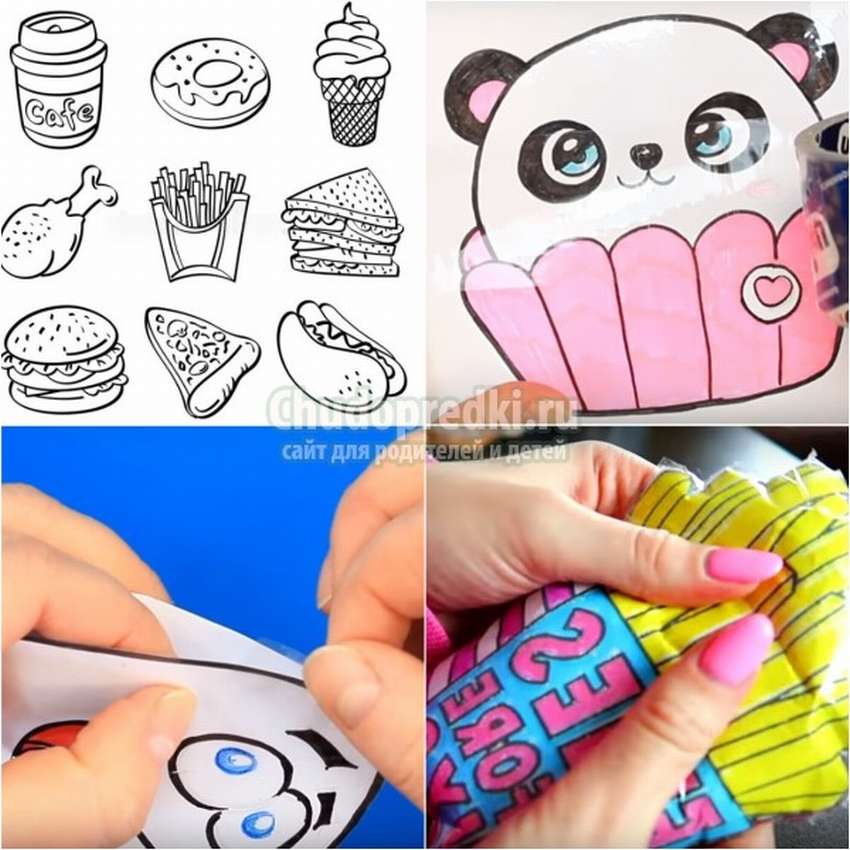
- a printed double-sided image of a cupcake - it may have eyes, a protruding tongue, raisins or stars;
- a small sponge for dishes;
- Scotch.
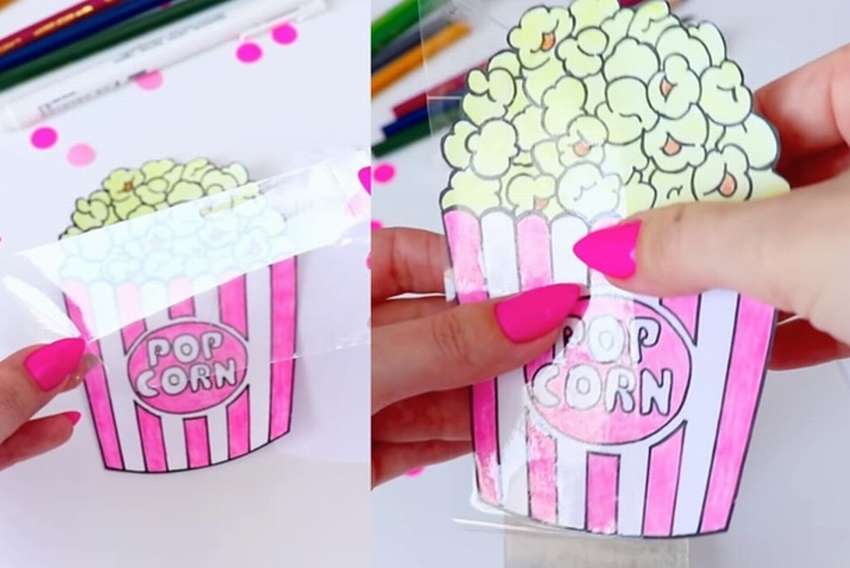
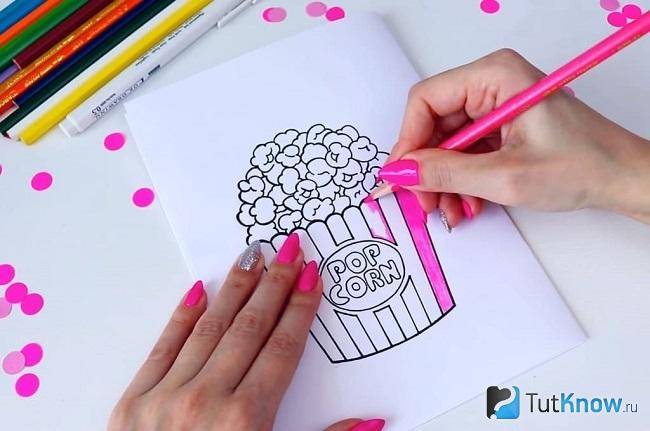
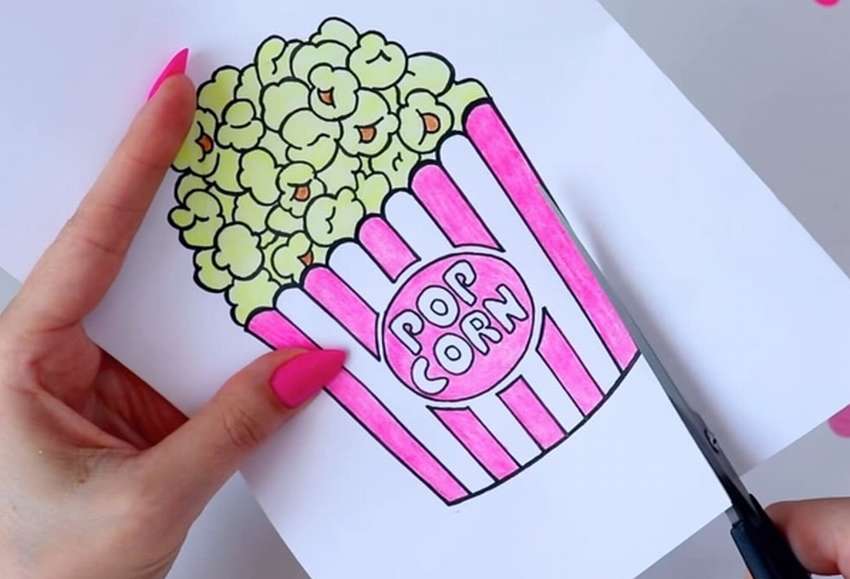
If a black and white device has been used, it is recommended to color it in with felt-tip pens. After that, the picture should be cut along the contour.
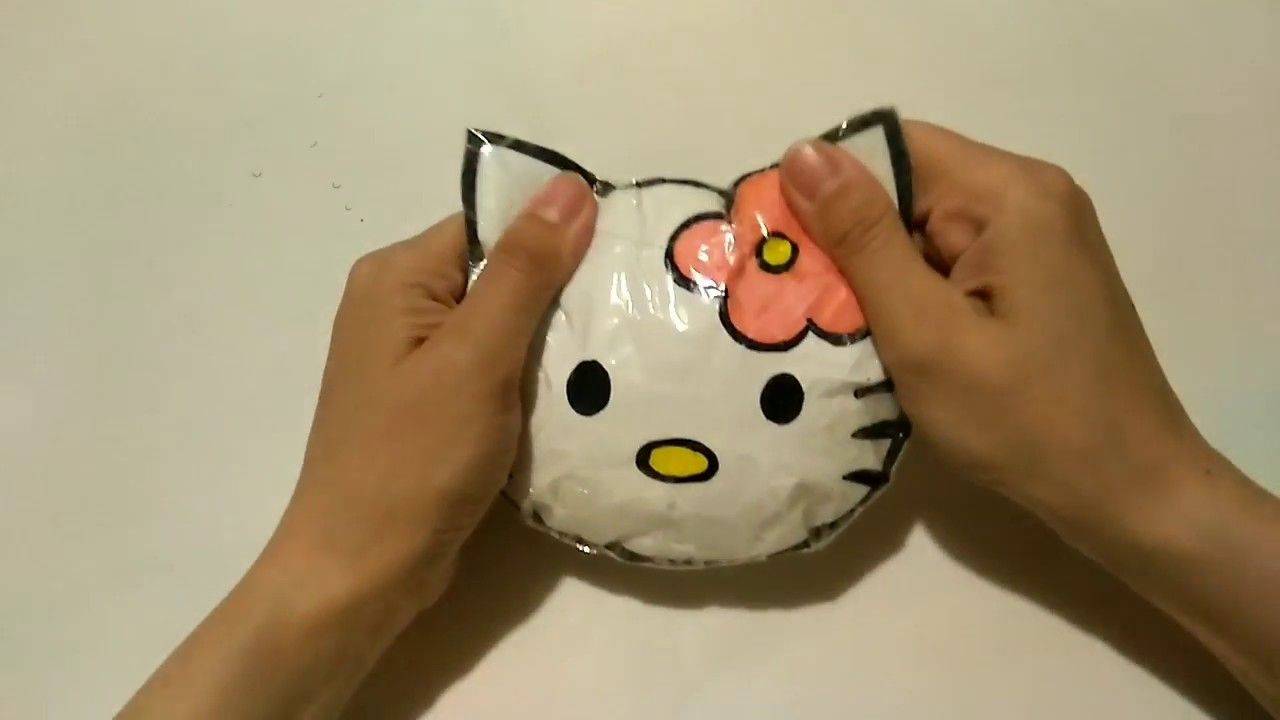
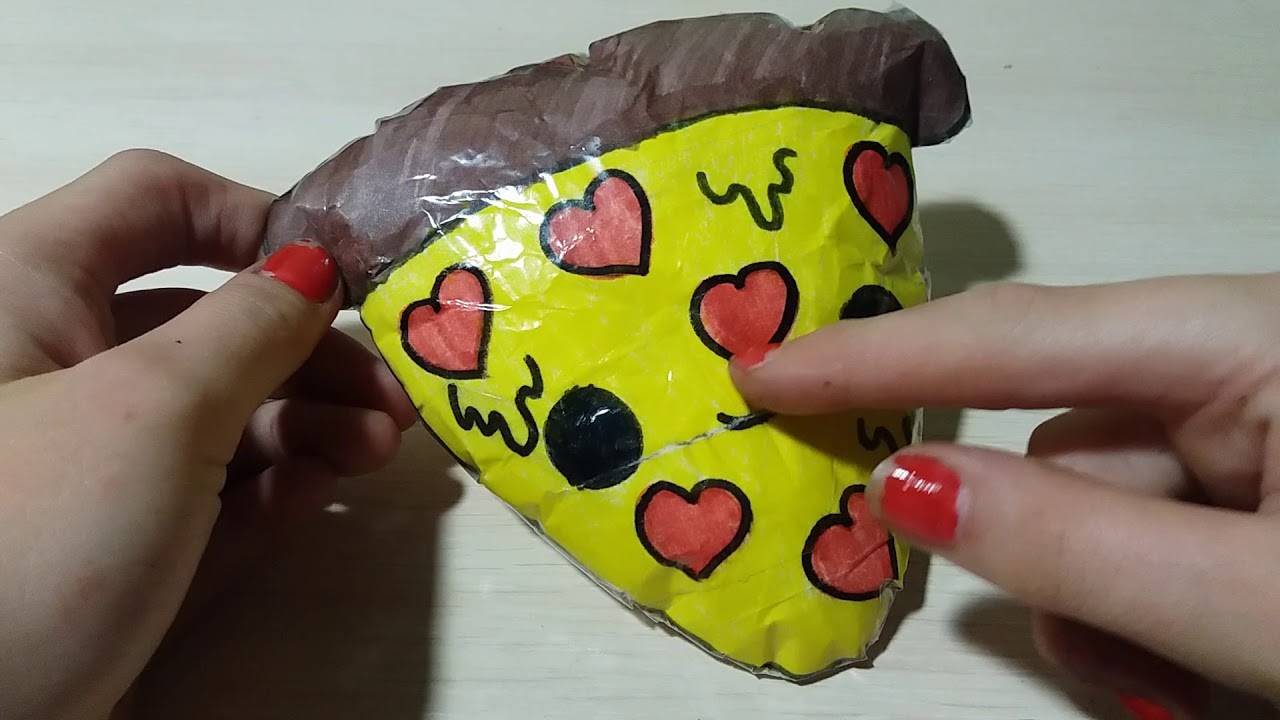
It is worth putting tape on both fragments. With its help, it will be possible to laminate paper. After that, both parts should be glued together. It is not recommended to glue the toy from below. It is worth placing a small sponge in it. Pre-cut it in the shape of the product.
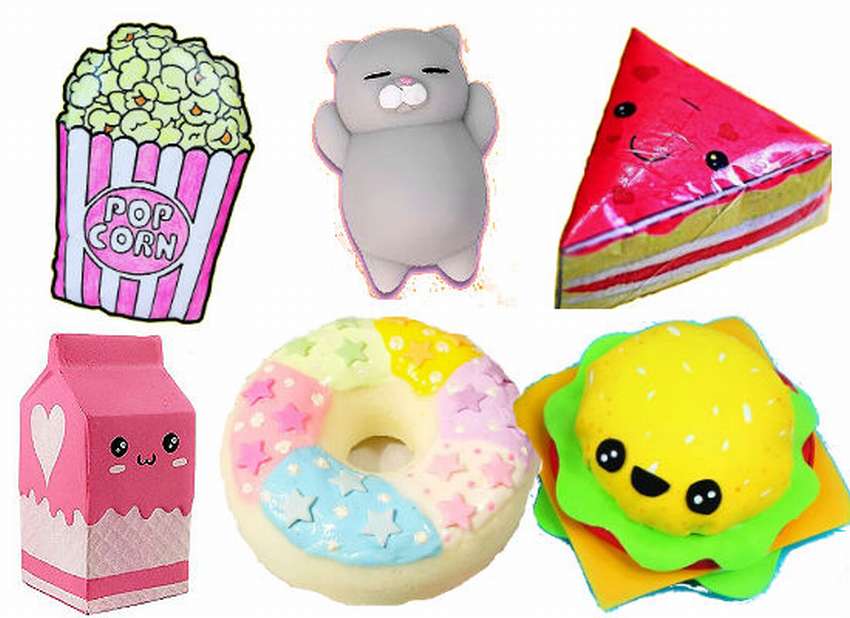
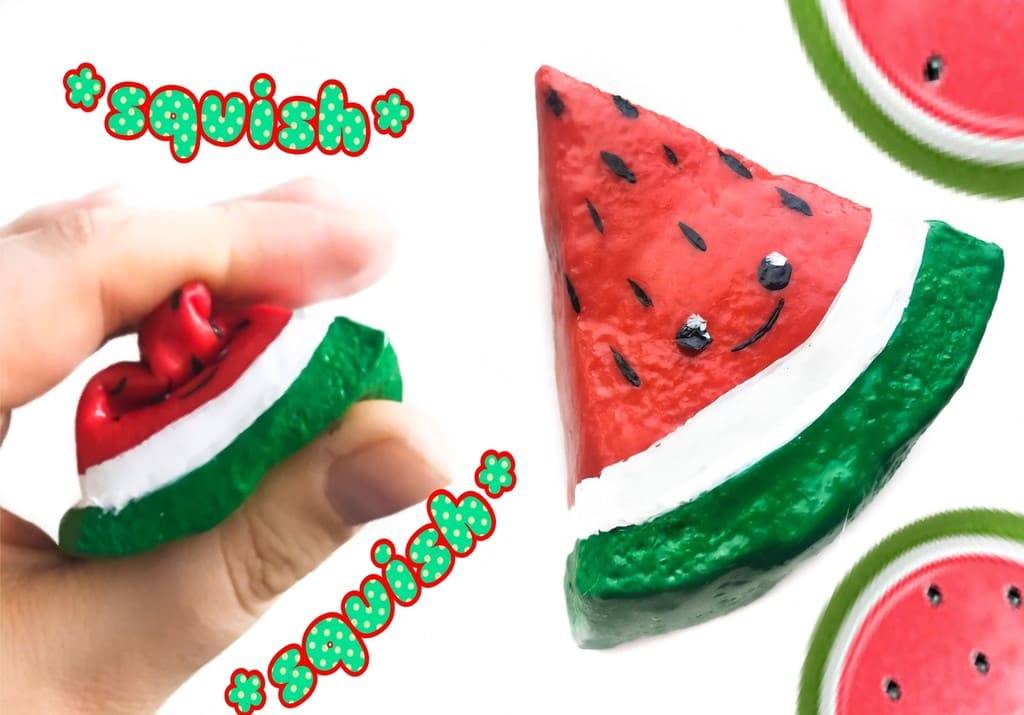
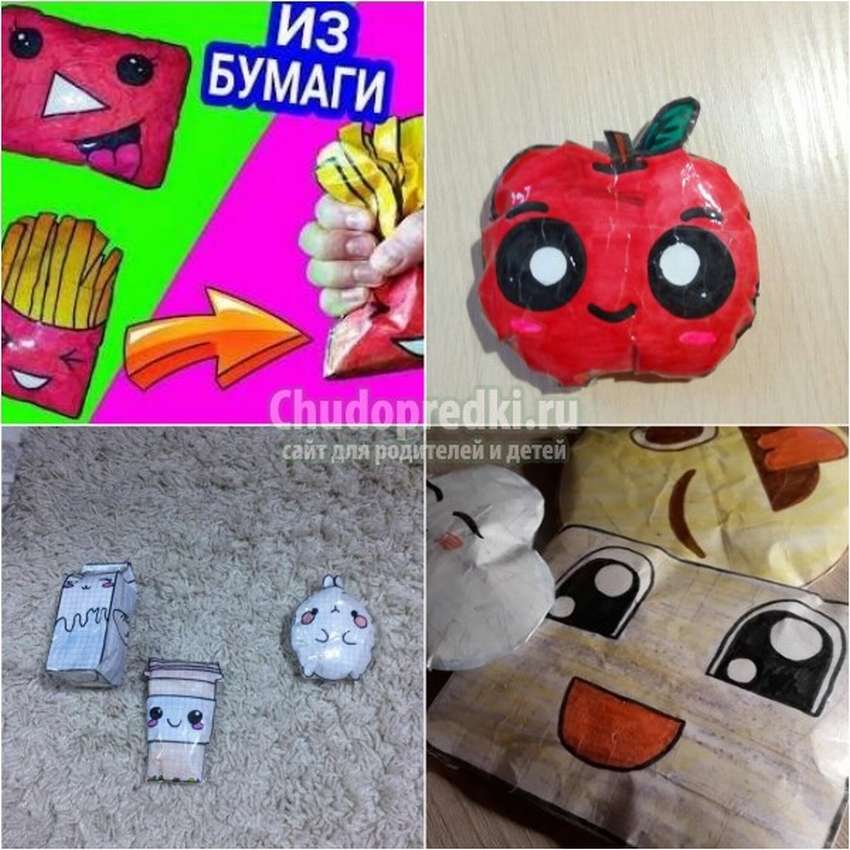
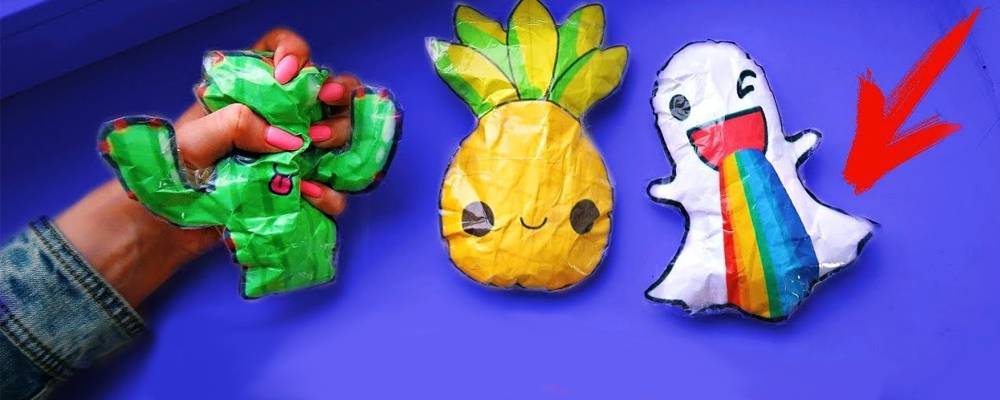
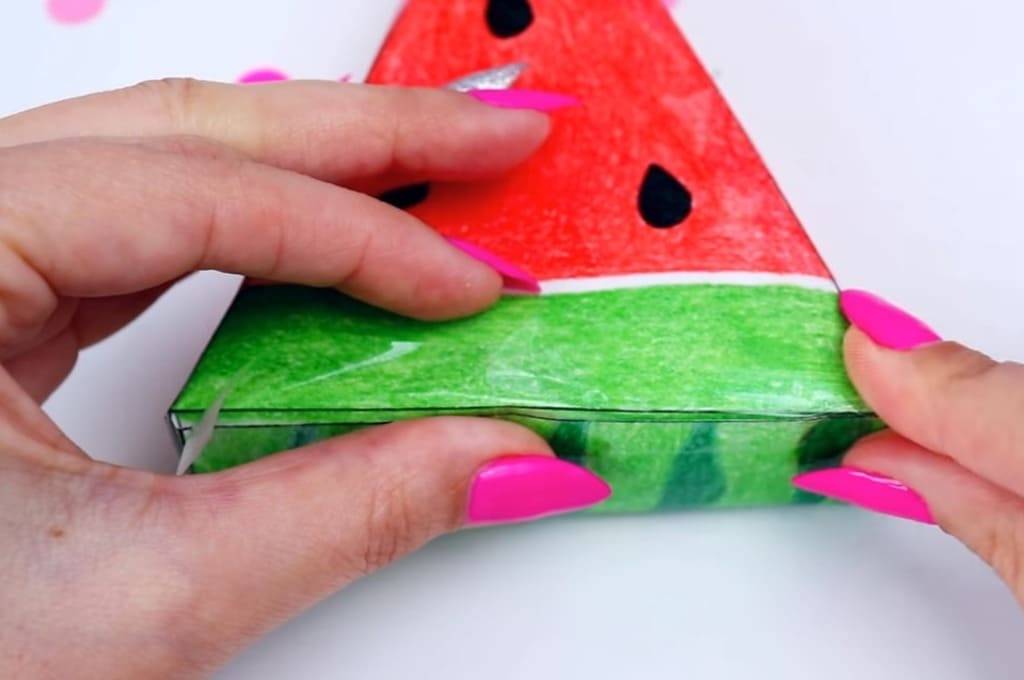
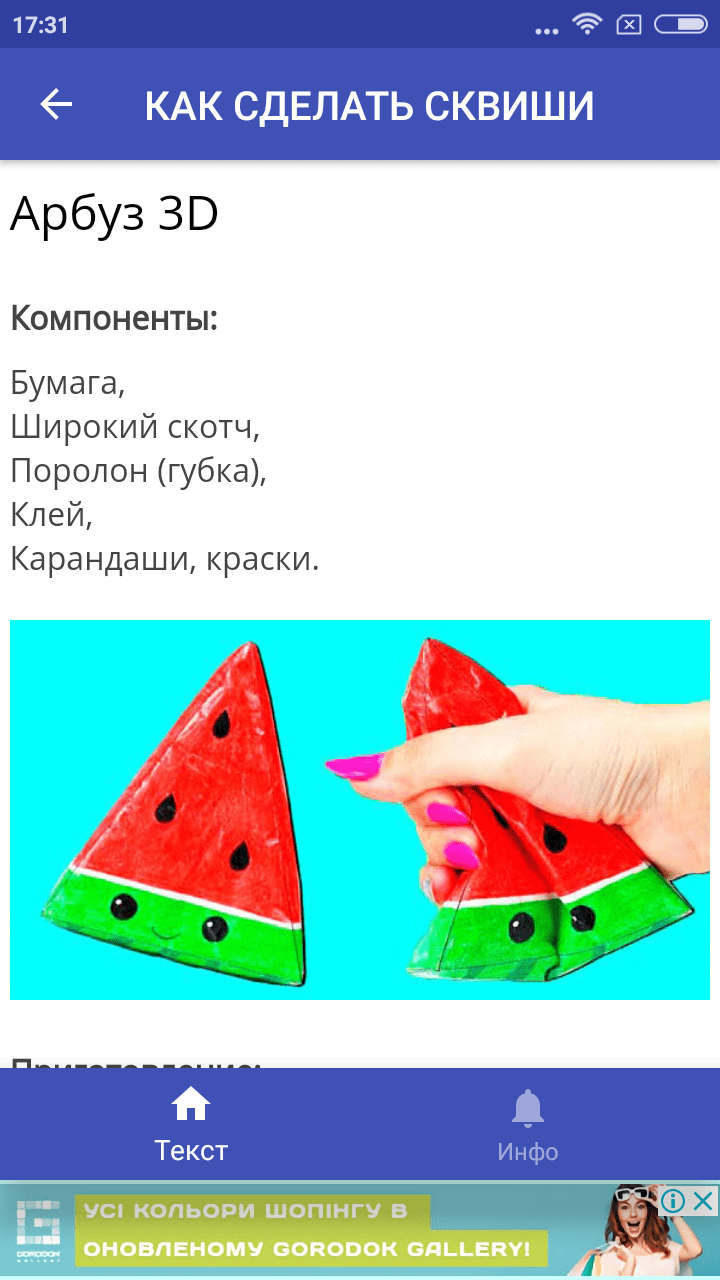
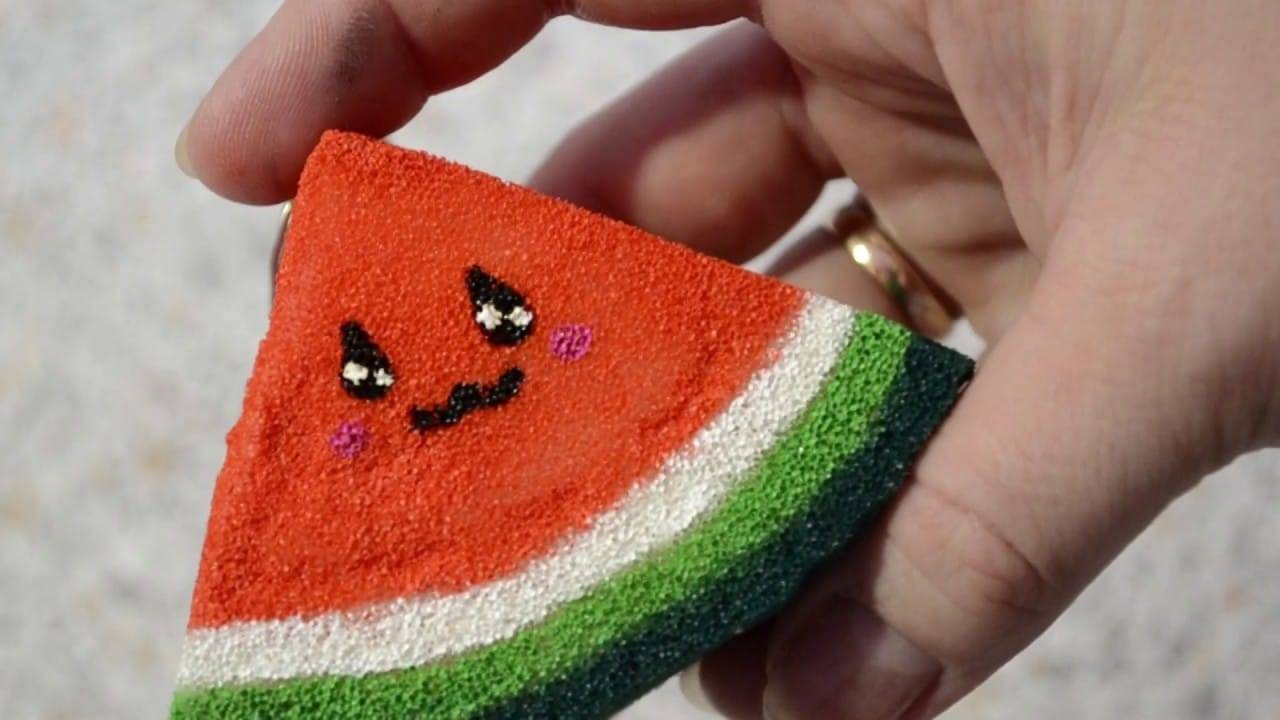
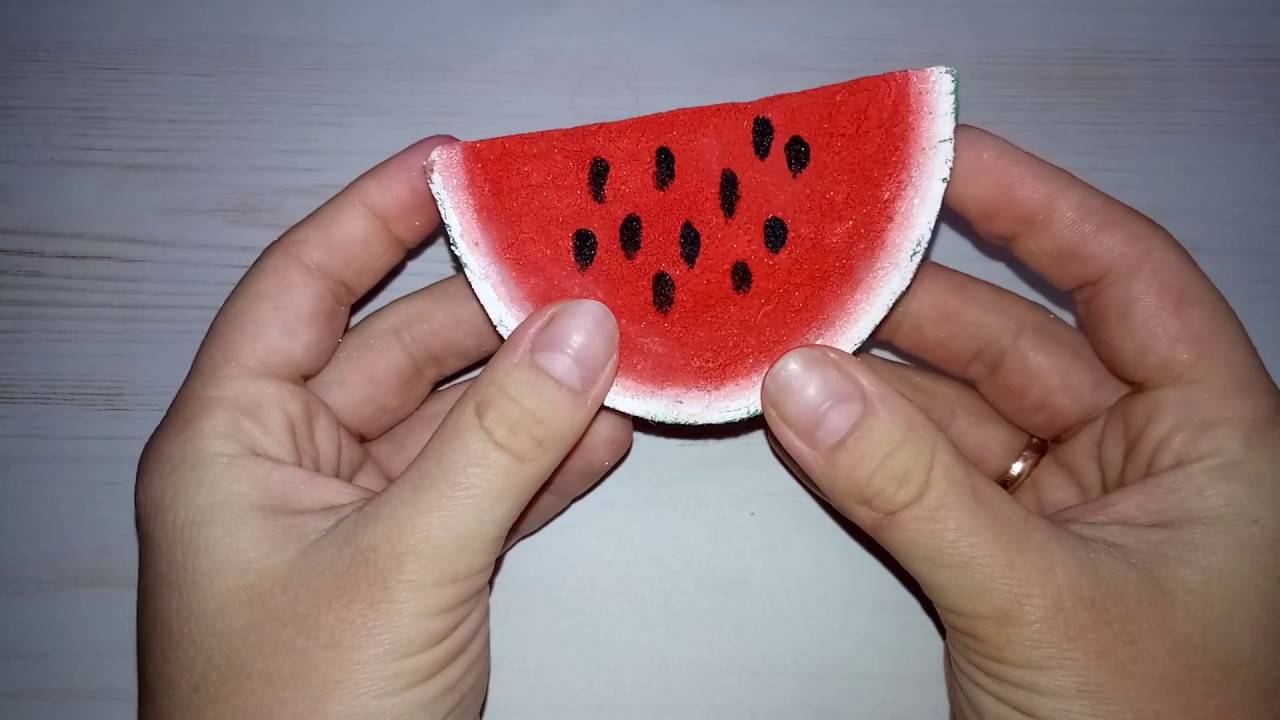
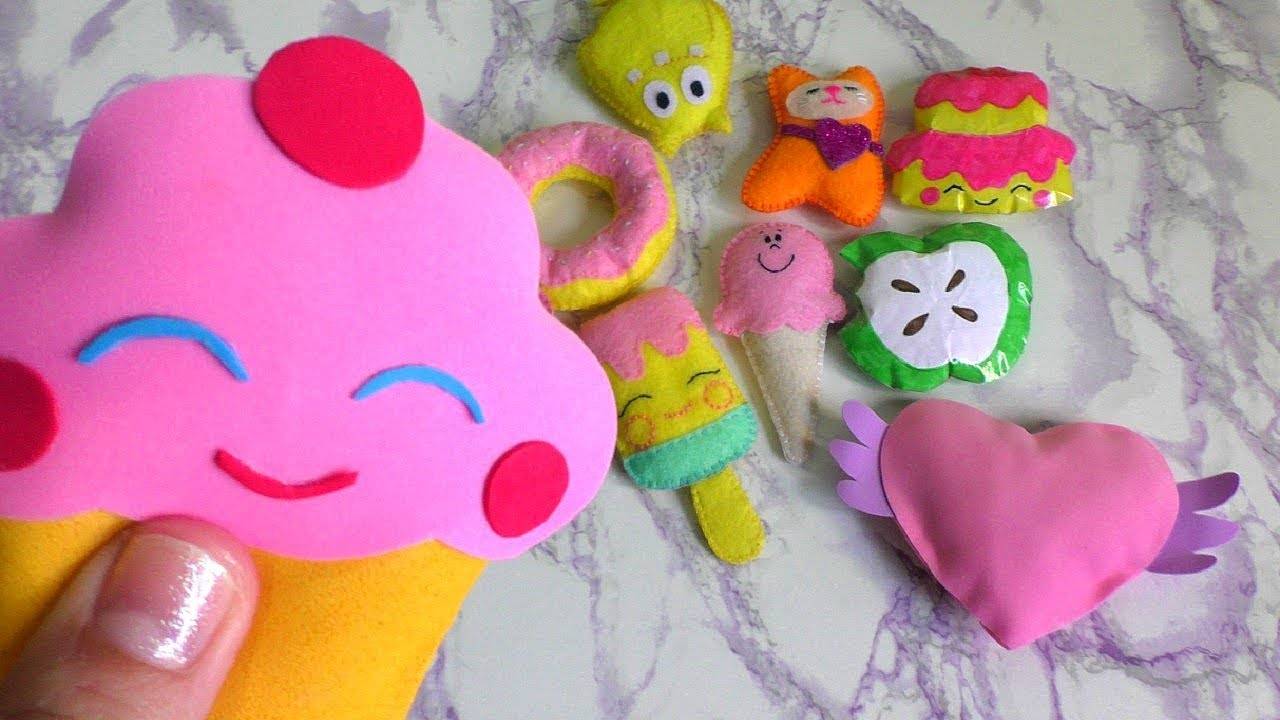
The same principle can be used to make other toys. Squishies are made in the form of lemon, candy, watermelon. The only requirement for the product is considered to be small. The toy should be comfortable to wrinkle.
An interesting option would be a squish in the form of a cake. It can be covered with whipped cream and frosting. To do this, take the following:
- 4 foam sponges;
- wire;
- brown paint;
- white cotton wool;
- air plasticine;
- clay that solidifies on its own;
- instant glue;
- colored ribbons.
It is recommended to tint the sponges with brown dye and dry well. In this case, it is not necessary to use scotch tape. It is recommended to glue the sponges with instant glue, then cut out the cake. Make glaze from airy plasticine and attach with glue.
Then attach cotton wool, which serves as an imitation of whipped cream. It is worth making a cherry from self-hardening clay and piercing it with wire. It is recommended to insert one part into the cupcake, the second will imitate a stalk. To decorate the cupcake, tie it with a ribbon and make a bow.
General rules and principles of manufacturing
Before starting work, you must prepare materials and accessories:
- paper;
- adhesive tape, scotch tape;
- filler (sponge, cut plastic bag, pieces of foam rubber, cotton wool or synthetic winterizer);
- simple pencil;
- sharp scissors;
- materials for applying decor (paints, felt-tip pens, colored pencils, markers, bright stickers).
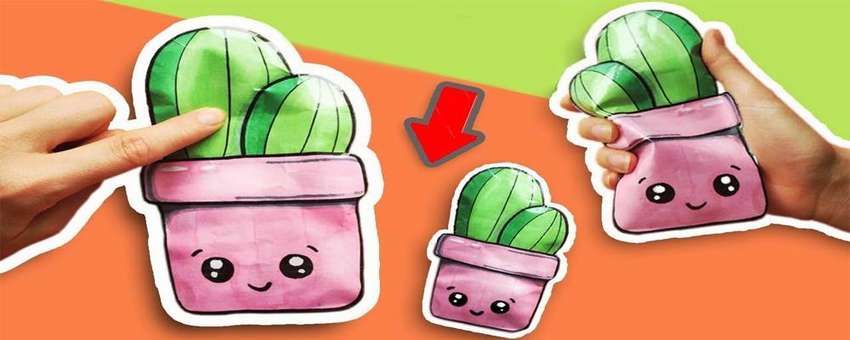
First, they select the necessary image or come up with their own drawing, which they like externally and it will be pleasant to play with it after the completion of the work.
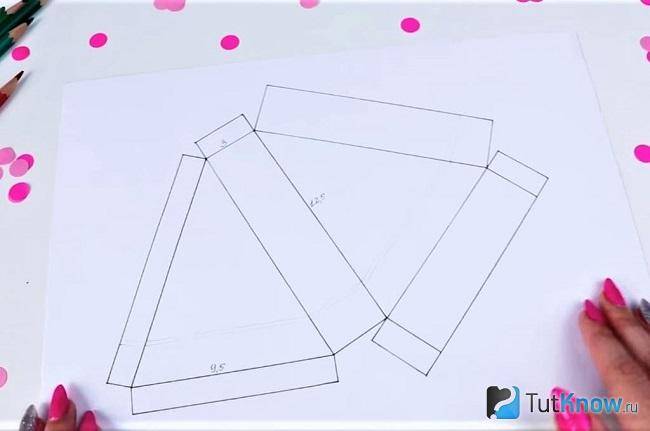
It should be remembered that the presence of the maximum number of parts complicates the work and reduces the functionality of the toy. The image should be simple in shape and striking in design. Do-it-yourself scan of the future 3D squish or download a pattern from the Internet.
Further making a 3D squish out of paper requires the following actions to be performed according to the plan:
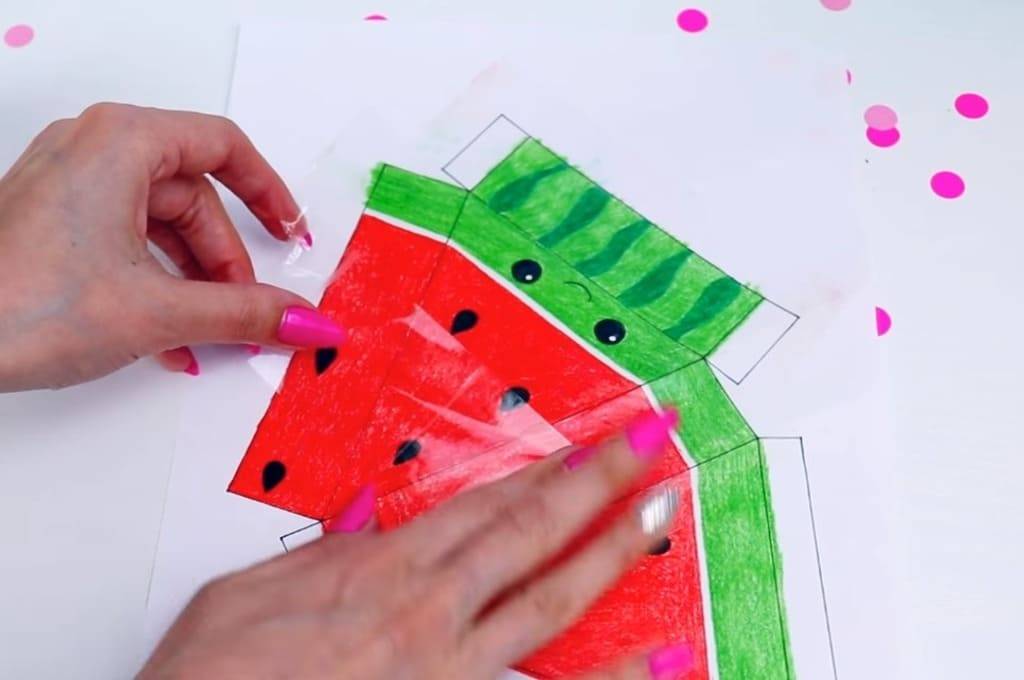
Redraw or print on the printer a scan of the toy you like, cut it out.
Paint the details as brightly as possible, outline and attach eyes and other elements to it.
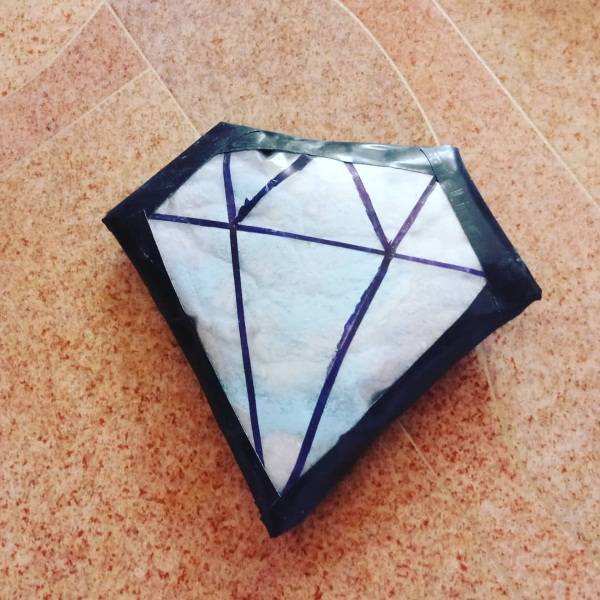
Gently tape the outside of the pattern with tape.
Bend the sweep along the pre-marked lines.
Check how the edges of the toy meet.
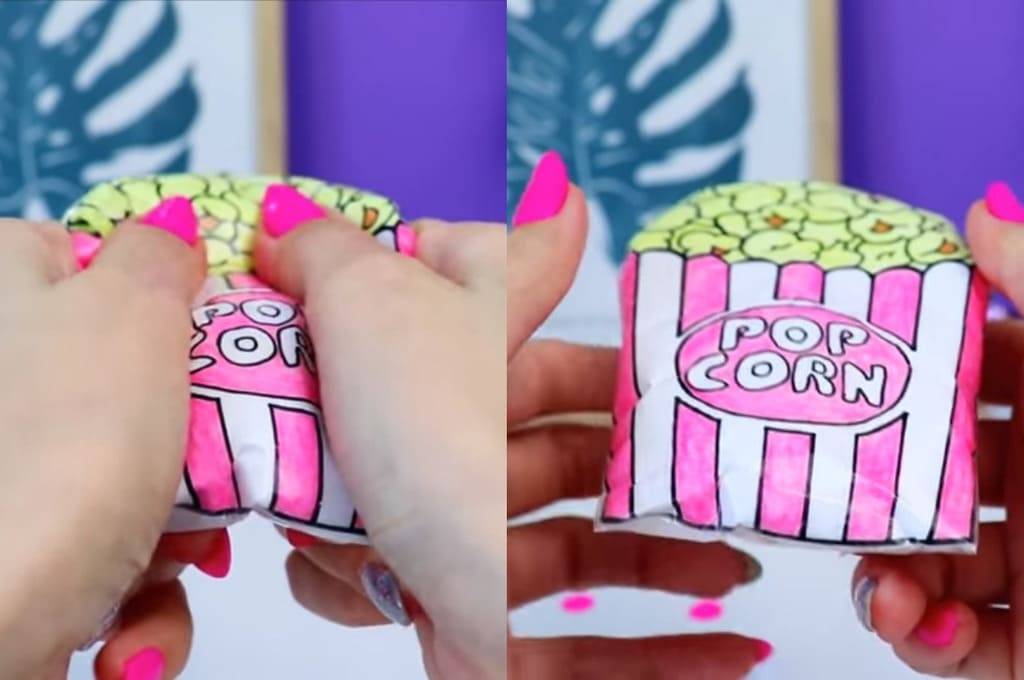
Gently fill the squish with the prepared material.
Seal the hole.
There is a manufacturing scheme that is slightly different from the first:
- Print or draw the image you like on the sheet.
- Glue the whole picture with tape so that the layers do not intersect, do not overlap, do not form air bubbles.
- Glue the second blank sheet without an image according to the same principle.
- Fold two sheets in such a way that the sides not glued with tape touch.
- Cut out the picture along the contour.
- Tape the two together, leaving a small hole.
- Finely chop the filler and place in a 3D squish.
- Cover the hole with tape.
Using this method, it is possible to make a toy for every taste, of different sizes and volumes, using environmentally friendly materials. The result depends on imagination and perseverance.
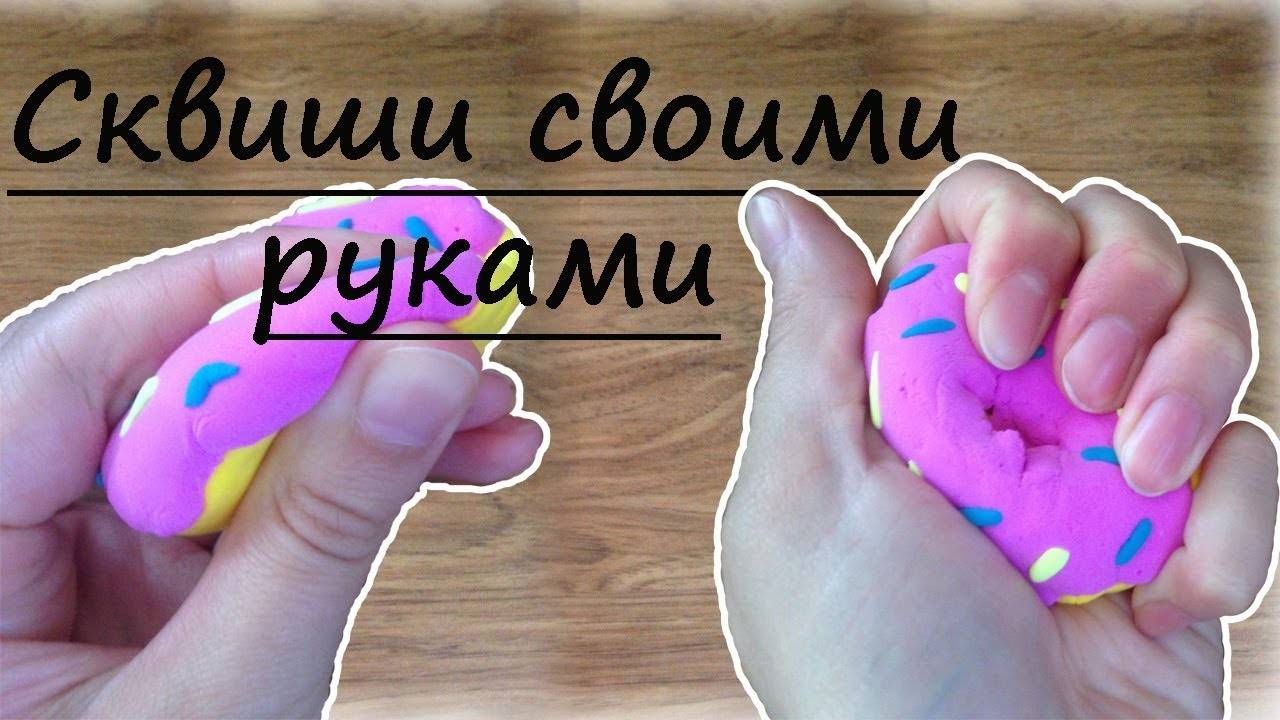
Rice Flour Squishy Soap
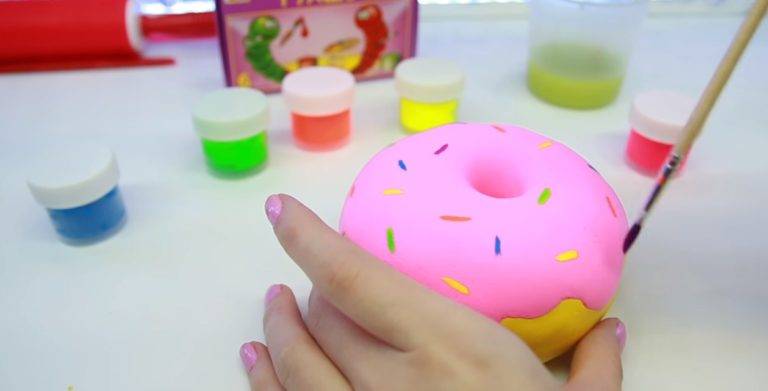
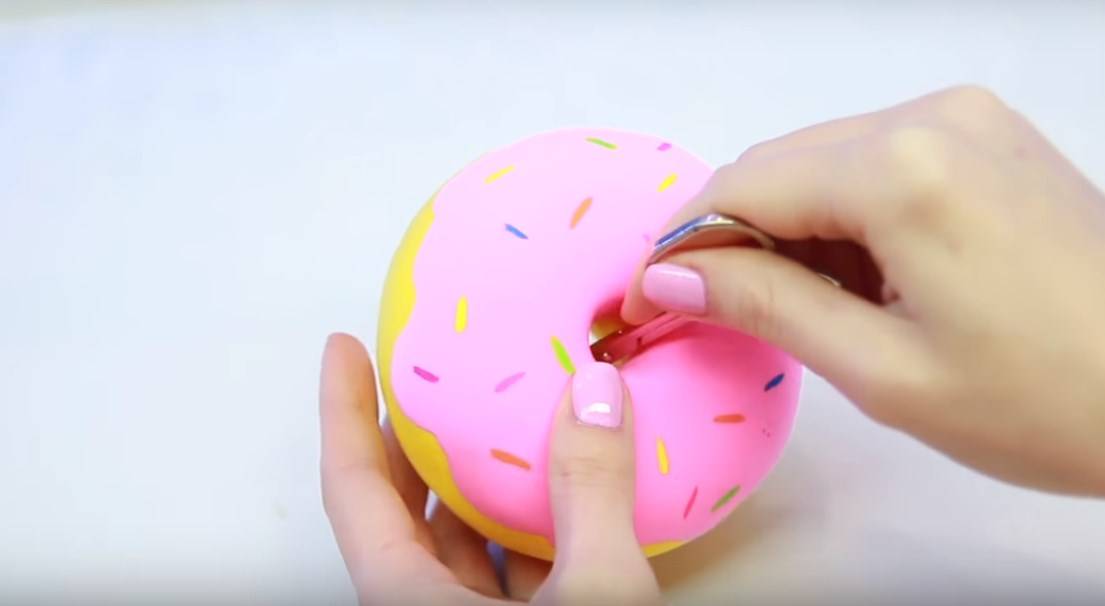
A cute and soapy donut that you can not only crush but also wash your hands with it can be made using very simple and affordable ingredients:
- rice flour;
- liquid soap, transparent is better, but white is also suitable;
- food colors of the following shades: light orange or yellow, pink, dark colors for decorating a donut (blue, green);
- knife.
Sequencing:
- At 4 st. l. rice flour put 2 tbsp. l. liquid soap, mix everything in a plate.
- Divide the resulting mass into two parts: one more to form the "dough" and a little mass for glaze and sprinkling.
- Add a few drops of yellow or orange dye to the largest piece of dough, roll a ball in your palms.
- Flatten the workpiece to the shape of a donut and use a knife to cut a round hole in the middle.
- Add pink paint to part of the glaze dough, mix and roll into a thin cake, in the center of which make the same hole as in the finished donut.
- To give the icing a natural look, you can make uneven edges on the cake.
- Place the tortilla on the donut and press down so that both parts are connected to each other.
- Add dark dyes to the rest of the mass and form balls and small stripes.
- Sprinkle decorations on the donut.
- Soak the product for 5 minutes in a water bath, then let it cool to room temperature.
Tights / socks squishies
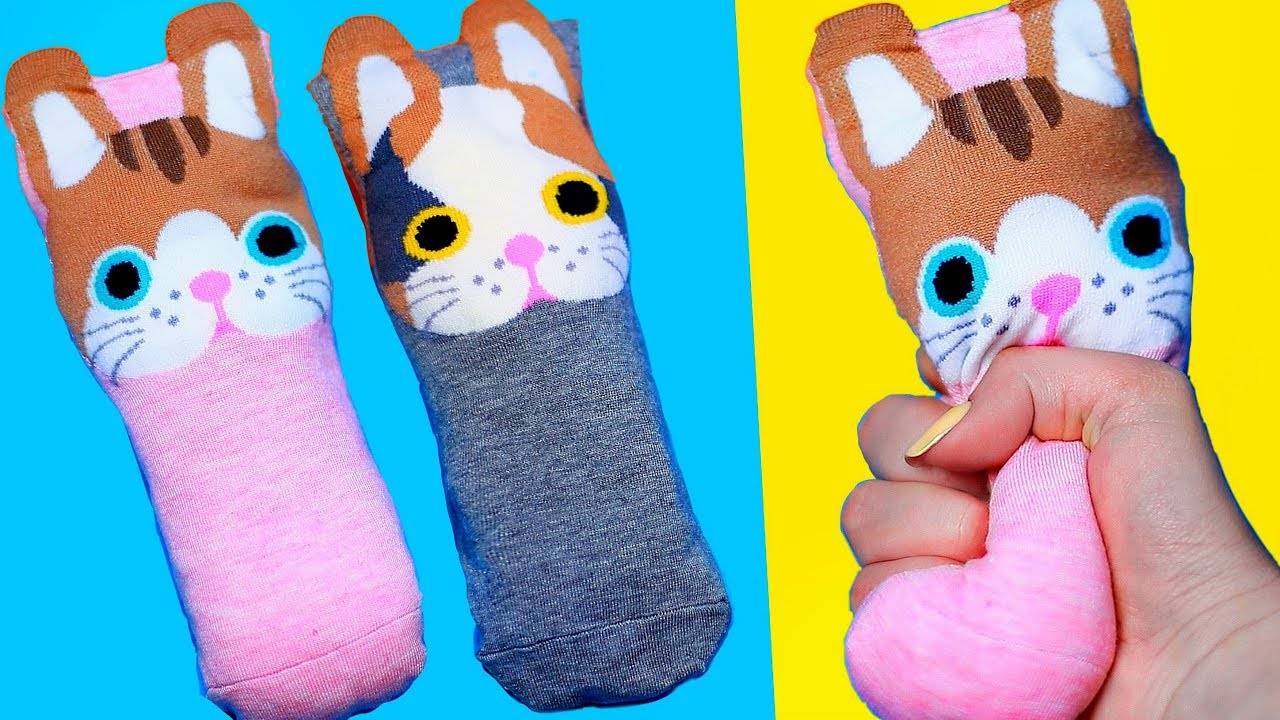
Don't rush to throw away your old socks or tights. Such things can be updated by sewing a squishy toy out of them.
You will need:
- any sock, golf or tights without holes;
- filler: cotton wool, synthetic winterizer, foam balls;
- scissors;
- thread and needle;
- markers or markers.
Fill the sock with Styrofoam balls or padding polyester and sew the hole. Sew button eyes to the toy, draw a mouth, nose, antennae with a marker. If you use foam balls as filler, make thorns for the toy. To do this, you need small silicone rubber bands. Simply grab a small section of the sock with your fingers along with a pea of styrofoam and wrap it with an elastic band.
Silicone squishies (silicone sealant)
The first way
Necessary materials:
- silicone sealant;
- sunflower oil;
- yellow, orange and brown paint;
- sponge.
How to do:
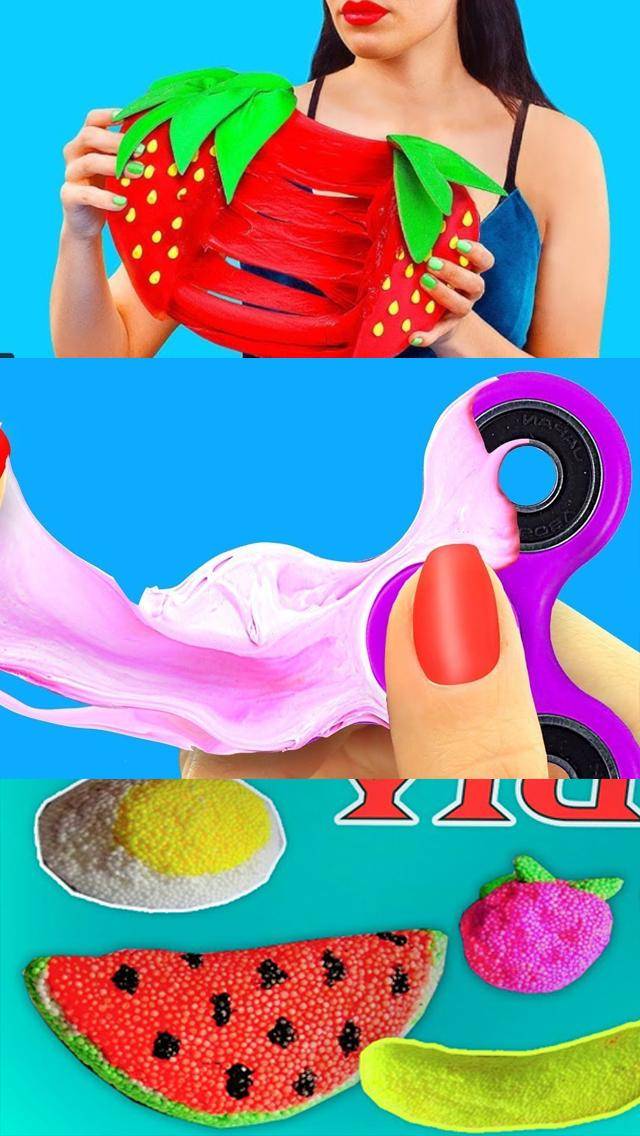
- Let's make a fried egg squishy with our own hands. Pour about 150-200 ml of oil into a deep plate. We squeeze out a little silicone there and knead the sealant with our hands until it becomes like plasticine. We repeat the procedure. There should be two silicone balls.
- We lay out one of them in a layer, imitating the white of an omelet, in the middle we make a depression for the yolk. Let the silicone dry a little. After a couple of hours, paint the future yolk with a sponge and give the edges of the protein a brown tint. It will be more realistic.
- All that remains is to place the yolk in the recess and let the sealant dry completely.
Second way
Necessary materials:
- silicone sealant;
- starch;
- felt-tip pens.
How to do:
- Let's make a unicorn head. Pour starch into a plate. We put the right amount of sealant on top and make the head - give the figure a round shape, form the horn, ears and nose with our fingers.
- We leave the head to dry for about an hour. Then you can color the unicorn with felt-tip pens. Let the sealant dry completely - and the squishy is ready!
Jelly squishies
If you have plastic yogurt jars of various shapes, try making jelly squishies in the shape of a watermelon wedge. To work you will need:
- gelatin;
- shampoo;
- food colorings;
- black marker;
- utensils for cooking.
Step by step guide:
- Pour 3 tbsp. tablespoons of gelatin with 1 glass of water and leave for 20-25 minutes.
- Divide the mixture in half.
- Pour one part into a saucepan and heat over low heat.
- In the process of heating, add shampoo and red dye to the gelatin.
- Pour the resulting mass into the smallest glass and send to the refrigerator to solidify.
- Divide the remaining mixture into two parts and heat one of them, now adding not red, but white dye (you can replace it with milk).
- Remove the frozen red mass from the refrigerator from the container and place it in the middle glass strictly in the center so that there are voids between the base and the walls of the container.
- Pour the white mass into a glass and put the workpiece back in the refrigerator.
- Heat the rest of the gelatin and mix with shampoo and green dye.
- Remove the double base from the refrigerator and place in the center of the largest glass.
- Pour the green mass into the container with the base.
- Place the workpiece in the refrigerator again.
- When the mixture hardens, remove the multi-colored cylinder from the container, and cut it first into circles, and then into slices.
- Use a permanent marker to draw seeds on the wedges.
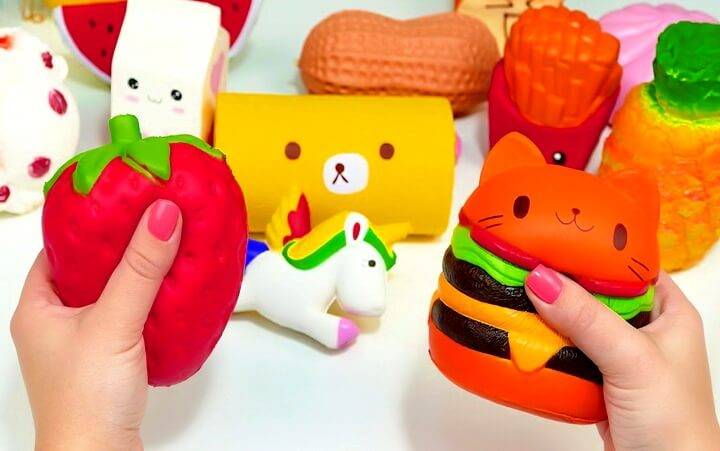
What are squishes and what are they for?
Anyone who has seen the film or cartoon "Ghostbusters" is familiar with the character Lizun. It is he who squishy "daddy". The variety of toys slime has differences:
- Squishy does not stick to your hands. On the contrary, they make fun out of materials that do not leave traces.
- Nice smell. When kneading, the aroma is enhanced.
- Return to original shape after any deformation.
In fact, squishy is an anti-stress toy. With its help, it is easy to relieve tension, contain anger and get pleasant tactile sensations. For kids, squishy is a favorite accessory that they show off to each other. But the subject also has a useful purpose:
- bright colors are attractive to toddlers;
- the child learns to recognize shades;
- a toy of different textures expands tactile sensations;
- aromas soothe the crumb;
- fine motor skills develop.
Most importantly, squishy cannot be broken, ripped or otherwise damaged. Today, squishies are among the first in the world in terms of sales.
The toy will help adults relax and concentrate. For people working at a computer, a crush is useful for relaxing the muscles of the hands and fingers.
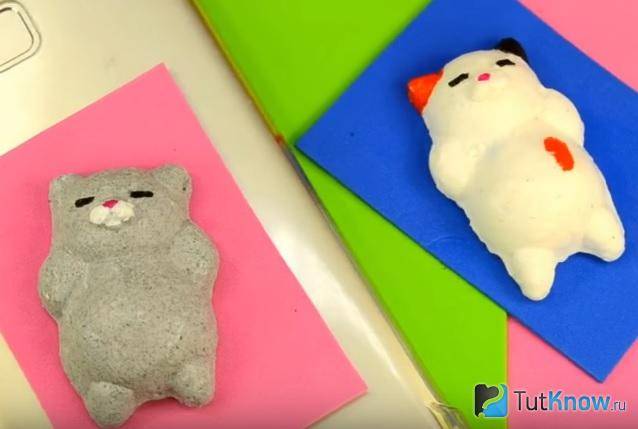
They make soft shapes from a variety of materials, rubber, foam, paper, silicone or sponge.
Master class №4. Silicone squishies (silicone sealant)
Now let's see how to make a silicone squishy. Yes, yes, it is also easy to create it with your own hands at home.
Step 1. It is necessary to traditionally prepare all the necessary materials and tools. It is a silicone sealant, vegetable oil, water, food coloring, essential oil.
Step 2. Pour some water into a small glass container.
Some water is poured
Step 3. Then you need to add a little vegetable oil to the water.
Vegetable oil is added
Step 4. Squeeze ordinary silicone sealant into the resulting mass.
Silicone sealant is added
Step 5. Then you need to mix the resulting mass thoroughly. It will take a long time to stir, until the mixture becomes homogeneous and the silicone stops smelling.
The components are mixed
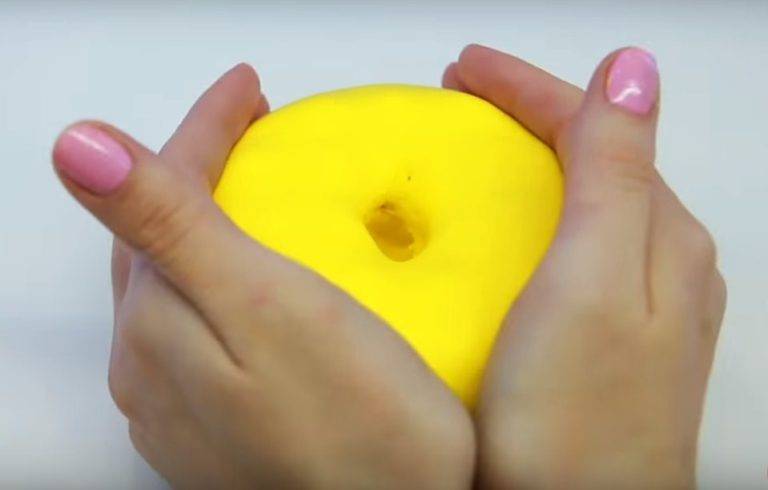
Step 6. The silicone can now be handled. It will wrinkle quite easily, it will feel soft and pliable to the touch, and the mass, thanks to the oil, will not stick to your hands.
The finished mass will crumple well
Step 7. You can make a smelling squishy. To do this, after mixing, add essential oil or aromatic fragrance to the silicone. Just a few drops. Then you need to mix the mass well.
Essential oil is added
Step 8. Now it's time to paint the silicone. It is required to add a little food coloring to the mass and mix it again.
The mass is mixed with a dye
Step 9. Next, you need to form a figure out of silicone - in our case it is a banana.
A banana is formed from the mass
Step 10. Place the formed banana on a plate covered with oil and leave for 10-12 hours. After this time, the squishy is ready, you can crush it and play with it.
The toy should lie down for 10-12 hours
Master class number 2. Sponge Squishy Panda
DIY sponge panda squishy
Step 1. By tradition, you need to prepare in advance all the necessary materials, as well as the tools that will be used in the work. This is a piece of foam rubber (for example, a large sponge or just foam rubber), scotch tape, acrylic paint, scissors and a stationery knife, a permanent marker, white electrical tape, a small plastic bag.
What you need for a sponge panda squishy
Step 2. Next, we need to cut out a piece of the shape that we need from a piece of foam rubber. In our case, it is a volumetric oval, flat on one side. In the process, you can use both a stationery knife and scissors.
A volumetric oval is cut out of the foam rubber Scissors are also used Cut out part of the foam rubber
Step 3. The workpiece must be placed in a small plastic bag, tightly twisted around the future toy.
The blank is placed in a bag, then the bag is twisted
Step 4. The excess "tail" of the bag needs to be cut off.
The "tail" of the package is cut off
Step 5. The resulting shorter "tail" needs to be pressed to the body of the toy and secured with tape.
The rest is secured with tape
Step 6. Next, the workpiece must be tightly wrapped with white electrical tape.
The workpiece is wrapped with white duct tape Almost finished Workpiece is tightly wrapped with duct tape
Step 7. With a simple pencil, you need to outline the face of the future panda toy.
A panda face is outlined
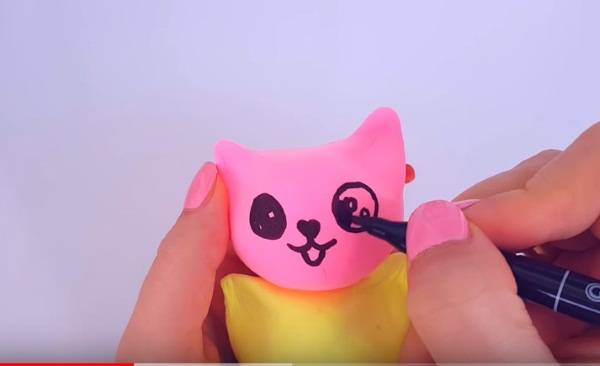
Step 8. Next, you need to circle the resulting drawing with a black marker and color it in.
The drawing is colored with a marker
Step 9. It remains only to add some details to the face with a brush and acrylic paints.
Some details are added with a brush.
Step 10. When the paint is dry, you need to make holes on the back of the squishy with a needle or the tip of a clerical knife so that air can easily escape from them. Then the toy will shrink properly and return to its shape.
Holes are made at the back
Step 11. The squishy is ready.
Ready squishy panda

