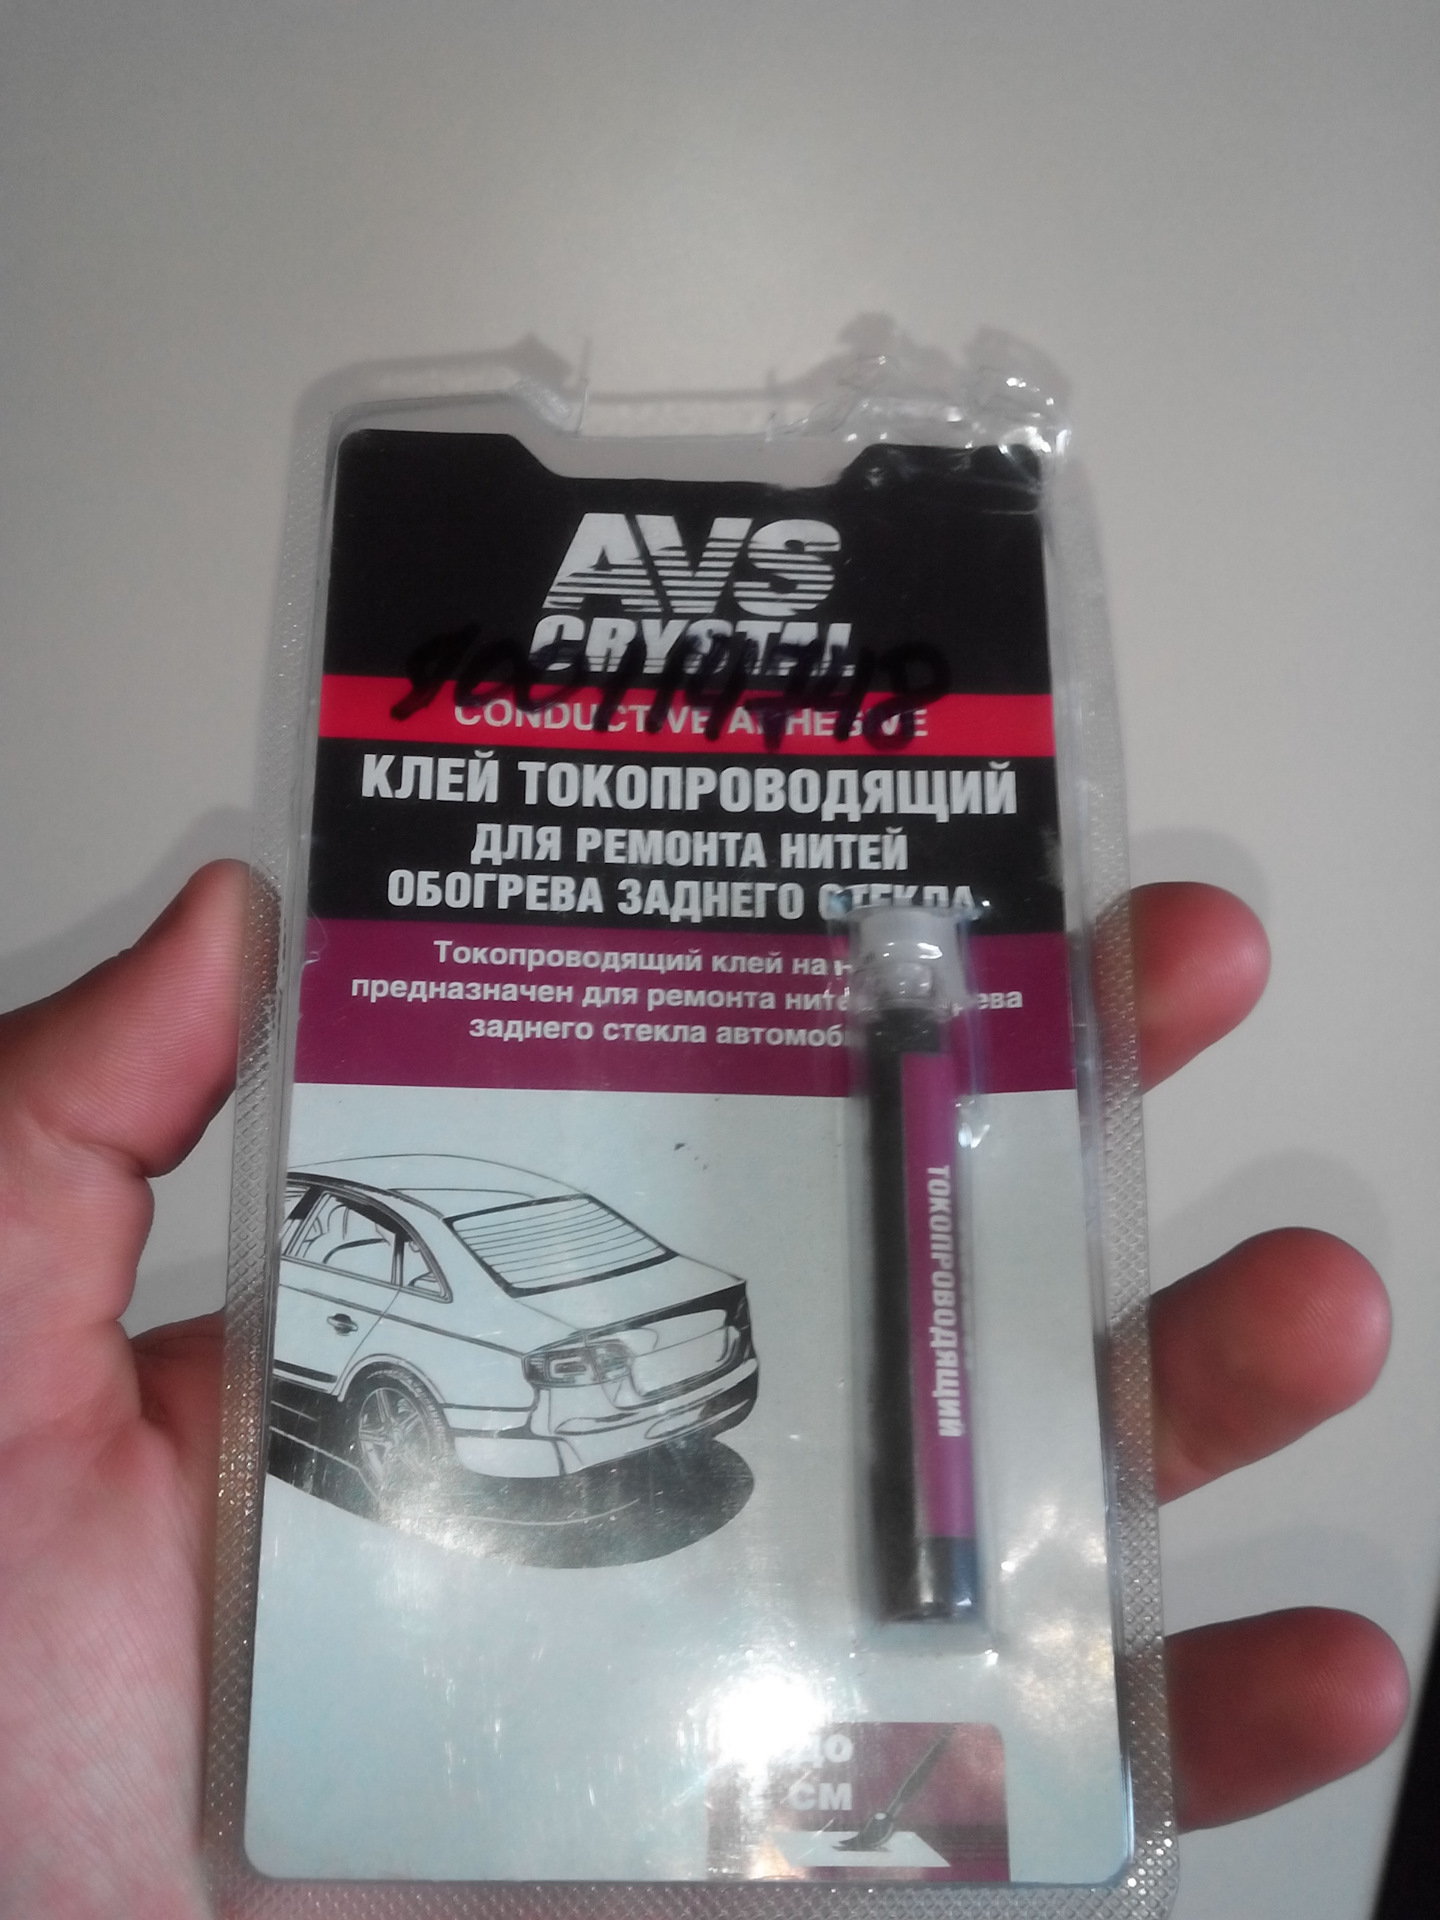
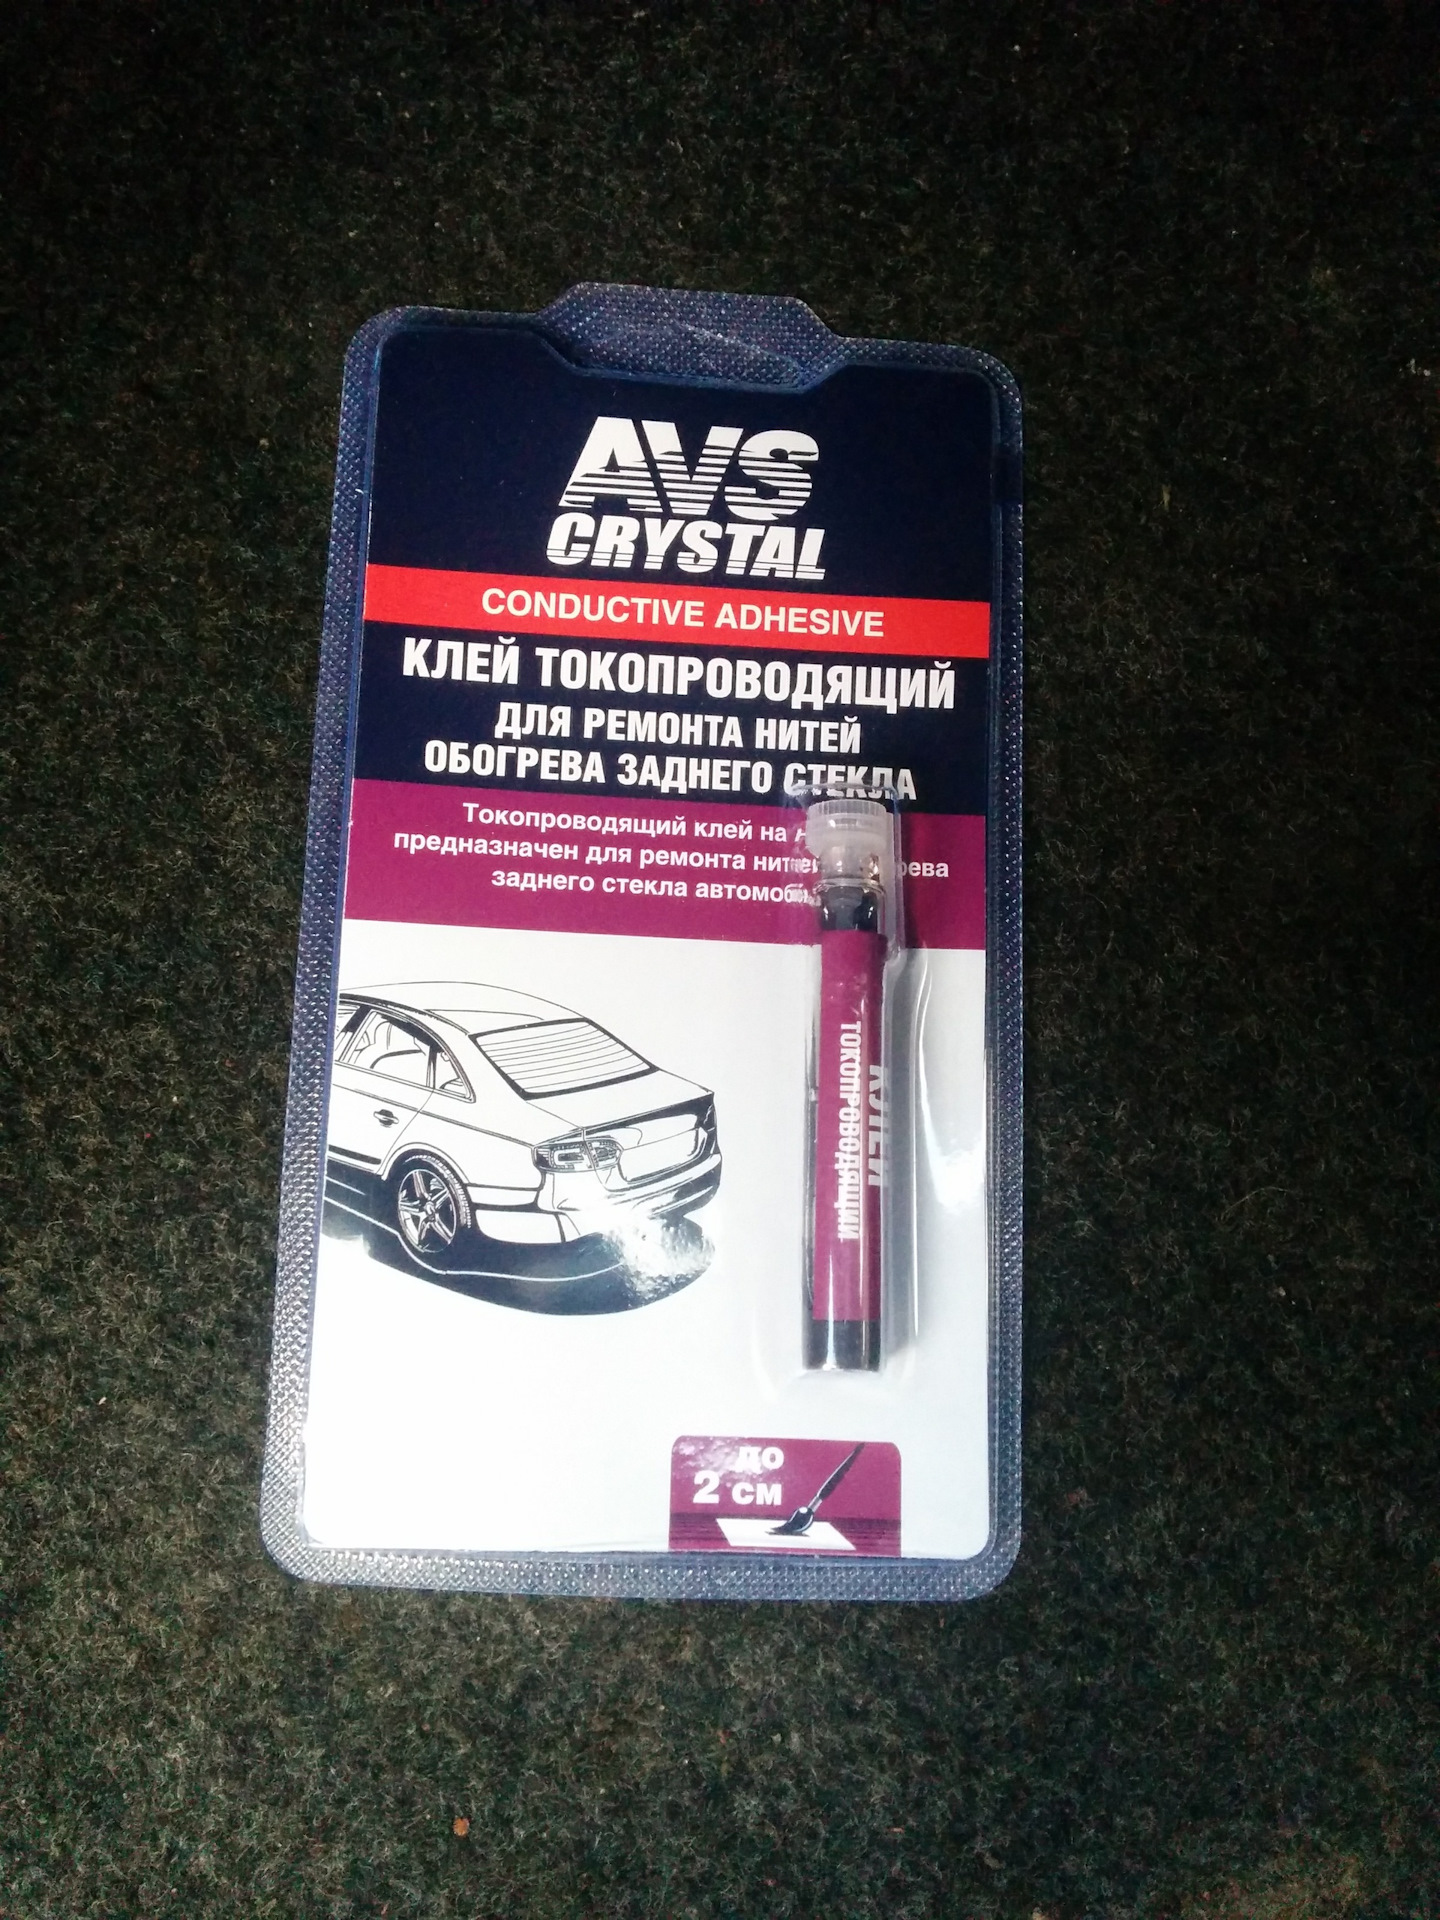
How to repair with glue
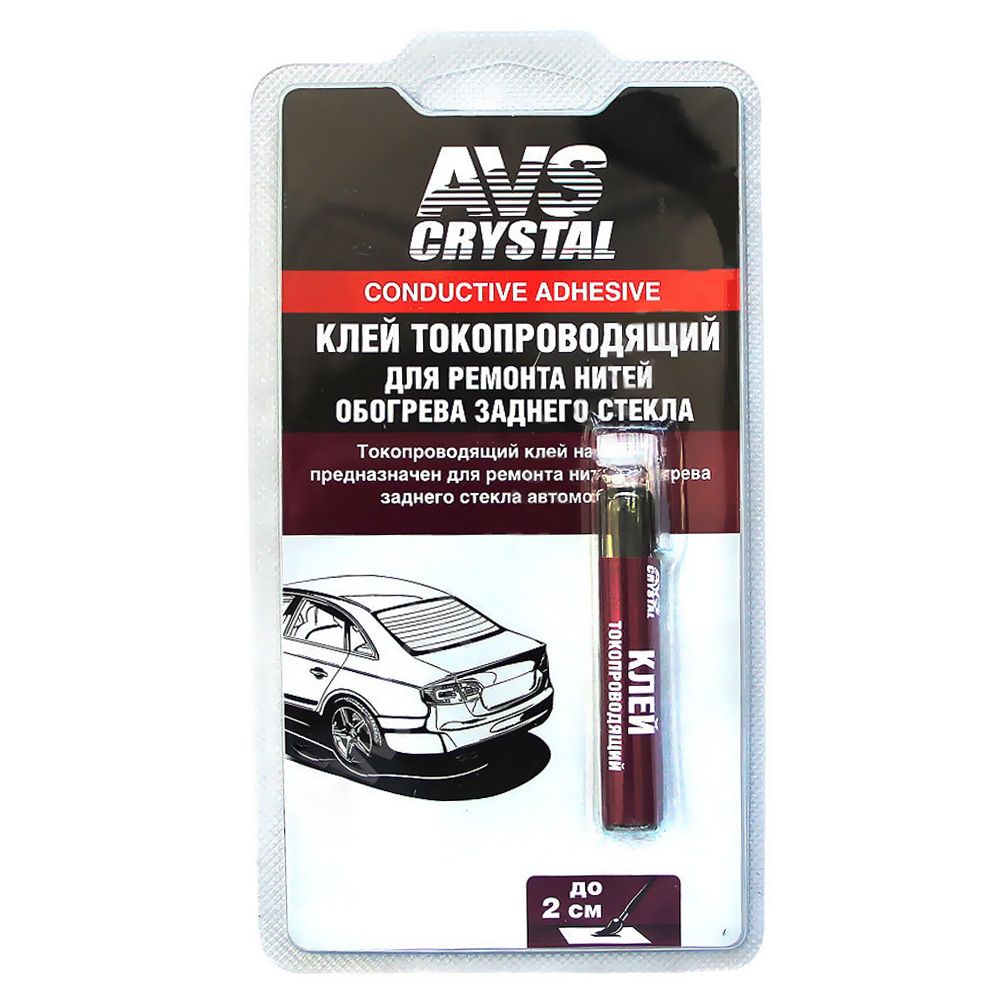
Repair of terminals can be carried out by soldering or using a special adhesive. In the second case, it is recommended to choose a conductive substance.
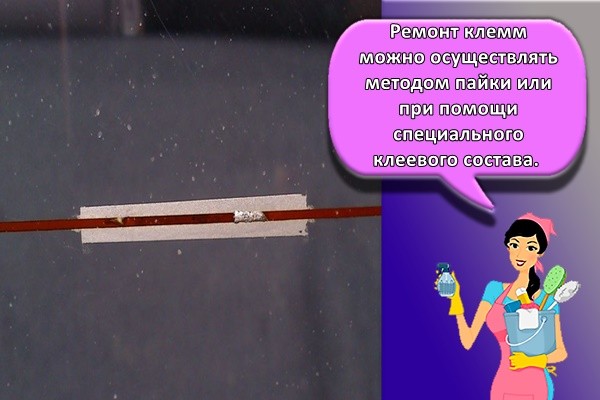
To carry out the procedure, you should perform the following steps:
- Clean the glass from dust in the area of damaged conductor. After that, it is recommended to degrease it. For this purpose, acetone should be used.
- Glue several layers of electrical tape along the damaged tape on each side. It is also permissible to use scotch tape.
- Treat the resulting stencil with glue. This is done so that its layer extends at least 10 millimeters onto the intact conductor. Moreover, this should be done from all sides.
The amount of adhesive depends on the dimensions of the heater tracks. To achieve a high-quality coating, it is worth applying at least 2 layers of a conductive substance.
Application stages
The application of conductive glue takes place in several stages:
- Preparatory stage. The effectiveness of the glue largely depends on how well the surfaces to be glued are processed. They may have traces of oxides, dust, grease, which, if not removed, will interfere with the good adhesion of the adhesive to the parts. If the glue "does not take", then it threatens with low current conductivity and poor contact. Ethyl alcohol is used as a cleaning agent. It has a degreasing effect and is good at removing traces of soldering and oxides. It is also easy for them to dilute a very viscous adhesive. In addition to ethyl alcohol, isopropyl, diacetone alcohol, cyclohexane, acetone are used.
- Determination of the break point. The break point is determined by a multimeter or electrical probe. As soon as it is determined, the power supply is turned off.
- Application of the composition. The process of applying glue to a surface is akin to a surgical operation. Work is sometimes carried out on microscopic areas (boards, electrons), which requires precise filigree application. It is best to use a drawing pen. If not, you can use a thick sewing needle. As a last resort, a regular toothpick will do. There are also slotted self-adhesive stencils for precise application. The layer is applied to the damaged areas of the electrons, slightly overlapping them by a few millimeters.
- Correction of the composition. Depending on the composition and active metal filler, the glue has a different degree of conductivity and resistance. Graphite conducts current well, but such a composition does not adhere well to the surface. The addition of powdered nickel will help to improve adhesion, which stabilizes the conductive characteristics. If it is necessary to increase the elasticity and lower the density, it is necessary to increase the polymer component. Also, polymers protect against shock and vibration, and this must be taken into account when choosing an adhesive for a car rear window heating system. Polymers seal well and have low thermal conductivity, the glue does not lose its properties at temperature extremes.
- Time to dry. The lower the ambient temperature, the longer it takes to dry. The rear window heater of the car turns on 2 hours after the repair, and the maximum waiting time is 2 days. To speed up the drying process, you can use a special hair dryer.
Heater wiring diagram
To successfully diagnose and repair the rear window heating system of a car at a professional level, you need to know the wiring diagram of the heater and understand the principle of its operation.
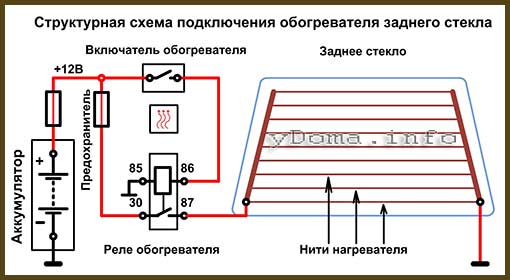
The photo shows a typical diagram for connecting a car rear window heater to the on-board wiring. Let's consider how it works.
The supply voltage from the positive terminal of the battery through the ignition switch, and the fuses are supplied to the heater switch and to the 30 (or 87) power contact of the relay. The negative terminal of the battery is connected to the car body, one of the terminals of the glass heater is also connected to the body. When you press the heater power button, the voltage is applied to the relay coil, the relay is triggered, the power contacts close and connect the relay terminals 30 and 87 to each other. The current enters the heater, flows through a group of parallel-connected threads and returns through the car body to the negative terminal of the battery.
Locating damage
Available methods can be used to identify problems in a timely manner.
Visually
The reasons for the breakdown can be identified visually. A defective fuse will indicate an inoperative rear window defogger indicator when the button is pressed. If the indicator is on, and the heating threads do not function, you can suspect defects in the relay. Loss of contacts in the system provokes delayed sweating.
If the inspection of the rear window did not help to identify a break in the heating line, it is worth starting complex procedures.
Voltmeter
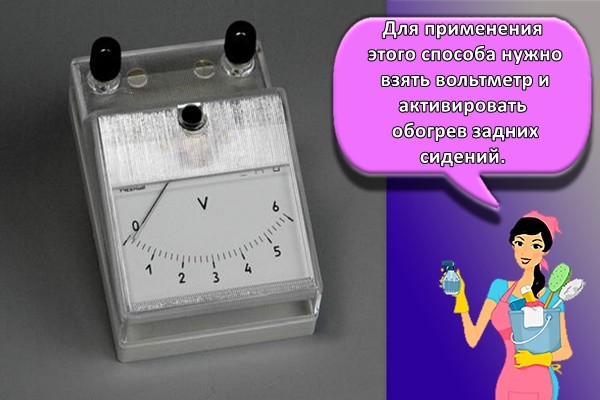
To use this method, you need to take a voltmeter and activate the rear seat heating. In this case, it is recommended to put one probe on the weight of the machine, and wrap the other in foil. After that, it is worth slowly moving along each line until the middle is reached. The standard voltage should be 5 volts. At a lower value, we can say that the cliff area has been found. An increase in the value to 12 volts also means an open circuit.
There is also another method of using a voltmeter. To do this, it is recommended to connect the plus to the terminal to a specific heating contact. The second probe should be smoothly moved along the line. This must be done from the side of the negative terminal. A decrease in voltage indicates a break zone.
Ohmmeter
Experts advise using an ordinary device with arrows. When switching on the device, it is recommended to select the mega mode. The probes should be connected to the rear window heating terminal. As a connection element, ordinary cotton wool is used. It is moistened in distilled water. After that, it is recommended to follow the line and evaluate the reaction of the arrow. It is she who will show the cliff zone.
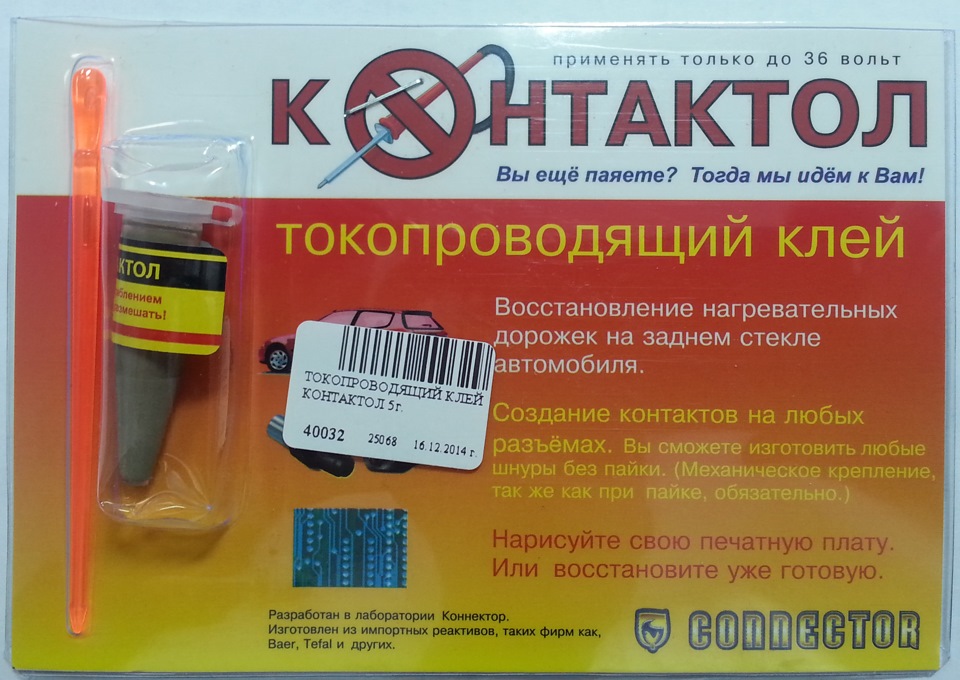
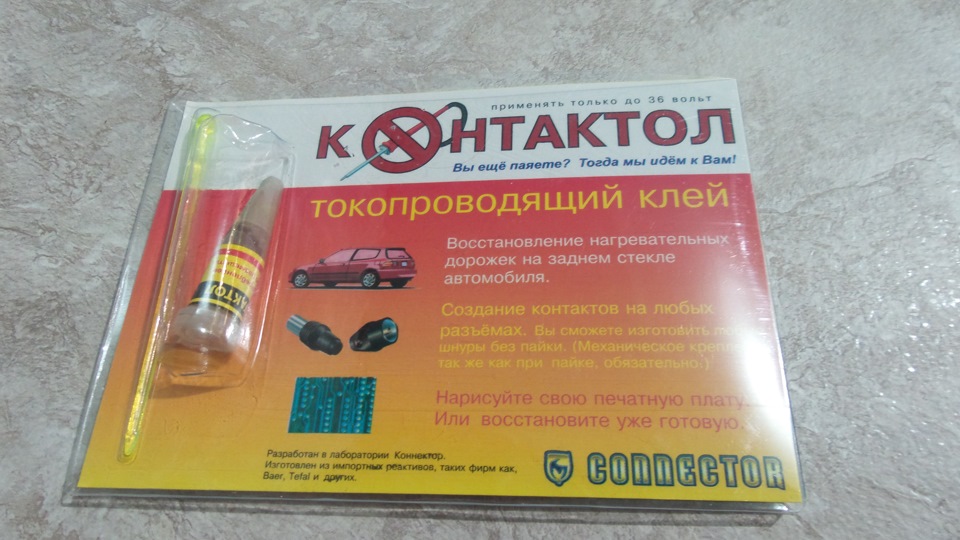
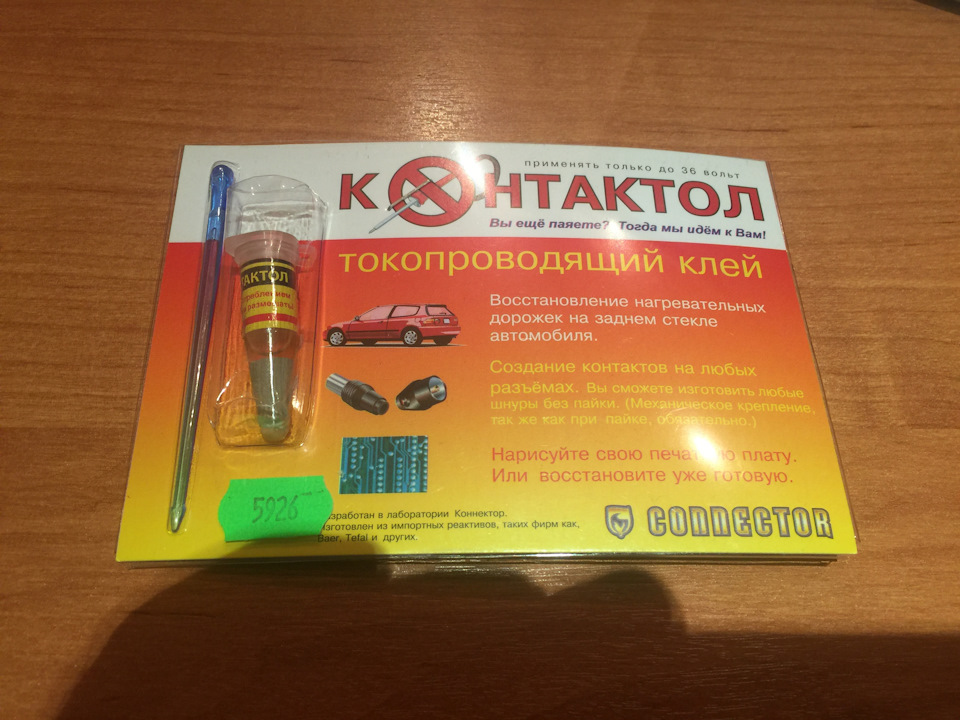
Types of conductive glue Kontaktol
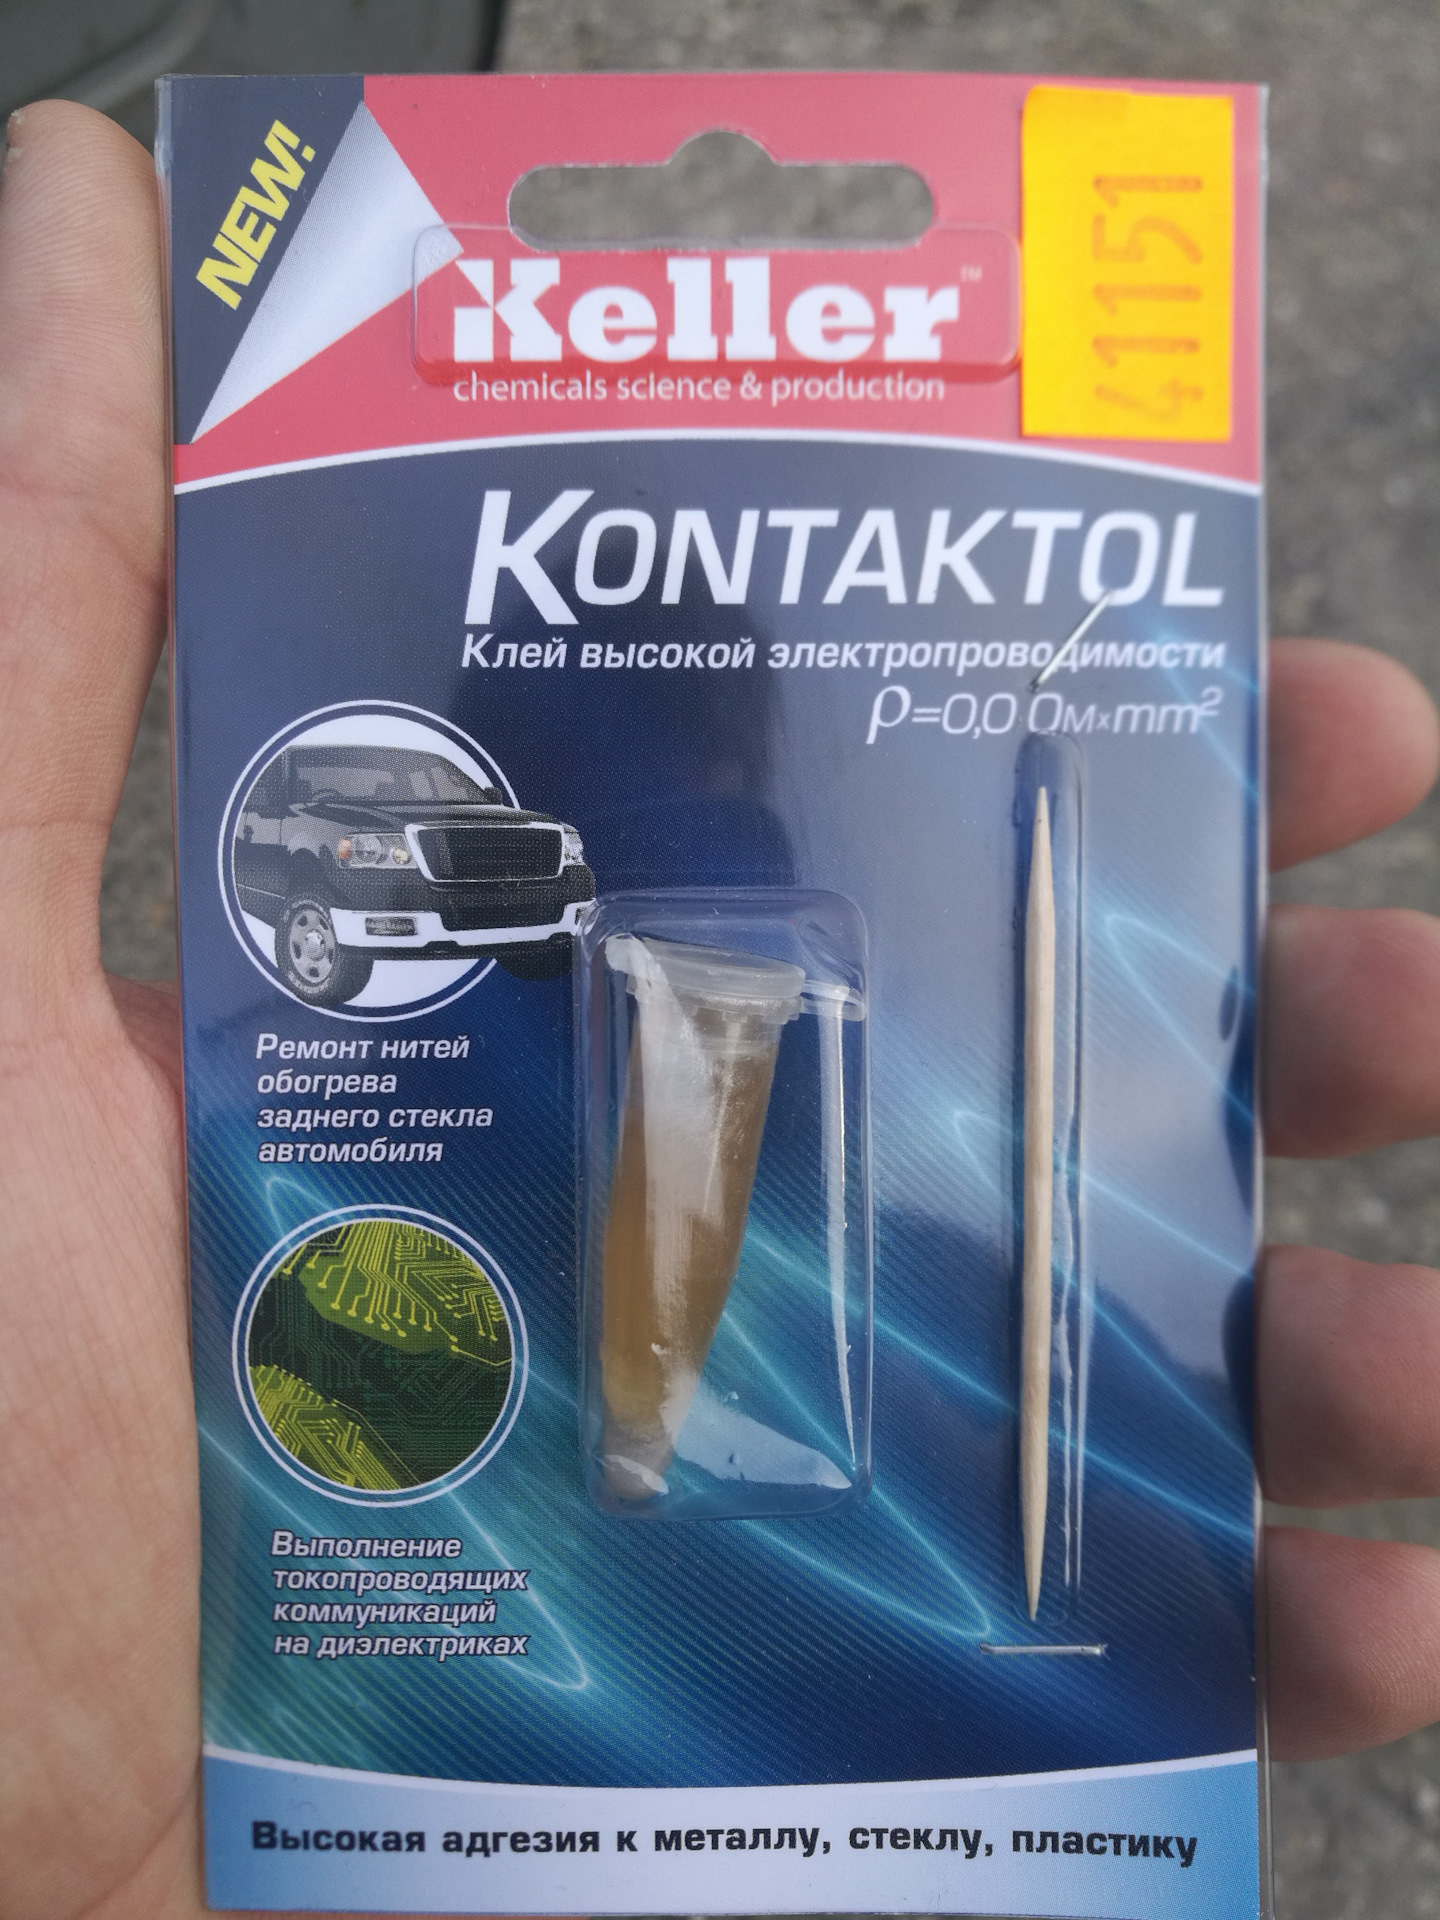
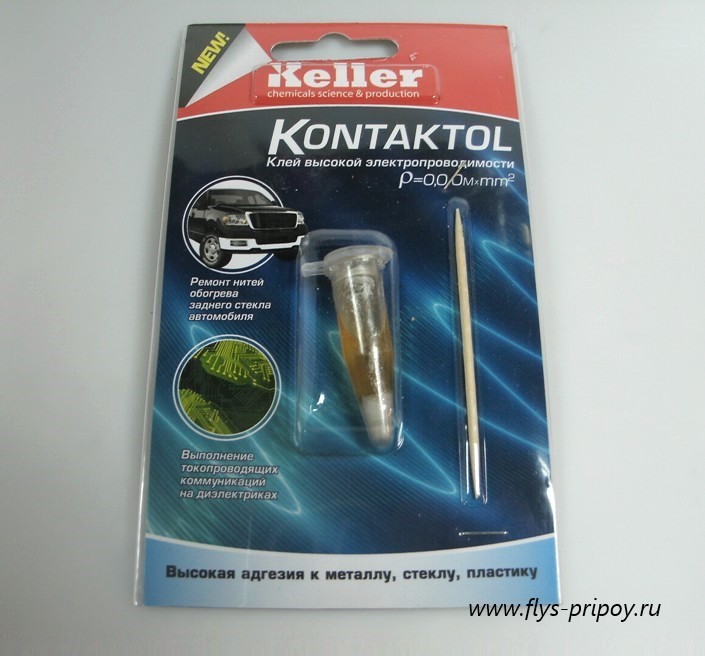
Kontaktol is an innovative product of the German chemical concern Keller, which specializes in the manufacture of current and heat-conducting adhesives according to a patented recipe.
The glue of this brand is intended for mounting electronic parts of microcircuits, restoring tracks on printed circuit boards, eliminating gaps on contacts.
Today Kontakol glue is available in three versions:
Glue Kontakol on silver is a one-component viscous-flowing conductive composition designed to create electrically conductive communications on dielectric bases (glass, PCB, etc.).
Modified resins of synthetic origin are used as a binder; finely dispersed powder of pure silver (999 assay) serves as a conductive filler. The adhesive is heat-resistant, has a high covering ability, excellent moisture resistance.
The specific volumetric resistance of the solidified composition is 0.01 Ohm per cubic centimeter. Kontaktol glue is available in 2 gram cones and costs about 300 rubles.
Contactol Radio is a completely ready-to-use one-component conductive adhesive designed to create conductive communications on glass, plastic and other dielectric substrates.
Modified resins are used as a binder base; finely dispersed graphite powder is responsible for the conductive properties. Kontaktol Radio glue is produced in miniature plastic flasks (2 grams) and costs about 150 rubles.
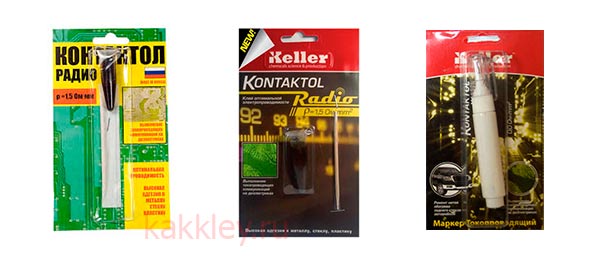
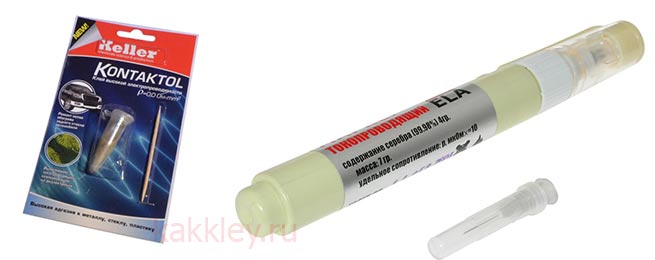
Conductive marker Kontaktol is an adhesive based on polyvinyl chloride resin and silver powder. Designed for applying conductive tracks, jumpers, etc. to boards. The unusual form of release of conductive glue greatly facilitates the process of applying the composition to dielectric bases.
It is enough to wrinkle the tube a little and shake it several times so that the filler is evenly distributed over the resin. A conductive pattern can then be applied to the panel immediately.
It sets quickly enough, and after 5-10 hours (depending on the thickness of the glue), complete polymerization occurs. To speed up the setting, you can dry the area of application with a hairdryer. The conductive marker is available in a 7 g blister pack and costs about 600-700 rubles.
VIDEO REVIEW
Malfunction symptoms
Rear window heating filaments break after the end of the vehicle's extended service life. Mechanical damage also leads to their breakdown. As a result, the driver is faced with a lack of heating of the glass fragment. This provokes the appearance of condensation with significant temperature fluctuations inside the cabin and on the street. This usually occurs during the winter season.
It should be borne in mind that fogged glass significantly reduces road visibility. As a consequence, the risk of road accidents increases. It is quite possible to cope with the problem with your own hands. To do this, you should use a special glue or paste.
In order to identify a malfunction in a timely manner, it is worth paying attention to some signs
The appearance of a defect in the structure of the threads is evidenced by the delayed sweating of the glass.

Horizontal stripes on glass
If the heating system is damaged, the glass becomes covered with horizontal misting stripes. There is also a risk of icing.
Heating system and functions
The heater is powered by electricity. It is known that the windshield is affected by warm air currents, for the rear one needs special heating elements. It's no secret that the inner side of the rear window is equipped with metal tracks that have high resistance to electric current. When current flows through the ribbons, heat is released and, accordingly, heating. The result is obvious: transparent, dry, heated glass.
Damage to the heating system
As a rule, the driver notices damage in this part of the car only when the rear window is constantly sweating and does not get rid of the ice. After turning on the heater, ideally after a couple of minutes, it should be transparent and clean, but if this does not happen, then damage has occurred or the functioning is defective. Among the damage to the system, the following should be highlighted:
- Slow fogging of glass. If the visibility does not improve after a few minutes of heating operation, then the function is impaired. The reason may lie in the loose contact of the circuit connector.
- Lack of operability of the heater when it is turned on. In this case, after pressing, the indicator does not light up. This may be due to a faulty key or a blown fuse.
- The presence of horizontal stripes of fogging on the glass. As a rule, such a malfunction can occur due to the breakage of the heating filaments that are applied to the glass surface.

Slow fogging of glass
Whatever happens, the main thing is to make the correct repair of the rear window heating with your own hands or with the help of a specialist.
How to determine where a conductive tape breaks
To identify the cliff area, it is worth using a multimeter - digital or pointer.It is recommended to carry out diagnostics in the following sequence:
- Turn on heating.
- Set up the multimeter to measure voltage.
- Connect the negative probe of the device to the car mass.
- Move the positive probe. It is recommended to do this along a horizontal conductor. This will help to identify the area of open circuit contacts of the electrical circuit.
It is not difficult to identify the area of damage to the metal tape. When measuring a horizontal conductor in the presence of resistance on the track, the voltage will drop dramatically. This value can even reach 0. If this is not observed, it is possible to judge a break in this conductor. The exact section can be determined by a sharp jump in voltage from 12 or less parameter to 0 Volts.
It is also permissible to use a digital multimeter. It is recommended to set it to the resistance measurement mode. To identify the area of the gap, the negative probe of the device should be connected to a fragment of the negative bus
In this case, the positive must be carefully driven along the conductive part of the horizontal tape. This is done before a sudden jump in the device parameters.
Varieties of conductive glue, characteristics of the adhesive
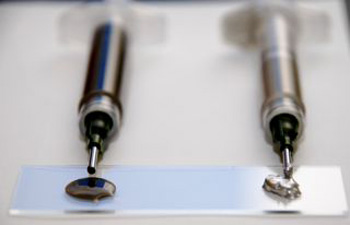 The basis of the glue is a polymer (synthetic resin), on which the viscosity depends. The higher it is, the better the glue adheres to the treated surface. The current conductor is a metal, finely ground to a powdery state (gold, silver, nickel, palladium). To improve the conductive properties and increase the adhesiveness, the filler is treated with synthetic fatty acids, which improves its activity by 10 times. Depending on the components that have the ability to conduct current, the glue is divided into the following types:
- Silver based. The base of the glue is a synthetic resin (polyester, phenol-formaldehyde, polyurethane, epoxy, organosilicon), which provides low viscosity and elasticity. Finely dispersed powder of 999 silver is added to it, the specific gravity of which is several times higher than the amount of polymer resin. This low-toxic agent does not change its properties even at 110C, perfectly isolating and retaining heat or cold. Has a resistivity of 0.5-0.8 Ohm / cm. It is used in radio devices to create electrical conductivity on dielectric panels. It is the most expensive but effective adhesive.
- Based on gold. Such an expensive conductor is needed if an acid acts on the device or electrical circuit during operation. Glue with finely dispersed gold has the highest electrical conductivity, but its cost is much higher than analogues based on silver or nickel.
- Graphite based. It is an inexpensive adhesive with low conductivity. It has lower quality characteristics than a product based on silver or gold, but more affordable in price. It is often used to connect the threads of heating the rear window of a car, where a large amount of glue is required. The base is a copolymer consisting of vinyl acetate, which contains graphite, which has the property of passing current. Has a resistivity of 5 × 10⁻³ Ohm / m.
Polymer binders increase the adhesiveness of the adhesive, i. E. its ability to adhere firmly to various surfaces. High elasticity prevents it from spreading over the surface. If it is necessary to increase the viscosity of the glue, let it settle. Particles of metal filler will settle, and the excess adhesive base is removed from above. Adhesiveness suffers from this procedure. Also, polymers make it possible to withstand temperature extremes, vibration, shocks, so the glue is used in the repair of car electrics.
Regardless of the active filler, all conductive adhesives have low thermal conductivity. This means the temperature difference at the interface between the glued surfaces.If it is undesirable, certain components are added to the glue. Copper has the highest thermal conductivity, it is 0.940 × 10⁻⁵ W / cm, but the most common filler is beryllium oxide (0.142 × 10⁻⁵ W / cm). The lowest thermal conductivity is in asbestos (0.0008 × 10⁻⁵ W / cm) and titanium dioxide (0.014 × 10⁻⁵ W / cm).
Recommended remedies overview
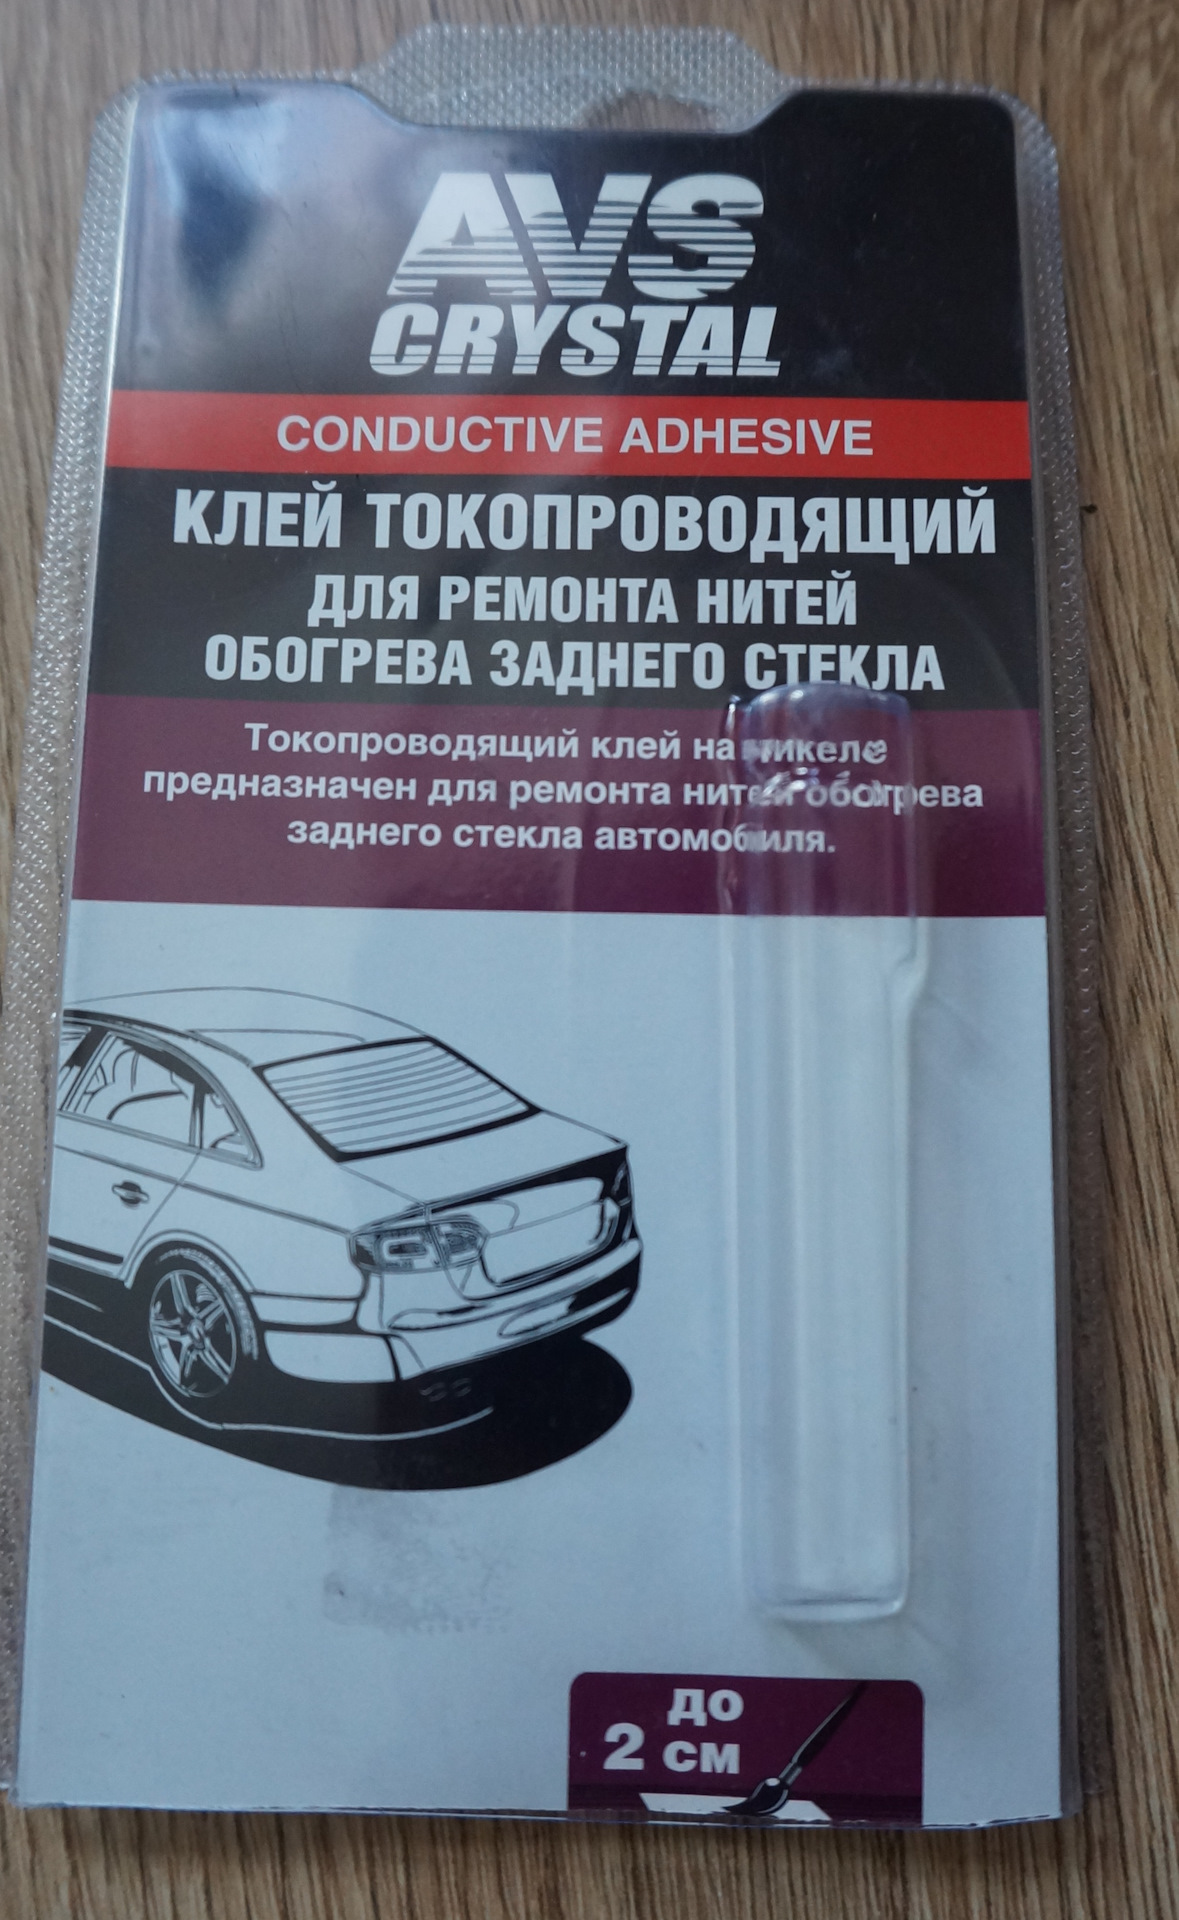
It is possible to fix a heating failure with your own hands in several ways: use the already completed repair kits or prepare all the necessary components yourself.
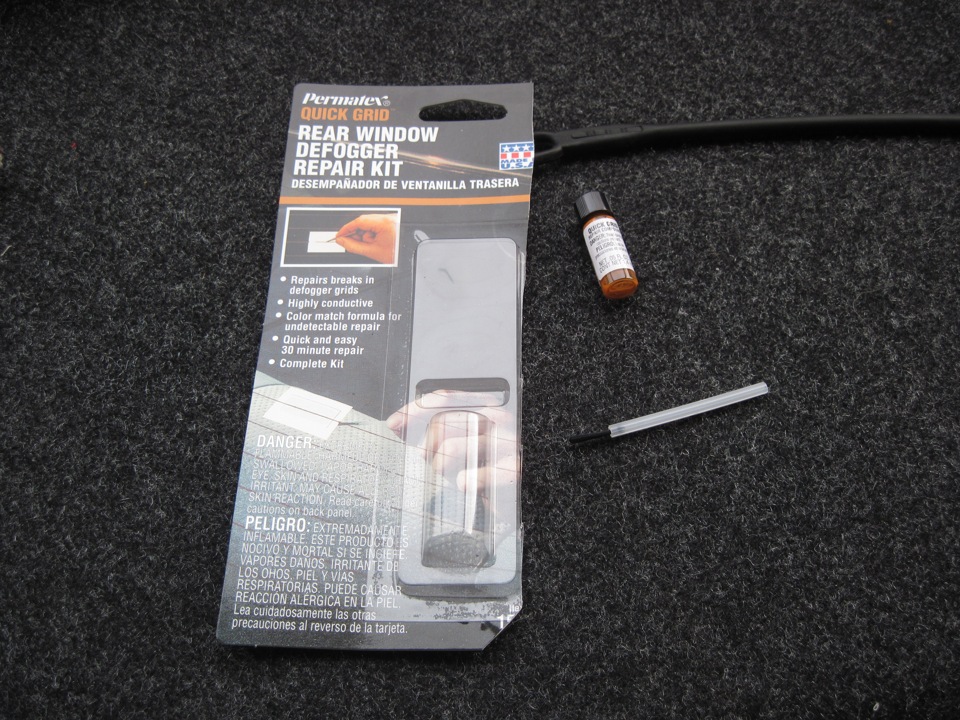
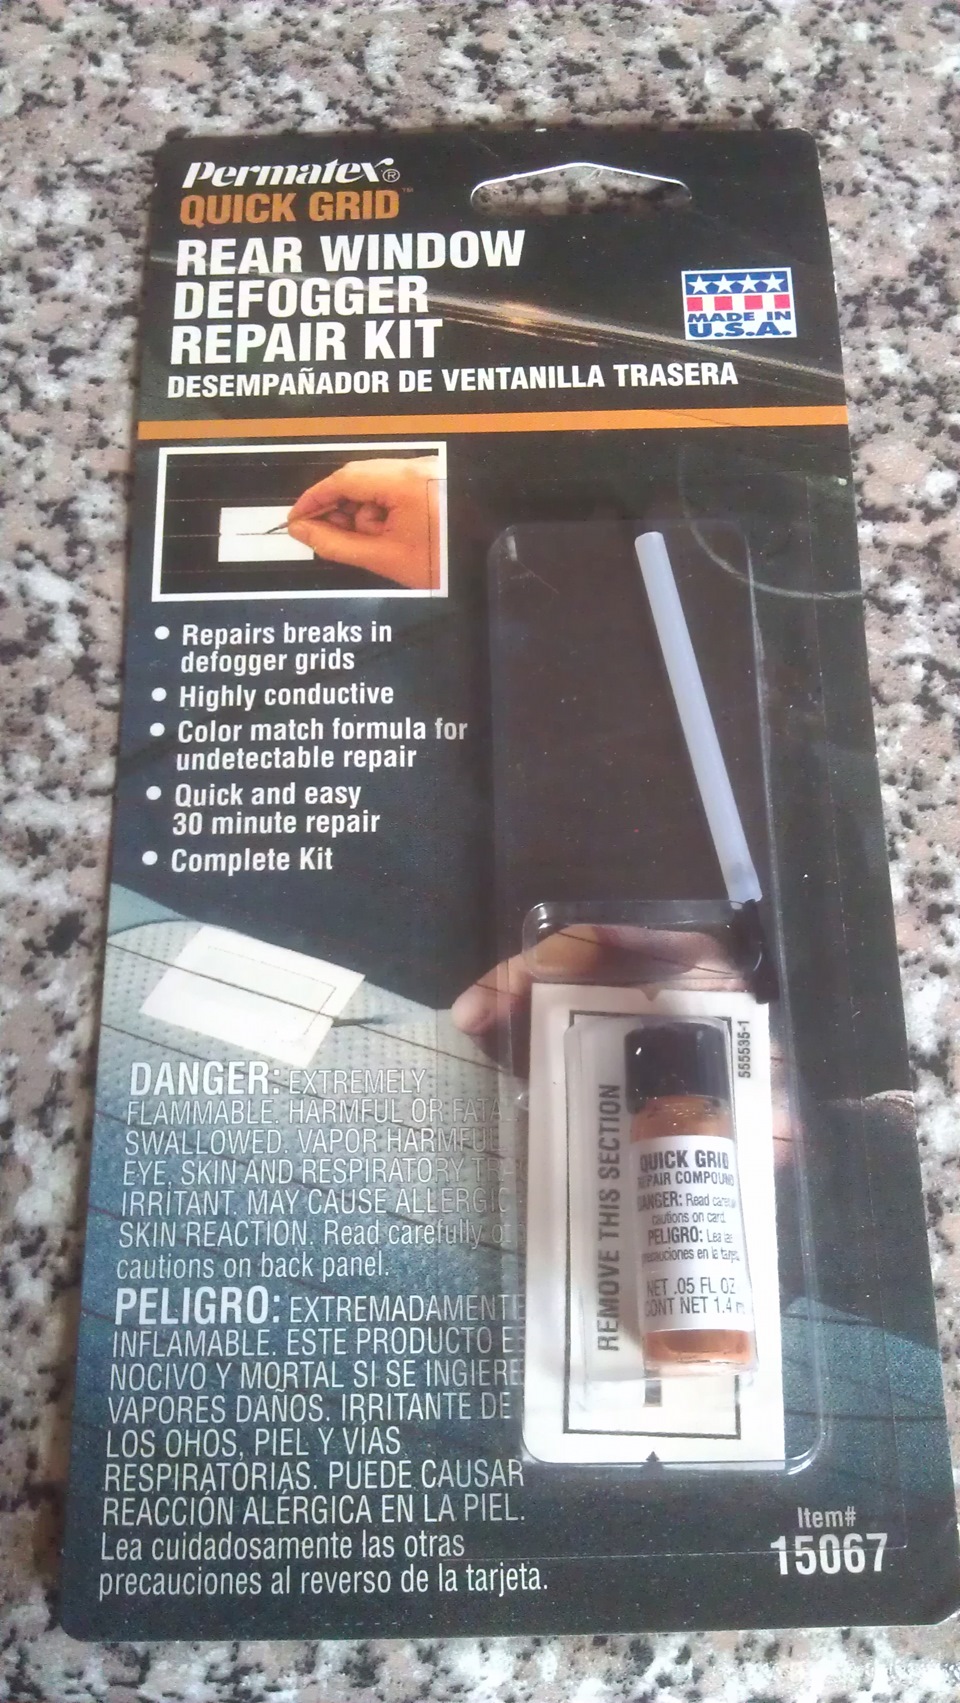
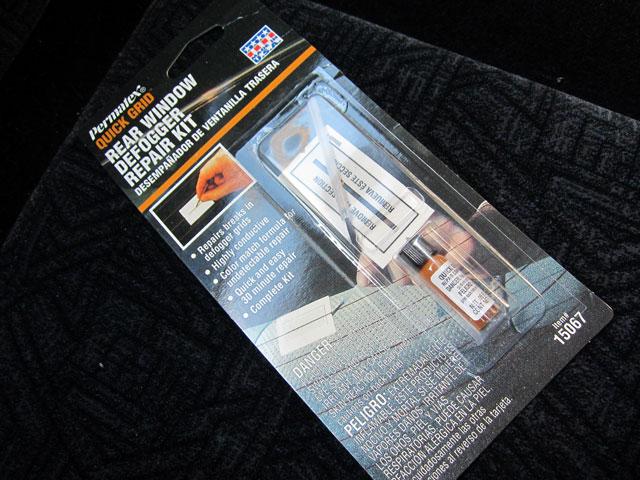
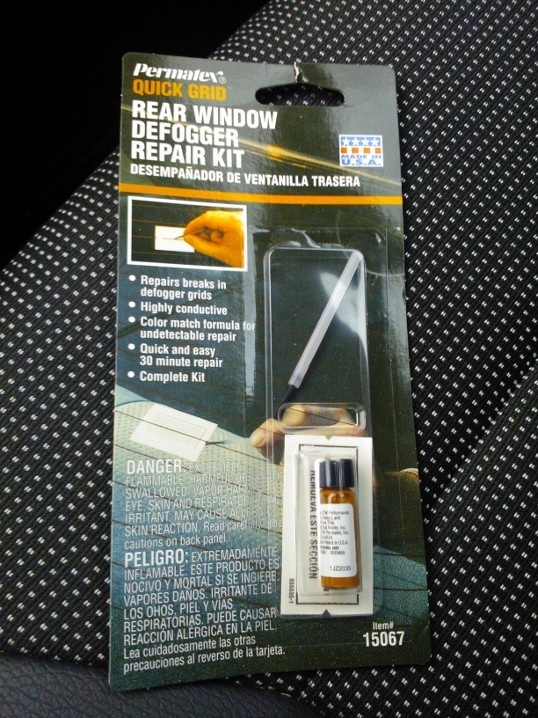
Specialized set for restoring glass heating threads in a car PERMATEX QUICK GRID.
It includes:
- Stencil with self-adhesive film threads.
- Container with polymer composition and copper powder.
- Application brush.
To make repairs using the PERMATEX kit:
- Use a voltmeter to establish the damage area.
- Degrease the fracture site and the area around it with an alcohol-based liquid.
- Attach the template so that the notch connects the two ends of the defective electrically conductive heating track.
- Using a brush, spread the resin component evenly over the entire length of the hole in the template.
- After 2-3 minutes, repeat the previous step (4-5 applications in total).
- When the composition is dry, carefully remove the template.
- Do not use heating for 24 hours.
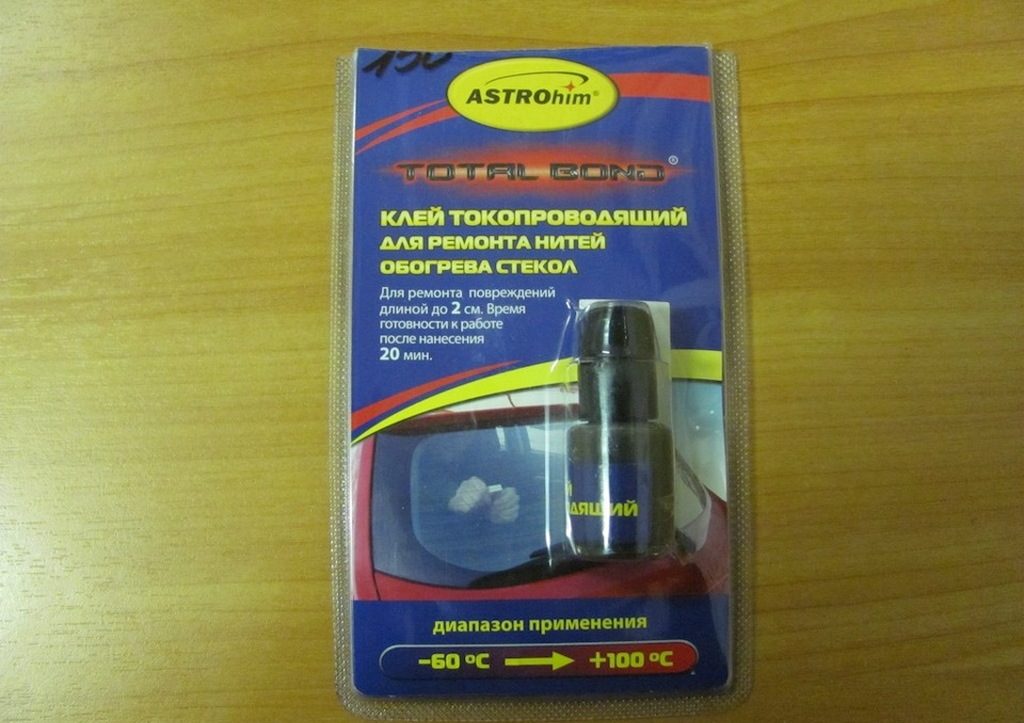
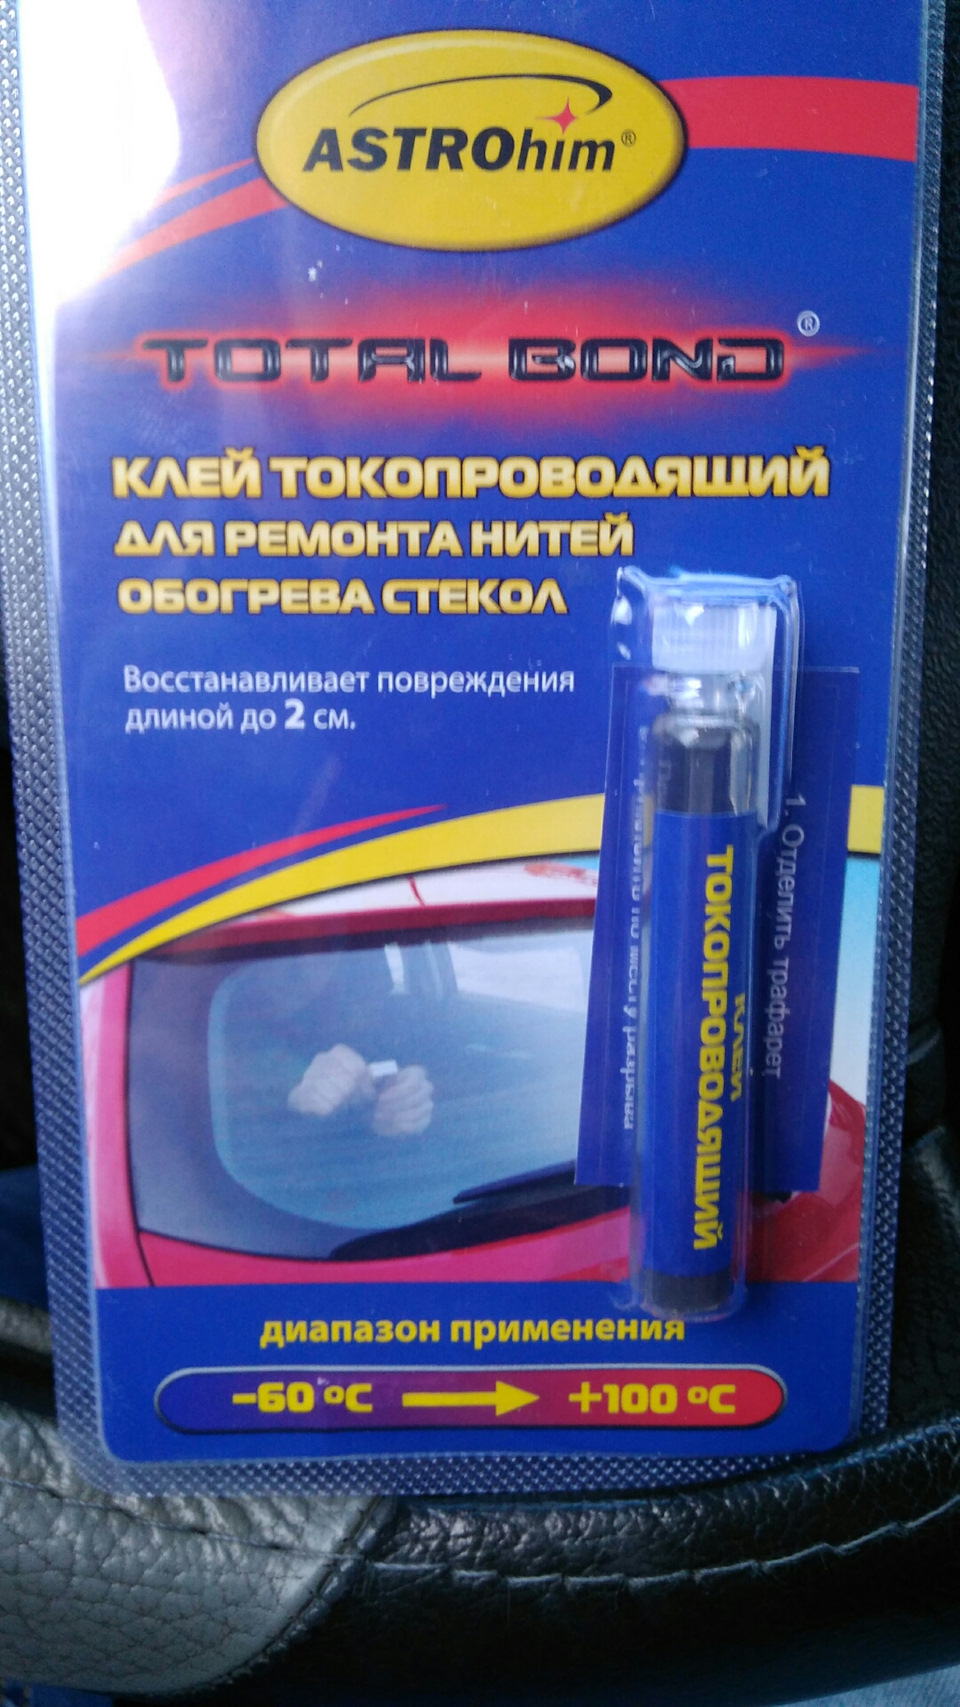
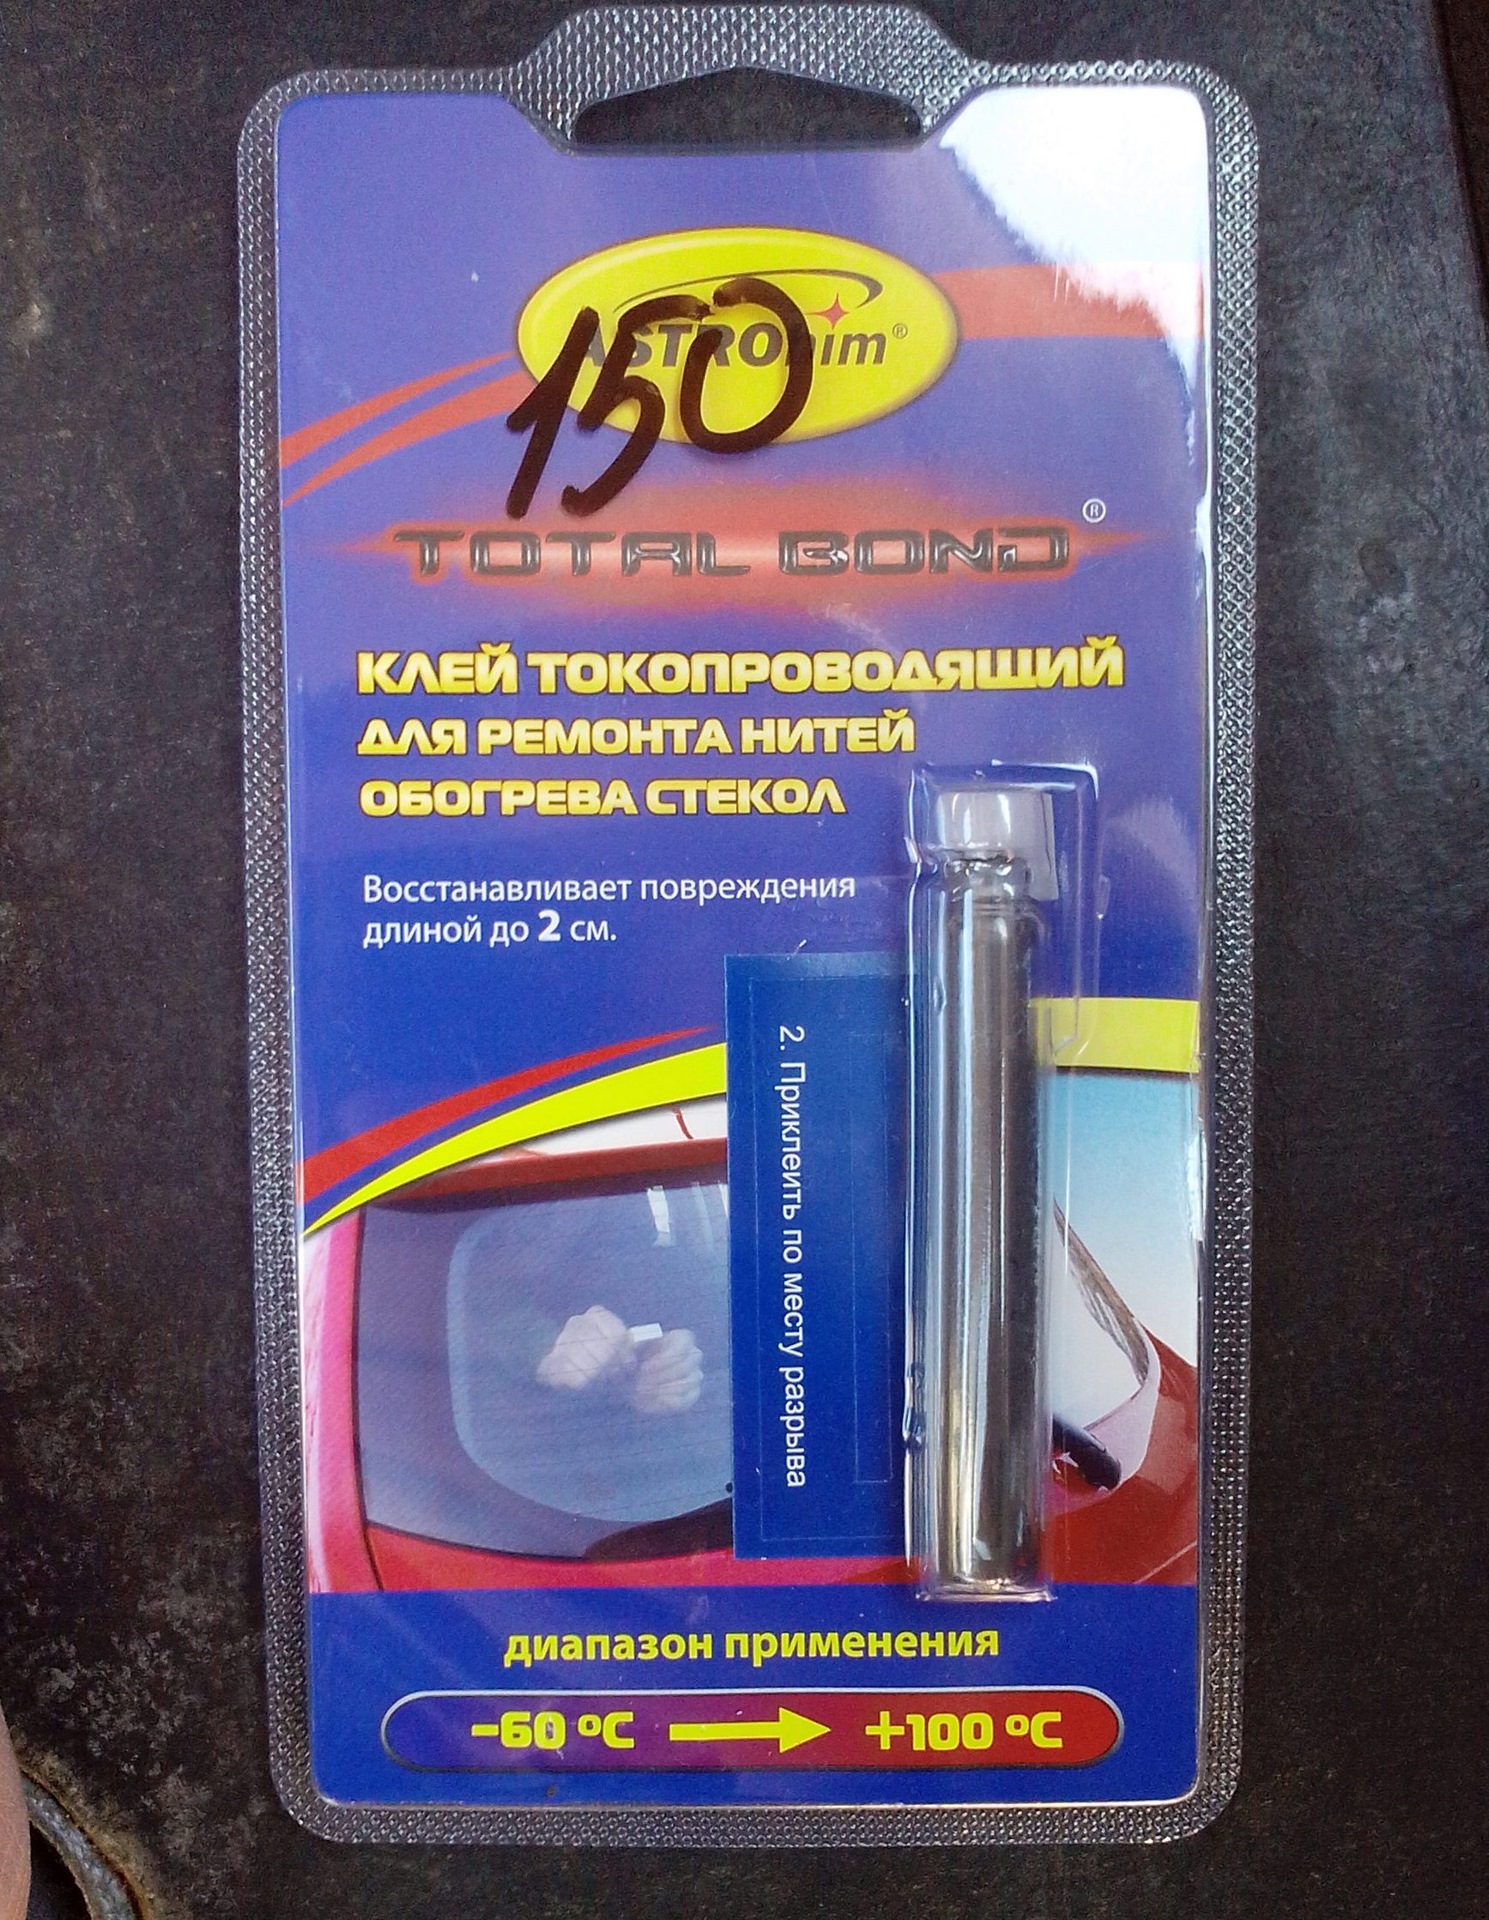
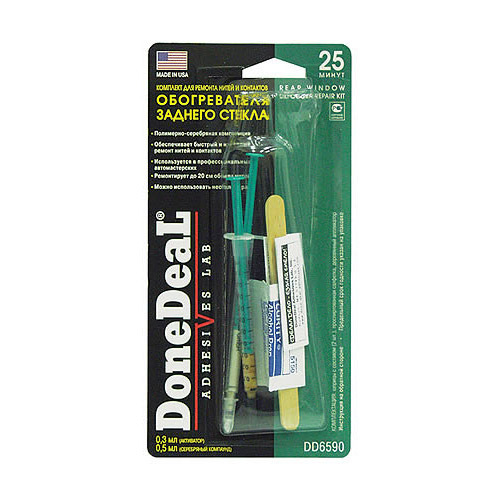
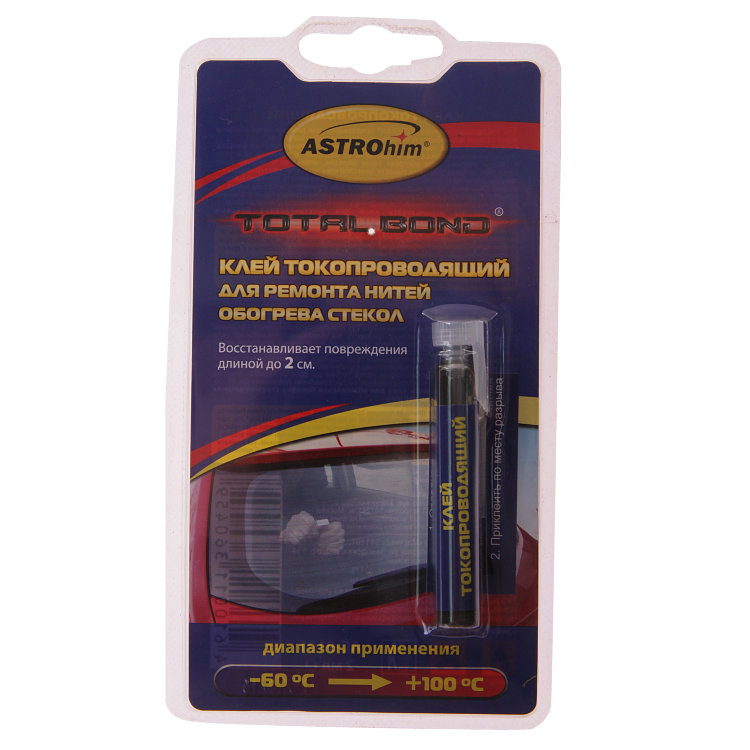
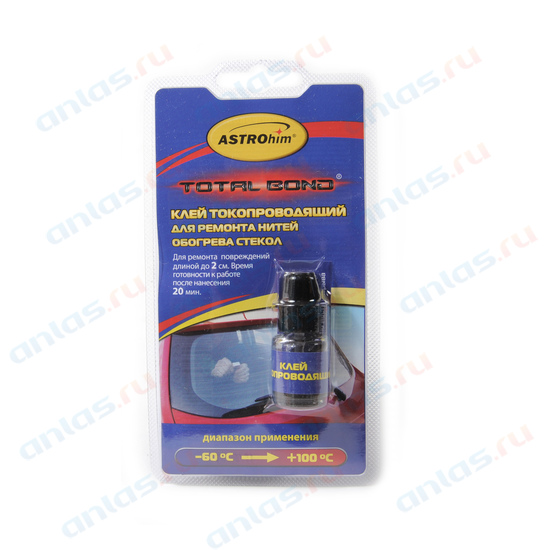
Using conductive glue: ASTROhim, Kontaktol, Elekont, DD6590.
- Mix the electrically conductive component with the crumbled copper.
- Using masking tape, make a path along the line of damage to the threads of the electrical circuit (width 1 mm).
- Apply the prepared solution along the entire length of the thread break.
- Wait 20-30 minutes and repeat the procedure.
- When the glue has cured, remove the adhesive tape using a razor blade.
- Do not turn on the heater for 24 hours.
If the damage touches the contacts, then the best way to fix it is to solder using a conductive paste.
- Clean and degrease areas of breakage with alcohol solution.
- Apply a special paste.
- Melt the solder and apply to the joint.
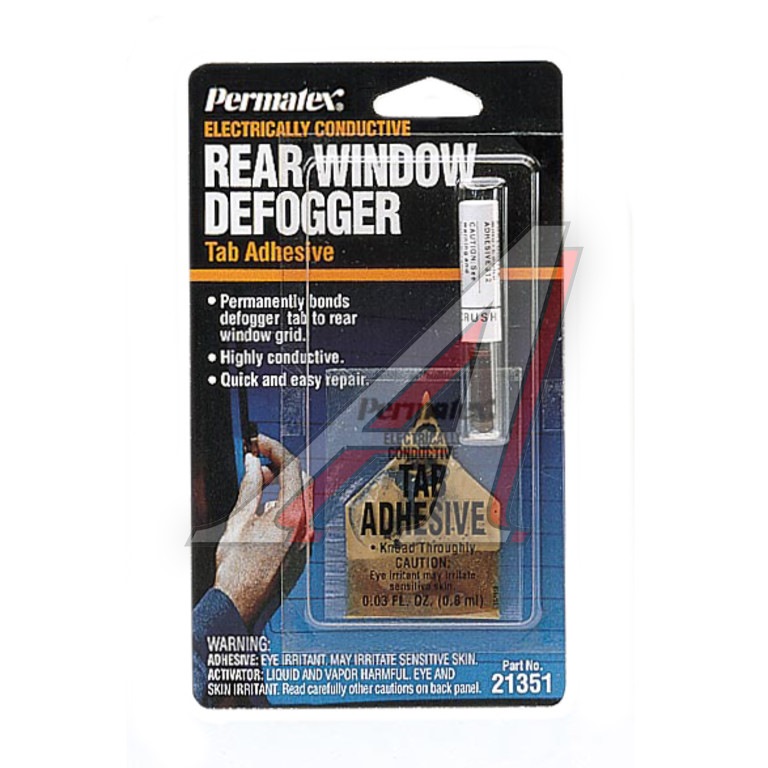
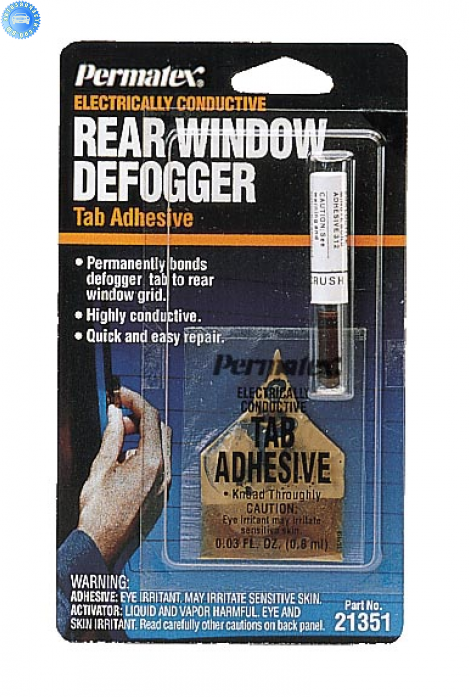
In addition to soldering, a special kit for repairing the contacts of the rear window heating line of a car PERMATEX REAR WINDOW DEFFOGER is also suitable. It includes a container with an electrically conductive substance and a material impregnated with a catalyst. The reagent triggers the curing reaction of the adhesive.
To carry out repairs you should:
- Clean the contacts with a nail file and degrease with an alcohol-based component.
- Treat the damaged area with material containing a catalyst.
- The reagent should dry within 10 minutes.
- Knead the capsule with glue to get a homogeneous consistency.
- Squeeze out 3-4 drops of adhesion into the place of the defect.
- Press the contact against the glass and wait for the adhesive component to dry.
- After 24 hours, you can turn on the heating of the glass.
Rear window defogger malfunctions
The functionality of the rear window defroster is ignored until the glass fogs up or becomes covered with frost. After turning on the heater, it is suddenly discovered that after a few minutes the glass did not become transparent or that visibility appeared only through a part of the glass. Depending on the external manifestation, even without measuring instruments, one can immediately make an assumption about the cause of the failure.
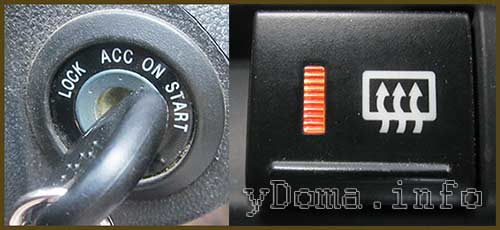
Please note that the rear window and rear-view mirrors heater can only be turned on when the ignition key is set to ON. In some car models, the heater can only be turned on when the engine is running. This is done to prevent a strong discharge of the battery, since the rear window heater, depending on the car model, consumes a current of 10 A to 25 A. For comparison, one car headlight consumes only 5 A.
Heater does not turn on
If the indicator on the button for turning on the rear window heating does not light up after pressing it, then the fuse is most likely blown or the key itself is faulty. If the indicator is on, but not a single thread heats up, then the cause of the malfunction may be a relay or connectors for connecting the heater to the wiring. In this case, according to the documentation for a specific car model, it is necessary to determine the location of these parts and replace the failed one. It is not always possible to quickly find the place of installation of the relay, but there is a way to check its serviceability in an indirect way, which will be discussed below.
The glass is slowly sweating
Sometimes there is a case when, after turning on the heater, the glass sweats for a time significantly exceeding a few minutes. In this case, if it is not very cold outside, the reason may lie in the poor contact of one of the connectors of the electrical circuit. As a result, the contact resistance increases, the current is limited, and as a result, the power released on the glass heater filaments decreases. To check such a malfunction, it is necessary to measure the voltage at the input terminals of the heater and battery with a DC voltmeter (multimeter or dial tester, included in the DC voltage measurement mode). Voltages should not differ by more than one volt.
Horizontal misting stripes remain on the glass
And finally, the most common case of a malfunction of the rear window heating system of a car, breakage of one or more threads of the heater applied directly to the glass. This type of malfunction is immediately visible on the horizontal strip of the remaining fogging on the glass after turning on the heater.
The conductive tracks on the rear window have low mechanical strength and are easily destroyed when exposed to them. Therefore, it is forbidden to remove frost and ice from the glass with a scraper. Only wipe with a soft cloth. It is also necessary to ensure that when transporting bulky items, they do not run into the rear window. As a rule, individual heater filaments stop working as a result of their accidental mechanical destruction. After turning on the heating, stripes of fog or frost remain in the area of the damaged thread.

When renovating an apartment, I was transporting floor skirting boards in my car and did not notice how one of them rested against the rear window. After a while, when it was necessary to warm up the rear window, I saw the result of my carelessness. Two strips of the heater passing through the middle of the glass did not heat up, which significantly impaired the view of the road. Upon visual inspection, one gap of about 1 mm wide was found on the non-working strips, as in the photograph. The question arose about the need to repair the rear window heater.
Causes of malfunctions of heating filaments and what it is fraught with
Rear window defogger malfunctions occur for a variety of reasons.
Malfunction in the vehicle electrical equipment system
The first thing to check is the fuses. If they are in good working order, then you need to check the button that turns on the heating, the relay in the power system, ring the wiring contacts. This can be done with a multimeter.
Often the contacts burn out due to voltage surges. The problem can be solved by replacing the button, relay, part of the damaged wiring.
 If the threads break, the glass heats up unevenly and fogs up, impairing visibility
Breakage at the junction of the terminals and glass heating
Making repairs in such a situation is difficult. You will have to solder using special solder and flux. You can also use special conductive adhesives.
Broken wires in a braid
Very often the wires break in the braid, which goes in the corrugation from the car to the tailgate.It is necessary to open all the wires to see the broken sections and replace them.
Broken filaments
Most often, this problem occurs when removing tinting, as well as during normal wear and tear.
A multimeter should be used to locate the specific break point. You can also turn on the button and tactilely search for the place of the break.
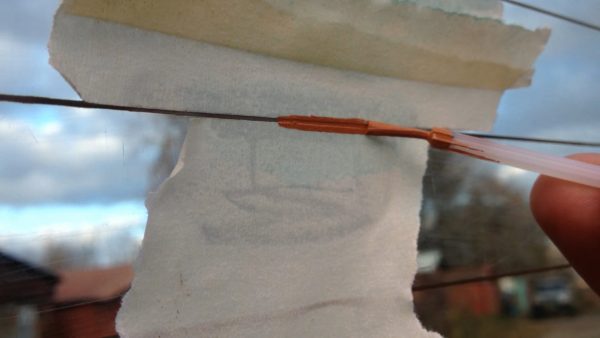 The process of applying conductive glue It is not difficult, at the point of location of the malfunction, the glass will not heat up, the area will be cold.
When using a multimeter, there should be a resistance of 2-5 ohms. The value will change at the point of the cliff, which must be marked so as not to lose sight of it.
Where problems can arise
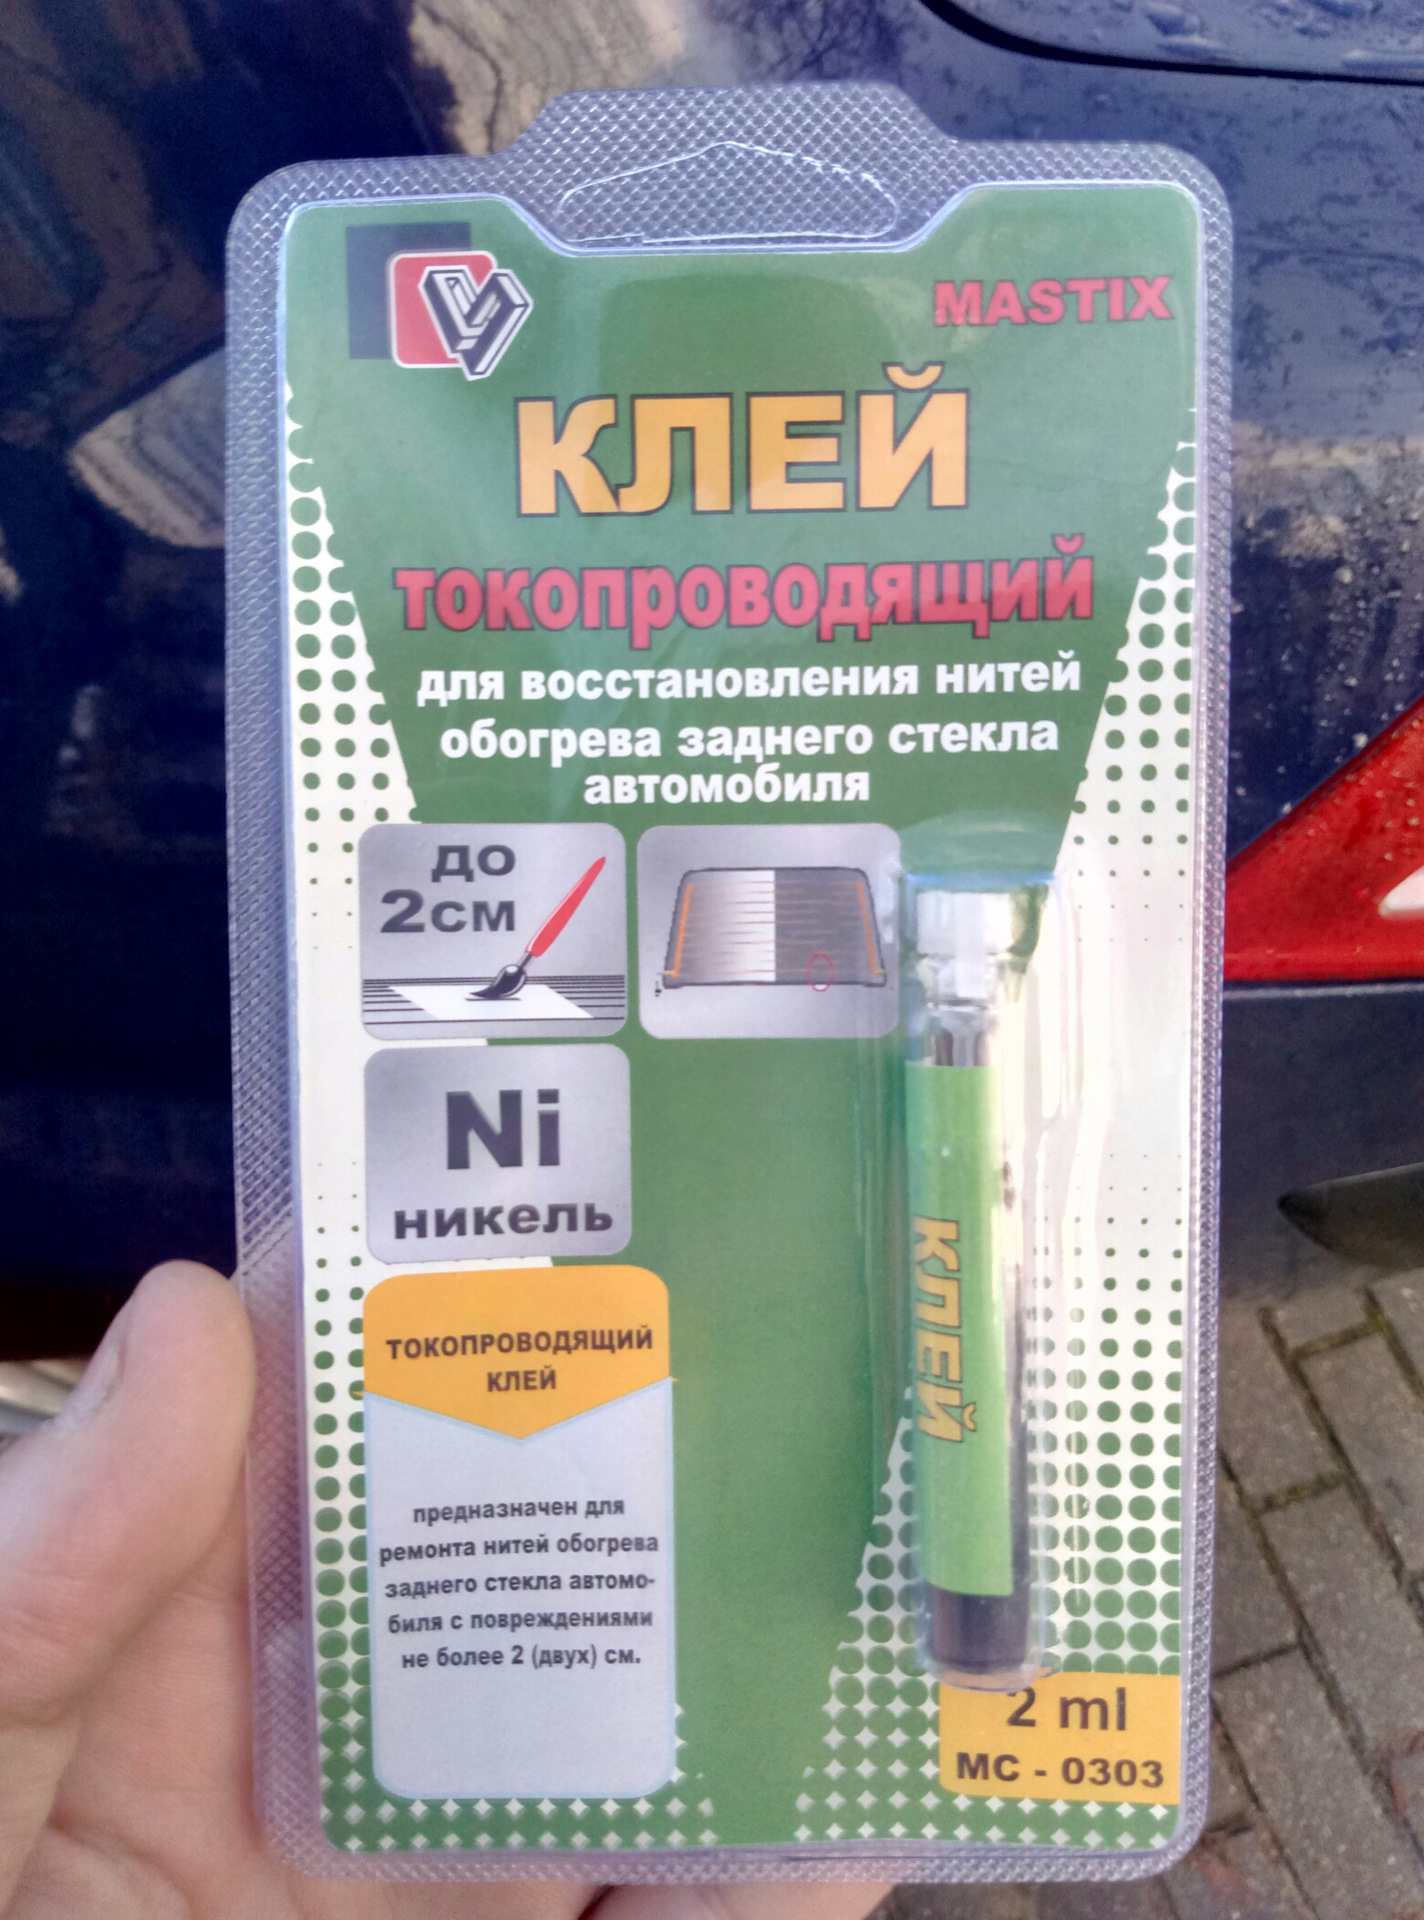
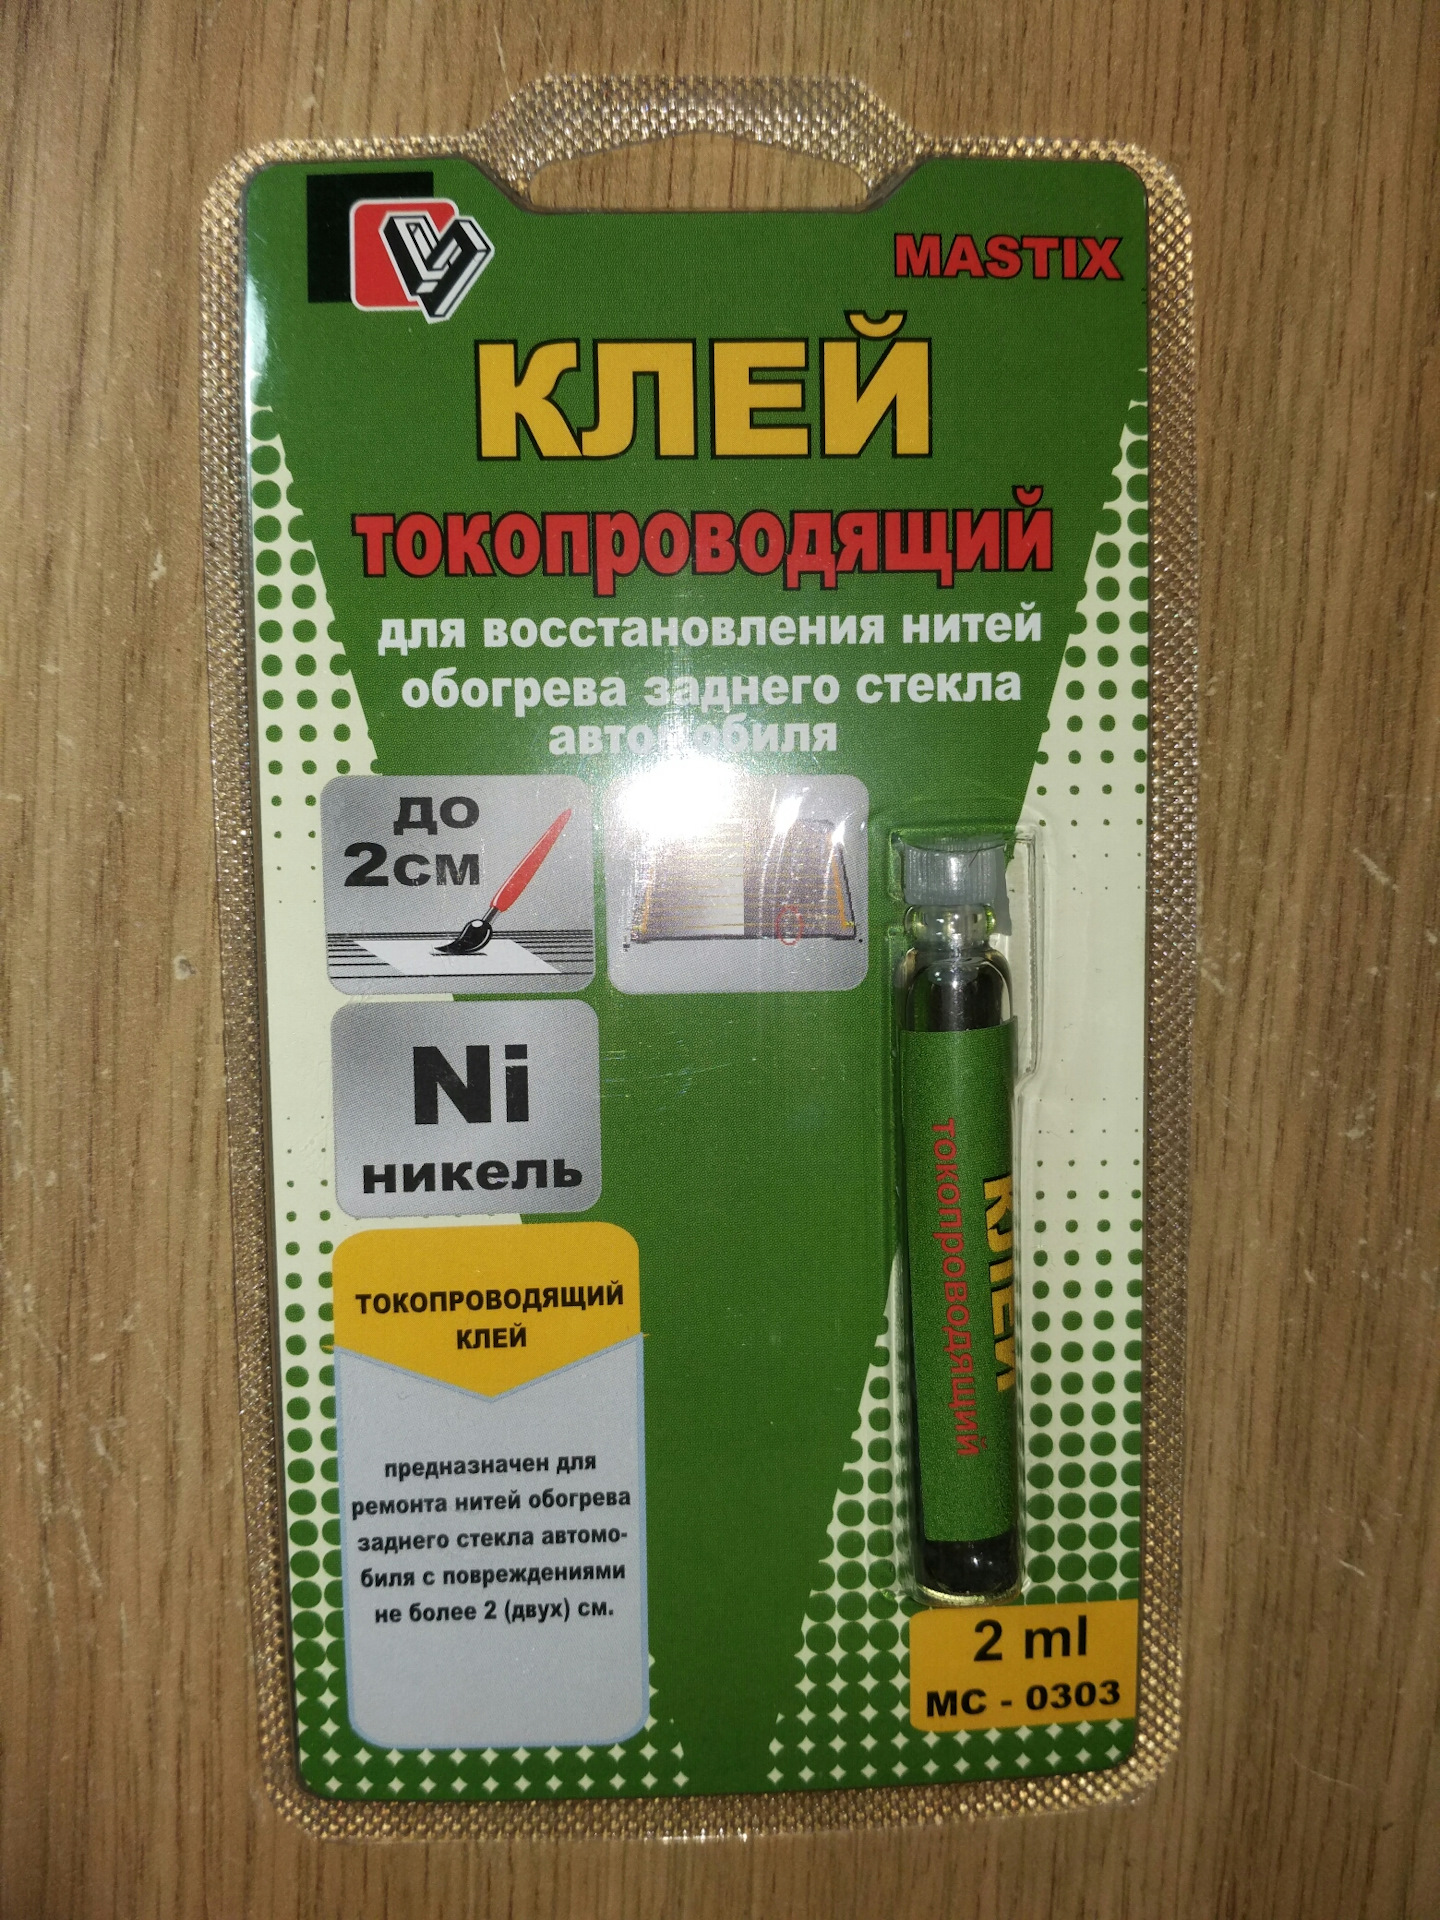
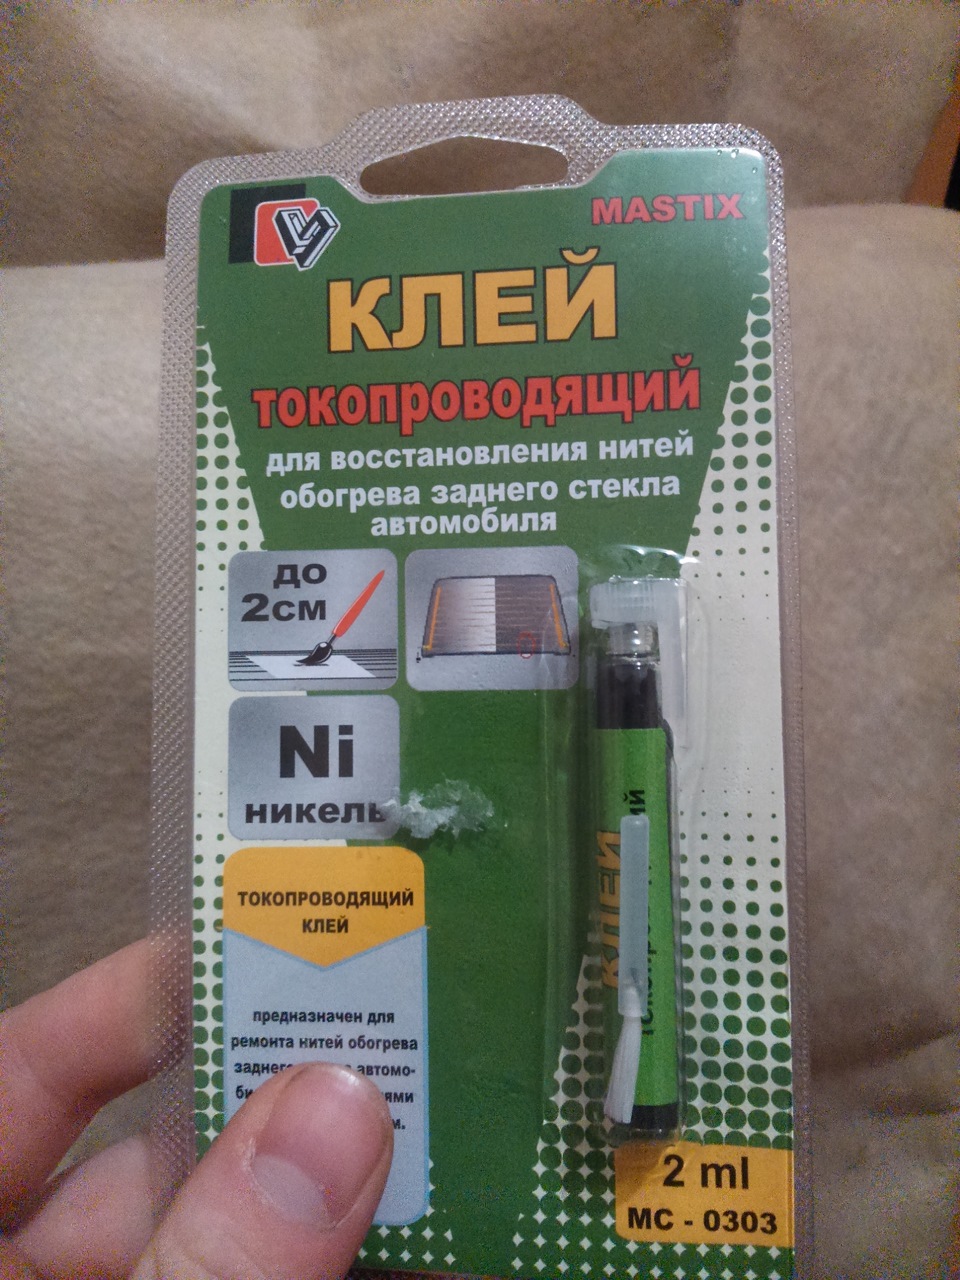
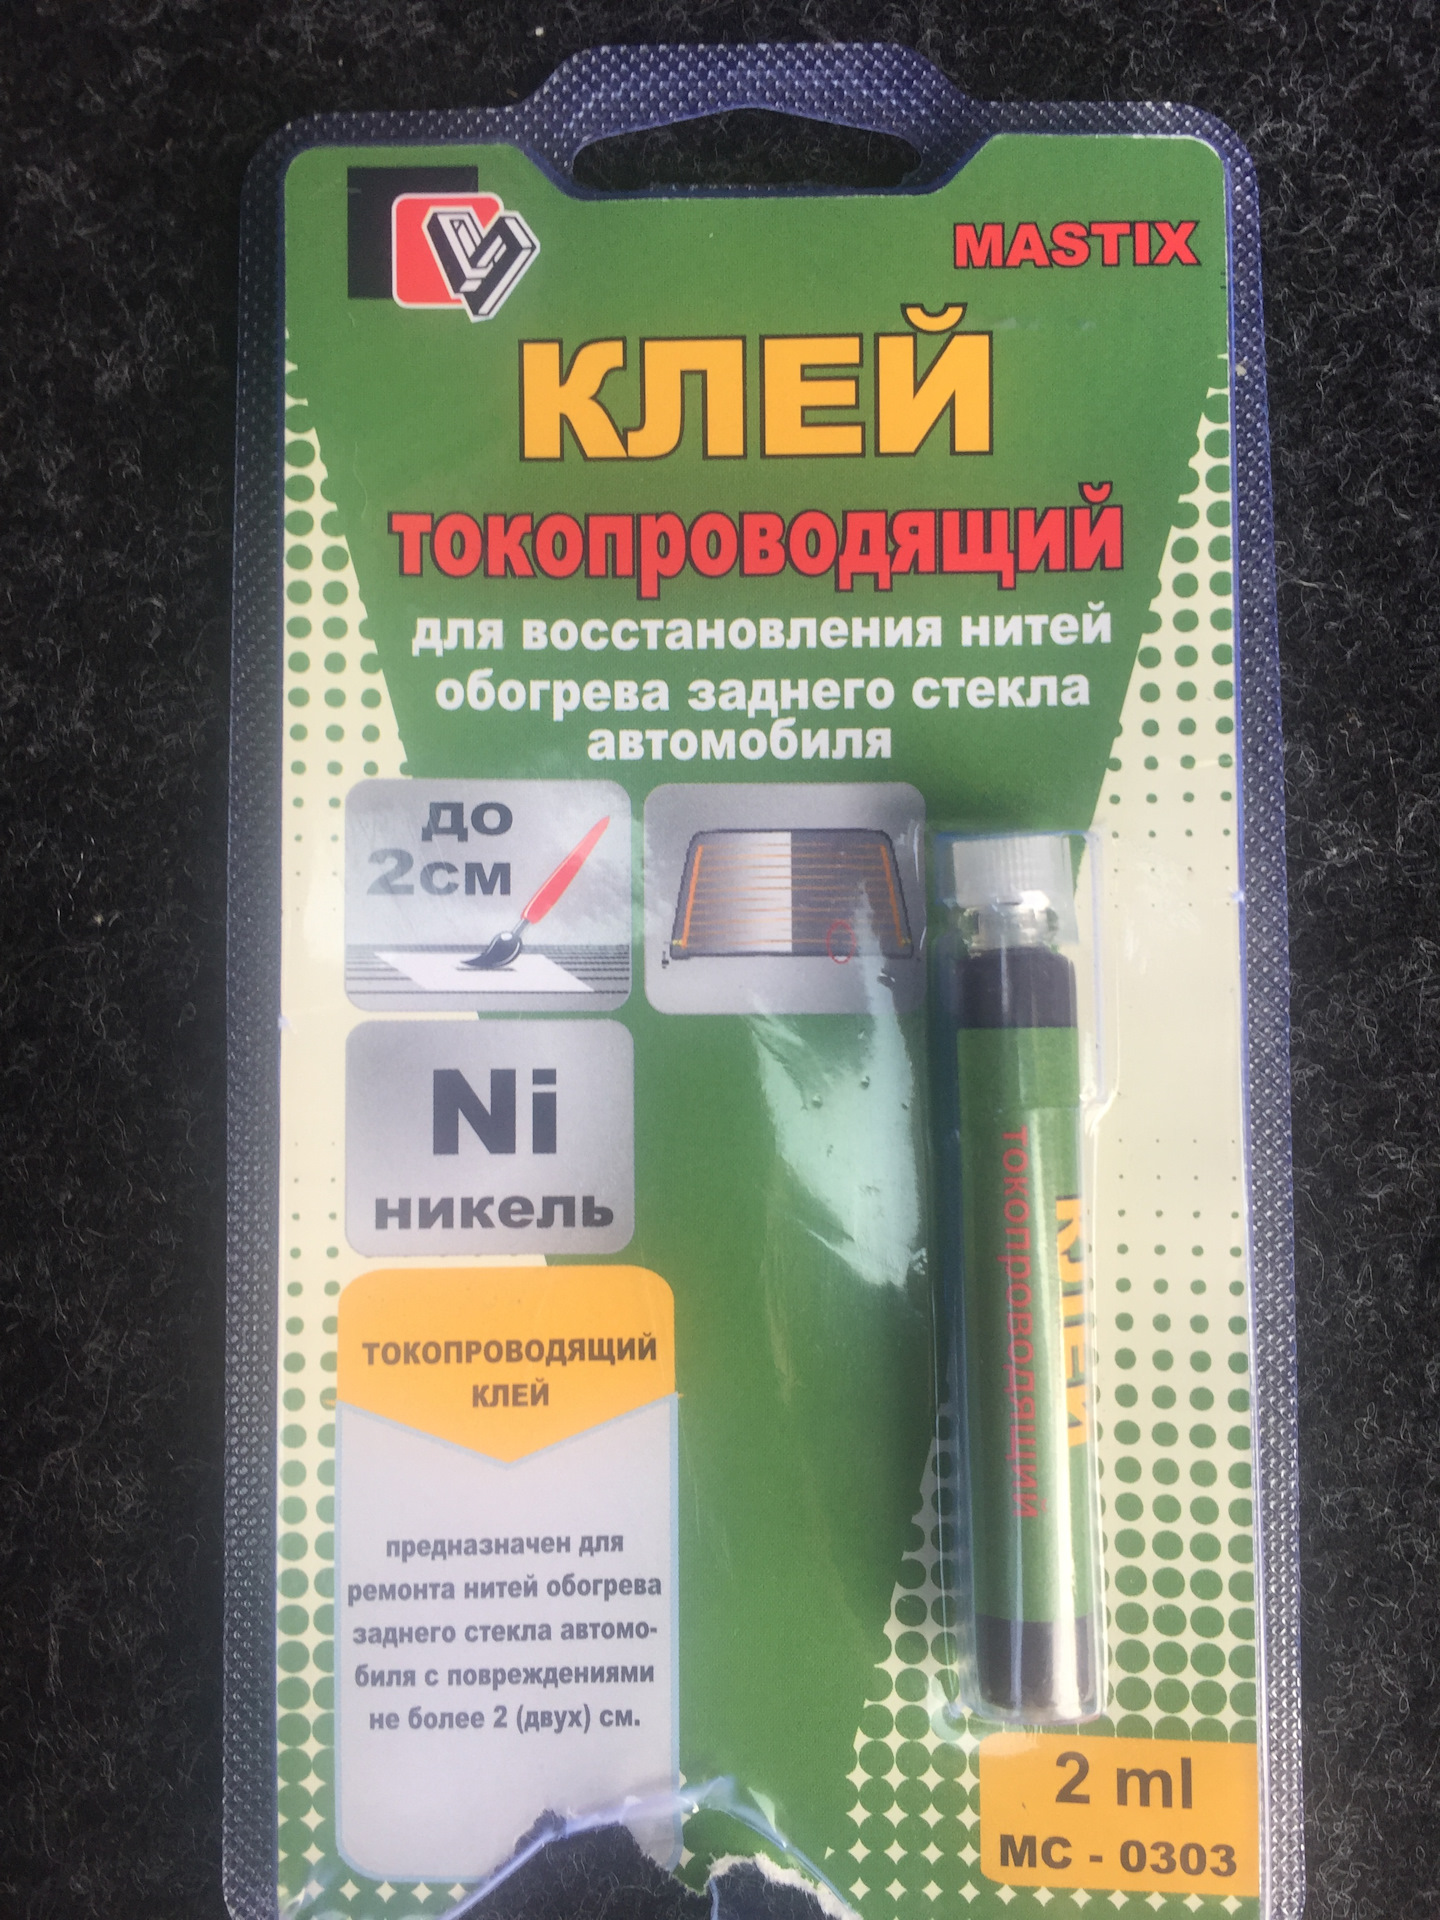
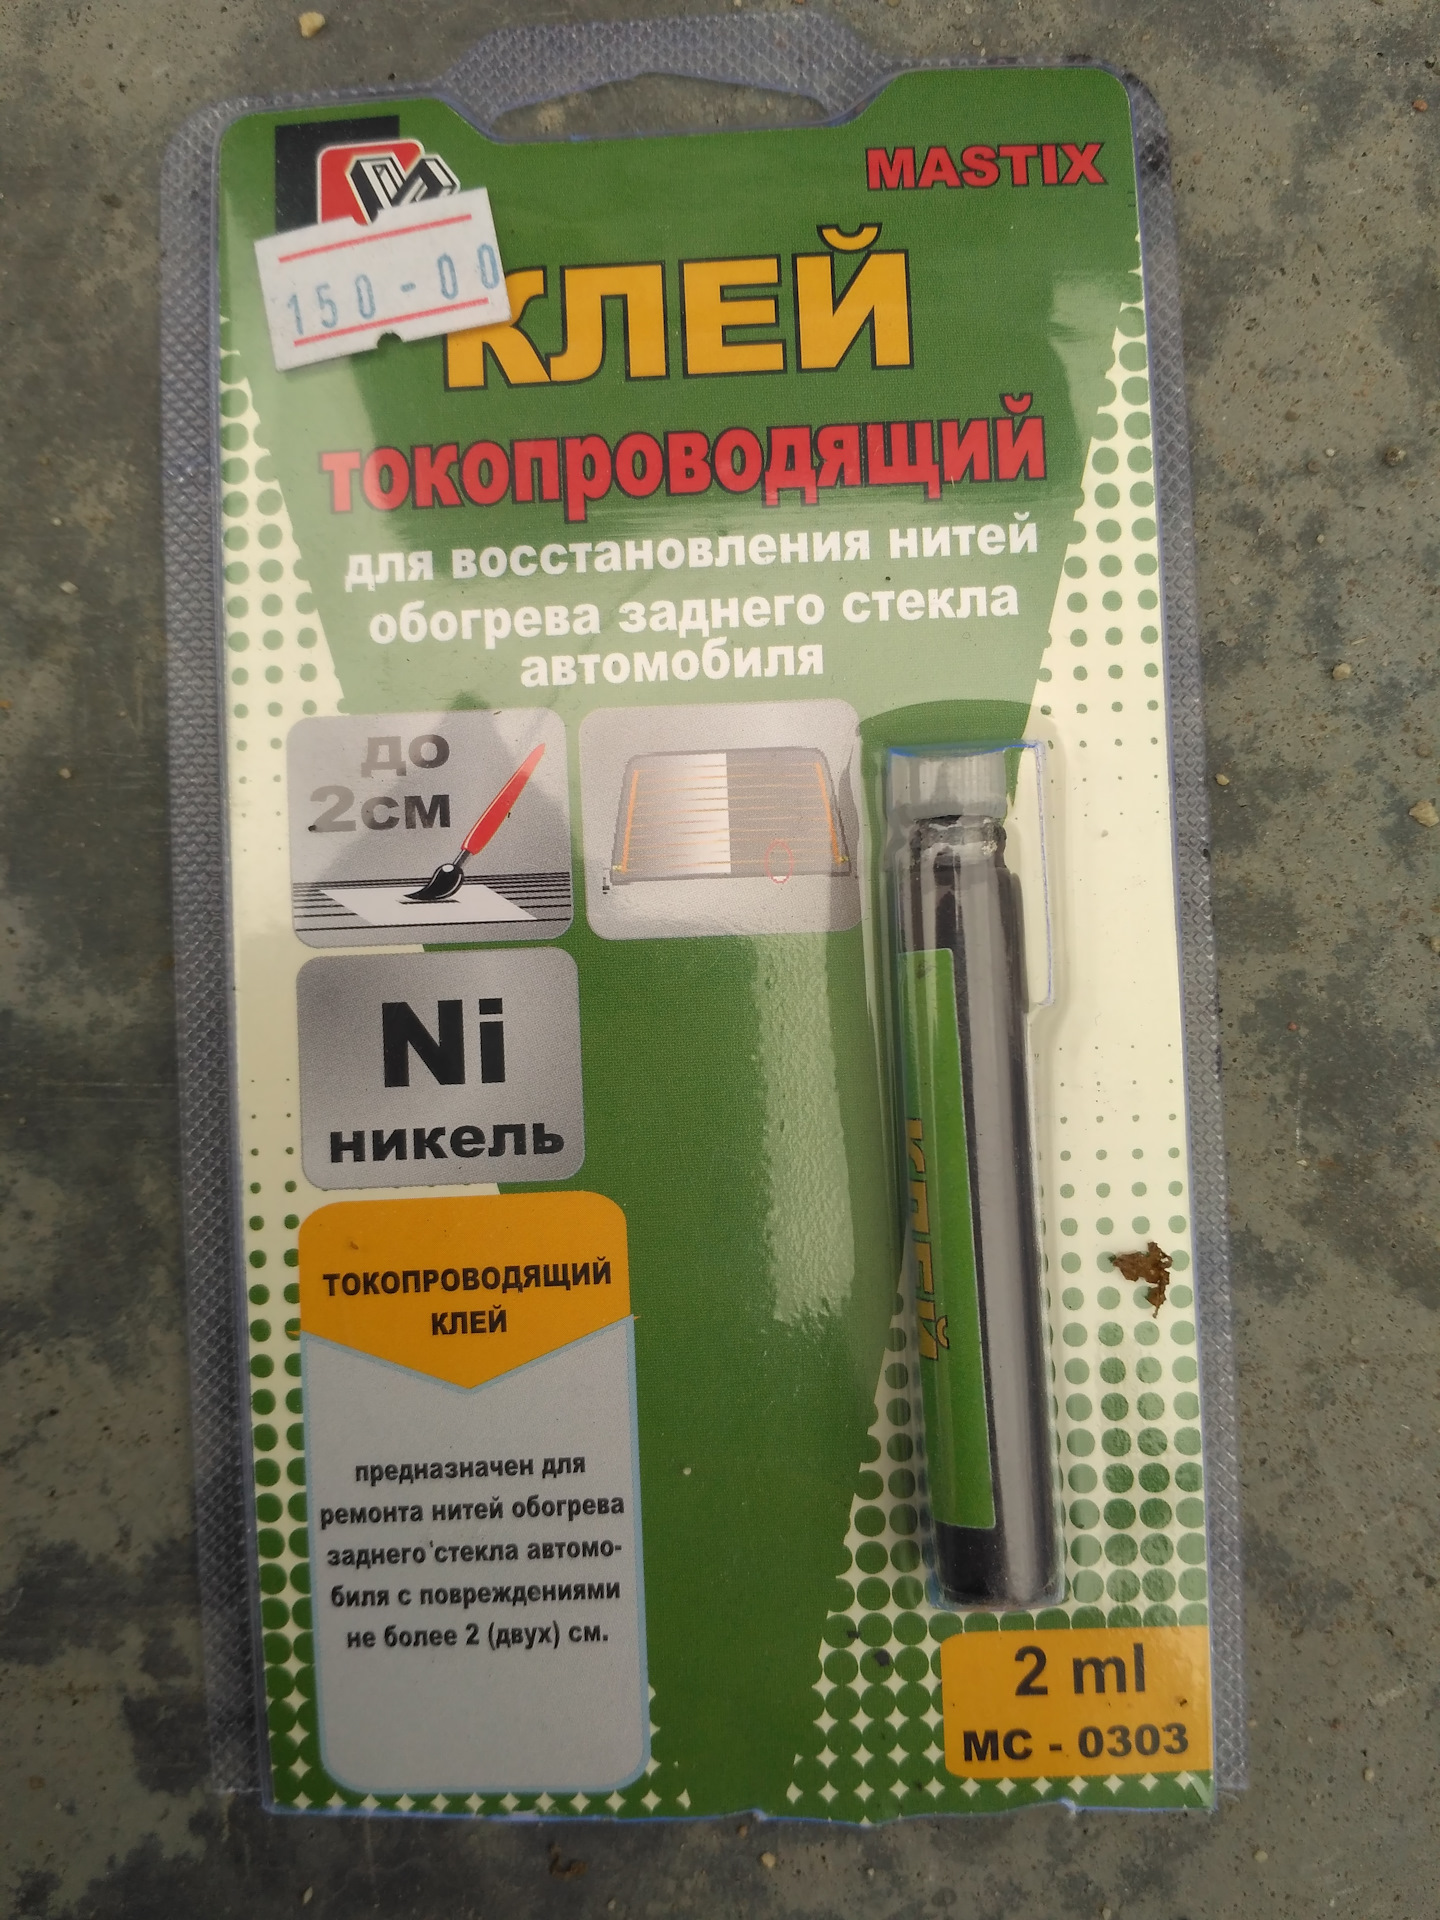
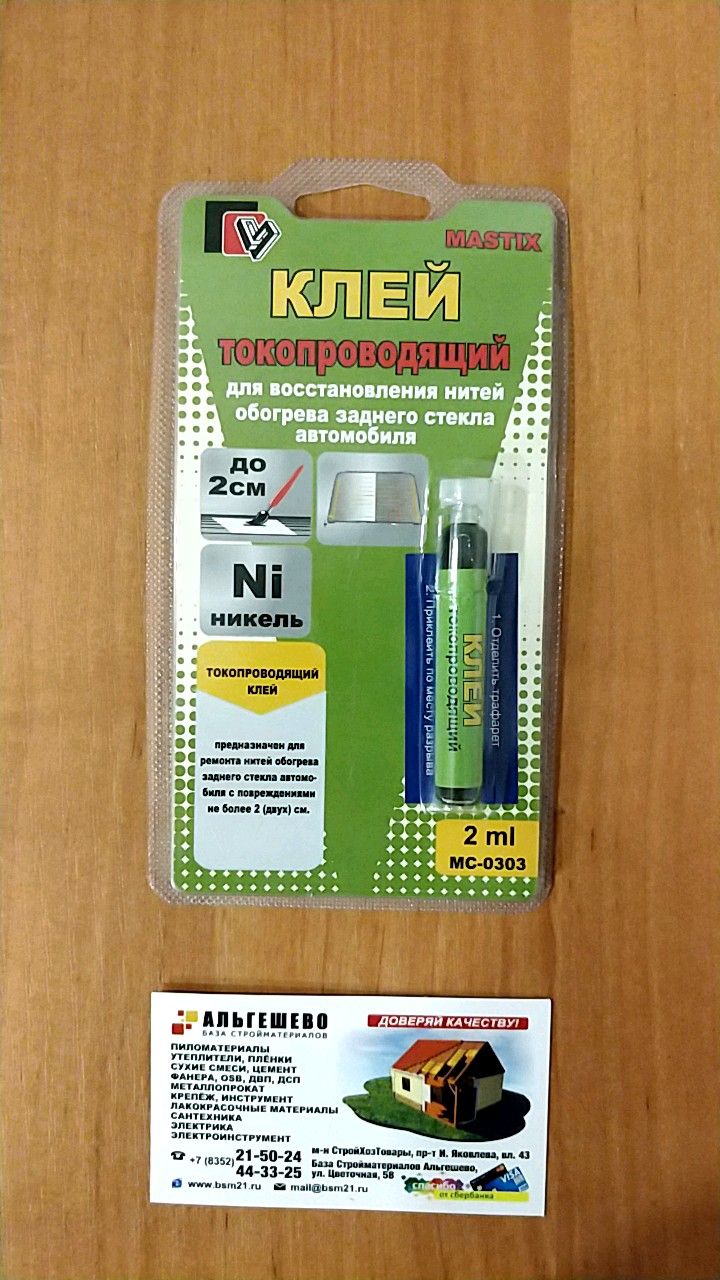
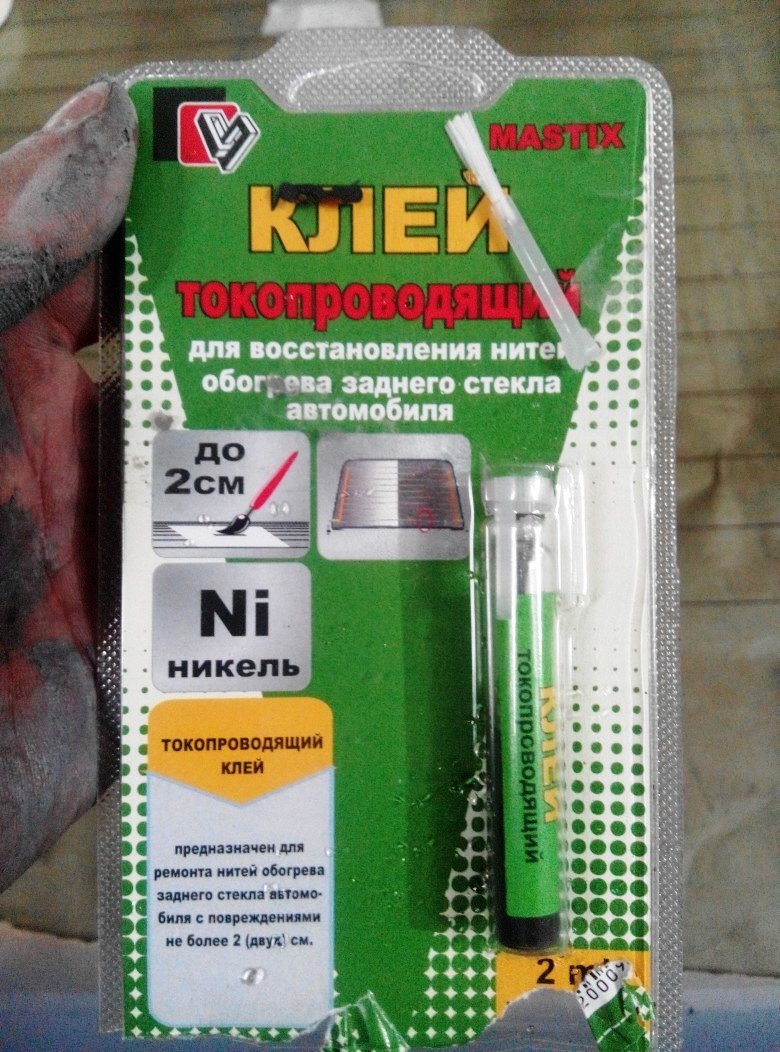
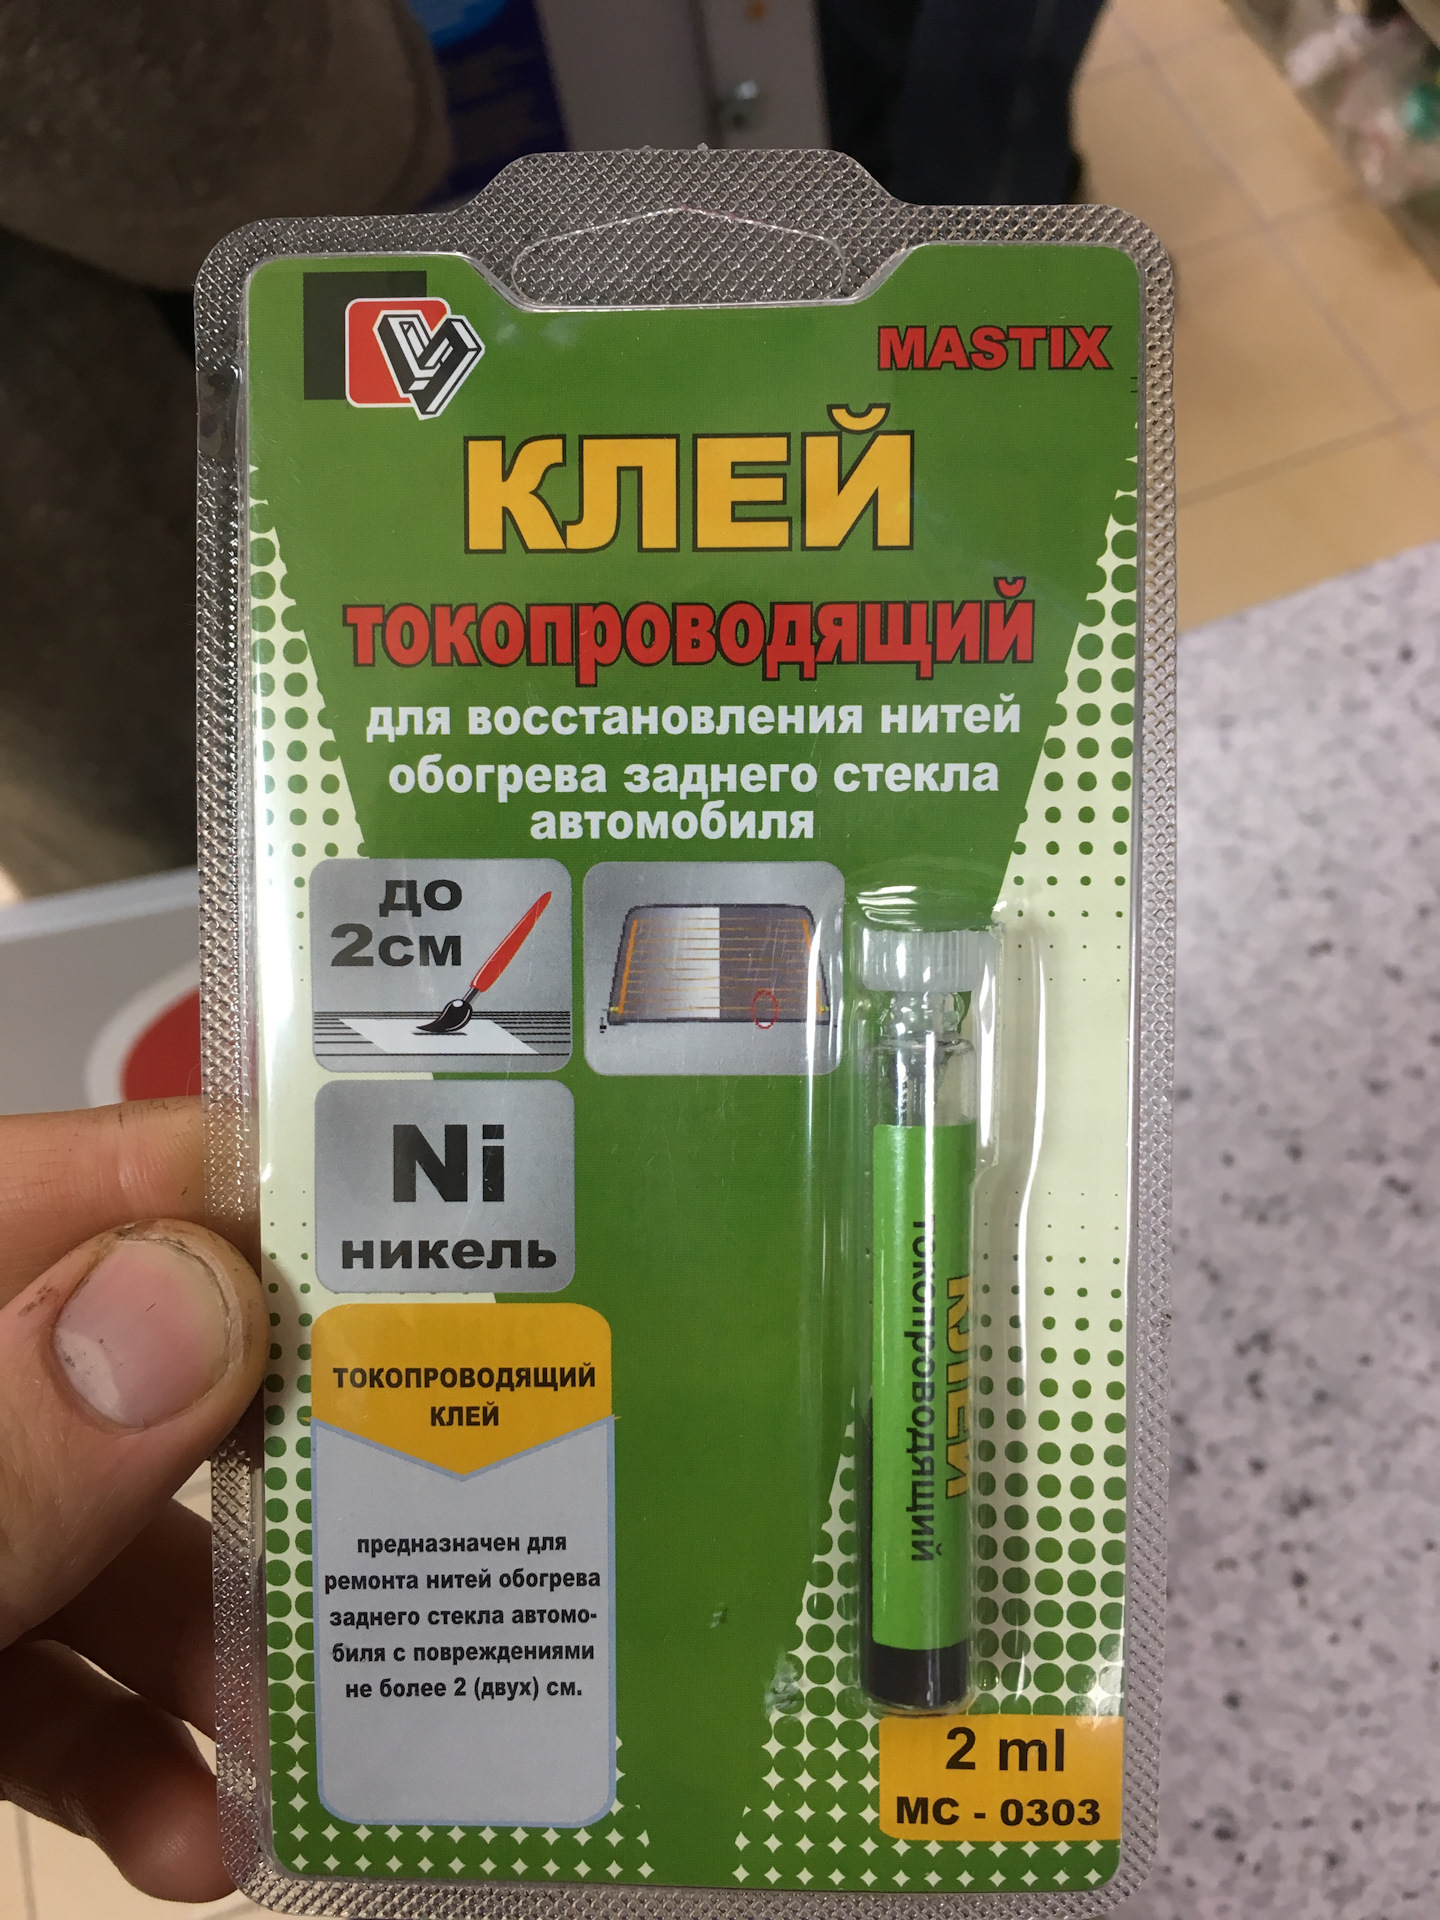
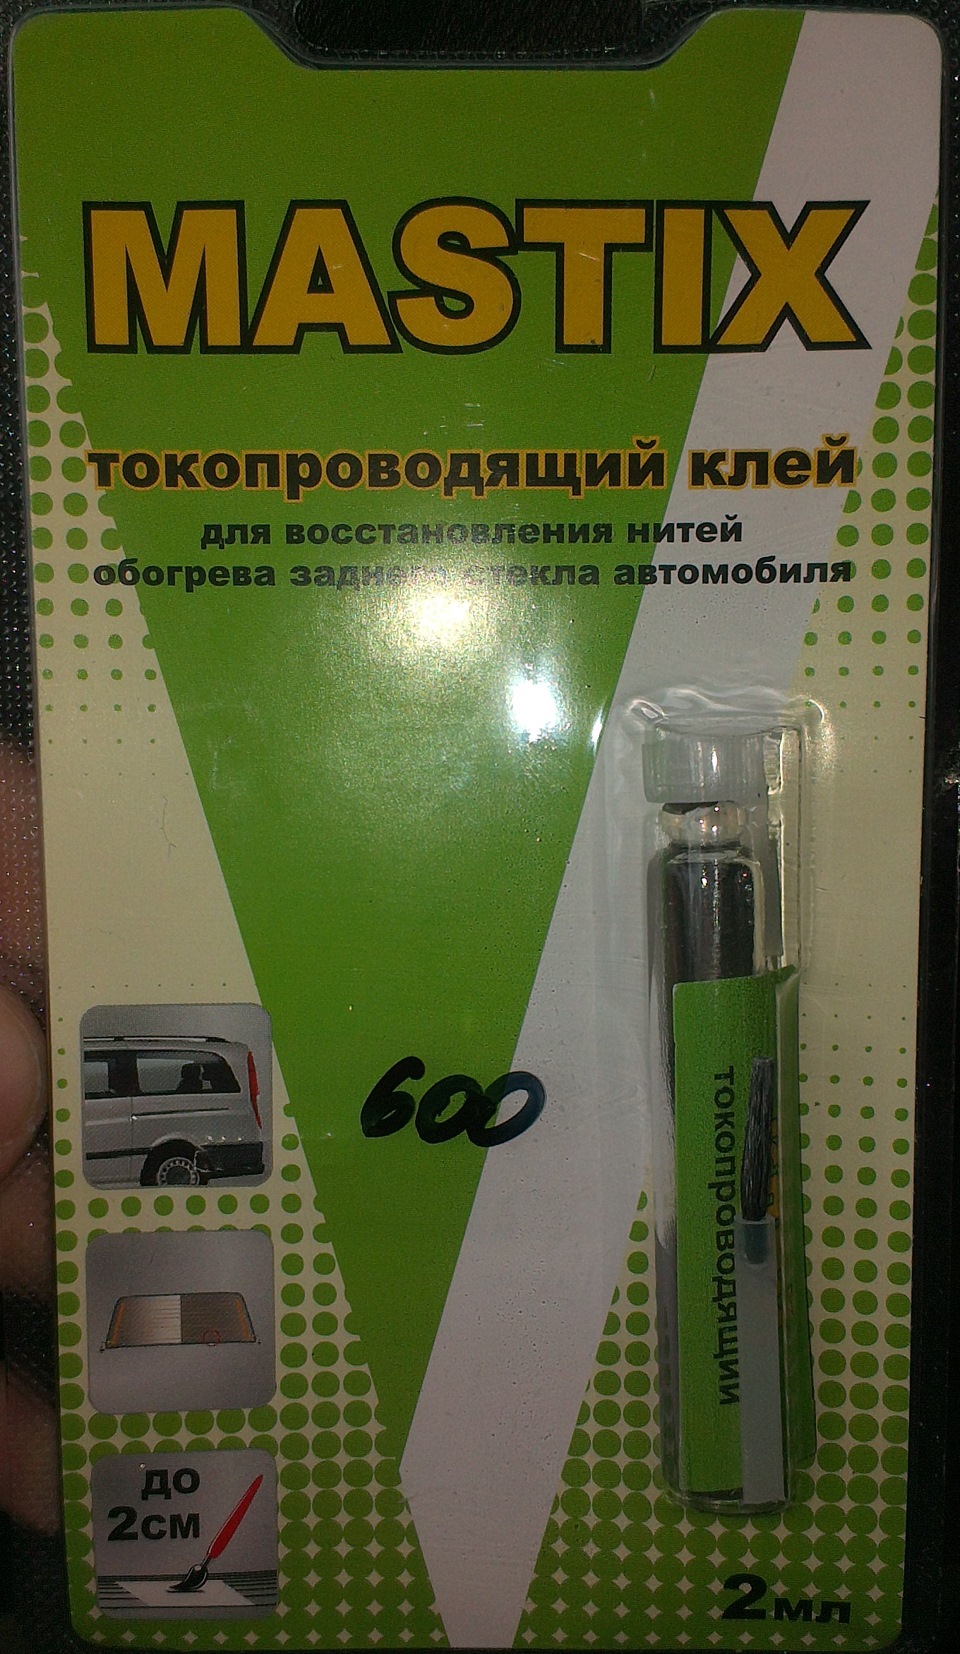
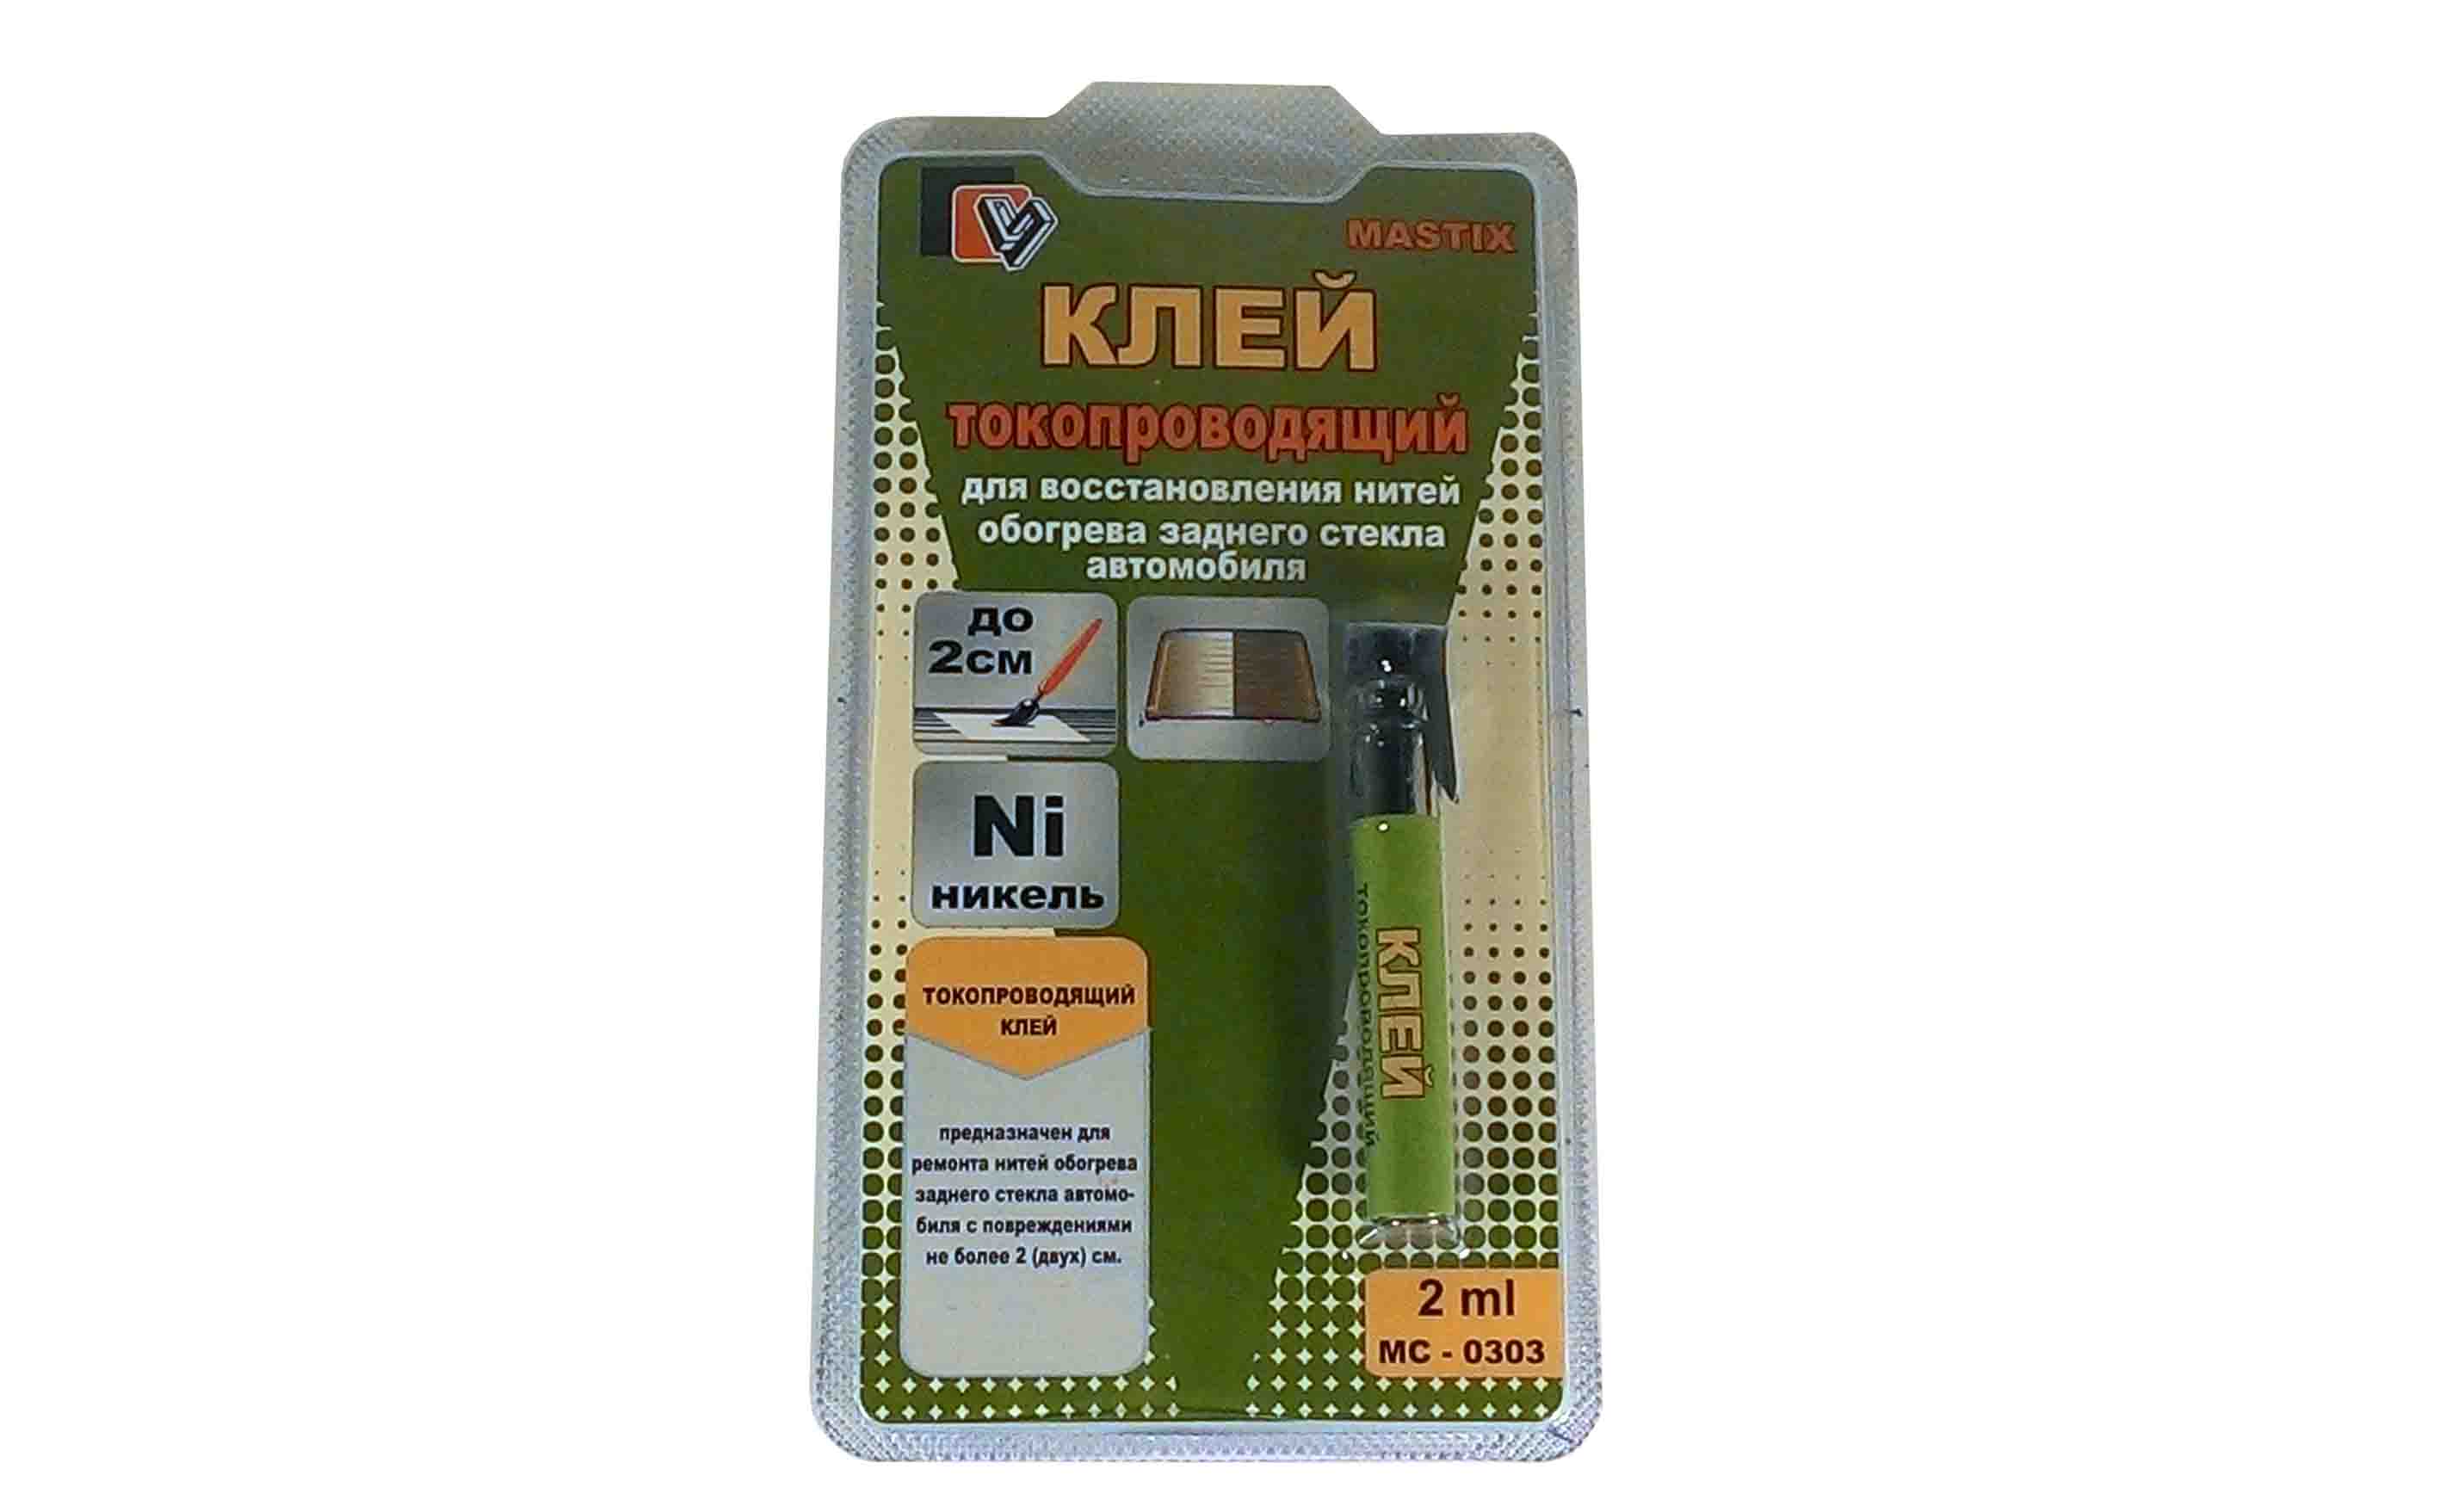
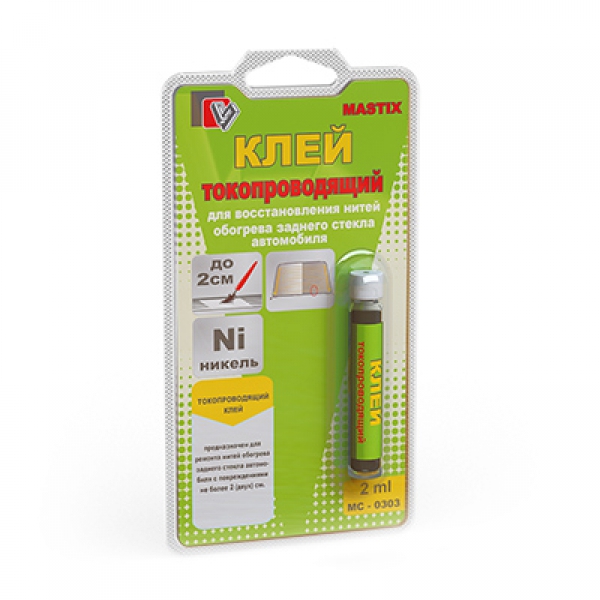
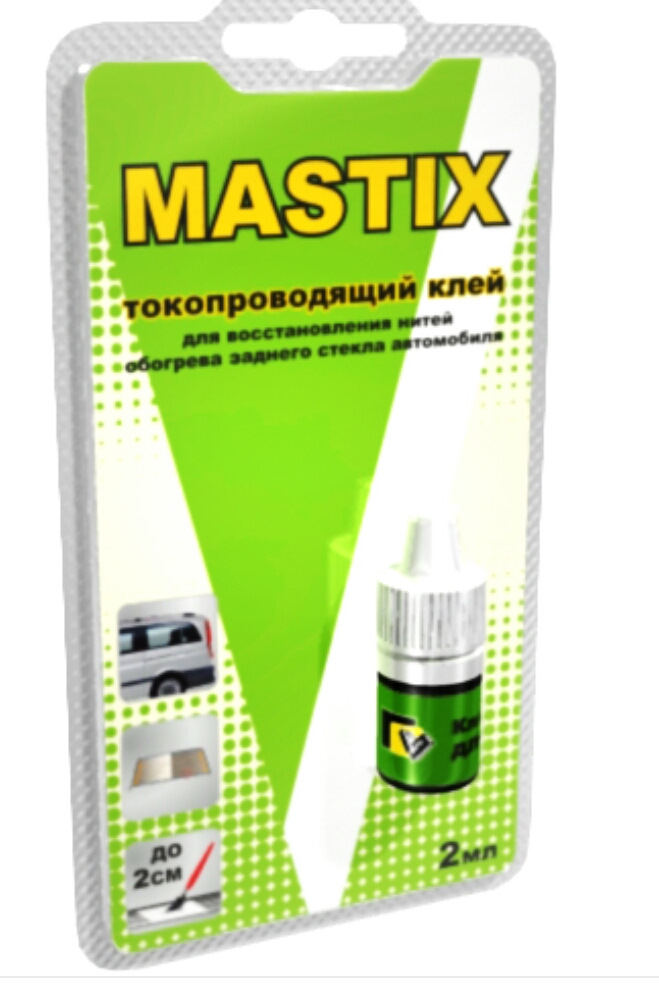
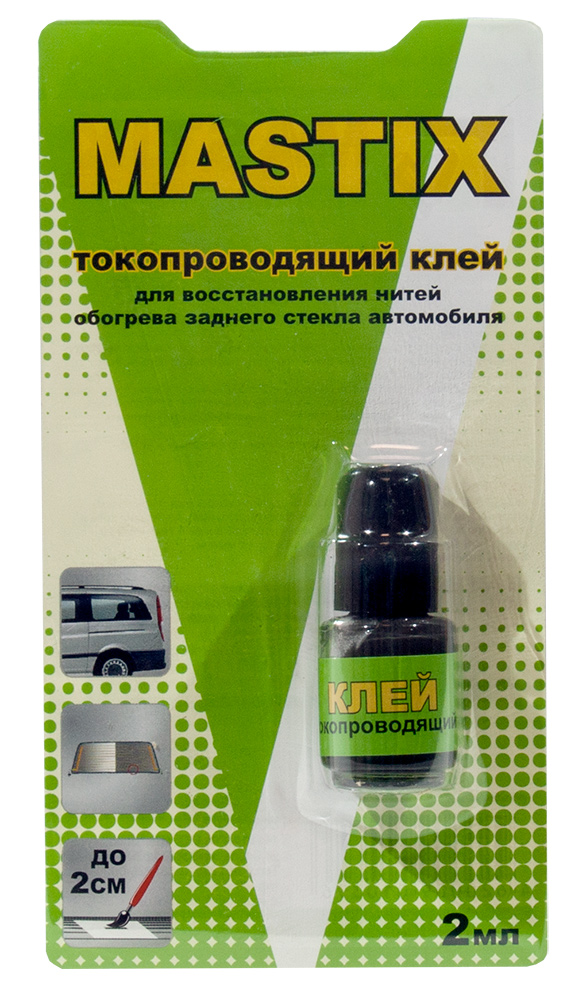
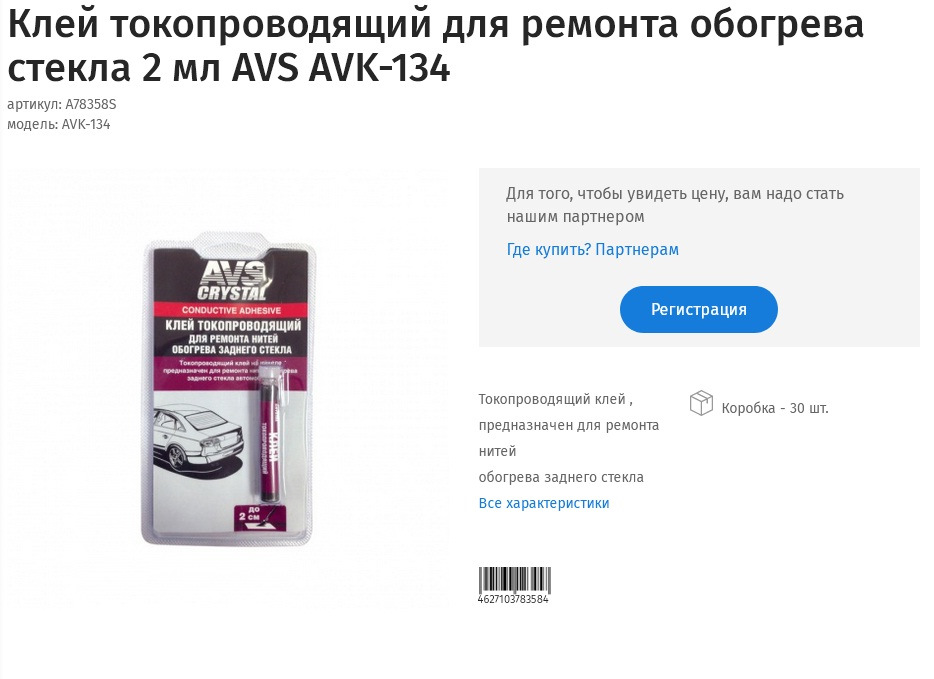
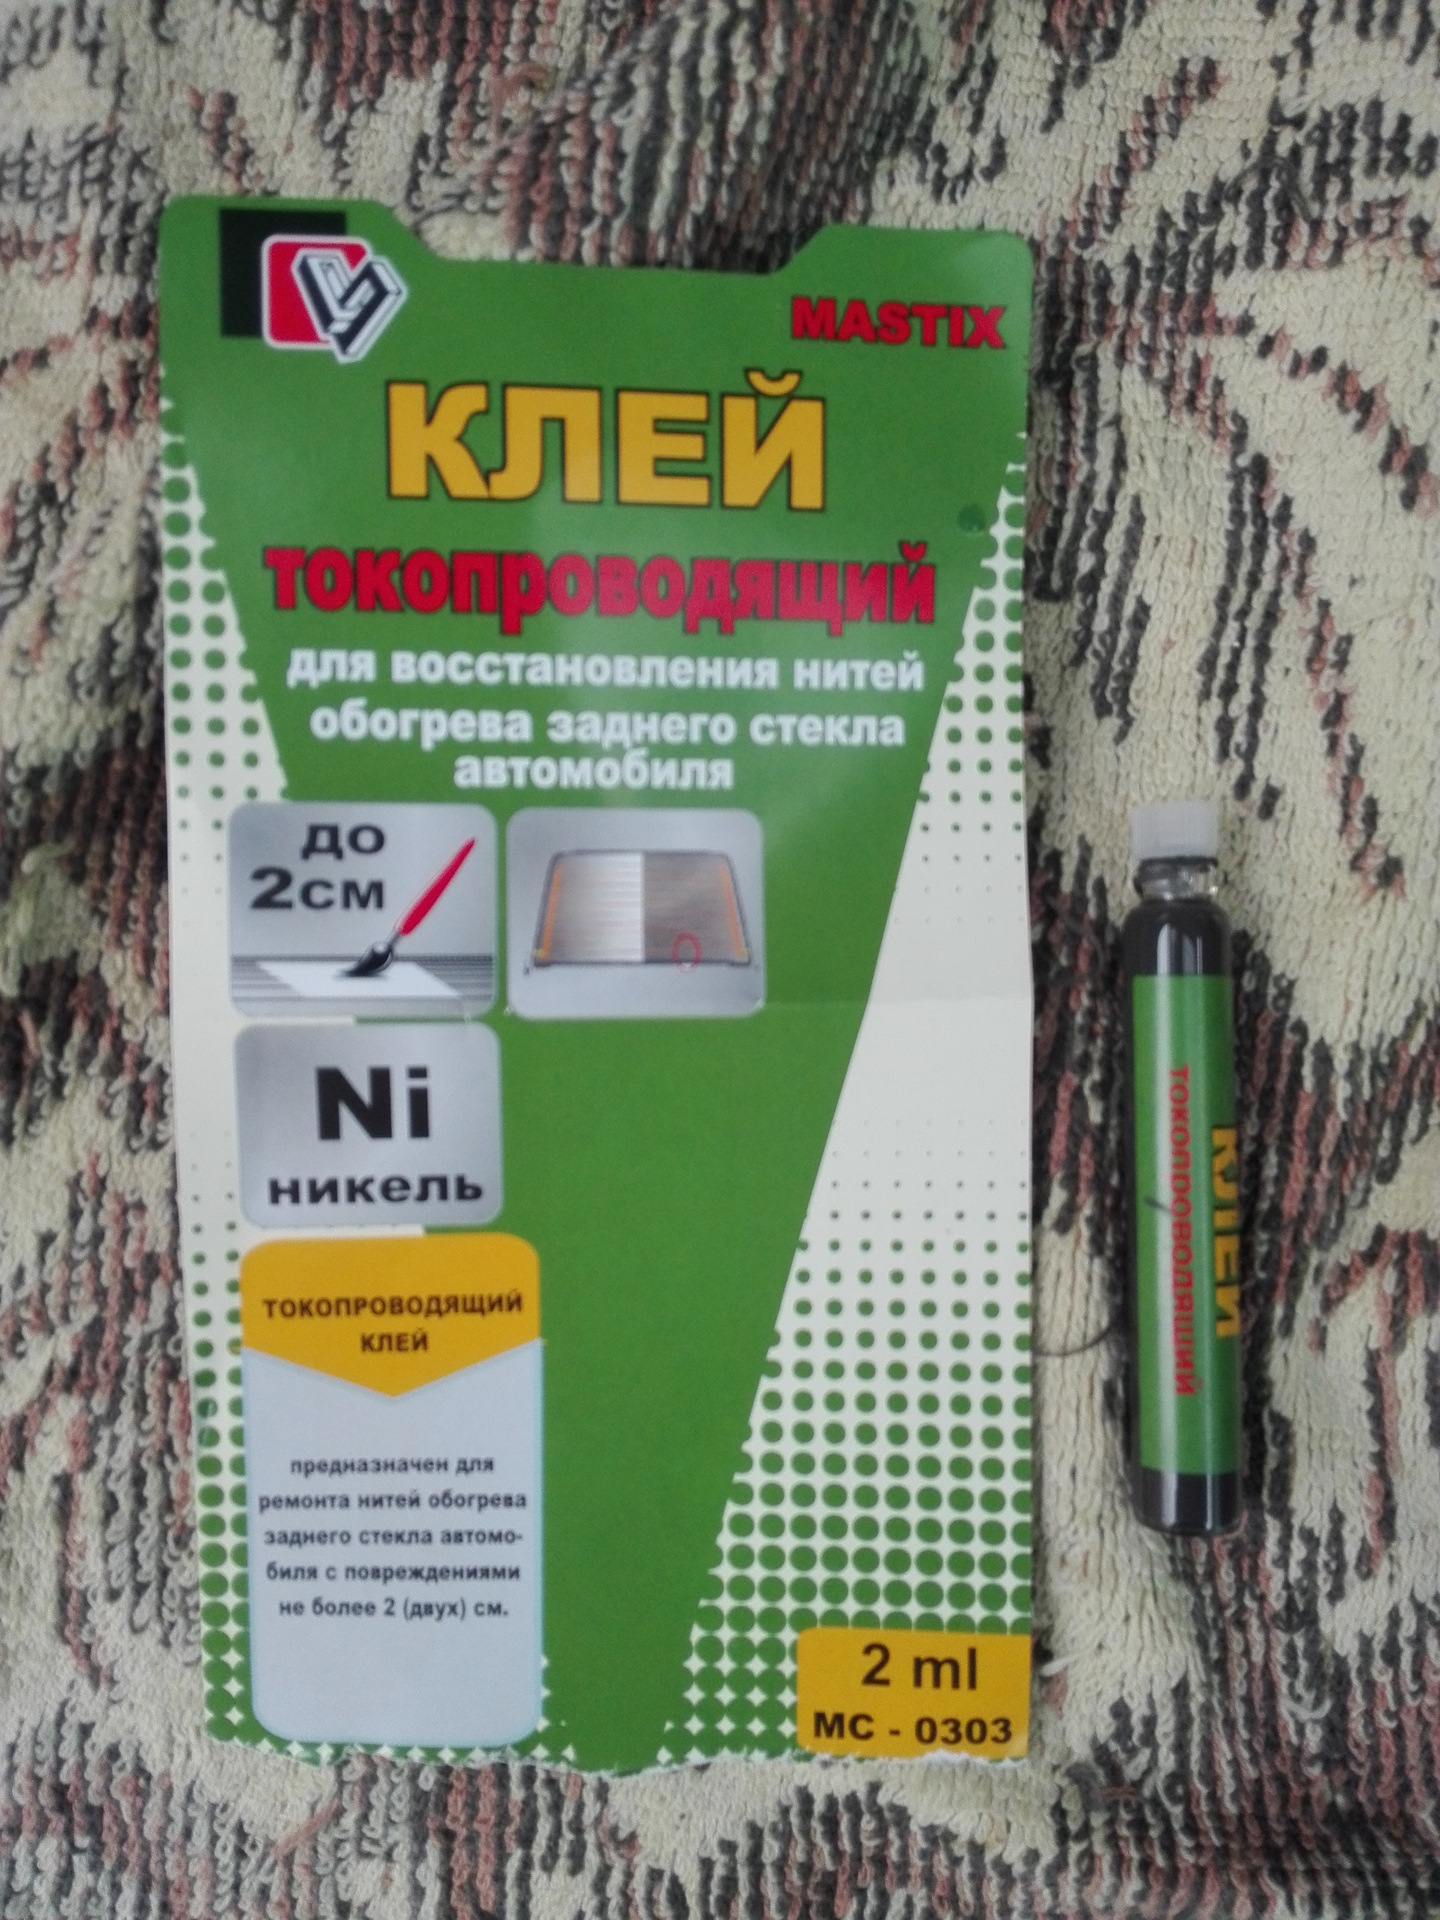
The main problem with conductive compounds is that it is difficult to make long tracks with them. They are suitable for gluing small areas, for example, car filaments, but not suitable for restoring voltage supply side tires. This is due to the fact that the glue dries very quickly (Permatex brand, Mastix). The way out of the situation is glue in the form of a marker, it is convenient for them to apply thin glue lines. Unlike a tube and a brush, this method of application allows you to glue wires of various lengths without fear of excessively fast drying of the glue.
For which surfaces
The glue containing silver is not compatible with materials such as nickel and aluminum. It goes well with silver, palladium, copper. An adhesive base containing nickel is considered universal. It has good adhesion and adheres to almost any surface.
Conductive adhesive dries in 2 minutes. It is quick and convenient, but not always relevant. What to do when the glue dries quickly and the parts are not yet bonded? Choose a glue according to what it will bond. For example, Kontakol Radio glue is designed specifically for conducting conductive communications on dielectrics. It adheres well to glass, metal, plastic, while maintaining optimal electrical conductivity. Another type of glue of the same brand allows you to create contacts on any connectors and make cords without soldering. Another type of glue helps to restore the conductivity of the heating filaments of the car glass, so that the rear window does not get covered with frost, creating a good view of the driver. They are similar in composition, but have different resistance and thermal conductivity.
Ways to repair heating element filaments
There are several ways to restore the working capacity of the heating thread at home.
Using conductive pastes and adhesives
The simplest and most effective is with the help of special repair kits, for example DONE DEAL DD6590, designed to repair the threads and contacts of the rear window defogger both by amateurs and professionals. The method is good because it does not require tools and materials. It is enough to apply a little conductive paste according to the attached instructions to the place where the thread breaks from the syringe, wait until the paste hardens and the repair is completed. But such a set costs more than $ 15.
The second method is similar to the previous one. But instead of a proprietary set, purchased conductive adhesives are used, for example, "Elekont", a Moscow manufacturer. The glue is applied to the place where the thread breaks, overlapping the whole part of the thread by a centimeter on each side. To get a neat look, a stencil made of electrical tape or scotch tape is used. For reliability, the glue is applied two times. Between the layers of conductive glue, it is advisable to lay a piece of tinned copper wire with a diameter of 0.3-0.5 mm.
It is believed that a conductive paste or glue for repairing glass heater threads can be made independently by mixing paint or glue with brass sawdust in a one-to-one ratio. The resulting composition is applied through a stencil in a thin layer to the thread breakage in several layers. But the reliability of this technology has not been confirmed by practice.
Electroplating copper
Another method is copper electroplating. The heater filament repair method seems attractive. But from my personal experience, I can say that the reliability of such coatings at home is low. So I hesitated to use this technology.
By soft soldering
The mechanical method of restoring the integrity of the rear window heater filaments by soft soldering has become widespread. The reliability of this method has been tested by me when repairing rear window heating filaments in my own car. The step-by-step instructions given below, written on the basis of my experience, will allow you to easily repair the heater thread yourself in just a few minutes with practically no financial costs.
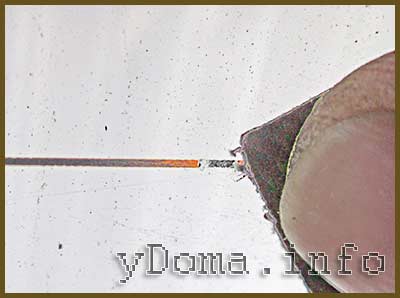
On the advice of theorists from the Internet, I made a big mistake, tried to strip the thread with sandpaper. As a result, instead of breaking a thread with a width of 1 mm, a break of more than 1 cm turned out. The thread tape is very thin, with only a couple of tens of microns and is erased, even with the finest-grained sandpaper, instantly. The heater threads are not covered with anything anyway, and it is enough to degrease the soldering area with a rag dipped in alcohol or acetone.
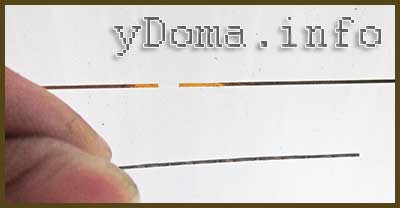
If the width of the thread break is less than 1 mm, then you can do without soldering the additional conductor. In my case, the width of the gap was large, and I had to pre-prepare a piece of copper wire for the jumper. A current of about 1 A flows through one thread of the heater. Based on this, we choose a wire with a cross section of 0.17 mm2, which corresponds to a diameter of 0.45 mm. The length of the copper jumper should be equal to the width of the thread break plus 2 cm. Before soldering, the jumper must be tinned with a thick layer of POS-61 tin-lead solder. There is no need to tin the heater thread.

In order for the solder to reliably adhere to the heater thread, before soldering the jumper, grease the thread in the soldering area with a brush with a thin layer.
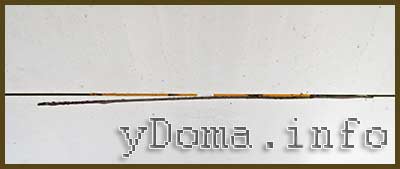
Next, the jumper is pressed against the heating thread and heats up for one second with a 12 W soldering iron. The hand is pulled to the side. The jumper should be held on a string. Trying to pull it to check the quality of the soldering is unacceptable, it will fall off, and also tear off a piece of the heater thread. Unfortunately, it has been tested empirically. As a result of experiments, I ended up having to solder the jumper 5 cm long.
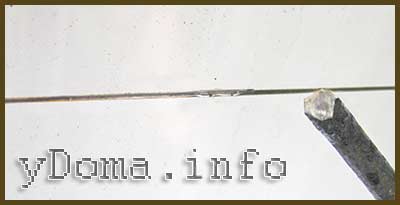
After soldering one end of the jumper, the other is pressed tightly to the thread and also warmed up with a soldering iron. After the end of the soldering, in order to remove the acidic flux residues, the glass is thoroughly washed with water.
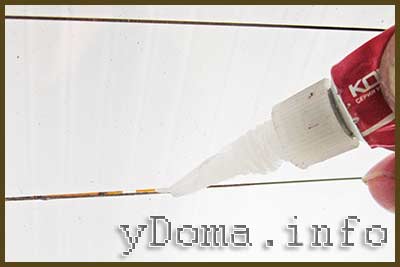
To top it off for reliability, although it is not necessary, I covered the soldered jumper on top with a transparent superglue "Moment" based on cyanoacrylates, the heat resistance of which is about 70 ° C. The heater does not heat up above this temperature.
As a result, the time to repair a thread break with your own hands, taking into account all the preparatory work, was no more than ten minutes. The repaired threads have been in service for over three years.
Additional tips and tricks
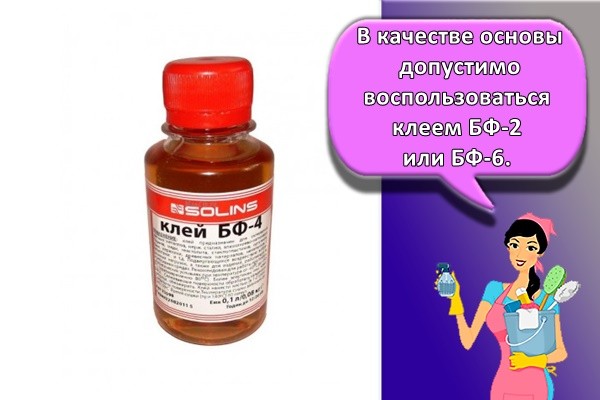
Today, many effective compounds are known with which you can repair heating threads. It is permissible to use BF-2 or BF-6 glue as a basis. It is also allowed to use other substances that dry quickly. Often, paint, enamel, polymer resin are used for this purpose. To make a conductive paste from the listed materials, it is worth adding small shavings to it. This substance can be obtained from a small file. You can also use brass, aluminum or copper.
After combining the ingredients, it is recommended to apply them to the prepared surface. To do this, you should use a homemade stencil. It can be easily done with electrical tape. It is also permissible to use construction tape for this purpose.In terms of efficiency, homemade glue is not inferior to ready-made compositions. It is also permissible to solder the area of thread damage or disconnection of the terminal. This procedure cannot be carried out if the distance between the thread fragments exceeds 2 millimeters. First, the electrochemical method is used.
Soldering is considered to be a more effective and reliable way when eliminating contact breakdowns. It is performed using a standard method, which involves the use of flux and solder. The flux should be of the FCA type. It should be based on zinc chloride. POS-18 or similar is used as a solder.
Electrolytic plating is considered an effective repair method. For this procedure, you will need a liquid based on copper sulfate. It is recommended to add 2 small spoons of copper sulfate to 100 milliliters of water. It is also permissible to introduce battery electrolyte into the composition - just a few drops.
In addition, you will need to prepare a copper wire, the cross section of which is from 6 square millimeters. A prototype of a copper brush is made from the wire. Then the stripped conductor, wrapped in rags and thread, should be connected to a power source. This is done with the opposite end of the wire. In this case, the minus of the battery is connected to the body. The brush should be moistened with an electrolyte solution and carefully wiggled around the break in the thread. Little by little, the treatment area will be covered with copper particles. This is due to the electrolysis process.
It should be borne in mind that the strength of such a coating is low for a high current. Therefore, this section must be additionally soldered by means of a copper wire.
It is important to understand that this method is not used to repair large gaps.
Steel shavings and glue can be used for repairs. To do this, you need to clean the surface. Then place the magnet behind the glass. It will help form a mountain of sawdust. It is worth applying BF-2 glue on it. After drying, a fixing layer of glue is used. The use of adhesives to repair rear window breakage helps to achieve an excellent effect
At the same time, it is important to choose the right substance and observe the technology of its application.
Share link:
Adhesive manufacturers
Adhesive for conducting current is produced by such manufacturers whose products you can find on the market:
- Keller. Produces Kontaktol, a kit that contains the smallest particles of silver. Presented as a one-component mixture, low-toxic, hypoallergenic, waterproof, heat-resistant;
- Loctite. Sold in a set with a stencil, applied using the brush included in the set;
- Russia. Produces "Kontaktol" agent, which is applied to the surface with a layer of 0.2 mm. Withstands temperatures up to +110 degrees. It has low elasticity and is water resistant.
 Russia conductive adhesive Kontol 2g

