Methods for marking things
There are many different ways to designate the owner of a particular thing. The easiest is to sign with a pen. However, not all types of pens write well on fabric, the inscription may turn out to be illegible. In addition, during washing, some ink may wear off, others may shed and ruin a good thing. In such cases, it is necessary to purchase a special tissue marker.
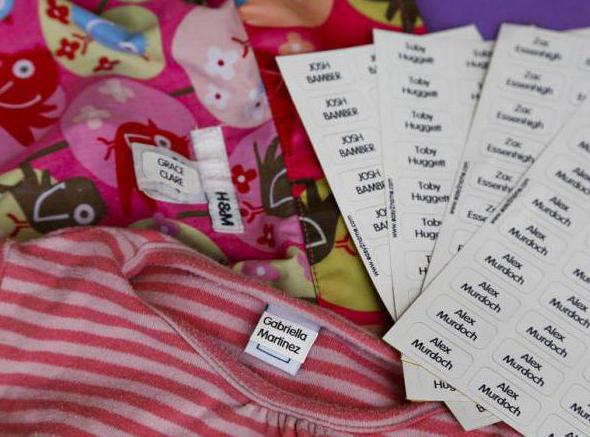
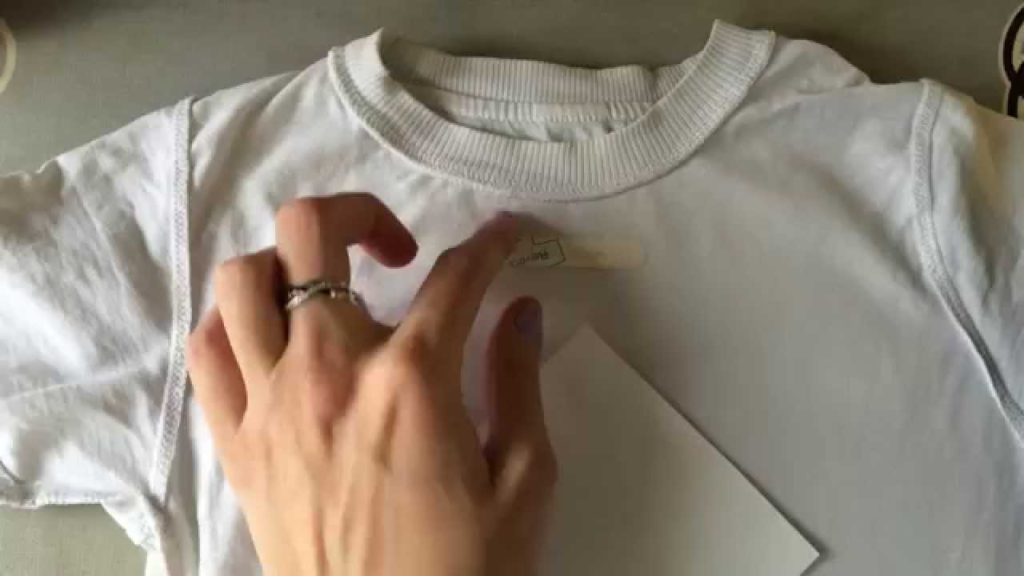
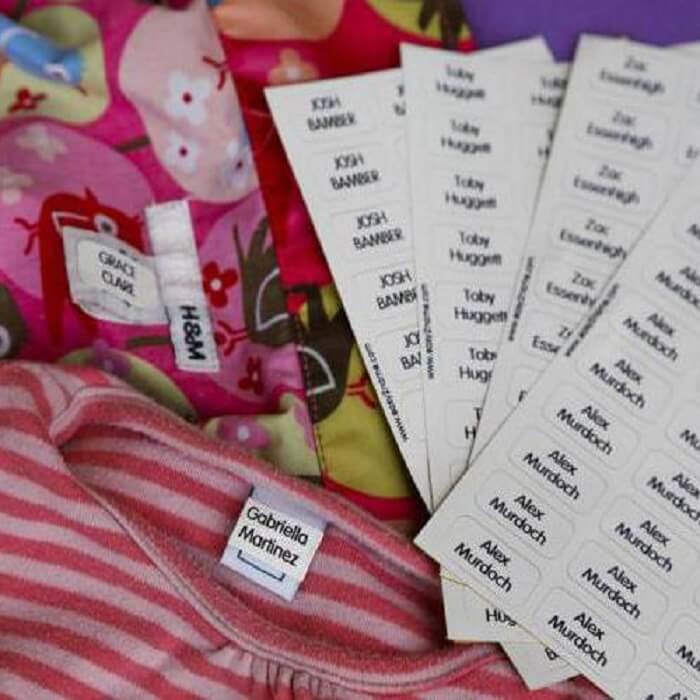
You can act like our grandmothers in the old days - embroider the name of the baby on the clothes. However, this will be a rather long process, even with a sewing machine. Also, delicate fabrics (like tights) won't handle this very well. Also, this method is poorly applicable to shoes. In most major sewing stores, you can find ready-made tags on which the name is written, and they can be easily sewn or ironed on to things.
Some mothers write on adhesive tape or paper stickers and remove them before washing. This method is poorly applicable to tights, underwear and shoes. In addition, glue traces can remain on the clothes and damage the item. The most progressive and convenient way of marking a child's belongings today are stickers on clothes.
How to attach a thermal sticker to clothes ...
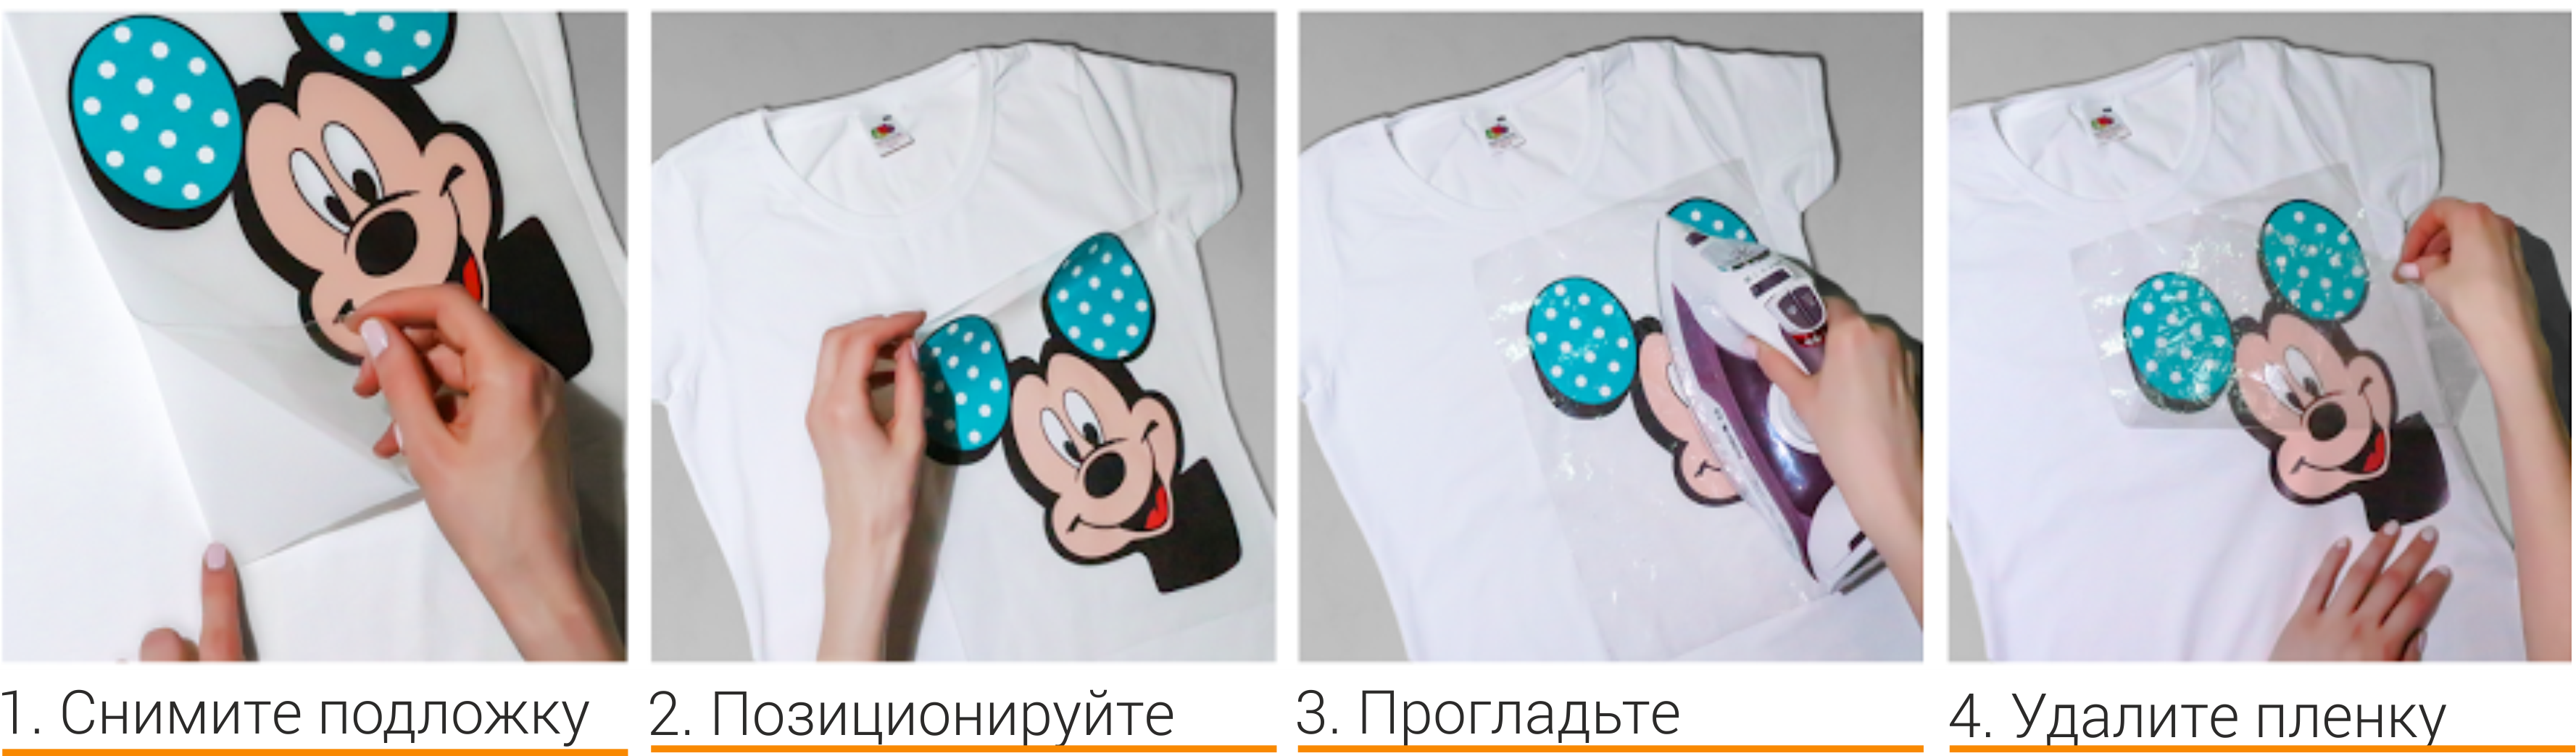
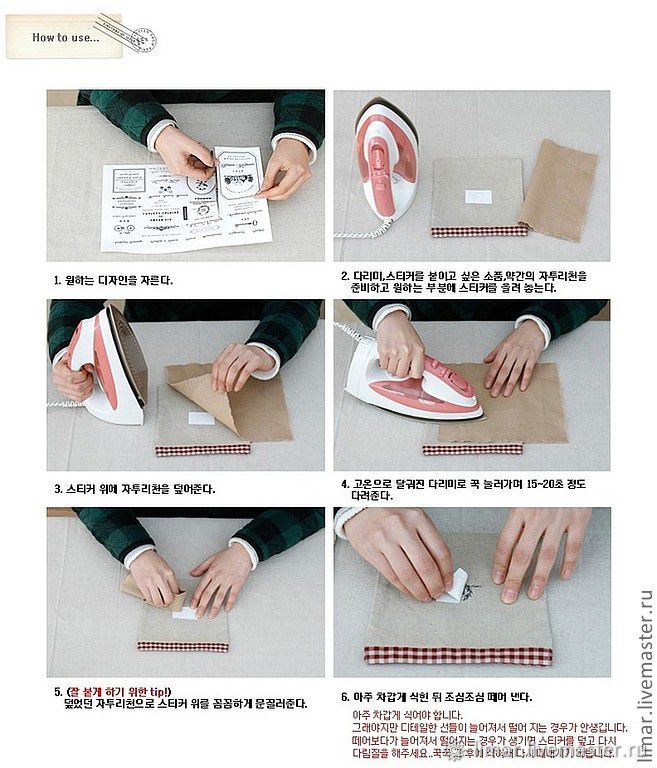
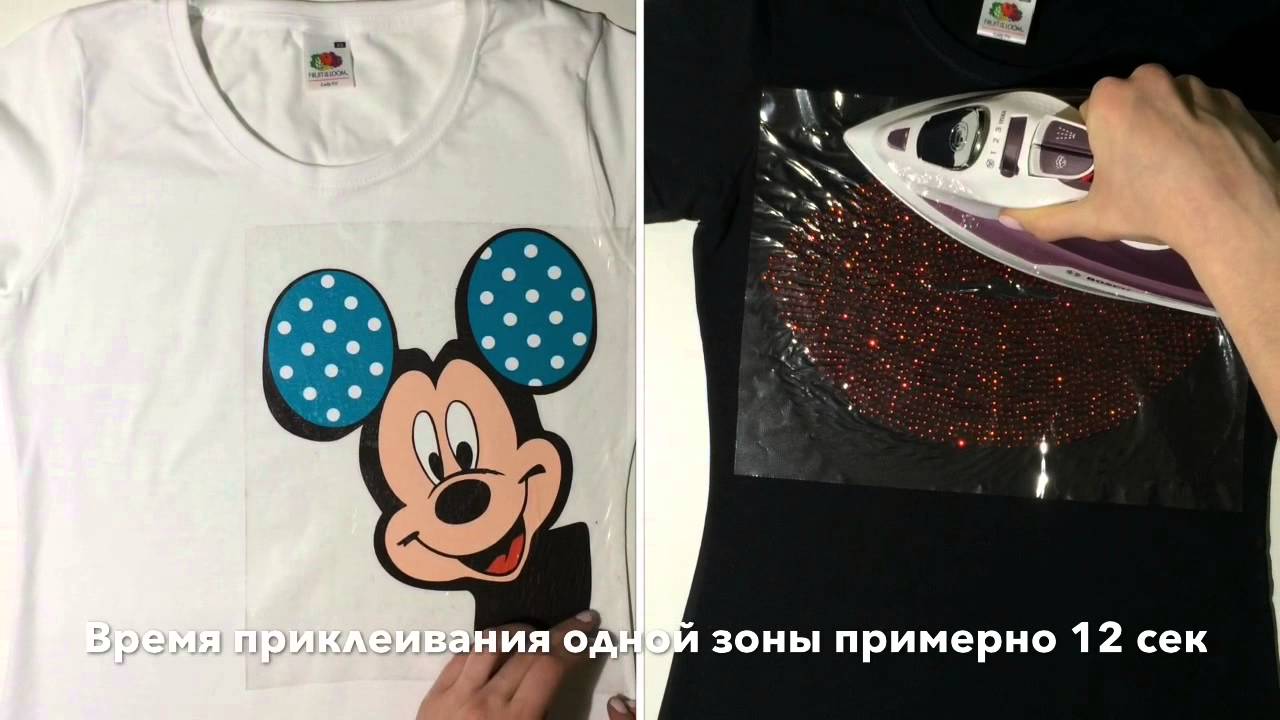
The process of applying the decorative decal is quick and easy. And this is its main advantage. Follow the eight steps below to avoid damaging the fabric.
- Choosing a location. Gluing must be done on a firm and level surface. This could be a table or chest of drawers covered with a cotton blanket. Better yet, a traditional ironing board.
- Test Drive . If you decide to take a chance and stick the applique on a synthetic T-shirt with your own hands, be sure to take a test drive of the fabric. Preheat the iron as much as possible and check what temperature the material can withstand. It is advisable to check on an inconspicuous area of clothing so that in the event of a fiasco, the T-shirt does not have to be thrown away.
- Disable steaming. Before heating the iron, turn off the steam mode and drain all the water in the household appliance.
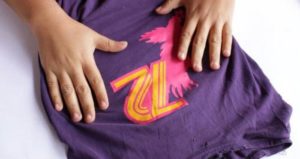
- We form the perfect layout. The place to which the applique will be applied must be laid out on the ironing board in such a way that a fold does not form at the location of the adhesive element.
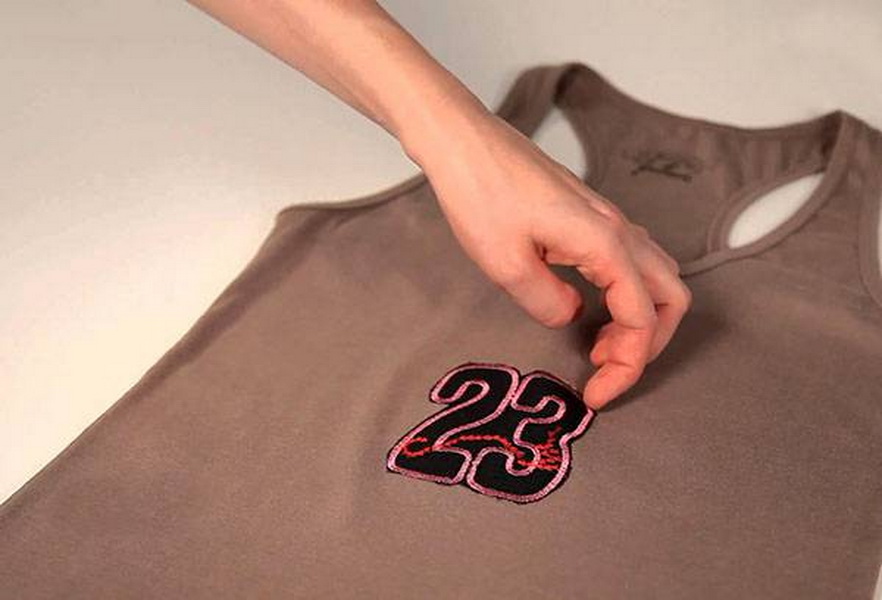
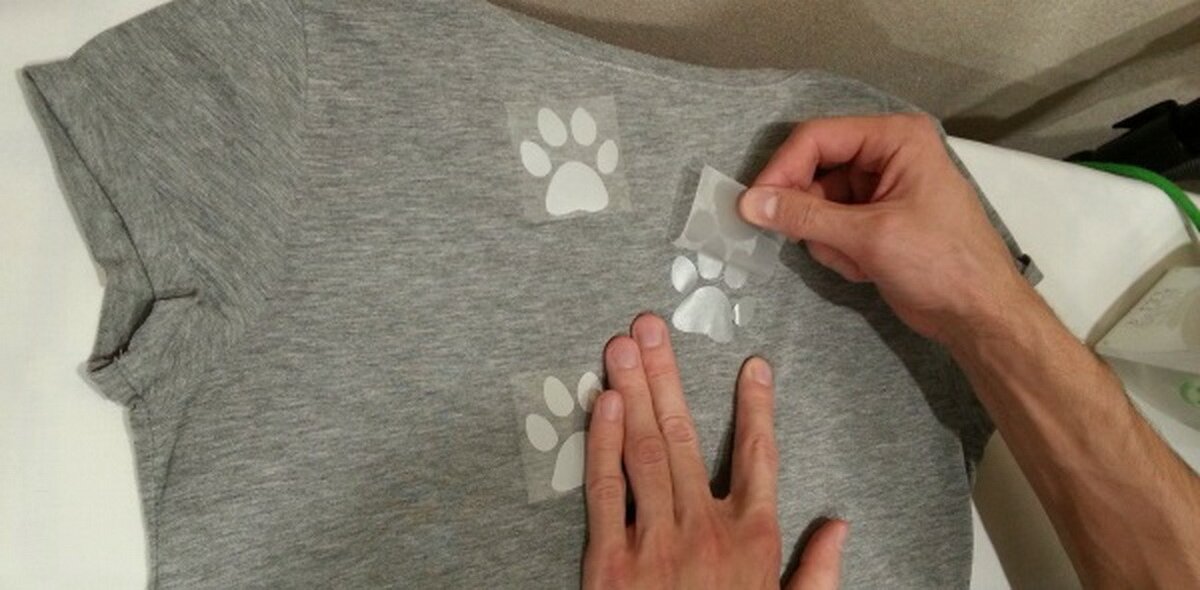
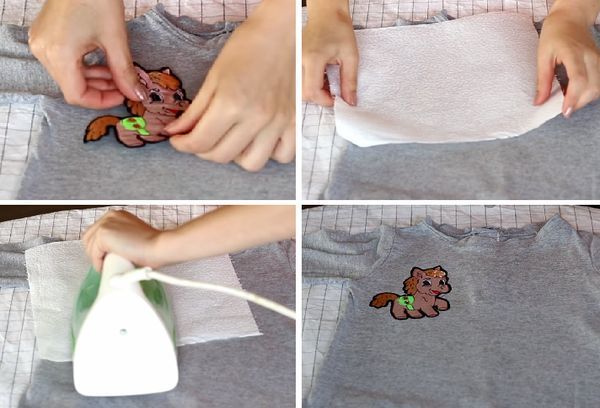
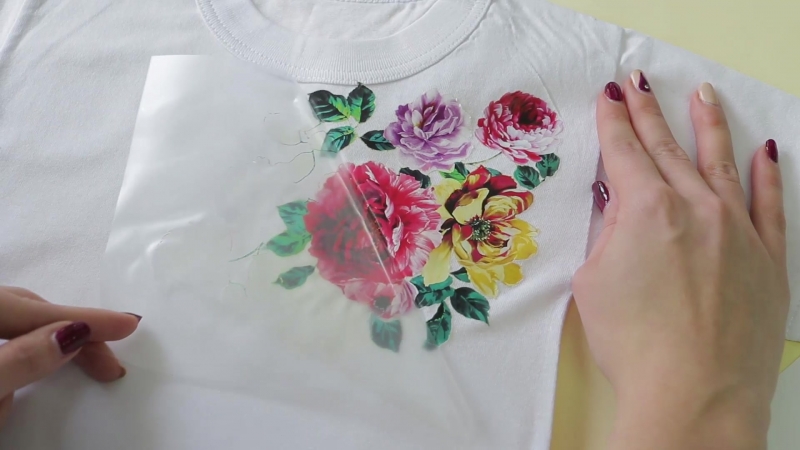
- We apply a thermal sticker. Apply the applique on the laid out garment so that its "face" looks directly at you.
- Cover with paper. Now the "face" of the design element must be covered with a sheet of white paper. For the same purpose, you can use pastry parchment or tracing paper.
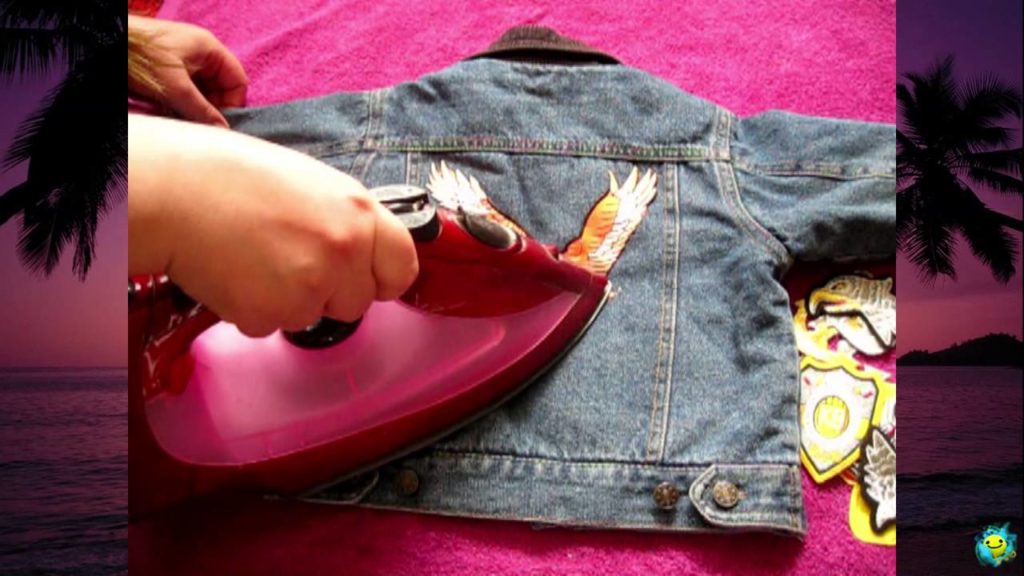
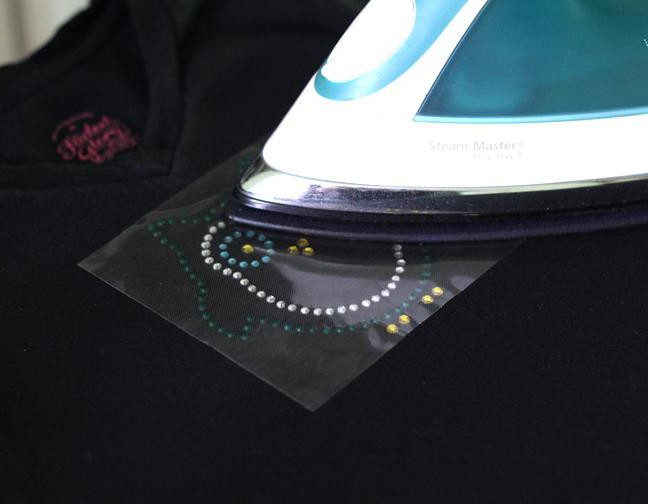
- We press the hot iron. On paper, tracing paper or parchment we put an iron heated to the maximum temperature so that a sticker is in the center of its heating element. Then we press the household appliance and hold it under pressure for about 15 seconds.
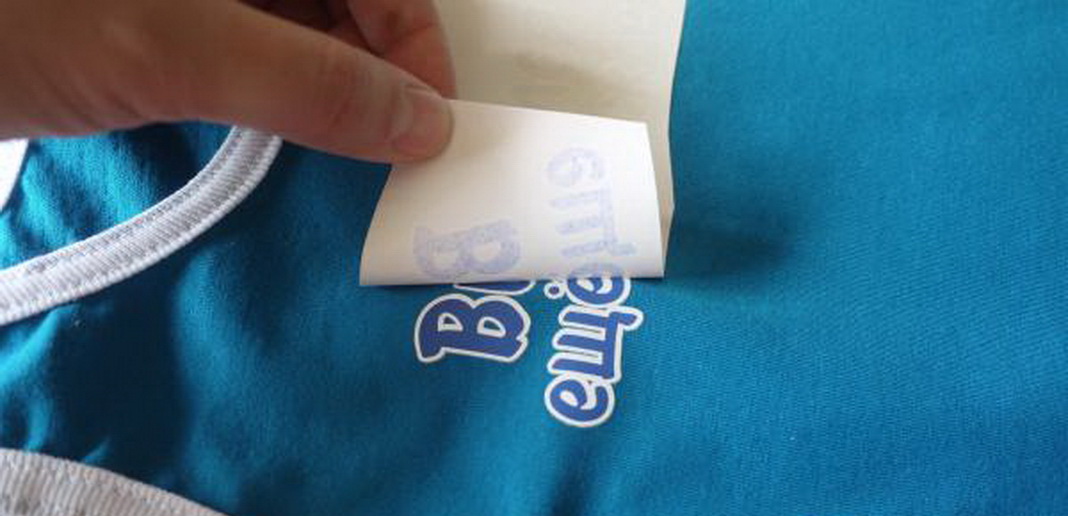
- Let the paper cool down. After the specified time has elapsed, remove the iron from the protective layer and leave the last one to cool completely. After five to ten minutes, the paper can be removed, and the process is considered complete.
If there is no adhesive layer
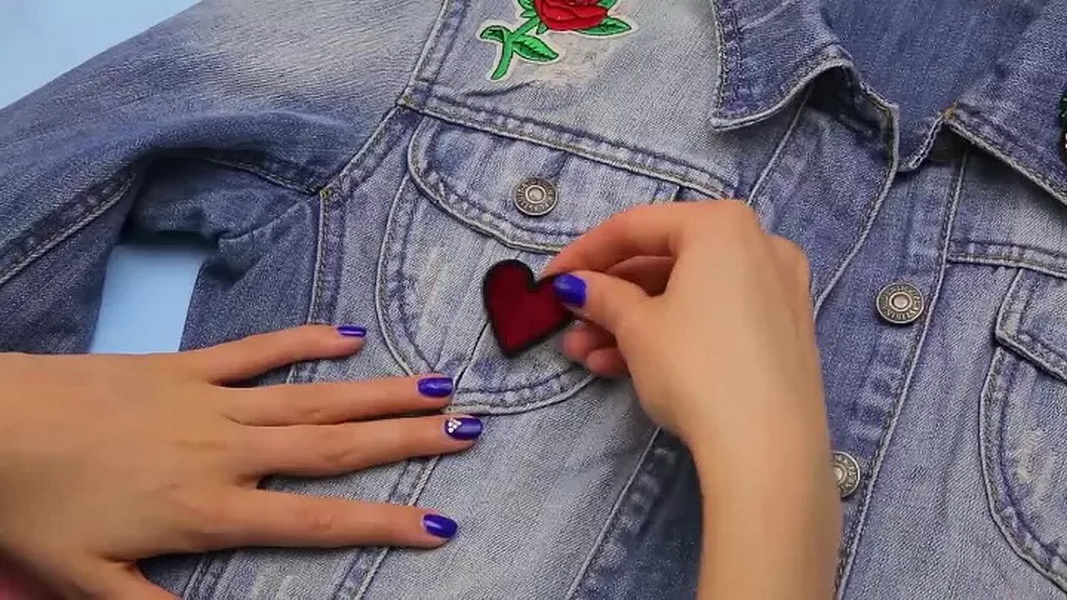
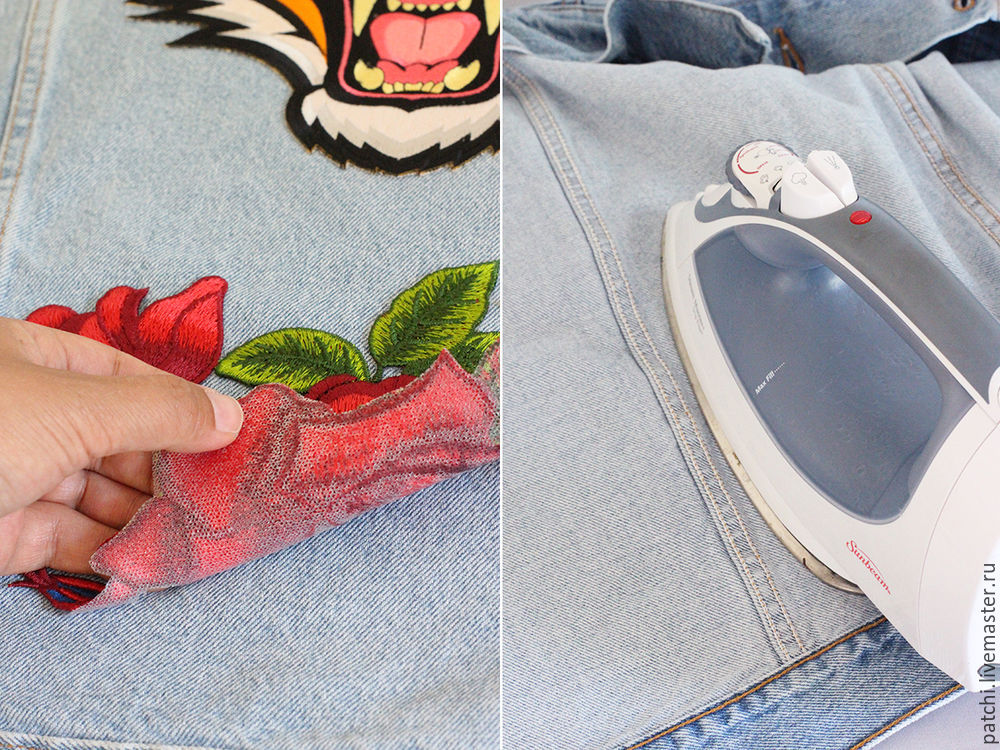
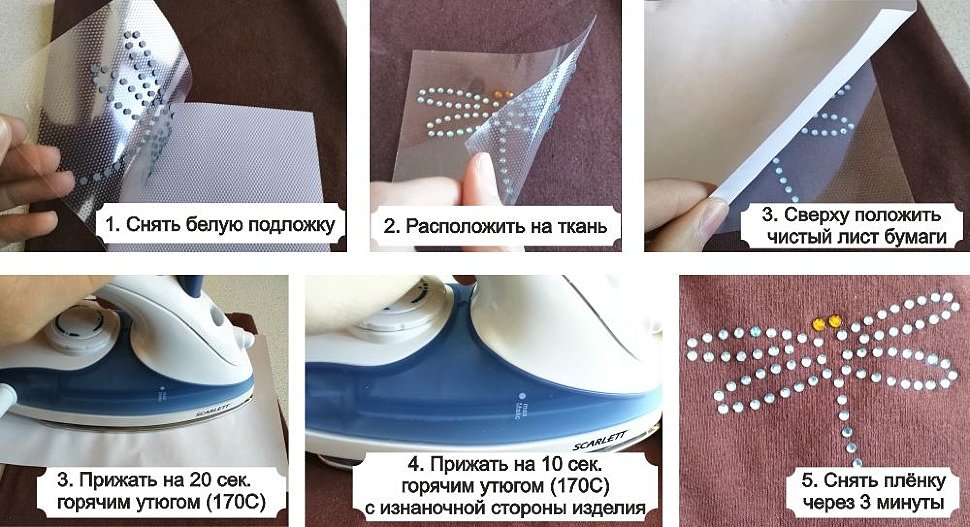
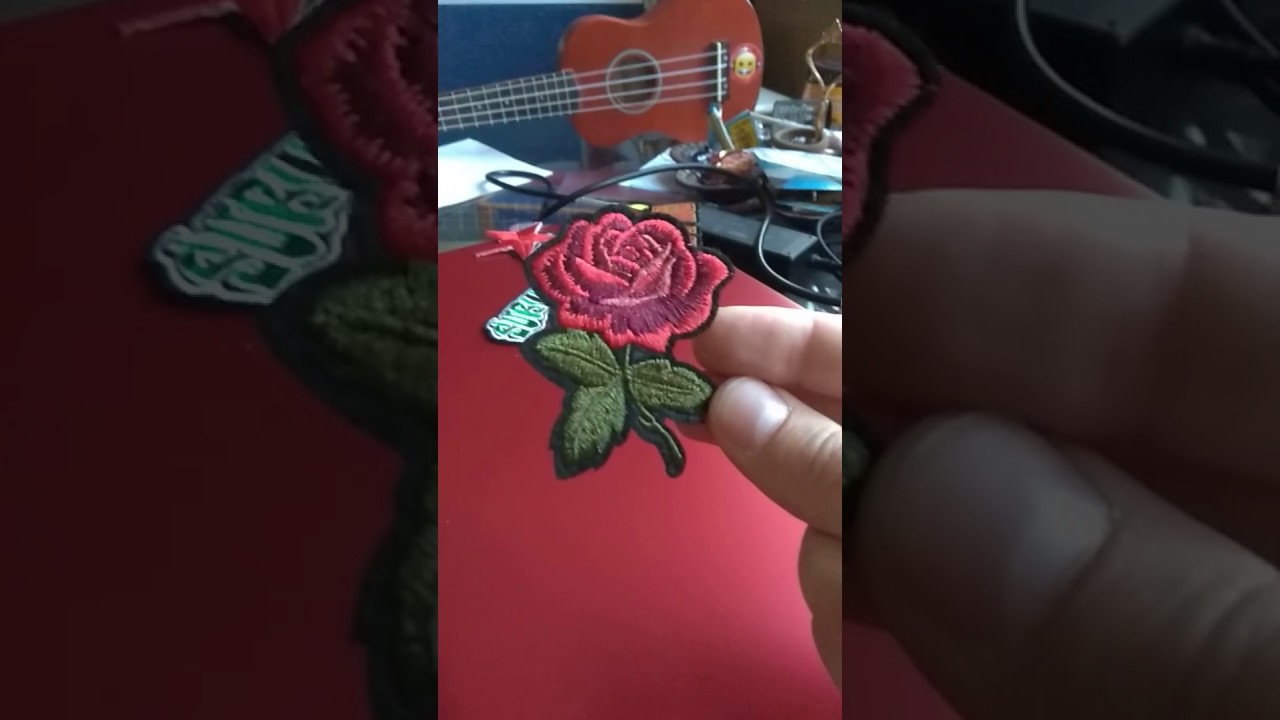
Often you can find applications, the reverse side of which is no different in structure from the front one. These are decorative elements devoid of an adhesive base and requiring auxiliary materials to adhere to clothing. Therefore, in addition to the applique, it is worth purchasing an adhesive tape. It is a thin paper, rolled into a roll, on the reverse side of which glue is applied in diamonds. Follow three simple steps to properly adhere the sticker to your clothing using this method.
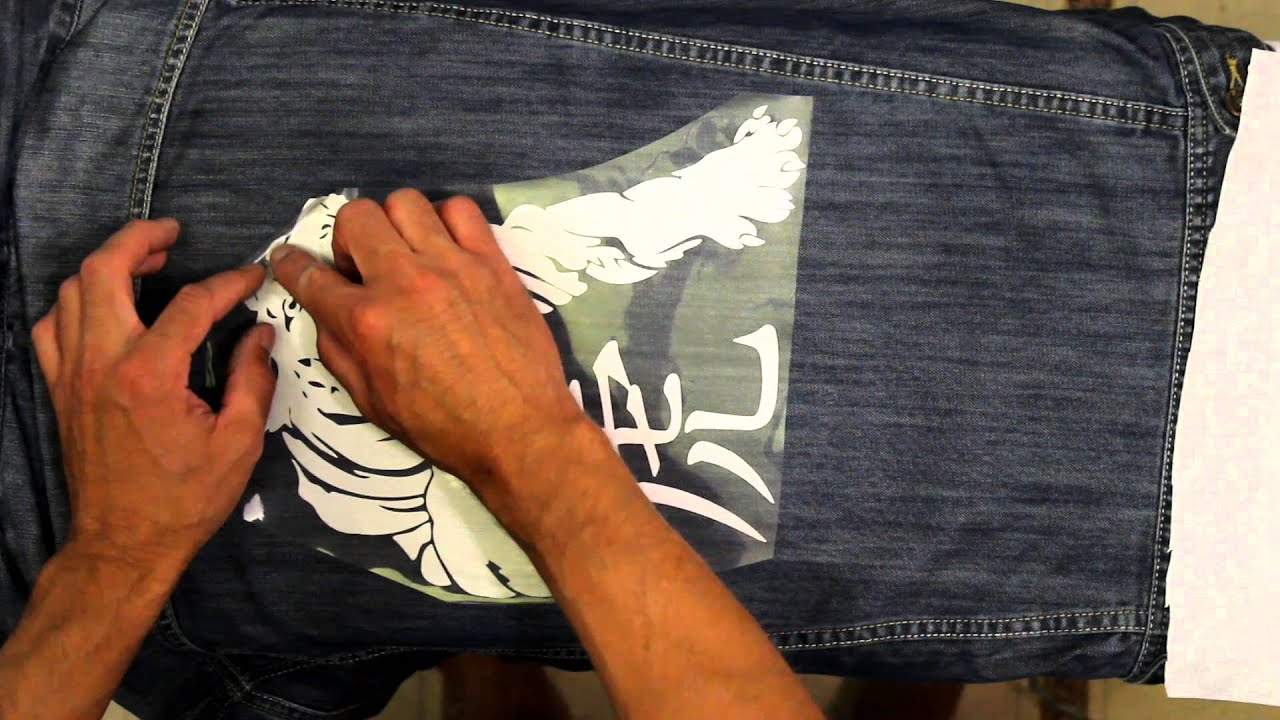
- We connect the adhesive tape to the product. To do this, heat up the iron to the maximum temperature, apply an adhesive layer to the seamy side of the applique, and firmly press the household appliance against the paper side of the tape. After a couple of seconds, the glue applied to the back of the paper will melt and adhere well to the wrong side of the decorative element. If it doesn't, spray some water from a spray bottle onto the paper and do the same thing again.
- We tear off the glue paper. After the glue has been successfully applied to the wrong side of the applique, the roll must be torn off along the edge. Thus, the used piece of adhesive tape will be detached from the main one.
- We glue to clothes. We put the decorative element with the glue layer applied to it, "facing" to ourselves, and the reverse side - to the front side of the garment. Cover the applique with a clean sheet of paper from above and press it again with an iron to a hard, even surface. We hold the iron under pressure for about 20 seconds, remove, let the paper cool, remove the paper layer - and enjoy the result.
To patch up the hole
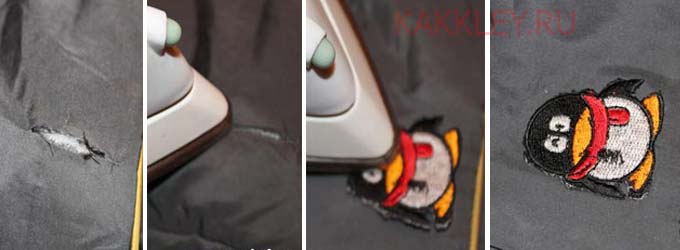
Most often, housewives undertake to transfer thermal stickers to clothes not for the purpose of decorating and decorating them, but in order to patch the hole formed after the fall. In this case, it is necessary to attach an adhesive interlining to the process, which will protect the damaged edges from "creeping".
Choosing a sticker
When choosing a patch sticker, it is important to consider the size of the hole. The applique and the piece of adhesive interlining to be used in tandem should be about 1 cm wider than the damaged area.
We lay the non-woven base
Carefully push the non-woven flap cut along the sticker contour into the hole. The auxiliary material must cover the resulting hole from the inside. The adhesive surface should be facing towards you.
We glue the applique. On top of the hole, closed from the inside with non-woven fabric, put a thermal sticker. Cover it with a layer of paper or parchment and press the paper with a hot iron for 15 seconds. After that, we wait until the paper has completely cooled down, and we complete the process by removing the paper layer from the decorative element and making sure that the work has been done efficiently.
What is an iron-on transfer and what can it be?
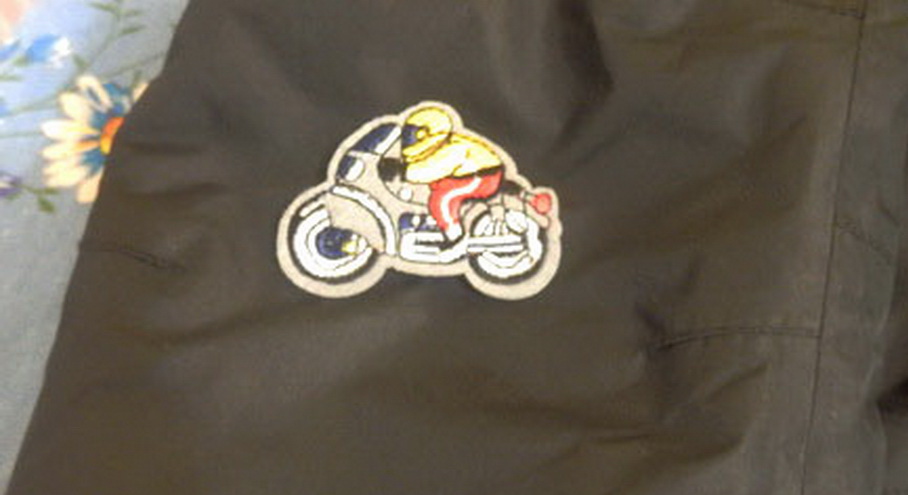
The name "thermal sticker" speaks for itself: to stick it you need to heat it up. Apply a thermal sticker to the fabric from the front side. It is often used as a decorative patch on products with defects: holes in the knees, stains that cannot be washed, or faded areas.
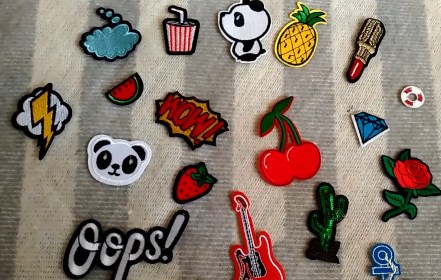
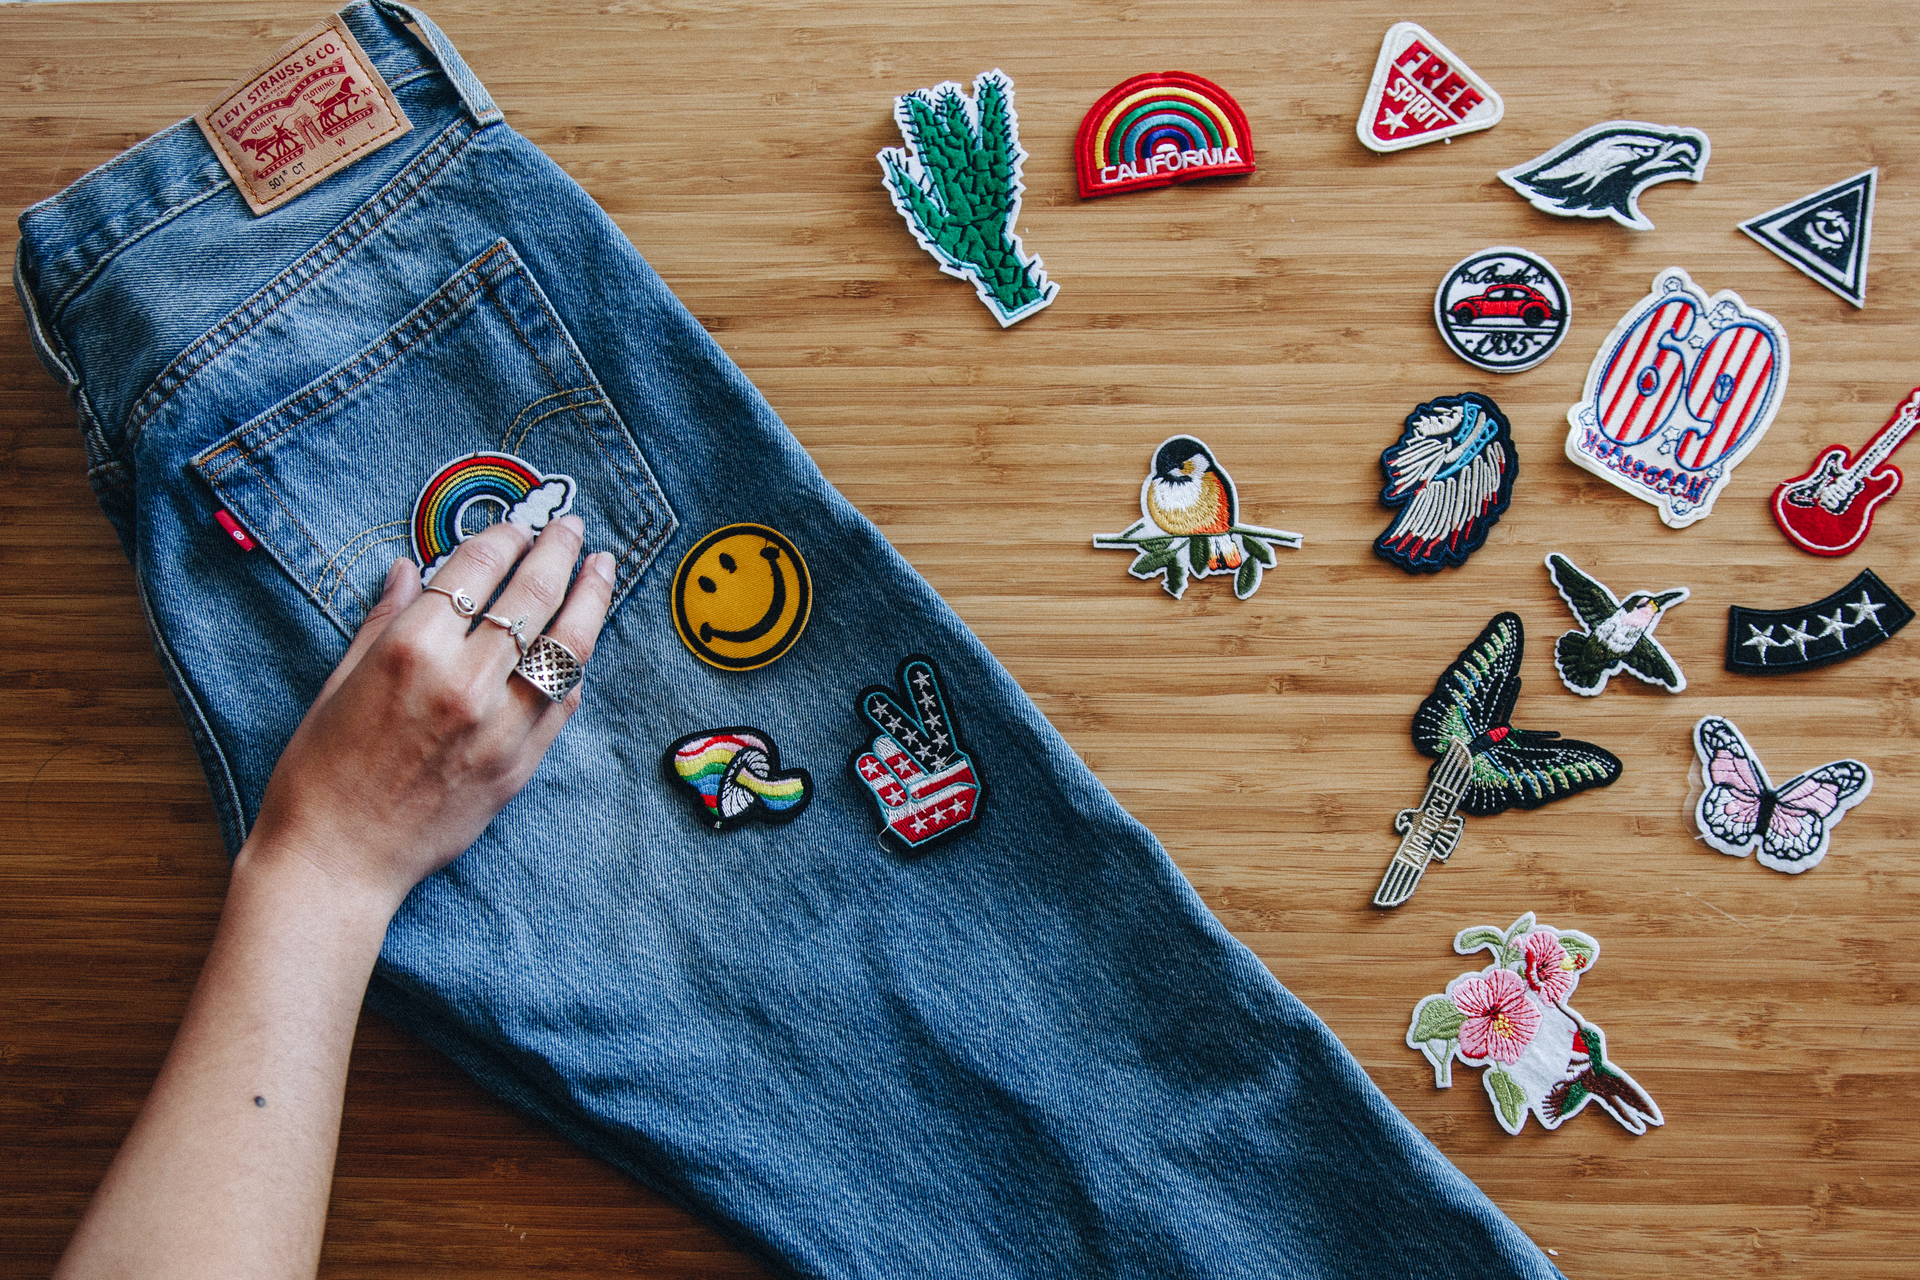
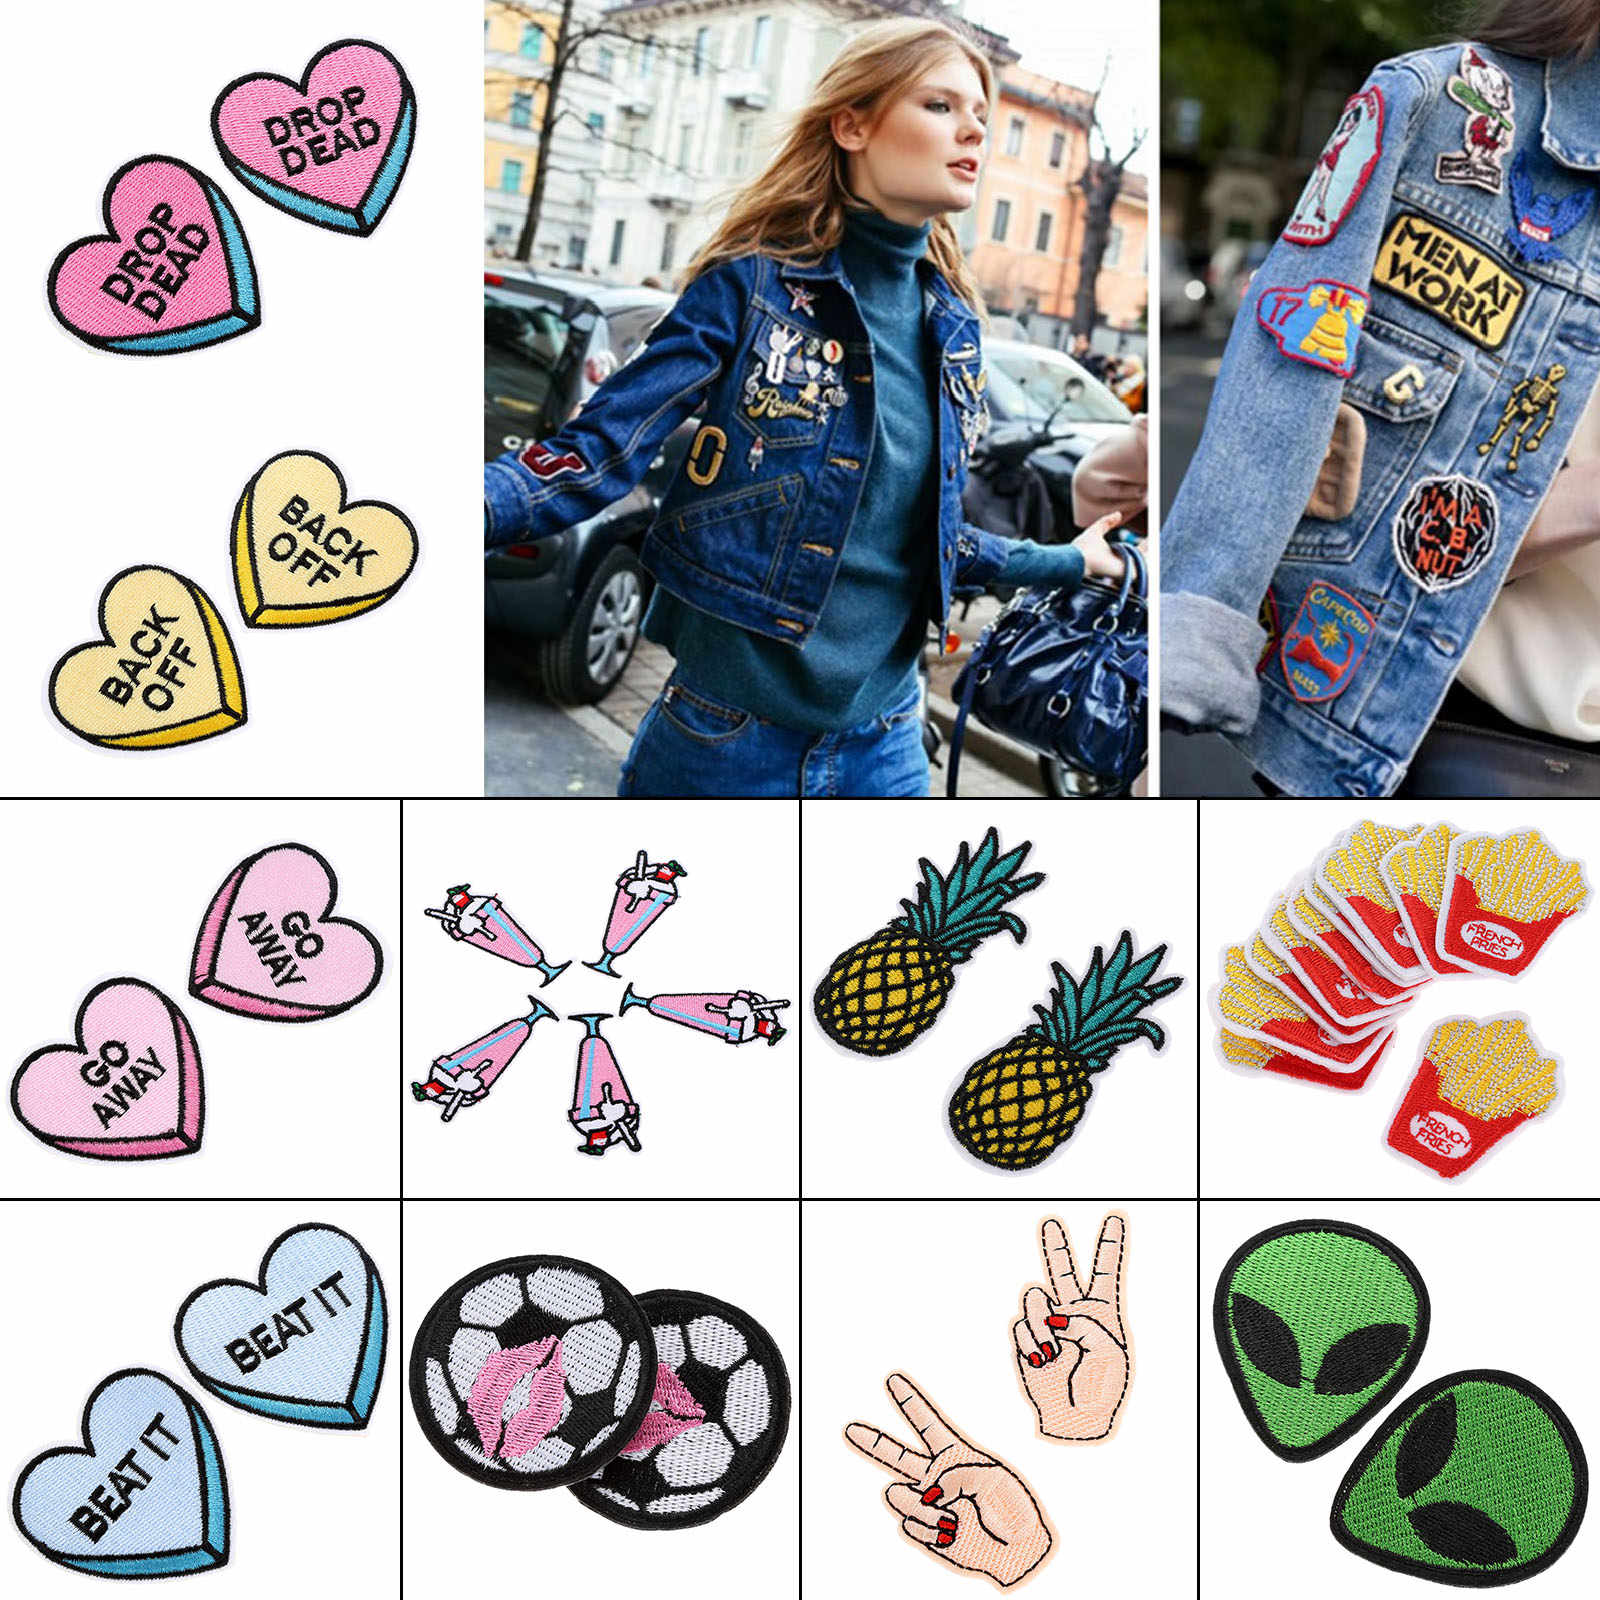
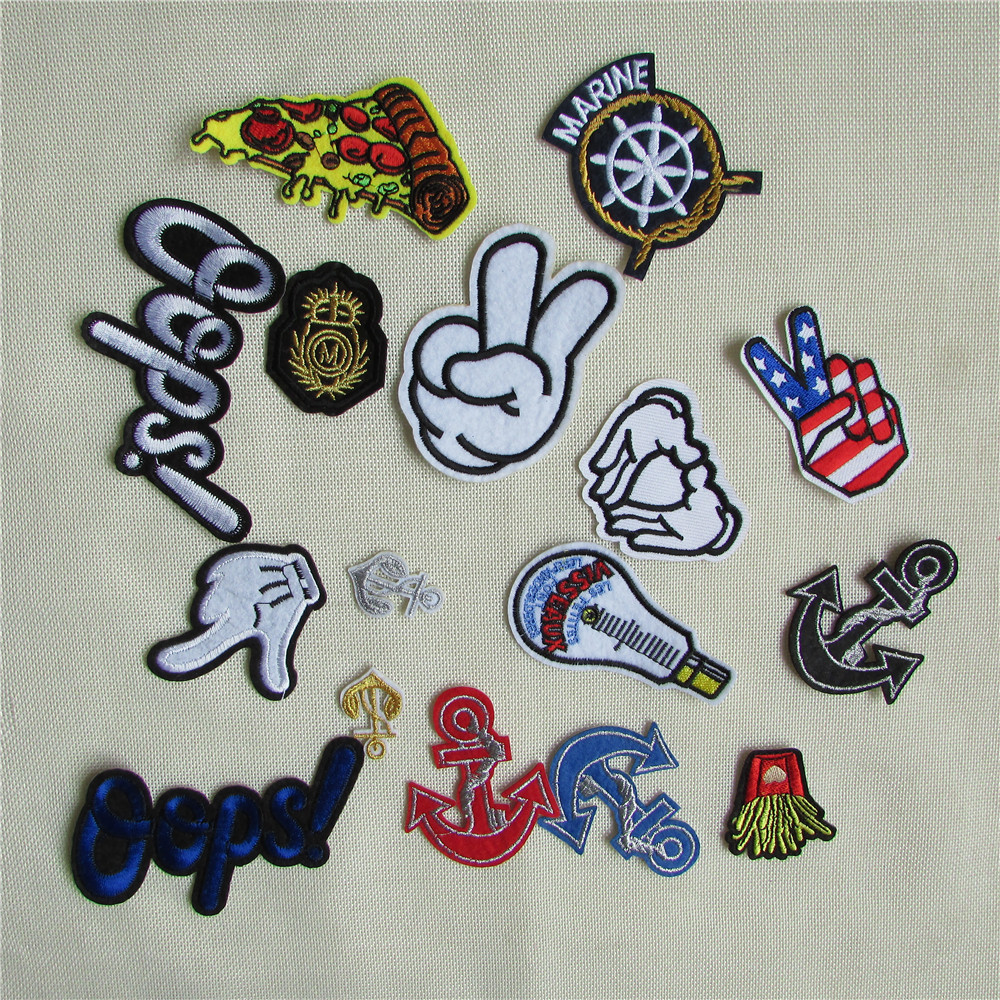
You can buy thermal stickers in almost any salon of fabrics and sewing accessories. They are cheap, and the variety of designs allows you to choose an applique for both children and adults of different styles:
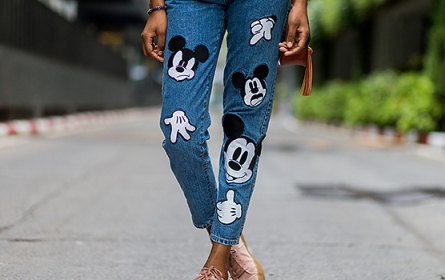
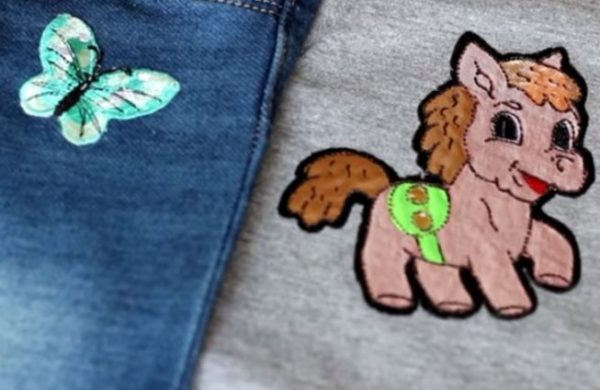
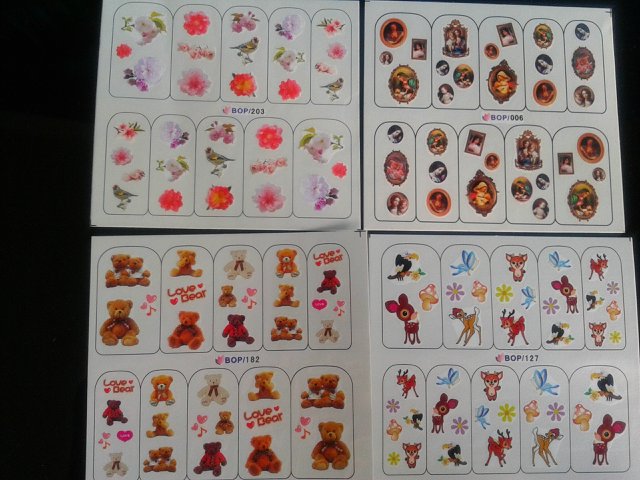
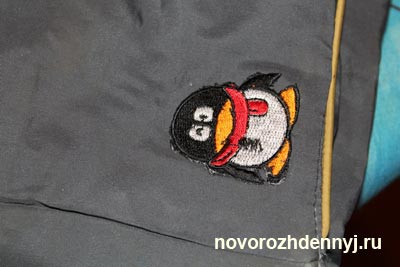
- children's stickers can have an image of cartoon characters, animals and birds, toys (balls, airplanes, pyramids, etc.);
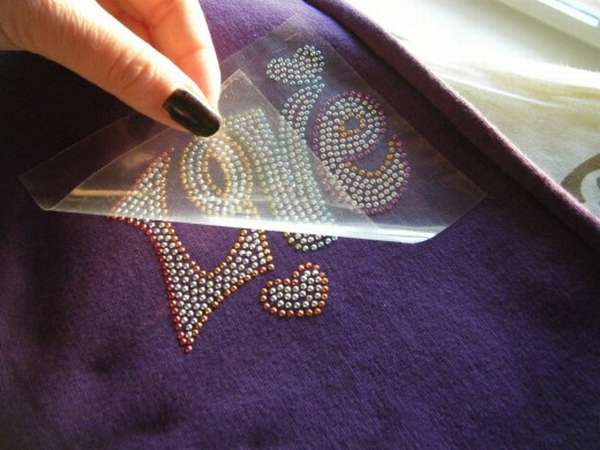
- for women's clothing, you can choose an applique with imitation of embroidery or lace, decorated with rhinestones, sequins or sequins;
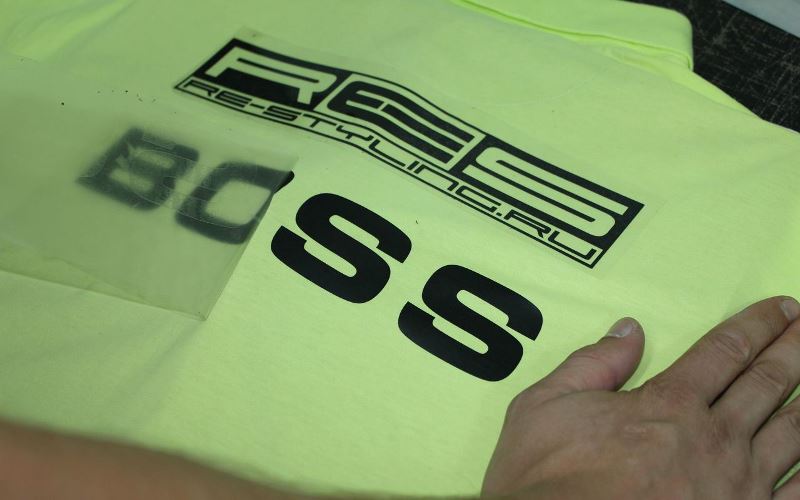
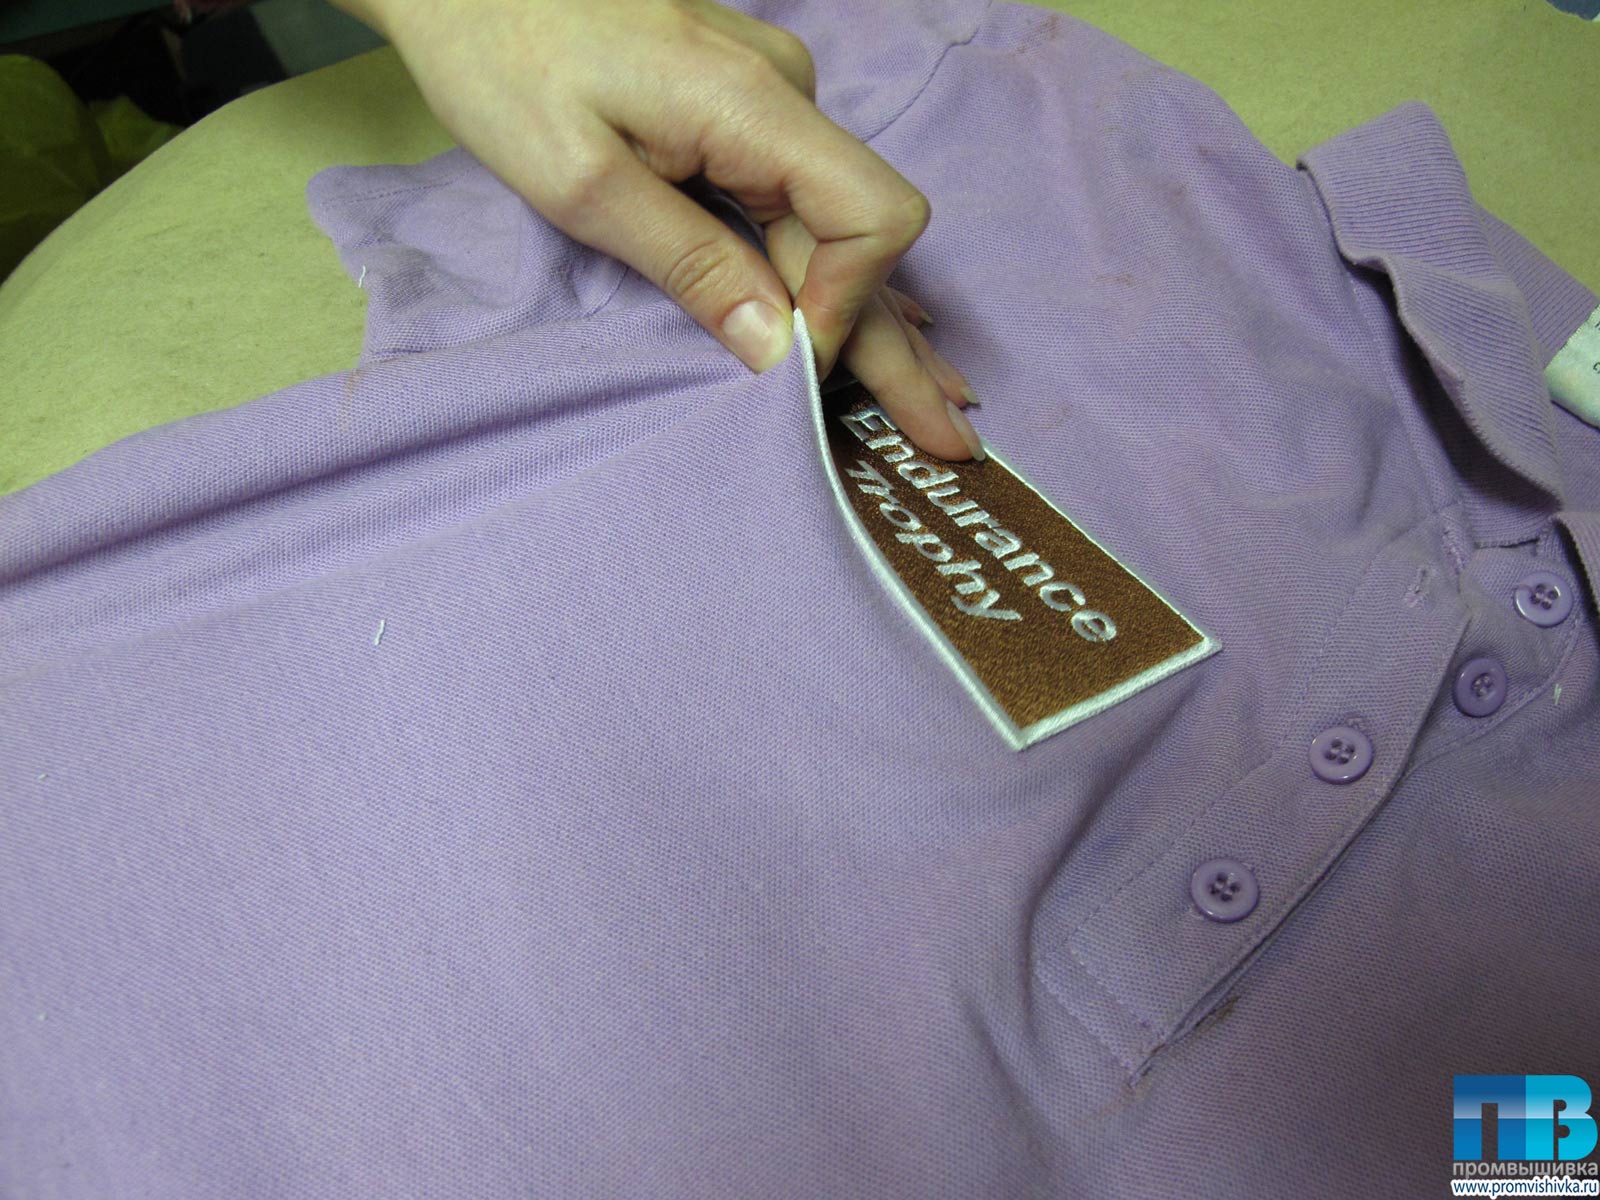
- For men's clothing and sportswear, stickers with the image of logos (names of brands, including designer clothes), emblems of sports clubs, and inscriptions made in various styles are popular.
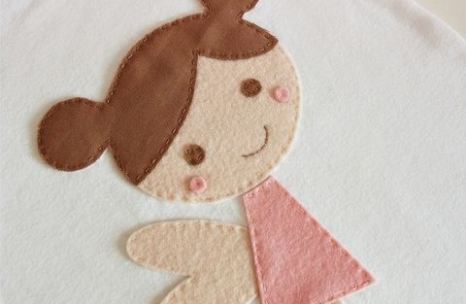
Most often, the basis of the iron-on adhesive is flock. This is a nonwoven material with a low pile on the front side. However, other thick fabrics can also be used. The pattern on the front side can be applied by machine embroidery. This technology is the most common, but there are also alternatives, for example, the base of the sticker can be fabric, and only its edges are machine-stitched.
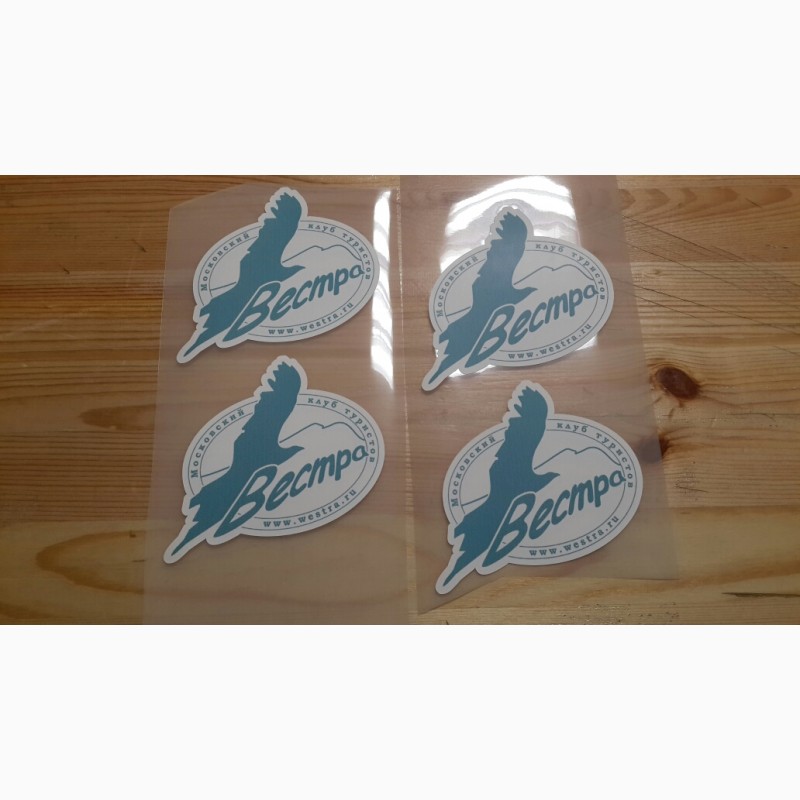
Recently, thermal stickers, which are applied to fabrics by thermal printing, have become more and more popular. They are also called thermal transfers. The basis of the sticker is a thermal film on which a drawing is applied with special ink.If polyflex film is used, the image on the fabric is thin but dense. When using polyflok, the stickers are velvety and soft to the touch.
All kinds of inscriptions are considered popular, especially initials, company and brand names. Such thermal transfers can be of absolutely any design. Similarly to the above, they are transferred to the tissue under the influence of high temperature. But unlike fabric-based iron-on stickers, film stickers adhere firmly to the fabric, and it is rather difficult to remove them without damaging the product. The glue on fabric iron-on stickers can be permanent or temporary. In the second case, the stickers can be removed from the product if necessary.


What fabrics are iron-on transfers used for?
Iron-on stickers can be used on a variety of fabrics, but it is important to choose a sticker so that it is not thicker than the material of the garment. Otherwise, the decorated part of the fabric may sag under the weight of the sticker, which will ruin the appearance of the product.
That is, for a light satin or silk blouse, a large flock thermal sticker will not work.
You can use thermal stickers for any clothing, from T-shirts to down jackets. They can often be seen on sweatshirts, jeans, vests, blouses. In addition, they are often used to decorate bags and backpacks, caps and other accessories. Even textile shoes, such as summer slip-ons, can be decorated with a sticker. But before decorating a product with a sticker, you need to think twice, since removing it from clothes, like the glue from a thermal sticker, will not be easy.
It is best to use thermal stickers for cotton fabrics, heavy knitwear, denim, corduroy. Lightweight material can “wrinkle” under the thermal label and deform while gluing the sticker. It is also worth keeping in mind: in order to glue the thermal sticker to the fabric with an iron, it must be heated to 120-130 degrees. Not every material will withstand exposure to this temperature. You need to be very careful, as there is a risk of burning your favorite silk blouse or skirt if you accidentally touch the iron soleplate.
DIY sticker
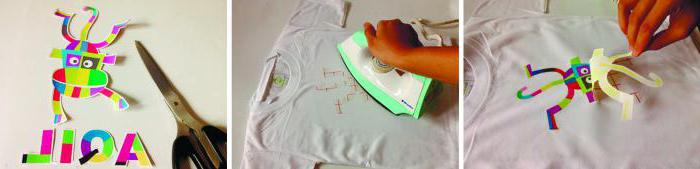
At first glance, it may seem that it is impossible to make a sticker, but in fact, it is very simple, easy and fast. The main thing is to find a plastic bag, which will show what will later decorate clothes. When such a package is found, it will still be necessary to prepare for work:
- parchment;
- scissors;
- iron;
- a clean item to which the sticker will be applied.
Also in this case, you can use paper cake tins. But they must be new. The picture cut from the package, we apply it to the place on the fabric where the sticker will flaunt, cover it with parchment paper and smooth it on top with a hot iron. If suddenly it does not stick very well, then you should once again go through the iron.
But not only a beautiful applique can be made from a bag, it can be made of fabric. You can also buy the popular nowadays thermal stickers and glue them on clothes with your own hands, closing the hole or simply decorating an already boring thing. How to stick stickers correctly on baby clothes?
Stages
When the thermal sticker has already been purchased, you need to prepare everything you need to properly stick it. No special skills are required, the main thing is to follow the instructions, which are presented in the table below.
| P / p No. | Stages of applying the sticker |
| 1. |
Prepare the surface on which the iron-on fabric will be applied. An ironing board is best for this. You can also use a table or, in extreme cases, do everything on the floor, but be sure to put a thick cloth on them, folded several times. |
| 2. |
Now you need to lay out the fabric on the surface so that there are not a single fold and wrinkle. |
| 3. | Stickers are applied to the fabric in the place where they will be in the future, with the pattern down, and the paper should be on top.Think carefully about whether you have chosen the right place, because after the effect of the iron, you will no longer be able to move the application. |
|
4. |
The iron should be heated to a temperature that can withstand the fabric to which the applique is applied. |
| 5. |
Put paper on top of the sticker so that the fabric does not deteriorate. |
|
6. |
Place the iron on the paper under which the sticker is located and press down firmly. Hold for no more than 15 seconds. If the drawing is larger than the iron, then you need to press down several times around the entire perimeter of the applique. Iron the edges and small parts of the pattern well. |
| 7. |
Allow the decal to cool, otherwise it may pull on the paper and deteriorate. |
| 8. |
After the paper has cooled, remove it from the drawing, just carefully, and be sure to make sure that the entire pattern lies evenly, if suddenly a defect is found somewhere, run the iron again. |
| 9. |
If the pattern is evenly printed on the fabric, you can remove all the paper completely and the applique is ready. |
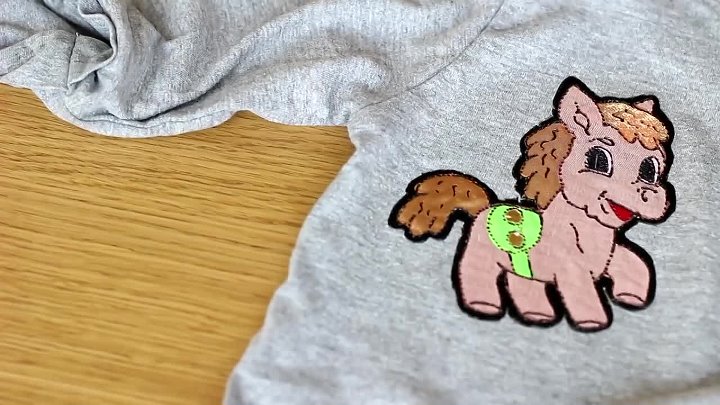
It is not difficult to apply children's thermal stickers on clothes with your own hands, the main thing is to do everything correctly point by point. If something is done wrong, then both the applique and the clothes will be ruined as a result. Thanks to such innovations, you can give a second life to an already annoying T-shirt or dress.
Stickers made by yourself or bought in a store are no different from one another. All of them can serve for a long time and not be erased, the main thing is to take care of them and do not squeeze the washed thing on which they are applied. And so it does not require special care.
After you learn how to properly glue appliques on clothes, you can open your own business. Where do you start? What materials will you need?
How to remove a sticker from things
 Before removing the iron on clothes, you should determine the type of fabric and the priority method of mixing. For example, high temperatures should not be used on delicate materials - it is better to find a less traumatic method.
General Tips
Before processing, you should pay attention to the features of the procedure:
- Removal usually takes a long time, and the steps will have to be repeated until the adhesive is completely removed.
- Cleaning agents are tested on an inconspicuous area of the product to ensure they are harmless.
- It is worth starting with harmless methods, then moving on to more aggressive methods: solvents and special chemicals.
Before the procedure, you must wear protective rubber gloves and a respirator if you work with chemicals and alcohol-containing solutions.
Solvents
Chemical solvents can be purchased from the household chemicals department: they effectively and quickly remove glue from clothing, allowing you to remove the thermal sticker. Before use, it is necessary to check how the agent acts on the fabric: if there are no visible negative changes, then the solvent can be used.

There are several steps you need to take to remove the thermal sticker from your clothes properly: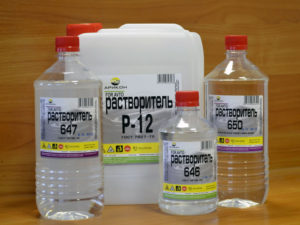
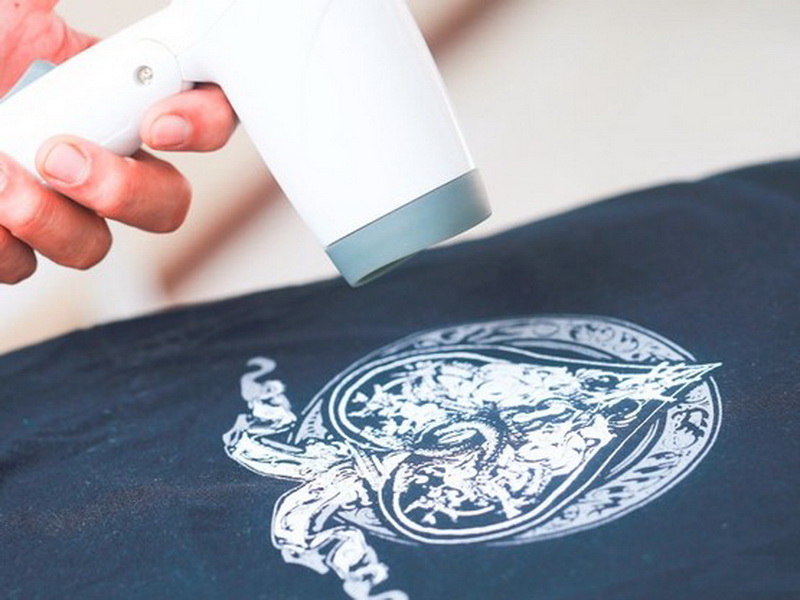
- First, the area is heated: for this, the item is placed in a dryer or processed with a hairdryer. Due to the high temperature, the sticker becomes mobile.
- After that, the product is turned inside out and laid out on a horizontal surface with the reverse side of the pattern up.
- Next, a solvent is taken and applied to the treated area. It is recommended to stretch the fabric slightly so that the product is absorbed better.
- After that, it is enough to peel off the application with a nail file or knife, and wipe off the remaining adhesive base with alcohol.
In the end, the item is washed by hand or in a typewriter, while it must be removed from other items so as not to spoil them with solvent.
High temperatures
An iron or hair dryer will help melt the adhesive, making it easier to peel off the sticker. The method is time consuming, but it is quite effective for dense fabrics.
First, a towel or cardboard is placed under the area to be treated to protect the product and prevent glue from smearing.If an iron is used, a damp thin towel is placed on the sticker, then a heated appliance is placed. For vinyl thermal stickers, parchment is laid - this is how the pattern will be taken from the T-shirt to the paper.
After softening the glue, scrape it off the fabric with a dull knife from the edges to the middle. Sticky residues can be removed with alcohol or solvent.
Scotch
This method can be used to peel off applications from fabrics, on which the formation of puffs is excluded. First, several pieces of adhesive tape are cut, then they are pressed against the pattern and come off abruptly. Such "depilation" helps to quickly tear off the sticker, but before the procedure you need to make sure there are no holes.
Low temperatures
You can remove the thermal sticker from your clothes with both steam and cold. The low temperature method is also used to remove chewing gum.
Household funds
Soap is a versatile product that fights all kinds of dirt. It also removes the thermal applications: it is enough to lather the clothes with laundry soap and leave for half an hour. At the end of the waiting time, the product is rinsed with warm water. If necessary, the procedure is repeated several times.
Detergents
Fairy Dish Gel helps to remove traces of glue without damaging the fabric. You need to grease the drawing with a lot of detergent and leave it for a couple of hours, then wash it in a typewriter.
Unusual tricks
Peanut butter is not only delicious. It helps to remove the sticker from clothes, as it destroys the structure of the glue, due to which the pattern on things can be quickly removed.
We recommend:
Caring for your leather jacket
You need to apply the product to the application and rub it in, leaving the product for 15 minutes. After that, the item is washed with the addition of powder or gel.
Special means
To remove the thermal sticker from clothes as quickly as possible, you need to use special products, for example, Goo Gone. First, the product must be washed in a machine or by hand using washing powder. After that, the thing is turned inside out, and the product is applied to the target area. As soon as the solution works, the adhesive base will begin to deteriorate.
To speed up the process, the product needs to be stretched in width and wiggled in every possible way. Once the sticker has peeled off, the sticky substance can be wiped off with a tissue.
Transfer methods to clothes
The type of transfers depends on the way they are transferred to the fabric, the image quality and the safety during washing.
With an adhesive layer
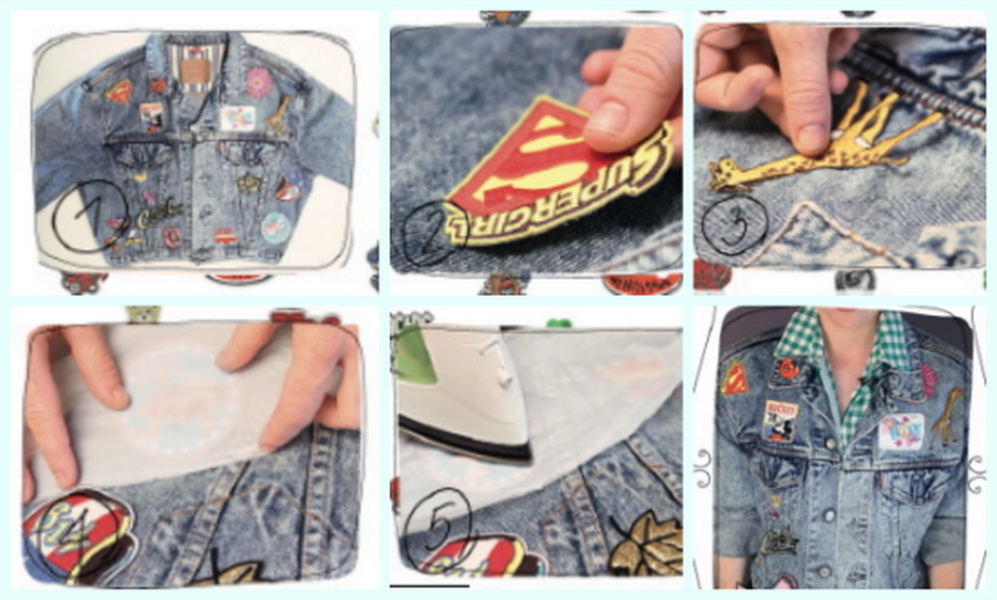
Appliques with an adhesive layer are most often found on store shelves. They are convenient and easy to use. Let's consider the procedure for gluing the sticker to the fabric:
- Clothes are laid out on an ironing board and carefully straightened from wrinkles;
- The iron should be set to the maximum heating level and the steaming function should be turned off;
- The thermal sticker is applied to the selected place with the front side up. Smooth it carefully with your hands to avoid wrinkles and folded corners. If it is necessary to seal the hole, then a non-woven base of a suitable shape should be placed under the applique;
- Cover the sticker with paper (preferably tracing paper or parchment for baking);
- The applique is pressed with an iron so that it is in the middle of the sole. The iron should be pressed and held in this position for 15 seconds;
- Then the iron is carefully lifted and the paper is left to cool completely. Remove the paper after a few minutes. Now you can admire the updated product!
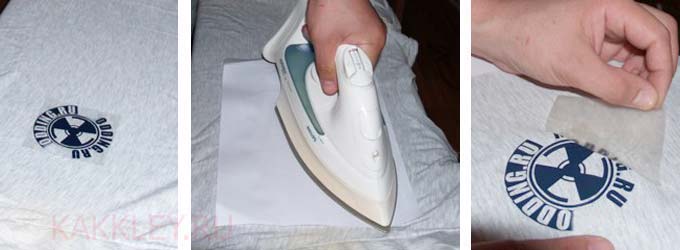
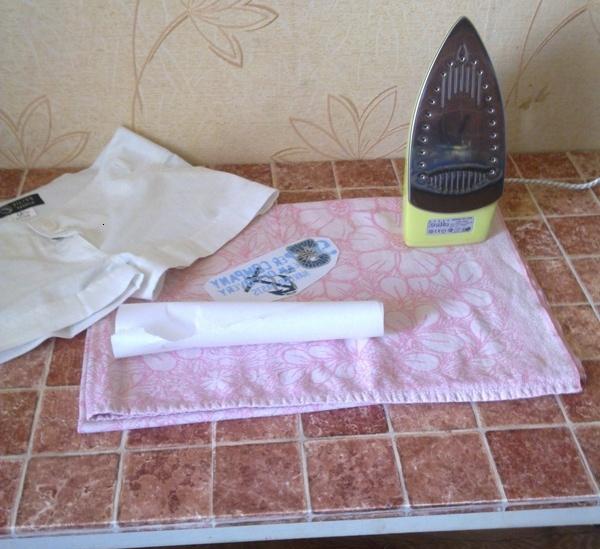 We will prepare everything you need
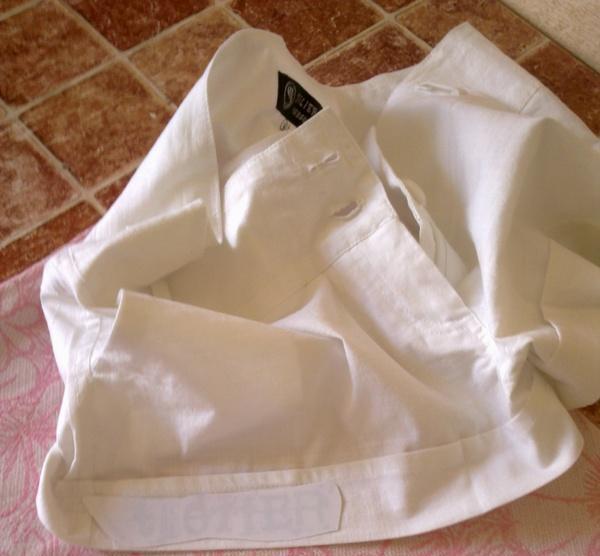 We glue the product
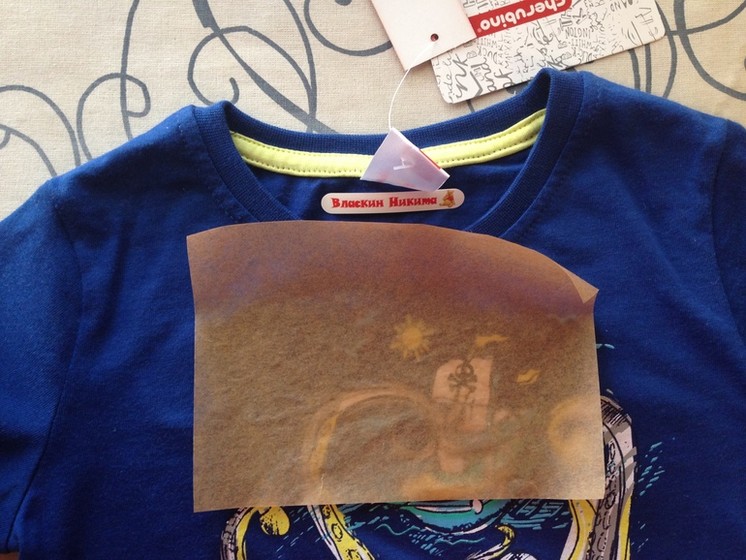
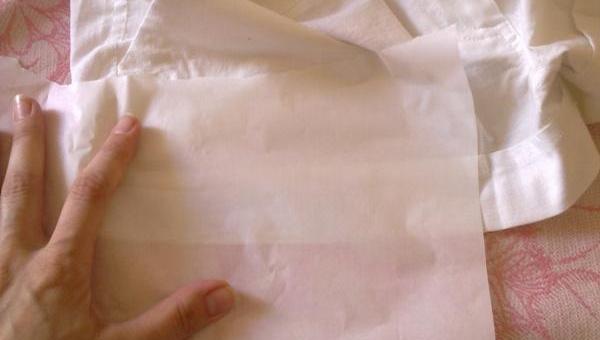 Putting the paper
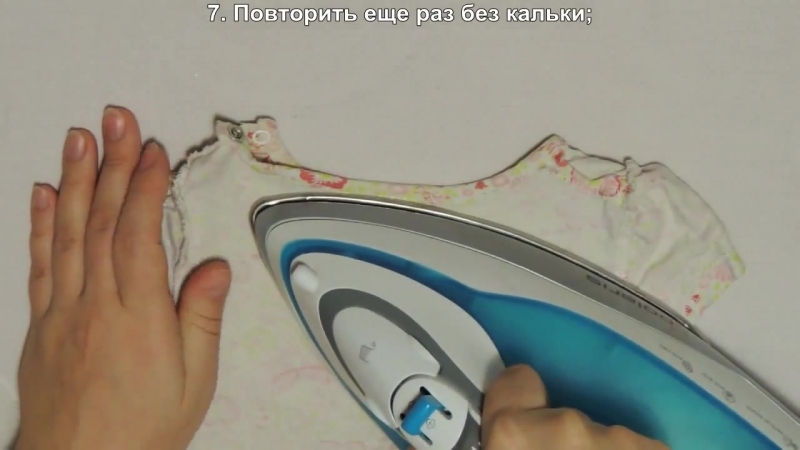
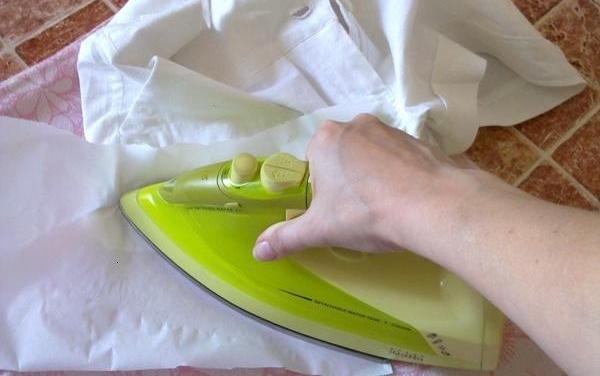 Ironing the fabric
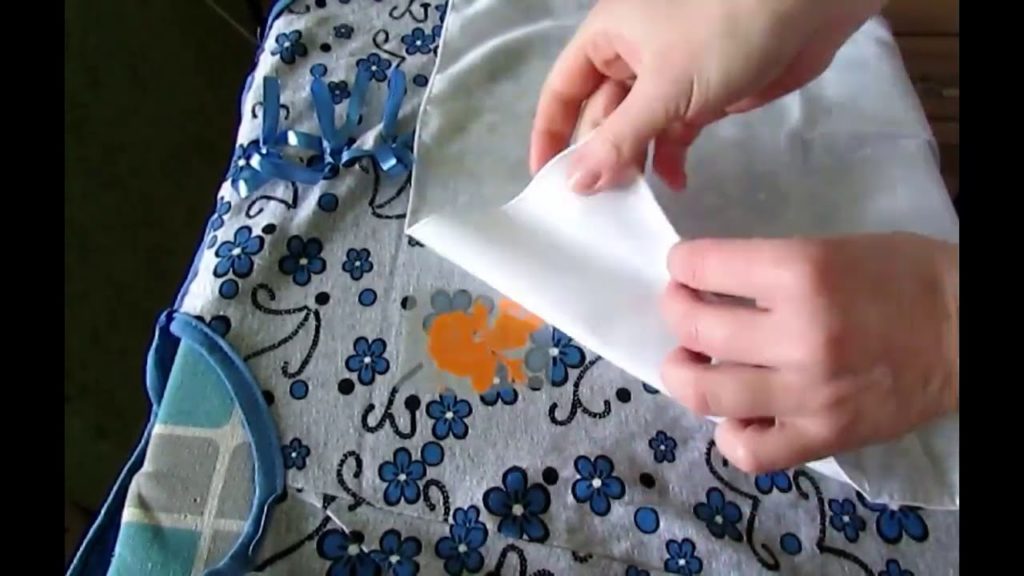
 Peel off the paper
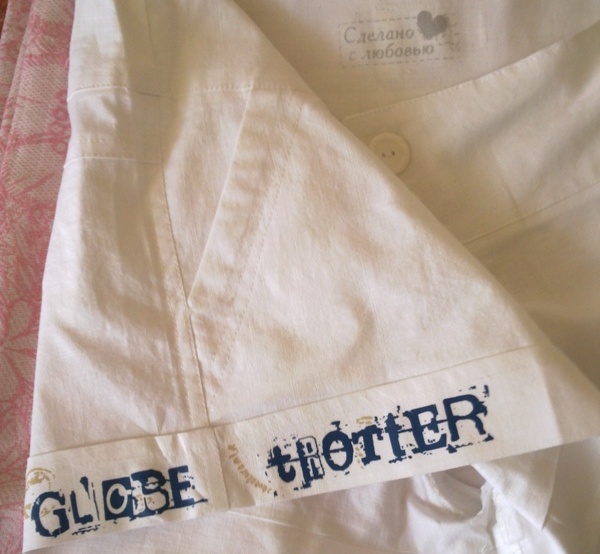 Finished work
Transferable
The stages of transferring thermal transfers to fabric do not differ from the algorithms for gluing conventional stickers with an adhesive layer. If, as a result of the work, the structure of the fabric is imprinted on the picture, it means that the image translation was carried out successfully.To avoid damage to things, you should perform a test translation of the image on a small piece of fabric.
Sew-on
You can sew on the finished applique on a typewriter or by hand. To make the product look neat, the following recommendations must be followed:
- Apply the applique to the fabric, straighten it, make sure there are no folds;
- Attach the transparent foot to the machine and select the zigzag stitch. In this case, the upper thread must match the color of the picture;
- The line is sewn along the edge of the applique, accurately repeating its shape.
The applique is sewn by hand with small stitches. They should be close together and at right angles to the edge of the fabric. These recommendations are valid for both purchased applications and handmade works. Separately, mention should be made of the labels and tags that mark children's clothing. They are convenient in that they do not require additional processing of the edge, withstand numerous washes and are easily stripped. They are sewn to the side seam bent in half ("loop"), or on both sides (for example, on the back of the product at the neck).
 Example
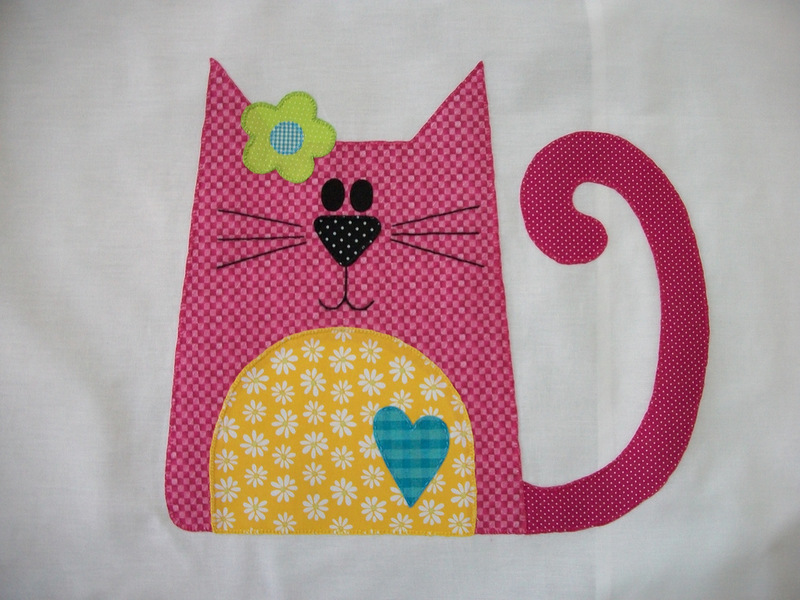 Applying an applique
 We sew the product
With your own hands
If there is no opportunity to buy a sticker, but there is a need for it, you can create a thermoapplication with your own hands. This is not as difficult as it seems at first glance. And, besides, it is very interesting. The child can be involved in the process. He and you will love making a DIY iron-on sticker.
- a plastic bag with a beautiful pattern;
- parchment paper;
- stationery scissors;
- iron.
- Cut out the picture you like from the plastic bag. It is she who will become the basis of the application.
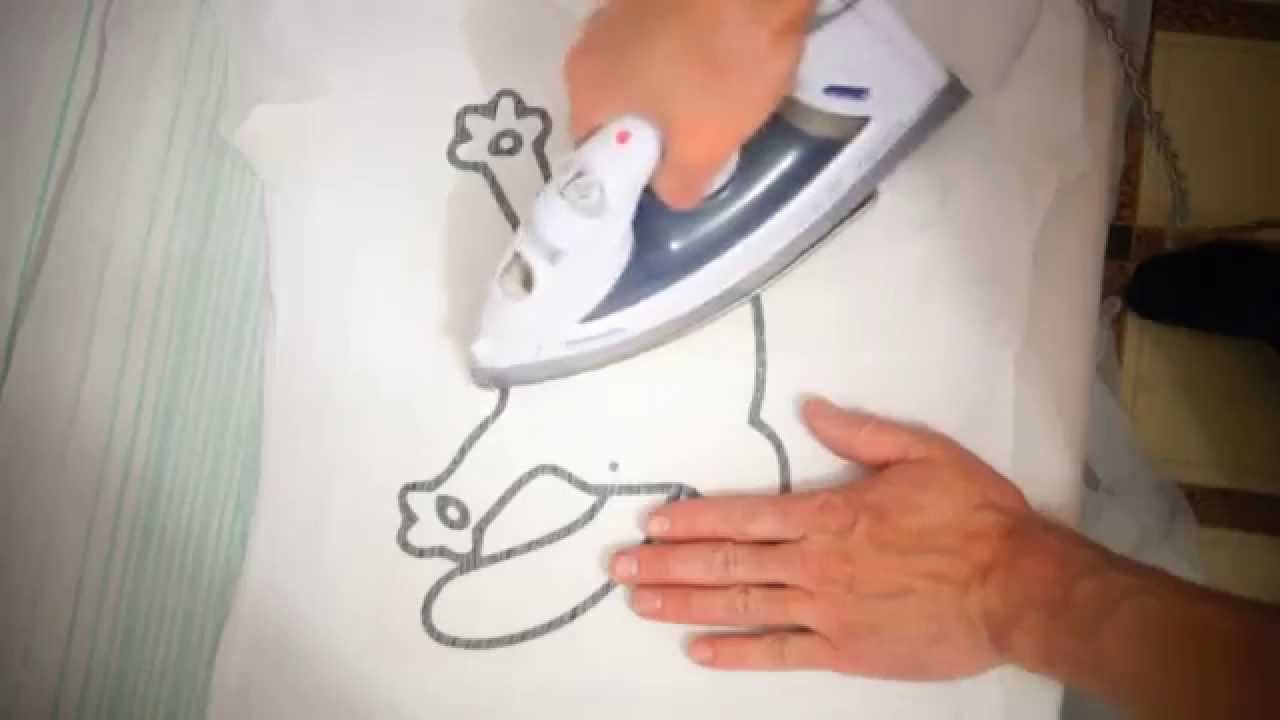
- We attach the cut-out piece of polyethylene to the place on the clothes where it will be subsequently glued.
- Cover the plastic print with a clean sheet of paper.
- We warm up the iron and press it against the paper cover.
- We hold the household appliance under pressure for up to 30 seconds, remove the iron, let the paper cool completely and check the quality of the work done.
Wardrobe items decorated with appliques require special care. Observing simple rules, you can maintain the original look of clothes for a long time. Clothes with thermal stickers must be washed in water, the maximum temperature of which is 40 ° C. Before sending a thing to the washing machine, it is recommended to turn it out on the wrong side.
It is not enough to know how to glue applique on clothes. The owner of the decorated item, among other things, must also have ironing skills. You can apply the iron only to the wrong side of the fabric, if possible bypassing the place with the sticker side. Using a hot iron is also discouraged. It is better to give preference to the medium temperature of the metal plate.
Instructions for applying different types of thermal stickers
To put the patch correctly and beautifully, you need to do it taking into account the variety of decorative materials and base fabric.
Decal:
- To apply it to a surface, you should first examine the tags on your clothing and make sure you can handle it with a hot iron.
- Flatten the surface.
- Remove the protective film and attach the design to the fabric.
- Cover the top with a cotton napkin.
- Iron with an iron heated to 150 degrees for 10 seconds. The steaming mode cannot be used.
- If there is a hole on the product, first it is filled with adhesive interfacing from the outside.
- After that, apply a sticker and iron it with an iron. The size of the sticker should be slightly larger than the hole to cover it completely.
Hot-melt patch:
- You need to choose the correct size patch. You can change the shape yourself by cutting off the excess with scissors.
- Apply to the damaged surface and run over it with a hot iron. Some types need to be pressed, not ironed.
- The exposure time depends on the fabric of the product.On average, 30 seconds is sufficient.
- For synthetic materials, it is advisable to put cotton fabric under the iron.
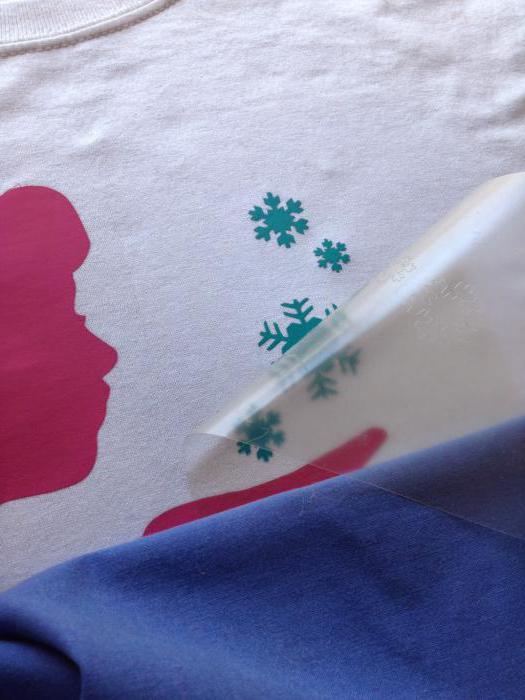
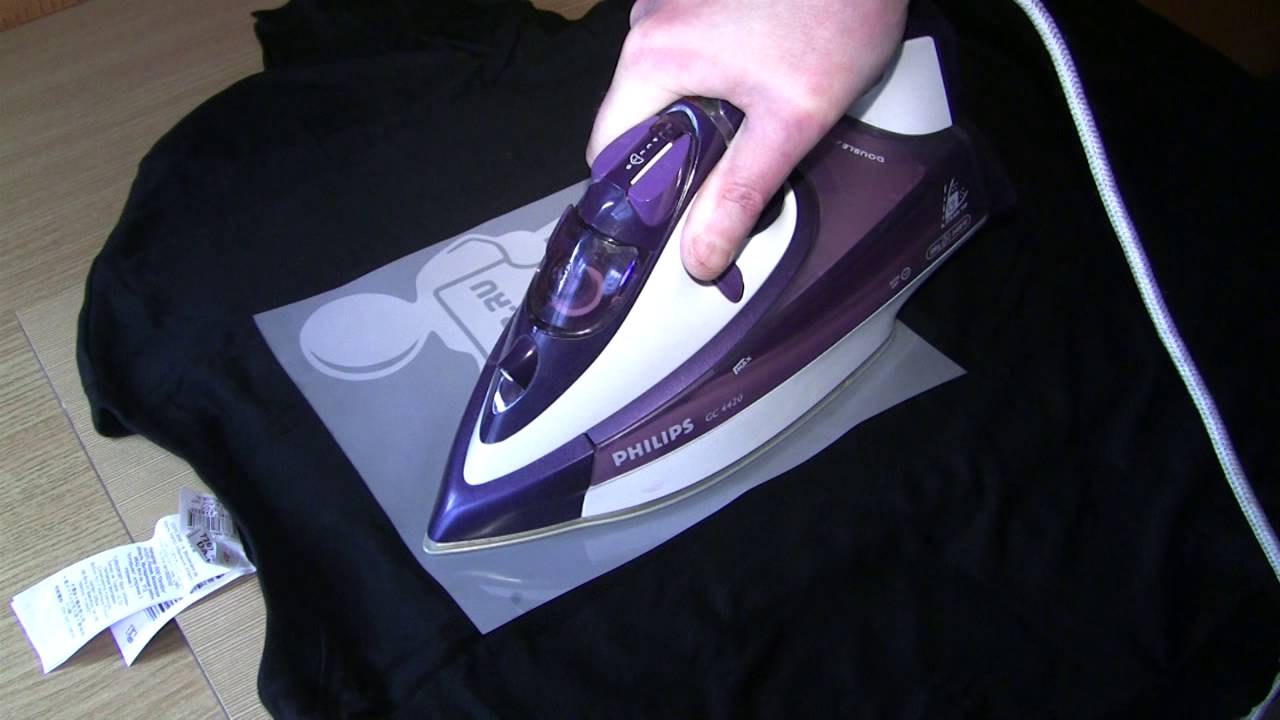
Thermal film:
- The application technology is similar to the previous one. The only difference is that the picture should be applied with the front side to the thing.
- Put a sheet of paper on top, press down with the sole of the iron.
- To securely glue the thermal transfer, you can iron the area with the transfer from the wrong side.
- When the sticker has cooled down, carefully remove the backing and iron it again.
- If you need to remove the sticker, warm it up with a hairdryer, carefully remove the sticker from the surface using a knife.
- Wipe the cloth with rubbing alcohol and remove any glue residue. This method is only suitable for thick fabrics and not suitable for delicate fabrics.
Applications without adhesive:
- For these decorative elements, the adhesive base is purchased separately in the form of a roll.
- On the seamy side of the picture, an adhesive layer is attached and pressed with a hot iron to the paper part of the roll.
- After that, the excess base is removed.
- The adhesive part of the sticker is applied to the front side of the garment, covered with paper and pressed with a hot iron for 20 seconds.
- The paper is removed after cooling.
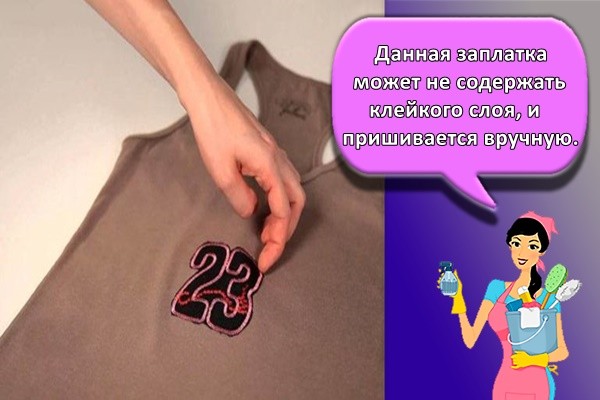
Fabric patches may not have an adhesive layer. They are sewn by hand or on a sewing machine. First, bast in one thread, then stitch along the contours.

Useful video on the topic:
Types of stickers on clothes
There are different types of labels. The most common are clothing stickers made with thermal transfer paper. These stickers can be easily transferred to clothing using an iron. Thermal transfer stickers come in several varieties: for natural / synthetic, for light / dark fabrics.
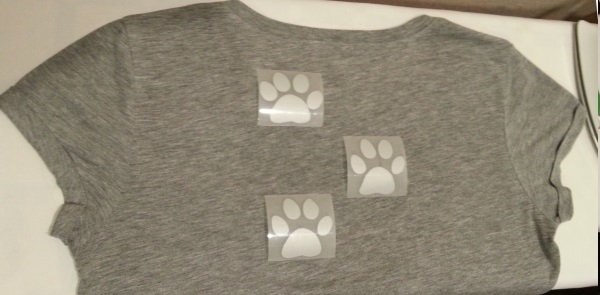
There are also glow-in-the-dark and reflective stickers on children's clothing. As a rule, they are used only for outerwear. In addition, they are made of dense silvery fabric. Such stickers most often need to be applied in specialized institutions using special equipment, since the upper reflective layer is very fragile. Reflective stickers are most commonly used on clothing for school-age children who ride bicycles, scooters or rollerblades and may find themselves on the road.
By the way, do not confuse stickers on clothes with self-adhesive tags. After all, most of the stickers are a very thin film with an image or an inscription, which perfectly tolerates washing and is almost imperceptible on clothes. At the same time, self-adhesive tags are made of different types of fabric with a layer of glue that is activated at high temperatures.
Types of decals
Before gluing the applique to the fabric, you must select and purchase it from a specialized store that sells sewing supplies. There are several fundamentally different types of thermal application, which differ from each other in the base and material of the design element. The table below lists all the available types of iron-on transfers with an indication of their features.
Table - Types of decals
| Type of | Peculiarities |
|---|---|
| Flex | - Thermal film; - has a smooth front side |
| Phlox | - Thermal film; - has a velvety "face" |
| Thermal adhesive with increased elasticity | - Stretches well on fabric; - used for silk, guipure, synthetics and other delicate materials |
| With effect | - Shiny surface (glitter); - with 3D drawing; - holographic |
| Reflective | - With a special coating; - the "face" of the application shines when exposed to light in the dark |
| Phosphorescent | - Has the ability to accumulate sunlight; - glows at night |
Selection Tips
If you intend to apply a thermal sticker to your clothes, but do not know which type of product to prefer, answer a simple question: “What exactly do you want to apply the applique to?”.The choice of the type of sticker depends on the type of fabric on which it will flaunt in the future.
Knitwear and fine cotton garments. To decorate or "save" these elements of everyday wardrobe, thermal film with a thin base is suitable. It can be easily glued to the cotton base. During the period of operation, the applique will sit and stretch along with the product, without a single hint that it is "not native" to him.
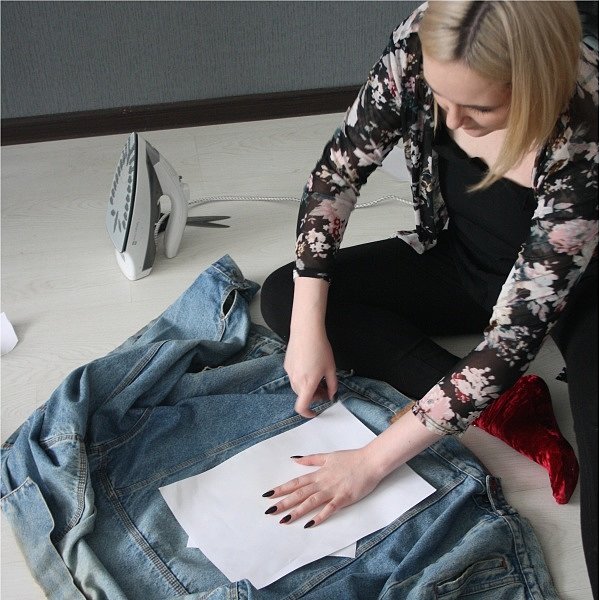
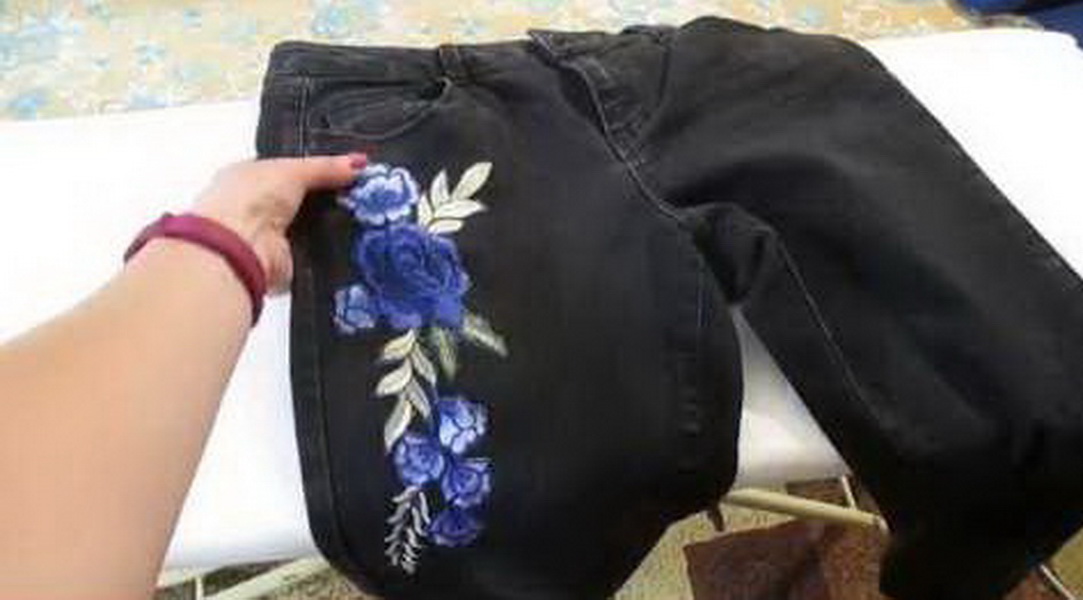
Jeans, bologna jacket, cloth bag. Thermal films with a thin base are not suitable for thick clothing. The best option for this case would be applications with a thicker base. For example, fabric iron-on stickers.
Overalls or clothing of a child
In this case, it is worth giving preference to phosphorescent thermal patches on clothes or applications with reflective elements.
In the dark, these details will draw the attention of others to their wearer, which is especially important for road safety.
Fashionable wardrobe items. If your goal is to decorate your favorite thing, use holographic applications or thermal stickers with 3D effect
They are suitable for leatherette skirts, synthetics and silk.
Varieties of stickers
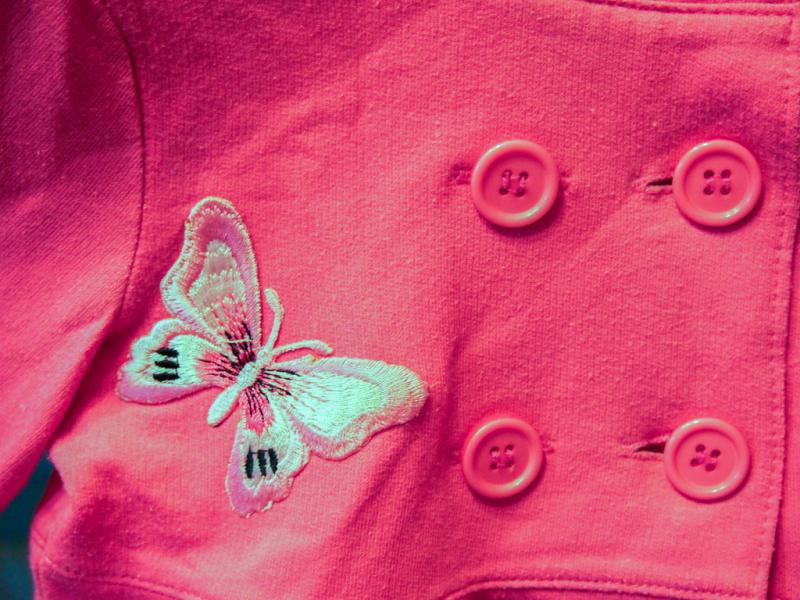
The applications that are glued to the fabric come in various types and sizes. Customers are very fond of stickers imitating hand embroidery or photo printing. To decorate boring clothes, you can choose thermal stickers with a glider or rhinestones. For young people, prints with images of famous artists or emblems of leading brands are more suitable.
Usually flock and velvet, satin and satin are used for the manufacture of thermal transfers. In addition, there are neon stickers that are made from a material that reflects light. It is safe to work or move around in clothes with such elements at night.
Thermal stickers are made of flex, velvet, satin, satin, flock, with or without an adhesive layer. Reflective and phosphorescent appliqués are usually used to decorate a child's clothing or workwear, so that the wearer can be seen in the dark, especially when he is on the road.
There are 2 main types of stickers:
- 1. Thermal film. This is a flat design printed on a film called transfer film. It can be ironed on exclusively to cotton fabric. This type of decor is offered to visitors to photo salons who want to decorate a T-shirt with a portrait of a loved one or make a personalized inscription.
- 2. Application on a fabric base. These iron on clothes are suitable for all types of fabrics, including heavier fabrics. They can decorate leather, denim, synthetic products, patch holes. Such decorations can not only be glued, but also sewn onto clothes. Externally, the drawing will look like embroidery.

With the help of thermal stickers, you can diversify not only your wardrobe, but also the interior. If you stick a patch on decorative pillows, curtains, bedspreads, the interior will immediately turn into an exclusive one.
Thermal stickers - colorful fabric pictures. They are made from flock. It is a non-woven textile with a short pile on the front side. Quite tough, holds its shape well. On the reverse side it has an adhesive base. Decorations are easily attached to the product using a hot press or iron.
There are many options for drawings:
- such as portraits, flowers, objects, animals, beautiful lace - suitable for women;
- mens - logos, symbols, labels, text stickers, solid colored pieces;
- baby characters, funny animals and flickers - will decorate the outfits of kids.
The item to be carried should not be thicker than the fabric of the garment. Otherwise, the material will sag.
Attention!
The sticker is not suitable for blouses and dresses made of silk, satin, cashmere. But it will look on jeans, sweatshirts, jackets, caps, bags and even shoes.
Decals are needed in order to:
- Restore an accidentally damaged item. These are spilled drinks, grass stains. Faded color. Hole or puff in a conspicuous place.
- The desire to make things more beautiful. Decorate with matching label, color decor. Add charm to an ordinary thing.
Stickers give you the opportunity to be creative on your own by changing the wearable with a little effort. You can decorate a piece of clothing with your children. It will be interesting and beneficial. The child will develop a taste.
One of the types is called thermal transfers. They are made and applied using special printers in workshops or at home. They are transferred to clothes according to the principle of children's transfer labels.
Thermal transfer stickers are divided into subtypes: for clothes made of synthetic / natural fabrics, for dark or light clothes. A separate category includes stickers with reflective elements. Used for outerwear, more often for children. They are dense in structure, silver color. They are applied on specialized factory equipment, since the top reflective coating is very fragile.