Troubleshooting
After turning off the machine and de-energizing, disconnecting from the water supply, we make an external inspection to determine why the water is leaking. To carry out this inspection, it may be necessary to tilt the washing machine or remove the back or side covers of the machine. It will be much easier to find the faulty part if you have determined in which cycle of work the leak began to appear.
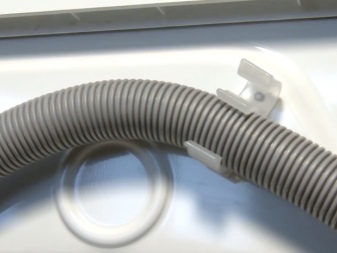
Damaged hose
Damaged hoses, their premature wear and poor connections at the joints are the most common reason why the machine can leak.
Inlet hose leaking
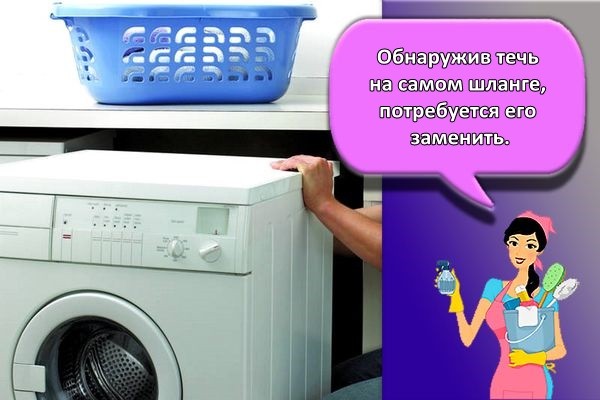
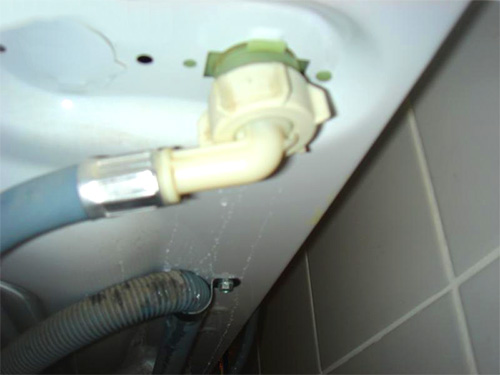
Leakage in the inlet hose can be detected while the machine is not running. If you have established for sure that there is a defect in the inlet hose, then it is not advisable to repair it, since the pressure of the water supplied to the washing machine system is quite high. If necessary, this hose must be replaced with a new one. And if the tightness at the junction of the hose with the machine units is broken, it is necessary to change the gasket and tighten it well. In order not to break the plastic elements of the hose, you need to clamp it exclusively with your hands without the use of additional tools.
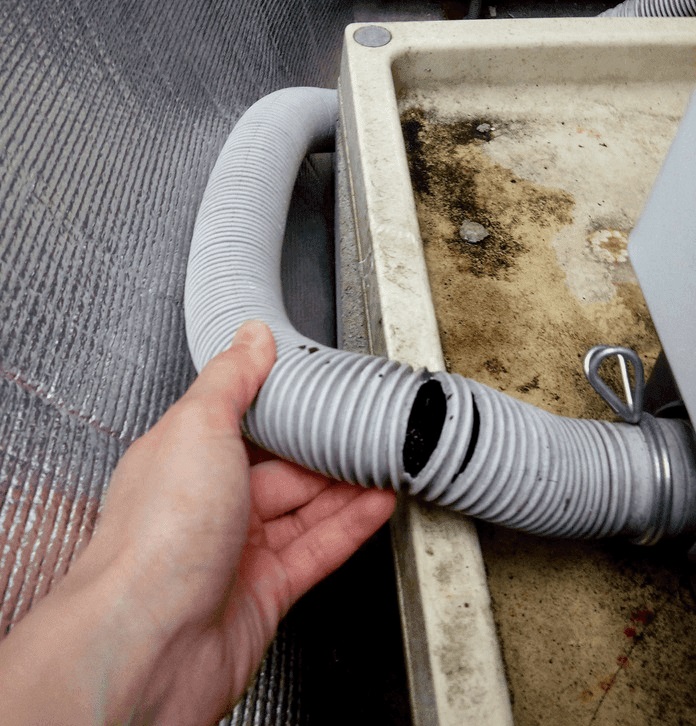
Drain hose may leak

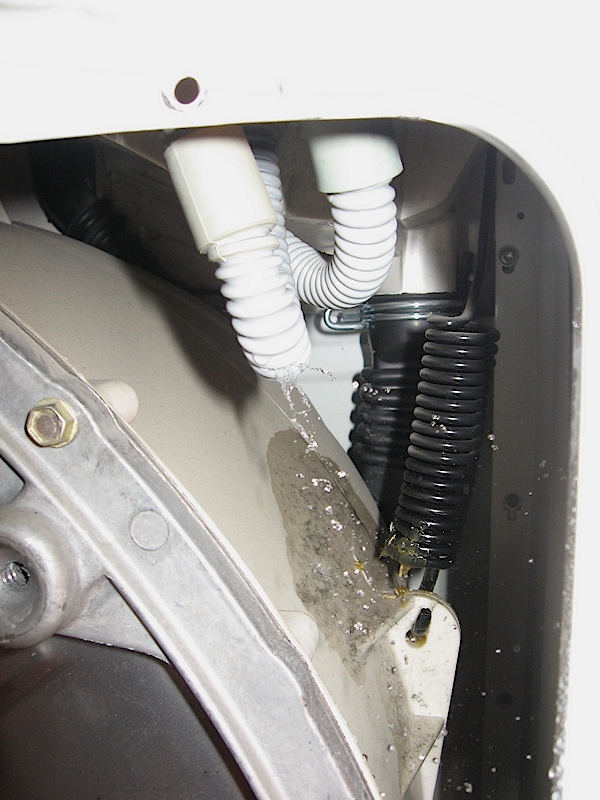
Leaking pipe
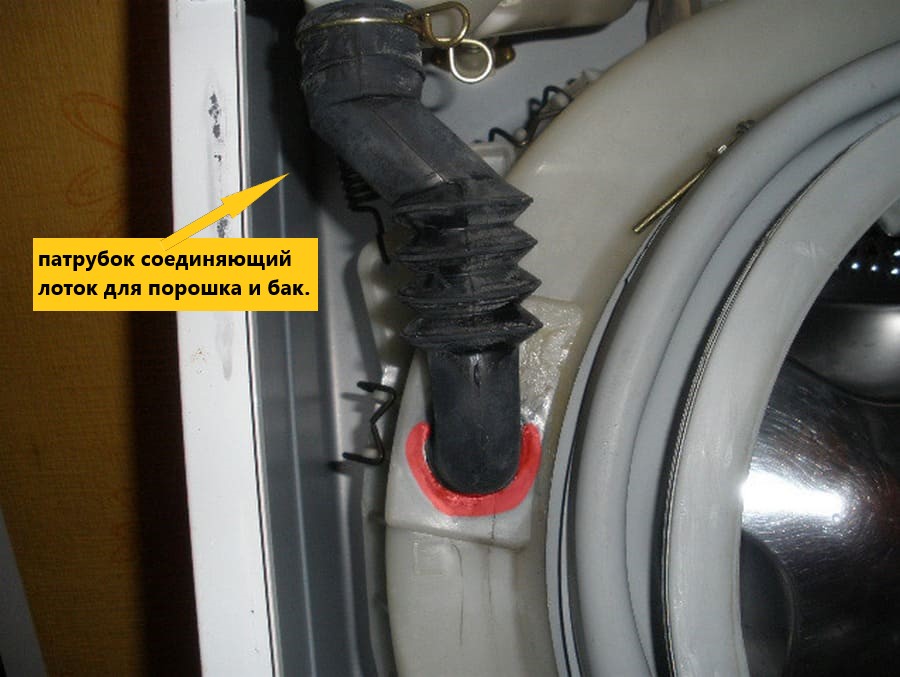
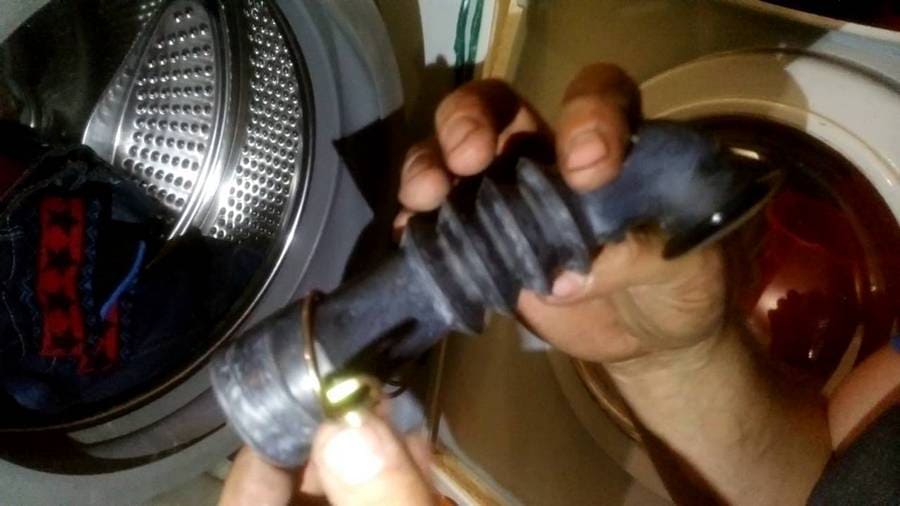
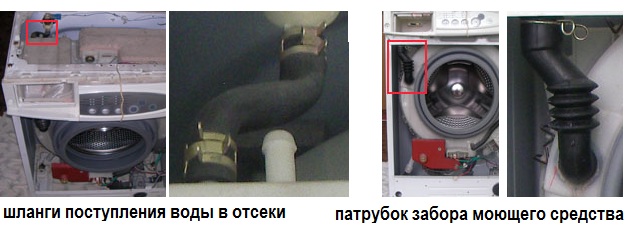
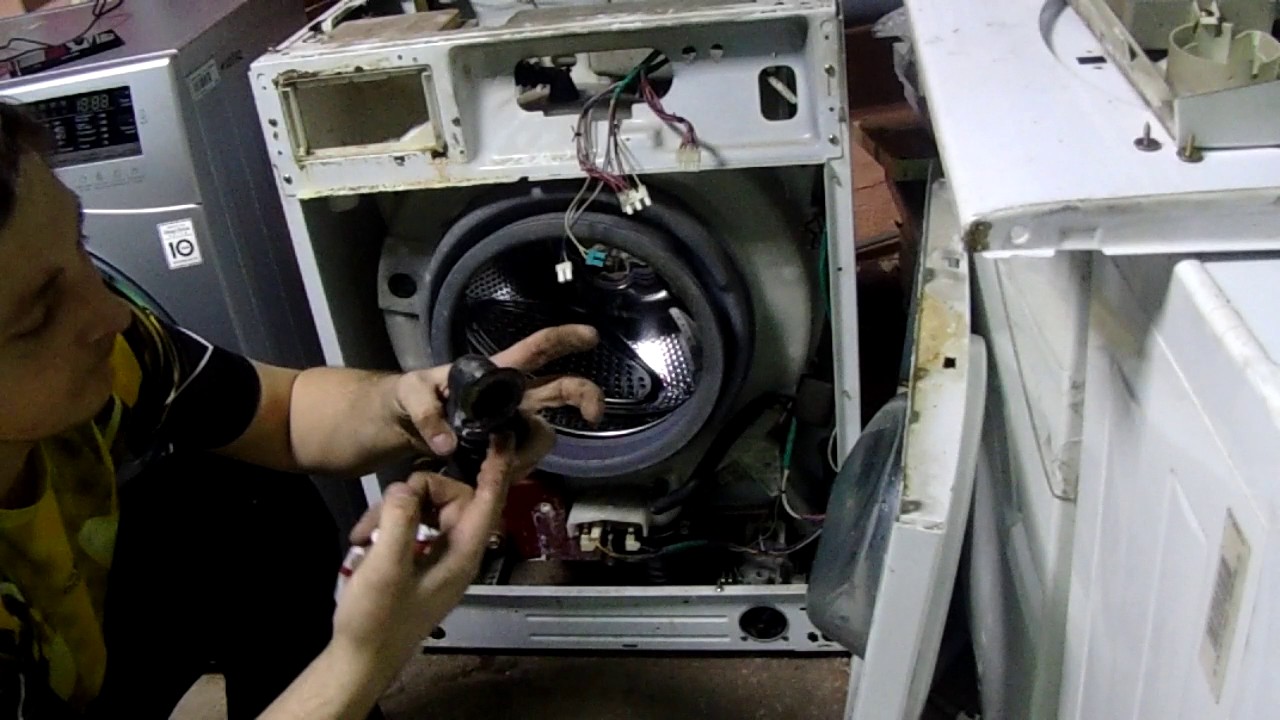
If there is a leak during the intake of water, which disappears after filling the tank, the most likely cause may be damage to the pipe connecting the filler valve to the hopper of the powder receiver. To make an external inspection of this unit, you will need to remove the cover from the Samsung washing machine.
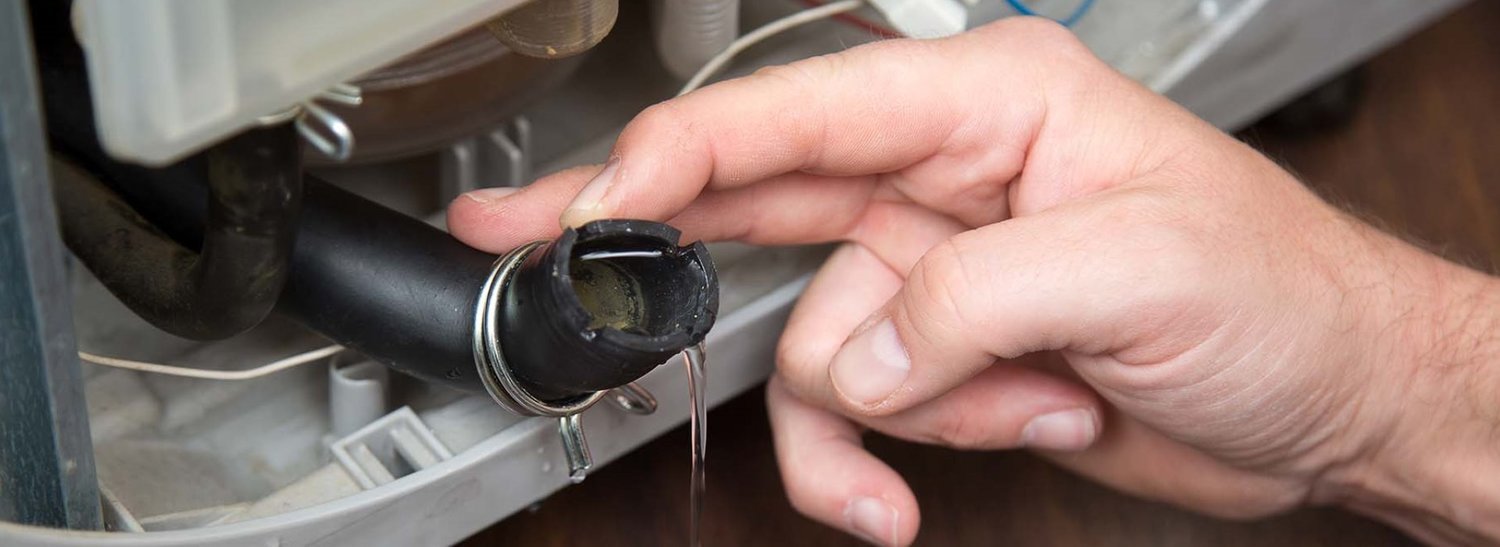
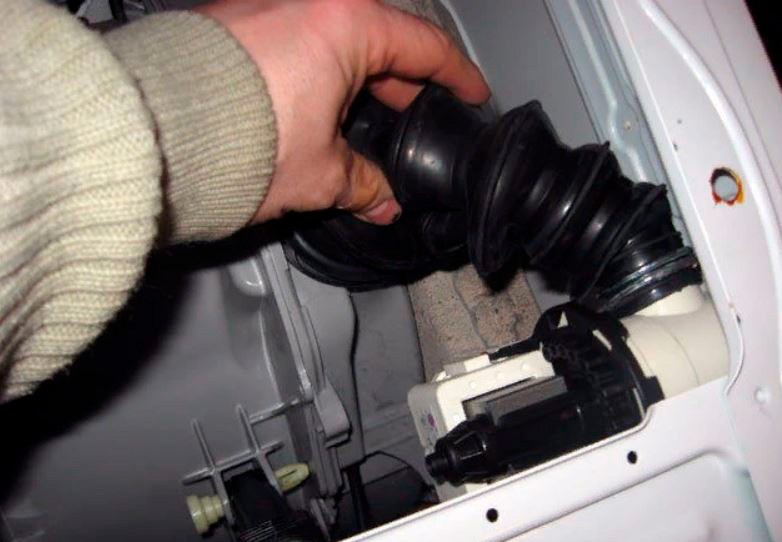
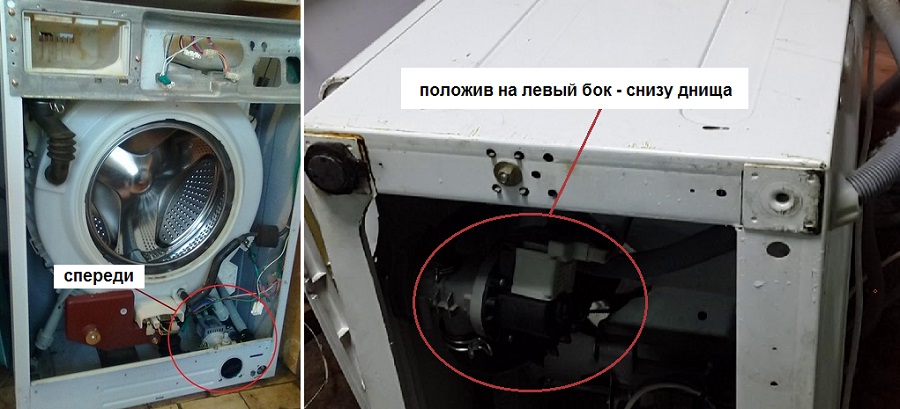
Damage to the drain pipe can also cause water to leak from the bottom. This pipe connects the tank to the drain pump. To inspect it, you need to look from below, having previously tilted the washing machine.
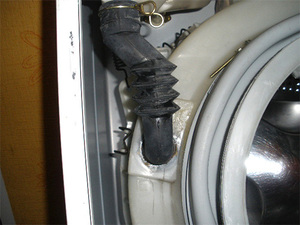
poor connection of the branch pipe with the tank
Damage to the drain pump
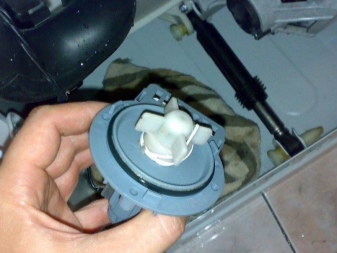
If, during washing, you find a water leak in the area of the drain pump from the bottom, then it is possible that it has become unusable or damaged. To make a high-quality visual inspection of this unit, it must be completely dismantled. A defective drain pump must be replaced and specialist assistance may be required.
Leaking cuff
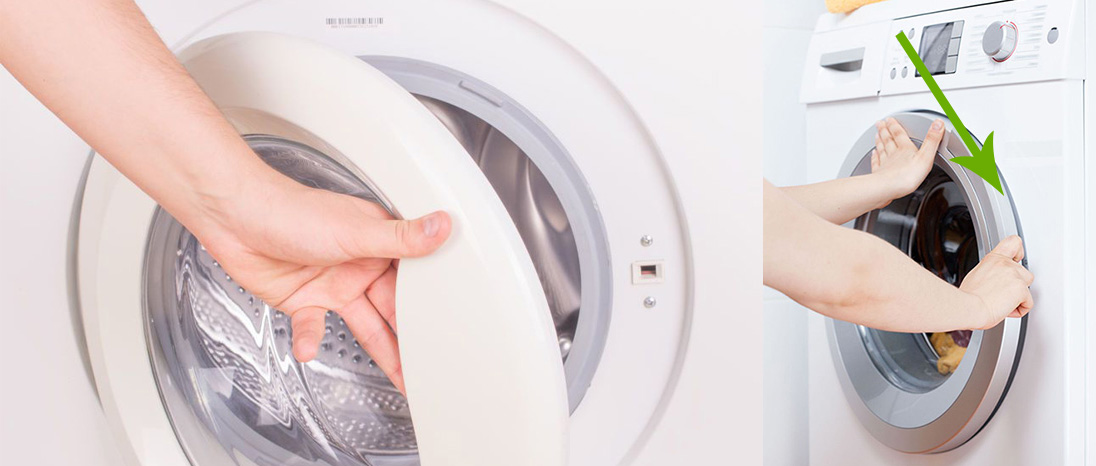
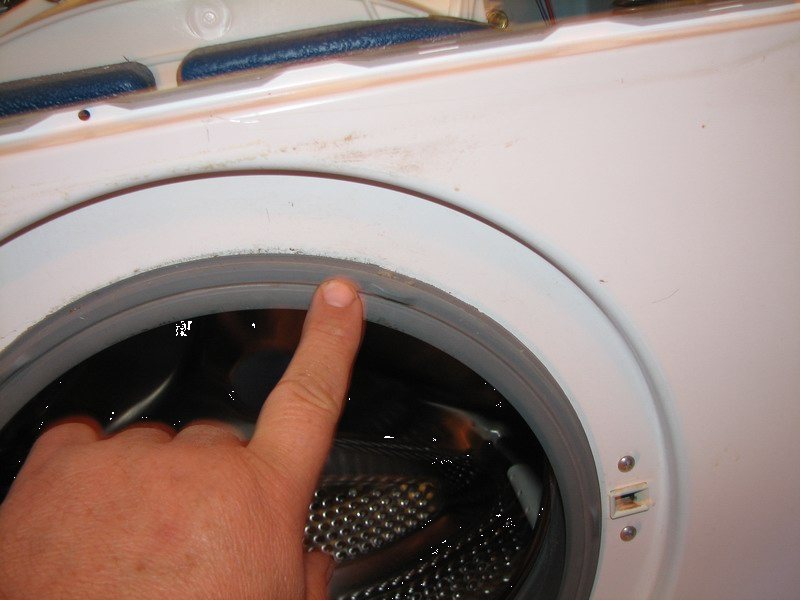
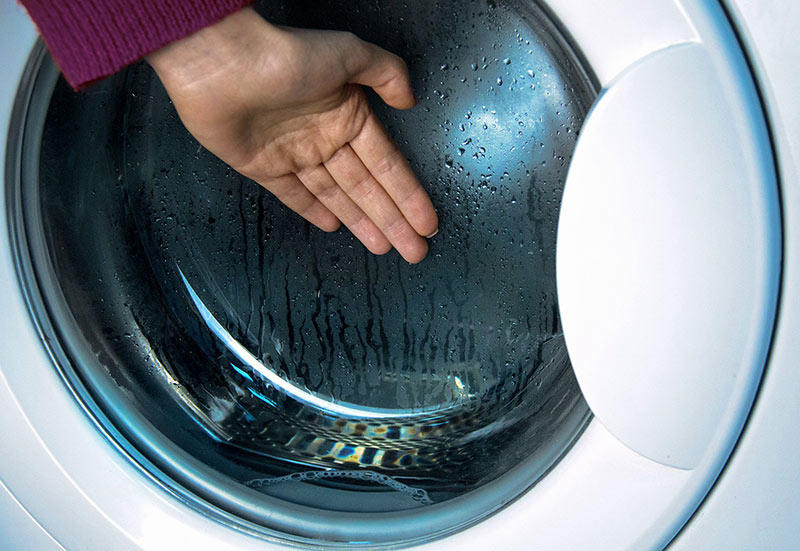
When washing laundry, in which negligent owners sometimes forget some small items in their pockets, the sealing lip of the washing machine door may be damaged. Such damage is clearly visible in machines with horizontal loading of laundry.
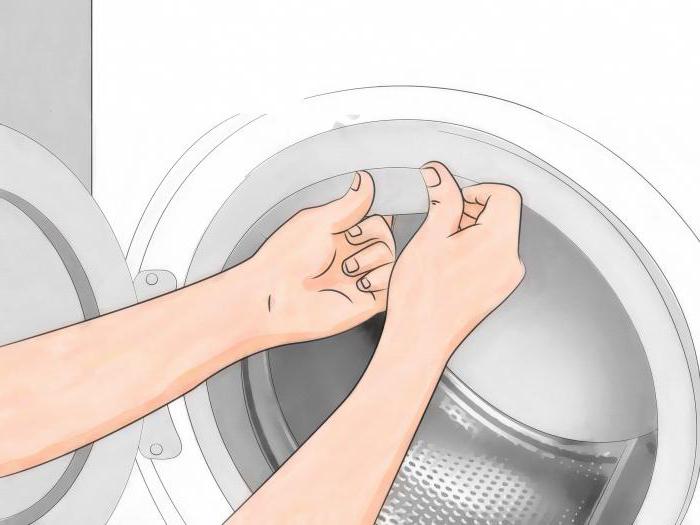
If the damage is not very large, then it can be repaired with a rubber patch and special waterproof glue. After gluing the hole, it is better to turn the cuff with a patch upwards, since with this arrangement the water load on it will be less, which can increase the service life. If the seal is damaged internally, it must be removed from the unit.
Of course, it is advisable to replace the defective cuff with a new one.
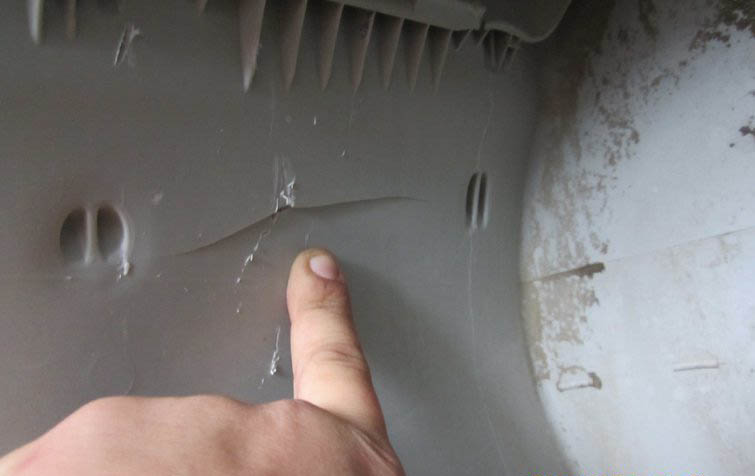
Damage to the washing machine tank
To inspect the tub of a horizontal load washing machine, you will need to tilt it to check the bottom for water droplets from below. That being said, it is good to use a hand-held flashlight. If the washing machine is top-loaded, you will have to remove the side wall. A breakdown in the tank may appear due to the presence of foreign solid objects or a malfunction of the heating element.
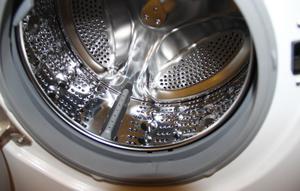
If the tank consists of two halves, then the leak may be due to the drying out of the sealing gasket between them. Such a malfunction is extremely rare and requires replacement of the gasket.
Oil seal malfunction
As a rule, the malfunction of the oil seal during washing is difficult to determine, it becomes noticeable when the machine is running in the spin mode.If you notice that the oil seal of the tank is leaking, it is necessary to urgently stop the operation of the machine in order to avoid more serious damage to the unit.
Repair of such a malfunction consists in replacing a worn oil seal or bearing with new parts. This kind of work requires the involvement of a washing machine repair professional from the workshop.
Dispenser leakage
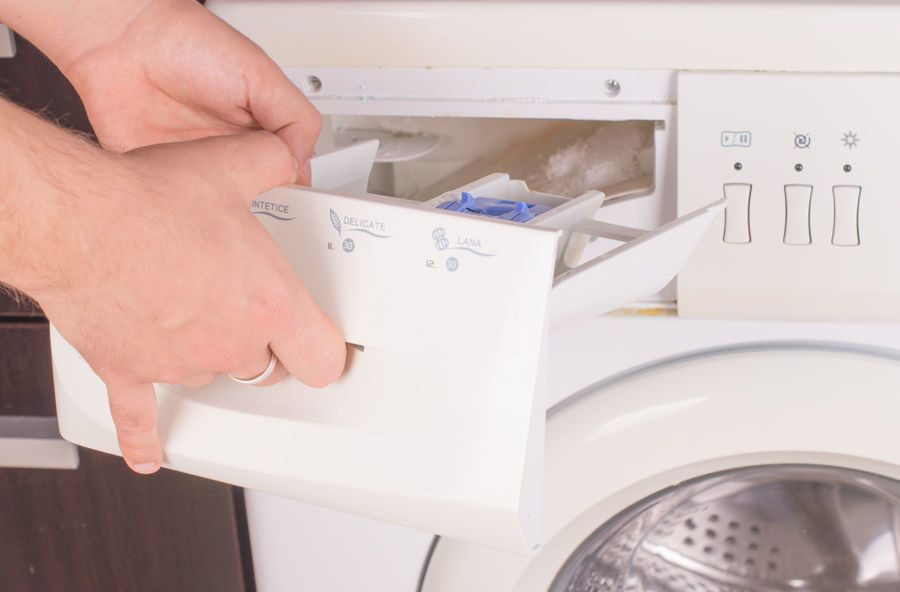
Water can leak during washing if the dispenser hopper is clogged with powder residues or a foreign object. To eliminate the cause of the leak, you need to get the dispenser and clean it and the hopper from obstructing dirt.
Leakage through the dispenser is also possible due to excessive water pressure in the system and due to problems with the operation of the inlet valve. This problem can be eliminated by decreasing the water pressure.
How to find a fault?
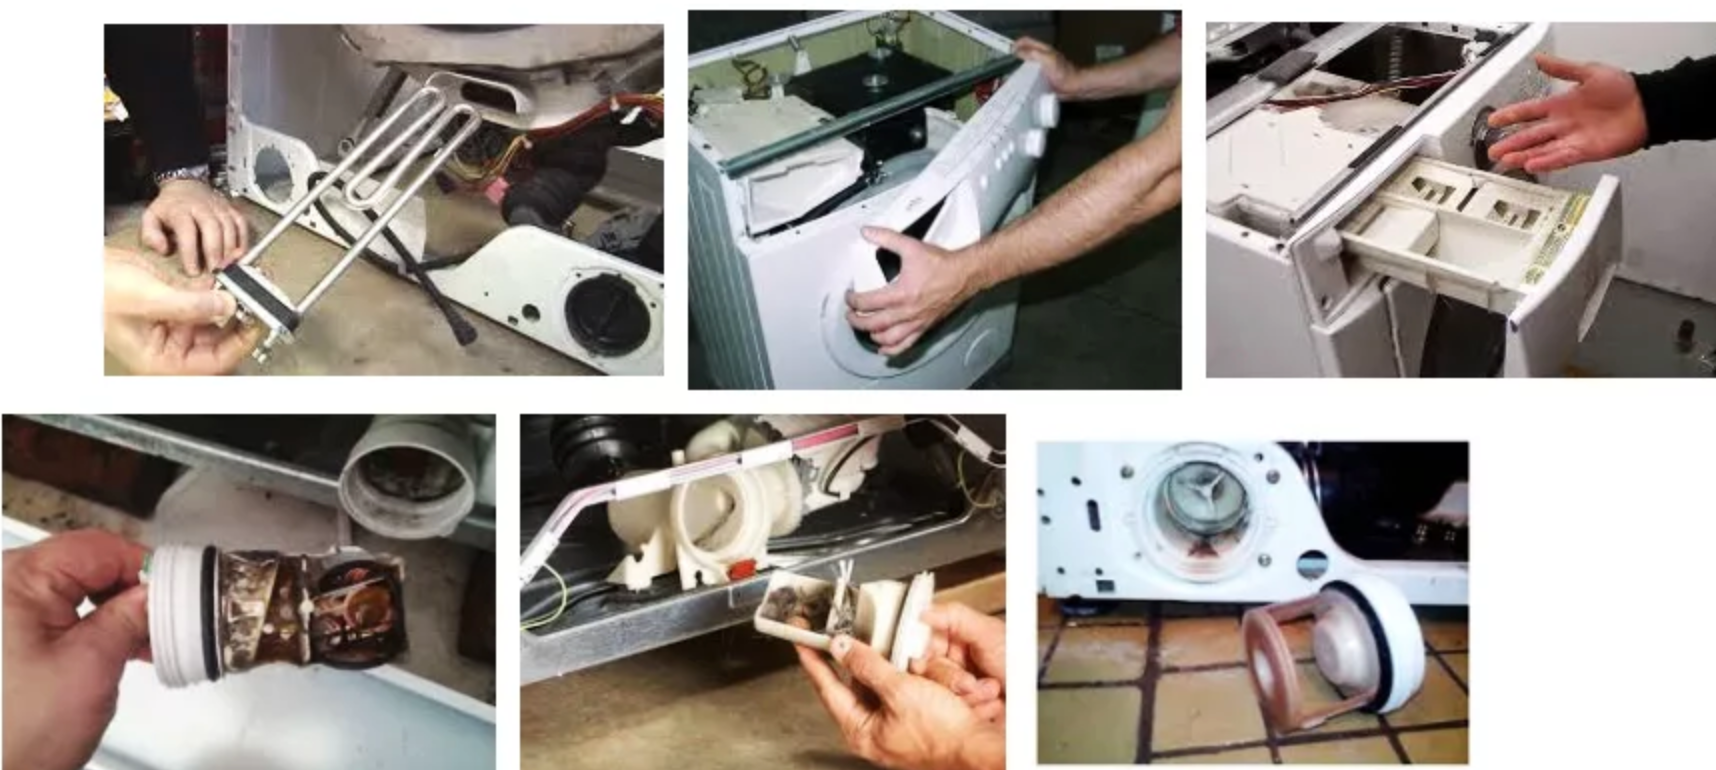
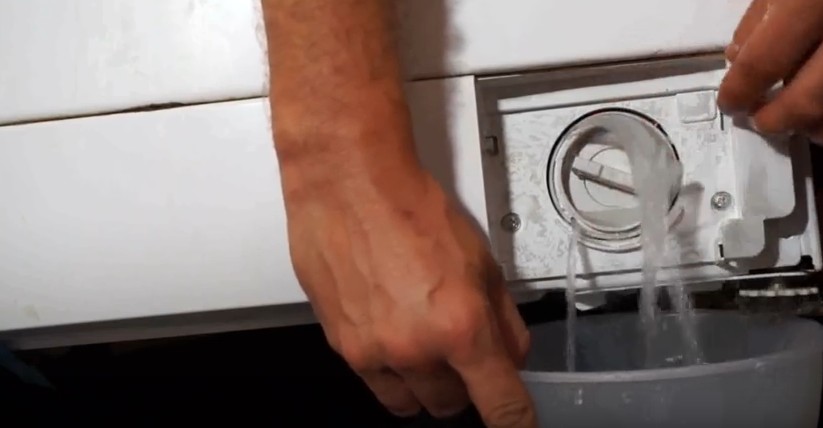
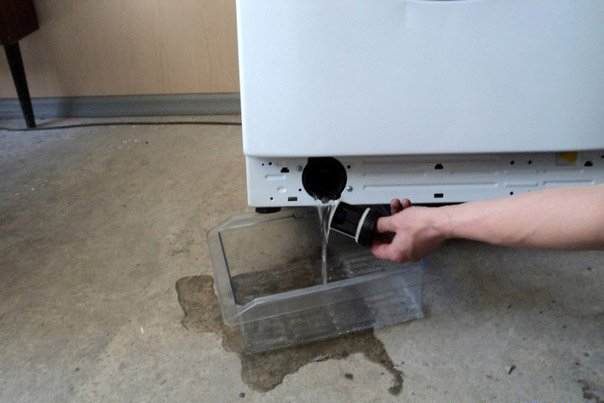
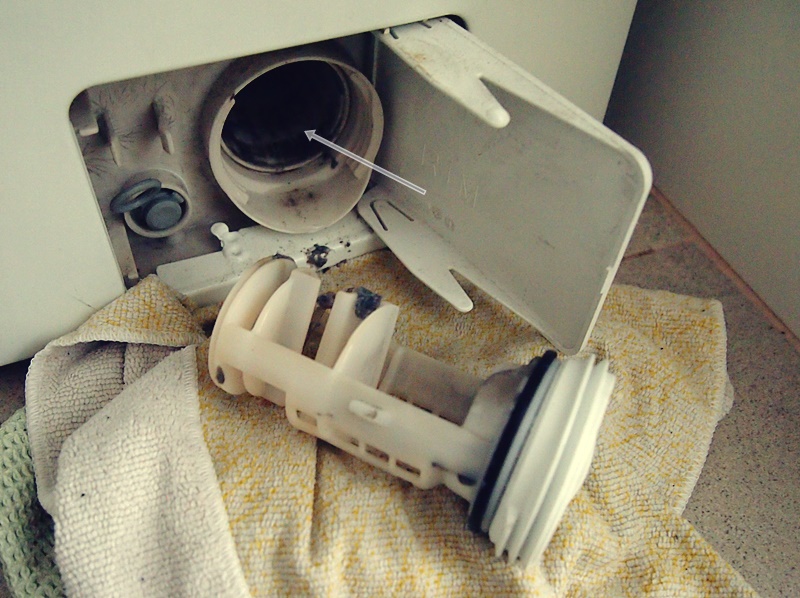
The first thing to do when starting the search for the cause of the water leak is to de-energize the washing machine. Check if the water drain filter is clogged. Perhaps the reason is that it is poorly closed, so water flows out. The drain filter is usually located at the bottom of the machine body, under the front bar. Manufacturers often build it under a special cover that can be easily opened. If there is no such cover, you will have to completely unscrew the lower plastic panel.
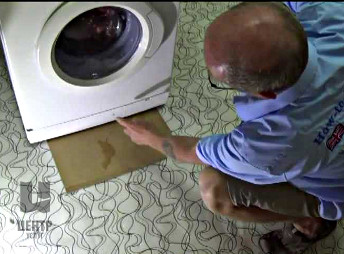
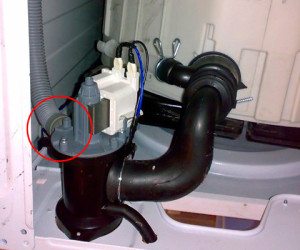 You can then inspect the drain hose and where it connects to the drain pump of the machine. Most famous brands of washing machines (LG, Samsung, Indesit, Ariston, Whirpool, Candy, Beko, Ardo,) can get to the hose connection through the bottom of the machine. It is enough to put it on its side and see how tightly and hermetically the hose is screwed to the pump.
In machines under the Electrolux and Zanussi brands, to check the connection, you will have to remove the back cover of the case. The connection of the drain hose and the drain pump in machines under the brands Bosch and Siemens turns out to be difficult to access. You will have to disassemble the front of the machine, after removing the powder tray and cuff.
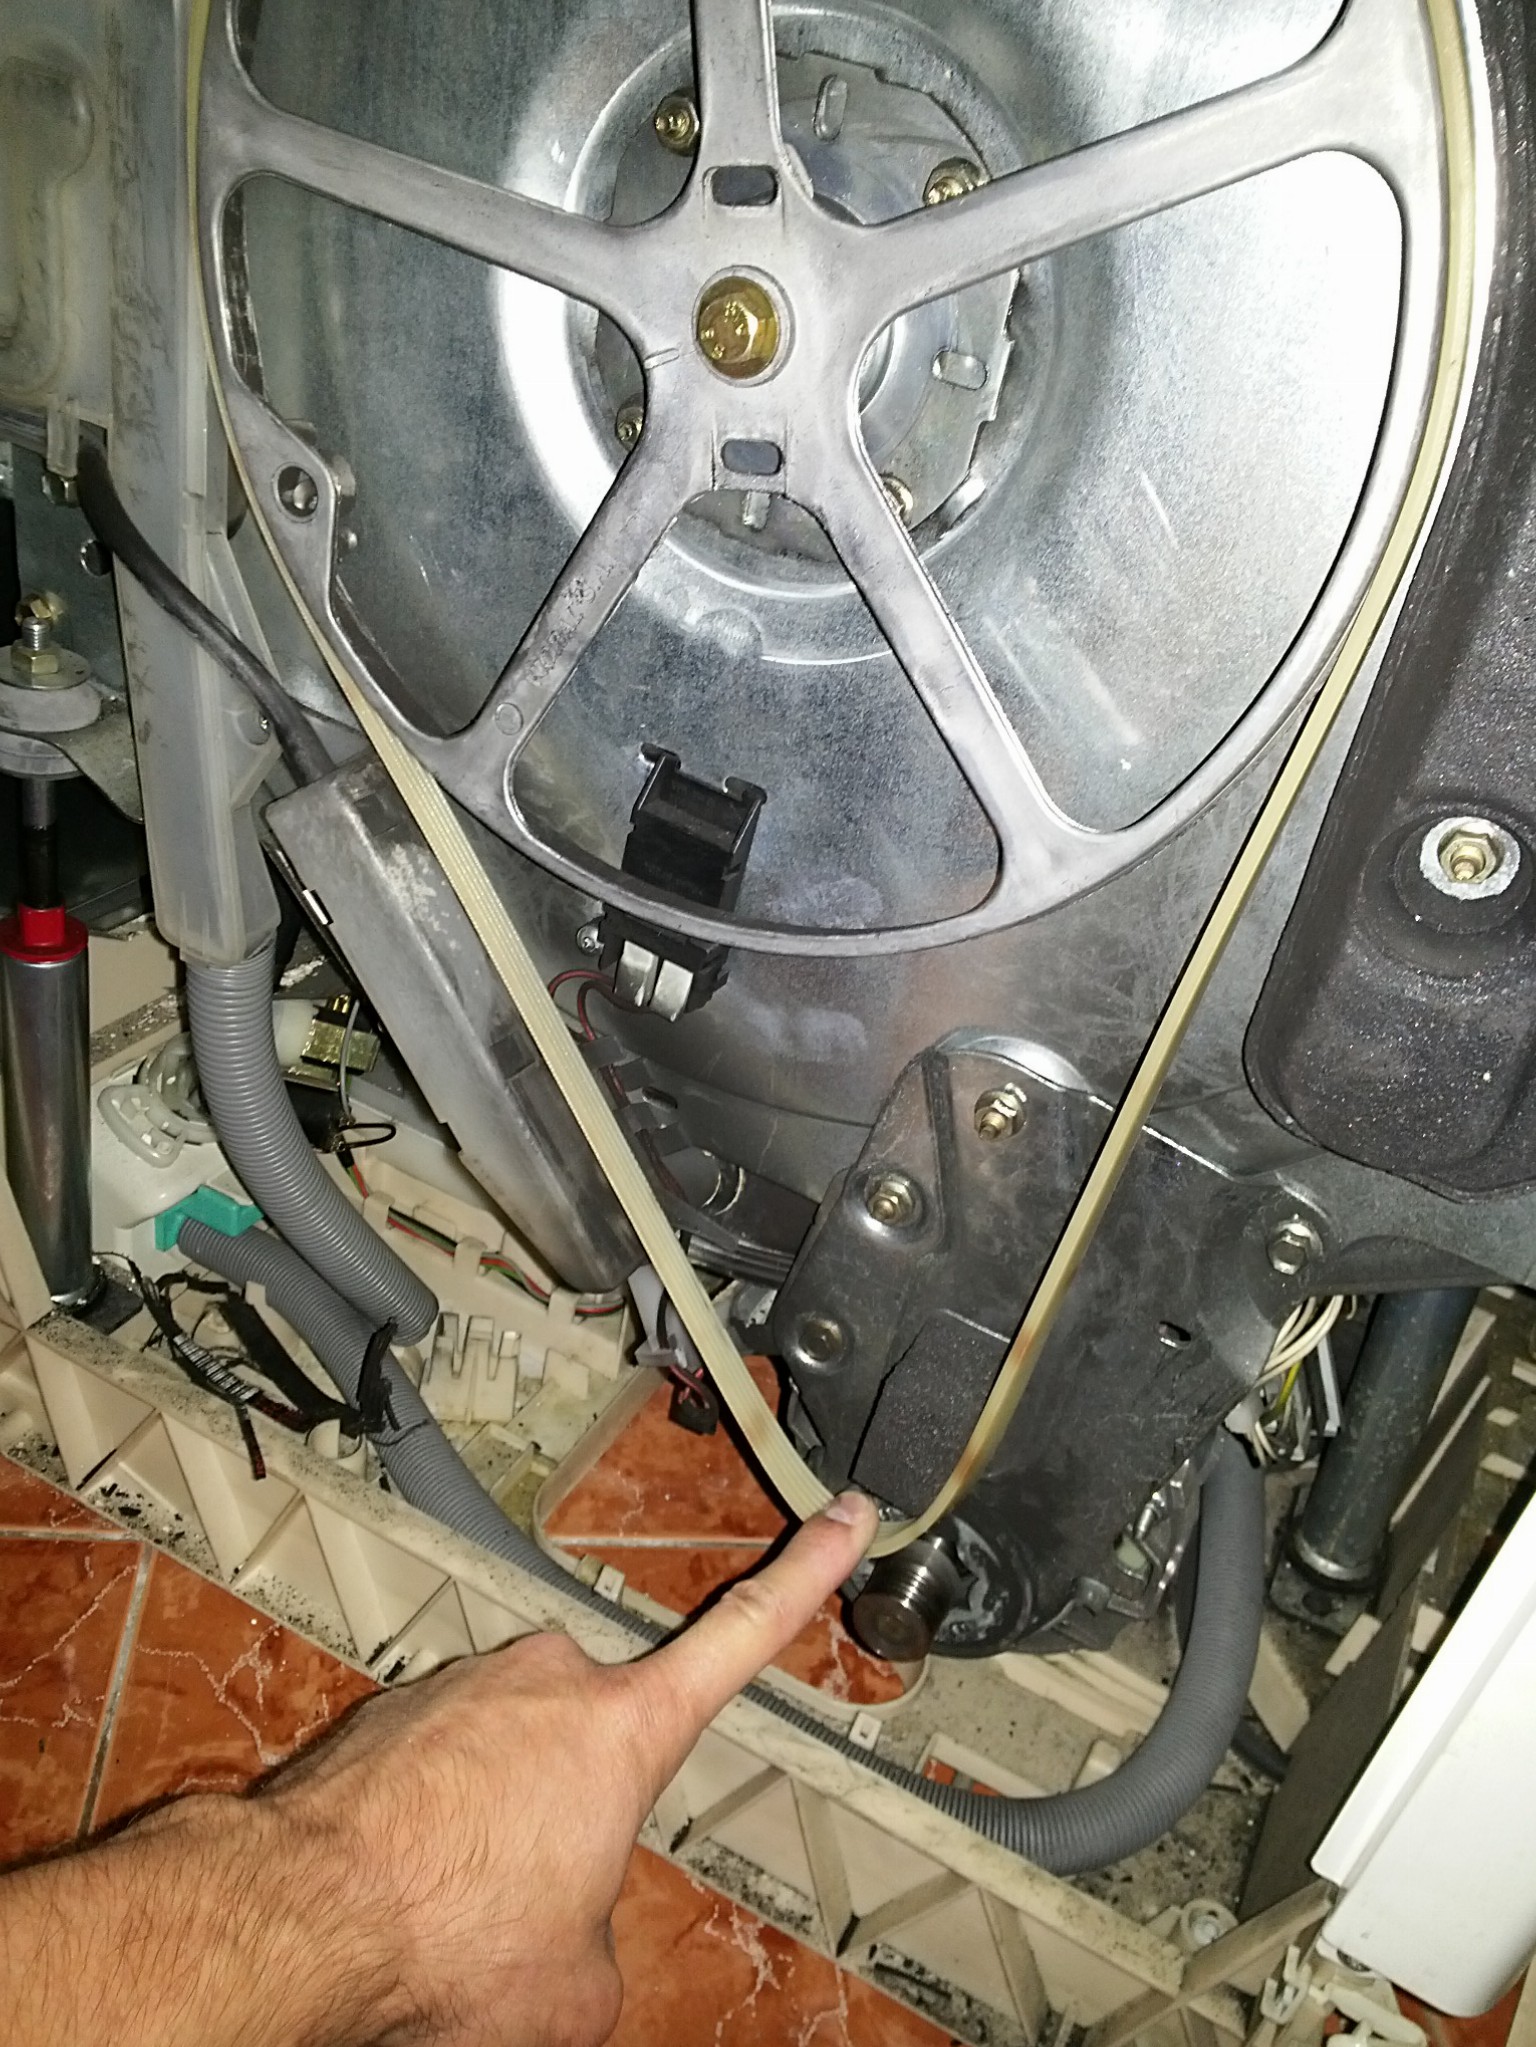
Having excluded the drain hose from the causes of the washing machine leaking from the bottom during spinning, we proceed to the inspection oil seals and bearings... When the oil seals are worn, water drips appear on the back of the drum of the machine. To see all this, you will have to remove the back cover of the case. As for the bearings, their breakage is accompanied by a grinding noise during the rotation of the drum.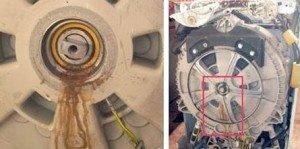
If the above reasons were excluded during the inspection, one thing remains - the drain pump has broken. However, we remind you that an accurate diagnosis of the reasons why water flows from the machine during spinning can only be carried out by a specialist.
Corrective actions
The most solvable problem is a malfunction of the drain filter. If the filter is clean, but it is not possible to tighten it tightly, since the thread has been torn off, then it must be replaced. Buy a similar filter in the store and install it in place.
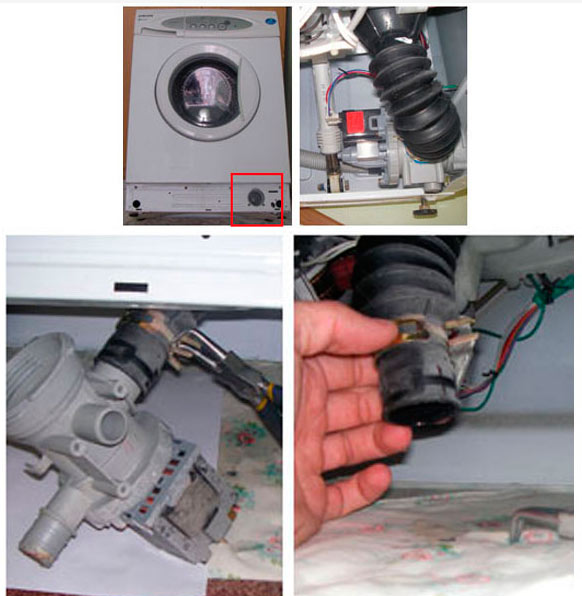
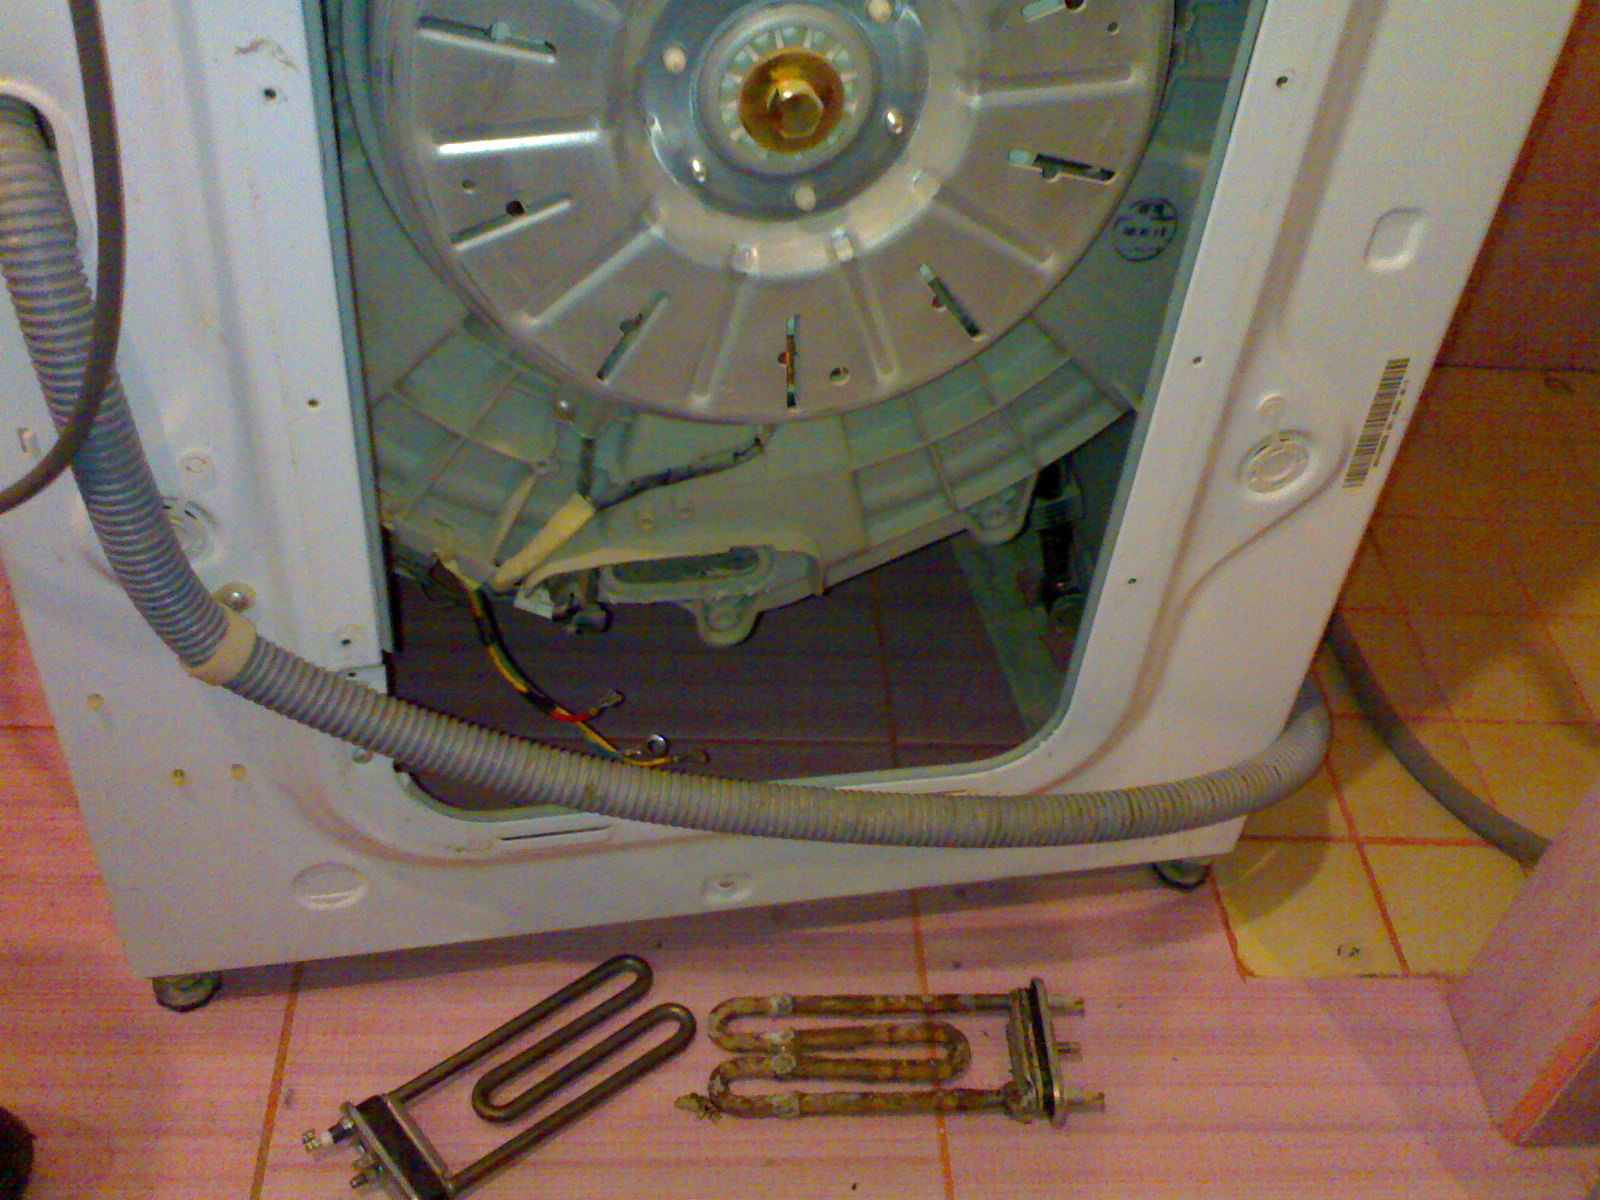
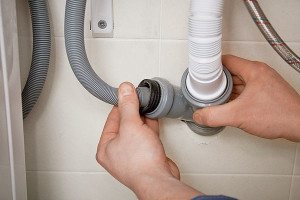 With simple plumbing skills, you can replace the drain hose yourself if the reason for water leakage in it. How to get to the place where the hose is connected to the machine, we described above, then you need:
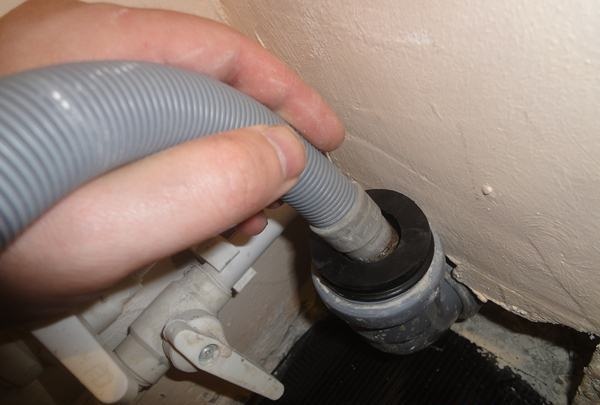
- pull out the drain hose from the drainage hole;
- using a screwdriver, loosen the clamp securing the hose to the pump;
- remove the drain hose from the drain pump;
- remove all fixing hose attachments;
- take a new hose and connect it to the pump and then to the outlet of the drain pipe.
The entire process for different brands of washing machines can be read in detail in the article about replacing the drain hose.
If it is necessary to replace the oil seals or bearings in the washing machine, you need to almost completely disassemble the machine itself, because you will not be able to get to them otherwise. Few undertake such repair work at home. For those who nevertheless set a goal to eliminate such a malfunction on their own, there is an article on our website "How to replace the tank oil seal?"
In addition, you can watch a video recording that will help to repair the car, as well as assess the complexity of such repairs.
If the reason that the washing machine leaks during spinning turned out to be a breakdown of the drain pump, then in this case, serious work will also have to be done, not to mention the cost of buying a new similar part.
In conclusion, we note that if during the spinning process water flowed out of the washing machine, this may indicate a serious malfunction. So the malfunction makes itself felt precisely during the spinning process, when the machine is operating at full power, at high speeds. Whatever the problem, it must be solved as soon as possible, otherwise it will lead to the most unfavorable consequences.
Rinsing leakage
There are few situations when the washing machine is leaking already at the stage of rinsing the clothes, but if you find this problem, call a specialist, because it will not be possible to eliminate the causes on your own. Here they are:
- Bearing wear. This is a serious problem because the bearings are responsible for the movement of the drum. If they have worn out, lost their properties and even led to a leak, you will definitely need professional help. To find out if they really are a problem, turn the tank with your hands in the off position. If you hear creaking, knocking and other extraneous noises, and the drum itself is tight, the bearings need to be replaced. Such repairs are not easy, you have to open the systems, and sometimes cut the tank. Samsung's tech is pretty easy to disassemble.
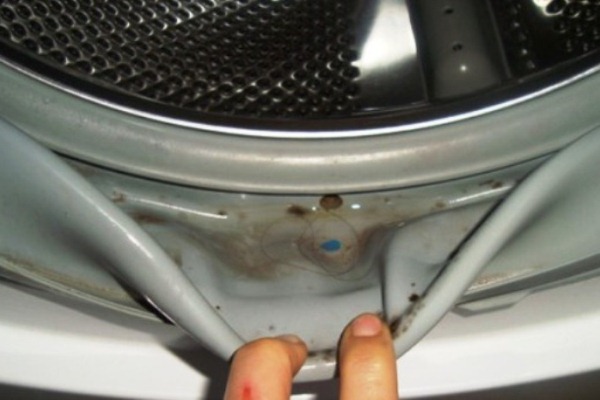
- The cuff is leaking. If the seal has damage at the bottom, it is difficult to notice them, because there are many folds in this part, but it flows from under the body. Check the integrity of the cuff regularly.
Whatever reason leads to smudges, they cannot be ignored, it is better to contact the proven service "Repaired" by phone 8 (495) 777-19-19.
Leaky wash
It can be difficult to notice that the device leaks during operation, because at first the traces can be minimal, they can be easily attributed to the proximity of the sink or linen from the last time. But if water flows in the washing machine precisely during the washing cycle, that is, longer than when filling or rinsing, the situation will worsen very quickly and can damage the internal elements of the device, it may be impossible to restore them.
Therefore, pay attention even to small puddles under the device during operation and check the most vulnerable nodes:
- Drum. After use, check the drum for integrity, the presence of holes and try to protect it from sharp zippers, buttons, buttons, etc. Because if the tank leaks, replacing it, especially in the expensive brands Zanussi, Miele and AEG, can cost up to 50% of the price of a new car.
- The upper part of the seal. A rubber gasket seals the inside of the tank and protects against leaks. When using aggressive powders, acids for cleaning, the sealing lip may leak. Even if the hole is at the top, moisture will still leak in the gentle wash mode. Having found the damage, immediately call the technician for a replacement, and when you call, inform the brand and model of the device so that the specialist immediately takes the necessary spare part with him.
- Drain filter. Each user should regularly check the filter for debris. But if you screw the plug loosely or it is damaged, it will leak from this hole. If a puddle has formed underneath and directly under the filter, first make sure it is screwed on tightly.
Causes of leakage
The modern home appliance market is rich in a variety of models of automatic washing machines. Even models of well-known manufacturers (Samsung, Indesit, LG, etc.) may have their own shortcomings and weaknesses that can leak during long-term operation of the equipment. The washing machine may leak for various reasons:
- Violation of the rules for using the washing machine;
- The use of a washing powder of an inappropriate brand;
- Mechanical damage to the machine;
- The use of low-quality parts during the repair and assembly of the unit;
- Manufacturing defects.
Breakdown inspection
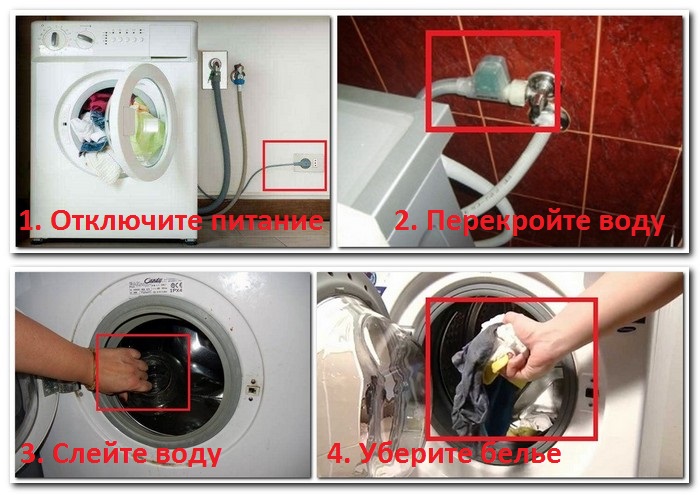
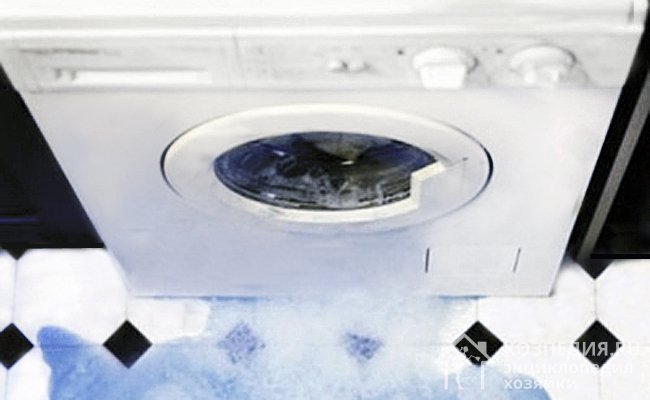
If you find a stain on the floor near a running washing machine, try to avoid contact with water. Touching operating equipment that leaks water can result in electric shock, even death. Therefore, it is necessary, first of all, to de-energize the washing machine by disconnecting it from the mains. If you cannot remove the plug from the outlet, you must run to turn off the electricity throughout the room.
Then it is imperative to limit the flow of water into the machine. To do this, turn off the water supply tap to the device or completely exclude the water supply to the system.
After carrying out these operations, it is necessary to remove the water remaining in the washing unit using the drain filter.
Then only you can proceed to an external examination of this household device.
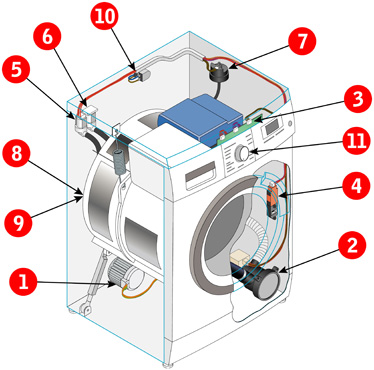
Damage to components of the washing machine, leading to leakage
- Violation of the tightness of the tank;
- Leaking drain pump (pump);
- Violation of the tightness and integrity of the hoses;
- Damage to the door seal;
- Lack of tightness of the filler pipe connection;
- Tank oil seal worn out;
- The presence of debris in the hopper of the powder dispenser;
- Damage to the tank drain.
Prevention
When the washing machine leaks during spinning, it is too late to think about prevention. It is far from always that a factory marriage becomes the cause of trouble (we are often to blame ourselves). If you take good care of your property, your home appliances will last for many years.
Follow these guidelines:
- when loading the drum, the doors of the top-loaded drum must fit snugly against the body (check this before closing the lid);
- clean the drain filter every four months;
- clean the heating element (lime deposits accumulate there, so inspect the part every 2-3 months);
- put bras in special bags (this will protect the drum from mechanical damage);
- turn off the unit between washing sessions (this will protect against breakdowns due to power surges);
- install the machine in the kitchen (the humidity level is lower there);
- poison rodents and cockroaches (their feces clog filters and hoses, which leads to damage to the mechanism);
- avoid overloading (the recommended limit in kilograms is spelled out in the instructions);
- equip the system with a water softener filter.
To prevent leaks, regularly clean the filter of the washing machine.
We add that it is necessary to use exclusively powders for automatic machines, and it is strictly forbidden to pump hot water into the drum. The water from the boiler room is saturated with drugs that can harm the equipment. It is also impossible to wash car mats, shoes and feather pillows in the tank - this is a way to mechanical damage to the tank. Use the device wisely - this will extend the service life of the device by 1.5-2 years.
Share this
Class
Share this
Tweet
Zapin
Leakage reasons
To recognize the true causes of a leak, you need to carefully investigate all possible problem areas. Diagnostics is performed after disconnecting the device from the network. It is also better to disconnect the hoses, free up space for moving the unit. There are many reasons for a leak. Here are just a few of them.
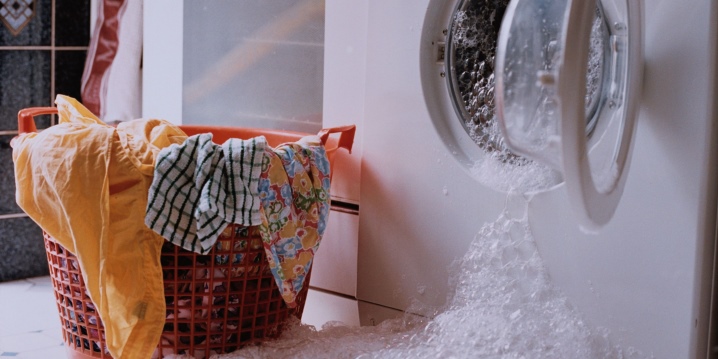
Improper operation
It leads to the fact that the washing machine does not start to work at full strength, blockages occur. If you follow all the recommendations for cleaning the filtration and drainage systems, the risks of leaking will be minimal. A problem can arise if the hoses are mechanically damaged. Children and pets can become a source of danger.
If the leak is not under the body of the machine, but in front, you should pay attention to the condition of the cuff. They are the ones who most often suffer from mishandling.

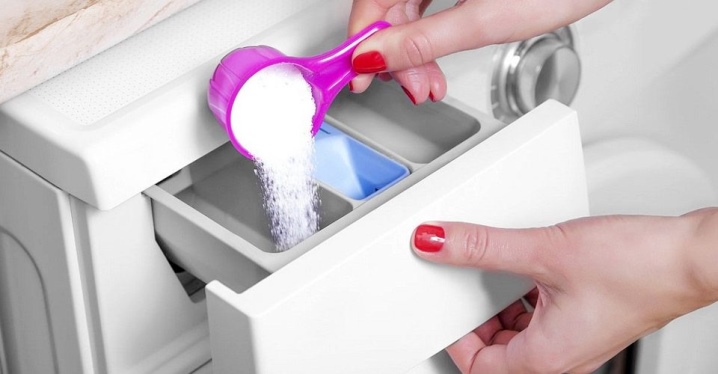
Incorrect selection of chemicals
When an inspection of the washing machine reveals clear signs of water leakage from the powder loading compartment, the cause may not be just a blockage. If too much detergent is added, or if it has a higher foaming capacity than necessary, excess foam will seek out through the joints of the tray.
Manufacturing defects
Sometimes washing machines, even those produced by the most famous manufacturers, have a factory defect if the cause of the leak is the failure of one of the system elements. Leakage is most often caused by the installation of low-quality seals and pipes - parts that are quite easily replaced under warranty.

Breakage of parts
As a rule, leaks are associated with the breakdown of parts only if we are talking about a drain system. In this case, a leak will occur during the spinning or rinsing phase, when water is discharged from the system. If the pump is faulty, water will accumulate at the back wall. In the same place, a leak is formed in the event of a malfunction of the oil seals or drum bearings. Dispenser leakage may be due to a damaged drain valve.
When water leaks through the cuff, be sure to pay attention to the operation of the pressure switch. If this sensor, which is responsible for monitoring the water level, fails, overflows will inevitably occur in the drum.

Repair methods
Repair methods depend on the model of the washing machine, design features and the identified cause of the malfunction. In most situations, repairs to individual components are sufficient to restore functionality.
Replacing the water supply hose
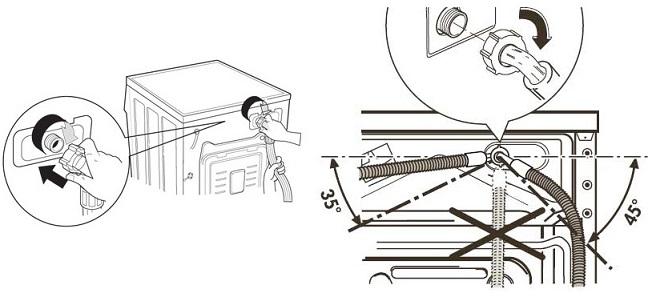
If a leak is observed at the junction with the tee in the water supply system or at the connection to the body, it is enough to install a new gasket to fix the problem. If you find a leak on the hose itself, you will need to replace it. To do this, you need to select a hose of the same size.
If the problem is in the filter
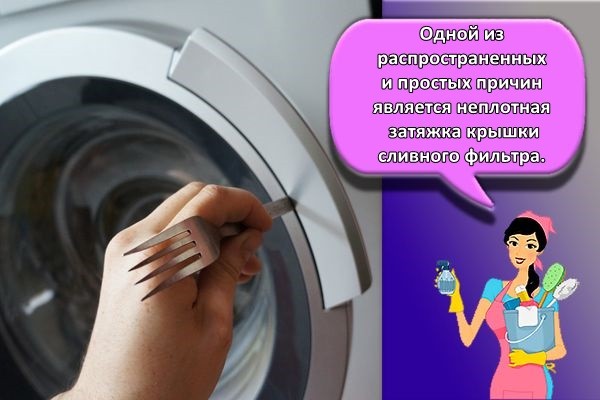
When the filter is malfunctioning and allows water to leak due to a loose seal, the problem can be easily corrected by yourself. You only need to tighten the fasteners with pliers.
Cleaning the dispenser from plaque
Use a strong jet of water to remove any deposits and accumulated dirt from the grill of the detergent dispenser. For this, the compartment is removed from the housing and thoroughly washed. In the presence of stubborn dirt, it is worth using a cleaning agent.
Replacing the intake valve tube
If there is a leak on the pipe, which is responsible for the passage of water into the tank, you can do without replacing the part. When the damage is at the point of connection of the branch pipe, you need to coat it from the inside with rubber glue and squeeze the part tightly. It takes about 15-20 minutes to dry the adhesive and restore the connection.
Repair of the branch pipe, which is responsible for the collection of fluid
If the clamps are loose at the fluid intake pipe, the problem can be eliminated by tightening them. In the event of a serious breakdown, a component replacement is required.
To diagnose the condition of the branch pipe, proceed as follows:
- Remove the cover of the washing machine and find the tube that connects the water intake valve to the powder compartment. The branch pipe is held on both sides by fasteners.
- Using a pair of pliers, unclip the clamps and move them to the center of the pipe.
- Carefully remove the tube from the valve and cuvette outlet.
- Inspect the part and check for blockages. If available, you can use a bottle brush.
Replacing the rubber cuff
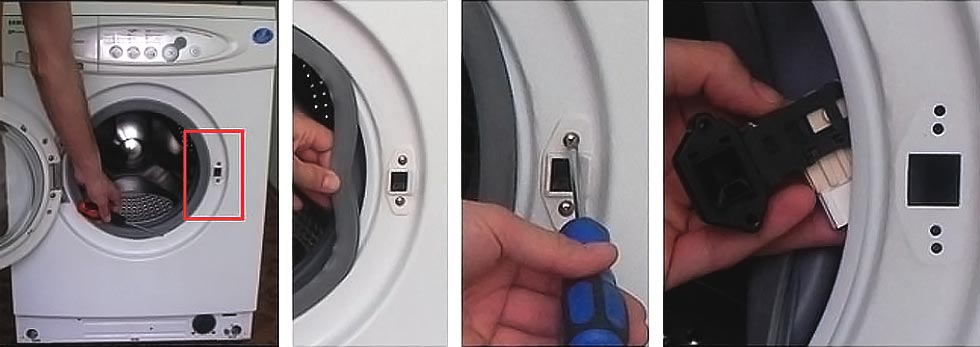
Most modern washers are designed in such a way that the body does not need to be disassembled to replace the sealing lip. The cuff is secured with two clamps.To remove the outer clamp, you need to bend the elastic and pry the clamp with a thin screwdriver, pulling the cuff towards you.
To disconnect the inner clamp, remove the front panel of the machine. The process of disassembling the panel depends on the specific type of washing machine. If you cannot disassemble the equipment yourself, you should entrust the work to specialists.
Replacing the drain pump
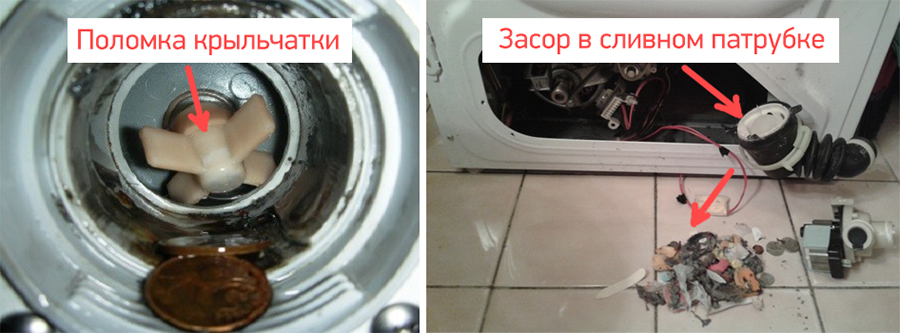
Most washing machine manufacturers install non-separable drain pumps, so their repair is not possible. In addition, separate repair kits are not available for models with a collapsible pump. It is possible to eliminate the problem in the operation of the drain pump only in a situation when its parts are intact and the pump is simply clogged.

If the blockage is not removed in time, this can provoke an overload of the pump motor or damage to the impeller. Having found the first signs of a malfunction, you need to diagnose and, if necessary, replace the part.
Replacing the tank
In case of mechanical damage to the tank, the leak can be eliminated only by replacing the element. Dismantle the old tank and install a new one through the top of the machine.
Oil seal replacement
The process of replacing the oil seal is laborious and to complete it, you need to sequentially perform a number of actions. In particular:
- remove the top panel, back and front walls of the machine;
- remove the counterweights and disconnect the shock-absorbing springs;
- disconnect electronic and mechanical control units, remembering the location of the wire for reassembly;
- remove the tank and separate it from each other to gain access to the bearings and oil seal.
Before replacing the oil seal, it is recommended to inspect the condition of the cross and shaft. If the washing machine has been operating in emergency mode for a long time, defects could have formed on the elements, and then replacing the oil seal will not bring the desired effect.
Violation of the integrity of one of the hoses
During operation, this part often loses its quality, and over time, leaks may form in it. For diagnosis, you can use a simple method: wrap the hose with toilet paper. If it becomes wet in a certain place, then you can safely conclude that there is a leak there. If a leak is found at the junction of the hose and the body, then first of all it is necessary to replace the gasket.
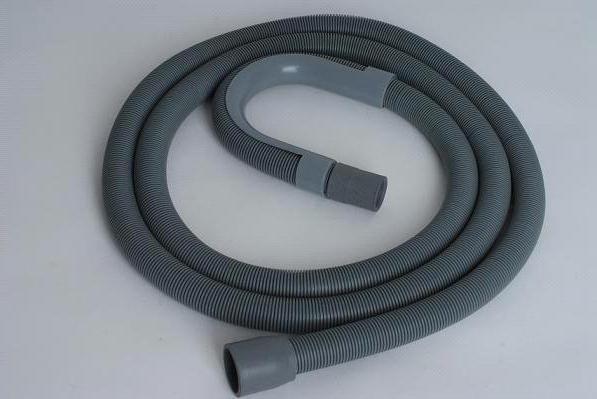
The device has two hoses: inlet and outlet. If water appears on the floor when filling the tank, the first option is damaged, if the washing machine flows from below during spinning, the second.
If the result of the diagnosis is a violation of the integrity of one of the hoses, then it is easy to solve the problem at home, without calling the master.
If a small hole was found on the hose, then it can be patched with a quality rubber material using glue that resists moisture. For the first time, you can safely use an ordinary wide electrical tape. However, this is an extremely compulsory temporary measure. Most experts claim that the optimal solution to the problem is still to replace the hose with a high-quality analogue, and not repair. In addition, the cost of such an element is inexpensive, and the new hose will ensure the uninterrupted operation of the technical device.
How to fix it?
Let's consider several options for fixing the problem.
If during the survey it was found that water flows from the tank, the device will need to be repaired. Most likely, the cause is a broken hose, and it will need to be replaced.
If it turns out that water is leaking from under the door of the device, most likely, the cuff of the hatch has been damaged.
The leak does not always occur due to a breakdown - it could be the fault of the user. If you notice a leak after a few minutes of washing, you need to check how tightly the door of the filter and the device itself is closed, as well as whether the hose is well inserted. This tip is most relevant if you have recently cleaned your clipper dust filter.Sometimes, after cleaning it, an inexperienced user does not fix this part tightly.
If the user is convinced that he has closed the lid tightly, then carefully inspect the place where the drain hose and pump are connected. If the intersection is loose, a sealant will help solve the problem (be sure to take a waterproof one), but it will be safer to simply replace the parts.
Although water collects under the clipper, the cause of the problem is sometimes higher. It is necessary to carefully inspect the dispenser (compartment) intended for powders and conditioners. It is located more often in the left corner of the car. Sometimes the dispenser is too dirty, which is why there is an overflow of water during spinning and typing.
It is necessary to inspect both inside and outside, pay special attention to the corners - more often the leak appears in these places.
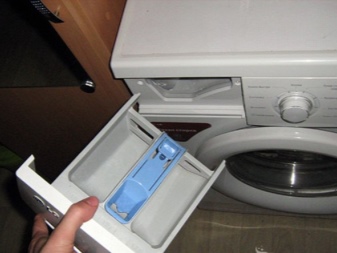
If the user doubts that the leak is due to the powder receptacle (located in front), the tray must be completely filled with water, wipe the bottom of the compartment with a cloth until dry and then observe the process. If the water starts to flow out slowly, this is exactly the reason. Unfortunately, this part sometimes breaks down even in new models of LG typewriters after 1-2 years of using the device. This problem stems from the unscrupulousness of the assemblers who wanted to save on parts.
If the user noticed that water flows precisely during washing, the reason is precisely the breakdown of the pipe. For an accurate diagnosis, you need to remove the top wall of the device.
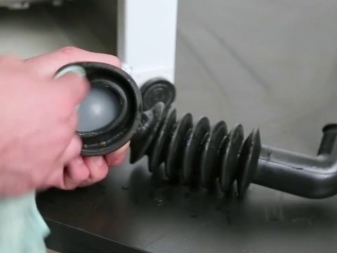
Sometimes the problem arises from a leak in the drain pipe, which is directed towards the pump from the tank of the device. In order to check this, you need to tilt the machine and look at the insides of the case from below. It is likely that the cause of the breakdown lies precisely in the pipe. To inspect it, you will need to remove the front panel of the machine and examine the area where the connection is.
If the leak is caused by a crack in the tank, this is one of the most unpleasant problems. Most often, it is impossible to eliminate it on your own; you will need to replace the tank, which is expensive. This crack could have occurred during frequent washing of shoes, as well as when pointed objects get into the machine: nails, iron inserts from a bra, buttons, paper clips.
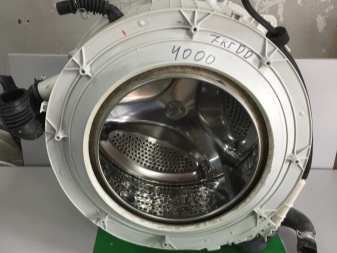
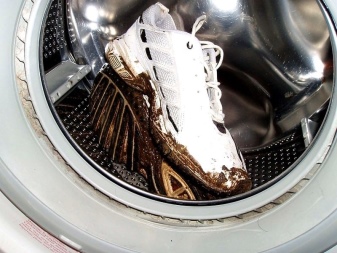
A crack could also appear due to a defect that the manufacturer allowed, but in any case, the device will have to be disassembled in order to remove the tank and inspect it carefully. To perform such manipulations, it is better to call the master, so as not to make things worse.
If during inspection of the unit it is found that water is leaking from under the door, the seal lip may be damaged. In this case, the problem can be easily solved - a special patch or waterproof glue will help to fix the problem. And also the cuff can be simply changed to a new one, it is inexpensive.
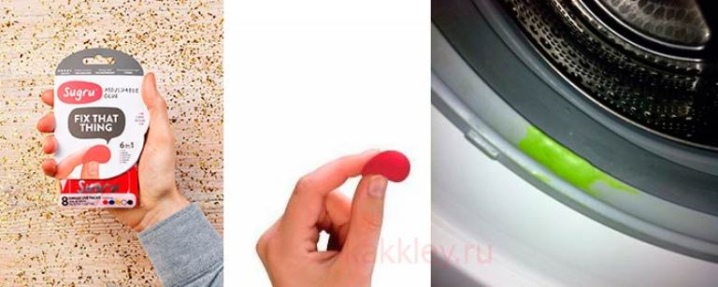
The article discussed the most common causes of failure of the LG washing machine, as well as ways to eliminate them. In any case, it is better, if possible, to contact a master or a service center if the machine is under warranty. To avoid problems in principle, you should be more careful with the device and check things before loading them into the tank.
Find out what to do if water is leaking from your LG washing machine below.
Maybe it's the drain pipe
Rarely, the drain pipe located underneath the drum can leak. Its peculiarity is that there is always liquid in it, so the puddle does not stop filling even after the washing machine stops and the water supply stops. If you notice that the flow does not stop, then the problem is definitely in him.
It is not necessary to contact the service department to eliminate the problem. Almost every owner of a Samsung washing machine is capable of replacing. It is enough to drain the water through the trash filter, turn the case on its side and carefully examine all the supply channels.Replacement parts are bought at a regular store, and loosened clamps are pulled by hand.
Machine diagnostics and repair tips
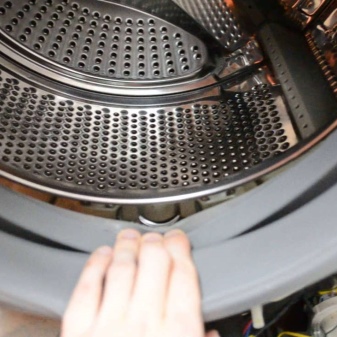
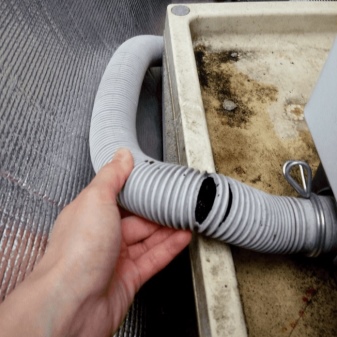
Usually, questions about what to do when a leak is detected in the operation of a washing machine arise during its long-term operation without maintenance or due to the carelessness of the owner. For example, a puddle on the bottom of a door is usually caused by items that are not intended for washing into the drum. In addition, almost any section of the flexible hose can leak.
Water collects at the door
Water leaks to the floor from the hatch if the seal is not tight. It can get mechanical damage if it comes into contact with objects that have fallen into the drum. If the seal gets into the rebate of the door when it is closed, there is a risk of rupture. With prolonged use, the sealing of the rubber ring may be broken - it is restored with the help of special compounds.
You can repair small tears or damage to the cuff yourself. An elastic patch made of similar material can be easily attached to rubber glue. For repair, the part is removed from the mount by loosening the clamp. After placing the patch, the cuff is installed so that the repaired area is above the top of the hatch, under the "roof" of the unit.
The powder tray is leaking
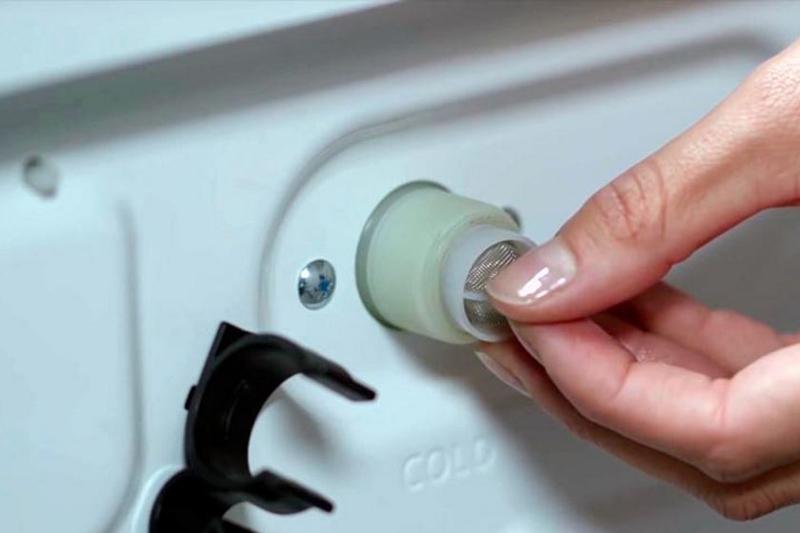
When liquid flows out of the powder compartment, from under the tray, the cause may be too strong water pressure. In addition, if the detergent does not wash out well, it can gradually clog the hopper itself, the outlet or the filter installed here. Sometimes the problem is that poor quality water leaves calcified deposits inside the powder receptacle.
It is quite easy to eliminate the leak in the tray area. Mechanical blockage can be removed by taking out the powder receptacle and thoroughly rinsing all its parts. The strainer should be especially carefully cleaned. Its contamination most often interferes with the patency of the system.
Leaky water intake
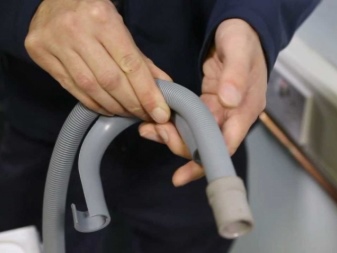
If a leak occurs while drawing in water, the machine may have problems with the inlet hose. In case of mechanical damage, its sealing is broken, cracks are clearly visible on the surface. Sometimes, after rearranging furniture or doing other work in the bathroom, the hose is pinched. If no obvious damage is observed along the entire length of the flexible liner, and water still seeps onto the floor, a more thorough diagnosis should be carried out.
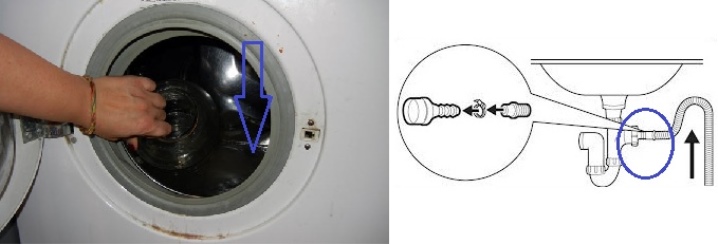
The easiest way to identify a damaged area is to disconnect the hose and install a plug on one side. Then it is wrapped with toilet paper, filled with water. A wet spot will appear at the site of damage. If the hose is in order, the problem may be a too weak connection of the flexible hose to the fitting - it is worth checking it, if necessary, tighten the clamp more.

Leakage during washing
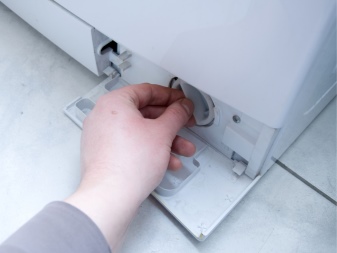
If water gets under the washing machine during spinning or rinsing, the drain system is the source of the problem. The filter installed here rarely allows liquid to pass through. Leakage usually occurs after recent cleaning. If the filter is not screwed on tightly, it can leak water when draining. Simply unscrew it and install it in the correct position.
When the machine leaks during washing, a puddle is located in the area of the drain connection, the liquid can remain inside the body or be under the bottom. Depressurization of the joint is usually associated here with vibration impact, cracking of low-grade material. If damage is received precisely in the area of the junction of the nozzle with the tank or pump pump, they can only be detected when the machine is completely disconnected from the sewage system, after it has been laid on its side.

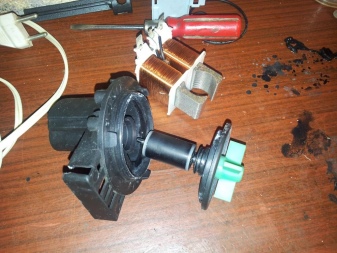
The leak may be due to a breakdown of the cochlea in the pump. If foreign objects enter the drum, they can contact other parts of the system and damage them.Replacing a broken pump is relatively inexpensive and can be easily purchased from specialized stores and installed on your own.
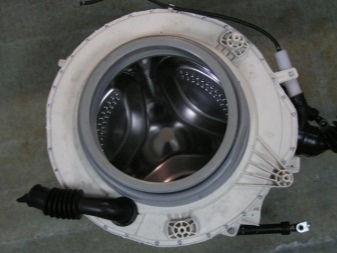
A leak that occurs at any stage of washing and continues throughout the entire operation of the machine may be associated with a tank breakdown. It ceases to be airtight due to the washing of products with metal inclusions. With a strong impact, the container does not withstand, cracks, and begins to let water through. In this case, you can try to eliminate the leak with a polyurethane sealant by completely disassembling the unit and drying it.
Leaky water intake
If you find that water is already leaking in the washing machine while typing, stop the cycle and turn off the water supply. We do not recommend disassembling the entire system to find a defect. But you can find out the cause of the malfunction. Here are the most common ones:
- The supply hose is damaged. Most often, the plastic hose is mechanically damaged. If you look closely at it, you can easily see the hole. But sometimes the hole is small or in a hard-to-reach place. To find it, try using the popular toilet paper test: wrap it around a hose along its entire length and turn on the plumbing for a few seconds. Where the paper is wet and there is a leak.
- The filler pipes are worn out. If this part is made of low-quality material, after 3 years of regular use, it will fail. This often happens with the Ariston and Candy technique. If moisture flows at the bottom during dialing, it means that it is the branch pipe that has broken. It can be replaced or repaired.
- The powder dispenser is clogged. Sometimes, when filling, the foamy liquid flows from the top of the panel from under the powder receptacle. This suggests that you usually fall asleep too much of the product and it cannot completely dissolve, but only gets wet, hardens and clogs the duct. If possible, remove this container, clean the area behind it with your hands (in no case should you stick sharp objects in there). Particular care must be taken with the Hansa and Indesit models due to the narrow ducts. If the problem persists, it is better to contact the specialists from "Repaired".


