Types of trellises and what material is better to choose
The main materials are: plastic, wood, metal alloys. Small wooden slats are usually chosen for summer cottages. About 15mm wide.

Before making a trellis, even at the stage of planning the frame, you need to take into account the dimensions of the future plant and its growth potential. The more voluminous the plant and its leaves are, the more durable and reliable the frame should be.

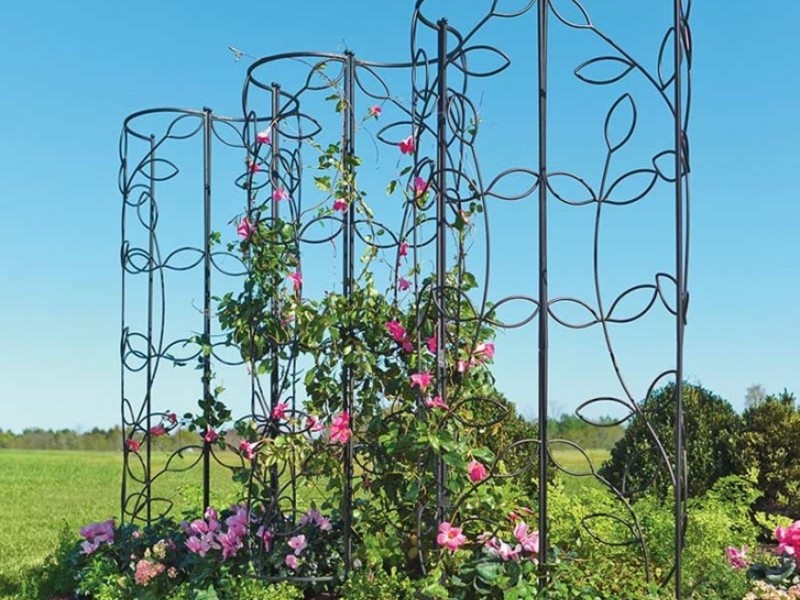
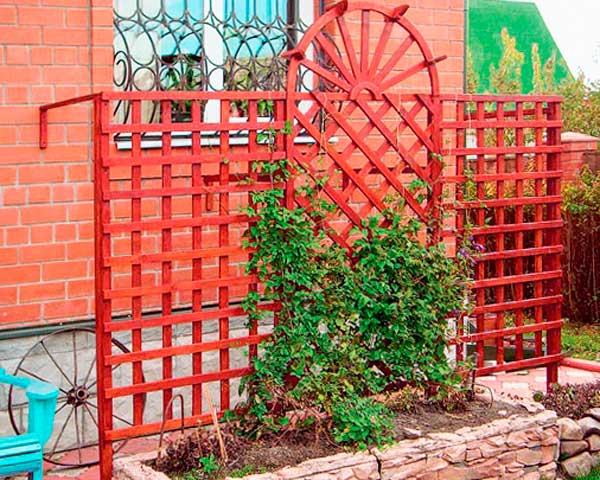
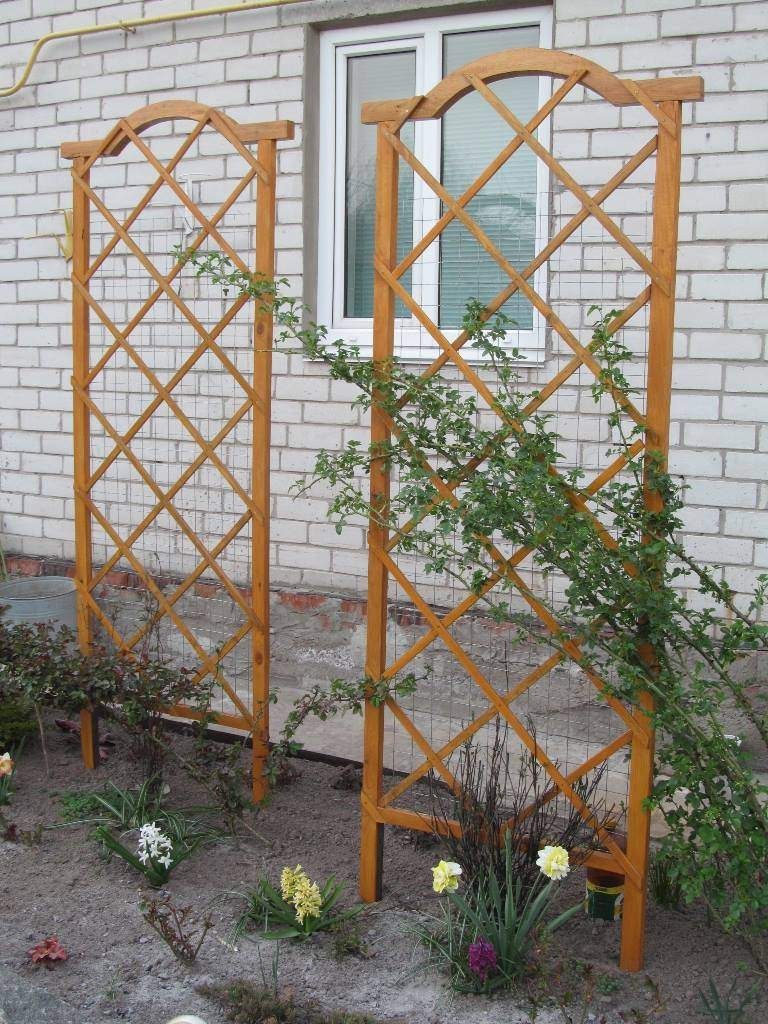
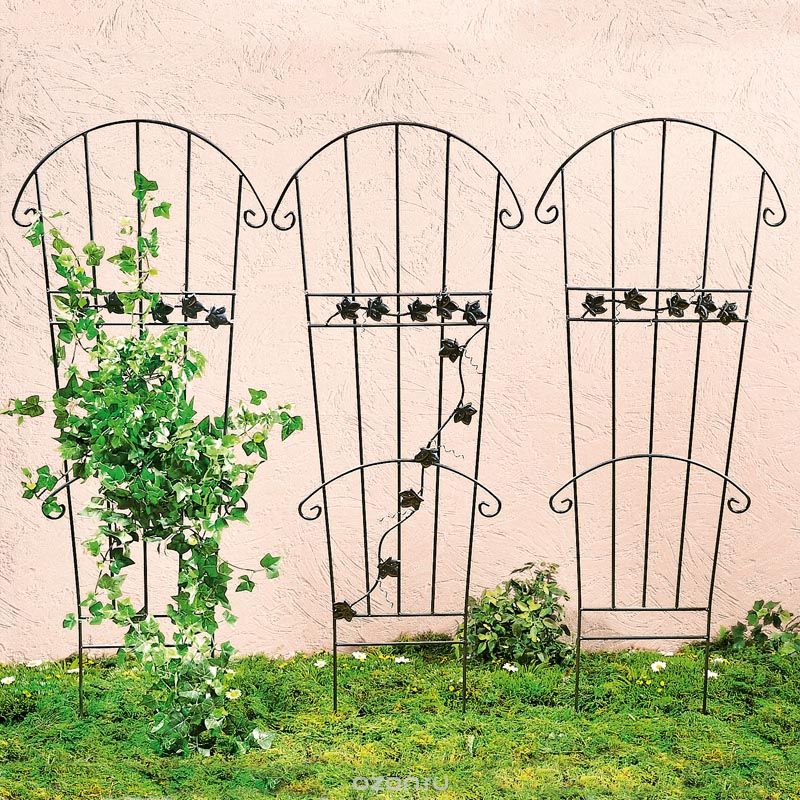
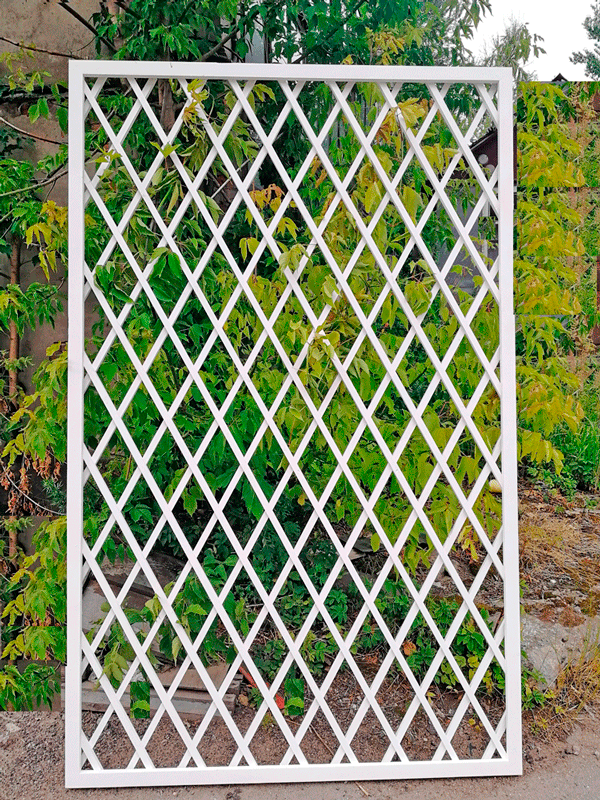
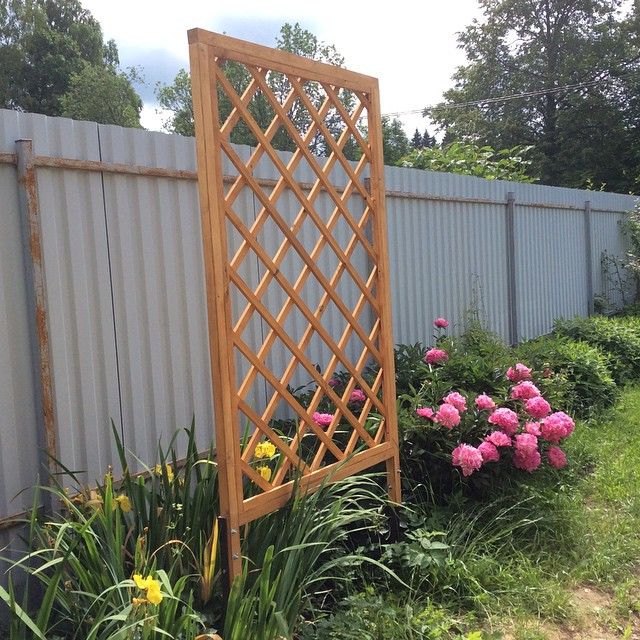
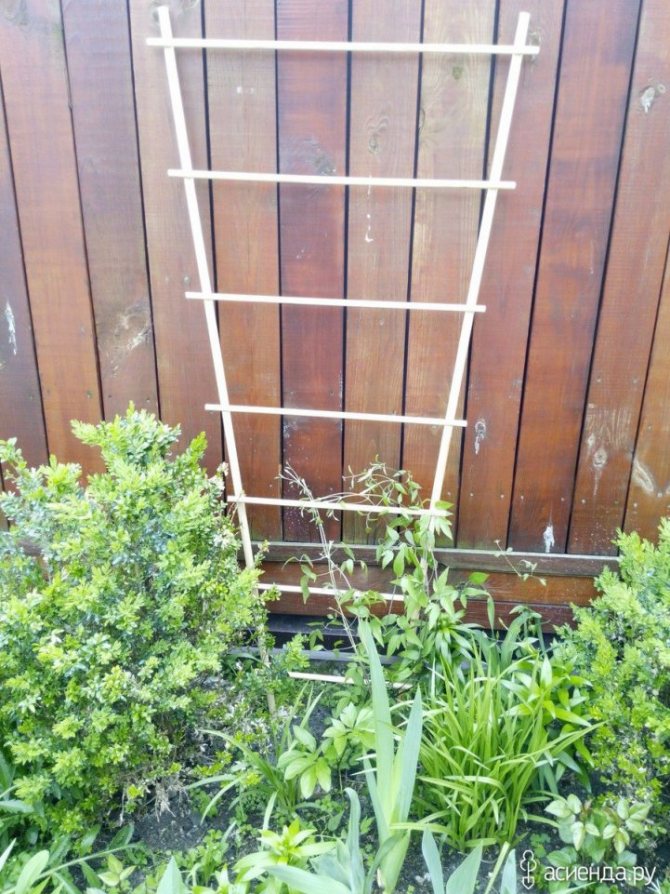
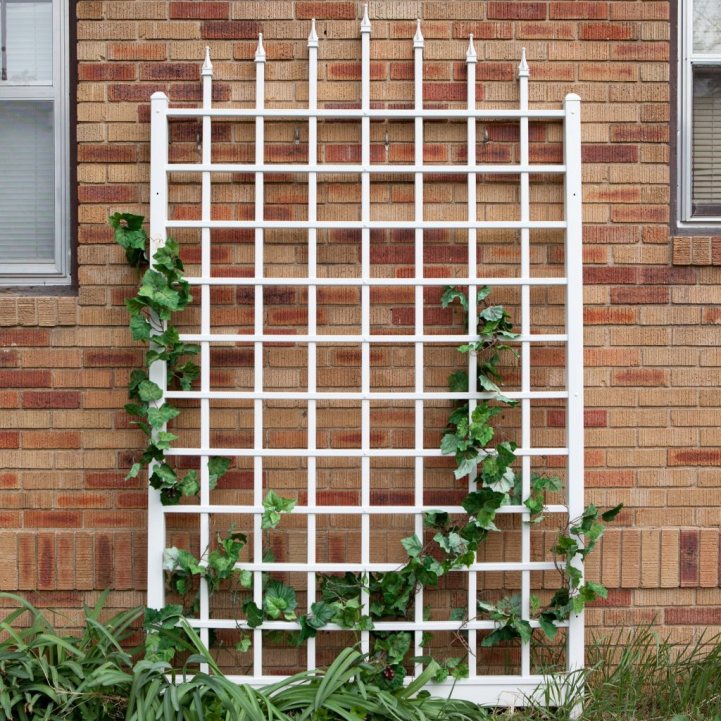
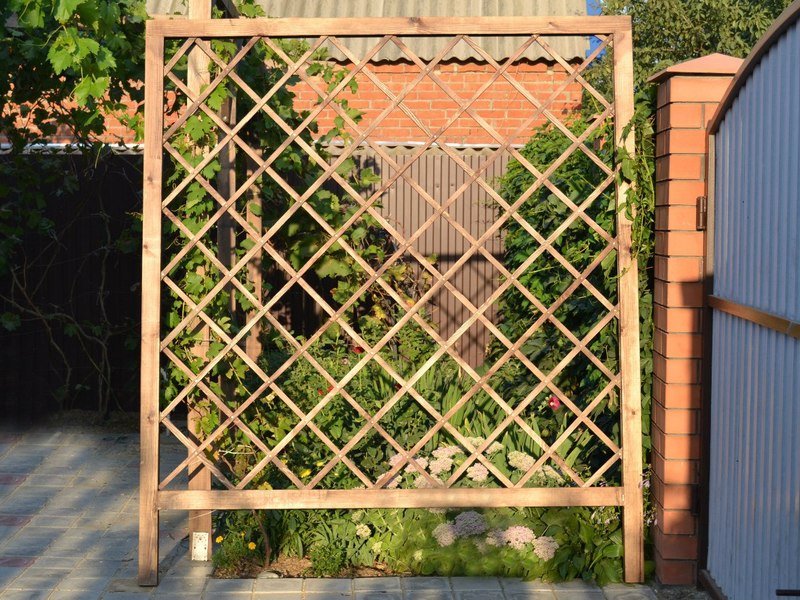
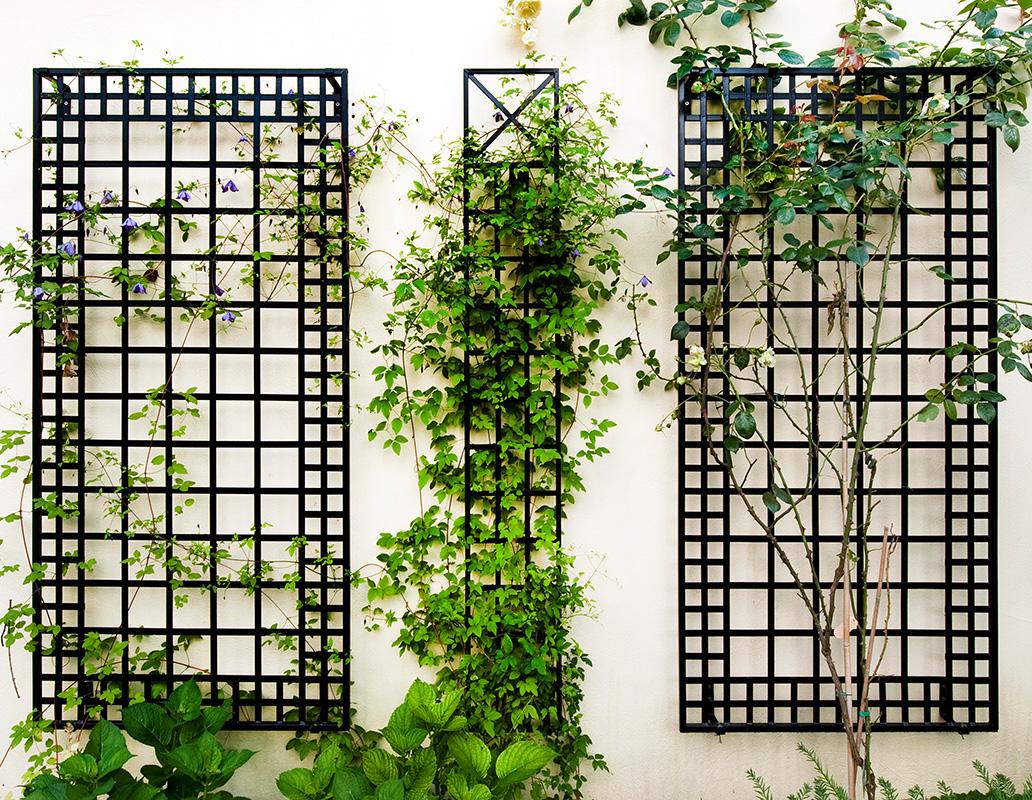
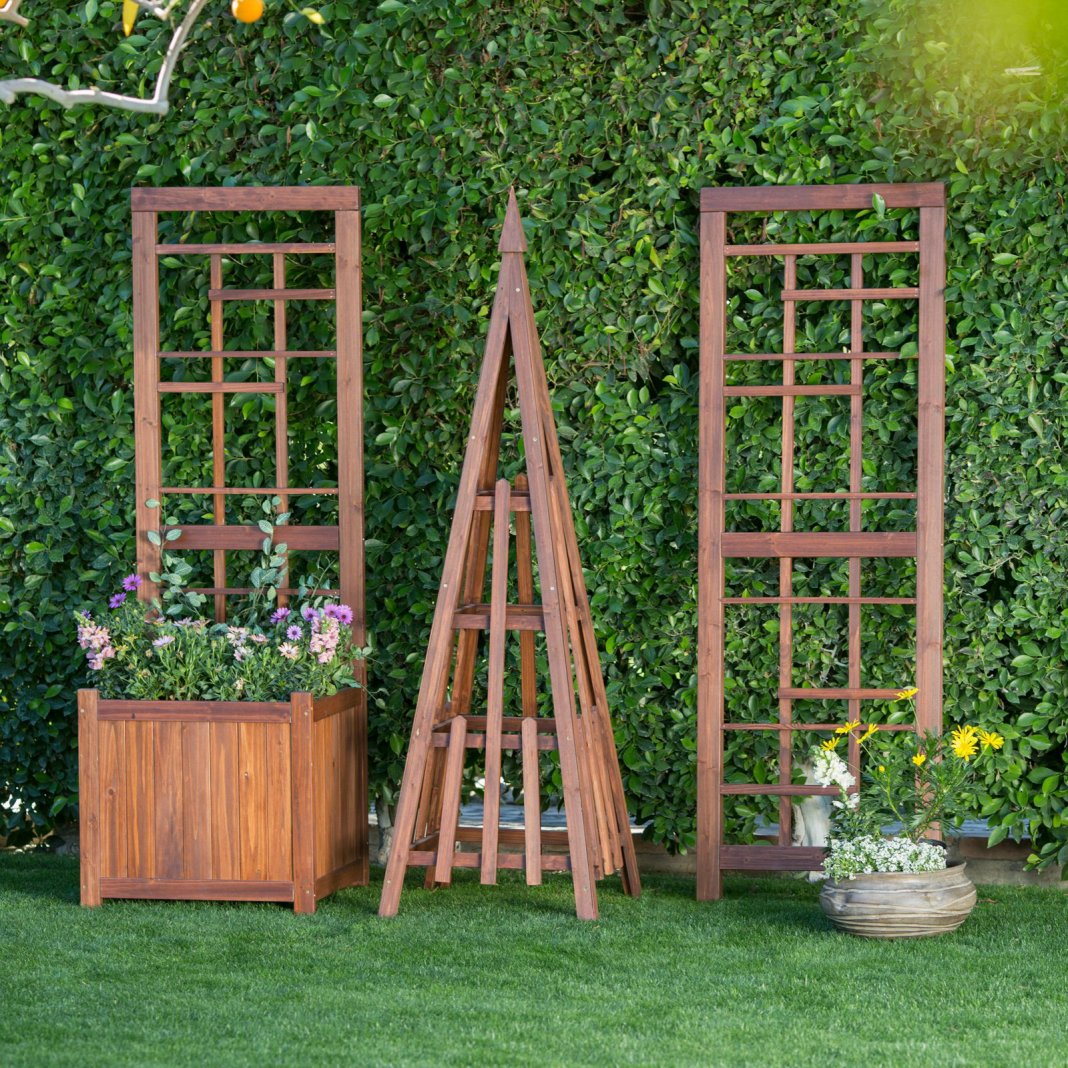
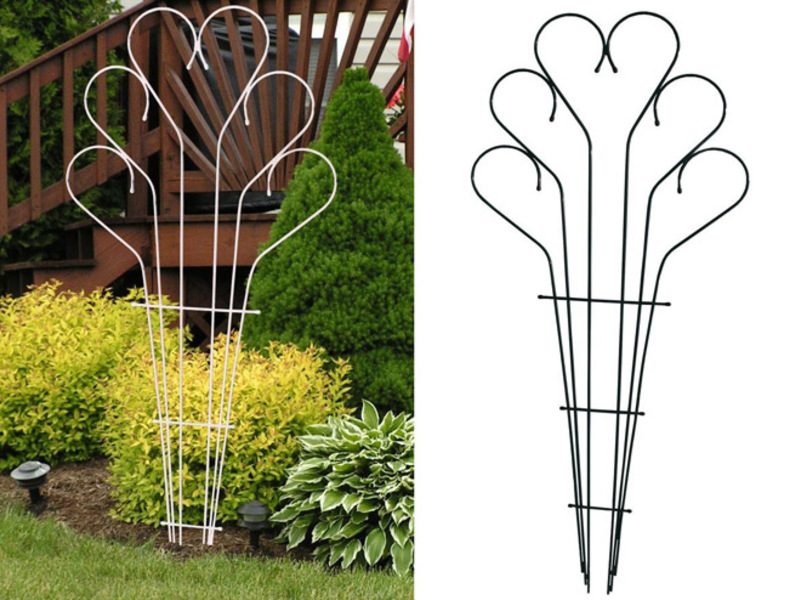
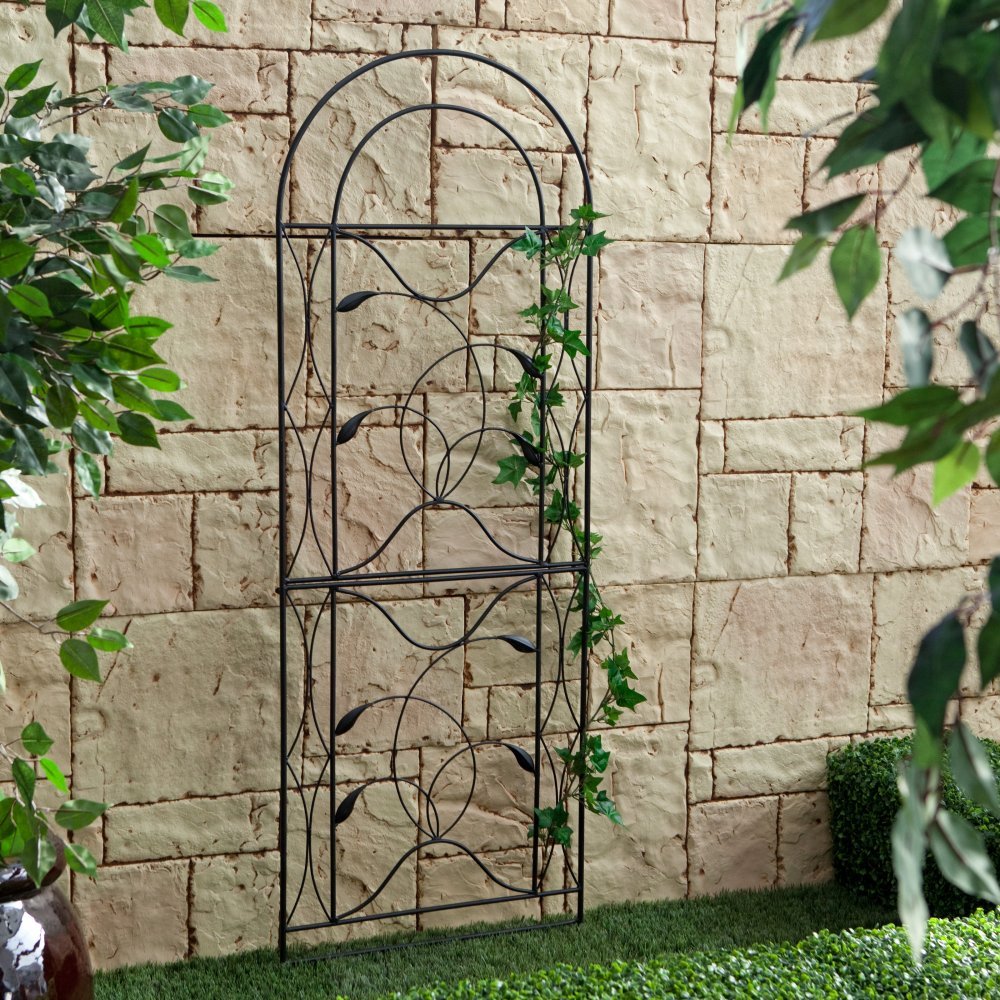
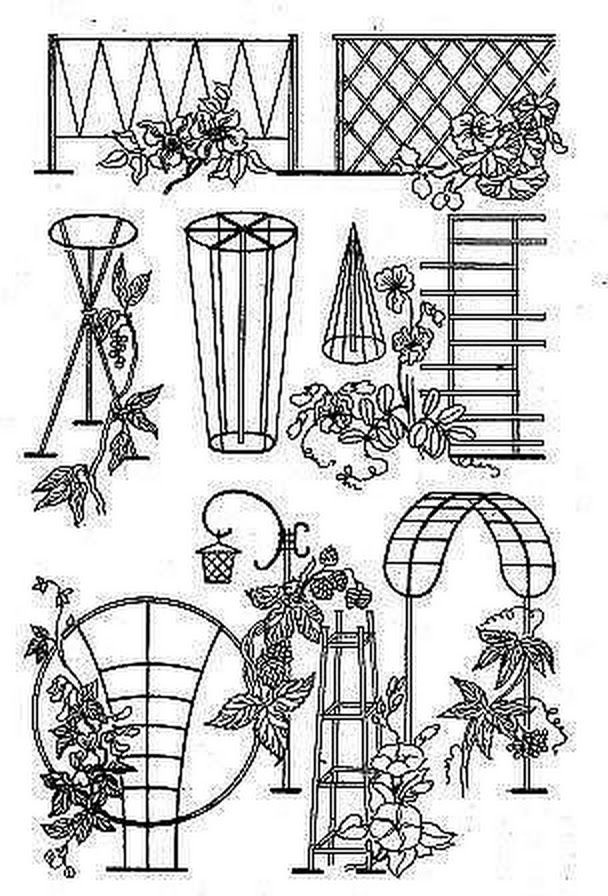
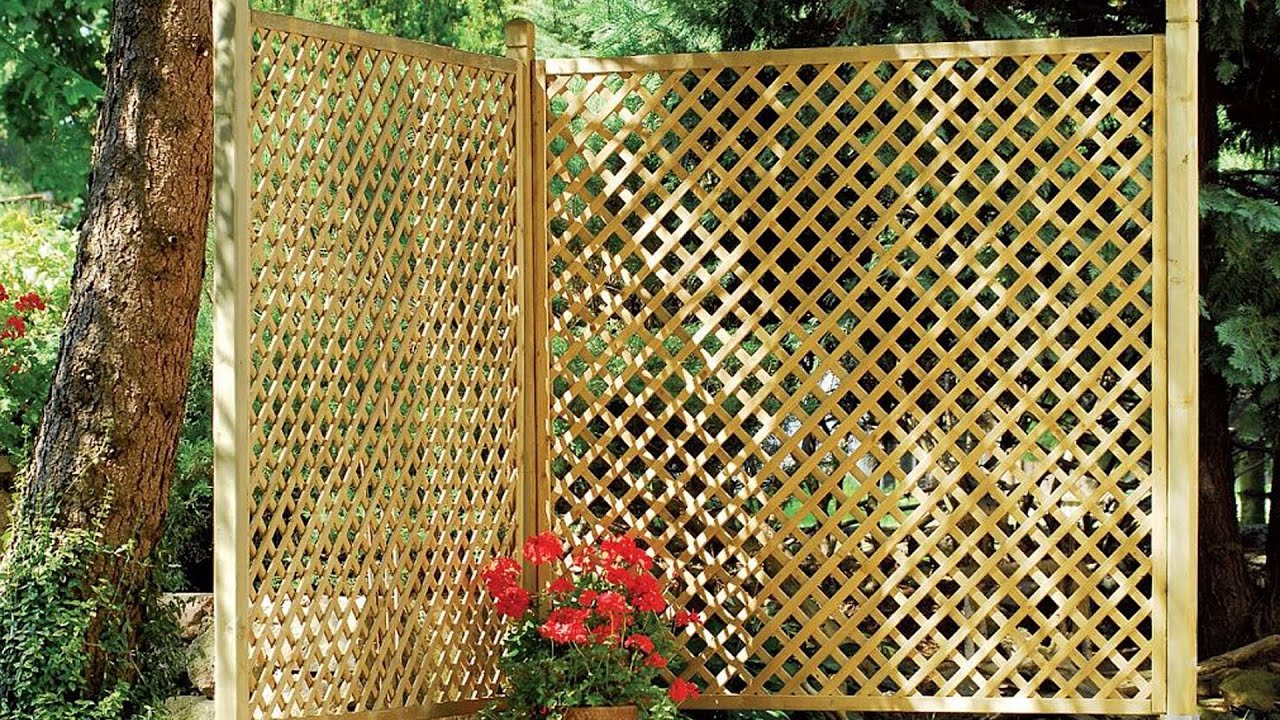
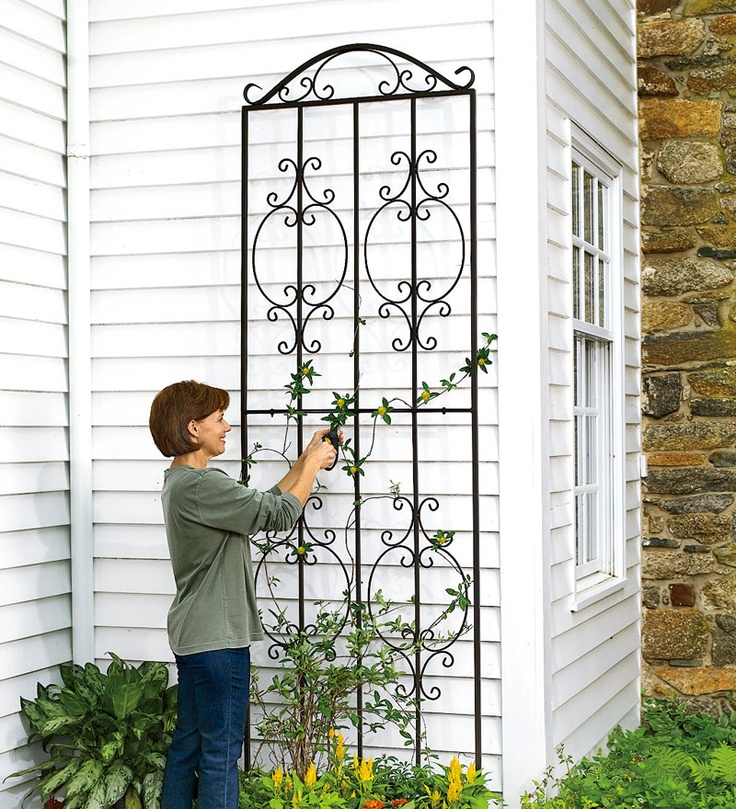
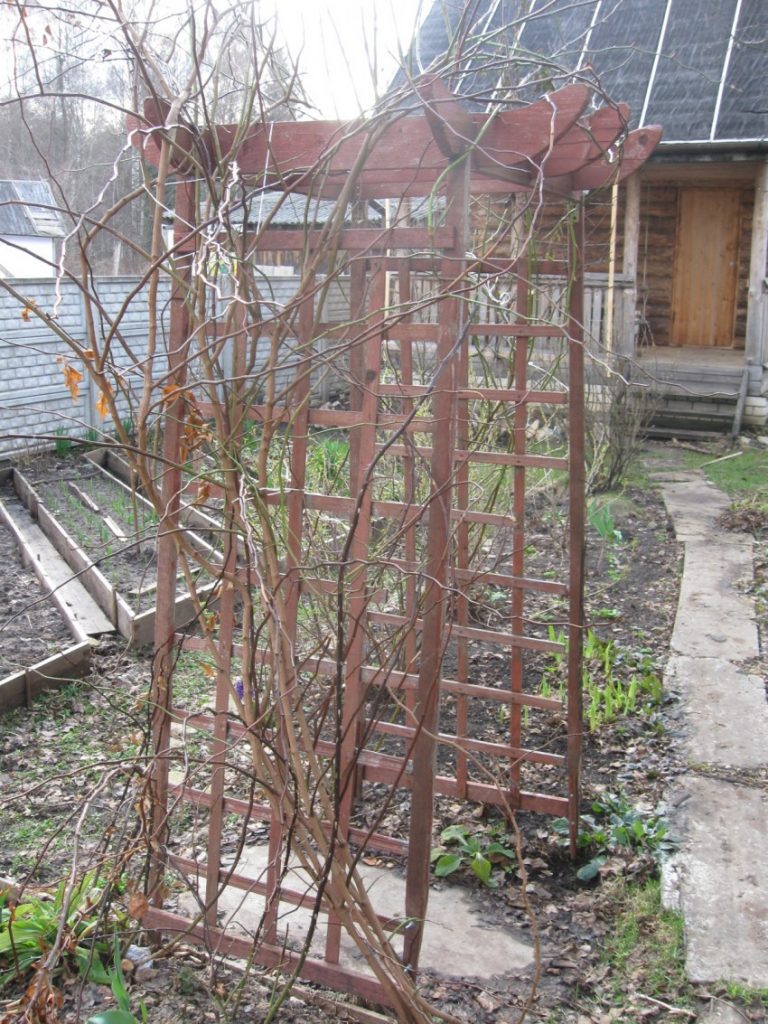
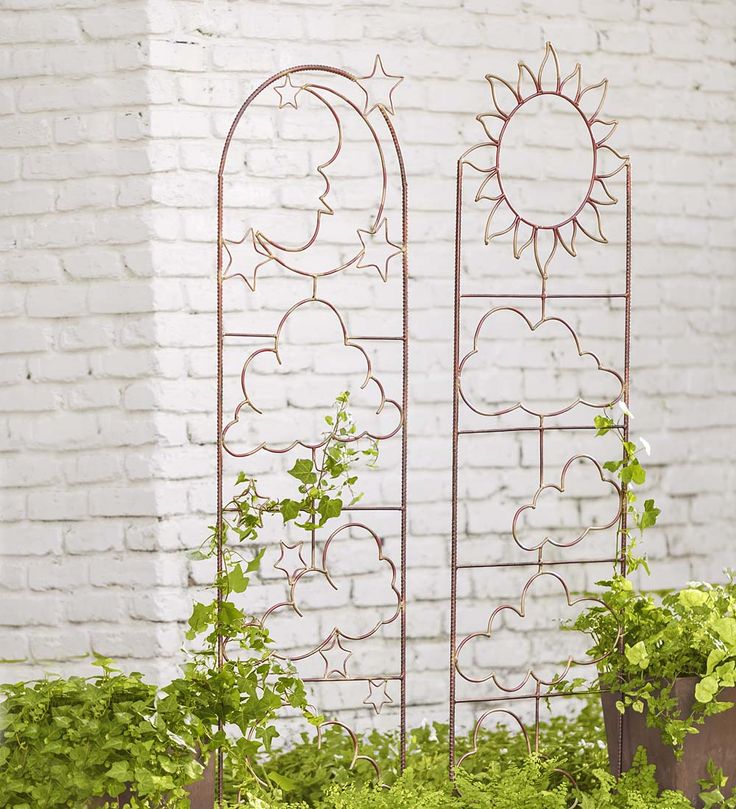
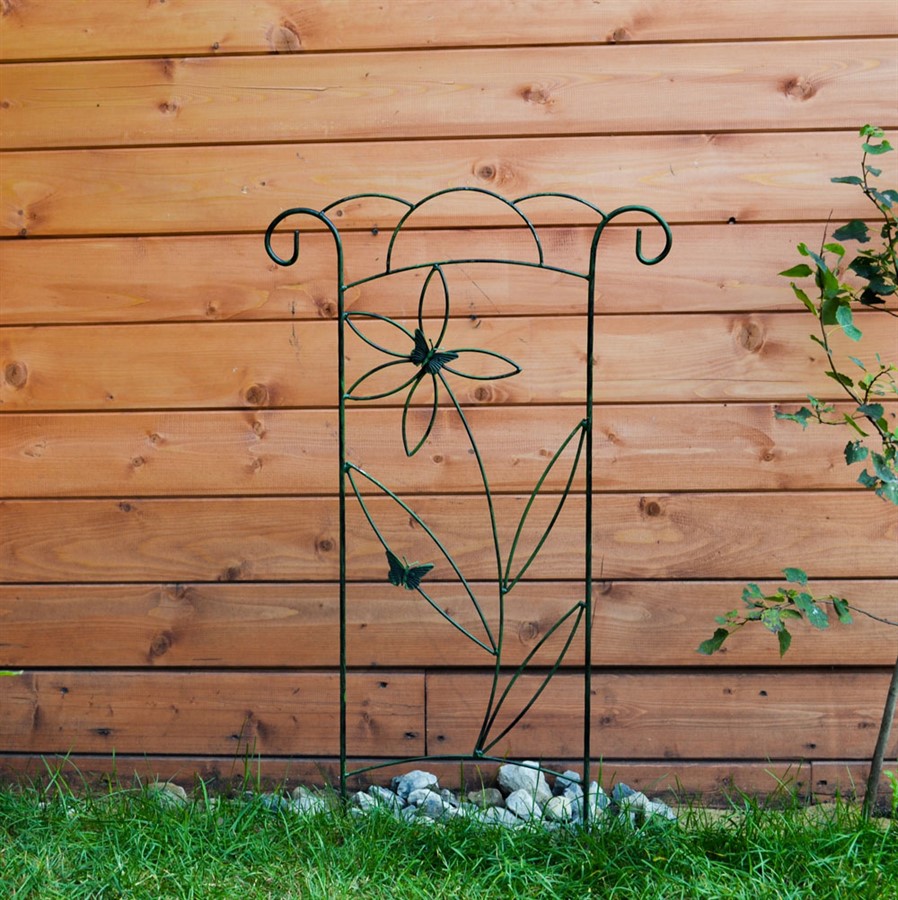
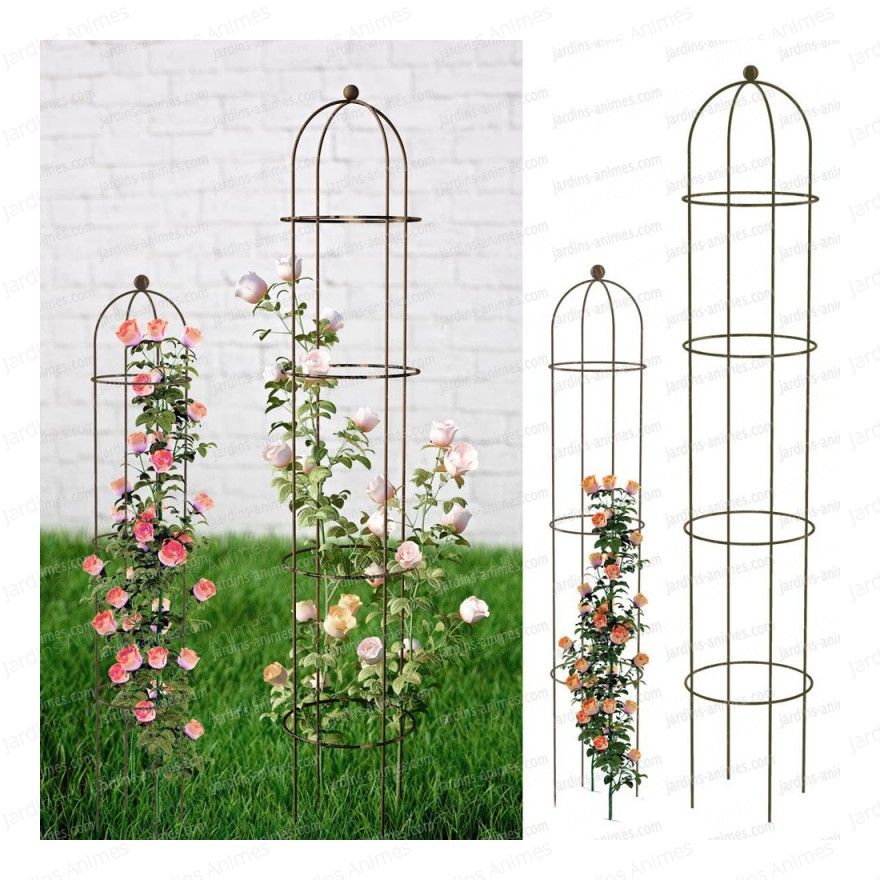
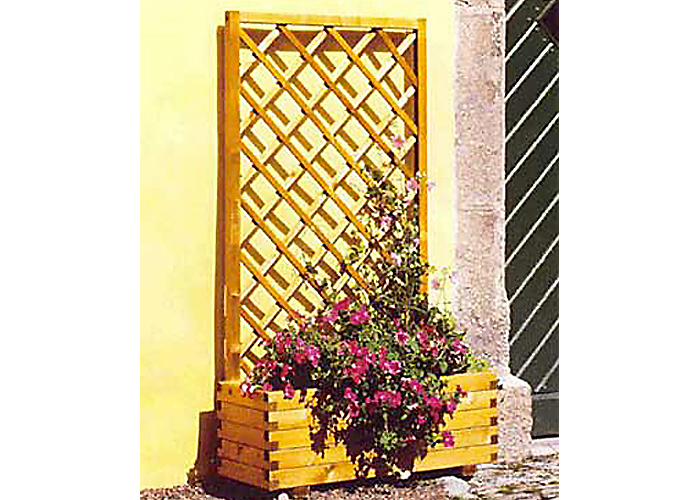
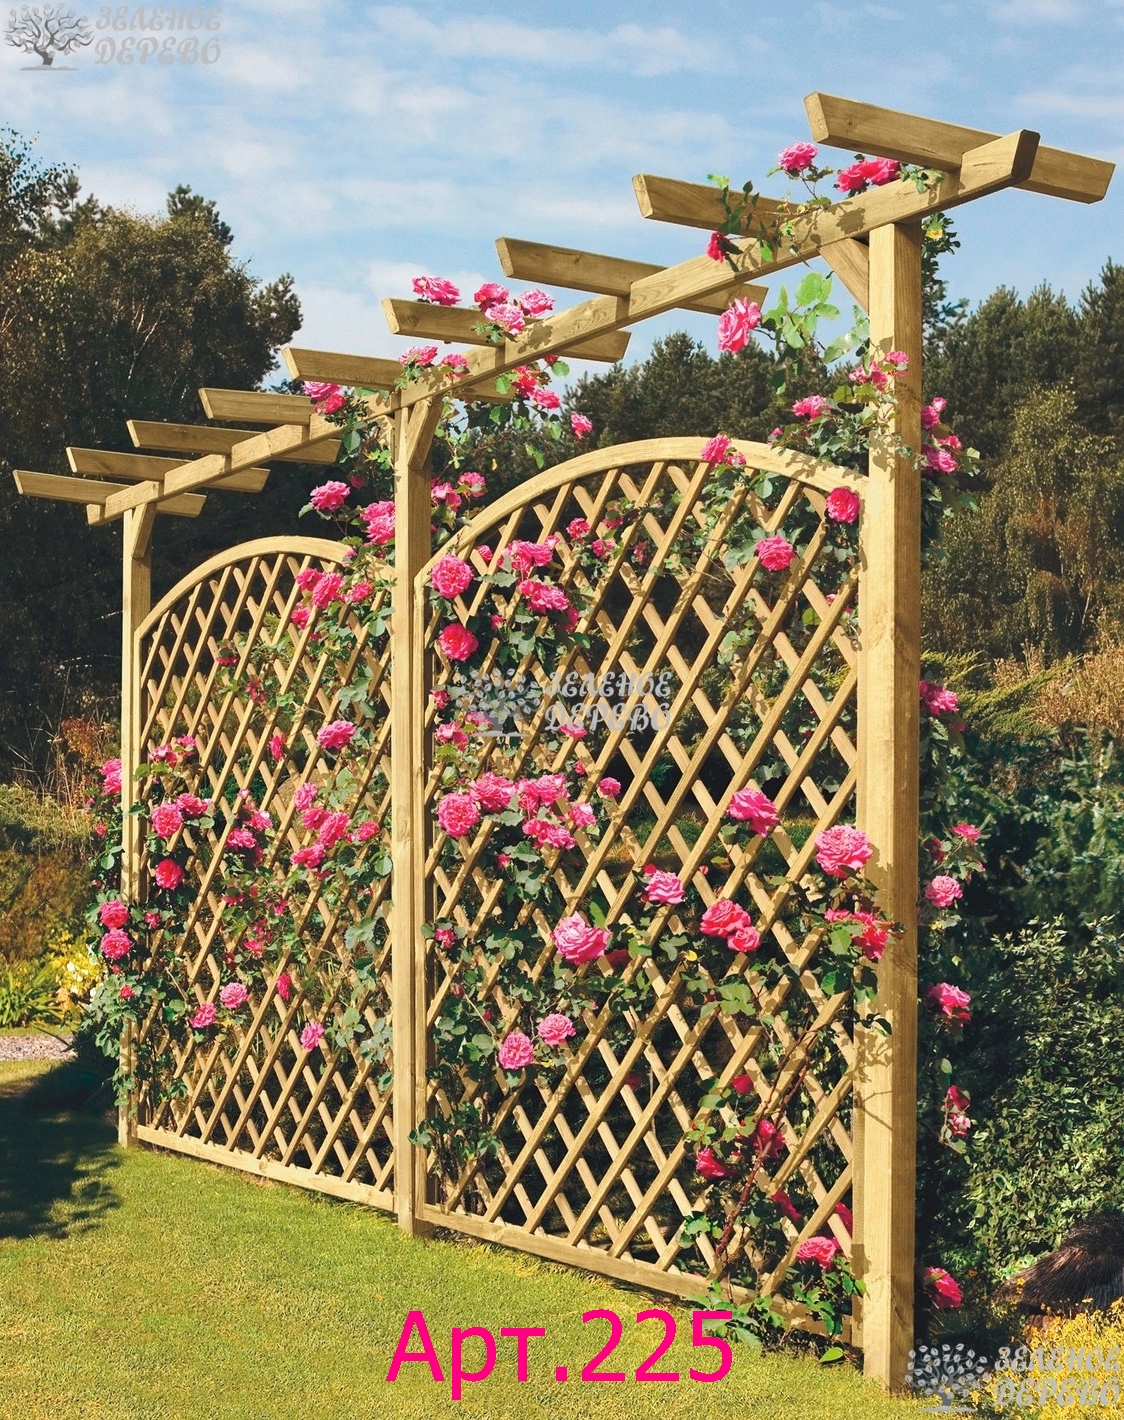
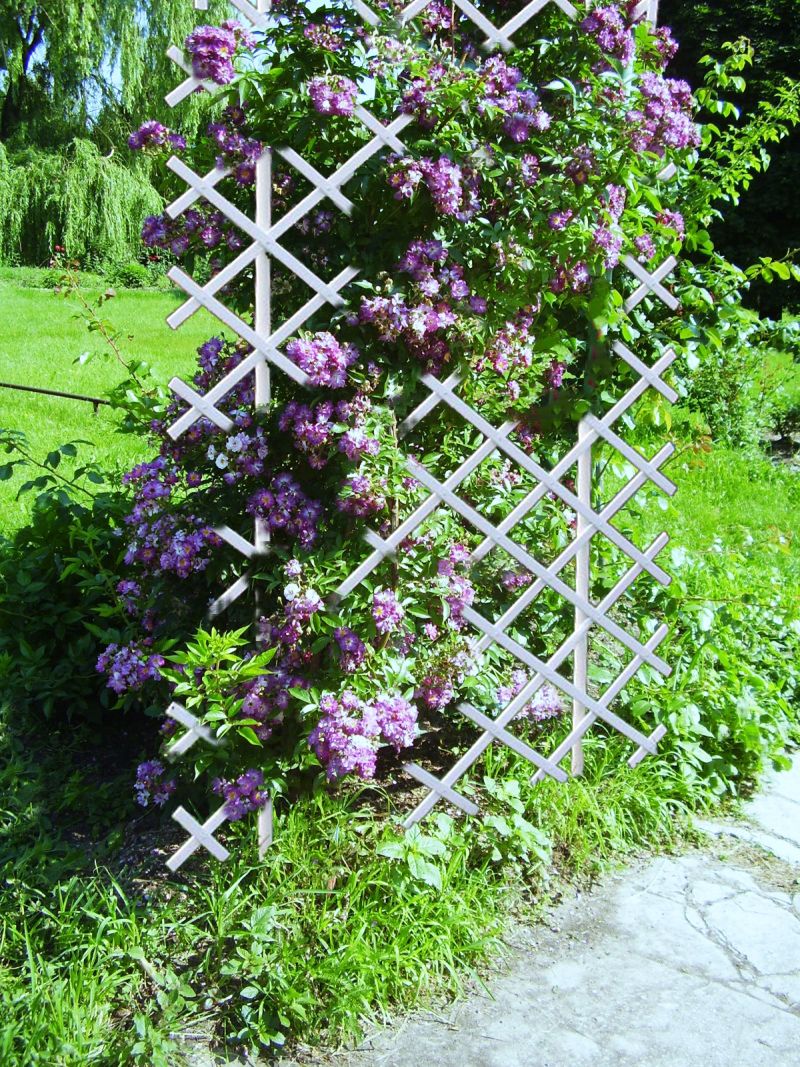
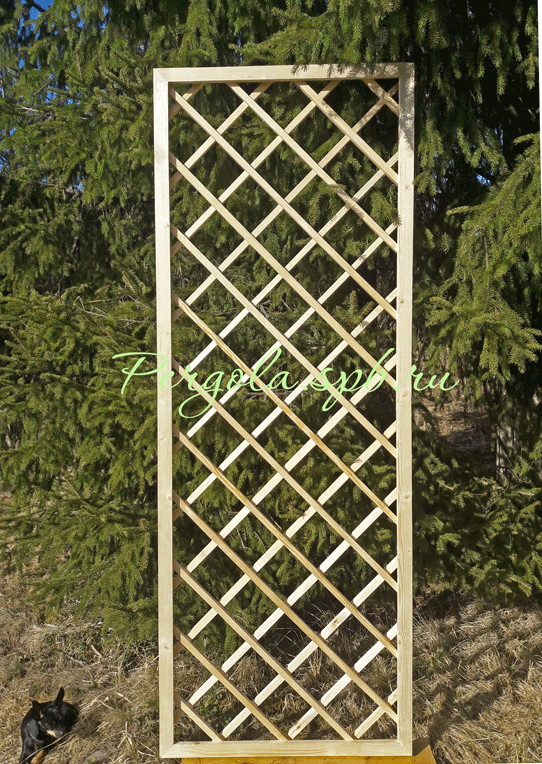
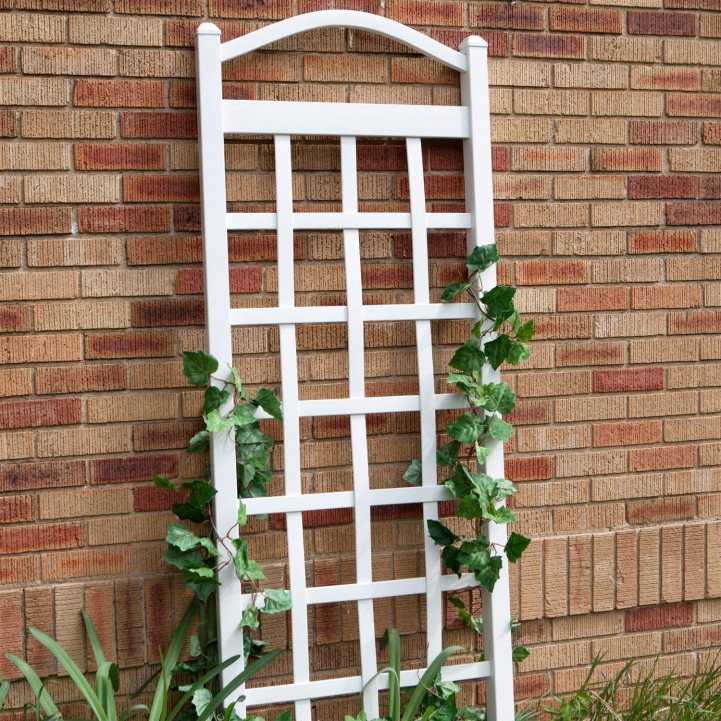
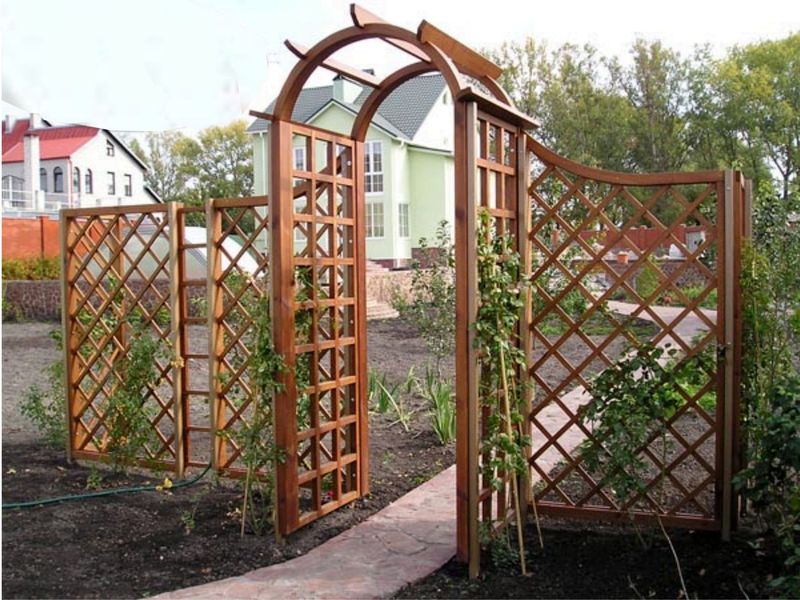
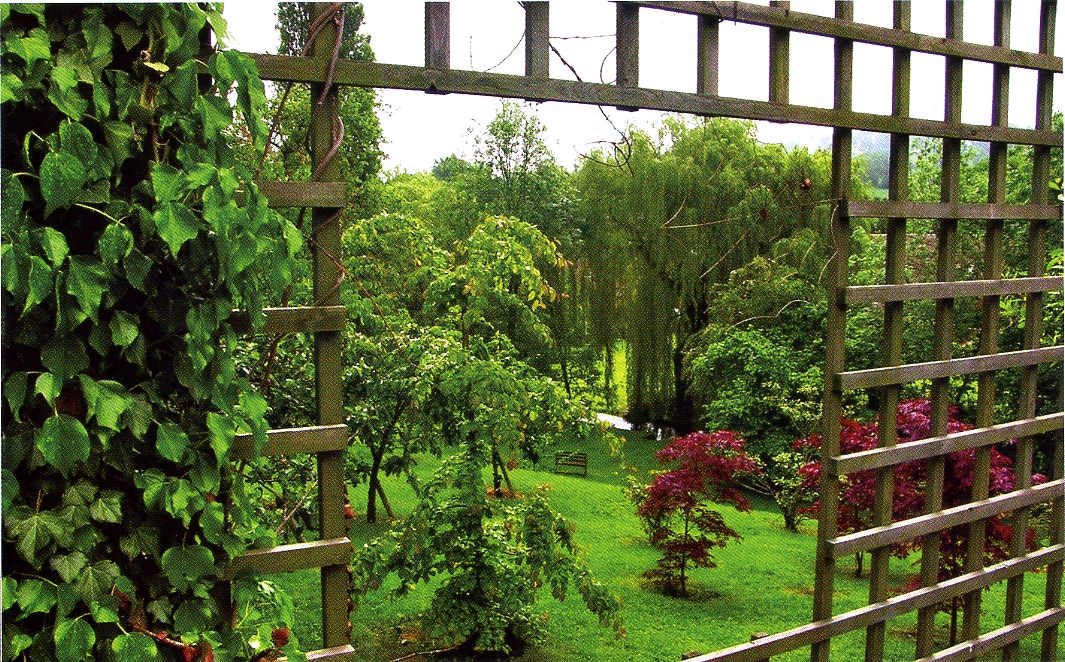
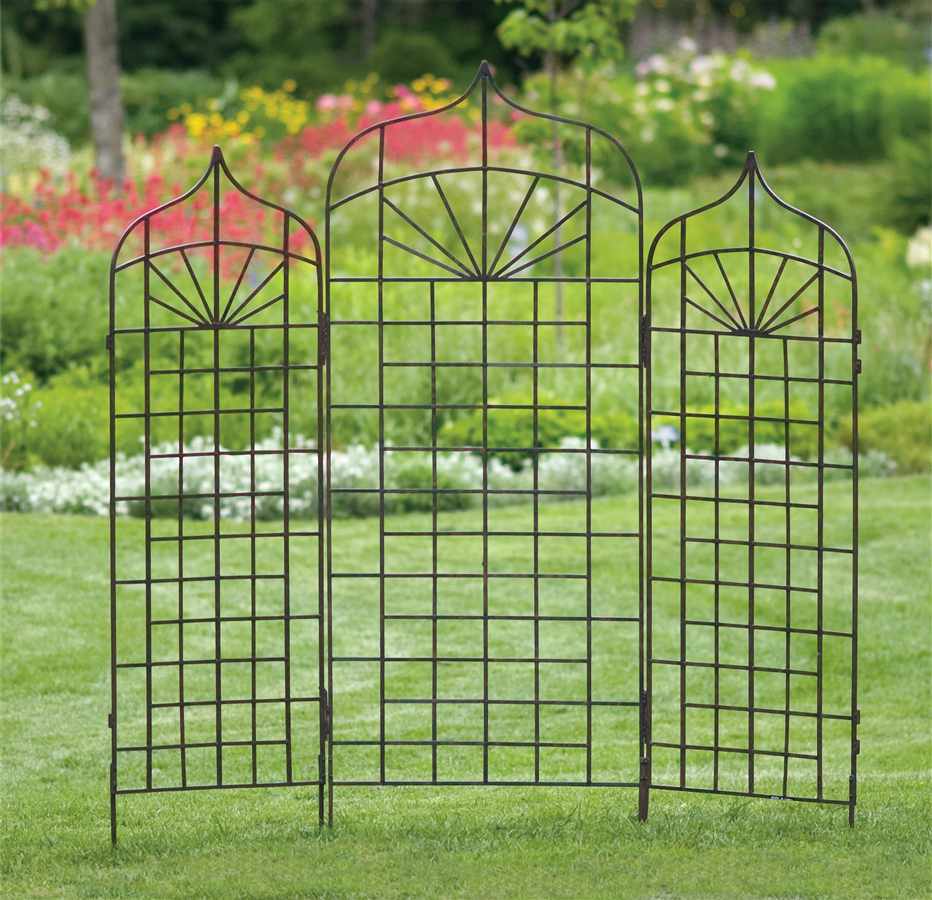
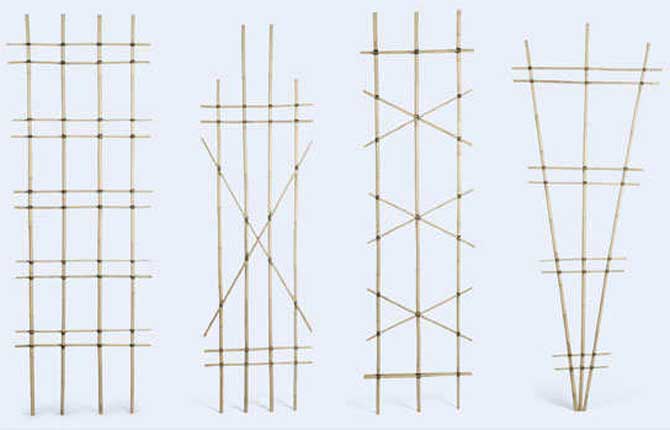
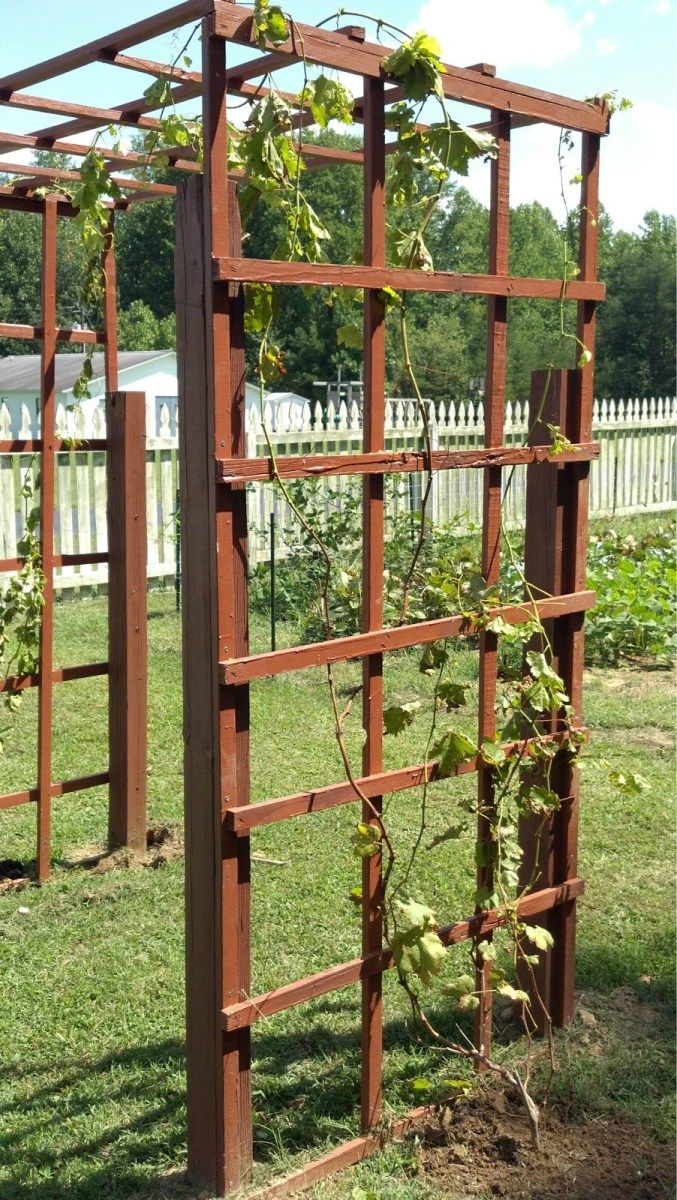
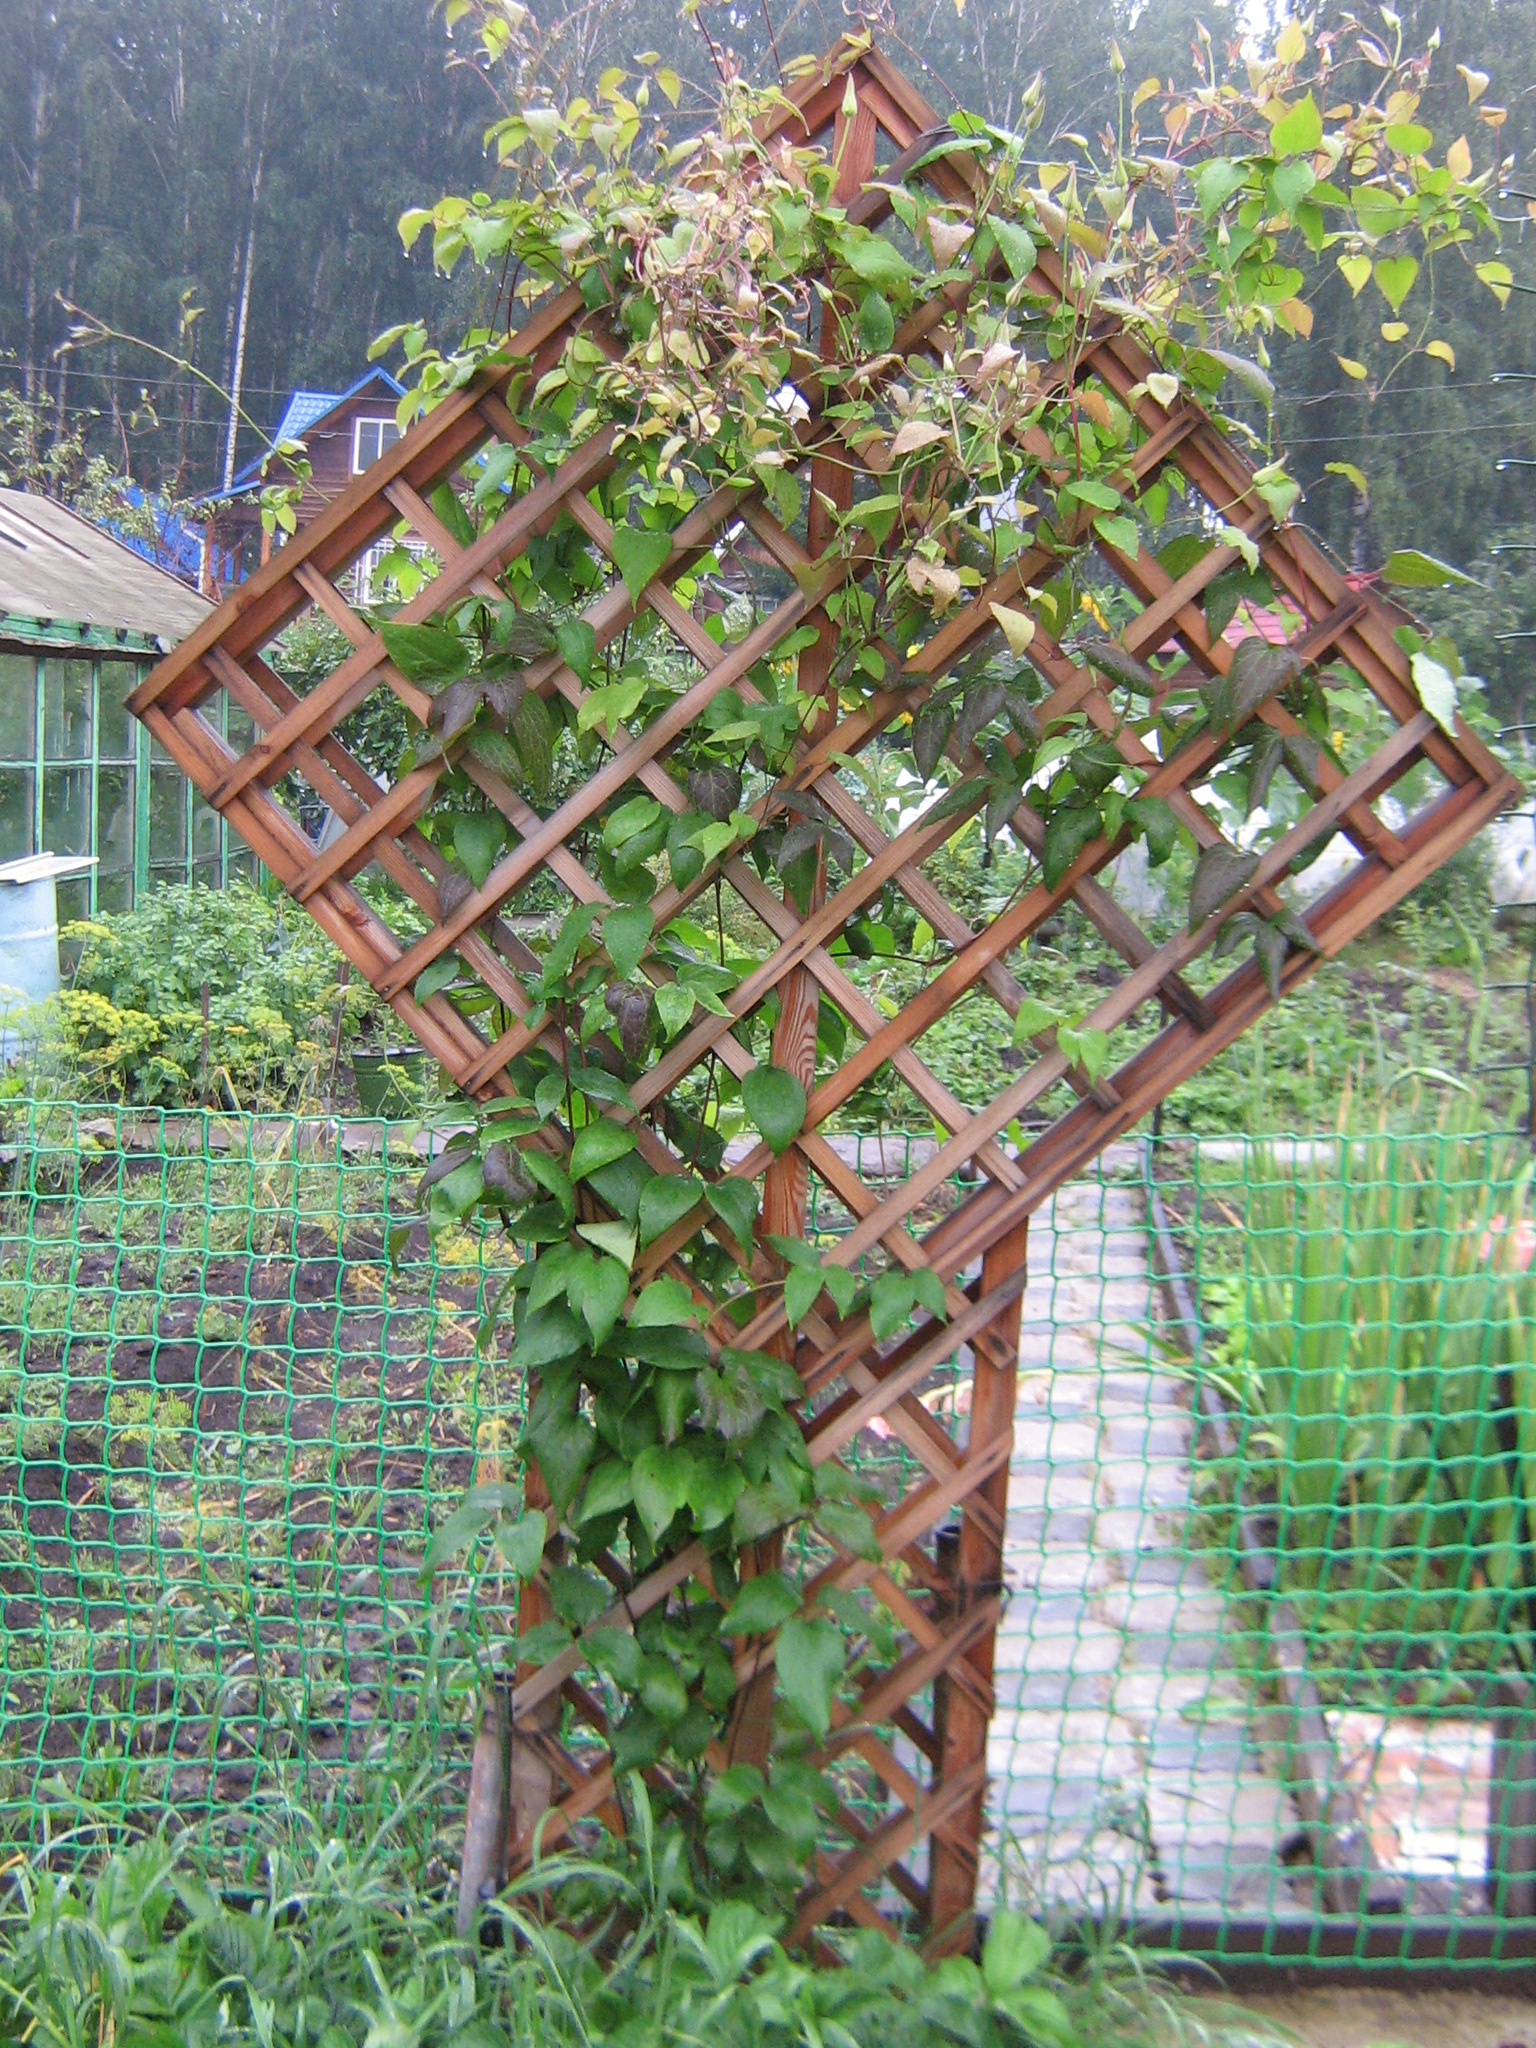
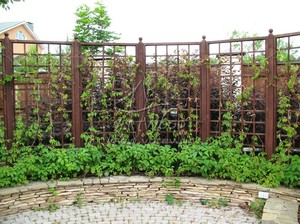
The appearance and shape can be completely different. Examples of tapestries can be seen in the photo. The design is limited only by your imagination and physical capabilities, but you can always hire a designer and craftsman to make the structure.

An important point is that the reliability and stability of the structure directly depends on the scale of the cells. The larger the scale, the less reliable and stable the entire structure will be. And small cells will create a powerful, reliable and safe structure.
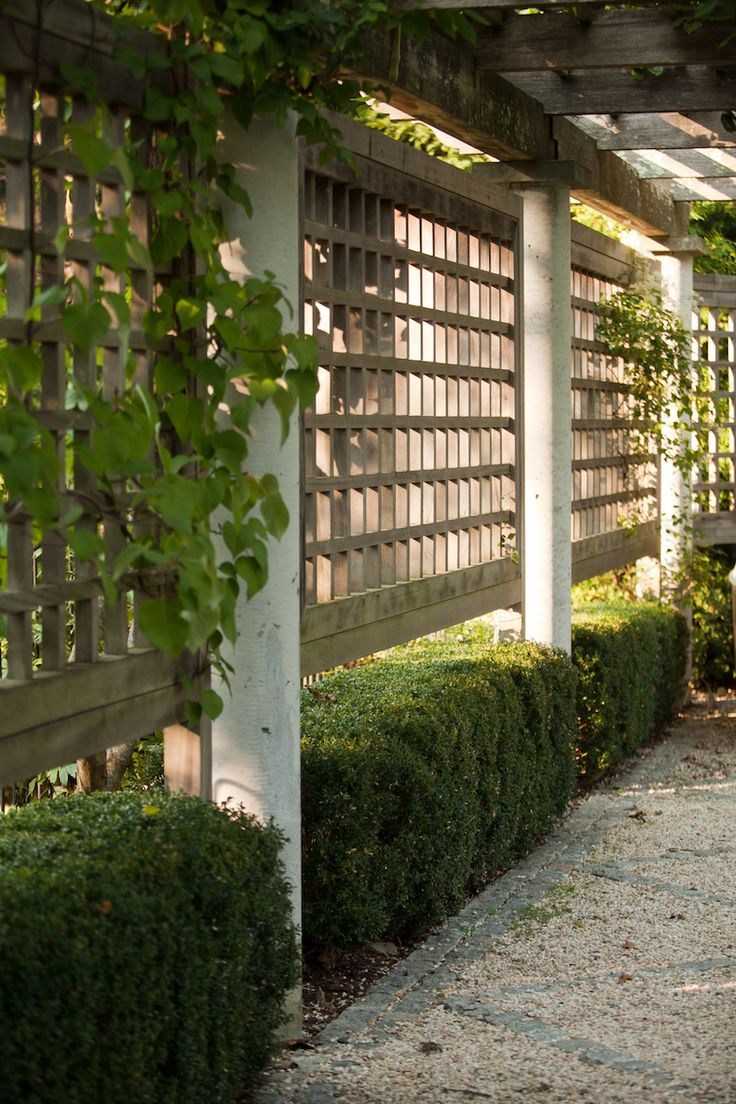
It was found that the best option would be cells no larger than 100 mm. The bars and slats are attached to each other using nails or any similar material.

As an interesting design solution, you can make several vertical or horizontal rows, with elements smaller or larger in diameter. But, remember that everything should be in moderation and such delights affect the reliability of the structure.

-
Vertical flower beds - ideas for creating beautiful flower beds with your own hands (80 photos)
-
Rose garden in the country - a breakdown scheme for different types of flower beds and the best varieties for growing (70 photos)
-
A beautiful lawn on the site: how to lay the perfect lawn with your own hands? (100 photos)
If we talk about the types of trellises, then we can distinguish the shape of a square, triangle and rectangle in wooden elements. Plastic and metal are as unlimited in design as wood.

Made of wood
Wood is a traditional and affordable material that is fairly easy to work with.
To get a wooden trellis for climbing plants, you need a bar for a frame, a picket fence or slats, sandpaper, a level, a screwdriver, self-tapping screws, a brush, varnish or paint.
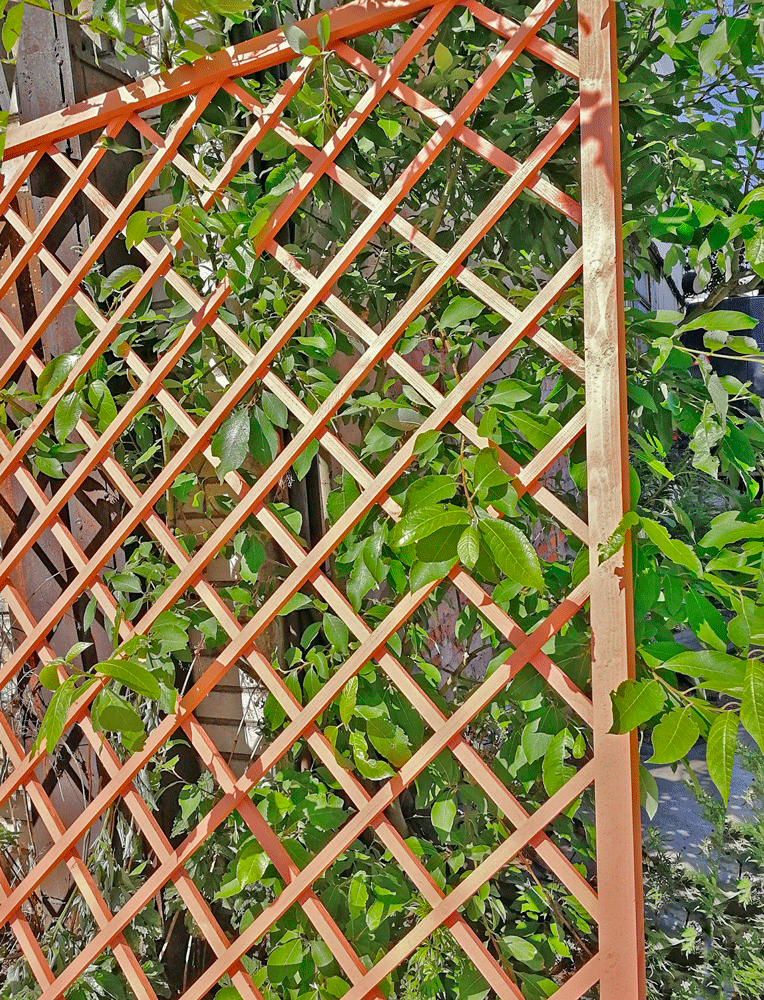
We make the frame of the future support from the timber. The more massive we plan to plant the plant, the thicker we take the timber for the base. The traditional height of such a structure is 1.5-2 m, but first of all we take into account the height of the plant. Having fastened the bars into a frame, we attach the rail, placing it in the form of squares or rhombuses. It is desirable that the cells have sides of about 10-15 cm. This is the ideal size to hold the vines tightly and look quite decorative. When assembling the lattice, be sure to use a level, it will help to make it as correct as possible. We carefully fasten everything with self-tapping screws. To make the wooden trellises better preserved, we treat them with a special antiseptic, and then we open them with varnish or paint them in the desired color.
If the trellis is to be installed as a separate screen, then it is necessary to leave 50-60 cm of the timber for deepening into the ground, having previously processed it with creosote or wrapped with a waterproofing material. This design also requires additional supports to resist strong winds.
Wooden trellises are great for perennial climbing plants (especially for roses), since they will not freeze on wood in winter (unlike metal).
It will be useful to read:
Choosing a support for plants
Curly vines are able to ennoble any corner. In natural conditions, nature itself takes care of them ...
Views
Tapestries can be divided into types based on several criteria: material of creation, purpose and production option - ready-made or homemade.Each of them has its own advantages and disadvantages that you need to be aware of if you want to get a quality structure.
By material of manufacture
In most cases, homemade trellises used near the house or in the country are made of wood and wire, while purchased ones are made of plastic and steel rods. 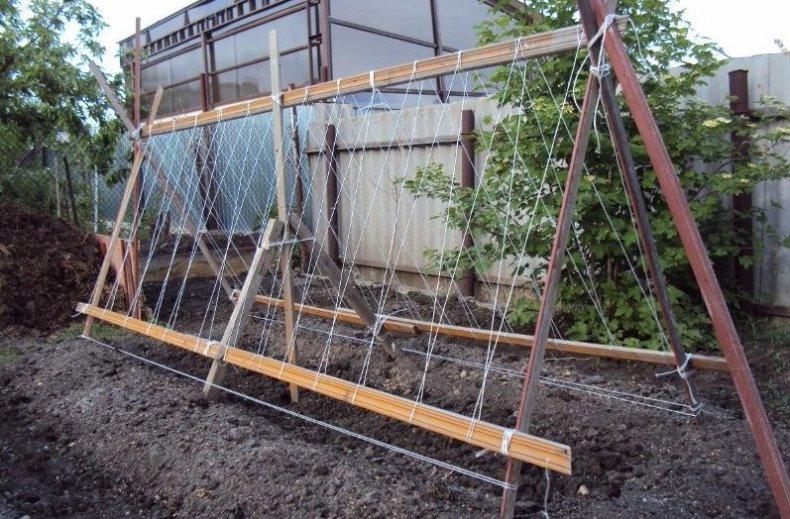
Important! The greatest demand among consumers is for wooden products made from thin (no more than 1.5 cm) bars or slats.
The shape of the trellis also depends on the type of material. So, wooden elements are perfect for standard triangular, square or rectangular structures, but wire, plastic and metal will allow you to create structures of more bizarre and unusual shapes: for example, S-shaped or fan-shaped.
By destination
Tapestries are divided into types and depending on their further purpose. The fact is that different climbing plants have different requirements for their cultivation, not to mention different sizes and other individual parameters. Therefore, before making a trellis, you will have to decide what kind of plant it will be used for: for grapes, flowers or vegetable crops.
Purchased and homemade
If everything is more or less clear with homemade options: you create a frame taking into account personal requirements and plant sizes, then purchased options are supplied ready-made and may not take into account the size of your plantings or free space for installation. 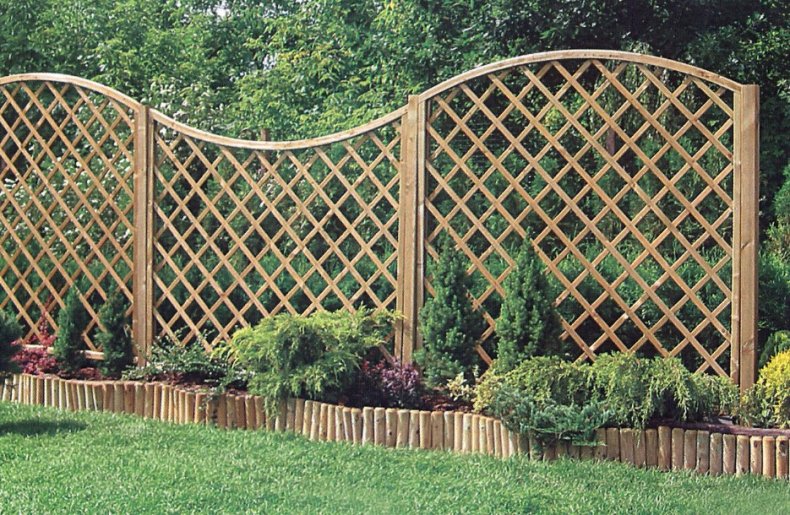
Among modern supports, single-plane (fences, grids, gratings, partitions) and two-plane, represented by balconies, arches, etc., are distinguished.
The first option, which can be easily made at home, is perfect for growing bushes and young plants in small areas. For fast growing crops, when optimal use of space is required, it is better to select two-plane products. In principle, you can also make them yourself, but here you will need more material and, possibly, not only wooden blocks.
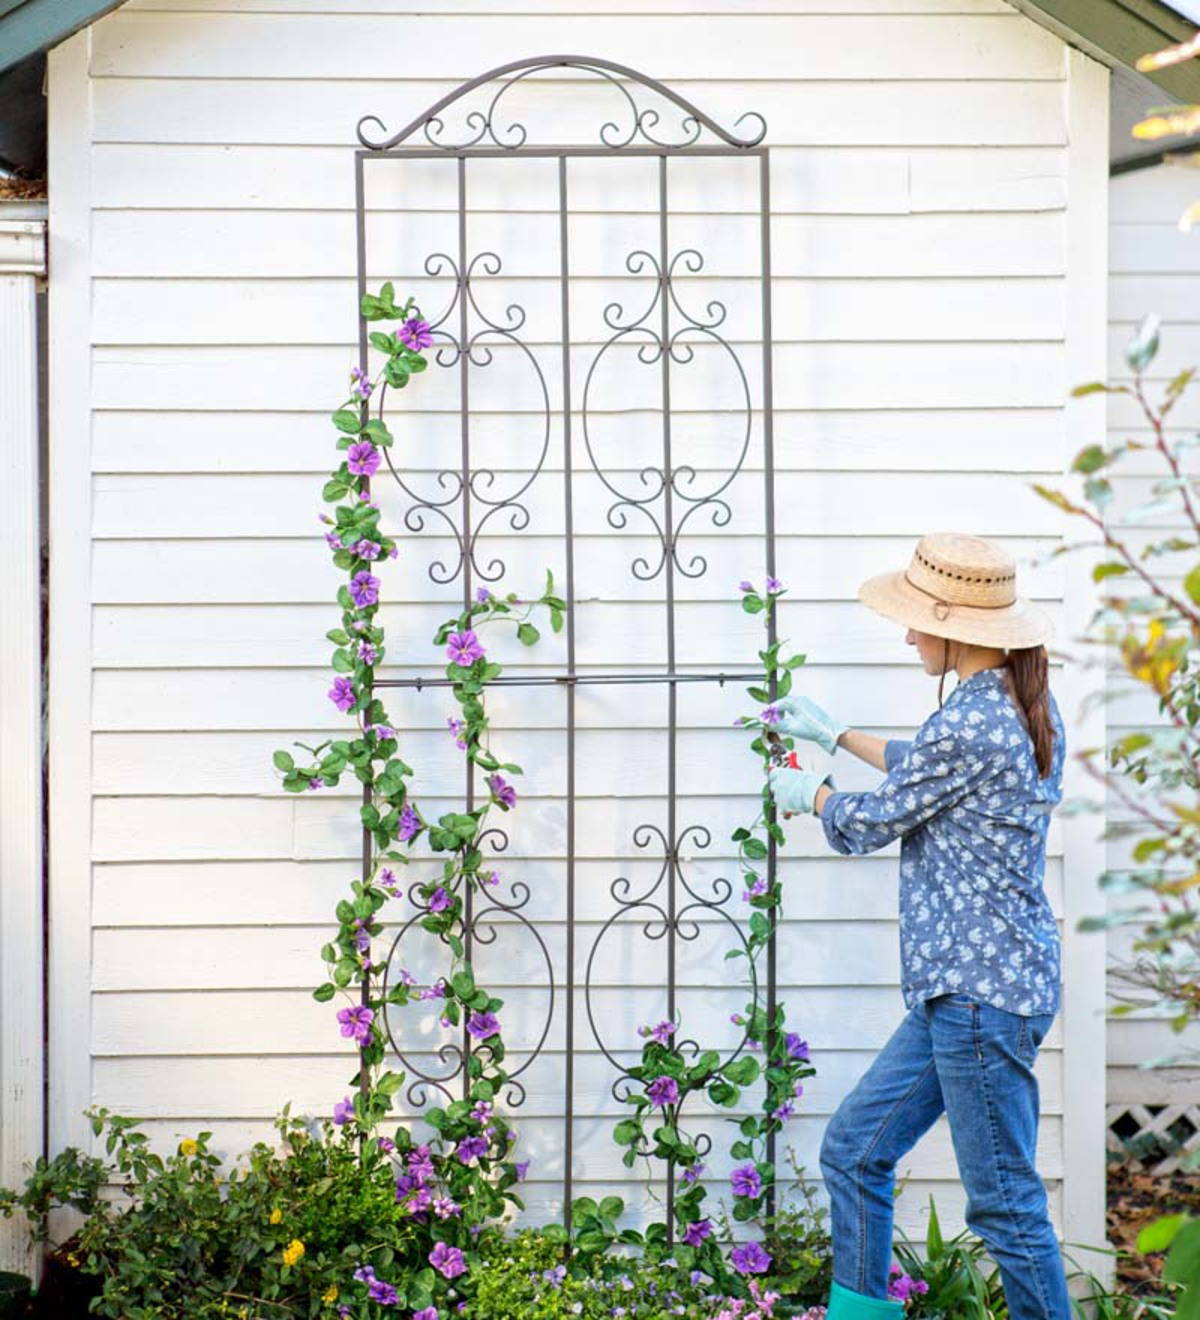
In addition to the types described, some other types of trellises are distinguished. So, depending on its location, you may need a wall support (attached to the wall of any building) or a free-standing one. In the first case, in addition to their direct purpose (plant maintenance), such tapestries also perform a decorative function, covering the wall with themselves.
The functions of a support for plants can be performed by pergolas and gazebos, while climbing plants, in addition to decorative qualities, will also protect from the scorching sun
The advantage of such a support is in the absence of an obligatory frame, which would give additional rigidity to the entire structure. To fix the wall trellis, you must first nail wooden blocks with a cross-section of at least 5 cm to the wall. With further plant growth, this will improve air circulation between the grate and the solid support.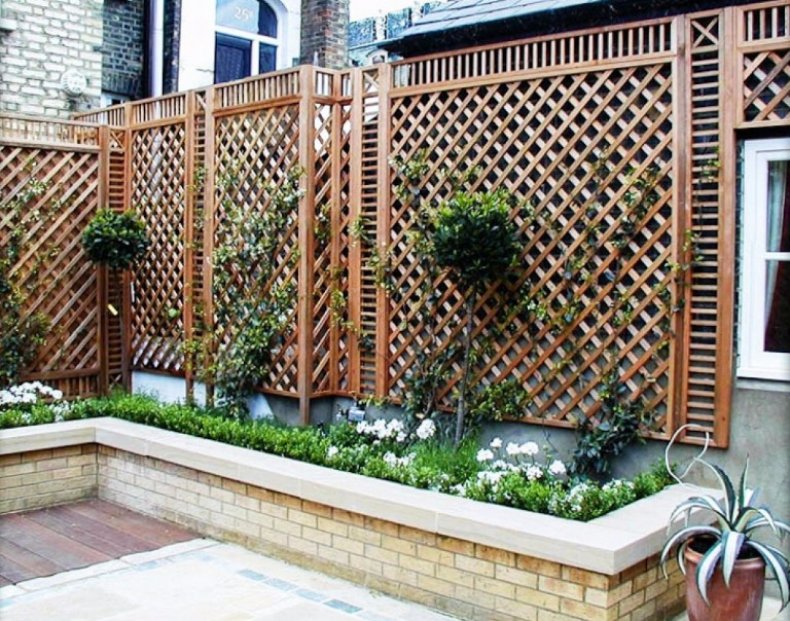
Important! From a practical point of view, it is better to secure the trellis with hooks, which will make it easy to remove and put it back on as needed.
The trellis, tightly entwined with climbing plants, is like a sail, which means that it is easier to move it. To prevent this from happening, do not forget to use a support post, presented in the form of a rod with a thickness of 1 cm or more (it is stuck into the ground to a depth of at least half a meter). Using a wooden bar, its lower part should be wrapped with roofing material or treated with resin, which will prevent wood from rotting.
Many owners of backyard plots prefer to make such structures on their own, which, however, is not surprising. In addition to saving, if you wish, you can get a stronger structure that will serve faithfully for many years.
What are the tapestries?
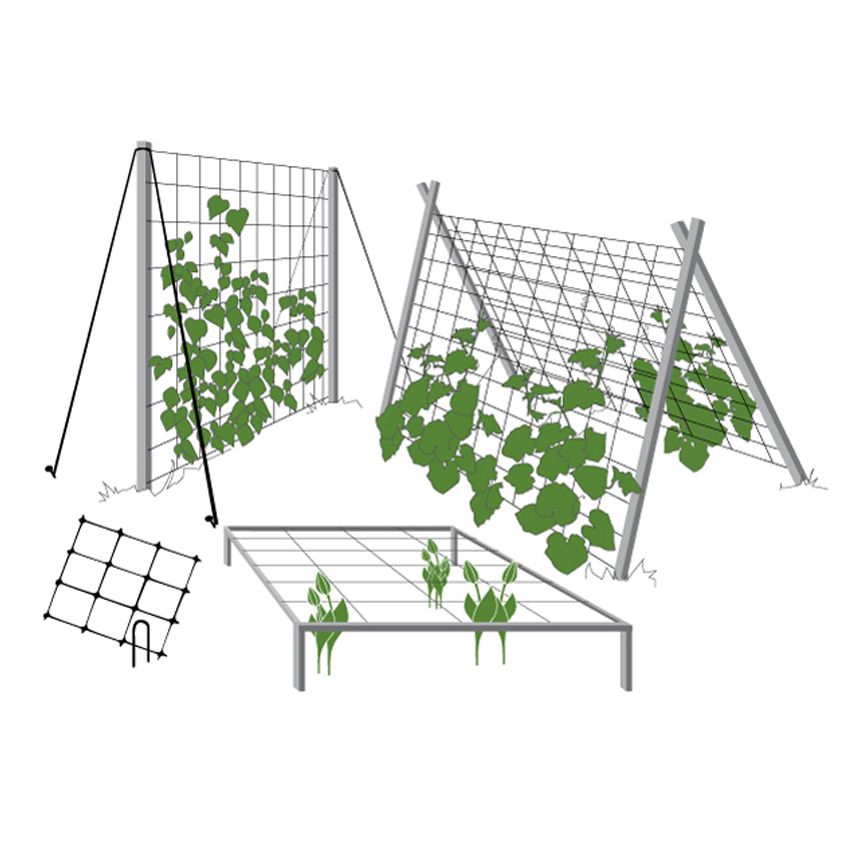
By design features, trellises can be divided into single-plane and two-plane.The former include flat structures in the form of fences, fences, trellises and decorative walls in the garden. Single-plane trellis can be used to decorate the walls of houses and gazebos, to zone a garden plot, or to tie berry bushes and vegetable plants to them.
For tall tomatoes, single-plane trellis made of pillars dug in 2-3 m along the entire row of plants are suitable. On top of them, you need to nail or firmly tie horizontally located poles or a bar. Above each plant in a row, attach a thin wire or strong cord to the bar, the lower end of which is attached to a peg driven into the soil next to the plant.
Diagram of an inclined trellis.
Two-plane trellis are volumetric structures consisting of 2 rows of flat trellis parallel to each other. Connected from above with slats or a single-plane trellis placed horizontally, they turn into arches, pergolas and light arbors. This design is more stable than a flat trellis, and looks much more decorative than it. In "green building" it is customary to combine both types of plant supports when designing a garden landscape.
Trade organizations offer a wide selection of trellis structures made of different materials. Metal, plastic, wood products are available in various sizes and styles. But to save money, you should try to make the trellis yourself. Anyone who has the skills of welding can easily make a frame from a steel corner with reinforcing bars welded onto it. With a certain skill, the bar can be bent and assemble an openwork lattice, similar to a forged product.
Mark on one of the frames the connection points for the lattice strips. The distance between the marks must be the same. For convenience, you can use a template - a piece of a bar equal to the size of the lattice mesh. Sawing off the strips of the required length with a hacksaw, screw them with self-tapping screws from one mark to another on opposite sides of the frame. When performing this operation, it is necessary to monitor the parallelism of the planks.
A little about trellises
First, let's define what a tapestry is. A trellis or trellis is the simplest support for climbing and weaving plants, on which the shoots are distributed in the required order.
Such a trellis for flowers can be made of different materials and, depending on the purpose, be vertical or horizontal, one-plane or two-plane. Gathered together, several trellises form a trellis.
A do-it-yourself tapestry will serve not only as a support for the climbing plant you like, but will help to equip and decorate the site, emphasize its style.
It can be used to divide the space, as a shading net for a resting corner, a horizontal trellis can create an openwork gazebo roof.
Beautifully entwined with flowers, the lattice will hide unsightly places on the site, decorate the walls of buildings, fences, and will become a wonderful window frame.
Flowers on trellises not only look beautiful and well-groomed, but located on an openwork vertical surface, are well ventilated and get sick less.
The choice of material when making a tapestry with your own hands is primarily determined by its purpose. So, a light lattice is suitable for fixing on a wall, a fence, between the posts of a pergola. A free-standing screen must have a sturdy heavy frame and be thoroughly reinforced.
The shape of the trellis can be very diverse - rectangular, triangular, zigzag, arched, fan and others. It depends on your imagination and skill.
The general requirements for creating a trellis for climbing plants with your own hands are as follows:
- Its frame should correspond to the general style of the estate and be in complete harmony with it.
- She needs to have a decorative look not only with plants, but also without them (in winter).
- The size of such a support should correspond to the habit of a particular plant, which is designed to look thick and beautiful on the trellis.
- Consider the weight of the overgrown plant when creating the frame. The support must be strong and reliable.
- If the trellis is used as a decoration for the wall of a building or a fence, then it should not be installed close to it, it is necessary to retreat from the wall at least 10 cm, using wooden posts as fasteners. This will provide the necessary air circulation.
Traditionally, a do-it-yourself trellis for climbing plants can be made of wood, branches (rods, vines), metal (wire, fittings), plastic (pipes, mesh).
The photos below clearly illustrate all the variety of trellises for climbing plants.
Types of trellises
By installation method
- One-plane. Considered a suitable option for small areas. They can be used to grow vegetables, decorate fences and create partitions. They are made of racks about two meters high, between which a wire is horizontally stretched with an interval of 0.5 meters. This design provides high-quality natural lighting and ventilation of plants, contributes to their intensive growth and high productivity;
- Two-plane. This type of trellis is widely used for growing grapes. A prerequisite for their installation is a significant distance between the rows - more than 2 meters. They are made from the same materials as single-plane ones, only they are installed on both sides of the grape bush. There are two options for their construction: vertical and inclined. With the inclined method, two trellises are connected at the bottom and diverge upward at a slight angle of inclination. The supports are placed on both sides of the plant. Their main advantage is improved lighting and an increase in the number of green shoots on large bushes with several branches (arms).
From the branches
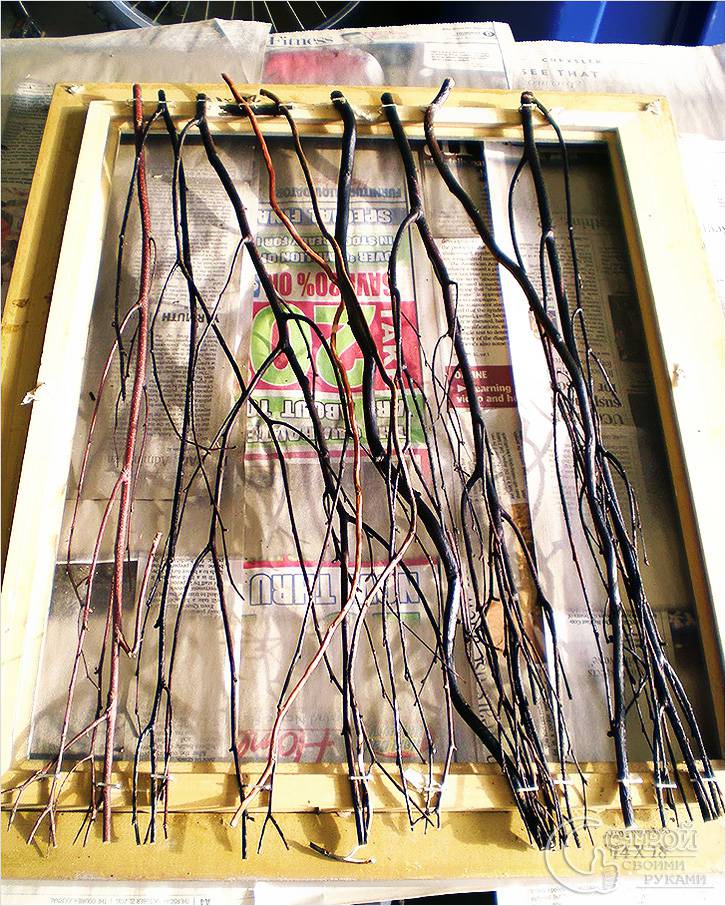 Small branch trellis
In fact, you can make a trellis from a variety of, sometimes seemingly unnecessary materials. These include cut branches of trees 1 cm thick.Everyone can handle the assembly of such a trellis, moreover, it is suitable for both plants and cucumbers. So, in addition to the branches in the work, you will need:
- flexible wire for fastening rods;
- pliers;
- garden pruner.
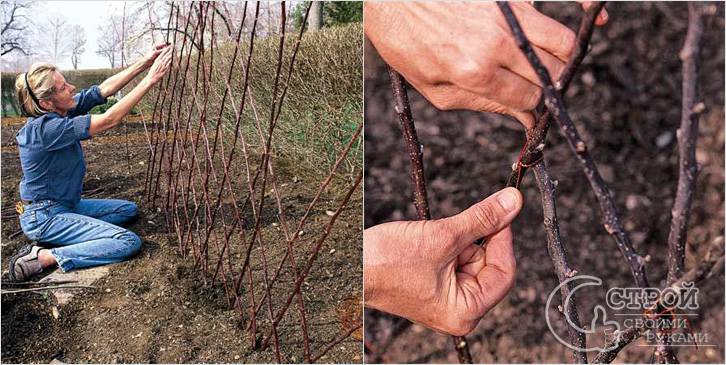 Twig trellis
Actions are performed in this order:
- The existing tree branches are sorted according to the length.
- The first to be used are the main rods - 2 pieces, which will become indicators of the beginning and end of the trellis. They are stuck into the ground to a depth of 15 cm.
- Near the first rod, at an angle of 60º towards the second, the third is fixed, and after 14 cm (on average) the next one. The process is repeated until the end of the span.
- The procedure is repeated only in the opposite direction: from the second to the first rod. The set angle is also saved.
- The intersections of the rods are fixed with pieces of wire.
- The protruding ends of the branches are cut with pruning shears to give the structure the correct shape.
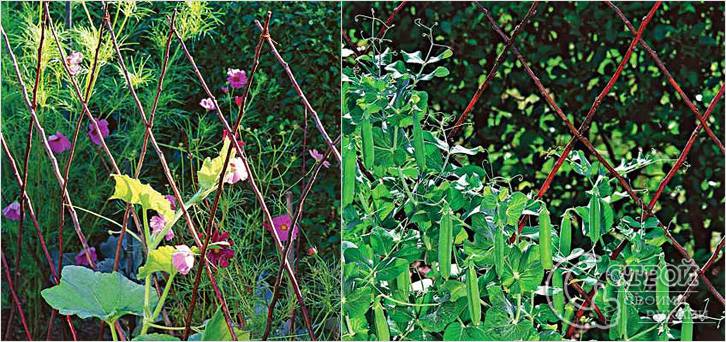 Tapestry of branches in action
The result is a trellis with diamond-shaped cells. Naturally, such a structure will not last long, but it will be quite enough for one season. If desired, for the winter, the branches are carefully removed from the ground and folded in the shed until spring.
As you can see, making a tapestry is an absolutely simple matter. In addition, it is worth noting that very little money will be required to create it.
In work and planning, it is important to adhere to just a couple of rules. First, the trellis must be strong, especially when it comes to grapes.
The second is stability, since the load from bunches of grapes or cucumber fruits can be quite large and not every structure can cope with it.
Single-plane trellis

The simplest one-plane trellis
The manufacture of the simplest single-plane trellis begins with marking the pits for the supports. The distance between the posts is kept 2-3 m, placing them strictly along the line.For the convenience of marking the pits, a construction cord is used. Installation of the trellis is performed in the following order:
-
- for supports strictly according to the marking, holes are dug 300 mm wide and 500 mm deep. Half of each pit is covered with rubble;
- metal supports are installed by pouring concrete. Wooden pillars are treated with resin, linseed oil or machine oil below. The treated area is wrapped with roofing material and tamped in a pit with rubble or soil. During installation, all supports are leveled with a level or plumb line;
Please note: it is not advisable to concrete wooden supports. The pillars that have rotted over time need to be changed and the concrete fill will have to be destroyed with a perforator.
the upper and lower crossbars, depending on the material used, are bolted or welded to the supports. The lower crossbar is fixed 100-150mm higher from the ground;
holes are drilled in the supports for wire. The first row is located at a height of 300-400 mm from the ground. All the following rows are placed at a distance of 450-500 mm from each other. From the top crossbar, the last row of wire is placed at a distance of 150-200 mm. The wire is pulled like a string, fixing it to the posts;
Installation of a two-plane structure is carried out in the same way as a one-plane trellis. The only difference is that you need to install two trellises. They are placed against each other strictly vertically or in a V-shaped position at an angle. The V-shaped structure is installed in the following order:
on the site selected for construction, a rectangle is drawn with a length of 3 m and a width of 800 mm;
the corners are marked with wooden pegs and an intermediate landmark is measured;
in place of the peg, they dig holes and set the pillars at an angle. The lower distance between the supports is 800 mm, and the upper distance is maintained at 1100-1200 mm. The pits are filled with concrete with rubble;
after the mortar has solidified, horizontal crossbars are attached and the wire is pulled.
Self-production of an arched structure requires the use of a pipe bending tool - a pipe bender. It is useful for bending the upper elements of the arch. Installation is performed in the following order:
racks made of a profile pipe with a section of 20x20 mm are installed as for a two-plane structure - strictly vertically;
the upper elements of the arch are bent with a pipe bender from a profile pipe with a section of 15x15 mm. Finished arched elements are inserted into the supports from above, welding for reliability;
for the rigidity of the structure, horizontal bridges are welded from a profile pipe with a section of 15x15 mm. One lintel is attached to the top of the arch.
On the sides, they are welded to the posts at a distance of 500 mm from each other.
Please note: in order to save money, the side jumpers can be welded less often, but then you will have to pull on additional wire.
To create a small canopy near the house with a single-row crop planting, you can install a semi-arched trellis. In this case, there is one side of the arched elements fixed to the posts at the planting site. The second side of the upper structure is welded to a vertical trellis installed against the wall of the house.
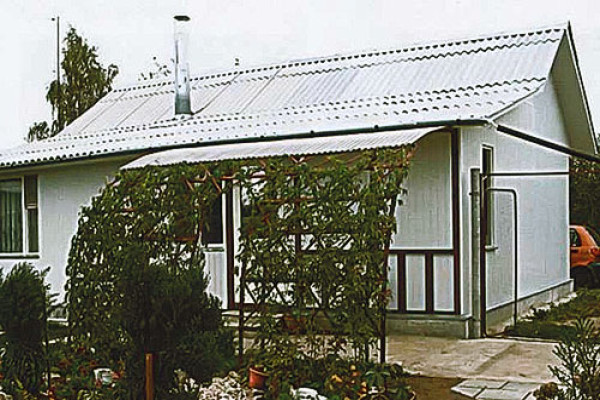
Semi-arched canopy near the house
Tent trellis
Tent trellis
The tent-type structure is made of round or square pipes with a section of 20x20 mm.
Installation is carried out in several steps:
- the posts of the hip trellis are installed in several rows at a distance of 2-3 m from each other;
- 1300 mm higher from the ground, a horizontal lintel is welded to each support;
- stepping back up from the jumper, a V-shaped visor from a rod is welded. Each side of the visor is 600 mm long;
- a V-shaped visor with sides of 1200 mm is welded on top of the pillar;
- the edges of the lower and upper visors are connected with a vertical jumper.
Hip trellis contributes to the formation of a good harvest of grapes. In this case, the vine of the culture will hang down in the form of a tent (by the way, you can read about how to plant grapes here).
With your own hands, you can assemble frames of different designs. It all depends on the owner's imagination. The main thing during construction is to take into account the peculiarities of growing varieties of crops for which the trellis is made.
Watch the video material on making a trellis for climbing plants with your own hands:
Do-it-yourself trellis for climbing plants
Nowadays, it is not difficult to find and buy the desired product or thing. Tapestries were no exception. Many firms offer different types of ready-made products from high-quality materials, but since not everyone can afford them, I propose to consider the option of how to make a trellis with your own hands.
Growing cauliflower: a healthy and tasty vegetable in your country house
How to make a trellis out of wood
The size and material for making a do-it-yourself trellis from wood directly depends on the plants for which they are intended. For peas or vines, you can make a simple structure from wire and twigs of a fruit tree that were left after cutting them. The entire manufacturing process takes place in several stages:
We also recommend reading: How to make a wattle from twigs (video) Do-it-yourself trellis for grapes Support for cucumbers with your own hands (10 photos)
-
Select thin and even branches for future construction.
- Stick the branch into the ground at an angle. After 15 centimeters from it, stick the next rod. In this case, it must be tilted to the first so that they cross at a certain height from the ground.
- Tie two twigs together with a small piece of wire.
- We put the third twig right next to the second and tilt it parallel to the first. After 15 centimeters, set the fourth twig parallel to the second. In the place where they intersect, tie with wire.
- This process is repeated until the end of the future construction.
- Having reached the desired size, we cut off all unnecessary ends and give the structure a rectangular shape.
- If your structure is not very stable, then it can be fixed in several places. To do this, we drive small pegs into the ground and tie them to the structure with wire.
- Plants are planted along the support.
Fan trellis
After you have selected the required number of rods, you need to lay them out according to a template prepared in advance and weld. First, the horizontal and vertical are cooked, and then the remaining rods are mounted in turn. If you need to give additional stability to the structure, you can weld additional rods. The finished product is processed and painted, after which it is installed in a pre-planned place.
Aeroponics: a vegetable garden without soil
Garden constructions
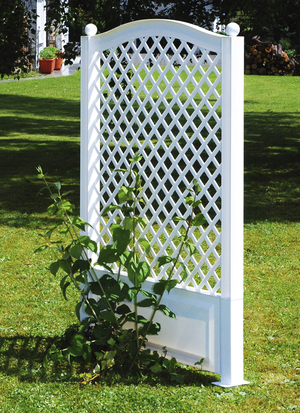
When choosing an installation site and height, their dimensions should be taken into account so that the plants in the garden are not obscured by them from the light. Therefore, these structures are placed in the direction from north to south.
Tomatoes can be tied to a cord as they grow. This will provide access to a sufficient amount of light. In addition, with this arrangement, the trellis will be well blown by the wind, which will save the plants from some diseases.
For cucumbers, you can set the structure in the same way. This will further help to more quickly harvest. Unlike tomatoes, cucumbers are not tied up, but once every few days they entangle the stem with a cord.
This structure can be converted into a two-plane structure. To do this, set a bar at the tops of each of the columns. We place it perpendicular to the pillars of the support. We stretch the wire between the slats. In the future, we attach cords for plants on it. These manipulations allow not only saving material, but also time for manufacturing.
Arcs

Plastic and metal arcs can be useful not only for covering plants with foil or spunbond, but also for creating support. Arcs can be made of plastic or metal, the main thing is that they are strong enough, keep their shape and are not afraid of frost.The easiest way is to buy ready-made arcs in a garden store or on the market, since they are inexpensive, but it is not so easy to bend them yourself and get an even result.
Due to their low height, the arches may not support all plants. It is best to tie low tomatoes, young vines of grapes, flowers with thin and high stems to them.
Varieties of trellises, main characteristics
Modern trellises are of the following designs:
- single-plane (fences, lattices, nets, partitions, etc.);
- two-plane (arches, balconies, etc.).
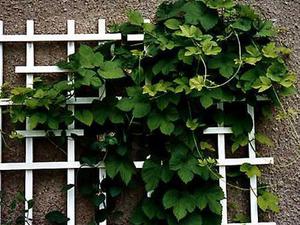
One-plane
In addition, trellises can be wall-mounted (attached to the wall of a house or any other structure) or free-standing.
Wall trellises, in addition to supporting plants, serve as wall decoration. The advantage of such a garden element is the fact that the wall trellis does not need a frame, which gives additional rigidity to the entire structure. To attach the trellis to the wall, wooden blocks with a cross-section of at least 5 cm are first nailed to it, which further improves the air circulation between the trellis grate and the wall.
If screws or nails are used to fasten the trellises to the bars, access to the wall will be difficult. It will be more practical to attach the trellis lattice to hooks, which will allow you to remove and put on the trellis on the wall as needed.
If the installed trellises are free-standing elements of garden design, then they, without fail, will need the construction of a frame to give additional rigidity to the structure. After all, such a trellis will also experience wind loads under certain weather conditions. A large trellis, tightly entwined with climbing plants, is a sail at all, and with a strong gust of wind it can simply fall.
In addition, such an element must be sufficiently firmly anchored in the ground. A support post can easily cope with this task. Such a support can be iron reinforcement in the form of a rod with a thickness of 1 cm, stuck into the ground to a depth of at least half a meter.
You can also use a wooden beam, the lower part of which must be treated with resin or wrapped in roofing material.
The advantages of free-standing trellises include a variety of design solutions, limited only by the gardener's imagination. From several of these elements, you can build a secluded place for privacy and relaxation, create an original colored fence or even "design" a gazebo.

