How to fix it to stop cracking and creaking
In the first part of the article, we examined the main reasons why the laid laminate squeaks and crunches when walking. And now we will talk about how to remove the creak and fix the floor covering.

Undercutting the laminate
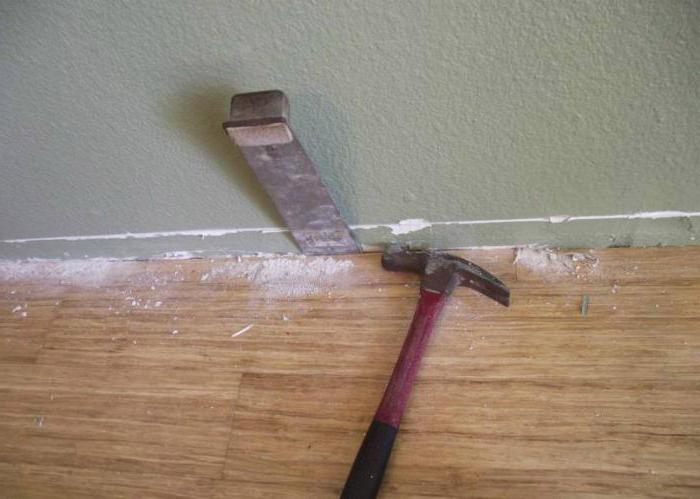
In a situation where, during installation, a gap was not left between the wall and the covering, or it was made too small, the laminate will have to be cut. To do this, you need to remove the skirting boards and cut the boards extreme to the wall either in length or in width (it will depend on the installation method). Since the laminate is assembled using the puzzle method, the boards can be easily pulled out, cut and laid in place, thus ensuring the required gap size. Finally, put back the skirting boards and rejoice at the resolved problem.

Remove debris under the laminate (needs to be disassembled)
Having determined that the laminate squeaks from the presence of debris, you will need to clean the base and the strips of material themselves. It will be very difficult to solve the problem, since you will have to disassemble the entire floor, clean and install in a new way. If the cause of the squeak is in the screed, the coating, again, will have to be disassembled. After removing the laminate, the surface of the screed should be thoroughly dedusted, a new layer of primer should be applied and a substrate should be laid, preferably also a new one. In some of these situations, plastic wrap is placed over the screed to prevent debris from directly touching the laminate.
Leveling the floor: dismantling and re-laying
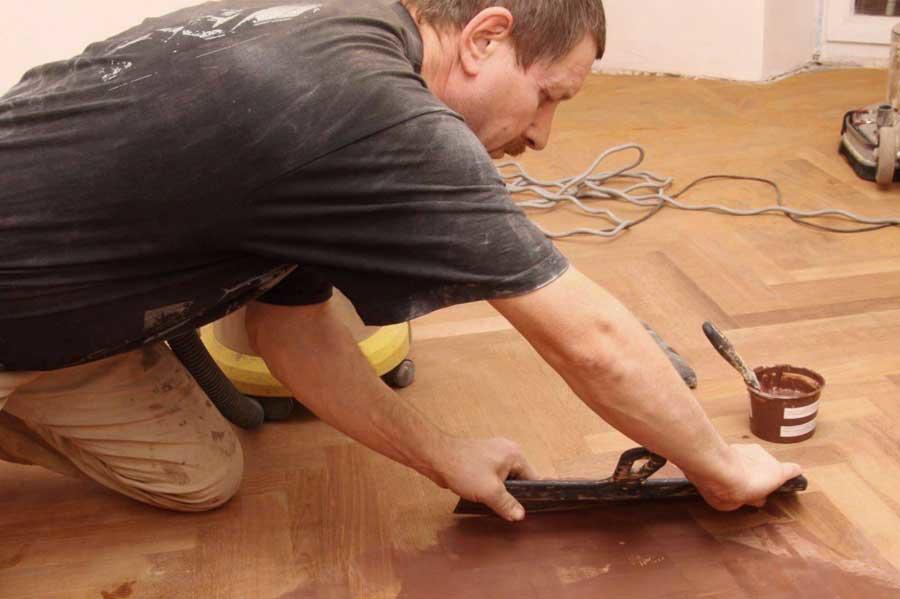
When the reason for the squeak is in the uneven surface of the base, it needs to be leveled. With a local creak, everything is not so scary. It will be enough to disassemble the coating in the problem area, find the unevenness and eliminate it. A mortar will help level the floor, which hardens very quickly. Apply it with a spatula. When the surface is completely dry, it will need to be sanded, then covered with sheets of cardboard, put back the backing and put the laminated boards in place.

Drastic measures will be required for numerous creaks and crunches. The cover will have to be disassembled completely and the base is leveled. This can be done with a regular primer or self-leveling floors. If the substrate is very thick, it should be replaced with a thinner one, no more than 3 mm. Once fully leveled, the laminate is re-laid and, if done correctly, the squeak is eliminated.

It will be more difficult to get rid of the problem in a situation where a regular wooden floor was used as the base. You will have to remove all the covering, along with the skirting boards and thresholds
Having cleaned the floor, you need to find problem areas, paying close attention to old, rotten boards that have been exposed to mold or mildew. If necessary, the boards are replaced with new ones.
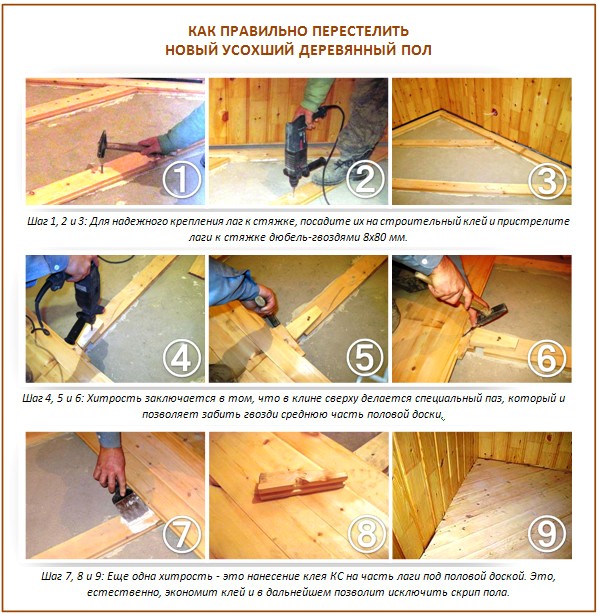
The boards that have moved away from the log are fixed, and the entire floor is checked for defects. Then the boards need to be looped, which will make the surface perfectly flat.
Other ways to fix the problem
When buying laminate flooring, it is best to purchase quality products from a well-established manufacturer. It will cost more, but the risk of squeaks and crunches will be minimized. To a greater extent, they are characteristic of a poorly manufactured laminate.
If the cause of unpleasant sounds when walking depends on changes in humidity, do not worry. After a while, when the humidity returns to normal, the sounds will disappear by themselves. the same will happen if the required clearance is left. After 2-3 weeks, the laminate will find the optimal position and everything will work out.

With full adherence to the technology, a slight creak in certain places should not be scary, since after the right time it will stop on its own.
It is not entirely correct to use laminate flooring immediately after purchase. It will be better if he lies in the room where he will be laid for several days. This allows the material to adapt more quickly to the desired temperature. This is especially true in winter. The laminate flooring on sale is unlikely to be stored in warm rooms. The usual place is cold warehouses. The low temperature makes it impossible for the material to maintain the correct shape and it will be very good if the laminate is left in a horizontal position at room temperature for several days. Only after that you can start working with him.

The good quality of the coating will be indicated by the availability of recommendations for use at the time of purchase. A manufacturer who cares about the quality of his product and the reputation of the company is sure to give advice on the use of the products sold. Recommendations should be carefully followed and then many problems can be avoided.
We fix the problem with little effort
Depending on the reasons, the creak is eliminated by full or partial removal of the laminate and work on the errors. But some defects can be corrected without such drastic measures.
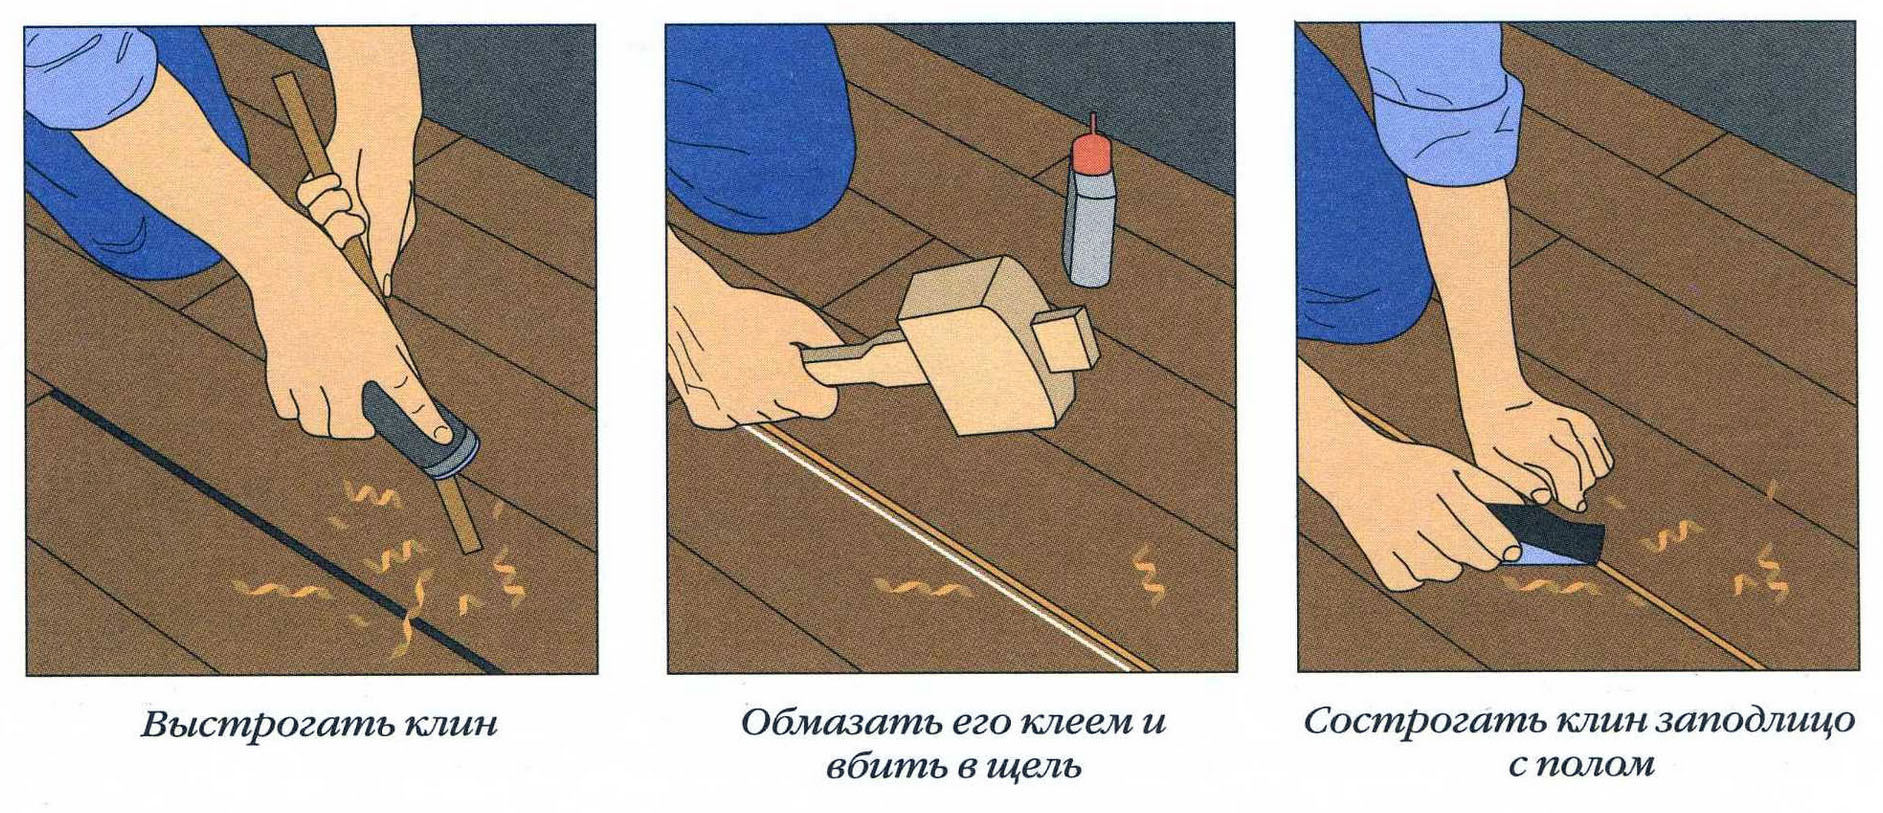
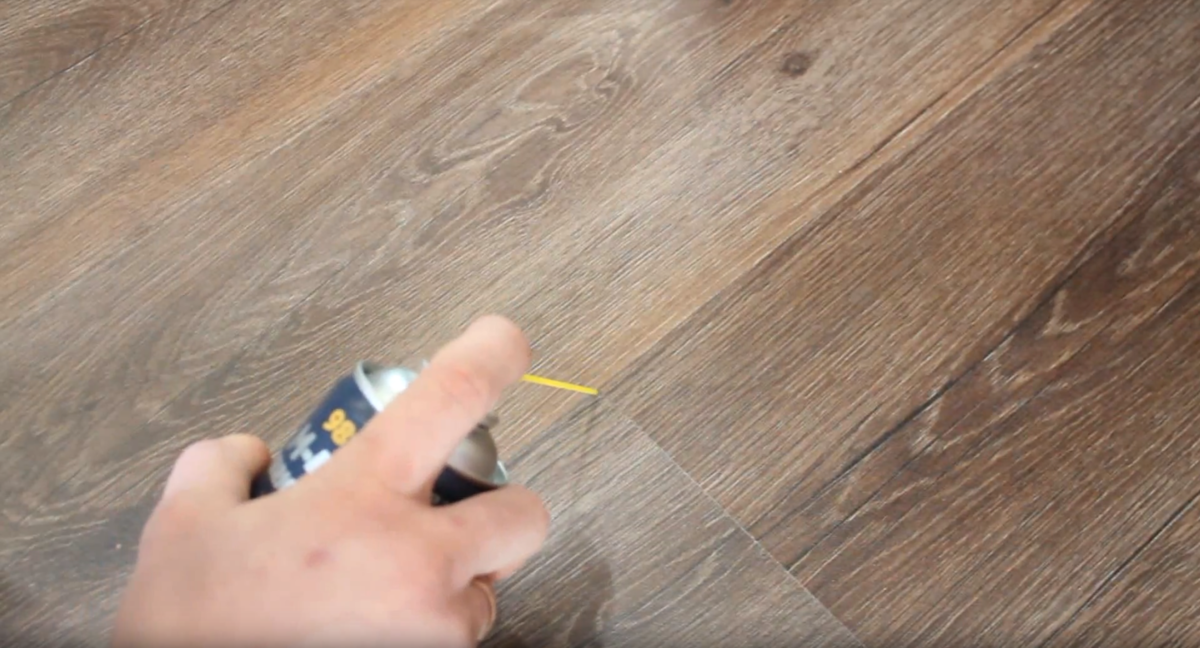
The creak in the locks can be eliminated by filling the joints with melted paraffin. Melt the candle in a bain-marie and fill in the joints between the planks. Rub it into the crevices with a plastic spatula or an unnecessary plastic card. The paraffin will lubricate and the floor will stop squeaking. The same effect can be achieved by pouring oil into the compounds or pouring talcum powder.
You can rub paraffin or pour oil into the joints
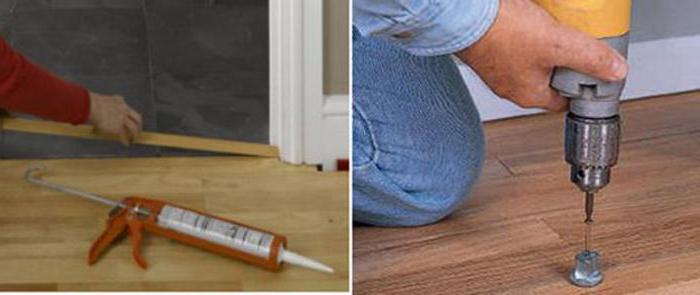
At the threshold, the floor may creak if the ends of the boards "walk". Attach them to the base with silicone glue.
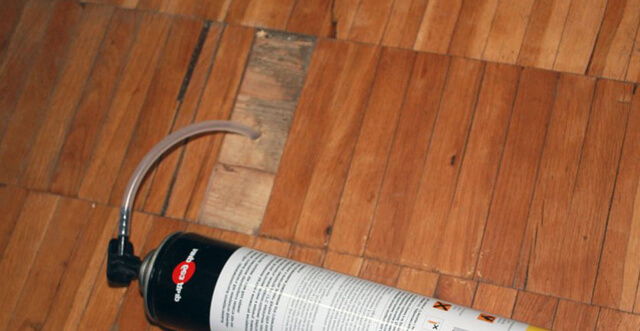
If the same happens along the walls, dismantle the skirting boards and fill the gaps with PVA glue. Some people recommend doing this with polyurethane foam, be careful, when expanding, the foam can squeeze out the laminate boards.
Dismantle the skirting board
The reason for the squeak along the walls is that there is no gap and when the lamellas expand, they rest against their surface. In this case, you need to set the optimal gap by sawing the laminate. If you don't want to take it off, you can carefully do it with a grinder. Or, using a punch, make a recess in the wall at the place where the board fits.
How to file a laminate with an ordinary jigsaw - video
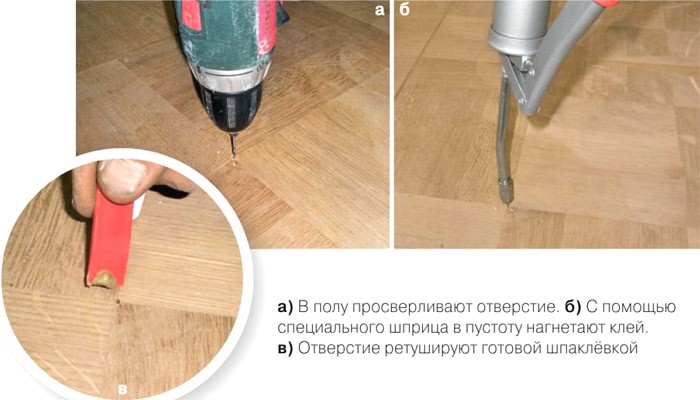
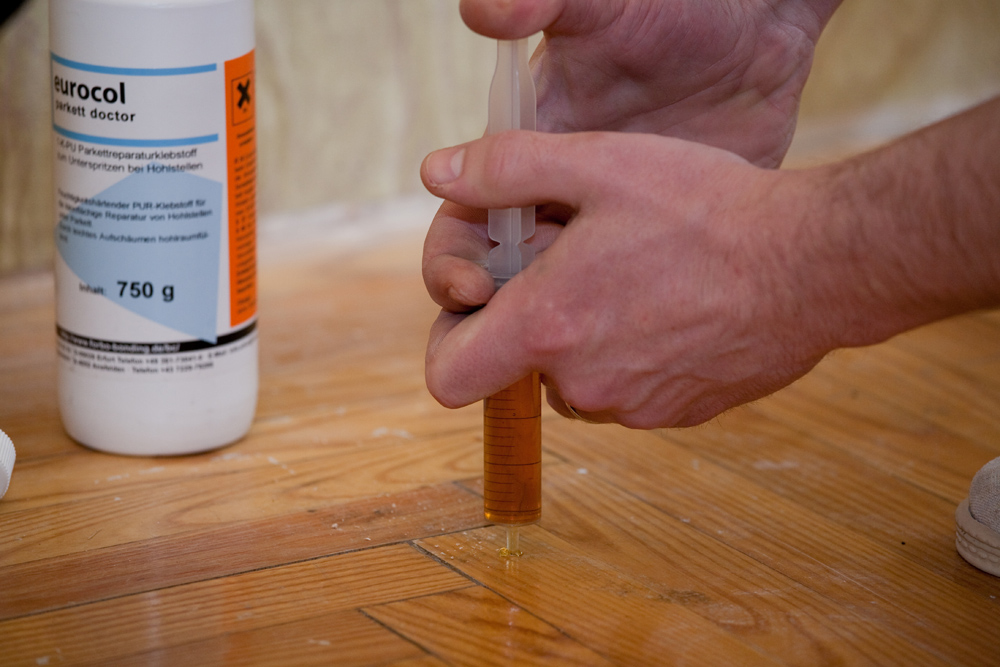
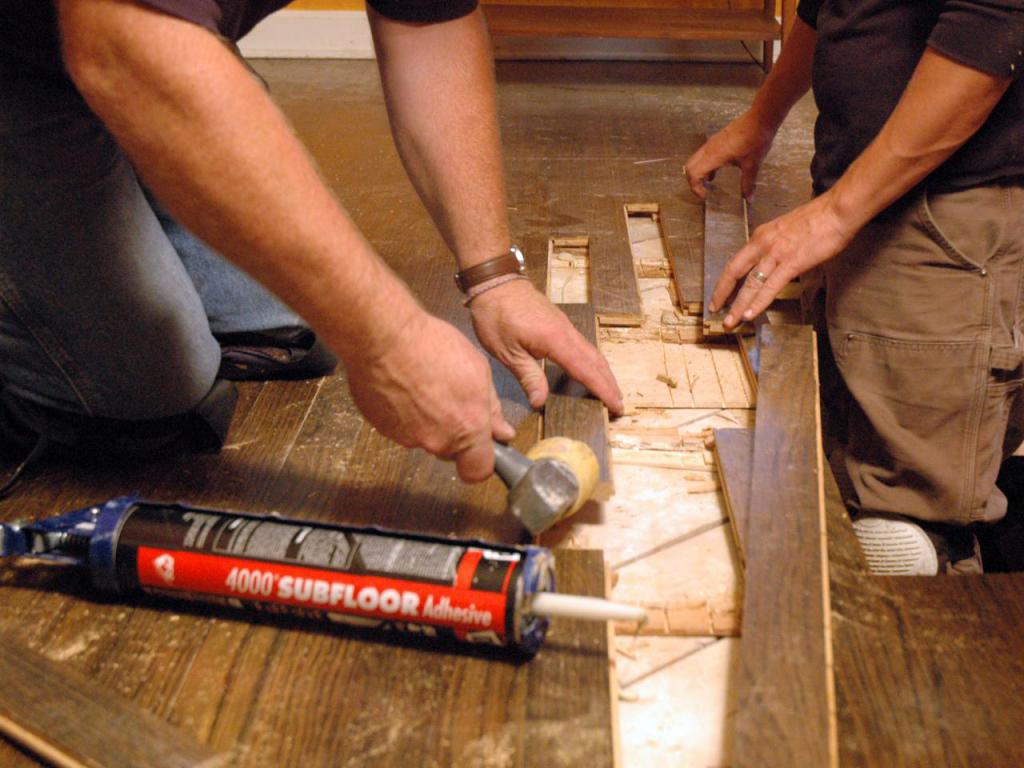
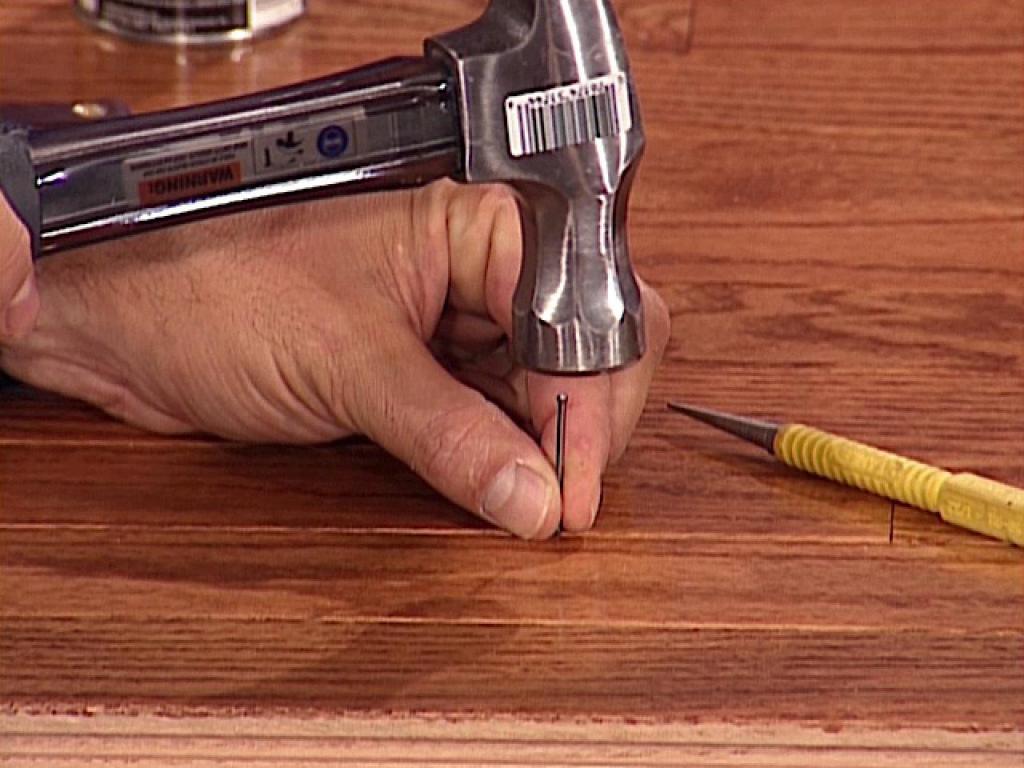
We eliminate the creak in the center of the room due to the hole in the base by drilling the board and filling the voids with PVA glue with a syringe into the hole. We let the glue dry without load; you cannot walk around the repaired area for about a day.
Video: what to do to stop the floor squeaking
In some cases, such measures are ineffective. Then the floor will have to be disassembled.
No indentation
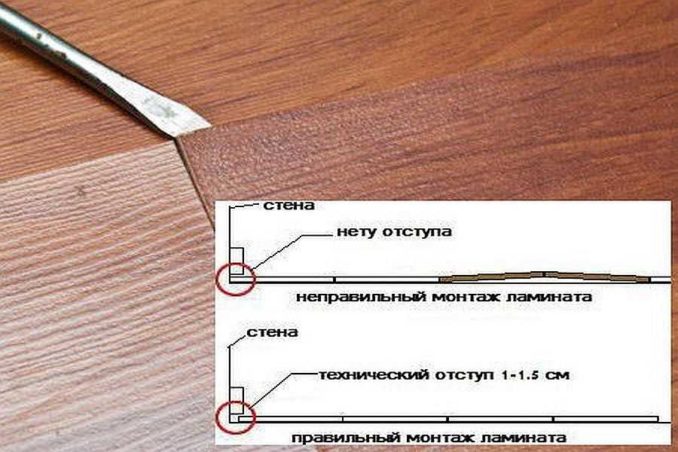
Even very high quality and expensive laminate flooring can give a crunch. One of the reasons why the laminate crunches is a violation of the laying technology, that is, the absence of technological gaps near the walls. Like any wood flooring, laminate flooring tends to expand with changes in the indoor climate. Technological gaps at the walls of 1.5-2 cm wide are designed to compensate for this expansion and keep the laminate in working order for a long time.
If you neglect this rule and lay the laminate close to the walls, then you should not be surprised why the laminate is bursting. The panels begin to break apart and rub against the baseboards, creating unpleasant sounds.
In addition, such a violation of the technology entails an increase in the load on the joints of the panels, which also begin to creak when rubbed.
How to fix a creak?
After the reasons for the squeak have become known, an urgent need to start repairing the floor. It is quite difficult. But the unpleasant creak emanating from the floor does not cause positive emotions in households, but even more irritation.At the same time, you can repair the flooring without disassembling the lamellas. However, there are situations when you still have to disassemble the entire floor.
Indiscriminately
Although manufacturers guarantee the durability of the lamellas, over time, the flooring loses its original appearance, and a creak occurs. The floor creaked when walking: the base of the floor is most likely uneven.
But this drawback is corrected with your own hands, without resorting to parsing the floor. First you need to find out where the sound is coming from, drill a small hole in the lamella where the creak was heard. Then PVC glue is poured into a medical syringe, which is injected into the drilled opening, and left for 3 hours. At this time, it is impossible to walk on this area of the floor until the glue has completely set. The hole can then be sealed with a sealant of the desired color.
If a dent appears on the surface of the floor covering, it can also be repaired. As you know, dents are formed when heavy objects are hit, damaged by furniture, or because of the nerve base, where there are small pits. In this case, you should disassemble several boards, level the base and replace them with new lamellas.
With parsing
Sometimes unpleasant situations arise when you have to completely disassemble the floor. For example, a pipe burst, or neighbors flooded an apartment. After flooding the room, the floor will collapse, of course, the floor covering must be removed. Disassembling laminate flooring is not difficult. Today, laminate flooring is equally easy to assemble and disassemble. But you need to understand what type of lamellae will have to be removed. There are 3 types of laminate locks:
- Lock-lock system. It has been used for a very long time, has established itself as a more economical option;
- Click-lock system. It is popular and modern, as it allows you to repeatedly disassemble and assemble the floor;
- Adhesive or lockless. It is assembled using glue, that is, the lamellas are simply glued together. This laminate cannot be restored: it cannot be disassembled and then re-laid.
To properly disassemble and then assemble the floor, you need to follow the rules:
- first you need to remove the skirting boards. If the flooring is with a click-lock, then the boards can be kept in good condition. But if the lamellas are with a lock-lock or without a lock, then you can safely remove the panels from the floor, since they cannot be kept intact. It is better to start disassembling from the wall where the craftsmen completed the laying of the lamellas;
- then on the back of the boards you need to number them, so that later it will be easier to assemble the floor;
- it is better to wipe the lamellas and leave them for a week to dry;
- if several boards were damaged due to the flood, then you should buy new lamellas;
- so that the floor does not collapse in the future, the tenants should think about the foundation of the floor;
- if there was a substrate under the lamellas, and it got wet, then it should be replaced;
- if there was plywood under the boards and it has rotted, it is also better to change it.
So, a week has passed - the base is completely prepared, the lamellas are dry. Now you can start laying the boards. We carefully assemble the floor in order. If cracks appear after laying the boards, then repair paste or sealants can be used. And then you need to apply a colorless varnish to the laminate.
What should be the substrate

It is customary to use huge substrates if there is a need to smooth out irregularities and pits. But this will make your laminate crunch even earlier. In this case, the floor creaks just from the existing defects associated with the substrate:
before installing the coating, you must make sure that this important element is sufficiently thin; if this aspect is ignored, it may soon be necessary to completely dismantle the laminated coating;
if the structure of the substrate is thick, this will lead to additional sagging of the laminate and squeak;
permissible element thickness is no more than 30 mm.

If the laminate has already begun to creak, it is recommended to remove the coating and replace the existing substrate with a thinner structure. If you have no desire to carry out a complete dismantling of the coating, then you should start getting used to extraneous noise.
Not fully leveled base surface
It is not uncommon for the laid laminate to creak due to numerous defects that remain after improper leveling of the base. A possible fault can be called the negligence of workers or the purchase of substandard materials used to level the base. For information on what to do if laminate floors make a squeak, see this video:

If the laminate is installed without a backing, disassemble and install a quality finish
What needs to be done so that the laminate does not creak:
you can install a backing that will allow the panels to fall into place;
use scraping for leveling;
allow time for the layer to dry completely;
all irregularities are sealed with a cement-based mixture;
it is recommended to level the base in the area where the creak appeared;
any unevenness can cause extraneous sounds, so it is worth solving the problem immediately after it appears;
when choosing a laminate, pay special attention to the base.
Saving money on the purchase of the necessary material
One of the most common reasons is the desire to save money. The poor quality of the flooring used will not save you from squeaking, even if you use high-quality components under its basis.

Such a laminate will be expensive, but it will help save on subsequent repairs and a complete replacement of the coating.
The weak side of low-quality laminate is shabby and uneven locks.
What you should pay attention to:
- the substrate should be of optimal thickness;
- the level of the gaps must be observed;
- complete absence of any debris and dust;
- a well-leveled base for the coating.
Unstable room humidity

Perhaps after warming up the coating, the creak will disappear
Material such as laminate flooring can react to moisture in the room. It should be borne in mind that the creak will not be local in nature, but will spread over the entire surface.
What to do if laminate flooring squeaks due to high humidity levels in the room? There is no need to remove creaks, since after the material has completely dried out, they will disappear.
Laminate creaks, how to fix:
- after the change of season, the creak may go away on its own;
- if unpleasant sounds appeared in the summer, then it is worth waiting for the heating to turn on; it is possible that after warming up the material, the creak will go away;
- sometimes crackles during a period of high humidity, which means that these sounds will not be permanent; it will take some time for the material to get used to the new conditions, after which all the components will fall into place and the sound will disappear.
Possible causes of extraneous sound
This material was initially considered very moody. In some cases, this type of flooring can be used for decades without causing any difficulties.
Sometimes unpleasant sounds appear a couple of days after its installation. So what if your laminate floor creaks?
You should start by identifying the cause of the extraneous sounds. Is it worth disassembling the coating or can the cause be eliminated without disassembling the structure. It only depends on what was the original cause of such consequences.
Often the cause of squeaks is poor coating quality.
The reason may be:
- outdated roughing construction;
- accumulated debris;
- poor quality of the material used;
- no temperature gap between the walls and the coating;
- the laminate may creak due to non-compliance with the established technology for laying the base;
- malfunction of individual locking elements;
- the backing may be too thin or, on the contrary, thick.
Small gap between wall and laminate
When installing laminate flooring, leave a small gap between the laminate and the wall
Such a gap must be left in order to prevent creaking under the laminate after installing the cover. The width of the gap should not exceed 0.7 cm.For large and spacious rooms, this figure can increase to 3 cm.
This will depend on the width of the skirting board used. After a while, the laminate will try to take a comfortable position for itself, and if it stumbles upon a lack of free space (gaps), friction between the locks will begin, which manifests itself in the form of squeaks.
Saw off the edge of the outer panels
Sequencing:
- disassembling the skirting board;
- removal of outer panels;
- partial sawing off of the edge, the layer of which will be no more than 15 mm; for this you can use a hacksaw or jigsaw;
- assembling all components back to their original place.
Accumulation of sand and debris
During operation, debris can enter the space between the slats, which causes friction
During the installation of the coating, special attention should be paid to ensure that the used surface does not accumulate debris. It is recommended to regularly clean the surface of the base, substrate and boards from various dust and other debris
A vacuum cleaner is perfect
It is recommended to regularly clean the surface of the base, substrate and boards from various dust and other debris. A vacuum cleaner will do just fine.
You should also cut in another room that is not intended for stacking.
Potential effects of contamination:
- the laminate floor can emit crunchy sounds due to the fact that the material used to make the screed was of poor quality;
- such sounds can cause not only irritation, but also accelerated wear of the lock joints;
- the ingress of sand between the locks will inevitably cause a creaky sound.
It is recommended to lay laminate only on a perfectly clean surface.
Before laying such material as laminate flooring, you should more than thoroughly clean the used surface from various kinds of debris. If extraneous sounds appear directly when moving, then the reason lies in the massive accumulation of dirt under the laminate layer.
Since it is very problematic to remove this problem, especially if the main accumulation falls on the lock connections, then their safety should be taken care of in advance.
The new screed will solve the problem of height differences and unevenness
The site needs to be disassembled if the problem lies in an improperly made screed. To do this, you will need to fill in a new screed (level, dry, apply a layer of soil mixture and re-clean). Only then can you start installing the flooring. The soil layer will save you from possible cement shedding in the future.
We clean the surface correctly:
- it is necessary to start cleaning by removing the boards;
- the substrate is dismantled;
- the laminate will begin to creak precisely from the debris in it; for this, the surface is cleaned with a vacuum cleaner;
- a new substrate is installed;
- the laminated material is laid.
Why laminate flooring creaks when walking: the main reasons
Having installed laminate floors, you think that now you have received an excellent coating that will last you a long time and flawlessly. And in most cases this is how it happens, but sometimes the floors begin to annoy with an unpleasant creak when walking. This happens for a variety of reasons.
Uneven base. With poor preparation of the base, the laminate creaks in some places, and always in one location, where the surface has unevenness. The laminate above them flexes when pressed, making a creaking sound. Therefore, when installing laminate flooring, the floors should be leveled to near-perfect condition and checked with a level.
Substrate thickness. A thick substrate is usually purchased for the purpose of leveling pits and drops. But often this leads to a worsening of the problem. It is desirable that the thickness of the substrate does not exceed 2–3 mm. Otherwise, the sagging of the laminate over the depressions increases even more, which leads to a squeak.
Invalid gap between laminate and wall. The gap between the walls and the laminate flooring is required, since it allows the slabs to diverge, taking the most suitable position for it. This relieves stress on the locks, preventing the floor from squeaking. With a small or no gap, the laminate rests against the baseboards and walls, provoking a squeak. The larger the dimensions of the room where the laminate is mounted, the larger the gap should be made. In any case, it must be at least 7 mm. You can understand that you are faced with this particular problem by swelling the lamellas near the walls.
Variable indoor humidity. In some cases, the reason for the squeak is the response of the laminate to fluctuations in moisture levels. When it increases, the coating begins to crunch or creak, and over the entire plane, and not in places. When the previous percentage of humidity returns, the creak stops or decreases significantly.
Ingress of dust and sand. Installation of laminate flooring is unthinkable without strict adherence to cleanliness. So, it is constantly required to use a vacuum cleaner to remove dust from laminate boards, substrate and base, since it is they who, getting into the locks of the coating, can cause creaking when walking. In addition, sand is capable of destroying laminate locks. By the way, the screed can also creak when shedding, so it must be primed. To establish this cause of the squeak, the laminate will have to be completely removed.
The use of substandard material. The use of a low-quality board during installation can cause a creak of the coating, even if all other elements are of good quality and all the rules for laying the floor have been followed. The reason for the squeak is mainly locks that do not correspond in size to the norm. The problem can only be identified after disassembling the laminate and replacing it.
The tension in the locking elements. This reason for the creak of the laminate is usually eliminated by itself after a couple of months after installation. This is characteristic of good quality flooring and is due to the process of adjusting the laminate to the surrounding space. With a normal gap between the slabs and walls, the laminate takes an optimal position, and the locking elements stop creaking. If this does not happen, then the coating squeaks for another reason.
The presence of debris under the laminate. In case of poor cleaning of the base during installation, there may be construction debris, small stones, sand under the slabs. Immediately after installation, their presence does not manifest itself in any way, but some time after the start of operation of the coating, the substrate lying on the debris begins to wrinkle. And the small solid fragments under it provoke floors creaking and can even ruin the laminate panels. To identify this cause, a parsing of the coverage is also needed.
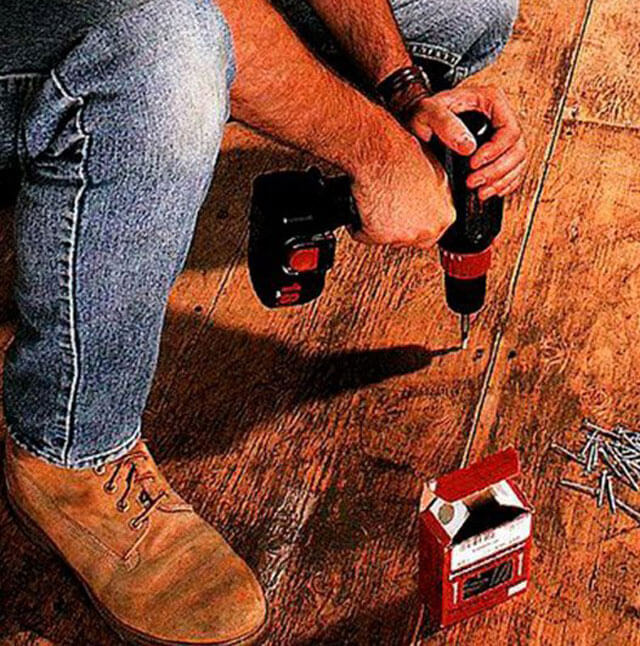
Laying laminate on old parquet flooring. Mounting lamellas on a parquet base, where there are rotting and creaking boards, you risk that the laminate itself will deteriorate and make noise during operation. Therefore, the damaged fragments are removed, replacing them with a screed, and the creaking boards are fixed in place with self-tapping screws so that their caps are below the general level of the base.
Preventive work

One of the least pleasant defects is the creak of the floor or some of its parts. Subsequently, this can cause a lot of difficulties up to accelerated wear of the coating.
At the first discovery of a defect, it is better to deal with it as soon as possible. Otherwise, you will have to replace the entire coating. For what happens when laying laminate without gaps near the walls, see this video:
It is also worth considering a number of such recommendations:
It is worth paying attention to the possible installation of climatic equipment, which will allow you to adhere to the optimal temperature in the room.
It is not only possible to save money, but also necessary, but not on building materials. The product does not have to be expensive, but it must have a good thickness.
Lay the floor covering only on a leveled base.
The base must have a sufficiently dense structure and a thickness of at least 0.3 cm
Thick substrates are often the main cause of squeaking.
Careful preparatory work should be carried out before laying the material. It is necessary to level the surface to be used well and clean it from construction debris.
The material is stored indoors for several days before laying.
All locks must be carefully selected and match well.
A small space is left around the perimeter of the room.
How to upgrade at home?
Laminate is the most common and durable material, it is well disassembled and assembled, it fits well into any interior and will decorate any room. However, over time, the floor loses its original attractive appearance, shine and durability. The disadvantage of the laminate is that it is an artificial surface, and in 5-10 years the floor will age, but it cannot be scraped. Cracks, scuffs, dullness, scratches appear on the floor covering. But these defects can be corrected and the floor covering can be repaired.
Professionals offer special products for the restoration of old flooring. For example, if the laminate has lost its luster, then it can be polished. For this, mastic or liquid polish is used. But first, the floor should be well cleaned of dirt and dried. Then, using a spray, apply the product evenly over the entire floor surface.
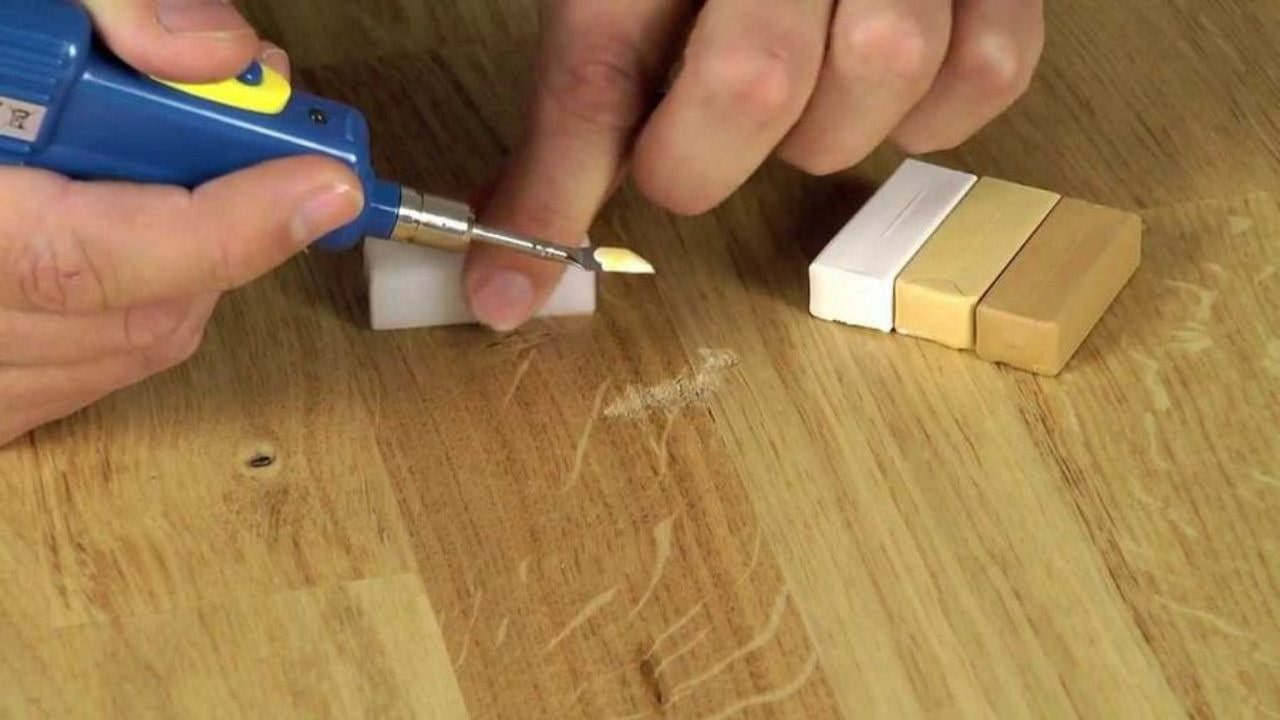
If scratches appear on the laminate after rearranging the furniture, then they should be removed. To do this, use wax pencils. However, for deep scratches, putties are best for restoring the floor. Using a spatula, the product should be carefully applied to scratches.
Sometimes, in order to restore the floor, the tenants of the apartments decide to paint the floor covering. This is a very good way. Painting will transform the floor and restore it to its original appearance. To get started, you need to follow some guidelines:
For flooring, it is best to choose alkyd or polyurethane paints.
It is good to remove all dirt from the surface of the floor covering.
Take a fine sandpaper and sand the floor, and then remove all the shavings.
Take putty and remove large scratches.
In order for the laminate to be free from defects, it is necessary to process the putty with sandpaper, remove the debris with a vacuum cleaner.
To remove grease stains, you can use a damp cloth soaked in solvent.
To avoid damaging the walls, it is important to use masking tape. And then start painting the floor .. Floor painting is done in several stages:
Floor painting is done in several stages:
First, the paint should be thinned with a solvent and mixed until smooth. It is also recommended to stir the composition sometimes while painting the floor. It is better to use brushes for work. Be sure to then close the doors and windows.
The reasons for the creak of the laminate
Typically, these include the following:
- The presence of an uneven base. An uneven subfloor in 80% of cases is to blame for the fact that the laminate begins to creak after installation. At the same time, just those areas under which the roughness of the subfloor are located (small pits and some hills) usually begin to creak. When the foot steps on them, a creak is heard.
- The use of substandard floor material. If your laminate creaks and you don't know what to do, just check in an inconspicuous place how the lamellas work for you.If they are defective, then most likely you will have to change the floor covering and install it in compliance with all technical requirements.
- The presence of a small compensation gap between the floor and walls. Normally, it should be from 8 mm to 1.5 cm. And the larger the room itself, the larger this gap should be. If it is not enough, the laminate will begin to rub against the walls and crunch.
- Remaining sand, dirt and dust under the floor material. So, if they fall into the locks of the laminate, they will not only spoil your stay in the room where it is mounted, but also spoil the slats over time.
- Using a backing that is too thick. The fact is that a thickened substrate for a laminate is usually used in order to smooth out, if necessary, the height difference on the rough floor covering. However, such a solution usually only worsens the existing problem. Therefore, you should not use a substrate thicker than 3 mm, otherwise the slab locks will sag over the pits and, over time, accordingly, they will creak.
- If the laminate creaks, there is another option for what to do. Try, on the advice of experienced fitters, to check the voltage present in the locking system. The fact is that a high-quality flooring after installation will adapt to the features of the subfloor, low-quality panels will not do this and will begin to creak.
- Existing humidity drops in the room. This is a seasonal reason, as the squeaking usually stops when the humidity in the building returns to normal.
Before starting repair work, it will be necessary to find out exactly the cause of the squeak.
In any case, before starting repair work, it will be necessary to accurately find out the cause of the squeak, since this may allow you to get rid of it in the future without disassembling the floor covering.


