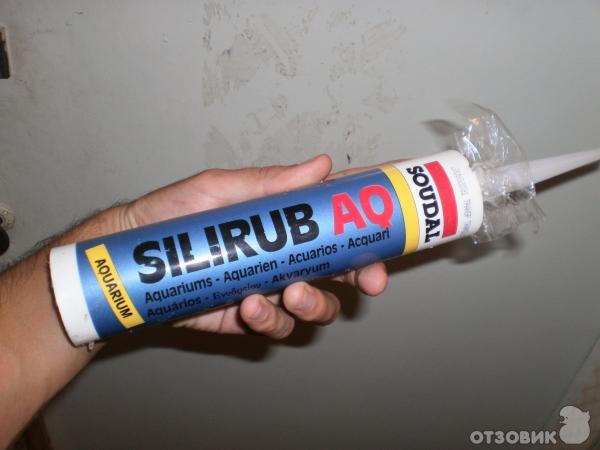
What requirements should an aquarium glue meet
In principle, two pieces of ordinary glass can be glued together using ordinary super glue or using other synthetic adhesive products. However, when it comes to repairing or making an aquarium, then not every adhesive is suitable. There are a number of reasons for this.
First, the walls of an active aquarium experience a fairly large lateral pressure of the water mass. If, after drying, the glue at the junction of the walls becomes too hard, then there is a possibility of kinks and cracks along the seam line.
Therefore, the aquarium adhesive must be flexible and work well in tension without losing its sealant properties.
The second requirement is reliability.
The fact is that stretching acts on the adhesive sealant continuously for a long time. In addition, the glue is affected by water from the inside and the air outside, ultraviolet radiation, as well as the temperature difference in the room (during the day) and in the water. And although the biological aggressiveness of such an environment is small, but not every glue is able to withstand such conditions for a long time.
Thirdly, the chemical composition of the glue used to glue the aquarium glass should not be toxic.
The safety of the aquarium dwellers is the first thing to think about!
For example, a construction bitumen sealant or its polyurethane counterpart can reliably connect two glass surfaces of a frameless aquarium, but the harmful substances released over time can severely poison the aquarium water. The same can be said for many other synthetic adhesives.
Therefore, the aquarium glue should be harmless to fish and aquatic plants.
Appointment
In operating aquariums, cracks, chips, and depressurization of the seams appear from time to time.
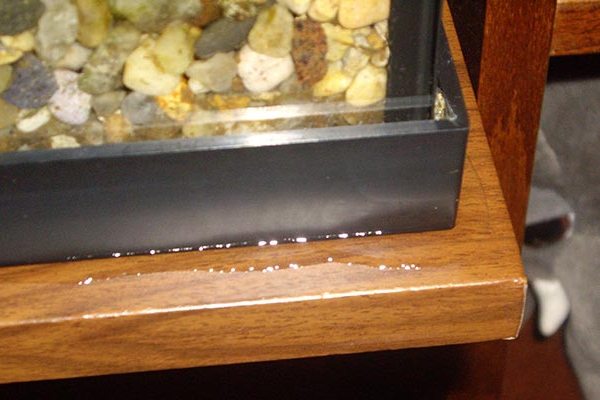
- improper operation;
- mechanical impact;
- rigid transportation;
- long-term storage under the sun.
Glass is a durable material that can withstand a fairly large load, but sometimes there is a leak at the joints of the plates. We have to repair the aquarium: close up the joints, glue cracks, or even sort out the entire structure. For this, an aquarium sealant serves - not household glue, but a special non-toxic agent.
Minor repairs are not the only purpose of the sealant. You cannot do without it when building an aquarium from scratch. Experienced aquarists prefer to independently create "banks" of bizarre silhouettes for specific conditions. In addition, glue is required for mounting decorations on the walls and bottom of the aquarium.
Eliminate the leak
The cause of the leak lies in the damage to the gluing. Over time, the sealant that connects the glass at the junction loses its properties and is damaged. To fix the problem, you can make repairs to the aquarium with your own hands. If the aquarium has leaked, you need to make repairs after preparing the container for repair.
Preparing for repair
Move fish and fish to a different container temporarily. If this is not done, the fish will experience stress due to the interference. It is desirable that the vessel serving as a temporary habitat be spacious. Place your aquarium plants there, or arrange them in a separate jar.
Wash the repaired object inside and out with a sponge, and remove the soil. After that, dry the tank, paper napkins will help with this.
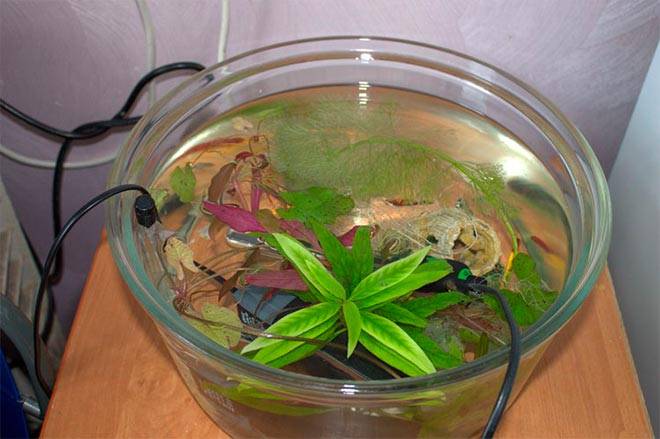
Fish in a separate container
Leak test
After cleaning and complete drying of the outer part, an external examination is carried out. This is necessary to identify places that are leaking.The side joints between the glass panes most often require repair. To detect cracks, the reservoir is filled with clean water, a paper napkin or corrugated paper is applied to the outer surface of the glasses. The paper lasts for several minutes in each area. The leakage point will be found, even if the damage is not visually noticeable.
When repairing an aquarium at home, glass, through the entire surface of which cracks pass, must be completely replaced. When water is poured into a glass vessel, internal pressure is created, and even if everything is stuck and nothing leaks, the glass will burst sooner or later.
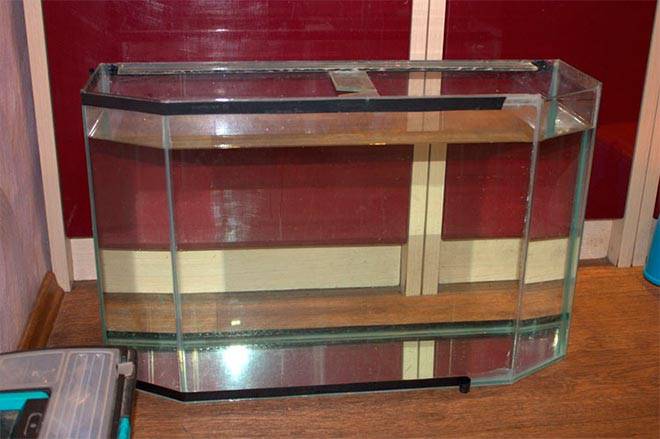
If the cracks are small, they can be repaired with aquarium sealant. Without draining the water, mark the places to be repaired. After making sure that all problem areas are marked, drain the water.
We glue the aquarium
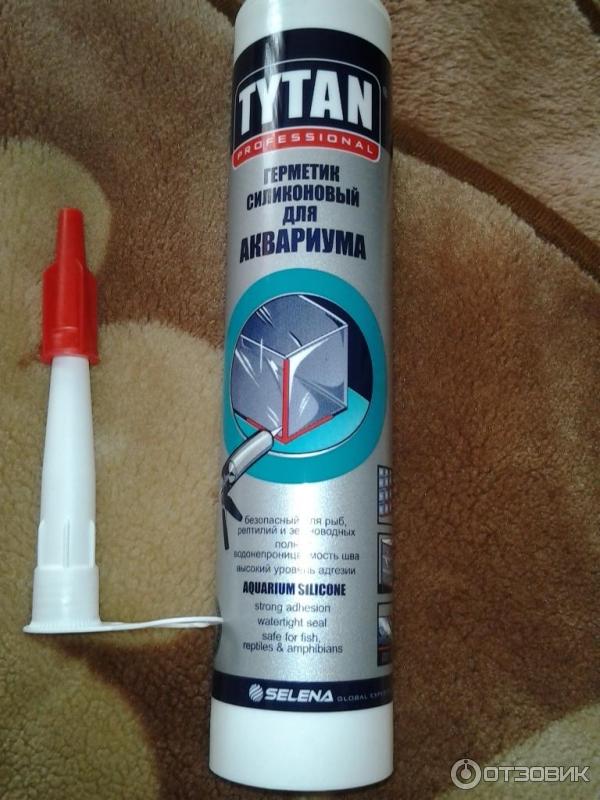
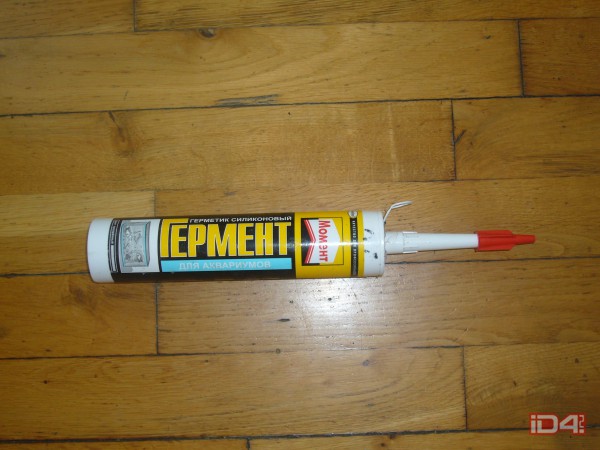
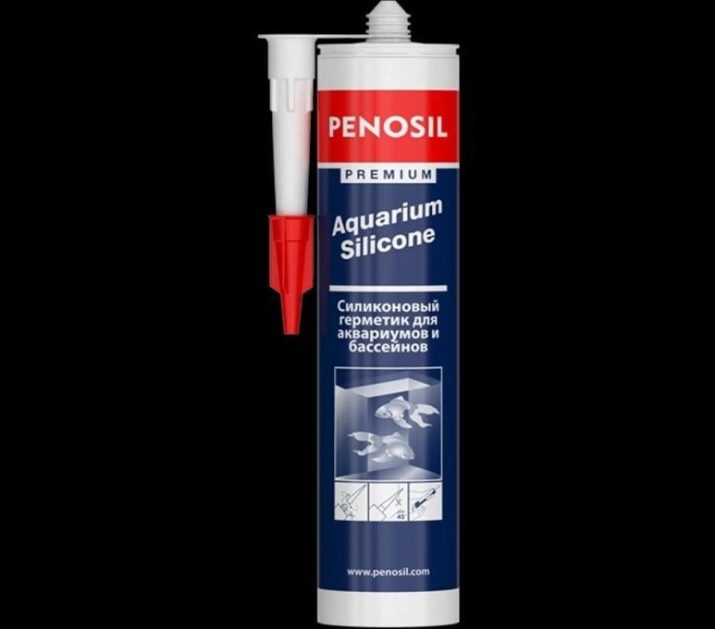
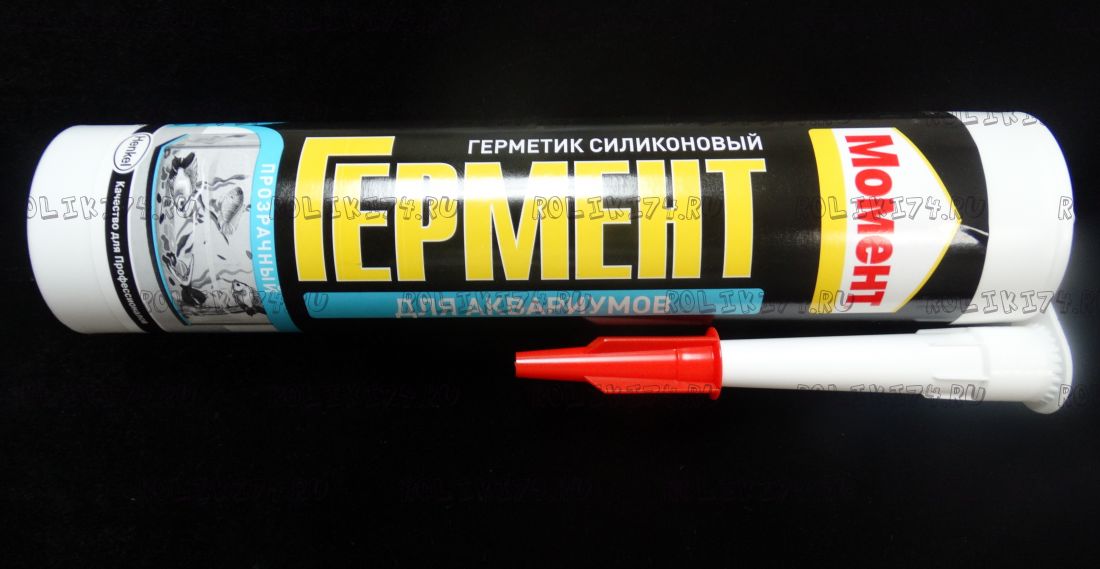
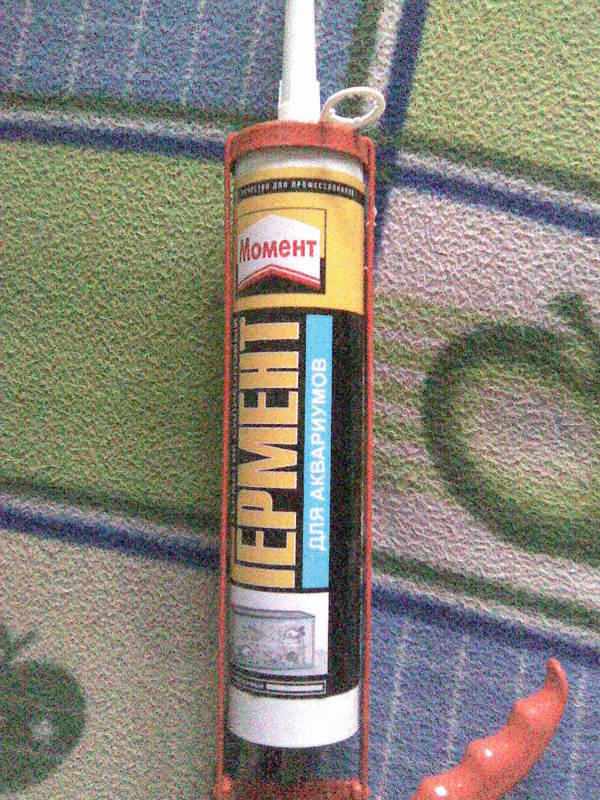
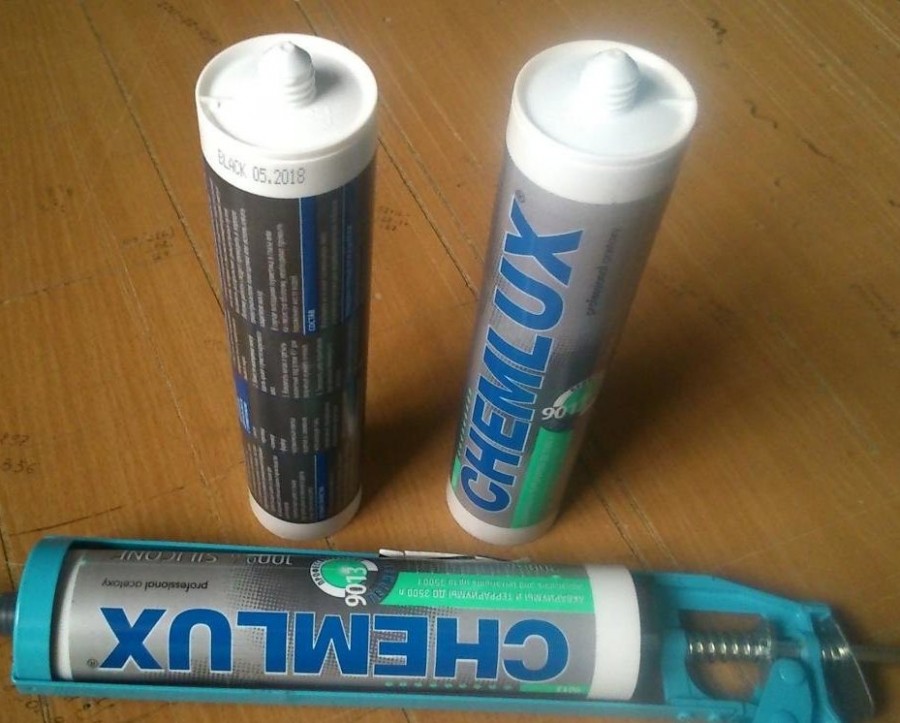
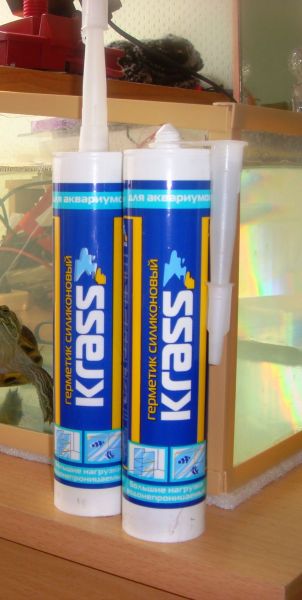
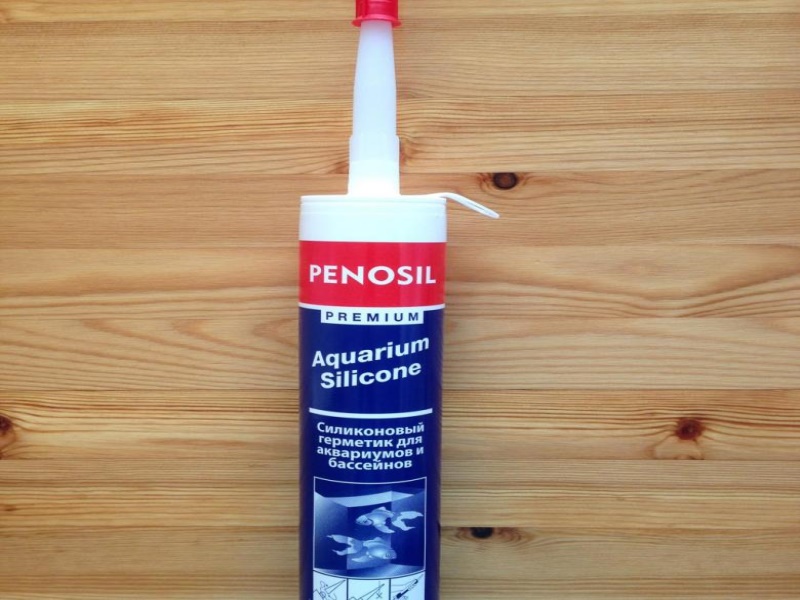
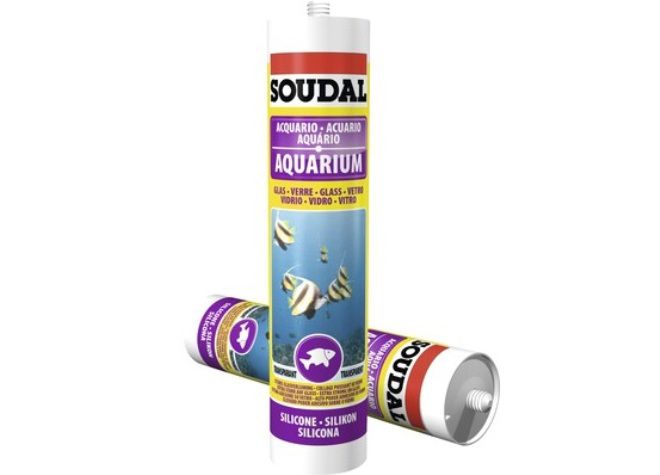
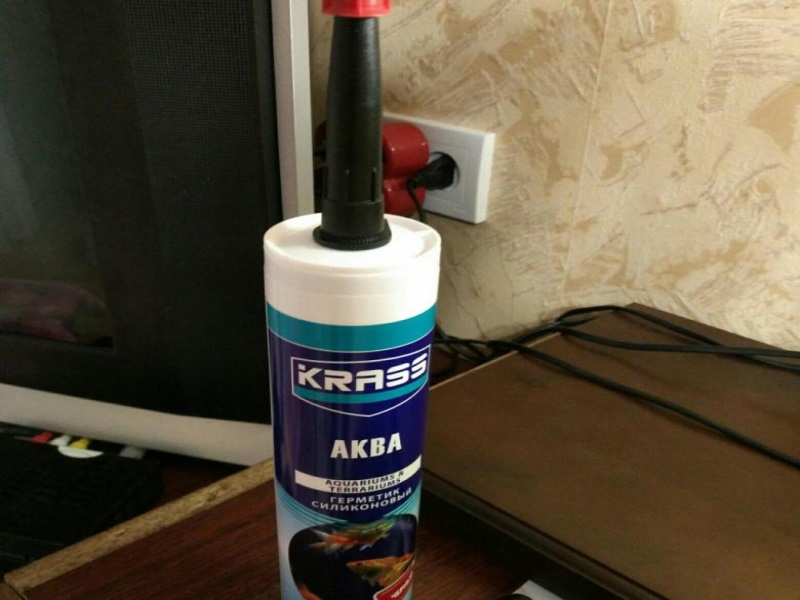
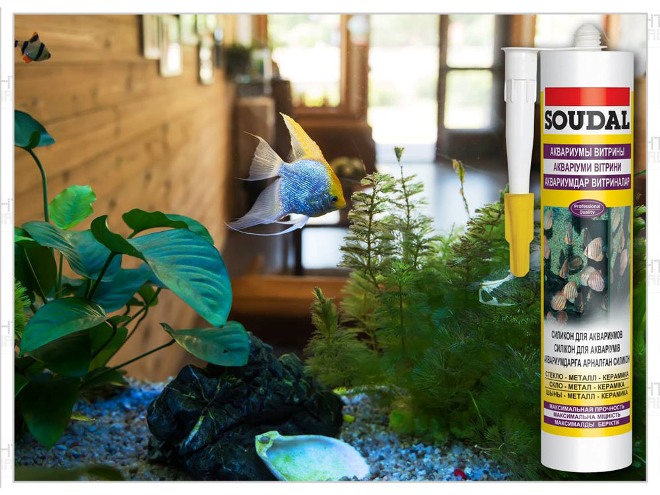
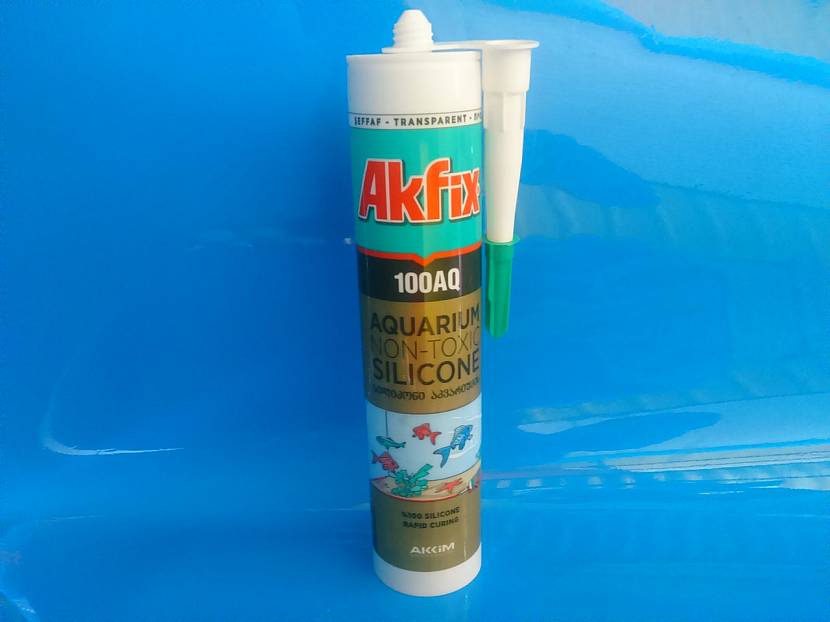
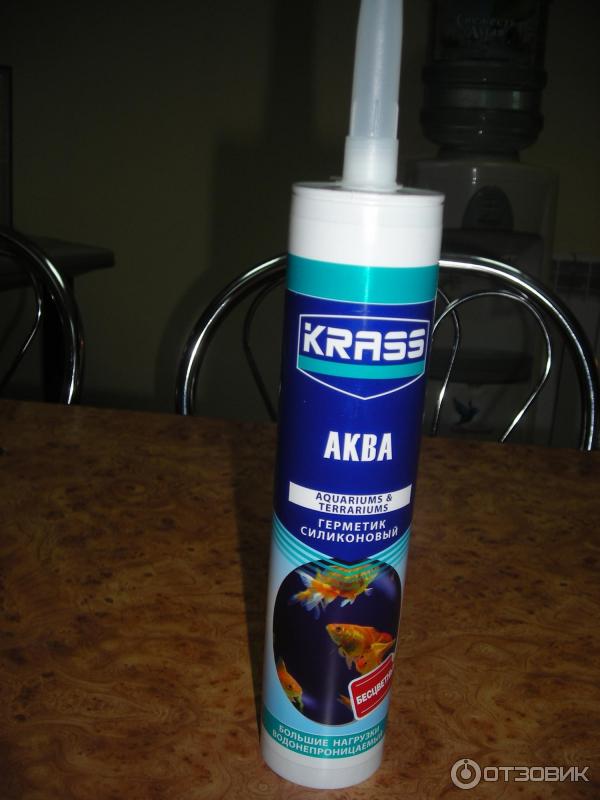
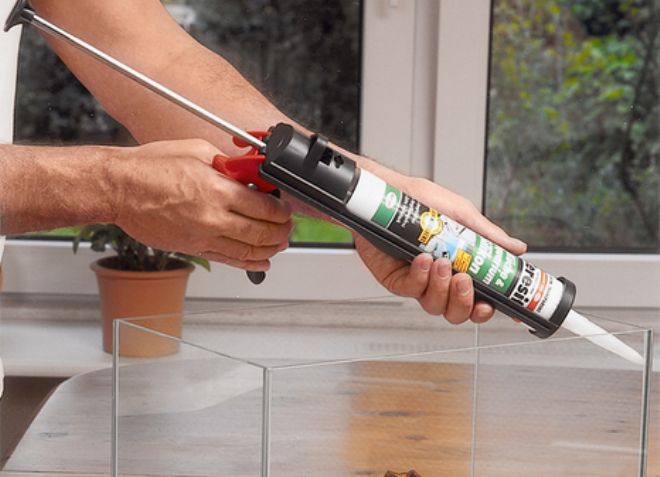
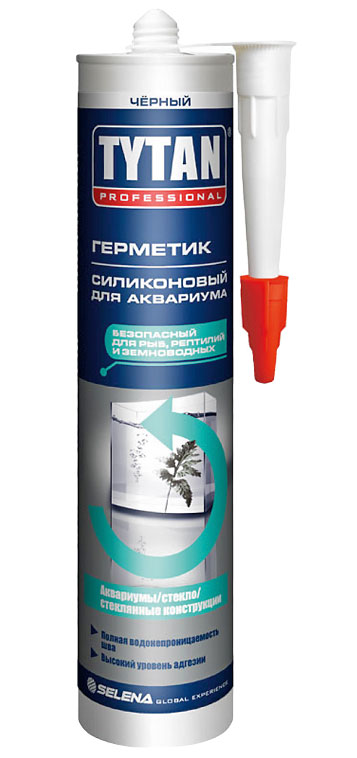
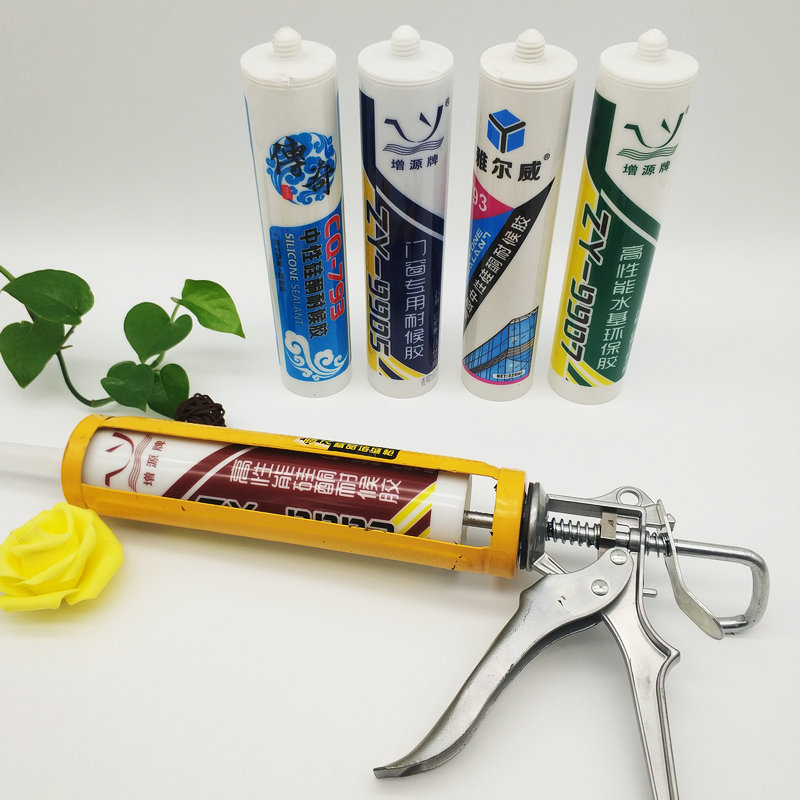
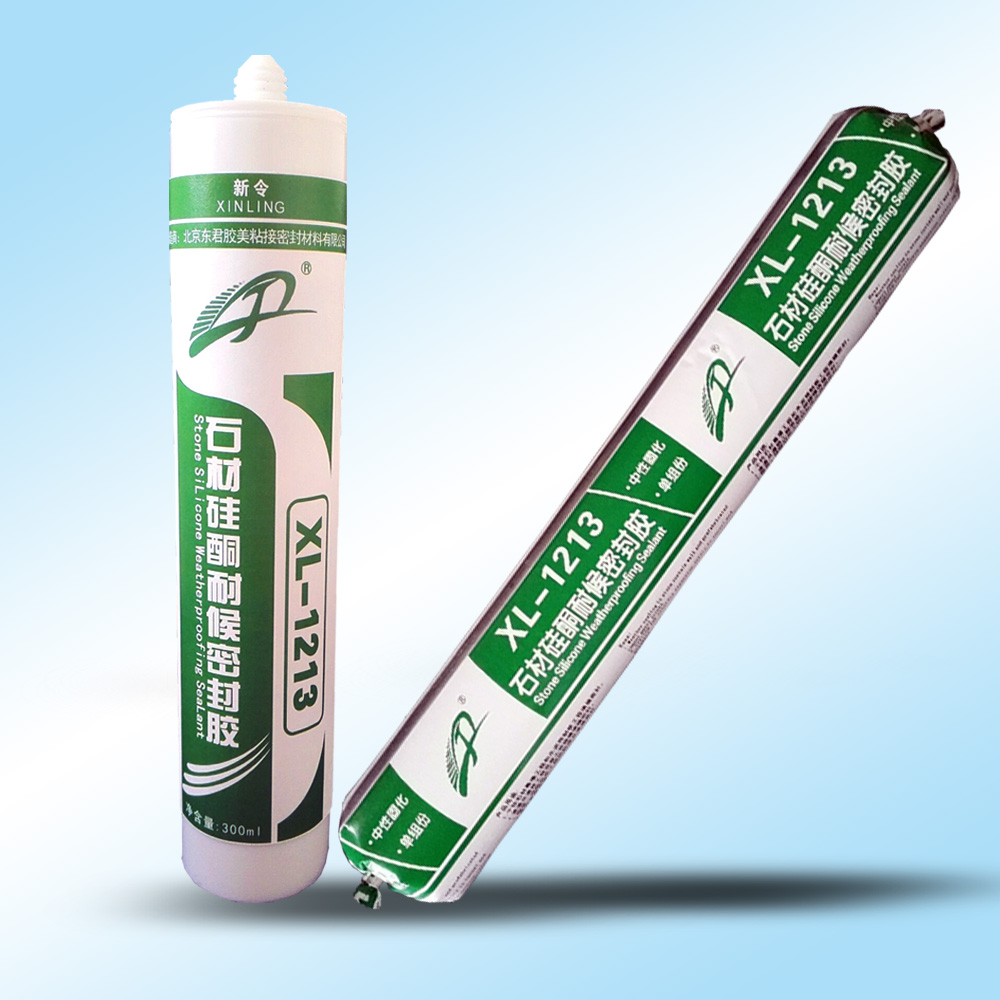
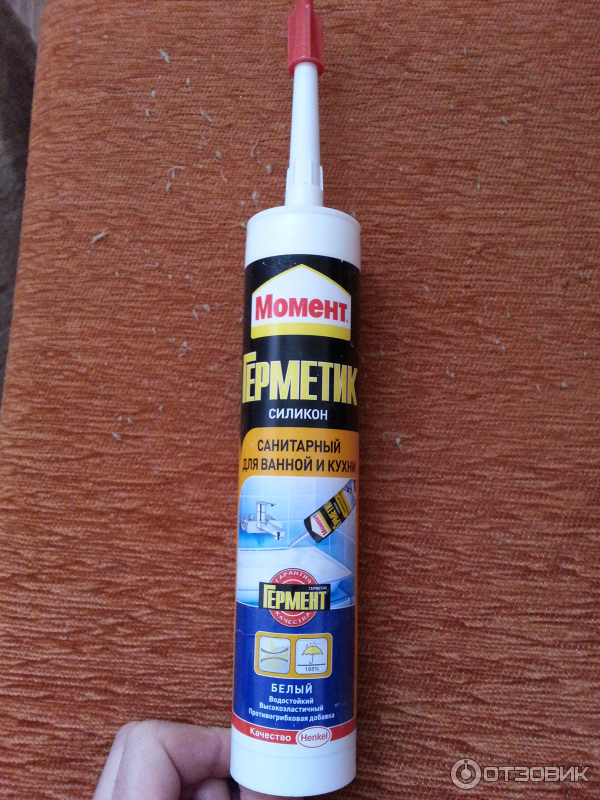
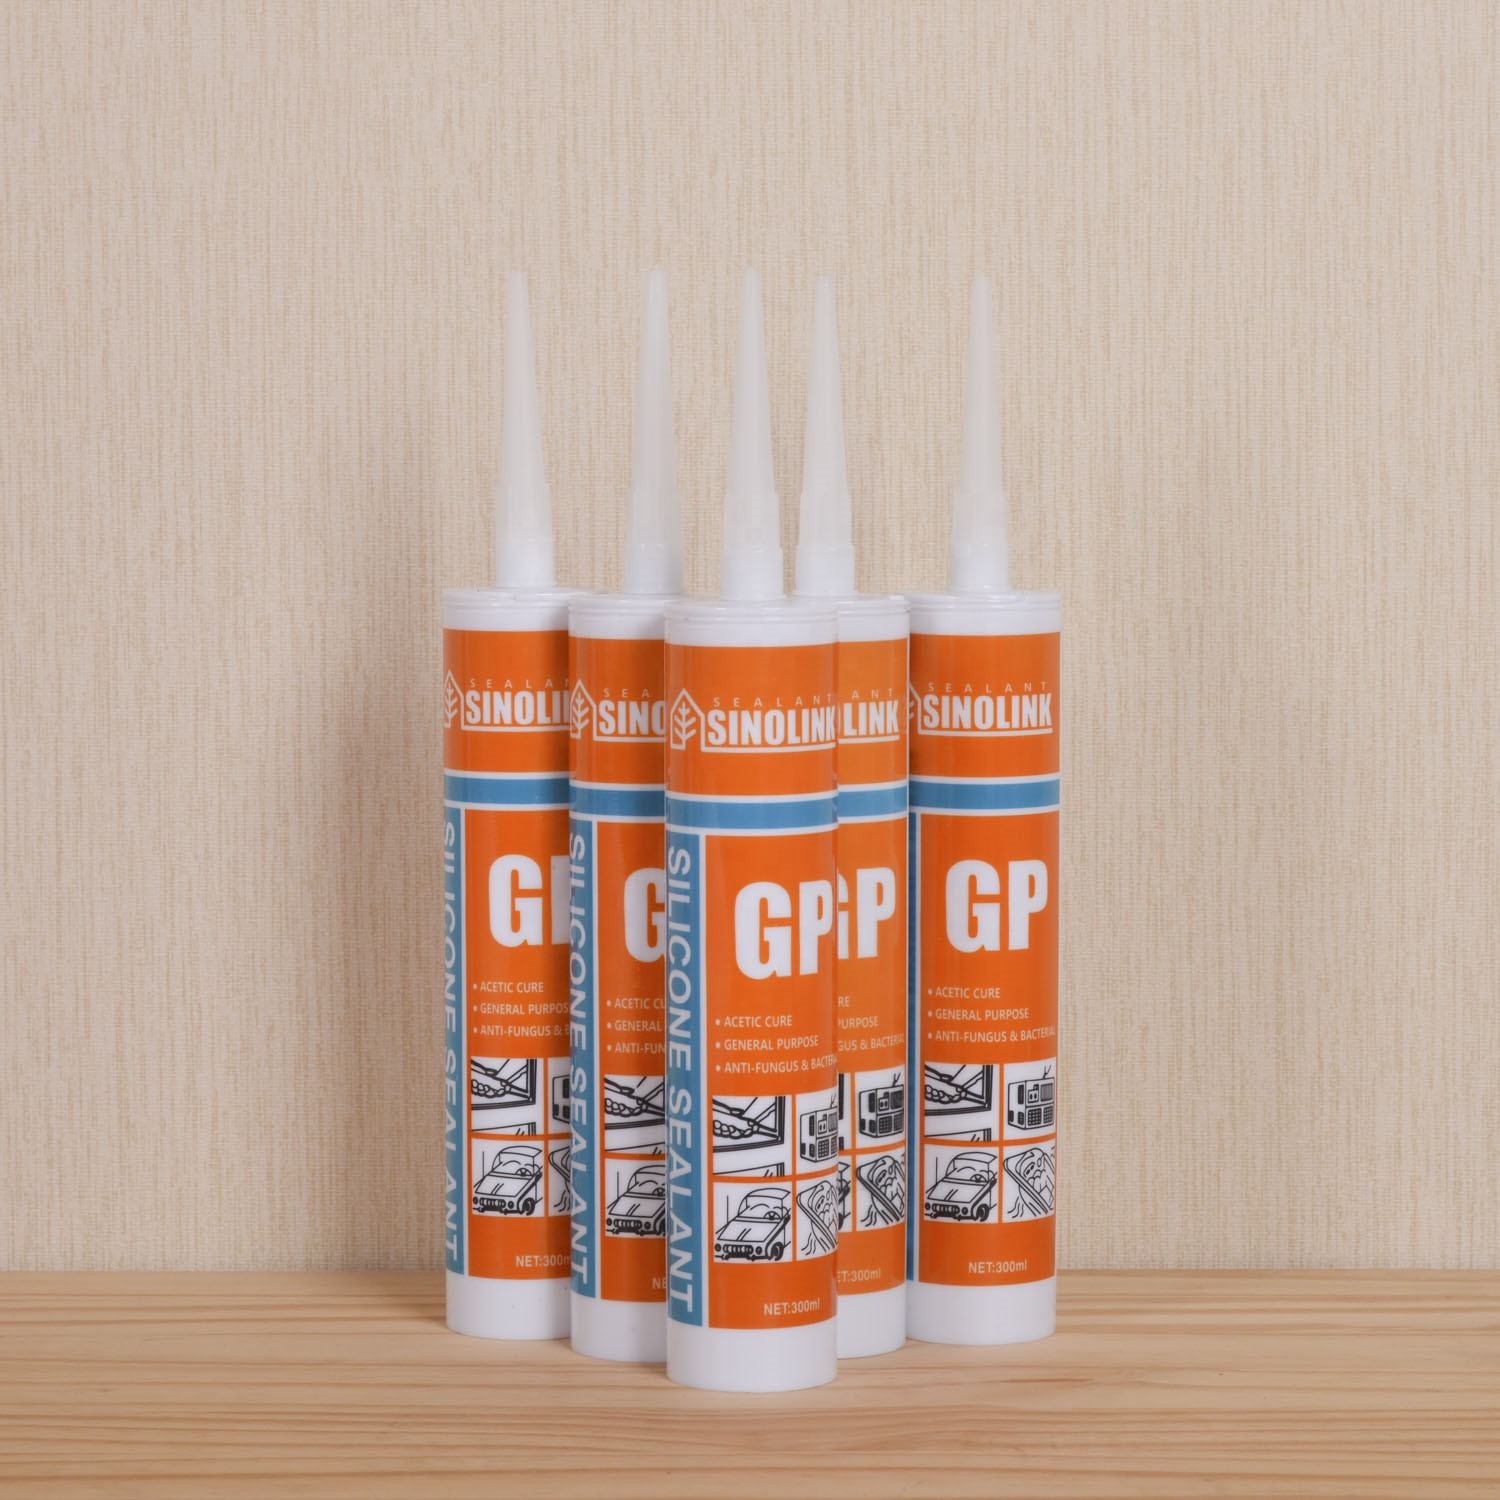
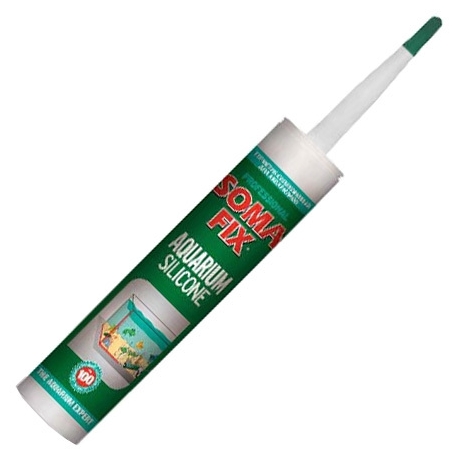
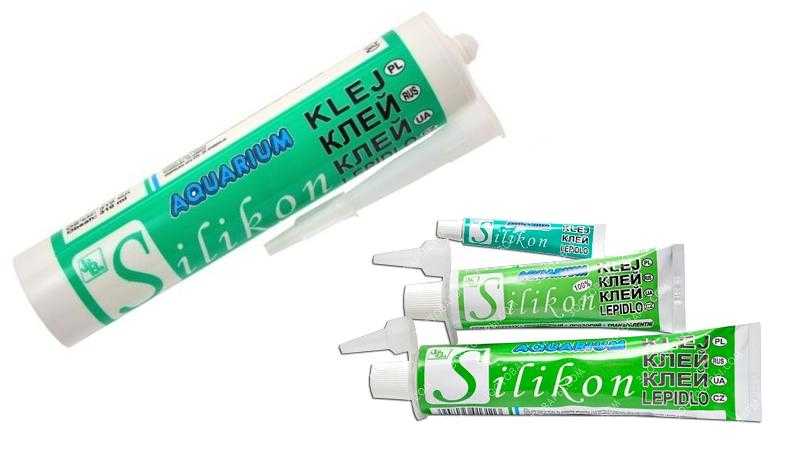
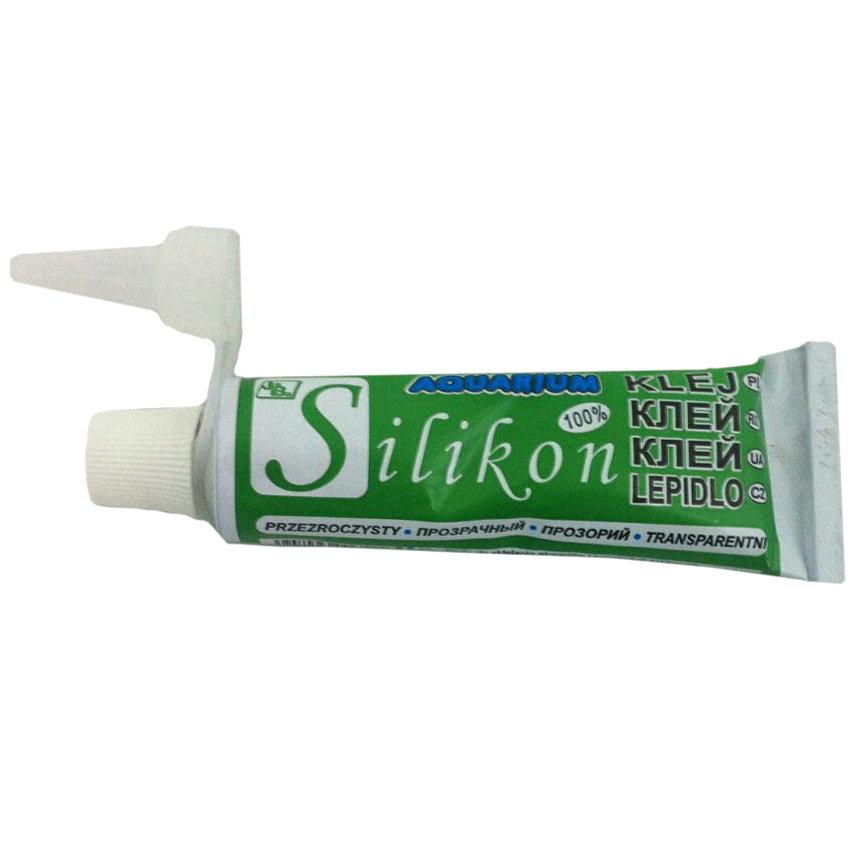
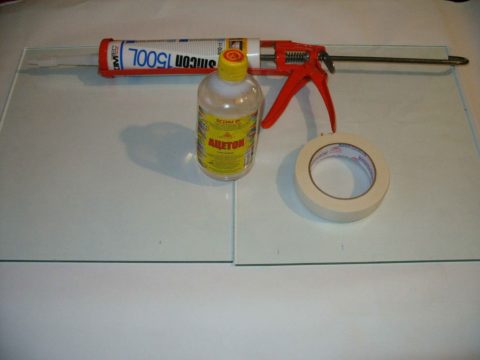
Do-it-yourself restoration is done by welding cracks or gluing surfaces with a special glue - silicone sealant. It contains silicon, which provides durable gluing of surfaces. Glasses are often glued with this glue in the manufacture of frameless fish houses. You can buy sealant in hardware stores, less often in pet stores. A note on the packaging is required to indicate the suitability of the glue for the aquarium. For convenient application, enlist a special gun, it will allow you to better glue the new parts of the rectangular container.

Removing old sealant
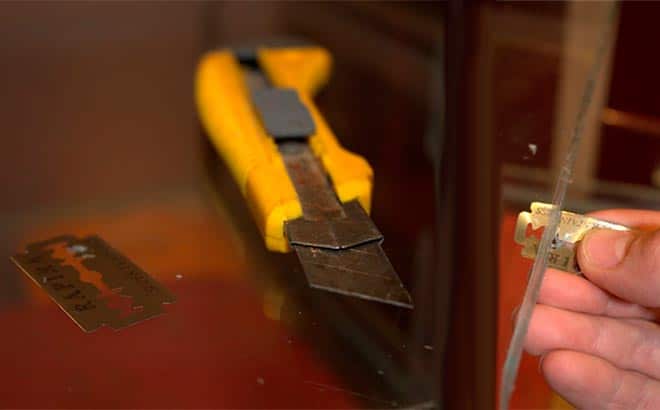
When the surfaces are dry, clean the soaked sealant from the joints to be repaired. A knife or a nail file will cope with cleaning large gaps; a blade is suitable for narrow openings. This step will require skill and patience. When the old glue is removed from the glass, the surfaces are degreased with acetone or rubbing alcohol.
Subsequent stages of work
After completing the preparation, you can glue problem areas:
- If glass is being replaced, prepare replacement material in advance. The glass panel can also be made of plexiglass. All joints and edges are abundantly coated with glue, then the new glass is installed in place of gluing and fixed with a rope. Wrap the tank vertically and horizontally. After an hour, repeat the operation.
- If a leak forms at the junction of the walls, the sealant is applied along the seam and rolled inward with a knife or file. For a good result, do not spare glue.
- Spread the silicone over the seams with a damp sponge.
- Wait until it dries completely, for this it should take at least a day.
- When everything is ready, do not rush to launch the fish into the container. First, the aquarium is tested for adhesion quality. To do this, fill it with water and watch for leaks. If a leak occurs, the aquarium will need to be repaired again.
- After high-quality performance of the work, the test liquid is poured out, the container is filled with old water along with fish and plants.
Aquarium treatment technology
The process of applying the sealant is illustrated by the video in this article.
What is needed in the work
When using silicone compounds, you need to remember:
- the paint does not adhere to the sealant;
- it will not work and apply the material to the old silicone glue.
Brief instructions for the use of silicone sealant:
Remnants of the old sealant (if any) are removed from the joints of the surfaces and walls of the aquarium, the gluing points are thoroughly cleaned.

Cleaning old sealant
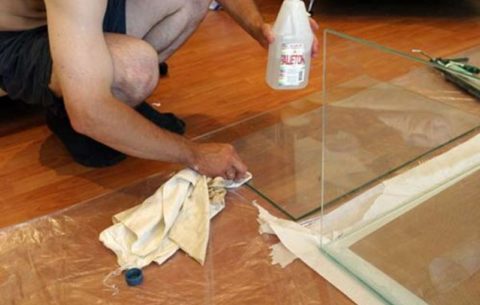
Areas intended for the application of the new composition are degreased and dried.
Glass surface degreasing
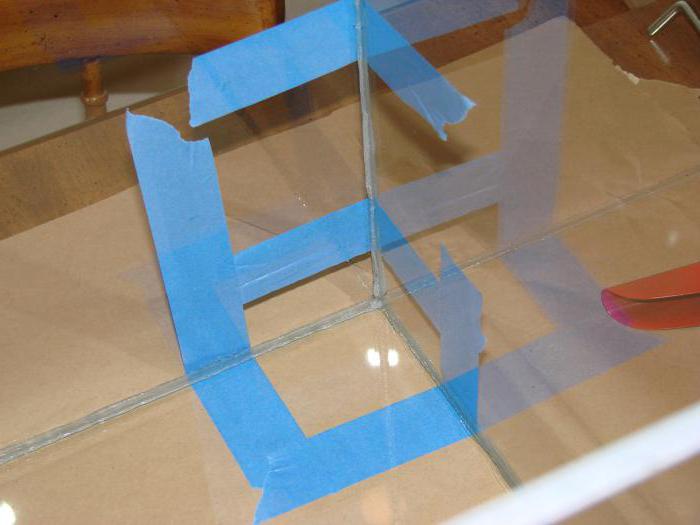
- To obtain an even seam, it is recommended to stick on masking tape.
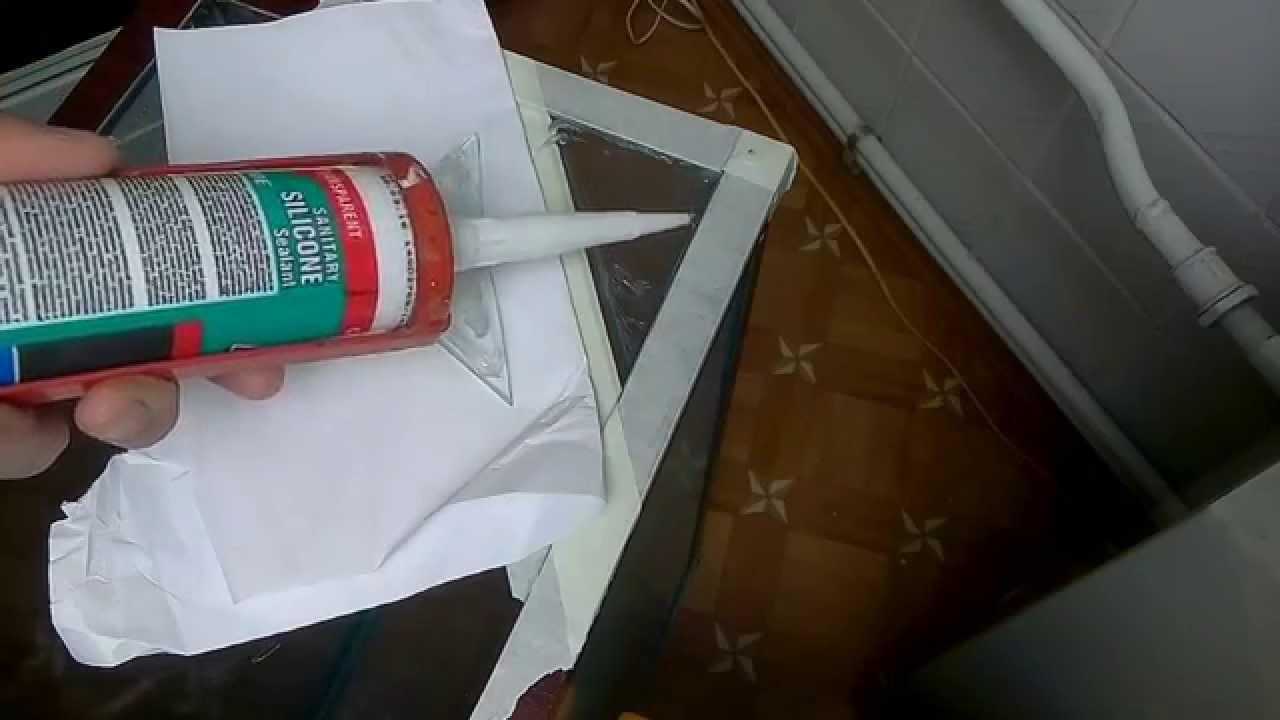
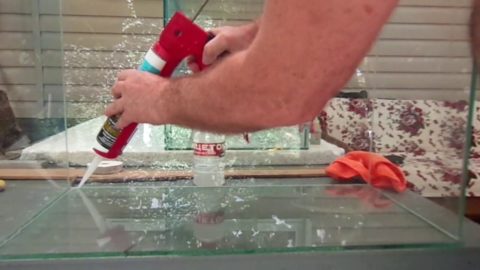
- Before starting work, it is necessary to cut the cartridge cap at an angle of 45 degrees so that the hole diameter matches the required seam width.
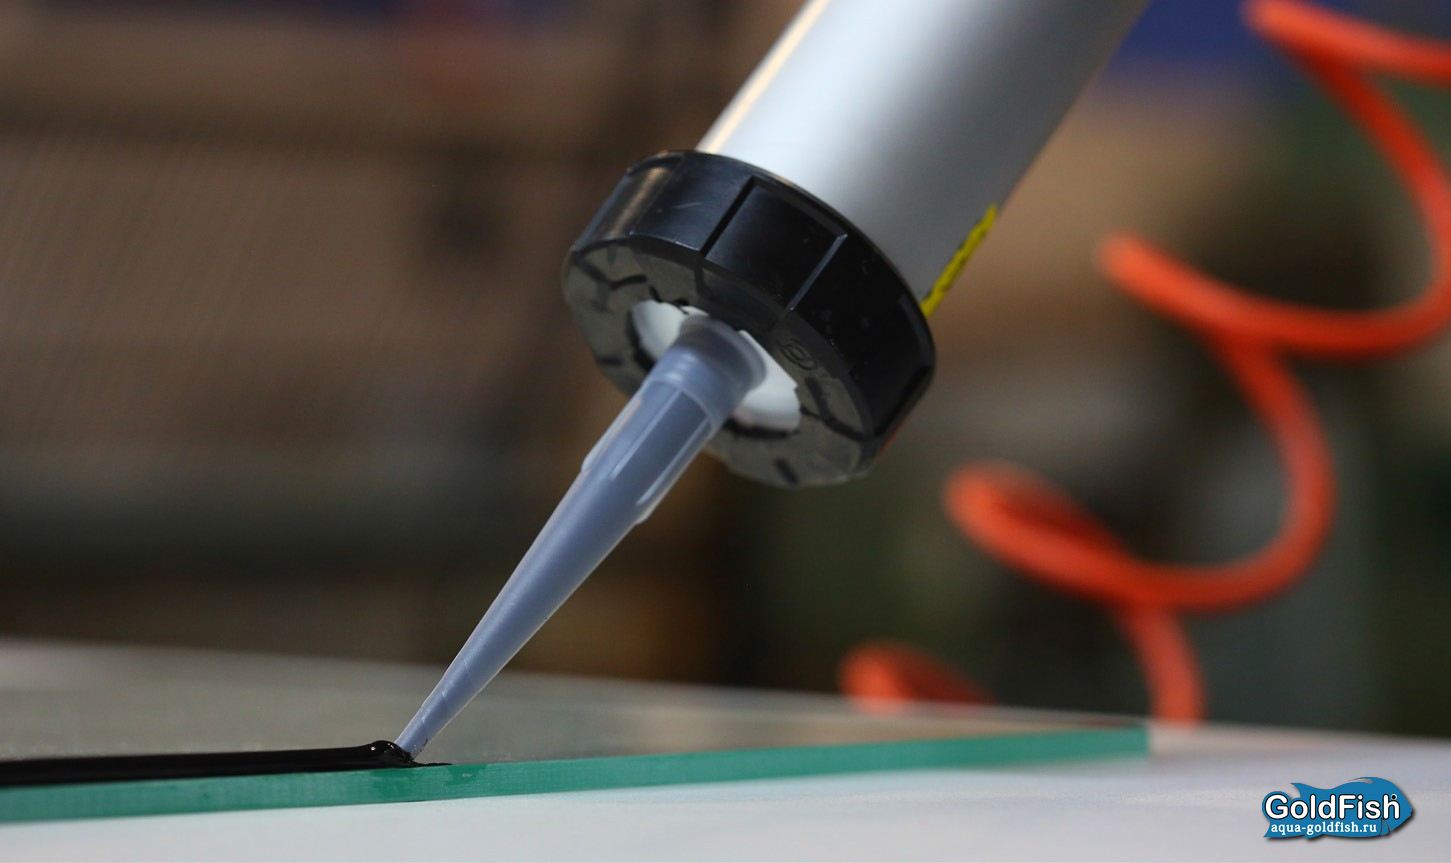
- Sizing the aquarium, inserting the cartridge into the gun, should start from the bottom, slowly moving upward.This will ensure high-quality gluing of surfaces.
Sealing the aquarium
- The applied layer is leveled. To do this, you can use a damp spatula or improvised tools (stick or even your finger).
- Excess sealant is removed immediately, without waiting for drying.
- The masking tape should be removed immediately after leveling the joints.
- After gluing, it is necessary to leave the reservoir until the sealant is completely dry. At the same time, there is no definite answer to the question: "how long does silicone sealant for an aquarium dry". It all depends on the manufacturer. If an expensive foreign material can dry in a day, then a more budgetary, but no less reliable domestic product can dry for two days. Also, the thickness of the applied layer affects the vulcanization time.
As you can see, solving the problem of how to seal the aquarium with sealant is not at all difficult with the help of the correctly selected composition and accuracy when using it.
Types of sealants
There are one- and two-component sealants. One-component - ready-to-use mixtures. Two-component sealants must be prepared before use - mixed with a suitable solvent. Depending on the basis, the compositions are classified into:
- Acrylic - they have good elasticity, but not plasticity. Interior acrylic sealants can be moisture resistant, but they are not used to seal joints that will undergo deformation, since they have a high adhesion capacity to porous surfaces.
- Polyurethane - mixtures based on polyester resins, which gives the sealant strength, elasticity and durability. They adhere well to both porous materials and glass, but they are toxic and dangerous for the inhabitants of the aquarium.
- Butyl - used for sealing window glass units. They have a low tensile strength during deformation of the seams.
- Thiokol - the base (liquid thiokol) resembles rubber in its characteristics, but toxic substances in the solvent and hardener prevent the use of this type of sealant in aquariums.
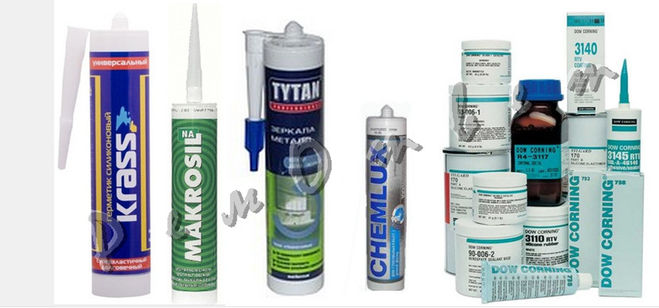
Among the extensive list of different aquarium sealants, only a few can be used:
- silicone;
- epoxy;
- "Cold welding".
They must have:
- Elasticity - the ability to "remember" the initial parameters, withstand water pressure and return to its original state after it has been removed. With high strength, but insufficient elasticity of the gluing, cracks can occur on the glass.
- Reliability - the seams are affected by high water pressure, temperature difference between the ambient air and liquid, ultraviolet radiation. Accordingly, sealants must withstand all this for a long time.
- Safety: when water and sealant interact, chemical reactions should not occur and substances that are dangerous to the inhabitants of the aquarium should not be released into the aquatic environment. In addition, the composition should not contain aggressive dyes that are harmful to the health of underwater inhabitants. The sealant should not contain antifungal and antibacterial components, as they create a drug load on the fish organism.
- Chemical inertness - the solvents of some sealants include acids that are released into the air during hardening and oxidize materials in contact with the mixture, therefore, it is recommended to use neutral complexes.
Silicone, epoxy glue and "cold welding" are not the same in terms of usability and purpose - bonding or repair, large or small.
How to glue and fix an aquarium
Assembly instruction:
- The work surface is covered with polyethylene.
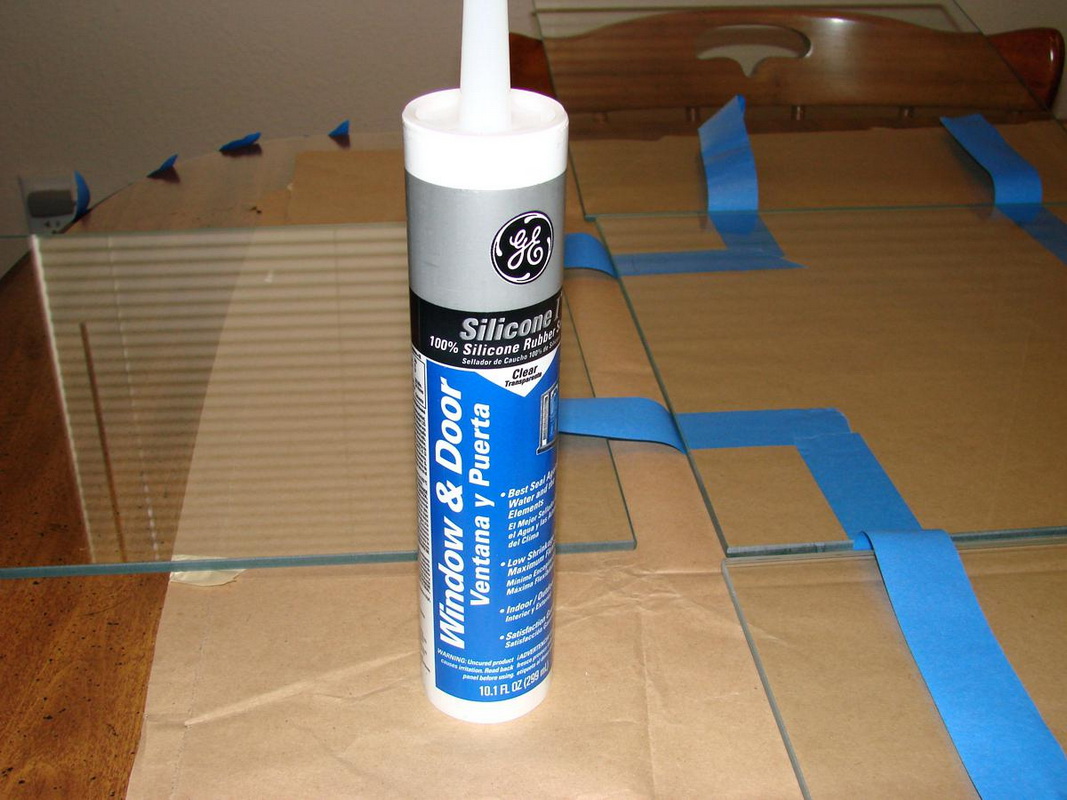
- Glasses are pasted over with masking tape to protect them from dirt (with a small margin from the edge, equal to the width of the glasses).
- The parts to be glued are degreased: wiped with a cotton swab dipped in alcohol or acetone.
- The glue is applied in an even layer.
- The vertical sides are installed around the bottom. The front part is glued first, then the side and back walls.
How to fix a leaking aquarium:
- You need to carefully consider the place of the leak, perhaps it is simple condensation.
- Remove the fish, drain the water.
- The sealant is applied to a dry and clean glass surface.
- You can drop a little glue into the crack and push it inward. And so from both sides. The protruding part of the glue is smoothed with a finger or a rubber spatula.
It is better to order glasses for aquariums in a workshop, where they will be cut evenly by a machine. The material is selected from silicate, of the highest quality. There are two types of glass - window and polished. The first type is not suitable due to the heterogeneous structure, and the polished material will reliably stick together. The optimum thickness is 0.8-1 cm. If the glass is thinner, the aquarium is likely to crack.

Silicone sealant
Soft and plastic silicone sealant is made from a solid substance - silicon, that is, polymers obtained on its basis. The base part of the sealant is silicone rubber. It also includes:
- a vulcanizer that affects the viscosity of the material;
- an adhesive component that provides adhesion to surfaces;
- plasticizer - an additive for elasticity;
- colored filler;
- an amplifier needed for strength.
Silicone for an aquarium should be quick-drying, flexible and moisture-resistant. Consider the benefits and types of silicones used in the manufacture and repair of aquariums.
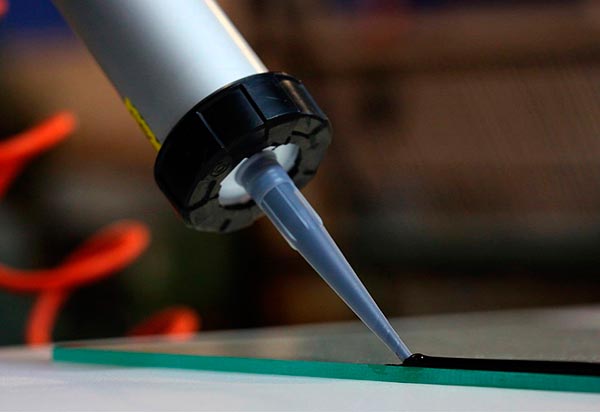
Dignity
It is recommended to use aquarium silicone sealants when gluing glass tanks for keeping fish, snakes, snails and other inhabitants of the aquatic world. Synthetic products do not contain toxic compounds in their composition, thus, they are safe for living organisms.
Advantages of silicone sealants:
- extensibility;
- increased strength;
- excellent adhesion;
- moisture resistance;
- heat resistance;
- impermeability to UV radiation.
Acid
One-component aquarium silicone comes in three flavors: alkaline, acidic or neutral. Alkaline is included in a group of special purposes, it is rarely used in everyday life. Acid polymerization silicone sealant is used for the construction of aquariums and terrariums. It has a strong vinegar smell that appears when the layer solidifies. Perhaps this quality somewhat reduces demand. When working, you must wear a respirator, and you cannot use a ready-made container until the vinegar fumes have evaporated. Before settling the fish, the aquarium must be rinsed with water several times.
Neutral
A good alternative to acidic sealants is neutral aquarium glue: it is odorless and has enhanced adhesive properties. It dries quickly, but its price is also higher than that of an acid one. The neutrality of the composition is also emphasized by its transparent color. It repels dyes, does not adhere to the old sealant layer. Before applying, it is necessary to remove glue residues from the surfaces and degrease.
Colors
A colorant is added to the silicone sealant, which affects the color of the finished product. Aquarium glue can be black, white, colorless. The white sealant is painted in the color of plants, medicines, feed additives in the aquarium. Transparent silicone loses invisibility over time, as a film of plaque and food particles accumulates on it. Black material is considered more aesthetically pleasing, especially in larger aquariums.
How long does silicone sealant dry
To prevent bubbles from forming in the filled joints, it is necessary to pull the walls of the aquarium with twine. Drying the aquarium after applying the silicone glue takes approximately 20-24 hours. The full holding time is indicated on the sealant packaging. In the depth of the joint, polymerization proceeds much slower than outside. To speed up the process, it is recommended to increase the humidity in the room.
Aquarium shapes
Before you glue the glass of the aquarium yourself, you need to prepare a drawing on which the dimensions and shape of the structure will be indicated. There are several types of products:
- Classic models. They are rectangular structures. The length should be twice the height. The optimal volume is 125 liters.
- Panoramic models. The back, front walls are bent in an arc so that you can see the underwater inhabitants from any angle. Looks more beautiful in large rooms.
- Flattened models. They are low products that are suitable for breeding a large number of fish and other underwater inhabitants.
- Round models. Products that are suitable for small spaces. But you can settle there a small number of fish. Convex walls distort the image.
- Semicircular or angular models. They save space in the room, in addition to this, the curved front wall makes the view of the interior visually larger.
- Built-in models. Products installed in wall recesses. Separate plasterboard frames can be assembled under them.
Depending on which form is chosen, materials and their quantity are selected.
Design options
Additionally, you need to figure out the corners of the connection. They can be held together in three ways:
- Rectangular connections.
- Obtuse joints.
- Acute-angled combination.
The first connection method is considered the most popular due to its simplicity during manufacture.
Glass cutting
Before gluing the glass aquarium, you need to prepare the glass plates. They need to be cut to size. When buying glass, it is most often cut to the required dimensions, and the cost of the service refers to the total price. It is advisable to entrust the cutting with glaziers who work with special machines.
Preparation of glass parts
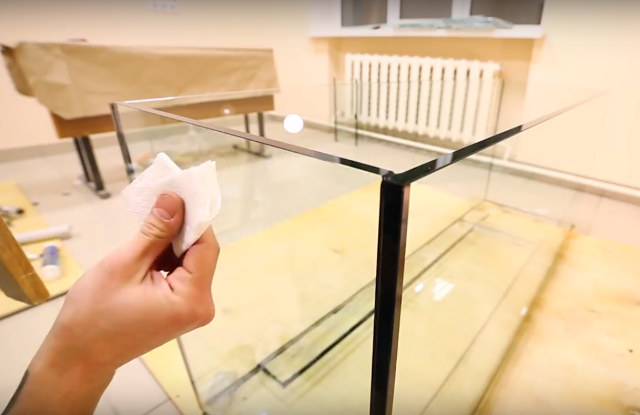
After cutting out the glass panels, it is necessary to prepare them for further work. To do this, using a rag soaked with acetone, gasoline or medical alcohol, work surfaces are wiped to degrease them. Next, you need to glue the areas around the ends with masking tape so as not to stain the glass with a sealant.
Strengthening the walls
When we glue the aquarium with our own hands, then naturally the process will not do without strengthening the structure. To do this, you need to use homemade stiffeners.
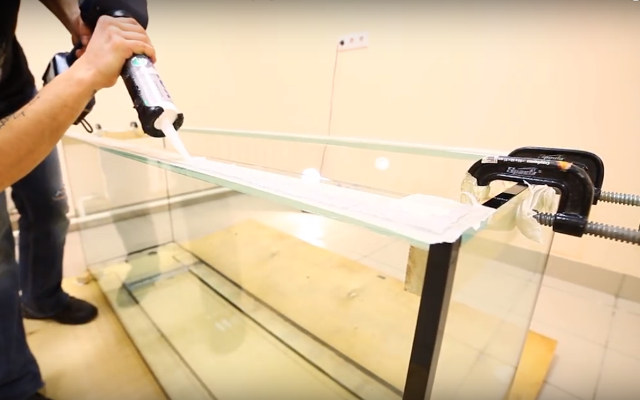
They are made of glass plates up to 8 cm wide. They are fixed with glue between the upper parts of the walls of the structure.
What to do for home repairs
If the aquarium has a small capacity, then it is better to replace it. If the volume exceeds 100 liters, repairs will be cheaper.
The difficulty in repairing is determined by the cause of the leak. If the bottom is damaged, you can fix it by putting a glass patch that will cover the crack. If the glass is damaged, a new glass is installed in the side part.
A crack in the sealant requires special attention. When a leak forms in this place, the entire seam changes. First, the seam is cleaned from the old sealant, since the new silicone does not adhere well to the old one.
With competent, accurate repair and proper further operation, an aquarium that has served no more than 5 years will stand for another 3-4 years.
In preparation, its inhabitants move to another container along with water, plants, toys. Pebbles and sand are also removed from the container, after which the entire aquarium is thoroughly washed.
To recognize cracks that have gone unnoticed, a leak test is performed prior to repairing. To do this, a sheet of paper is alternately applied to each joint. Even a small damp spot will indicate a small leak that needs to be repaired.
Before gluing the joint, the seam is cleaned. For a large gap, a sharp knife is used, for a small gap, a blade.
The edges of the walls, from which the old composition has been removed, are degreased. The walls of the container, next to which the repair will be carried out, it is better to glue it so that the seam is neat.
Experts advise to use the sealant with a margin.
This will reduce the likelihood of a new leak in the future. Remaining gel can be removed with a knife or blade.
When filling joints, it is best to seal the sealant by pushing it in with a nail file or scissors.
It is necessary to carefully follow the instructions that are attached to the selected product (the use of the composition should imply constant contact with water), and follow them during the repair.
For the sealant to dry, you need to wait 24-36 hours. After that, the seams are checked again for leaks. If the paper remains dry, there are no gaps.
This waiting period is due to the need for drying of the product and its toxicity. During this time, harmful substances evaporate, so the inhabitants of the aquarium will not be harmed.
If there are no conditions for keeping them and you need to urgently return them to the aquarium, it is recommended to increase the intensity of the air supply.
When repairing a container, its inhabitants are placed in a container with water similar in composition to the one that was in it. If possible, you can agree on their temporary content in a pet store. The need to move attributes (pebbles, toys) is interpreted by the fact that a sudden change in environment causes stress in animals.
In conclusion, it must be said that timely repairs increase the life of the aquarium.
An aquarium is a beautiful, but not cheap decoration for an apartment, so many breeders try to make it on their own. A quality tank can be obtained if a person has certain building experience and quality materials. The specialists of our company will tell you how to properly glue the aquarium yourself.
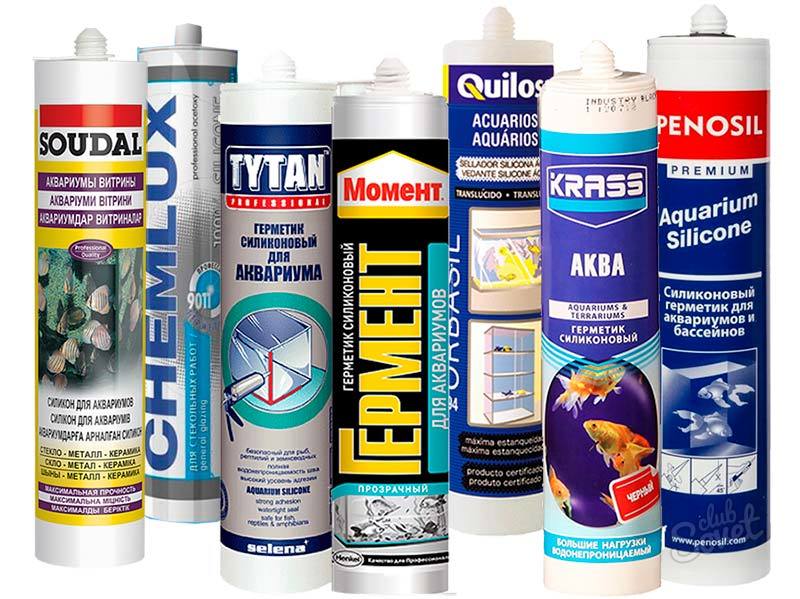
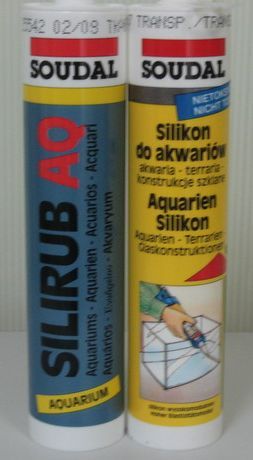
Aquarium fish lovers and pet store owners will know for sure that a special agent called a sealant is needed to seal and assemble aquariums. On sale today in a huge assortment you can find such mixtures that have a different composition and unique properties. If we are talking about acidic silicone sealant, then it can be used not only for aquariums, but also when decorating showers, display cases and when gluing glass structures. It is noteworthy that after hardening, this mixture is not capable of harming living organisms, and it can be used even on those surfaces that will come into contact with food and drinking water during operation.
The aquarium sealant is characterized by the fact that it does not spread after application and does not slip along the seam, which makes it more convenient to use. The sealant has a high adhesion capacity, excellent adhesion to: ceramics; enamels; fiberglass; tiles and many other materials. It hardens quickly, which allows the structures to be bonded to be used immediately after completion of this stage.
DIY repair of cracked glass aquarium
If you have a crack on the glass, do not despair, you can solve this problem yourself. To do this, follow these instructions:
- Removing cracked glass from the aquarium.
With a clerical knife we draw along the glue seams from the inside and outside of the aquarium. Then we pick up the adhesive and remove it around the perimeter of the cracked glass. Separate the cracked glass.
- Preparing a stencil for new glass.
We put the aquarium on a sheet of paper with the side from which the cracked glass was removed. On the inside, draw around the contour with a thick marker. The sheet is taken to the workshop, where the glass will be cut according to the provided stencil.
- Degreasing of glued surfaces.
We moisten a cotton rag with alcohol and run along the seams to be glued.After thoroughly degreasing, leave the aquarium and new glass for 10 minutes to dry completely.
- Bonding new glass to the aquarium.
We put the new glass on a horizontal surface, place the aquarium on it with the side where you want to glue the glass. We coat the perimeter with special glue for aquariums. To remove excess glue and align the glue seam, draw a small wooden plank over it.
After that, the aquarium will return to its previous appearance and will delight you for a long time.
Step-by-step instructions for using the Olimp sealant
Olimp aquarium sealant should be used according to a specific method. This compound is a one-component silicone sealant suitable not only for refurbishment but also for the installation of all-glass freshwater and saltwater aquariums. It can be used to seal and fix glass surfaces. Application can be carried out on:
- glass;
- porcelain;
- glaze;
- painted surfaces;
- polycarbonate;
- polyacrylate;
- varnished surfaces;
- aluminum;
- steel;
- ceramics;
- tile.
The composition is waterproof and completely safe for the health of the inhabitants of the aquarium. It can even be used for movable joints, among other things, it is resistant to UV and weathering, as well as household detergents and solvents. After hardening, the sealant can be used at temperatures ranging from -40 to +100 ° C.
Before the aquarium sealant is used, the surface must be prepared, for this it is cleaned of dust and dirt, and then degreased with acetone. The cartridge should be kept at + 20 ° C or higher for 12 hours prior to application. At temperatures below + 5 ° C, it is not recommended to use the composition.
Application is carried out using an applicator gun, from which the top of the threaded part should be cut off. The master should screw the tip tightly. The top is cut at a 45 ° angle to the same width as the joint to be filled.
Aquarium glue
There are situations when it becomes necessary to glue the glass of the aquarium due to a crack that has arisen, or just make an aquarium on your own. And, of course, the question arises as to which glue is best for the aquarium.
How to choose an aquarium sealant?
There is a huge selection of sealants on the market, but not all of them can be used for gluing an aquarium, because the glue must be both reliable and safe.
Do not use aquarium glue if it is an acrylic sealant. Such glue does not have sufficient adhesion to glass, moreover, it is not moisture resistant.
You should also avoid using a butyl based sealant - although it is suitable for bonding glass, it does not have a sufficient margin of safety.
Not suitable for aquarium glass and polyurethane, polysulfide or bitumen glue - these types are used mainly in construction.
Epoxy sealants can be used, but it must be borne in mind that before using them, a very thorough cleaning of the bonded surfaces must be carried out, and they also take a long time to harden.
But silicone glue sealant, being universal, is ideal for an aquarium. Such glue is used for household use, it is elastic, adheres perfectly to any surface, and has a long service life. Therefore, when the question arises, what kind of glue is needed for the aquarium, the answer to it is obvious - silicone.
Silicone sealant is completely non-toxic, when it comes into contact with water, it does not emit harmful substances, which is a guarantee of safety for living organisms in the aquarium.
Being very flexible, this glue allows the seams not to become stiff and not to break or crack, this glue ability is also important in conditions of possible temperature fluctuations, which is often the case in an aquarium. When purchasing a silicone sealant, you should choose one that does not have the inscriptions: "antifungal" and "antimicrobial".

