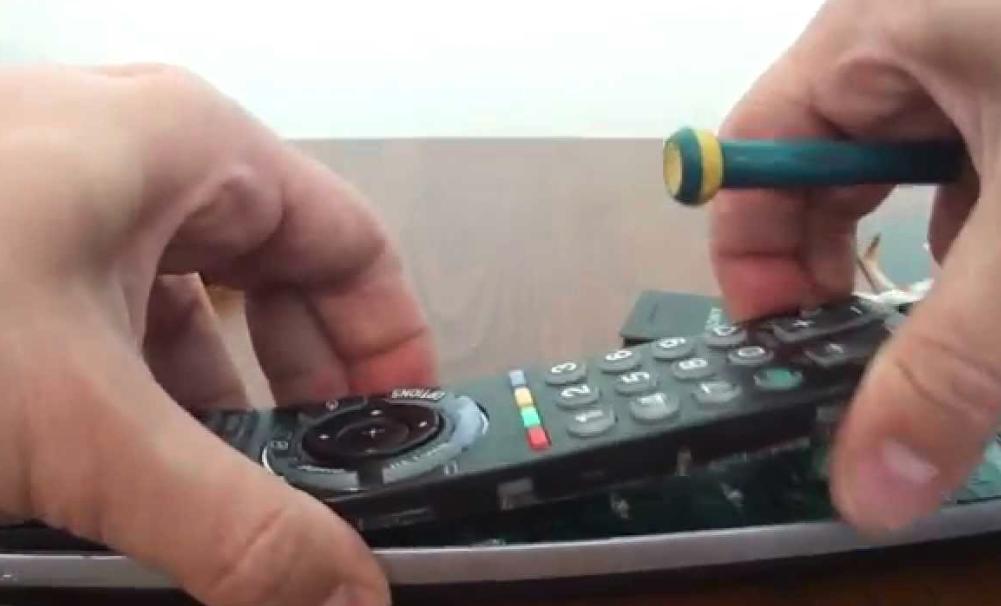
Diagnosis and causes
Regular use of the TV remote control, as well as non-observance of the rules of operation, leads to the fact that the device breaks down. If the control panel breaks down, stops responding to commands, does not turn on, the buttons are poorly pressed or do not work, and also do not switch, you must immediately start troubleshooting, which are often not global, but local. Among the most common reasons for the breakdown of the control panel, experts identify the following:
- low battery level;
- frequent falls;
- mechanical wear of the contact pads on the board;
- internal and external contamination of the console;
- lack of response to a TV signal.
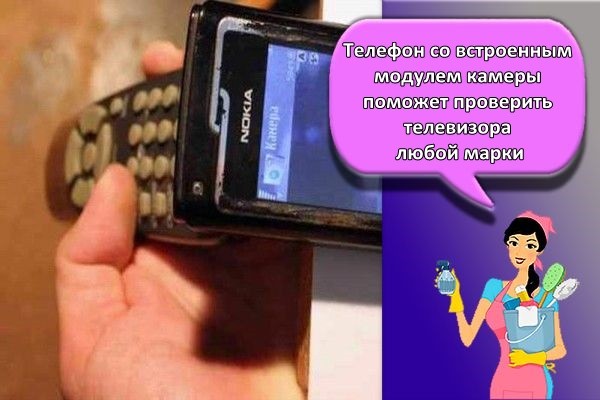
Before the advent of mobile phones, ordinary radio receivers, which were tuned to the required range, served as assistants in this work. Modern experts recommend using mobile devices or multimeters for diagnostics. To carry out diagnostic work, you must have a phone with a built-in camera module, and also perform the following sequence of actions:
- enabling camera mode;
- pressing any buttons on the remote while simultaneously directing it to the phone.
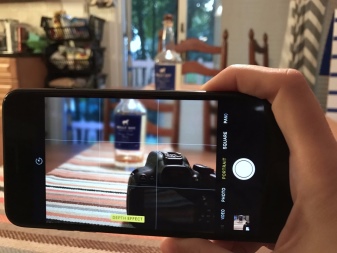

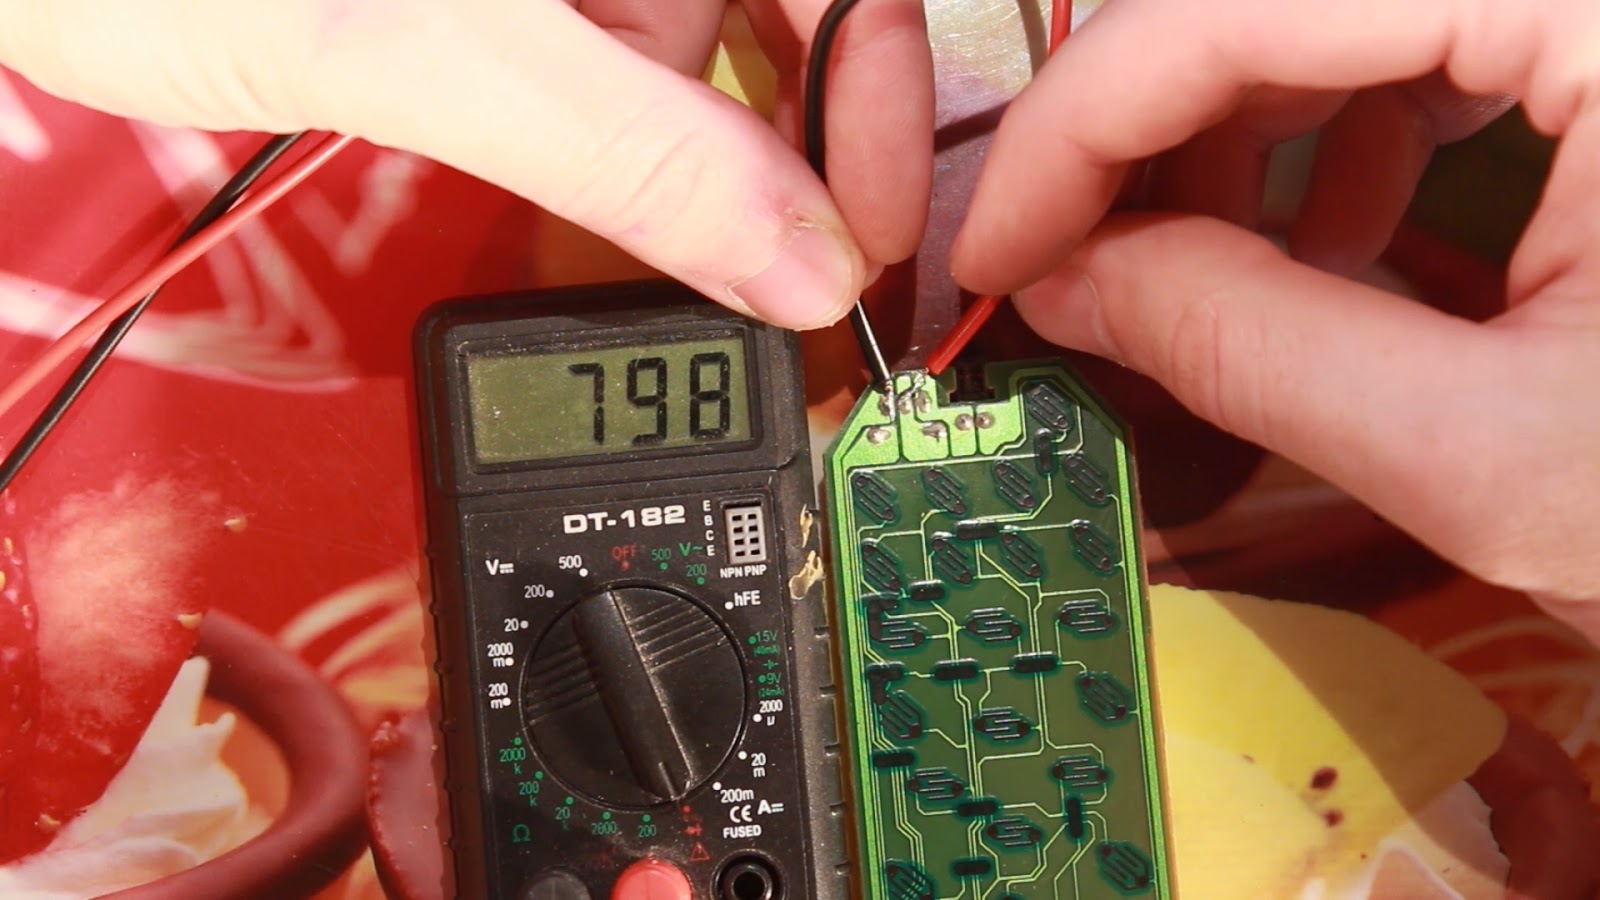
A symptom of a remote control board malfunction is the absence of a colored dot on the phone display. If the dot is present, then the cause of the breakdown is in the keyboard, which greatly facilitates the repair process. Using a household tester and multimeter, you can check the presence of a charge in the batteries, as well as the level of voltage supply to the board. Despite the multifunctionality of the device, it is necessary to have a basic set of knowledge and experience to work with it. The main stages of the work:
- setting the required voltage mode;
- making contact between the probes and the battery, which will determine the operating voltage.

Sequencing
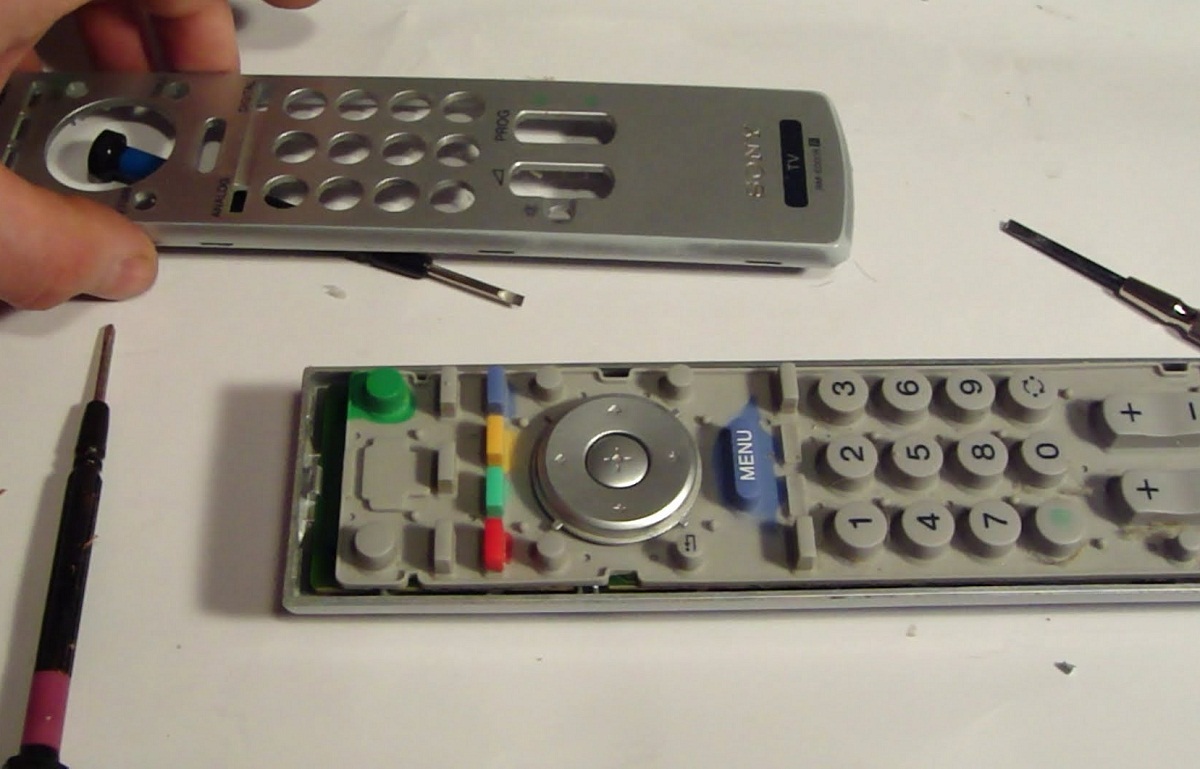
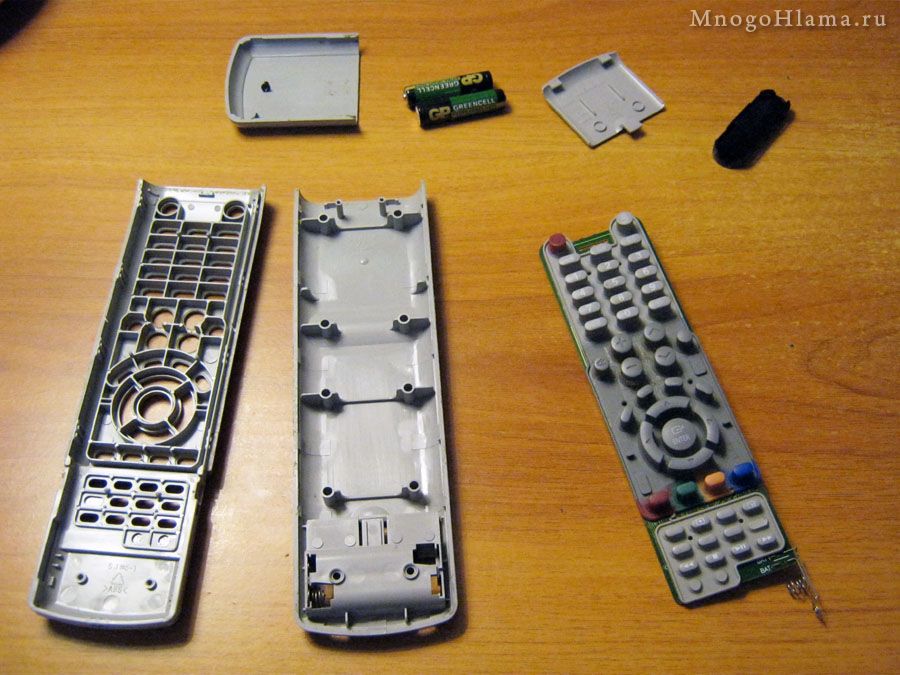
Simple instructions for opening almost any modern remote control:
- Examine the console for placement of fasteners. Some manufacturers put some of the screws in the battery compartment. Remove the batteries;
- Take a screwdriver of a suitable size and remove all fasteners;
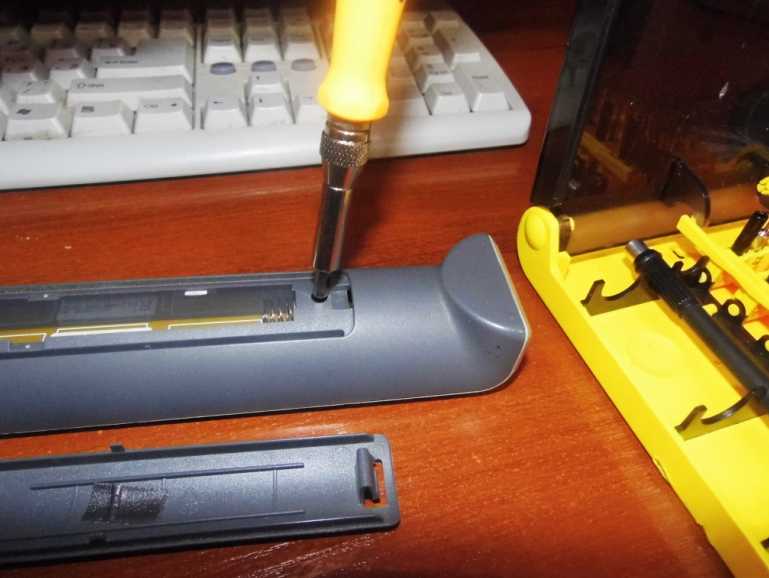
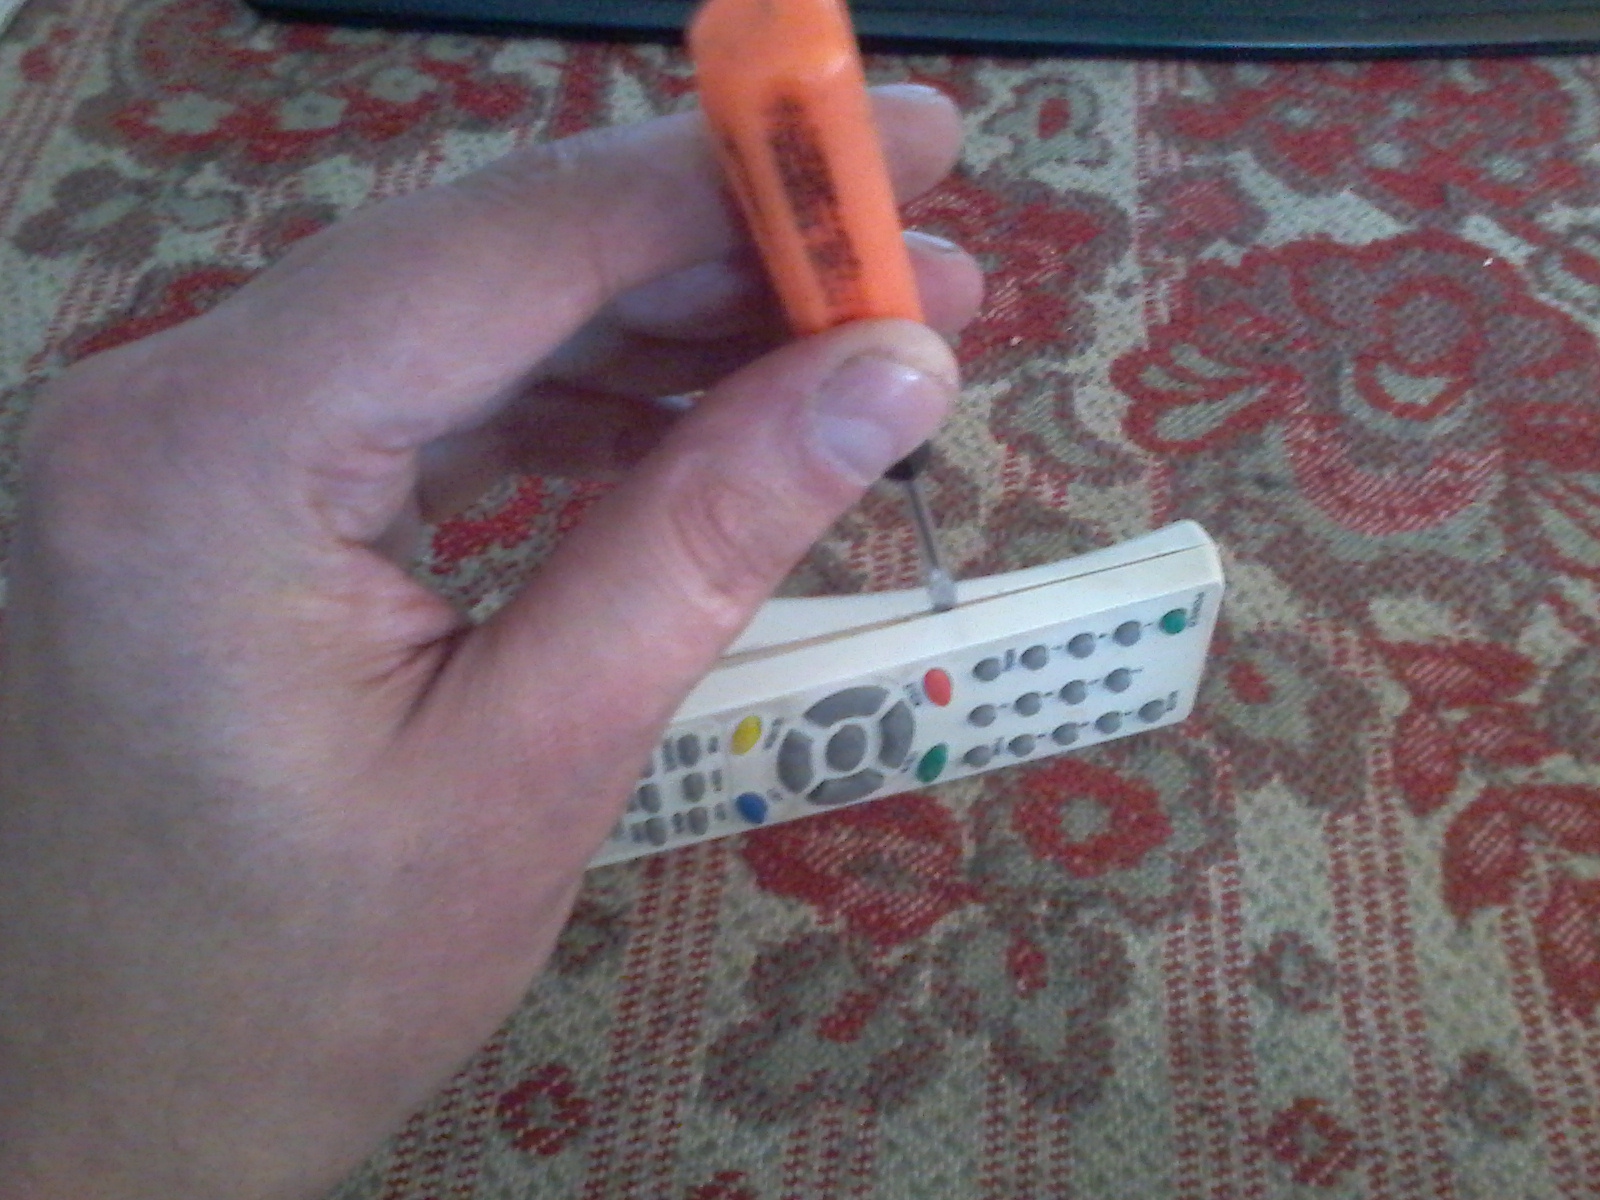
Difficulty may arise in the question - how about lg, on which there are no screws? Pay attention to the seams on the sides of the device. It is necessary to create gaps at the joints, then widen the slots and pry off to remove the plastic shell
Step-by-step instructions, with a description of the nuances:
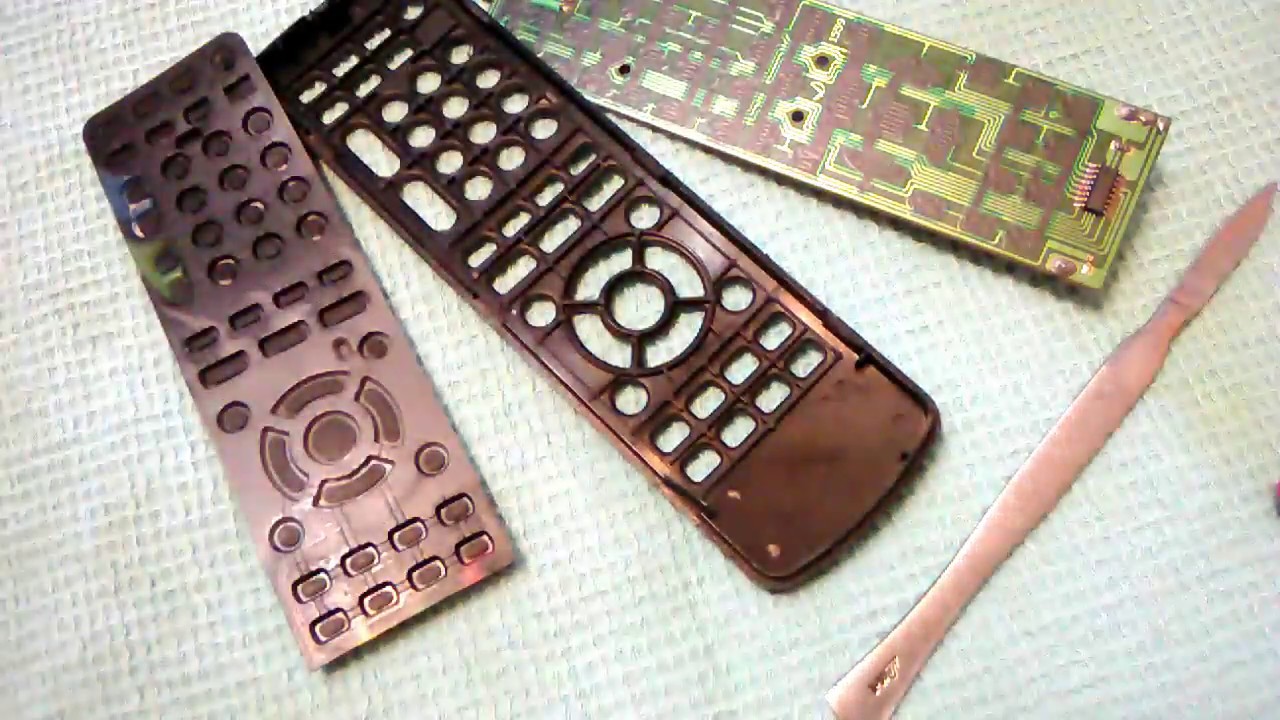
Check the seams on the body. If they are glued together for security, use a knife or flathead screwdriver to pry up the edges of the case until the edges come apart;
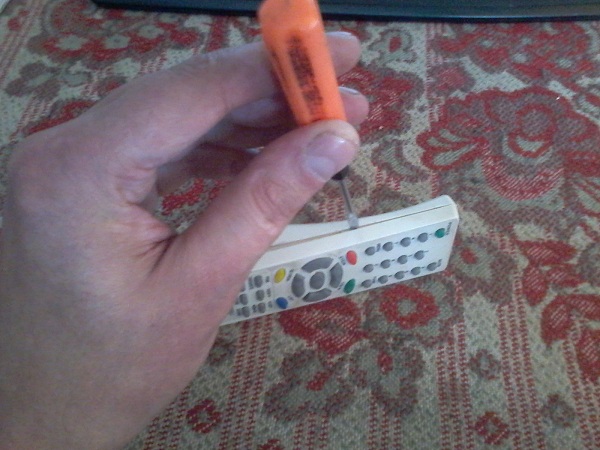
- To disassemble the remote control from the sony bravia TV, like many other devices of this type, you need to move the latches located inside the case with a knife. Do not pull the halves of the case in different directions at once, go around the edges with the blade and feel for hidden fasteners. Squeeze them out gently;
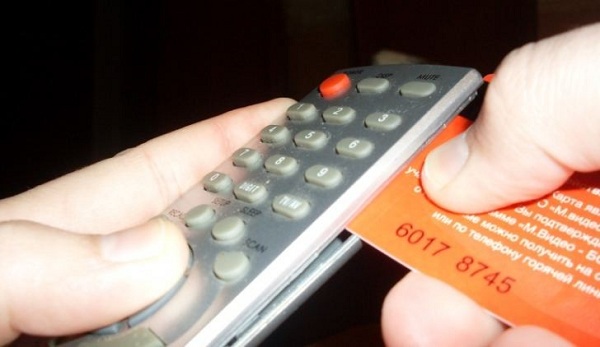
- Run a plastic card along the joints between the cases to finally unclench the plastic and open the remote control;
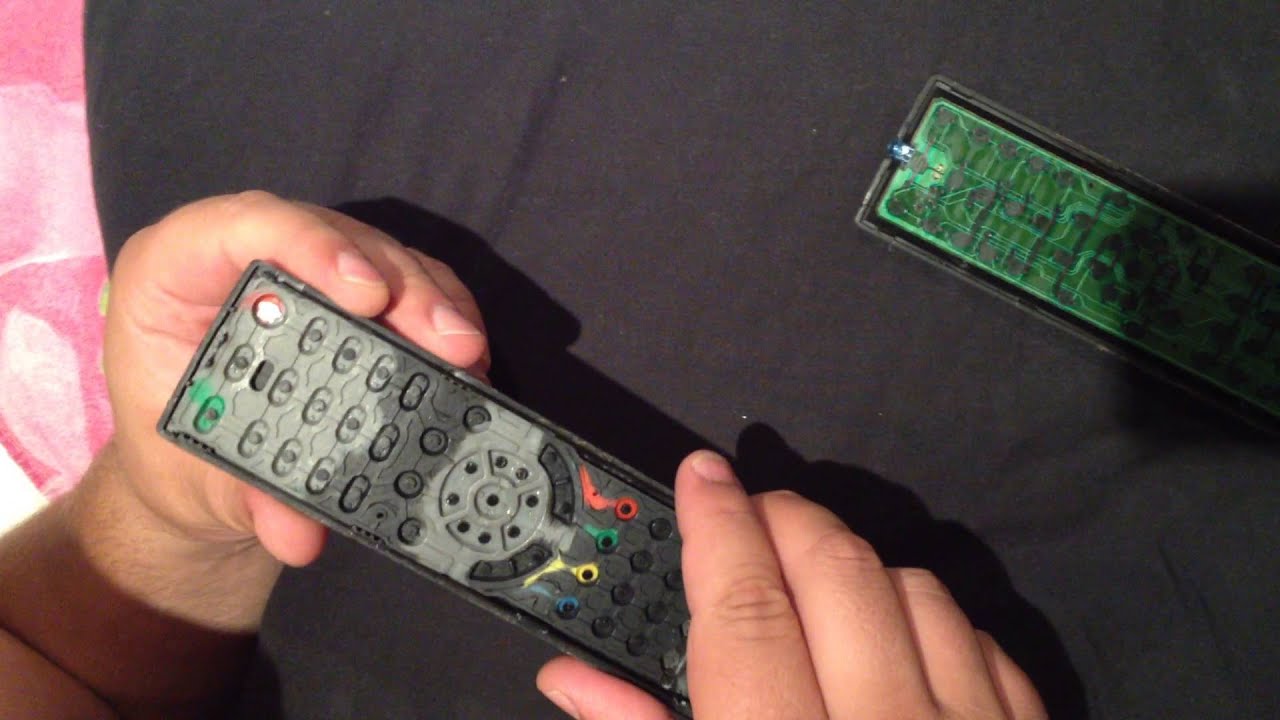
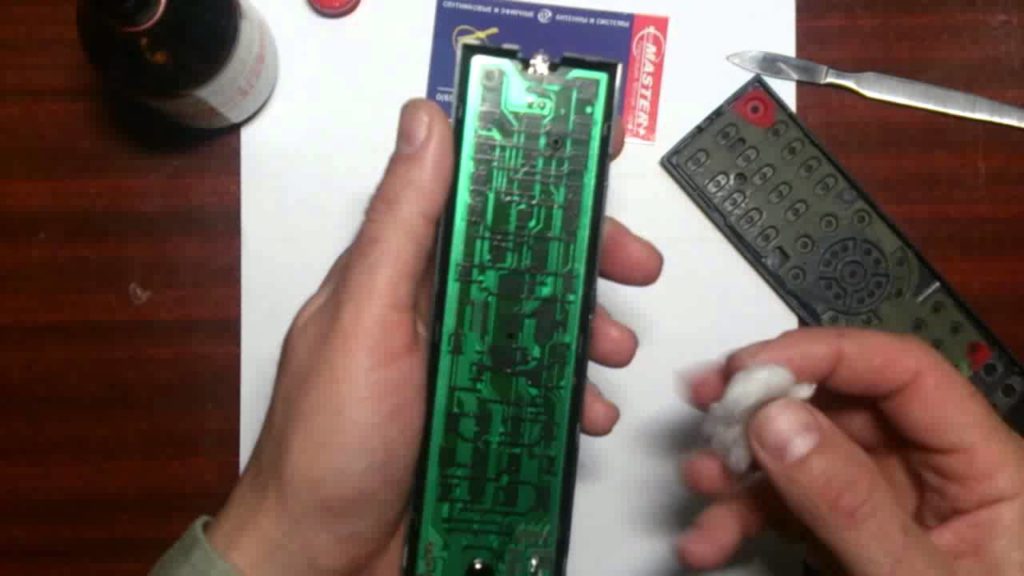
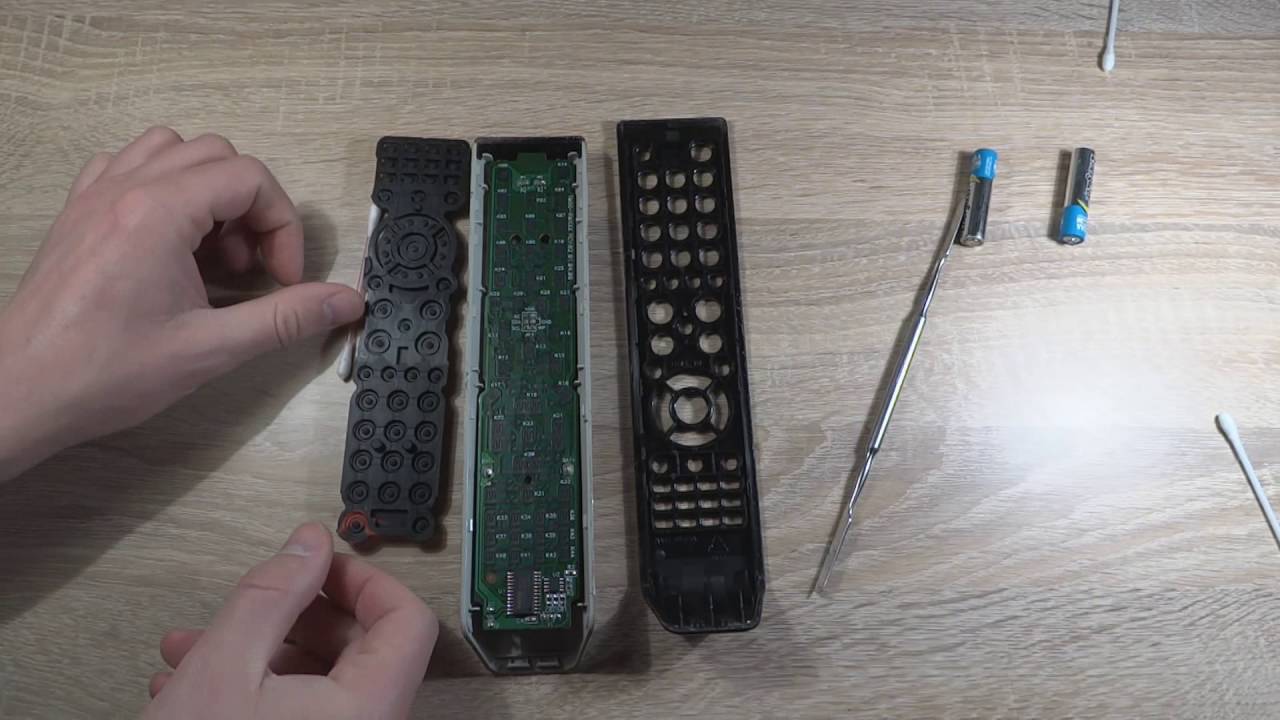
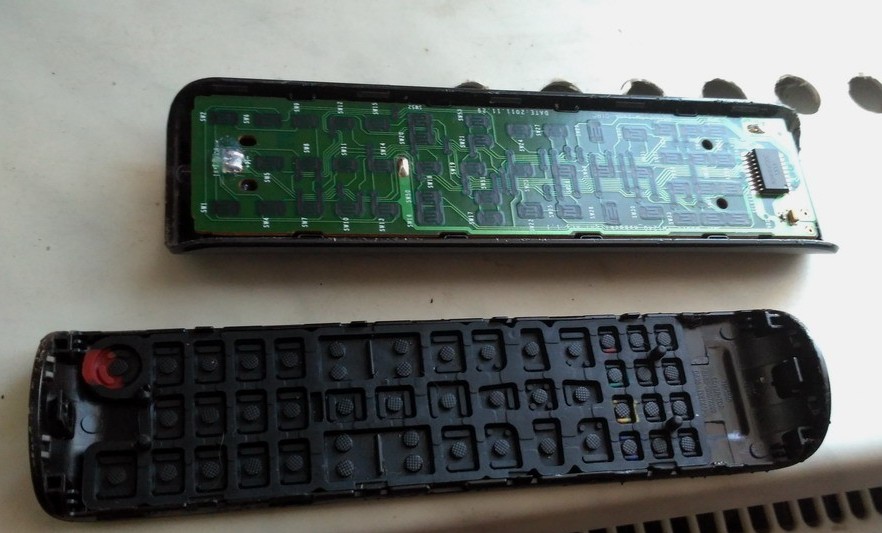
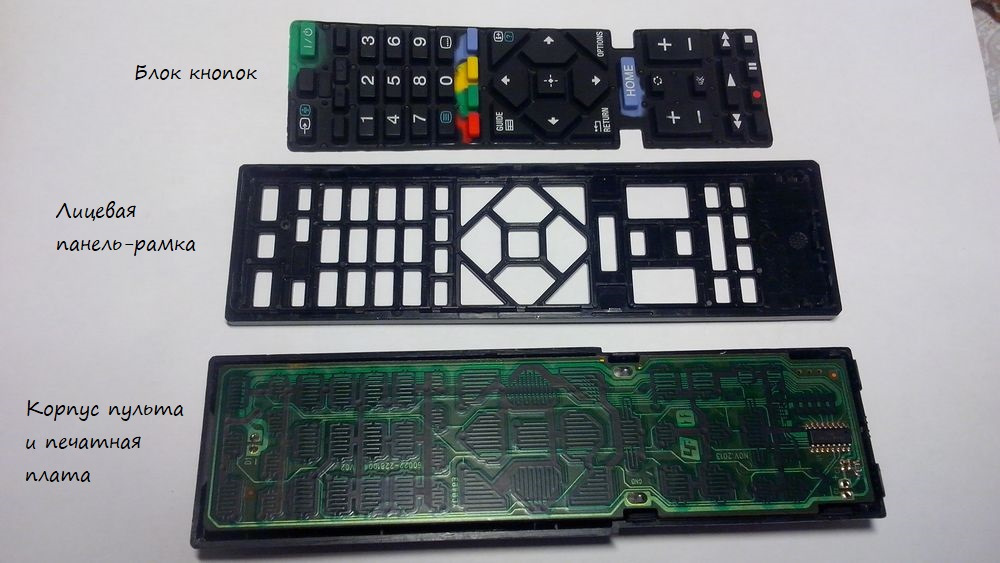
Take out the keyboard;
Unscrew the microcircuit carefully without removing the sensor from it;
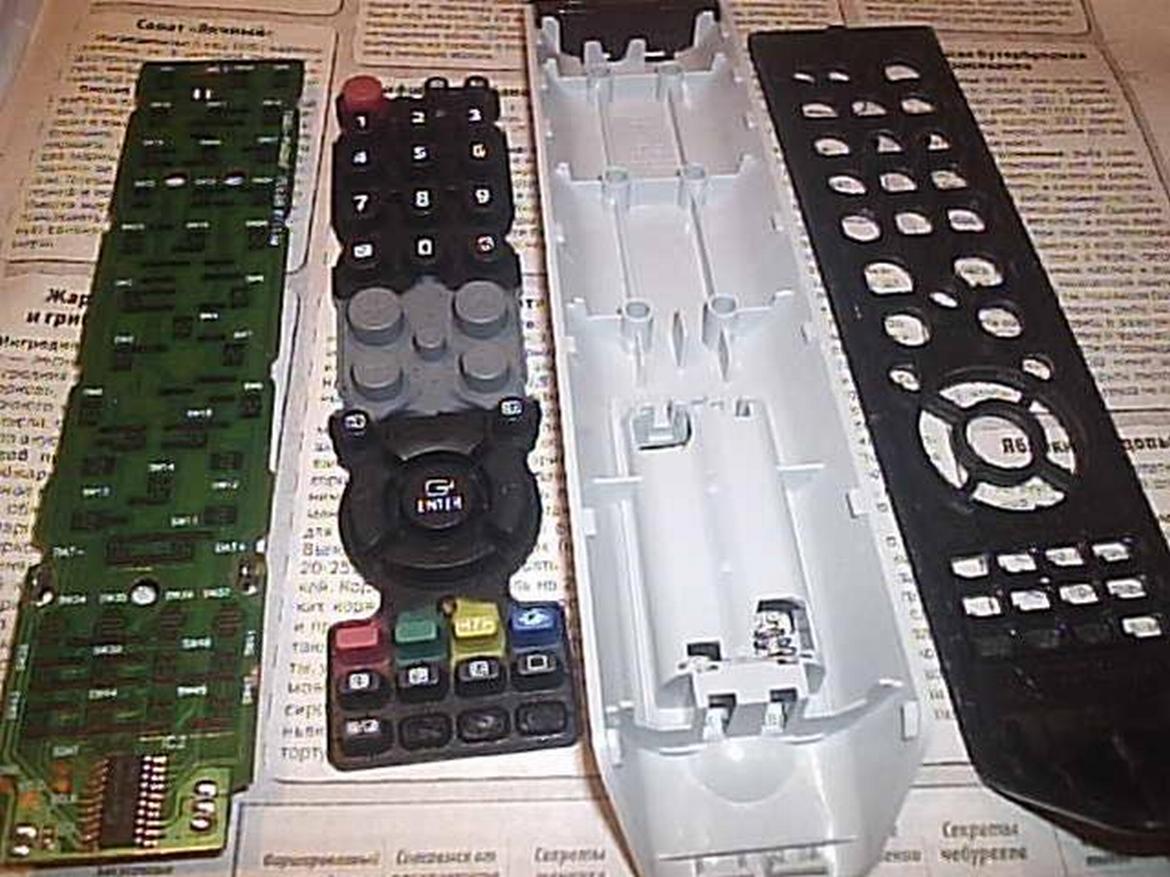
Carry out the necessary manipulations to clean or repair the product.
How do I open the remote if the plastic is sitting on the mounting screws and there is no Phillips screwdriver nearby? Fasteners can be folded with the tip of a knife. It will be convenient to take a knife with a curved blade at the end for this purpose.
The philips remote can be easily snapped off with even simple tweezers. In Phillips, the top cover mount can be slightly recessed into the plastic of the back surface.How to properly disassemble the remote control in this case? Gently pry the cover along the seams, and preferably not with a blade. A knife can scratch the lid and ruin its appearance. There is also the danger of accidentally passing a sharp edge over the buttons. If you damage something, it's okay - remotes from other common manufacturers are inexpensive, and in some cases are interchangeable.
The rmctpj1ap2 model is the original remote control from.

The parsing process does not fundamentally differ from the already described scheme. If you still can't open the TV remote control, try pushing down on the narrow edges to make the plastic slide out of the grooves.
Diagnostics and repair with your own hands
According to statistics, a large proportion of problems in the operation of the console are not associated with global violations, but with local malfunctions, including:
- Lack of reaction of the TV set to pressing the keys.
- Discharge of batteries (type AA, AAA).
- The remote control was dropped, it stopped working.
- Worn contact pads on the board or keyboard.
- Contamination of the remote control (inside and outside).
With all these difficulties, a home master of average skill can cope with it.
No TV response
A typical situation: when you press a button on the remote control, the TV receiver does not respond or works every other time. The range of possible causes is wide: from contamination of the emitting LED to abrasion of a thin conductive layer on the keyboard. It also happens that the batteries are discharged or the remote control falls to the floor. Both are removable. But first you need to disassemble the device.
Batteries are low
In the ranking of urgent problems with remote controls, this is the second most important one. Going through all kinds of malfunctions, the owners of remote controls often overlook the issue of power supply. It is often enough to put in fresh batteries for the silent remote control to start showing signs of life again.
You dropped the remote control on the floor
The remote is not a device designed for extreme use. Therefore, after serious falls on hard surfaces, rustles appear in it, and performance decreases sharply. And in order to understand where the malfunction is hidden and what can be repaired, the remote control will first need to be disassembled.
Failure of some buttons
According to statistics, on the control keyboard unit, there is never a simultaneous failure of adjacent buttons: some are used more often, the rest - less often. This causes their wear, pollution. It happens that the buttons "stick" in the body due to debris and fat from the hands that have got into the gap.
Heavy pollution
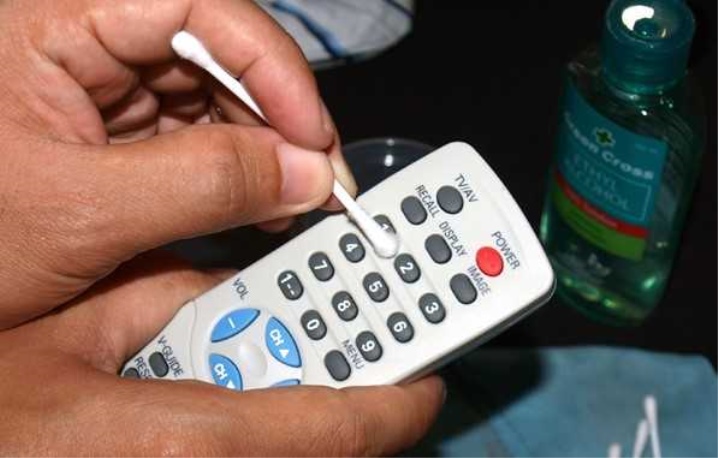
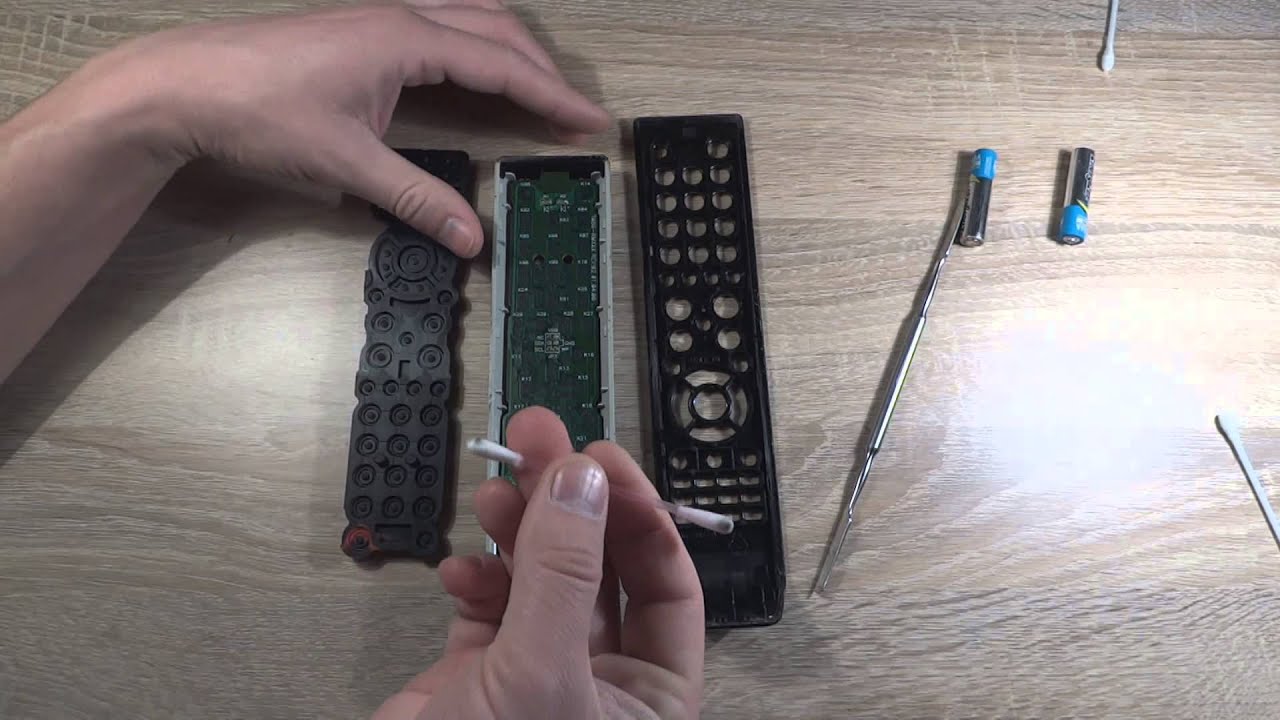
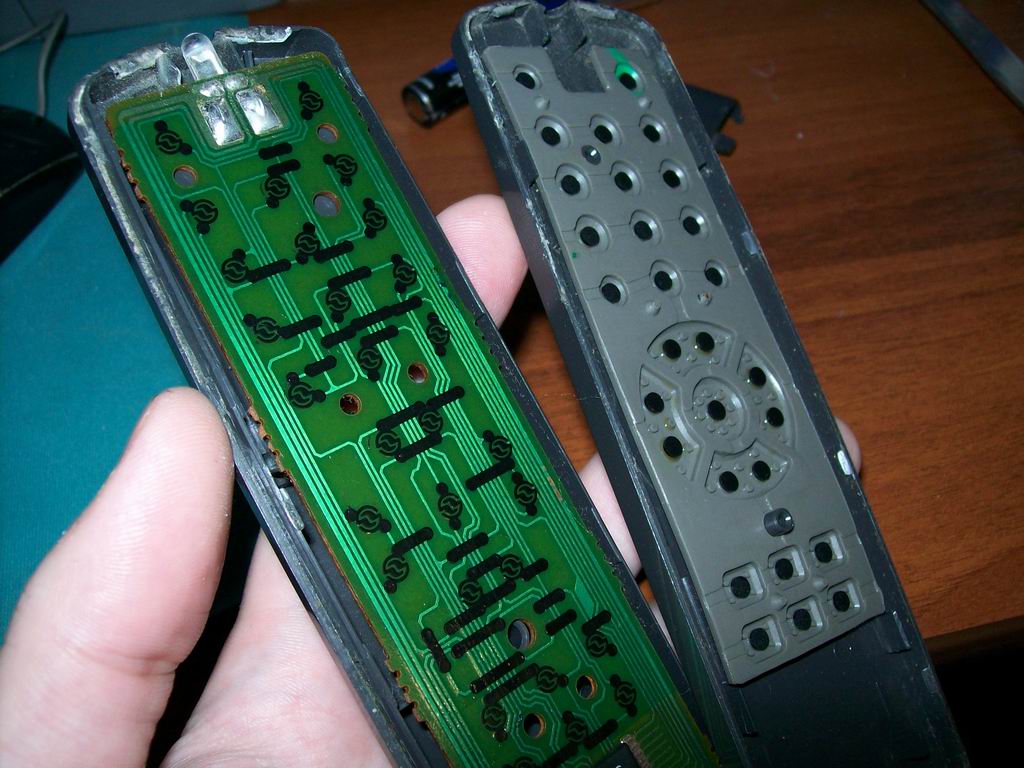
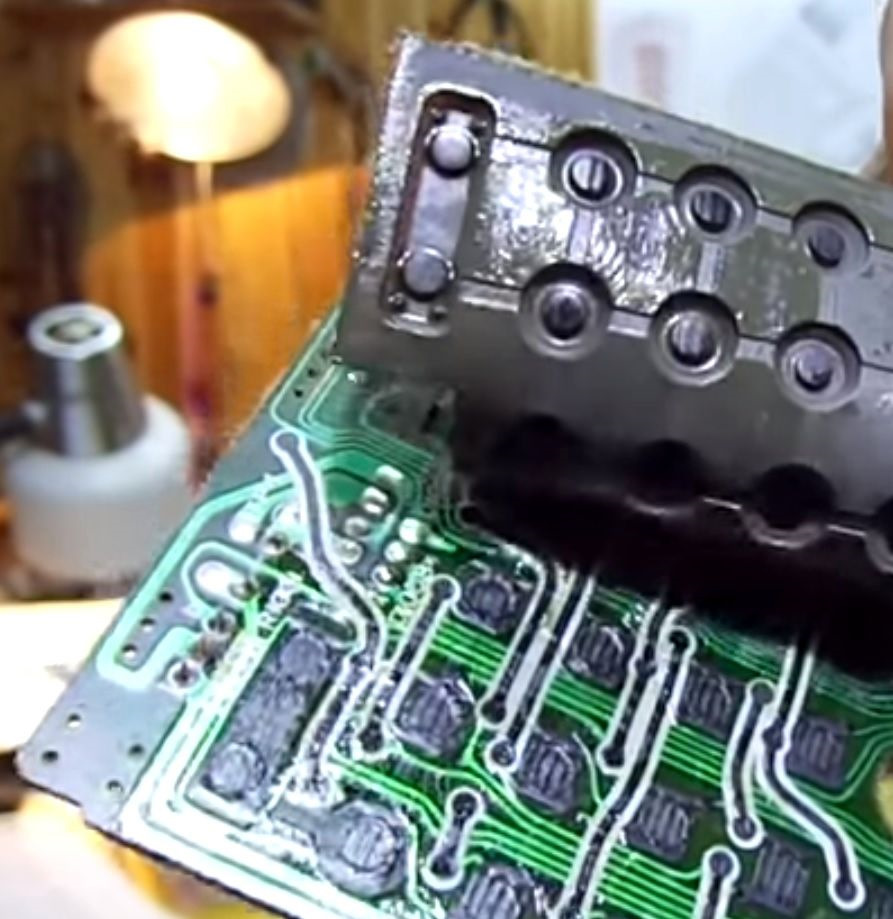
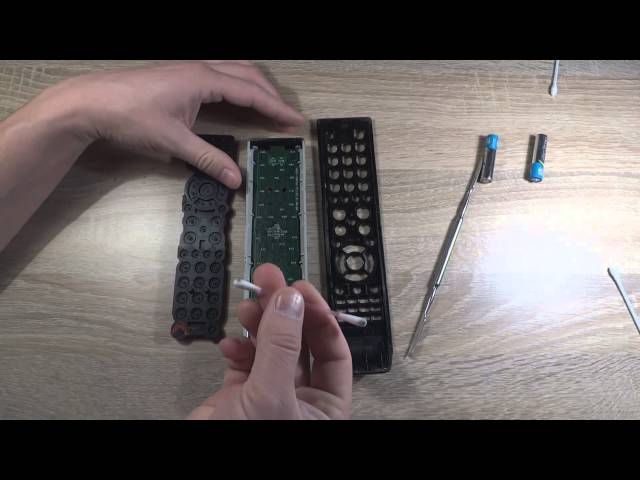
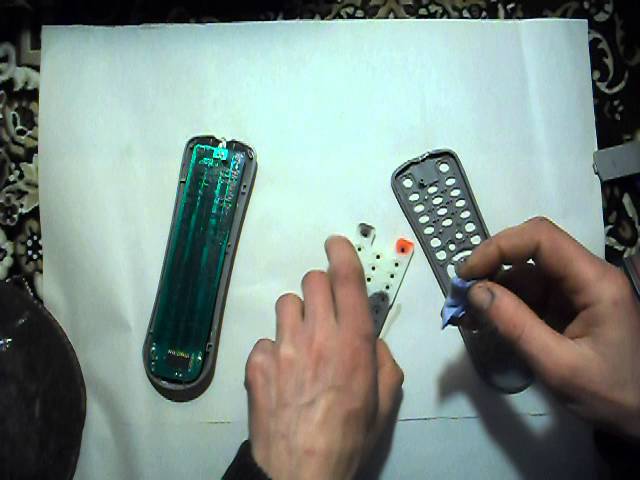
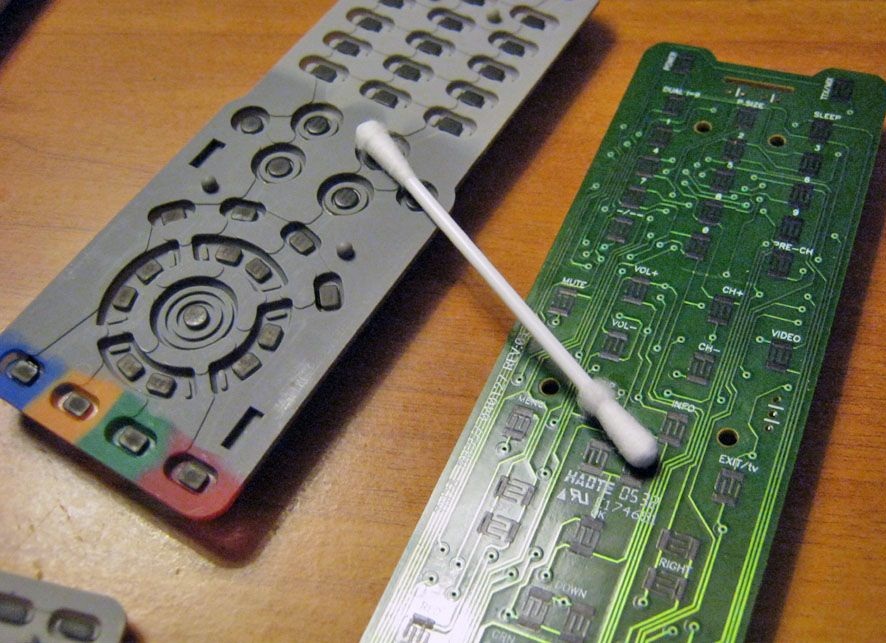
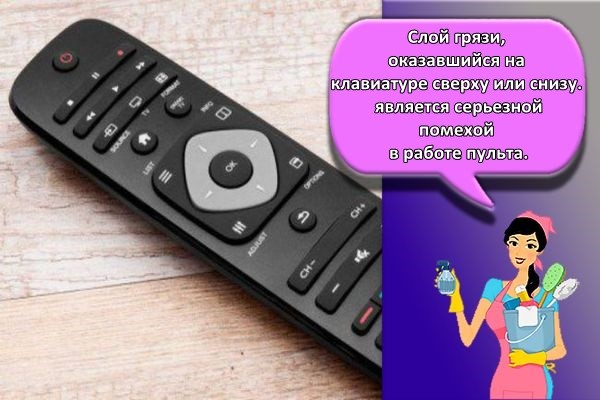
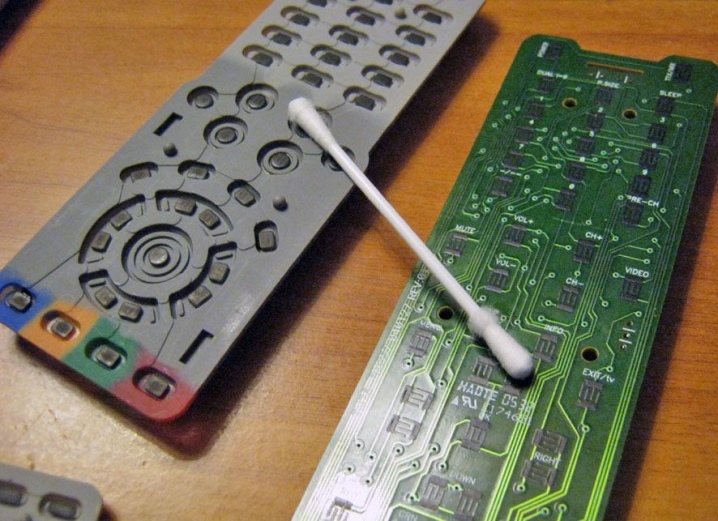
A layer of dirt on the top or bottom of the keyboard (on the board, contact pads) is a serious hindrance to the operation of the remote control. To restore functionality, you will need to rinse the surfaces with alcohol. For this, ear cotton swabs, wet wipes are used. After drying, the keyboard is installed in the remote control, it should work.
But you can see and eliminate it only by disassembling the remote control. To remove oxides, an eraser, alcohol is used.

It is not recommended to use sandpaper, a knife is not recommended - the copper layer on the board tracks is very thin, it is easy to damage it.
Erasing contacts
The remote control works on the principle of closing contact pads: one is applied to the key on the back side, the second is located on the board. The conductive coating is subject to wear and tear due to intensive use, repetition of repeated pressing of the buttons.
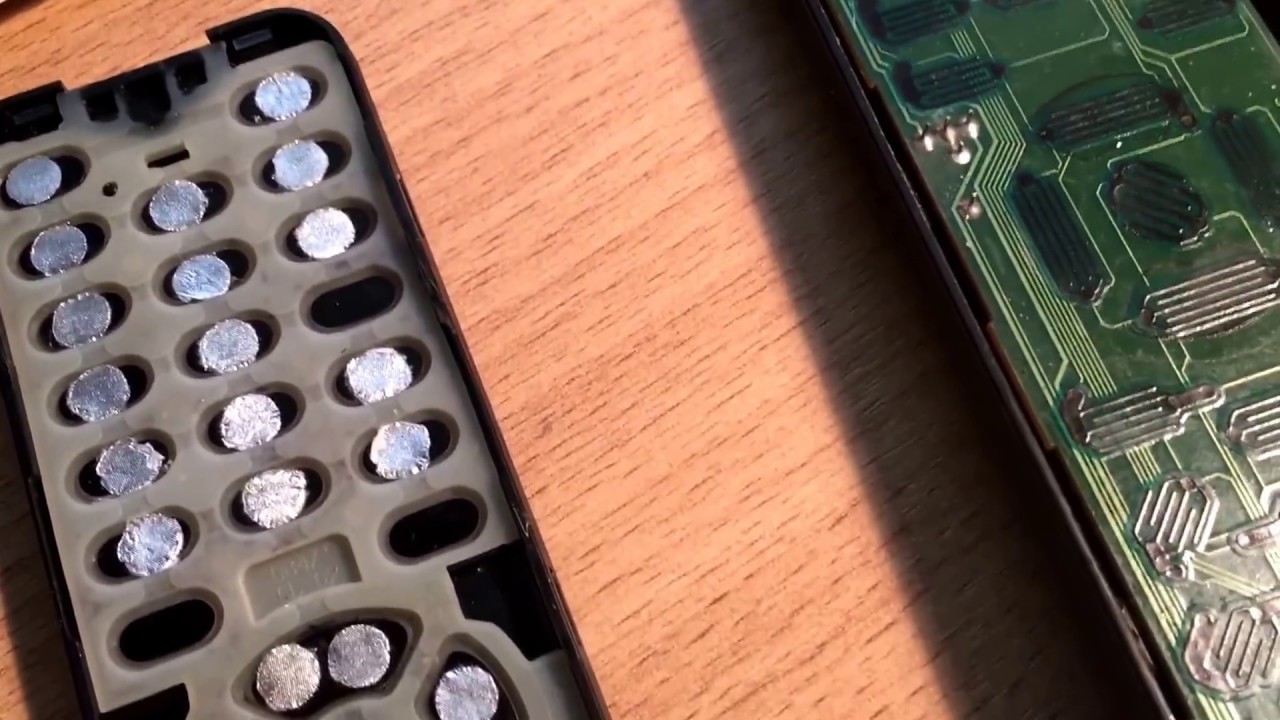
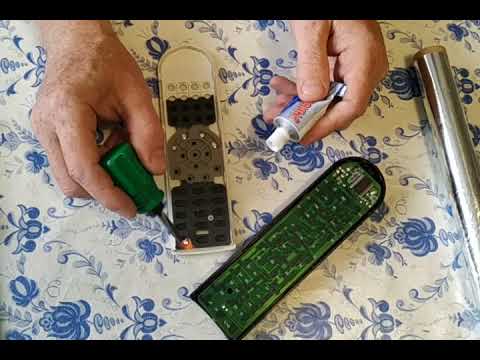
It can be repaired by sticking special rubber, thin foil. A "resuscitation" kit, which includes glue and contact pads, is sold in radio supply stores. If you have the skills to work with small details, it is permissible to cut out foil circles or squares for previously identified "defective" buttons, and then carefully stick them on the keyboard of the remote control. Rubber, superglue, shoe glue is used as glue. Not PVA by any means.
If some buttons do not work
One of the most common problems is that some buttons on the TV remote control do not work, i.e. the remote control does not work only partially. Usually the most frequently used buttons fail. At first, to switch, you have to press harder, then it does not help. There are two reasons for this malfunction. The first is accumulated dirt, the second is the wear of the graphite coating.
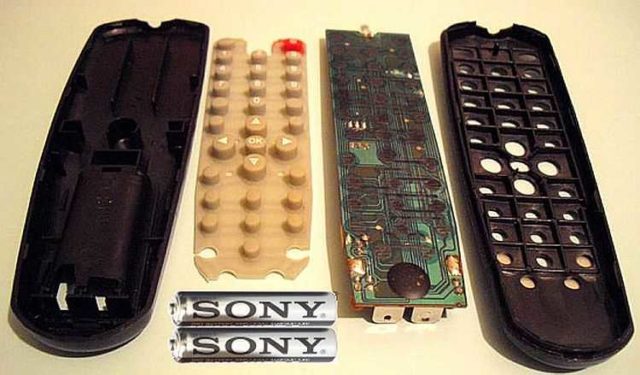
To restore the remote control from the TV, we carefully disassemble it
Removing dirt
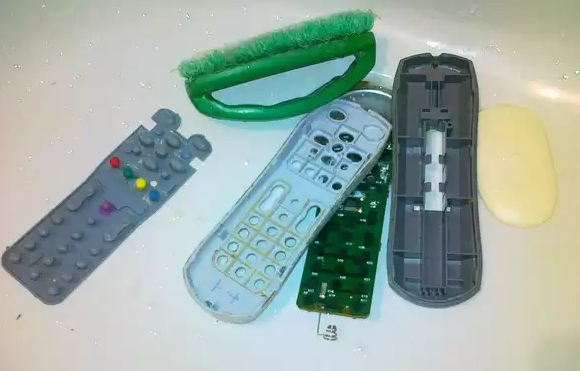
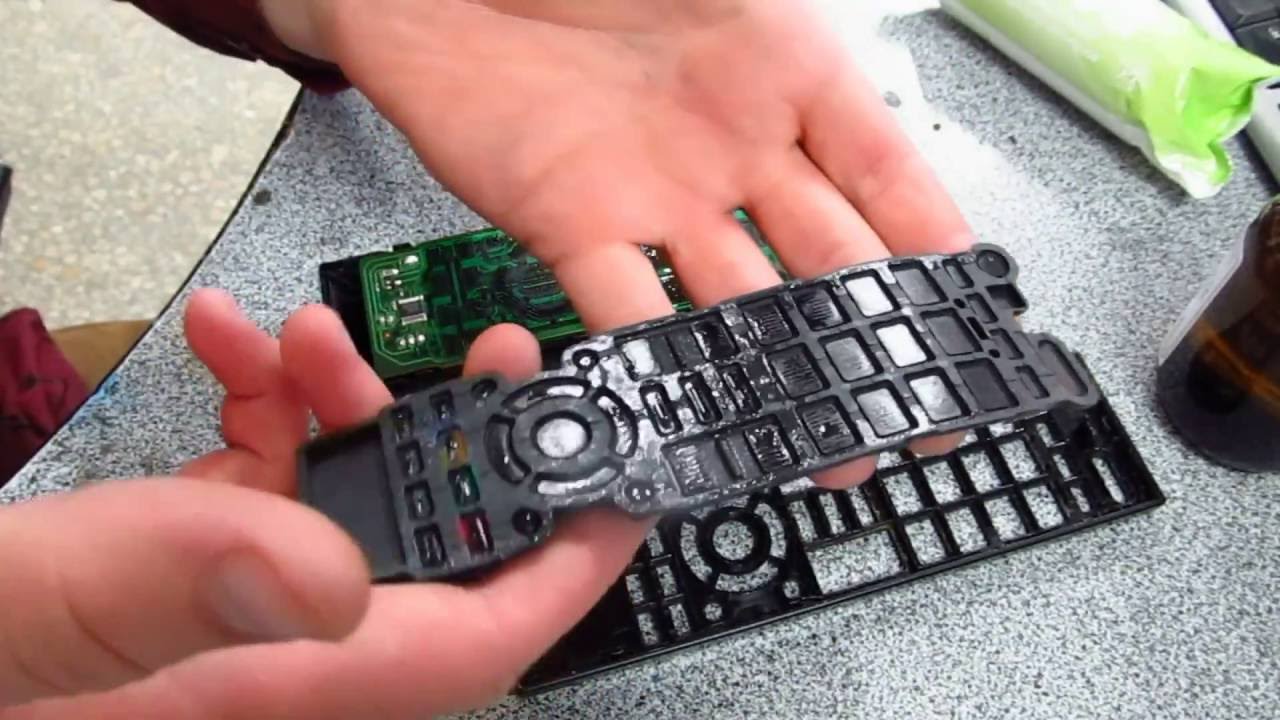
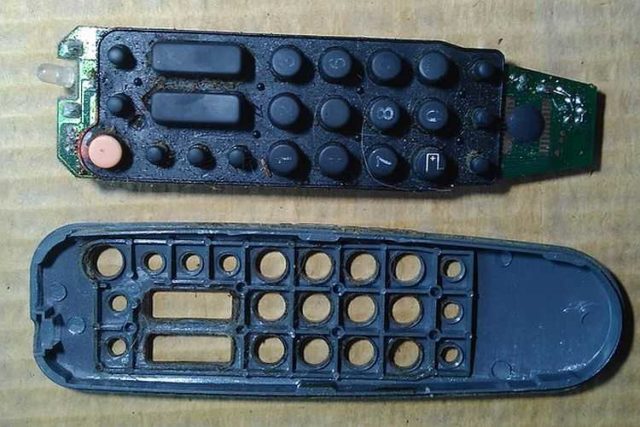
If the buttons on the remote control do not work, it is first disassembled. Then you need to remove dust and fat deposits. If the remote has been operated without a protective plastic bag for at least a couple of years, you may be surprised by the amount of dirt that has accumulated there. In addition to dust, sticky oily deposits may be present. It is they who break the contact, because of them the buttons on the remote control do not work.
Worse things might be in store for you.
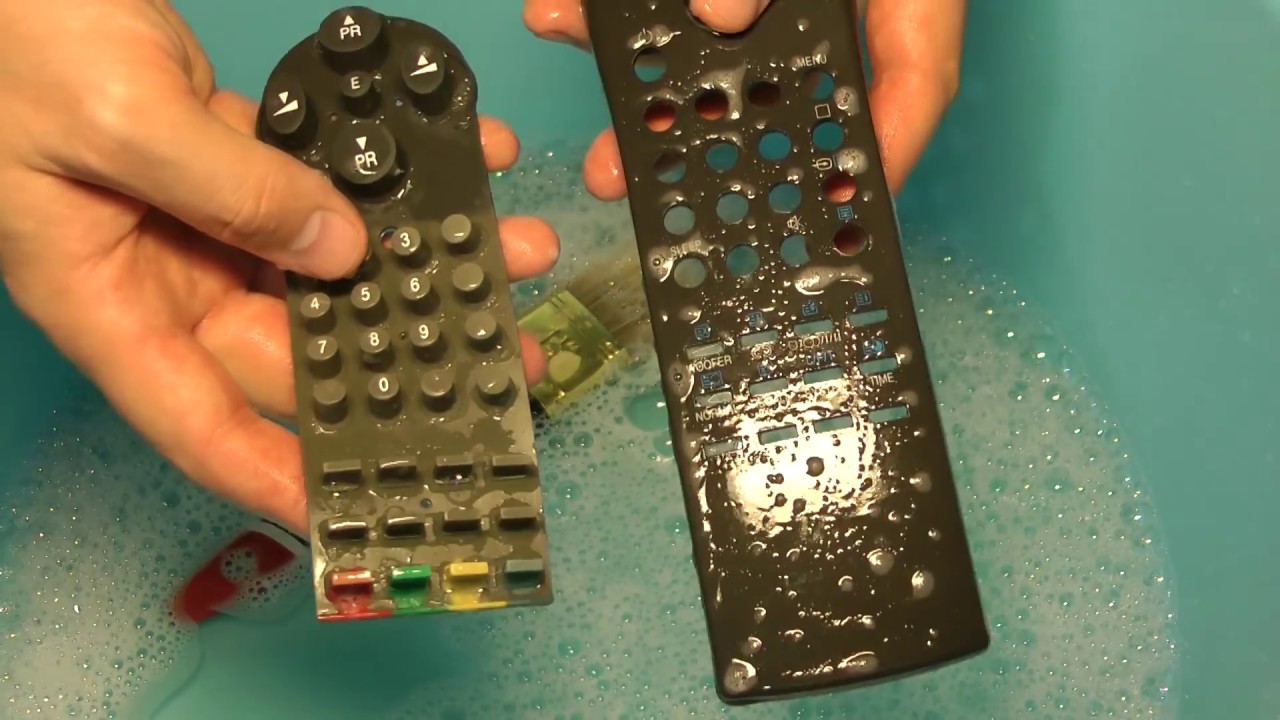
All parts must be cleaned: the case, the board, the rubber block of the buttons. If there is little contamination, soak a swab or ear stick in alcohol (it is better not to use more aggressive products) and wipe the contaminated area. If there is too much dirt, you can wash both the buttons and the board using dishwashing detergents (it is permissible to soak it for a while to make it easier to wipe off). You can wipe off the dirt with an old soft toothbrush; do not use harsher products. After the dirt is washed off, rinse in running water, leave to dry, or use a hair dryer (only normal, not construction). After this procedure, most of the problems disappear (about 90% of cases).
Restore button conductivity
Sometimes the reason for the button on the remote control not working is a weathered or hardened graphite coating, which provides electrical contact.

This coverage can be restored
There are several ways to restore the functionality of the buttons:
Method 1
Take the finest grit sandpaper and gently rub the back of the buttons that are not working. Only you need to shoot just a little
Then wipe the surface with alcohol and try it out. This method is good in those cases when the remote control stopped working after a long “idle time”. In this case, the top layer becomes too hard and loses its conductive properties. In order not to erase the graphite layer too much, use a newspaper or a piece of rough paper instead of sandpaper. Rub the areas with them. The effect is the same, but the effect is softer.
Method 2. Find an unnecessary graphite brush from the brushed motor. Again, we take fine sandpaper and rub a little dust from the brush. We take a not finely honed soft simple pencil (TM2 and softer), dip it in graphite powder, bring it to the damaged contact pad and rub the graphite over the surface in a circular motion. We rub gently and slowly, adding a little powder. Finish when the pad starts to shine evenly. When all the buttons are processed, shake off the excess and assemble the remote control.
Method 3. Buy a repair kit, which consists of contact graphite pads and glue. We glue the elastic bands on the buttons, restoring their conductivity. Before sticking the new ones, the old ones can be removed. They will work a little better this way.
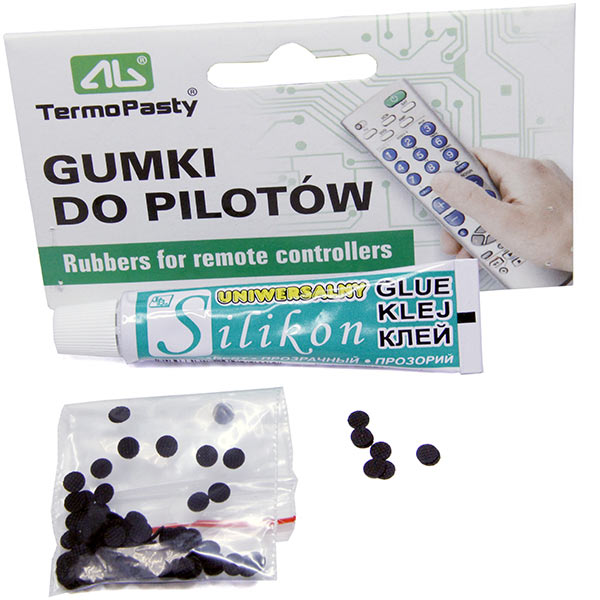
Repair kit for remote controls
The second way is more gentle. It allows you to restore the buttons on the remote control even on older models. But the first one allows them to be reanimated after a long downtime. The third is also good, but you still need to find a repair kit, and it costs money.
Sometimes it is advised to stick pieces of foil instead of conductive rubber bands. This works for a while, until the foil peels off and begins to close everything. And so, the method is not bad.
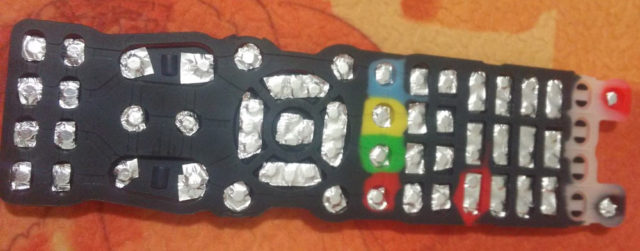
Repair of TV remote control buttons with foil. Foil glued on double-sided tape
Another method is recommended: wipe the pads with alcohol.It also helps, but the conductive graphite layer is destroyed too much. After two such washes, you will definitely have to glue new rubber bands, since there will be no graphite left on the old ones.
Instrument preparation
In order to independently eliminate all technical malfunctions of the console, experts recommend preparing the following necessary tools in advance:
- screwdriwer set;
- plastic plate;
- stationery knife.
The screwdriver set should include both cross and flat tools. Experts recommend purchasing Phillips screwdrivers not separately, but with special kits that are designed for repairing mobile phones. You will need these tools to remove the screws, the mounting plate, and to rebuild the pads. Flat screwdrivers can be used to remove screws as well as to open the latches.

A thin piece of plastic will help to gradually increase the gap between the halves of the remote control without damaging the fixing elements. The plastic card can be replaced with a guitar pick or a small piece of plastic from children's toys. Even with all the necessary tools, experts recommend using them as carefully as possible, since the design of the remote control is very fragile, and all fixing elements can be damaged even with minimal excessive pressure.
What to do if liquid is spilled?
As previously noted, contact with liquid leads to oxidation of the board and, as a result, failure of the remote control device. To avoid such problems, it is recommended to keep the remote control away from liquids.
Plain water
Initial contact with water usually does not cause significant harm and the device continues to operate. But even in this case, it is necessary to immediately disassemble the device after the flood and dry it within 24 hours by removing the batteries. The last condition is required. Batteries oxidize faster after contact with water.
Soda
If the remote control is filled with soda, then again you will need to disassemble the device and rinse the board under running water. After this procedure, the part must be wiped with a rag and dried within 24 hours.

Coffee or tea
The procedure in this case does not differ from the previous one. When washing the electrical board under water after filling it with a sweet drink, it is necessary to ensure that there are no traces of sugar on the parts. The latter will disrupt the transmission of the electrical signal.
Battery electrolyte
Electrolyte leakage is possible if old or low-quality batteries are used. In such cases, it is also recommended to rinse the board under water and dry it.
Sticky buttons
If steam or liquid gets inside the device, a kind of oil condensation occurs. Dirt accumulated over the years of service reacts with wet steam or droplets. Roughly speaking, the insides of the remote control "stick together" due to dirt and fat deposits, so it becomes impossible to squeeze the buttons properly.
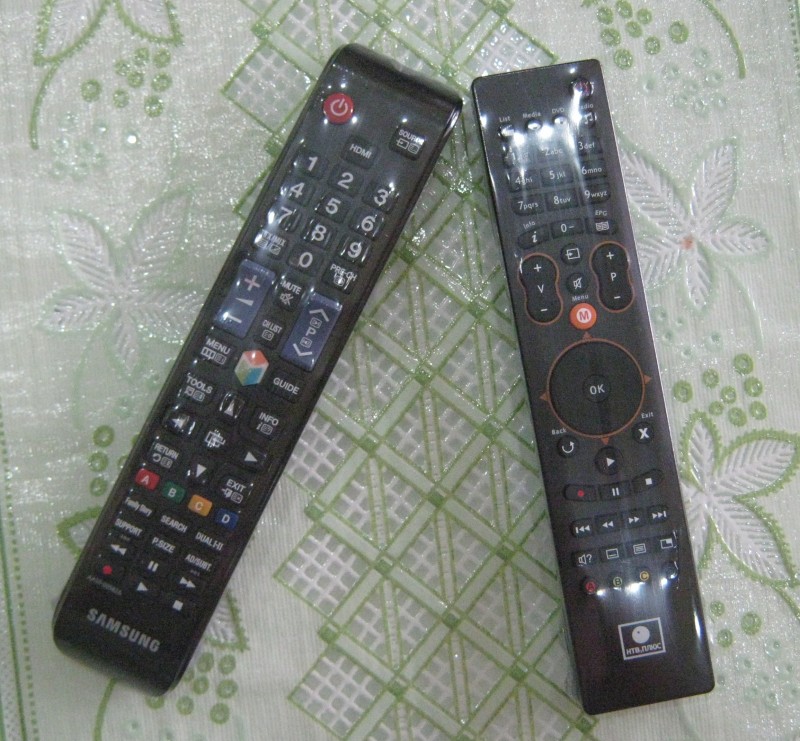
In this case, the repair of the remote control is carried out by simply cleaning the device:
- Disassemble the remote.
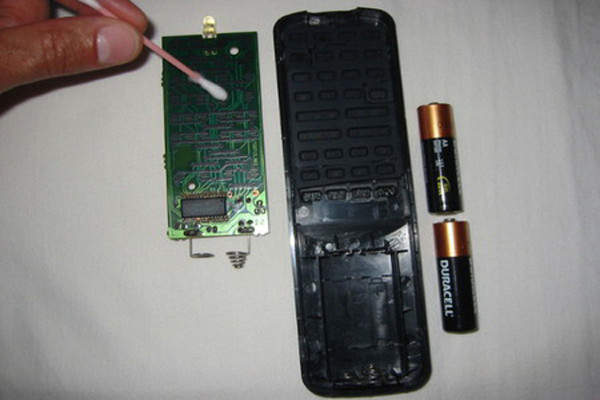
- Soak a cotton swab in alcohol.
- Gently wipe the board with a cotton swab, removing dirty deposits.
- Wipe the contacts on the buttons.
- Fix the spring contacts for the batteries. You can get rid of oxidation by cleaning the contacts with sandpaper.
- Wait for the device to dry.
- Collect it back.
At the end of the process, the remote control should be checked for functionality.
The remote is completely unresponsive
One of the most common problems is the lack of reaction of the TV to pressing the buttons on the remote control. In this case, the main feature is that all the buttons do not react at all. There can be two reasons for this:
- The batteries are out of charge.
- The remote control was frequently subjected to mechanical stress (for example, falling to the floor).
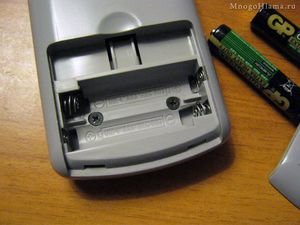
you will have to repair the device yourself
If, after replacing the batteries, the buttons do not respond, then the connection in the product is lost somewhere. As a rule, this happens at the contacts of the circuit. You can immediately start disassembling and repairing the remote control from the TV, but it is better to check the signal first. To do this, you need to do the following:
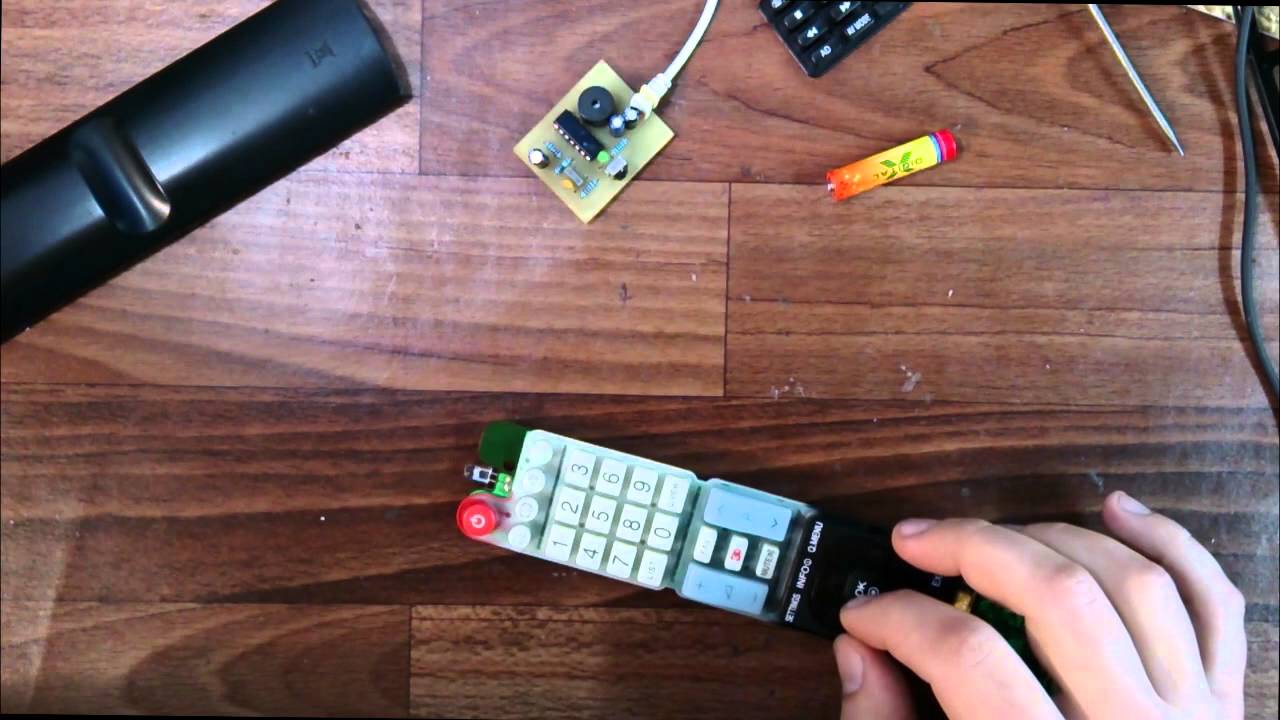
- Turn on the camera on the smartphone.
- Aim the infrared LED of the remote control (the light that is located on top of the device) at the smartphone's camera.
- Press any button on the remote control and at the same time look at the smartphone display.
If there is a signal, a luminous dot will be shown on the screen. If not, then you need to start a full repair. As mentioned above, this process is very simple and you can do it yourself. Nevertheless, the repair of the TV must be carried out in a certain sequence.
- Remove the batteries from the device.
- Examine the battery niche.
- If there are screws in the niche of the remote control for the TV, then you need to unscrew them. If not, disassemble the remote using a thin screwdriver that needs to be inserted into the latch between the top and bottom of the device.
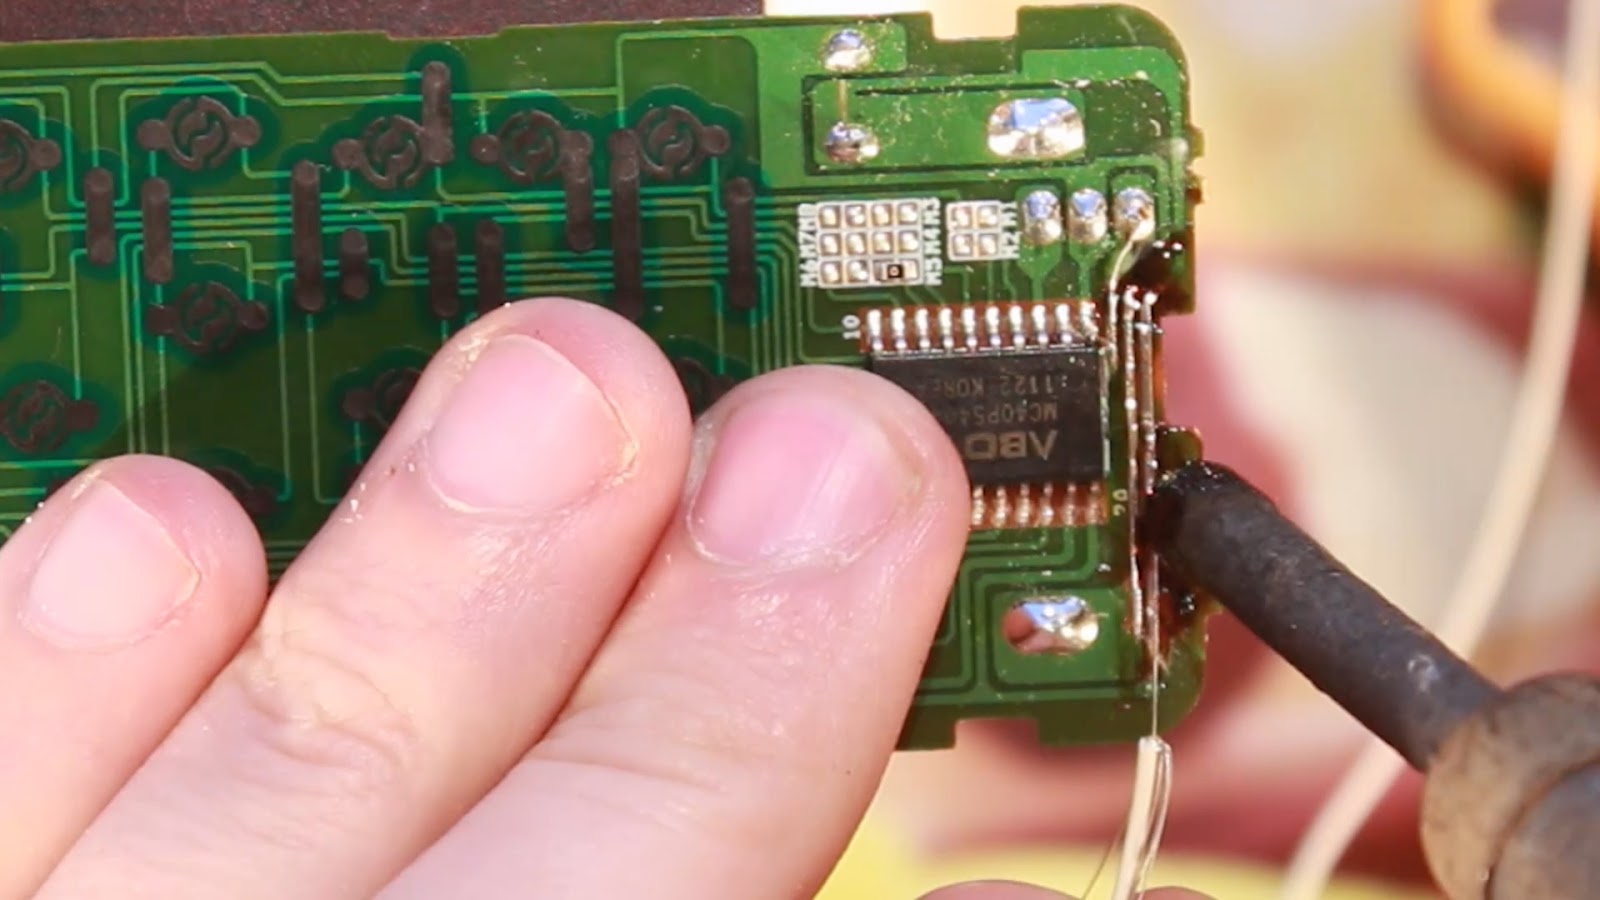
- Examine the board carefully. Usually, LED contacts, battery pads or a quartz resonator depart from it. In this case, you will need a soldering iron for DIY repair. It is necessary to carefully solder the contacts to the device board.
- If everything is in order with the contacts, you need to shake the board. If, after shaking, a small rustle is heard, then it is necessary to replace the quartz resonator (a small soldered box). The cost of this element on the radio market is very small. It is necessary to install using soldering.
The process is pretty straightforward. However, if you are unsure, you can watch the repair video.
How do I repair the remote?
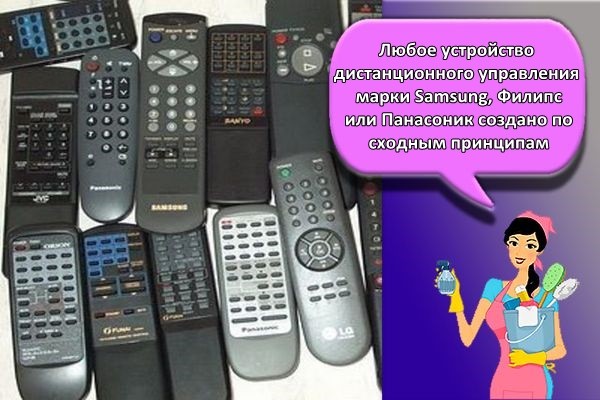
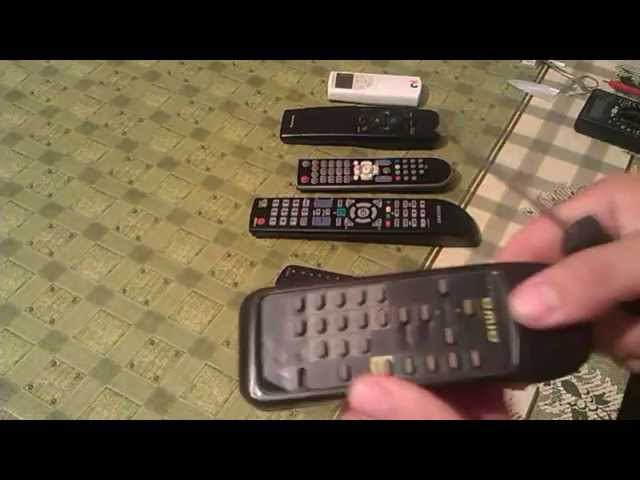
Despite the model variety of TVs, the design of the remote control for all manufacturers remains practically unchanged, therefore, do-it-yourself repairs at home will not cause difficulties even for beginners. In order to disassemble, repair, reanimate or restore the operation of the device if the device responds poorly to commands yourself, you must prepare the necessary set of tools in advance and open the device as accurately as possible for repair.
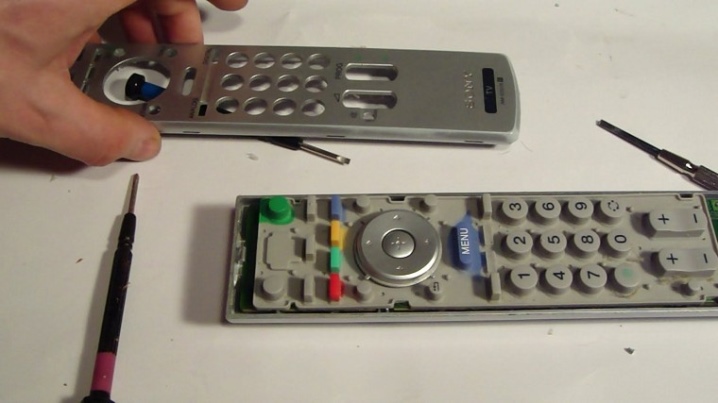
Fall result
One of the most common reasons for a remote control to break down is careless handling and frequent dropping even on a soft surface. If, after contact with the floor, the remote control stops working, you must immediately check the integrity of the connections of the contacts with the board
A modern mobile phone can be used to diagnose the presence of a signal. If, after a series of manipulations, the mobile phone did not catch the signal from the remote control, then it is necessary to solder the board or replace the emitting diodes.
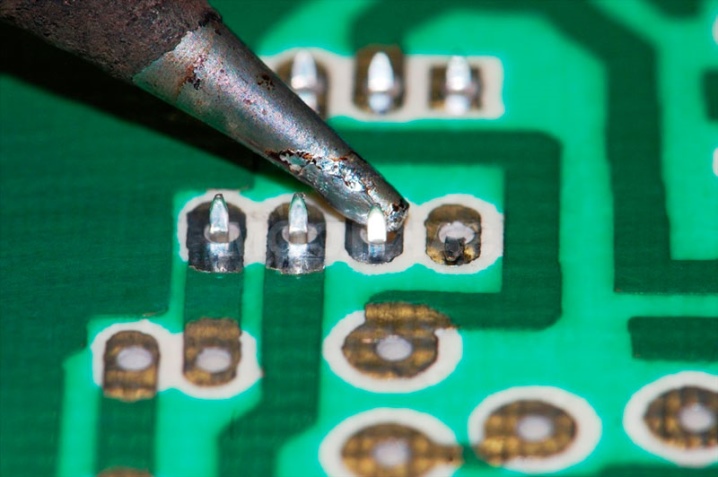
The repair process consists of the following stages:
- extraction by battery;
- opening the latch and detaching the top and bottom of the case;
- studying the state of the board using magnifying tools;
- soldering damaged elements or complete replacement of faulty parts.
Sticky buttons
Often, watching TV is accompanied by eating delicious food and drinks, which, as a result of careless handling, can get on the TV remote control. Prolonged contact of vapor and liquid with the device provokes the appearance of an oil film on the surface of all parts, which leads to sticking of the control buttons
This defect prevents the device from turning on and brings a lot of discomfort. In order to fix the problem, you need to perform some simple manipulations:
- disassembling the remote control;
- removing dirt from all elements with a cotton swab dipped in an alcohol solution;
- cleaning the springs from corrosive deposits using sandpaper;
- carrying out a complete drying of the device;
- collection of the entire structure.
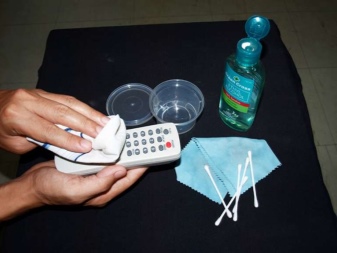
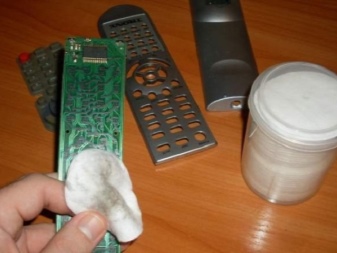
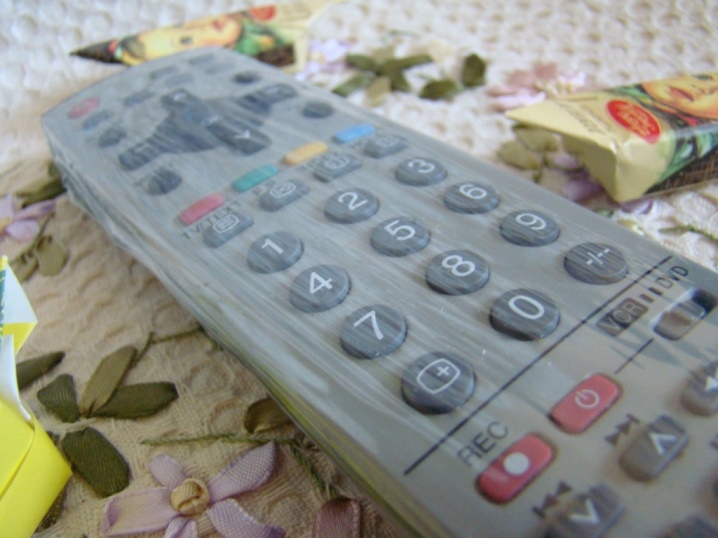
Cheap models of the device are better protected from contact with alcohol, and dirt can be removed with ordinary soapy water. It is strictly forbidden to wet the electrical board too much, a large volume of water on which can cause the contacts to close. Before reassembling, be sure to wipe off any remaining water with a clean paper towel. To reduce the frequency of contamination, some experienced housewives recommend wrapping the device with a thin transparent plastic wrap, which will not only prevent dirt from getting inside, but will also help preserve the aesthetic appearance of the device for as long as possible.
The buttons are worn out
Prolonged and intensive use of the remote control often provokes the disappearance of the graphic spray on the buttons, which serves to improve the conduction of electric current.
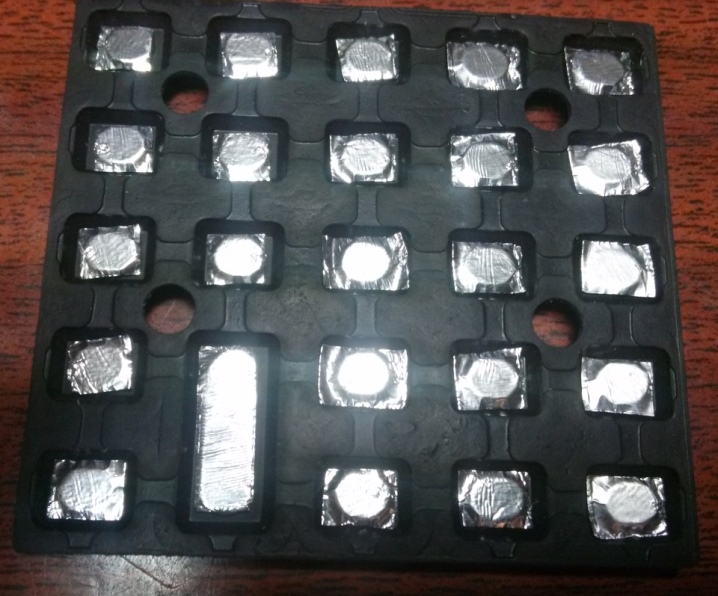
When a problem appears, experts recommend not rushing to the service center, but trying to solve the problem yourself. Before starting repair work, prepare the following tools:
- thin foil on a paper base;
- silicone glue;
- sharp scissors.
The main stages of repair work:
- disassembly of the device;
- dismantling of old rubber elements;
- preparation of pieces of foil of the required size;
- fixing sheets to buttons;
- installation of parts in their original place.
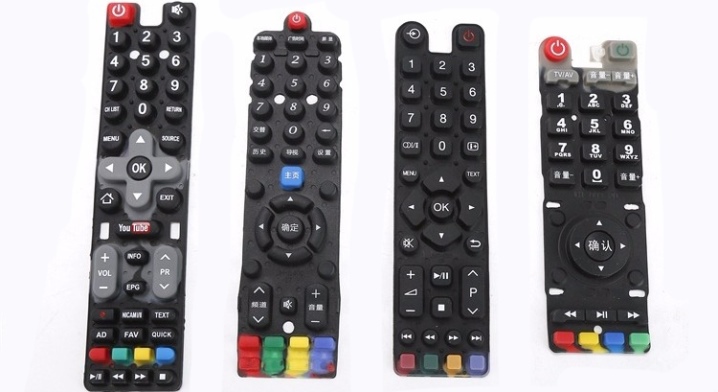
Fall result
Frequent falls and strong impacts may render the remote inoperable. If an element has bounced off the board, the device will need soldering.
Let's consider the question of how to check the presence of a signal from the board. This can be done using a camera on a mobile phone or a digital camera. In remote controls, the signal is transmitted using infrared radiation:
- Switch the device to shooting mode;
- Place the lens close to the front of the remote control, to the diode;
- Press any button to test;
- If the remote is sending a signal, you can see a big red dot on the phone or camera screen.

The principle of this method is based on the ability of digital cameras to capture infrared radiation. The presence of a dot indicates that the board is working properly. In this case, look for the problem elsewhere - for example, in the buttons. If the point is absent, it will be necessary to repair the board, or replace the directly emitting diode.
To investigate the problem, disassemble the remote:
- Remove the batteries;
- Separate the body parts. Remove the screws with a screwdriver, then pry off the edges of the plastic;
- If the remote does not immediately respond, use a thin, flat screwdriver. Use it to squeeze the latches located from the inside;
- Look closely at the board with a high magnification magnifier.
If a breakdown occurs in a quartz resonator, it will have to be replaced entirely. A quartz resonator is a small box attached to the board. Make sure the integrity of the contacts leading to it. How to check if it works?
Shake the resonator gently. Any noise coming from the inside will indicate a malfunction of this element of the board.
How to fix the remote control in a situation when the contacts on the board are loose? We'll have to use a small soldering iron. In order to do the job neatly, it is better not to choose a large sting for working on the remote control board. If you do not have the necessary skills, it is better to take the remote control to a repair service or buy a new one right away.
There is a reaction only to some clicks
The cause of this malfunction is a large accumulation of dust in the device. Therefore, it will not be necessary to repair, but to clean the remote control. It is also recommended to act in a specific order:
- Take out the batteries.
- Disassemble the case.
- Take a cotton swab and soak it in an alcohol solution.
- Carefully remove plaque from the board using a swab.
- Wipe the keys and the case in the same way.
- Dry the device.
- Clean the spring contacts with a hard sponge or sandpaper.
- Assemble the remote control back.
The fact is that many Chinese analogs of the remote control do not withstand alcohol and fail. Therefore, if your remote control belongs to such products, it is necessary to use dish detergent instead of alcohol. Also, instead of a cotton swab, it is better to do with a soft sponge.
The principle of operation of the remote control
 The principle of operation of the remote control (RC) consists in a simple action - pressing a button. Each button is responsible for its own operation. Pressing it causes the remote to send an infrared light signal that is received by the receiver of the device.
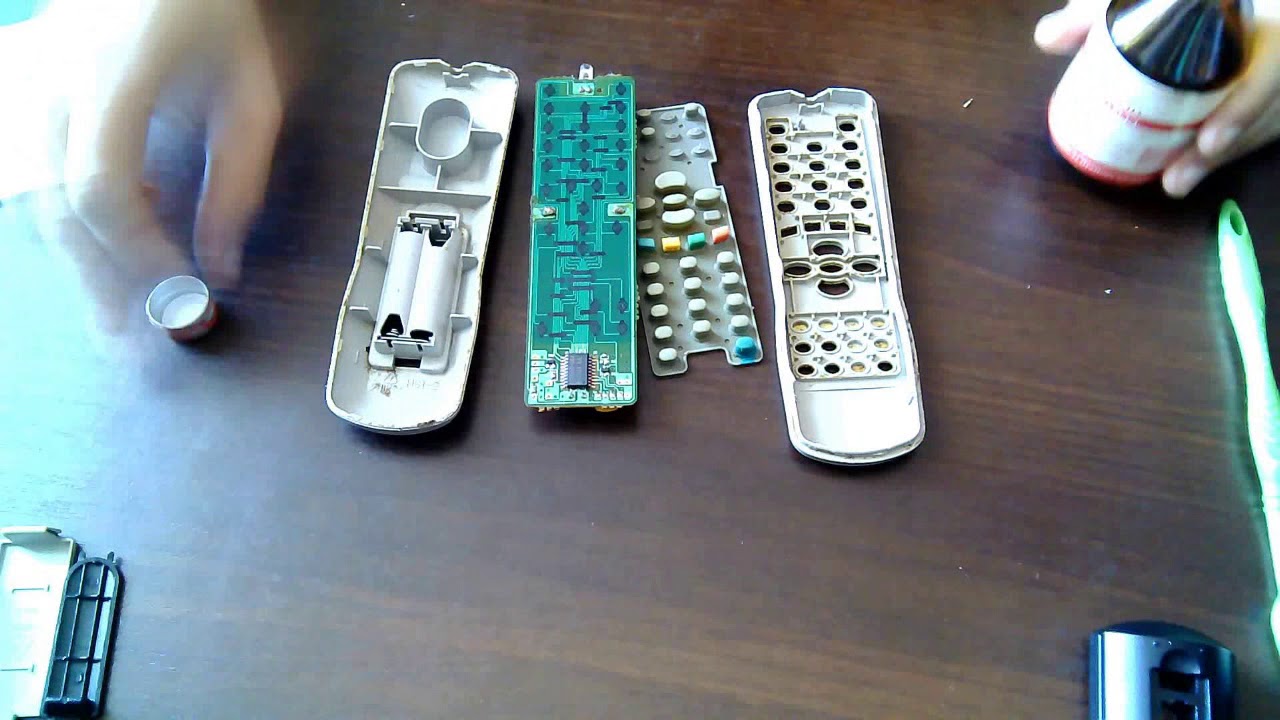
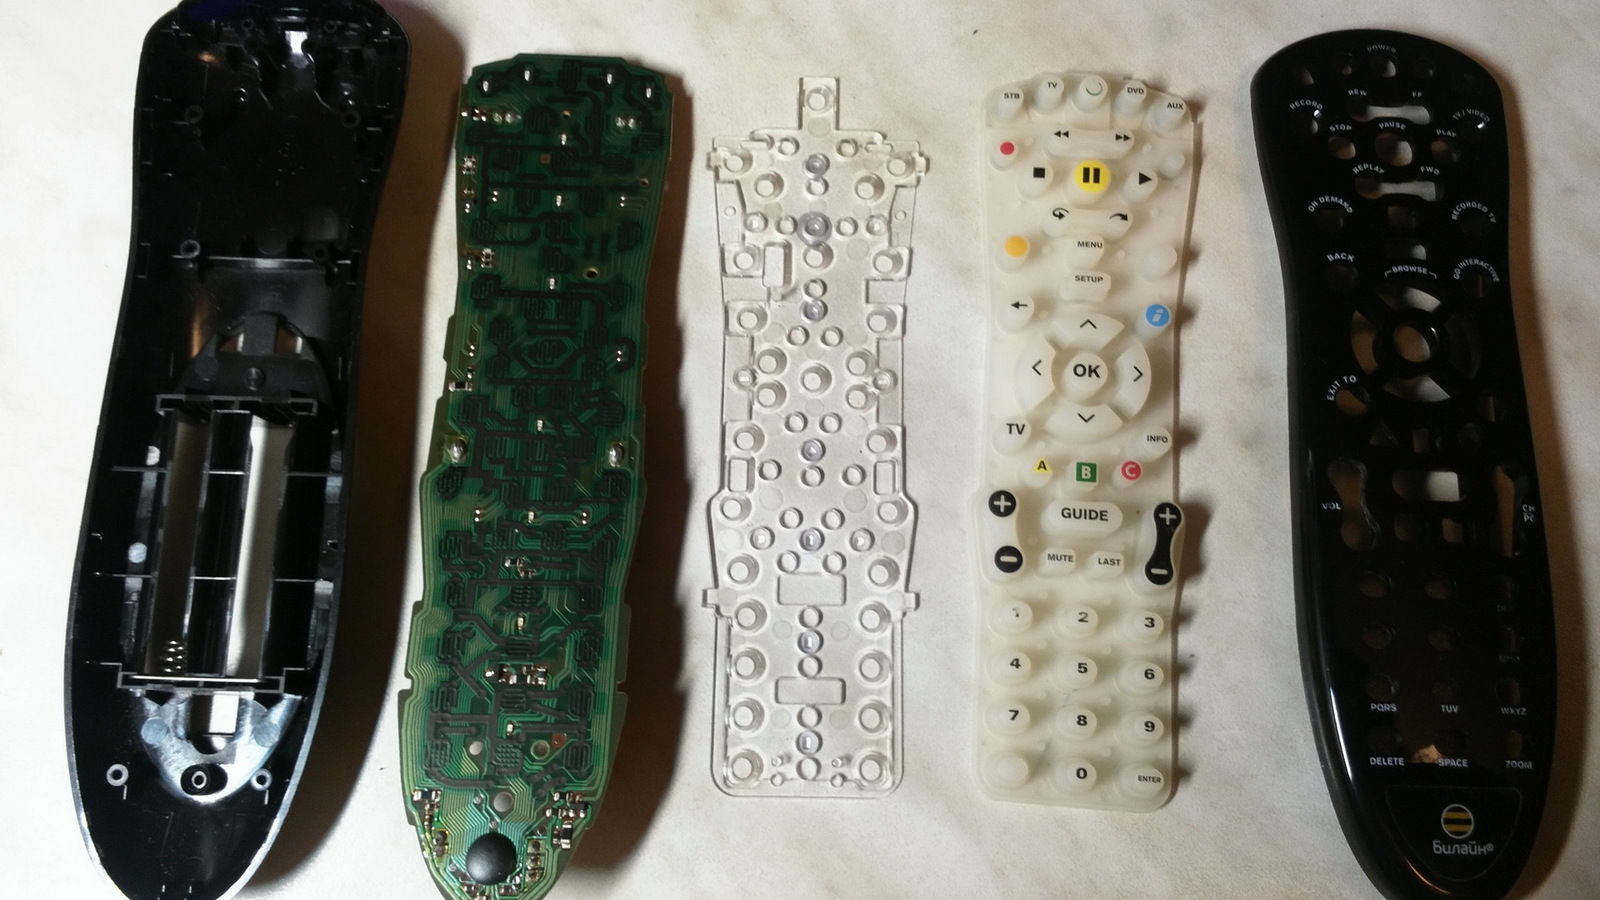
Any remote control, regardless of form and functionality, consists of the following elements:
- The body is made of sturdy plastic.
- Electronics boards.
- Keyboard matrix (buttons).
- Batteries.
The electronics board consists of a set of electronic parts common to any remote control:
- keyboard controller chip;
- output transistor stage;
- crystal oscillator;
- emitting infrared diode (there may be more than one).
There are special places on the printed circuit board, when pressed through the button, the tracks are closed. The microcontroller processes this press and, using part of the circuit, the chip determines which button was pressed, generating a sequence of characters. The sequence for each press is unique and constitutes the so-called code.
The digital code is sent by the device in the form of a certain frequency of flashes. Each flash is a sequence of short pulses. The duration of short pulses forms a unique code.
Thus, a logical zero or one is formed. For the transmission of commands, a frequency modulated signal lying in the infrared spectrum is used. The operation of the chip is supported by a quartz clock generator. Its reference frequency is approximately two hundred and fifty kilohertz.

