Two papier-mâché techniques
There are two main papier-mâché techniques:
- Bonding pieces of paper to the base (puff papier-mâché).
- Crafts from finished paper pulp.
In this article, we will dwell in detail on both techniques for working with paper.
Working with papier-mâché in the "puff" technique
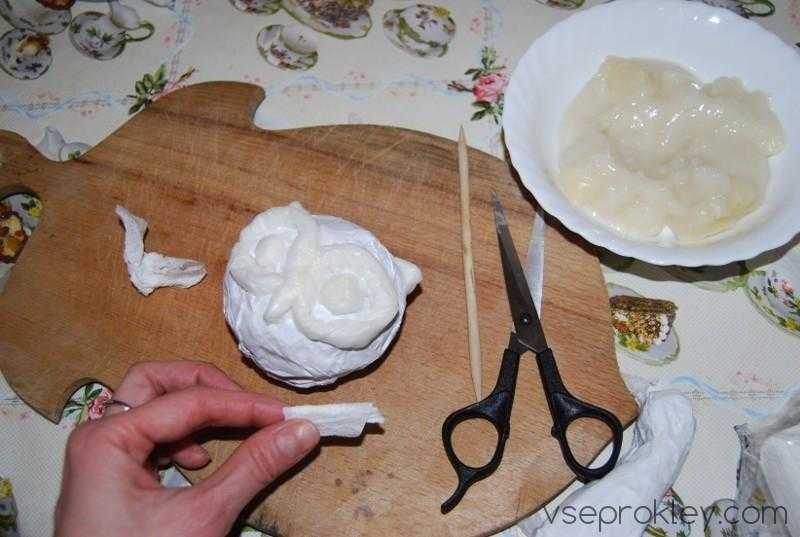
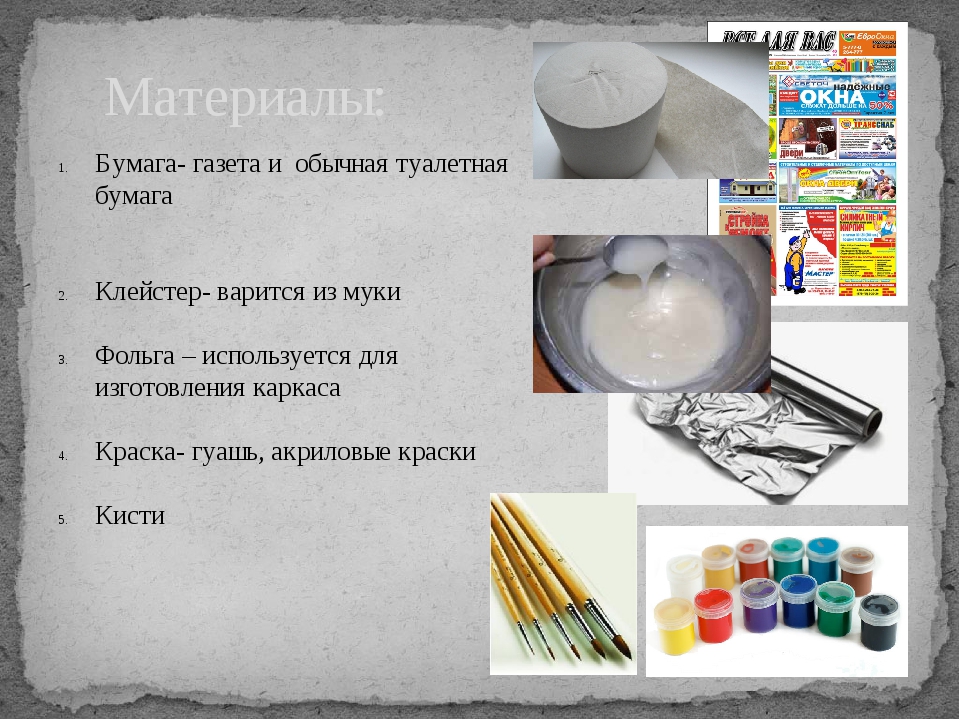
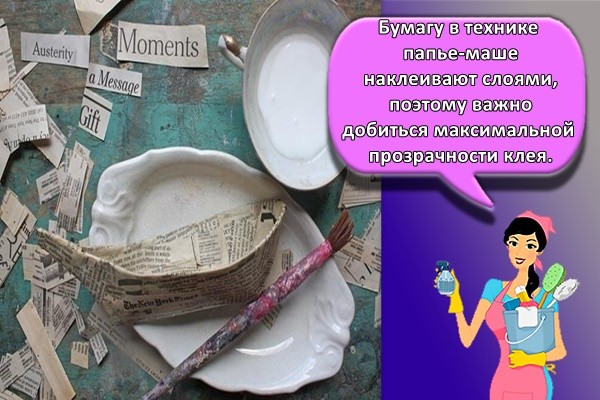
It is not difficult to work with paper pulp. So, at first, the selected form is pasted over with several balls of paper, usually a newspaper is used for this. You also need to immediately decide whether you will leave the shape in the middle of the craft or later you will need to pull it out. If this is the first case, then grease the base with glue and apply paper in layers. If you decide to take out the form, then use Vaseline, on which apply the first paper layer without glue.
Tear the paper with your hands, do not cut it with scissors, otherwise the manufacturing technique of the product will be incorrect. Make sure that the first layer of the newspaper is sure to completely cover the form, otherwise it will be difficult for you to reach it (in the event that you use petroleum jelly to lubricate the base, and then you will take it out).

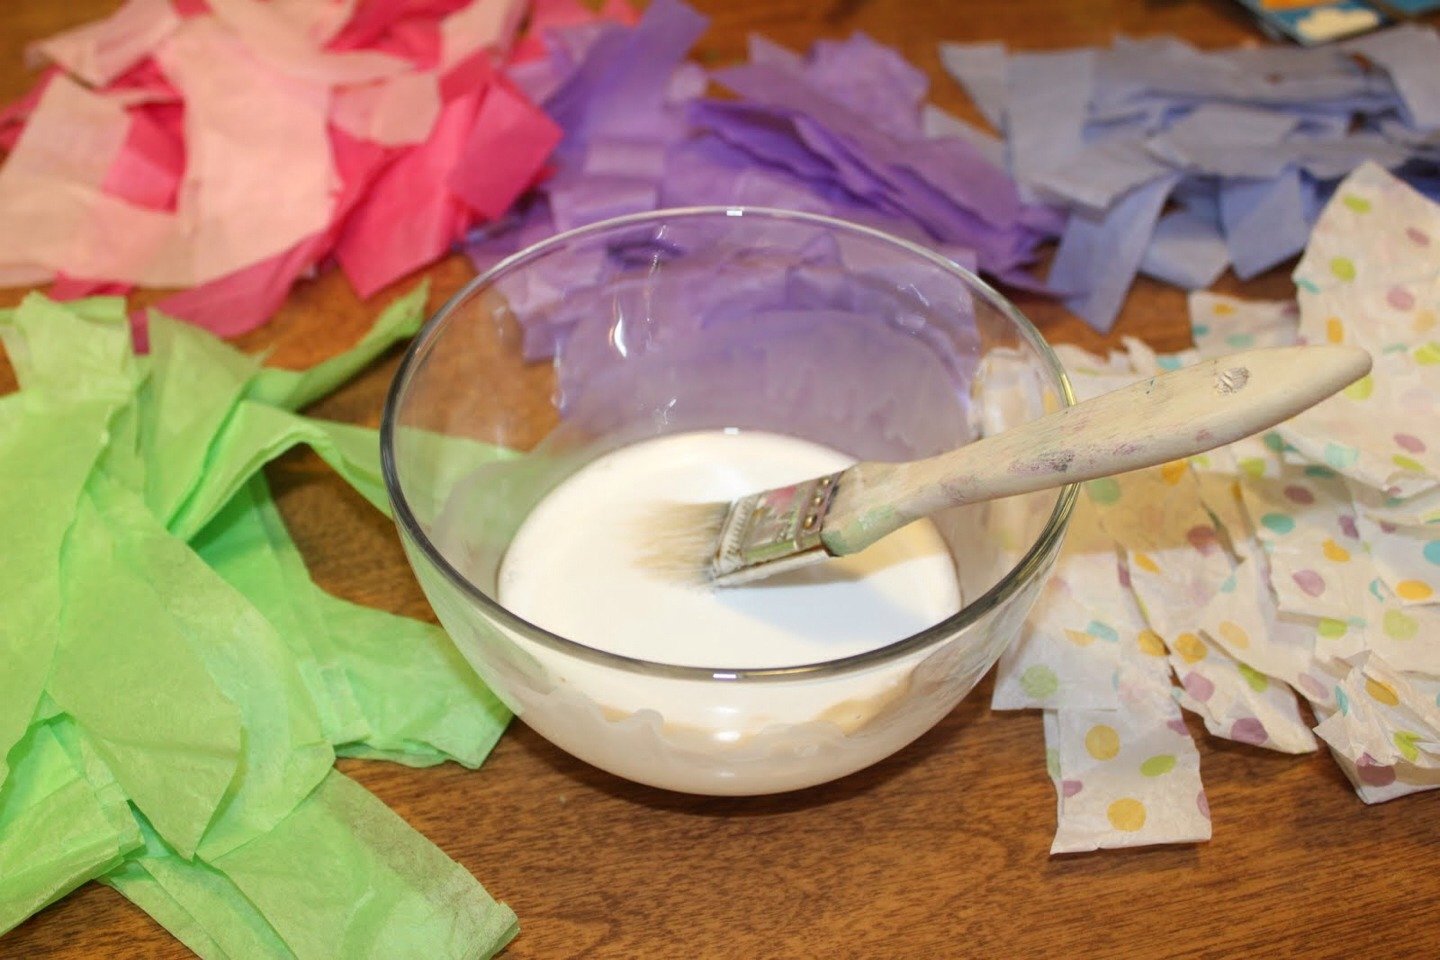
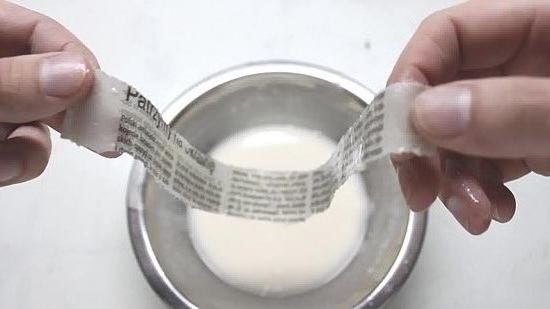
Now the first layer of paper is smeared with glue and then the next layer of paper is applied.
And thus you need to paste over the form with several paper layers.
After 2-3 layers, wait for them to dry before applying the next layers of paper.
Make the last layer white using thin office paper. It may even need 2 or 3 white coats. This stage can be abandoned only if later you paint the craft with white impervious paint, for example, acrylic.
What are the features of working with papier-mâché in a puff technique:
The smaller pieces of paper you pick, the more neat the work will be, but you will have to spend a lot of time making it. Therefore, look at the dimensions of the product. If they are small, then the paper can be torn fine, but if the product is bulky enough, then it is better to save time and prepare larger pieces of paper.
If you have large paper elements, then first dip them in the glue and wait until they are completely wet. And only after that place the fragments on the base. Small pieces can be simply blotted with glue and glued immediately.
Be careful not to wrinkle. If this happens, just smooth them out with your fingers.
Do not put many layers of paper at once. Apply 3-4 coats and wait for them to dry. Only then proceed to the next paper layers. And so do the work gradually until you reach the desired thickness of the product.
Usually newspapers are used in the work, and only for the finishing layer will you need white office paper.
Before finishing painting the product, cover it with white acrylic or gouache paint.
If you want to make some kind of voluminous craft with many details, then first make the base. For example, you decide to make a piggy bank. In this case, take a glass or tin can, or a plastic container and plasticine. Sculpt the shape you need. Cover it with paper using the flaky papier-mâché technique. Then, when all the layers of paper are dry, cut the shape with a sharp clerical knife to make two halves. Glue them together with strips of white paper. Then you can cut out a slot for coins and color the craft as desired. At the end, the product can be varnished, which will make it more durable and beautiful.
Papier-mâché - preparing paper pulp
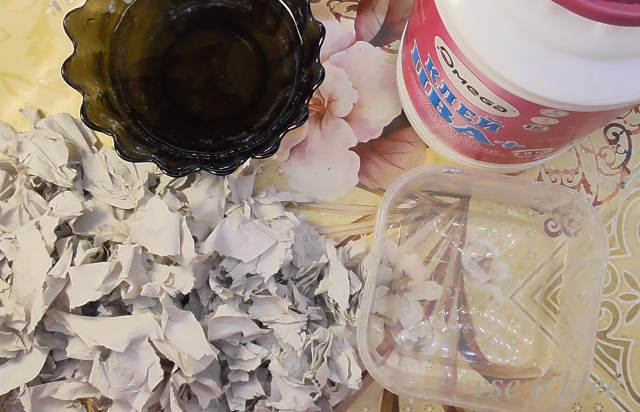
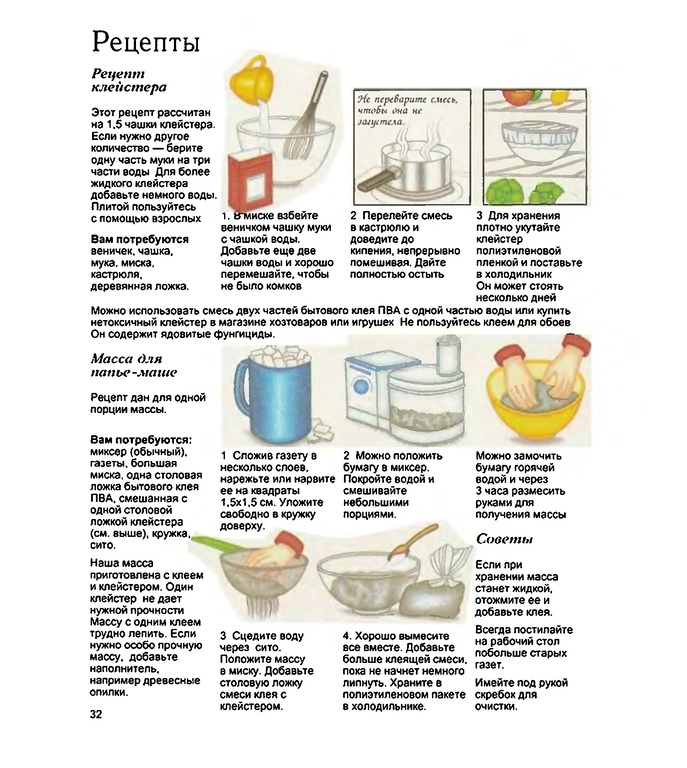
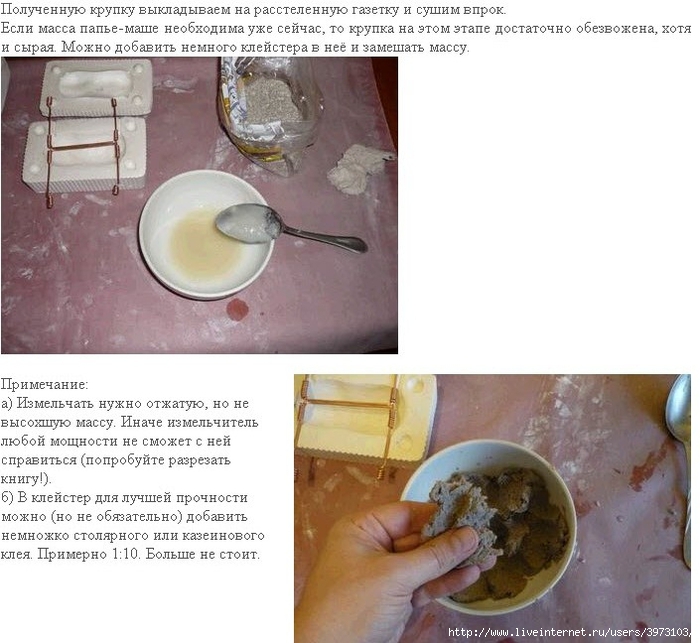
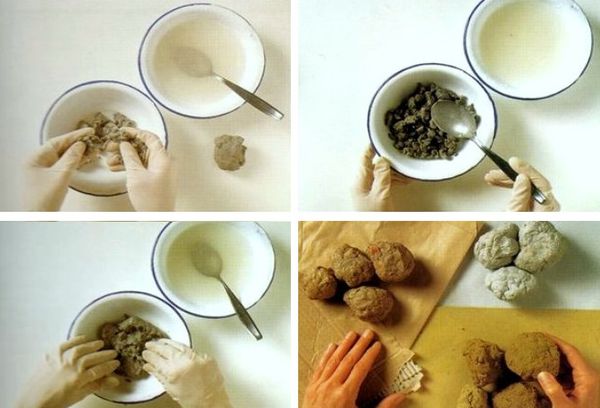
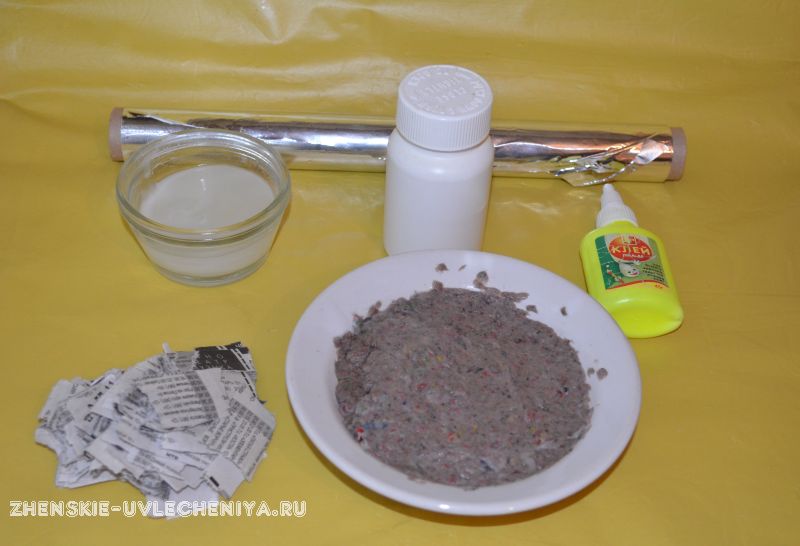
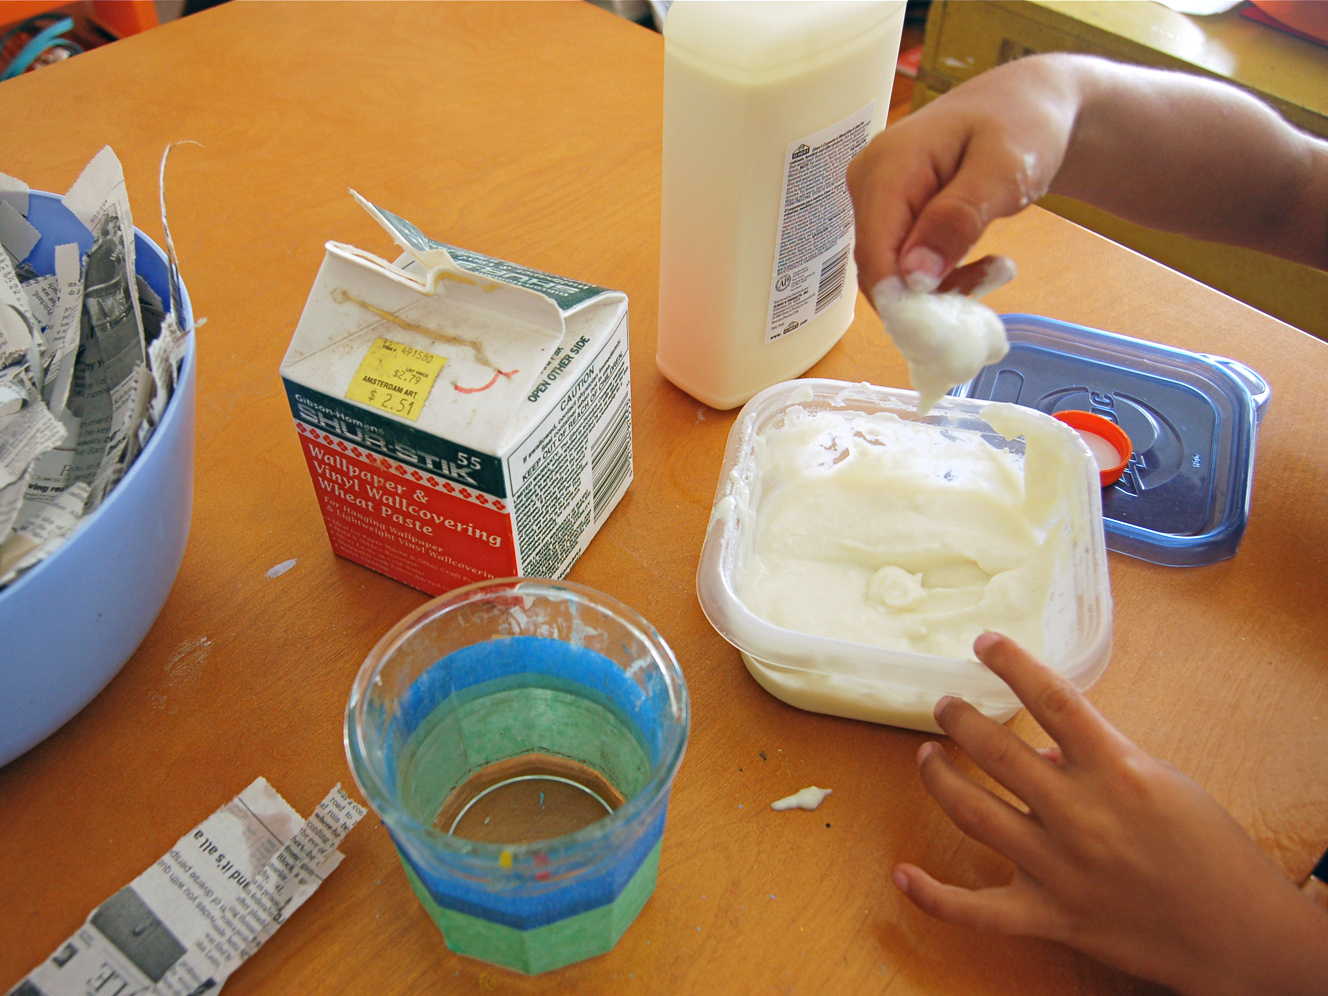
The second popular papier-mâché technique is making paper pulp crafts. To do this, a newspaper or some other paper is torn into small pieces in advance and soaked in hot water for 8 hours.The mixture is filtered and crushed with a blender into a homogeneous mass. If there is a lot of water in it, then simply strain the mass through a colander. Now add PVA glue or paste there and mix well. A homogeneous sticky mass is obtained. It's easy to work with her. You can sculpt from mass in the same way as from plasticine or salt dough. You can store the mass in a cool place. Remember to wrap it tightly in a plastic bag.
From the resulting paper pulp, you can sculpt all kinds of toys and decorations. Often, for this, a base is made, for example, of cardboard, and paper pulp is already applied to it, giving the product volume. If you need to make a large craft, then first it is better to make a form, dry it well and then apply additional layers of paper to it already in a puff technique.
Papier-mâché glue
Based on materials from English papier-mâché forums
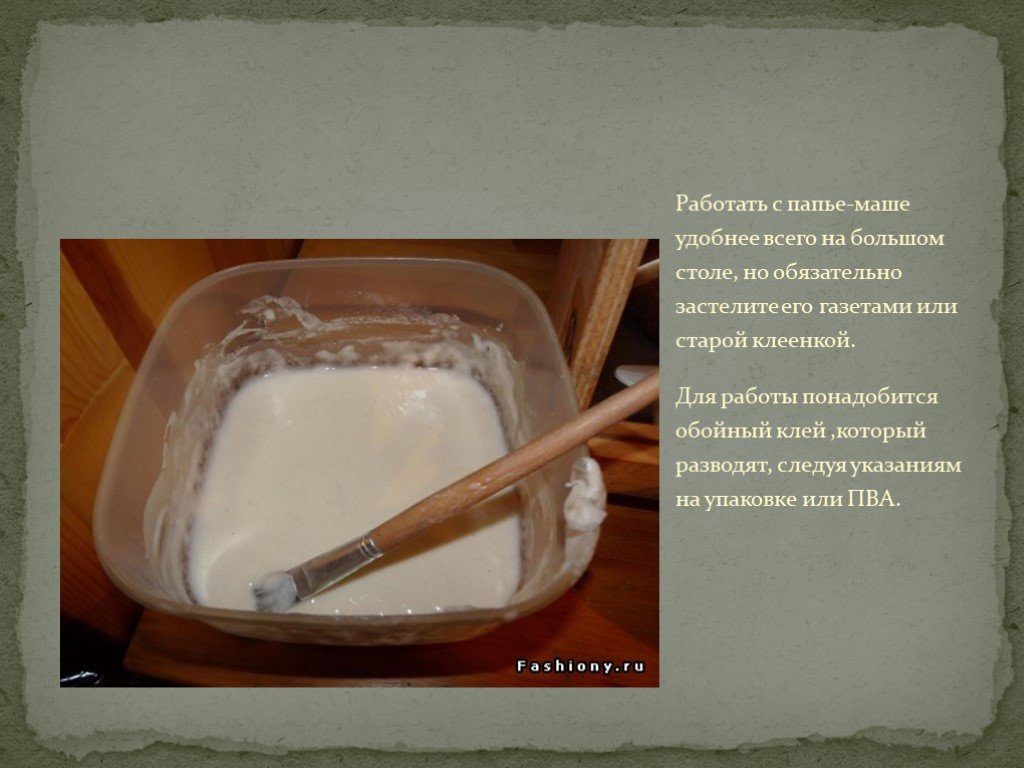
Today, papier-mâché is made in three types of glue: PVA (white vinyl in English sources), wallpaper glue and powdery paste.
The latter is increasingly being used when performing exhibition work, where it is very important to follow the traditional technology. Mealy paste is everything that has survived from a wide selection of natural remedies, which were widely presented back in the 20th century, but due to the complexity of preparation or the high cost of components, they are practically not found anywhere.
More details about this already exotic (from mashed potatoes to wood ash) were discussed in this article, now let's dwell on the pros and cons of the glue that is used today.
1.PVA is the most common option, on which most of the work has been done.
Its advantages include ease of use. In most cases it is only slightly diluted with water. It is also appreciated for its "inedibility" for mice and cockroaches, which, alas, are not uncommon even in luxurious exhibition halls. PVA forms a waterproof film on the surface of the product, which allows it to be used in other products as a cheap replacement for varnish.
It has only one drawback, but a significant one: after drying, it is extremely problematic to fix something in the work, especially with regard to small details. Besides, it is undesirable to choose it for work that is supposed to be done with children.
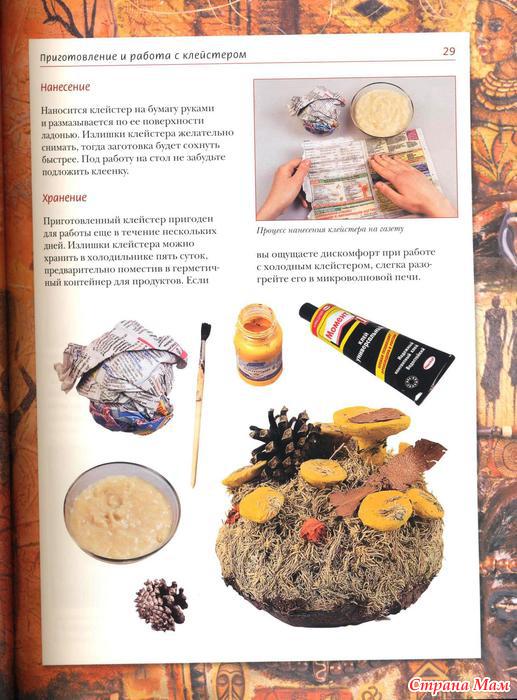
2. Wallpaper glue is a cheap and quick replacement for powdery paste. To work with papier-mâché, it is prepared somewhat thinner than for gluing wallpaper. It always contains a fungicide in its composition, which makes it possible to use it at lower temperatures without fear of mold.On the other hand, this prohibits its use when working with children. Once completely dry, the work can be modified and supplemented by soaking the desired work area. The finished glue can be stored in the refrigerator for several days.
3. Powdery paste is the classic and safest glue for work today.
Its disadvantages include fragility, attractiveness to mice and cockroaches, the need for drying in warm weather.
The advantage is undoubtedly the low cost and technology proven over the centuries.
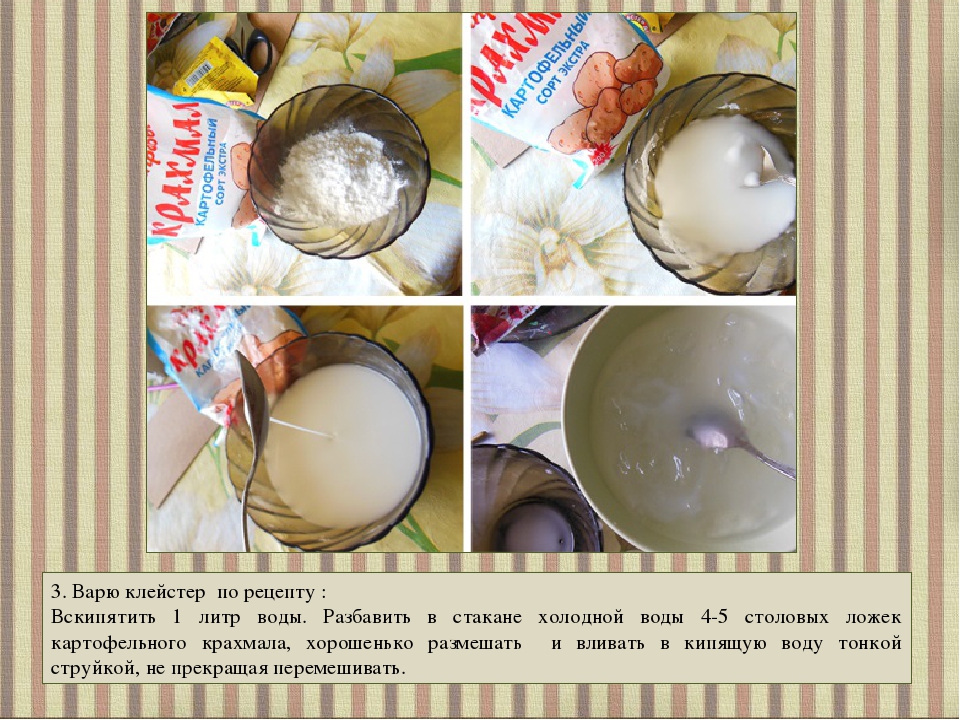
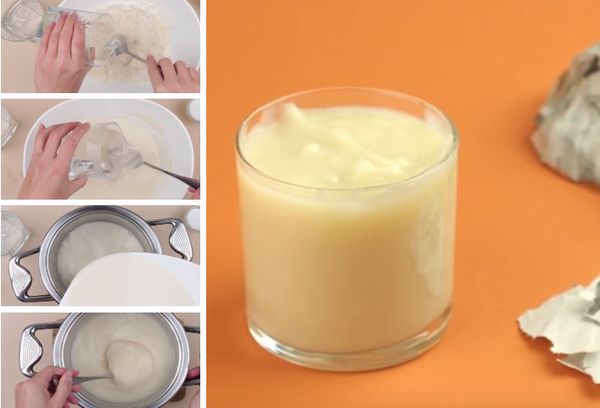
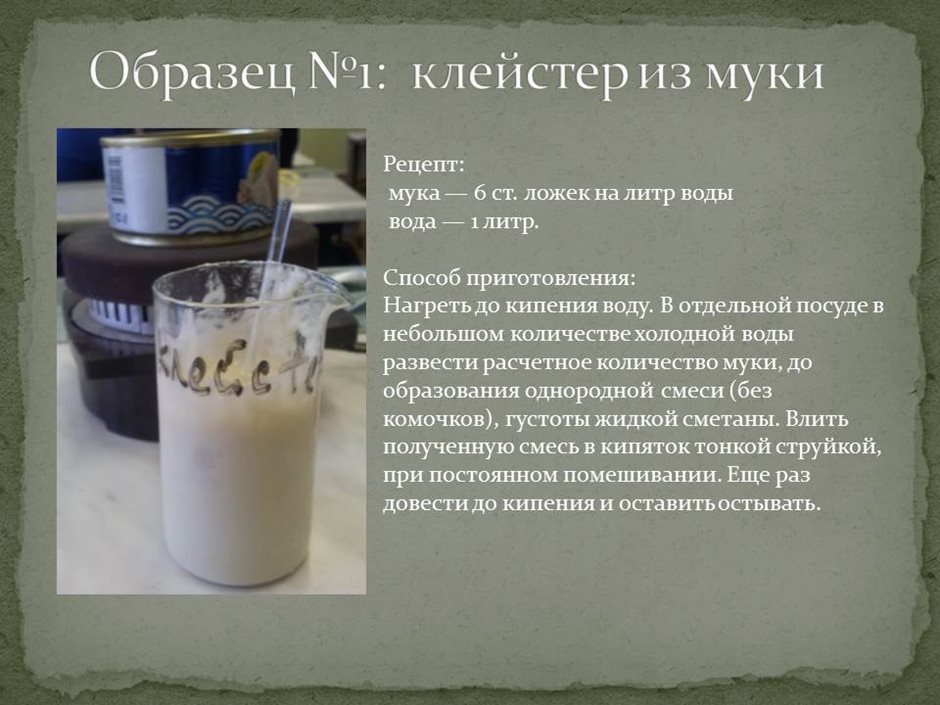
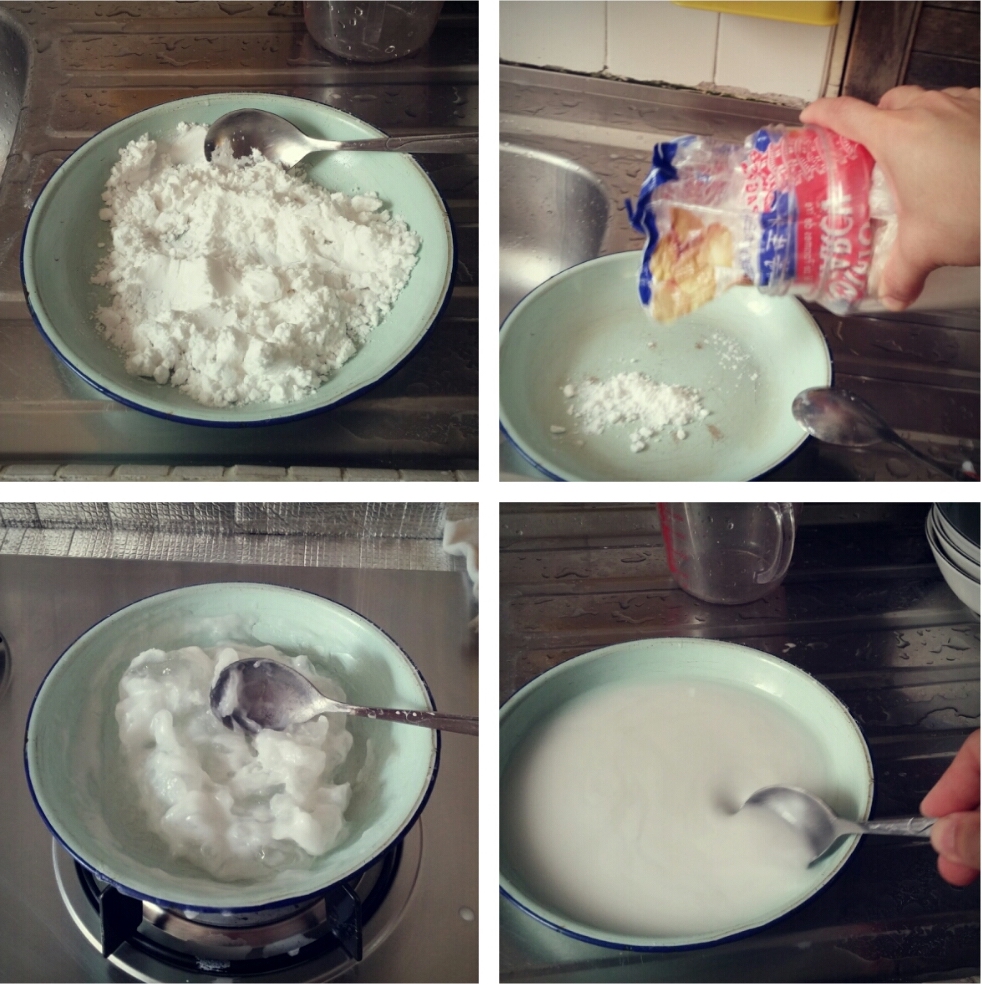
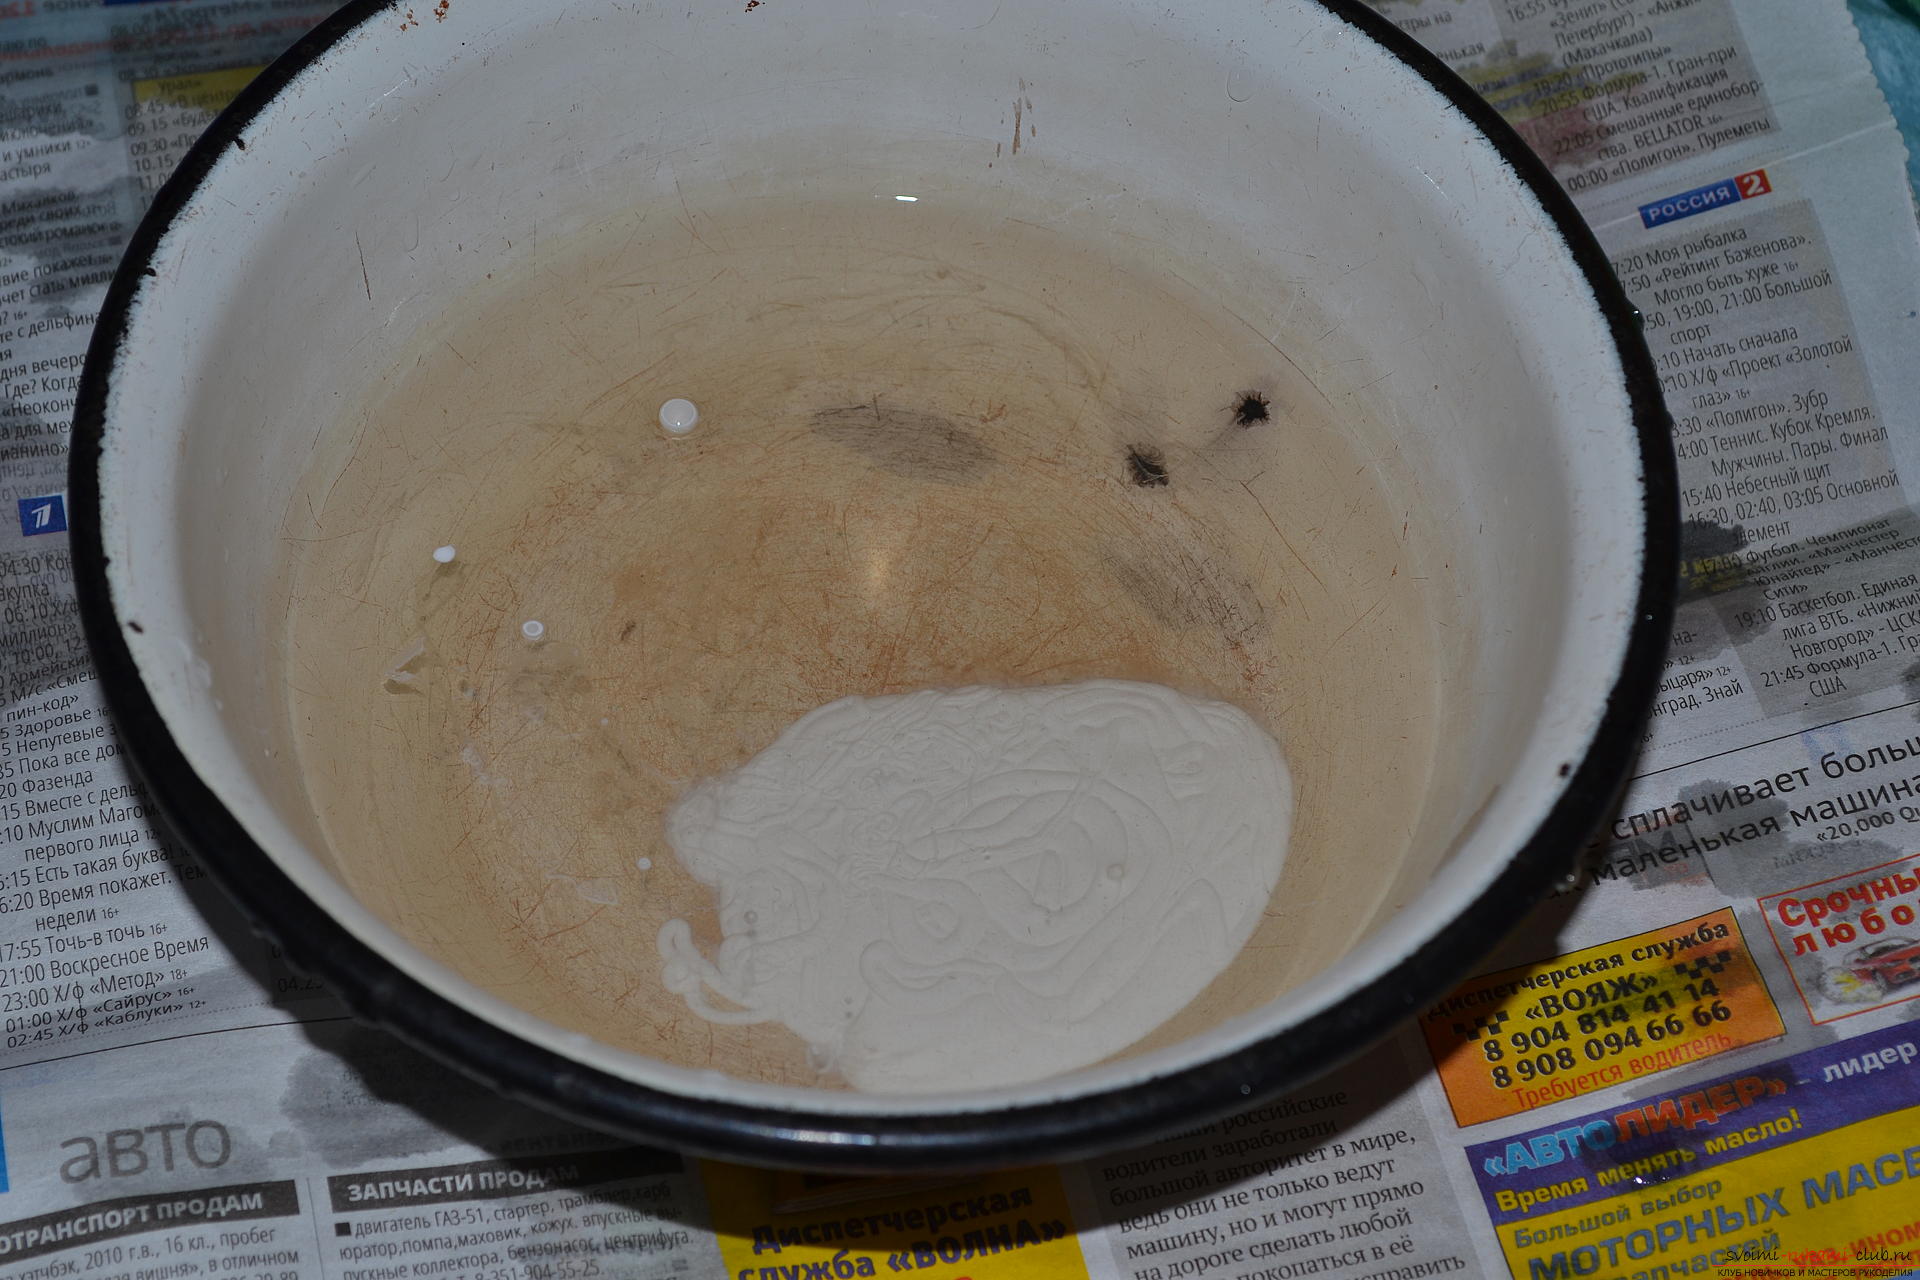
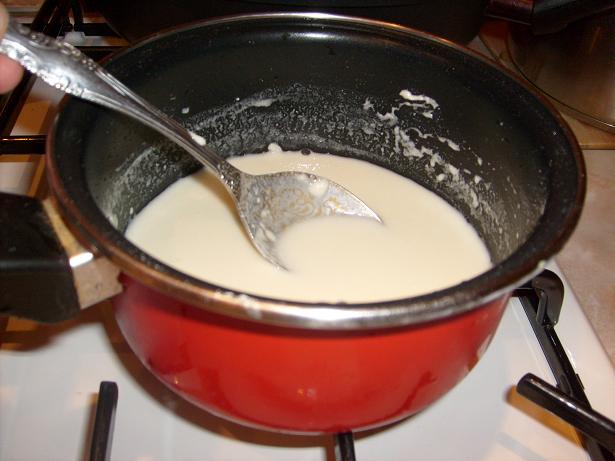
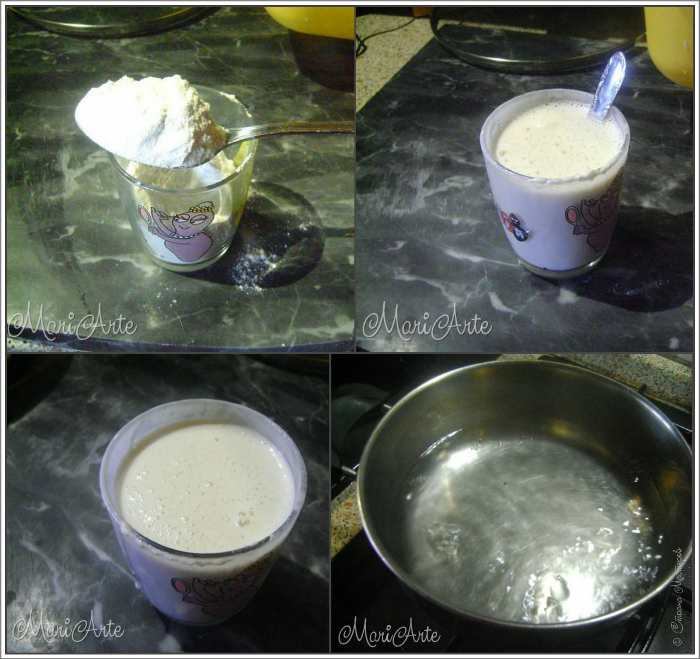
Prepare this type of glue in small portions just before work. To prepare it, bring 5 cups of water to a boil in a saucepan. At this time, mix 1/4 cup flour with a cup of cold water, as in the preparation of custard and, having achieved the absence of lumps, poured into boiling water
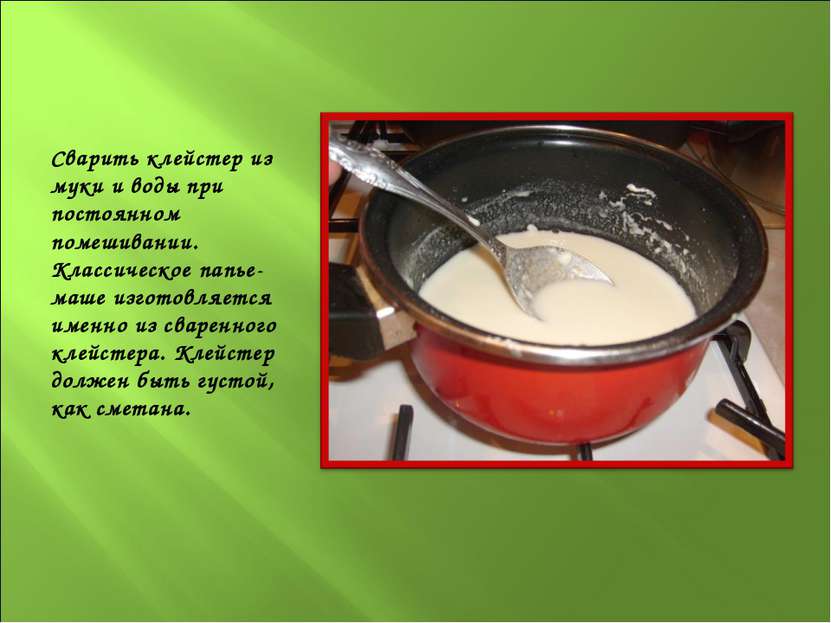
Boil gently with constant stirring for 2-3 minutes until thickened. This is liquid glue
A thicker glue is used in the design of work, as well as craftsmen who know how to work quickly and confidently. To make it, the amount of flour is doubled.
Many artists argue that the understanding of working with papier-mache comes only with powdery paste.

- home
- For dolls - everything they may need
- Papier-mache from newspapers and PVA
From starch
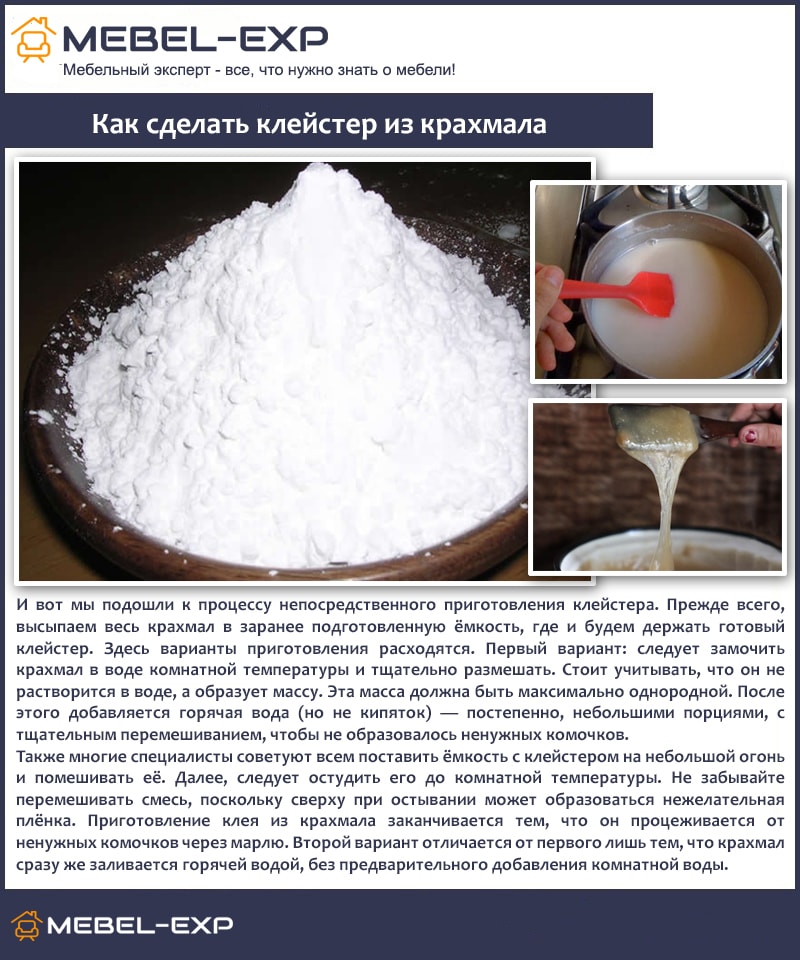
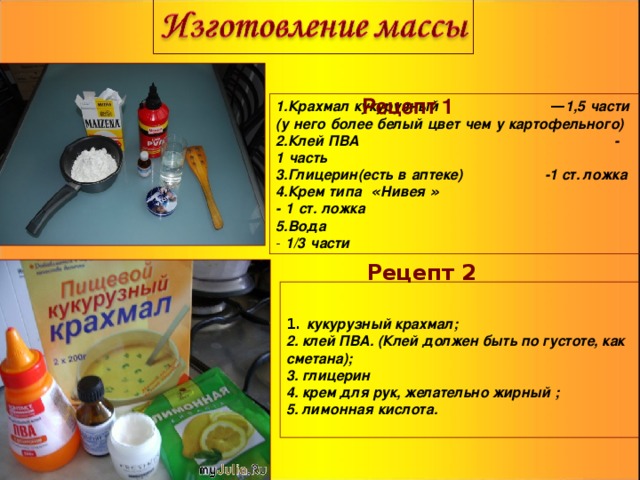
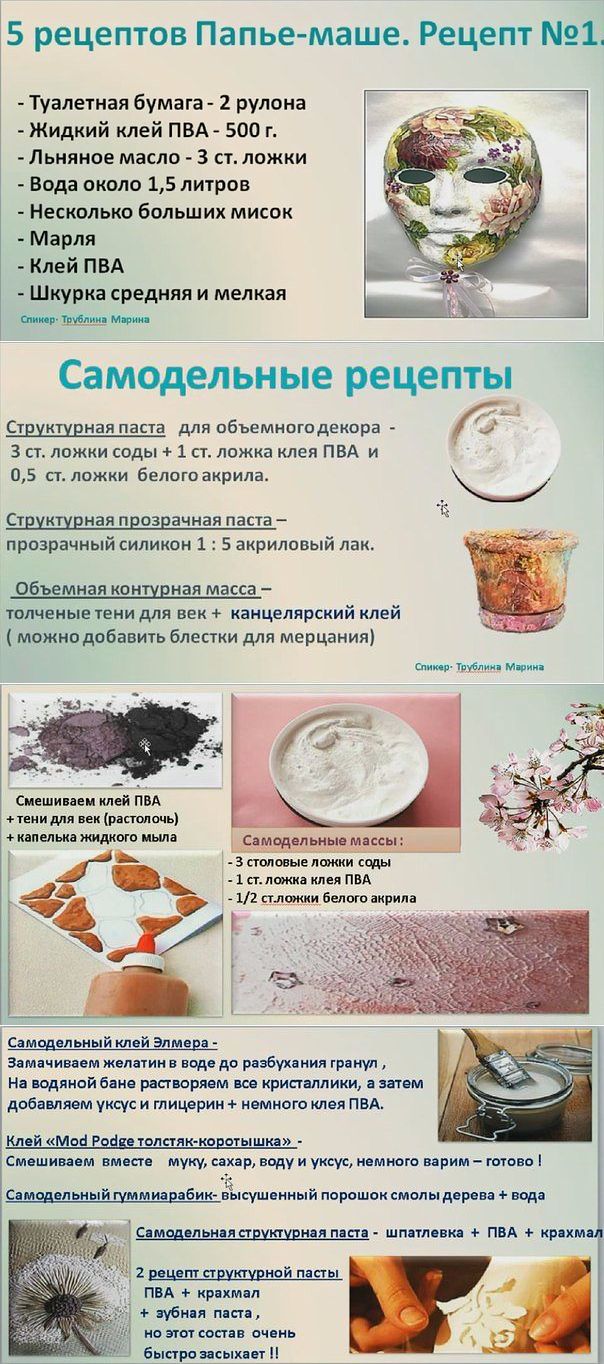
For immediate use, you can make some starch paste. The main advantage of such a product is that it leaves no residue at all. For stronger fixation, you can add PVA glue, and the glue will also make the composition 100% transparent.
This is no more complicated than the method of how to make a scented candle at home. The DIY method of making paste is also simple:
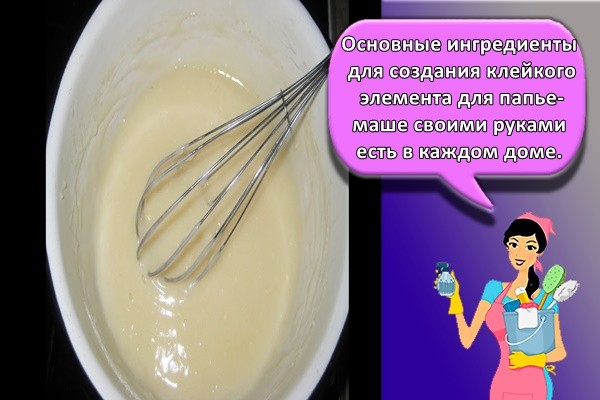
In a small container, one part of flour and boiling water are mixed. It is better to start whipping the mixture right away to get a homogeneous mass. Next, you need to boil three parts of water. As soon as boiling water is obtained, you immediately need to combine the water and the prepared mixture.
The starch mixture, diluted in three parts of boiling water, is removed immediately after it boils. In this case, the composition must continue to be mixed, maintaining the homogeneity of the substance. A little PVA glue can be added to the liquid cooled to room temperature.
As you can see, even rice kutia is more difficult to cook.
It is better to be guided by the calculation of 1 liter of paste = 100 ml of glue. A little sugar (about two tablespoons) added to the paste can improve the adhesive properties.
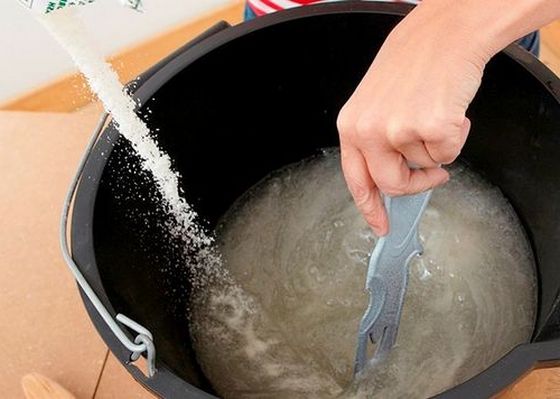
The paste prepared in any of these ways will be of better quality, given the most important nuances:
First, it is very important to follow the correct order of adding the ingredients: flour first, then water.
Secondly, a product prepared with the addition of starch can be stored for no more than five hours and only in glass dishes. In general, no paste can be stored for more than 12 hours.
Thirdly, it will have its maximum adhesive ability when it is about 40 degrees Celsius .. Thus, flour paste is a safe, low-cost, hypoallergenic product that can be used at home.
They can not only glue wallpaper, make crafts from papier-mâché, but also use them for children's creativity. It is non-staining, easy to rinse and non-irritating
Thus, flour paste is a safe, low-cost, hypoallergenic product that can be used at home. They can not only glue wallpaper, make crafts from papier-mâché, but also use them for children's creativity. It is non-staining, easy to rinse and non-irritating.
Step-by-step workshops for beginners
If you are not very experienced with the papier-mâché technique, it is better to choose a layer-by-layer pasting method. Choose simple base shapes, without significant irregularities and bends. Prepare all the tools and materials in advance so as not to be distracted from the process.
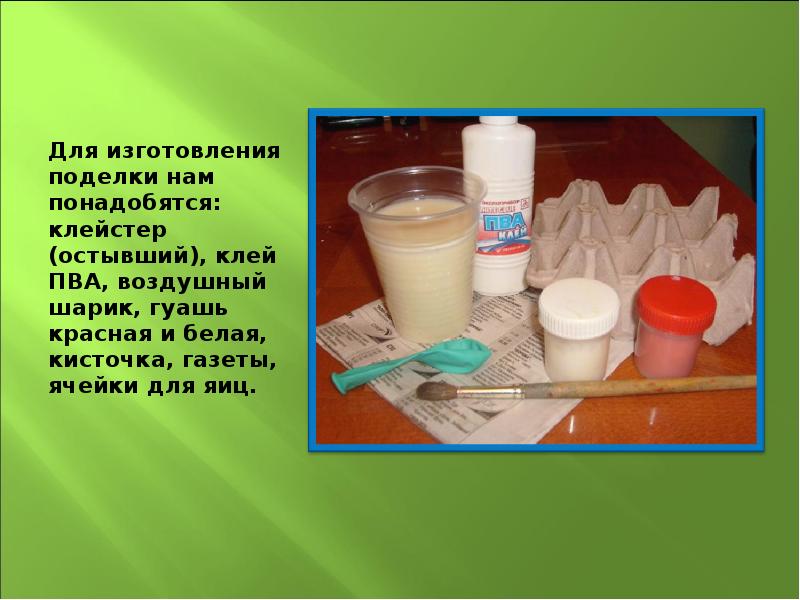
Master class: how to make papier-mâché Christmas tree decorations. For Christmas balls on a Christmas tree you will need:
- newspapers, glue or paste;
- paint, glitter, colored paper for decoration;
- varnish;
- thread, needle;
- Balloons.
Operating instructions:
- Inflate the balloon to the desired size. Cover with a layer of oily cosmetic. Tear the newspapers into small 1x1 cm pieces, coat each piece with glue from 2 sides. Paste the ball in 3 layers, leaving a small hole near the knot. Dry the product for 6 hours.
- Repeat pasting the next 3 layers. Let dry for another 6 hours. Take the balloon by the tail and, without letting go, pierce it with a needle. Pull the rubber cover out through the hole and glue it with several layers of paper. Try to keep the paper in this place smoothly (flush with the previous layers).
- Paint the workpiece in different colors. You can draw patterns, decorate with sparkles, beads, or paste over with pieces of colored paper. In order for the decoration to serve for a long time, cover with two layers of varnish. Using a needle, thread a thread into the base of the product and make a loop.
We advise you to watch the video instruction:
Master class: hand-shaped ring holder. For crafts, prepare:
- Rubber glove.
- Plastic paper pulp.
- Hand cream.
- Needle.
- Stationery blade.
- Paints, varnish.
Operating instructions:
- Prepare the paper pulp for modeling. Spread cream on your hand and put on a rubber glove. This is necessary to apply the cream to the inside of the glove.
- Tamp the plastic compound into a glove step by step. You need to start with your fingers. In the rubber sheath, make many holes with a needle so that the liquid evaporates and the product dries.
- This craft may take several days to dry. Then carefully remove the glove. Align the workpiece at the base with a clerical blade, paint and cover with two layers of varnish.
- Place the craft on a flat, hard base and secure in an upright position.
We recommend watching the video instruction:
Master class: decorative papier-mâché plate. Prepare for work:
- Plate.
- Polyethylene film.
- Scissors, blade.
- Newspapers, glue.
- Paints, varnish.
Operating instructions:
- Cover the plate with foil. Cut the newspapers into 2x2 cm pieces and sprinkle with warm water. Lay on the entire outer surface of the plate in an even layer and coat with glue.
- Lay the layers of newspapers in stages, moisten and coat with glue. Use a spray bottle to moisten the paper evenly. After laying 4 layers, dry the workpiece for 3-4 hours each time.
- When the thickness of the product is 3-4 mm. remove the workpiece from the base and leave to dry for a day.
- Trim the edges of the craft with scissors or a blade. Paint and varnish.
We advise you to watch the video instruction:
Which glue is better - homemade or ready-made
So far, we have considered only step-by-step homemade glue, in order to choose the best one, it is necessary to check the purchased ones, which only need to be diluted to a liquid state.
 PVA. Suitable for small jobs. Can be added to homemade recipes for strength and additional bonding properties. Versatile and always at hand. Can be used alone or diluted.
Wallpaper. For papier-mâché, it will be made thinner than for gluing wallpaper. Strong, durable, reliable. The downside is that children are not recommended it, since there is a fungicide in the composition.
Silicate glue is added to the mix with paper, water and ash. Difficult, long and painful. The only plus is that if you need decorations for terrariums, in which the humidity is usually high, then such a composition is irreplaceable, because it does not burn, does not grow moldy and does not get wet in ready-made decorations:
There are many different recipes in good MKs on video. Perhaps some new idea or glue preparation scheme will come across. Which is best for you - decide after you try!
Proportions
As a rule, at home, papier-mâché recipes are followed very approximately, bringing the mass to a comfortable consistency. However, when adding other components, it is still better to observe certain proportions.
| Ingredients | Like plaster | Casting | Casting / Molding | Molding |
| Water | 0,5 l | 1 l | 1 l | 1 l |
|
Wood glue dry |
0.25 kg | up to 0.5 kg | 0.2KG | 0.35 kg |
| Paper | 0.175 kg | — | — | 0.05 kg |
| Drying oil | 0.05 kg | 0.03 kg | — | — |
| Rosin | 0.1 kg | — | — | — |
| chalk | 1.5-2 kg | 2.5KG | 1.7 kg | 3 Kg |
| Wheat flour | — | 0,4 kg | — | — |
The recipes presented in this table are mostly industrial, but they can also be used at home.
Recipes
Most adhesive recipes are similar. Mixes made of flour for crafts usually do not have additional ingredients in the composition, since they are intended for children of preschool or primary school age, which means they should be completely safe. If glue from flour is cooked for pasting wallpaper, then in addition to water, other ingredients can be added to ensure the reliability of gluing. We offer a step-by-step description.
For wallpaper
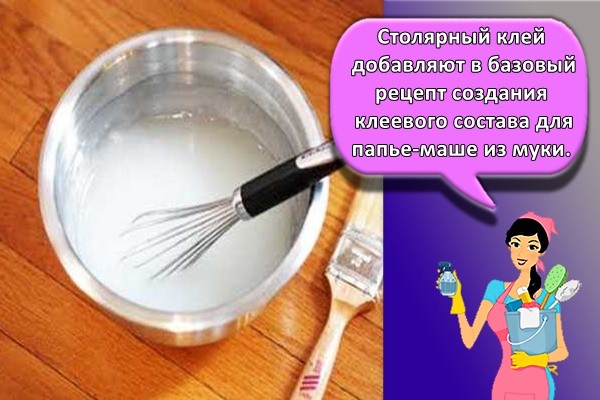
If you decide to update the look, then you need a recipe for how to cook wallpaper paste. Wood glue is added to such mixtures as a bonding agent.
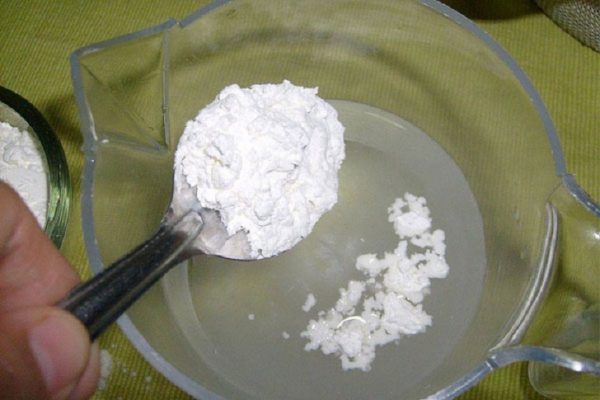
The recipe for making flour paste is as follows:
-
Flour must be sieved at least twice.
, since it will be added to boiling water in dry form. - To prepare the adhesive, you will need 200 grams of dry base and 2 glasses of water. First, water is put on the fire and brought to a boil.
- After that, the sifted powder is introduced. It is advisable to introduce it gradually to prevent the formation of lumps.
- To make the finished product as homogeneous as possible, after boiling water, it is necessary to reduce the heat.
- The pre-sifted powder must be poured back into the sieve, and poured out of it into boiling water.
- All this time, the cooking product must be stirred with a spoon, fork or wooden spatula. Movements should be uniform, circular.
- The prepared mixture must be filtered with a doubled or second gauze. Some people use old stockings or tights for this purpose.
- After straining, add 4 tablespoons of wood glue to the product. It is better to introduce them one at a time, each time completely stirring the mass with a wooden spatula.
- For more uniformity after the introduction of wood glue, the product must be filtered again.
- You can use the paste after it has cooled completely.
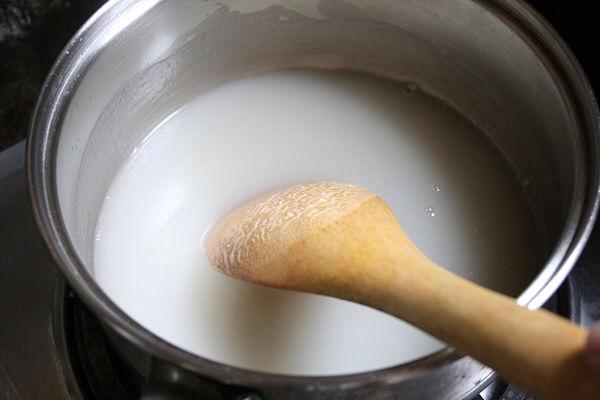
Important!
Often, two to three hours are enough for a small amount of the product to cool down. To speed up the cooling process, you can periodically stir the composition
Knowing how to cook a paste with the addition of wood glue, you can achieve better results when pasting heavy ones. You should not add more glue, otherwise the mixture will set too quickly and cannot be used for its intended purpose.
For papier-mâché
Rye flour is used to make papier-mâché paste. You can take wheat, in this case the difference is not fundamental.
Manufacturing procedure:
- Flour paste is cooked in a bowl with a thick bottom.
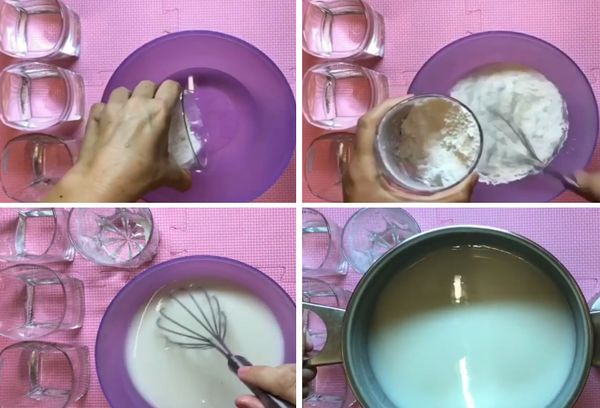
- Pour 1 cup of flour on the bottom, then add 1 cup of water and stir the mixture with a whisk.
- When the mass becomes homogeneous, two more glasses of water are added to the dishes.
- After stirring, the mass is placed on low heat.
- The boiled mixture is removed from the fire. Do not keep it on fire, otherwise it will become too thick and heavy.
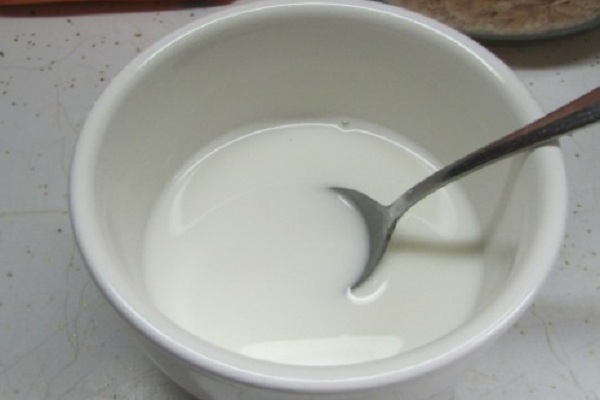
It is necessary to ensure that the paste has completely cooled down before giving it to children. You need to cook the mixture every day.
, since it is not stored for more than 10-12 hours.
Attention!
Knowing how to cook paste from flour for making crafts, you can provide children with an interesting pastime
For crafts and wallpaper
In this recipe, the ingredients are indicated at the rate of 4 tablespoons of flour per 1 liter of water.
How to make flour paste:
- Pour a portion of the flour into a small saucepan, add a little water to it.
- Stir the mixture until smooth. There should be no lumps at all.
- Pour the remaining water into a heavy-bottomed saucepan. It must be put on fire in order to bring the water to a boil.
- After boiling, the flour mixture should be added to boiling water one tablespoon at a time. In this case, you need to constantly stir the boiling substance with a wooden spatula in a circle.
- After adding all the contents of a small saucepan to boiling water, you need to cook the flour paste until it acquires the consistency of thick sour cream.
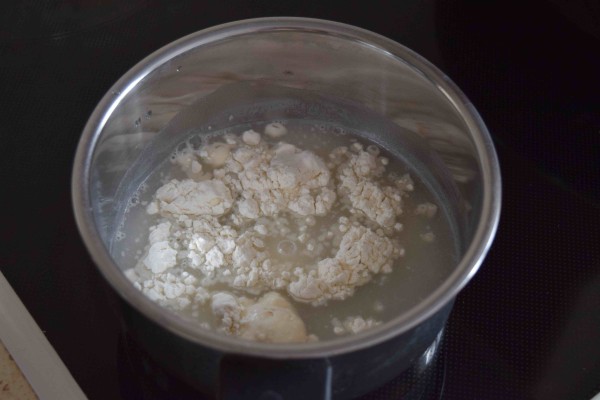
You can use it after cooling down.
From starch
The product made from starch is suitable for wallpapering. It must be used no later than three to four hours after manufacture.
... If stored for longer, it can give off an unpleasant odor. In order to more securely fix the material, experts suggest adding PVA glue to the starch-based recipe. Adding this product will make the bonding of parts stronger and more reliable.
How to make starch paste. Sequencing:
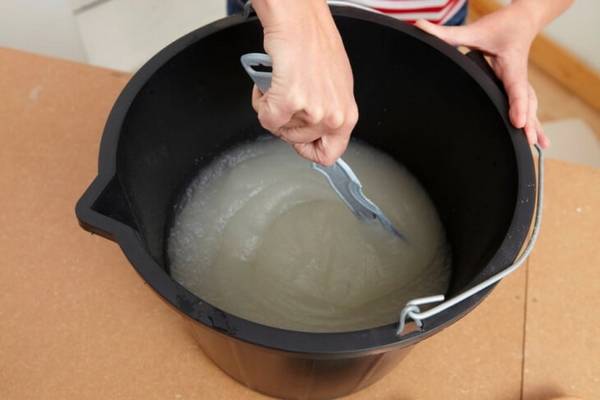
Important! For 1 liter of cooked mixture, approximately 100 ml of PVA glue... After adding it, you need to mix the mixture again, filtering it through a sock.
Paste preparation rules
- wallpaper paste is not prepared from wheat flour, since this leads to yellowing of the paper material after drying;
- considering that the product contains food products, it can attract insects, add a small amount of karbofos;
- when a paste is being prepared, how to make its properties better - you also need to think about this, for example, a warm microclimate contributes to a decrease in the effectiveness of the composition, you need to know in advance how to store the glue correctly - the temperature should be within + 18 ... + 20 ° С;
- too thick paste will not provide the desired effect, the change in the structure of the substance is due to its prolonged cooking, in this case the agent is diluted with water again (a small amount is introduced) and heated, but for a short period;
- when the paste is being prepared, the heating temperature of the liquid should not be higher than + 40 ° С;
- to improve the properties, PVA glue is introduced into the composition, but its content should not be higher than 5%;
- as it is used, the substance will lose its properties (it will gradually thicken); hot water will help restore its original structure - it is added in 1 tbsp. l., constantly stirring the product with a blender or mixer - you should act quickly, since the composition will soon thicken again.

