Installation of skirting boards
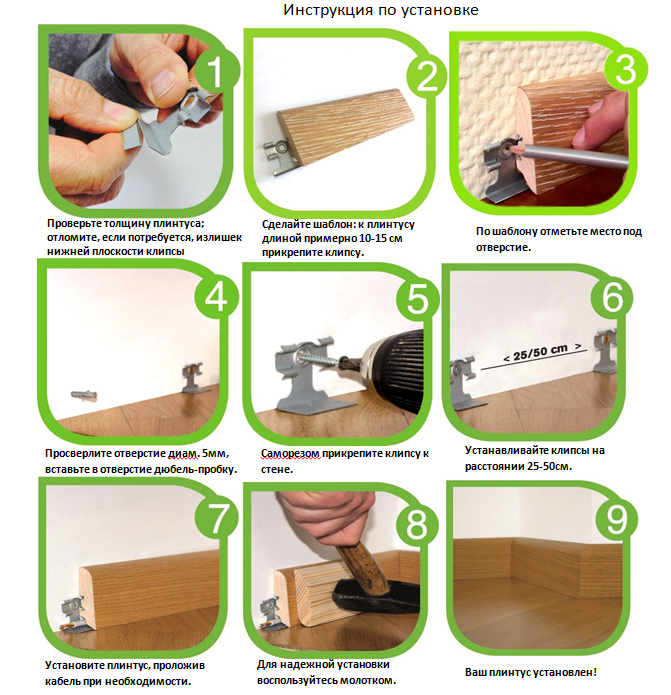
Depending on the material of the skirting board, there are several ways to install it. In particular, it is installed on staples, glue and self-tapping screws. Let's take a closer look at these methods.
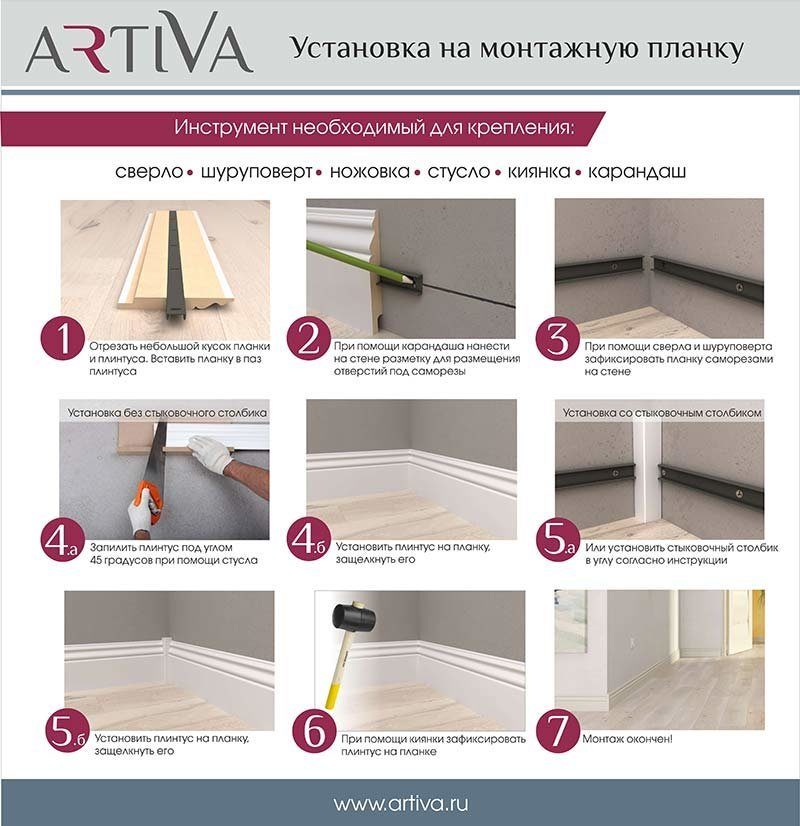
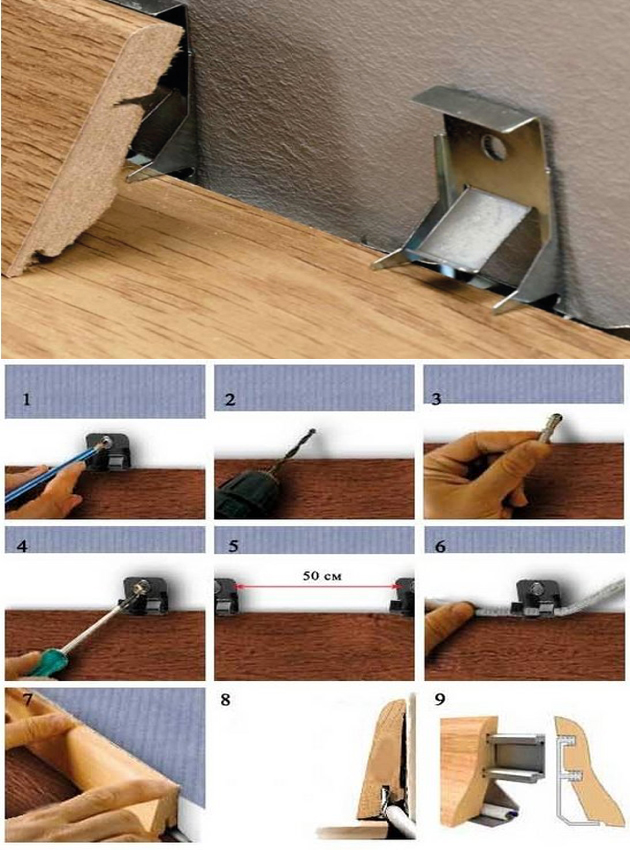
On staples
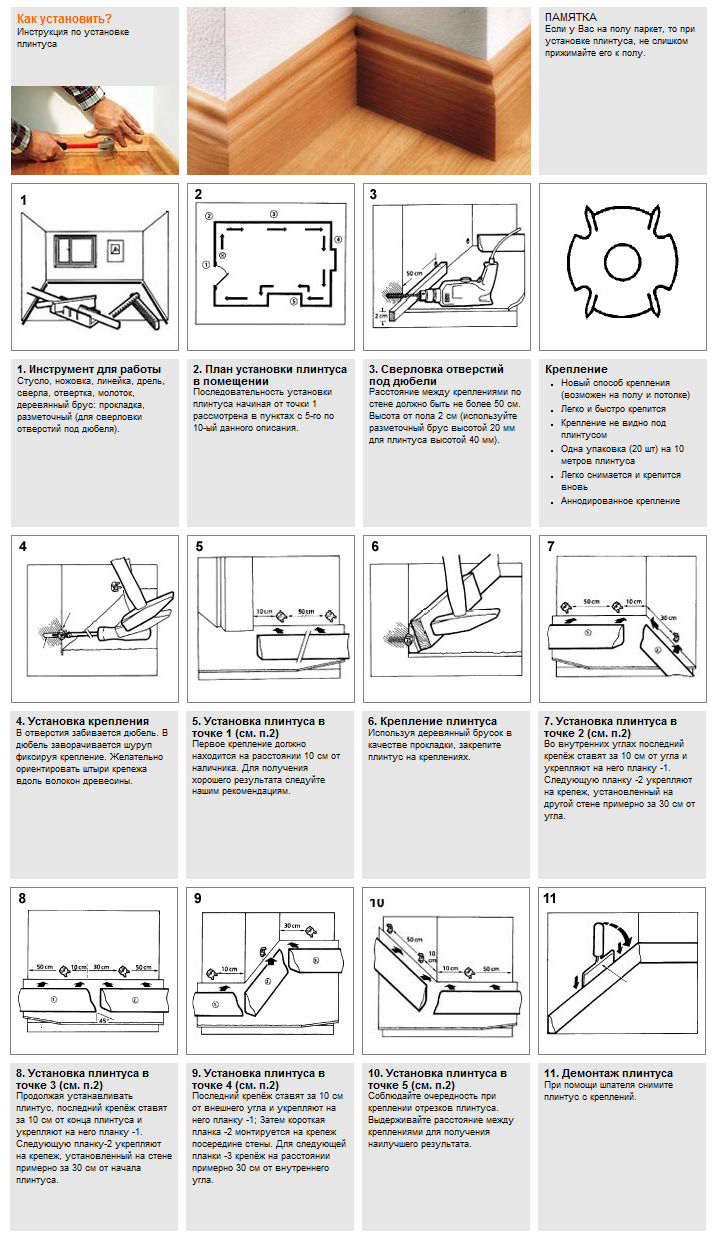
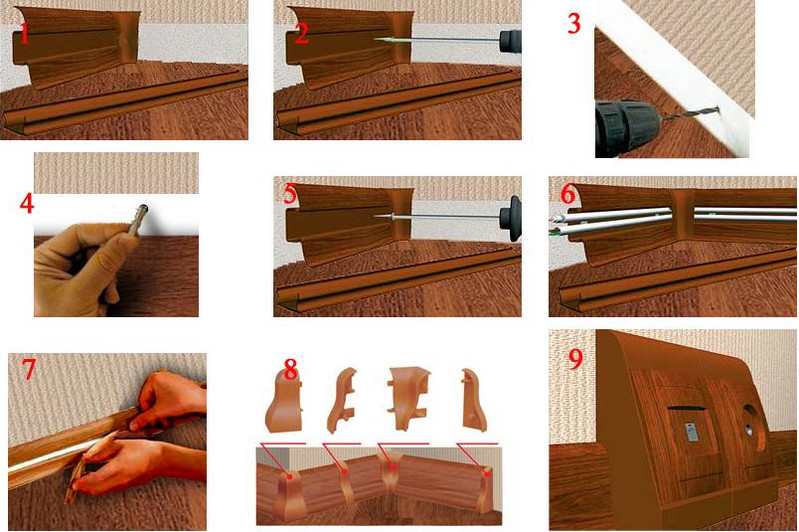
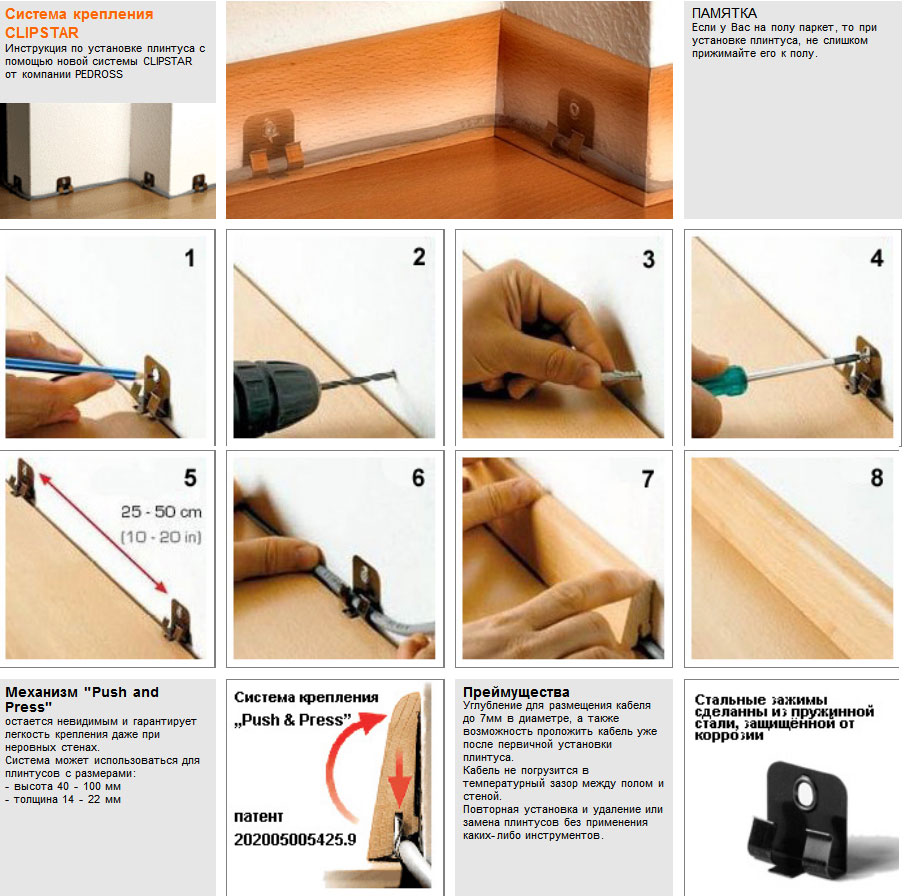
The advantage of this installation method is the absence of traces of fasteners on the outer surface of the skirting board. The profile itself is easily installed on the brackets and can be easily dismantled.

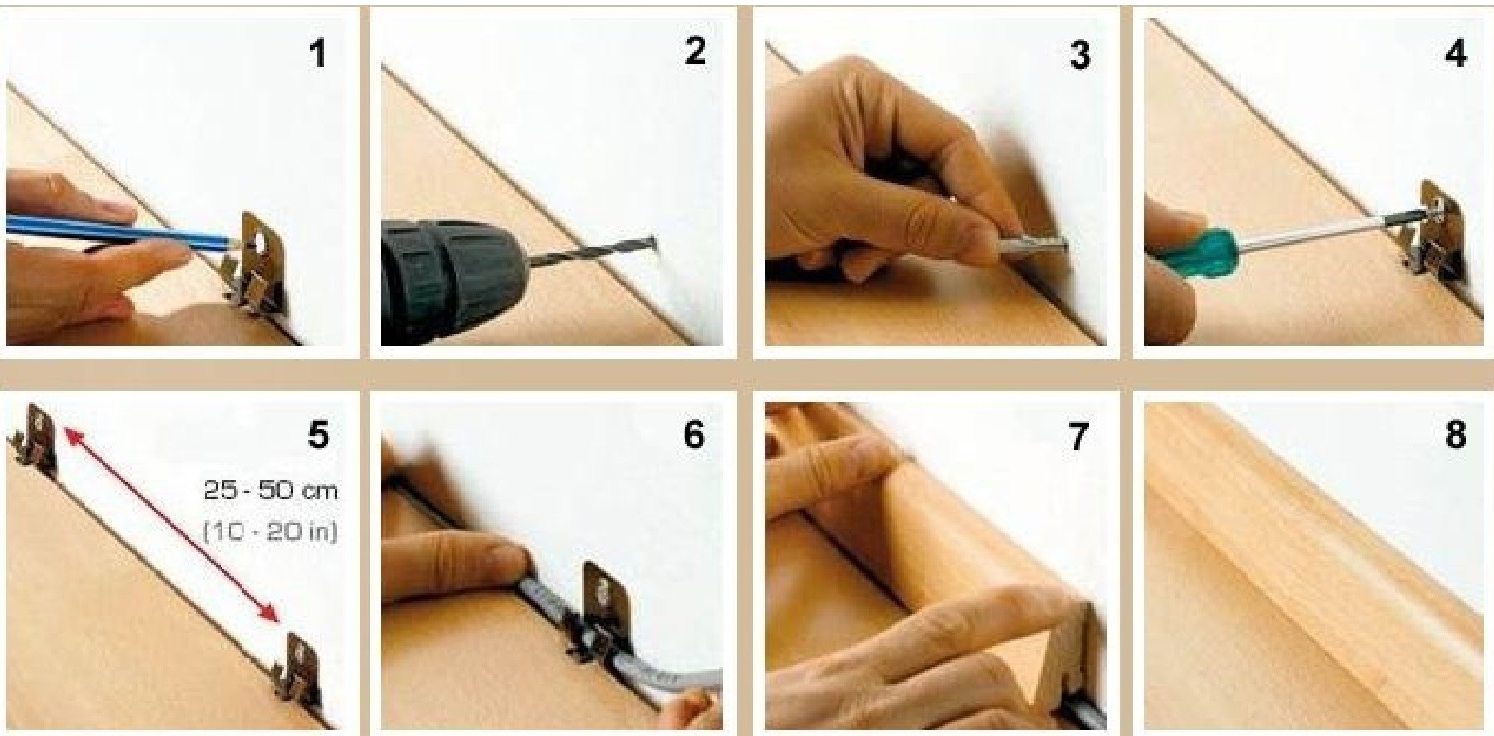
Installation is carried out according to the following algorithm:
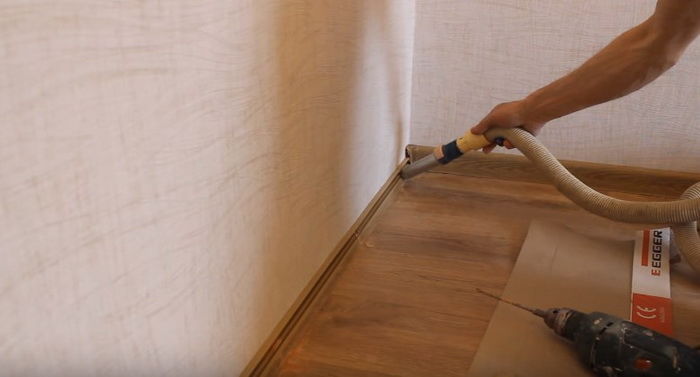
- Make a markup for the installation of fasteners. The first mark is usually placed 5 cm from the corner, the frequency of subsequent marks depends on how flat the wall is. If the walls are even, the marks are placed less often, 50 cm apart, otherwise the step can be reduced to 20-30 cm.
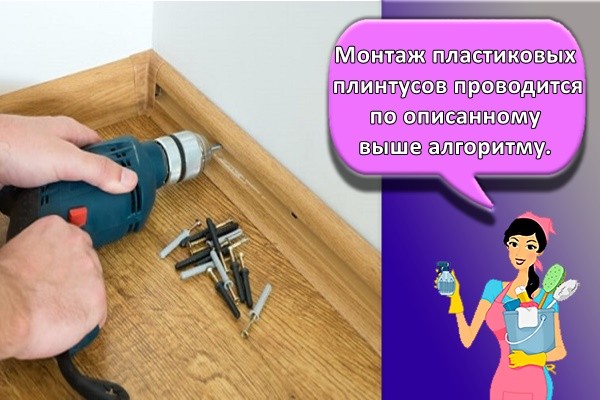
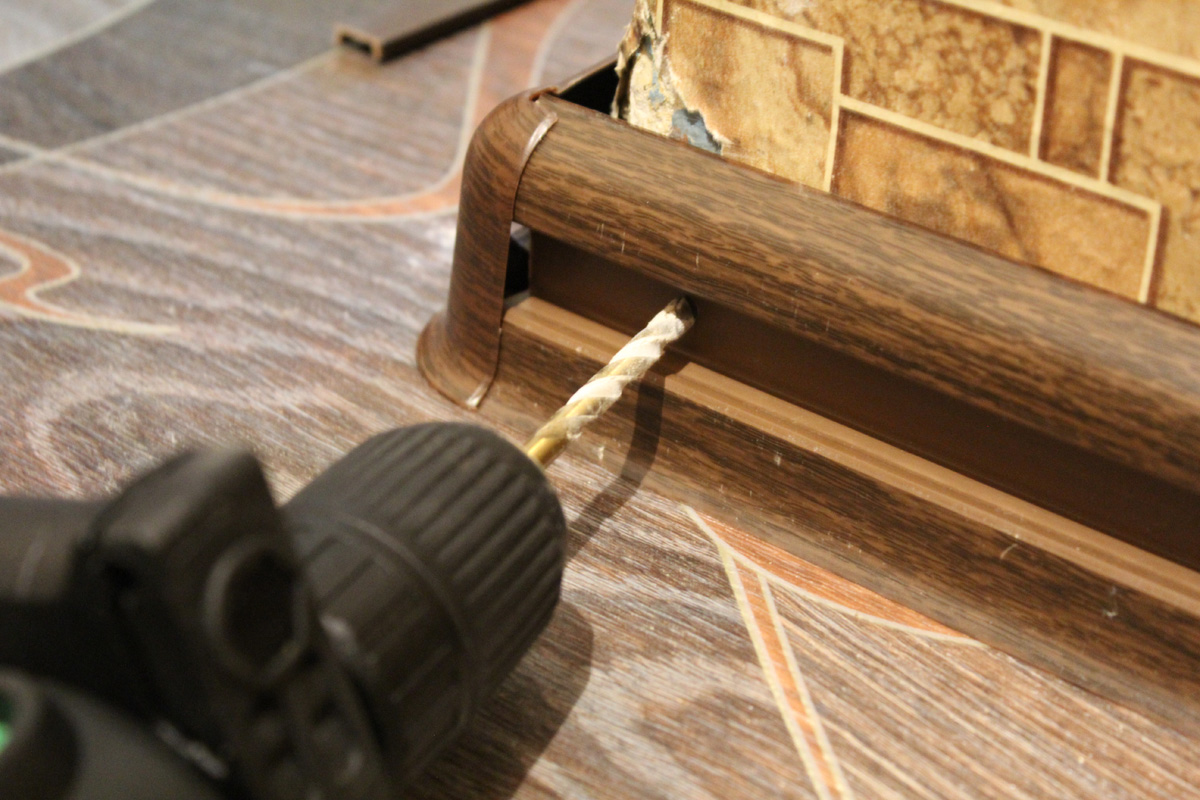
- Holes are drilled in the marked sections of the wall and plastic dowels are installed.
- Install the fasteners and fix them with screws in the dowels.
- Install the plinth on the fasteners, having previously adjusted the elements along the length.
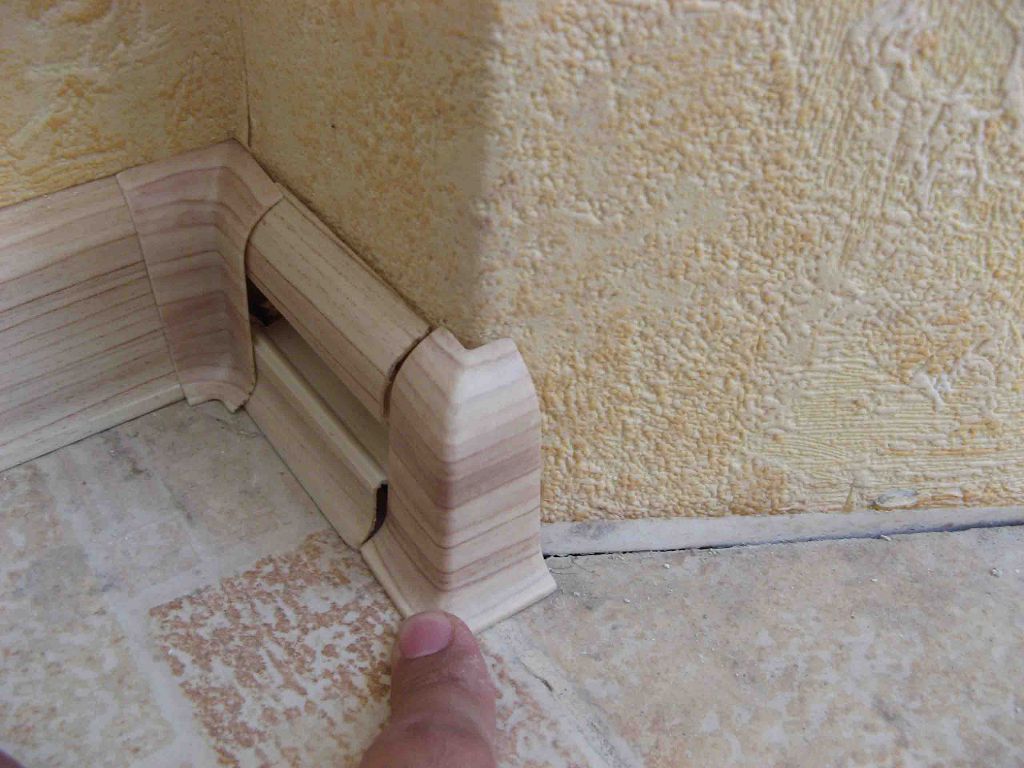
- Special corner elements are installed on the corners, and plugs in the area of the doors.
Important! The distance from the corner to the first fastener should not exceed 10 cm, otherwise the fastening will not be very reliable.
Video: installing the plinth on the staples
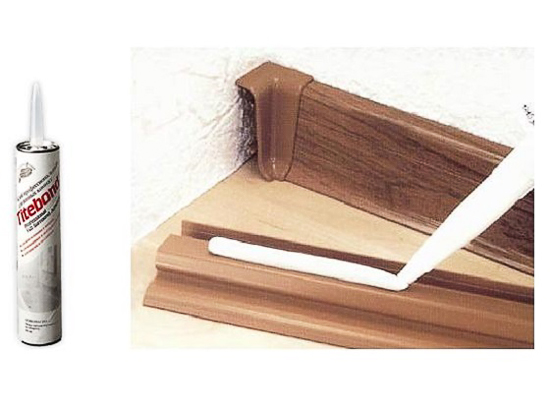
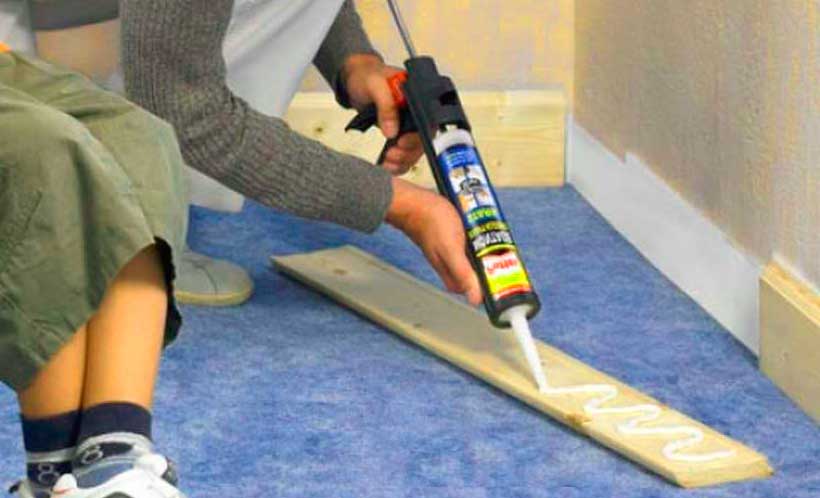
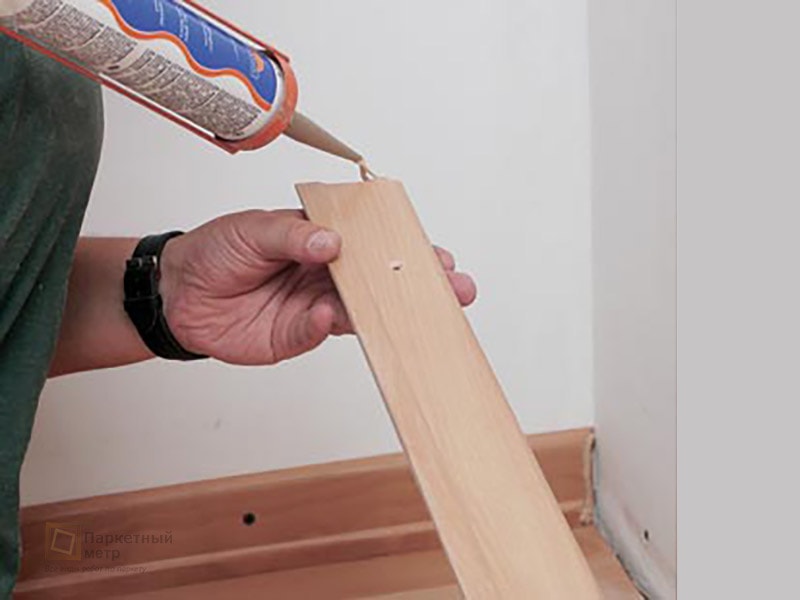
On glue
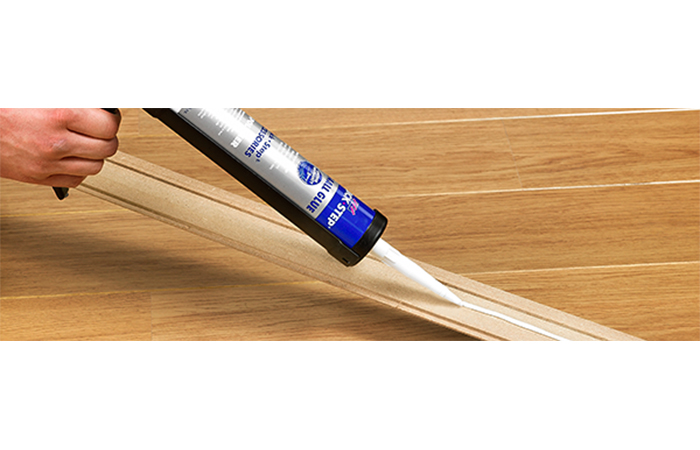
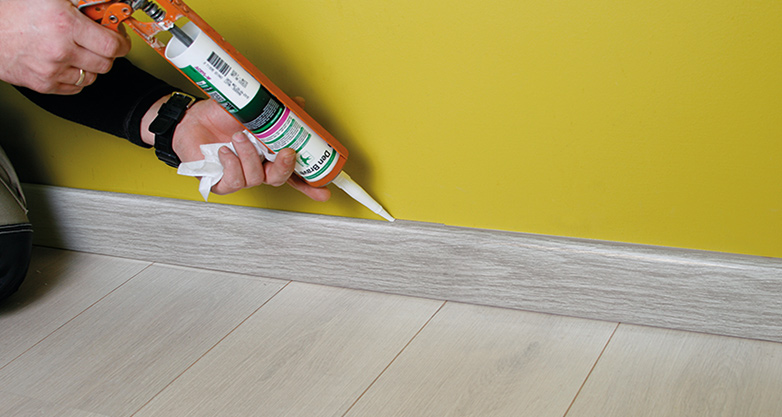
Glue mounting is the fastest way. This method is suitable if the walls, floor or ceiling are well leveled, otherwise the profile may lag behind over time.
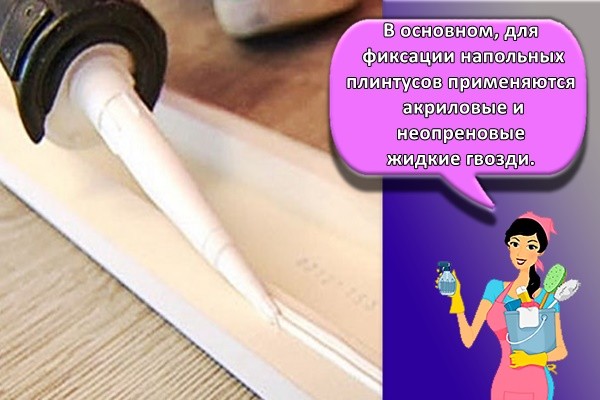
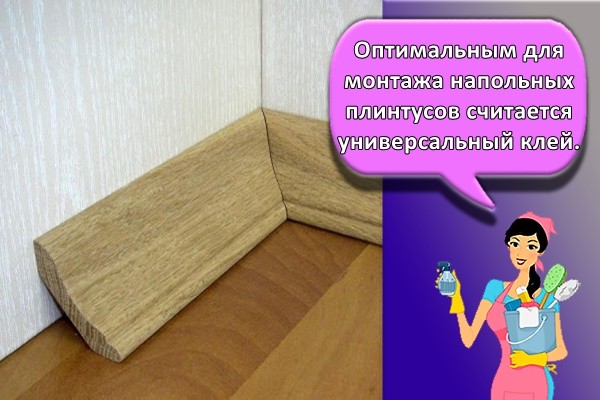
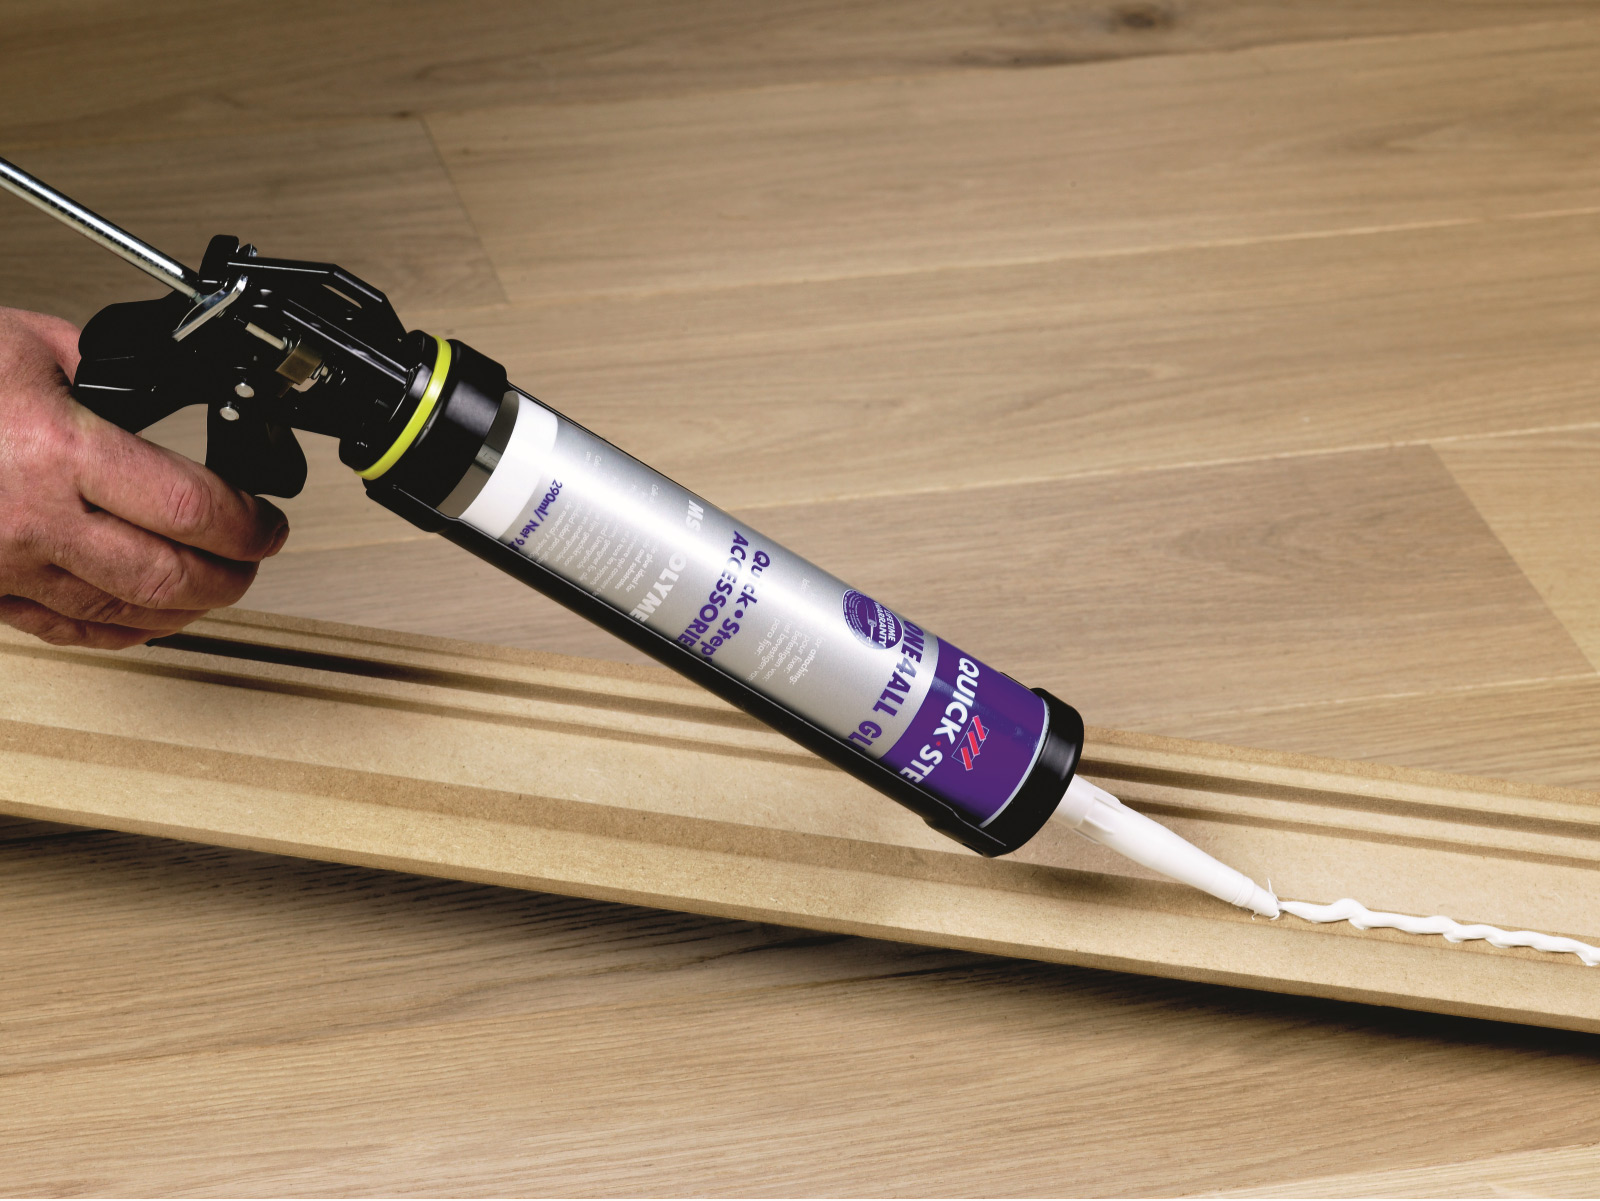
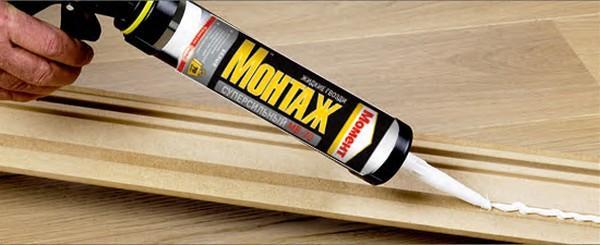
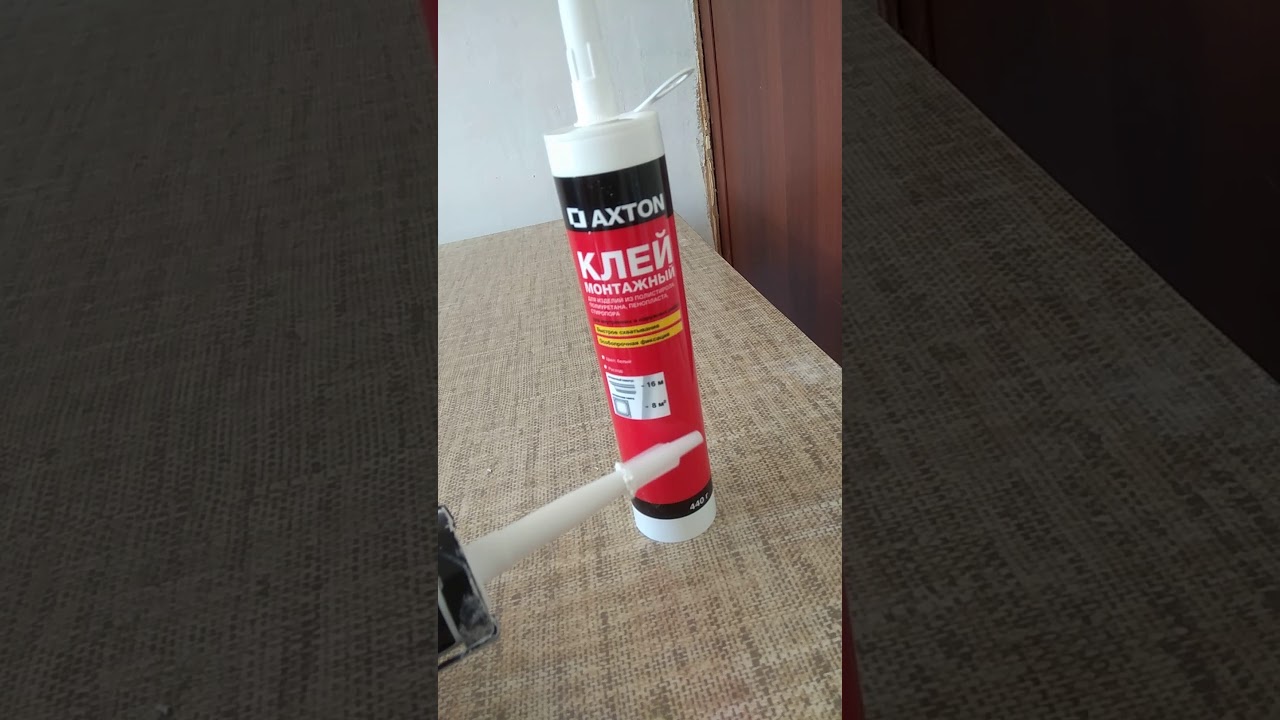
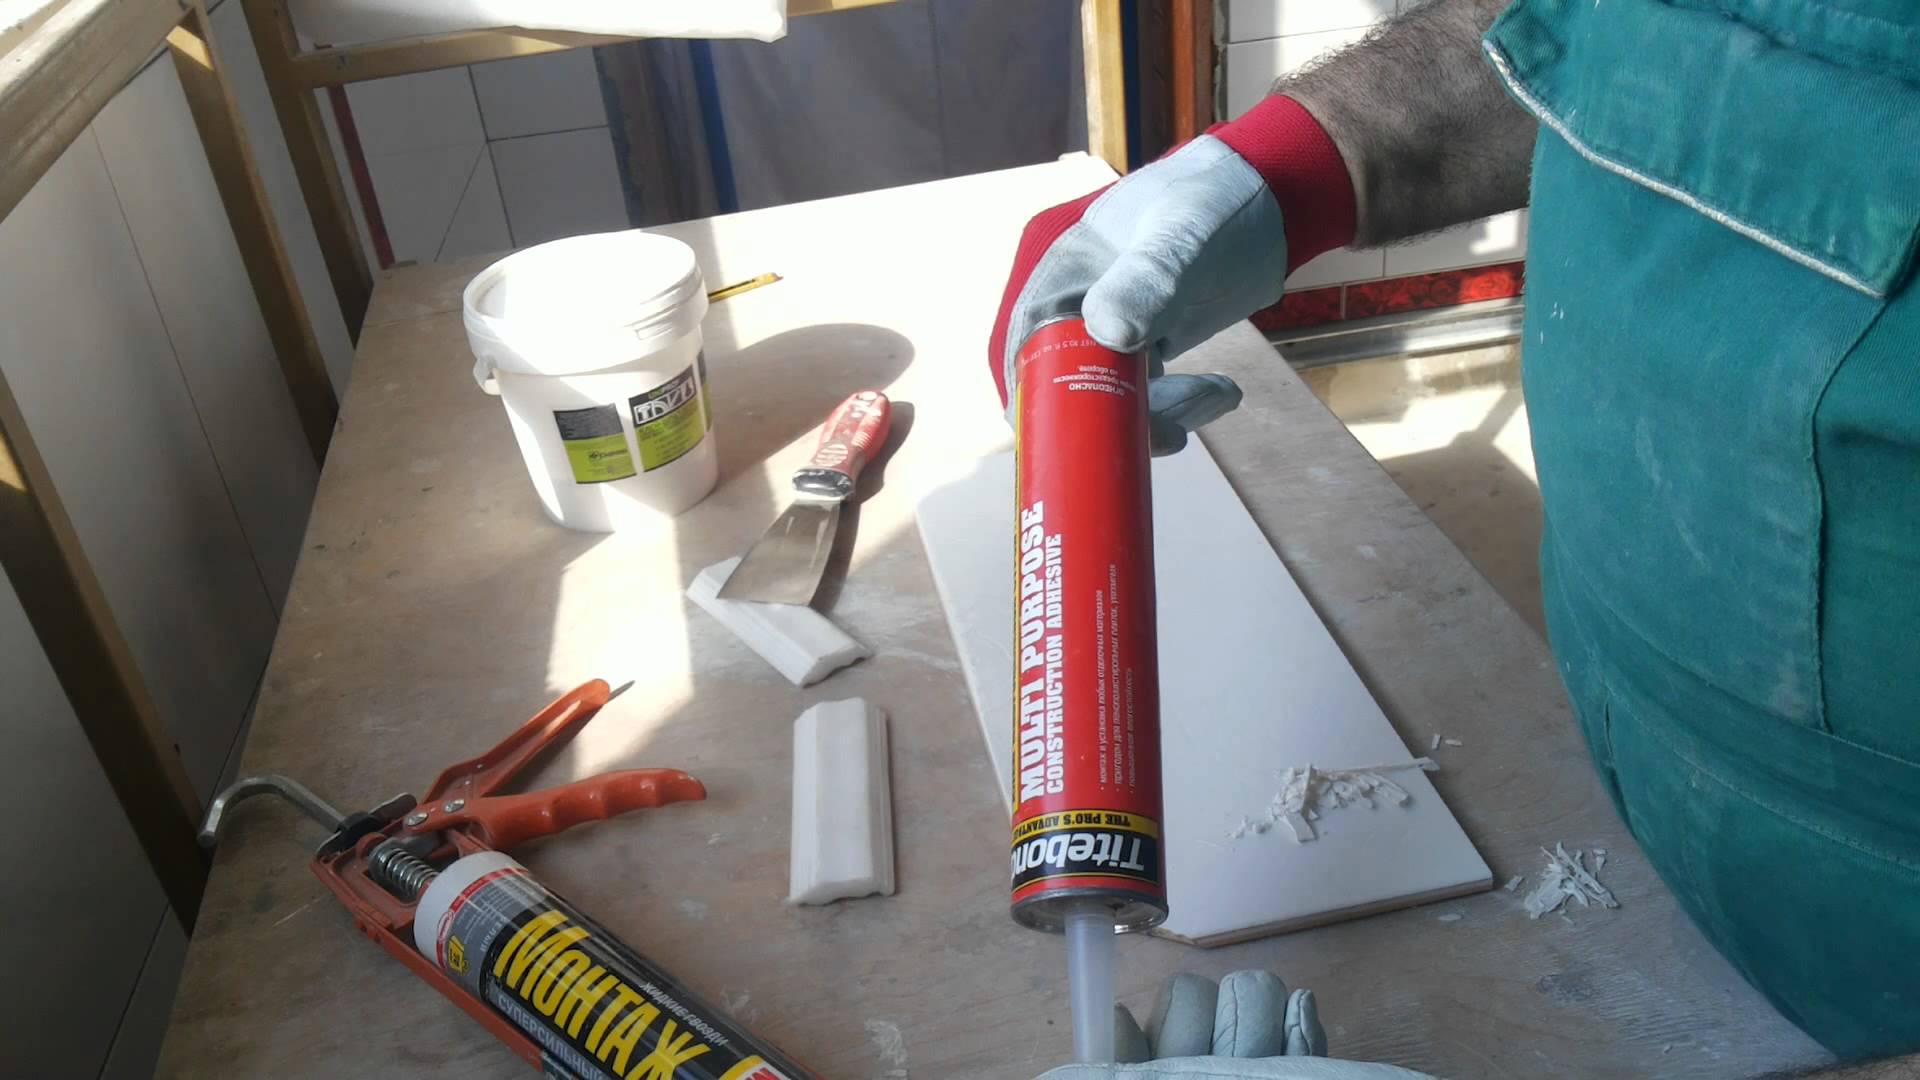
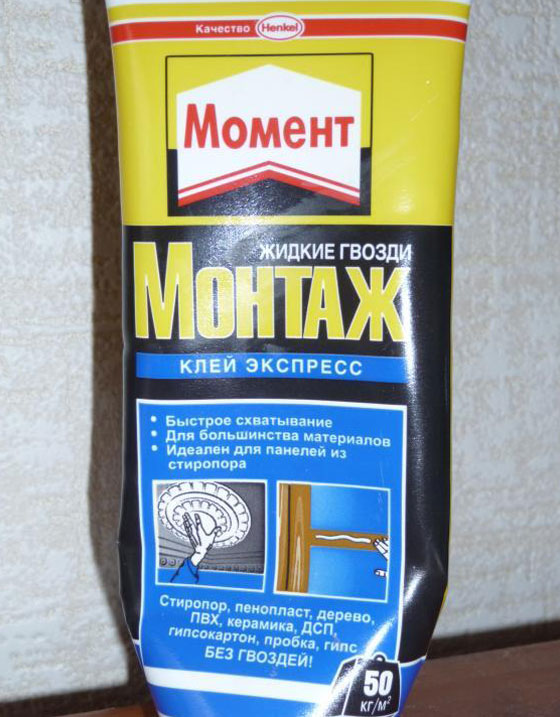
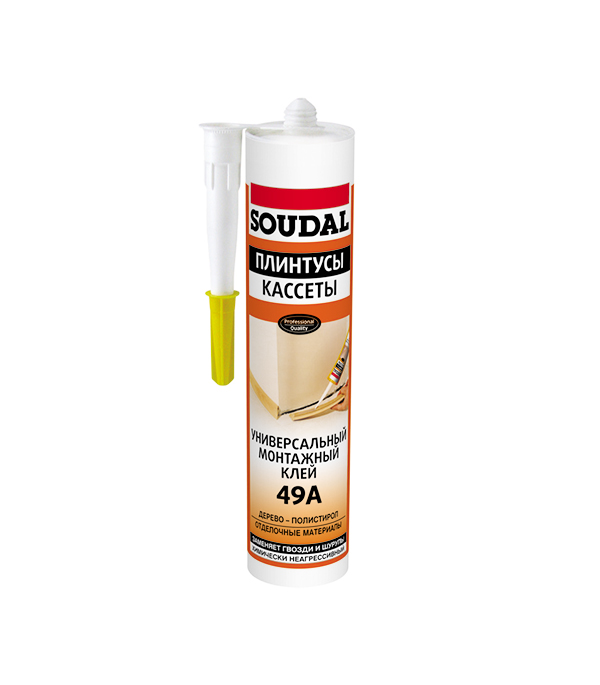
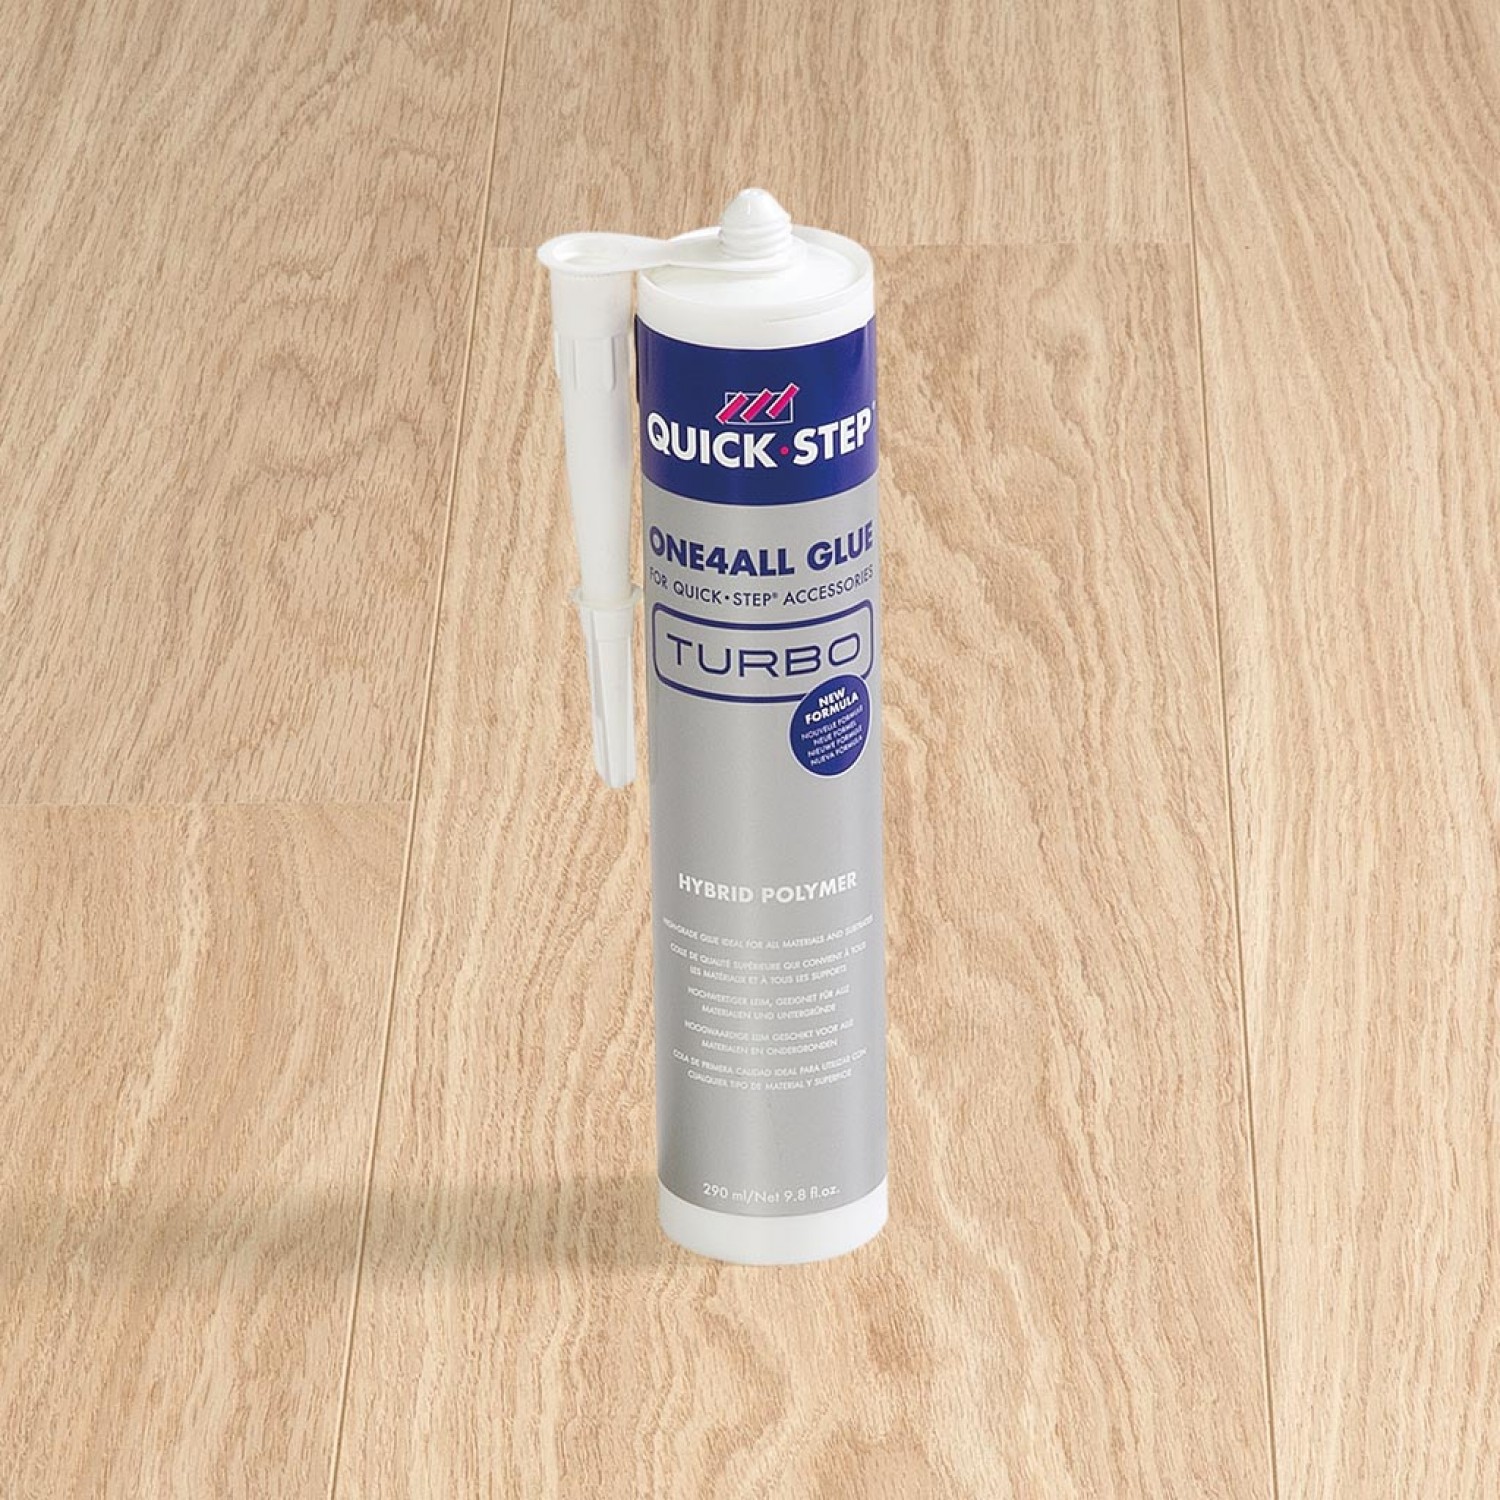
Liquid nails (acrylic or neoprene), acrylic putty (it helps to smooth out irregularities), special adhesives for polyurethane, universal polymer glue are used as glue. Such brands of glue as "Titan", "Dragon", "88", "Moment Montage" are widely used.
Installation using adhesives is carried out according to the following algorithm:
- The plinth is tried on to the installation site using a marking and a hacksaw, trimmed in length and joints are formed.
- If necessary, prepare glue (some types need to be diluted with water).
- You can glue the profiles directly onto the wallpaper, but for reliability it is preferable to glue them onto a prepared wall. To do this, the wall is cleaned of dirt, you can degrease it.
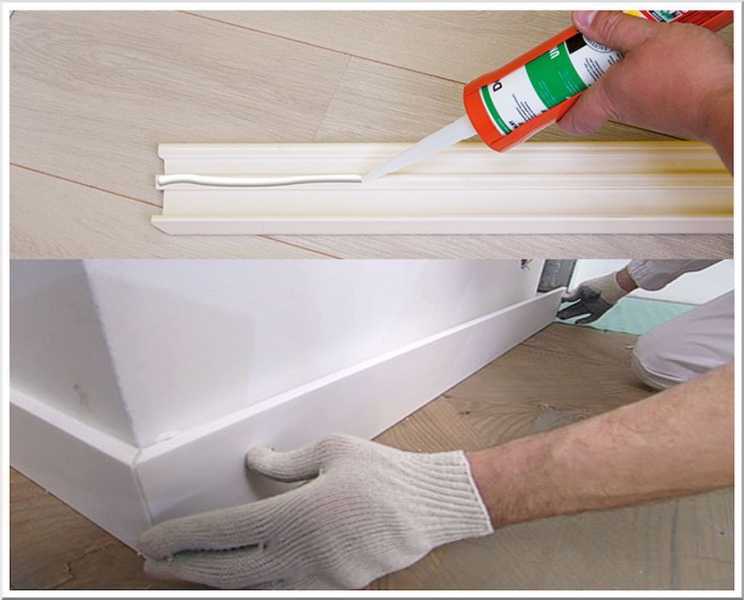
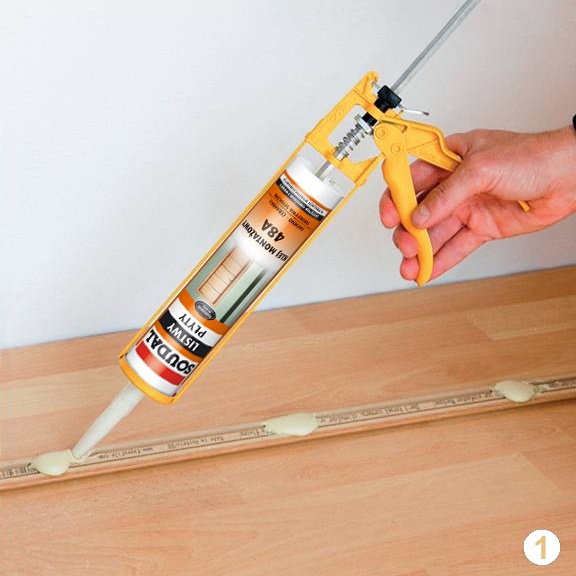
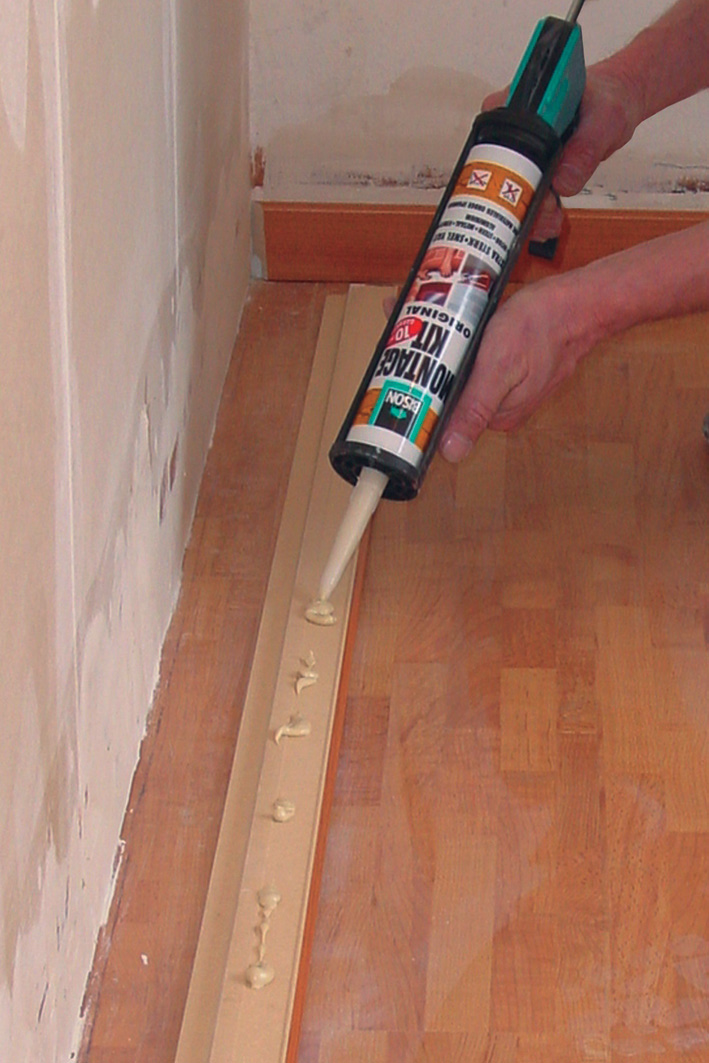
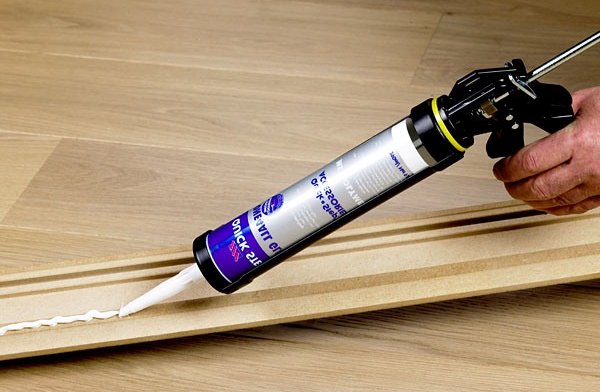
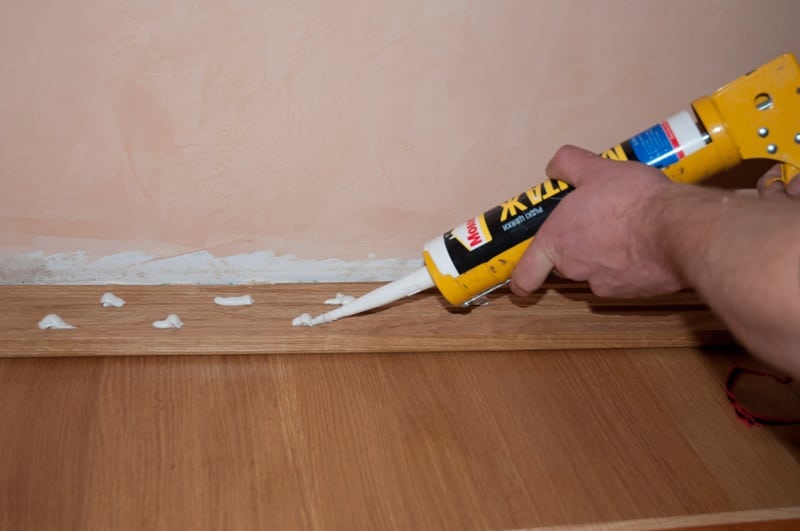
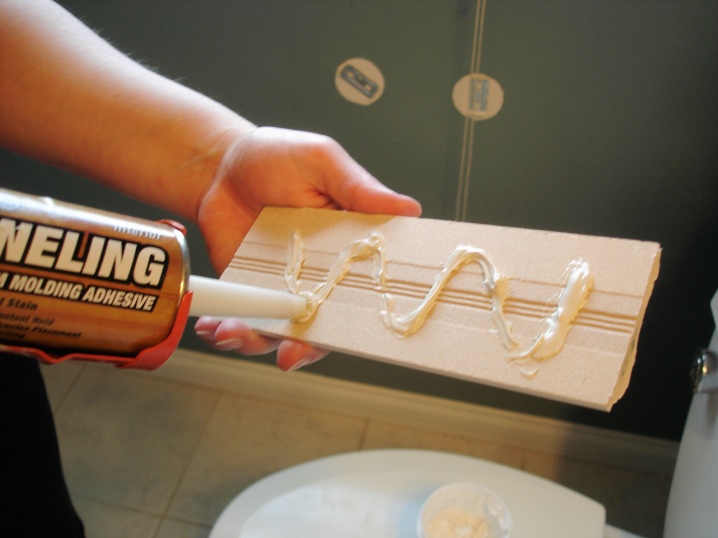
- The glue is applied to the surface according to the instructions for use. For example, liquid nails are applied pointwise, and with putty you can smooth out irregularities and cover up cracks.
- The skirting board is applied to the wall and held in this position until the glue sets.
- If glue drips come out, remove them immediately with a spatula.
Important! Working with neoprene liquid nails requires good ventilation. The pungent odor that remains after installation disappears after a few days.
For self-tapping screws
Usually, wooden or plastic skirting boards are installed on self-tapping screws. This method is laborious, requires certain skills and accurate execution. But using this method, you can mount profiles even on relatively uneven walls.
This type of installation is performed as follows:
- Profiles can be adjusted in length and for joints in advance, you can do this during installation.
- Through holes are drilled in the profiles for self-tapping screws, in increments of 40-50 cm.
- The holes are processed with a larger diameter drill to form conical grooves that allow you to hide the caps of the self-tapping screws.
- The plinth is applied to the installation site. Through the drilled holes mark with a pencil the places for the dowels
. - Holes are drilled in the marked places, dowels are inserted.
- Apply the profile again and fix it with self-tapping screws.
- The caps of the self-tapping screws are covered with plugs.
Video: installing the plinth on self-tapping screws
What is a flexible floor plinth for?
The decoration of curved walls, round columns and semi-columns often becomes a problem. The walls in the bay window are also usually round. Some make rounded corners. All this looks beautiful and makes the house unique, but problems arise in the decoration. One of them is in the selection of skirting boards. They are usually in the form of strips, and quite rigid. The question arises - how to arrange curved surfaces?
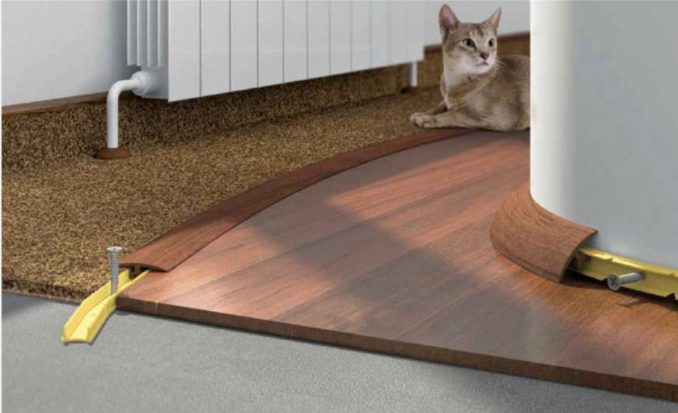 For the decoration of curved walls and columns there is a special plinth - soft, flexible, elastic
In general, there are flexible skirting boards. They are also called bending, radius, soft, radial, or so they write - "for columns". There is also a plinth tape. This is a vinyl strip divided along a fold line (pictured below). There are products more similar to traditional skirting boards. For example, FLEX LINE CEZAR, SALAG, FN Neuhofer Holz, Korner IDEA 80 (paintable) and Ultima 80, Nova 70 with cable duct, thin metal Arbiton. Some materials can be made to bend by temperature or special processing. In general, there are opportunities.
Installation of polyurethane ceiling skirting boards
Now let's see what technology is used to mount polyurethane skirting boards on the ceiling. Their installation is carried out in several stages.
Choosing an adhesive for planks
To install elements made of polyurethane, you can use "Moment Montage" super strong glue or any other similar liquid nails. Also, sometimes the planks are attached with glue designed for tiles. However, the best solution is a special adhesive for polyurethane skirting boards. At the same time, for a city apartment, you need to choose an option designed for gluing strips of this material onto concrete.
Polyurethane elements are glued onto special glue
To glue the ends between the planks, use a special joint glue. After its application, a melting effect occurs. As a result, when the elements shrink, the joints do not diverge in the future.
Surface preparation
The surface of the ceiling and walls must first of all be thoroughly cleaned of dirt and dust.
It is very important to remove all greasy stains
The walls and ceiling must be degreased before gluing the polyurethane ceiling skirting board. Photo of surface cleaning
Tip: Degreasing can be done with an alkaline household detergent solution. Of course, before installation, you should wait until the surface is completely dry.
Further, the surface of the walls and ceiling is primed. This step is optional and can be skipped if desired.
How to glue polyurethane strips
Install the polyurethane ceiling skirting board as follows:
- The plank is coated with glue on the side with which it will adhere to the surface of the walls and ceiling;
- Next, you should firmly press it to the surface and hold it for a little while;
- After that, they tear it off and wait about one minute;
- Then it is again pressed against the ceiling and wall and held in the desired position for a minute.
Polyurethane ceiling plinth. Photo of a tightly pressed plank
- Joints and gaps between the ceiling and the planks are putty. An acrylic sealant can be used for this purpose.
The gaps between can be covered with putty or acrylic sealant
Tip: On a curved surface, the planks can be temporarily fixed with small studs so that they do not come off. After the glue has set, they are pulled out with pliers.
Thus, you can reliably attach the polyurethane ceiling skirting board. Mounting (the video demonstrates a step-by-step process) it on glue is a matter that requires a certain amount of accuracy.
Mechanical installation
Sometimes polyurethane skirting boards are mechanically attached to the ceiling and walls. In this case, the corner elements are mounted first. Further on the wall with self-tapping screws with a step of 30-50 cm, a mounting plate is installed, which is included in the kit.At the final stage, the skirting board is simply snapped onto the plank elements.
Polyurethane skirting boards can be installed on special strips
It is best to fix polyurethane elements on stretch ceilings mechanically. Firstly, from the vibrations of the canvas during drafts, the strips attached to the glue can loosen and move away. Secondly, due to the effect of the adhesive, wrinkles are often formed on the canvas.
Corner decoration
Without the use of special elements in the corners, the polyurethane ceiling plinth is fixed by first cutting off the ends of the planks at an angle of 45g. For this, a miter box is used. In both cases (when installing on glue and on self-tapping screws), the ends of the two corner strips must be glued. This is best done before installing the skirting board in place. In this case, it is worth using glue designed for the joints of polyurethane strips. It holds very well, and therefore the corner of the two planks will not fall apart. How to cut the planks? Most often, an ordinary clerical knife is used for this.
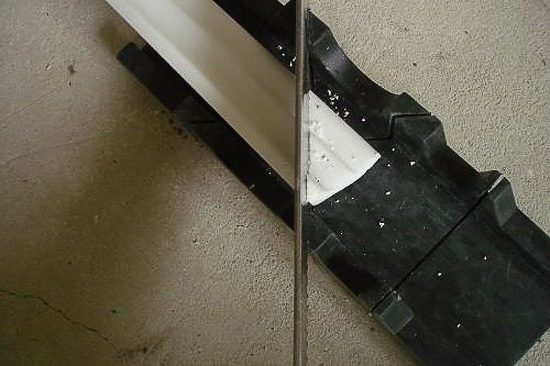
Cut polyurethane skirting boards using a miter box
The advantages of plastic skirting boards
Among the varieties of skirting boards, plastic is the most popular for many reasons. Polyvinyl chloride is renowned for its durability and strength.
The lifespan of plastic floor slats is up to 100 years. They are fire and moisture resistant, safe, so they can be installed in any room.

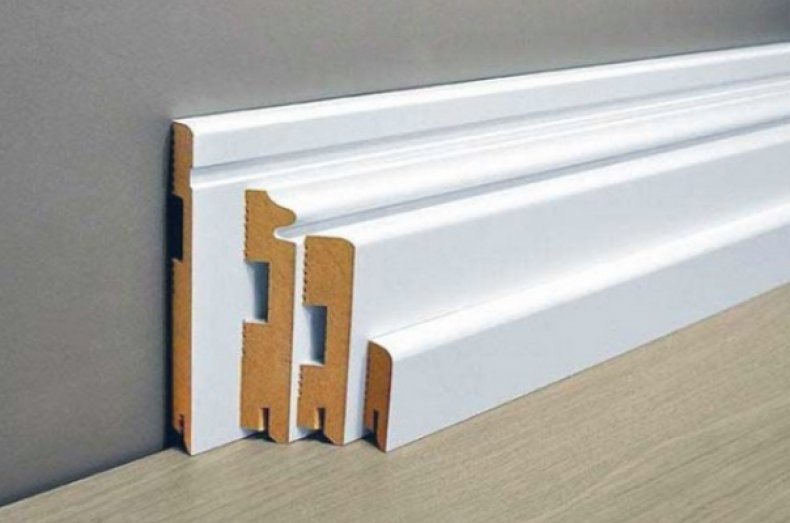
Dimensions and construction of plastic skirting boards
Skirting boards are easy to install, cut with a sharp knife, and their cost is not high.
Compared to wood and plaster planks, plastic planks are flexible. Their color palette is huge, which does not limit the choice of the color of the interior of the room and allows you to fit into the general background as much as possible.
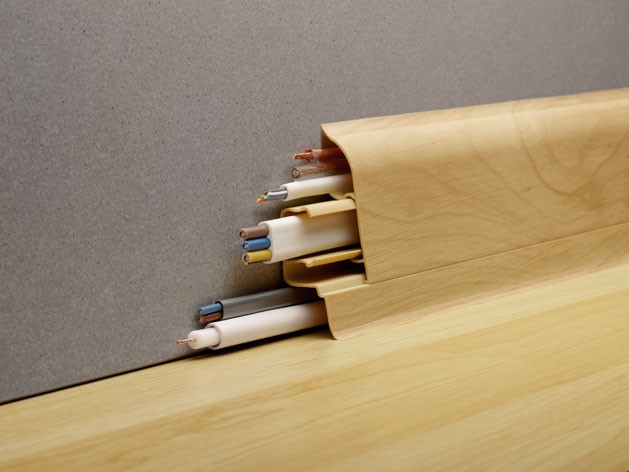
An additional plus is the equipment of some models with a special groove in which the wires are laid.
Trimming products
Correct trimming of the material used affects the final result. Therefore, when a problem arises of how to fix a larger skirting board, you need to use simple tips:
How to cut? For this process, a metal saw with a blade that has small teeth is used. Alternatively, you can use an electric jigsaw, to which special files are selected.
When the fastening of the parts has already been made, but there is a need for a slight adjustment, a sharp construction knife is used
This device must be worked very carefully so as not to damage the front side.
It is advisable to cut the plinth only after careful measurements. A miter box is used for cutting at the desired angle.
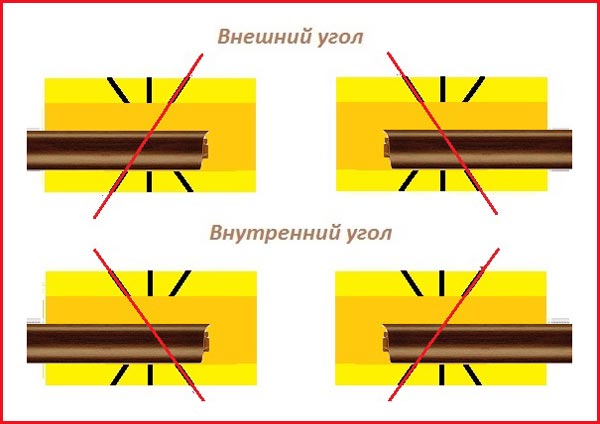 Skirting trimming: outer and inner corner, arrangement of parts in the miter box
These simple tips make the process much easier and allow you to install the elements in the best quality.
Advantages and disadvantages of polyurethane skirting boards
The main advantage of this decor is its flexibility. It can be just an ideal option for decorating apartments, the walls of which are distinguished by a complex configuration - they have rounded corners, niches and arches. Of course, it will look good on flat surfaces. How apartments decorated using such strips can look like, look at the photo:
Pros and cons of polyurethane ceiling skirting boards
Polyurethane ceiling skirting board has a number of undeniable advantages:
- A wealth of colors and textures. In addition, you can use both wide and narrow decor options to decorate a room;
- Easy to care for. In case of contamination, such strips, unlike foam strips, can simply be washed with a solution of any household detergent;
- Environmental friendliness. If desired, such a ceiling plinth can be glued even in children's rooms. Polyurethane foam is a foamed plastic material.In fact, this is the same foam rubber, only tough and flexible;
- Resistant to deformation. You can use this decor, in contrast to the same tree, even in bathrooms.
Polyurethane strips can mimic stucco molding
The polyurethane ceiling plinth has only one, but a rather significant drawback - a lot of weight. Foam planks, for example, are much easier to mount.
Important: Polyurethane foam skirting boards should be fixed only with special glue. Otherwise, they will soon simply move away from the walls and sag.
Floor plinth
The polyurethane floor skirting board has all the advantages of a ceiling. In addition, one can also note such its advantage as mechanical strength. In case of an accidental impact, scratches are not formed on it, like on a wooden one or holes, like on a plastic one.
The polyurethane skirting board looks very neat and at the same time is distinguished by its mechanical strength
Used both for floors and ceilings, thanks to their elasticity and flexibility, polyurethane strips perfectly hide all imperfections in the surface of the walls.
In addition to the large weight, the disadvantage of this type of decor, both floor and ceiling, is also considered a rather high cost. Its price is comparable to that of a tree. However, such a framing of the floor looks no worse:
Pros and cons of fixing the floor plinth with glue
When fixing plastic skirting boards to the floor, it is preferable to use adhesives. This choice is due to the fact that liquid nails:
- do not cause mechanical damage to the plinth, walls and floor;
- provide fast and reliable fixation;
- they have universal properties (they can stick to almost any surface);
- create an elastic and elastic connection that does not allow moisture to pass through.
The main disadvantage of liquid nails is that the surfaces must be leveled before gluing the skirting boards. Without this, the structure will not be fixed to the wall or floor.
Varieties of formulations used
In construction, during the repair of residential premises and their final finishing, the following adhesives are used:
- liquid Nails;
- silicone sealants;
- docking;
- putty;
- polymer compositions;
- hot glue.
Liquid Nails
It is considered a universal glue used to work with:
- tree;
- metal;
- drywall;
- glass;
- Chipboard.
The substance reliably fixes the glued elements with each other, allowing you not to worry about the safety of the repair. The only drawback is considered to be poor compatibility with wet surfaces, which do not allow the composition to securely fix.
Silicone sealants
Viscous adhesives, the main advantages of which are:
- fast hardening;
- elasticity of the seam;
- waterproofness;
- long service life.
It does not perform well when working with damp surfaces or materials that contain plastic.
Docking
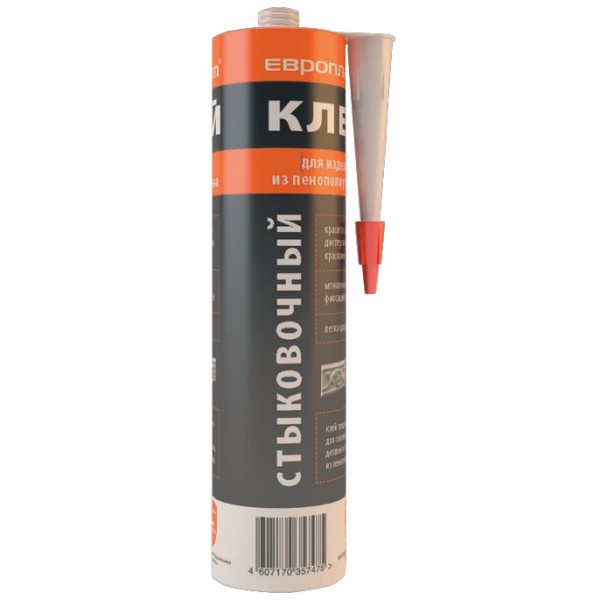
Special glue for working with skirting boards, which often include polyurethane. It is much more effective than liquid nails. It is used to fix the ceiling plinth at joints and transitions. Advantages of glue:
- quickly grasps with the working surface;
- paint fits well on it;
- has a great adhesive power.

Polymeric
A universal product that has a large number of positive reviews from customers. Pros:
- strong adhesion to the treated surface;
- dries quickly;
- economically consumed;
- easy to apply even to hard-to-reach areas.
Putty
Putty is considered a worthy alternative to glue. Its application allows you to achieve:
- reliable, durable fixation of the skirting board;
- fast drying of the seam.
Disadvantages:
working with putty is more difficult than with glue and, in most cases, only experienced finishing masters work with it.
Hot glue
It is used in cases where large temperature differences are recorded in the room where the skirting boards are installed. Hot melt adhesive is easy to apply, does not have an unpleasant, specific odor and hardens quickly.
Plinth installation options
The skirting board can be fixed to the floor in various ways. These include:
- attachment with screws and nails;
- anchor or clip fastening;
- gluing to the back side;
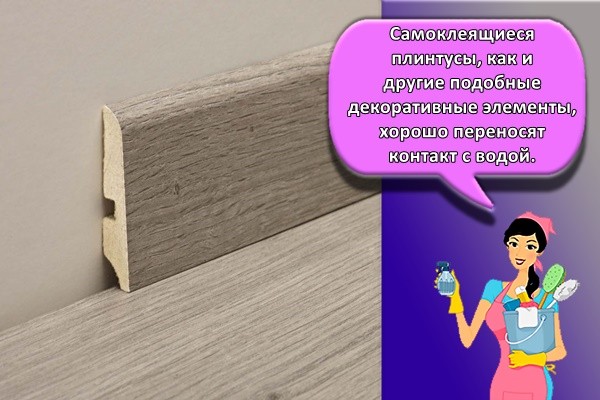
- Using a self-adhesive skirting board for the floor.
Thus, you can securely fix the planks in the designated place without damaging the structure. Most often, this method is used when working with wood products that can crack under the influence of a hammer or screw.
Elements for fixing plastic skirting boards.
The objective advantages of liquid nails include, first of all, the fact that their use in no way spoils the surface of the finishing material. After fastening, you can not notice any dents or abrasions from the hammer. At the same time, you will not need to suffer with decorating hats from nails or self-tapping screws, which in any case will remain noticeable. The advantages of attaching a plinth to liquid nails are:
- high quality adhesive fastening base;
- quick fixation of the parts to be connected;
- the ability to use with any building materials: from natural wood and stone to synthetic materials such as ceramics, plastic and MDF.
- The advantages include the possibility of using these fasteners in conditions of high humidity levels, which makes it possible to glue the baseboards to the floor in any room of the house: living room, kitchen, bathroom or toilet.
What types of glue are there?
The choice of mounting adhesive for fixing the ceiling plinth is determined based on the weight of the part and the material from which it is made. In order to firmly adhere the molding to the ceiling or wall, you need a quick-setting glue, which over time will not lose its properties under the influence of ultraviolet rays, moisture or temperature changes. You can fix the plinth to the surface to be decorated using various quick-drying compounds, but you should be aware that so-called liquid nails are suitable for smooth molding surfaces, and styrofoam adhesive mastic is used for working with porous surfaces.
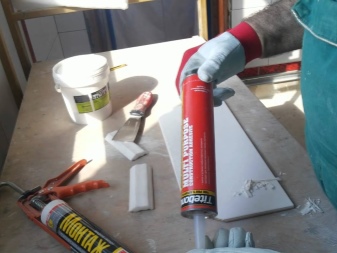
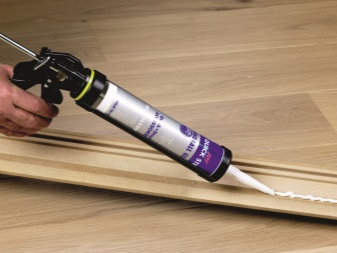
The most commonly used adhesives for mounting ceiling plinths are divided into groups.
Polymer mixtures
This is the most common type of adhesive that has good viscosity and fast curing properties. Polymer adhesives are quite resistant to temperature extremes ranging from positive to negative values, such formulations can operate in the range from -60 ° C to + 80 ° C. It is possible to carry out installation work with polymer glue both in a warm room and in unheated areas.
The adhesive made from polymers is resistant to even very high humidity, therefore it is used for fixing the ceiling plinth in the bathroom or in the kitchen.
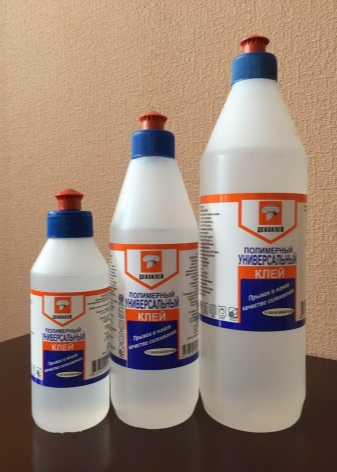
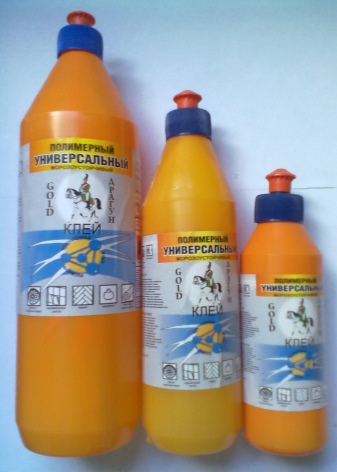
As for the cost of such glue, it refers to the budget and medium price option.
Although it must be borne in mind that such a product has a certain expiration date, and when it comes to an end, the trading companies reduce its price in order to quickly sell the goods that are lying on the shelves. It is not recommended to use adhesives with an expired shelf life.
In terms of versatility, the polymer product is very convenient. It can be used to glue moldings made of polyvinyl chloride, polyurethane, foam. Such a composition does not corrode the surface of the decor and provides it with good adhesion.
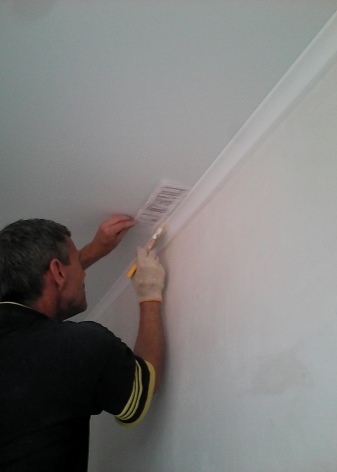
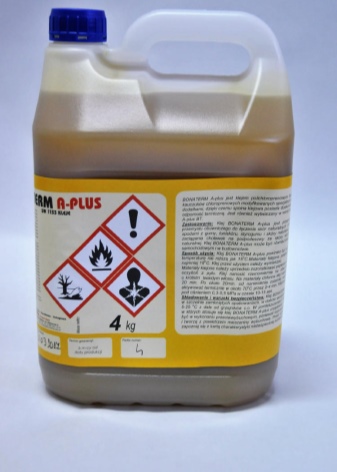
Liquid Nails
This type of adhesive is universal, it is suitable for fillets of any type, made of any kind of material.Liquid nails set quickly and hold even heavy polyurethane skirting boards securely. The composition of liquid nails is designed in such a way that it does not destroy the surface to be decorated and the molding mounted to it.
There are two types of liquid nails.
Acrylic composition is a modern universal glue that is not toxic to humans during installation work, since it contains acrylic and water, but at the same time, the glue is not able to withstand the effects of high humidity. For this reason, acrylic liquid nails are not used for installing ceiling decor in a bathroom or kitchen.
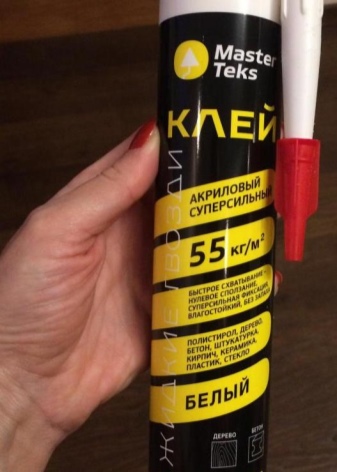
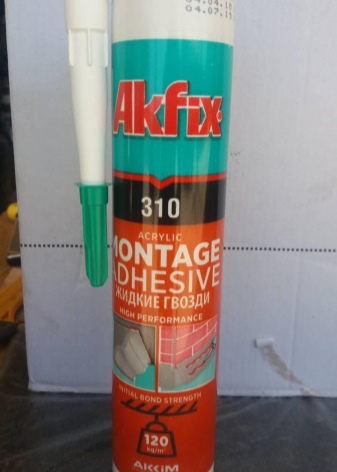
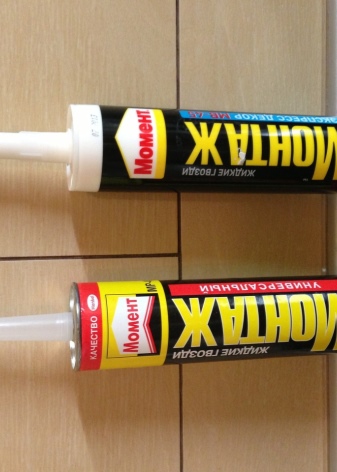

The use of liquid nails is advisable where the surface to be decorated is even and smooth, since these adhesive mixtures do not provide an opportunity to correct small imperfections in the wall or ceiling. Liquid nails can be used on skirting boards made of wood, polyurethane, plaster or PVC.
Types of plastic floor skirting boards
The range of products is presented:
-
Skirting boards with different base fabrication methods. From this parameter, all plastic skirting boards: semi-rigid, characterized by increased flexibility, easily mounted on curved sections, it is possible to paint in the color of the walls; hard - the most affordable and common; soft - foamed. The latter have good thermal insulation, often needed to reduce heat loss through the floor.
-
Products with different functionality. Depending on the intended purpose, there are ordinary decorative plastic strips with a solid section, hollow skirting boards with a cable channel to hide electrical communications.
-
Materials compatible with different types of floor coverings: universal profile with rubberized inserts at the edges; ordinary skirting board for linoleum, simply screwed to the walls or floor; L-shaped under the carpet, with the function of pressing the covering (fixing a strip of carpet on the outside of the profile).
The outer covering can be matte or glossy, it is possible to combine color and texture with the floor covering. Separate standards are advanced for quality, according to GOST, have the same cross-section along the entire length, clear dimensions, smooth outer coating and neat edges. With a standard length of 2.5 m, the width of the plastic skirting boards is in the range of 14-24 mm, the height is 40-150 mm.
Varieties of fillets
Fillet is the second name of the plinth, obtained for the presence of a groove on the outside of the part. Among the most common materials used in the production of fillets are:
- foam products;
- polyurethane products;
- wooden skirting boards;
- PVC profiles.
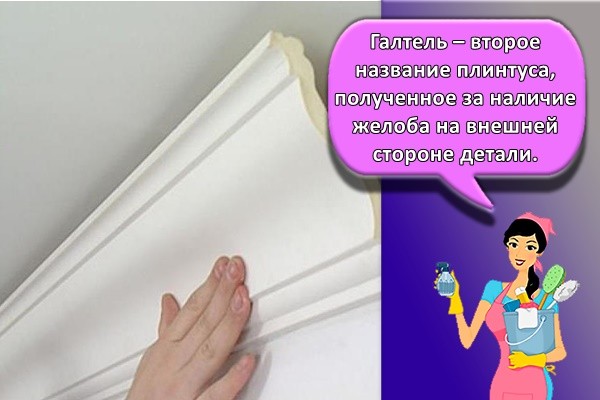
Polyurethane
Polyurethane skirting boards differ from others due to:
- The density of the material, due to which polyurethane products are strong and durable.
- Beauty. Decorative elements on polyurethane are more visible than on other materials.
- A large selection of colors and styles, significantly expanding the range.
- Possibilities of installing a hidden suspension.
Foam
A material that, despite its low cost, has a decent set of positive characteristics:
- low weight of products;
- ease of installation.
Disadvantages:
- fragile;
- afraid of high temperatures;
- interacts poorly with some types of glue.
PVC profile
Affordable and high-quality material, noted by both professional finishers and ordinary people. Pros:
- heat resistance;
- does not collapse under the influence of ultraviolet radiation;
- easy to handle and install;
- not afraid of exposure to water.
Minuses:
- not suitable for installation on curved walls;
- with prolonged exposure to high temperatures, it begins to deform.
Wooden
This material is gradually falling out of use, being replaced by cheaper and more practical brothers. Despite this, wood skirting boards have a lot of advantages:
- service life is not inferior to most alternative materials;
- wood products are the most environmentally friendly;
- the beauty;
- can be painted.
Disadvantages:
- difficult to install;
- are expensive;
- wooden skirting boards require special care.
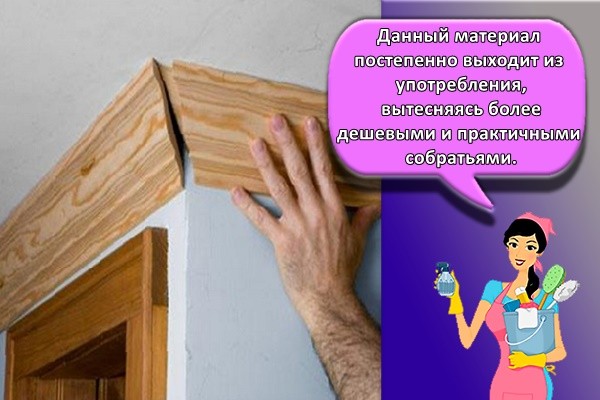
Material features
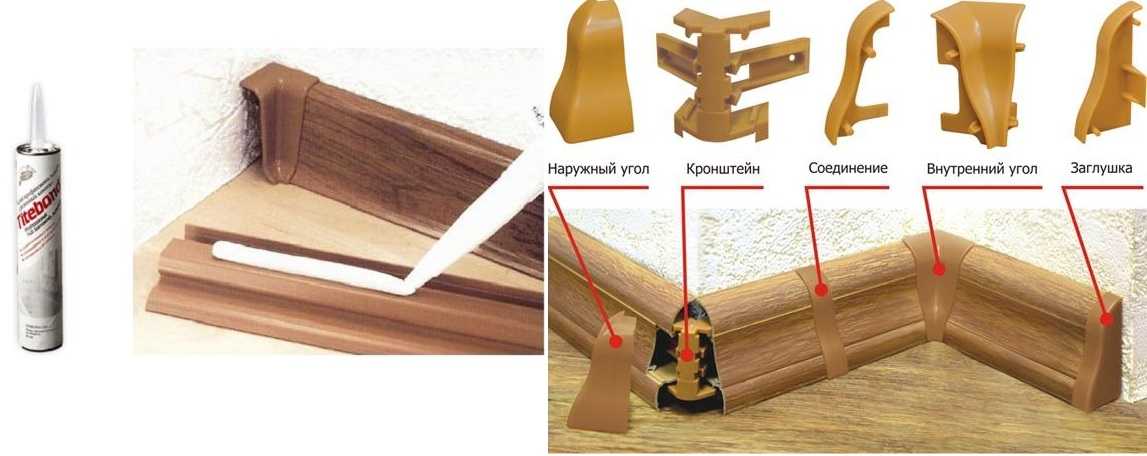
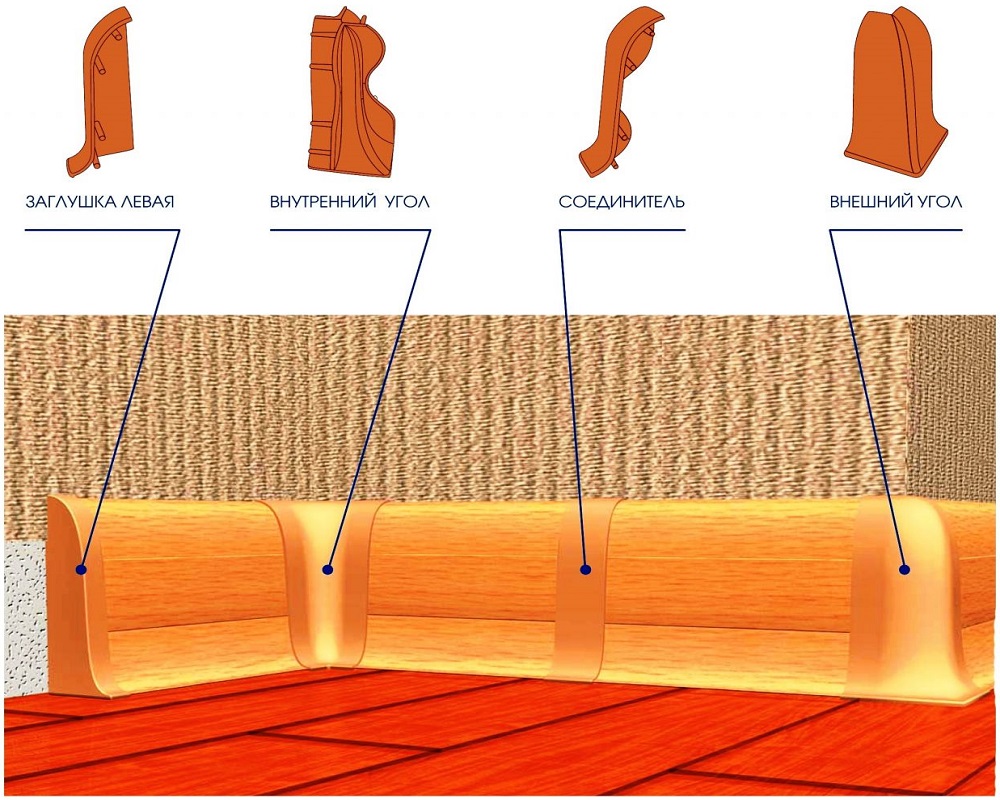
The main purpose of the skirting board is to complete the overall look of the interior, as well as hide all the flaws of joining with the wall. You should also know that planks made of different materials have their own characteristics. Plastic panels are completed with additional parts that simplify the fastening process - these are:
- end caps;
- line connectors;
- indoor and outdoor corner pieces;
- brackets.
Additional details are designed to hide the joints, including the corner joints.
The strips have special recesses designed to hide utilities (cables, electric wires, wires). Given this feature, you should know how to attach a plinth to a concrete wall so that it fully fulfills its function and looks beautiful. This minor detail makes plastic products more practical than wooden and MDF counterparts. Additional items are sold separately as each situation requires an individual quantity. Installation is carried out with special fasteners.
Installation of polyurethane skirting boards
Next, we will consider how to fix a polyurethane floor skirting board. It is also usually mounted on special glue. You should start gluing decorative skirting boards from the corner of the room. The work is carried out in several stages:
- The preparation of the surface of the walls and floor for the plinth is in progress. They must be thoroughly cleaned and degreased;
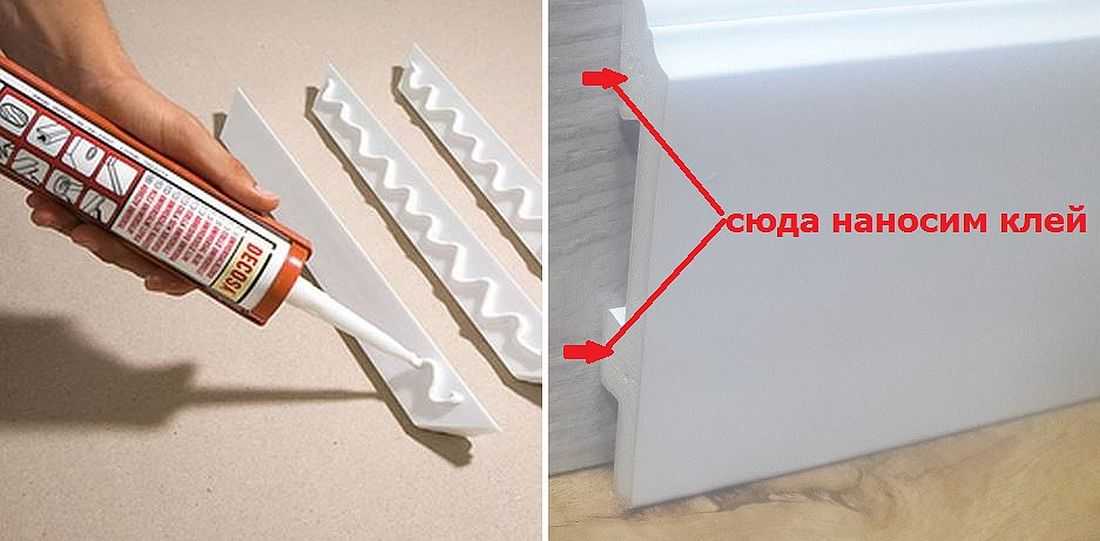
- The bar is coated with glue on the back. There are special grooves (shelves) here. The composition must be applied precisely to them, as well as to the ends;
The adhesive is applied from the back
- The plinth is firmly pressed against the wall and held for several minutes. You can push it against the wall with something heavy;
- The joints between the planks are treated with acrylic sealant.
Tip: In places where the walls are uneven, the polyurethane skirting board may slightly come off. In order for it to stick evenly over the entire surface, you just need to nail it with nails not all the way. Once the glue has set, they can be pulled out. It is worth grabbing the planks with nails at the corners.
Wide polyurethane skirting board looks very impressive in the interior. They glue it using the same technology. However, since it can give quite a significant shrinkage, the joints between such high planks sometimes diverge after a while. In this case, you should wait until the gap increases, that is, the skirting board shrinks completely. After that, the old glue will need to be removed. Further, the dispersed seam is filled with glue for joints using a syringe. As it forms a foam, care must be taken to ensure that it does not reach the surface by about 2mm during application.
The wide polyurethane floor plinth looks very impressive, but is somewhat difficult to install
The polyurethane skirting board can also be mechanically mounted on self-tapping screws. The video below shows this process step by step:
Selection and purchase of materials and accessories
There is a wide selection of different types of skirting boards
Sometimes, when buying, it is important not only to determine their appearance, but also to know the properties of a particular type of decorative element, to understand its advantages and disadvantages. Let's try to understand this issue.
Wooden
This type of skirting board is classic. Currently, wooden elements are often status items, made of expensive wood species. They can be both floor-standing and ceiling-mounted.
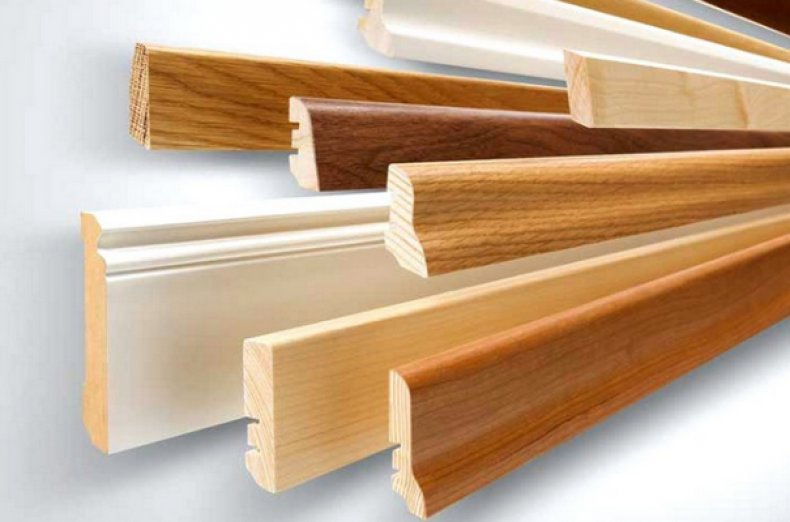
There are two types of them:
- the base is made of an inexpensive solid wood, which is covered with veneer from valuable wood on top;
- the whole element is an array made of one type of wood.
We advise you to read about how to install an outlet and a switch, how to remove paint from the walls, whitewash from the ceiling, how to glue the wallpaper, how to make a plasterboard partition with a doorway, and how to sheathe the walls with plasterboard.
The advantages of such a plinth include a wonderful appearance and texture, as well as environmental friendliness. The disadvantages are the high cost, the tendency to deformation from exposure to moisture, the complexity of installation.
Plastic and polymer
In this category, skirting boards from several materials are presented on the market. They all have their own characteristics, namely:
polyvinyl chloride (PVC) skirting board can be both floor and ceiling. Among the advantages, one can note an affordable price, ease of installation (special fasteners included in the kit are used), flexibility, durability, resistance to external conditions (moisture, fungus, etc.), ease of maintenance.
The disadvantages include the lack of wide elements and exposure to heat, which entails deformation and makes it undesirable to use a plinth made of this material over a kitchen stove or in the area of powerful light sources;
polyurethane skirting boards are used in both floor and ceiling versions. The high flexibility of the material allows it to be used to decorate rooms with complex configurations (niches, arches, curves). In addition, it is durable, durable, resistant to moisture and temperature extremes, environmentally friendly, and easy to care for. The disadvantage is its relatively large weight, which makes it difficult to install ceiling elements;
elements made of polystyrene (polystyrene foam) are suitable only for the design of joints between the wall and the ceiling, they are too fragile for the floor. Products made from this material are inexpensive, lightweight, resistant to deformation and fungi, and can be painted. The disadvantages include fragility, the ability to crumble during processing. Extruded polystyrene is more durable and crumbles less, but it also costs a little more.
Ceramic
Ceramic skirting board can only be floor-standing. It has a fairly narrow range of applications - it is perfect for rooms with ceramic floor tiles. Of the advantages, it is possible to note durability, strength, ease of care, absolute resistance to moisture. The downside is the fragility and comparative complexity of installation.
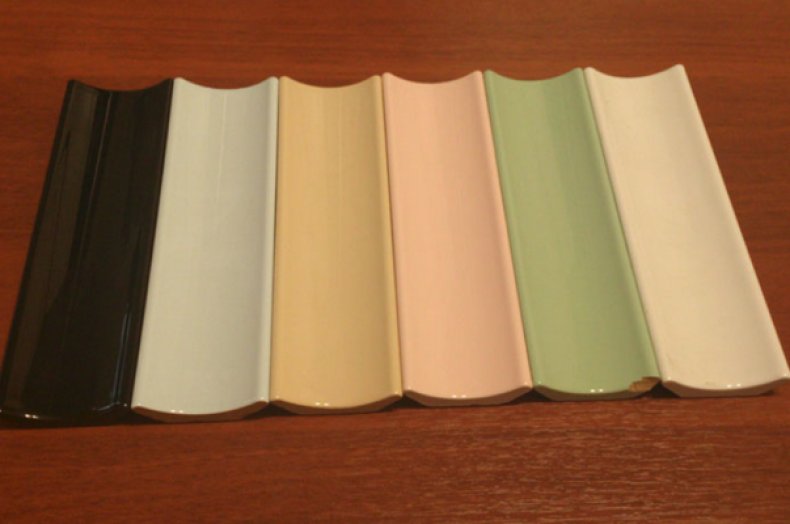
You will probably be interested in reading about how to install blinds on plastic windows, a water heater, a shower cabin, an instantaneous water heater and an air conditioning system.
Fiberboard, MDF skirting boards
Made of MDF (aka medium density fiberboard), the skirting board can be either ceiling or floor. Products made from this material are inexpensive, resistant to moisture, do not fade in the sun. But at the same time they are fragile, scratches and other mechanical damage quickly appear on them.
Installing a wooden skirting board

When working with natural wood, the planks must be left indoors for a day for acclimatization.
The cutting stage is the most difficult, because parts need to be joined with a minimum of gaps.
Working with a miter box, attach the resulting workpiece to one wall, cutting the second part of the corner until the planes coincide as closely as possible.
You may have to repeat it more than once, not every room has right angles.
Mounting on self-tapping screws is reliable, according to the technology, you first need to prepare a recess for the fastener head by countersinking. This will hide the hat in the array without protrusions.
The use of special nails allows you to skip the stage, the special shape of the head does not require preparatory work.
It is so narrow that it sinks into the tree itself. But drywall walls won't fit, nails won't hold.
The markings for fasteners are applied with an interval of 80-120 cm, then screw in the self-tapping screws so that the tip protrudes slightly above the surface on the reverse side.
When applying the skirting board prepared in this way to the wall, make a rough outline.
Then we drill and insert plastic plugs into which we screw the screws through the array until they stop.
How to attach a plinth to a plasterboard wall
There should be no problems with gluing - drywall walls are usually even. But when using fasteners - self-tapping screws - there are nuances. The most important thing is not to twist so that the plaster does not burst. There are a few more points.
- If a starting profile is launched along the floor, there can be no problems, but self-tapping screws for metal, and of good quality, must be used.
- Try to hit the racks. They should be located every 60 cm, which is exactly the same as the norms for the installation of fasteners.
- If there are no racks (the gypsum board is glued, for example), you can either try to use longer self-tapping screws - to anchor in the wall material, or use special self-tapping screws for drywall. They can be plastic or metal. Both are normal. They differ from ordinary ones in that their thread is much deeper. Due to this, the load is distributed over a large surface.
- If necessary, you can use special butterfly dowels.
 The difference between a self-tapping screw for gypsum board (top) and a conventional self-tapping screw for metal
In general, how to attach the plinth to the gypsum board depends on how it is mounted. Also on what kind of skirting board you are attaching.


