Nylon and Polyester
Items made only of artificial material will not stretch or shrink. This is only possible if the composition contains natural fibers.
Read the instructions before starting shrinking procedures. Study what the thing is made of, so as not to waste time and effort on reducing it at home in vain.
How to make your clothes shrink?
If a synthetic thing contains natural substances, it is possible to reduce its size. This is done in a washing machine or manually.
How to wash the product:
- Load the item into the machine. Add powder (it will wash at the same time), set the temperature higher than that indicated on the tag. Set the spin mode to medium.
- The maximum shrinkage effect will be obtained if synthetic clothing is soaked in cold liquid for a quarter of an hour. After that, you need to wash the product.
That is, the faster the product dries, the better the fabric will shrink.
Drying with modern technology can cause even greater shrinkage. If the usual one does not help, wet the product and place it in the unit.
Synthetic fabric quickly takes shape. It is enough just to wash things in hotter water.
If the clothes are made of spandex and lycra, then such manipulations on its shrinkage will be in vain.
How to sew a jacket to fit
So, you have made the decision to sew the jacket yourself. Now it is necessary to determine exactly where it needs to be sutured. Usually, women lose weight in the chest or waist, and this is what we will talk about in our article.
How to sew a jacket in the shoulders
Follow the presented algorithm.
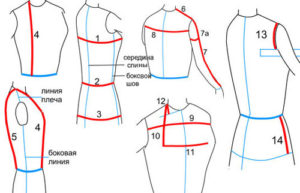
First, we do the chest girth - do not forget that you need to measure at the points of the chest that protrude the most, otherwise the jacket may be sutured in so much that it will become narrow for you, and you will constantly experience discomfort. On the back, the centimeter should be located just above the shoulder blades.
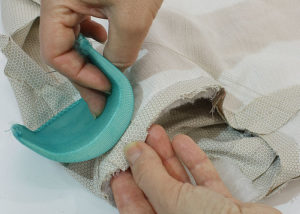
Now we strip off the shoulder pads.
IMPORTANT!
If there is a lining, it is imperative to unplug it - the side seam is unpicked by 15 cm.
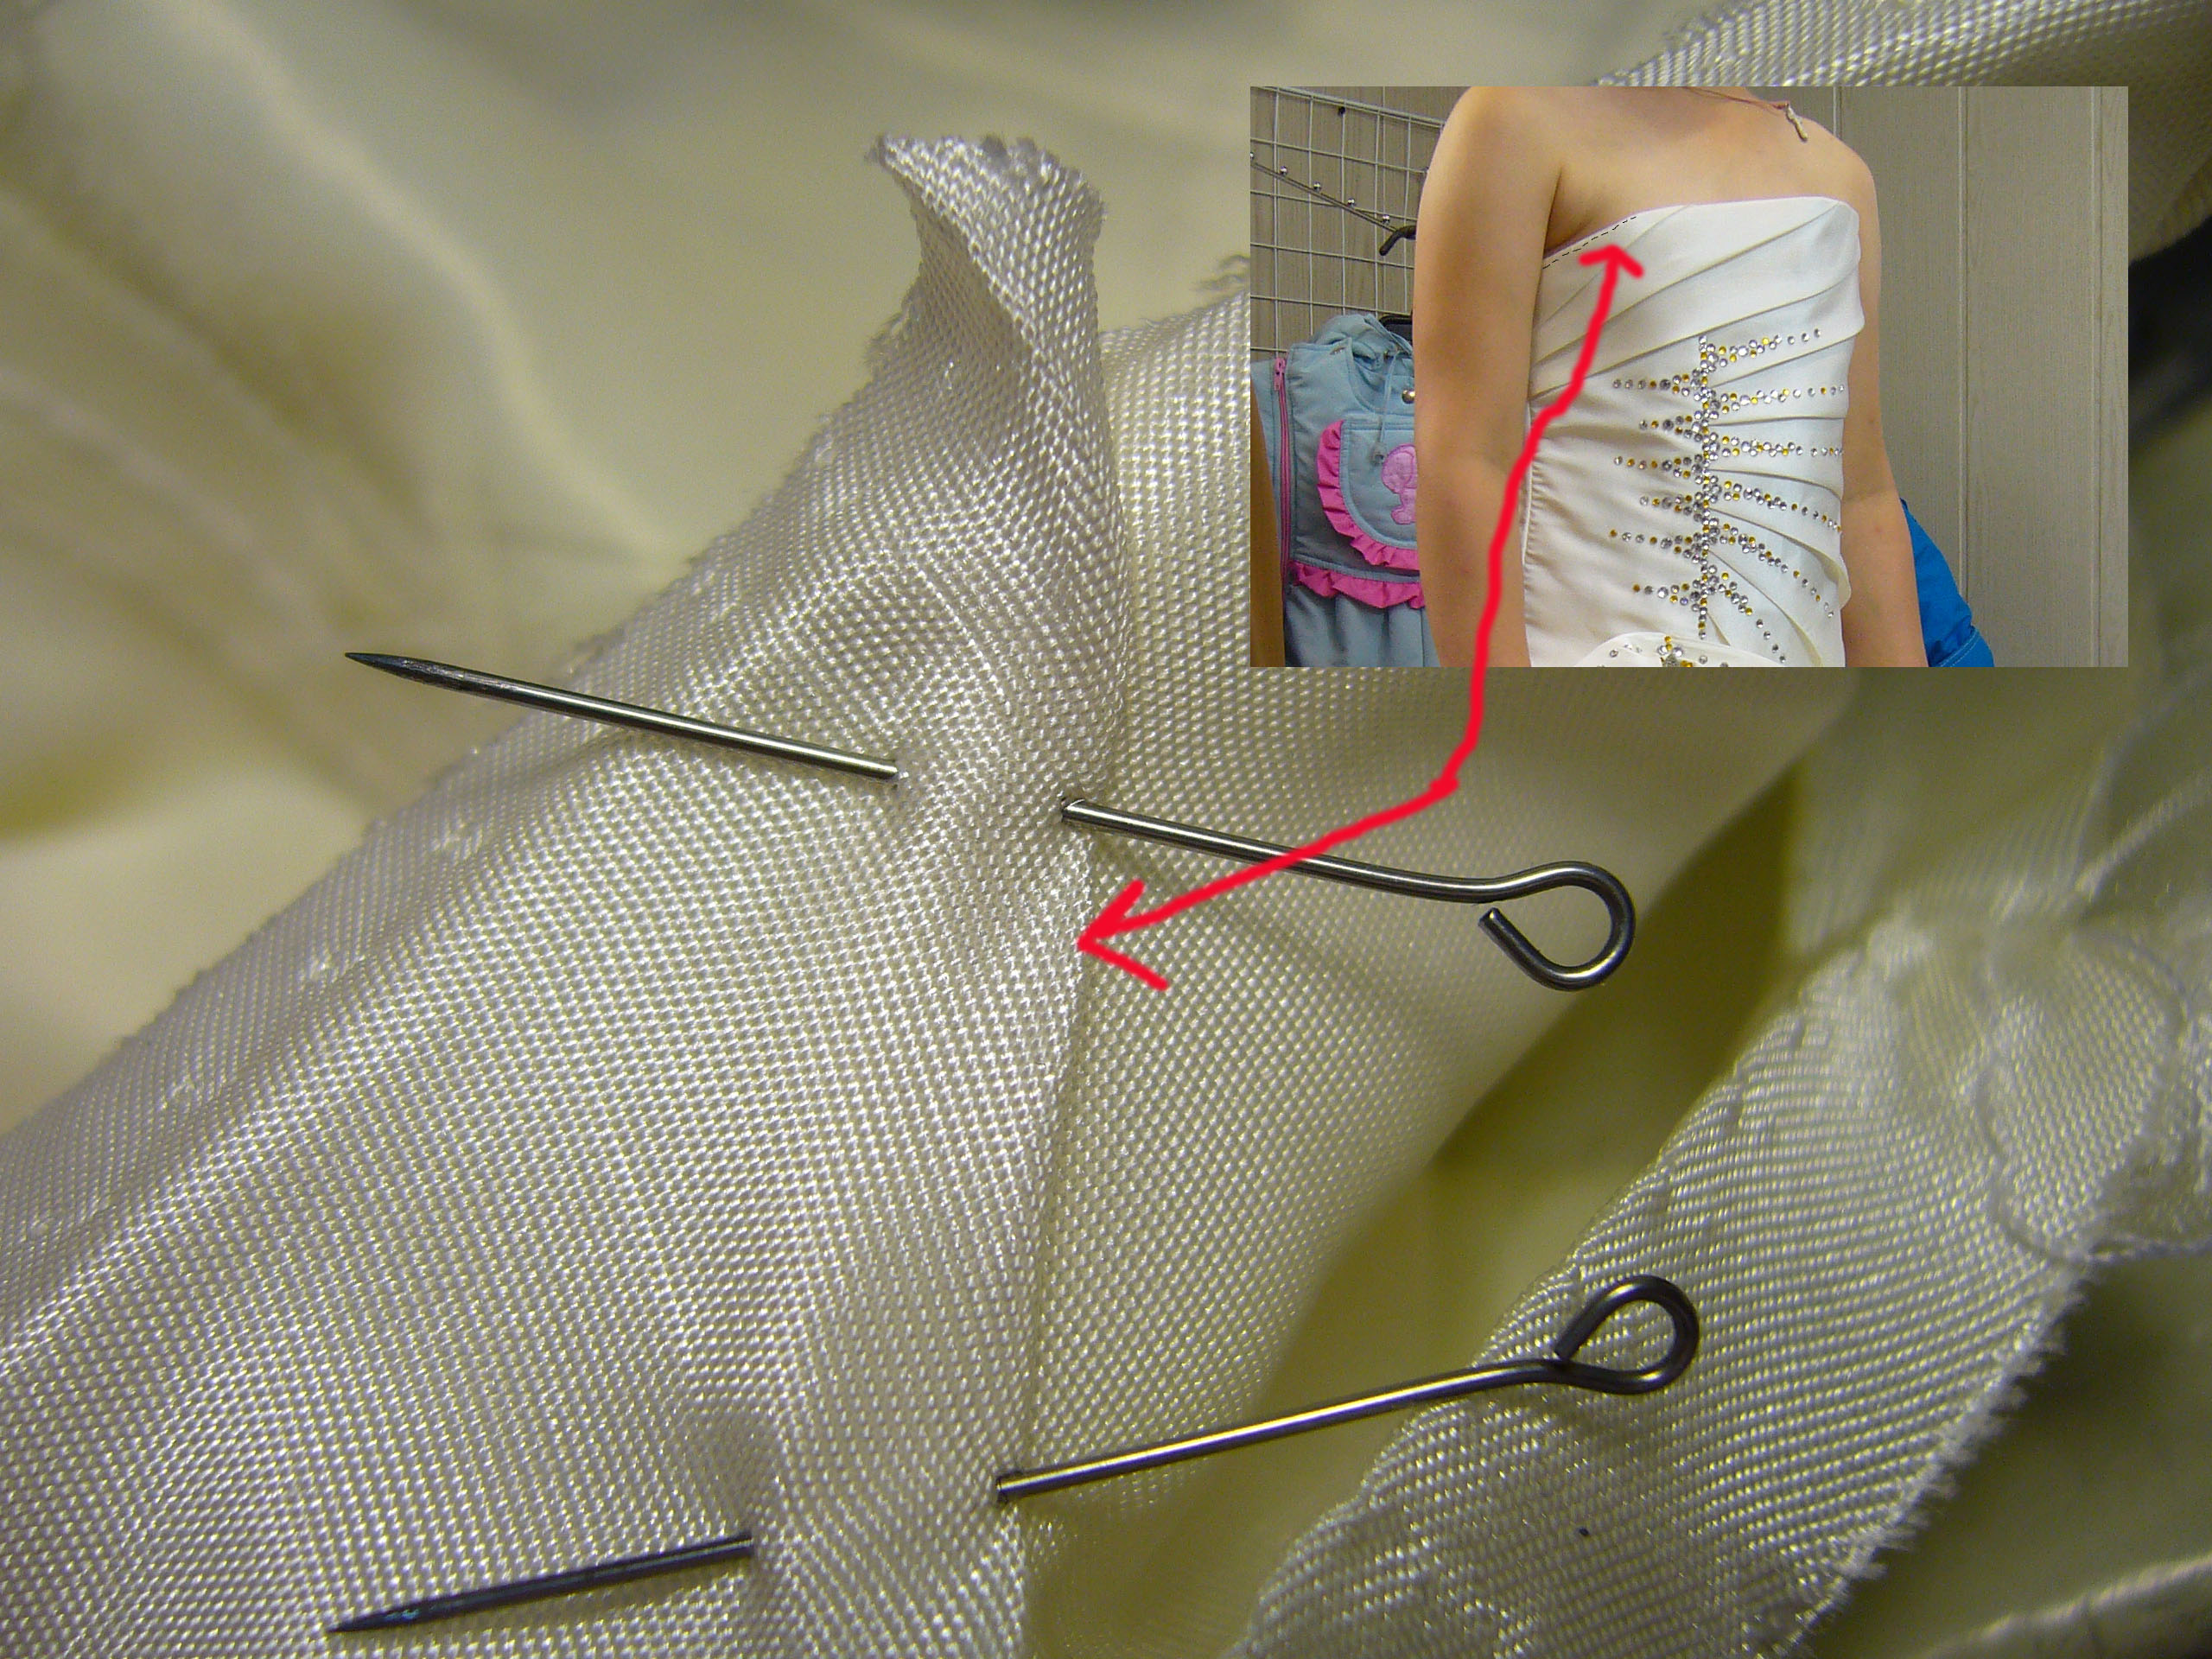
Now we put the shoulder pad so that its dense half is one centimeter from the shoulder. This will determine what size the cutout will be. The resulting ridge should be lifted and attached on one side and on the other to the seam on the shoulder. Then make sure it is pinned correctly to the shoulder seam and the resulting sleeve fits exactly the way you want it.
After that, we start applying marks.
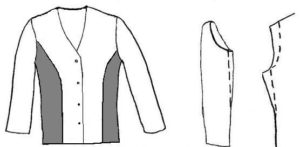
Be careful and attentive - something will go wrong, and you will have to start over and spend time and energy on what could be done once.
Draw a new shoulder line inside the lining. On the fabric, mark the places where the sleeves will be sutured. Also determine the locations for the new undercuts.
After these steps, you can already rip off the sleeve, but before that, do not forget to mark the top and bottom points. Excess fabric may remain on the shelf and back, they will need to be cut off, but a seam allowance must be left.
Ask an experienced seamstress for help if these tasks seem difficult.
IMPORTANT!
At this stage, you can change the width of the sleeve.
Most likely, you will need to make the sleeve already
Pay special attention to this, because having sewn in a jacket, but leaving too wide sleeves, you run the risk of getting a ridiculous outfit that will look untidy and ugly.
When all the necessary manipulations with the sleeves are over, you can sew it back on. To do this, slide the sleeve back into the armhole and make sure the collar is slightly larger in size. Do not forget to replace the shoulder pad, its thick part should protrude beyond the sewing line of the sleeve. Then sew it by hand to the overhanging seam of the sleeve.Normal stitches will work, so no special knowledge is required from you.
And at the final stage of work, you need to sew the darts along the previously marked lines.
IMPORTANT!
Do not forget to iron fresh seams.
Now for the most exciting moment - try on the jacket and check if you are satisfied with the way it sits, if you did everything right! If the result is satisfactory, then you can sew up the ripped seam with a clear conscience. The work is over!
Sewing a jacket at the waist
For this procedure, the algorithm of actions is as follows.
If you need to sew the jacket at the waist, then the first step is still taking measurements. The already mentioned chest girth and the narrowest part of the waist.
IMPORTANT!
Watch how much you squeeze the tape when measuring your waist. It should not dangle, but you should not pull it too tightly - as a result, you will sew the jacket so tightly that you will experience discomfort with further use. The best option would be a tight, but not tightening girth (in the manner of a corset).
Fitting the product.
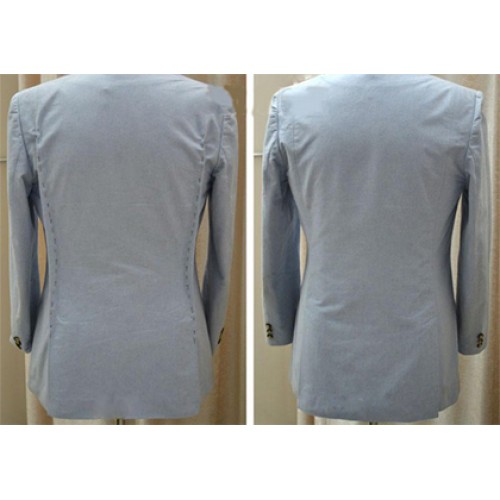
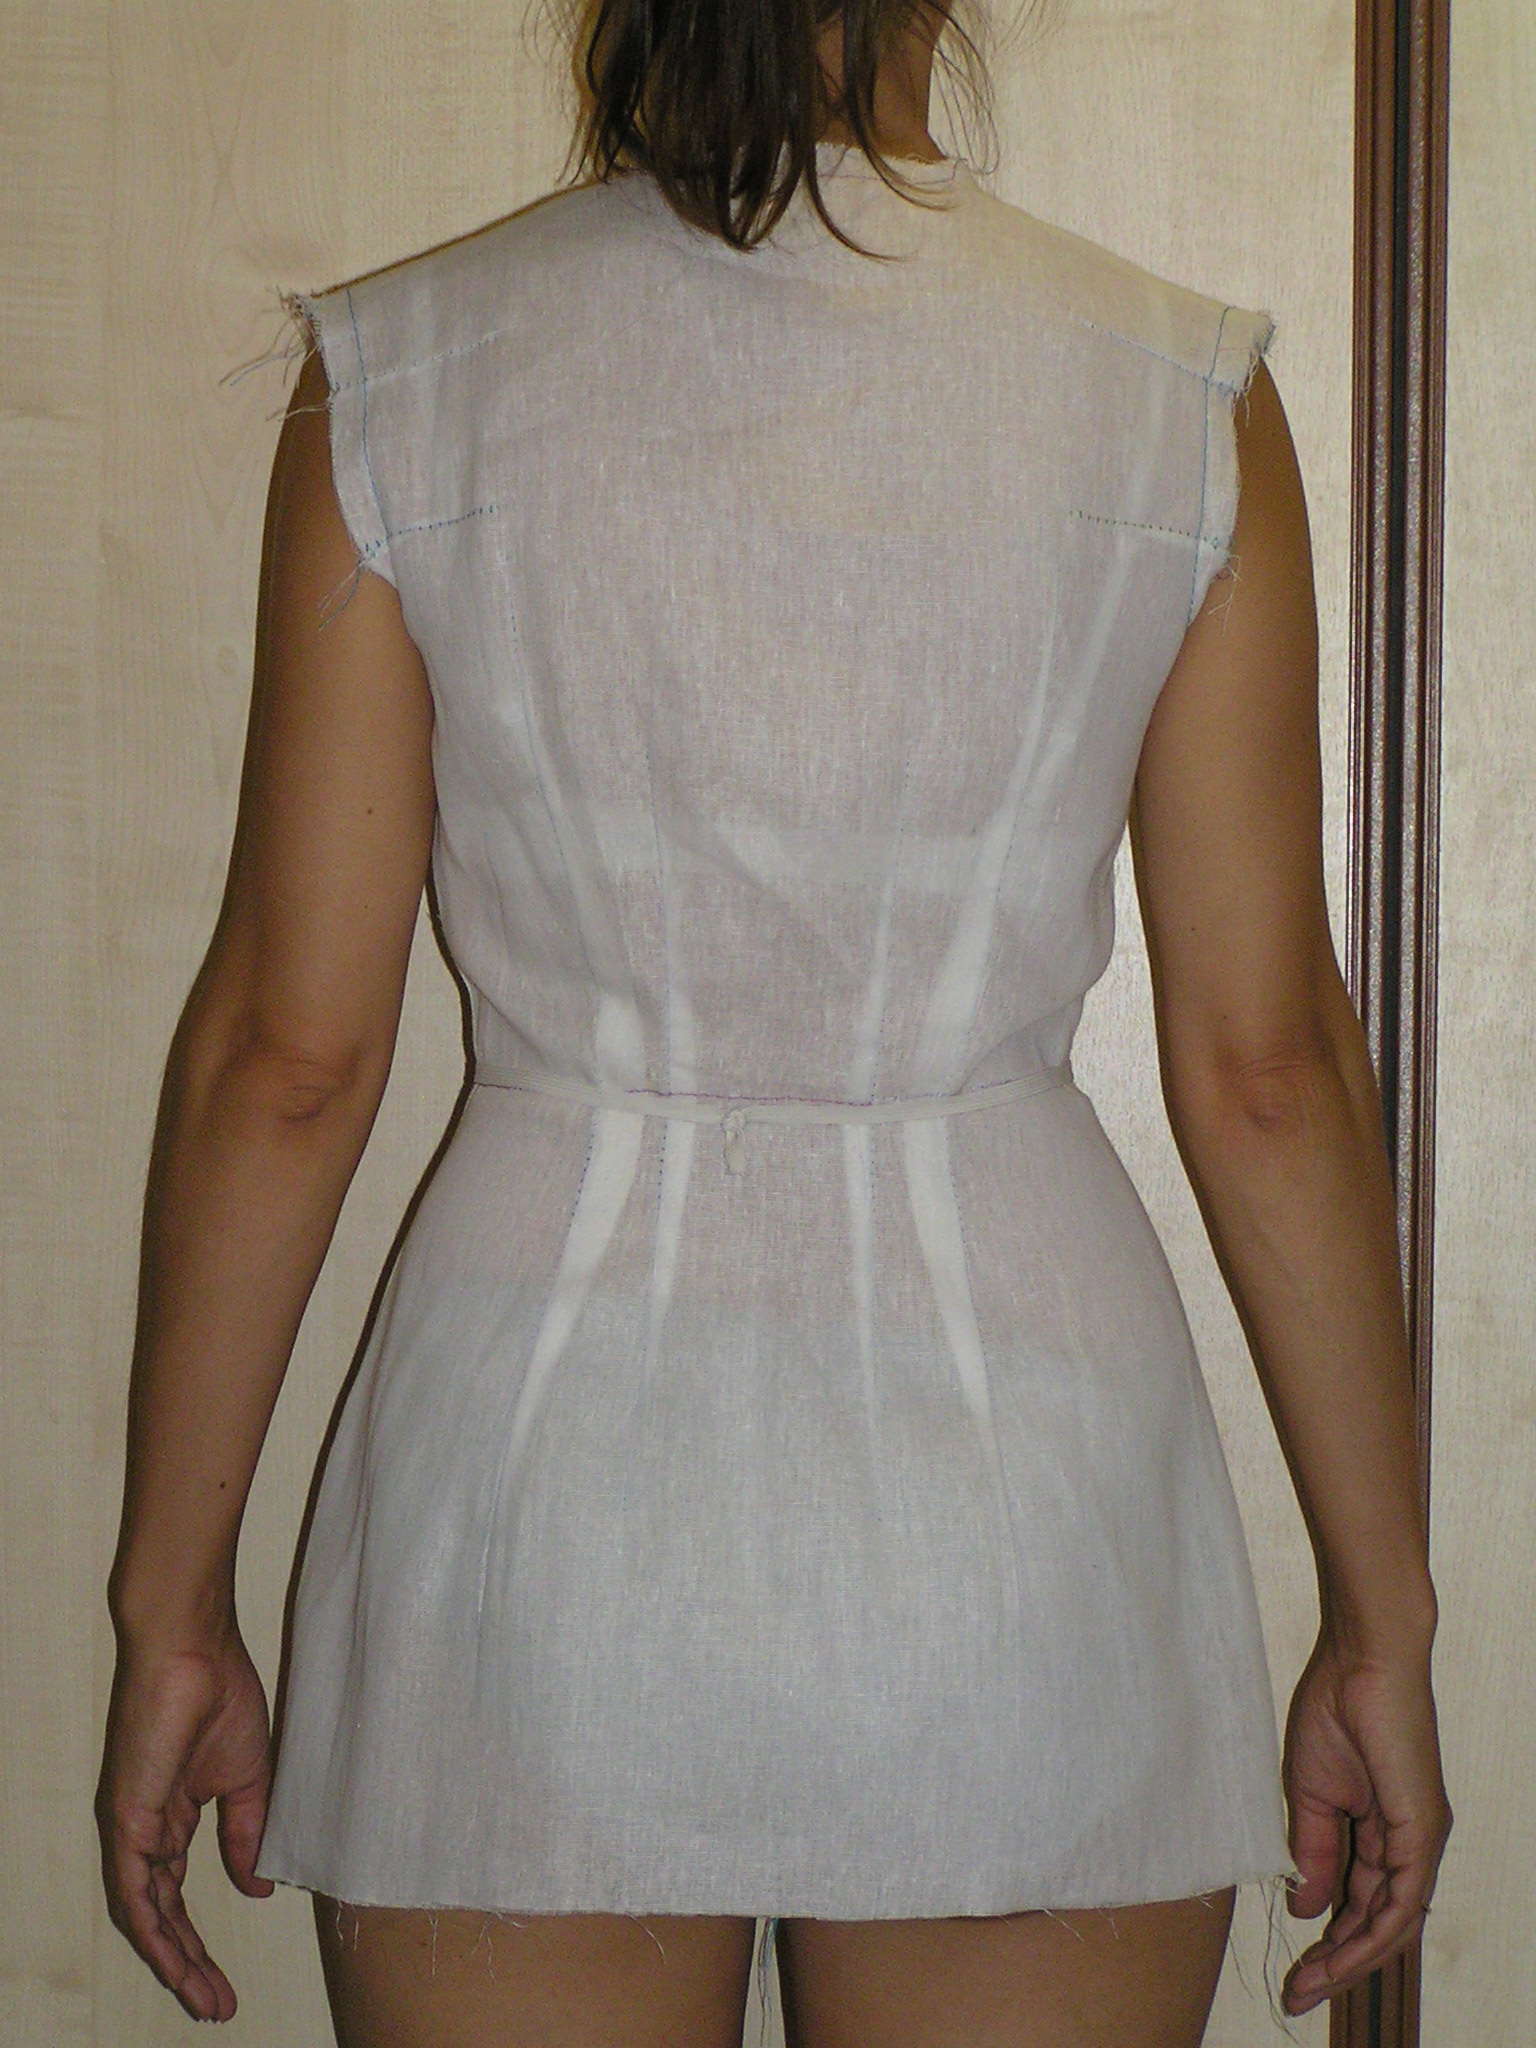
Turn the jacket inside out and mark the new side lines with pins. Be careful with subsequent fitting so as not to inject yourself. After marking, turn the garment back to the right side and try it on. If everything fits perfectly, then you can get to work. If you are not satisfied with something, repeat the procedure and place the pins a little differently. You will probably do better next time.
We sew the jacket on the sides.
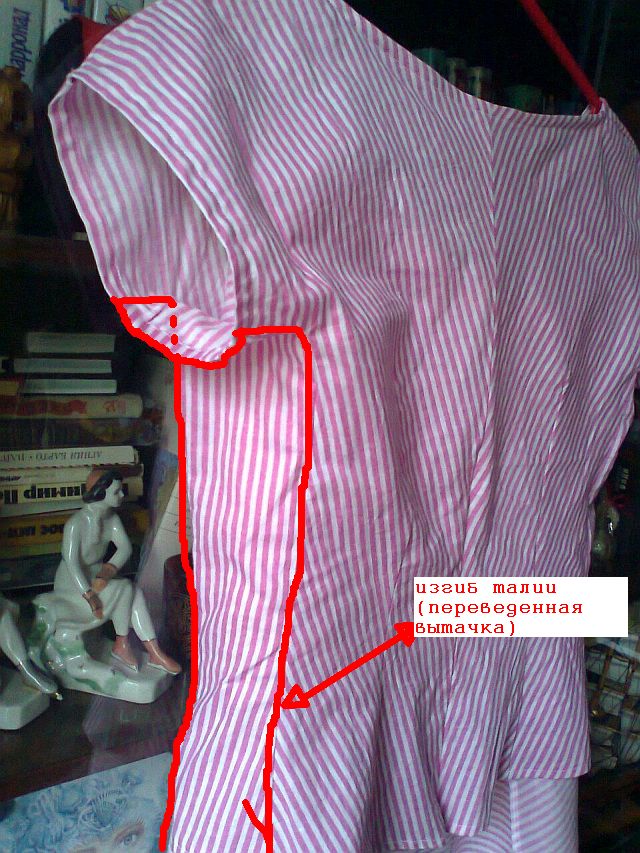
So, you're happy with the way the jacket sits - you can now suture the sides. You can step back from the usual darts by about 1–2 cm and sew them on a new one, but the darts in the shape of a triangle are transferred: clamp the fabric at the required distance from the previous seam and fasten it. Sew a new dart along the old track at a distance of about 1 cm.
How to shorten the sleeves
Before starting work, the state of the finished product is analyzed. The easiest alteration option is to shorten the sleeves of a men's or women's shirt. Some classic options for shirts are sewn with a margin along the sleeve length. Therefore, the case when, with other parameters suitable in size, the product is large along the length of the sleeve, occurs quite often.
To determine the optimal length of a shirt sleeve, it is necessary to measure the state of the sleeve in a static position with your hands down. In this case, in the elbow area, it is necessary to leave a reserve equal to several millimeters, which is necessary for comfortable bending of the arm and natural tension of the tissue.
The sleeves are shortened in stages:
- neatly strip off the cuff;
- measure the segment that needs to be cut off;
- cut off excess tissue;
- sew on the cuff.
This method is only suitable when the sleeve needs to be shortened by no more than 1-2 centimeters. If the sleeves are too long, then the shirt is altered together with the alteration of the slots on the sleeve.
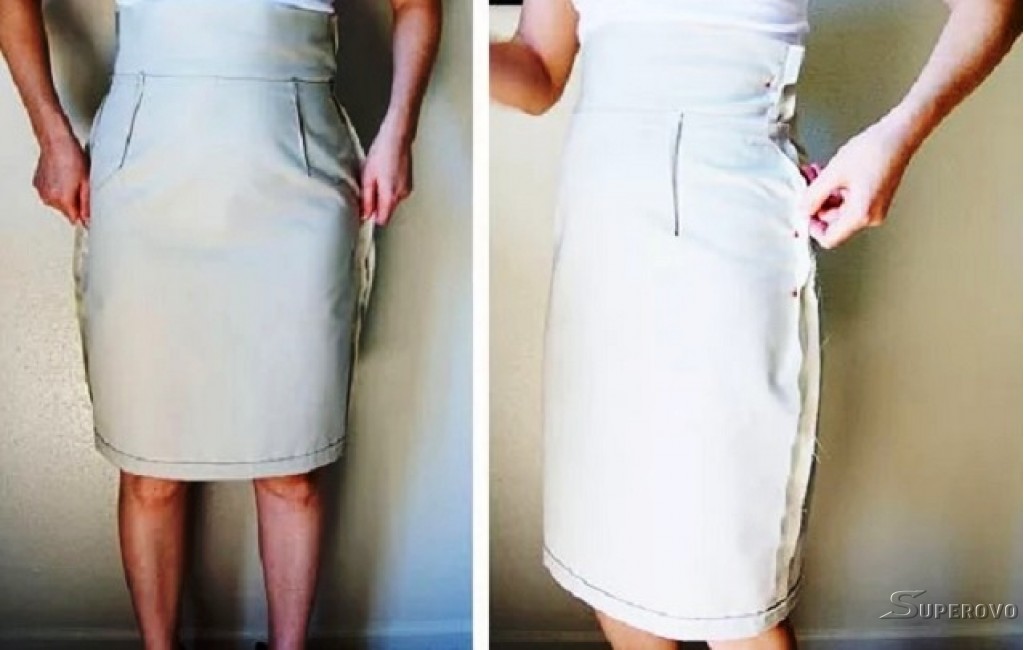
How to narrow your trousers to the bottom at home
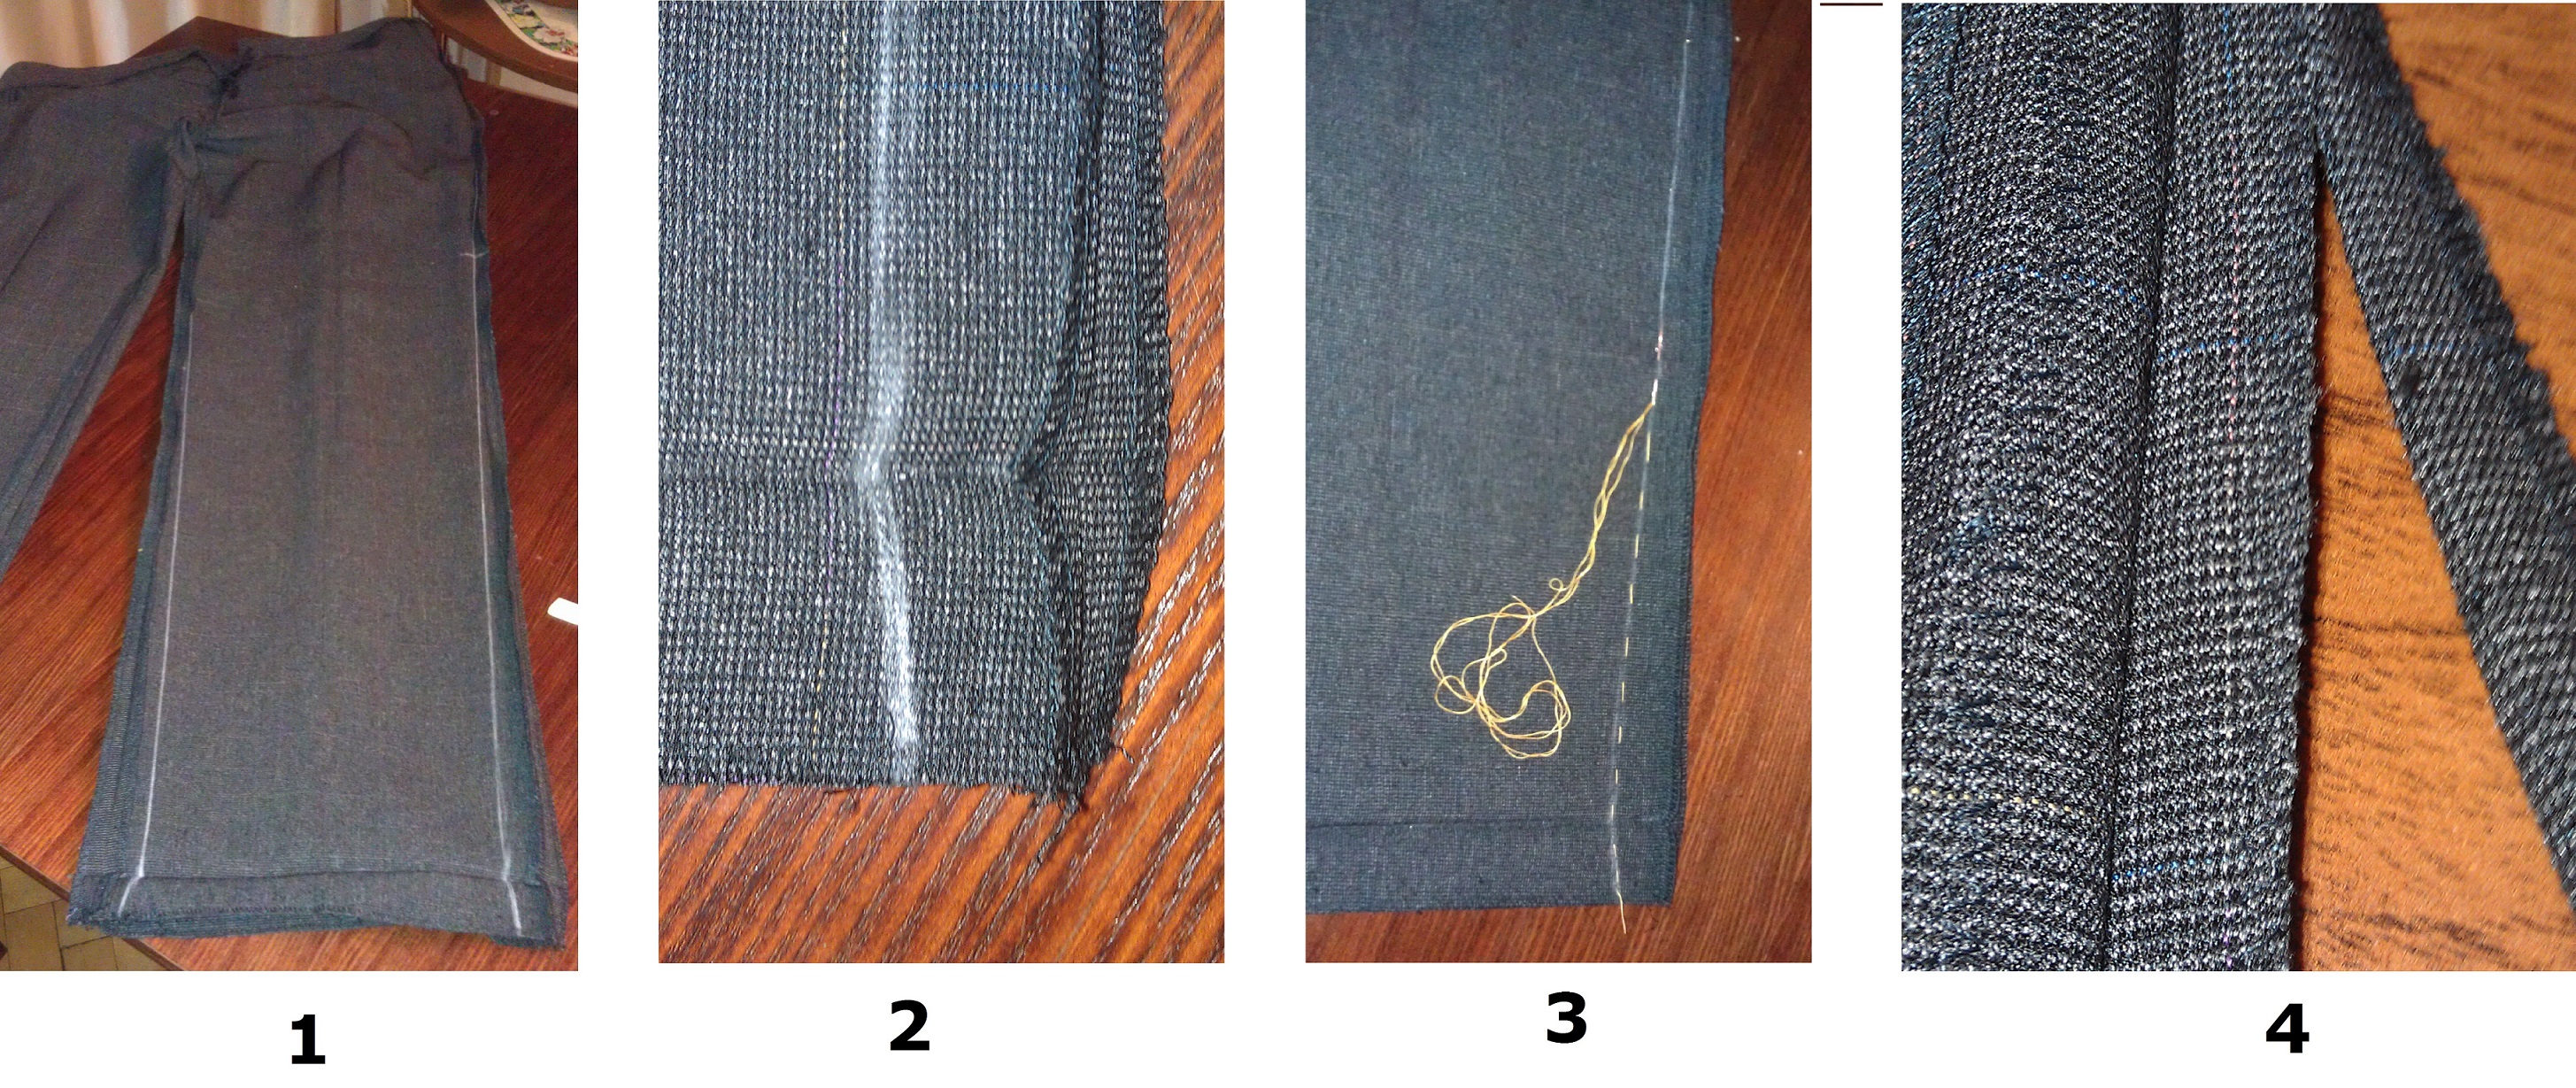
There is nothing difficult in creating such beauty, there is no. Open the hem (hem). Iron the product. Try on the trousers from the wrong side. Turn around in front of the mirror. Think mentally how much it is necessary to narrow.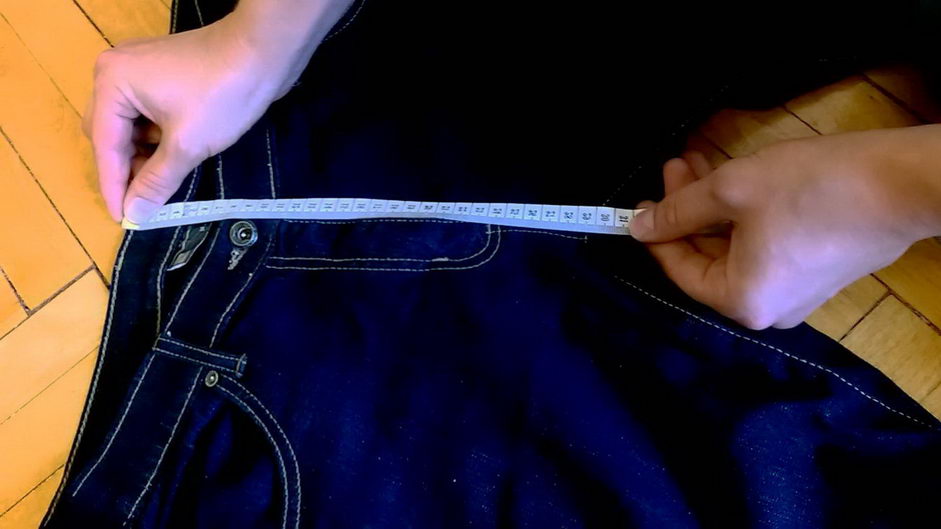
Correction on one side is made subject to slight narrowing. Then it looks where it is more practical (internal or external). Is there a decor?
Mark excess material on the fabric with pins. You have to be careful here. This may touch the fabric being stretched. The fabric will stretch a little and will be crookedly sewn. If the fabric is not stretching, the legs should fit comfortably into the leg. The main thing is not to overdo it.
- Remove carefully and spread on the table.
- Align. Draw a line with chalk along the marked places. Draw a 2 line for the seam.
- Basting with threads along 1 line.
- Try it on again and check the convenience.
- Correct as needed.
- Cut off excess fabric.
- Seam the edges.
- Sew trousers on a typewriter.
Correction on both sides is made subject to a large narrowing. The same actions are performed, only from both sides at an equal distance. Otherwise it will be crooked. Finish the hem and iron.
Alteration options
There are several different options for shrinking your blouse. The specific choice depends on the detail that turned out to be great.
To fix the cut, you can:
- refer the item to a professional tailor (in a studio, a private seamstress);
- get started on your own.
But you can do without it if you get down to business yourself. First you need to determine what exactly needs to be done to solve the problem.
To reduce the size of the blouse, use the following work options.
- Deepen the front, back darts (on the chest, at the waist).
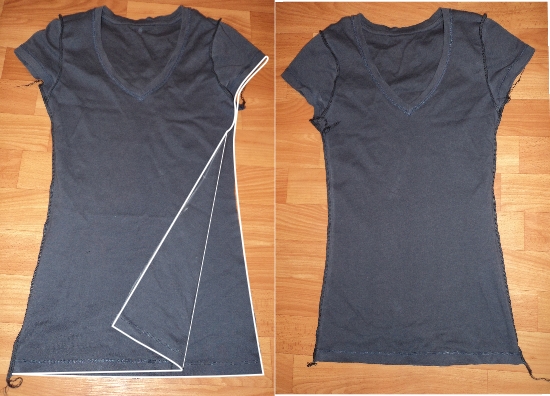
- The side seams are sutured.
- Reduce in the side seams, in the seam of the back shelf of the back.
- Shoulder seams are sutured.
- Reduce the sleeve if it is too big.
- Tighten, drape excess material.
- Rearrange, alter buttons.
- Wash at a certain temperature, taking into account the quality of the fabric.
- Dried using a special method.
Before starting work, it is necessary to select and prepare the necessary tools and materials.
- a set of needles of different sizes
- threads (different numbers and colors. Suitable ones are chosen from them, depending on the structure and color of the fabric);
- scissors (large, small and medium);
- pins;
- thimbles (to protect the pads of the fingers);
- various accessories (buttons, decorative brooches, buckles);
- crayons;
- sewing machine;
- iron and ironing board.
- patterns;
- cardboard (thick paper);
- measuring tape;
- box with wax (for waxing the thread);
- needle threader;
- cutter (special copy roller for marks on the material);
- copy paper (for transferring the drawing);
- transparent ruler template;
- overlock.
After dampening, the fabric will shrink and the blouse will become smaller. This is done with a product that needs to be reduced by 1 size.
Important: It is necessary to pay attention to the quality and structure of the fabric. For example, to prevent the jersey from stretching, it should not be hung when drying.
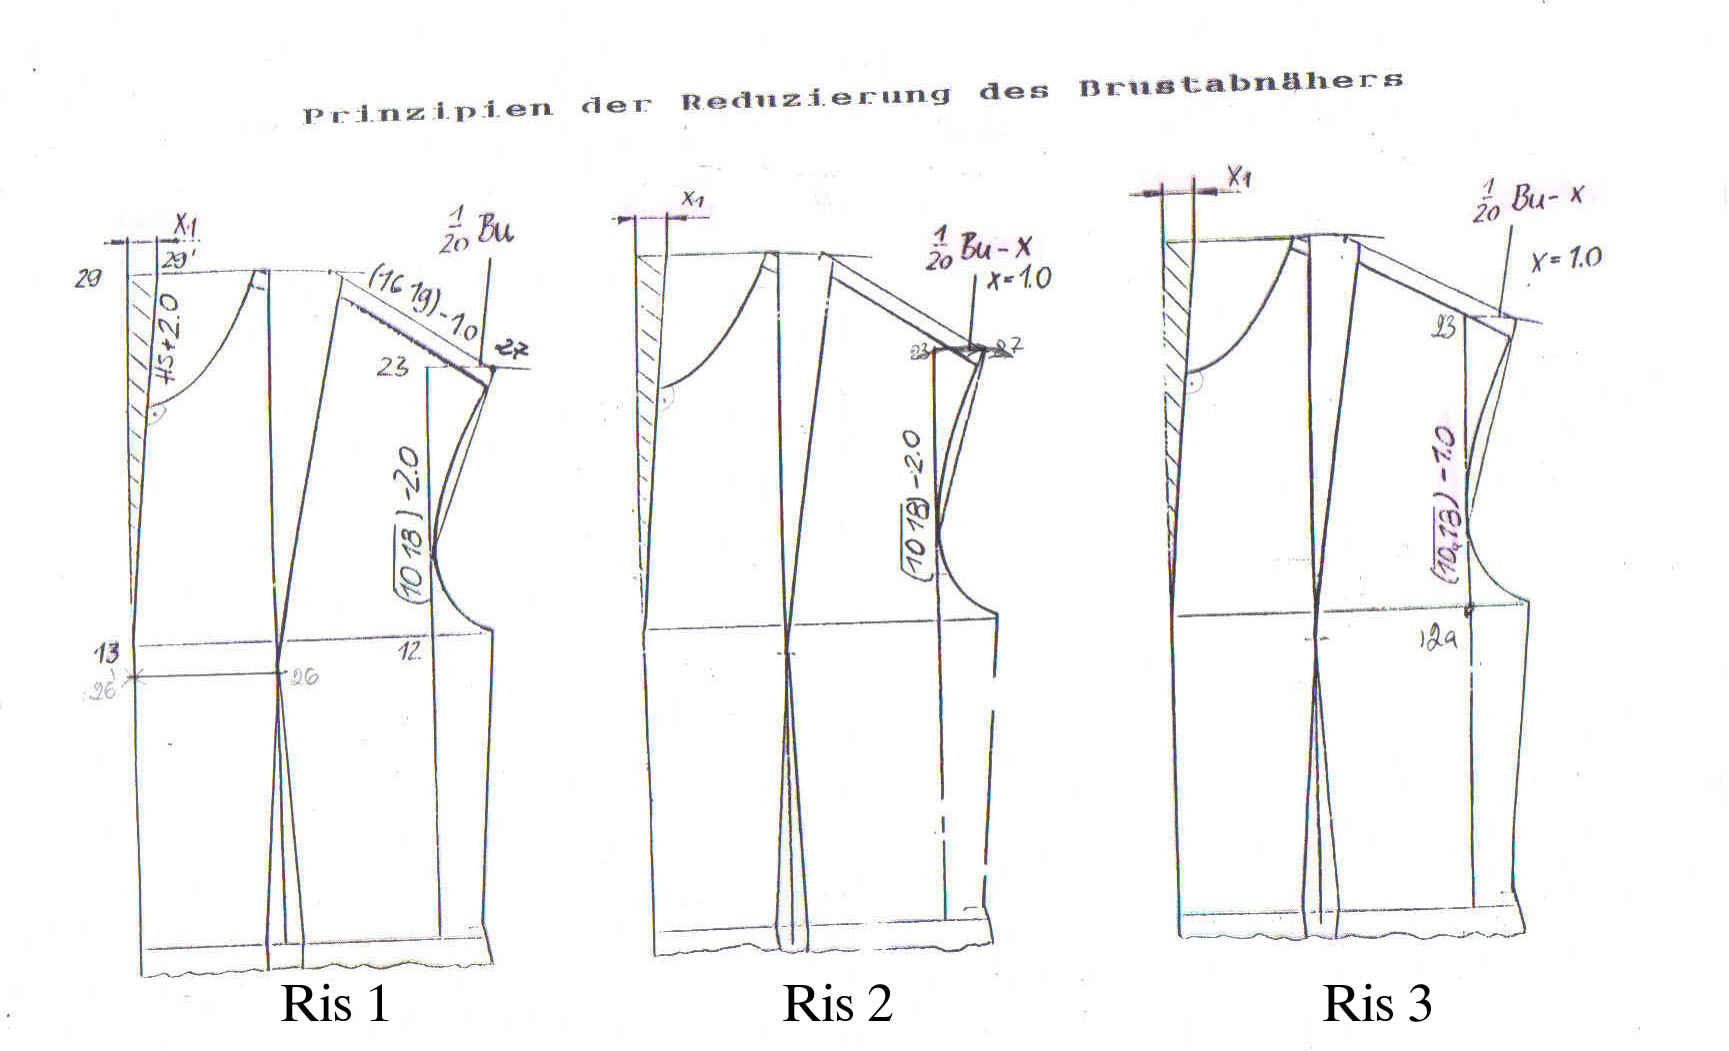
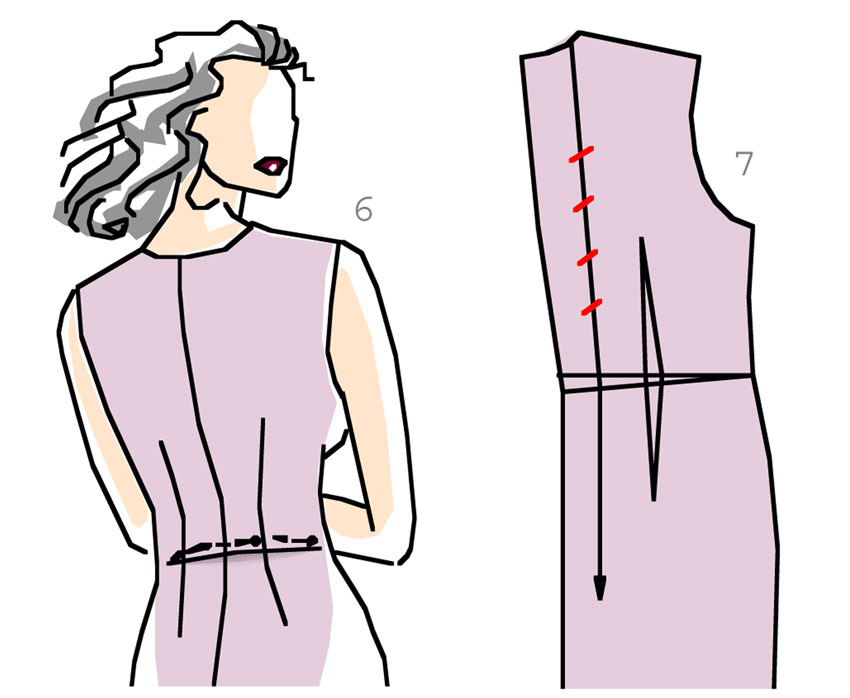
The darts are made so that the product fits the figure. Begin to lay from the side seam, slightly below the level of the armpit. The top point should be where the shape is most convex. They are sharpened on the parts from the inside out, after cutting. The line must end at the top point.
- Measure the product, volume.
- Calculate how much fabric is superfluous.
- Subtract 2-3 cm for a loose fit.
- Divide the rest in half.
- Set aside a few cm for inner, side seams.
- Draw lines from the armhole to the bottom of the garment.
- Baste.
- Fitting.
- Repeat the procedure if the blouse does not fit well, the excess has been removed a little.
- Sew along the outline, backing off by 1-2 mm.
- Take out the outline, fasten at the end of the seams.
- Iron them.
Attention: If you always use a pattern, a pattern, this will help to avoid big troubles when changing clothes. They work in the same way as in Method 2, but they also reduce the volume of the back:
They work in the same way as in Method 2, but they also reduce the volume of the back:
- The excess is calculated.
- Leave centimeters for an allowance so that the fabric can easily lay down.
- Remove excess fabric.
- Make a rough outline.
- Scribble, after pulling out the extra thread.
To reduce shoulder seams, you need to:
- rip them up;
- take measurements;
- build a drawing;
- cut out the pattern;
- cut off the material according to the pattern, leaving a few cm for the seams, shrinkage;
- outline manually;
- skip over.
Reduce along the sleeve as follows:
- They plan how much to cut, starting from the sleeve and going down to the bottom.
- Draw a cutting line with chalk.
- If necessary, prepare a pattern.
- Remove excess material.
- Stitching taking into account the seam allowance.
The fabric is draped.
- The excess is not cut off, but laid inside.
- The laid-back material is pulled together (with a button, decorative pin, buckle, brooch. You can stab with several buttons in a row. Add eyelets).
Sometimes it is enough to rearrange the buttons a little further, and the thing will look good, will fit the figure.
Have you already understood which method is the most suitable for you? Get started and have fun wearing your blouse!
Happy rework!
1 point
Silk
Silk items should not be automatically washed, nor should you try to reduce the size of your garment in this way.
Silk is the most delicate thin fibers, so you can only reduce the size of clothes by hand.
Natural material is afraid of high temperatures, so this method will not work.
To shrink your clothes, wash them in hot water. The temperature of the liquid should be 10 degrees higher than indicated on the label.
You will also have to forget about drying in an automatic machine. Silk products are dried in a well-ventilated area on a clothesline in the sun or in a horizontal position.
It is not difficult to seat things on your own. The main thing is to know how to do it correctly. Therefore, it is worth familiarizing yourself with the shrinkage materials, getting all the necessary information and only then starting the procedure.
If you are afraid to tempt the fate of your favorite thing, it is better to take it to a seamstress. And the last option - give it to relatives, friends. You can also take your clothes to a homeless shelter.
How to shrink a women's jacket?
Today I will tell you how to reduce the size of a women's jacket.
Many of you probably have a couple of jackets or blazers hanging in your wardrobe that are slightly out of fashion, but still very decent. I understand that you may be sorry to part with them, so I will tell you about one way to fit the jacket to the figure and fashion :).
So, if the jacket is big, how do you alter it?
First, we strip off the shoulder pads. If the jacket is lined, you can penetrate under it by ripping the lateral seam of the sleeve lining by 20 centimeters. Then we will carefully sew this seam and nothing will be noticeable.
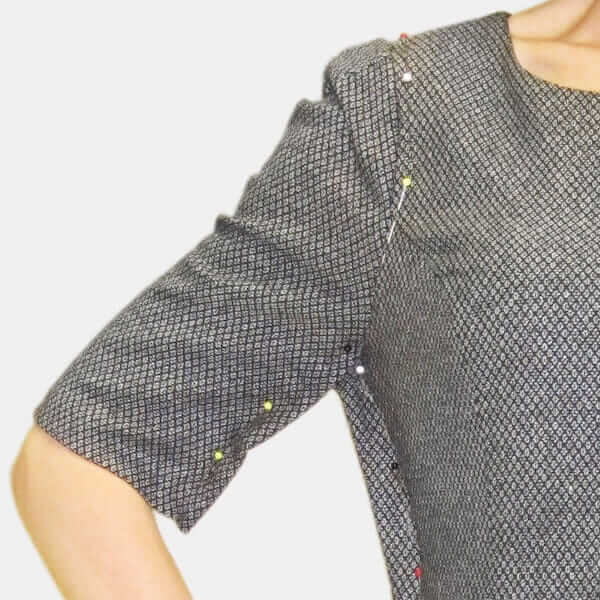
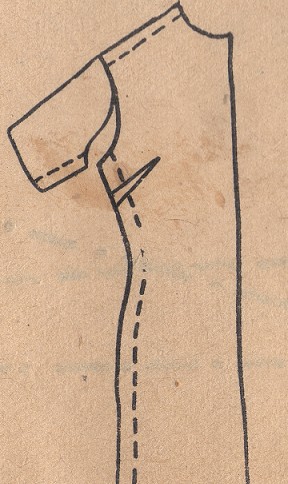
It is advisable to do the next operation together. Ask your mom, sister, or friend to help you. Place the detached shoulder pad on the shoulder so that its thickest part protrudes about 1 cm beyond the humerus. Now your assistant should raise the cuff of the sleeve (i.e. the same seam where the sleeve is sewn to the armhole) just enough to fit your shoulders. It is necessary to pin the collar of the sleeve to the shoulder seam with pins and make sure it sits in place. If not, try again and reinstall the shoulder pad.
When you have found the new top of the sleeve ridge, pin the ridge to the front and back of the jacket in a few more places, creating a new armhole line. This applies only to the top of the okat; there is no need to pin the sleeve under the arm.
When you have found a new sleeve sewing line, check if the new shoulder is right for you. At the same time, check if the sleeve is too wide and if there is any excess fabric that can be removed into the side seam. If desired, you can outline the grooves along the front and back. On plain fabrics, try to mark the grooves as symmetrically and neatly as possible. On colorful or variegated fabrics, small inaccuracies will not be noticeable, but on plain fabrics they will.
At the same time, decide on the length of the jacket.
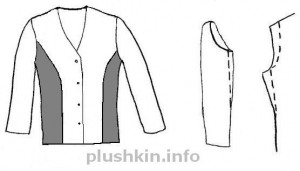
Now remove the jacket and mark with chalk on the front side of the sleeve "sewing" line where it is outlined with pins. Take out the pins. Penetrate the inside of the jacket and mark with chalk the places where the sides and sleeves are sutured under the armpits and in the darts.
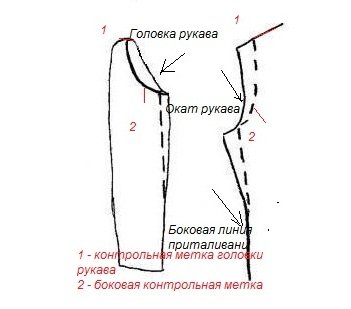
Open the sleeve off the jacket, noting the highest point of the piping that was sewn to the shoulder seam and the lowest point that was sewn to the side seam. If the sleeve consists of two parts, outline the guidelines by which you will set it in place.
Cut off excess fabric on the front and back of the jacket along the marked line, leaving a seam allowance. Line up the armhole, all the way down to the armpit. Measure the length of the shoulder seams and make sure they are the same. If you planned to remove the width of the jacket in the side seams, now is the time to do it. Next, the sleeve is sutured, if scheduled.
Now we insert the sleeve back into the armhole, prick it and make sure that the sleeve is slightly larger than the armhole (the excess is set in the upper part of the sleeve). If not, then you still need to sew the jacket along the side seam or pick it up a little in the shoulder seam. Sew on the sleeve. We install the shoulder pad in a new place so that its thick part slightly protrudes beyond the sewing line of the sleeve. The shoulder pad must be reduced if necessary. This can be done on both the thick and thin sides. We fix the shoulder pad manually, marking it to the protruding part of the sleeve seam.
Now it's time to stitch the grooves along the marked lines, and also reduce the length.
To be honest, I hate to shorten jackets, but I have to :).
Cut the bottom of the jacket, along the marked line (leaving a 5-6 cm allowance for the hem), pulling the lining up. Turn the jacket inside out through the ripped sleeve of the lining. Glue the bottom of the jacket with non-woven fabric. Check with the cut piece. Try to completely repeat what was done there. Sew the lining and base fabric in one seam. Fasten the seams of the collar and the bottom of the jacket together so that the collar does not straighten out and does not crawl out from under the main fabric.
Turn the jacket over your face, make sure you did it right. Steam new seams with an iron.
Try on your jacket. If everything is in order, you can sew up the ripped sleeve of the lining. We sew or overlap on a typewriter, or by hand with a blind stitch.
- How to decorate a white jacketToday in the article: The idea of decorating a simple white jacket. A white jacket (and any other color too) of simple cut or boring.
- How to shrink your blouse?It happens that there is a favorite shirt or blouse in the wardrobe, which, unfortunately, is already out of fashion, or has lost its relevance due to more.
Blouse and shirt
If you need to reduce the size of a blouse or shirt, a lot depends on the style - the number of decorative details, the shape of the sleeve and the cutout. But practice shows that in most cases it is possible to cope with such a task. There are two main situations:
- the back consists of two parts;
- one-piece back.
If the back part consists of two parts, it is more convenient to suture along the sewing line. In this case, it is quite possible to do without a pattern, but it is better to do such work with an assistant:
- Trying on a blouse (it is not necessary to turn it inside out).
- We cut off the middle so that the blouse fits well.
- Remove and outline the sewing line on the seamy side.
- Align the line with the ruler.
- Sew, cut and overcast the cuts.

Theoretically, in this case, you can make a seam in the middle of the back. You can even make a fold - this is exactly what you should do if you have to sew a men's shirt on a yoke. But you can change the position of the side seams - it will be much easier, especially if the darts are in place. The process is no different from stitching a skirt - in the same way you need to try on, chop and sew. But if there is a pattern, it will be even better, because you can apply all the lines along it.

If the darts are out of place
It also happens that it is impossible to just sew a blouse or dress. This task is somewhat more difficult than the previous one, because part of the product will still have to be ripped. You definitely need:
- rip up the sleeves;
- rip the shoulder seams.

As for the side seams, then, as they say, options are possible. Maybe they won't need to be touched at all. Most often, their position also has to be changed, but this is done in the same way as when simply changing the width of the blouse. After you have ripped off the sleeves and severed the shoulder seams, the process continues as follows:
- Mark the position of the shoulder seams along the pattern or on the figure.
- If you did this on a pattern, sweep the seams.
- Try it on - if everything suits you, line it up.
- Cut the allowances to the normal size, that is, no more than 1 cm.

Sleeve fit
Perhaps the most difficult stage. Having a basic pattern can make your life much easier.If there is a piece, circle the okat along it, leave an allowance and trim the part.
Important! Do not forget about the alignment points - they should be on the armhole and on the sleeve.

Then, as with any other garment, sew the basting stitch, small, even stitches, and pull off slightly. After that, sweep in the part, aligning the desired points, try on and sew.
It's a different matter if you don't have a pattern. Then everything has to be done by eye. Don't rush to cut the sleeve off right away:
- Stitch it along the edge at a distance of 1-1.5 cm from the previous line, parallel to it.
- Then pull the gathers slightly and try sweeping in.
Do not be discouraged if this does not work right away - without a pattern, the process goes much slower, and the exact position of the sleeve can be determined exclusively empirically.
What do you need to stitch in?
All things can be reduced in size if desired:

The most difficult thing is to adjust the jacket and coat, for such work you need some skills in working with different materials and a good command of the sewing machine. Therefore, you need to start with something simpler - for example, with a skirt. But in any case, it makes sense to take care of some accessories that will certainly come in handy. You need:
- a sewing machine (preferably with an overlock);
- thread matching color;
- good tailor's scissors;
- pins;
- ruler;
- chalk, soap or aquamarker;
- basic patterns;
- tape measure.
They are not always needed. For example, a skirt or shirt can be adjusted without templates, right on the figure (or even better, on a mannequin). But if we are talking about a dress, coat or jacket - here, as they say, options are possible. It is possible that you will be able to do without a pattern, but it depends on which parts of the clothes you want to sew.

The question always arises where to get the patterns. There are several answers:
- In the magazine;
- in the Internet;
- in the studio;
- in your own closet - there will probably be something that fits perfectly in size, but is already unusable;
- build yourself.

The latter is fine, but tricky. It is tempting to order patterns in the atelier, they will be useful to you more than once. But, unfortunately, not everyone has such an opportunity. As for cutting on ripped things, this method is good if you need to sew something new, but it is not very suitable for reworking existing wardrobe items. Therefore, the easiest way is to take a pattern from a magazine.

How to sew on the sleeves of a men's and women's shirt
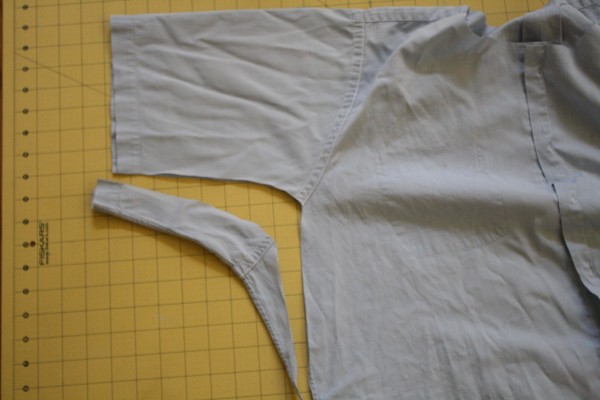
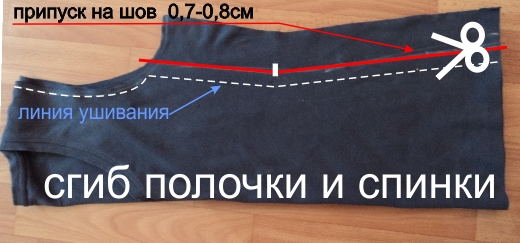
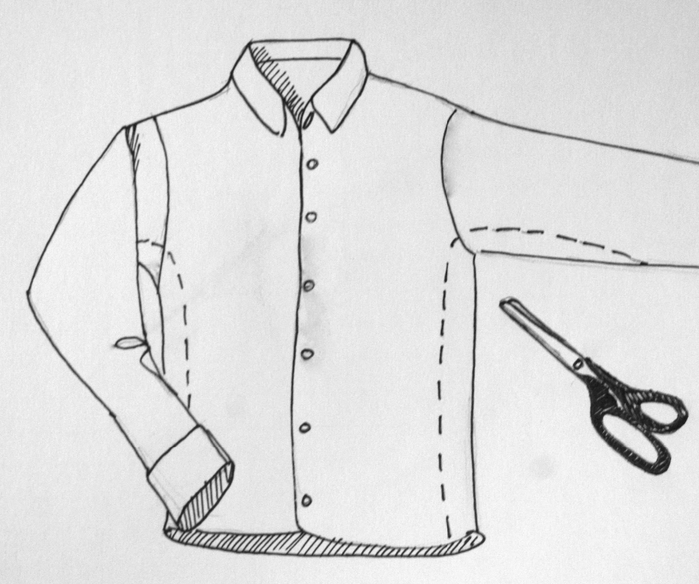
To reduce the width of the sleeve without a cuff by 3-5 mm, initially turn the product inside out and unfold it so that the fabric is not deformed. The required distance is measured with a centimeter tape, and a line is drawn along the entire sleeve along which the seam will pass.
Please note that if it is necessary to remove only 3 mm from the shirt sleeve, then only 1.5 mm should be set aside from the already existing seam. This can be explained simply - you will cut 1.5 mm on both sides of the sleeve, which in total will give the required 3 mm
After drawing a line and securing the fabric with pins, a seam is formed using a sewing machine or manually with a needle and thread.
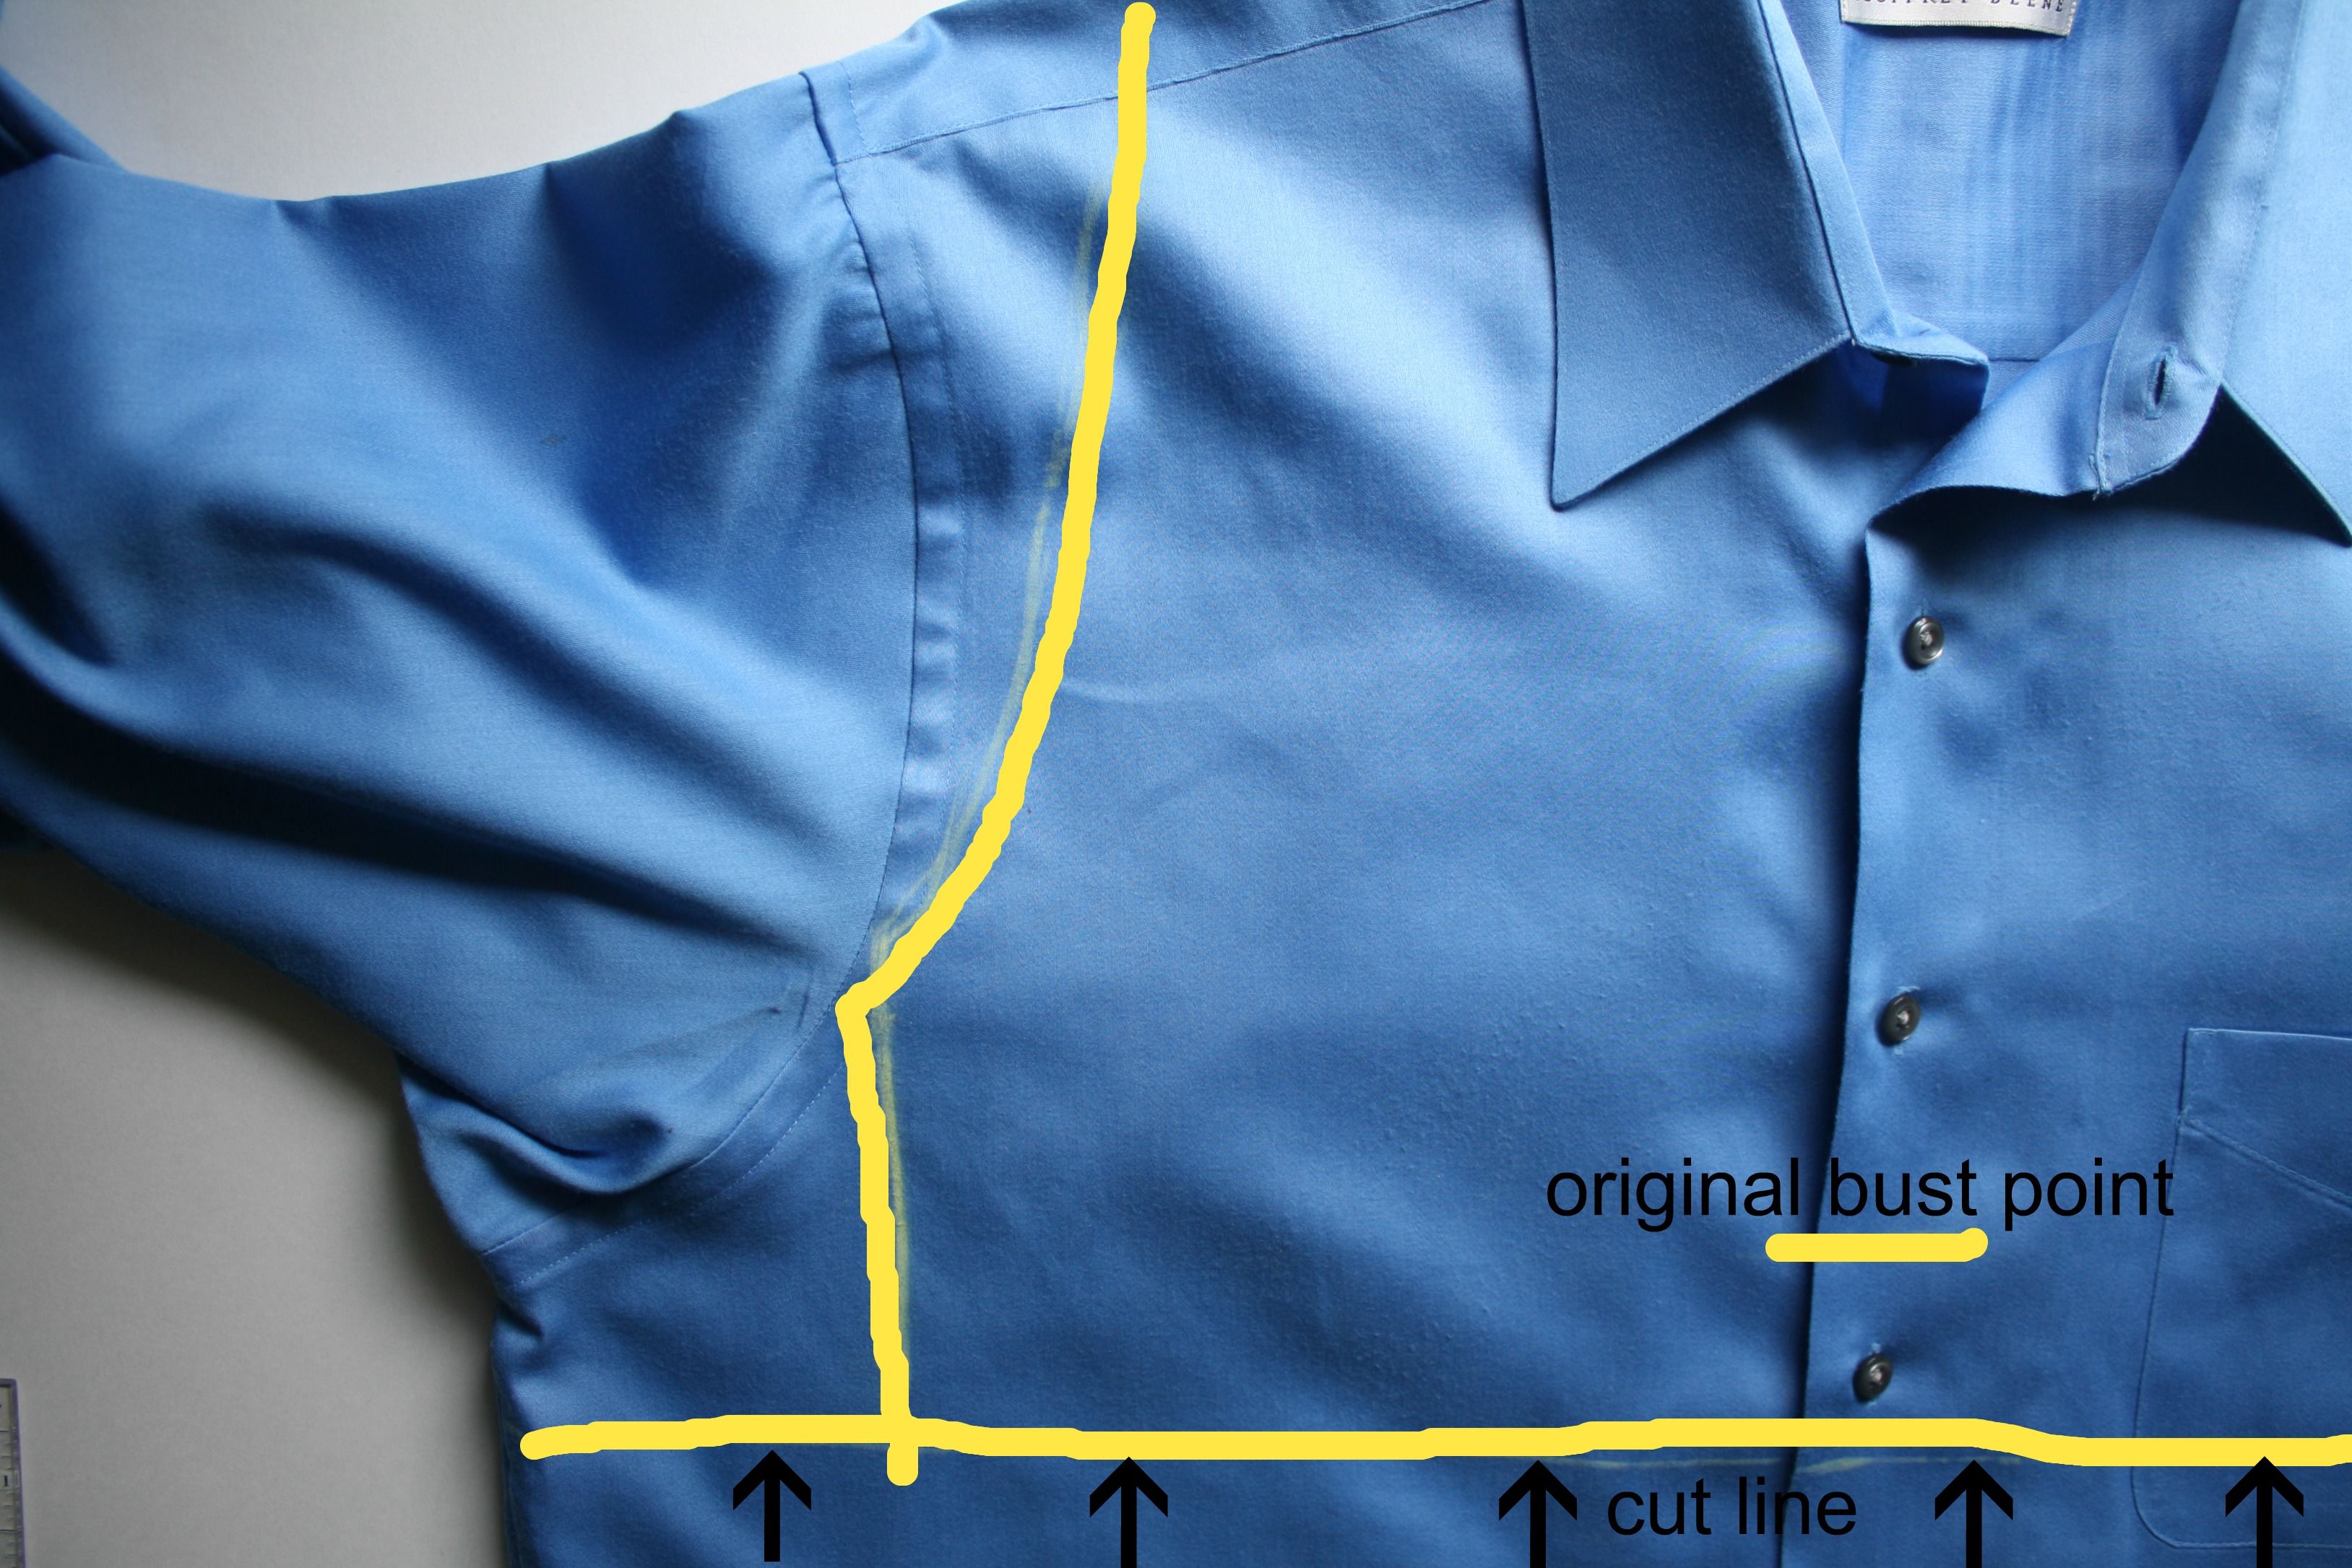
How to sew a shirt more than 5 mm? To do this, you need to rip the side seam near the armhole under the sleeve, cut off the excess fabric, and then carefully sew it up.
What to do if a new dress is not enough
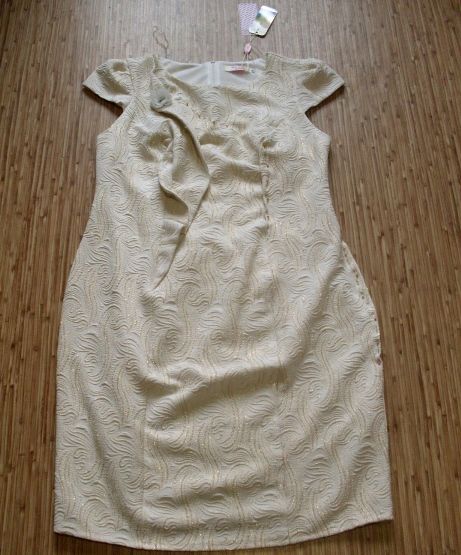
If the dress is still new, or almost never worn, you can try to simply unpick the undercuts and slightly reduce the seam allowances. Believe me, due to such simple manipulations, you can significantly increase the size of the dress.
To increase the length of the dress, you can sew an original frill to the bottom, or cut it along the waistline, and insert a strip of fabric in this place. Moreover, it can be completely different fabric. The same material can be used to trim the sleeves or bodice of the product.
Remember that before sewing on a new fabric, it must be washed or ironed by steam.
This is done so that after finishing work, your idea does not shrink and spoil the whole appearance of the dress.
Before starting work, be sure to calculate all the patterns well, taking into account the seam allowances and freedom of movement.
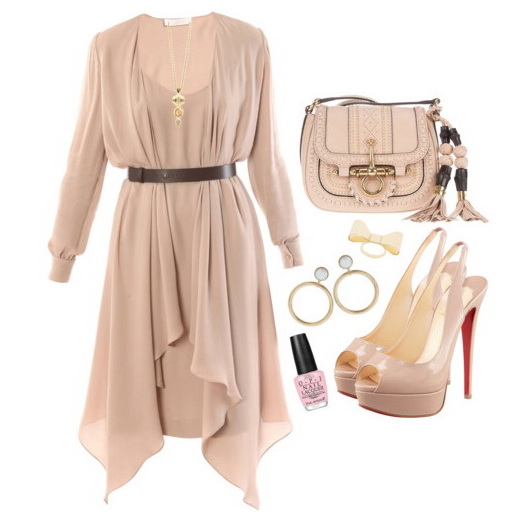
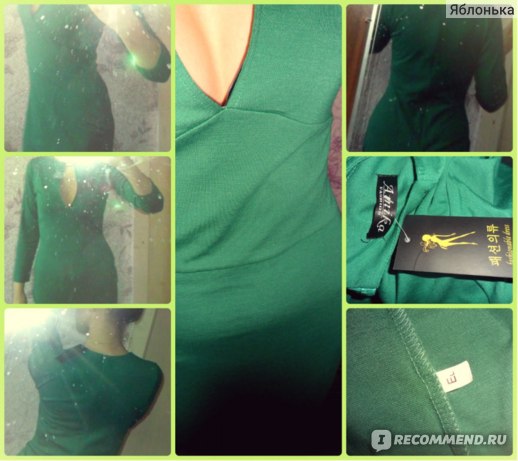
If the dress has become small in a certain place, try to work it out. For example, for the chest, you can advise simply deepening the neckline line or insert ribbons into the seam, intertwining them beautifully. If the hips are tight, you can try inserting wedges (triangular pieces of fabric). But problems with the waist may already arise. We'll have to correct the entire dress.
But it is better, of course, if you see that all your efforts do not bear any fruit, do not suffer and buy a new dress, no matter how much you love the old one. Another option is to take your dress in the atelier to a skilled craftsman, for sure, you will be satisfied with the result!


A wedding is every girl's dream. We are looking forward to this day, preparing for it carefully, thinking over everything to the smallest detail. We choose a wedding dress for ourselves to show off in front of the guests, and especially in front of the groom. This is where the most difficult thing begins - it is to choose the only dress that will fit and fit perfectly to the figure. Some girls have a non-standard figure and you just can't pick it up. For hours, or maybe even months, we choose our image.
Wedding products are sewn according to certain patterns, and the bride has an individual figure. Therefore, additional adjustments are required for the costume so that it fits well to the figure.
Sewing a wedding dress.
You may just need to bend in length, if you are short, then this is not too difficult. True, it all depends on the style of the outfit, if you have a fluffy skirt, usually there are many petticoats, it is much more difficult to hem it than a simple straight one. A dress with a full skirt is best given in an atelier; if you have a piece of jewelry at the bottom, such as an applique made of flowers, the atelier will keep this piece at the bottom of the hem.
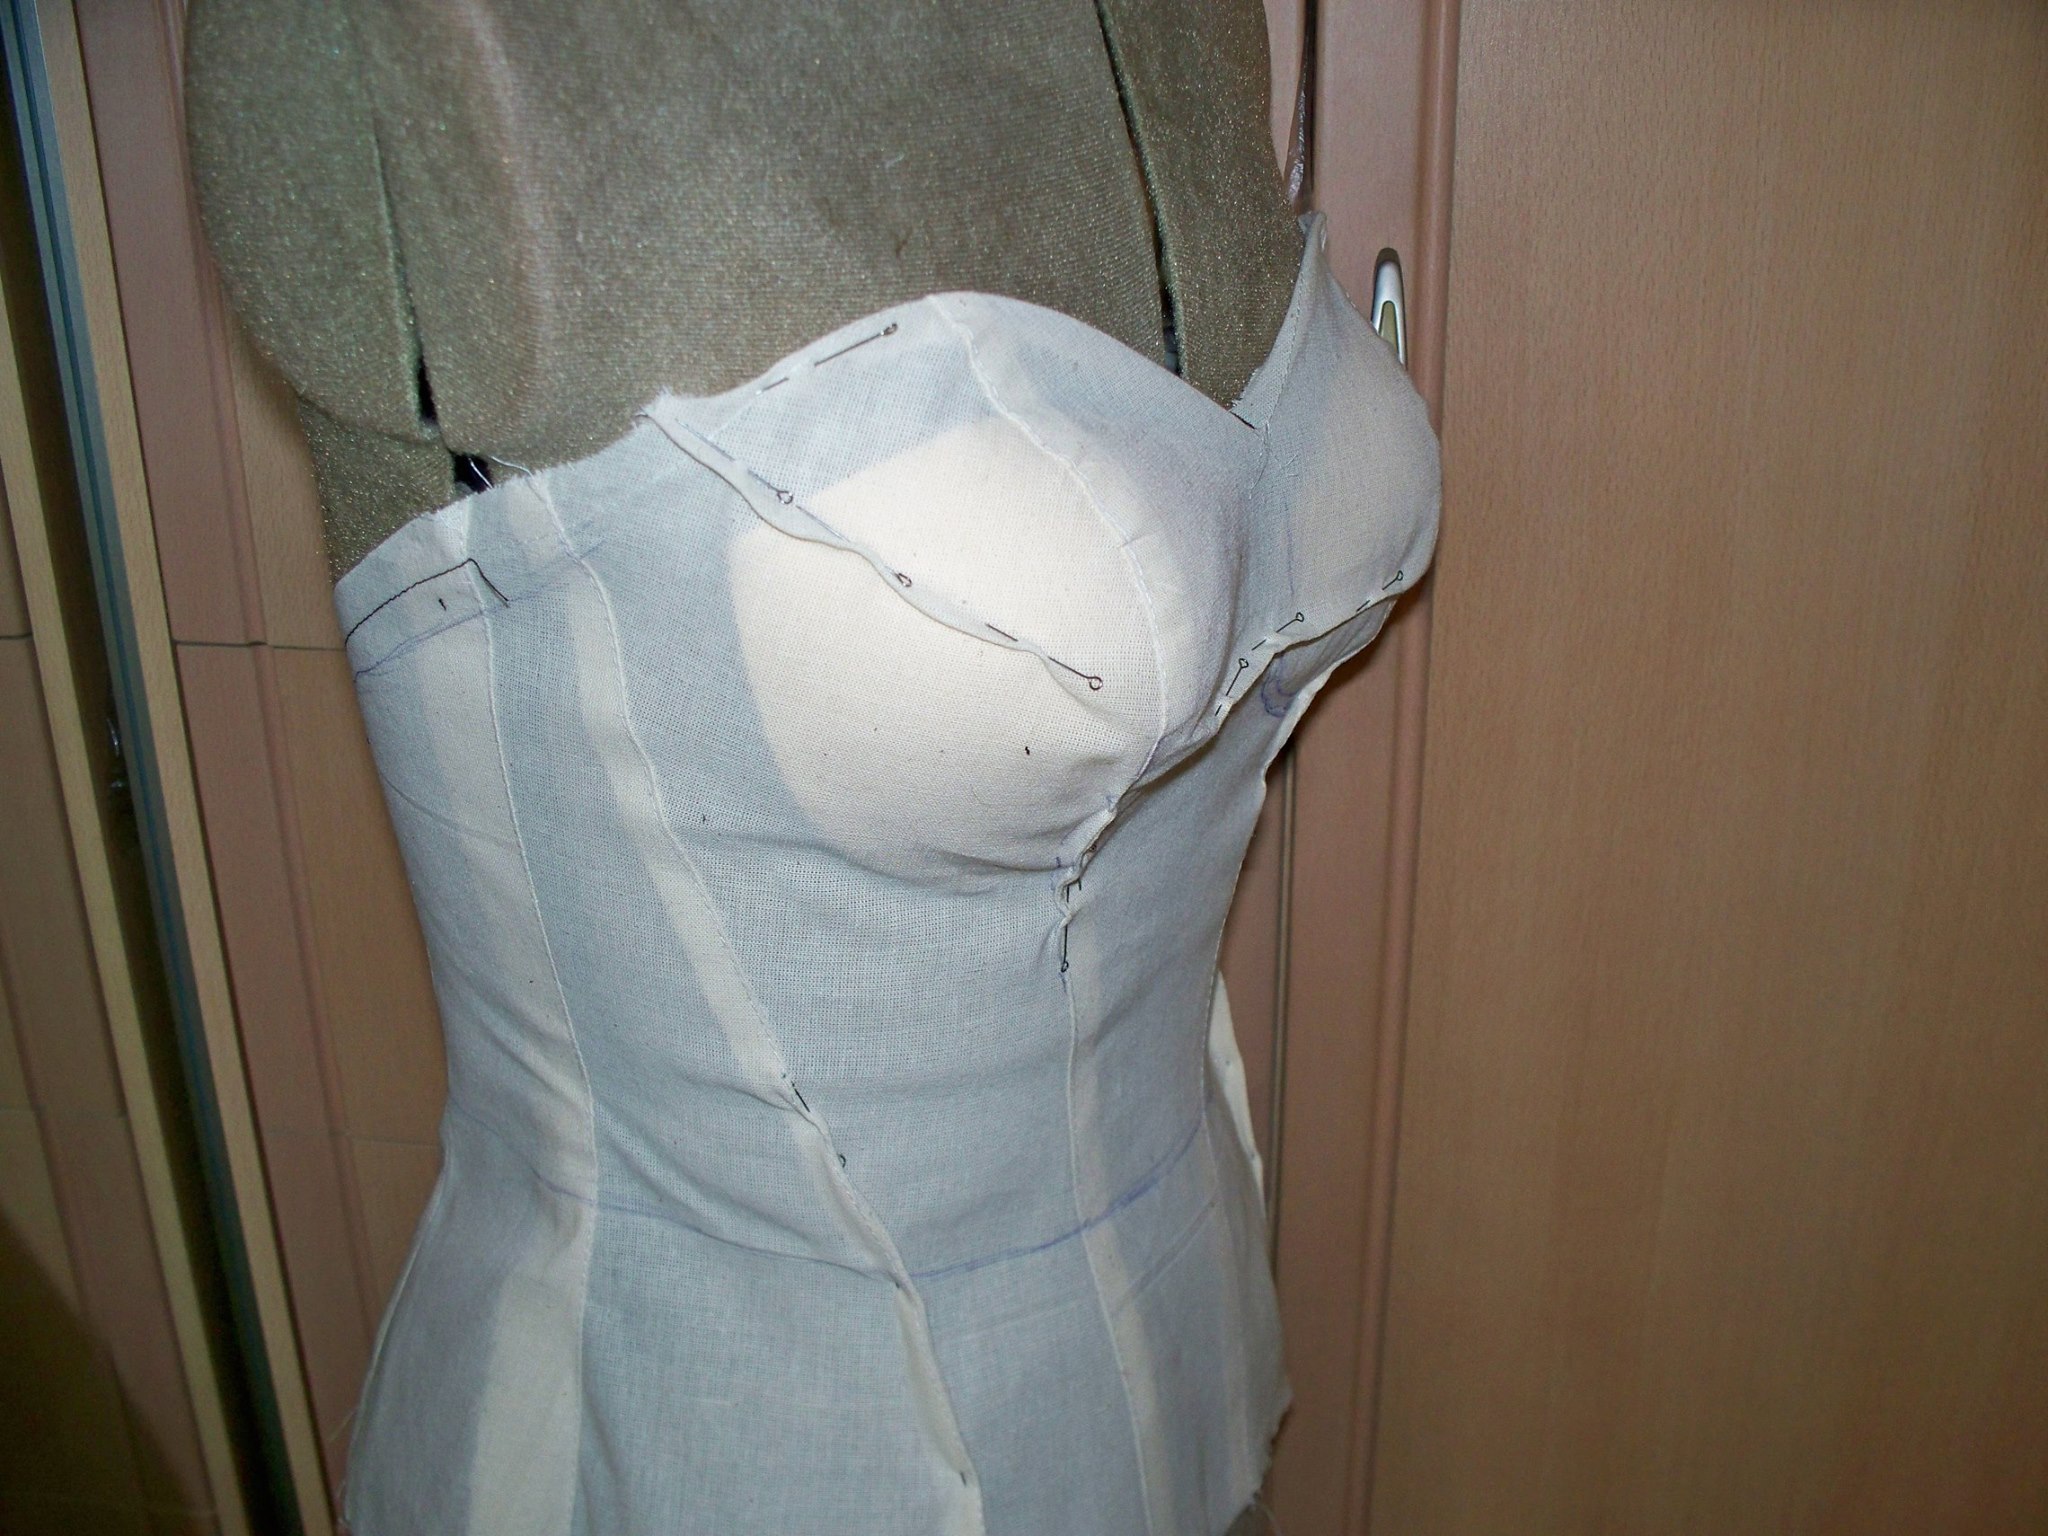
It happens that it seems to fit, but at the waist it is wide, then a wedding dress in a corset will be sewn in for you. We will tell you how you can sew a dress to size.
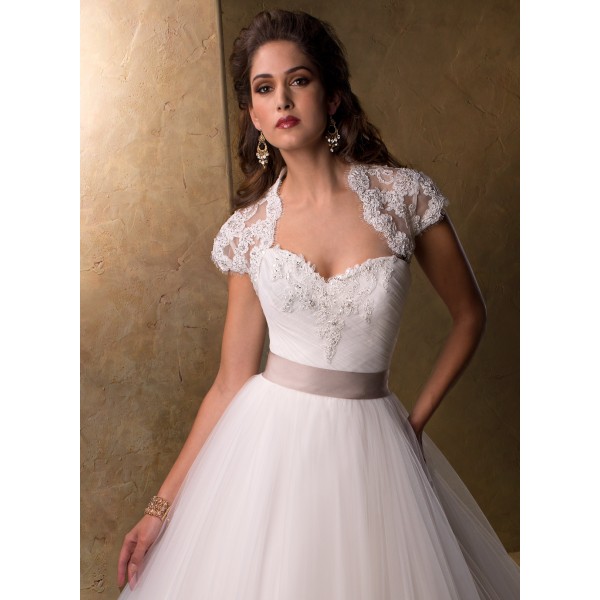
There is the easiest way - this is to wash, have it dry-cleaned, perhaps it will shrink to size if the fabric is made of wool. If not, then you need to take the correct measurements first. The bride must stand upright, wear underwear, shoes with or without heels, i.e. the shoes you will wear on your wedding day. Be sure to measure the girth of the chest along the protruding points, the girth of the waist, the girth of the hips on the buttocks. Do not forget to add centimeter everywhere, so that your outfit is not end-to-end.
Then the parameters of the product itself are measured, and the difference in measurements is calculated.

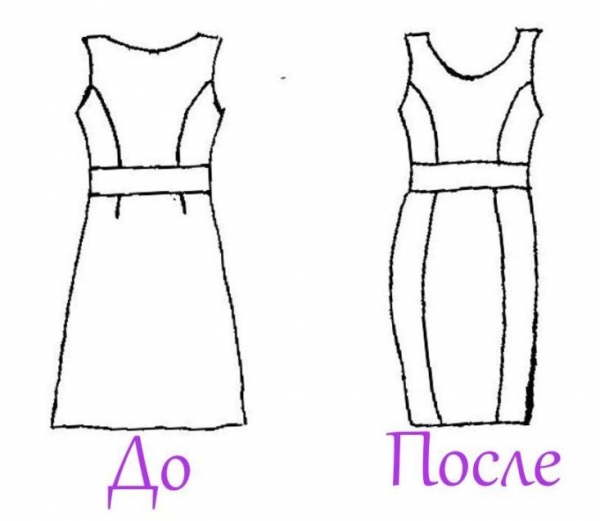
The easiest way is to sew along the side seams so as not to spoil the drawing, if any. Extra centimeters along the chest, waist and hips are immediately removed.
Sewing a straight dress
If you bought a straight wedding dress and suddenly lost weight, and it will need to be reduced by a whole size. It is much easier to sew a straight dress than a fluffy one. We start by taking certain measurements: the girth of the waist, hips and chest. The easiest way is to sew in a skirt with a set-in belt.
First, the belt is unpicked, and then unpick the product on the sides. Mark new measurements on the skirt where necessary, and when drawing a new line, make sure that it runs parallel to the old seam.

Try on a dress, make sure it fits well. Only then sew the seams and cut off the excess with scissors. Then we sew the belt back, shortening it to the desired length.
Sewing the sides of the dress.
To sew a thing on the sides by size, you will need to correct the armhole line. If your product has sleeves, then you can reduce the size using the side seam, open the armhole line and on the sides. Note a new seam and sew it up. We cut off the unnecessary fabric on the sides with scissors.
How to sew a jacket at the waist
For this, it is again required to take measurements.First, measure the girth of the chest - for this, the tape should go along the most protruding points. Make sure that on your back it runs slightly above the shoulder blades. Then measure the narrowest part of the waist, while grasping it tightly, but without strong tension.
When marking, the jacket is put on inside out and new side lines are marked with pins. After that, the product is turned back and tried on - if everything is fine, the sides are sewn up according to the marks.
It is enough to retreat from ordinary darts by 1 or 2 cm and sew them again, the triangular darts are transferred. To do this, the fabric is selected at the required distance from the former seam and fastened. A new dart is sewn along the old line at a distance of about 1 cm.
In such simple ways, you can give the desired shape to the jacket and continue to wear it, this is a great reason to improve your sewing skills.
How to sew a dress at the waist
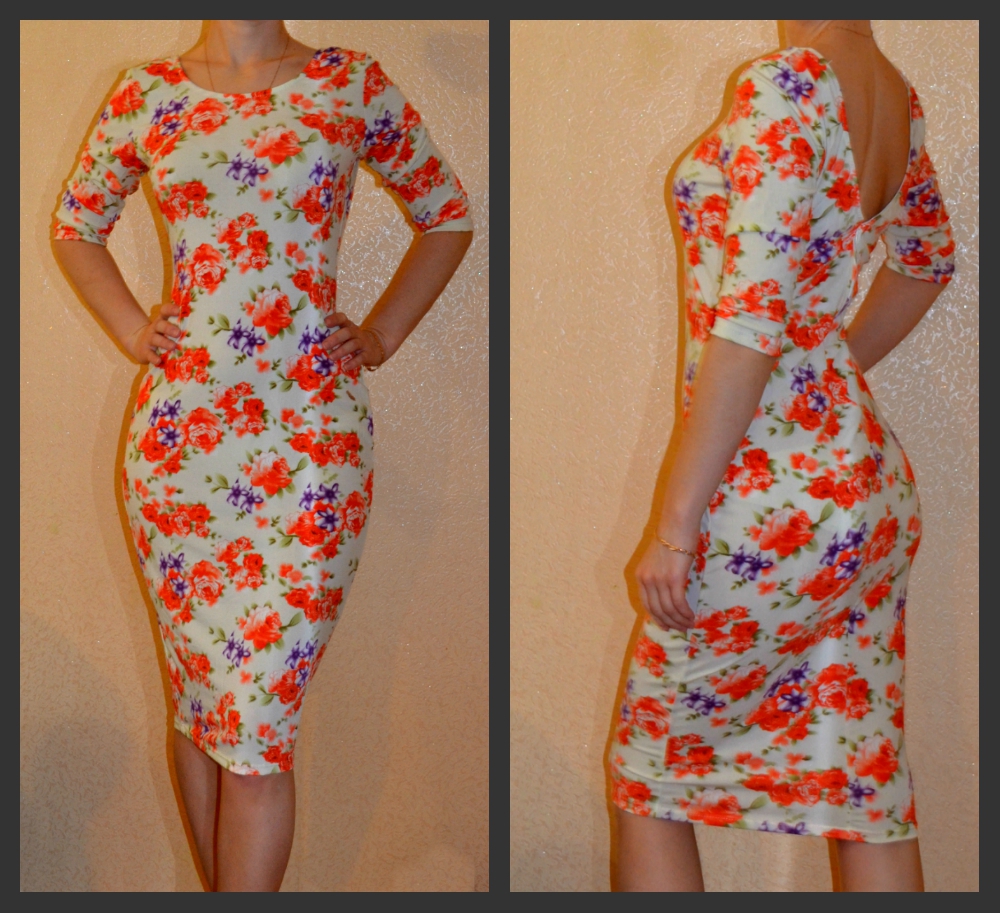
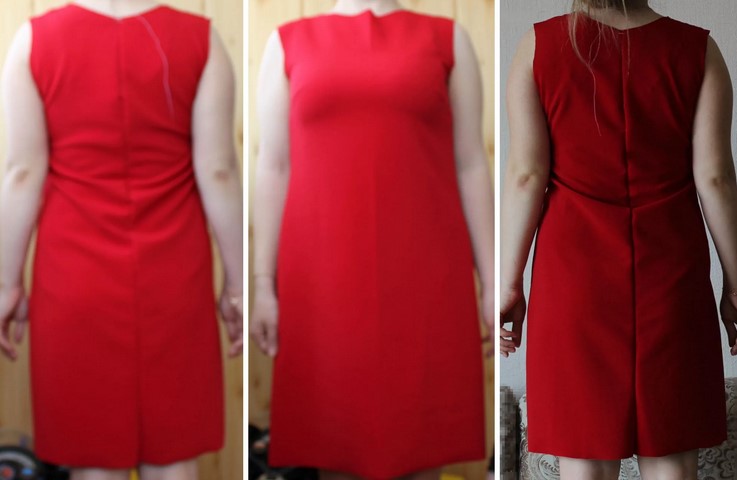
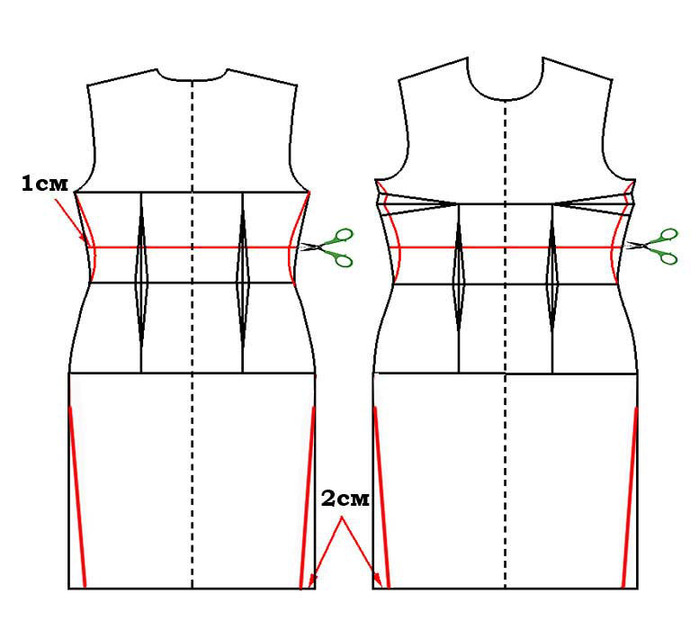
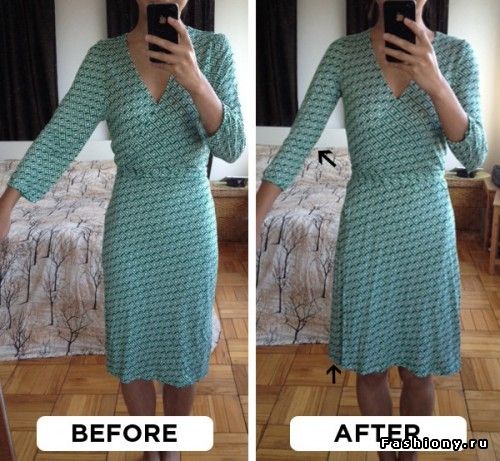
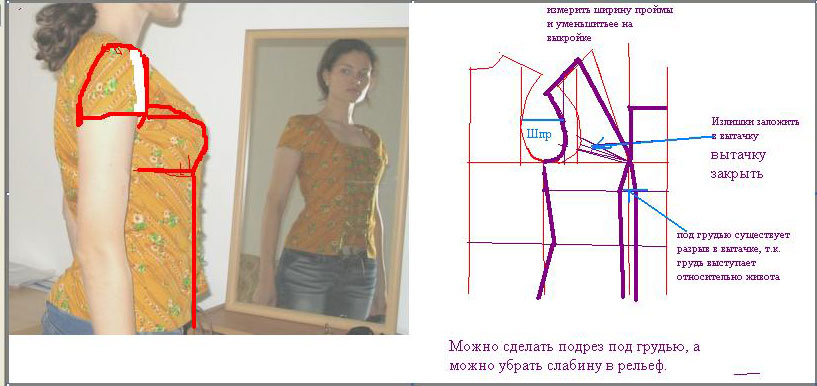
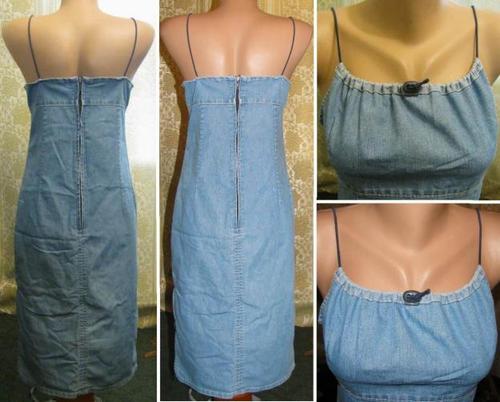
If the dress fits well in the shoulders and chest, but hangs a little at the waist, then it can be sewn in 1 size by yourself. There are several ways to do this. Firstly, you can make a cut in front and sew in buttons or a zipper, secondly, make darts, and thirdly, sew in the side seams. The choice of method will depend on the style of the product, the desired size, fabric and skill of the craftsman.
Attention! If you need to reduce the dress by 3 or more sizes, then the described methods will not work, you will only have to redraw
Dress with buttons
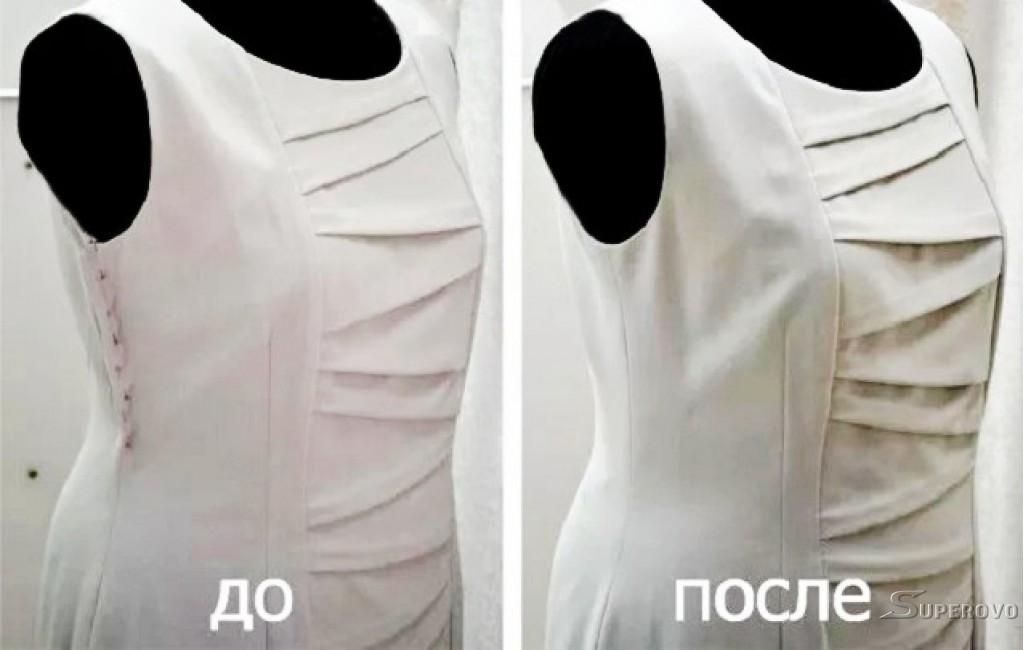
To reduce the size of a product with buttons or zippers, you need to know how to sew a dress on the sides at home. If the buttons are on the side, it is enough to alter them further by 1-2 cm, due to which the product will become narrower.
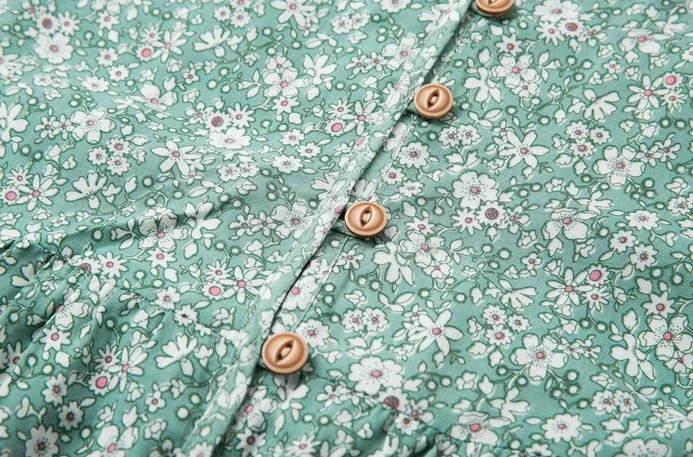 Button-down
With a zipper
Zipper is another cool option for sewing on a dress. In addition, it will allow you to update the model, change it and diversify it. So, the algorithm of actions:
first, the dress must be measured in order to understand how many centimeters you need to sew it in;
then it is cut in half at the back or at the seam, if there is one;
on each side, the fabric is folded as much as it is necessary to reduce the volume of the dress (if all it is necessary to remove 5 cm, then the fold is done by 2.5 cm);
it is important to pick up the zipper along the length of the cut and sweep it on one side and then on the other;
the next step is to measure the dress to understand if the size fits, or if an adjustment is still required.
if everything is fine, then the zipper is attached on a typewriter and ironed out.
You can use small hidden zippers, which are built into the seam and are almost invisible, or massive decorative ones that will become a new decoration for the dress.
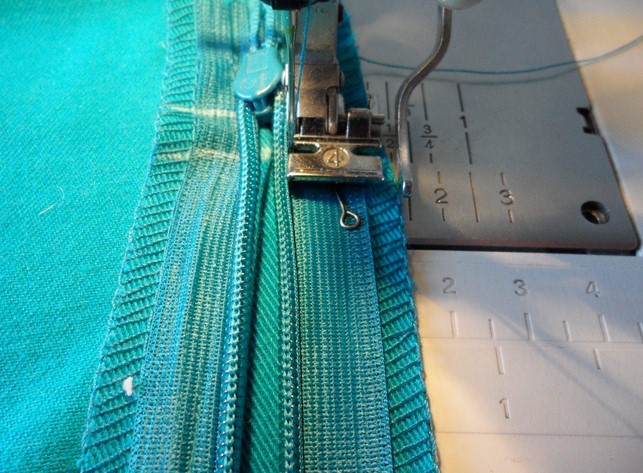 With lightning
What you may need for work
To alter the finished product, you need to find free time and prepare special sewing accessories:
- A centimeter and a ruler. These items are necessary in order to take measurements. In some areas of the finished product, you need to retreat a few millimeters or centimeters, strictly observing a straight line. This applies to basting the side seams, as well as drawing a line for overcasting a shirt or blouse.
- Pins or needles. With the help of pins or small needles, parts of the shirt are fastened when it is necessary to connect the sections before further basting.
- Chalk. A section is marked out with chalk, which is further fastened with pins and laid out with threads.
- Sharp-edged scissors. Scissors are necessary for making cuts, cuts off parts of the shirt. The sharper the scissors are, the less likely it is to ruin the product.
- Threads. Colored threads are used for basting: they are better seen on the fabric. Only threads that match the shade of the fabric on the shirt are suitable for sewing.
- Needles. Basting is carried out using a needle. After the parts of the shirt have been machine-stitched, the hand-sewn seam is removed.
- Sewing machine. When reducing the size of the product, it is wiser to use an automatic sewing machine.An automated process will produce straight seams that are indistinguishable from factory quality seams.
Reference! In addition to chalk, you can use a small dry bar of soap.
How to properly sew a dress with a lining and a fluffy skirt.
Dear novice dressmakers, sometimes we have to solve such a problem: how to sew a wedding dress, or how to sew a complex children's dress with a lining and a fluffy skirt. So you sit down and wonder where to start? How and what? In this article, you will learn how to resolve this issue without wasting time. All the work took me 4 hours.
Such dresses are made with rigilen in the seams and at first glance it seems that it is difficult to alter this dress. Let's take a look at the steps, schematically, where to start, what you have to unpick, which knots in a specific example in order to properly sew the dress.
True, the dress will be for children, but the principle of its tailoring is applied in some wedding and evening dresses.
The client asked to sew this dress by 6 cm in width in total. What have we decided with her? Sew in the side seams, as this is the easiest and solves the problem of extra width along the lines of the chest, waist, hips. Where do we start? Of course, with ripping.
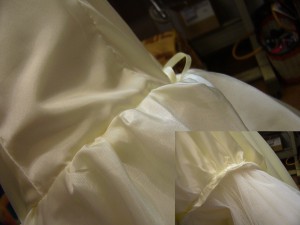
how to sew on a dress
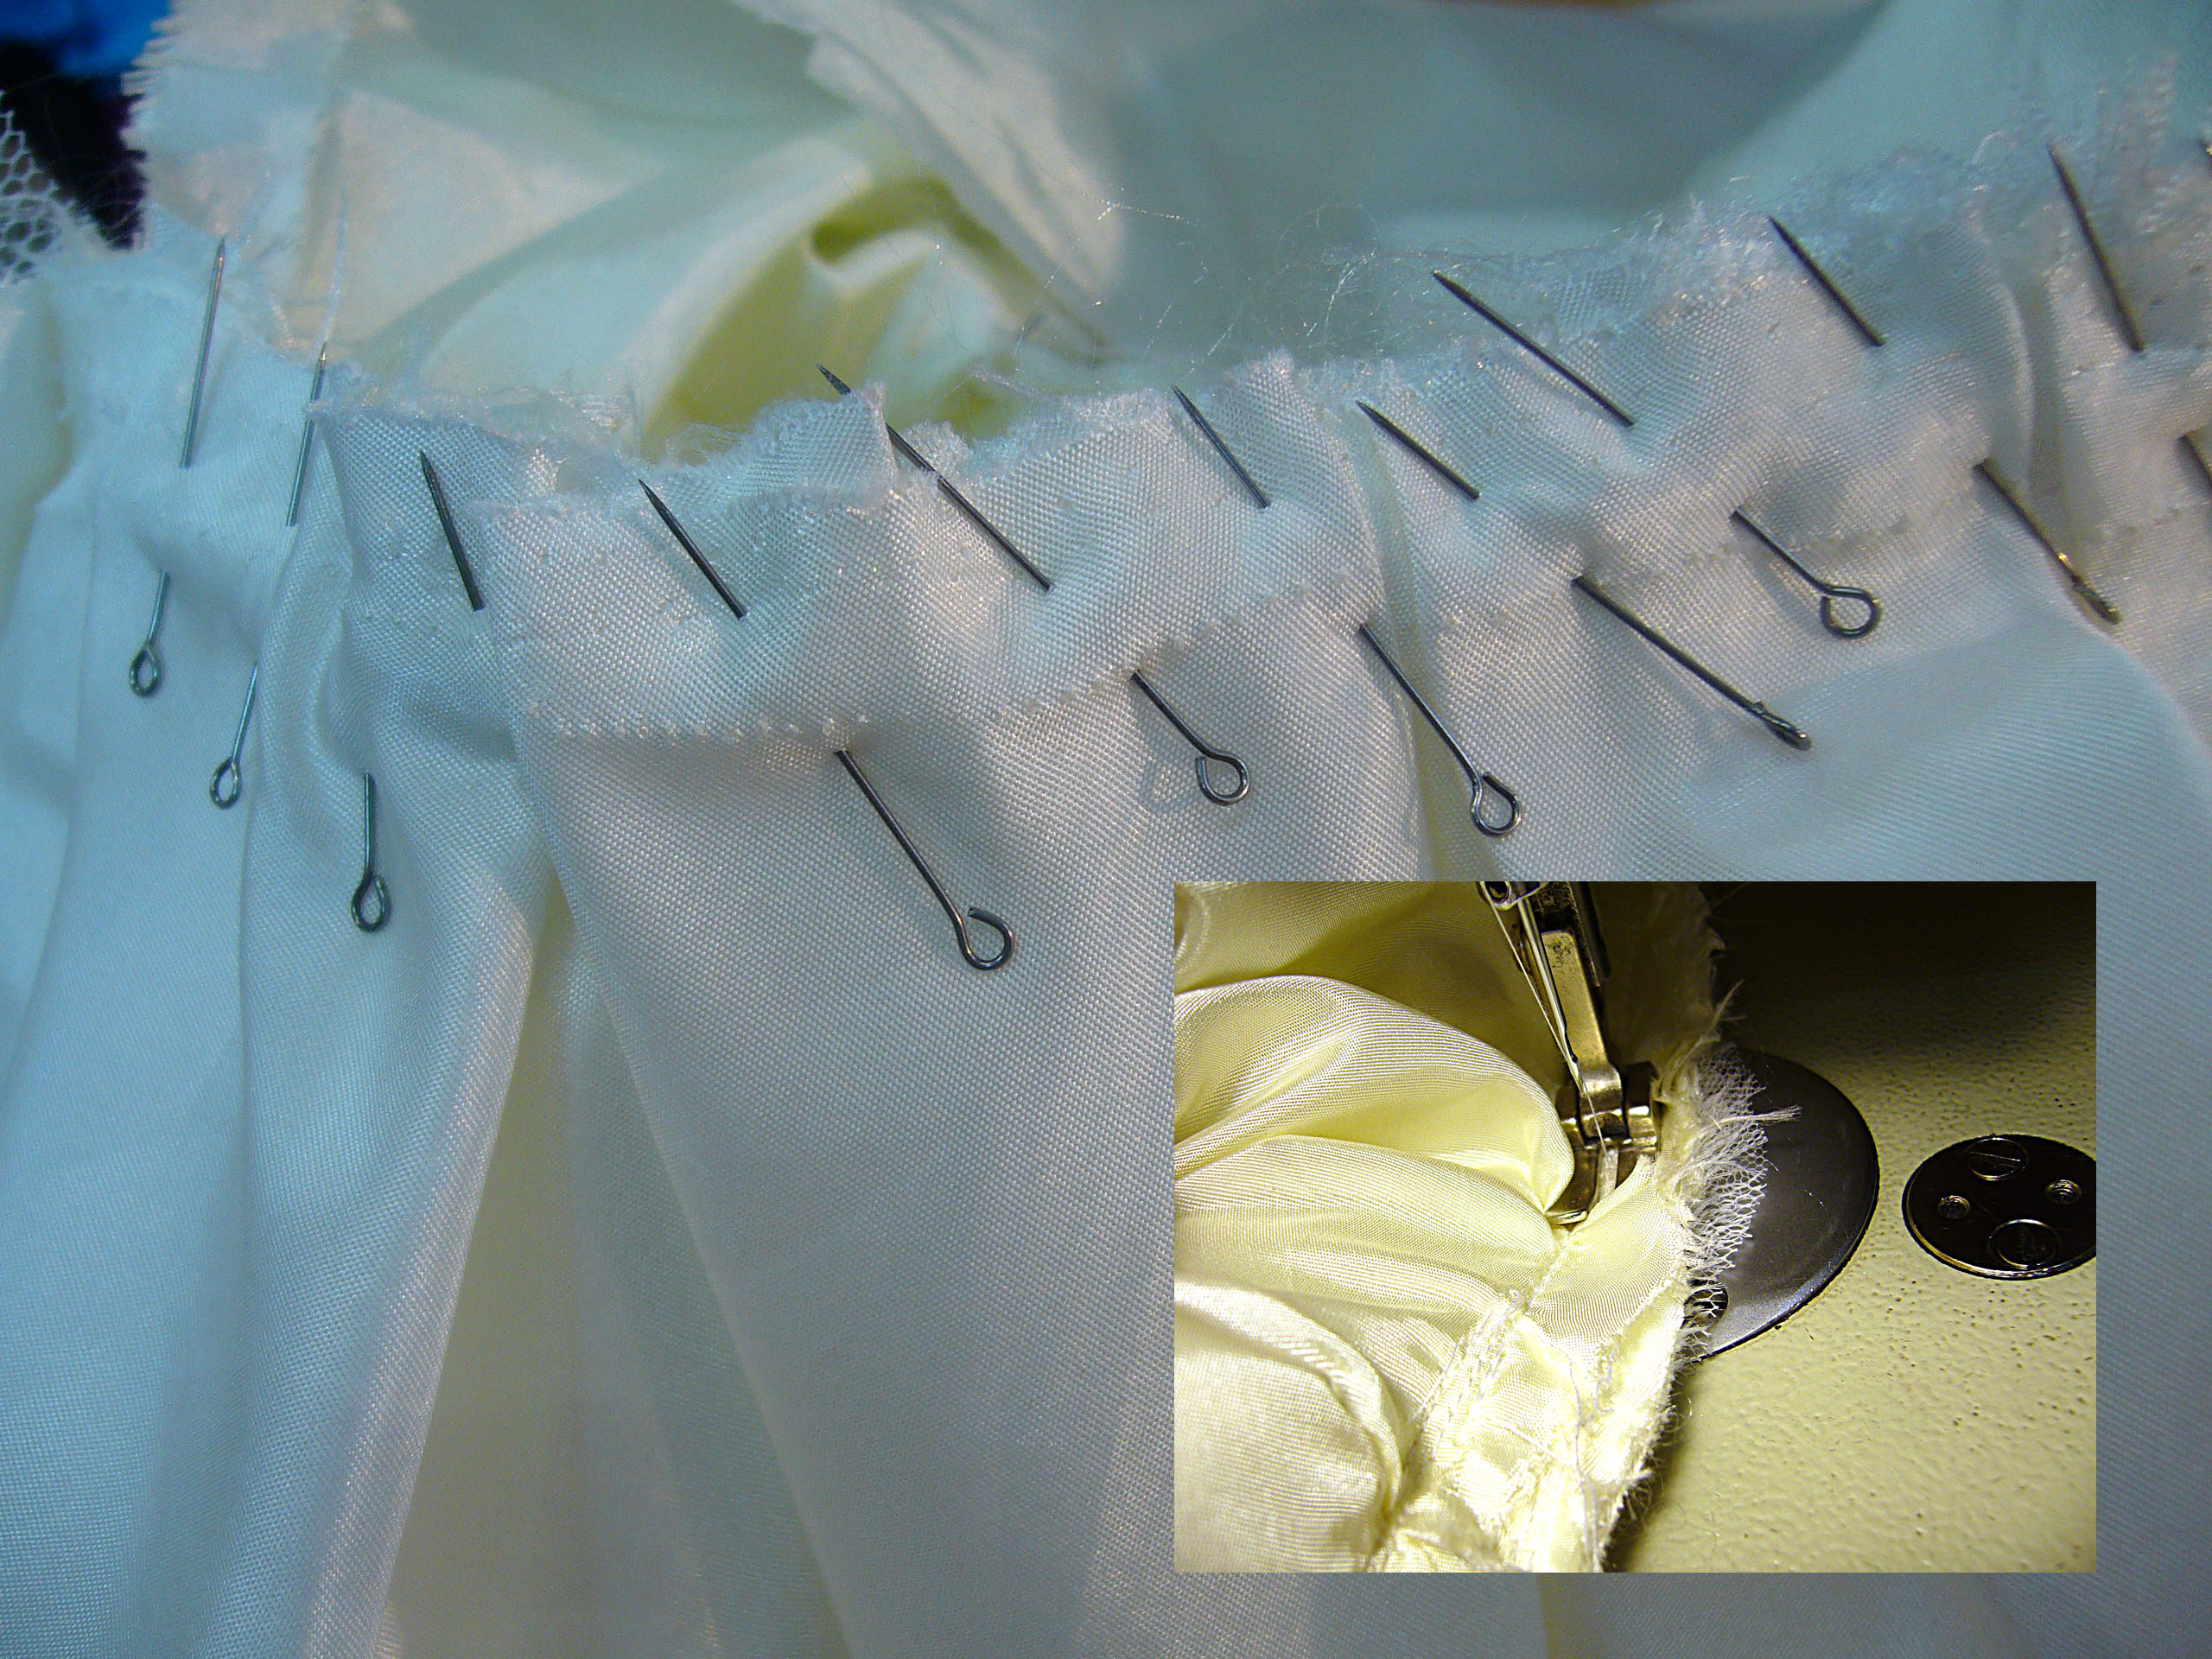
Turn the dress over to the wrong side. You see in the photo the lining of the lower skirt. Pull it up and you will see the seam stitching the petticoat lining and two layers of mesh over the petticoat.
Unbolt the lining of the skirt and topskirts from the corset part of the dress, just not the whole skirt, but about 10 cm in the area of the side seams.
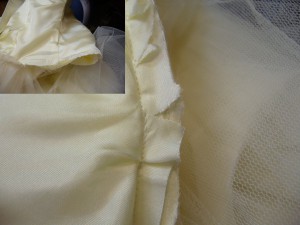
how to sew on a dress
And unpick the dress at the top, under the armpits. Also 10 cm.
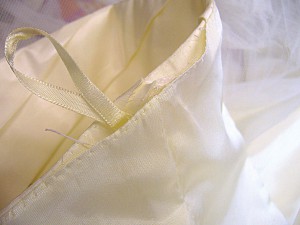
how to sew on a dress
Unscrew the transom from the side seam stocks. In this dress, it is sewn to the stock of seams, without drawstrings, it will be easier for us to sew it later.
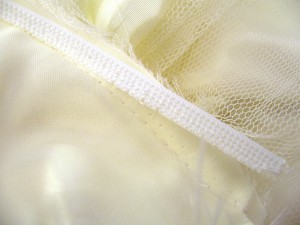
how to sew on a dress
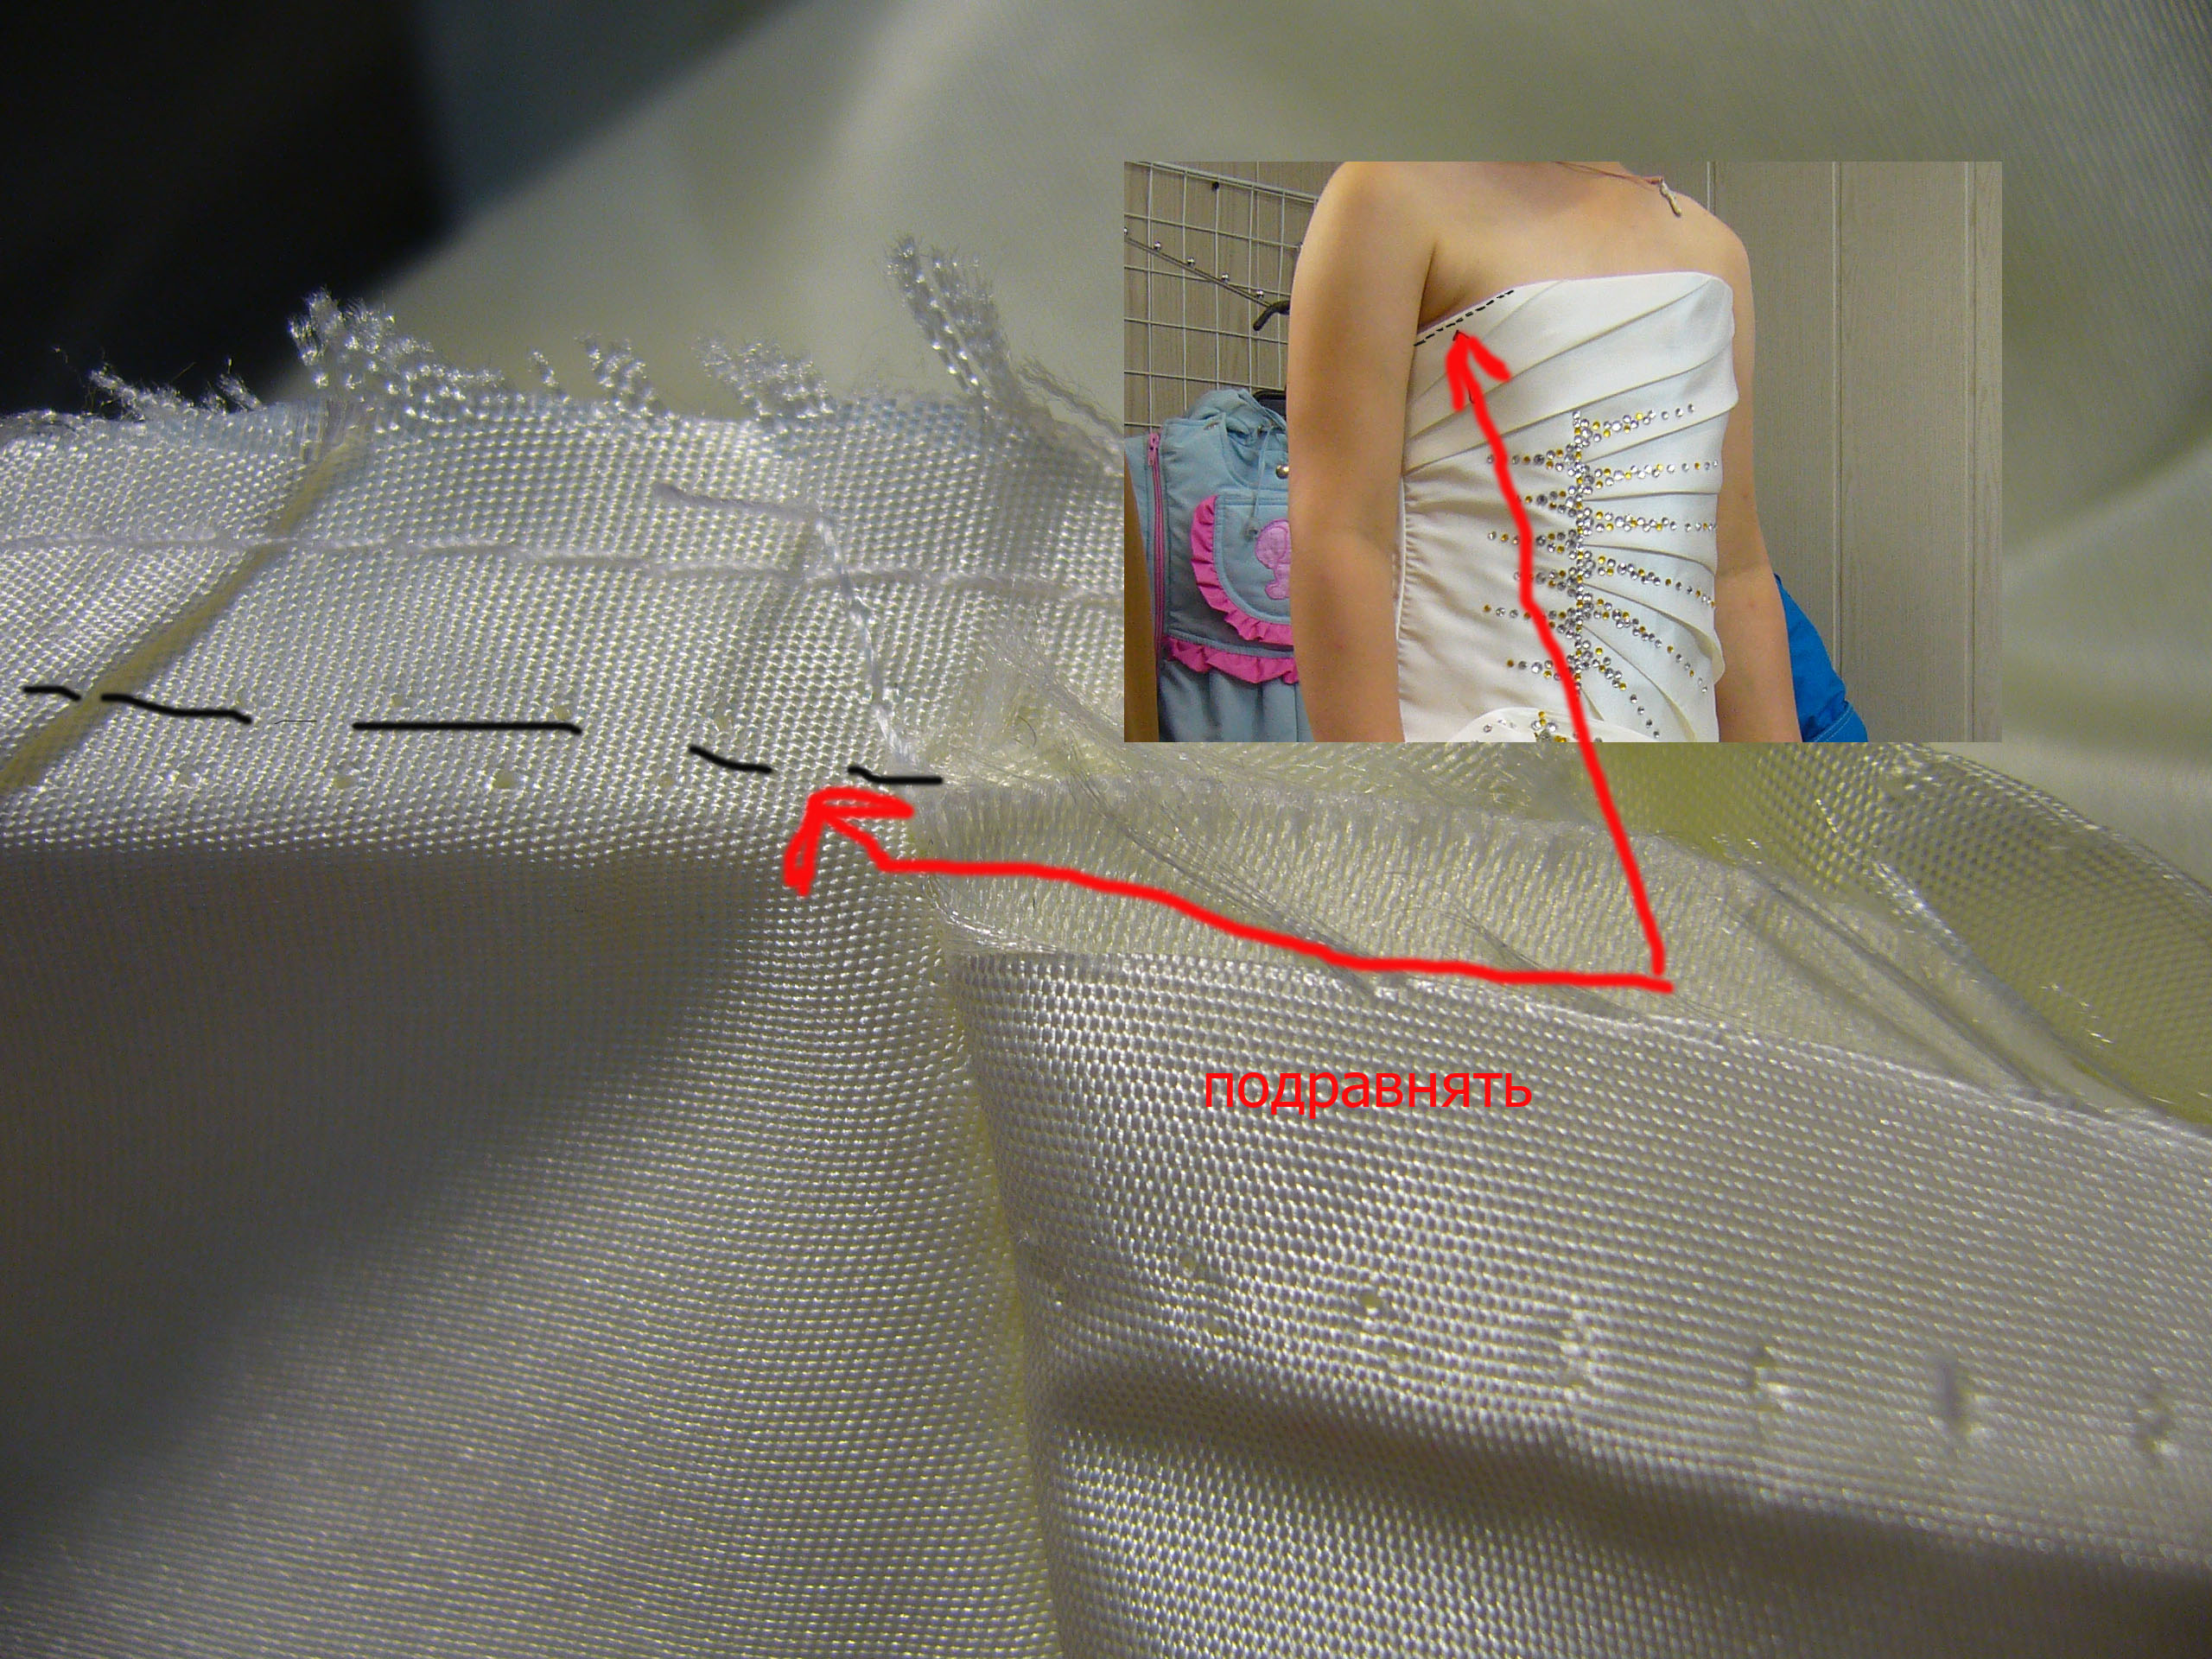
Turn the bodice of the dress through the open seams of the skirt so that the entire side seam is exposed. Draw a new side seam line 1.5 cm from the previous one with a simple pencil and machine stitch. Do the same with the lining.
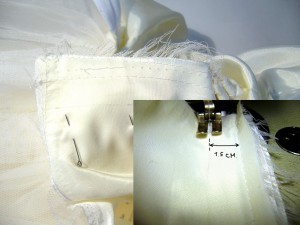
how to sew on a dress
Trim off excess from the side seam.

how to sew on a dress
The neckline line smoothly goes down from the chest to the back. Because of this, a slight inconsistency of the upper cut turned out in the side seam. What to do? From the chest to the back along the neckline, trim off the excess seam stock by folding the two side seams together for symmetry.
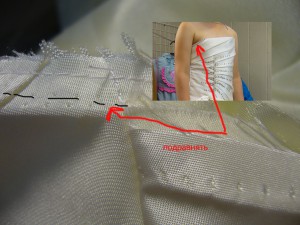
how to sew on a dress
Now sew the rigilen in the same way as it was sewn before. Press on the side seam.

how to sew on a dress
The dress has decorative folds on the chest. Pin them together so they don't deform.
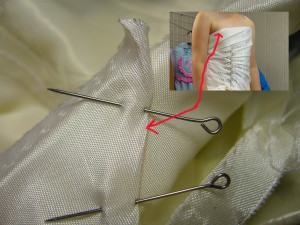
how to sew on a dress
Sew on the openings along the neckline, continuing the untouched stitching.
Re-stitch the seam reserves towards the lining with a seam width of 1 mm (you must also take into account
processing technology for a particular thing. In some products, stitches
there may be no overlapping, but there will be a finishing line, for example.)

how to sew on a dress
Baste and iron the stitched seam.
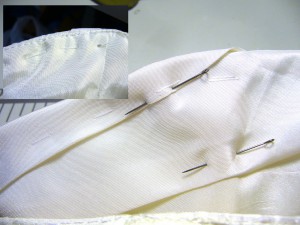
how to sew on a dress
Gather the folds of the upper skirt and pin them together, adjusting to the required volume. Sew the top skirt to the corset of the dress. Sew on the petticoats one at a time, immediately forming folds with your hands. Lastly, sew on the lining of the dress. There is no need to iron the seams of the skirt. Well, that's probably all. This is how you can just sew the dress.
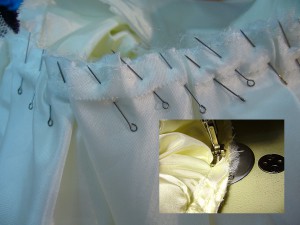
how to sew on a dress
What else to read on this topic:
How to sew a baby dress pattern.
all blog articles
To main
How to properly sew the sleeves of a men's and women's shirt
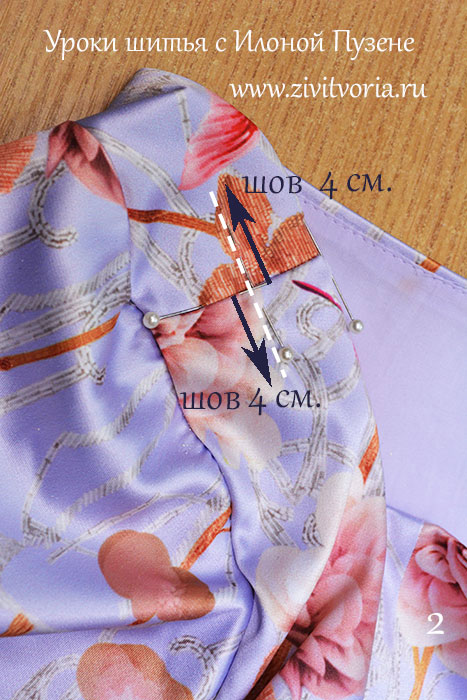
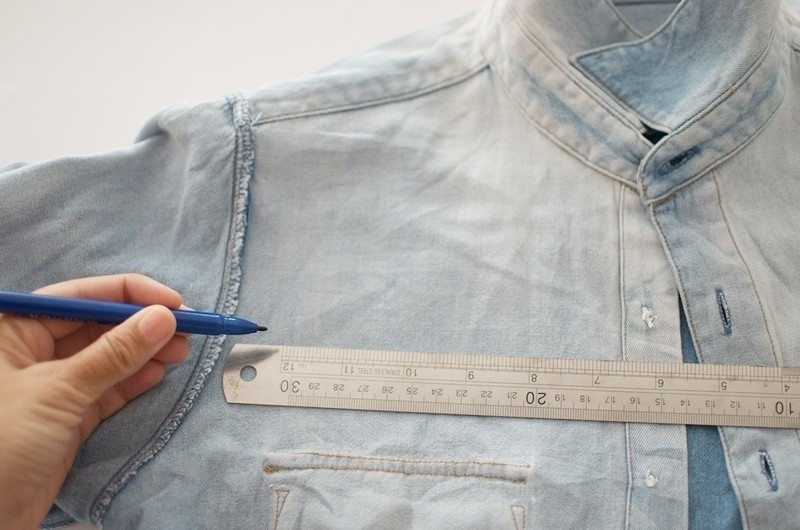
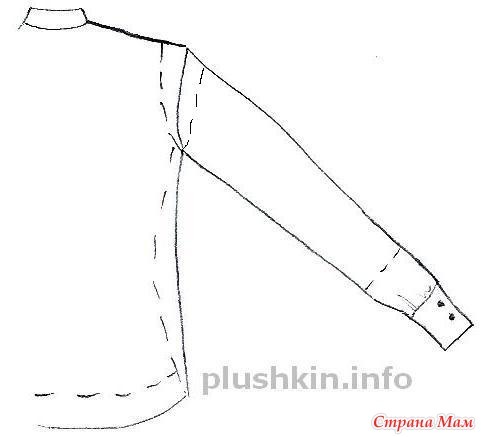
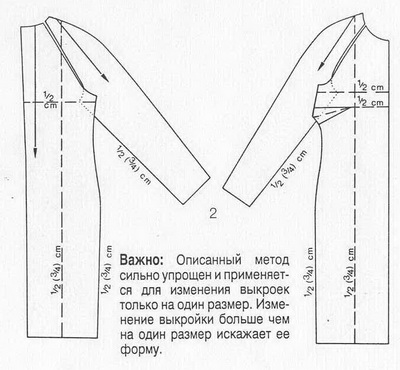
Sometimes, when trying on, it turns out that the sleeves of the shirt are large in the area of the armhole. The overall appearance suffers from this. The armhole is reduced by suturing the area between the upper and lower points of the central part of the shirt. To reduce the armhole, you cannot do without ripping open the sleeves.After cutting off the sleeves with a pin, the armhole is fastened, measuring the distance necessary for suturing, and fitting is performed. Then the sleeves are sewn in along a new line and the fabric is smoothed from the inside.

When the armhole is reduced, there is a possibility that you will also have to reduce the width of the sleeve along the entire length of this part of the product. There are 2 ways to reduce the width of the sleeve on the reworked armhole:
- when basting the sleeves to the narrowed armhole, a vertical fold is laid on the sleeve, which, after sewing to the armhole, must be carefully ironed;
- if the method of touching the folds is not suitable, then the sleeve is sutured along the seam, altering the slot and suturing the cuffs.
Advice! With a complete alteration of the sleeve width, the cuff does not need to be reduced. To make it narrower, it is enough to alter the button a few millimeters to the left.


