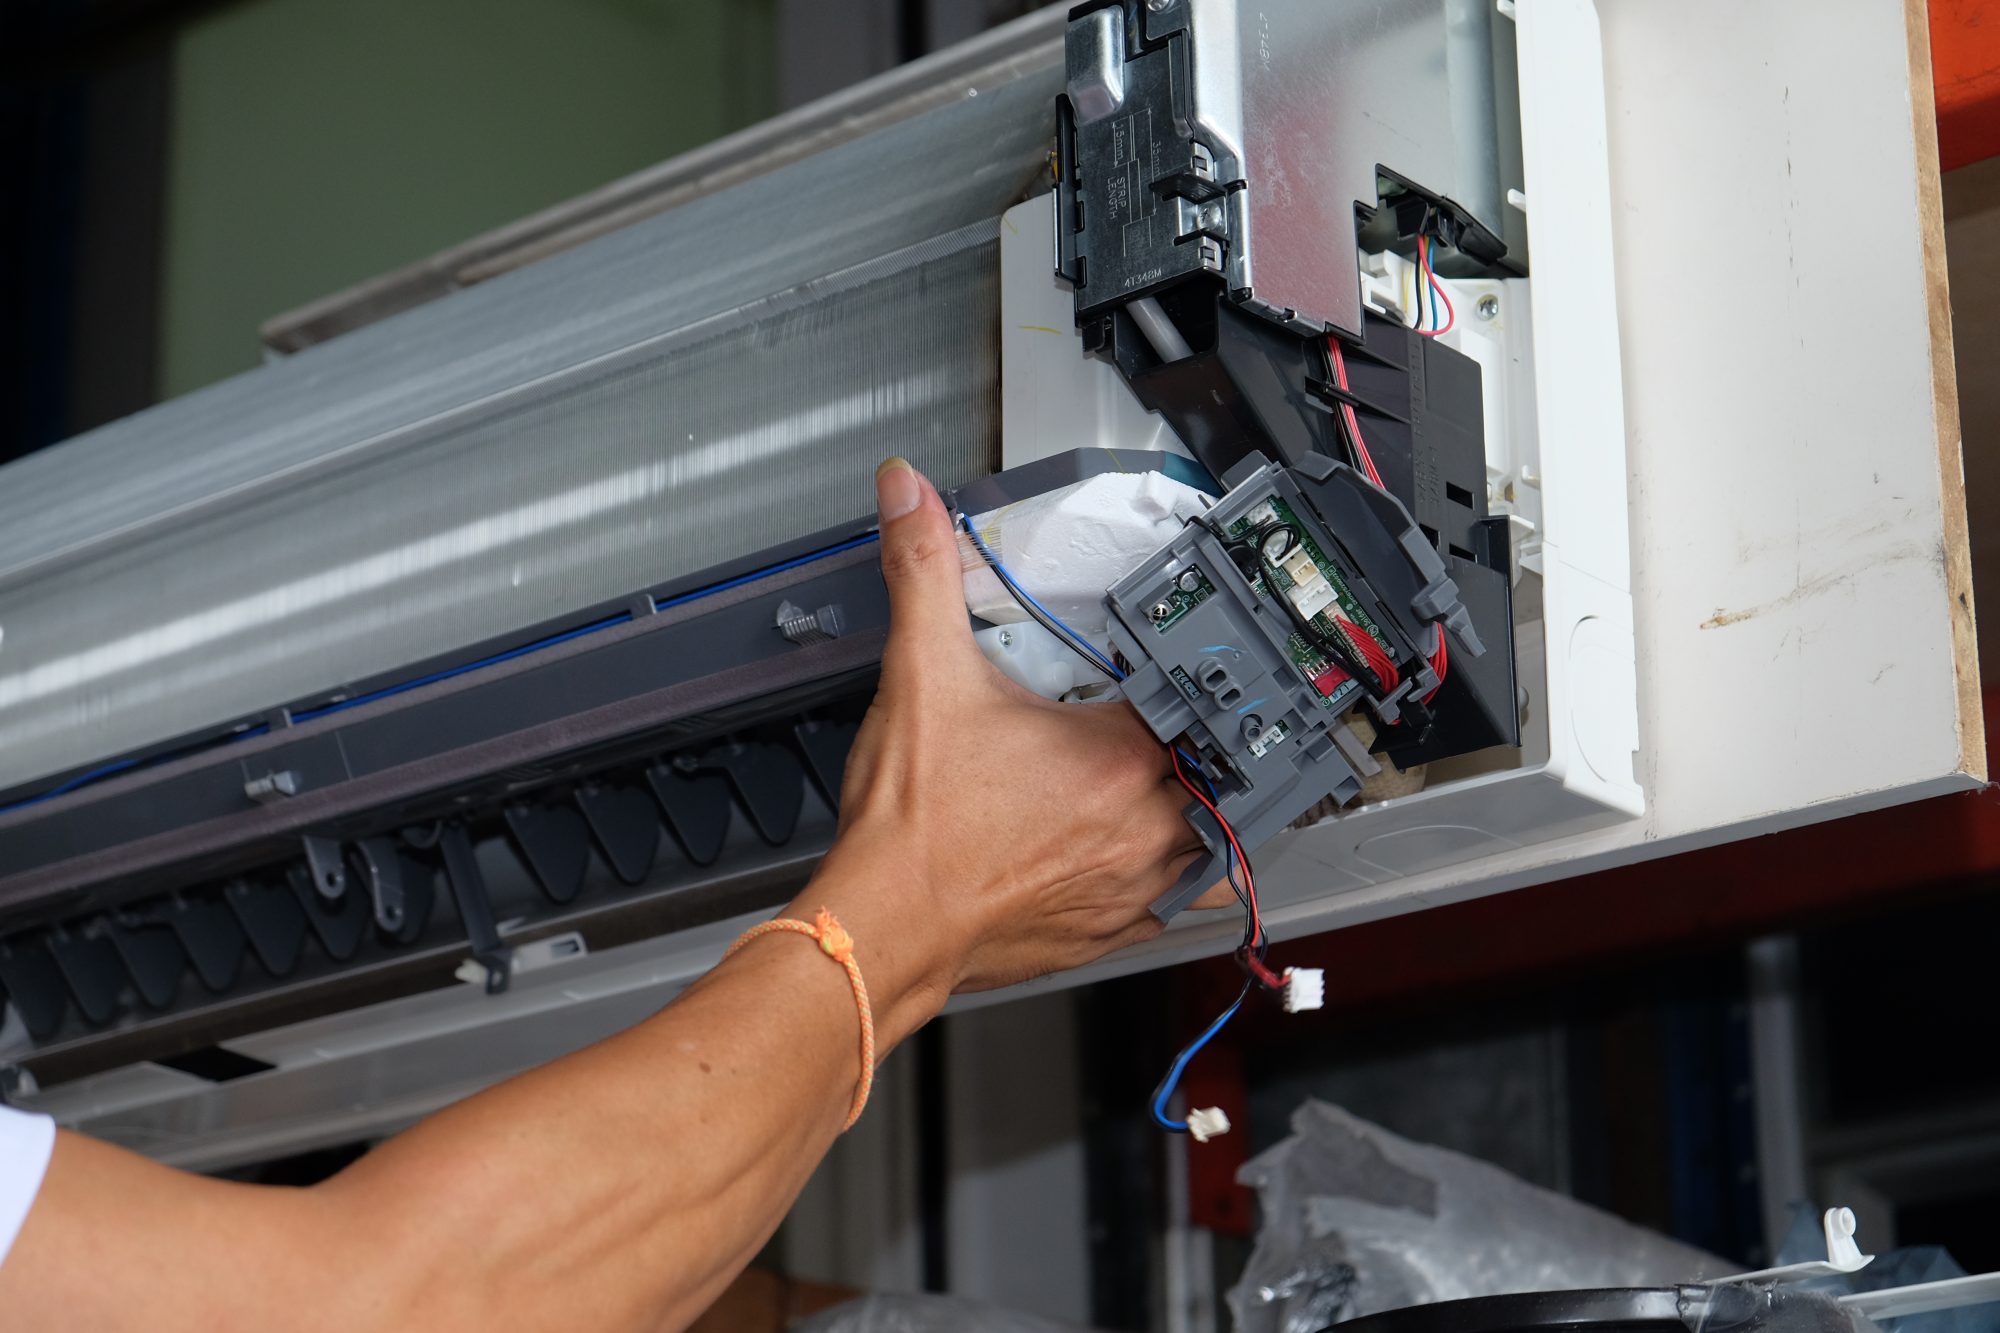
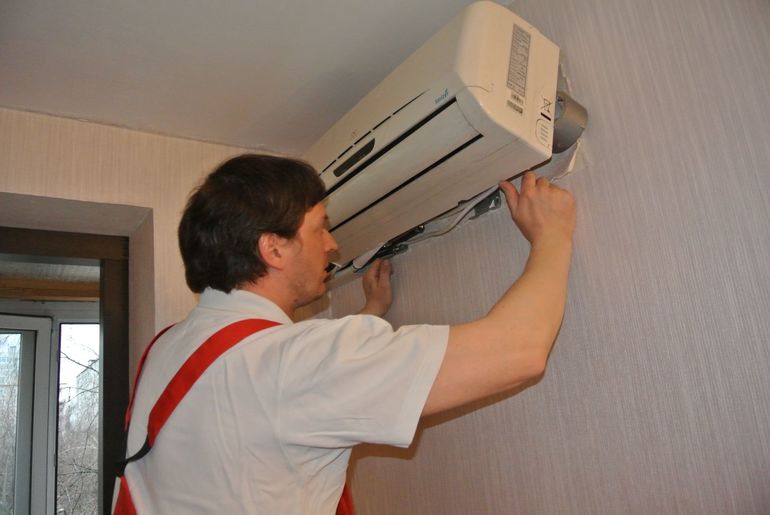
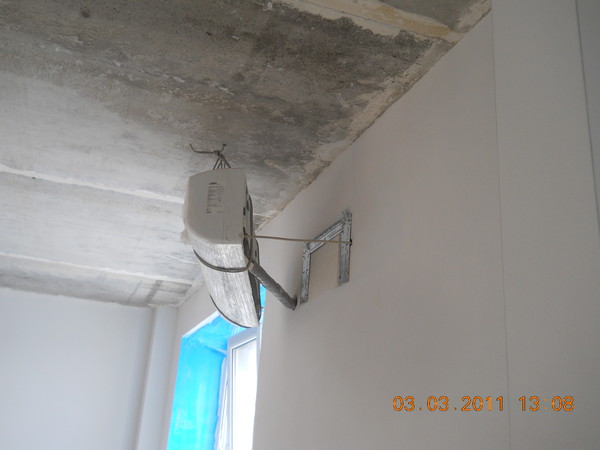
How to remove the air conditioner from the wall
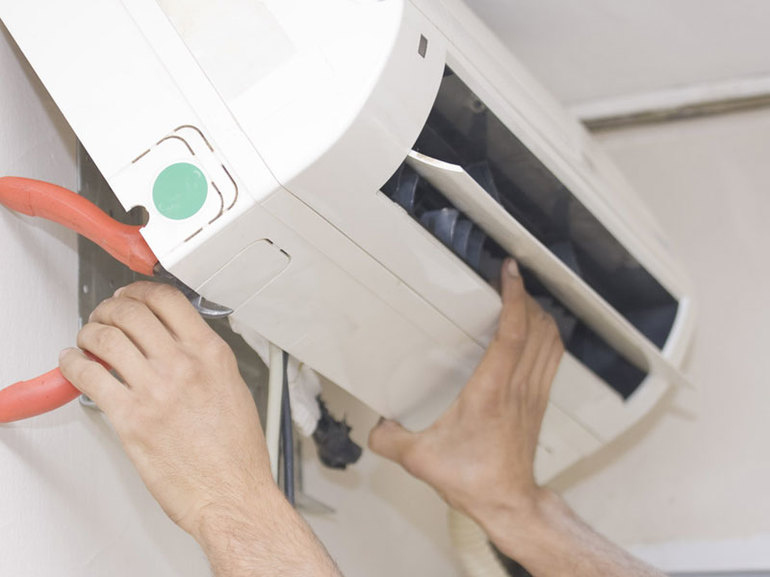
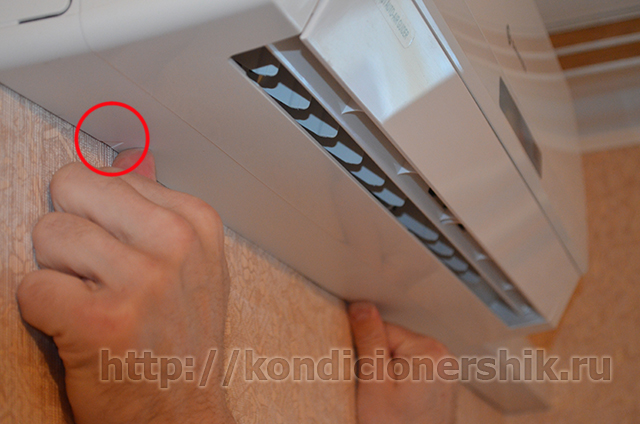
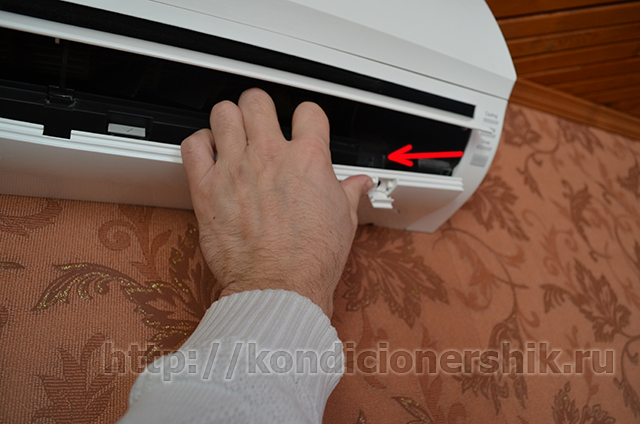
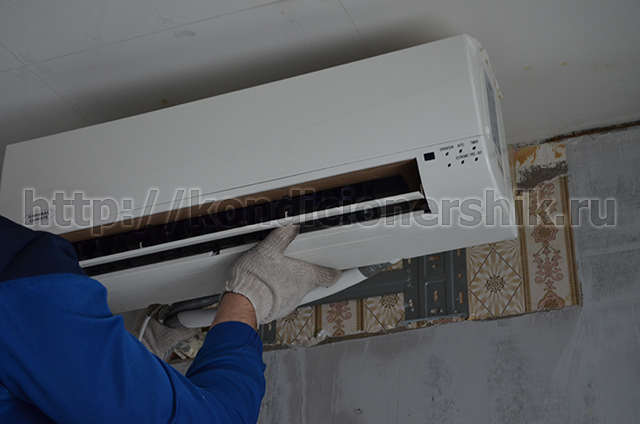
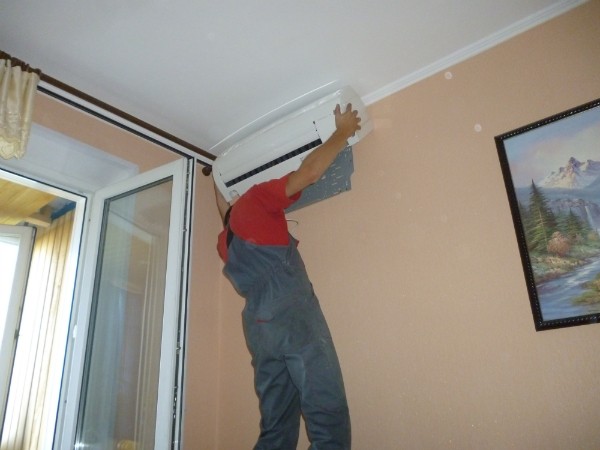
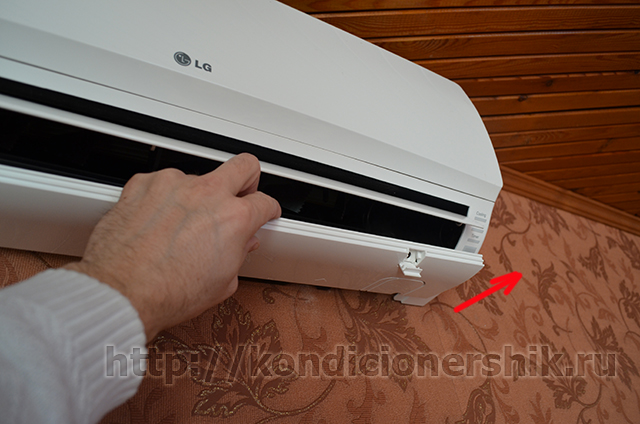
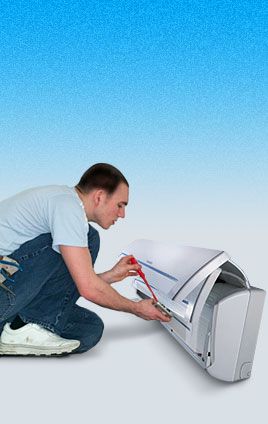
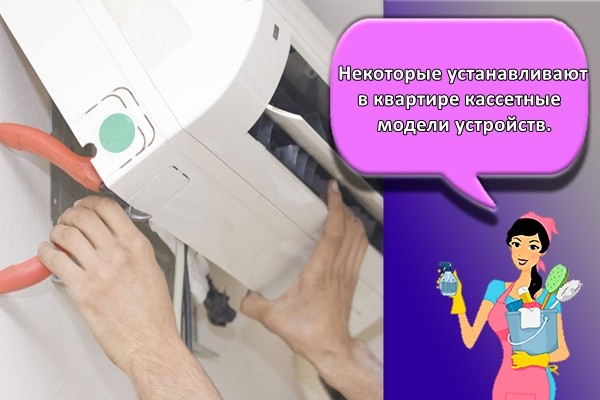
To remove any indoor unit, you first need to "snap off" the lower clips. Most of the blocks have two clips at the bottom, which I point to with various arrows or serifs. There are three main types of these clips. The first two can be difficult to determine (experience or knowledge of a particular model will be required). So, what are their differences:
hook on the plate from above.
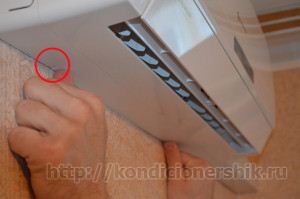
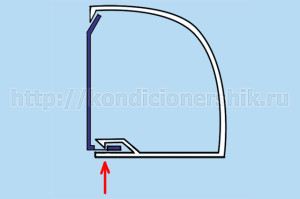
In this case, you need to push the clips upward to snap off the indoor unit;
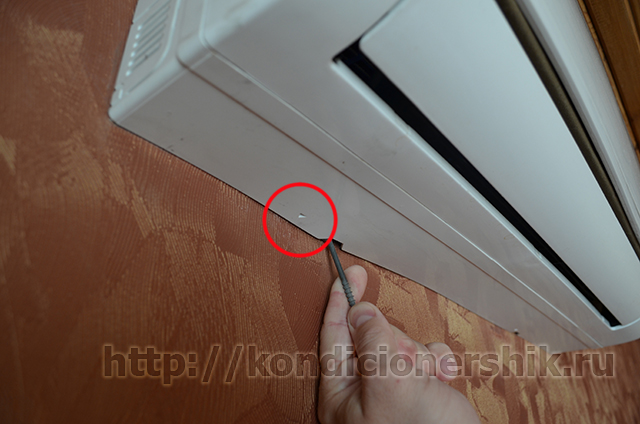
hook on the plate from below.
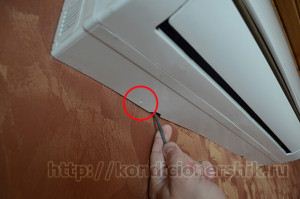
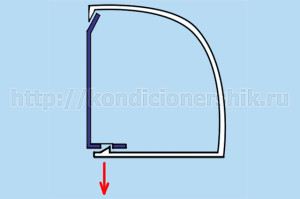
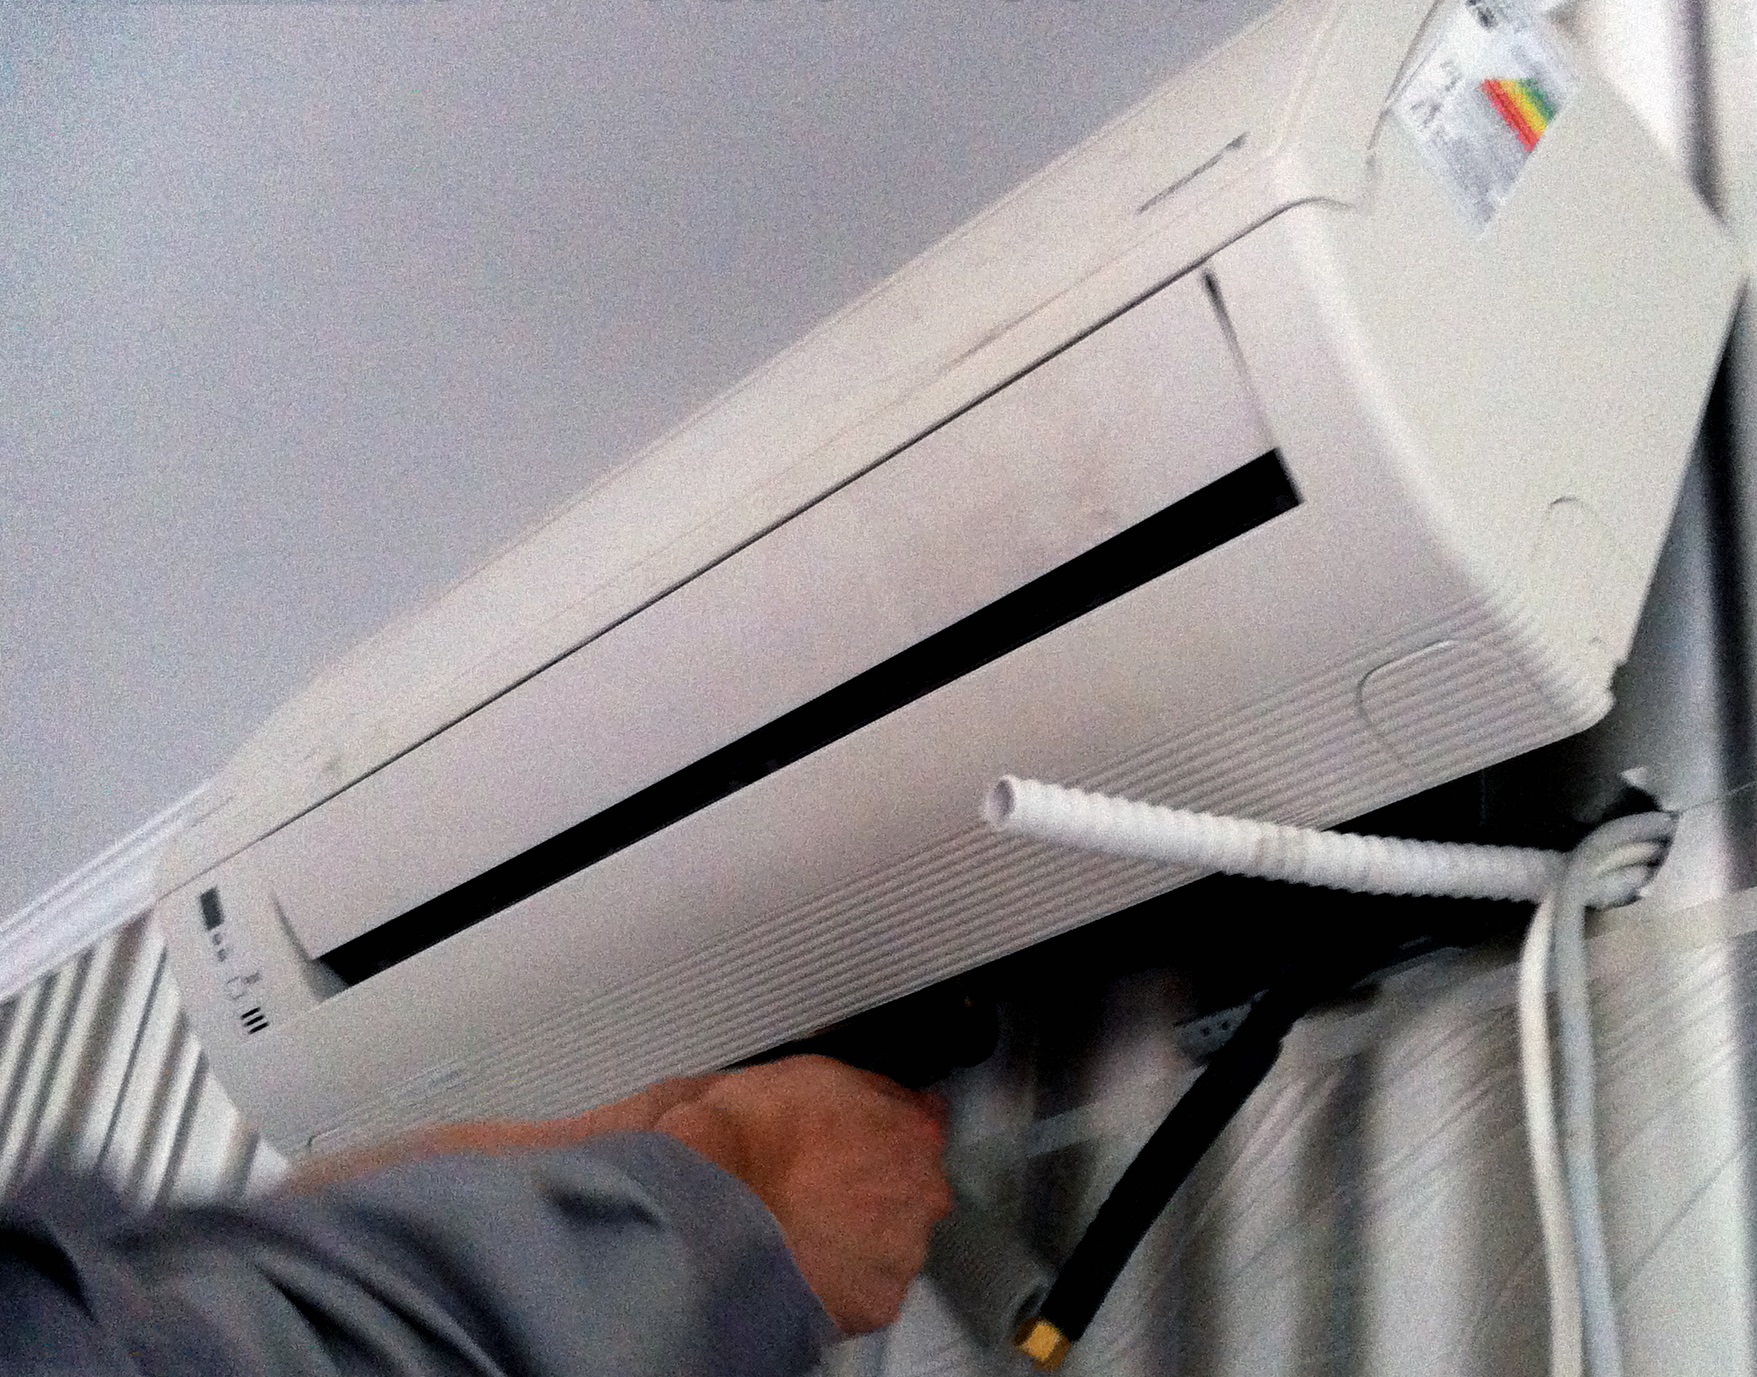
Often in such cases there are additional holes (as in the photo). In this situation, the clip must be pulled down from the block. This will require a device (something like a screw cap);
clips under the decorative cover of the indoor unit.
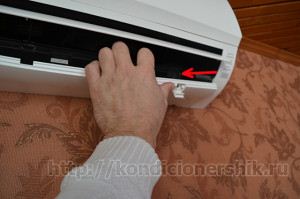
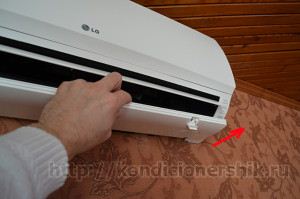
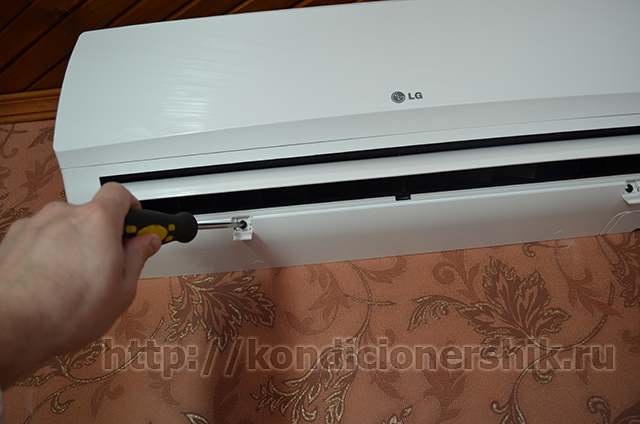
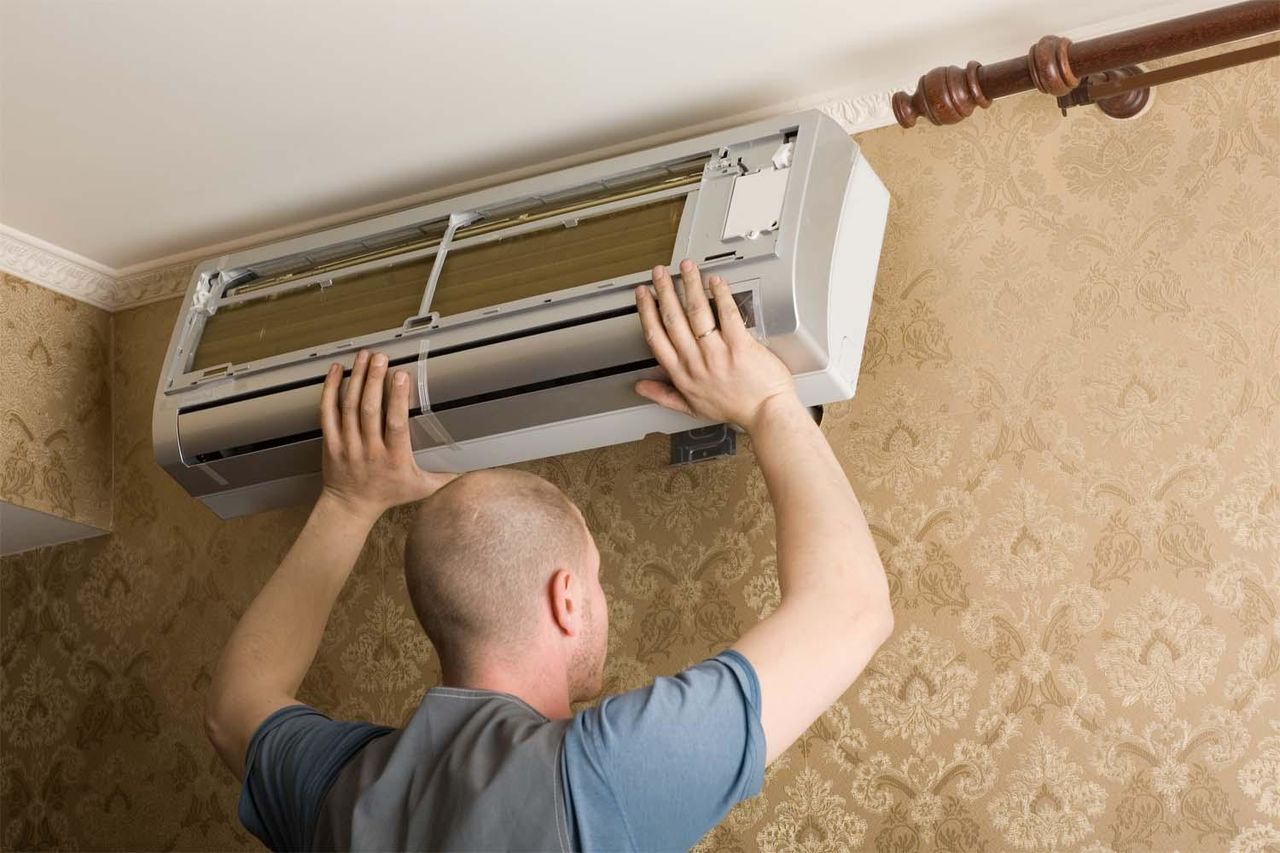
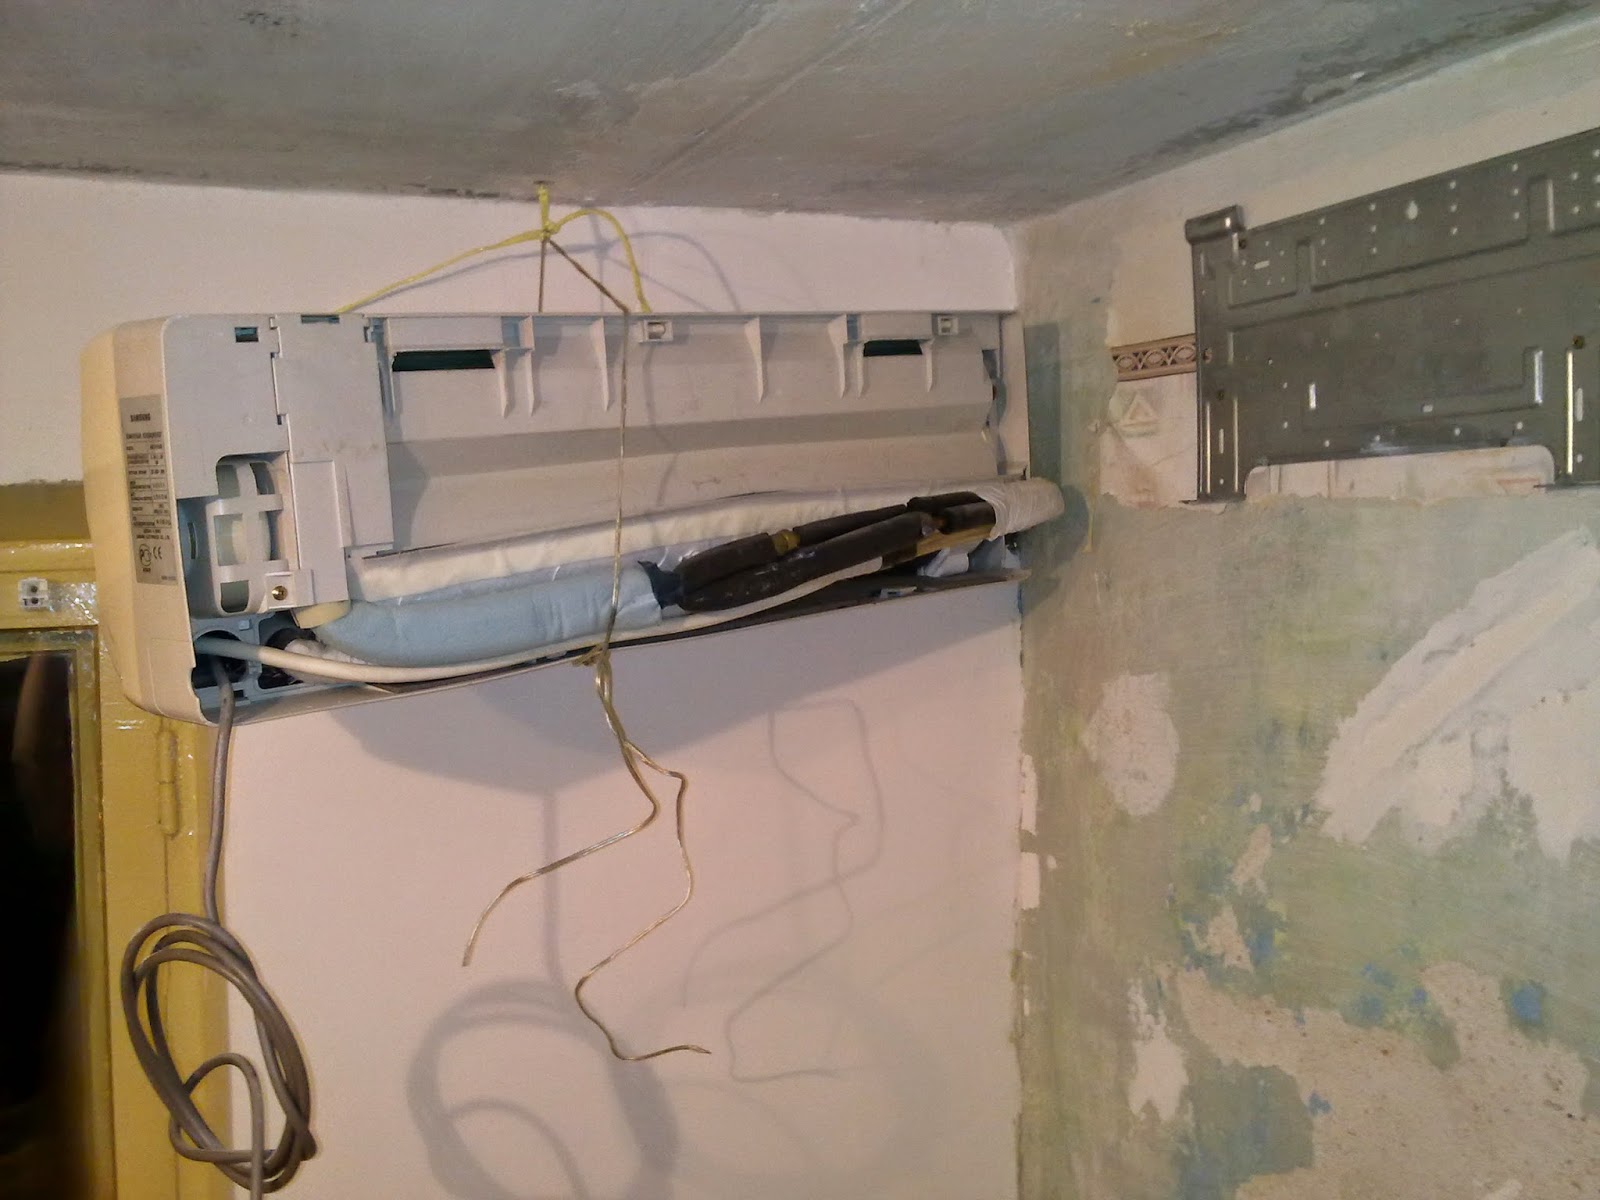
Here, first you need to carefully remove the lid, and then everything becomes clear. Using the LG air conditioner as an example, first unscrew the two self-tapping screws. After that, from the sides, we unhook the front part of the cover, then we push it all towards ourselves.
In any case, it is better to consult a specialist, especially if you do not know how the clips of your air conditioner are arranged. Incorrect operation can break the mounts and the unit will not fit snugly against the wall.
Depending on the scale of the repair, and how tightly the internal block adheres to the wall, there are several options for solving the problem.
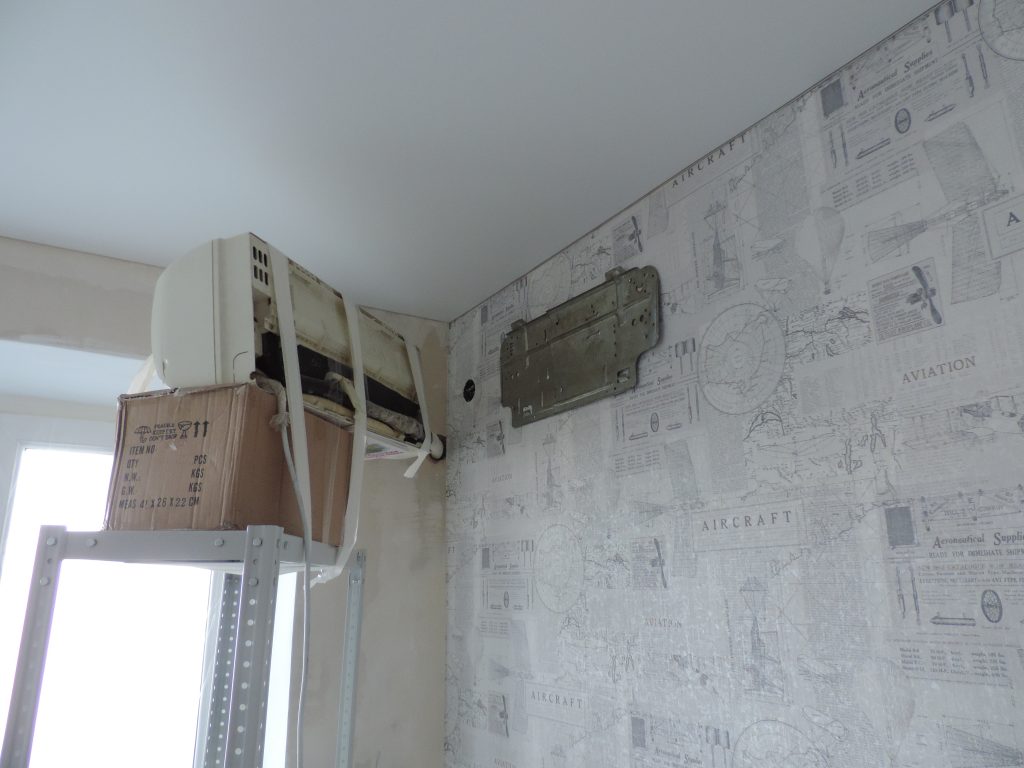
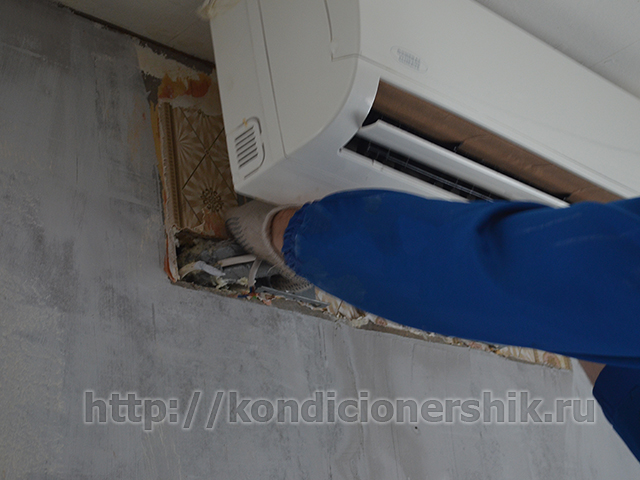
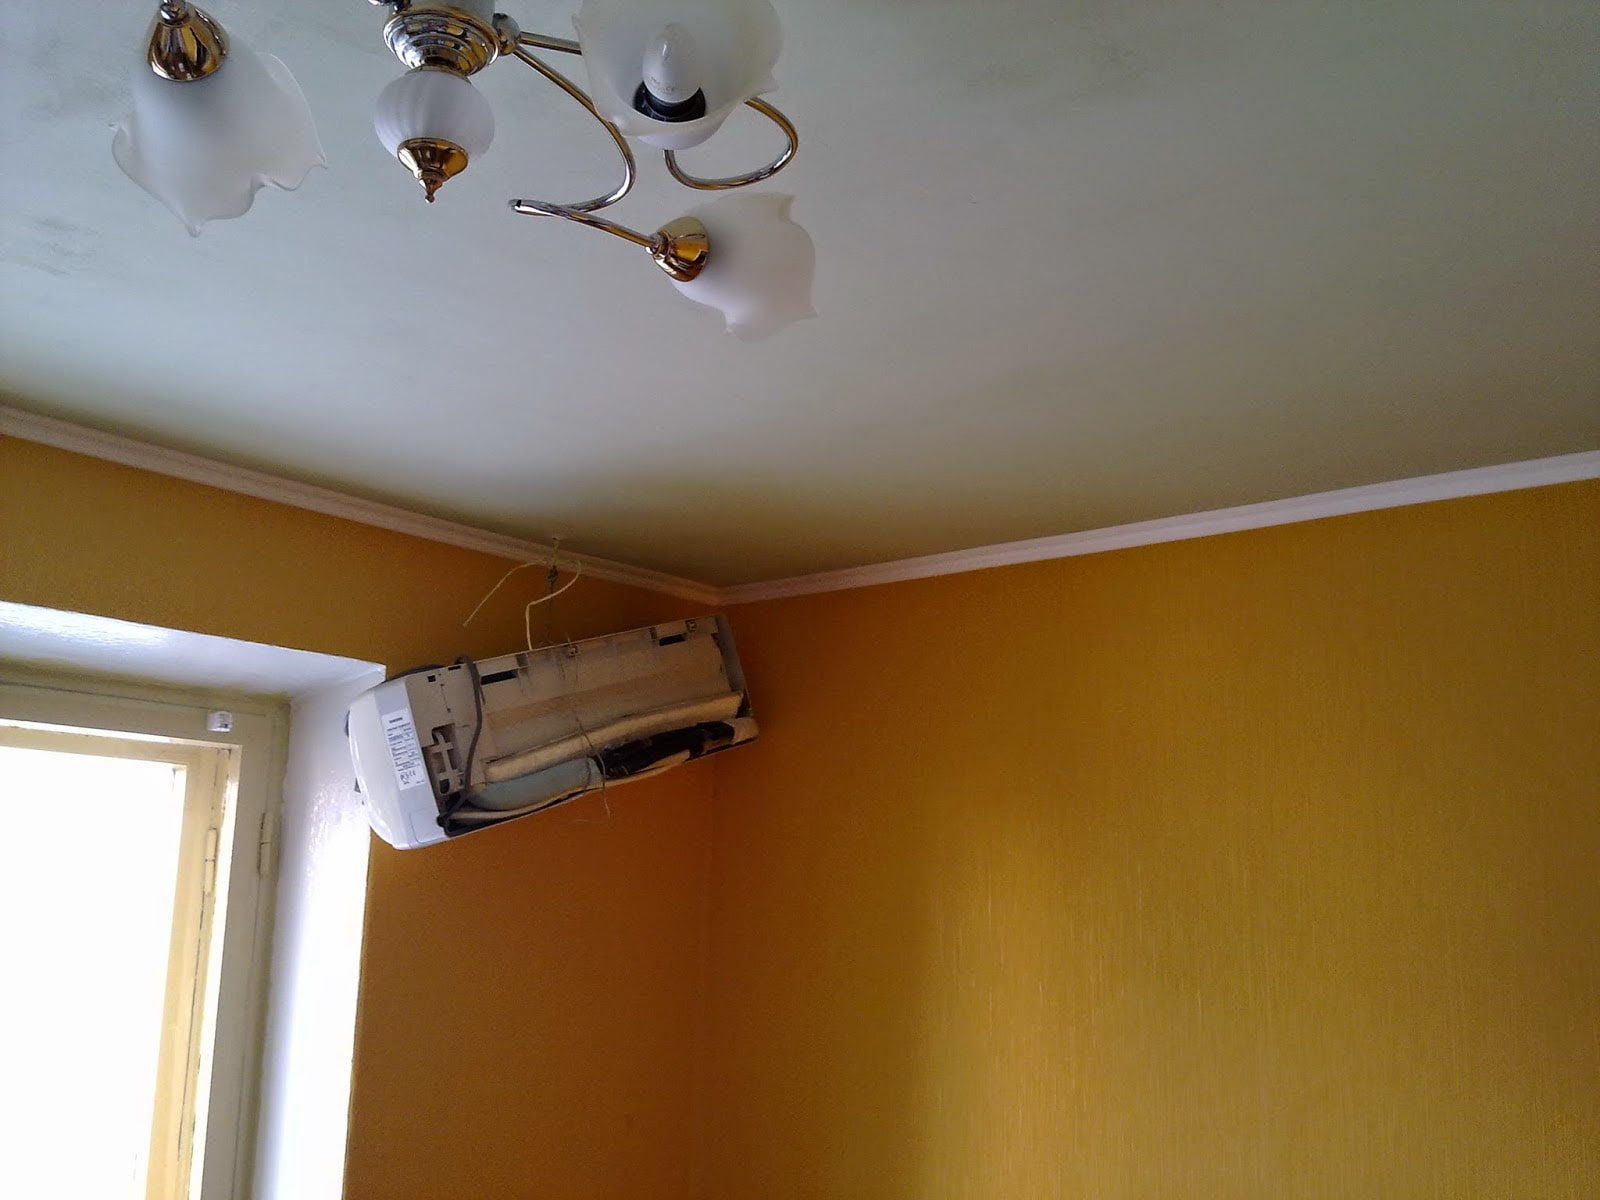
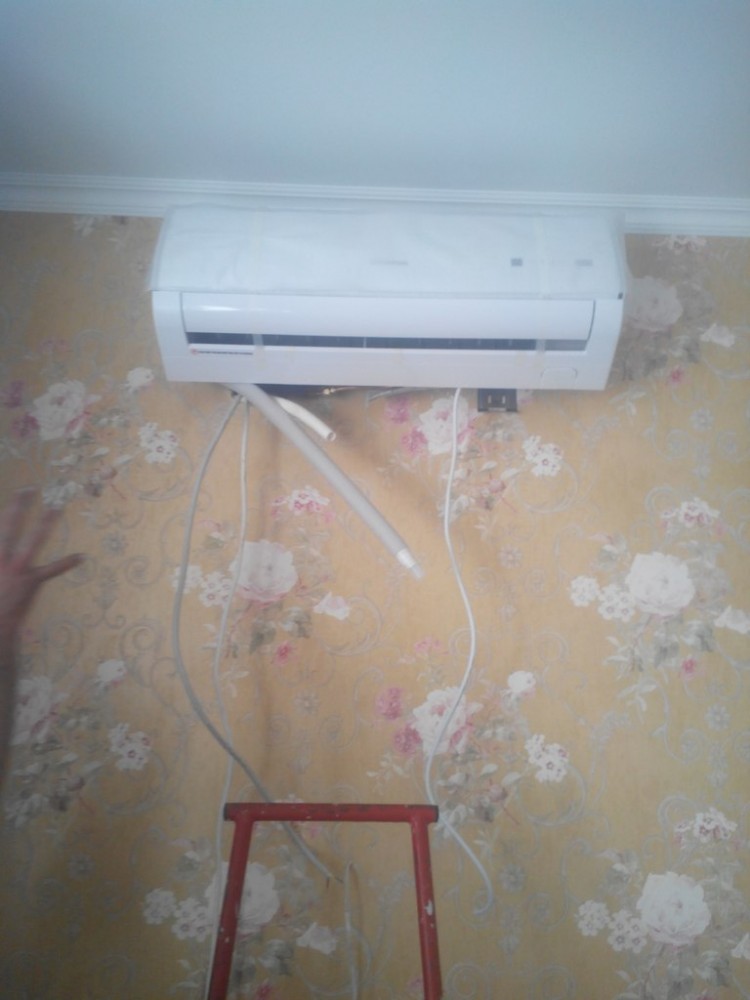
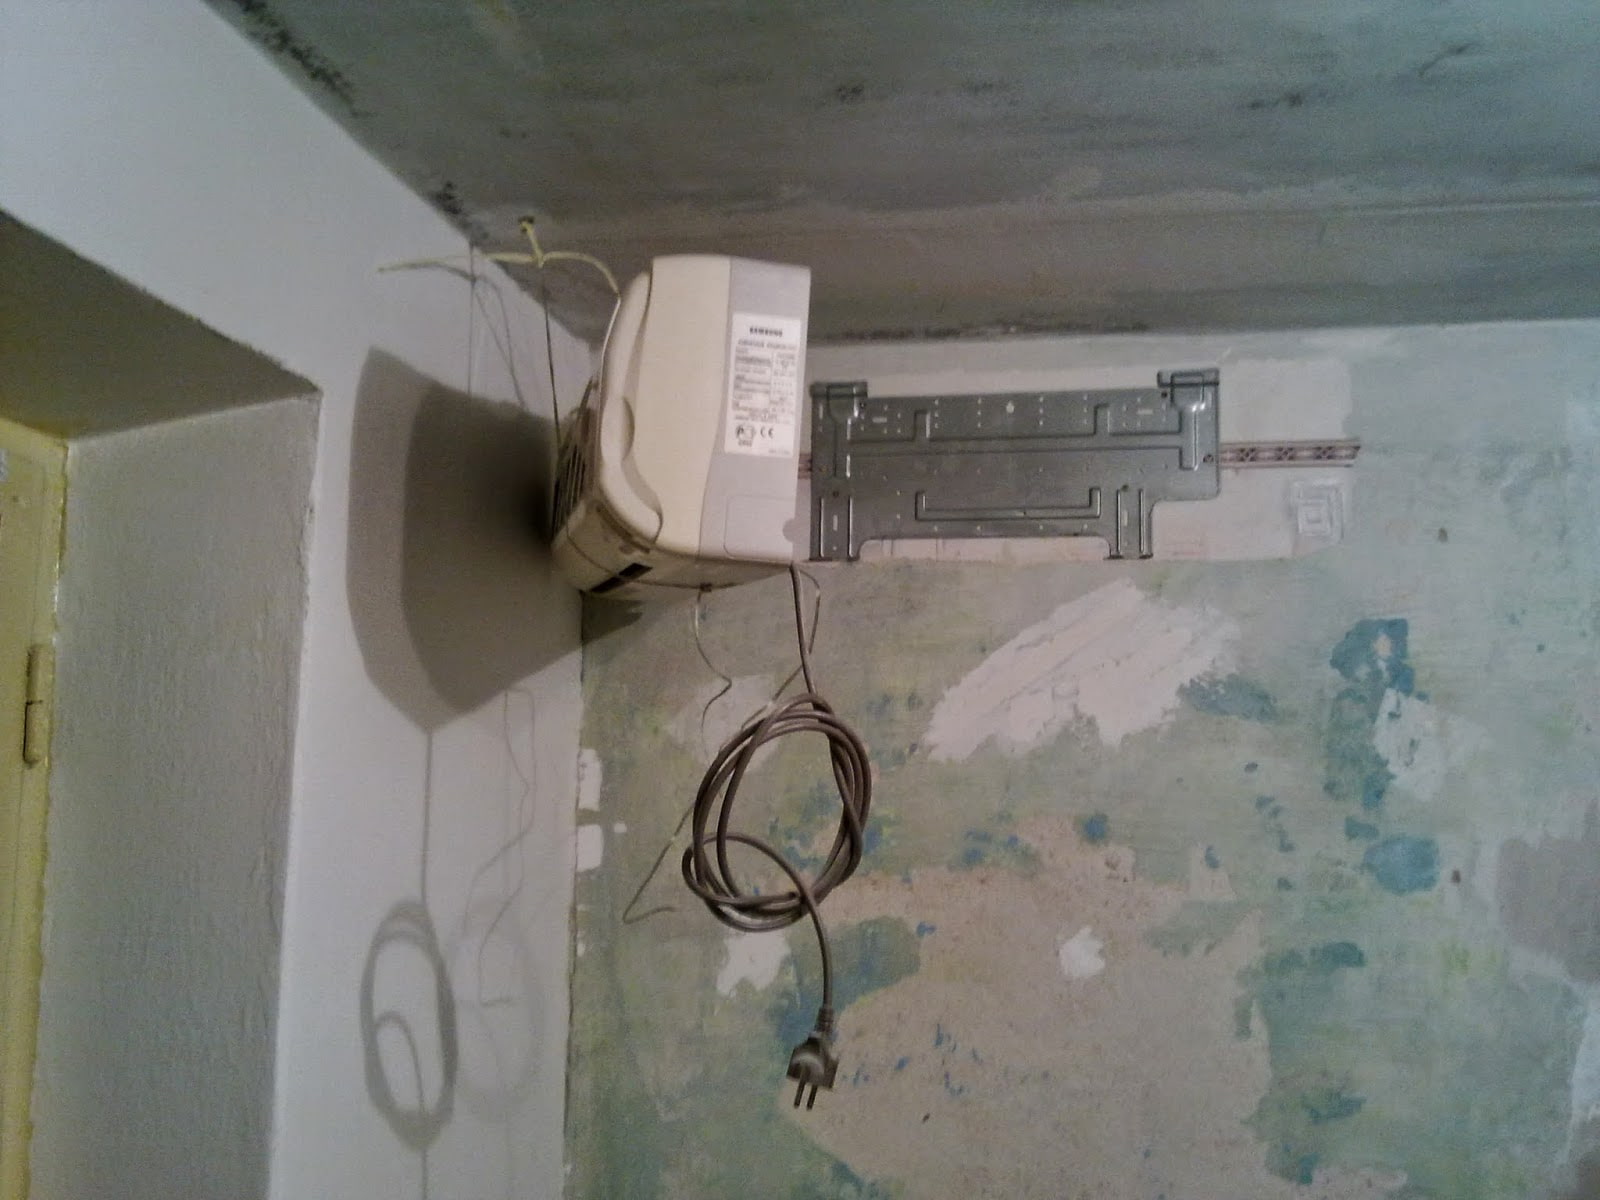
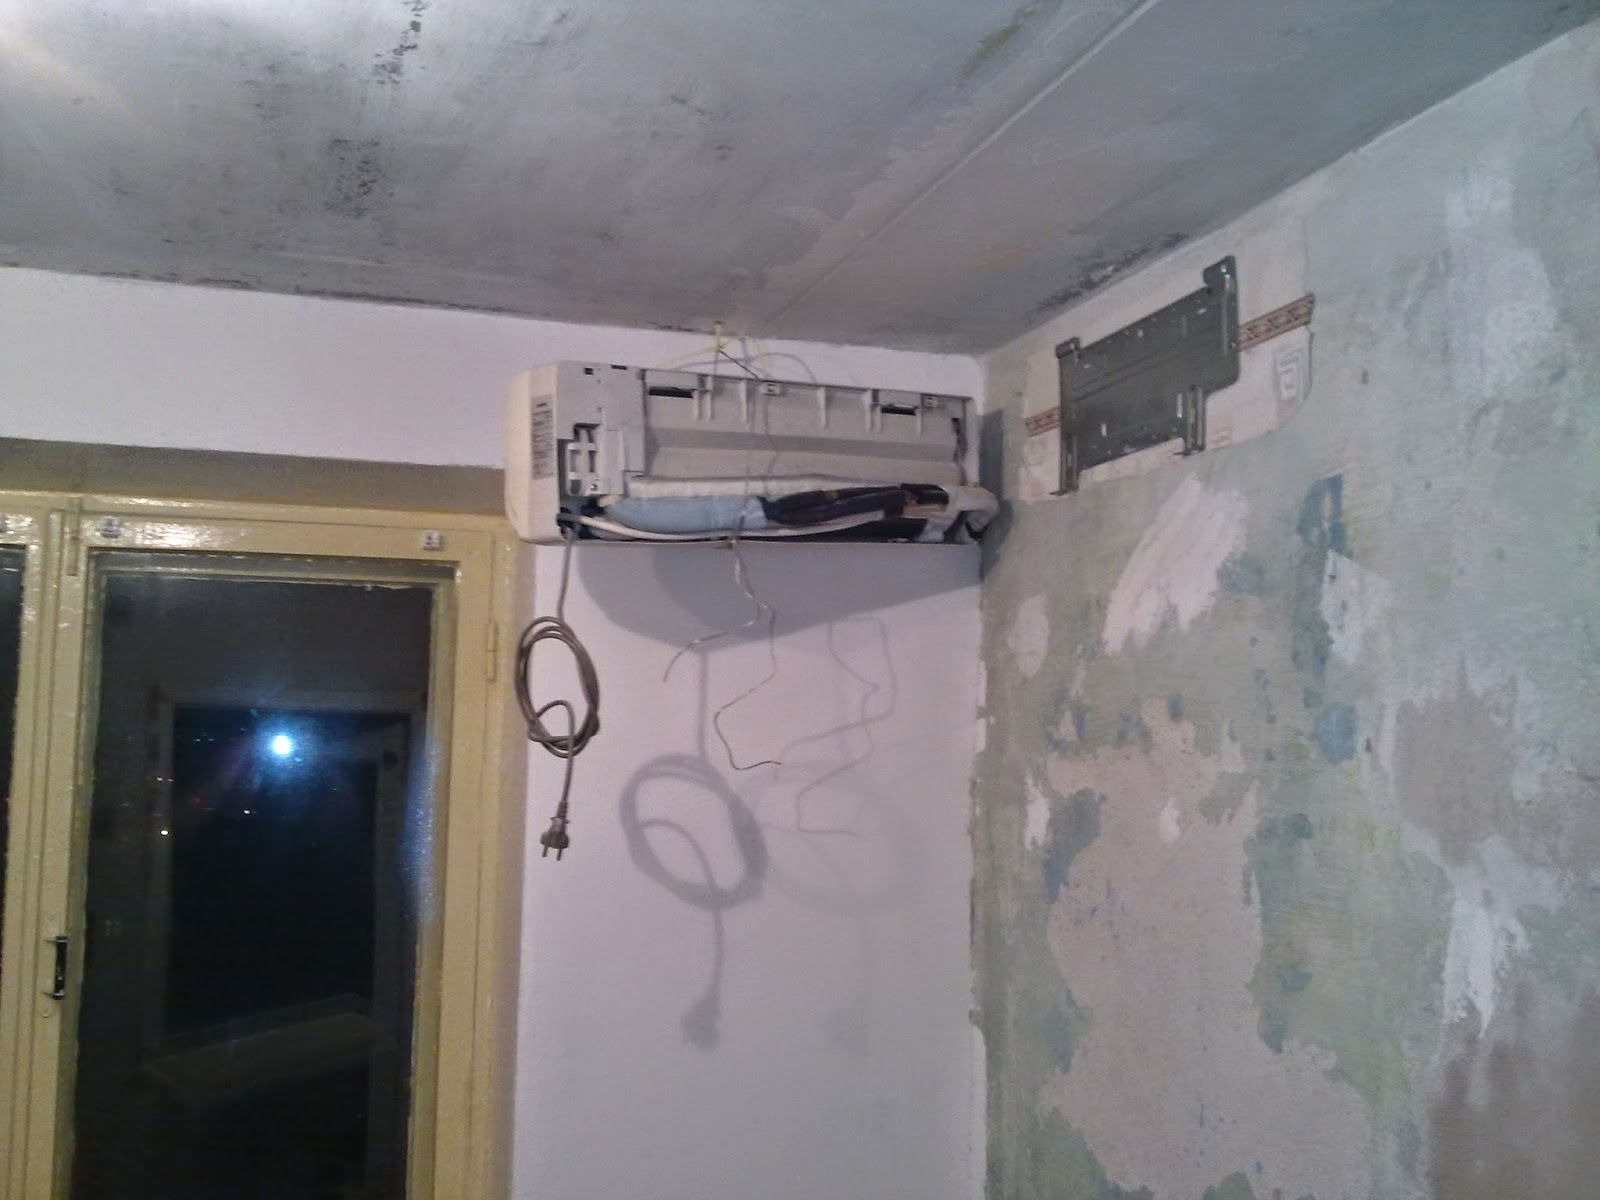
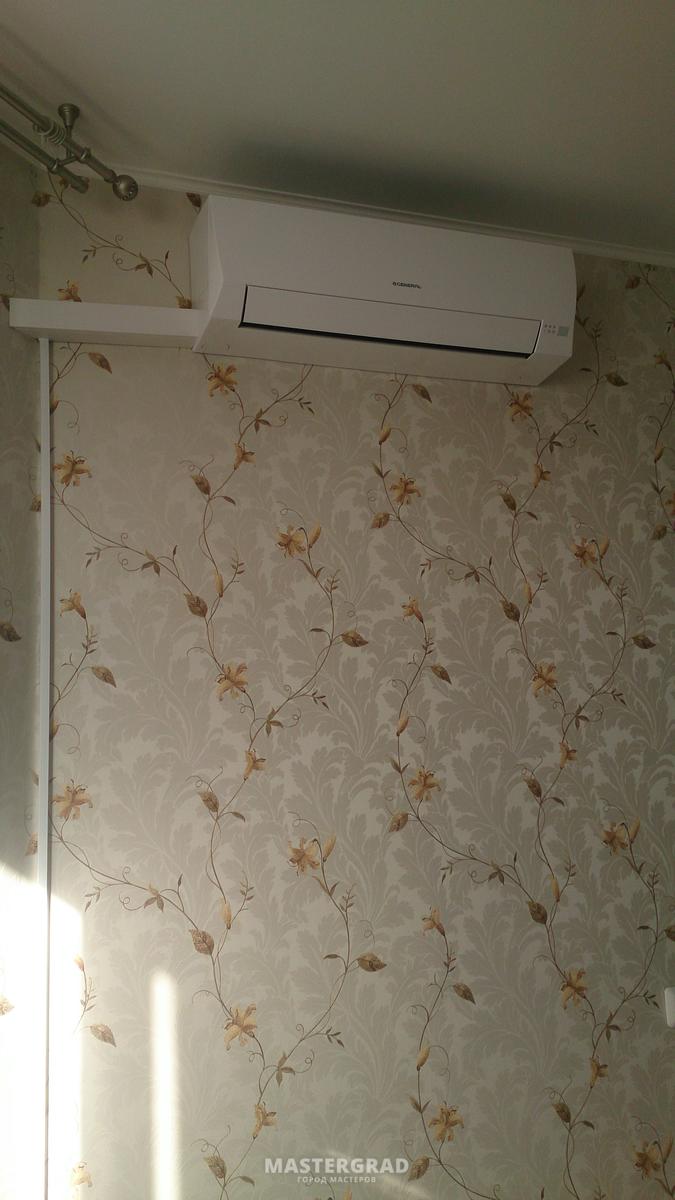
1 case. Let's say we have planned to re-paste the wallpaper, besides the gap between the wall and the block allows us to do it neatly. Then there will be no point in dismantling the unit (extra money down the drain). Here you can "snap off" the indoor unit from the plate and, without disconnecting the communications, glue the wallpaper.
2 case. If during the repair plastering and leveling of the walls are carried out, then the dismantling of the indoor unit will be required
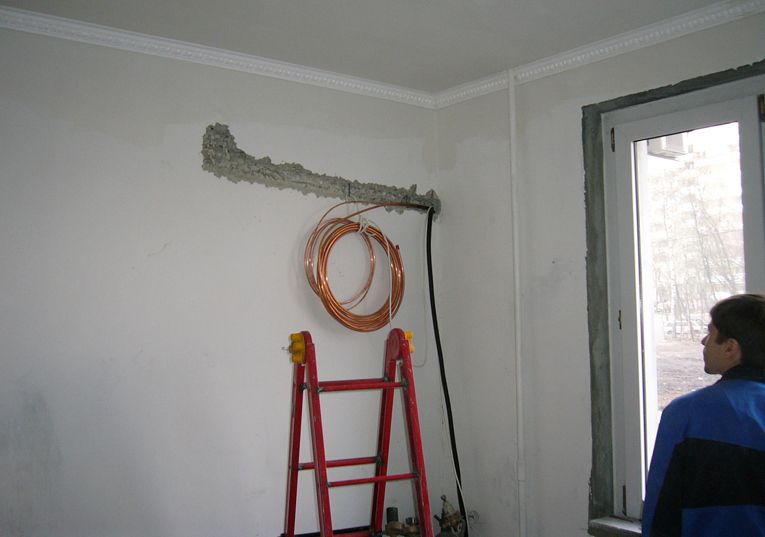
It is important that, after the completion of the repair work, the length of the communications is sufficient to install the unit back. During the repair process, you can hide the "track" in the wall (gash and putty)
Read more about removing only the indoor unit here.
3 case. There are situations when the indoor unit has to be removed along with the track. This may be due to the following reasons:
- if you plan to "lower" the ceiling (the hole through the wall will be lower);
- if the nuts connecting the route to the indoor unit are inside the wall (features or installation errors);
- to prevent the nuts from joining inside the wall after repair;
- to move the indoor unit.
In these situations, it is necessary to dismantle the air conditioner. How it is possible to dismantle a split system, read this article.
The most complex doffing operations split - systems
To remove the split system from the wall, you need to choose the right set of tools and wrenches of the correct size. As a rule, some of the keys for installing and dismantling the air conditioner are included in the equipment package. The most important thing is to find a set of hex keys, without which it will be difficult to loosen the protective screws, thanks to which the pipes are in motionless motion. Nozzles are required to supply the working fluid of the equipment.
Then you need to unscrew the pipes (the main thing is to know that in a system of this type it is impossible to pump the equipment in an idle way, so you should prepare a container in advance to drain the working fluid). First of all, you need to remove the thin pipe that passes the coolant (it is called the refrigerant), then you need to turn on the device and wait a certain time until warm air comes from the air conditioner.After that, we unscrew the most thickened branch pipe and completely turn off the air conditioner.
Copper pipes of most models are non-removable, so you can use metal cutters to cut them off from the equipment. The cut ends of the branch pipes must be squeezed. Now there is very little left: completely disconnect the electrical circuit of the device, remove the equipment from the attachment point, and then disconnect the outdoor unit of the air conditioner.
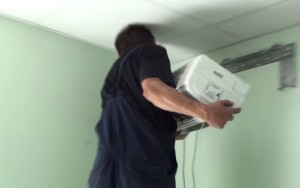
The one-piece system can be removed in much the same way. The only exception to dismantling is that there is a completely different electrical circuit here, and the pipes containing the working fluid are very different.
If you are afraid to remove the device and turn off some equipment, you can use the user manual that comes with the equipment or ask for help from people involved in dismantling the air conditioning system. In the instructions, you can find out in detail information on how to disconnect the drain and other mechanisms of the product.
Before proceeding with the dismantling steps, we recommend that you make sure that you have all the necessary tools.
How to remove an air conditioner compressor
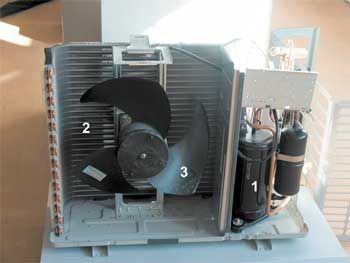
The most serious malfunction of a split system can be a compressor breakdown. It occurs when:
- poor quality installation - lack of evacuation, violation of the rules for laying freon pipeline;
- using a split system in an unacceptable temperature range;
- factory marriage.
In this case, you will also have to independently remove the air conditioner KKB and disassemble it. Some climatic technicians do without complete dismantling, but it is problematic for a layman to do this, since in this version access to many elements is severely limited.
The outdoor unit has been removed, now how to remove the A / C compressor? In fact, there is nothing supernatural here:
- The protective cover is removed from the case of the outdoor unit;
- Disconnect the lines that go to the discharge and suction, as well as the electrical wires suitable for the fan and compressor;
- Unscrew the fasteners with an open-end or socket wrench and remove the compressor from the vibration dampers.
It is worth considering that before removing the air conditioner compressor, it is necessary to check the degree of deterioration of the oil. If it has an unpleasant odor and changes color during oxidation testing, then replacement + rinsing of the KKB will be required. Under normal conditions and a negative oil oxidation test, a simple change will suffice.
How to remove the air conditioner from the wall yourself: instructions
 Before starting to remove the split system, you need to prepare not only ordinary household tools, but also professional ones.
The necessary tools for dismantling a split system include:
- pipe cutter;
- side cutter;
- construction knife;
- Phillips and integral screwdrivers;
- hex keys;
- gauge manifold;
- open-end and adjustable wrenches;
- drill;
- screwdriver.
In some cases, you may need a safety equipment.
Preparatory stage
 After preparing the tool, study the recommendations of specialists for the correct dismantling of the air conditioning system. Most ignore the recommendations of professionals, after which the air conditioner is dismantled with many mistakes.
Interesting:
Dismantling without pumping freon into the device leads to its leakage. Recovering freon is then quite difficult and expensive. The minimum financial cost is four thousand rubles.
Freon descent
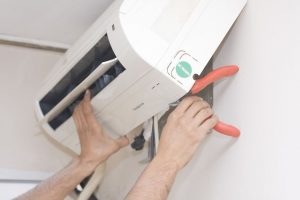 There are three main methods of how to dismantle the air conditioner yourself:
- analysis with the release of freon;
- preservation of freon in the device;
- saving the refrigerant in full due to the use of a special technique and specialized equipment.
The latter method allows you to get the maximum effect without loss, but other methods are also widely used.
Before carrying out work, carefully consider the design features of the air conditioning system. It is a closed circuit with refrigerant and includes a compressor, an evaporator with a condenser and a system of copper pipes to connect all the components and ensure the supply and withdrawal of refrigerant.
To turn off the air conditioning system without losing refrigerant, you need to pump it into the condenser. This is possible when operating in cooling mode by closing the valve from the product to the tube. It will take no more than one minute to pump freon in full. After pumping, close the valve on the tube. With this operation you will be able to stop the full gas supply.
Dismantling
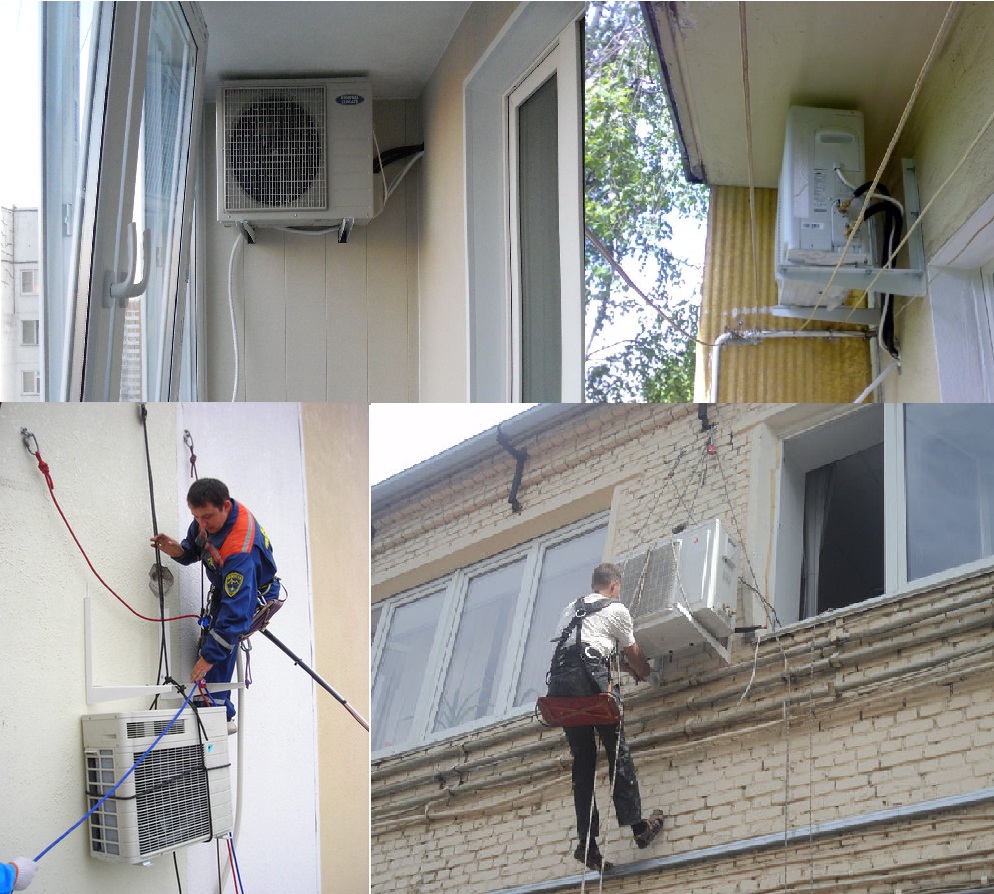
Work begins with the removal of the external unit. To do this, you must first disconnect the copper pipes. The tubes are cut at a distance of about twenty centimeters from the fitting, and then the cuts are stamped for complete sealing.
During long-term storage of the device in a disassembled state, the copper tubes are filled with nitrogen to ensure tightness to prevent oxidation.
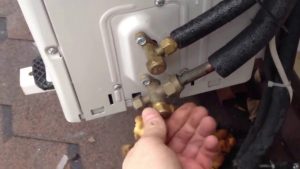 Work begins with the removal of the external unit
Outdoor unit
 After disconnecting the copper pipes, remove the thermal insulation. It is desirable that the operation be carried out by two people: one will work outside the building, and the other inside the building. This will greatly simplify and speed up the process.
So, one person will turn off the electrical energy, and the other will disconnect the wires.
The tubes should be straightened so that they can pass through the holes in the wall. Further, the end of the cable dragged into the room is screwed to them. After that, the nuts that support the external unit on the brackets are unscrewed.
At the end of the operation, the block is removed and dragged into the building. It can only be stored vertically.
Disconnecting the compressor
It is very important to dismantle the compressor correctly. To do this, you need to perform the following operations:
- Remove the cover from the outdoor unit.
- Disconnect the suction and discharge pipes.
- Disconnect electrical wiring.
- Unscrew the condenser and fan fasteners.
- Pull out the capacitor.
- Remove fasteners and dismantle the compressor.
With this sequence of measures, the possibility of a pipe defect is eliminated and it becomes possible to repair other nodes.
Indoor unit
There are cases when the owners are limited to dismantling only the external unit. For example, when repairing a compressor
When it is required to remove the entire split system, it is important to take into account the existing nuances of dismantling the indoor unit
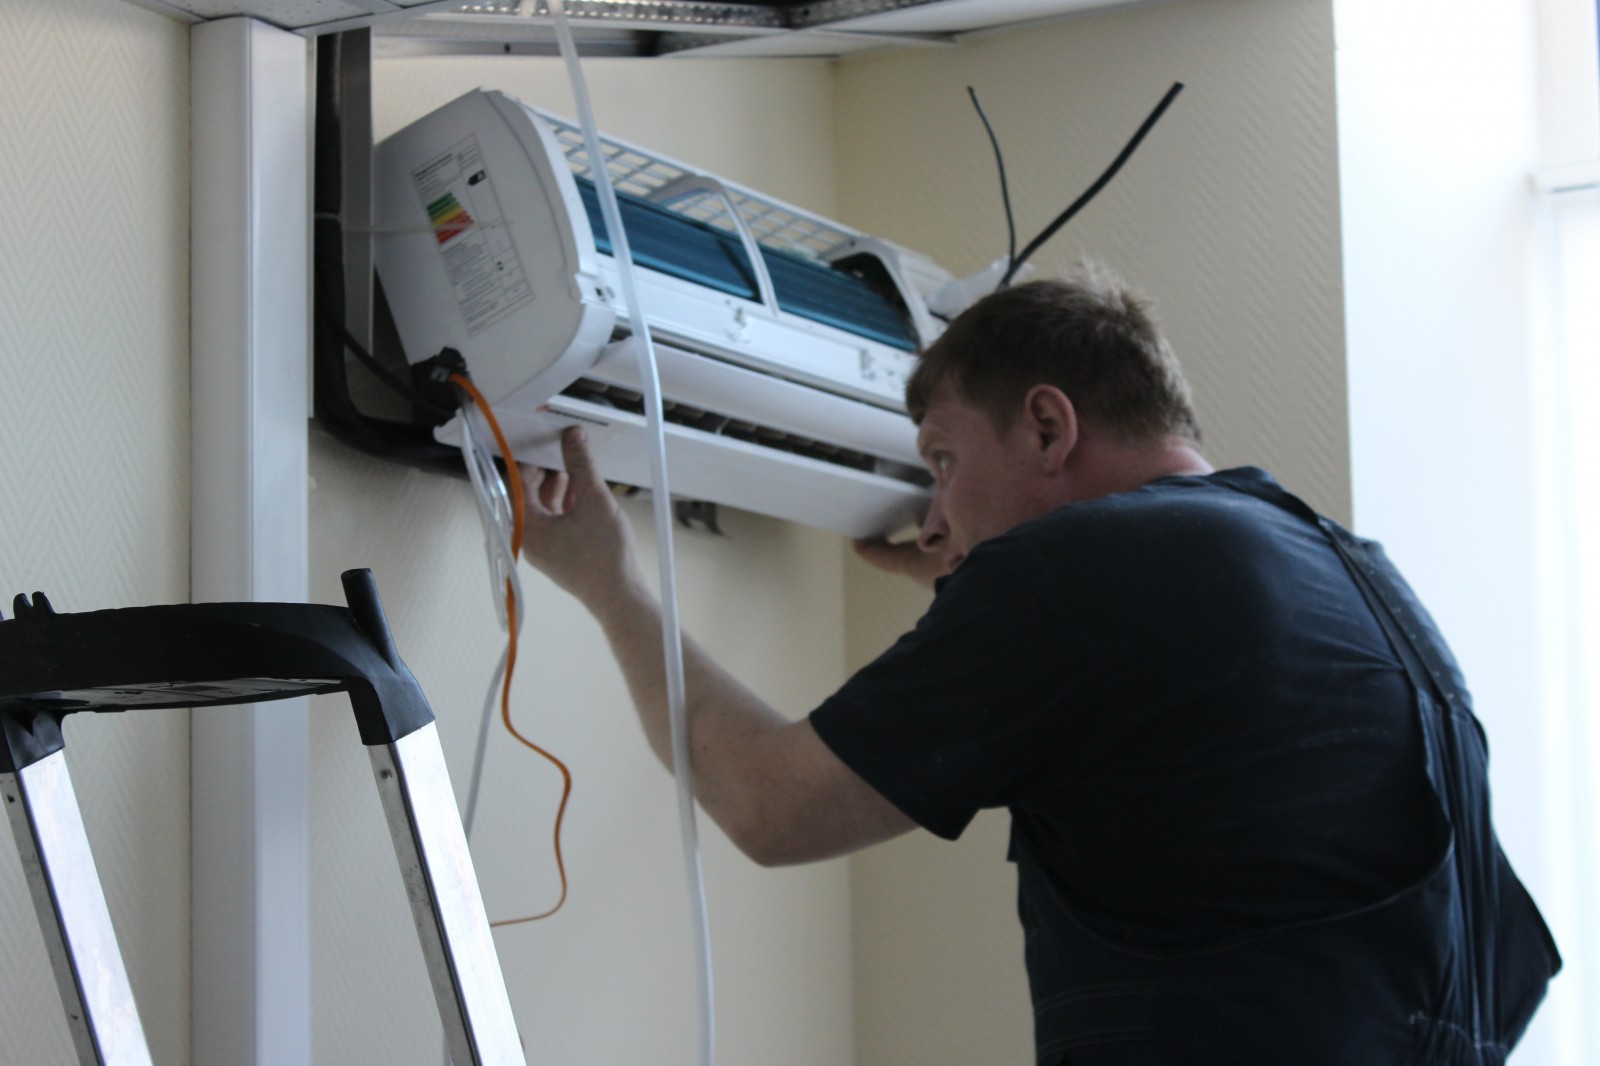
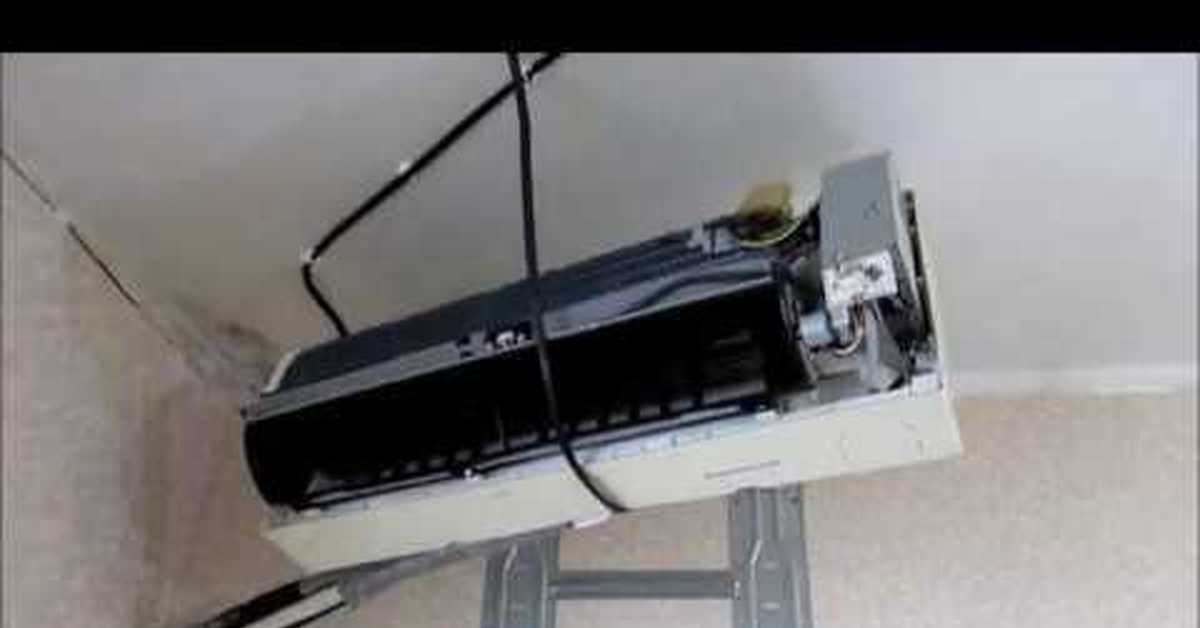
To dismantle the indoor unit of the air conditioner, you must perform the following steps:
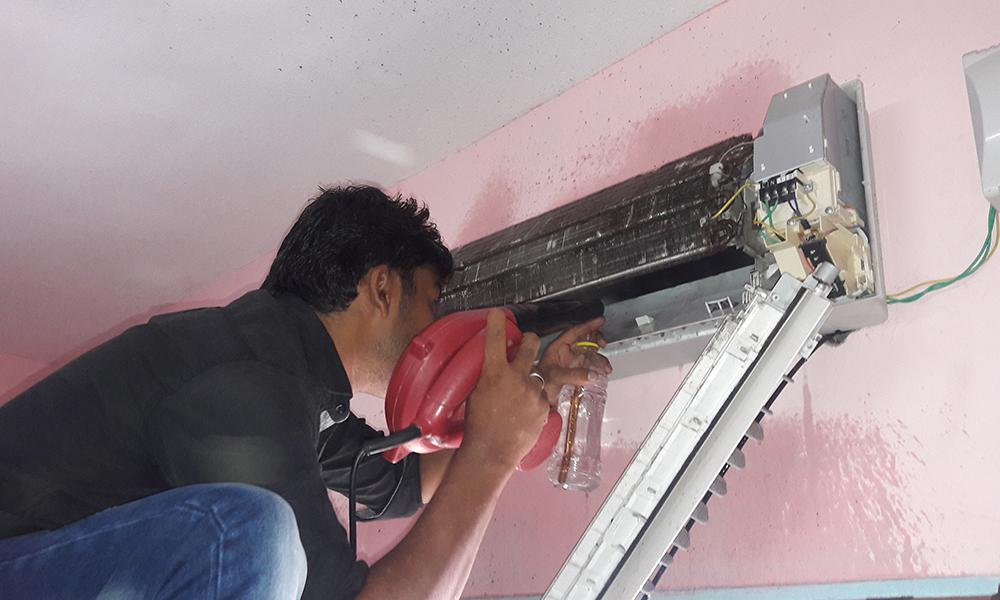
Remove the housing cover, referring to the indicators located at the bottom of the product.
Disconnect the electrical cable by unscrewing it from the terminals, then carefully remove it from the split system.
Disconnect the branch pipe, having installed the reservoir in advance, liquid can flow out from there.
Remove heat insulator and disconnect refrigerant piping.
Unscrew the tubes carefully as when removing the outdoor unit, and wrap them with insulating tape, or screw them on with caps.
- Disassemble the indoor unit carefully and remove the mounting plate.
Dismantling the air conditioner with preservation of freon
All tools should be prepared before starting disassembly. This is an adjustable wrench for rotating different nuts or a set of open-end wrenches, a hexagon for opening the split-system service valves and a screwdriver. In addition, you will need the services of an assistant, if only because it is quite difficult to remove the air conditioner from the wall yourself.
The sequence of performing the operation in the first way is as follows: from the service valves of the outer part, we twist the protective caps and insert the hexagon into the slots of the liquid valve with a thinner tube (usually located at the bottom).Then we turn on the air conditioner for cooling in turbo mode. At the same time, we set the lowest air temperature that is provided for in your cooler model.
After switching on, the line with the liquid refrigerant is closed by turning the valve into which we previously inserted the hex wrench. From the moment of twisting, we detect 1 minute, during this time all the freon must be pumped by the compressor into the outdoor unit. The time period was chosen according to the advice of experienced installers, which is why this method is called "by eye". After a minute, we turn on the second valve, blocking the gas line, after which it is necessary to immediately turn off the unit. The coolant is pumped over and you can start dismantling it.
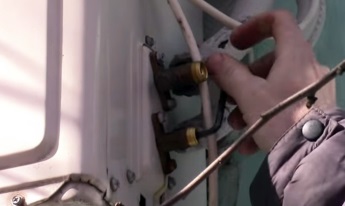
To properly dismantle the air conditioner, loosen and unscrew the nuts securing the lines, disconnect them, and carefully wrap the pipes with tape or electrical tape, avoiding dust or dirt from getting inside during transportation. Then, from the outer sections of the freon line, it is necessary to remove the thermal insulation and manually align the copper pipes so that they can more easily pass through the hole in the wall.
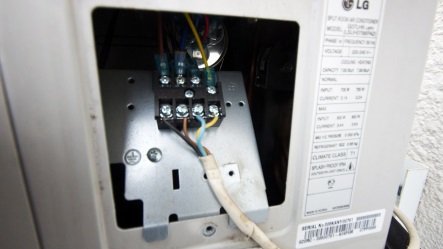
Next, remove the protective cover and loosen the clamps of the electrical cable, disconnect it and screw the free end to the main pipes. Now it remains only to unscrew the fastening nuts of the outdoor unit and, together with an assistant, remove the latter from the bracket. The last external operation is the dismantling of the metal brackets.
Moving inside the house, remove the front panel of the unit and disconnect it from the mounting plate. Trunks together with the cable can be dismantled independently by unscrewing them from the cooler and carefully pulling them through the wall. The same operation is performed together with an assistant, without unscrewing the tubes from the unit. The last thing that remains is to remove the mounting plate from the wall, now split - the system is completely ready for transportation. How to carry out the entire dismantling is clearly shown in the video:
It is more correct to dismantle the air conditioner by pumping freon into the outdoor unit, guided by the gauge manifold. The latter is connected to the service branch pipe with gaseous refrigerant, and after turning on the unit and shutting off the liquid pipeline on the device, you can see how the pressure drops in the system.
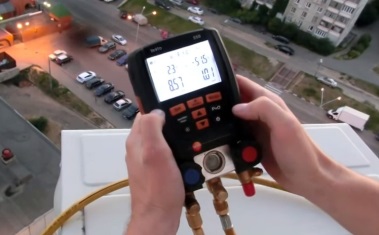
When it reaches zero, it is necessary to close the second valve, and turn off the cooler immediately. The rest of the procedure is the same as described above. How to perform this stage correctly, you can watch the video:
Required tool and possible replacement
If you have the funds, you can hire a master for the removal and installation of modern split systems, while not even paying attention to the manufacturers of this tool, which changes the pricing policy. But then the meaning of independent dismantling, which is carried out in order to save money, disappears. Therefore, it is best to replace some types of instrument with a cheaper one, and some will have to be abandoned altogether.
List of tools that are required for disassembly:
Gauge manifold. The thing is necessary, as it will show the pressure when pumping freon into the outdoor unit. And it is this measuring device that falls under the category of tools that should be discarded (at your own peril and risk), since its minimum cost is 1,500 rubles. A more reliable one will cost 3000-3500 rubles.
An example of a pressure gauge for split systems
- Hexagon set. This position is required, since the union cannot be unscrewed in a different way. Fortunately, the price of such keys is not exorbitant - 3000-350 rubles.
- Pipe cutter. It is inexpensive (about 300 rubles), but you can further reduce costs and purchase an ordinary hacksaw for metal, which will then be useful in the household.
- Flat and curly screwdrivers. Now sold in any hardware and hardware store.
- Safety equipment if the air conditioner is located on the upper floors. It is not worth saving here, and not paying for goods, the cost of which is less than 1000-1500 rubles.
And one more prerequisite is the presence of an assistant, and preferably two. Both the external and the internal unit have a solid weight, so it will be problematic to cope on your own, you can accidentally damage the device.
Instructions for dismantling the air conditioner with your own hands
Let's go directly to uninstallation.
Outdoor unit
Disconnect the freon lines. This can be done by unscrewing the nuts with which the pipes are screwed to the unions of the outdoor unit. This method is used if the length of the tubes allows them to be used in a new place. Open fittings must be securely sealed with tape or tape to prevent clogging.
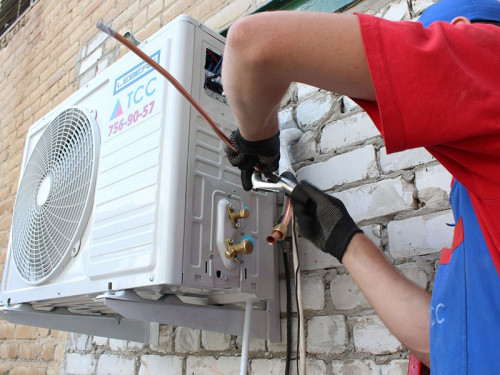
But in most cases, freon lines are not reused, especially since their build-up is not allowed. Then the pipes are simply cut off with a pipe cutter at a distance of 150-200 mm from the fittings, immediately stamping their ends with a bench vice.
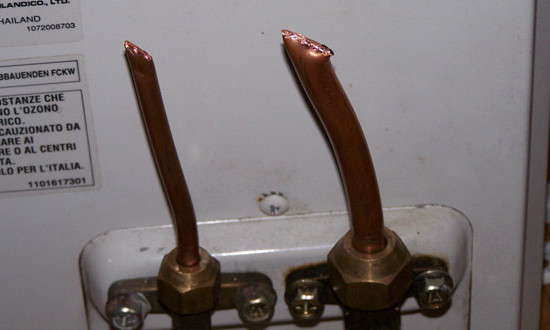
Advice. If the air conditioner is known to be stored unassembled long enough, the tubes can be filled with nitrogen and sealed tightly. Unlike air, more precisely, the oxygen contained in it, nitrogen does not lead to the oxidation of the material.
After all the manipulations, it is necessary to remove the thermal insulation from the outer part of the freon pipes.
After making sure that the device is disconnected from the mains, remove the protective cover over the place where the electrical cable is connected. Its terminals must be marked in some way to avoid confusion when connecting at a new location. After that, you need to unscrew the clamps with which the wires are screwed to the contacts of the outdoor unit. The freed end of the cable is screwed to the freon lines, which are then manually straightened in order to be able to pull them out through the hole in the wall.
Now we unscrew the nuts that hold the outdoor unit on the brackets, and together with the assistant remove it, and then the brackets themselves.
Note! During storage and transportation, the outdoor unit must be in an upright position
During transportation, it is very important to avoid shaking and impacts - for this it is better to place the unit in a box with pre-packed foam.
Disconnecting the compressor
If the air conditioner is dismantled in order to repair the compressor, the latter must be properly disconnected. This is done like this:
- The covers are removed from the outdoor unit.
- Then it will be possible to disconnect the suction and discharge pipes from the compressor.
- We disconnect the wires supplying the compressor and the fan.
- We unscrew the fasteners holding the valves and the capacitor.
- We remove the condenser, gaining access to the compressor mounts.
- We remove the compressor.
By acting in this way, you eliminate the risk of damage to the piping piping. Another plus: it becomes possible to repair several elements of the outdoor unit at the same time, which will allow you to cope with the task faster.
To work with the compressor, you need to pour out the oil present in it.
In the case of the piston model, it drains out through the suction connection without any problems. For spiral and rotary models, the bottom has to be drilled (hole diameter 5–6 mm). You cannot drill through, otherwise chips will get inside. A thin septum is left, which is then pierced with a punch.
How to remove the indoor unit
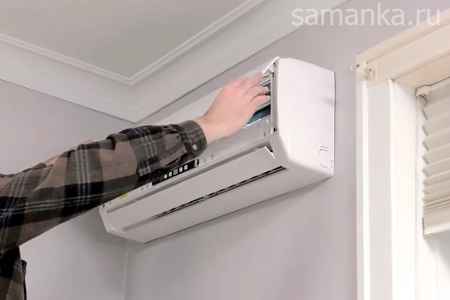
To gain access to the clips of the indoor unit, it is necessary to remove the front panel from it. Then, the freon lines, electric wires are disconnected, the latches are snapped off and the block is removed from the guides.
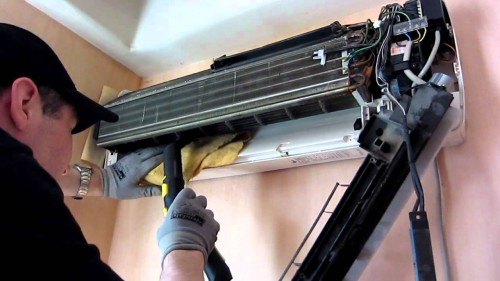
Note! At this stage, the layman faces some difficulties: with careless actions, you can easily damage the evaporator latches.
Care should also be taken when snapping off the clips holding the block on the rails.If they are damaged, the device cannot be firmly fixed in a new place and it will quickly fail due to vibrations.
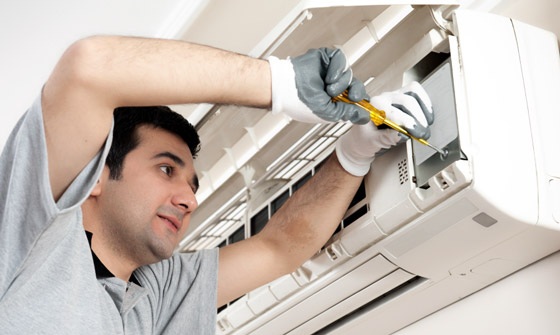
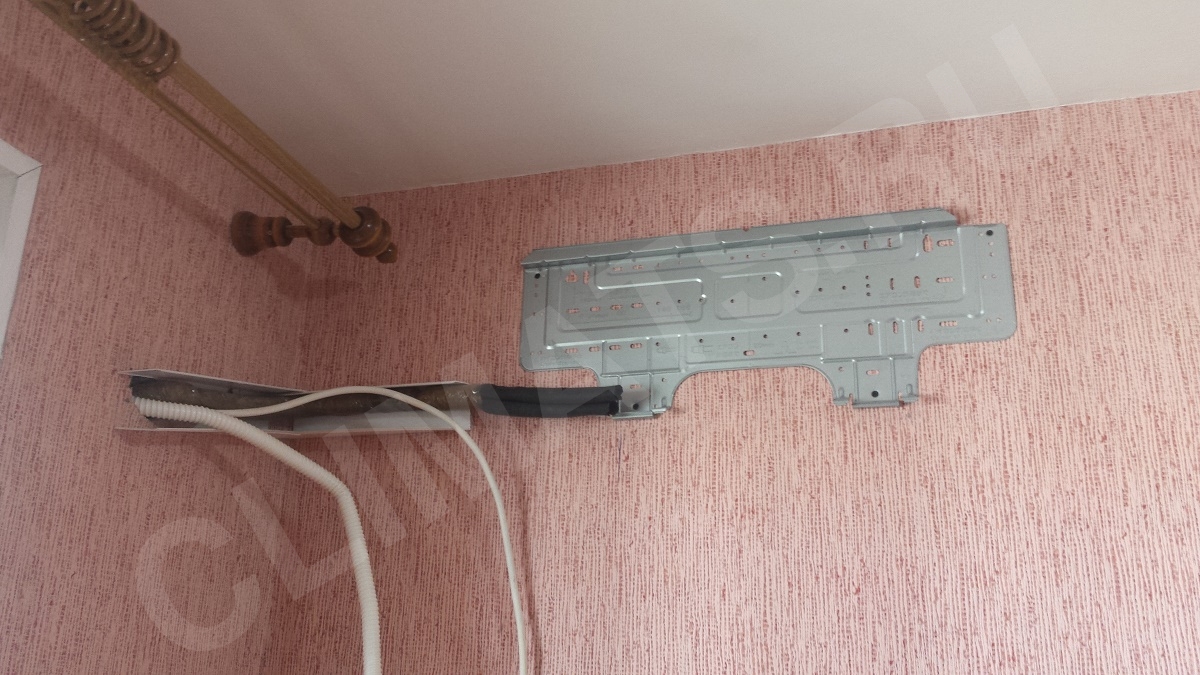
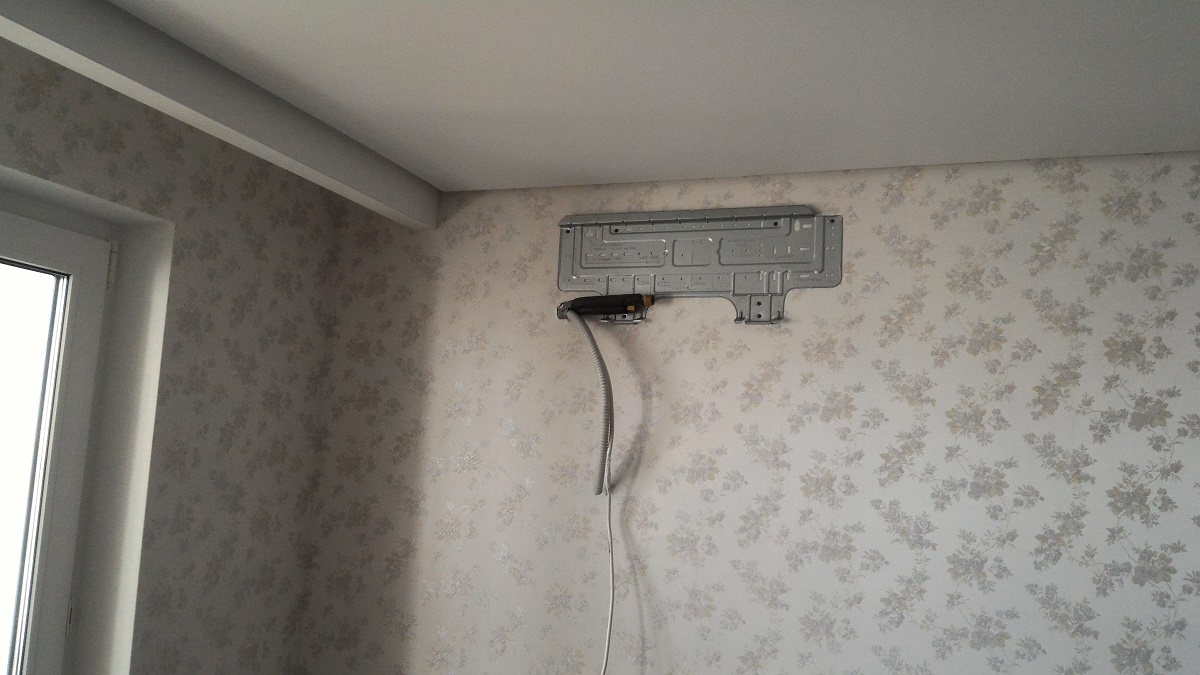
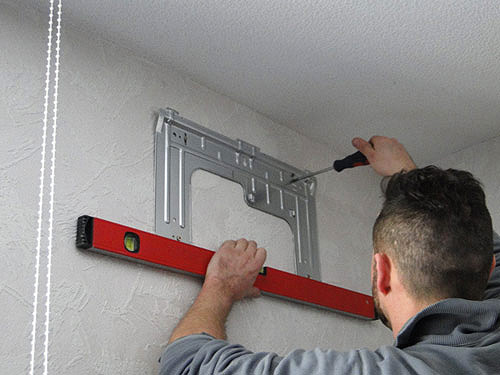
After removing the indoor unit, unscrew the mounting plate, remove the freon lines with the supply cable from the wall and unscrew the decorative box laid along the outer wall.
Particularly difficult cases
In some cases, it is not possible to dismantle the tiles in this way. Let's consider them in more detail.
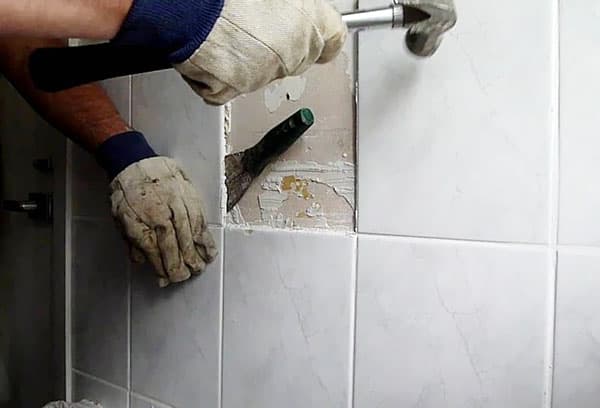
Removing tiles from a plasterboard wall
If the tile was laid directly on drywall, then it will not work to knock it down. We'll have to completely dismantle the partition. But there are situations when a drywall wall was first plastered, and only then a layer of tiles was laid. In this case, there is a chance to remove only the coating.
Step-by-step instruction
Remove grout with a knife or spatula
It is important to completely clean the seam.
Soak glue or grout with warm soapy water.
Pry the tile with a chisel or chisel and carefully remove. The tiles are removed together with the plaster, the remains are quickly cleaned with a scraper.
Prime and putty drywall.
This method will help preserve the partition, reducing labor intensity and reducing the cost of dismantling.
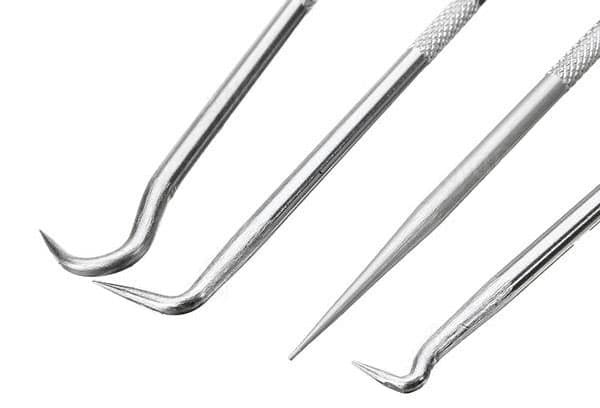
Dismantling tiles with metal hooks
It is not convenient to use a chisel and a hammer, and even more so a puncher, not everywhere. In hard-to-reach places, two metal staples made from old screwdrivers or knitting needles bent with the letter P will help.
After the seams are cleaned and the surface under the tiles is sufficiently wet, slip one edge of the hook under the tile from below, and the edge of the other hook from above - and pull towards you. This method is especially convenient when the tiles have been laid correctly, on special glue. And also it will help not to spoil the appearance of the product and will make it possible to use the finishing material in the future.
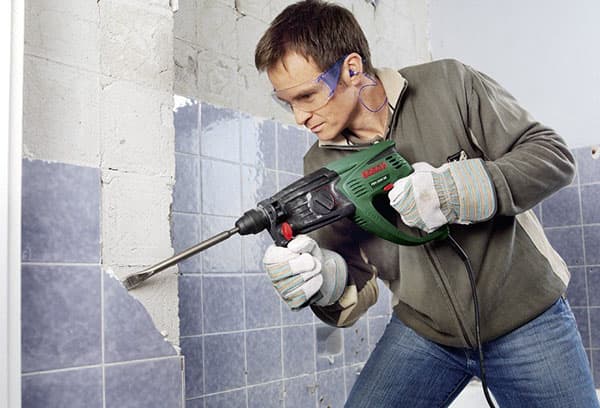
Dismantling from video
To dismantle the outdoor unit, you need to disconnect the copper pipes. To do this, they must be cut off at a distance of about 20 cm from the fitting, and then the sections must be stamped so that there is complete sealing.
Outdoor unit
Remove thermal insulation after working with copper pipes. It is best when two people work: one is outside the premises, and the other is inside. Removing the device this way is faster:
One - turns off the electricity, and the second - disconnects the wires, having previously marked the terminals in the place of their connection.
- Also, the end of the cable is screwed to them, which is dragged into the room.
- Then the nuts are unscrewed, which hold the outdoor unit on special brackets.
- After the two of them, the block is removed and moved inside the room.
Indoor unit
How to disassemble the indoor unit so that the frion does not leak out? Dismantling the internal unit of the device has some nuances, without knowing which you will not be able to do all the work correctly, which can lead to breakage of delicate fasteners.
Here's how to remove the indoor unit of the air conditioner from the wall for wallpapering correctly:
Remove the housing cover using the pointers located on the bottom of the unit.
- Disconnect the electrical cable by unscrewing it from the terminals and pulling it carefully out of the system.
- Disconnect the branch pipe, place the container first, because water can flow out of it.
- Remove the heat insulator and then disconnect the freon line. Unscrew the tubes carefully, as was done when removing the outdoor unit, screw them with caps or wrap them with electrical tape.
Air has a distributed refrigerant transport pattern between the outdoor and indoor unit. Such a device has many advantages, except for one - the dismantling of the system is much more difficult than the monoblock. And often ignorance of how to remove the air conditioner leads to its failure.
Precautions
If the air conditioner is out of order and cannot be repaired, then it is easy to remove it - there is no need to save the freon, the tightness of the compressor, condenser and evaporator is not important.
This cannot be done with a working air conditioner. And in this case, the main thing is that dust and even air do not get inside the system. Otherwise, we can talk about the guaranteed output of the compressor after the installation and start-up of the air conditioner at a new location. The reason is the peculiarity of the vacuum pump device.
Freon is extremely fluid, and the temperature difference at the inlet and outlet reaches several tens of degrees. No seals and rings used in conventional pumps and compressors will withstand these operating conditions. The required tightness is achieved due to the extremely precise fit of the surface of the moving elements of the pump to the internal geometry of the chambers. The slightest scratch by a hard particle will damage the compressor. And such a particle can also be a grain of ice formed when moisture freezes in the air that has got inside.
That is why new air conditioners are sold filled with inert gas, which is pumped out by a vacuum pump before pumping freon.
When the air conditioner is removed, the freon must be pumped out, and the blocks must be disconnected. This must be done so that dust and air do not get inside the system. That is, create a vacuum there. And it is advisable to keep the freon completely (or most of it), so that in a new place it would be easier to bring the system into working order.
Preparation
To properly remove the air conditioner, from professional equipment you need only a manometric station, which can be rented.
The rest of the tools are for every home master:
- a set of wrenches and hex keys;
- screwdrivers;
- pipe cutter or side cutters;
- hand locksmith vice;
- pliers.
Freon descent
There are two ways to dismantle a working air conditioner:
- The use of a manometric station for collecting freon in an external block.
- Using a station for pumping out and collecting freon, connected to a special two-valve cylinder. The station has its own gauge manifold and compressor for pumping refrigerant in a liquid or gaseous state.
The first method is more "affordable", but it can be used only when the air conditioner is started - Freon is transported by means of a standard compressor.
The second method is universal. It can be used even in winter when the air conditioner cannot be turned on due to the low temperature outside. The advantage of this method is also that the external unit will be evacuated - without freon in the condenser. Which is much safer when transported to a new location. But renting such a station and a cylinder will cost more than a conventional gauge manifold.
Collection of freon in the external unit
On the side of the casing of the outdoor unit there are two fittings from which the tubes extend:
- thin - for transporting liquid freon from the condenser to the evaporator;
- thick - for pumping gaseous freon into the condenser.
Both fittings have shut-off valve heads under the caps. A branch with a nipple departs from the gas head.
The collection of freon in the condenser takes place in the following order:
- Protective caps are removed from the fittings and the nipple.
- A manifold is connected to the nipple.
- Turn on the air conditioner to the maximum "cold".
- After a few minutes, the liquid connection valve is closed, stopping the supply of freon to the evaporator.
- The pressure is controlled by the pressure gauge.
- When the arrow shows "-1 MPa", tighten the gas connection valve with a hexagon and immediately turn off the air conditioner (for which an assistant is needed) - during prolonged idle operation, the compressor pump may fail.
The reading of the pressure gauge "-1 MPa" means that all the freon is in the condenser, and inside the evaporator, in the tubes and in the compressor, there is a technical vacuum.
Then you can disconnect the blocks.
Conclusion
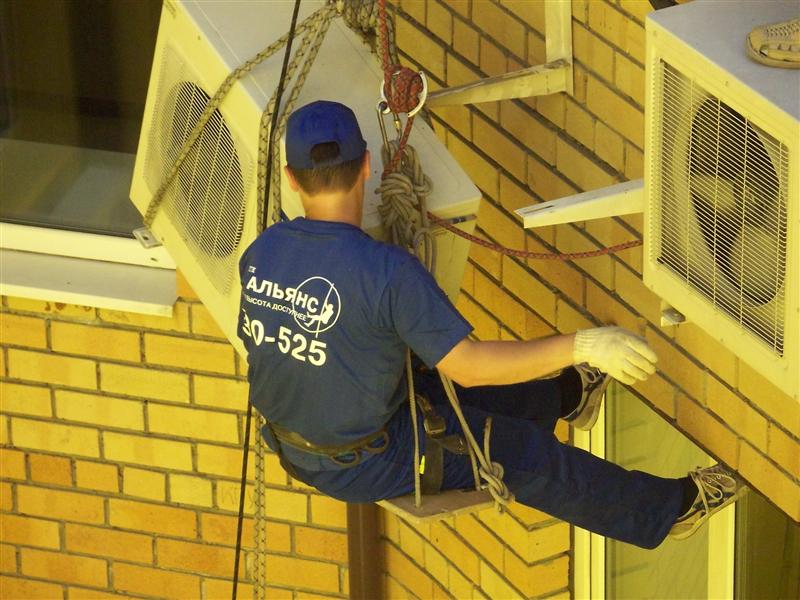
When deciding how to remove a split system yourself, do not forget about your own safety. It's simple if you live in your home: you set up a stepladder and completed the necessary work. And if you live in an apartment building, on the top floor, and you have neither a loggia nor a balcony?
In this case, you will not be able to do without outside help. You will have to attract acquaintances who could hedge you.
Dismantling the split system allows you to do its cleaning. When you disconnect the drain hoses, check them. Examine the fan blades. It is quite possible that the surfaces have become dirty over a period of long work, and it would not hurt to rinse them.
Only it is advisable to carry out all the work after the equipment has been dismantled and do not forget that electrical circuits and boards are built into the indoor unit. Therefore, if you decide to wash the fan, be sure to remove it first.

